Wood Shim Farmhouse Bed
Built the Cassidy bed. It was a great project, and you’re right. The hot glue gun worked great on the shims.
Jonathan
Built from Plan(s)
Built the Cassidy bed. It was a great project, and you’re right. The hot glue gun worked great on the shims.
Jonathan
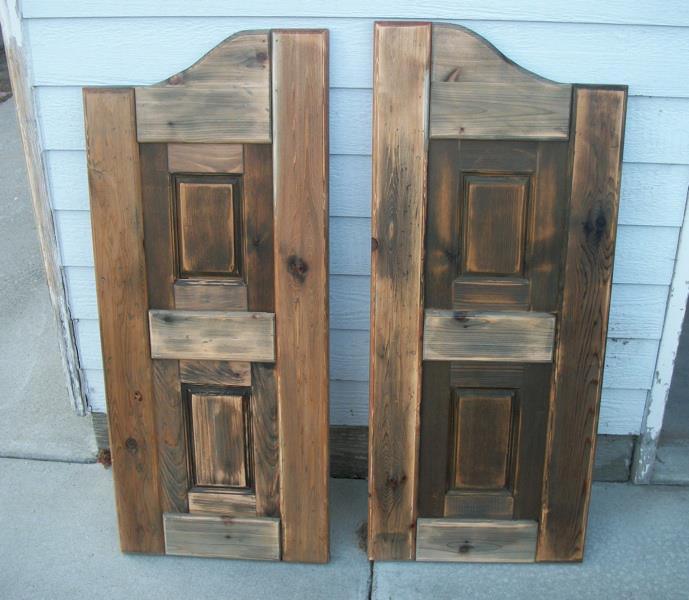
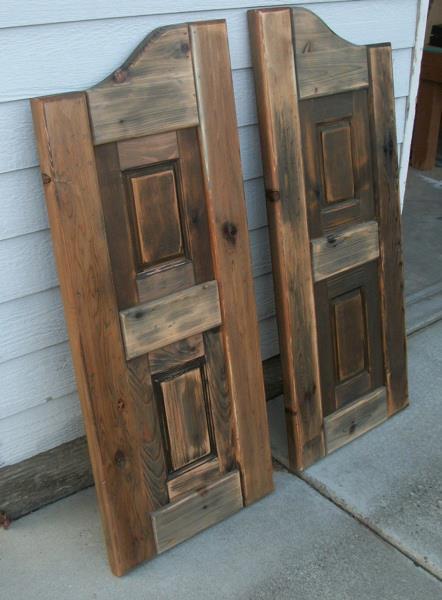
I built these doors for a very good friend of mine who actually helped me get started turning my new love for building (after finding Ana's site) into a way for our family to make some extra money.
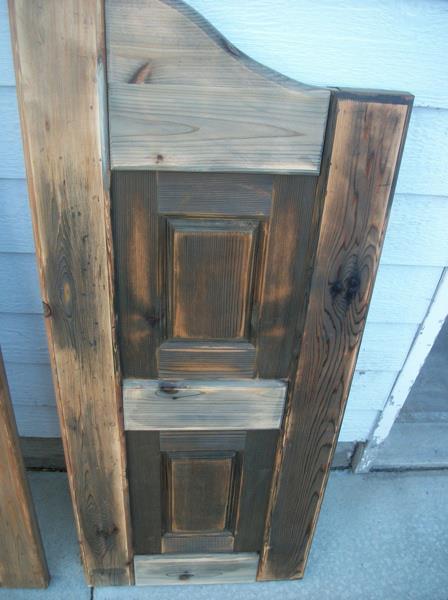
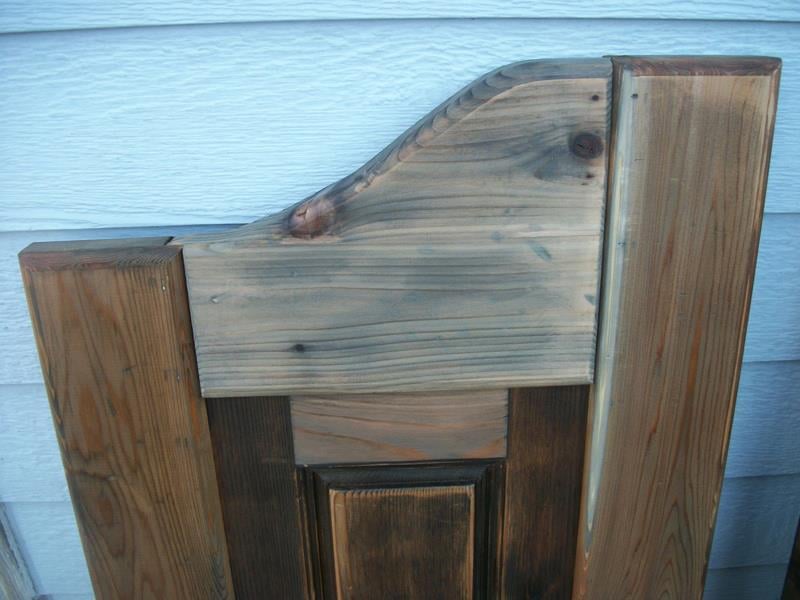
It took me a little while to wrap my brain around building something without using my Kreg Jig. I used a router table set up with some raised panels bits and put the whole thing together with glue and nails! Wonderful experience!
For the finish, I used a vinegar solution to give the cedar wood an old barn look. I think the final result turned out great and the final step was a clear coat sprayed on out of a rattle can.


Thu, 08/02/2012 - 10:51
These turned out great! I haven't seen this style of door in forever! They used to be really popular, I remember my Aunt and Uncle having these in the entry to their kitchen. They were the coolest thing ever when I was a kid! Maybe they are a making a comeback?
I'm really impressed with your routing skills, that's a task I have yet to tackle, but I've got the bits laying around waiting.
Nice job!

Thu, 08/02/2012 - 21:10
Thanks a bunch! My friend is replacing an old set of louvered doors that went into her laundry room. Her family are farmers and rodeo people so the western decor really fits in their house. Great western stuff there. They made a chandelier out of a wagon wheel! Really cool!
This was my first attempt at routing so I really appreciate your compliment! It's really simple if you can get the basics of it. I'm sure you'll do just fine when you get to that point. If I can do it, anyone can do it! Thanks again!!
Mon, 01/23/2017 - 09:32
I really want to try and build this for a closet. Are there any instructions for this? This is the first door of this style that I have come across that I absolutely love.
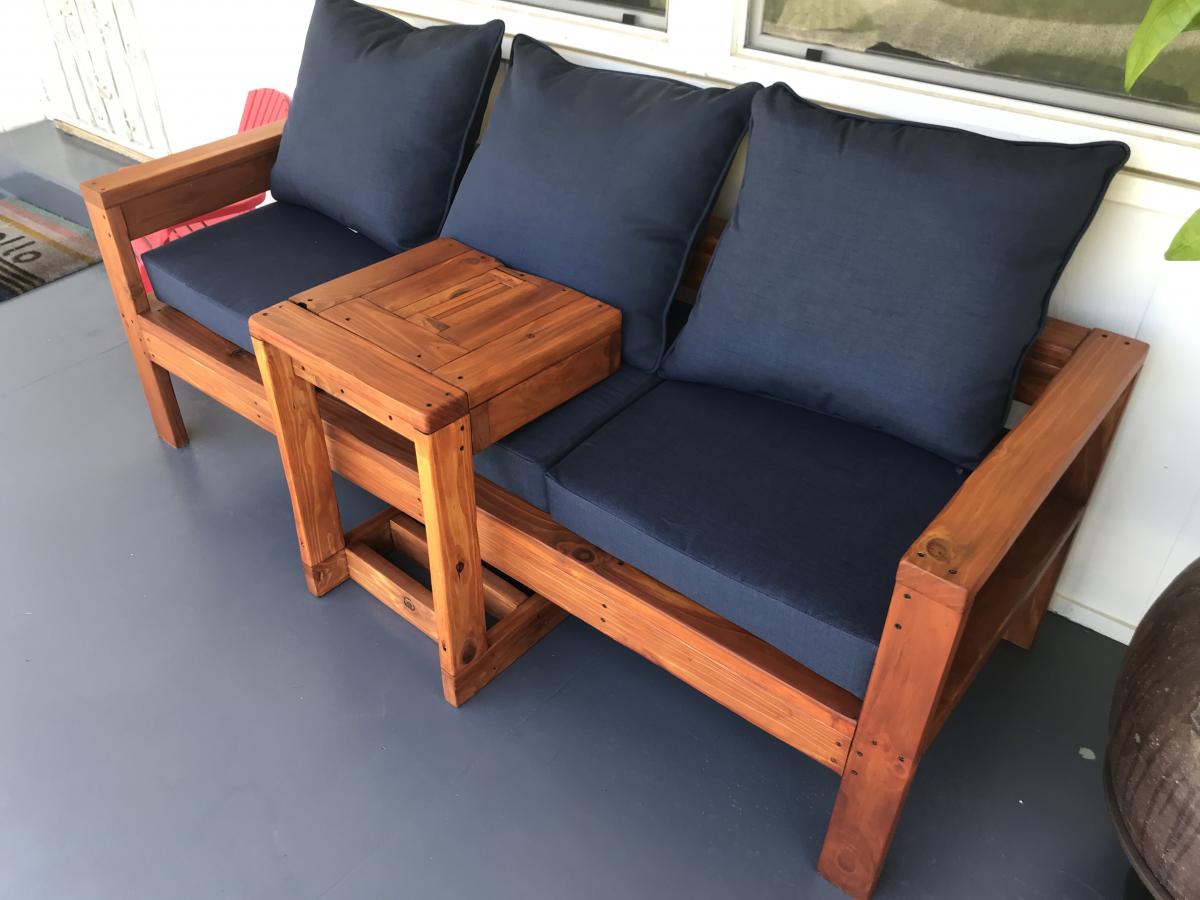
DIY Outdoor Wood Chairs
by Tara
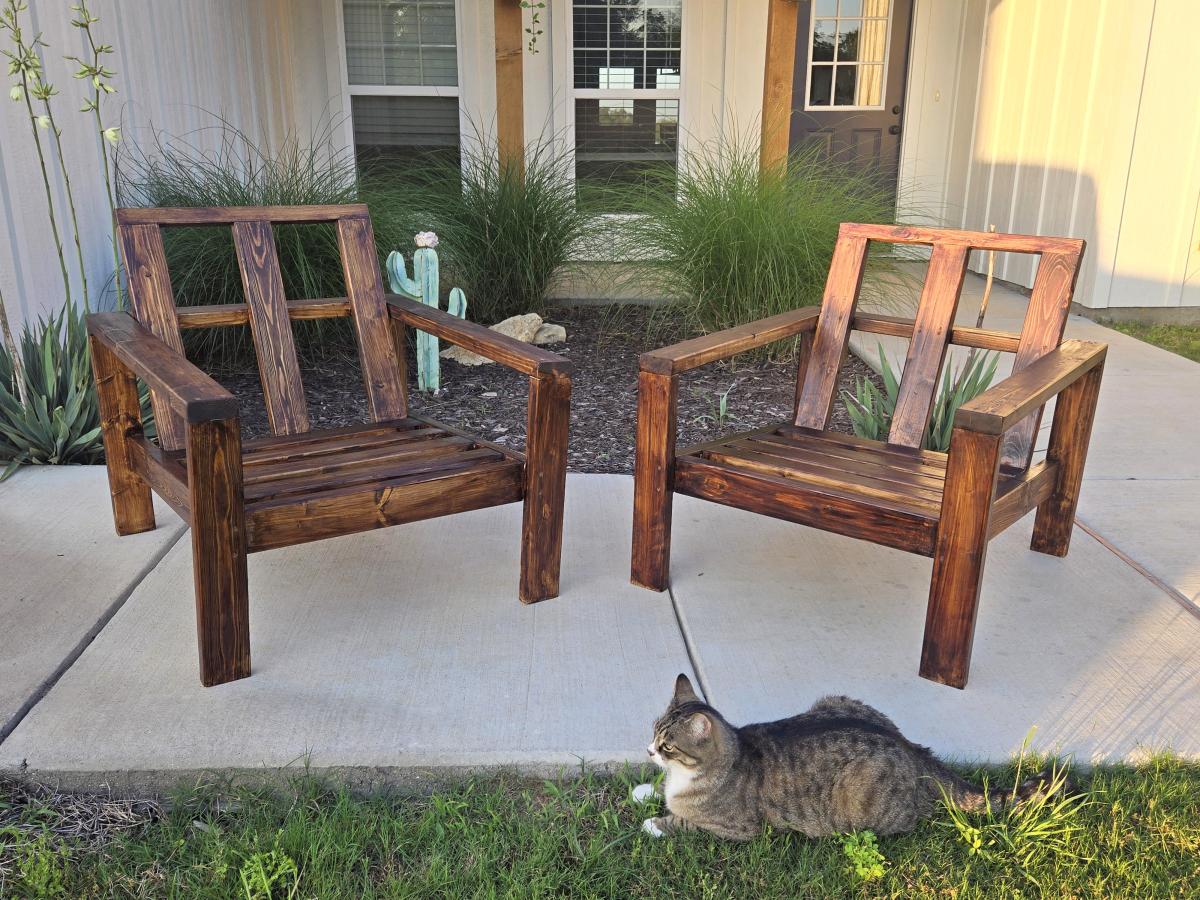
Built from plans from diyPETE.com.
One day project (another day for poly)
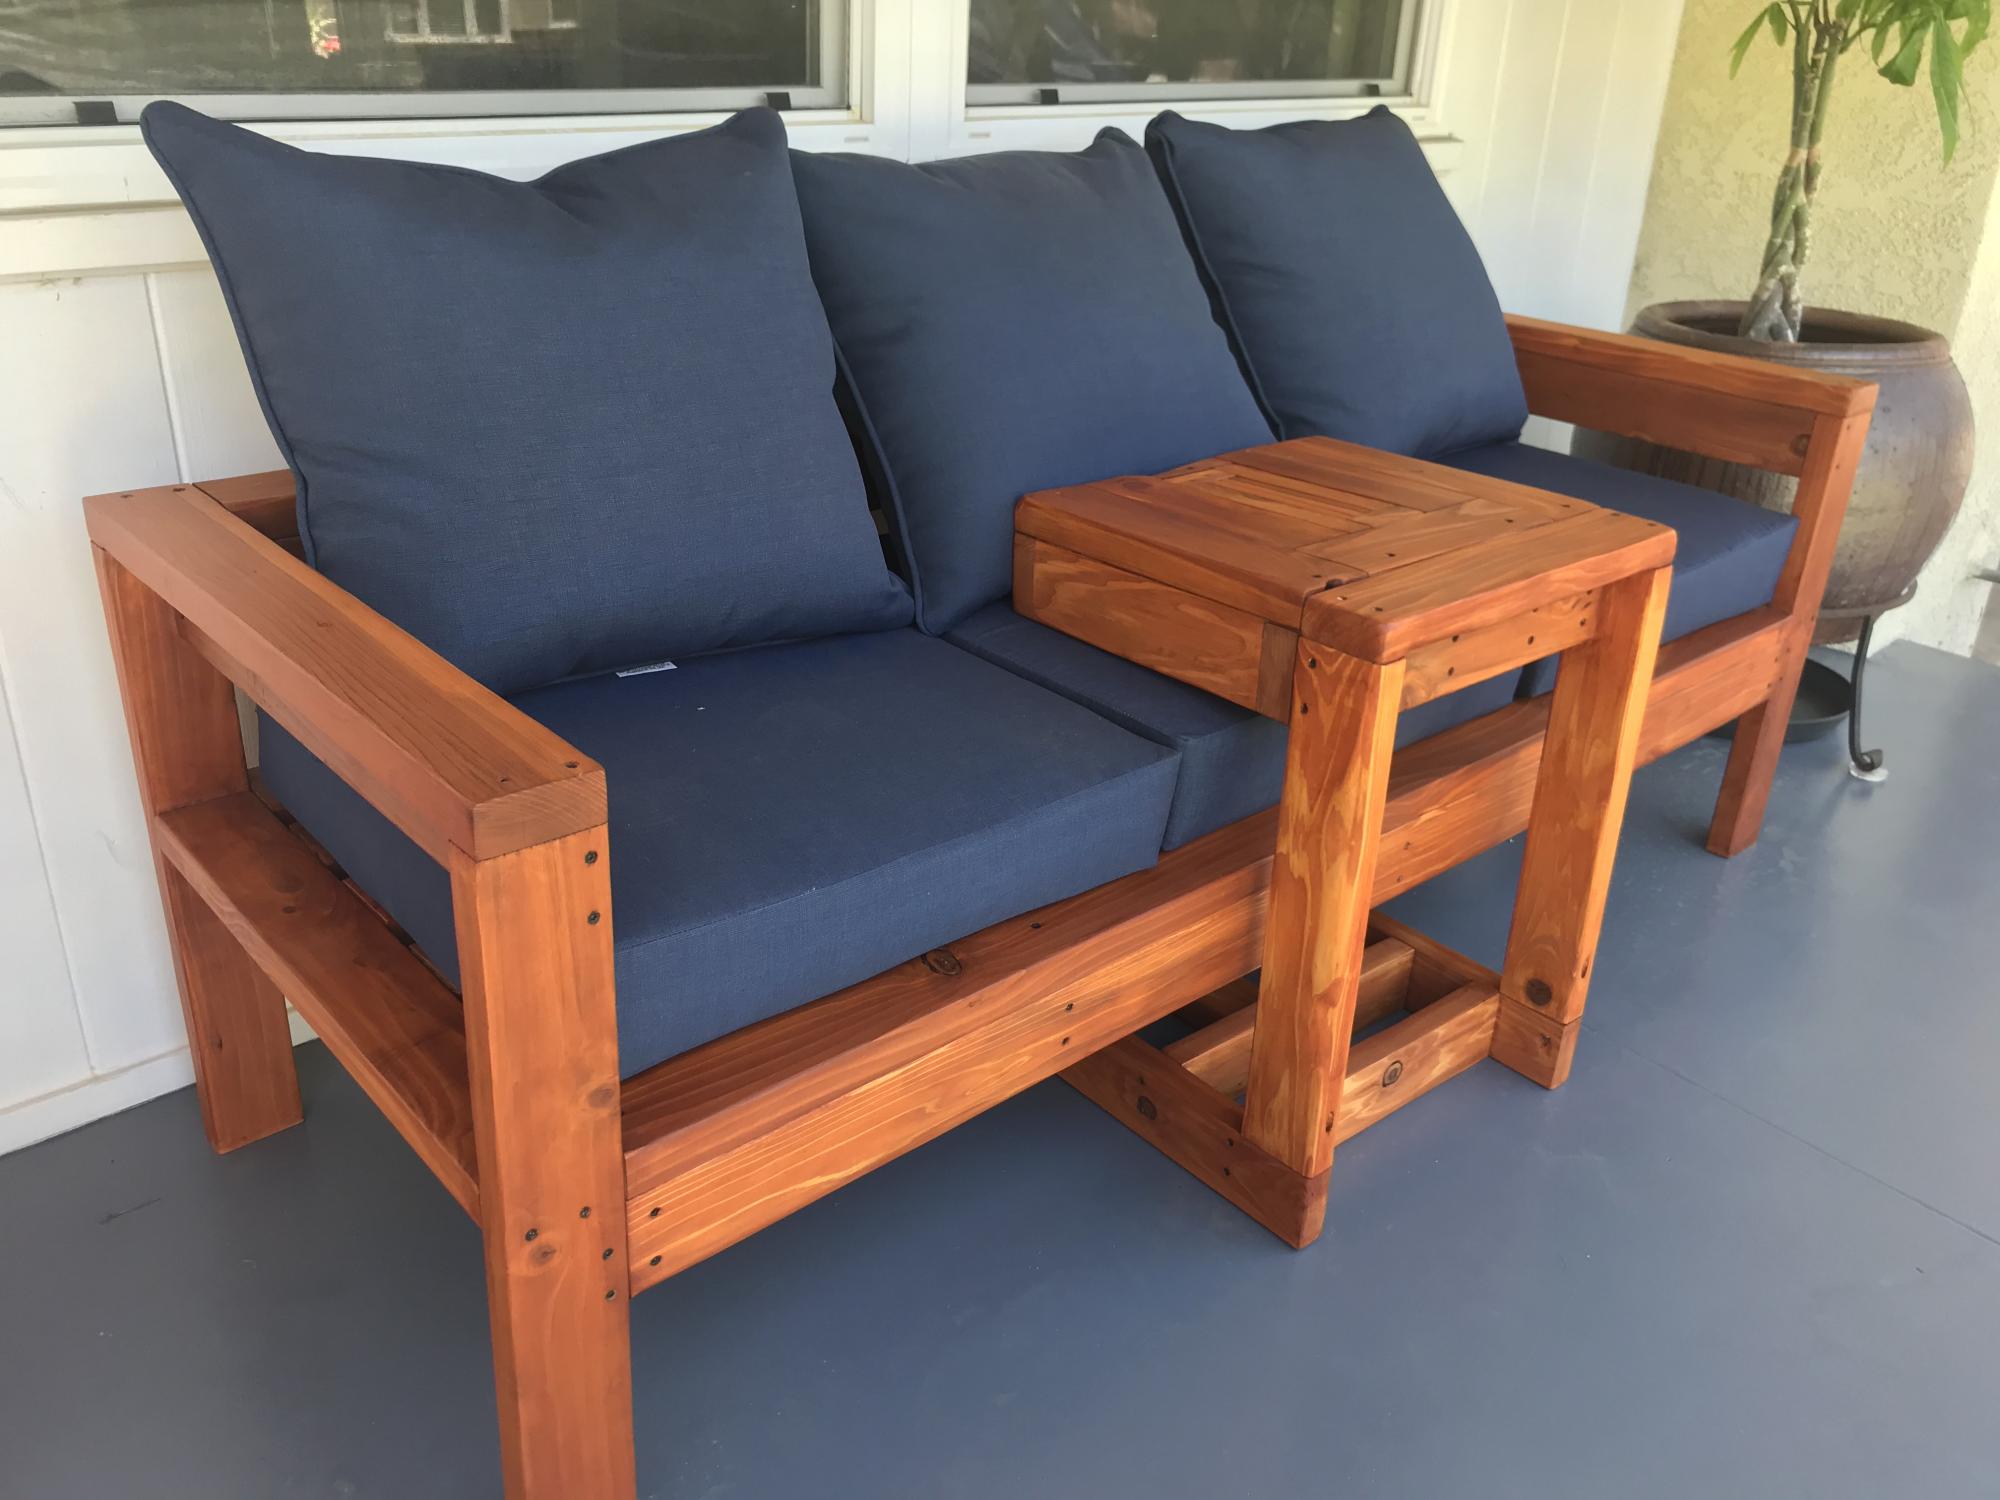
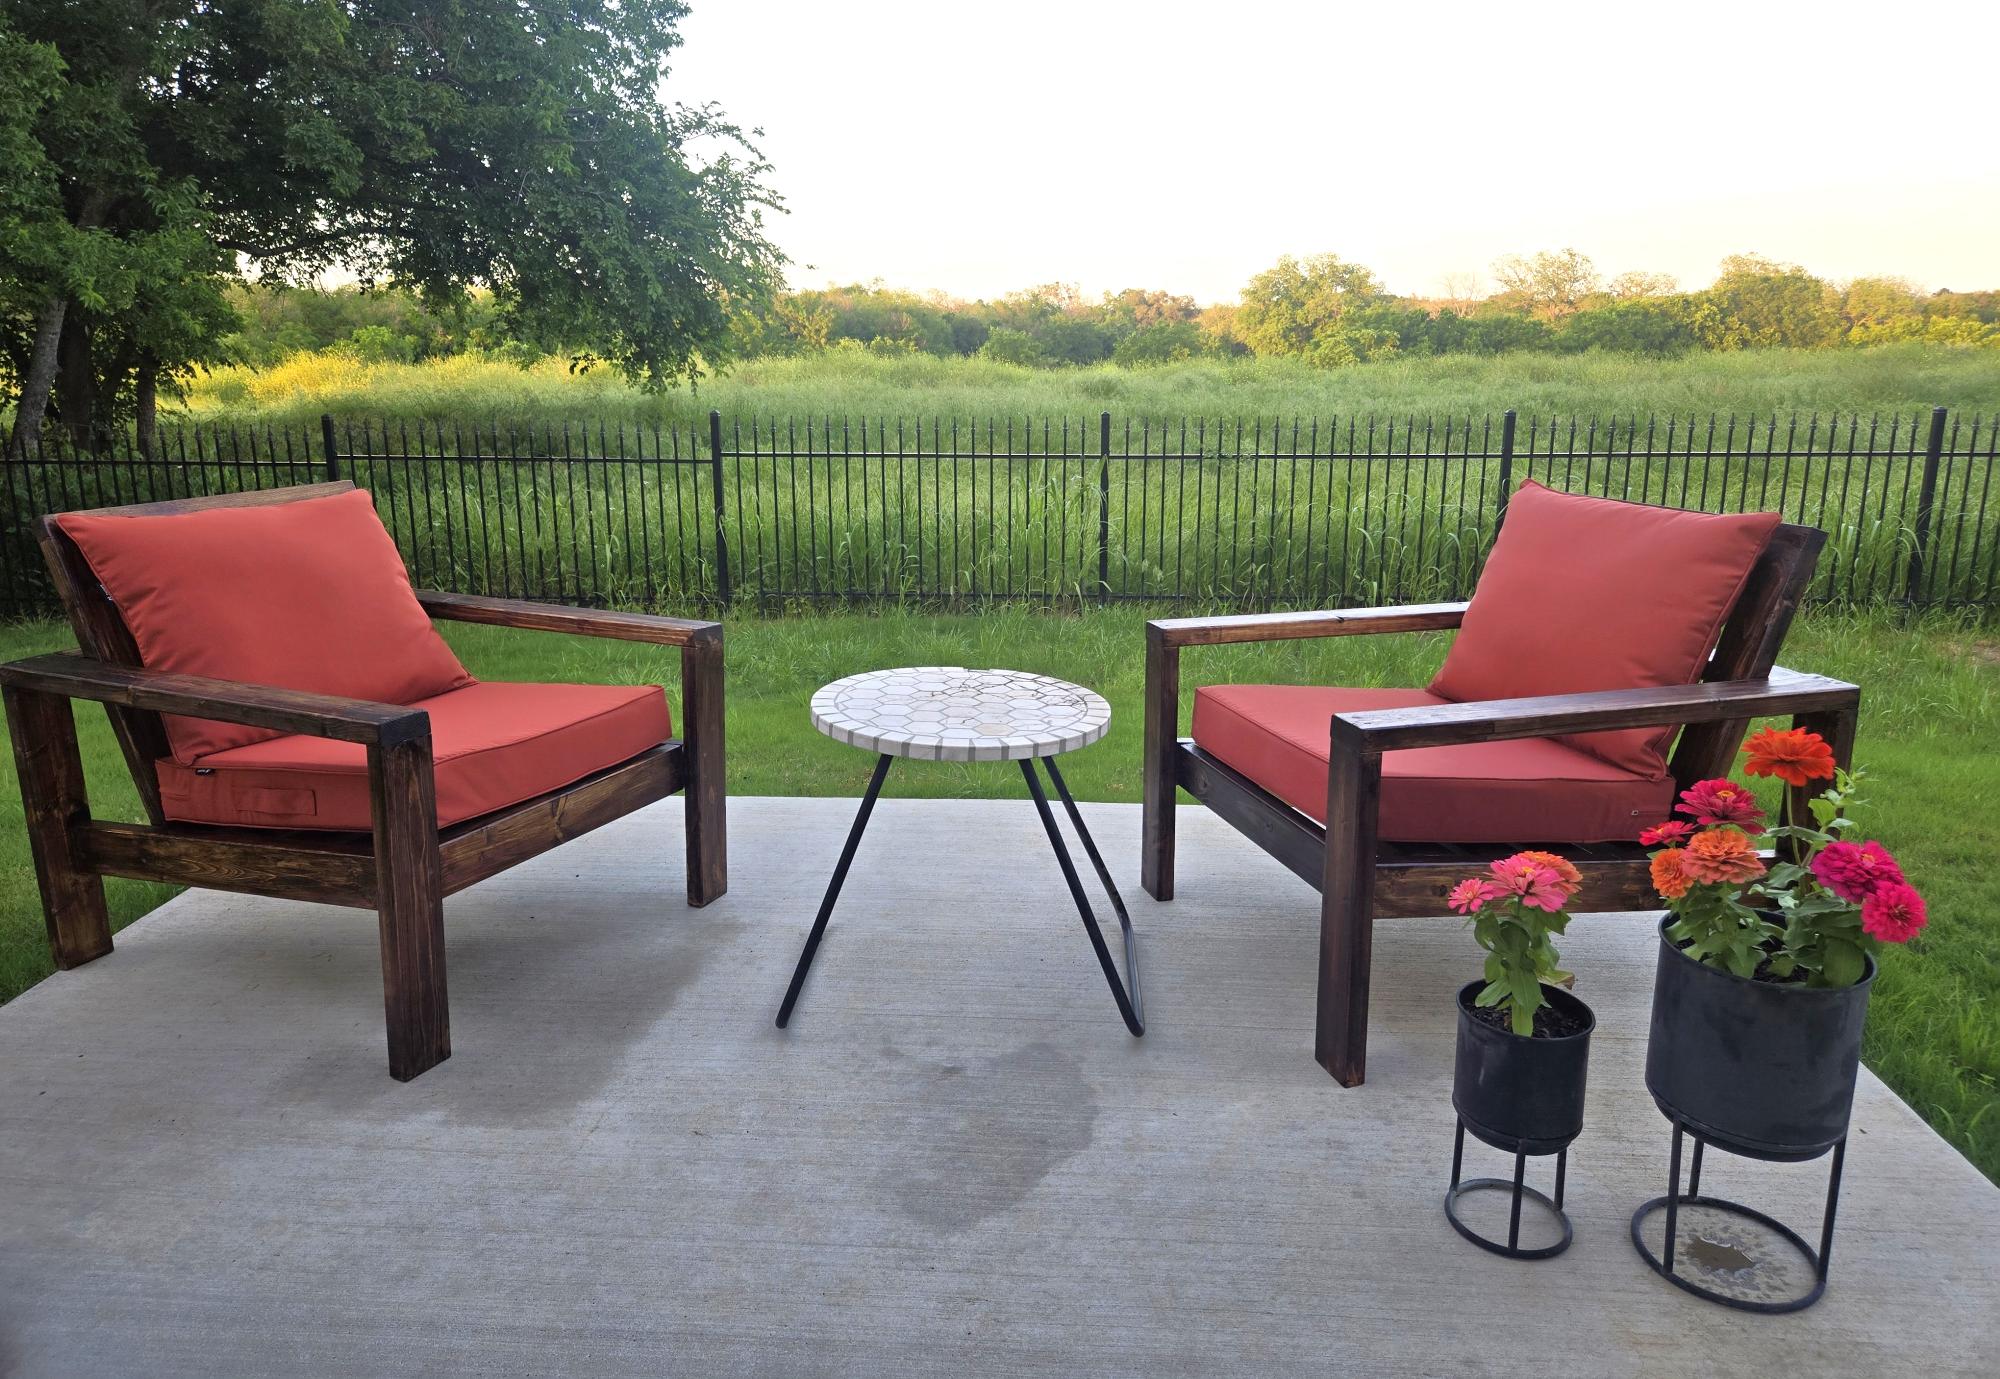
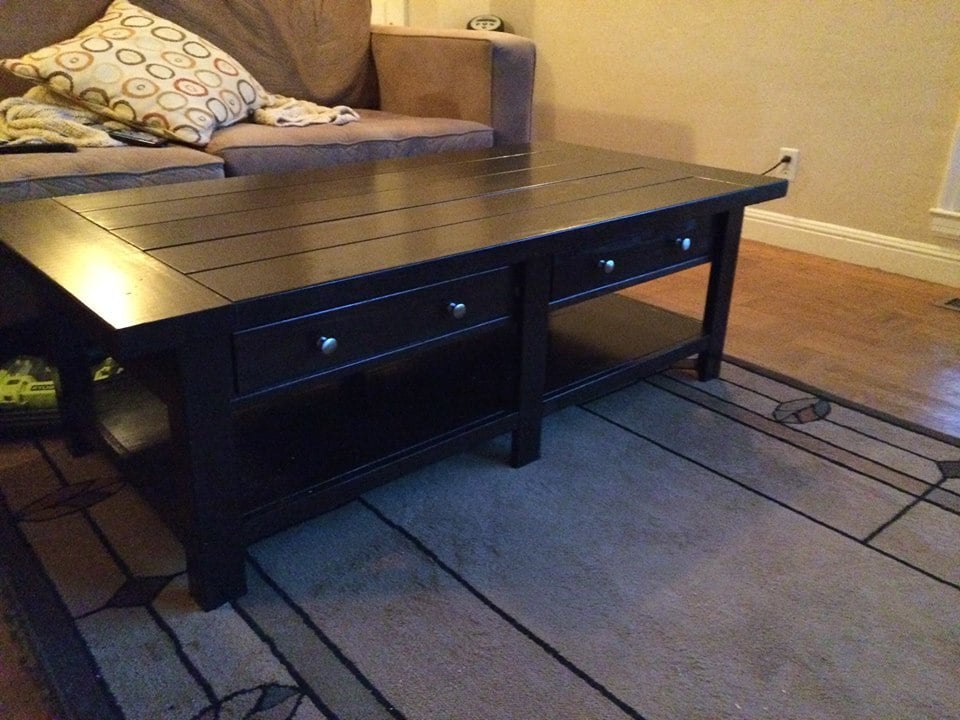
Ana has great instructions, definitely have been using her alot. During the pandemic picked up a couple new hobbies and tools. I did the sofa couch from her plans. The coffee table I created off the whim but used her basic instructions on how to make table tops / benches. These came out super nice, surprised me and my wife :)

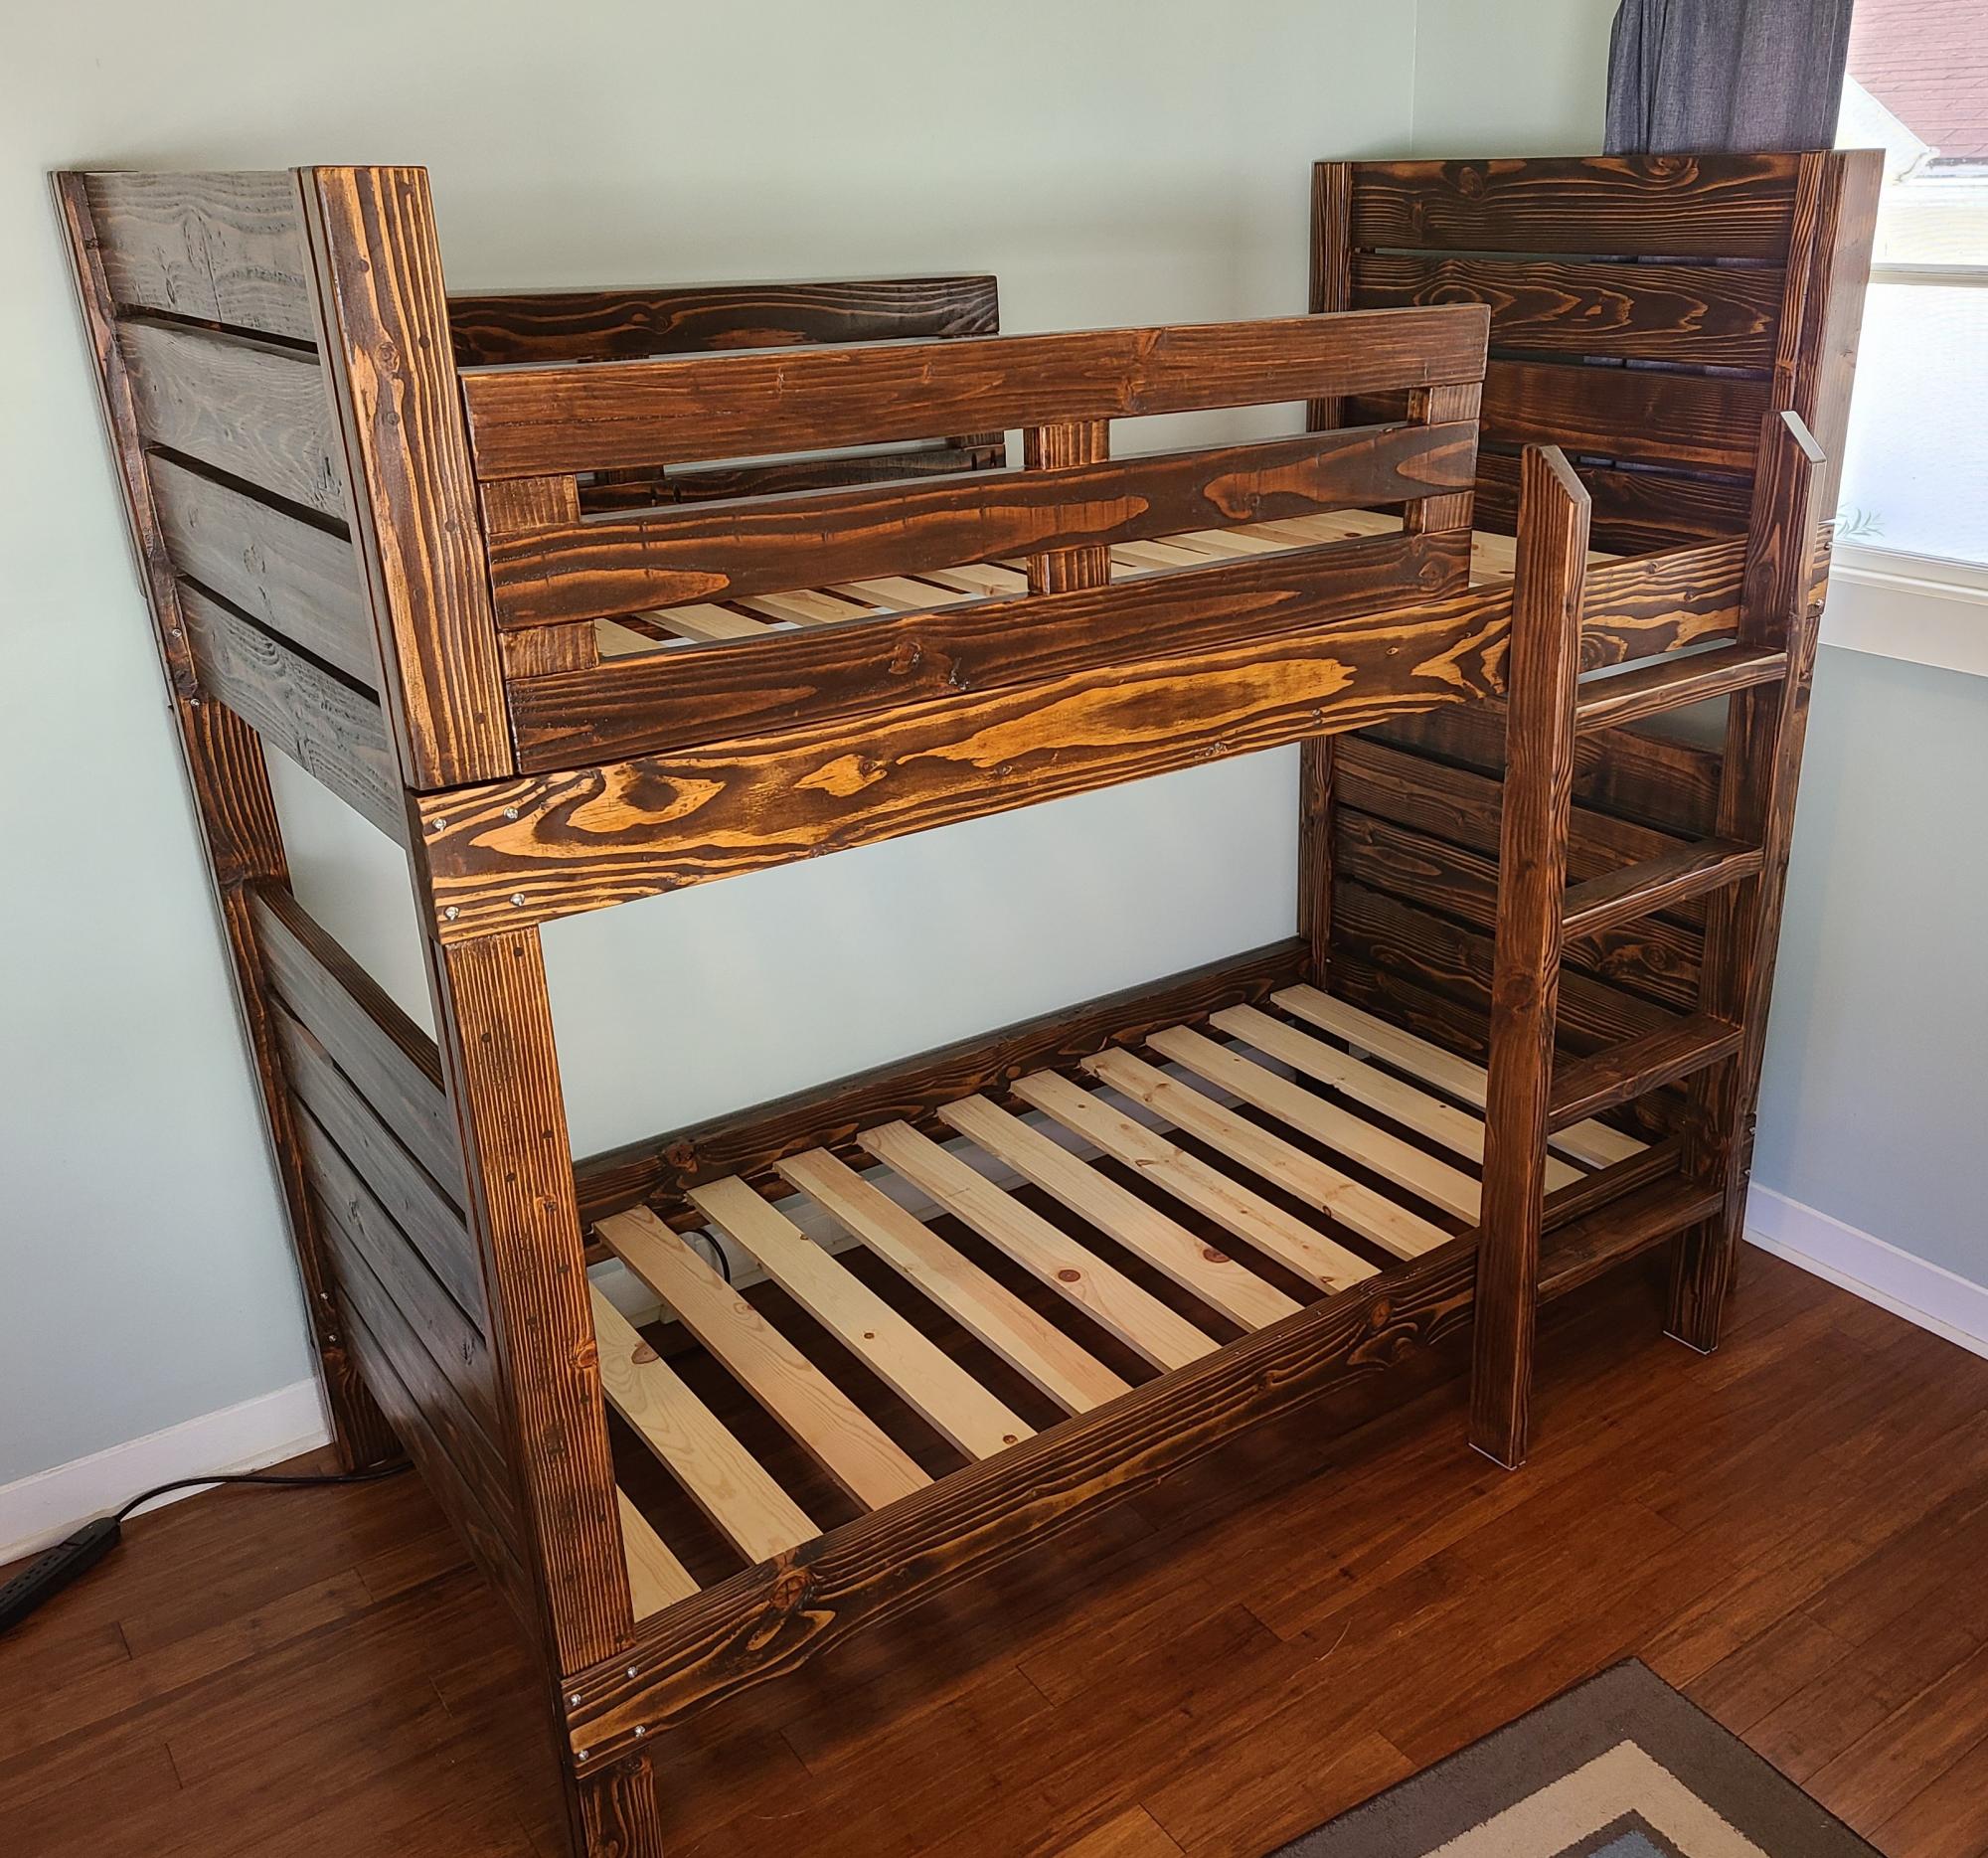
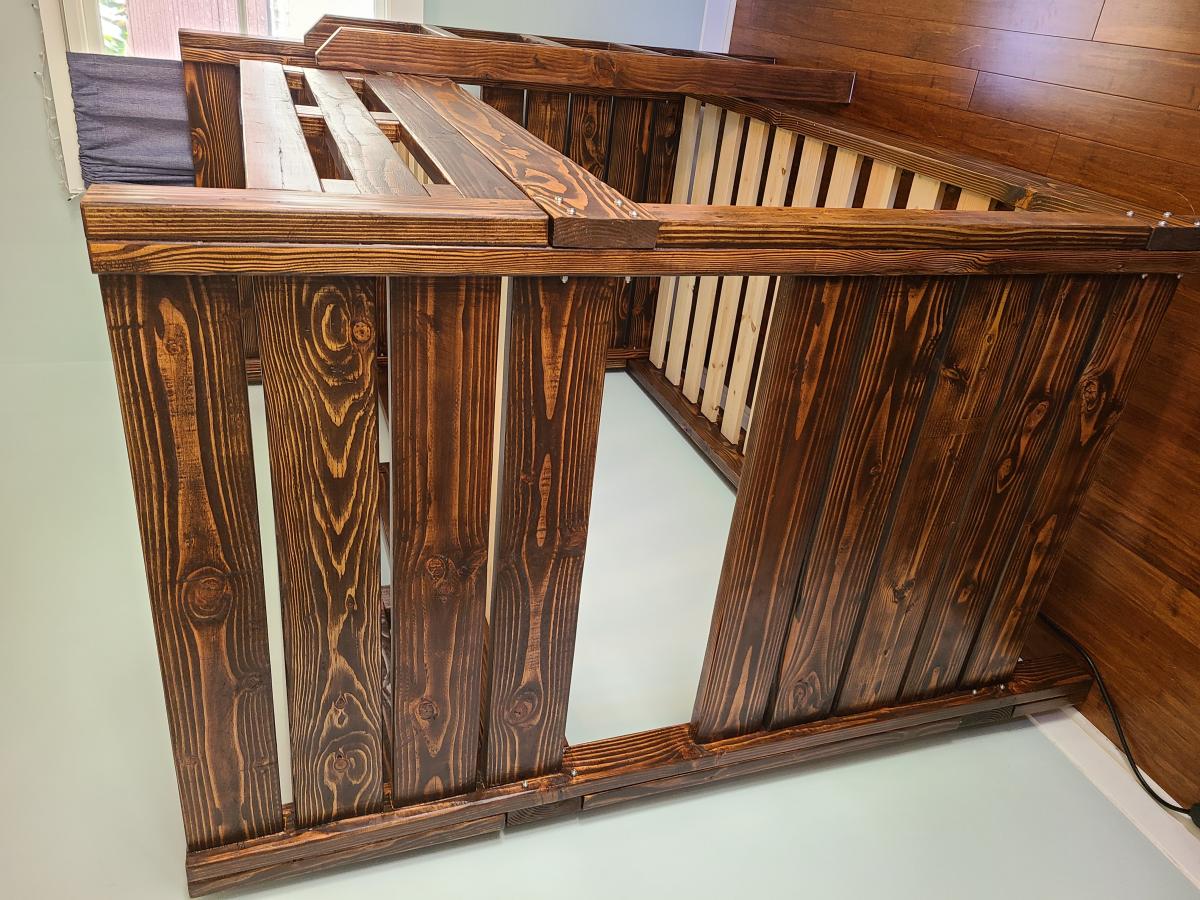
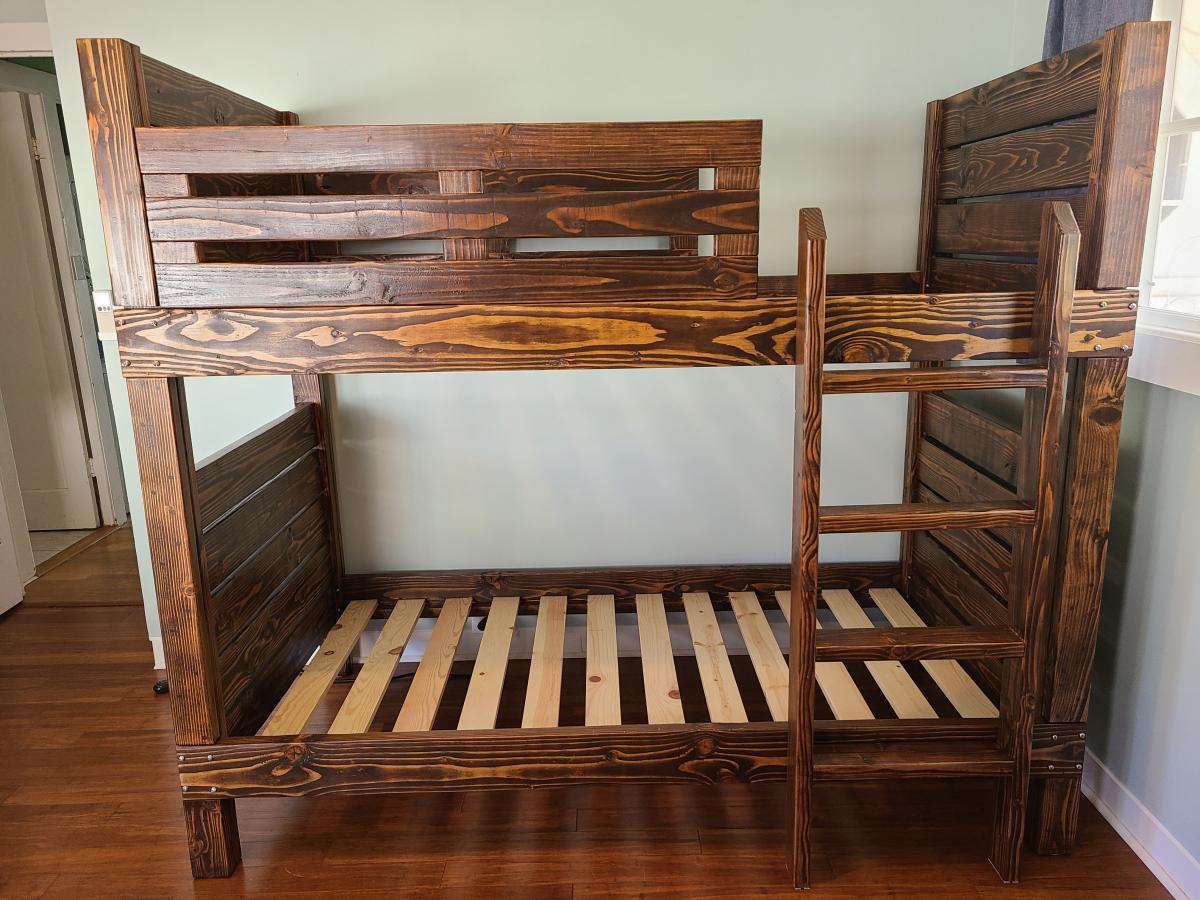
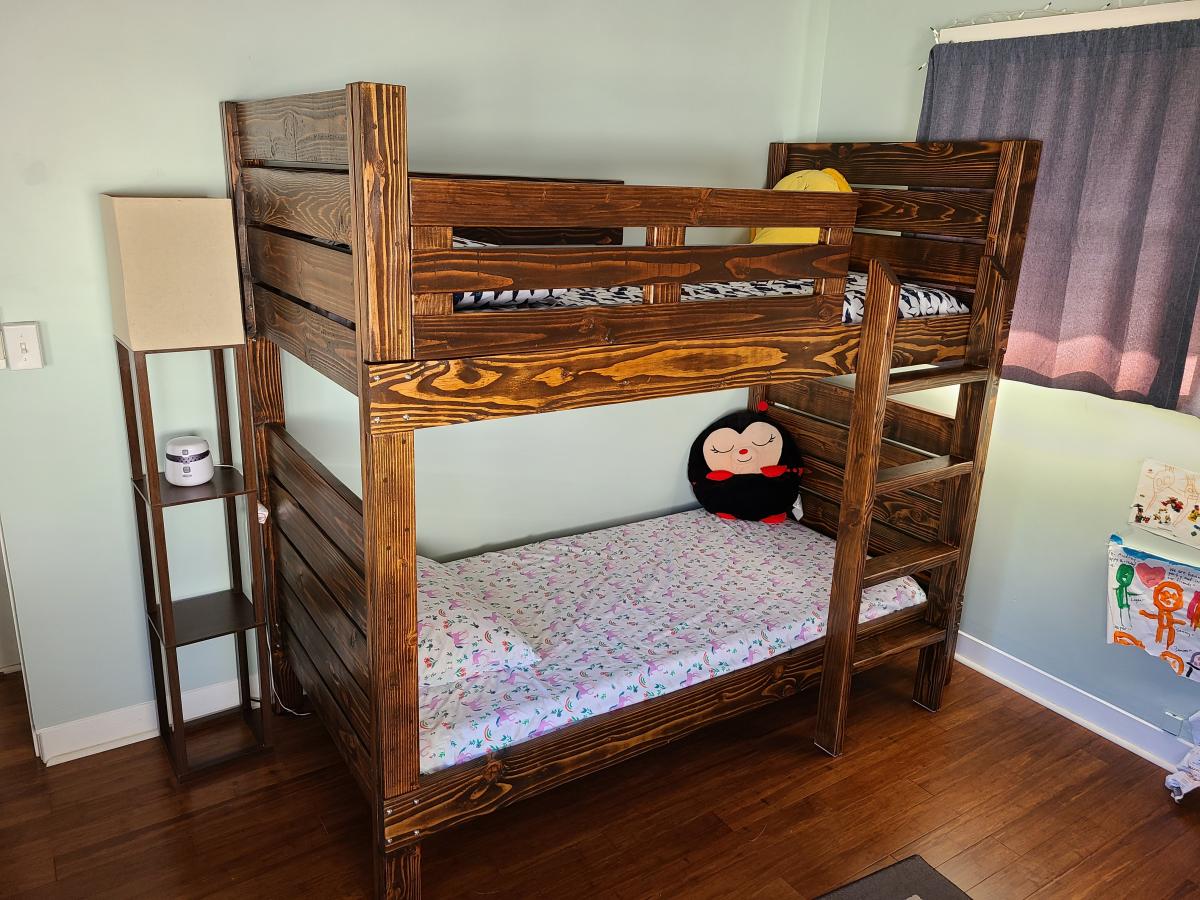
This was my largest project to date. Took me a LOT longer than I thought it would (big chunks of 4 weekends, plus sneaking in some time during the week), but enjoyed the process. The devil is in the details as always. The raw dog 2x6's took me hours upon hours to sand down to an acceptable state of smoothness. For the ladder, I kinda winged it and made it straight. My kids' room is really small, so every extra bit of square footage matters. My oldest is 5 and is fine going up and down. My youngest is 3 and hasn't quite figured it out yet, but that's probably for the best anyway. I also winged it a bit on the guardrails. I used pocket screws wherever possible in the joinery. I was planning on painting this since I knew staining/sealing would be a pain. But in the end, I'm glad I took the time (even though I was hating life during the staining). The kids are thrilled with the results. And I am VERY grateful for the plans you provided Ana! Thank you!

This was my first project ever. I had a lot of fun and it didn't quite turn out right but next time it will be perfect.
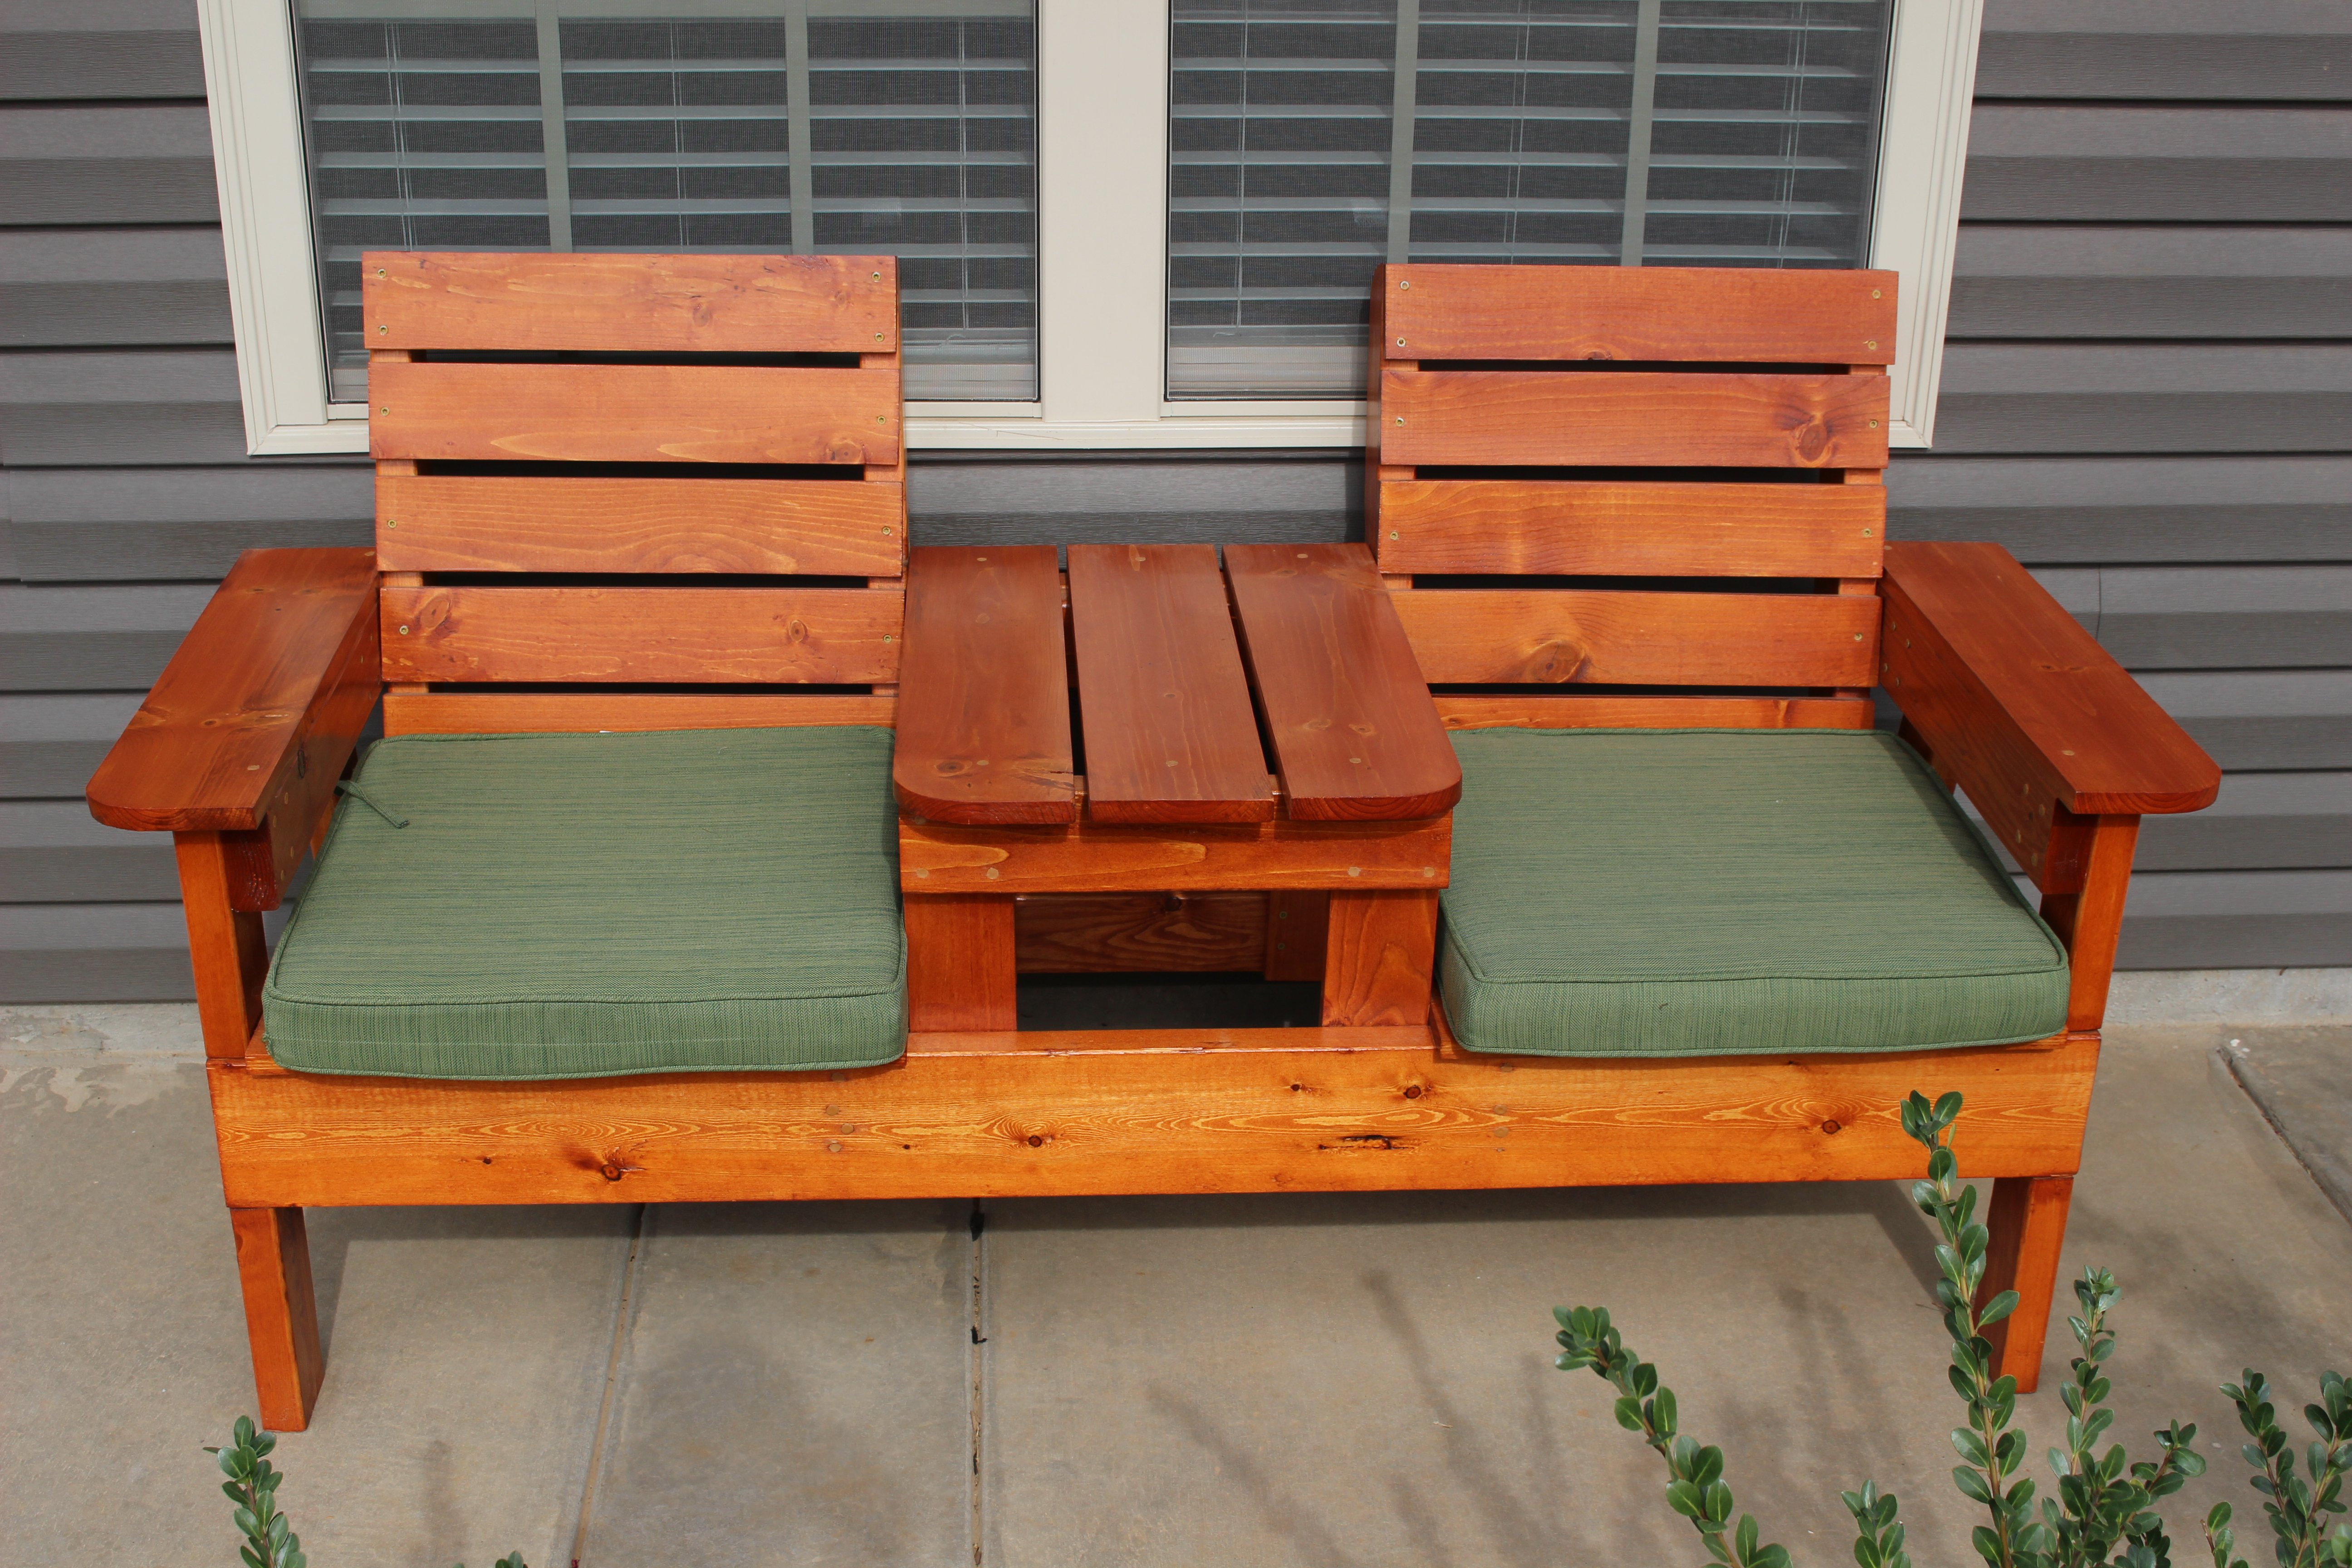
Love how this turned out!! Thank you thank you Ana!! Plans were great, I think we got it done for just about $250!
Thanks again!
I used Douglas Fir instead of pine, which increased the cost but I love the warmth of the wood in this piece. The instructions were pretty easy to follow once I got going, and the longest part of it was the staining process. I love this piece and I'm ready to do another one!
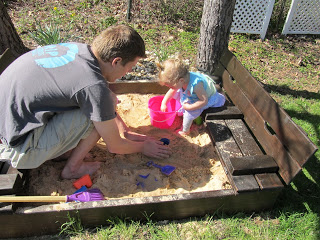
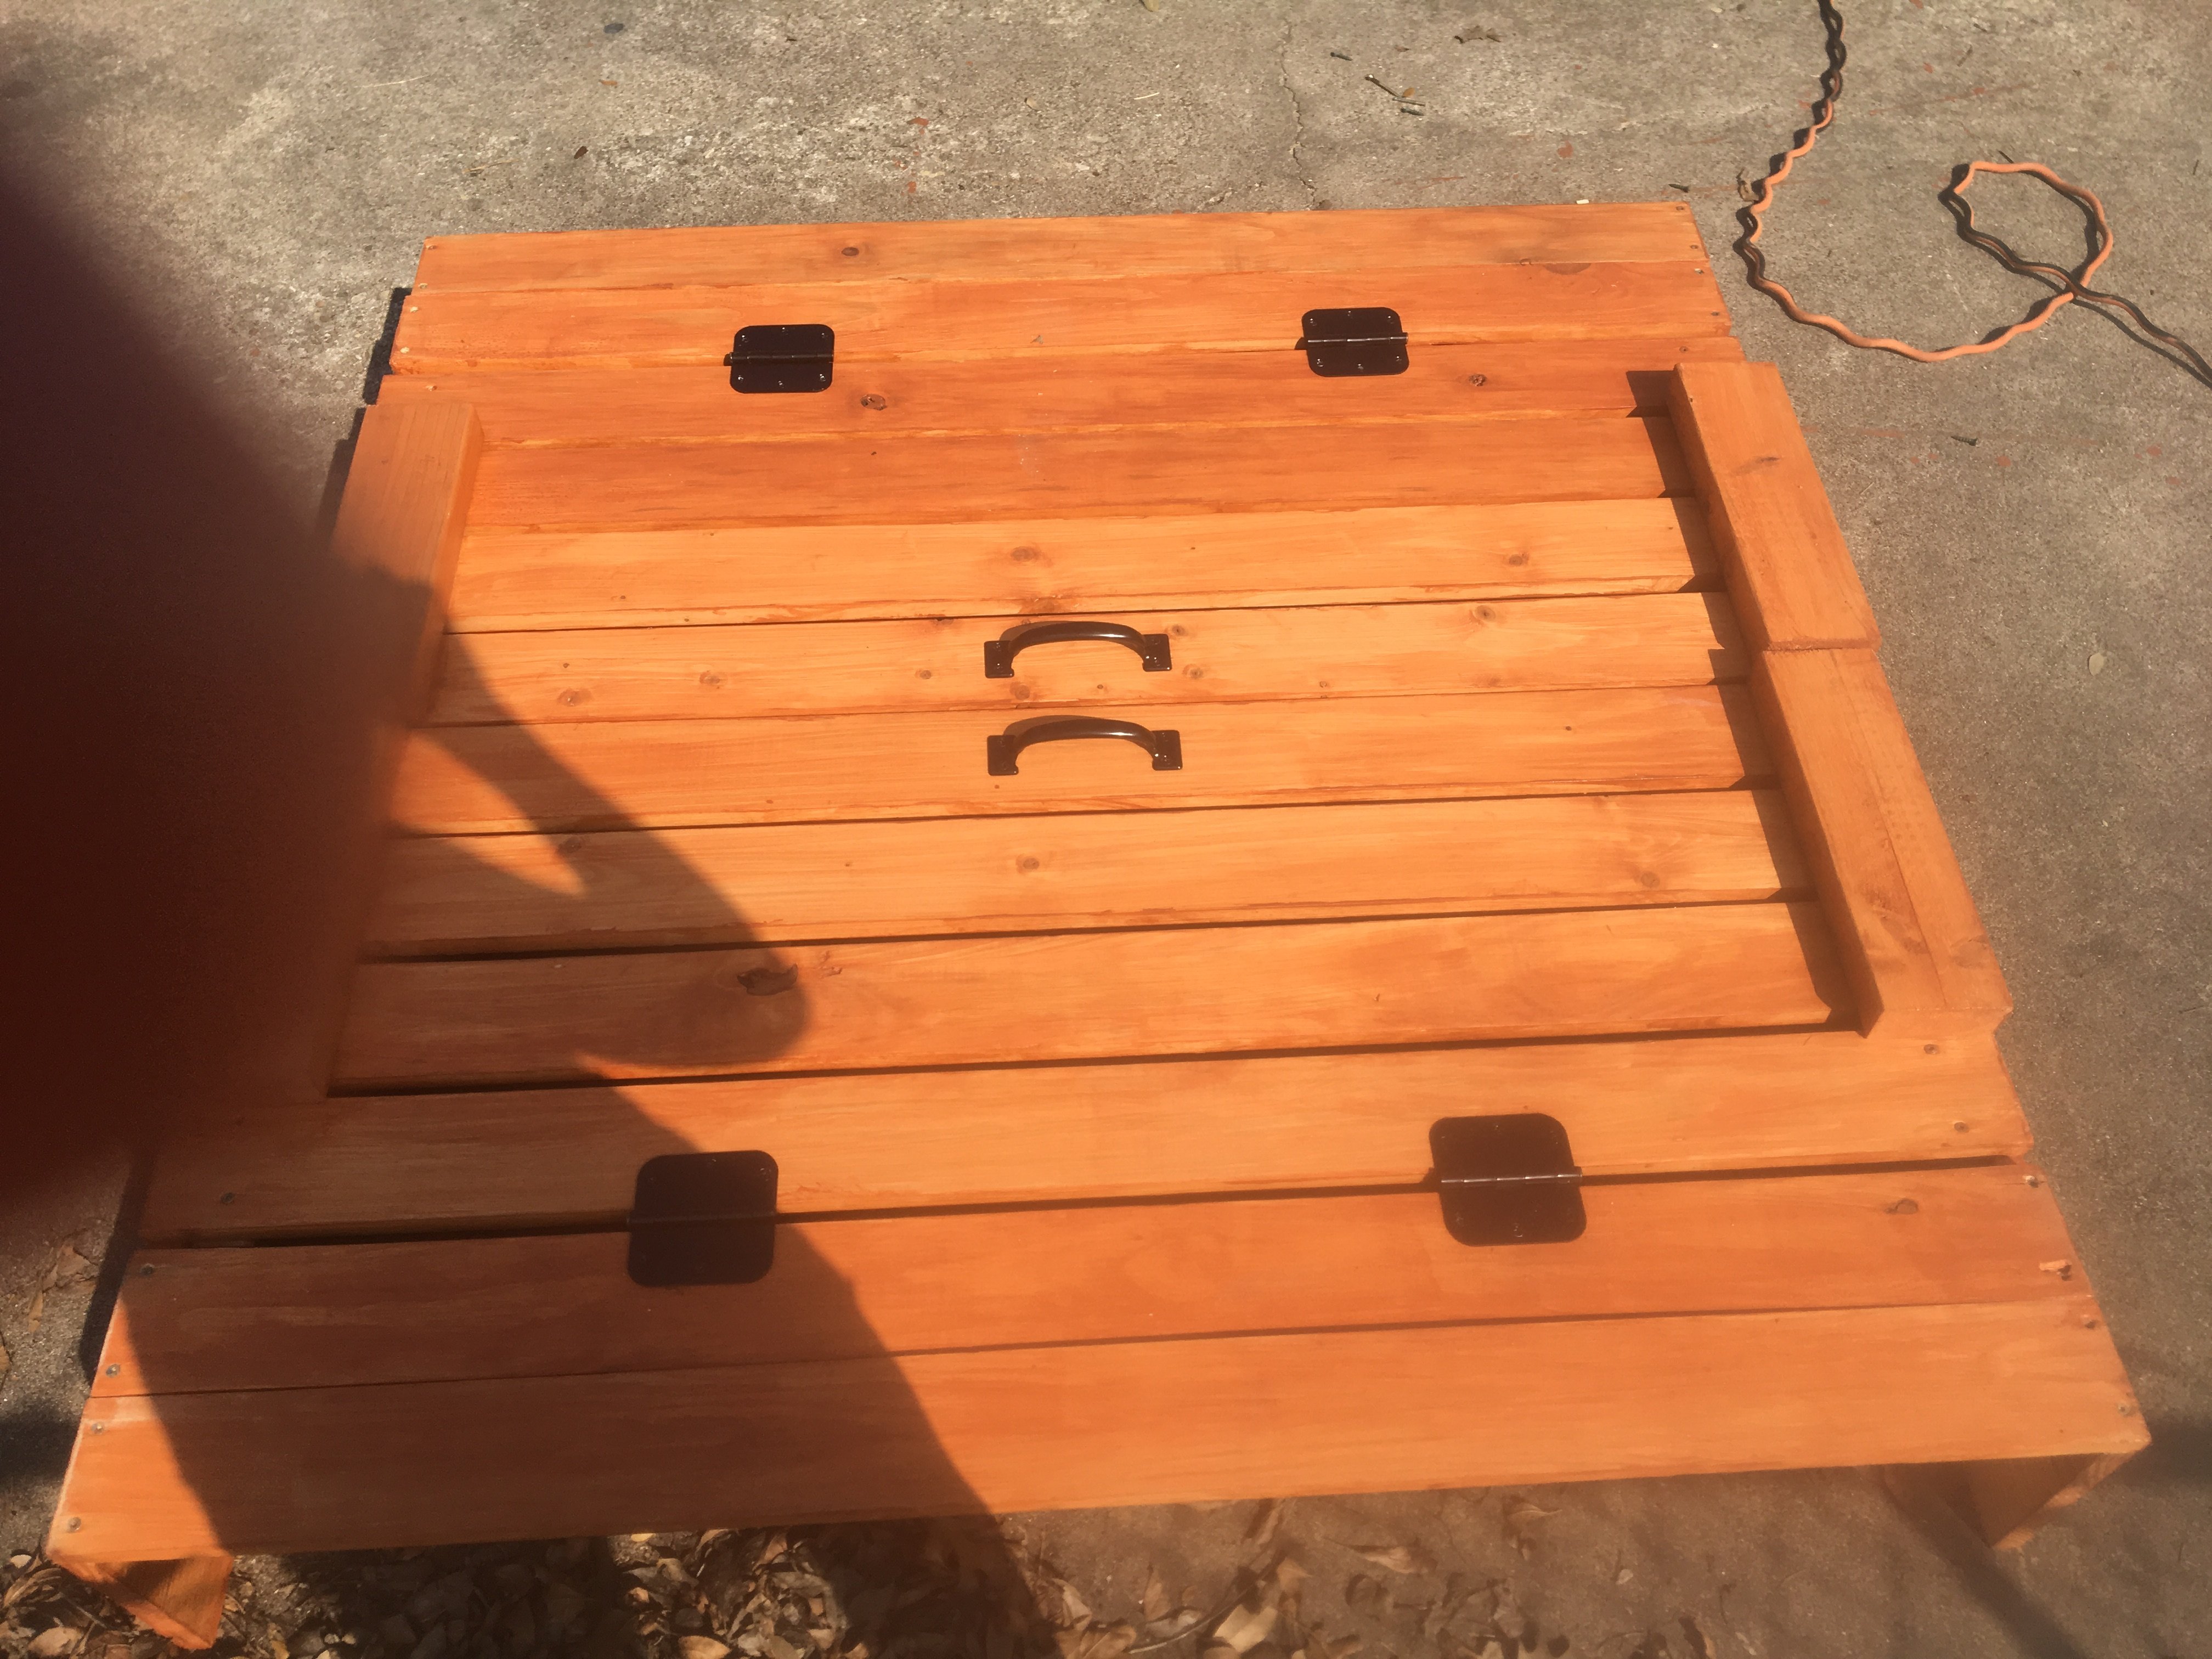
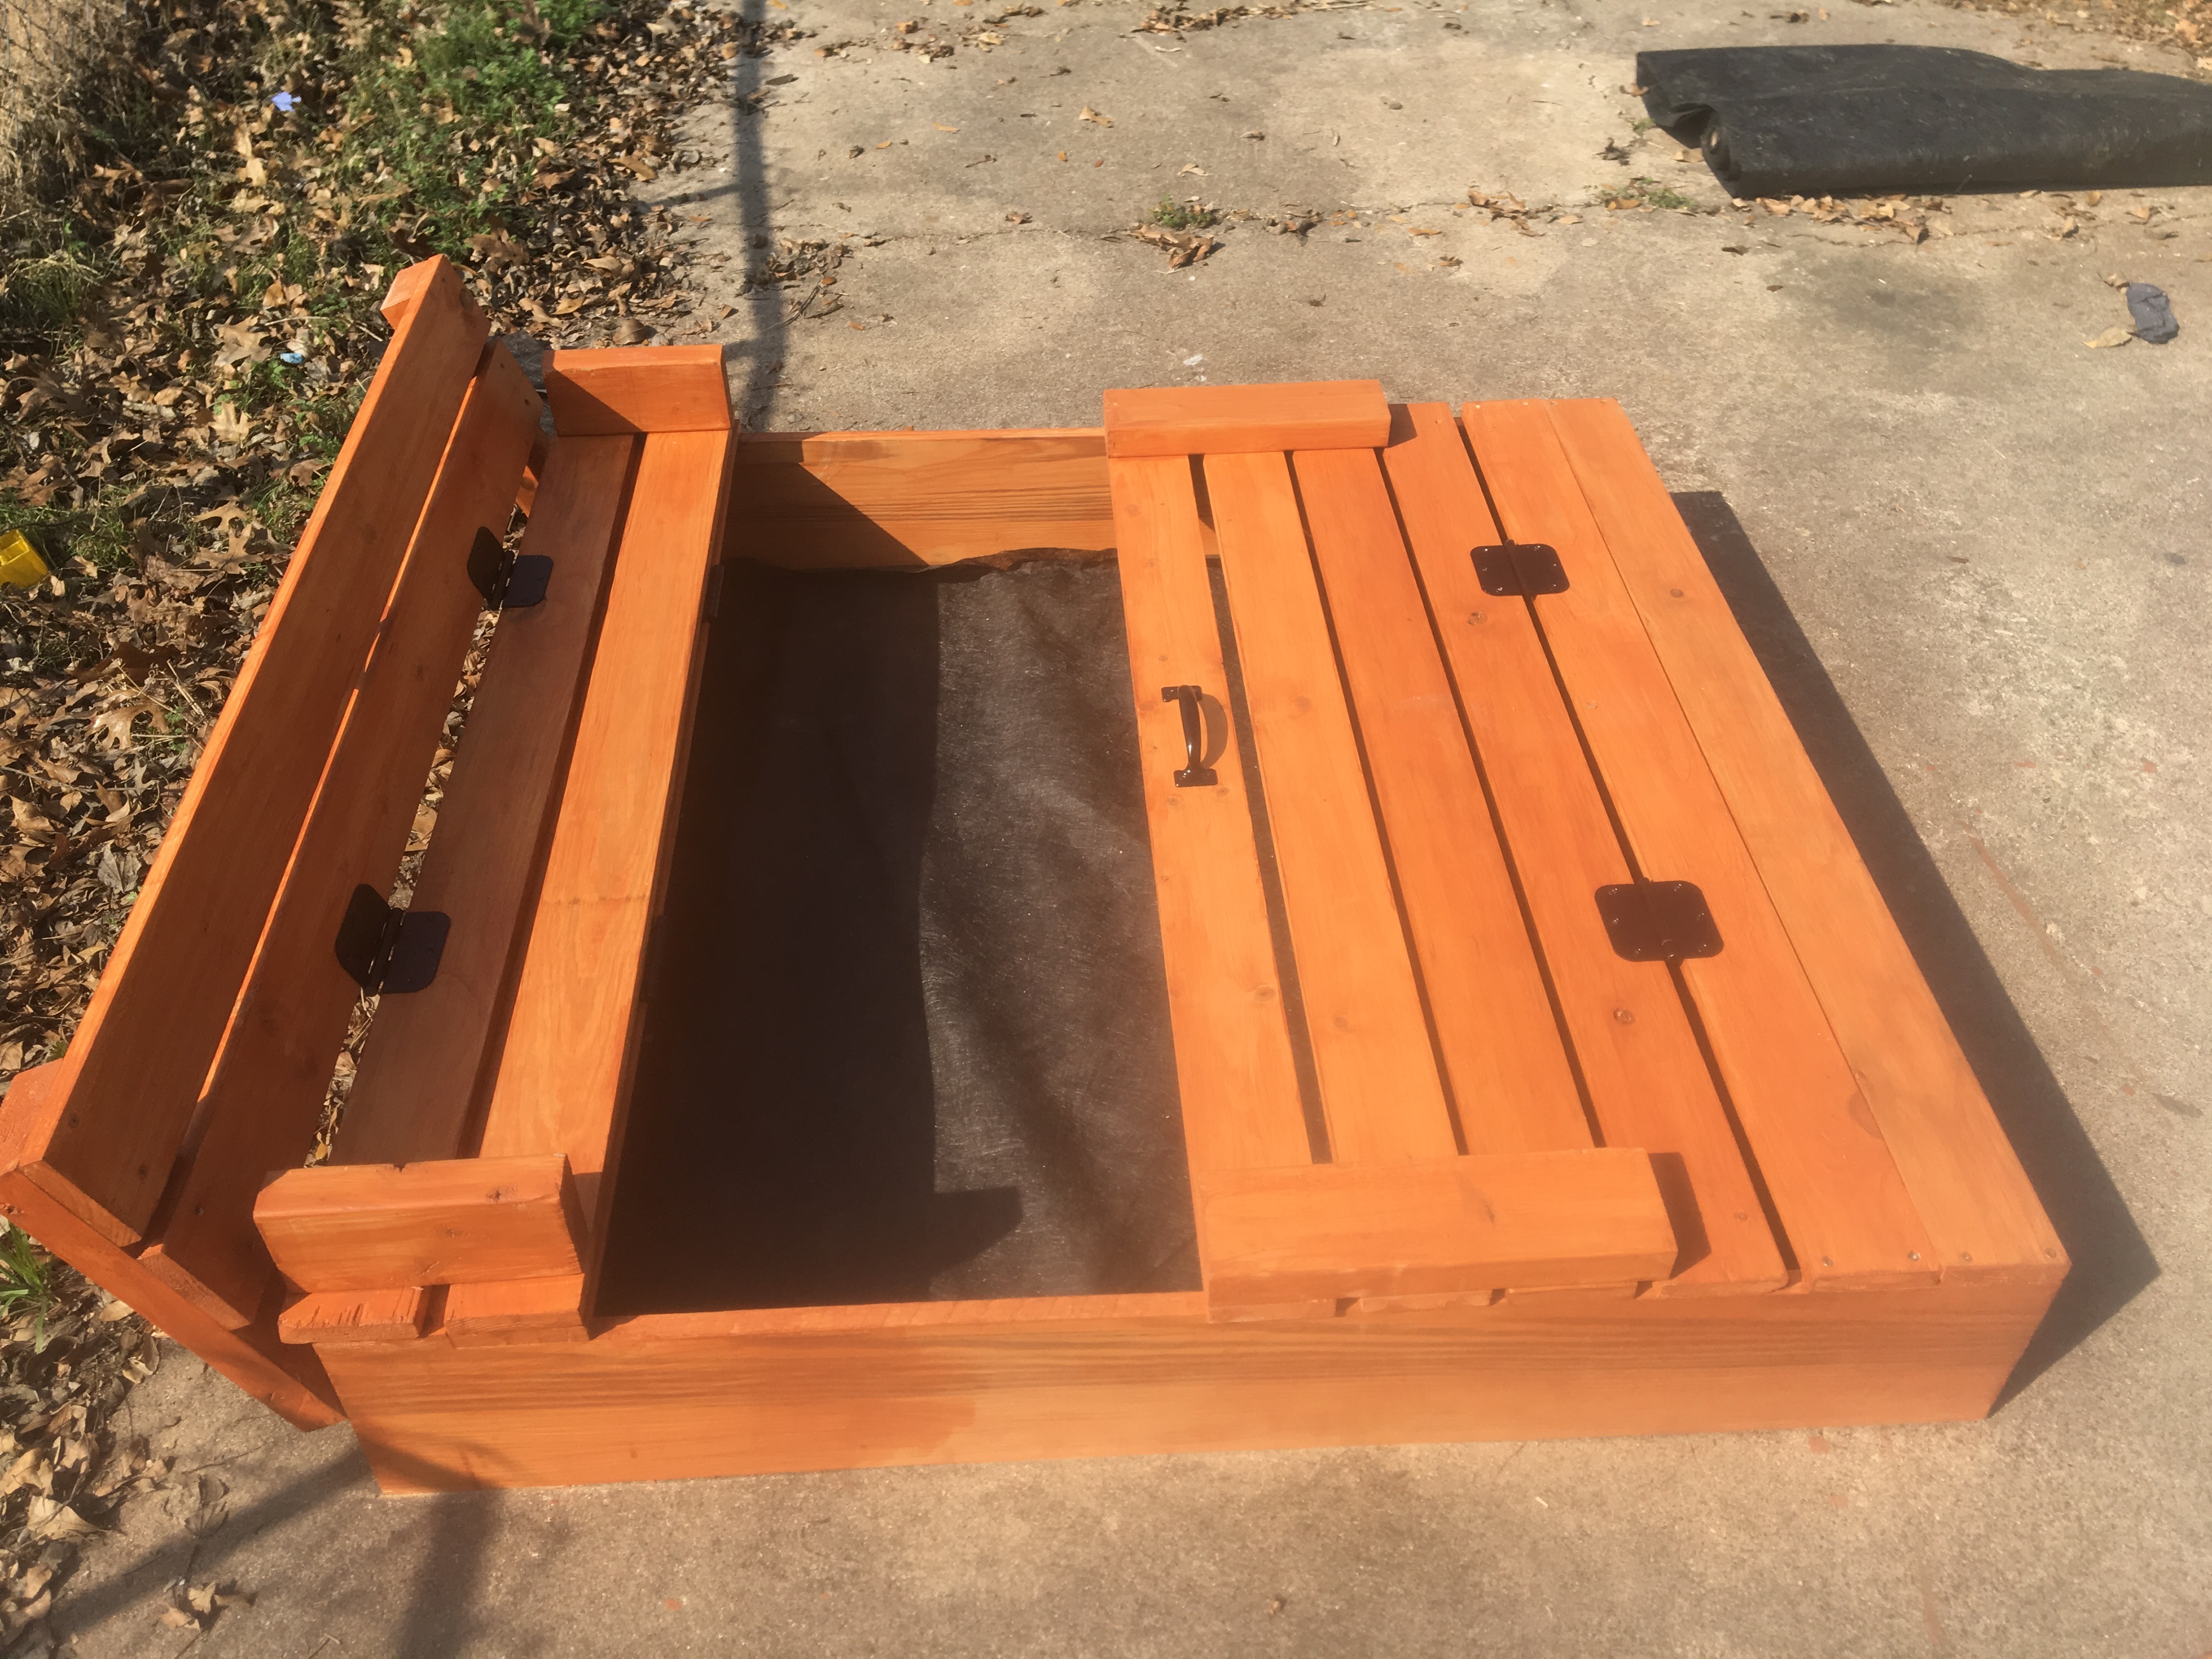
I gave this one to my Dad to do. Of course he made some changes. But she loves her sand box and we love it too! Thought I would share some pictures of the construction after he brought the parts to our house. 400 pounds of sand later.
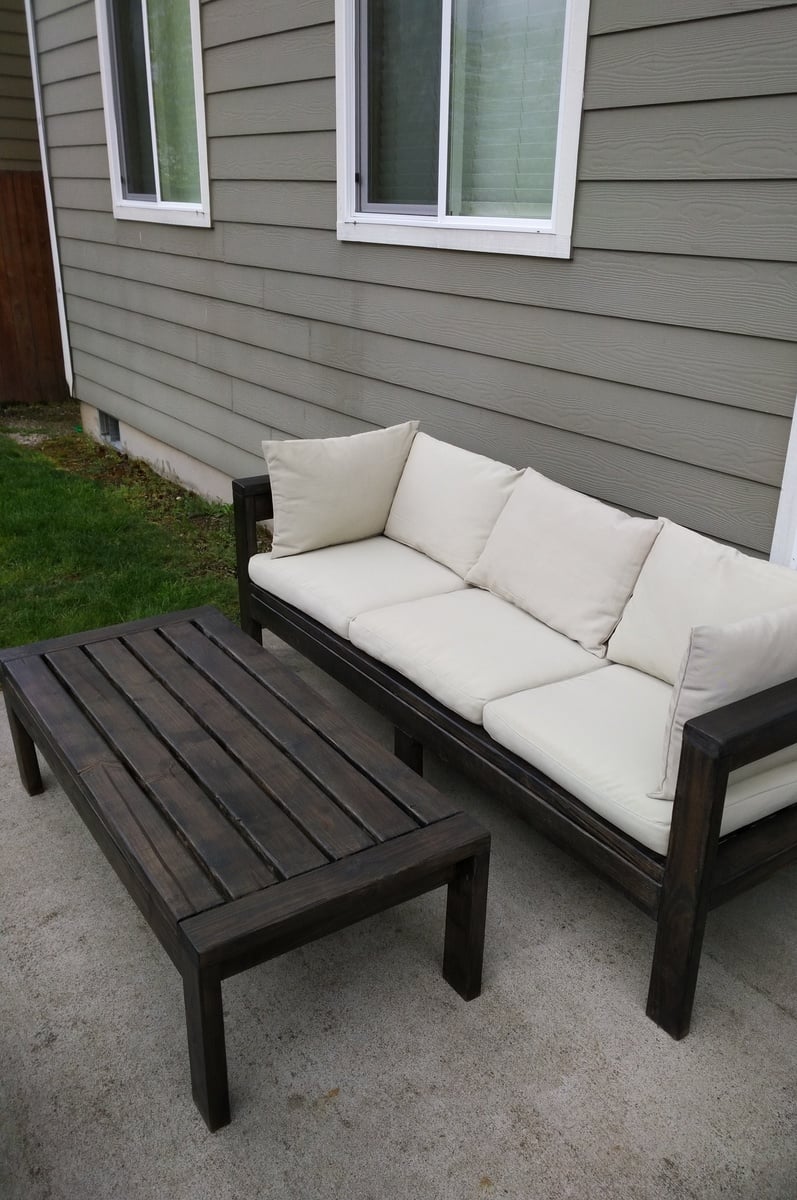
I enjoyed making this outdoor sofa and table combo from Ana's Ryobi series. An inexpensive and easy project that we just love! All construction grade 2x4.
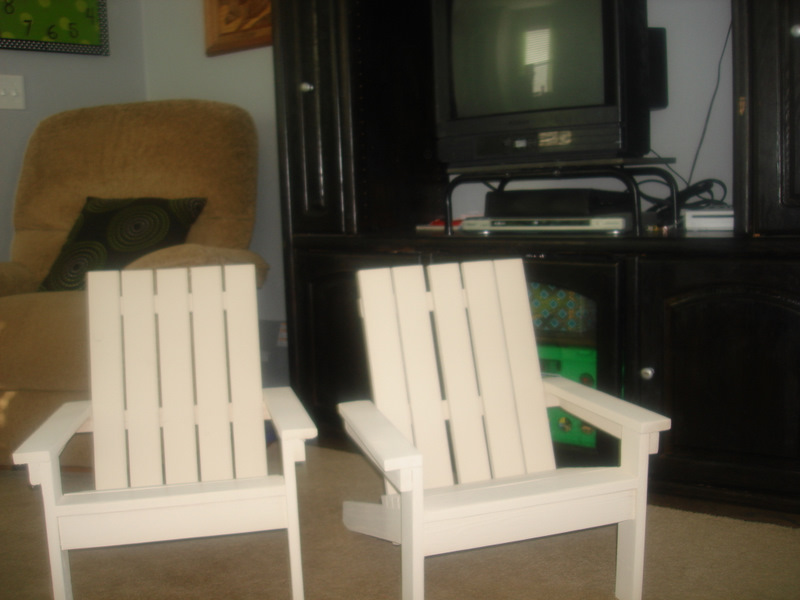
This was admittedly a little harder than I thought. The first one turned out short of perfection trying to get things looking great. The second one was better using a level and being more careful. However, the fact that my nail gun totally went out halfway through made the project a long one. But my kids LOVE them and they look so cute and luxurious out in my grass. I love it.

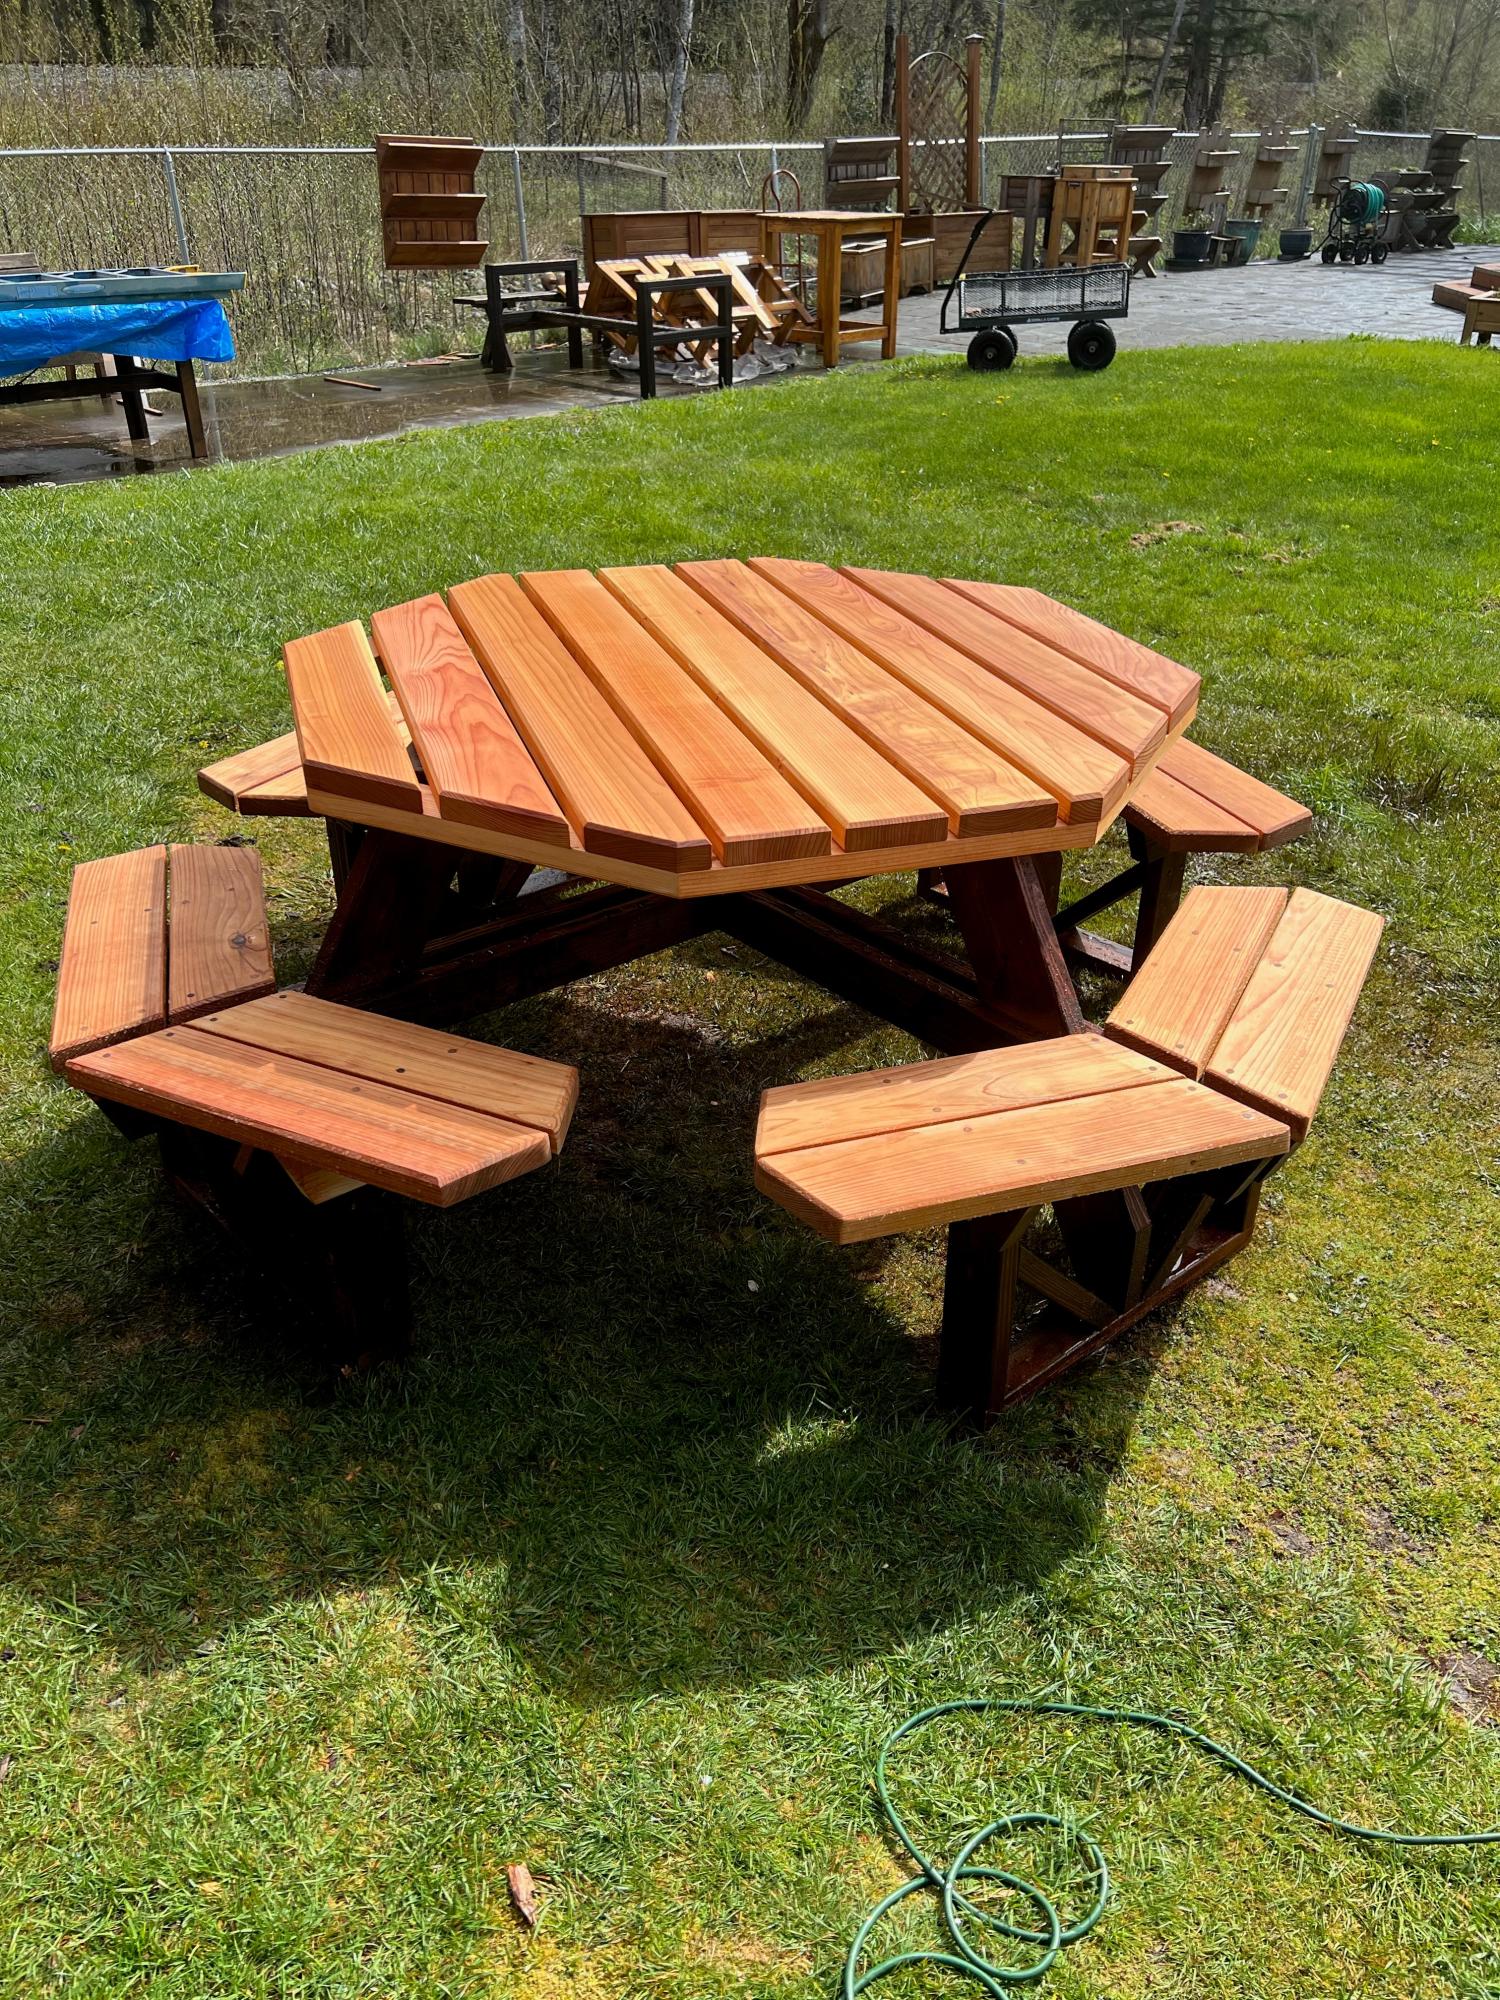
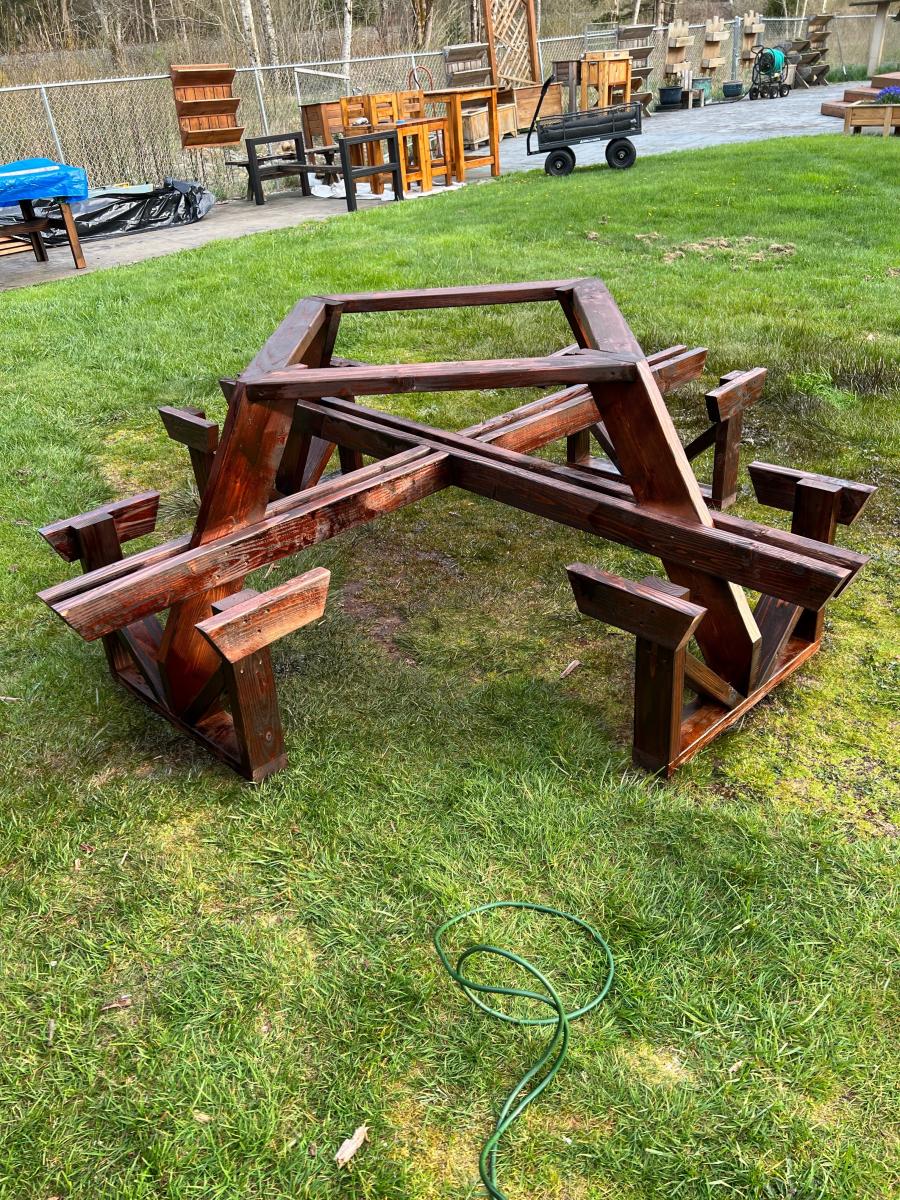
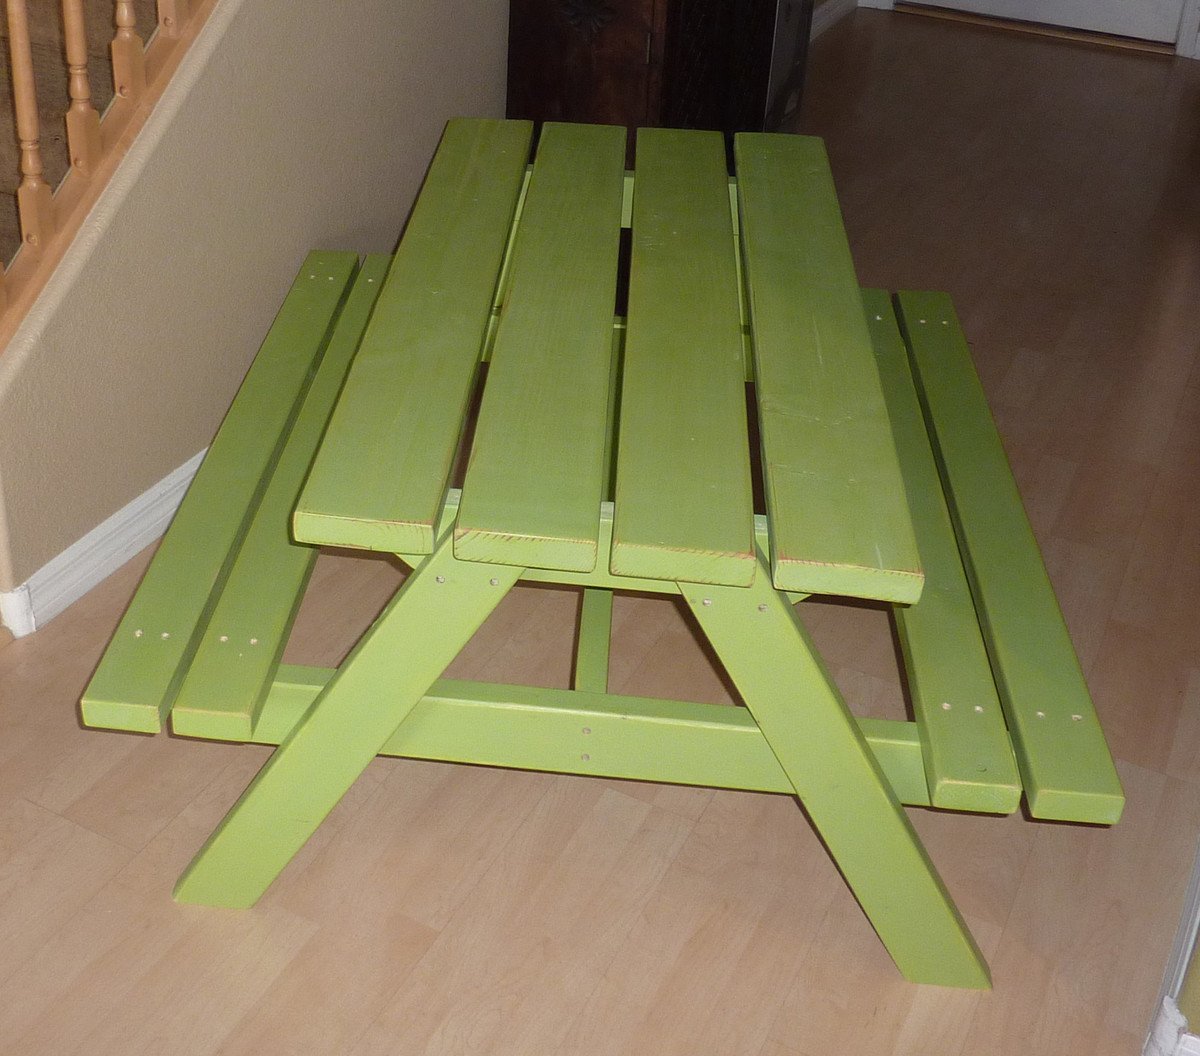
I just finished this octagon picnic table as per your plans
the 2x6 are all clear Western Red Cedar and the skeleton is
Douglas Fir. I think it turned out astonishingly excellent.
Thanks for the inspiration Ana.
This was my third project, but it is my favorite to date!
In reply to omg this is gorgeous!! you by Guest (not verified)
Fri, 09/30/2011 - 21:21
thank you!
Wed, 04/04/2012 - 10:39
Love this - a little scared to try this project but going to give it a whirl. I also like the color you chose to finish it with.
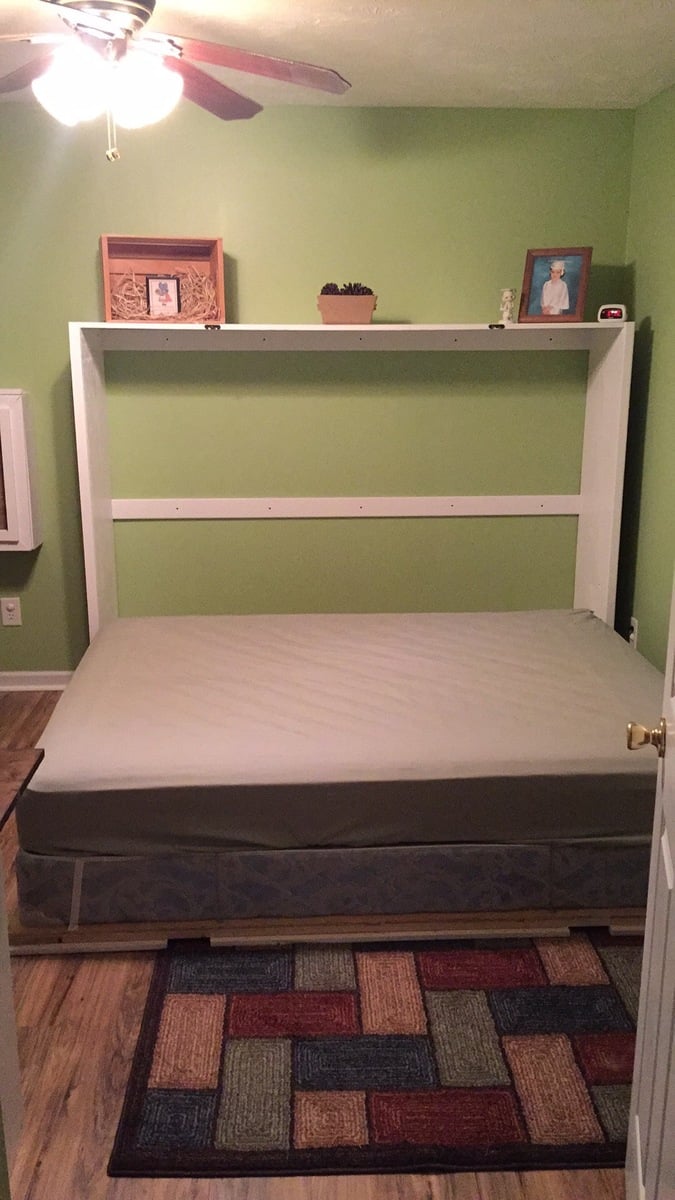
Not too bad of a project but had to a good bit of guess work so I could changed the plans for a queen size bed and flip in on its side.
Sun, 05/29/2016 - 18:50
Good evening!
I am new at wood working, and would be very interrested in knowing the different measurements you changed to get from a twin to queen murphy bed. If it is posted on this page, I tried but couldn't find it. Thank you for your help. Have a good day.
Marie-Julie
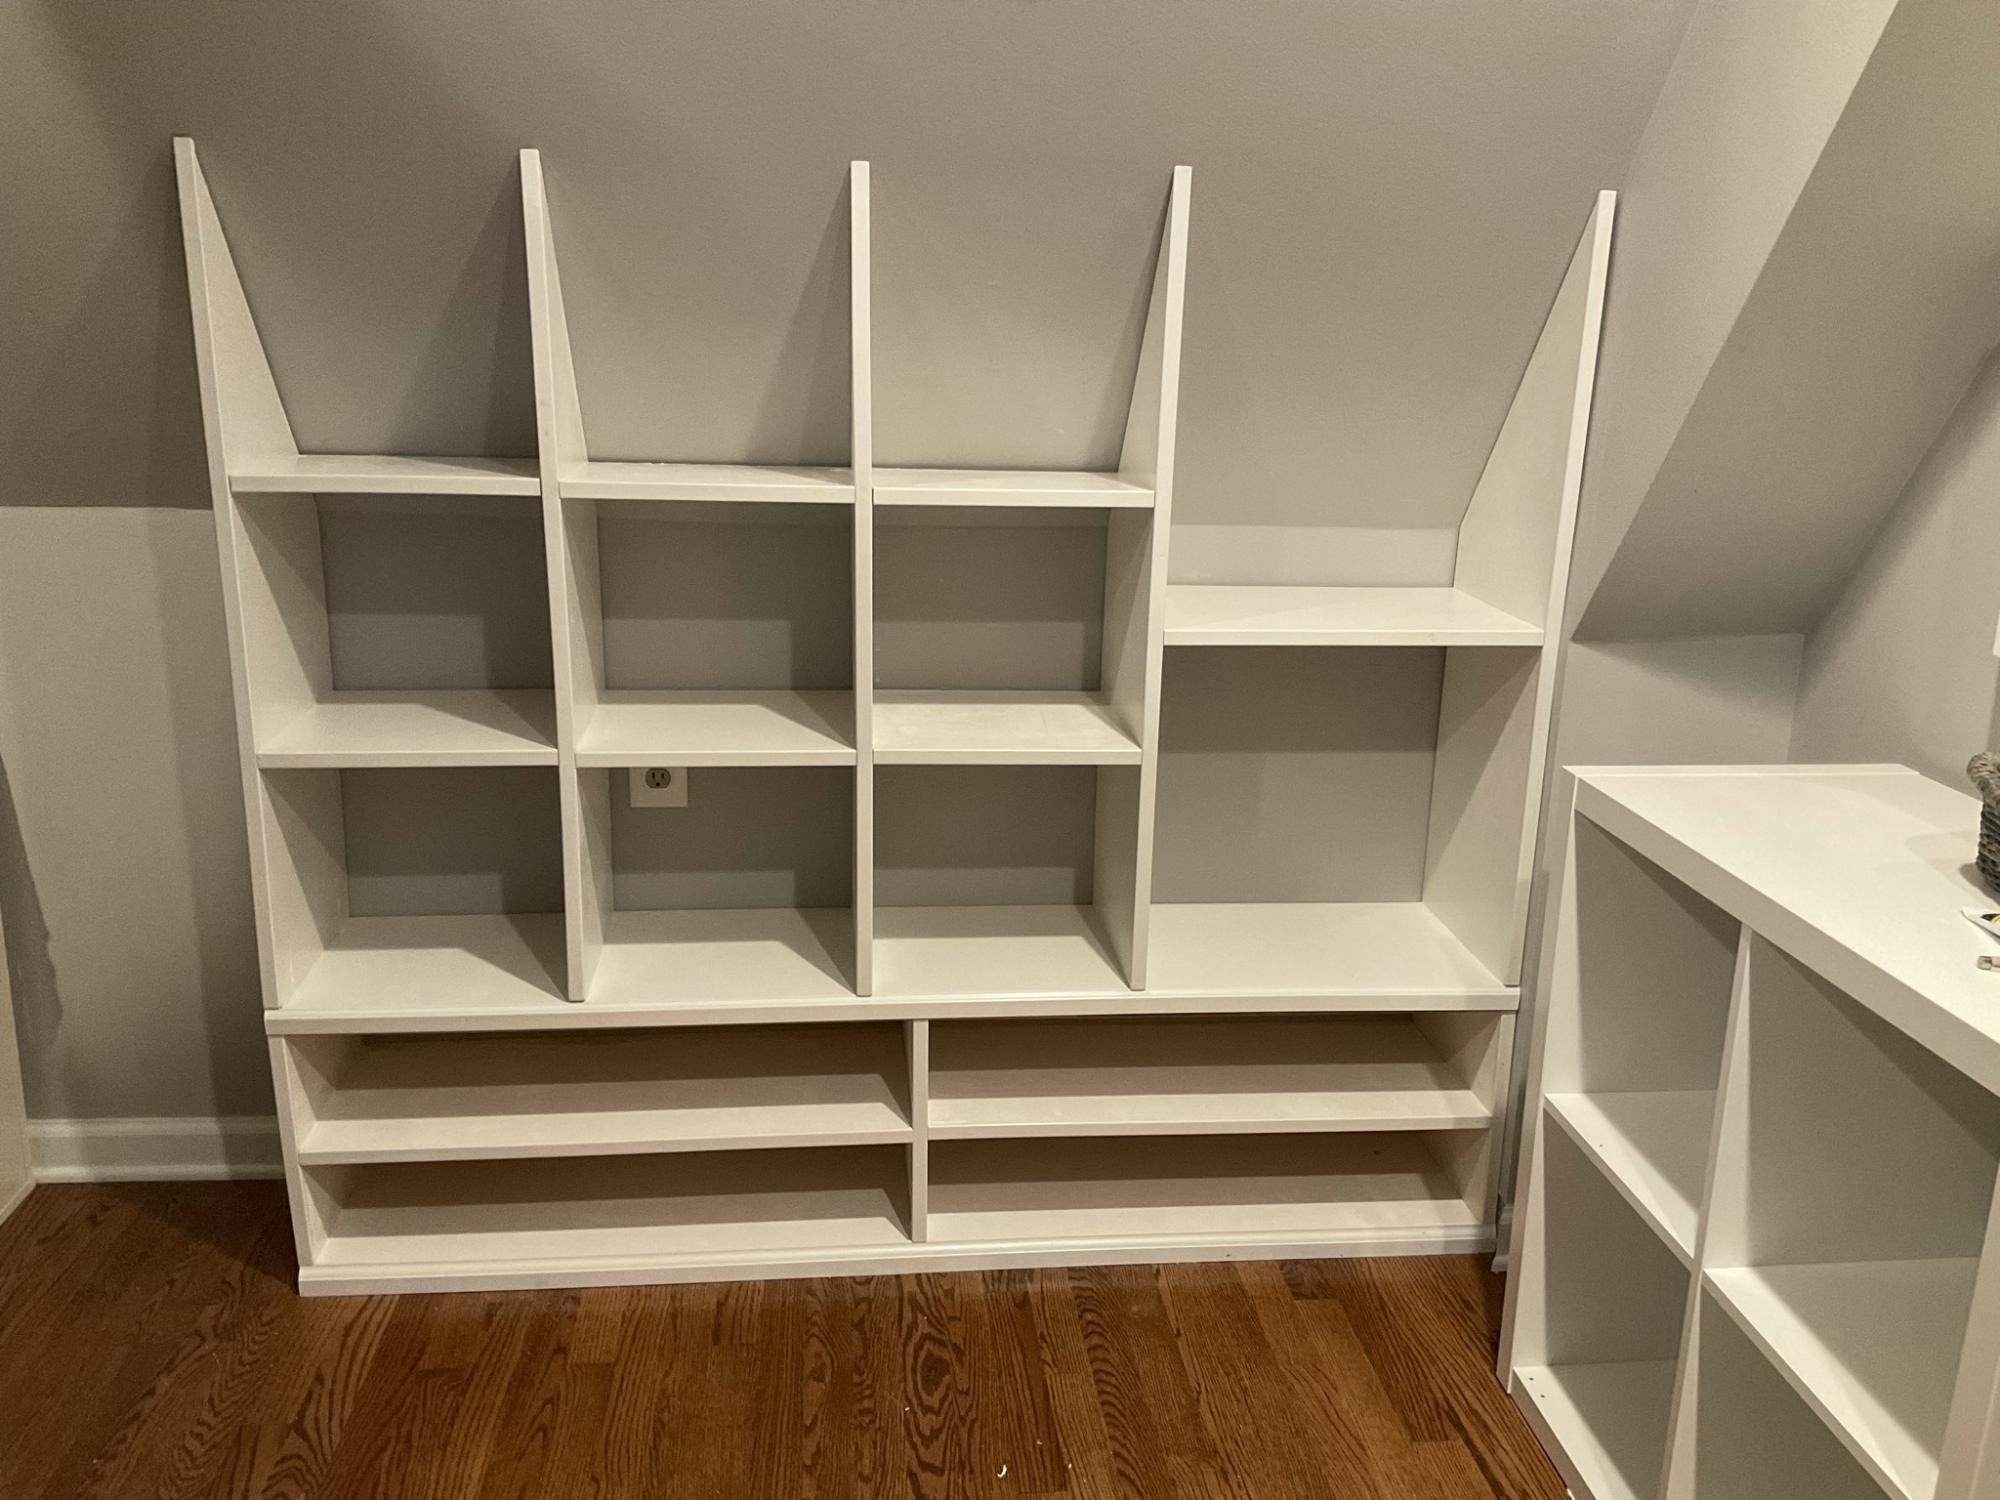
I used Ana’s Shelf Help Configurator to build these shelves for a deeply sloped ceiling. None of those well known Closet Organizer Companies could come up with a decent plan for this closet and they charge a small fortune.
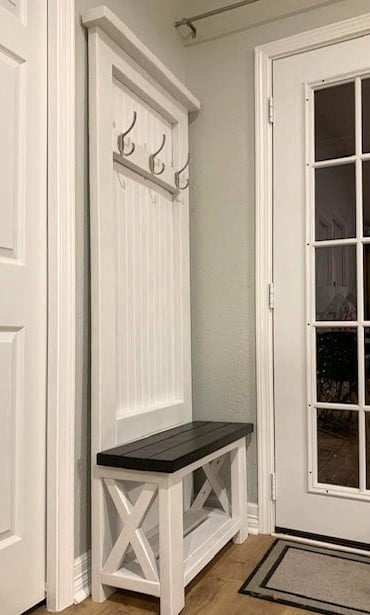
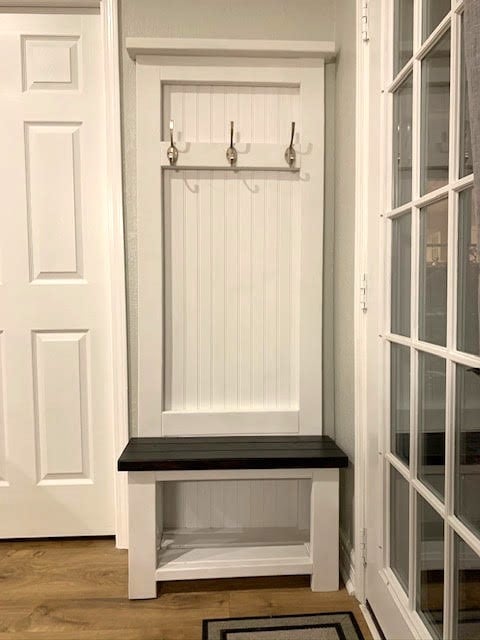
Farmhouse hall tree modified for the space!

I made these two Ana White outdoor end tables for my patio. Next up will be the matching coffee table

Sun, 01/29/2023 - 16:04
Thanks for sharing, they will be a nice outdoor additon!

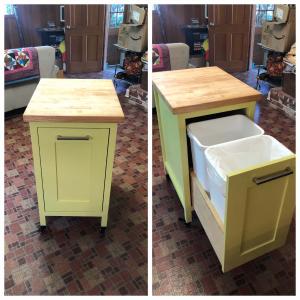
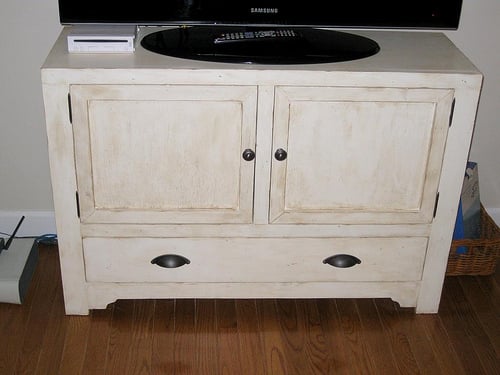
I replaced all of the drawers in our 1960's kitchen with custom built new drawers that have full extension slides. I can't afford a complete remodel, but the new drawers allow the kitchen to function much better. The old drawers had wood slides that would allow you to pull them out about 2/3 of the way. Any more than that and the whole drawer would slide out and go crashing to the floor.
I had wanted to build a cabinet like this, but I couldn't figure out how to pull it off. I'm an amateur with basic tools working out of my garage. I found Ana's plan and combined it with my experience making drawers to make this cabinet. I use Blum soft close slides and the cabinet is working great so far.
The butcher block top is left over from countertops I put in the kitchen. The project basically started with me wanting to put that last bit to good use. It's 1 1/2 in thick acacia. I wish I'd have gone for maple but the acacia is okay.
I don't know if you can see it in the photo, but it has locking casters on the feet so that we can move it around when we need to clean the kitchen floor, but it doesn't move when you pull on the drawer. I guess it can also double as a little island when we have dinner parties.

Fri, 05/03/2019 - 09:54
What an awesome piece! Adds so much function to your kitchen in a tiny footprint. Love the color and the top!
In reply to Amazing Pull Out Trash Island! by Ana White
Sun, 05/05/2019 - 10:30
Thanks Ana. I appreciate that. I couldn't have done it without you! : )

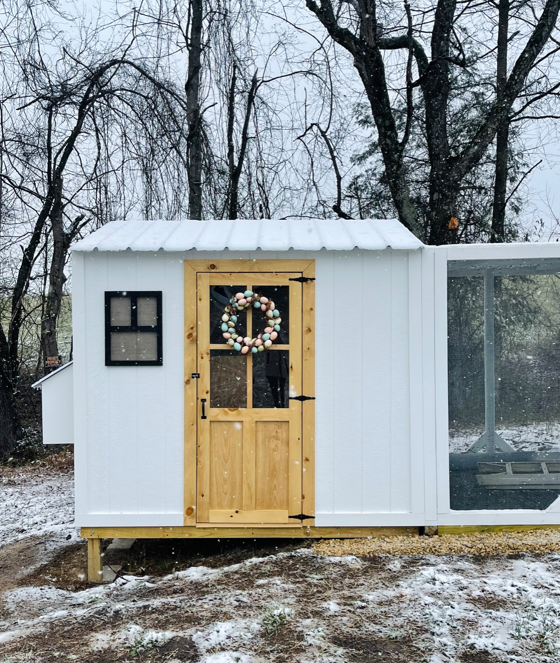
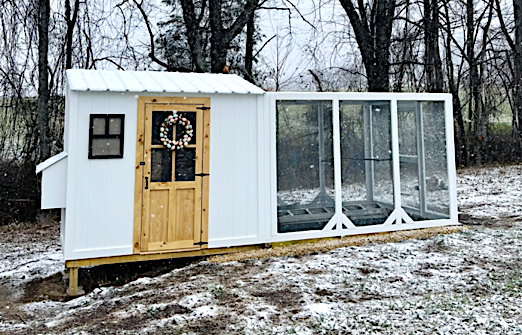
"I don’t consider ourselves experts at all and your plan was so easy to follow. We can’t wait to introduce our chicks when they’re old enough to transfer outside."
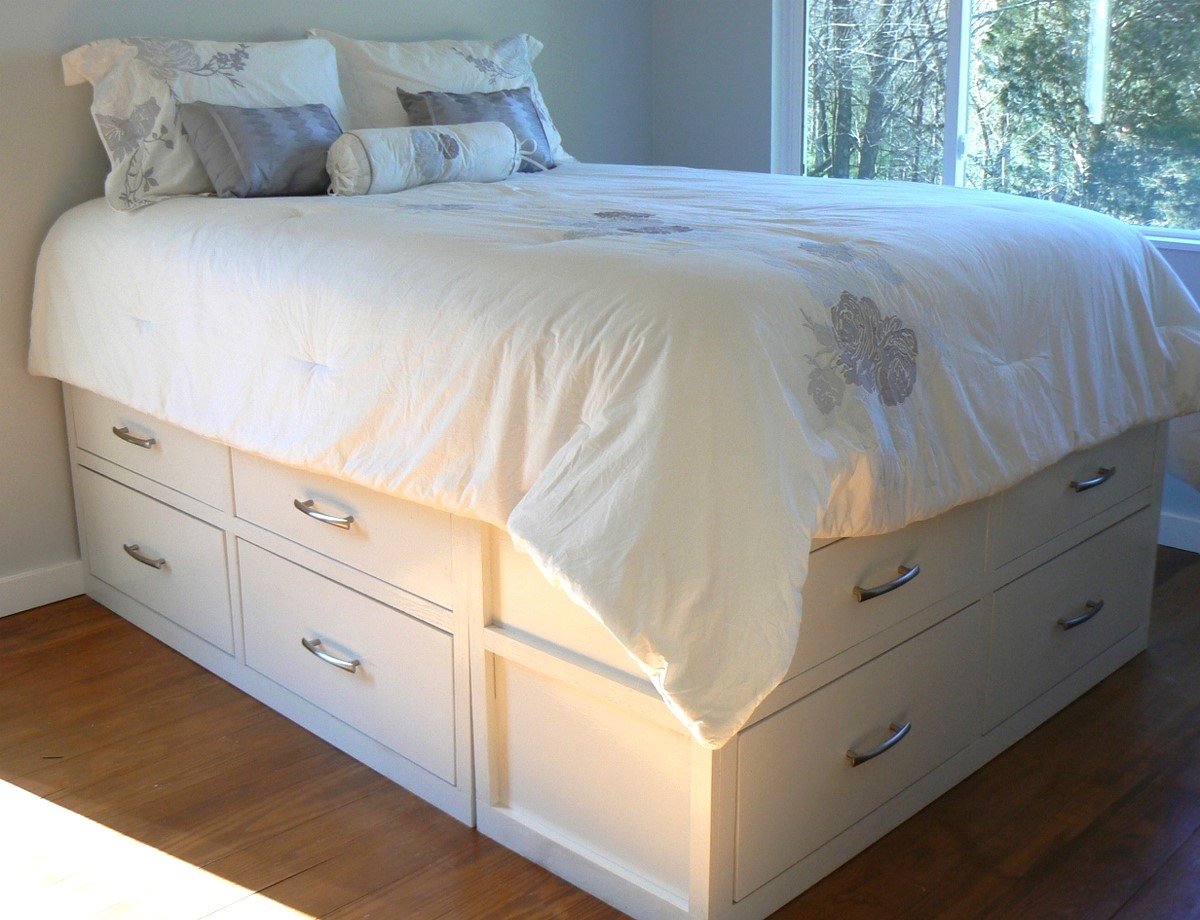
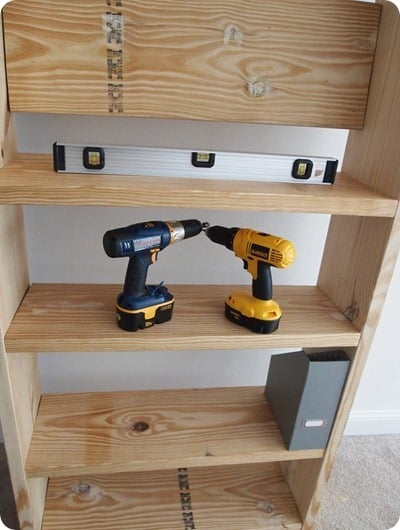
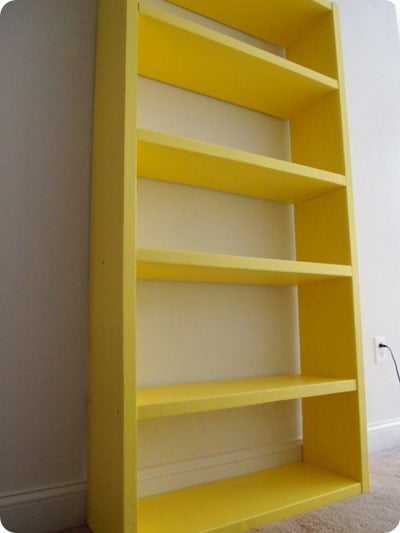
After we built the first level, we decided we didn't like how low to the ground the mattress was going to be, so we made another level. Our master bedroom is very small so this gives us plenty of storage space! The floor throughout the house is wavy, so theboxes do not meet perfectly ( you can see a slight gap at the bottom) which drives me crazy, but I will have to live with it for now. We kept the drawer face simple (less work, and we like the clean lines). Our mattress is quite thick, so I see myself building a step stool in my near future! This was our first project and very easy to follow. Already working on my next project. I am addicted! Thanks for the great site, Ana!
Wed, 02/22/2012 - 13:05
Total height is 25 inches. I love how tall it is, because the dogs cannot jump on the bed! I wish we would have thought about the double drawer height before we started as it would have brought the cost and time down significantly. We live and we learn. Enjoy your new bed!
Tue, 07/31/2012 - 19:48
Just wondering how you attached the double drawer layers together... Love the look of it...
Mon, 06/10/2013 - 17:41
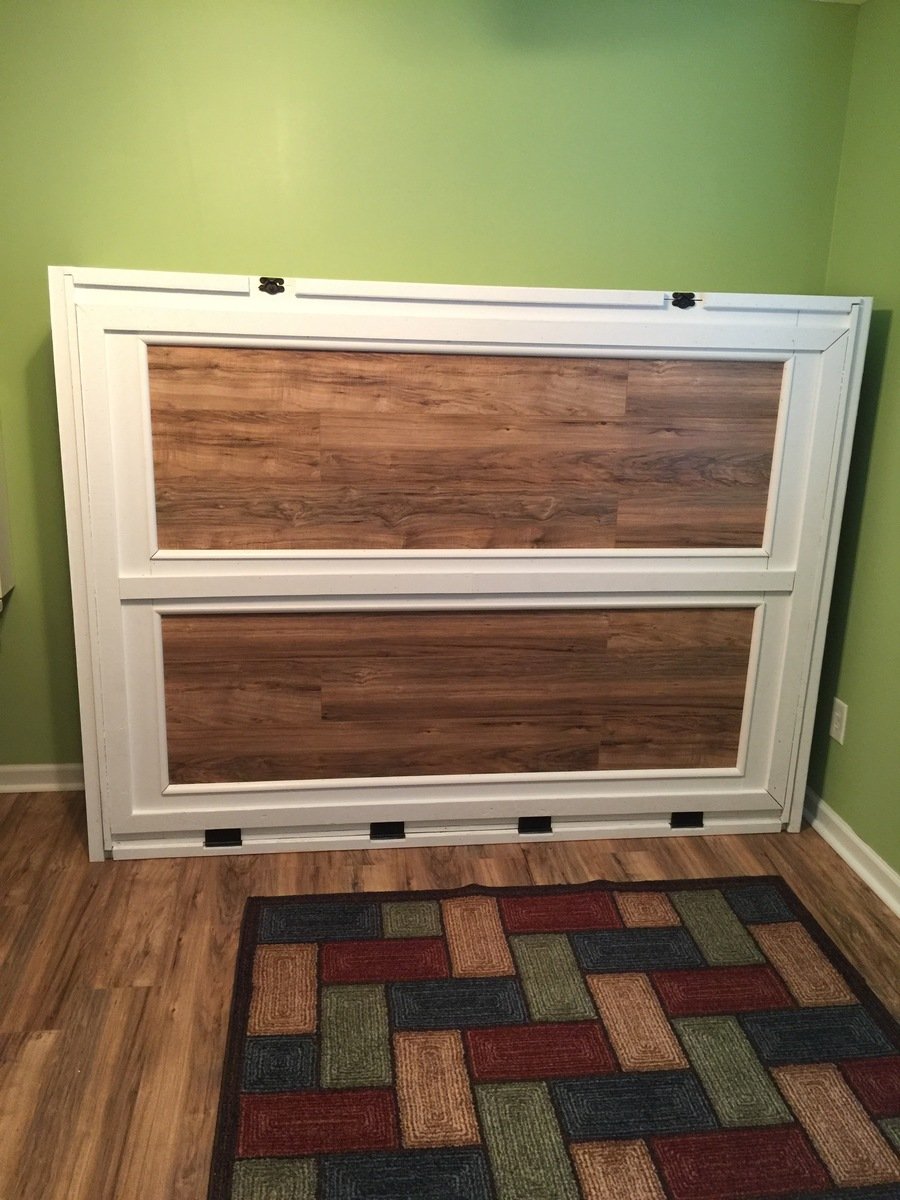
Sorry for the delay in response. I haven't been on the site in awhile and I could not figure out my password! We used the Kreg Jig to attach the top level to the bottom. Looking back on it, we should have just built the walls as one piece, but since the top drawers were an addition, after the fact, we just had to deal. The 1x2 trim piece gave it a finished and less pieced together look. It has been so long since we built this, the details are fading!
Sat, 08/06/2016 - 20:37
I'm new to furniture making and was wondering if you had plans for your work since I like the height, queen and twin size? Also, I was wondering if any drawers are for storage purposes, as I would like them to be?
Mon, 10/08/2012 - 08:00
Hi this is exactly what I need to do!
we just bought a new bed and I new I'd be making this not thinking I decided not to buy the box spring, now I realize my bed will be on the floor...
I would love it if you could share everything you learned in making it double decker! please
thanks
Natasha
Mon, 06/10/2013 - 17:48
Better late than never, I hope...
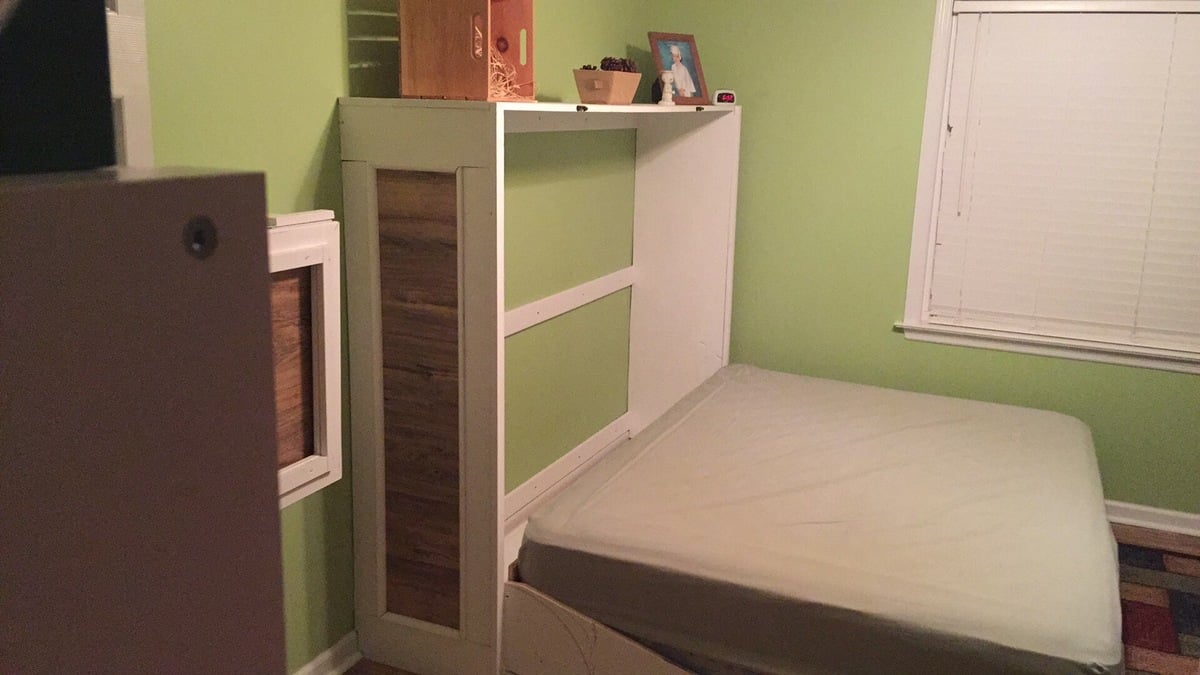
First thing we learned, the bed is a little too high, so we should have made slightly smaller drawers. Still happy our dogs can't get up there, but I have to actually hop up on the bed every night, and still have yet to get around to making my step stool.
Second, cut the side pieces for the height needed for two drawers, then you have a cleaner look with no middle trim piece. I don't mind it, but I would like it more without, I think.
That is really all I would change. The plans were easy to follow and made it easy to alter for our needs.
Tue, 05/07/2013 - 23:52
I am flabbergasted by this AMAZING bed you MADE over the WEEKEND! This is simply unbelievable! I absolutely could never do something like this. Are you willing to make a King size one exactly like this and sell it to me??
Oh please?!
Renee
Mon, 06/10/2013 - 17:53
Thank you for those kind words! I was a little nervous about taking on such a big project, but we had a fun time building it { I can't say the same for sanding and painting :-) } and are very happy with the space it freed up in our very small bedroom! Just take your time, invest in a Kreg Jig, and you can do it too!