Community Brag Posts

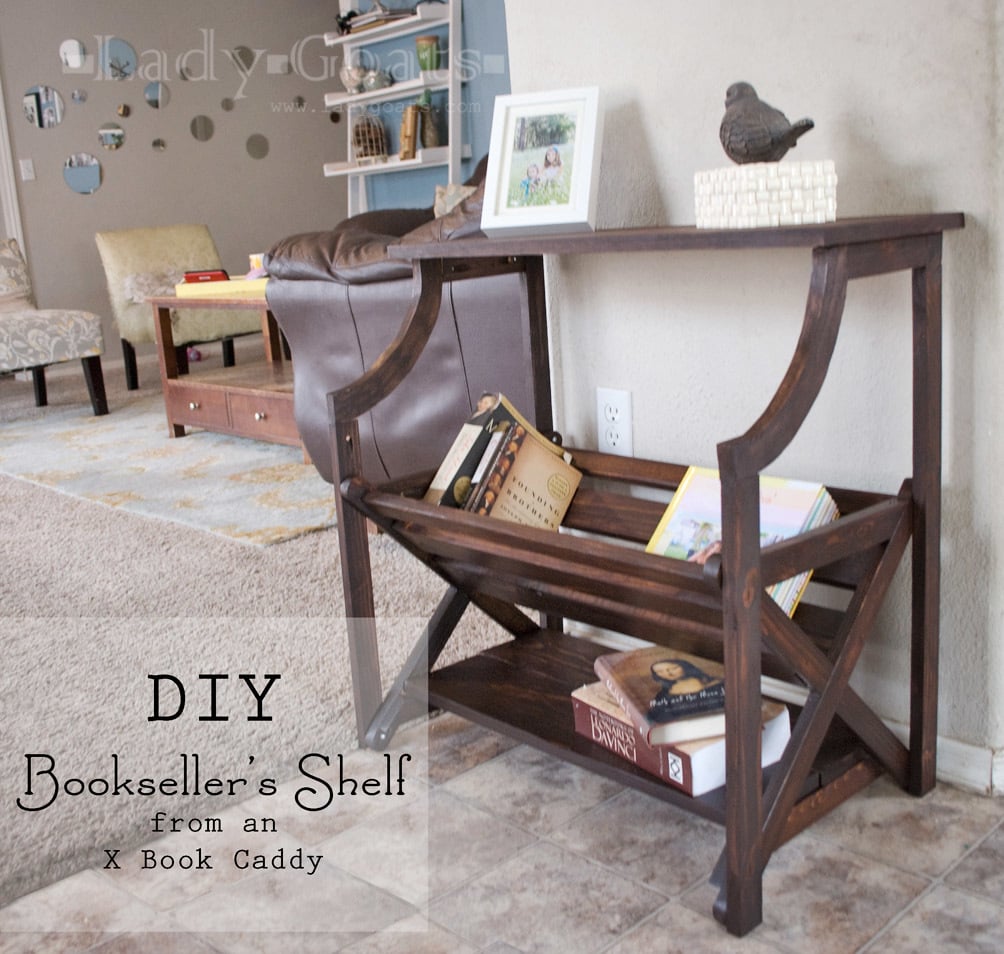
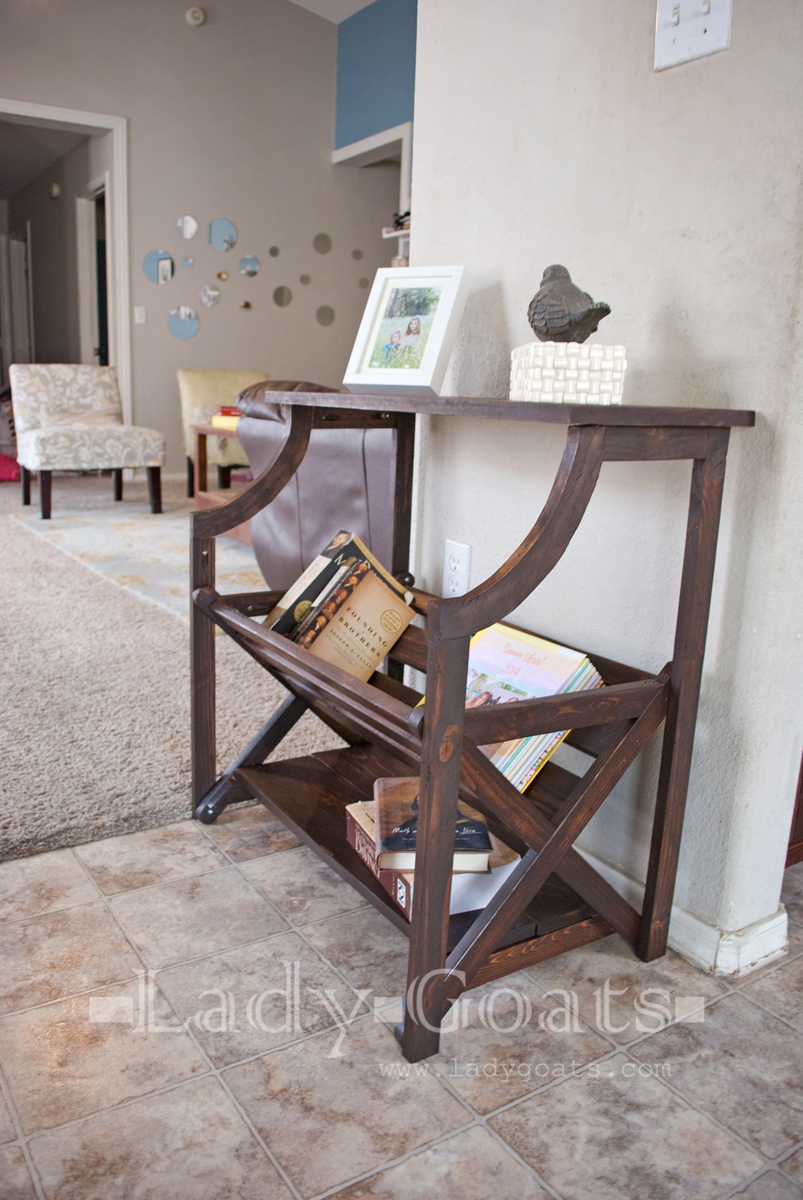
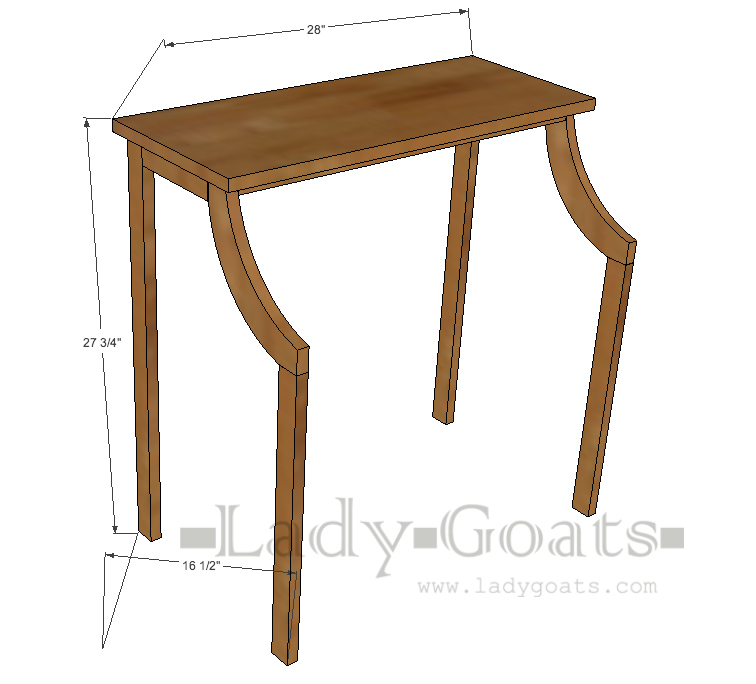
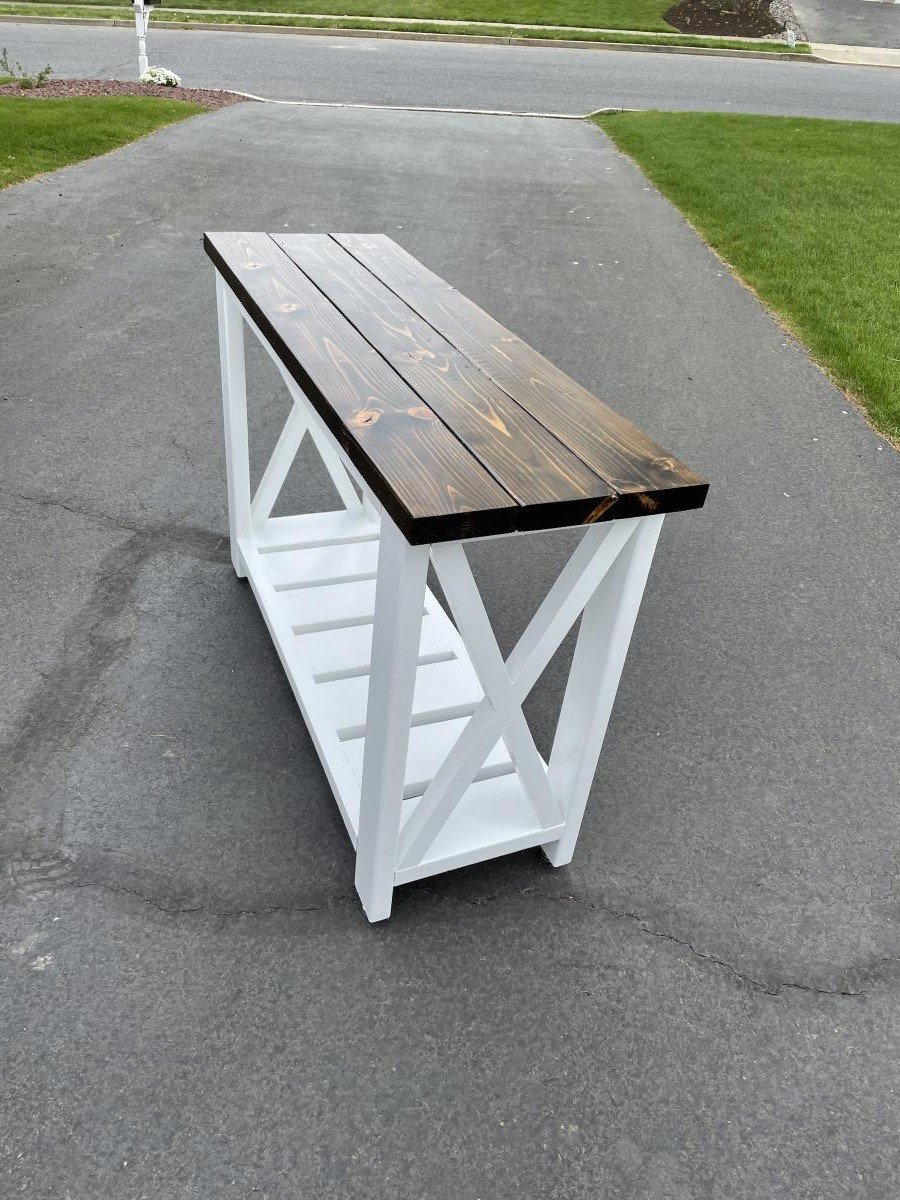
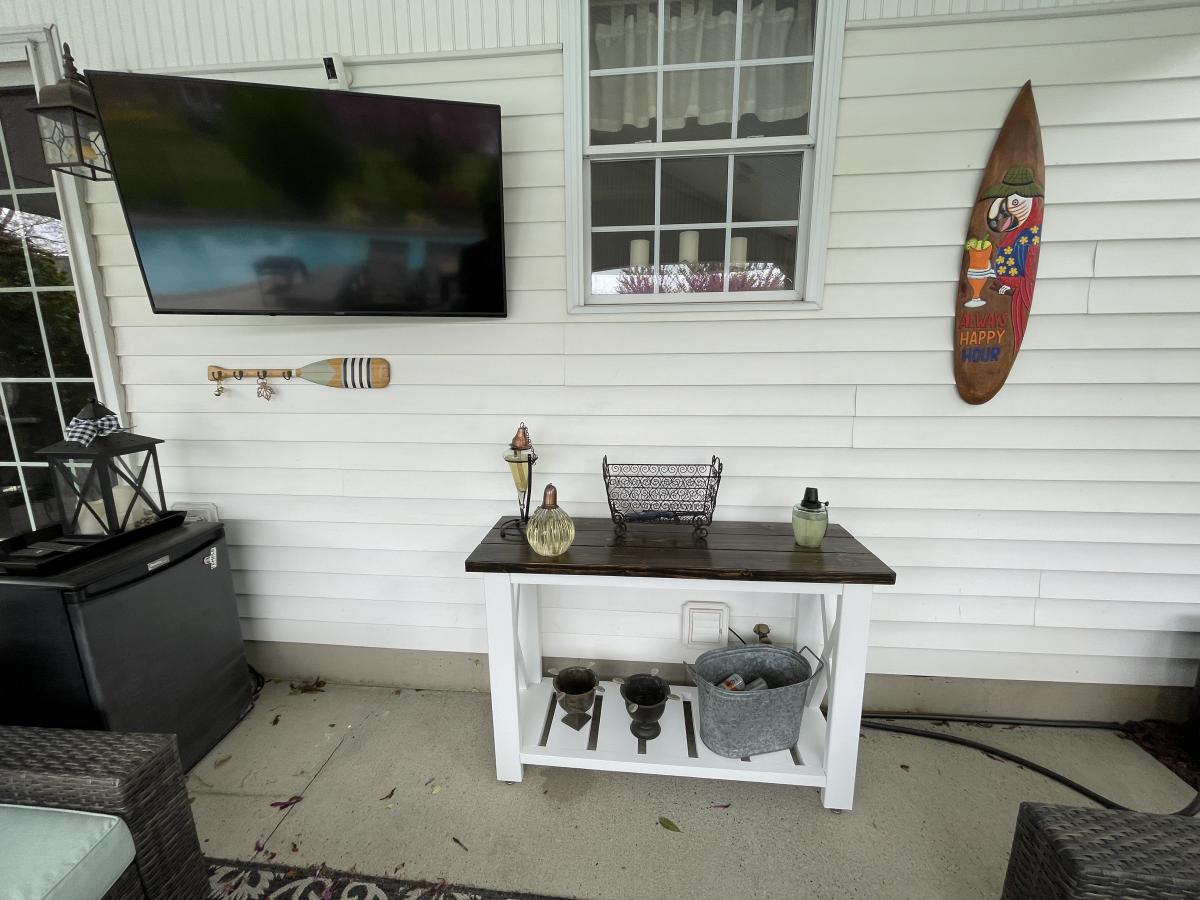
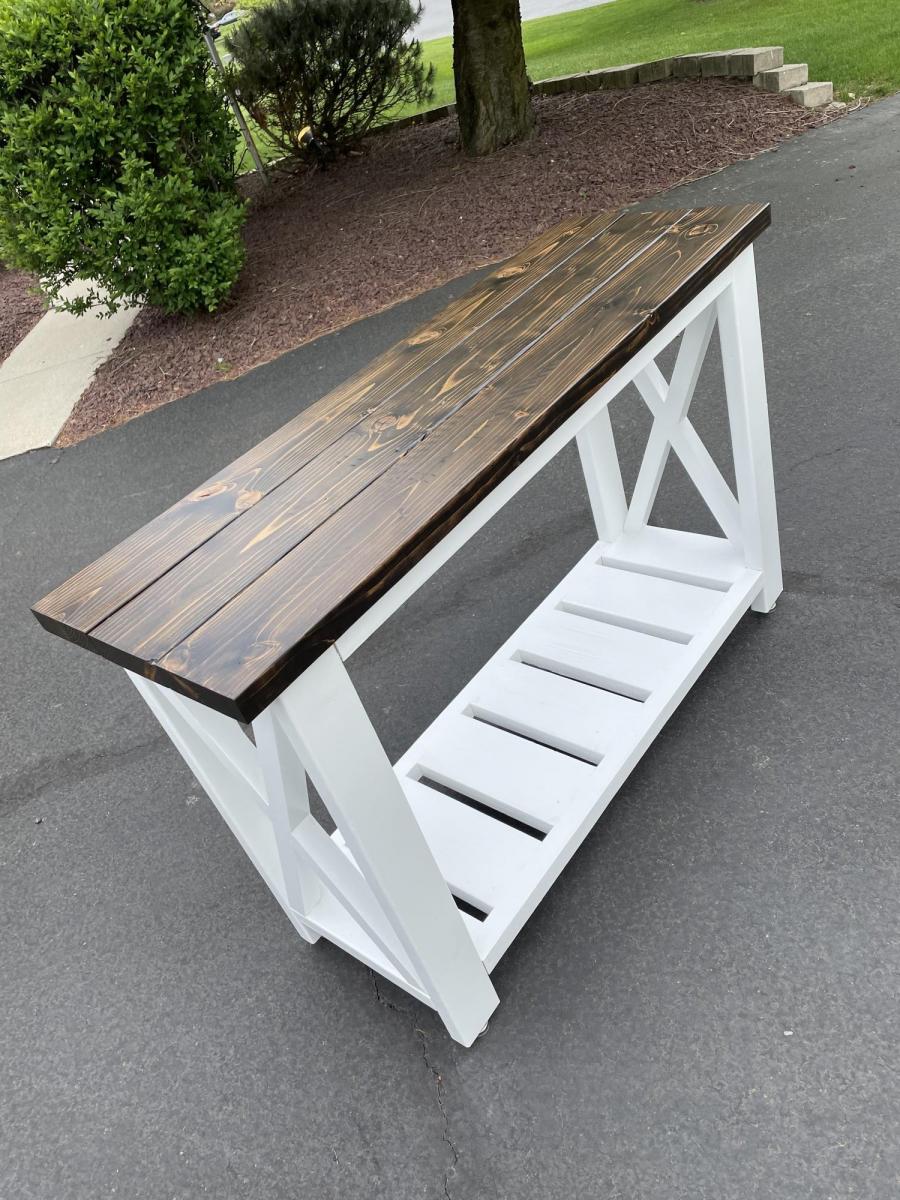
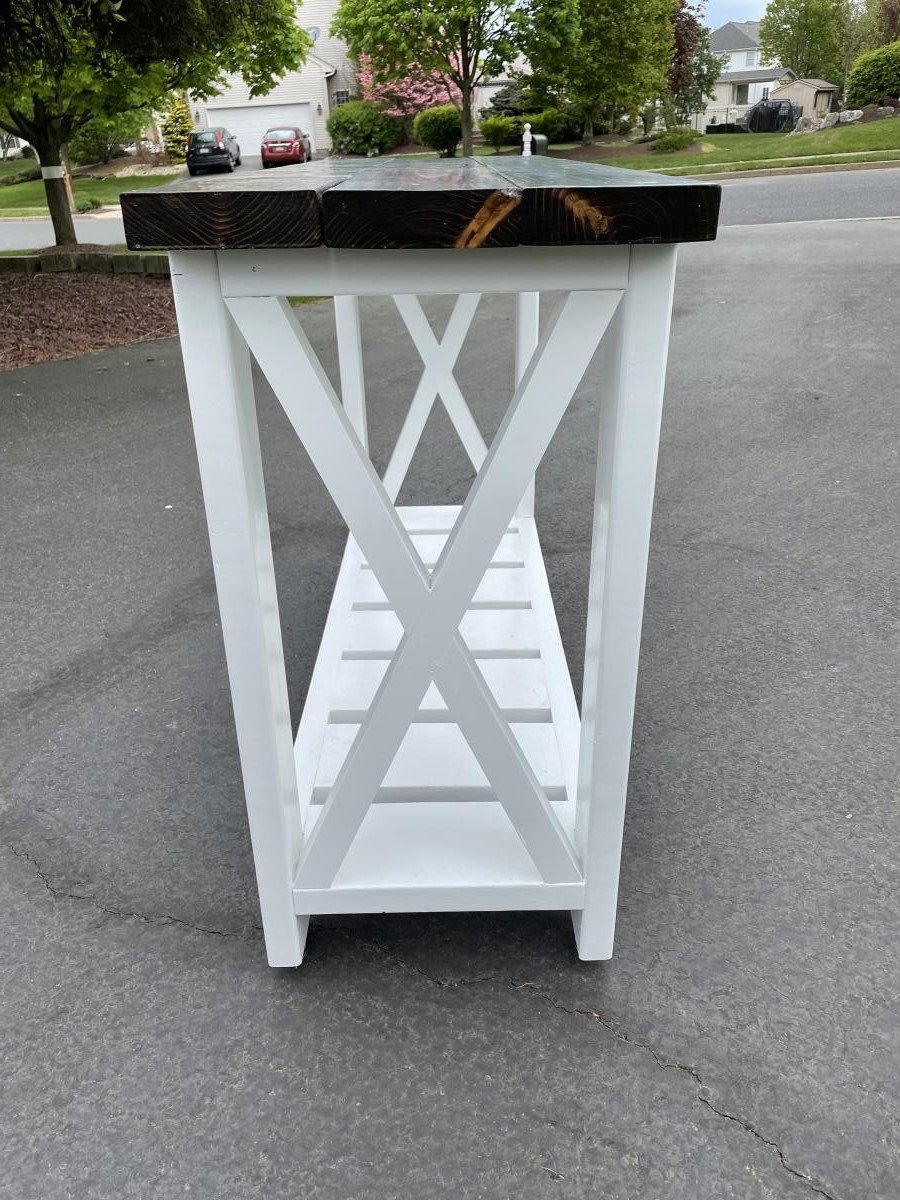
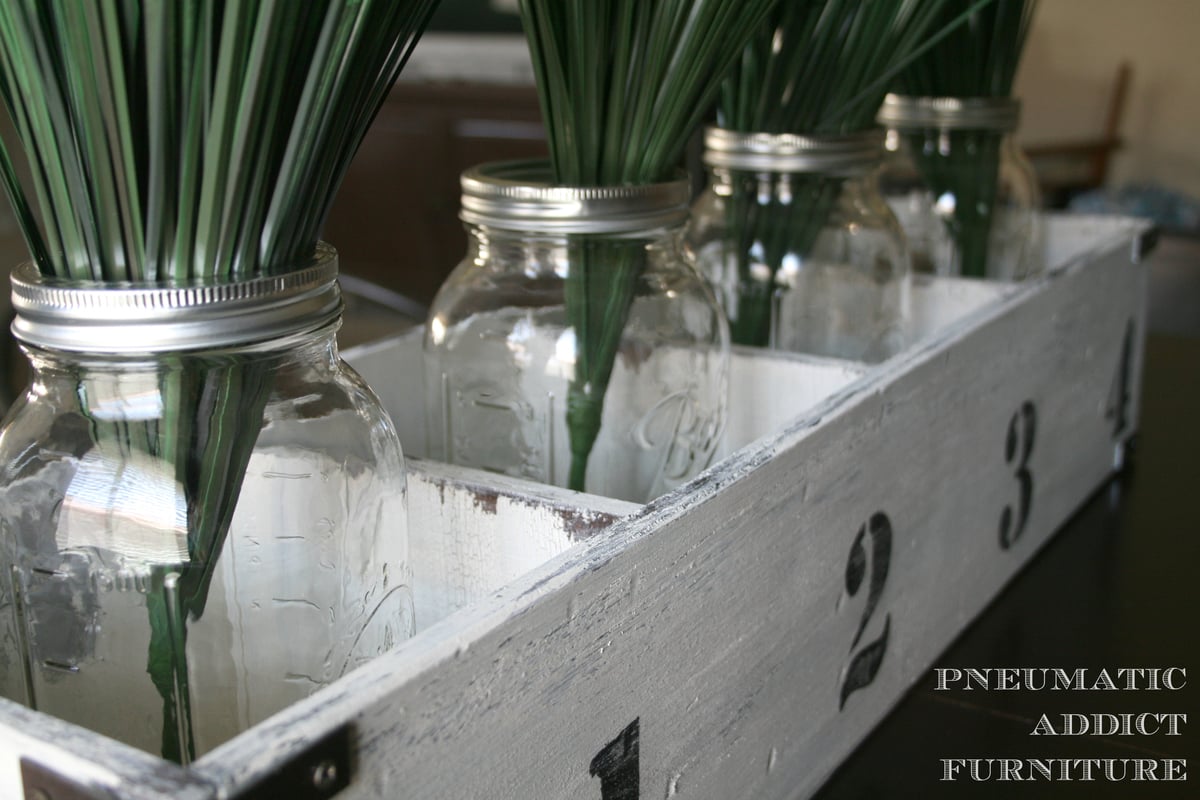
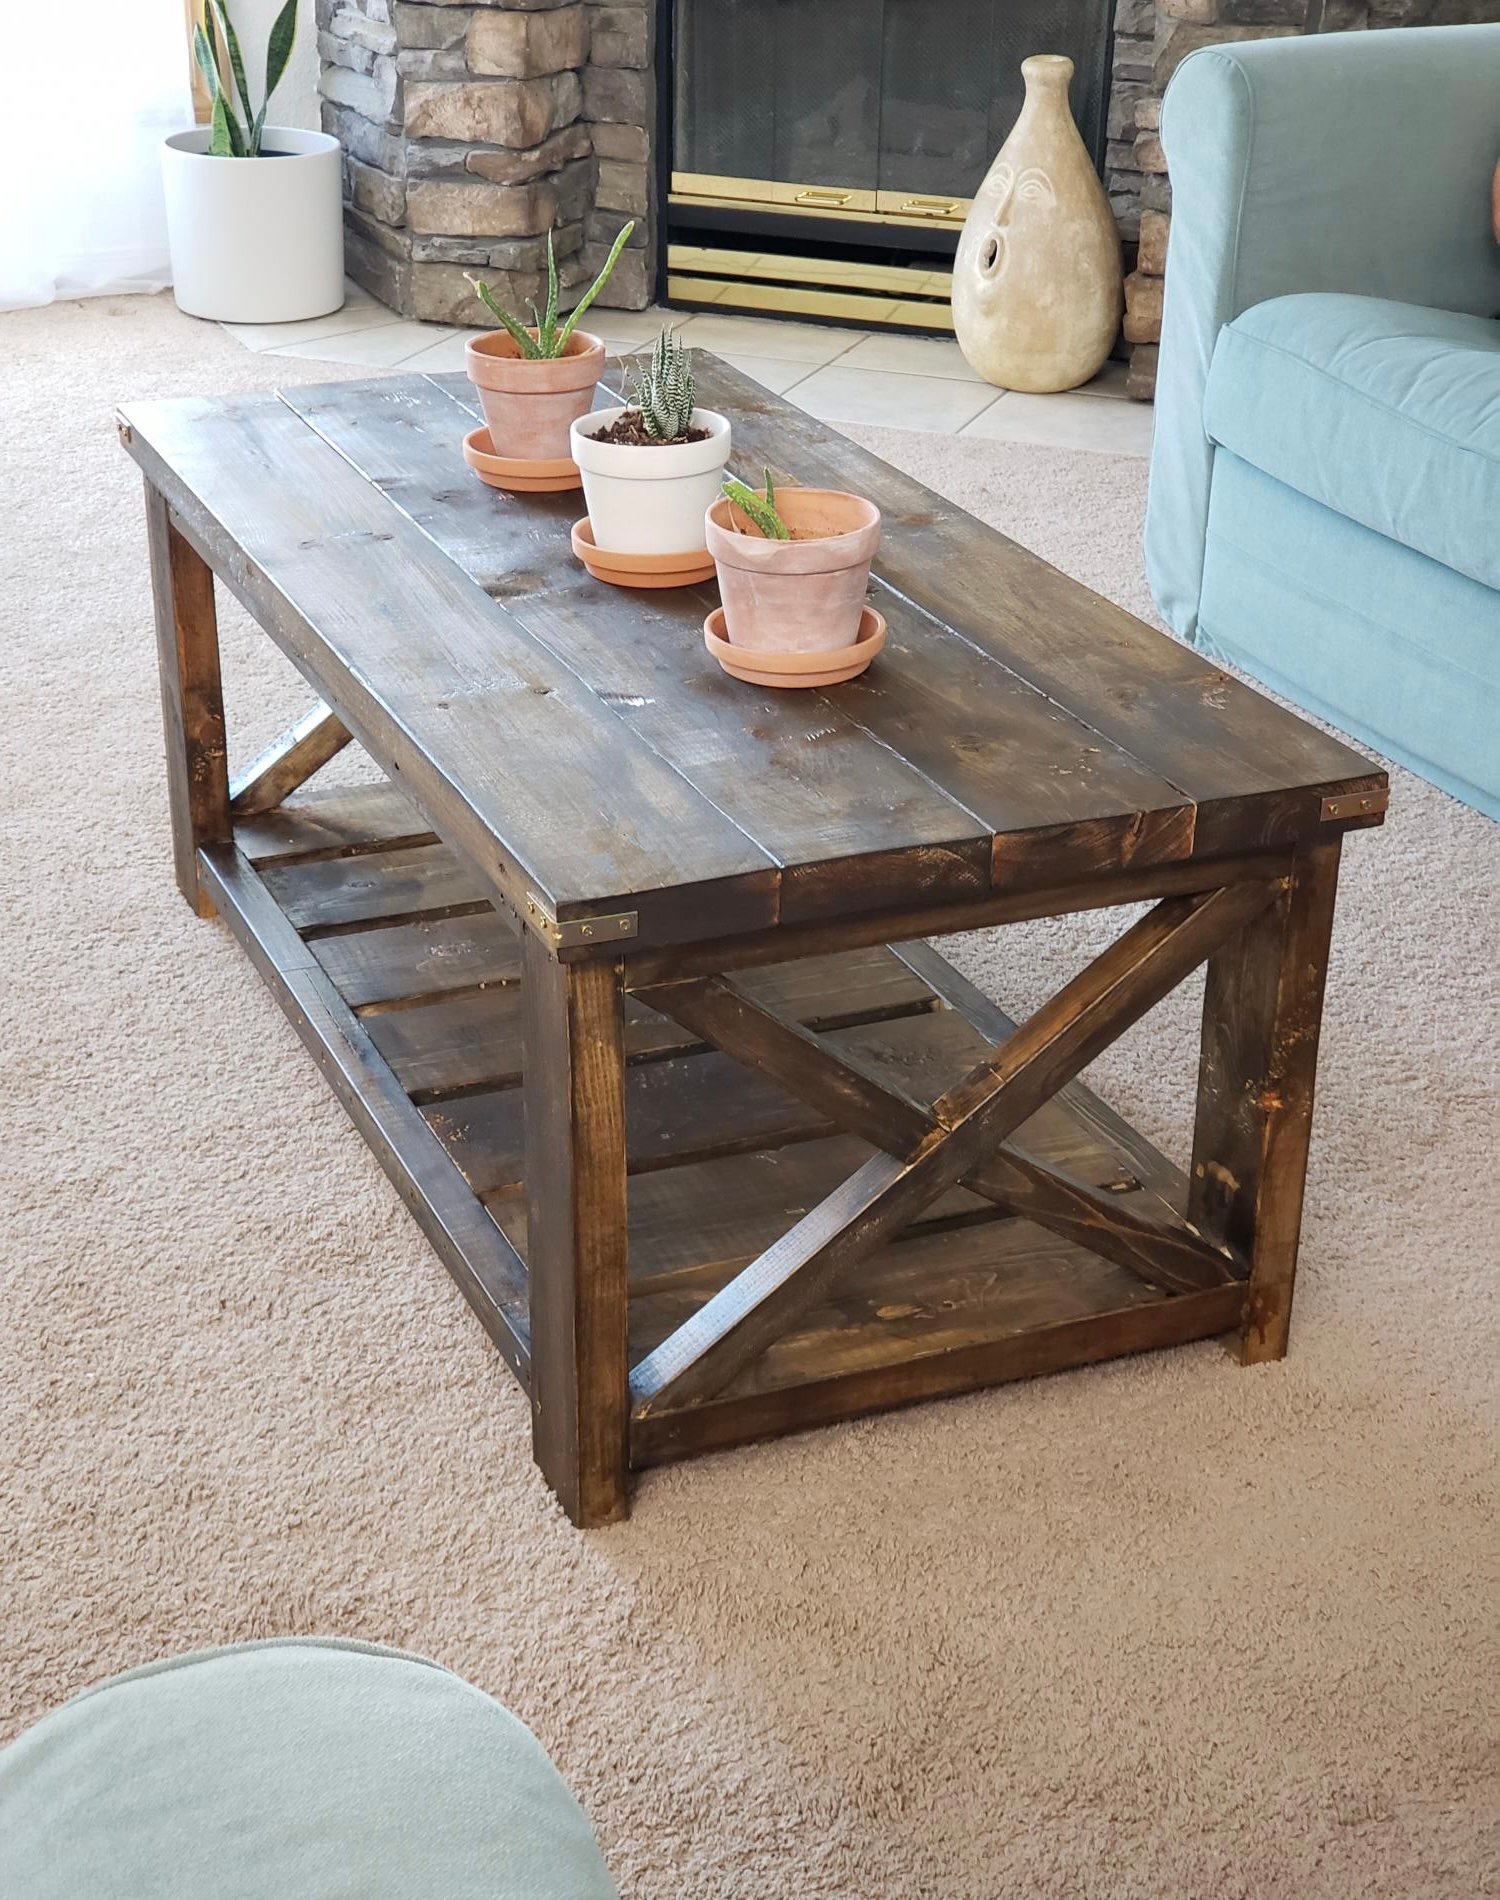
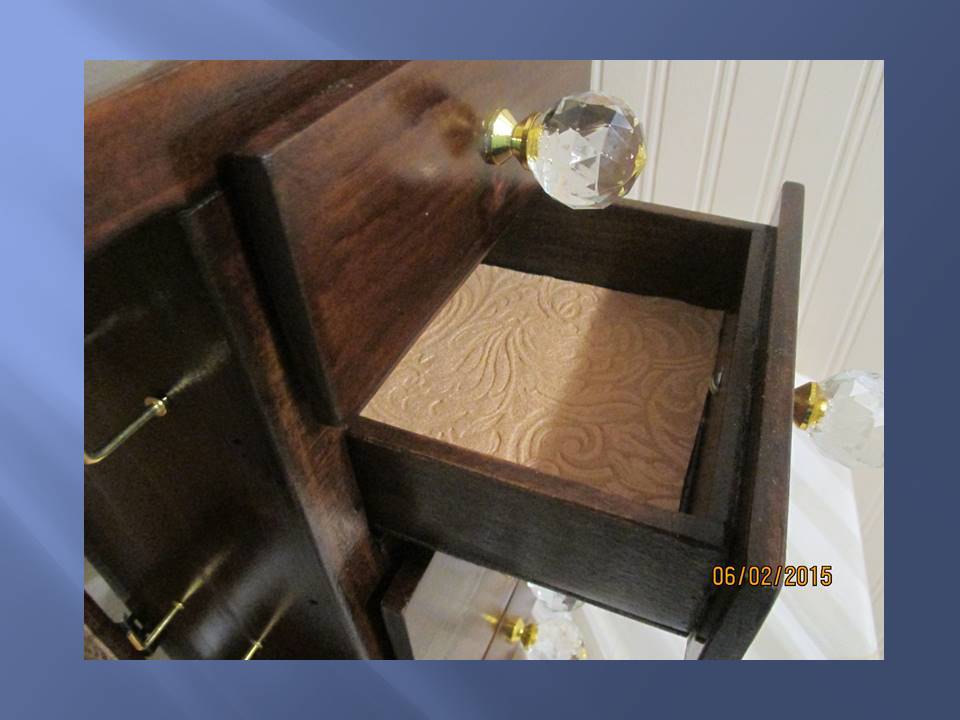
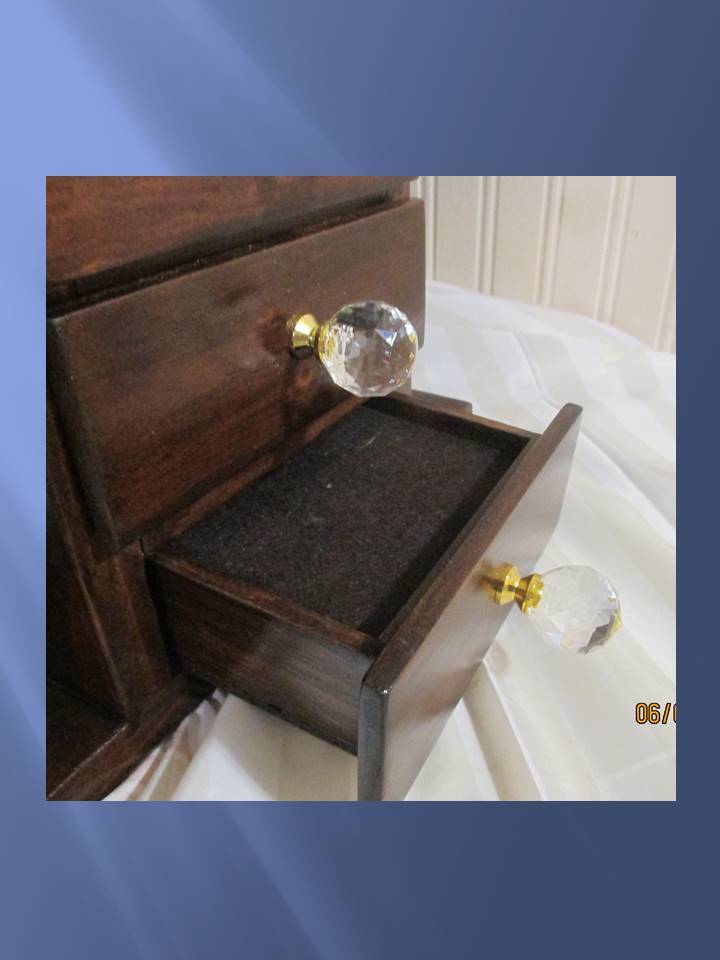
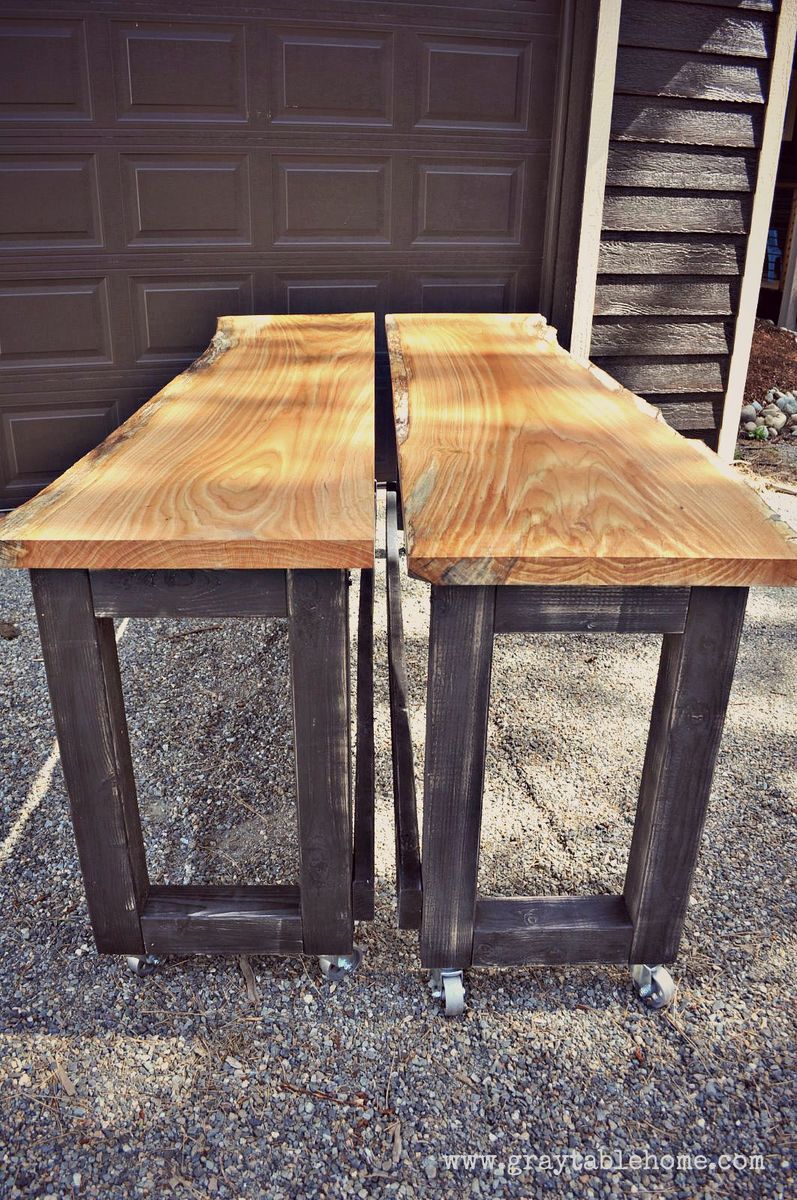
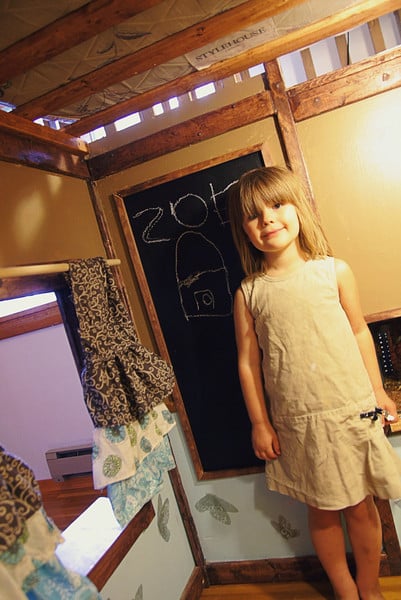
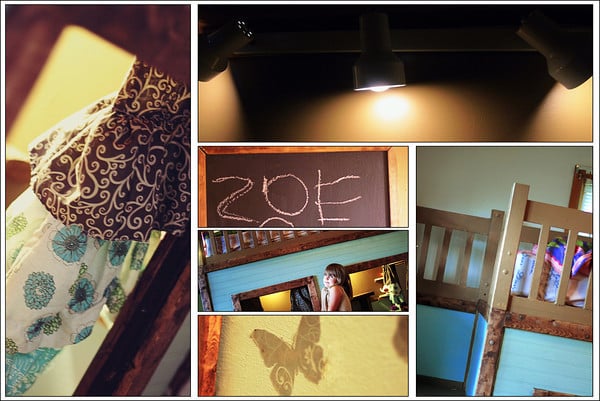
Modified X Book Caddy

Submitted by Lady Goats on Mon, 01/26/2015 - 10:16

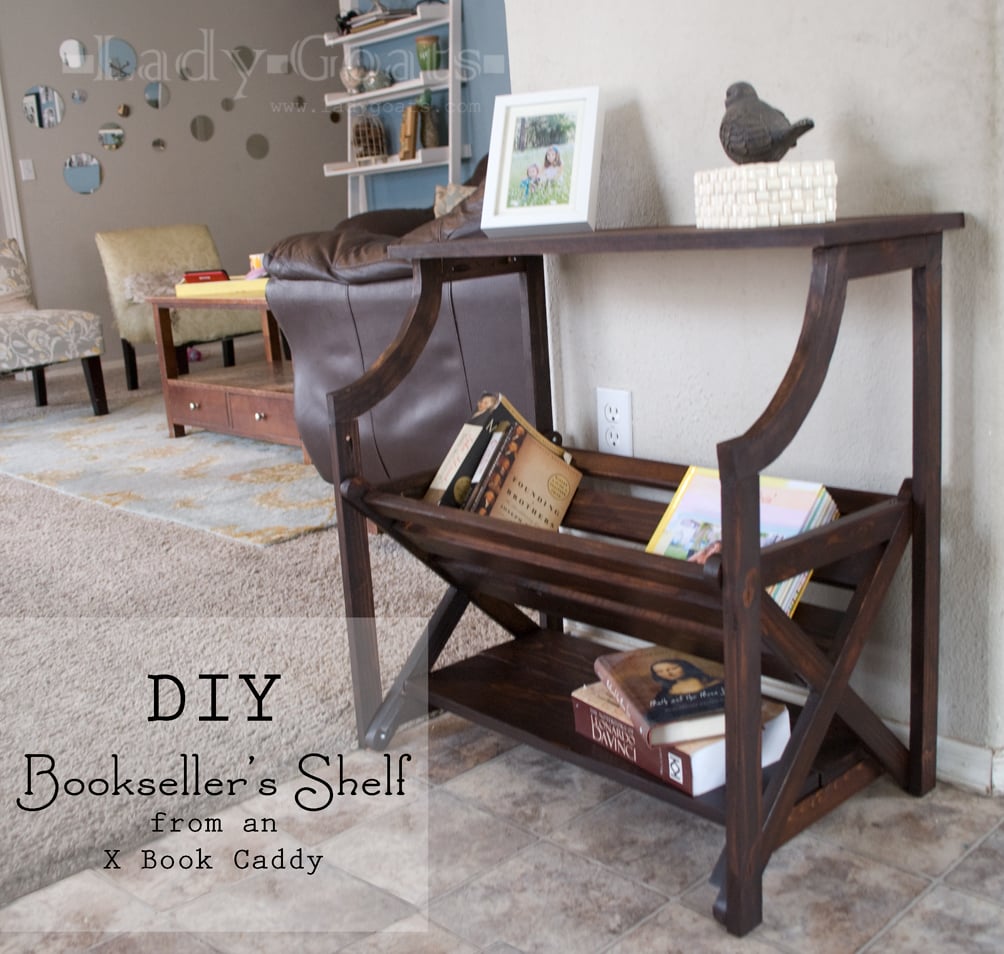
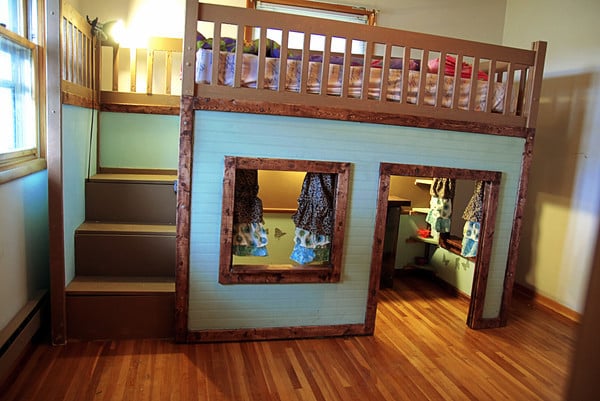
After building my daughter a storage bed, I no longer needed the X Book Caddy that I had built to contain her books. It's taken on a new life as a nightstand for me!! I modified the caddy to be nightstand height, but it can easily have height added to become a console table. If you want, go build the x caddy and then click over to my blog for the tutorial on making it the bookseller's shelf!

Built from Plan(s)
Estimated Cost
$7 (under $20 for the whole thing)
Estimated Time Investment
An Hour or Two (0-2 Hours)
Finish Used
General Finishes Gel Stain in Java
Recommended Skill Level
Intermediate

Comments

modern Adirondack chairs

Submitted by SmokeyT on Wed, 04/14/2021 - 04:09

After a cabin remodel I had some left over 1X6 red cedar that I wanted to use and these chairs looked like a great project. After buying some white cedar 2X4's , here's my first 2. Thanks for the plans.

Estimated Cost
about $50 a chair
Estimated Time Investment
An Hour or Two (0-2 Hours)

Comments

Cedar Tiered Flower Planter

Submitted by Anonymous (not verified) on Tue, 05/04/2021 - 14:30

We made this tiered planter for a Mother's Day gift for my wife. It was a simple build and the plans are very easy to follow. I couldn't get any cedar fence pickets so I used standard 1x6x8 cedar boards that were available at the local big box store; that's why the cost is a little high. The planters were made 24" wide for more room instead of 16'" wide as per the plans. We personalized it by adding the quotes to the boards and burning them into the wood with a pyrography pen.

Estimated Cost
$50
Estimated Time Investment
Afternoon Project (3-6 Hours)
Finish Used
Varathane Classic Penetrating Wood Stain - Natural
Recommended Skill Level
Beginner

Comments

Farmhouse Table 1

Used the plans here to make the table. Modified the dimensions slightly to fit my space by re-drawing the plans in AutoCAD 3D. Added stainless steel adjustable feet to the legs for leveling. Wanted to keep the wood up off the ground since this table sits on my back patio. Amazon link for feet: https://www.amazon.com/gp/product/B08VRPCDNL/ref=ppx_yo_dt_b_asin_title…

Built from Plan(s)
Estimated Cost
$220.00
Estimated Time Investment
Weekend Project (10-20 Hours)
Finish Used
Minwax Espresso Stain on top
Minwax Satin Polyurethane on top
Sherwin Williams Exterior Latex Paint - White on base
Recommended Skill Level
Beginner

Comments

Vintage Step Stools

Submitted by pde00311 on Wed, 03/04/2015 - 07:30

Our two-year-old daughter's newfound hobby of washing her hands and brushing her teeth really took off a few weeks before Christmas. Santa left stools for her and her little sister to be used in different bathrooms.

Built from Plan(s)
Estimated Time Investment
Day Project (6-9 Hours)
Finish Used
Behr frosty glade and cabbage green with silver and gold paint pen for the names. Minwax polycrylic
Recommended Skill Level
Intermediate

Industrial Numbered Crate

Submitted by efmolly on Thu, 04/25/2013 - 22:51

I built this storage crate to fill out space on top of my kitchen table. On my table saw, I ripped 1/2in birch plywood down to 6in widths for the outside frame and 5 3/4in for the dividers. The dividers are 6in wide and so I cut the outside ends to 7in. I attached the whole thing with 1 1/2 finish nails and glue. After finishing, I attached some L-brackets on the corners and drilled 2 holes on either end for handles. For handles, I simply braided 6 strands of jute together and tied knots on the inside of the box. I have more details and photos on my blog link.

Estimated Cost
$20
Estimated Time Investment
An Hour or Two (0-2 Hours)
Finish Used
I started by staining the whole thing with Antique Walnut by Minwax. I then used Antique Crackle medium by Old Fashioned Milk Paint, and used some Vaseline for paint resistance on the edges. I then applied one coat of a creamy white, latex paint. After stenciling the numbers, I sealed the entire piece with Crystal Clear by Krylon in matte.
Recommended Skill Level
Beginner

Comments

Modern Adirondack Chair

Submitted by abbulone on Mon, 09/13/2021 - 13:35

First time making this type of chair. Your plan made it really easy to cut and assemble the frame. I just changed the back to different types of flags. I’ve made them for my friends in the fire department, police department, ems, military, and a corrections Officer. They are an absolute hit.

Comments

Outdoor Sofa from 2x4s for RYOBI Nation

Submitted by BuilderJ on Thu, 07/13/2017 - 16:45

We've been wanting to tackle some outdoor furniture for a while and finally took advantage of a coupon to get a bunch of outdoor cushions. With a big mound of cushions taking up space, we had to force ourselves to get to it. We spent more time talking about cushion and stain colors then it actually took to cut and screw it together. This is a great solid project to start with. Don't be intimidated by it. We can't wait to start on some chairs to go with it. 

Estimated Cost
The cushions are from atHome. It's hard to say exactly because we bought a lot of them (for some upcoming projects) when we had a 20% off coupon. For these three sets and accent pillows, probably $125. Probably $25-30 for the lumber. $29 for a gallon of Behr deck coating (used maybe 1/4of it). $9 for a box of deckmate screws (used 75% of them).
Estimated Time Investment
Afternoon Project (3-6 Hours)
Finish Used
Behr Deckplus solid color waterproofing wood stain in cordovan brown.
Recommended Skill Level
Starter Project

Rustic X Collection Farm House Coffee Table

Submitted by Anonymous (not verified) on Wed, 10/06/2021 - 03:24

This table turned out exactly as I had envisioned. I've gotten so many compliments over it. I'm now ready to build the side tables. I like how simple and clear the plan is for this table. Thank you Ana for such a simple but amazing piece of furniture. I'm a newbie at woodworking :)

Comments

Rustic Wood Cooler Box made from Pallets!

Watch the video on how I did this project here: http://youtu.be/IoP2cKN2WeY

For this week's woodworking project I'm building a Rustic Cooler Box from used Pallets. The project was a lot of fun to do and pretty simple! By just using some old Pallets that were free I was able to build something that will get a lot of use. Plus, by using the Pallets I think it turned out really cool looking!

How to video http://youtu.be/IoP2cKN2WeY

Built from Plan(s)
Estimated Cost
$40 for cooler and accessories. Pallet wood was FREE.
Estimated Time Investment
Day Project (6-9 Hours)
Finish Used
Outdoor Polyurethane. Wood was left natural.
Recommended Skill Level
Intermediate

Comments

Wounded Marine

Fri, 06/14/2013 - 05:14

That is way to cool. I love your idea for the sides. It adds a lot of texture and cleans up the look of it. I enjoyed watching your videos. You have a lot of talent and I like your work man.

Stevens

Wed, 11/27/2013 - 04:02

Awesome way of doing a pallet cooler. Keeping the cost minimal your way of finishing it was really good. Personalizing such coolers would be interesting!

tedgray86

Fri, 10/17/2014 - 10:30

Cooler looks amazing!!  Well done!  What is the black ring inbetween the hose bib and the cooler?  I am looking for something similar to hide the PVC coupling as its white and my cooler is stained.


Thanks

Fancy Jewelry Box

Submitted by JoanneS on Thu, 06/04/2015 - 14:35

One of my friends at work is going to a new job, and this build is her going away gift. It is a variation of the Fancy Jewelry Box, with the following modifications:

Made from select pine, no plywood is visible on the outside on this build.
Slightly smaller, the box is made from 1x6, the back is a ½” x 5 ½” craft board, and the door outsides are 3/8” x 5 ½” craft boards.
The drawer boxes are ¼” thick craft board and the doors and overlay drawer faces are 3/8” thick craft board.
Overall dimensions are 13” wide, 5 ½” deep, and 14 ¼” tall.
The select pine worked very well for the luxe stained finish I was trying to achieve.
Used fancy knobs instead of wood knobs (also swapped out the included screws for shorter ones).

I really took my time on this to get everything just so. The project took about 15 hours in total, including the build, finishing, and decorations - - a bit at a time, spread out over the last couple of weeks.

I'm very happy to say the gift was a big hit!

Built from Plan(s)
Estimated Cost
$90
Estimated Time Investment
Weekend Project (10-20 Hours)
Finish Used
Finish: 2 coats of Varathane Stain + Poly in Early American, with a top coat of Minwax Polycrylic in Gloss. The drawers and doors are lined with embossed felt, and the box bottom and drawer bottoms are covered with sticky-back felt. The ring holder is a scrap of high density foam covered with sticky-back felt. The knobs are acrylic crystal and the back has flat hinges in antique brass (swapped out the included screws for shorter ones on the hinges and knobs). The hooks are ¾” brass shoulder hooks.
Recommended Skill Level
Beginner

Swing and arbor

Weekend swing project

Recommended Skill Level
Beginner

Comments

Ana White

Tue, 05/07/2019 - 10:42

We don't currently have this plan available, although I'd be happy to draw it with the author's permission.

I have linked a few plans above that could be used to create this plan.  Just make sure you bury the arbor uprights underground on concrete pier posts or similar (like building a fence)

DIY Mobile Lumber Rack

I finally have order in my garage! I built a mobile lumber rack using plans from the Rogue Engineer. My husband and I knocked out this project one Sunday afternoon. It can store a huge load of lumber and best of all, it’s portable. We are very, very pleased with the final project! Storing all our lumber on the rack has freed up a great deal of space in our garage.

Estimated Cost
50
Estimated Time Investment
Afternoon Project (3-6 Hours)
Recommended Skill Level
Beginner

Comments

jennibee

Sun, 06/21/2015 - 16:07

I made one of these about a month ago after seeing it on the Rogue Engineer's website and just love it. It's exactly what we needed since we are always having to move things around in the garage. You did a great job.

jennibee

Sun, 06/21/2015 - 16:08

I made one of these about a month ago after seeing it on the Rogue Engineer's website and just love it. It's exactly what we needed since we are always having to move things around in the garage. You did a great job.

The playhouse project!

We started this project a few months ago. My husband made most of the construction, and I decorated the inside. We added many little details, including a clothesline, windows with plexiglass, a BBQ, a little kitchen, a doorbell, a solar light, a slide, shelves, a table, a bench, etc. The kids loooooove their new house. The whole project took many many hours, but I am really happy with the results. Thank you so much Ana for the plans!!

Estimated Cost
900 $
Estimated Time Investment
Week Long Project (20 Hours or More)
Finish Used
primer and extorior paint
Recommended Skill Level
Intermediate

Comments

Theresa W

Sun, 07/14/2013 - 17:24

It is beautiful. I can only imagine how excited your kids are to play in this gorgeous space made just for them. Well Done!

LadyBird

Sun, 07/14/2013 - 21:10

Looks like your child has everything they need. Including a phone! I love the bench seat and the pillows with the window. So cool. You put a lot of work into this. Well done.

denaschance2

Thu, 04/03/2014 - 08:23

Love, love it! Couple of questions... how did you attach the walls to the decking and how far apart? How tall is the railing? I'm curious to know the sturdiness of the project overall and my SIL has concerns about the 3/4 roof sheeting over 1/4 walls. Comments please. My son-in-law and I have just started this project.

DIY Modern Rustic Outdoor Chair

Submitted by susanshamp on Fri, 07/10/2015 - 15:07

I made this outdoor chair by looking at a variety of plans and designs from Restoration Hardware and other stores. Check out more info on the project on my blog link. Thanks for looking!

Estimated Time Investment
Afternoon Project (3-6 Hours)
Recommended Skill Level
Beginner

Comments

DIY Convertible Bar / Pub Table

Submitted by susanshamp on Thu, 07/30/2015 - 16:38

This rustic modern version of a pub table has multiple uses - it can rest along a wall to make a 16 foot long bar, or rolled together to form an 8 foot long pub table. It is standard counter height 36" and will accomodate seating for 8-10 counter stools. If you don't have live edge wood slabs, you can also use construction lumber (2x8s or 2x12s) to achieve similar dimensions and versatile use in a more cost effective way.

Estimated Cost
Using construction lumber, approx. cost is $50 per table
Estimated Time Investment
Afternoon Project (3-6 Hours)
Finish Used
Poly on slabs, distressed black paint on base
Recommended Skill Level
Beginner

Comments

kev117s

Fri, 07/31/2015 - 04:10

Awesome idea! I think I will have to try for a dining table version of this table. Do you happen to have a way to lock the 2 pieces together? 

My version of the Madison dresser

Submitted by Medickep on Sat, 08/08/2015 - 22:37

I made this dresser to replace two cheesy dressers my wife and I had when we first moved out on our own.  The style was taken from the Madison dresser design.  I added two more drawers as we were condensing two dressers to one and  I wanted to ensure I was able to use it!!

Built from Plan(s)
Estimated Cost
150-200
Estimated Time Investment
Week Long Project (20 Hours or More)
Finish Used
Behr marque paint. Advertises one coat on any surface but I did two coats to sand down grain.
Recommended Skill Level
Intermediate

Comments

Zoe's awesome bed

Submitted by niecey on Fri, 06/17/2011 - 13:08

I'm a beginner, I had only made the play kitchen, Mom's lego table and a workbench before I took on this project. I had so much fun making this. I made tons of mistakes, but it's all repairable. My daughter loves it.

I have a build in chalkboard and fishtank in there. And check out the remote control fireplace.

Thank you SO much for the plans, Ana. You've made some awesome childhood memories for my kids.

(More photos and info on my blog post)

Estimated Cost
$350
Estimated Time Investment
Week Long Project (20 Hours or More)
Finish Used
"natural" stain from the oops bucket, a few paints
Recommended Skill Level
Beginner

Comments

shanestric

Fri, 06/17/2011 - 15:24

Wow - your little girl is so lucky! LOVE the built in fish tank - such a creative use of space!

jcmcclure77

Wed, 11/23/2011 - 09:19

From someone that has done a loft bed, I can appreciate the time and effort that went into it. Keep up the good work!

JM

Kids Sized Square Picnic Table

Submitted by Anonymous (not verified) on Sun, 06/12/2022 - 17:59

I love the design but needed it to fit my young kids instead of adults. So I modified the scale of this plan to make it fit my kids. The other kids picnic tables we have tried all had some negatives to them. Additionally, it seems if my kids are sitting next to each other there will always be fights and/or someone bumping their brothers plate on the ground. So the four sided table was a must and it apparently is not a very common style. That was why I fell in love with Ana Whites design.

I had just completed a deck and had leftover materials. This table was designed to compliment the deck - using the leftover Trex decking materials for the top and seats. This also led to some of the design decisions on how I altered the seat design to match the look and style of my deck.

This was a great project and a VERY sturdy table. It's rugged, heavy, and easily holds adults as well.

Built from Plan(s)

Comments