entry shoe bench and coat rack
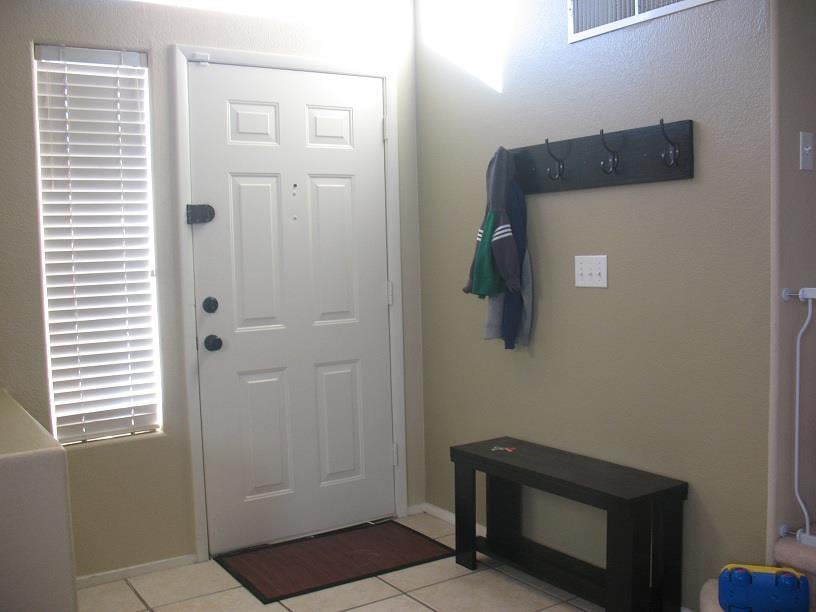
This is a great place to put on shoes and hang up your coat. My husband loves it. You can place your shoes on the shelf under the bench.

This is a great place to put on shoes and hang up your coat. My husband loves it. You can place your shoes on the shelf under the bench.
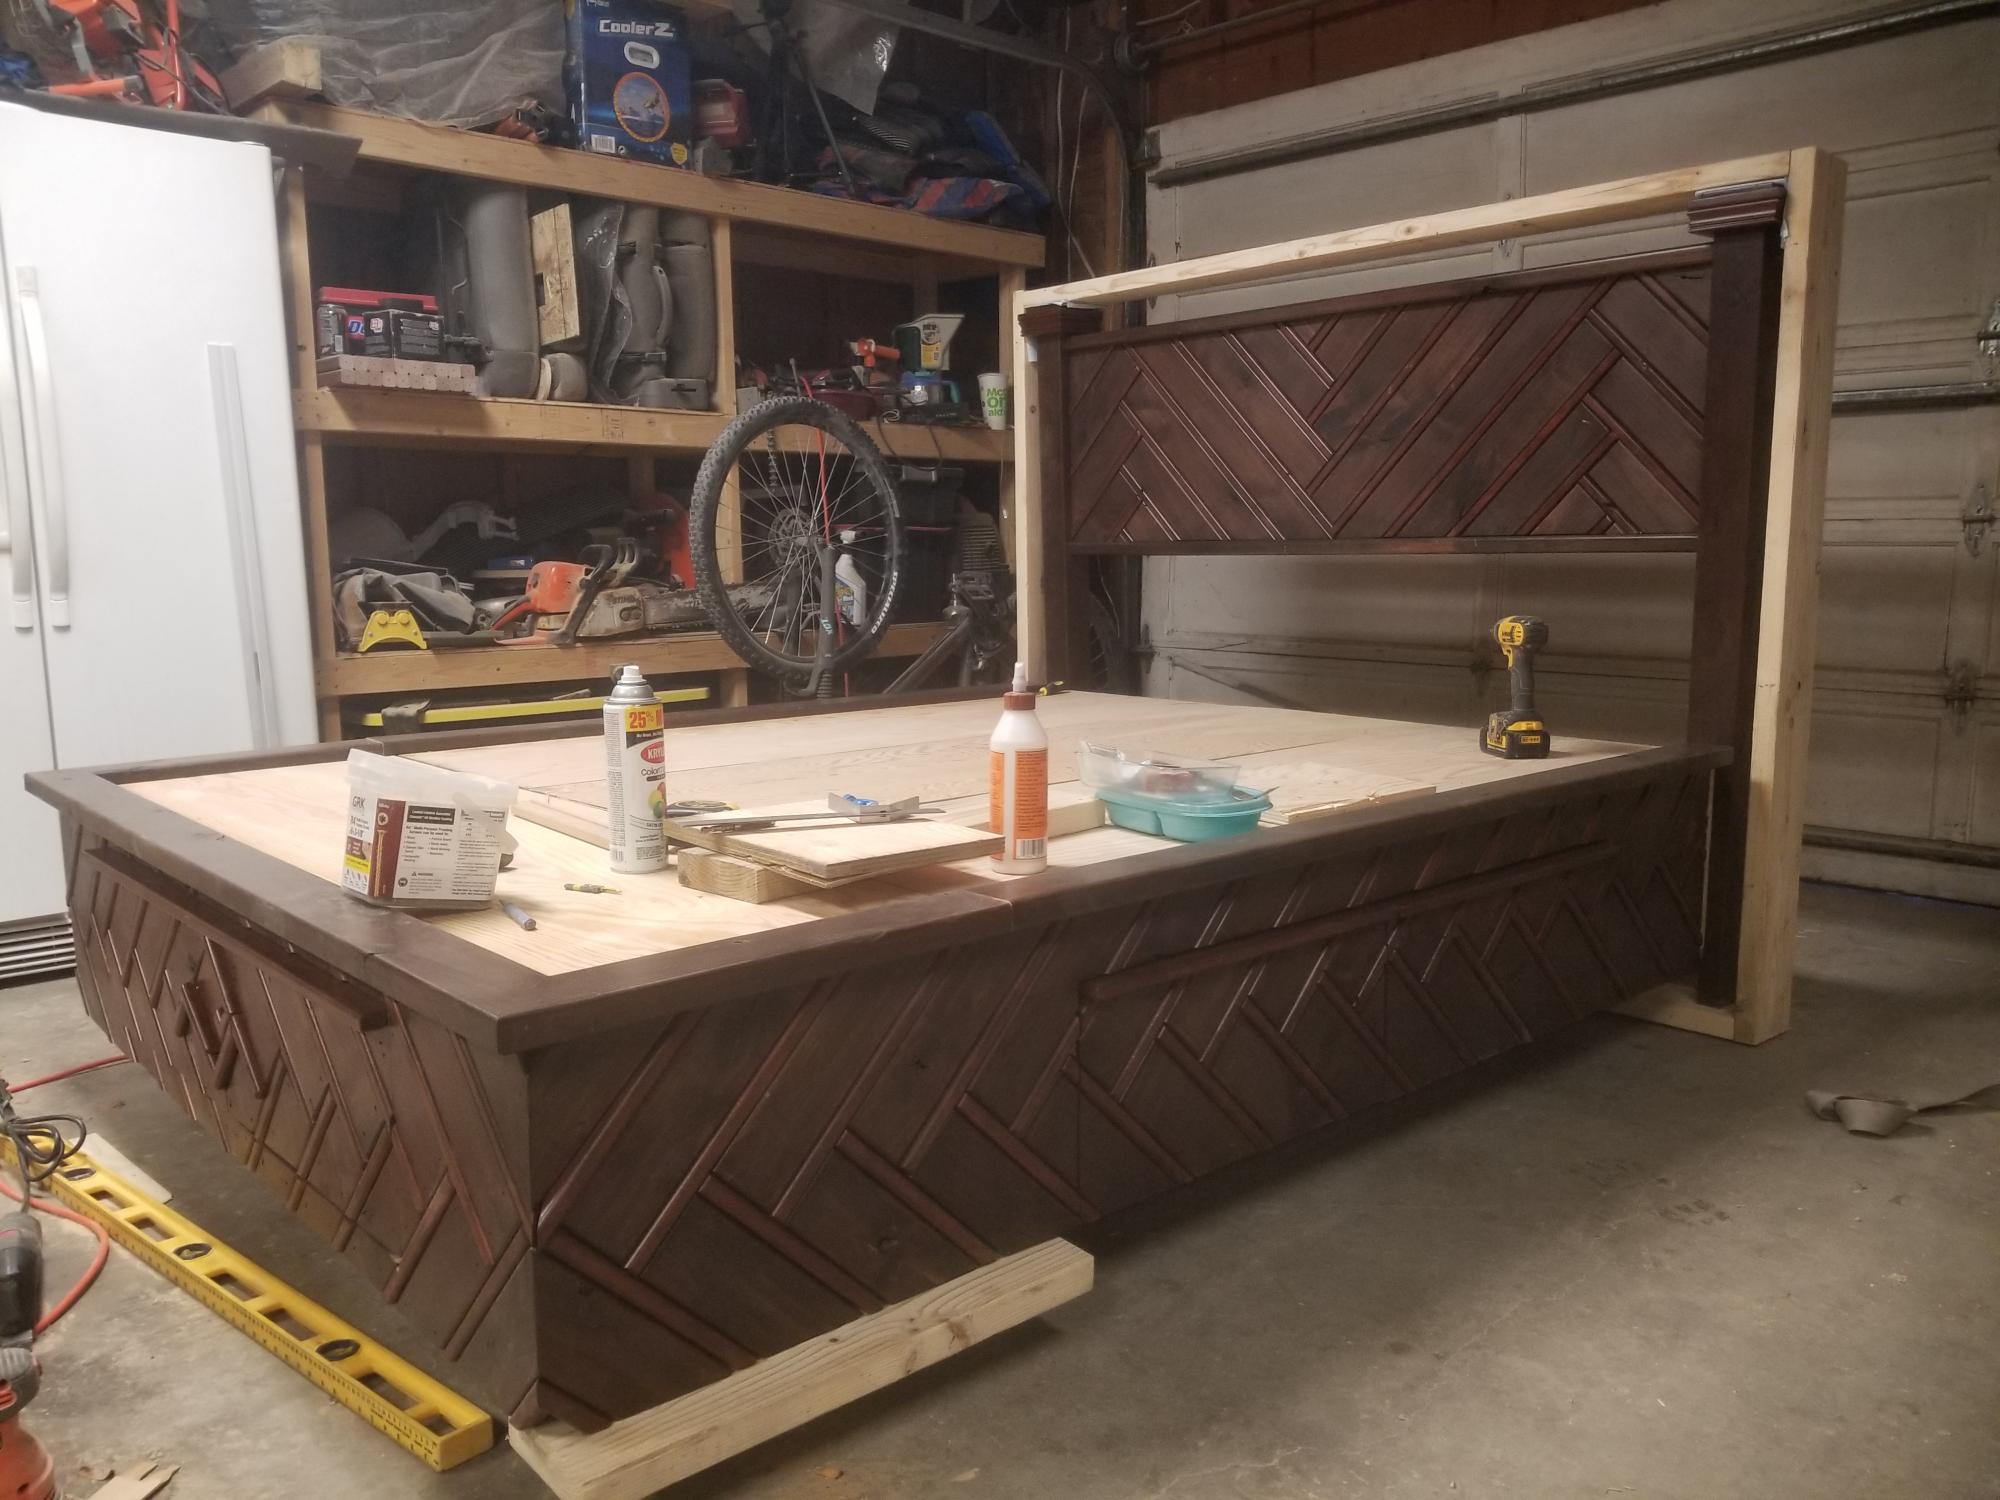
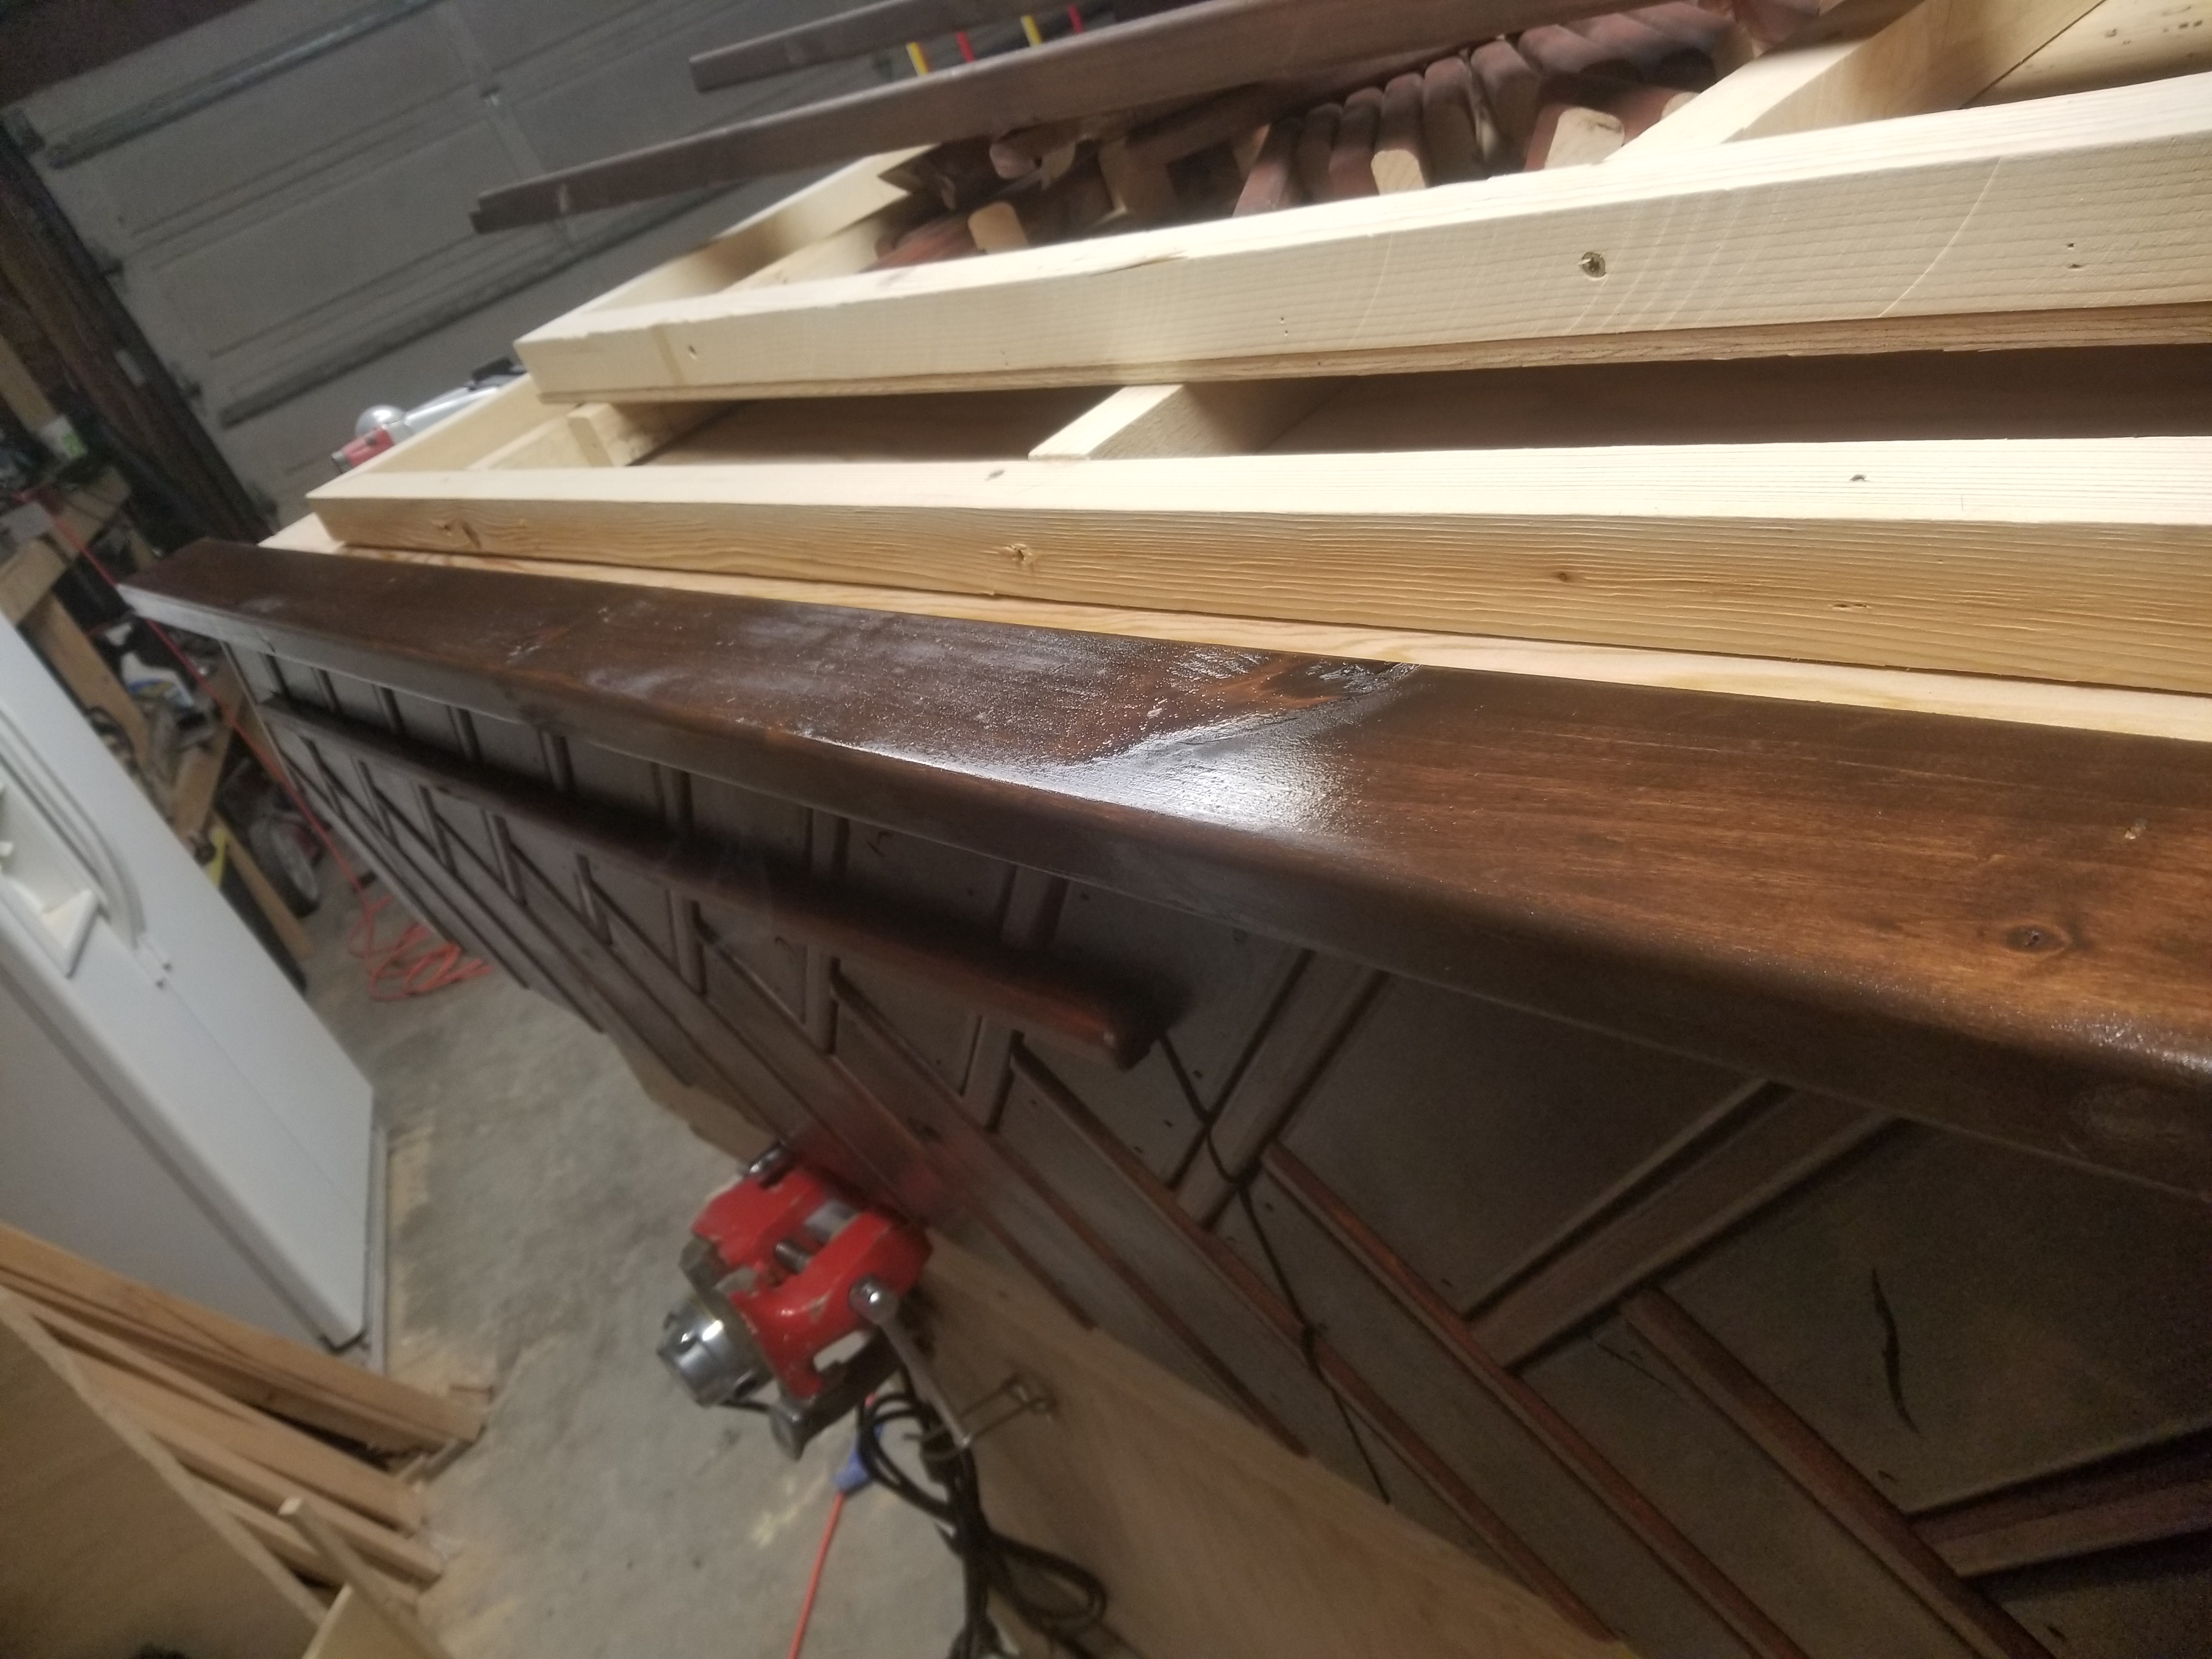
I work at a lumber yard, and this was built with "garbage" door jambs.
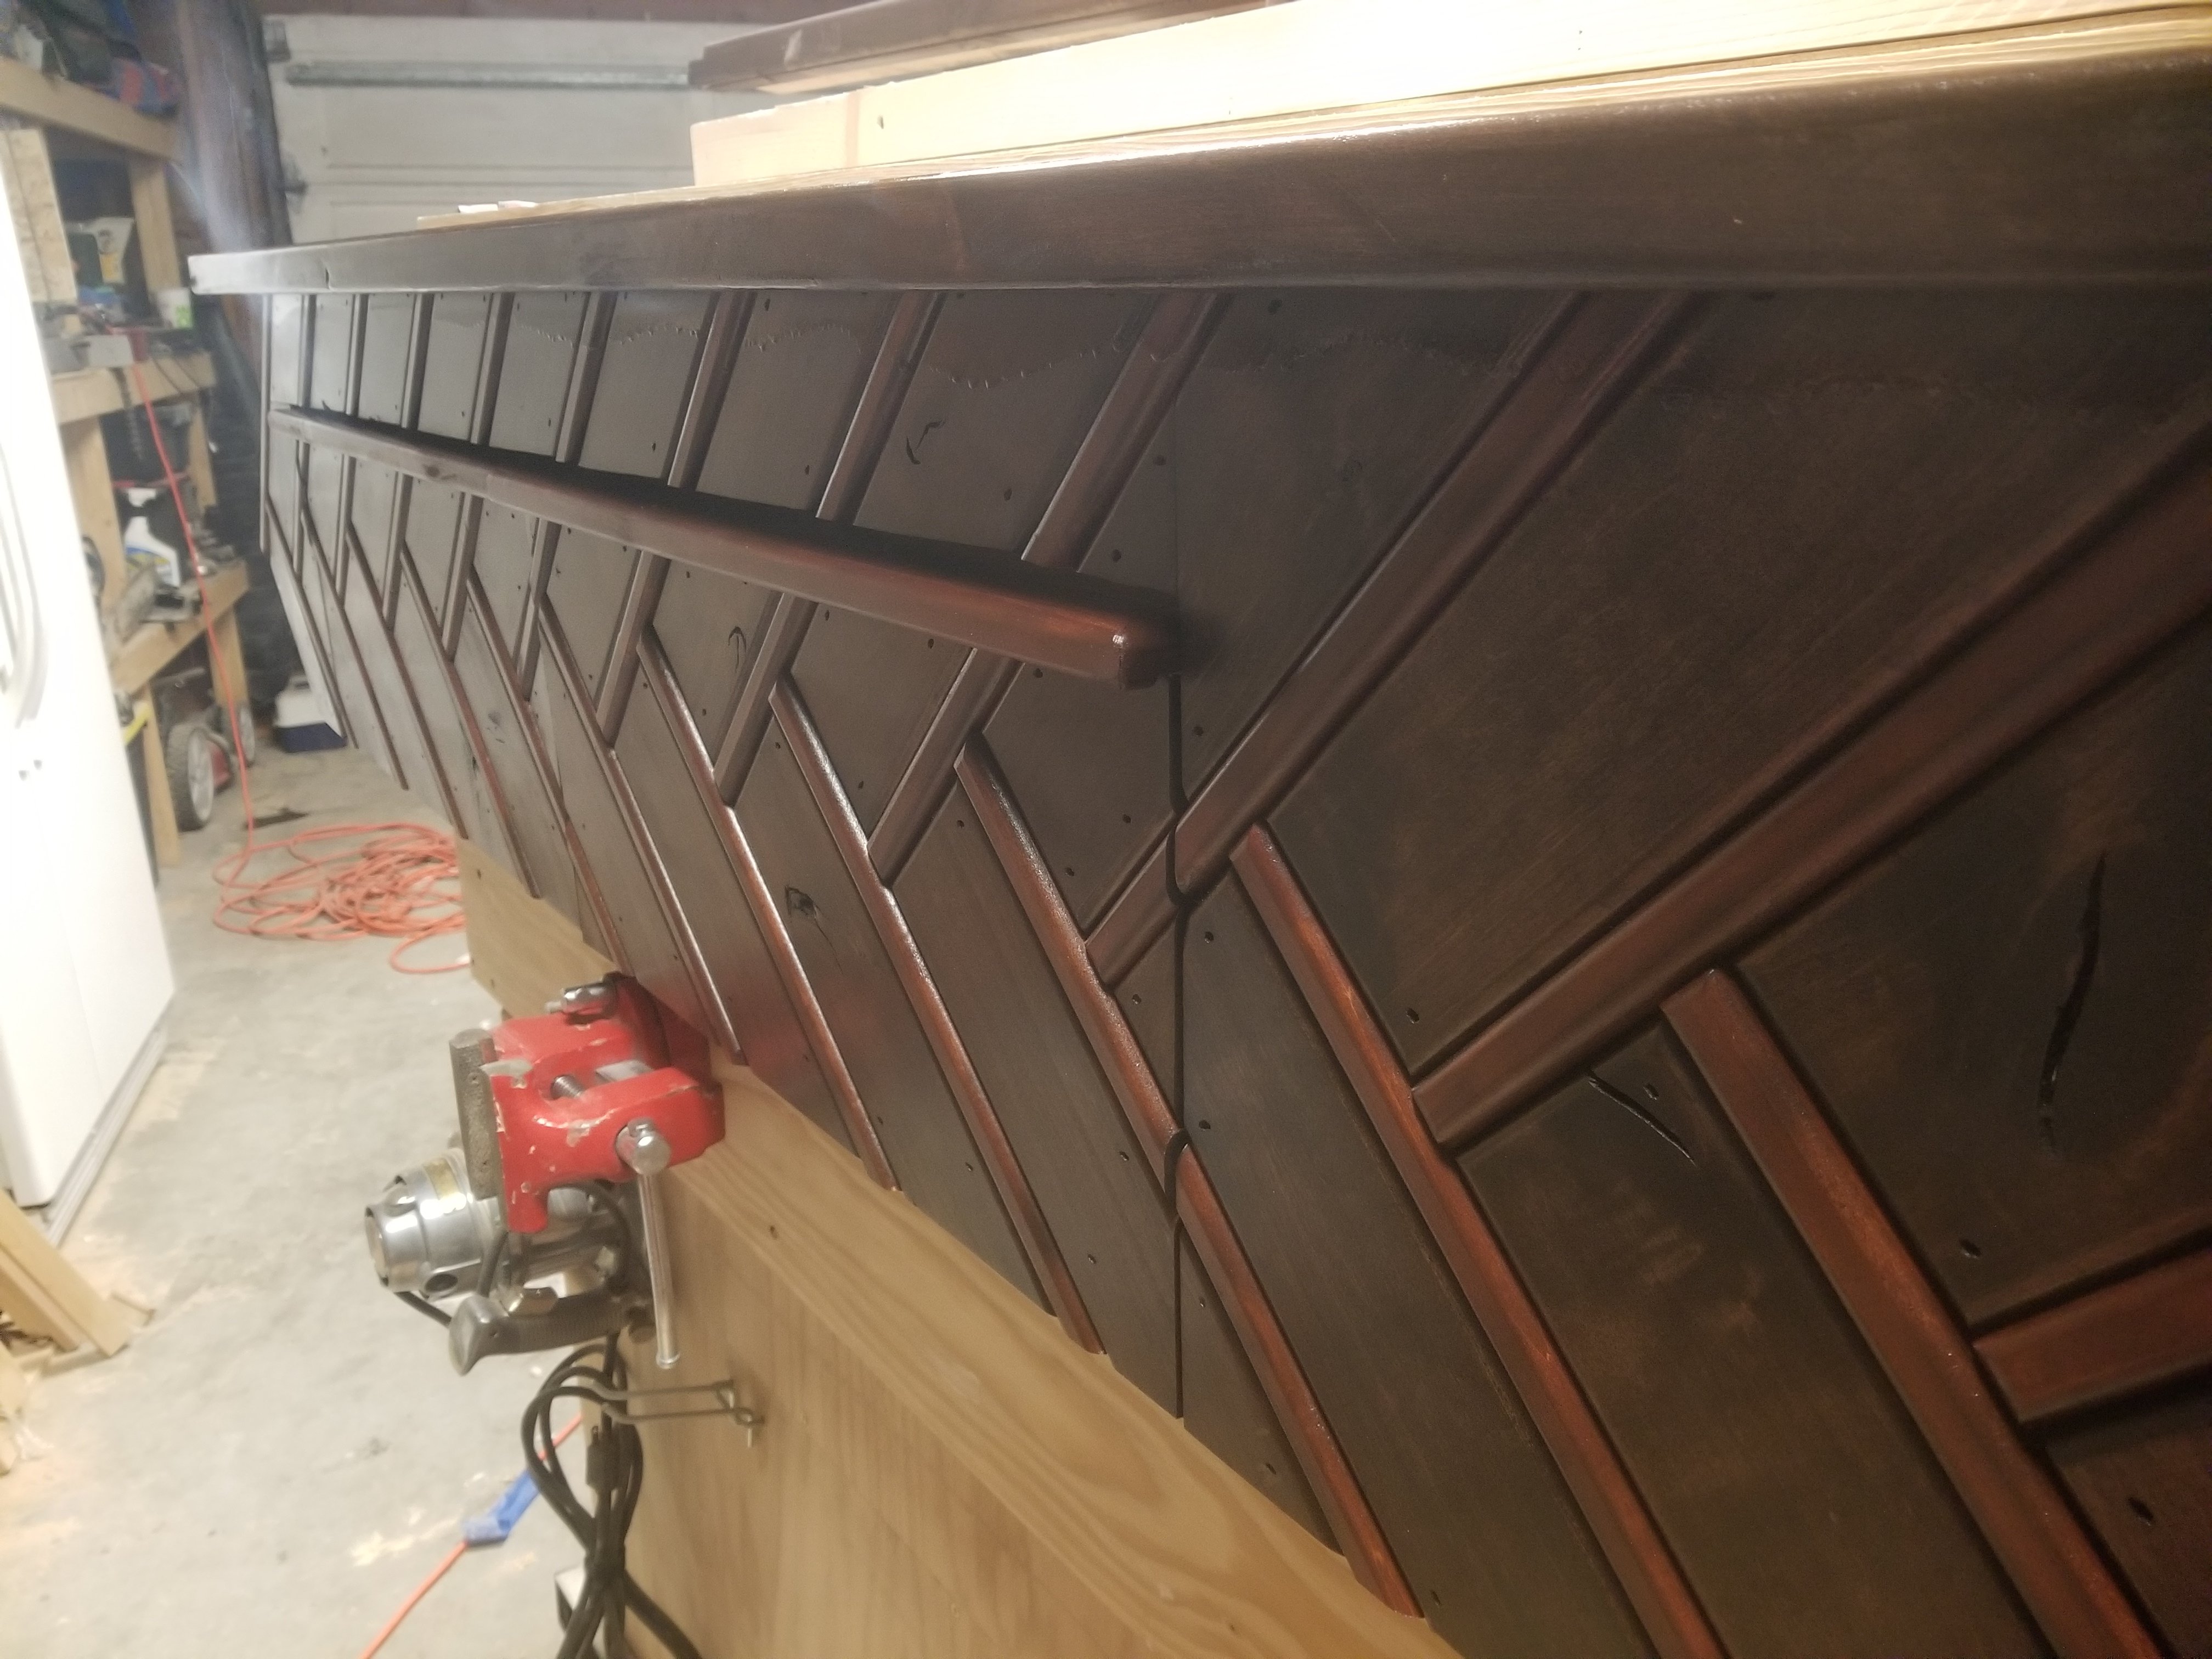
This project was quick and painless. I recommend for a beginners project (but expect to get frustrated over building the x's into the side though). I stained our table with the Minwax Classic Gray stain and used the Minwax water-based polyurethane to seal it. I realize that the stain is difficult to see but it is a beautiful stain that has turned into my go-to stain. The stain is not too gray and you can see the natural color of the wood through it. The photo gives the impression a glossy finish. In reality, it is more matte.
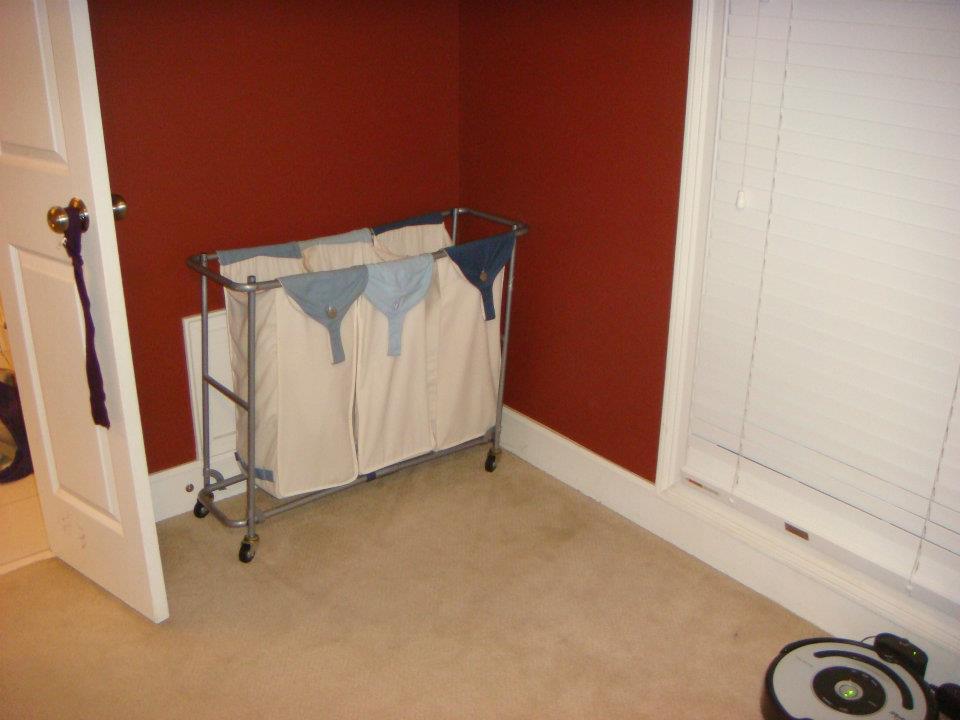
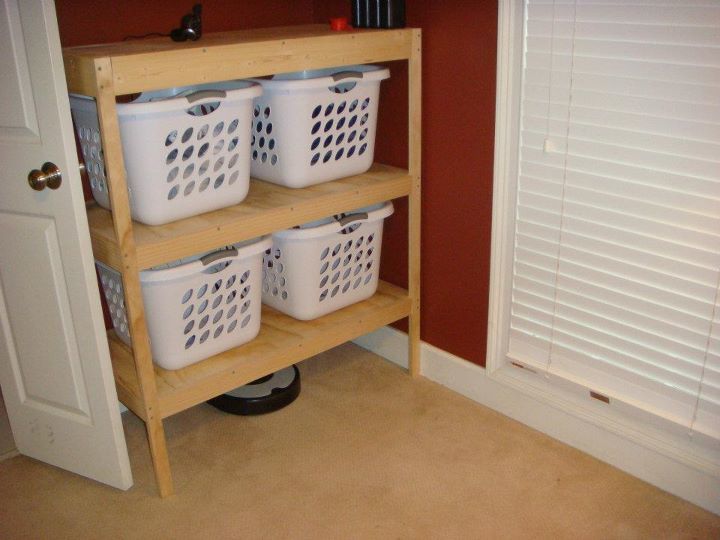
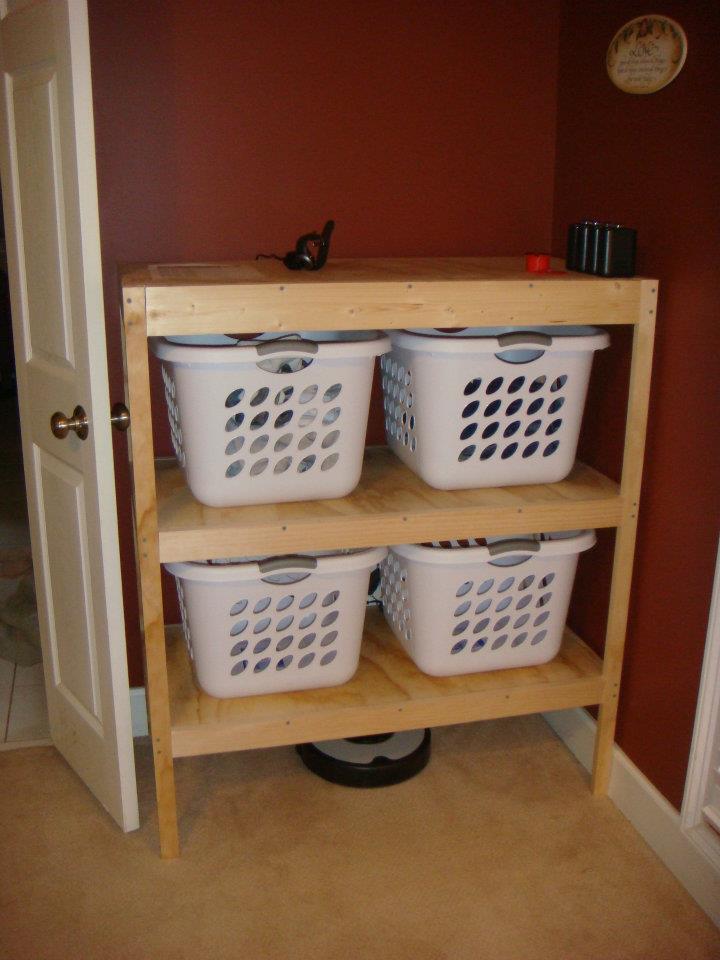
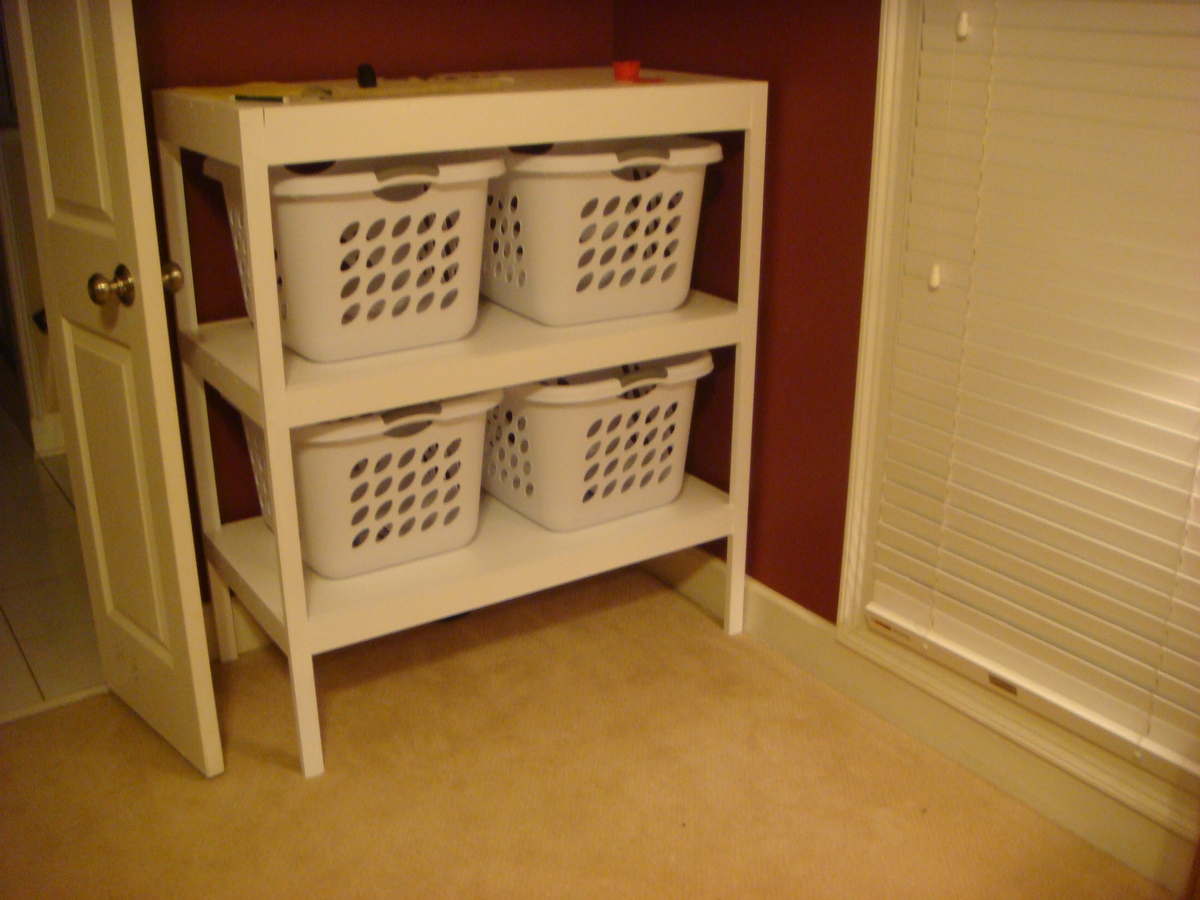
My original plan was for a laundry cart or stand for laundry baskets. I ended up building one that is pretty big for 4 baskets, a shelf on top, and elevated 10" on the bottom for our Roomba vacuum to be stored.
This was my first project. It's not perfect, but I love the way it turned out! The original plans were too large for my dining room, so I altered the plans to make it a 5-foot table. I actually ended up making it a little bit wider as well by adding an additional 2X10 to the table top to make the table look more proportional. The wider table top has made it perfect for family-style meals! For the finish, I did one layer of Rustoleum American Walnut stain applied with a foam brush and wiped off with a clean cloth after one minute. After the first layer of stain, I sanded the table with a very fine paper and then did two layers of Rustoleum Dark Walnut applied with a foam brush and wiped off with a clean cloth after only a few seconds of setting. Finally, I did three layers of Rustoleum Matte Finish polyurethane.
Tue, 03/06/2018 - 19:15
Your table is beautiful!!! You done a stunning job on it!!! This is the same size that I need for my table but I'm having a hard time figuring out the measurements for the legs and the length of the benches I need!!! My table needs to be 60"x32" would you mind helping me with the measurements of your bench and also of your legs on the table?? I plan to make the table legs the same height as hers but need to make the top board and middle brace to match the 60" top!!
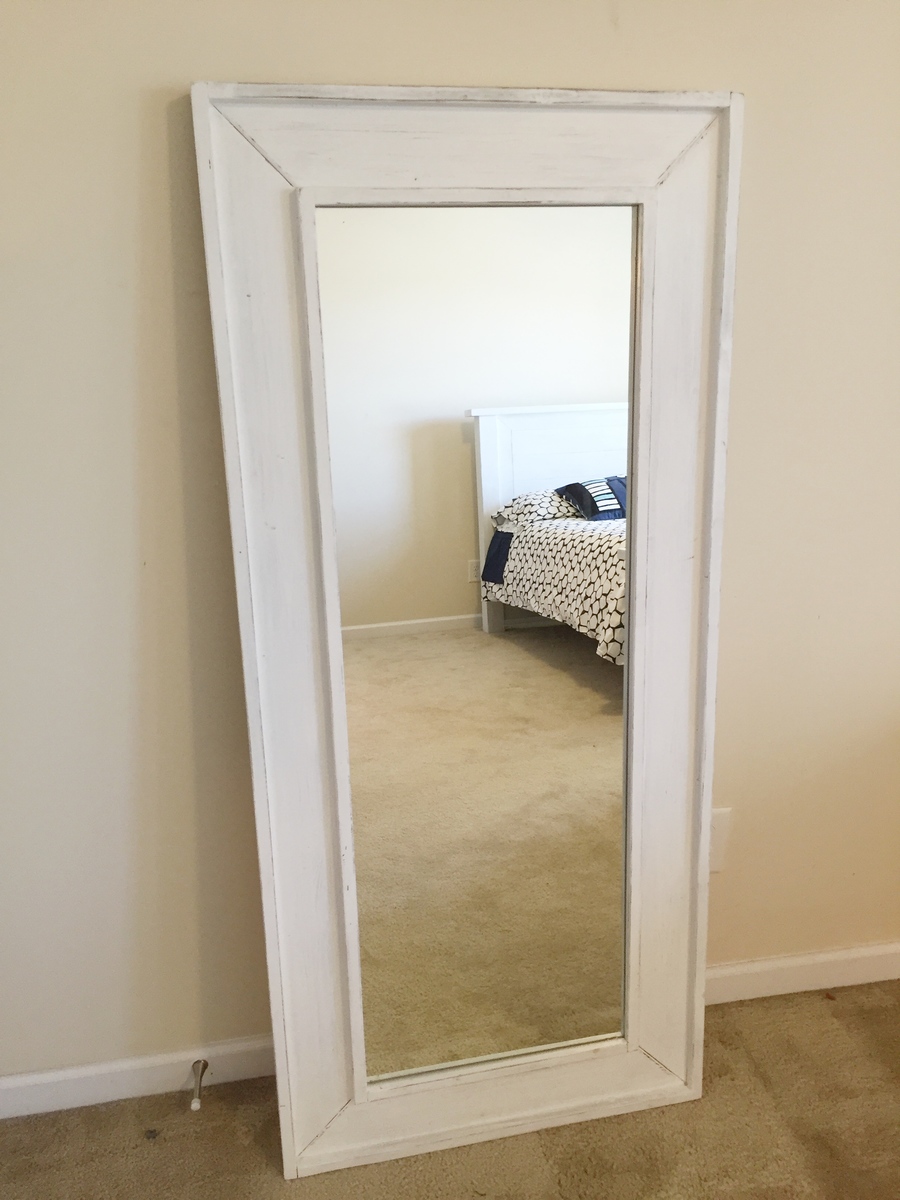
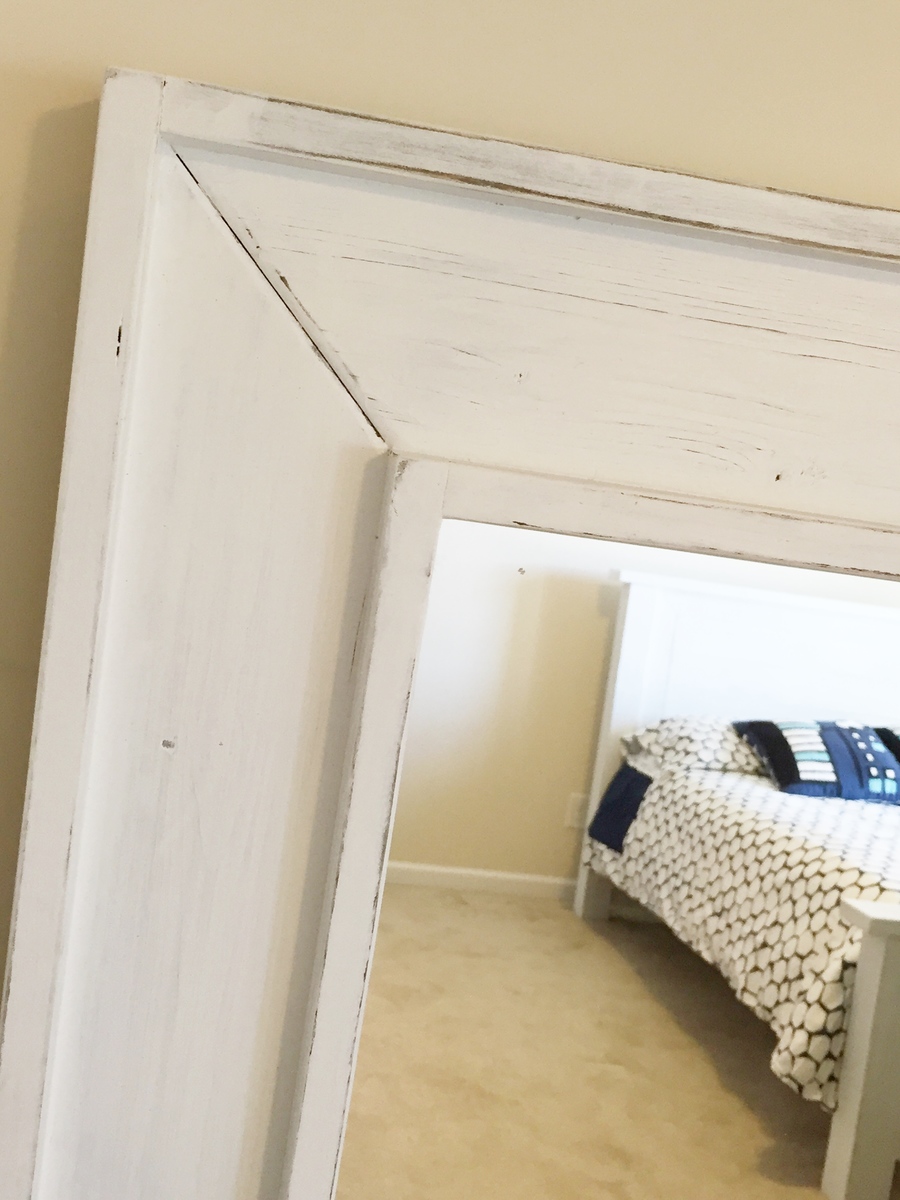
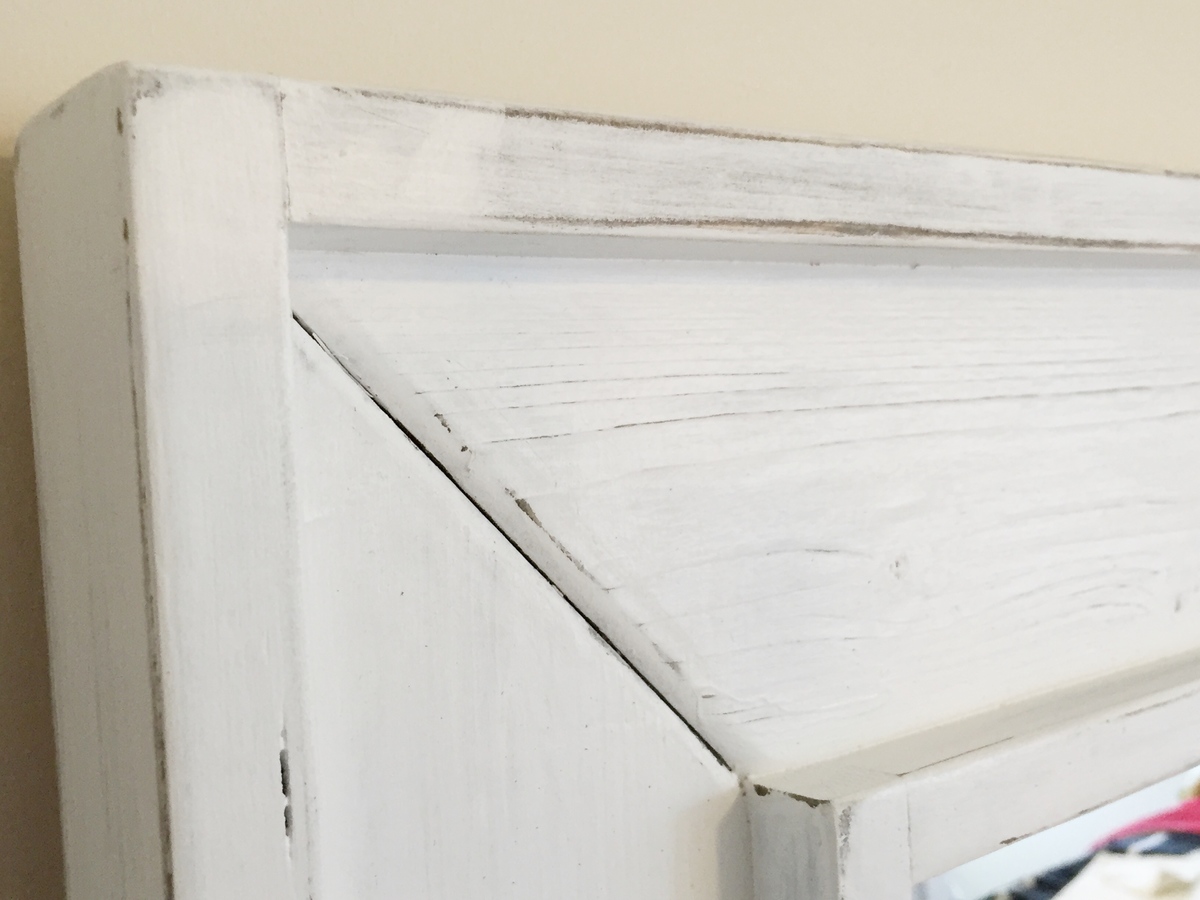
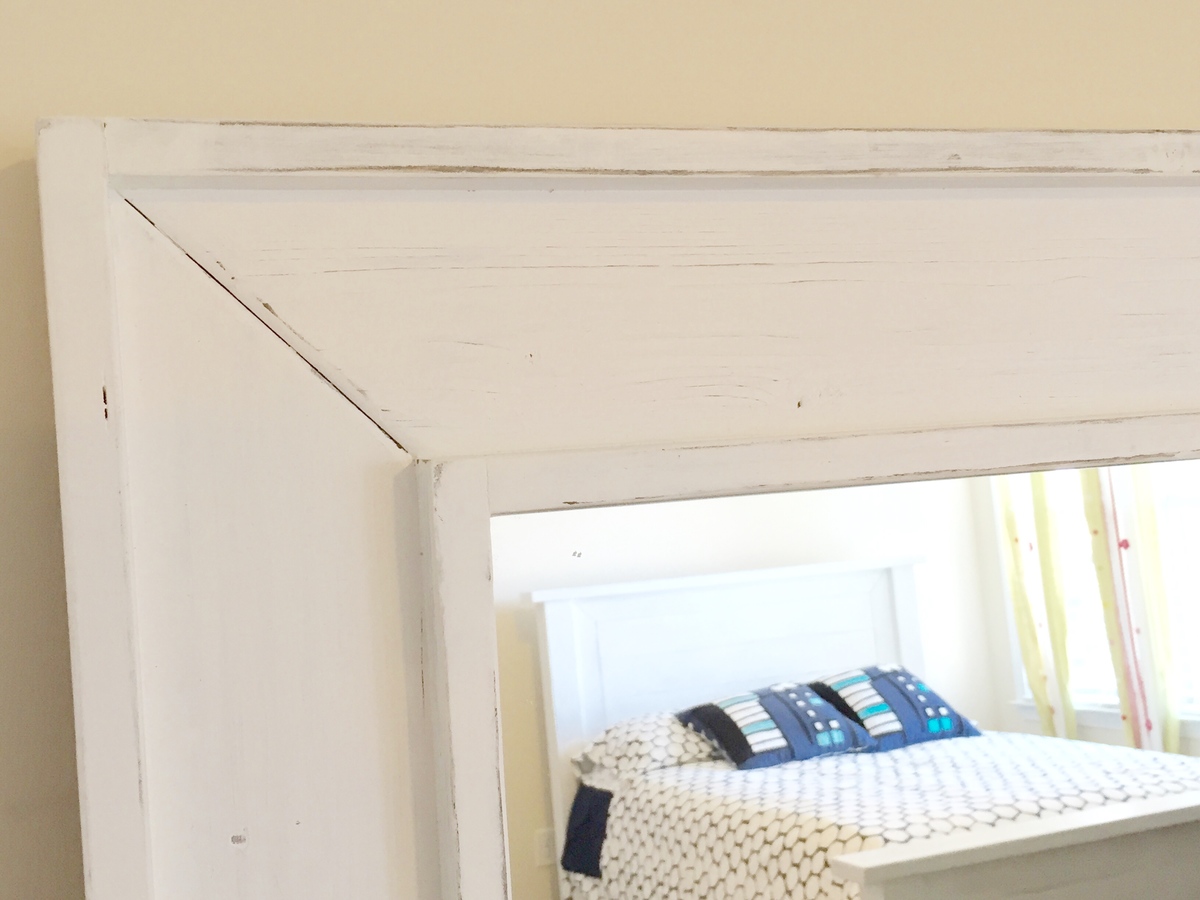
A $10 Mirror framed out with some 1 by 2, 1 by 3 and 1 by 4.
Stained black and then 2 coats of white paint sanding after each to give a rustic/antique look.
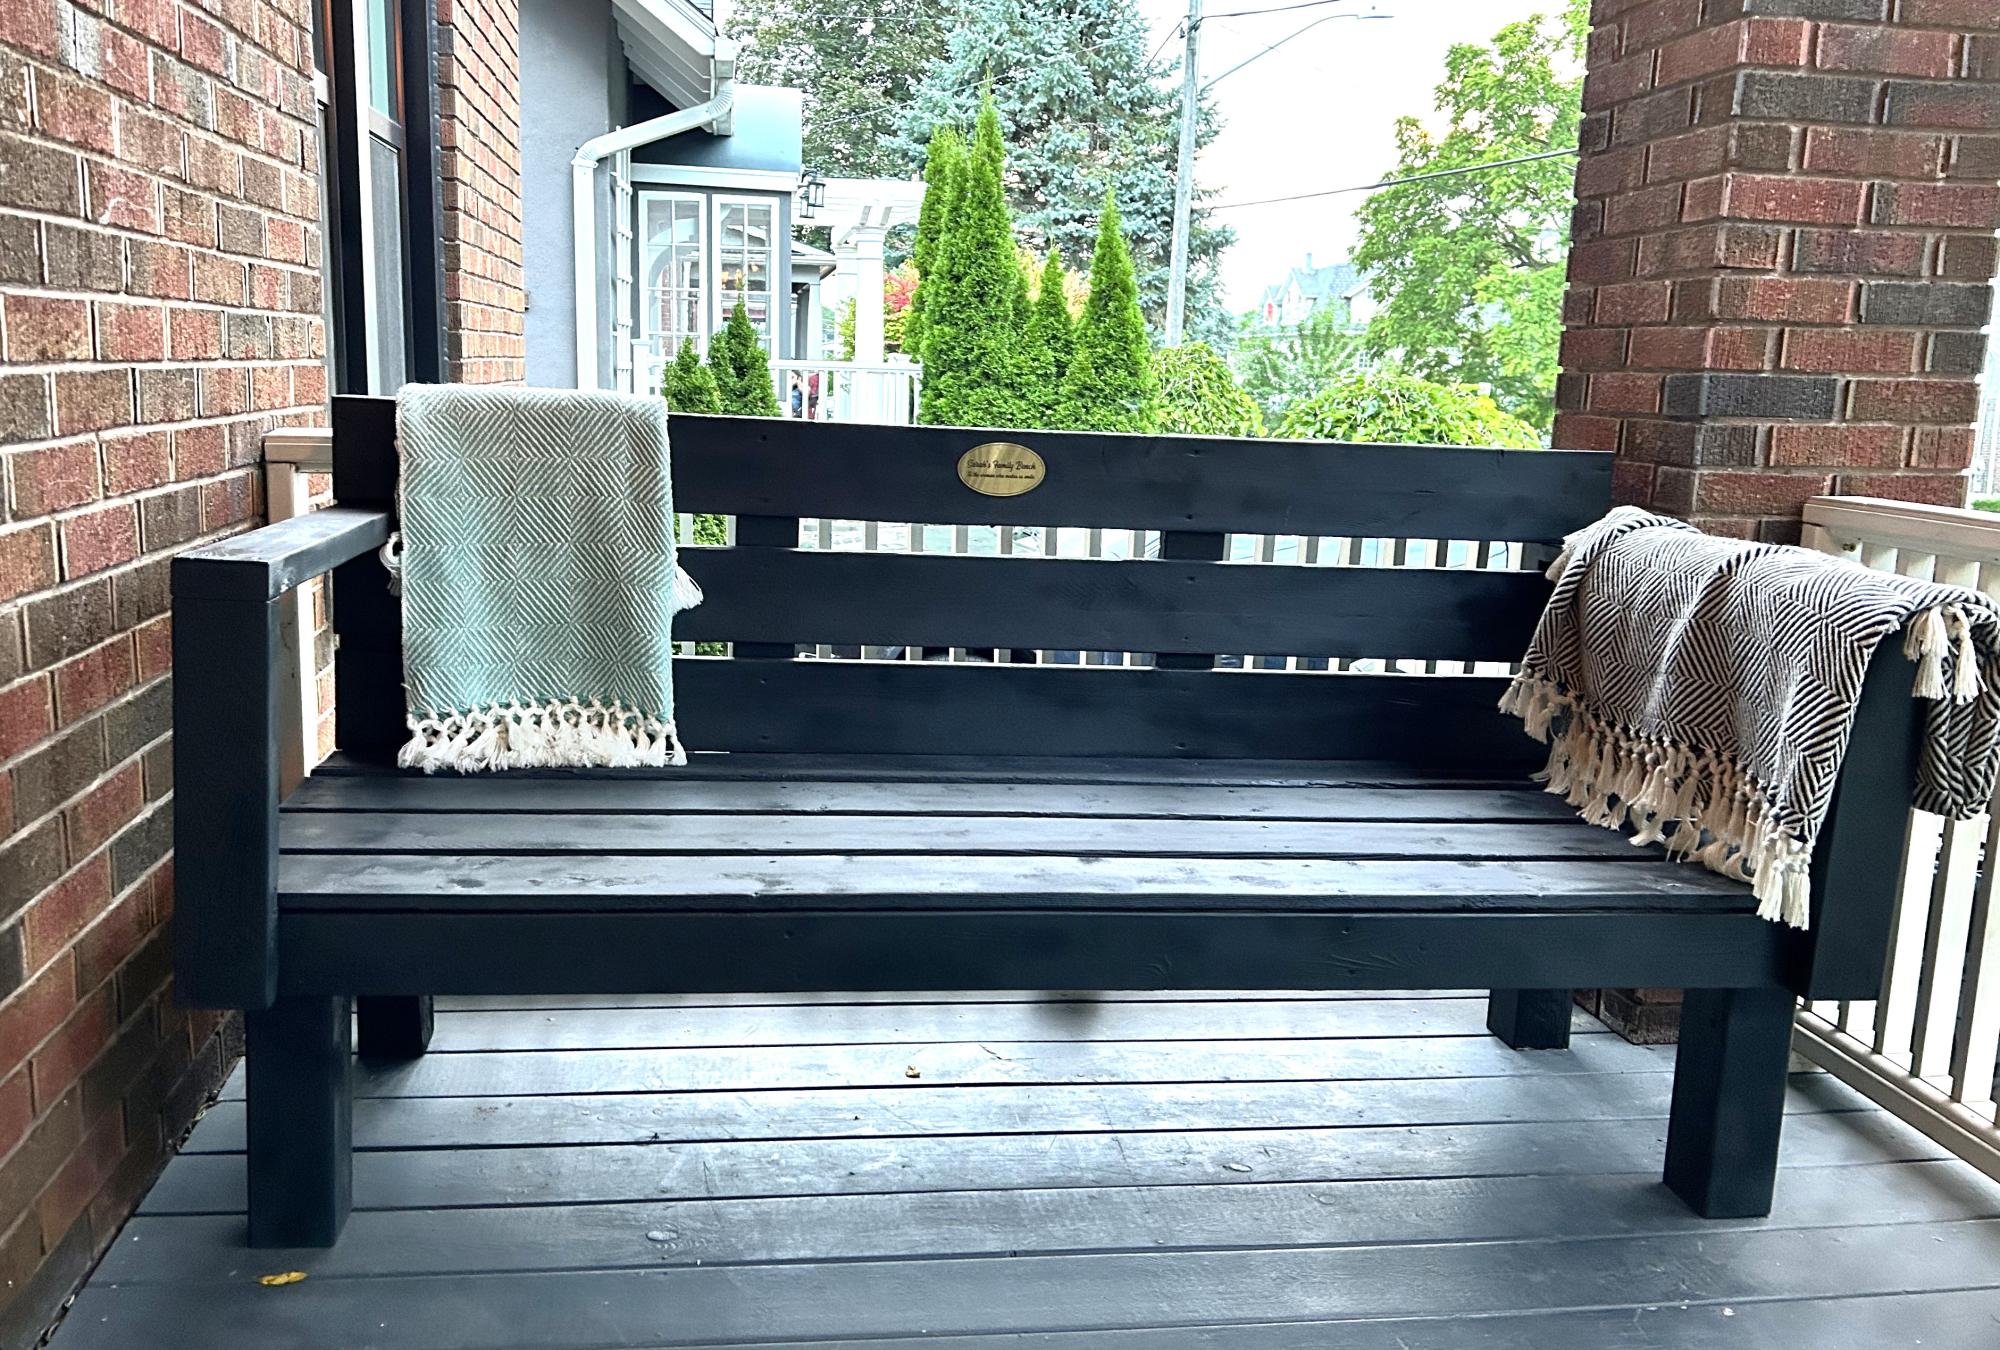
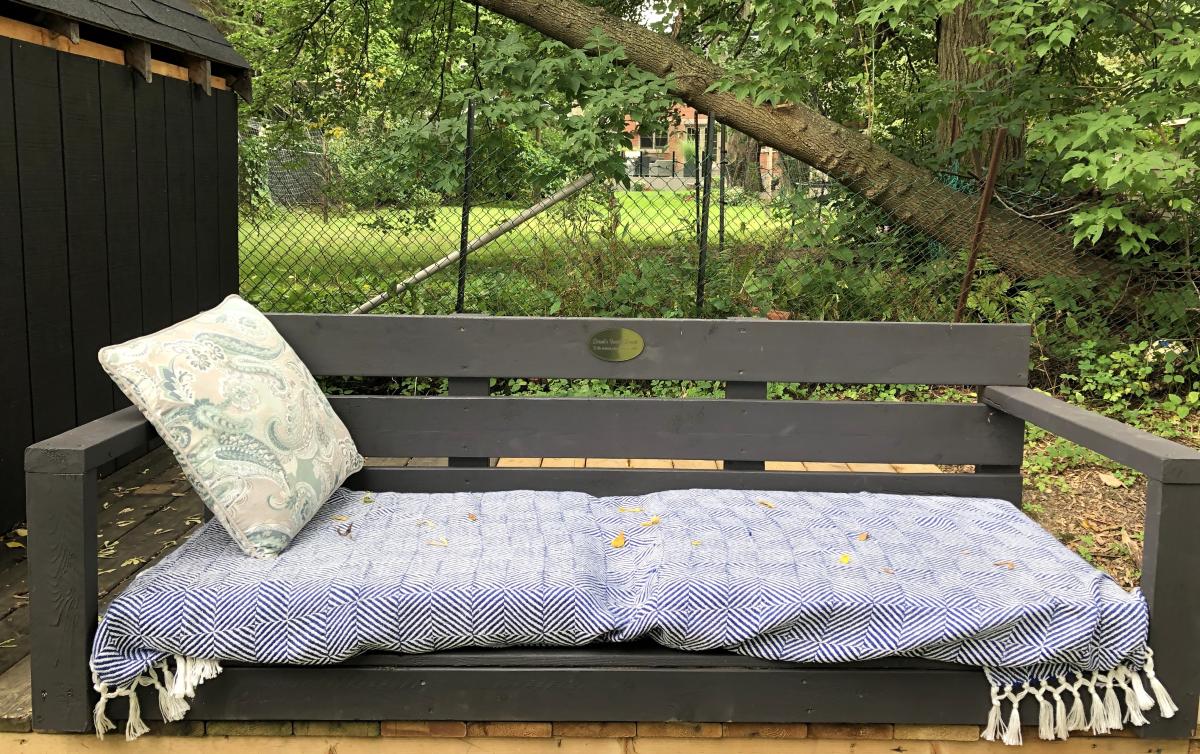
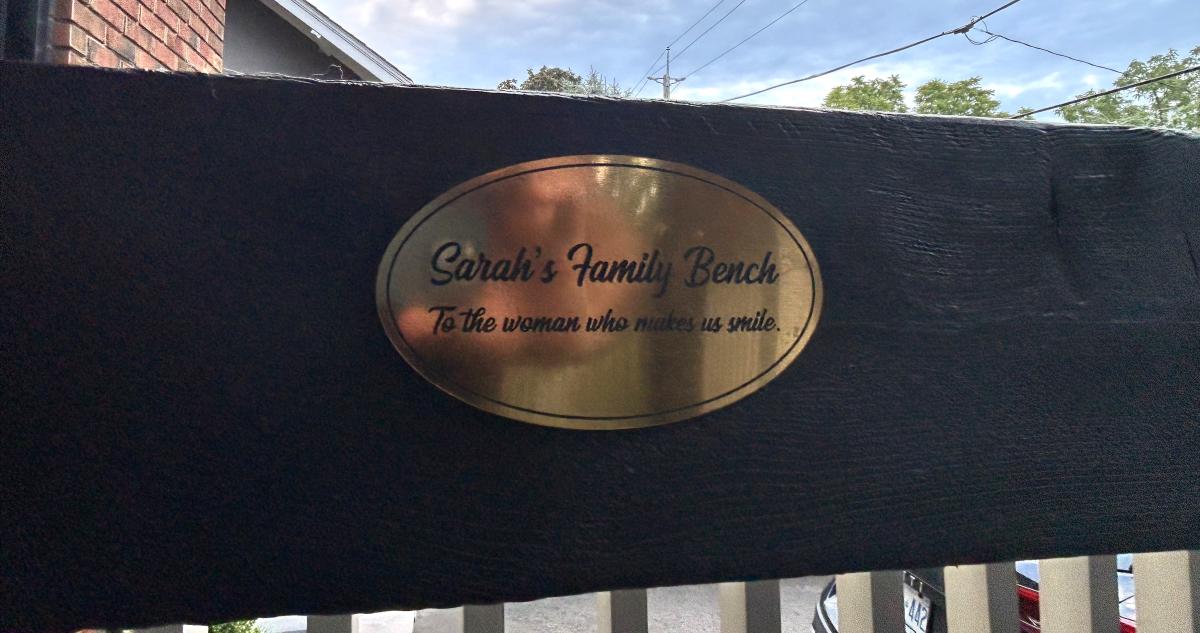
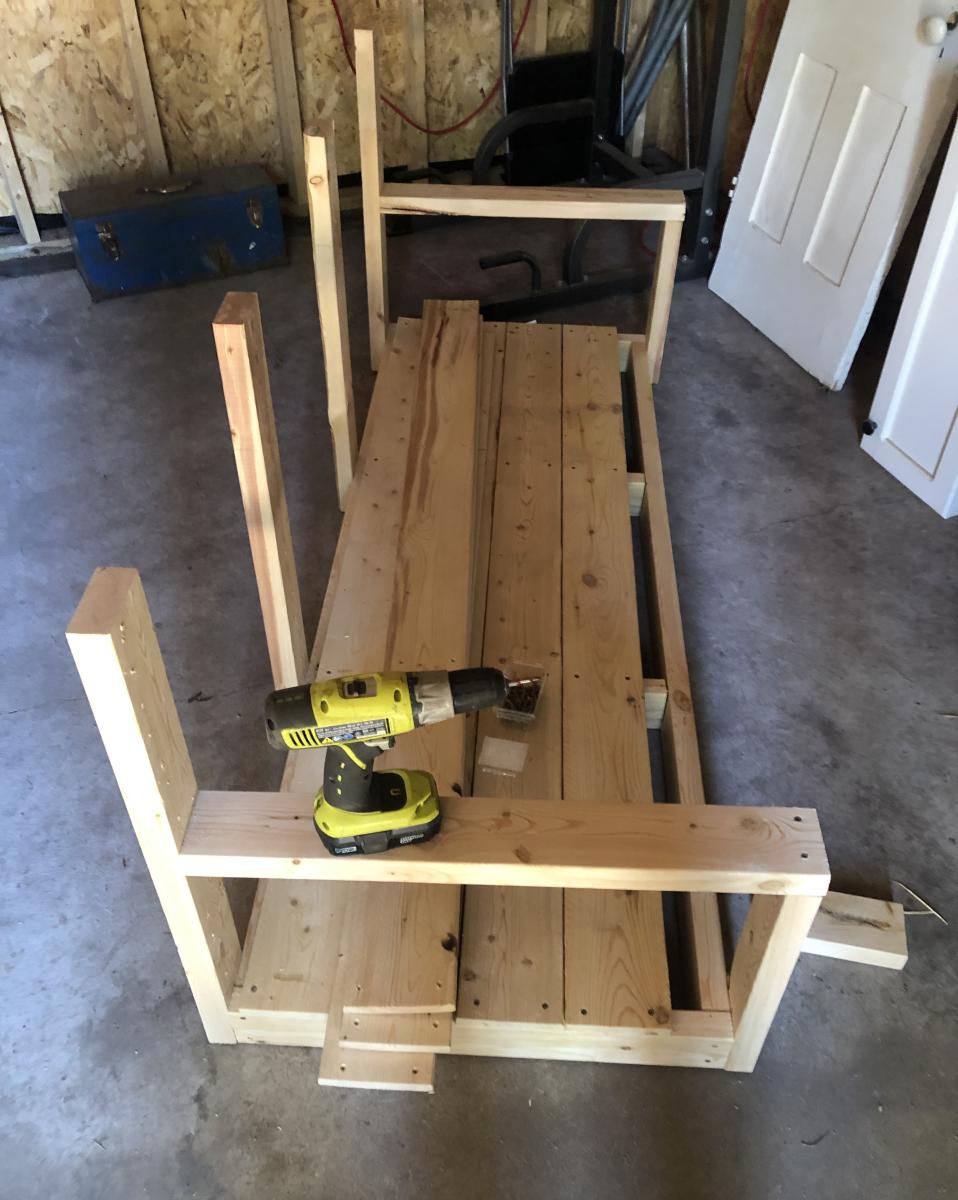
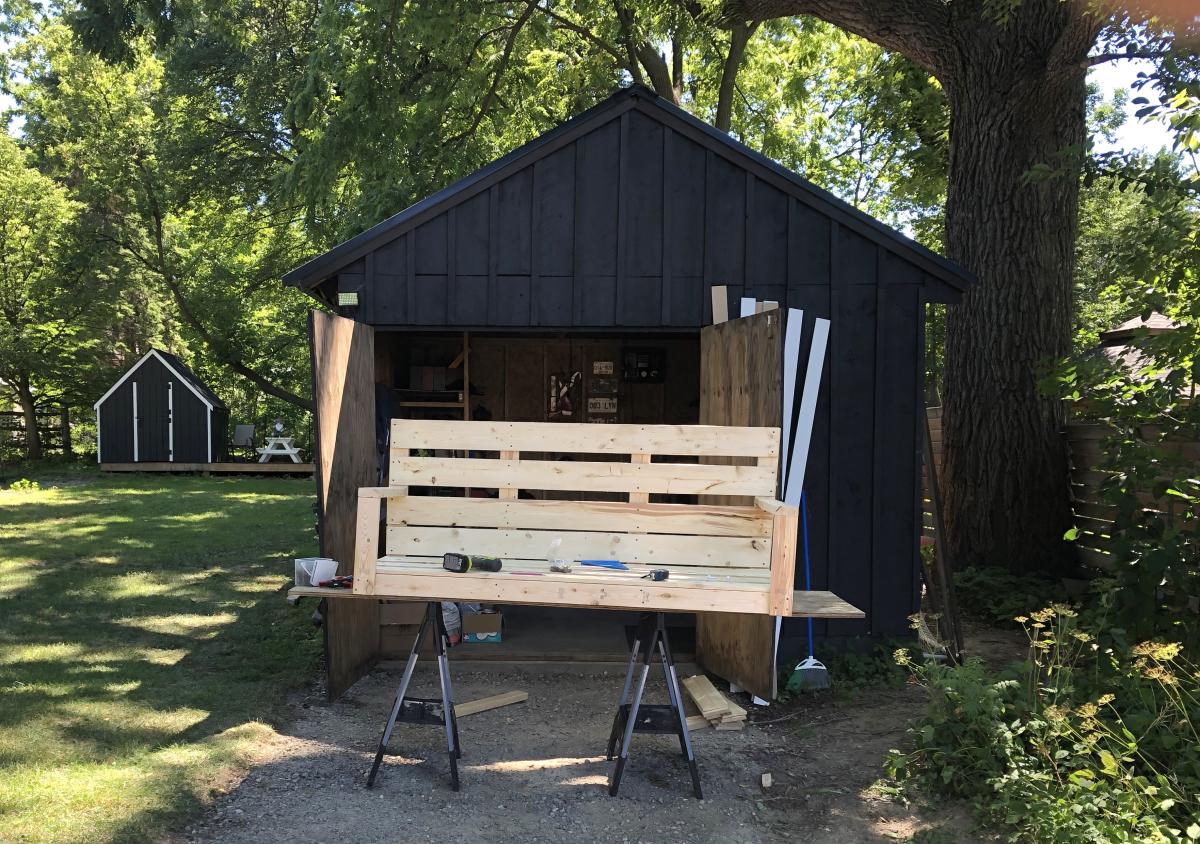
Made my wife a Ana White DIY porch bench for our 10 year wedding anniversary. Had a custom plaque made: Sarah’s Bench.
Looks beauty on our front porch.
Jesse Micak, Ontario, Canada
Wed, 08/30/2023 - 09:55
Beautiful bench and I'm sure your wife loves it! Thanks for sharing.
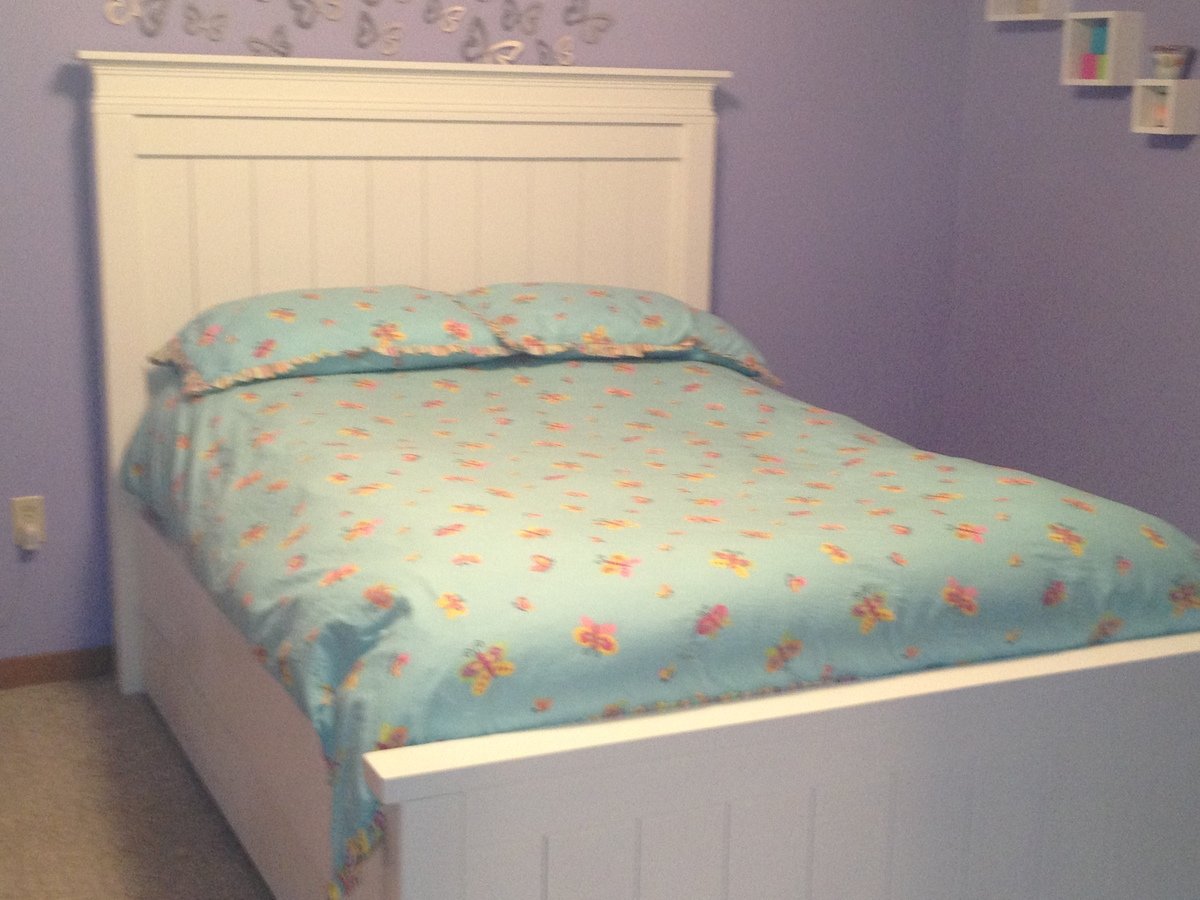
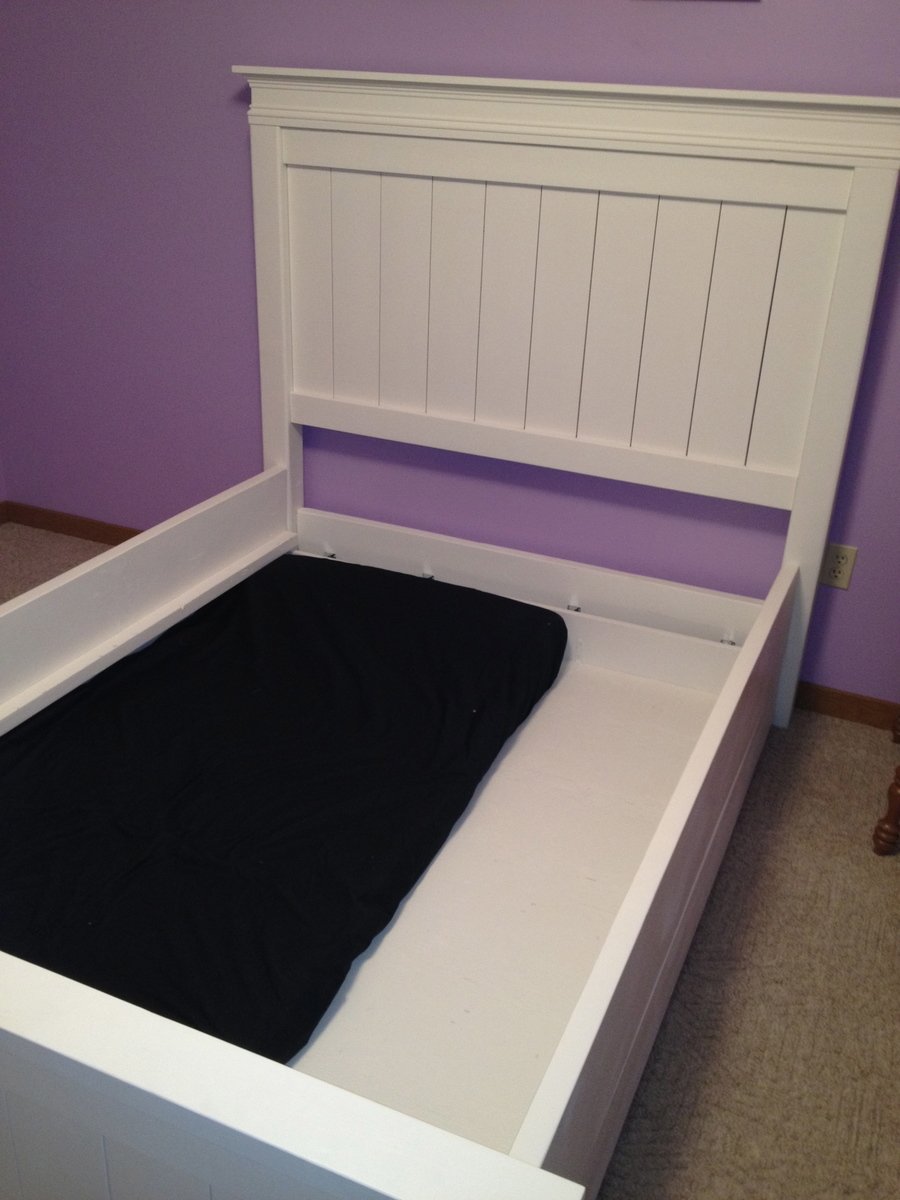
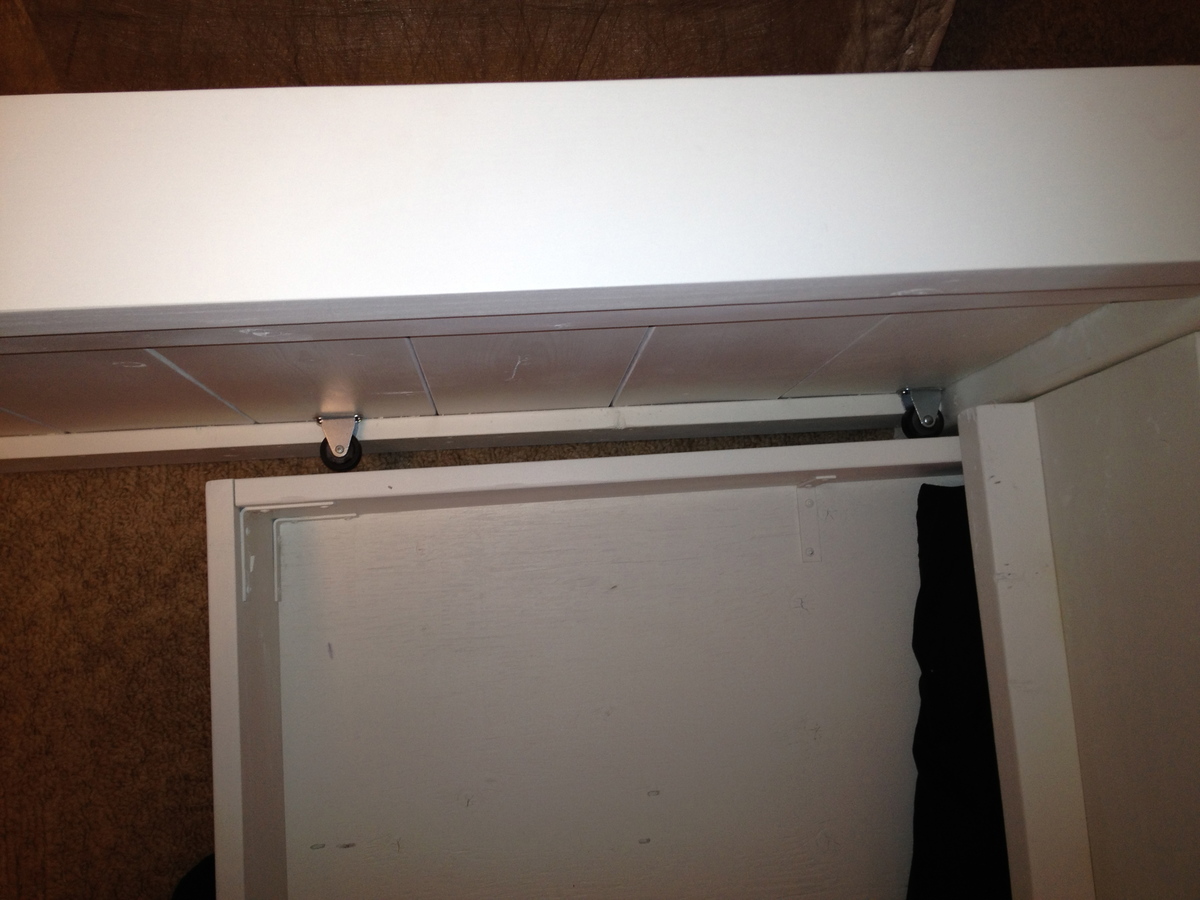
These were my first builds. I am so pleased with how it all turned out! My sister in law introduced me to Ana's page and I was off! We have twin, 5 year old girls with their own rooms. They both needed new furniture and I fell in love with the Farmhouse Bed Plans. I used a little of the Mom's Fancy Farmhouse Bed Plans and the Queen Farmhouse Bed Plans. I wanted to use our existing mattresses with box springs, so I put a cleat on the inside edge, running the length of the side rails. Another modification, being that I wanted to use mortised bed locks on the side rails to allow for quick connects to the head and foot boards. I used these from LV: http://www.leevalley.com/en/hardware/page.aspx?p=67916&cat=3,40842,4126… I routered them in using a guide. I strongly recommend them if you are able. You can paint the bed pieces independently and assemble very easily. No building in the room! The other modification I made was that I made the actual side rails higher in order to fashion a trundle bed underneath. The trundle is a double as well, rolls on stationary castors, and on carpet too. I have a single mattress in it and it can be pulled out on either side. One side is for the bed and the other can be used as storage etc. My girls can easily pull it out and put it back in place. Great for sleep overs and extra company! It is technically unattached from the bed, but there are small stationary castors that run the inside length of the head and foot boards on their sides to act as guides for the trundle. I have attached pictures to show what I mean. I did not want it banging around underneath, and the castors are great little guides. I have more detailed pictures, but am having difficulty including them as their file size is too large. Since making the beds, I have also made the farmhouse side tables, and am in the midst of making the Madison Dressers to match! It is all coming together nicely. It took me about 2 months to complete the beds, but that was a few hours here, and a few hours there. I didn't think that was too bad, as I made two of them and it was my first project! Either way, I am very excited and have the builders itch now! So many things to create. Thanks for a great site, and so many ideas.
Wed, 07/11/2012 - 17:35
I absolutely LOVE these beds you made! This is *exactly* what I have been thinking about for my spare bedroom...a mix of the farmhouse bed, farmhouse storage bed, and mom's fancy farmhouse bed! I wanted to have the option of a trundle beneath our spare bed as we frequently have overnight guests that have children, but I thought the storage would be awesome, too! Your modifications are perfect!! I would love to know more and see more pictures...and pick your brain about all you changed/did with yours! Thank you so much fro sharing!
Wed, 07/18/2012 - 12:22
Thank you for commenting. I am very proud of these, I still go and look at them! Haha! I do have more pictures, they were just too big to put in this post. There is a MB size limit. If you'd like me to send them, just leave me an email addy to send it to. I am afraid I will be of little help as far as the measurements go. It was a learning project, but in the end it went well. I can help, but I went by measurements from their existing mattresses and heights, and what I conjured from other plans from this wonderful site! If you do not have one, I strongly suggest getting a Kregg Jig. I did not have one for the beds, but now have one for the nightstands and Dressers. IT MAKES LIFE WAY BETTER!! It is an investment, but worthwhile! You will also need some clamps, but like I say, worth it! Happy building!
Started these wishing wells as only having fun and for family it seems now that it is going to be a little more than I thought now taking orders from family friends


In reply to Wishing wells by Jason48
Tue, 11/19/2019 - 07:33
I love the wishing wells, but I can;t find a plan. My mom has wanted one of these forever! She now has stage 4 squamous cell carcinoma Stage 4 and I would love to build her one before it is too late.
Fri, 04/04/2014 - 08:49
Good or bad? I can't imagine anyone would say anything bad! This is awesome! Looks great!
In reply to Good or bad? I can't imagine by stacynabby
Tue, 04/15/2014 - 07:23
Thank you for the compliment
Fri, 04/03/2020 - 17:24
Can I ask where you got this plan from.Would love to make one.
I had fun building this Leaning Bathroom shelf you posted from RyobiNation! I had been looking for the right bathroom storage for awhile. I have a small bathroom and not much really did it for me until I found the link to the plans on your Facebook feed. The moment I saw it I knew I had to build it for my bathroom so thank you so much for posting it!
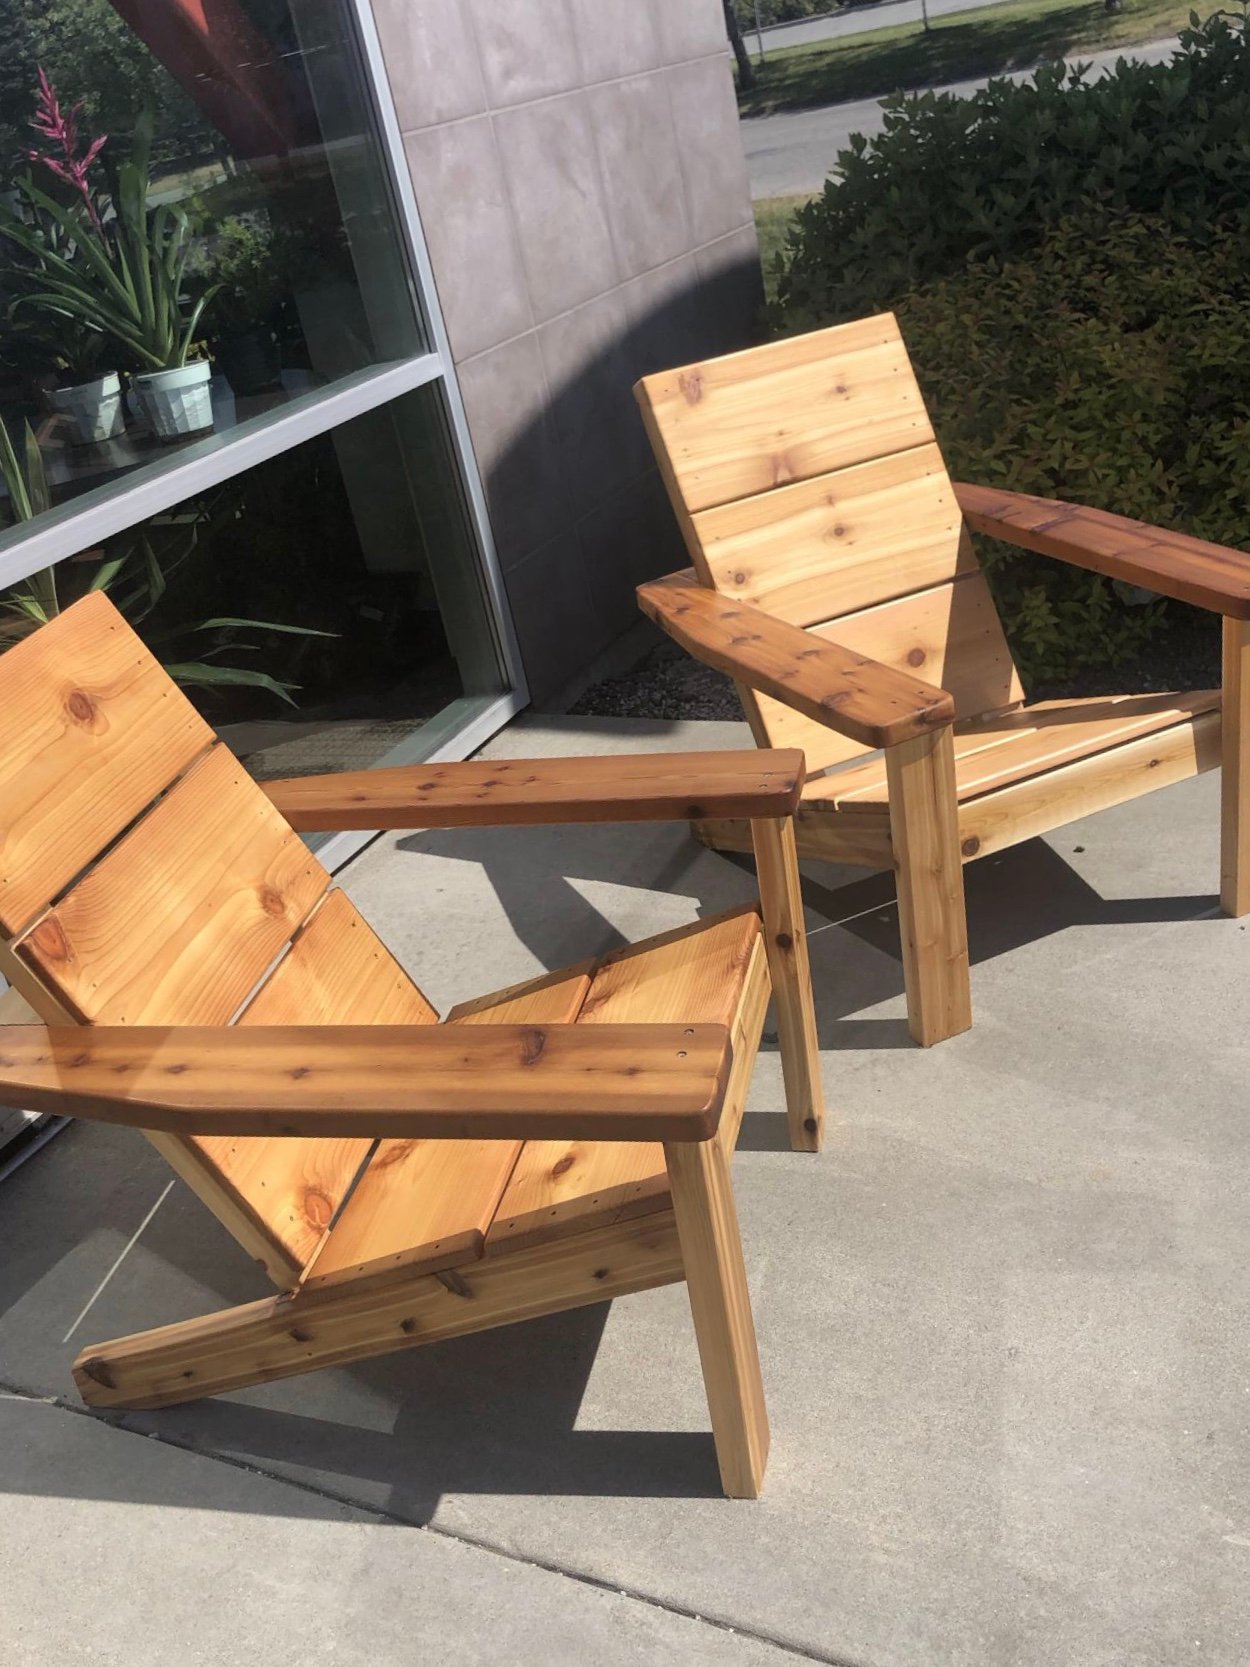
I made these modern Adirondack chairs for our business in Anchorage. GREAT and easy to build design by Ana - we upgraded the arms to tapered 2x6 and they're awesome!


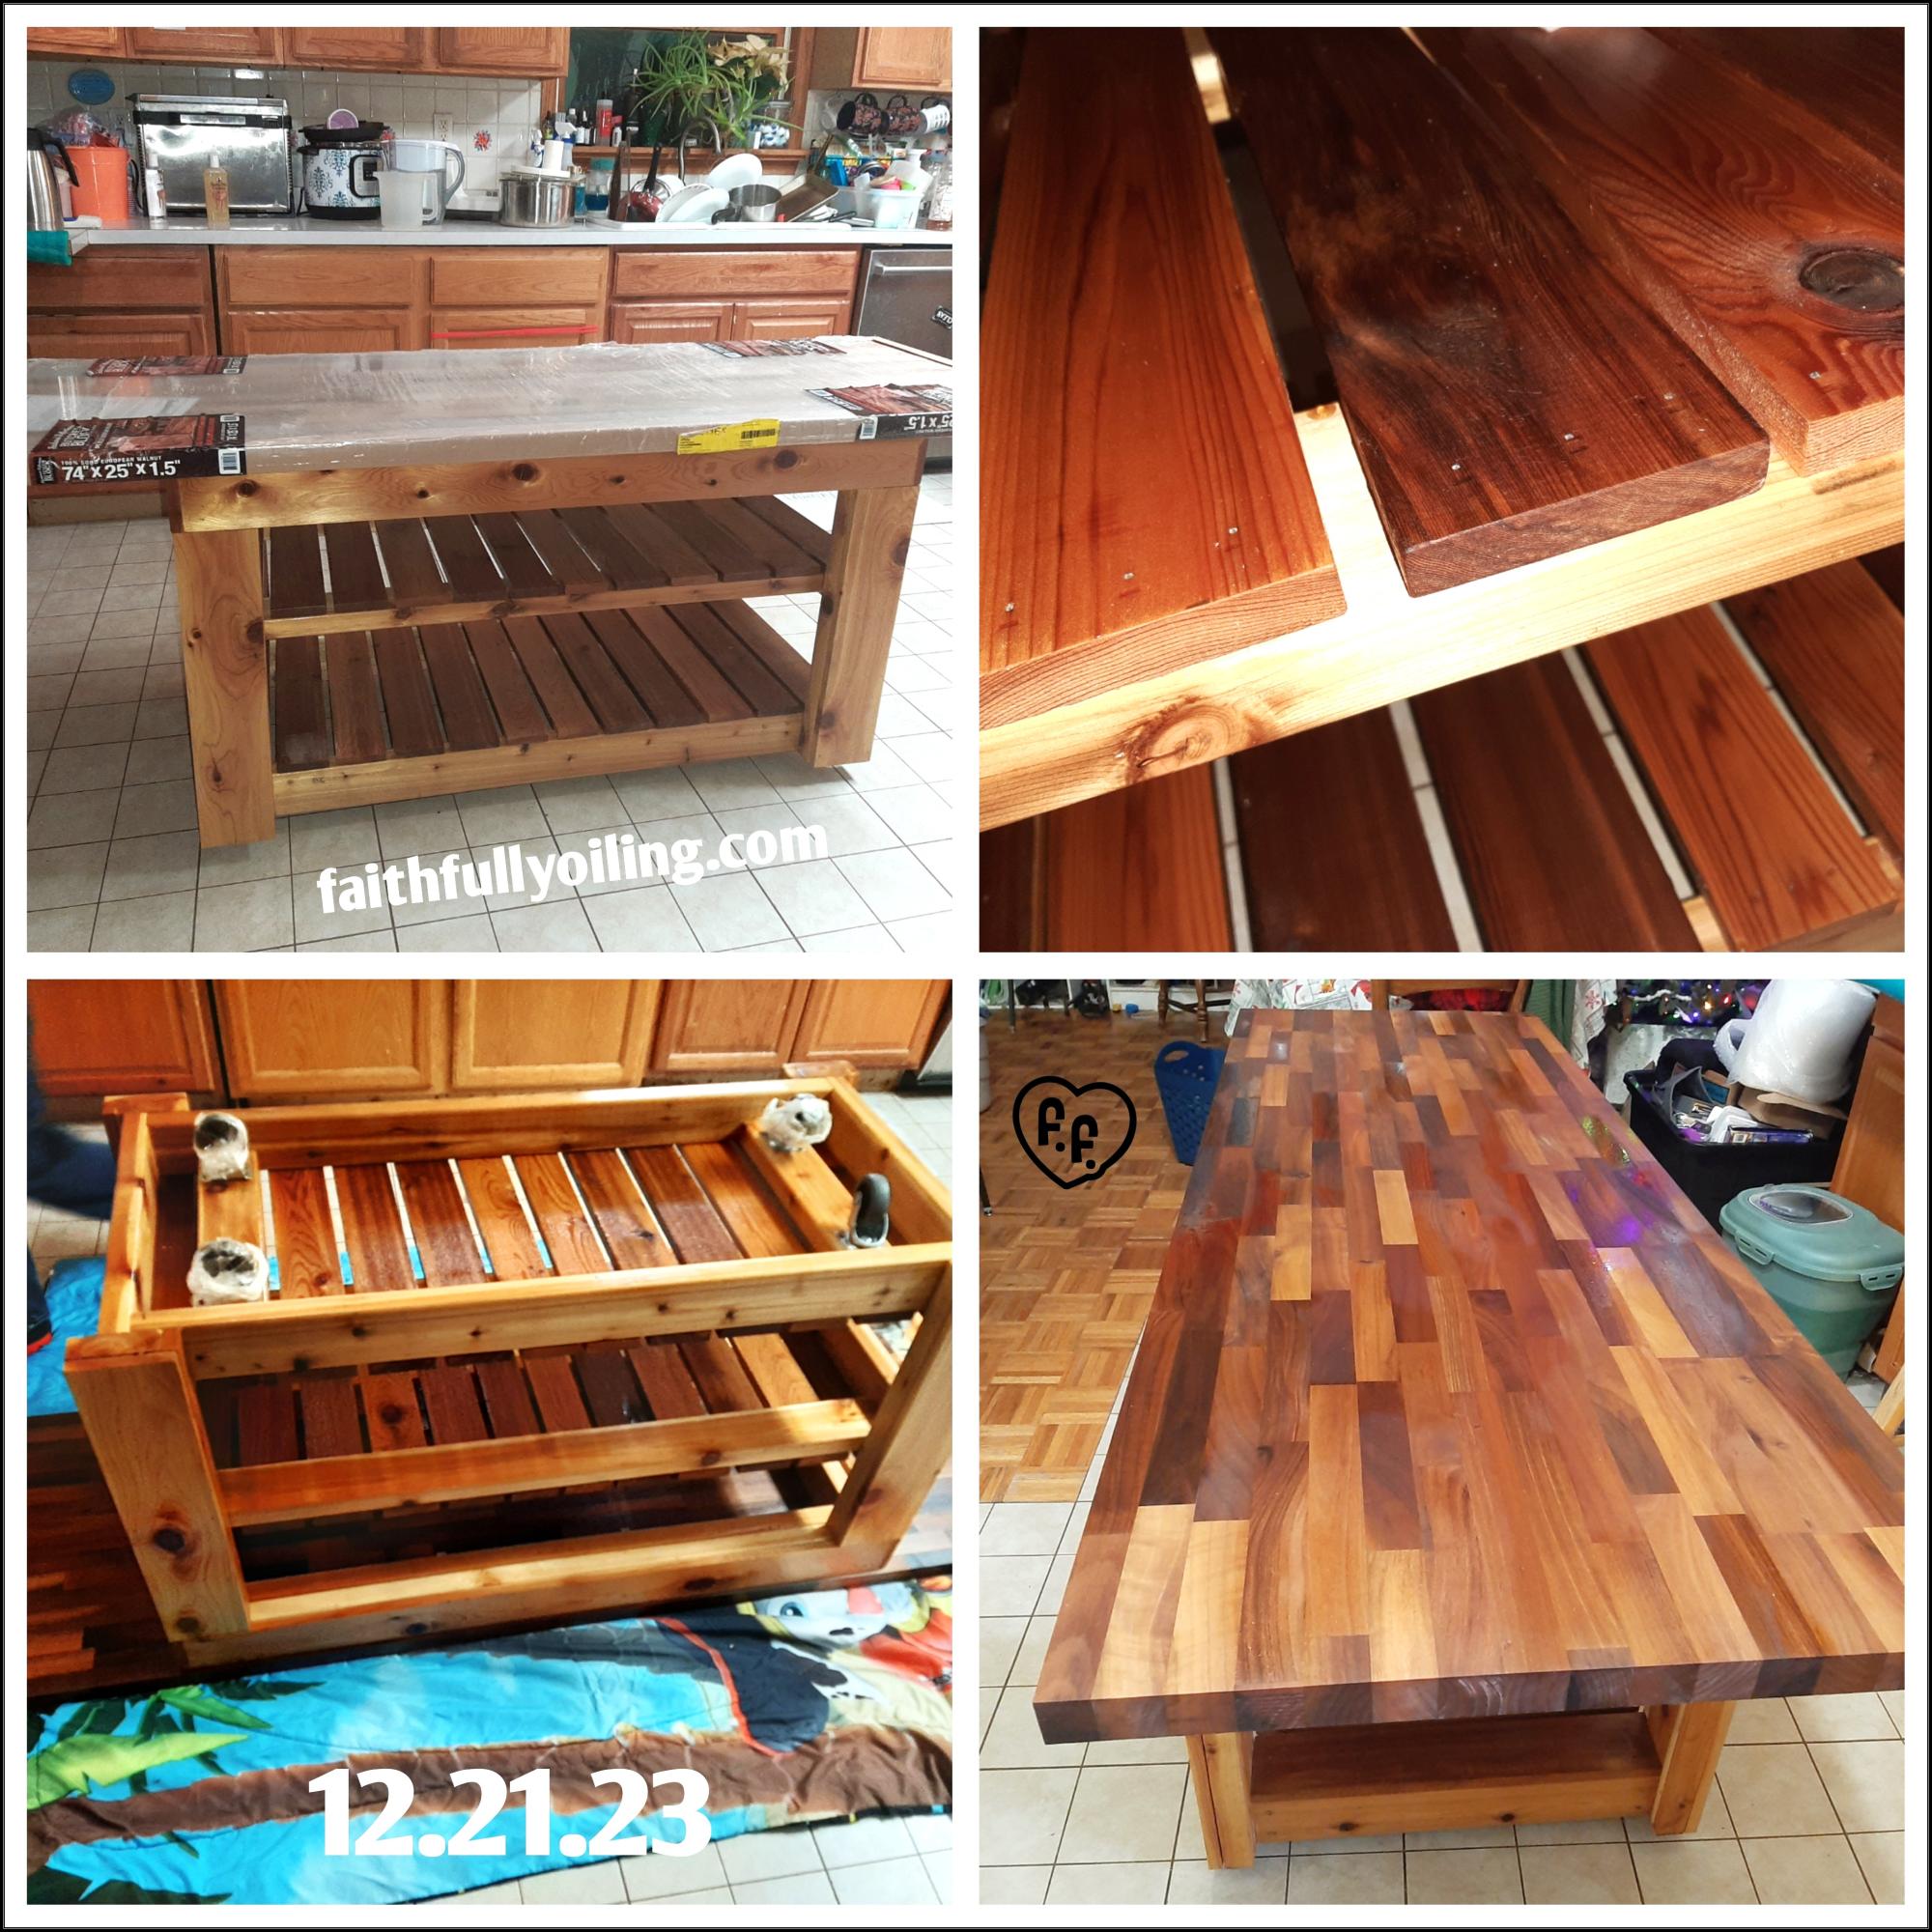
I really needed a kitchen island. That would work for me & last.
We, my husband & I, based our plan off of the Easy Kitchen Island Plans. I printed the plans. Then modified a few items. Originally I was gonna do a 4ftx25" but my butcher block we found was 6ft. So we left it with 6ft. My barstools slip under the overhang so kids can pull them out & use when needed but not be in the way.
We also made it custom to my height for mixing & kneading dough. The selves are different to work.with my tupperware containers. (Goal is to get all the same eventually).
We used cedar & a little pine for the main structure. The top is European walnut butcher block.
It's on wheels. So I can move it out of the way if needed.
We did seal the sides (kids & messy cook). The shelves & top I used butcher block oil & conditioner. Ever month I add a thin coat of conditioner to the top.
I love that I have so much room now to create.
Thank you so much for the inspiration!
Faith & Jonathan Flesher
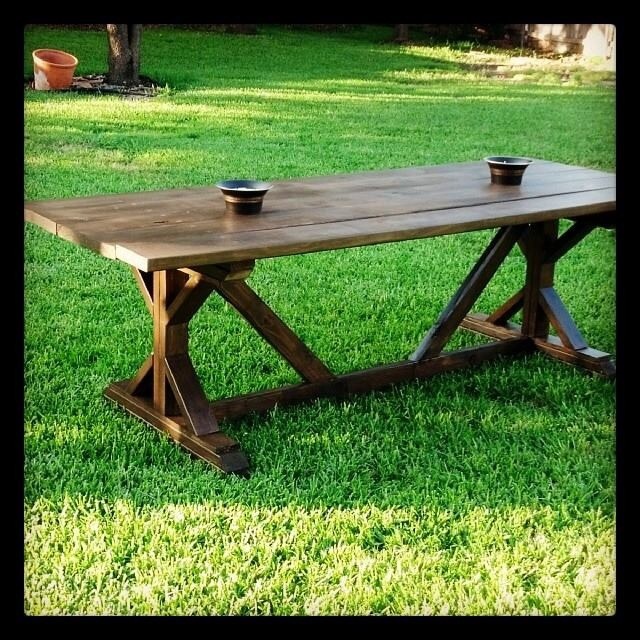
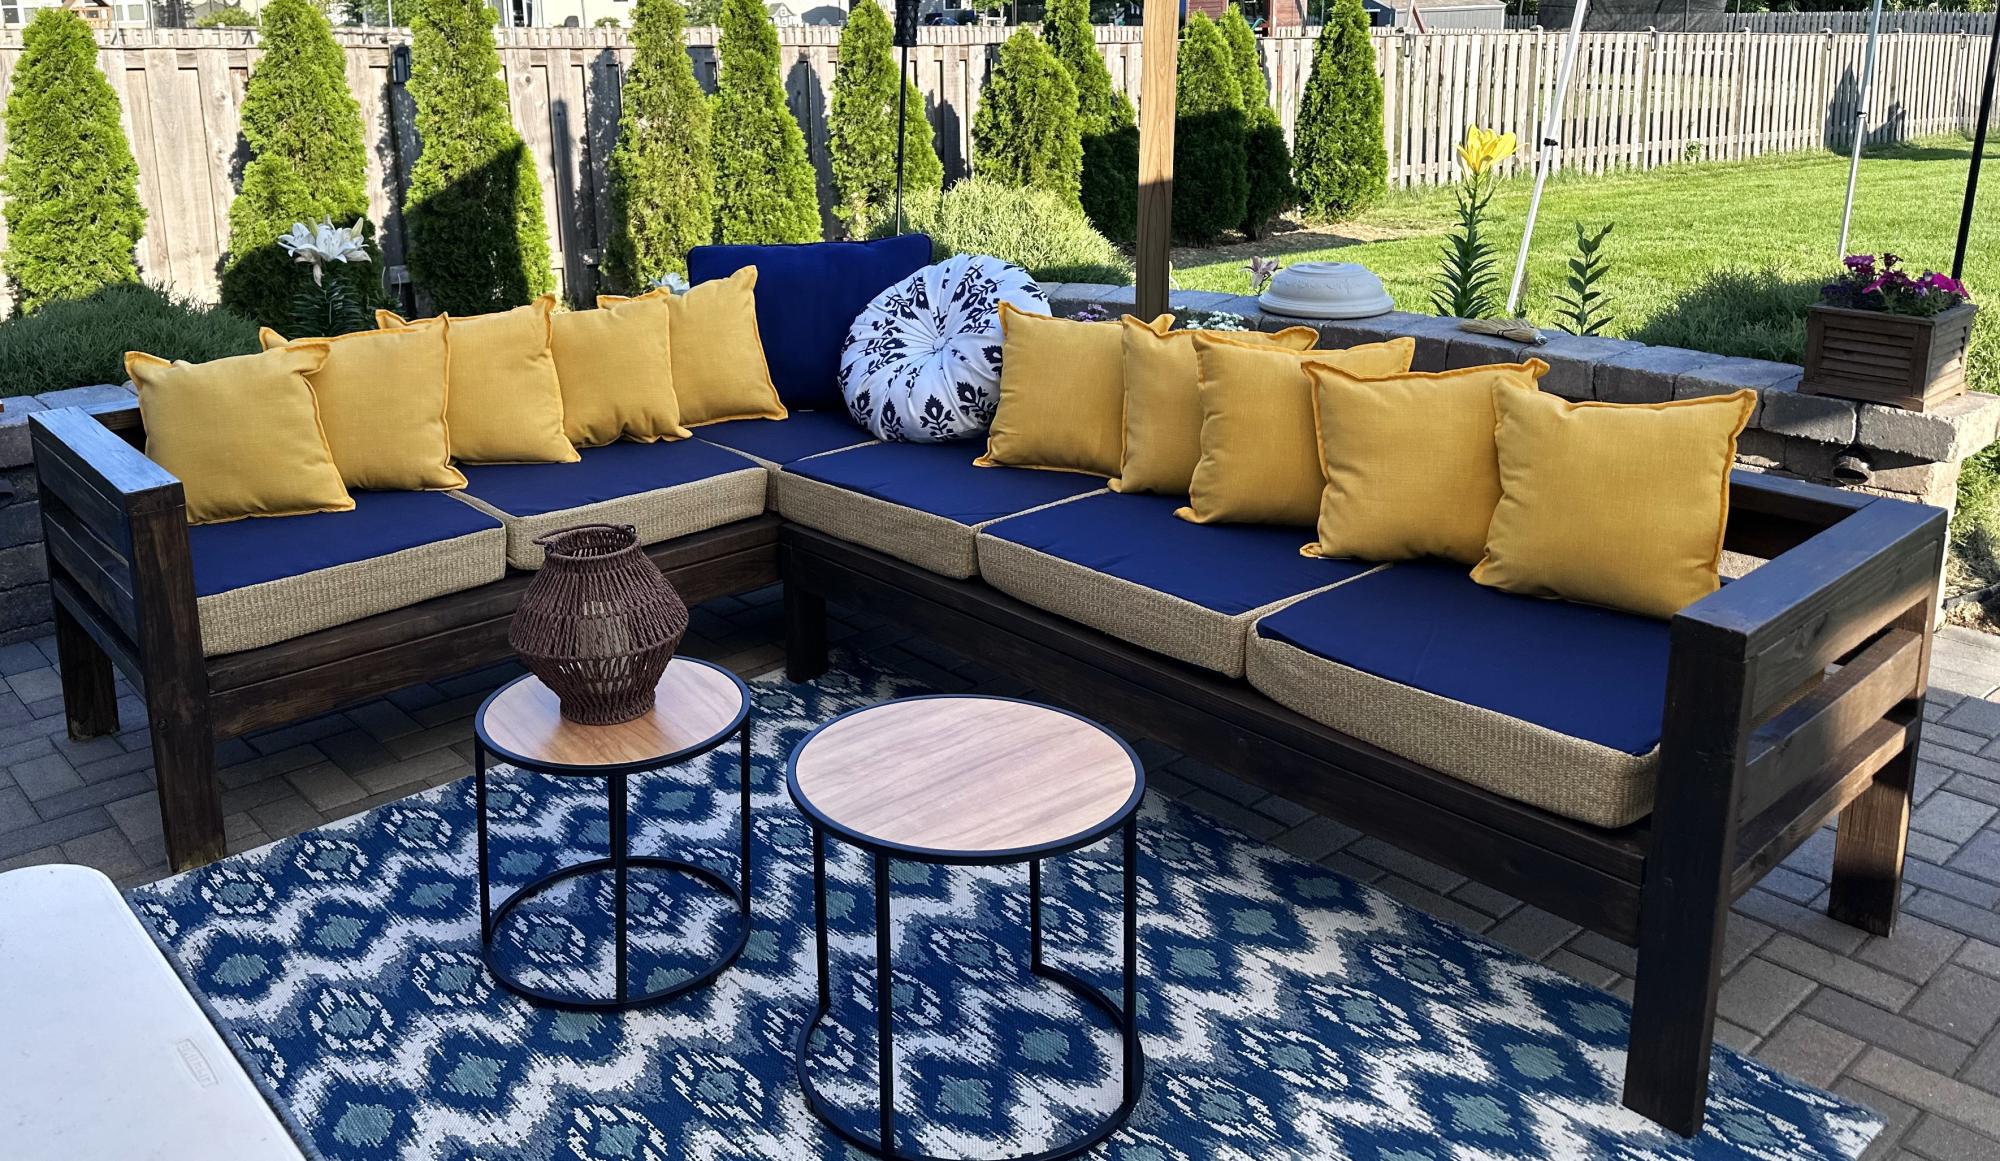
Needed a patio table for this space and decided on this plan. After the build portion, the stain finish really made it complete. Now time for some summer get togethers.
Super fun project!!
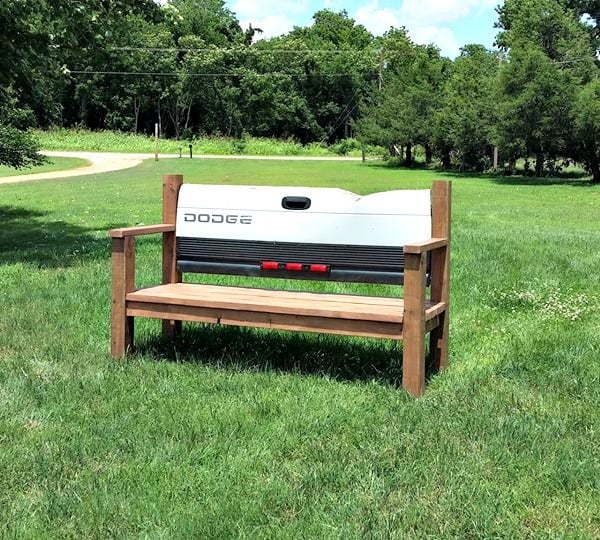
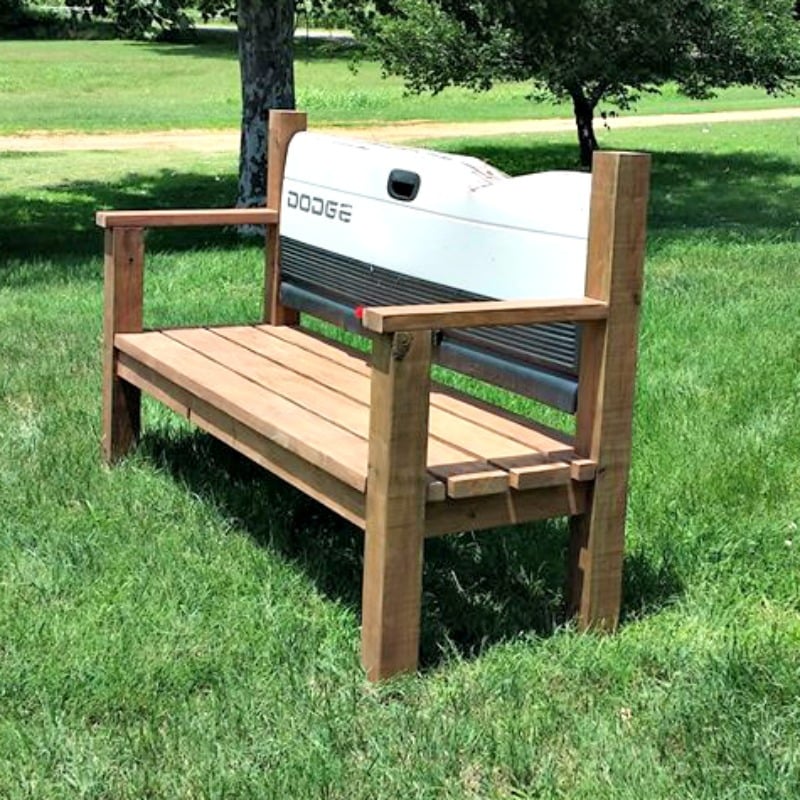
I want to give a big THANK YOU!! to Ana. I found your website a few years ago when I wanted to move my toddler to a big girl bed. Since then I have built several things but this is the first that I have shared on the site. Long story short this is a bench that I made for my father in law for Father's Day. It was a pretty simple build that I believe came together pretty well. Next, a tailgate bench for my own dad for Father's Day. Luckily he doesn't mind that it will be late.
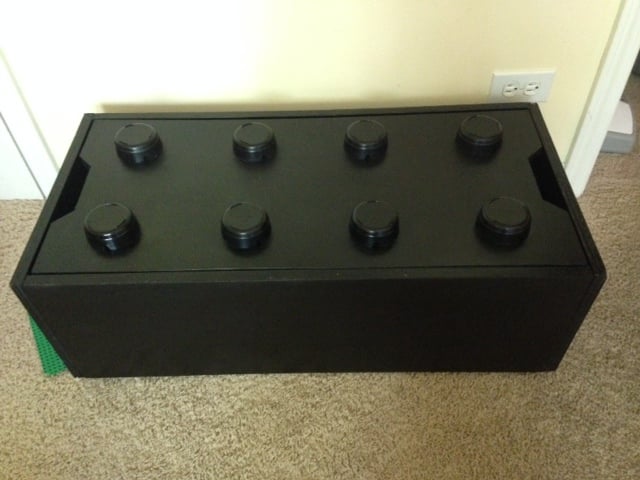
I didn't have a jig-saw since I am still pretty new at this, so I searched for alternatives. I found these plastic ashtrays at the dollar store, flipped them upside down and spray-painted them! Now my bin even says 'made in china' ;)
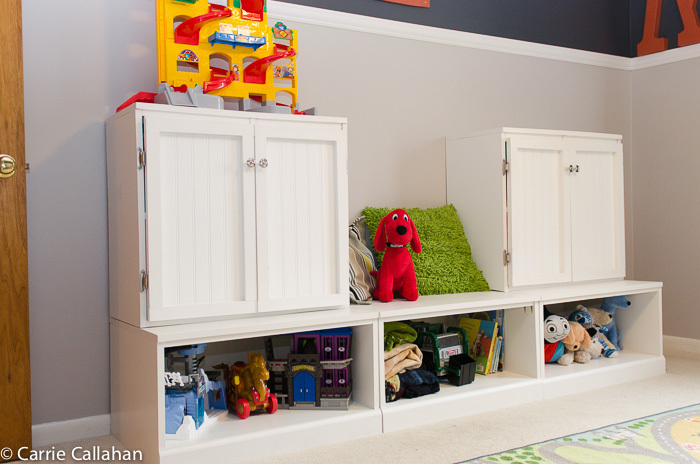
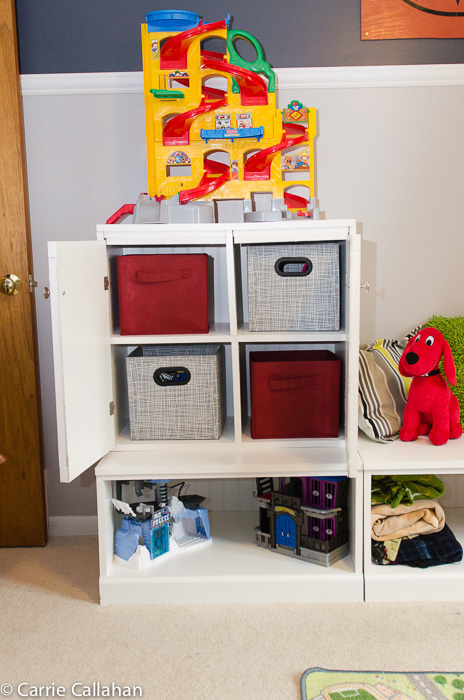
I am so excited about this project! I re-did my entire little man's room. It included a ton of Ana's projects! The closet, $10 ledges, step stool and the toy storage. This was quite the venture for me, I have done a lot of plans from Ana, but this one was a lot - a lot of painting. And hanging the doors, was a challenge :) I couldn't be more happy. My little man didn't want to leave his room he was so excited!
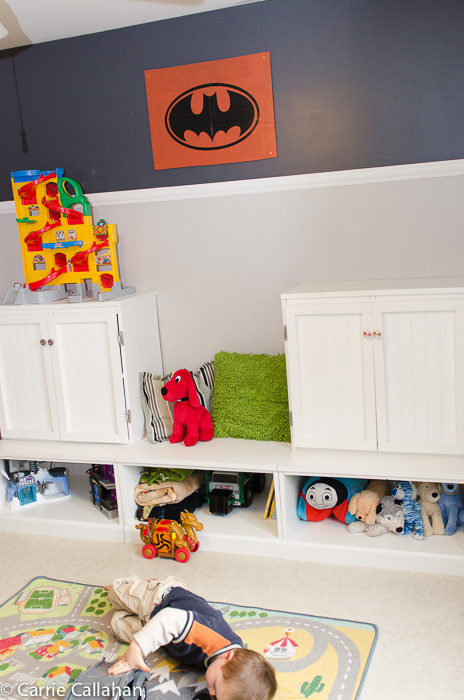
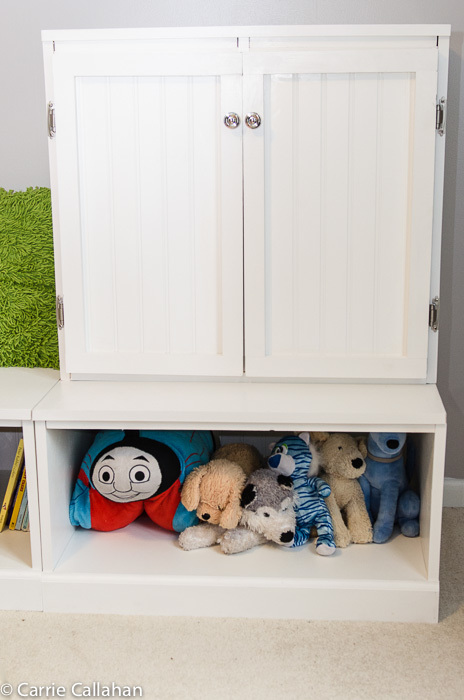
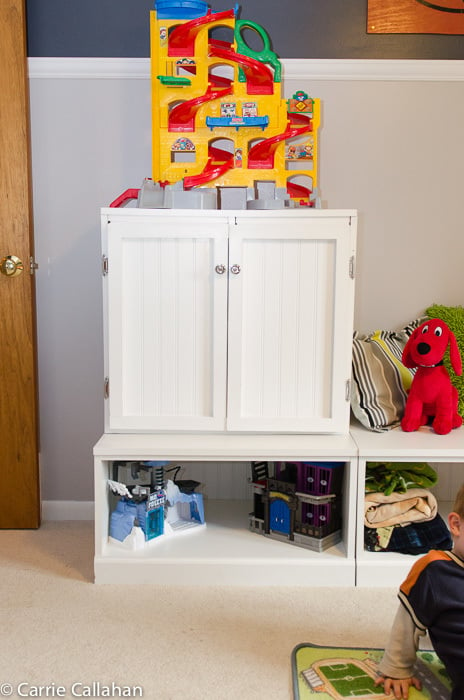
Mon, 10/22/2012 - 08:16
Love your new room for your son! I love using clear toy storage bags to organize toys and then you could put the bags on display or behind the doors in your storage unit - http://mommby.com/Store/Bag.php.
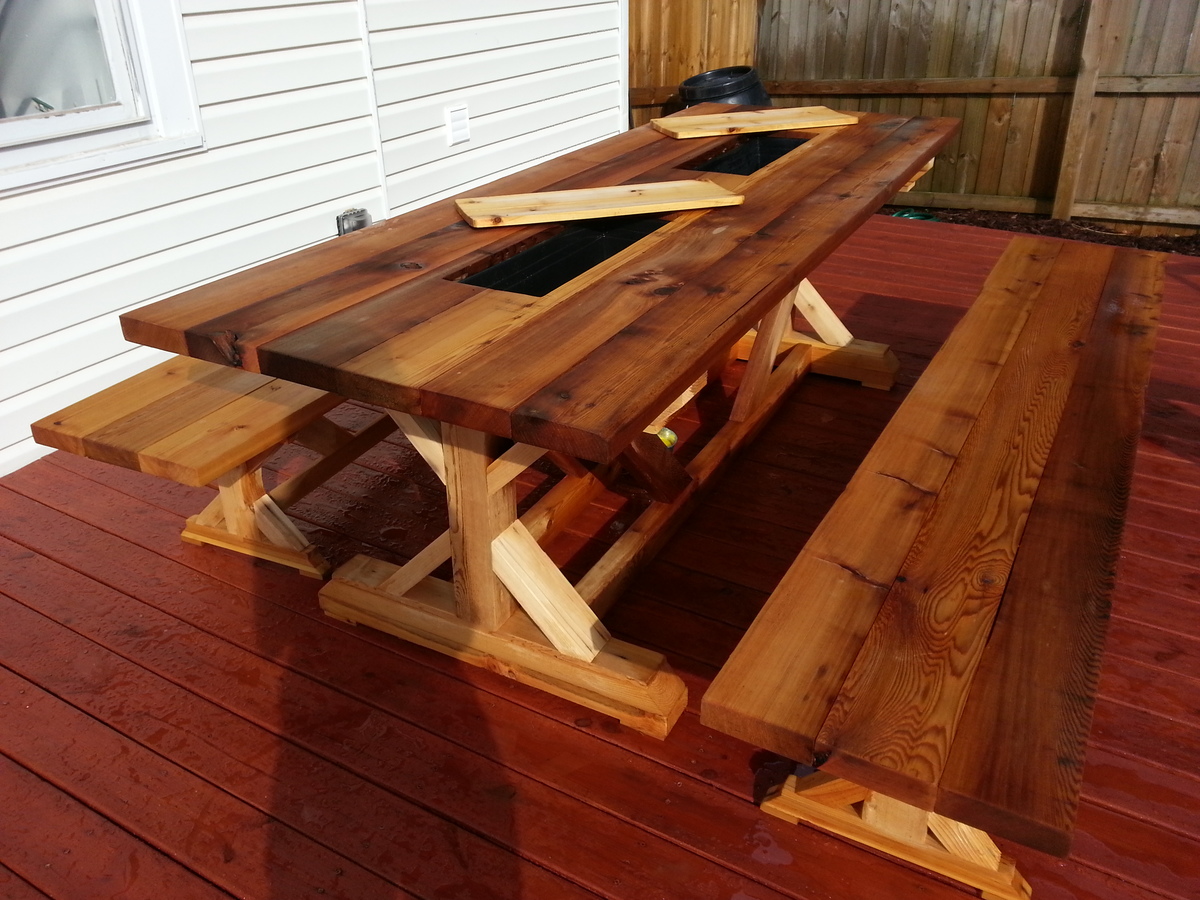
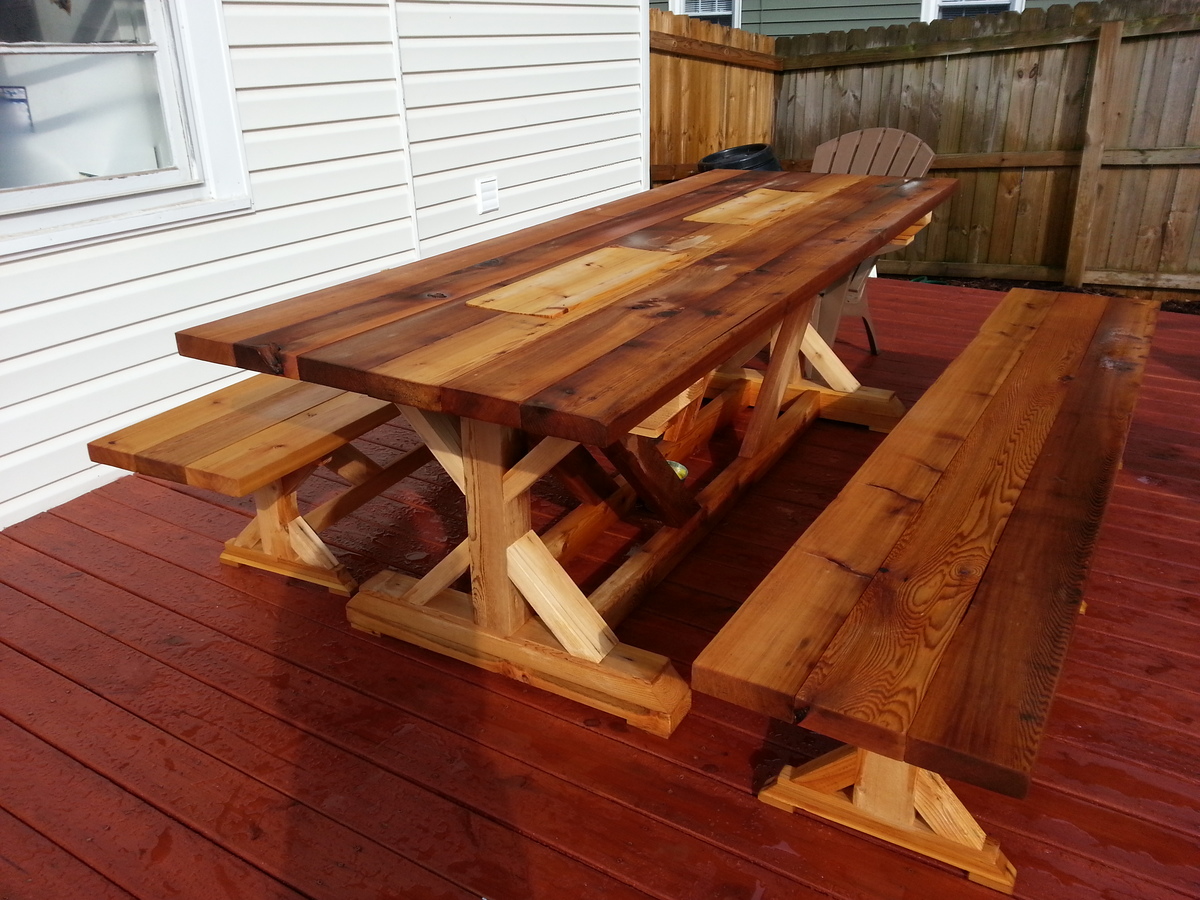
My (excited!) first time building a piece for someone else. This table was made as a housewarming gift for some awesome friends. Many people contributed to material cost and my husband and I put it together.
The table is made out of all cedar to deal with the southern rain and sun (we haven't had a dry day since we delivered it a month ago, so you get a wet but sunny picture - yay hurricane season)
We modified the plans to incorporate two planter buckets for icing drinks and such. This required us to make two longitudinal frames instead of the one used in the original plans. We spaced the frames just enough to fit the planters down in them, then added short 1x2s between them to support the planters. Before boarding the top 2x6s together, I made rough cuts for the openings. When it was all together, my husband used a 2" router bit to clean up the edges of the holes.
Made the 8 foot FancyX benches to have as much seating room as possible for lots of friends and family. Looking forward to using it more when the weather dries up a little.
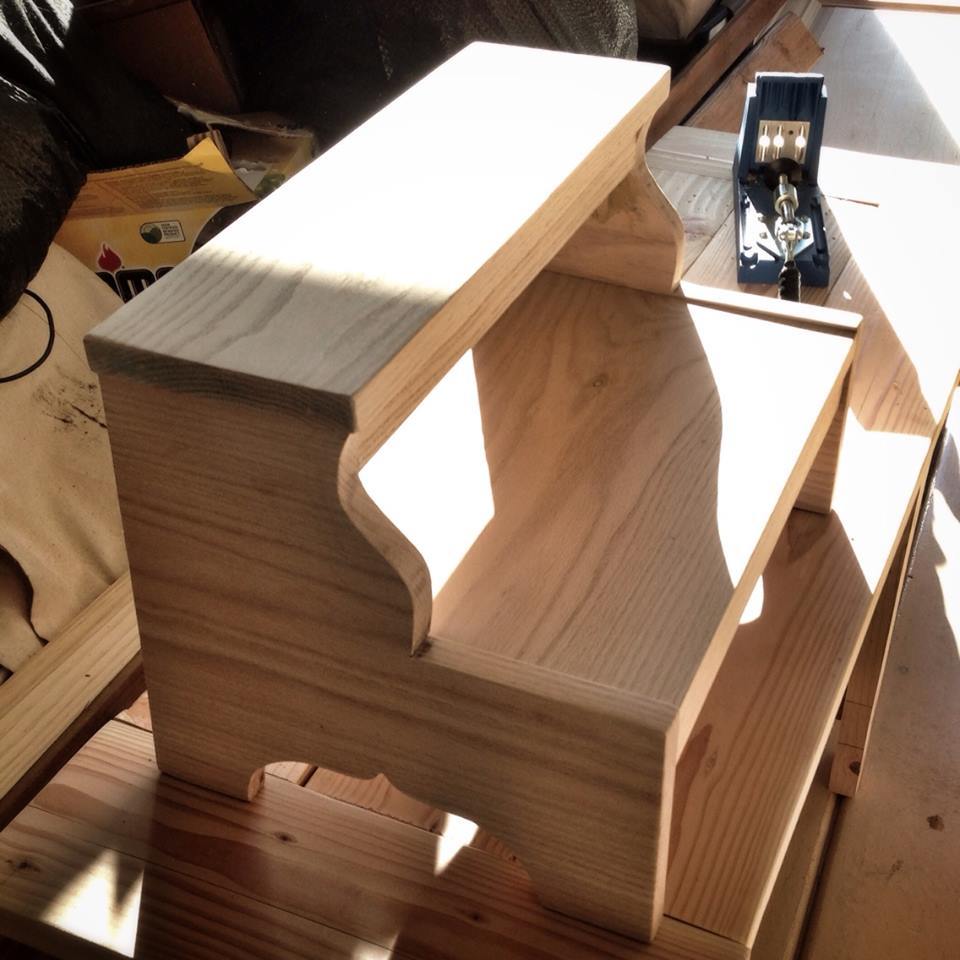
I bought a box of oak scraps from a local lumber store - sold a firewood for $6.00 and I was able to get enough big pieces to make this step stool for my granddaughter.
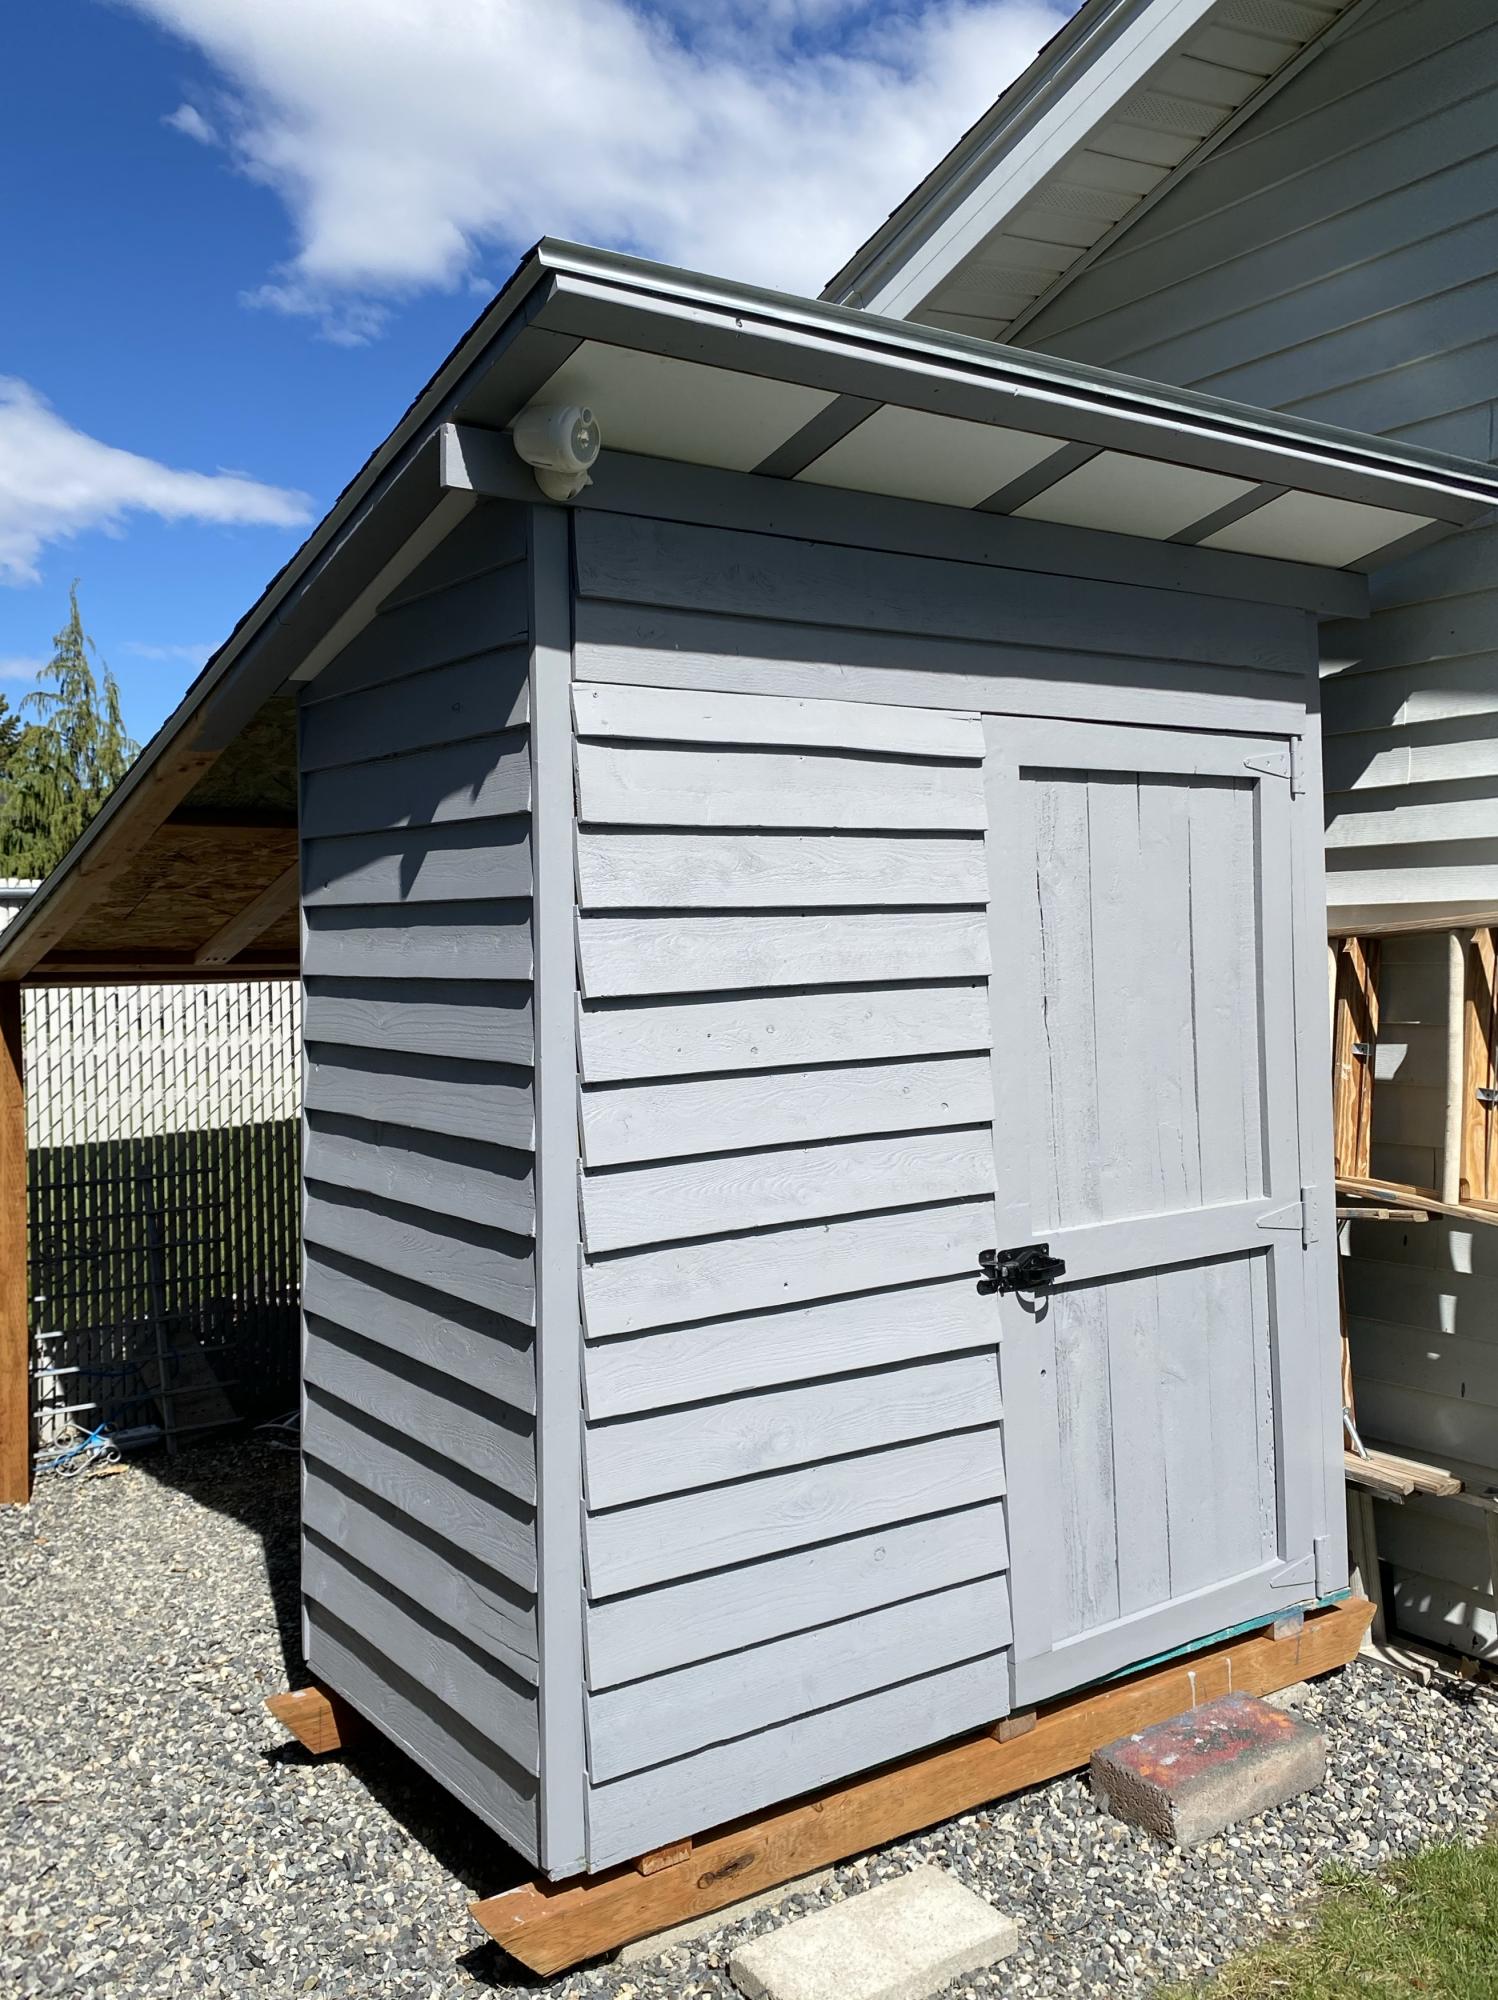
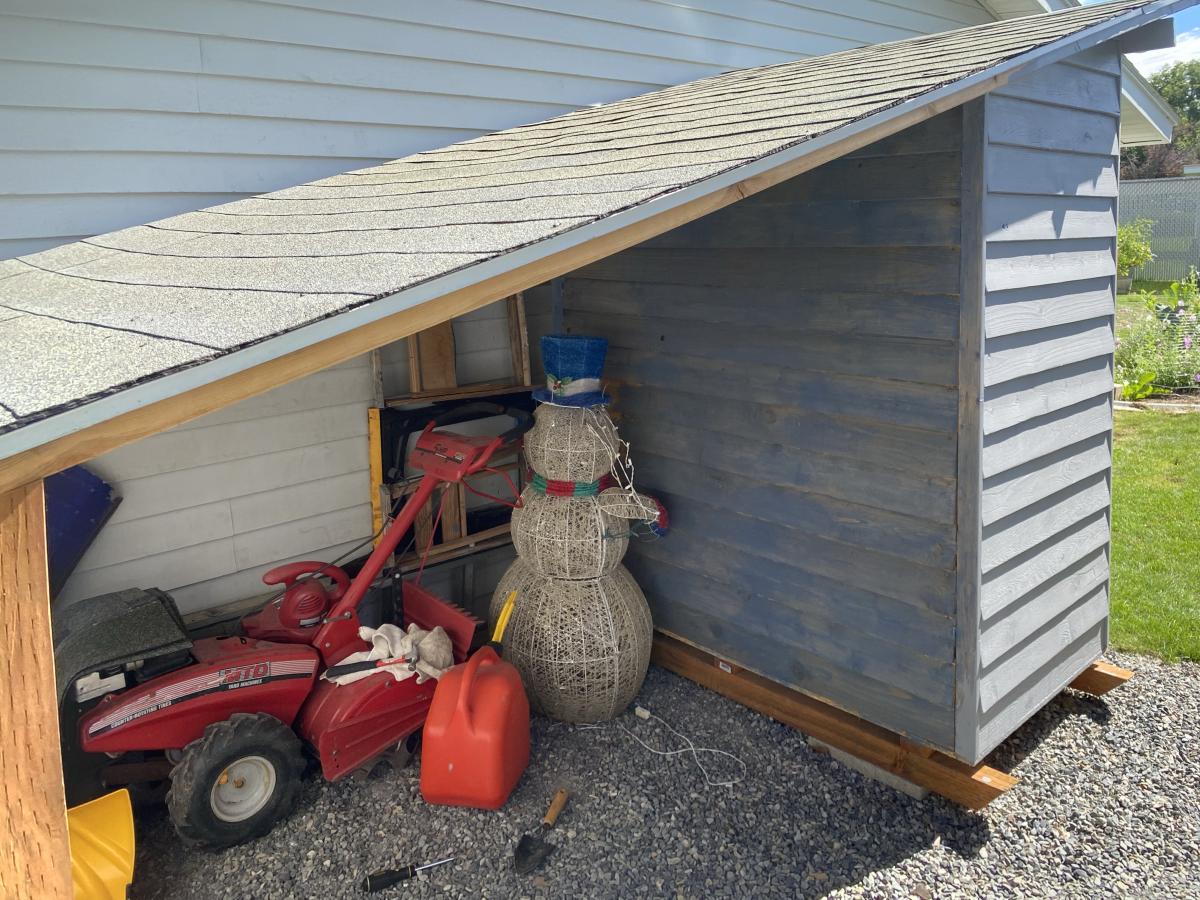
I really needed somewhere to park my rototiller and mower during the summer and ended up modifying the plans to include a lean-too/over hang area. This required flipping the shed to extend the roof line. I continued the 15• roofline and also then had to create and cover the soffits. I also reduced it to one door and placed it on a skid foundation so that technically it would be considered a temporary structure, no permits needed. I first used a semi transparent stain that looked much darker and grayer in the store but looked very blue and terribly streaky on the shed, see back wall area. I then restrained it with a solid stain, which I think looks much better and covered the streaky stain. Because I extended the roof and stained it twice, this really increased the cost, but I think it was well worth it. I can store all my yard and garden tools underneath and inside.
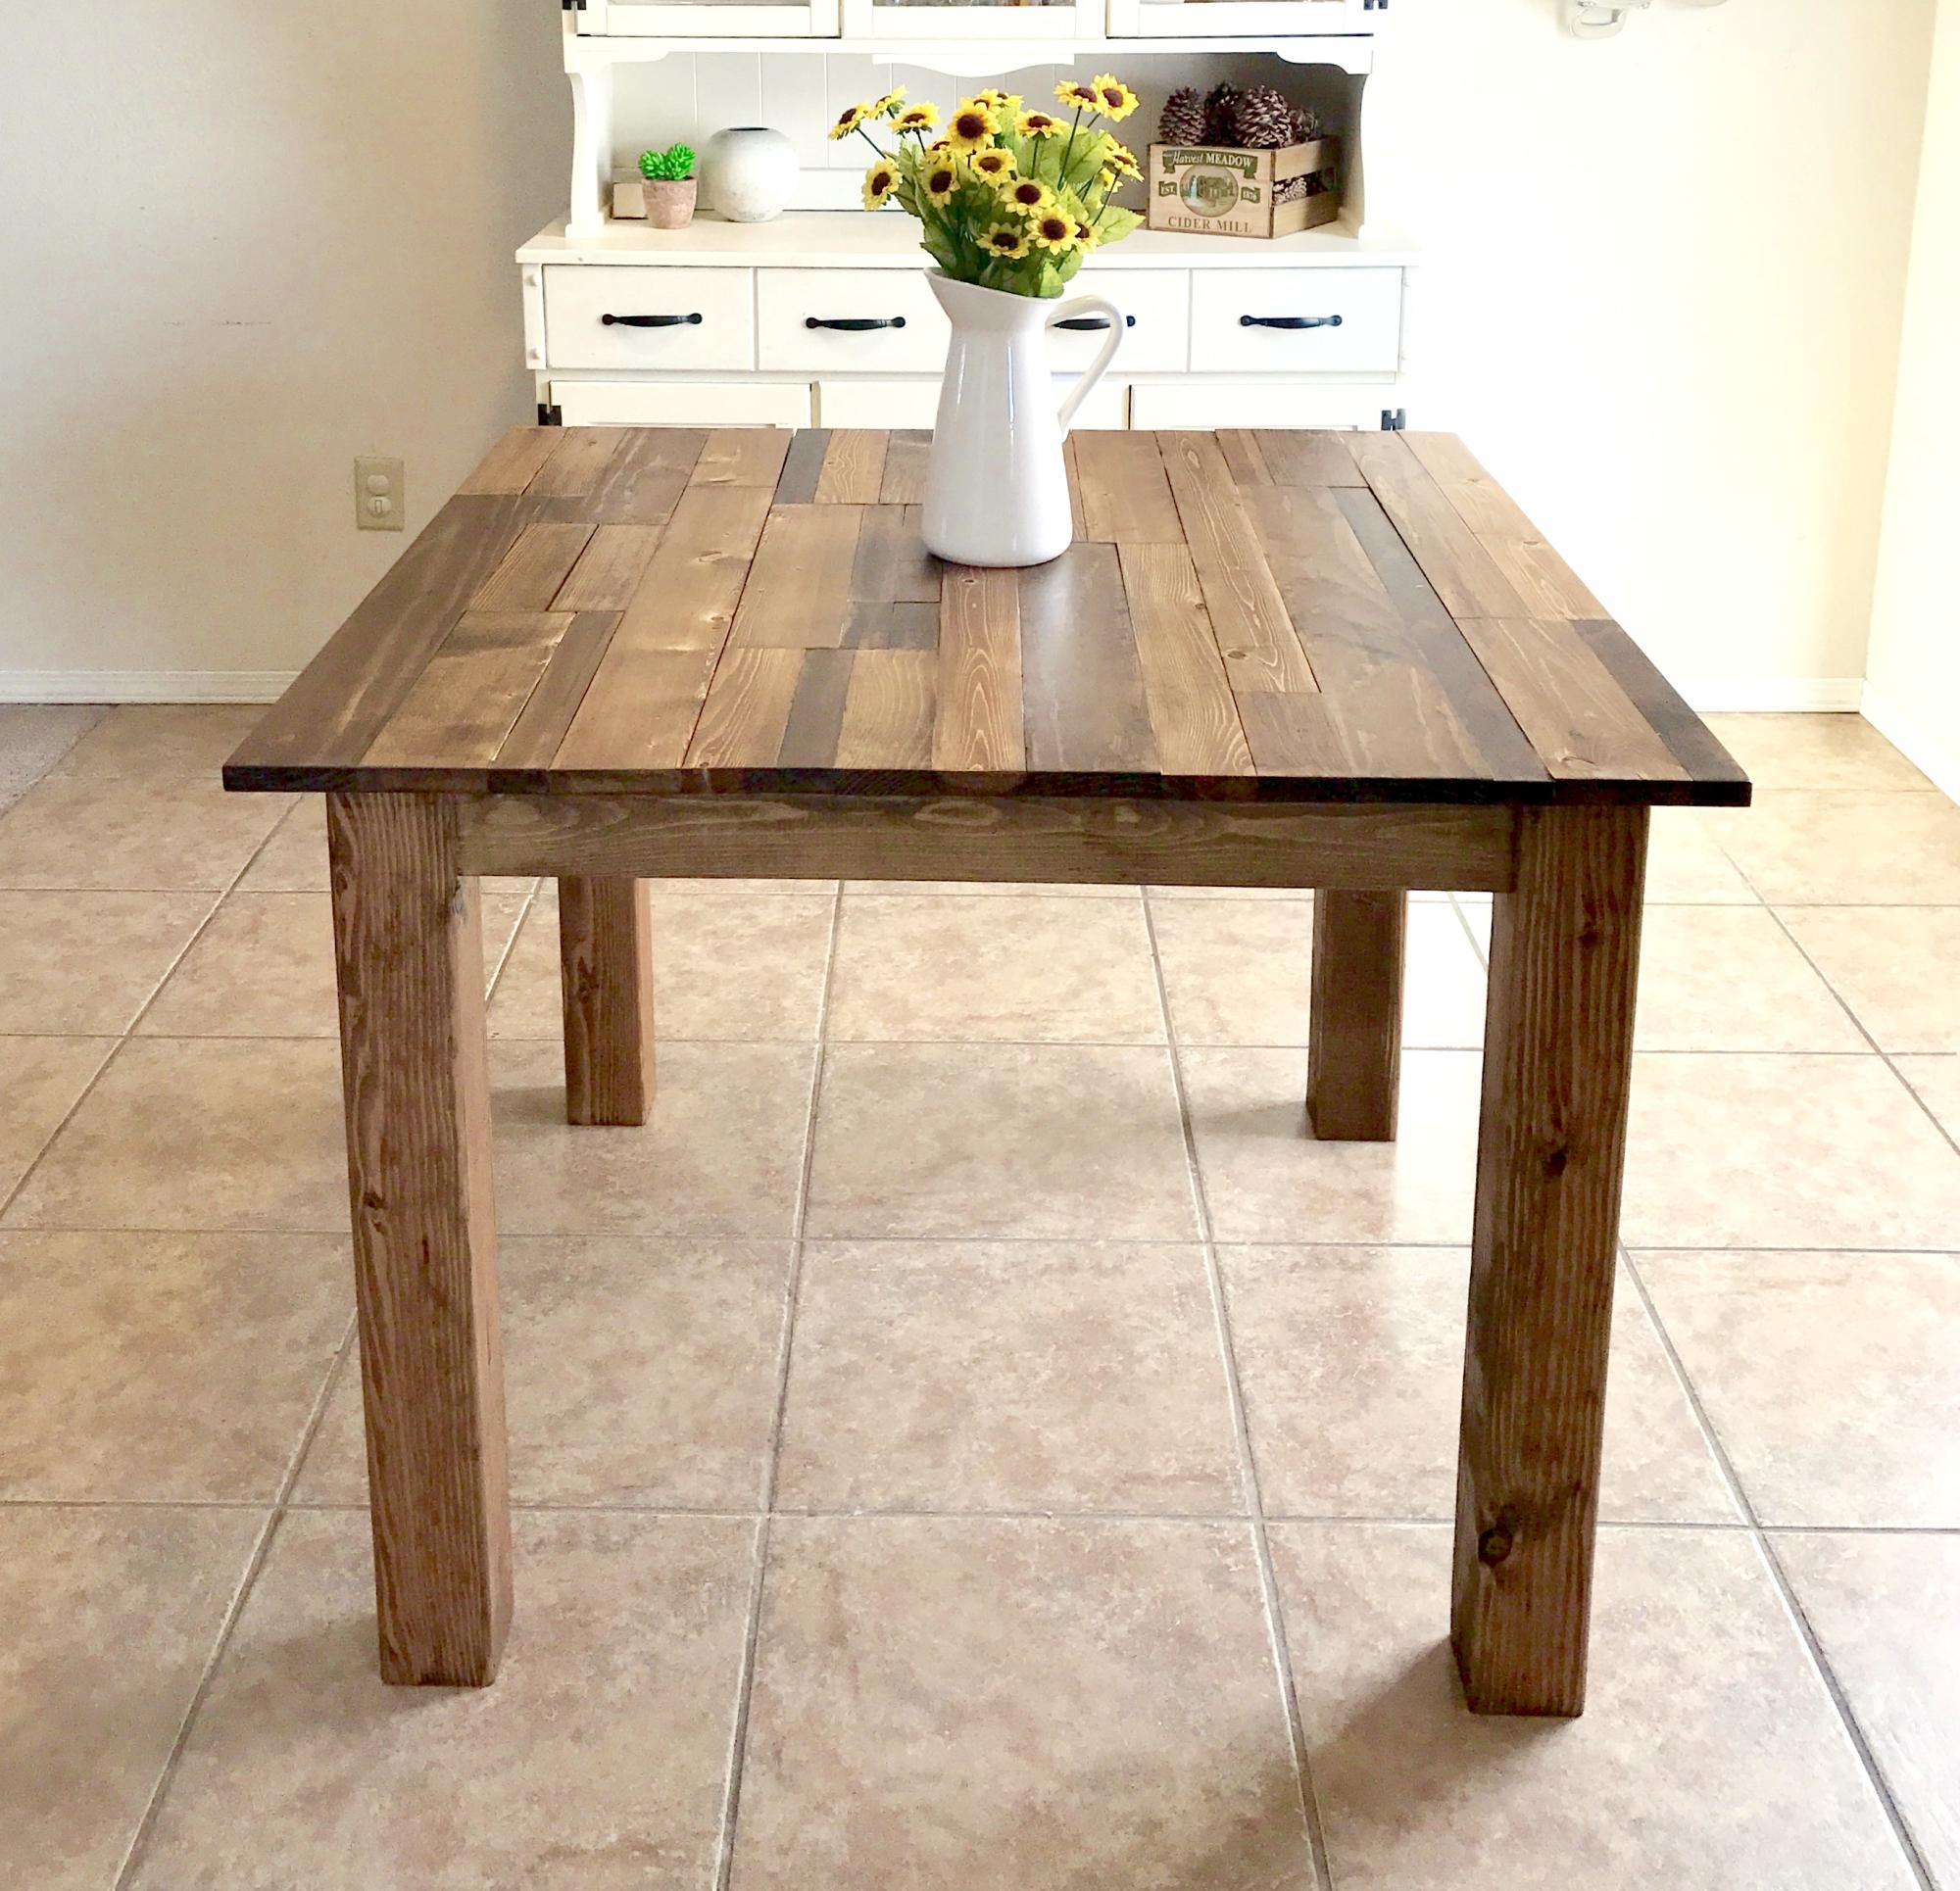
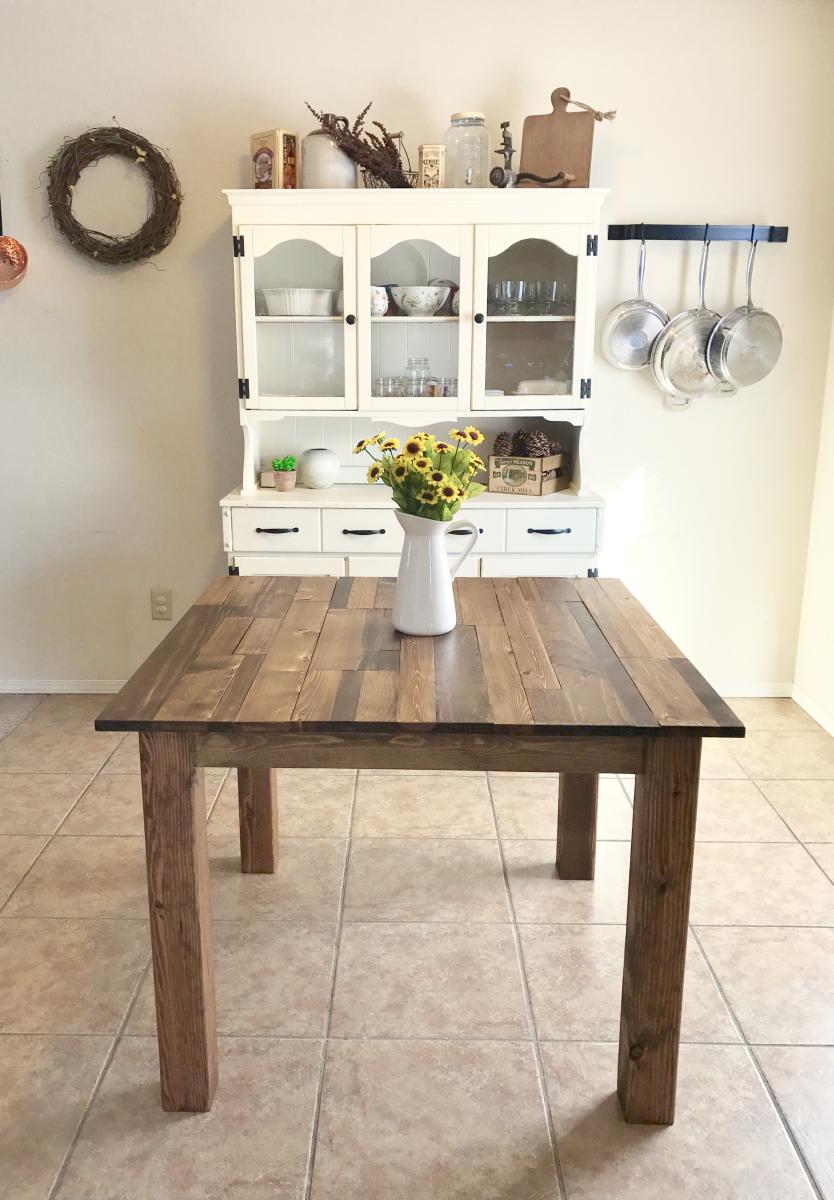
I built this table for a friend who wanted a rustic, plank-top kitchen table. She wanted a square table with 4x4 legs. Since I don't have clamps, I used pocket holes and wood glue for the table top. Also, I only have a 7&1/4" miter saw, which means the 4x4s were too thick to cut. So I made one cut in the legs, then flipped them and made another. It worked! :) I sanded down the sides of the table top with 80 grit. They needed to be evened up since some of the planks were a little longer than others. I back braced underneathe the top with (3) 1x3s. Then, I sanded all over with 120, vacuumed, then wiped it down with a damp towel. Fun build!!
