Community Brag Posts

Horizontal Murphy Bed

Submitted by Anonymous (not verified) on Sun, 07/09/2023 - 17:49

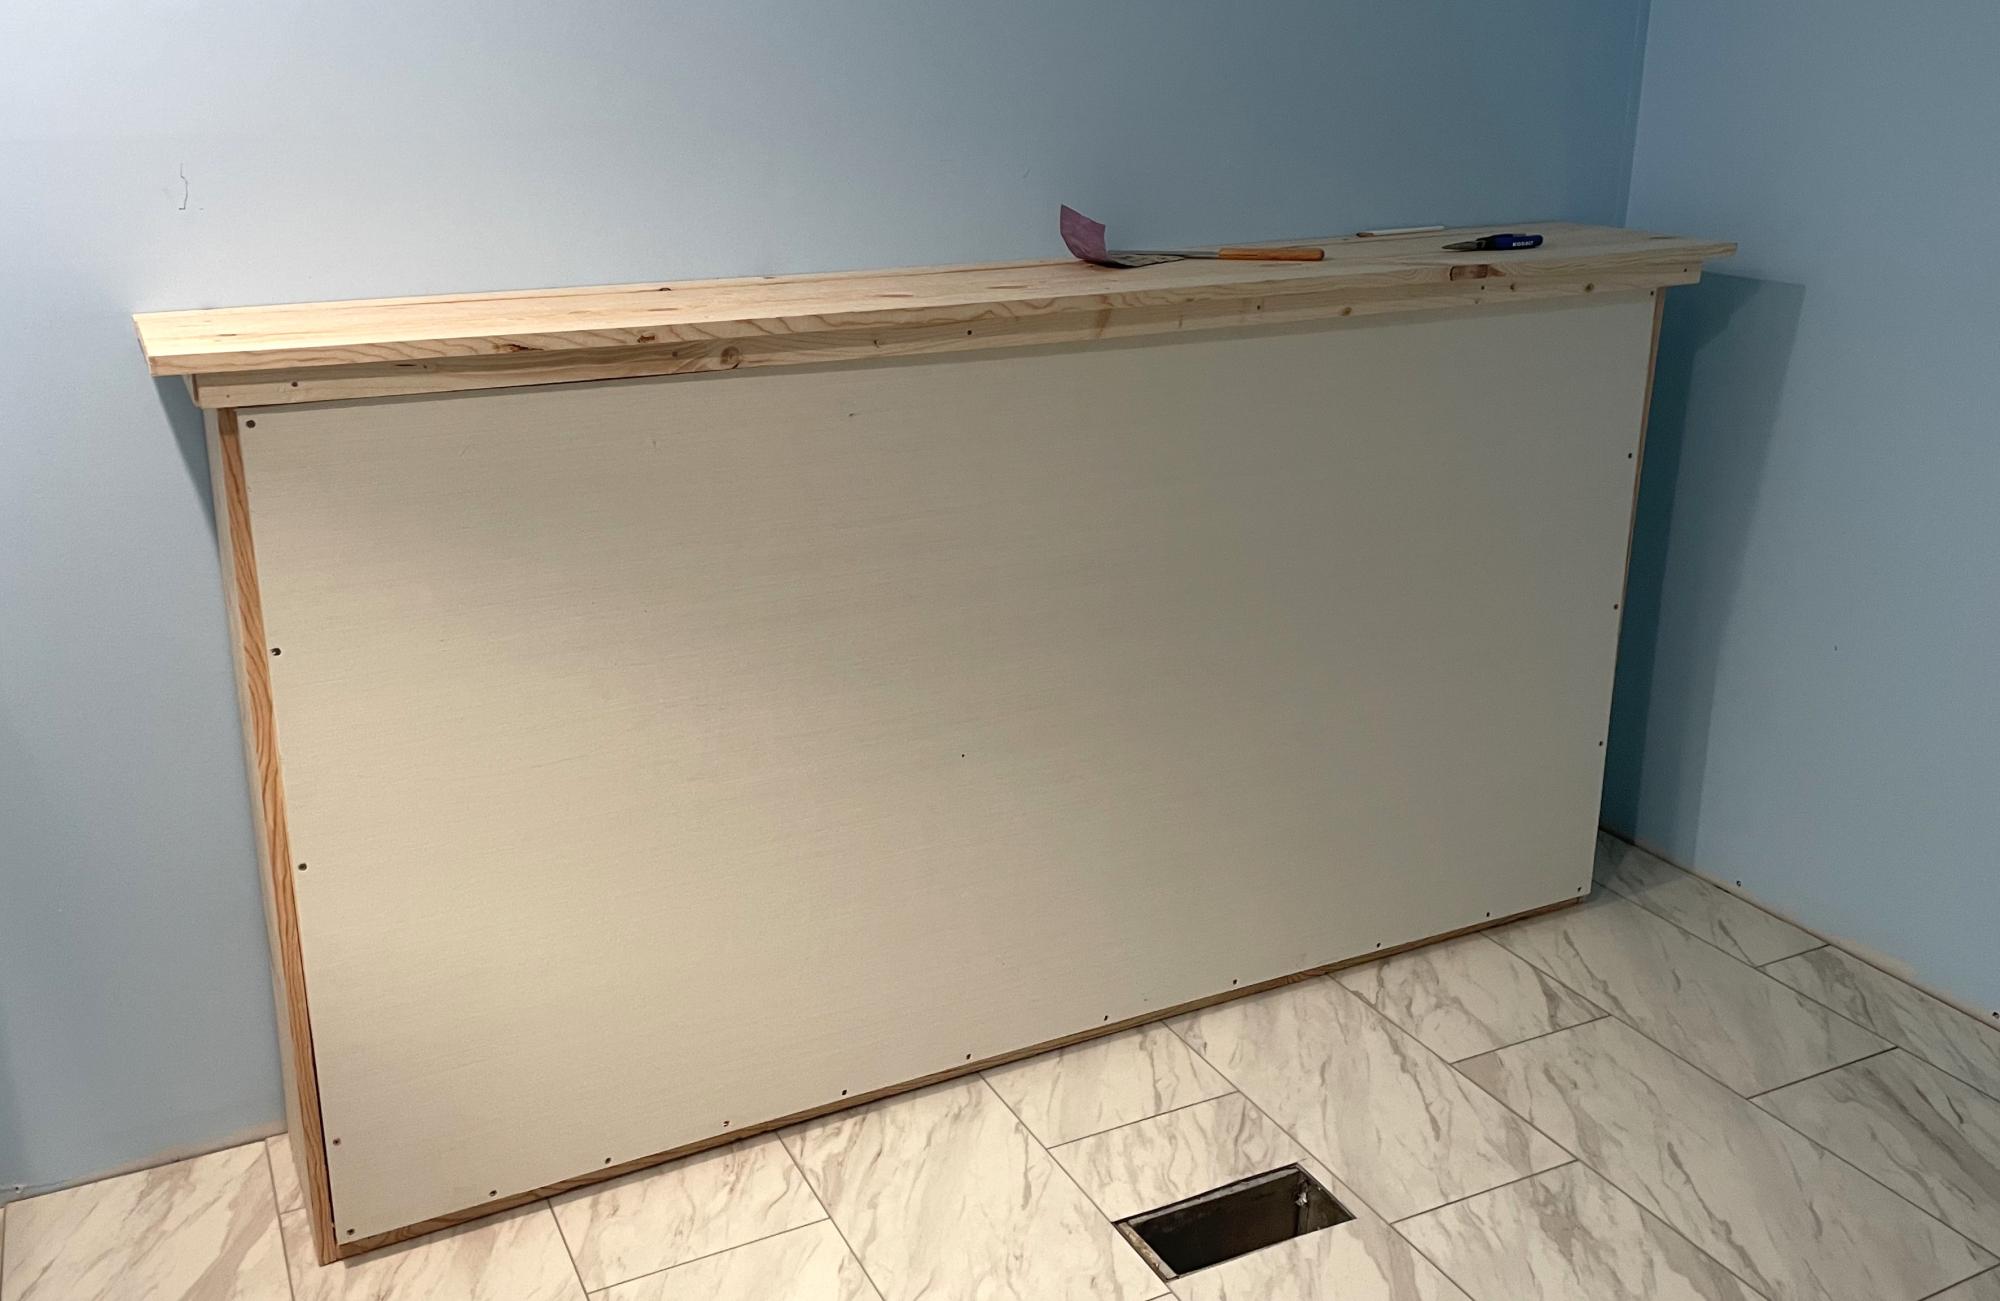
We are remodeling our 3 bedroom house into a 4 bedroom. In doing so, my youngest is getting the smaller room. We decided to go with a Murphy bed to allow more play time space. I do not particularly like the fact that this bed doesn’t sit off the ground but overall love the simplicity of making it. We turned it horizontal and just love the overall product. I can mot wait to make something else from this site!

Tams

bypass closet doors

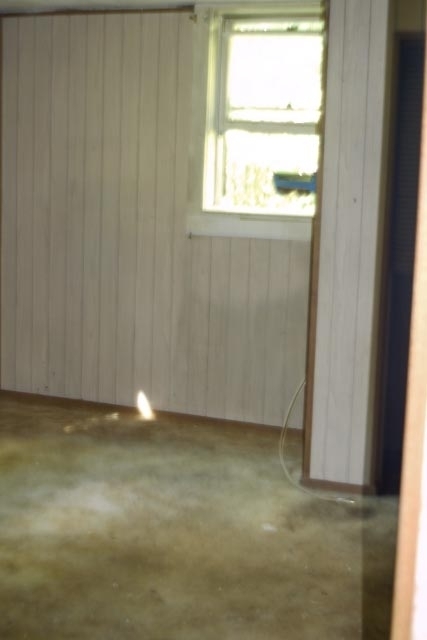
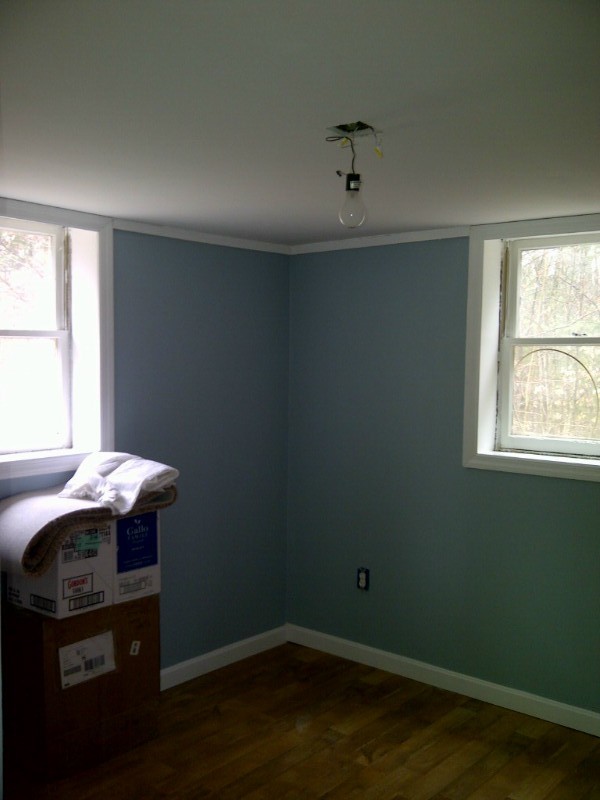
About 6 months ago the husband and I purchased a foreclosure for dirt cheap, hoping to rehab it into something livable. It turned out to be a total gut job. So much of the budget was blown on the big stuff--roof, electrical, water, plumbing, that we've really had no choice but to figure out how to do much of the work ourselves with occassional assistance from my son-in-law, a general contractor who lives 400 miles away.
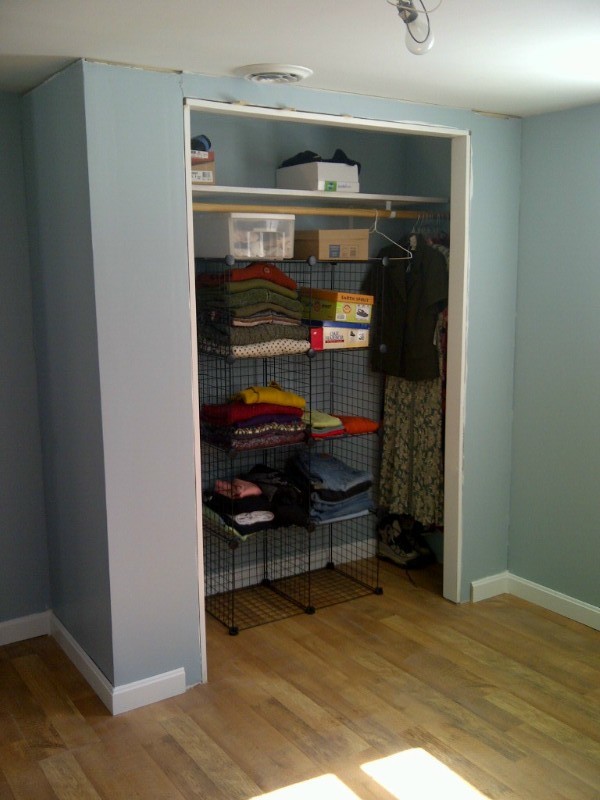
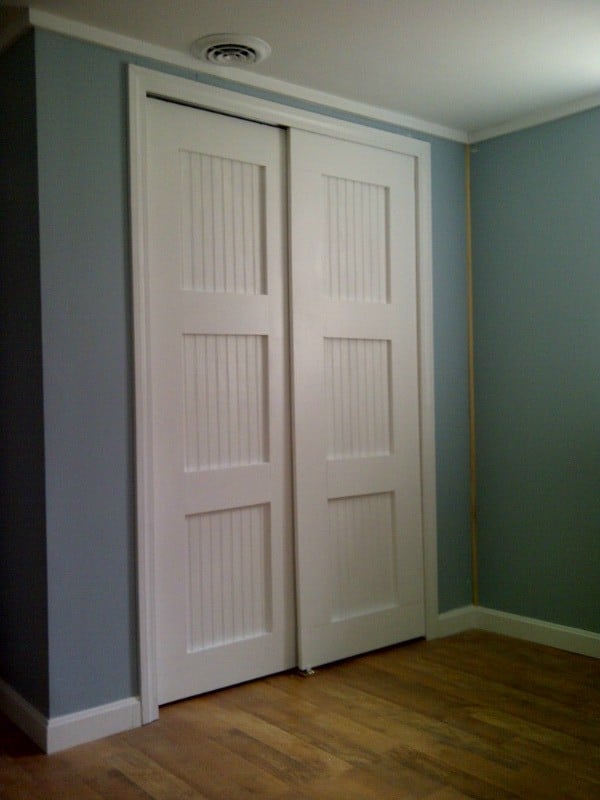
Although he did most of the basic sheetrocking I decided that I was going to build my own closet. After all, how hard could it be. I got it framed out and sheetorcked. Between the low ceilings in the room and the fact that I mismeasured the door frame height, I wasn't able to put in standard doors. But that's okay, I think I like these better.
Thank you, ladies, for giving me the courage to tackle some of these jobs that need doing. I've learned a lot of new skills, done things I never thought I would ever do...and love the feeling that so much of myself is going into making this house my home.

Built from Plan(s)
Estimated Time Investment
Afternoon Project (3-6 Hours)
Finish Used
behr semigloss white paint.
Recommended Skill Level
Beginner

Comments

Debi_G (not verified)

Wed, 04/04/2012 - 15:38

I love these doors. This is now on my to-do list!

Rustic Banquette Bench with Storage

Submitted by Anonymous (not verified) on Sat, 11/04/2023 - 14:16

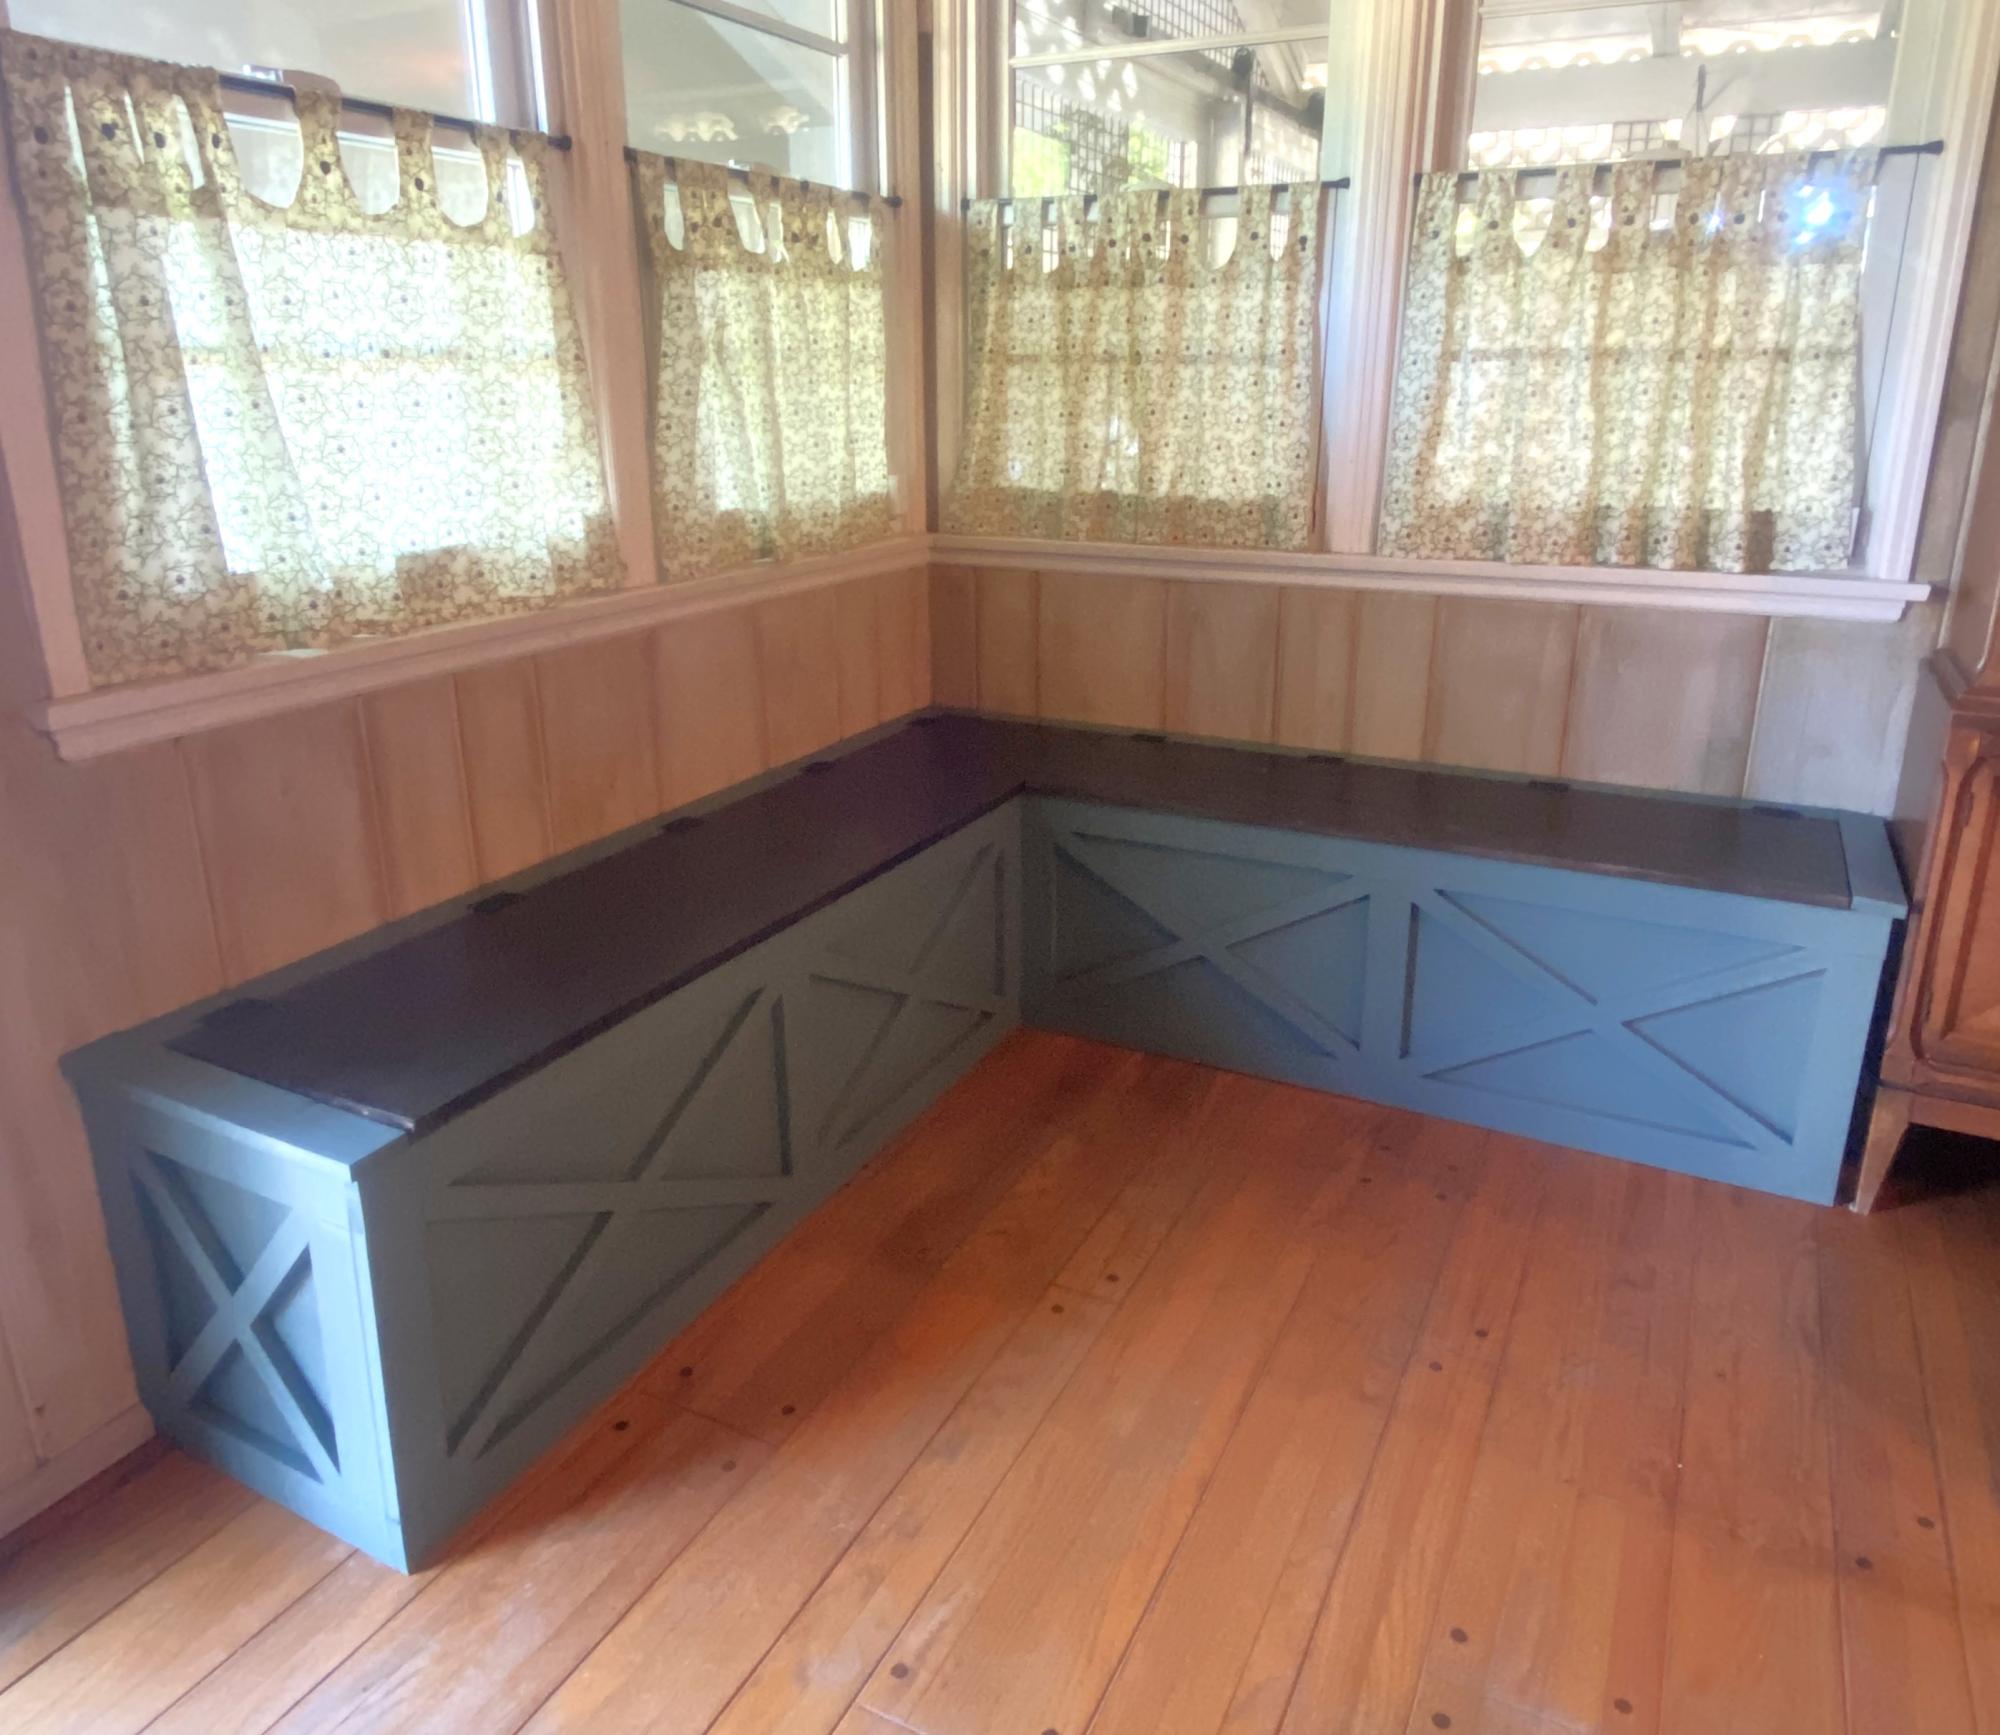
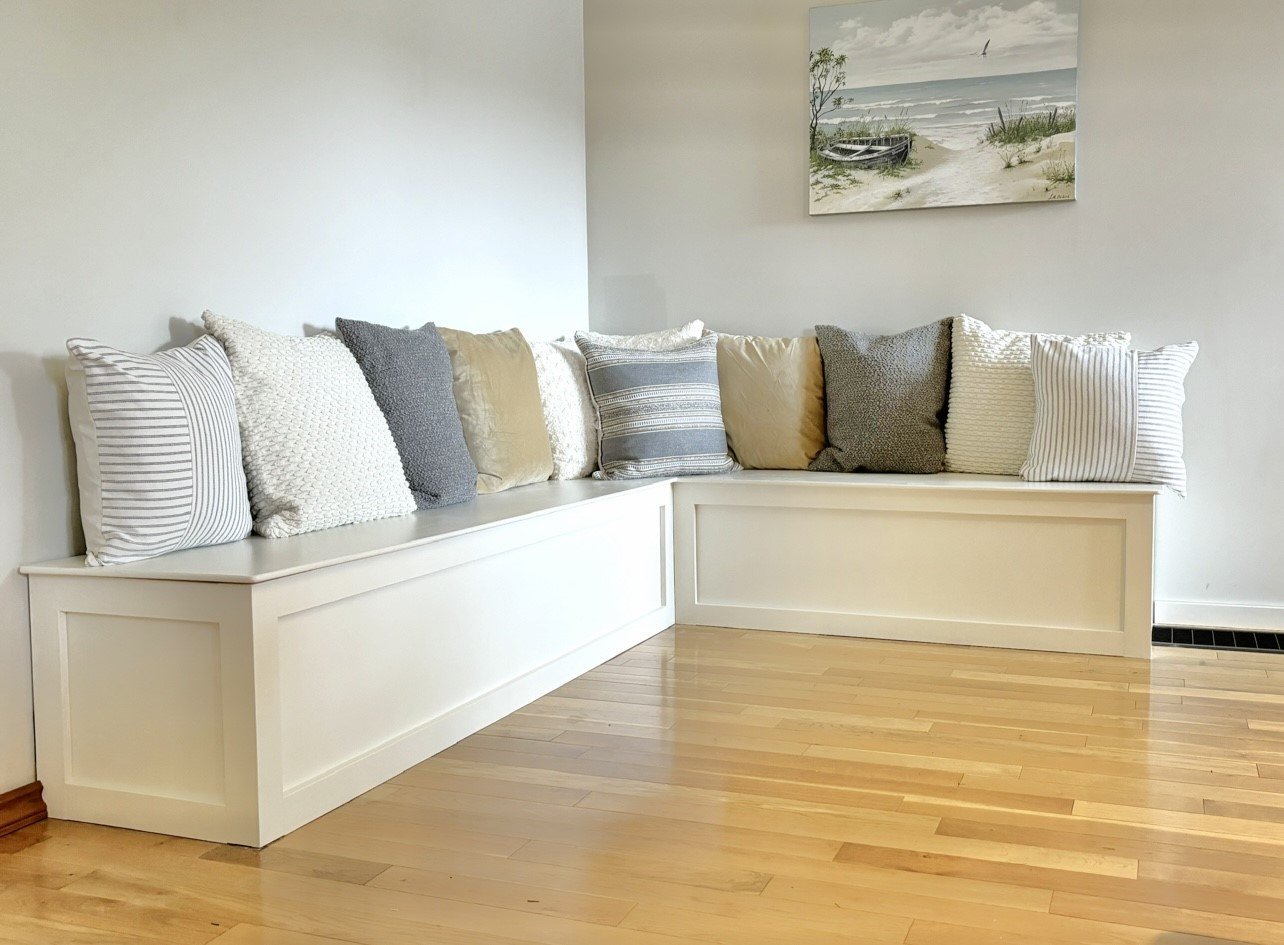
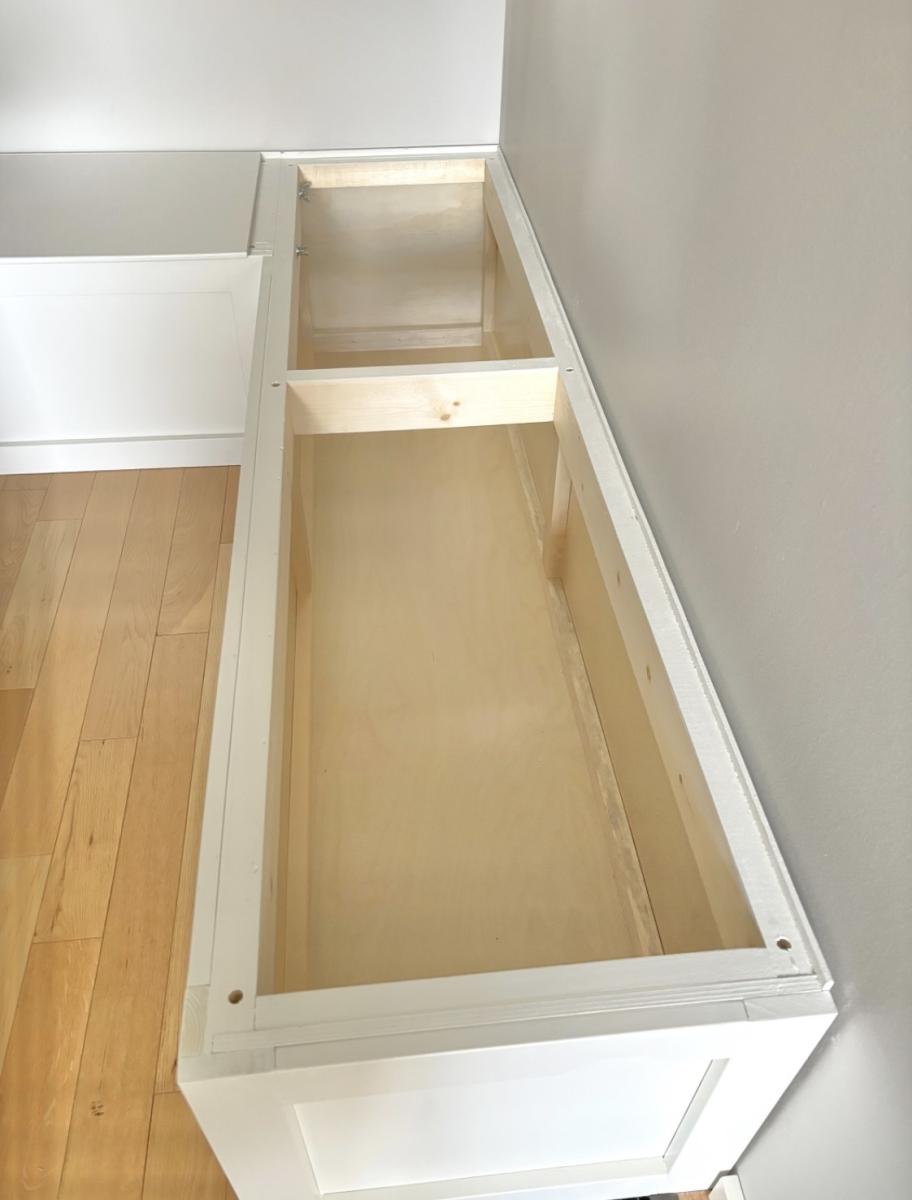
I needed some extra storage space and have always wanted a storage bench in this corner of my dining room. It took me a week to build from start to finish. I’ve never done any woodworking before, so this plan was good for me, as it was easy to follow with the color coding. The only thing that was “off plan” were the X’s on the face of the bench. I had some leftover 1x1 trim, from a handyman project a few years back, that I was happy to use up. It fit perfectly and I had just enough for all X’s. My biggest challenge with this project were the lids. They have a very minor bow, so one of the corners isn’t flush. But, it’s not enough to bother me or need to re-do the lid. All-in-all, I’m super happy with this banquette and may have caught the woodworking bug!

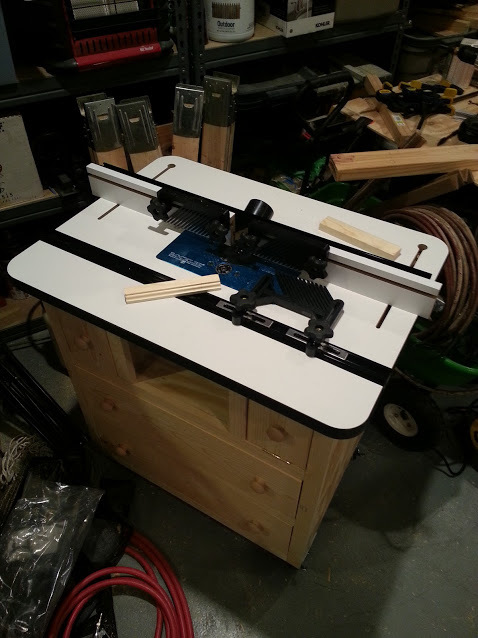
Router table w/ rockler table, fence and lift

Submitted by 1n4001 on Fri, 11/02/2012 - 08:19

Built Patrick's Router table and added a rockler table, fence, and lift to finish off.

Built from Plan(s)
Estimated Cost
~$90 in lumber and hardware + ~$460 for table top, fence, and lift + $170 for bosch 1617evs router
Estimated Time Investment
Day Project (6-9 Hours)
Finish Used
raw, probably sand and spray some poly on it in the near future.
Recommended Skill Level
Intermediate

Comments

Patrick Hosey (not verified)

Fri, 11/02/2012 - 09:10

Yes! Enjoy. It'll be the most valuable tool in your shop trust me.

patrickhosey

Sat, 11/03/2012 - 19:28

Here's a tip for that 1617 router. Try putting a bandaid over the on/off switch. That thing will get gummed up if left uncovered. It's annoying.

jimssolidwoodp…

Sun, 03/05/2017 - 21:13

My question for Patrick is when he built the top section for 2 small drawers and middle section for the router access..

Did Patrick put on top a 3/4" pc of plywood then the router table top.

Can l attach my router table top to the top pc if 3/4"plywood then my table top is 1 3/4" thick that it would be to thick could you email to let me know please.

Jim

Parson Tower Desk

Submitted by Anonymous (not verified) on Sat, 09/19/2020 - 16:02

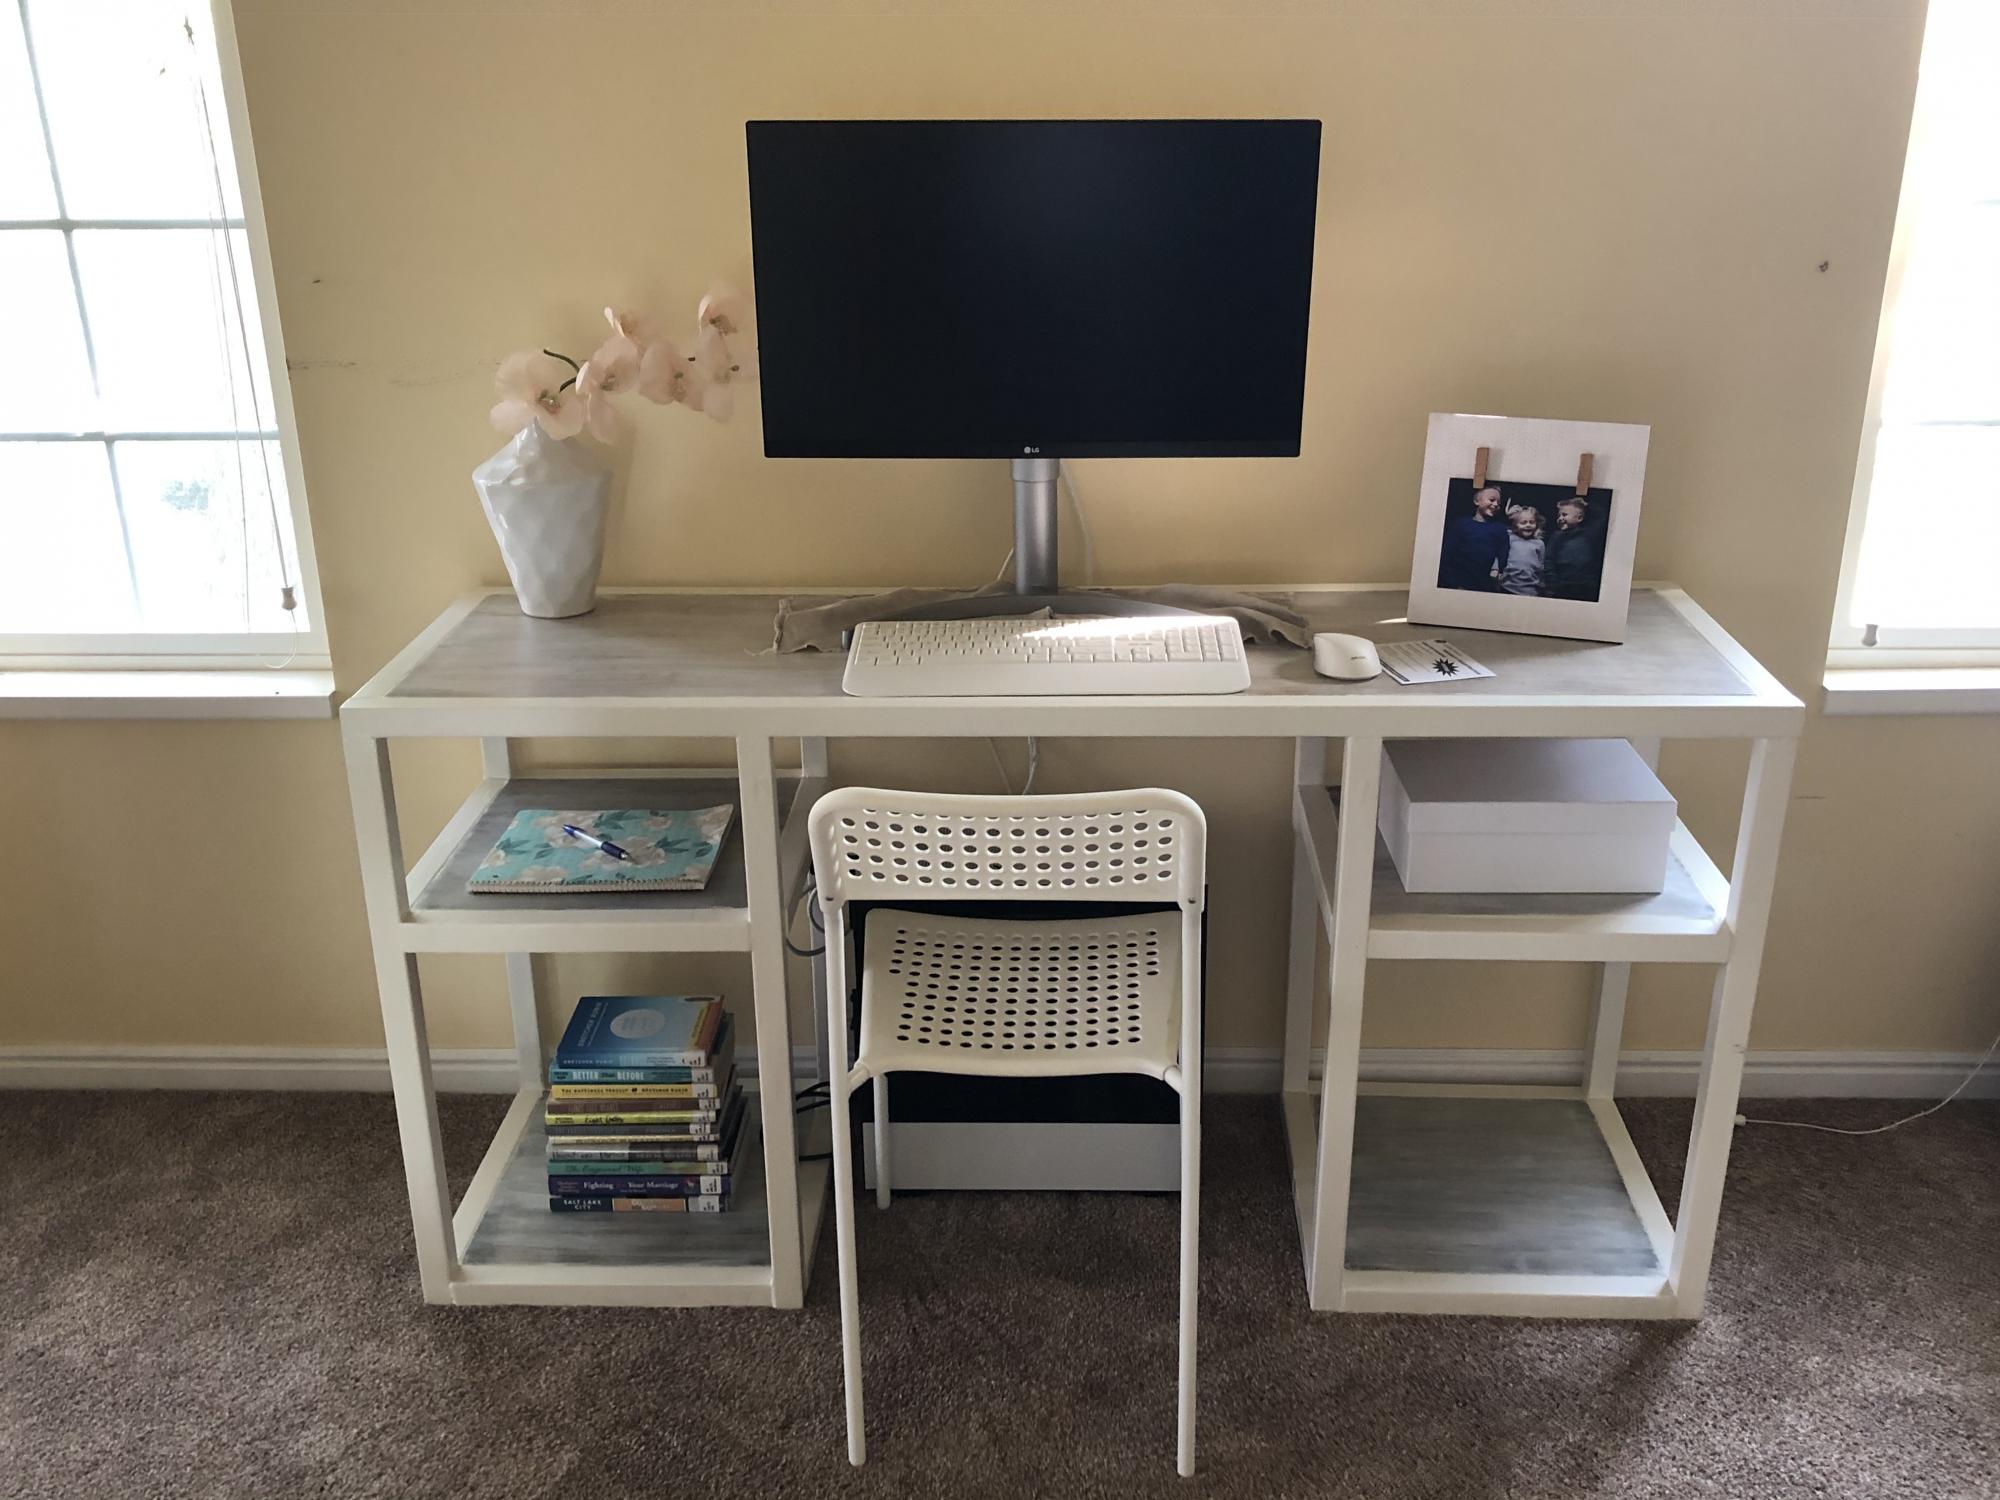
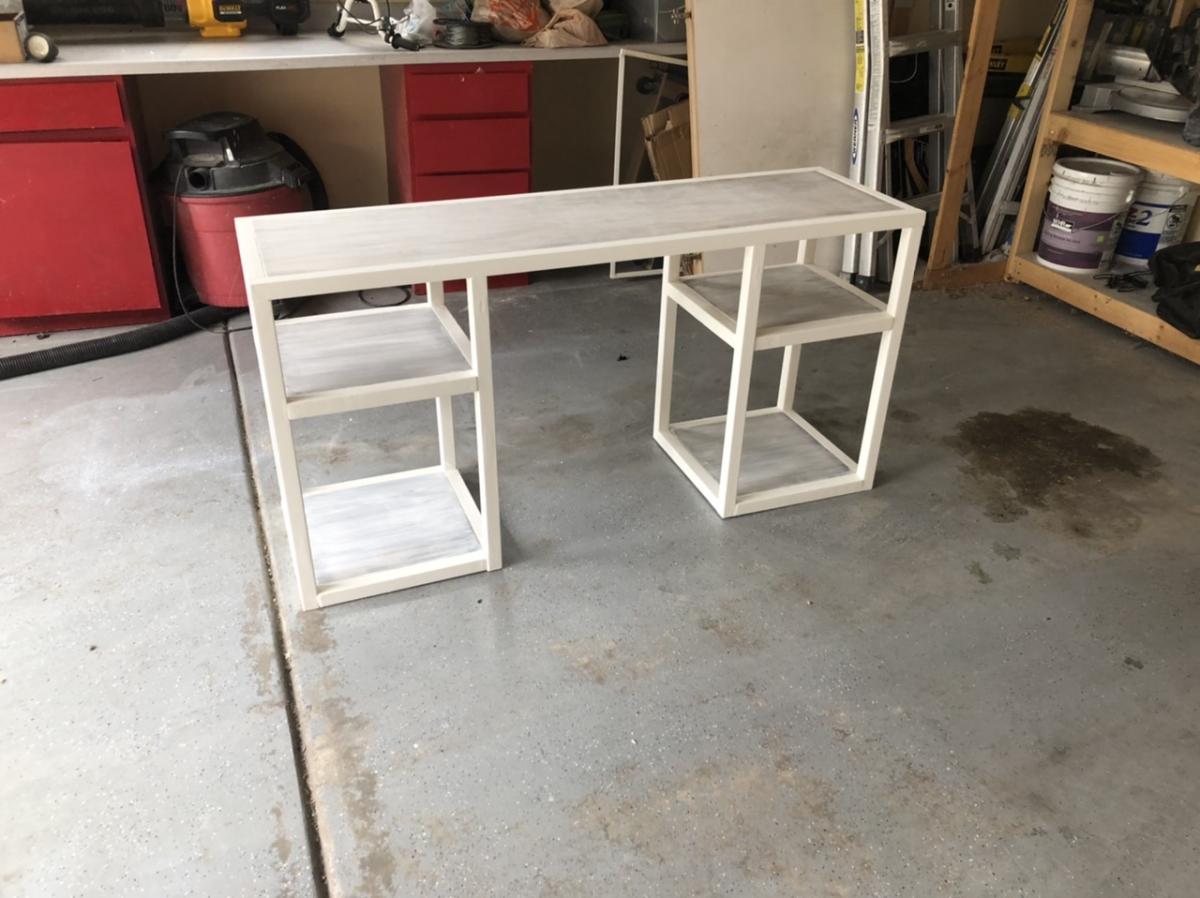
This was my first woodworking project. And even though it took me much, much longer than the afternoon Ana White said she built it in, I’m still happy with how it turned out.

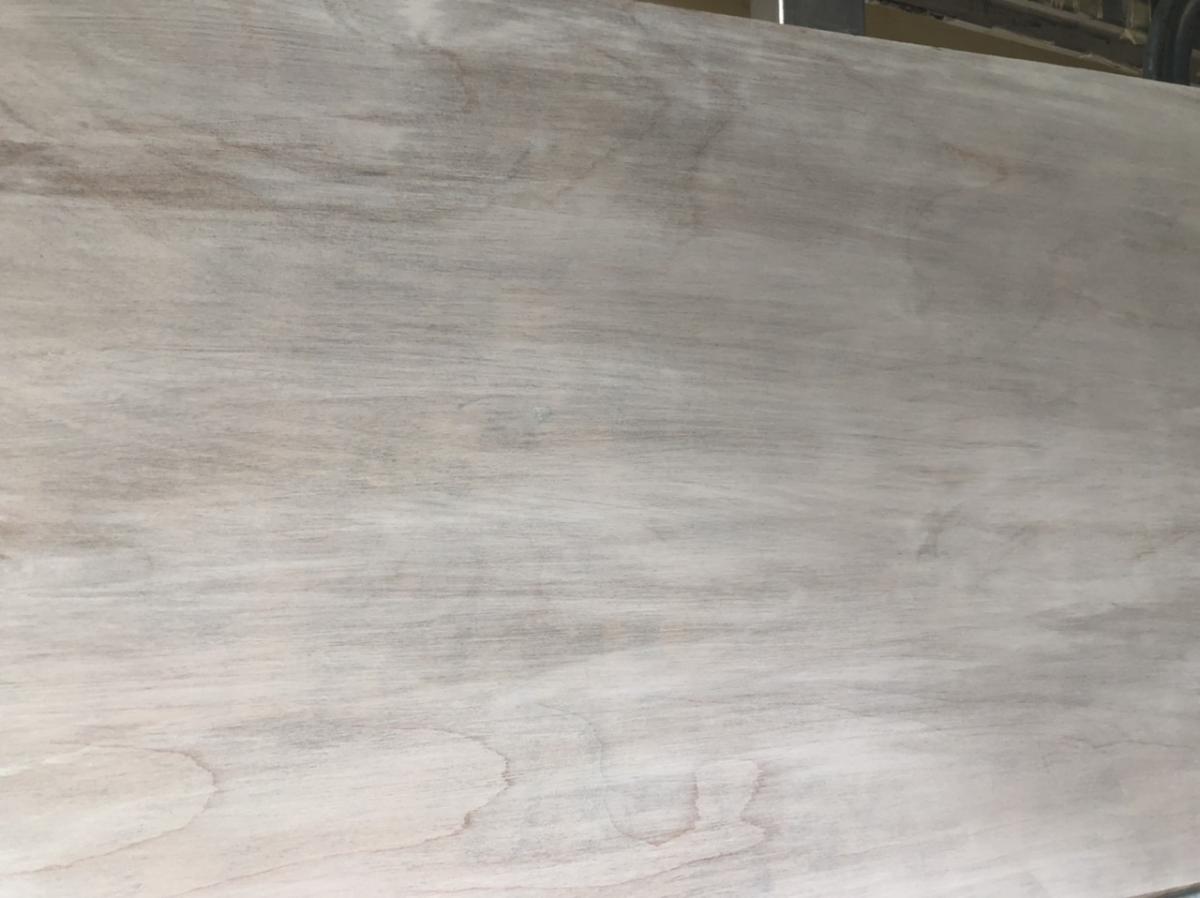
I changed the plans just a bit because I chose to make the shelves higher up, rather than even, so that I could have larger spaces and smaller spaces to store things. I also tried to match a two-toned look that a few pieces of our furniture already had by making the top and the shelves a different tone than the edging. The “weathered” wood I managed to create was more gray than the inspiration pieces, but they tie together well enough. I’m sure that trying to match that look was one big reason it took me so much longer than I expected, since I couldn’t assemble the desk and then paint the wood since I would risk painting or staining the wrong surfaces. Also, I made a bunch of rookie mistakes that I had to try to correct and that ate up time as well.

This project only cost about $35 since my husband has all the tools I could possibly need, plus had several large pieces of wood left over from home remodeling I was able to use for the top and shelves. We had leftover paint and leftover stain I was able to use as well, and he even had a kreg jig and pocket hole screws. Really all I had to buy were the 2x2’s for the legs and edging, plus some cheap plaster of Paris to make homemade “chalk” paint.

It is so amazing to look at this and realize that I made it. It’s a pretty big feeling of accomplishment, and I love the open clean lines of the desk as well as the fact I was able to match furniture I had in a way that wouldn’t be possible at this point with a store-bought desk. Thanks, Ana!

Built from Plan(s)
Estimated Cost
$35
Estimated Time Investment
Weekend Project (10-20 Hours)
Finish Used
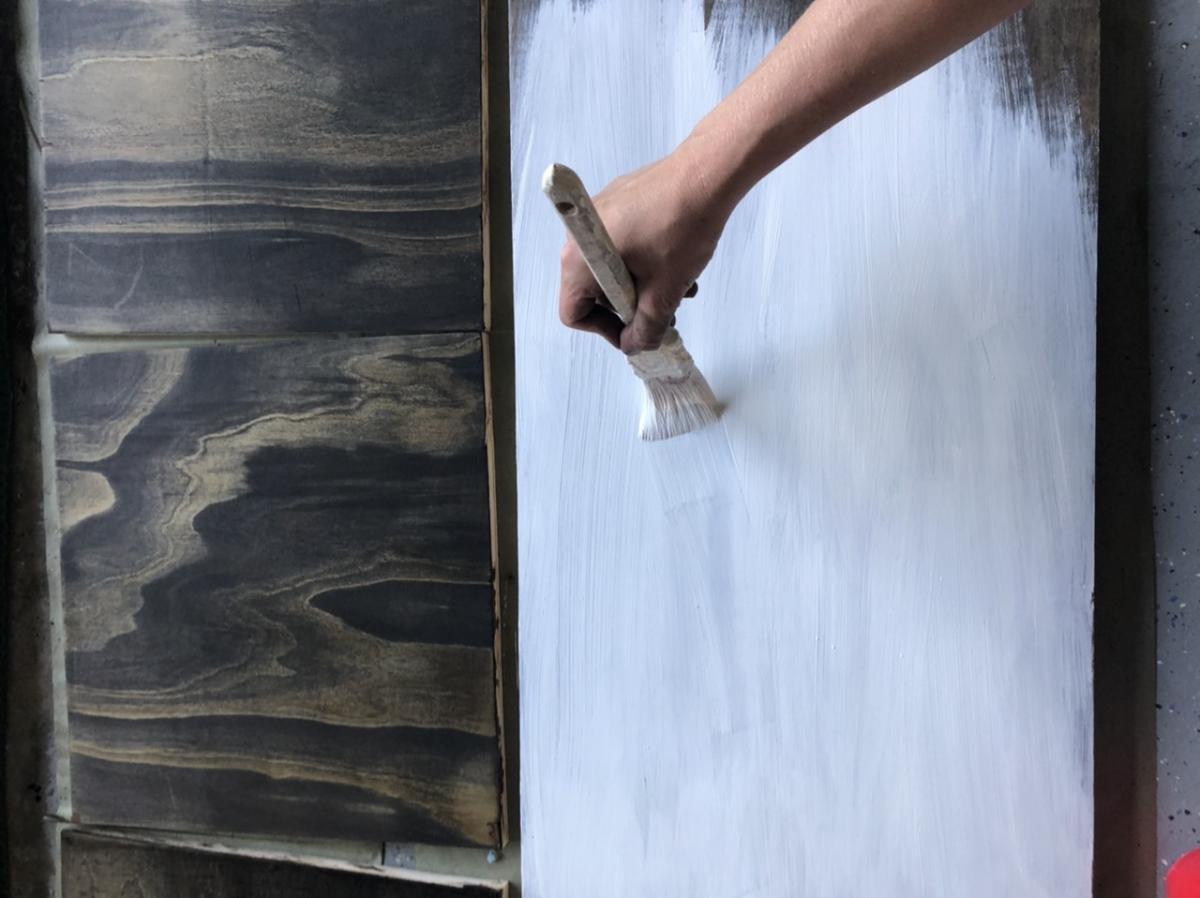
I used homemade chalk paint and a “weathered wood” finish created with stain and paint.

To create the chalk paint I combined a few tablespoons of plaster of paris with enough water to make a liquid solution, then added that to an equal amount of flat Benjamin Moore paint in white dove that we already had from painting our ceilings.

To create the weathered finished I first stained the wood in a dark neutral tone we already had. It was a custom color we’d ordered to match our hardwood floors, but it is similar to many dark stains with golden tones instead of red. I left the stain for almost 10 minutes so the stain would penetrate deeply and make the wood fairly dark before wiping it off. Once it dried I painted the wood with the same chalk paint I used on the 2x2s, but immediately wiped it off to reveal some stain and some areas that looked more gray. Once it was dried I sanded it lightly to reveal as much of the stained areas as I wanted, and then it was done.

I painted and stained everything before assembling so that I wouldn’t get the two finishes mixed up. Once it was all assembled then I filled all the holes that were visible, which were all on the 2x2s, sanded them, and repainted the white areas that needed it.
Recommended Skill Level
Beginner

Flip Top Piano Bench

Submitted by amycourts on Mon, 12/17/2012 - 17:54

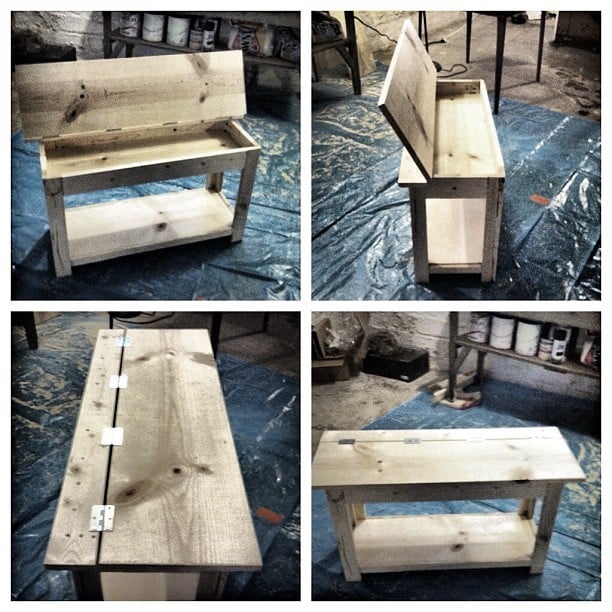
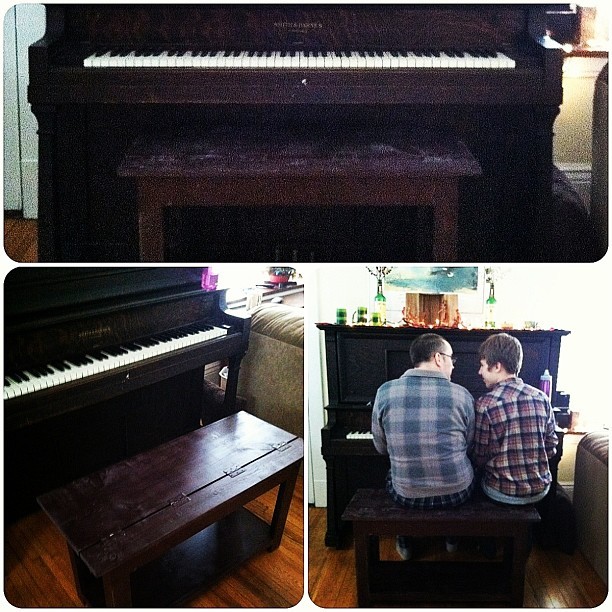
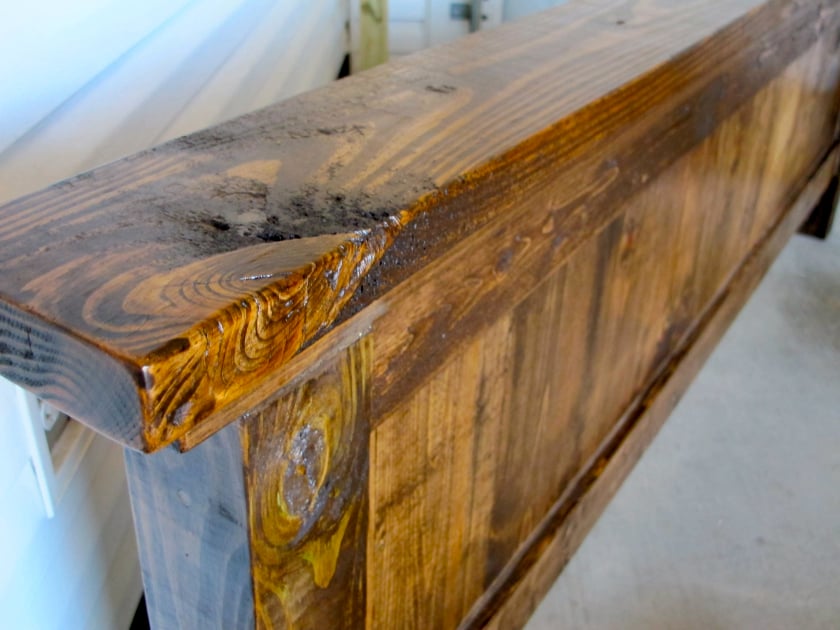
This was my first DIY build. Having been inspired by my good friend, the brilliant Jen Woodhouse of The House of Wood, I decided surely I could do this too. So I picked something that looked like a challenge, but that we also needed. We have an old piano we bought from Craigslist that has heretofore been benchless. So I used the Flip Top Storage Bench plans, headed to Home Depot, collected the wood (and let them cut it - but made a few of my own cuts, too), and got to work.

I had a little trouble at first, simply because, after assembling the sides and aprons, the unit did NOT square up. I took a few pieces apart and realized it wasn't user error (what?), but warped wood. That's right: one of my 1x3s was warped and bendy. So I rebuilt that side with some of my leftovers, and made sure to square up after each step, and lo and behold it came together!

It's not perfect - one of my legs is a bit off, so it wobbles when no one's sitting on it, but there's no issue when it bears weight - but for my first build, I'm quite pleased! And now that I know I can do this...well, this is just the beginning!

Total time it took me was probably around 15 hours, which includes practicing using my circular saw and kreg jig (both of which were straight out of the box when I started), along with my rebuilding the side.

I used Minwax pre-stain wood conditioner after sanding, followed by two coats of Rustoleum spray stain in Kona. I sanded with 400 grit sand paper after each coat of stain, and finished with one coat of semi-gloss polyurethane. I considered a few more coats of stain, but so fell in love with the weathered look that evolved from the staining and sanding that I just left it!

I also spray painted the hinges - that was a bit of an accident (I didn't know how NOT to cover them in stain...), but turned out to my liking!

My estimated cost is about $100, which covers the wood (including the extra 1x3s and an extra 1x2 I needed for a screw-up), nails, screws, three cans of spray stain, polyurethane, wood conditioner, paint brushes, two packs of sandpaper, and my hand sander. All but the wood will be used in my next few projects too, so that cost covers QUITE a bit!
Estimated Cost
$100
Estimated Time Investment
Weekend Project (10-20 Hours)
Finish Used
Two coats "Kona" spray stain, Minwex wood conditioner, one coat polyurethane, for a weathered look.
Recommended Skill Level
Starter Project

Comments

Angela J.

Wed, 01/30/2013 - 00:25

I am going to be building this bench this weekend. What is a kreg jig? I am so confused. I am going to HD tomorrow to buy supplies.

Great looking bench! I will certainly look out for warped wood :)

In reply to by Angela J.

amycourts

Wed, 01/30/2013 - 08:19

Hey Angela,

The Kreg Jig is a tool that creates pocket hole joints on all your boards - whether you're joining vertical to horizontal pieces, or two horizontal or two vertical, etc.... - and made this build, as my first, INFINITELY easier. You don't *need* the Kreg Jig to build this bench, but Ana recommended it, my good friend Jen Woodhouse, who contributes a lot of plans and builds to this website recommended it, and I highly, highly recommend it. It's about $100, and worth every penny.

Here's the video I used as a tutorial on how to do it. And seriously - it made this job SO much faster than it would have been without the Jig! :)

http://www.youtube.com/watch?v=IrIFHMEPkXs

Henry bookshelf - modified

Submitted by Anonymous (not verified) on Mon, 10/19/2020 - 04:47

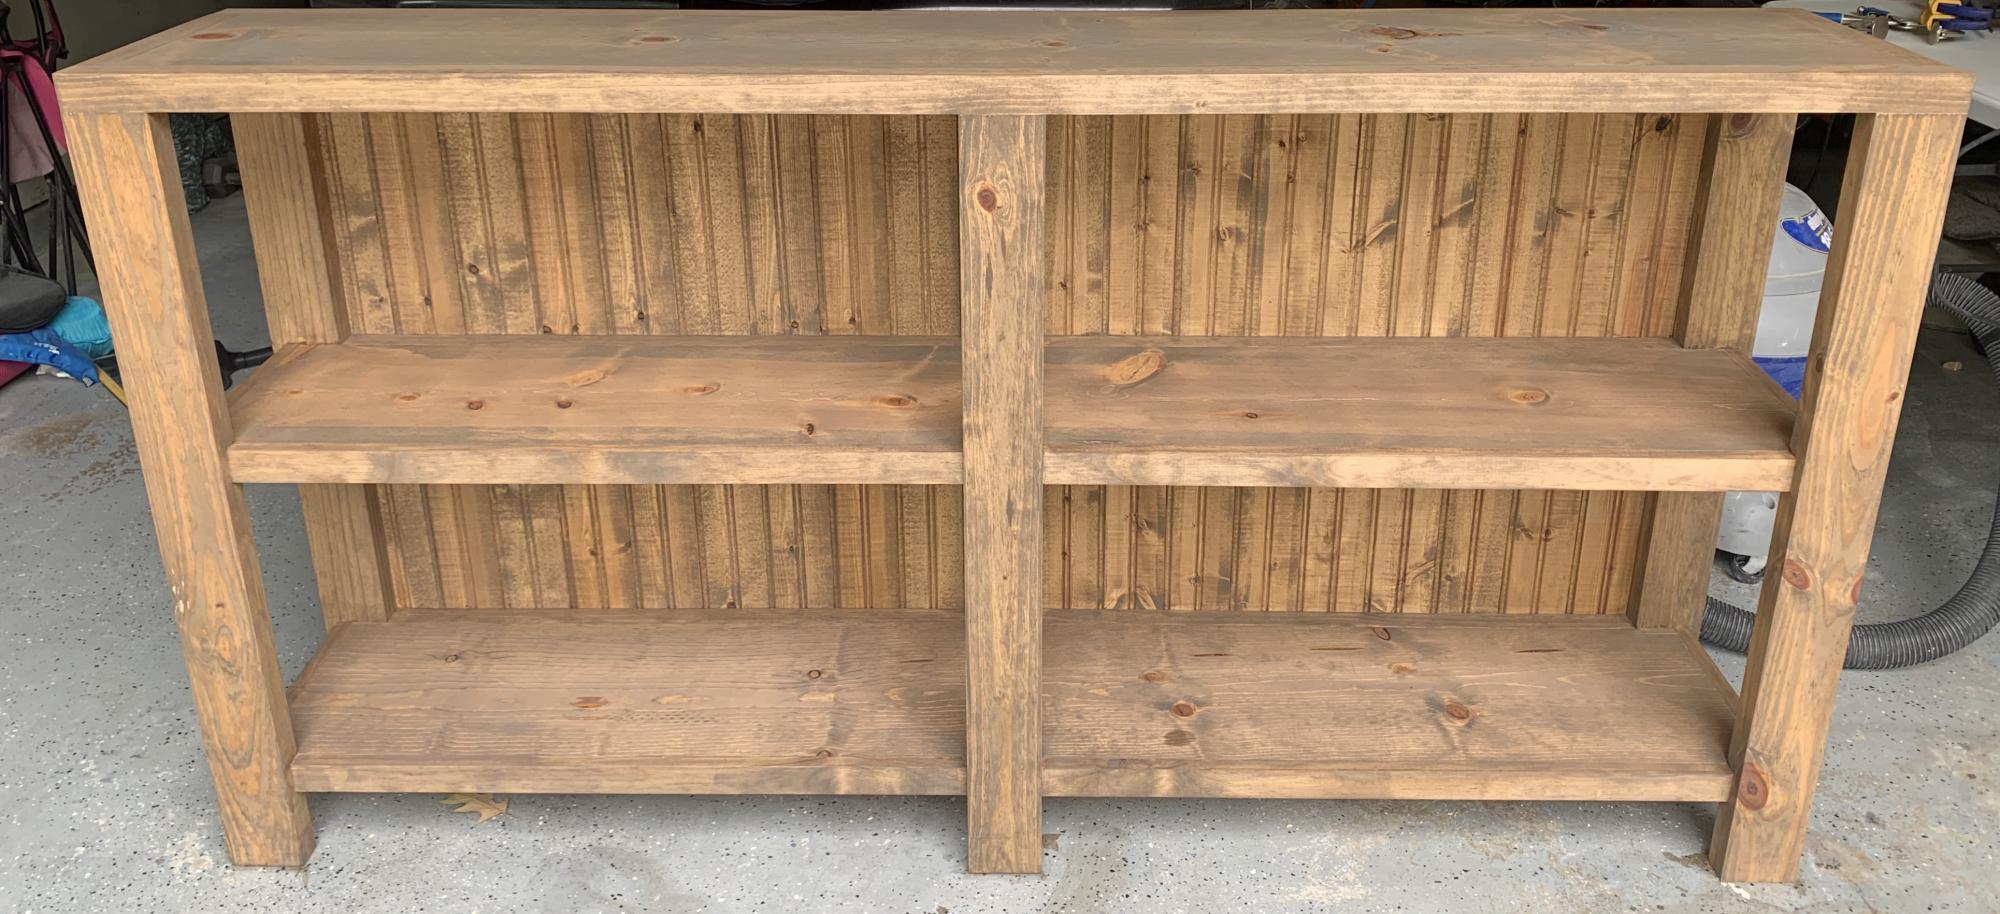
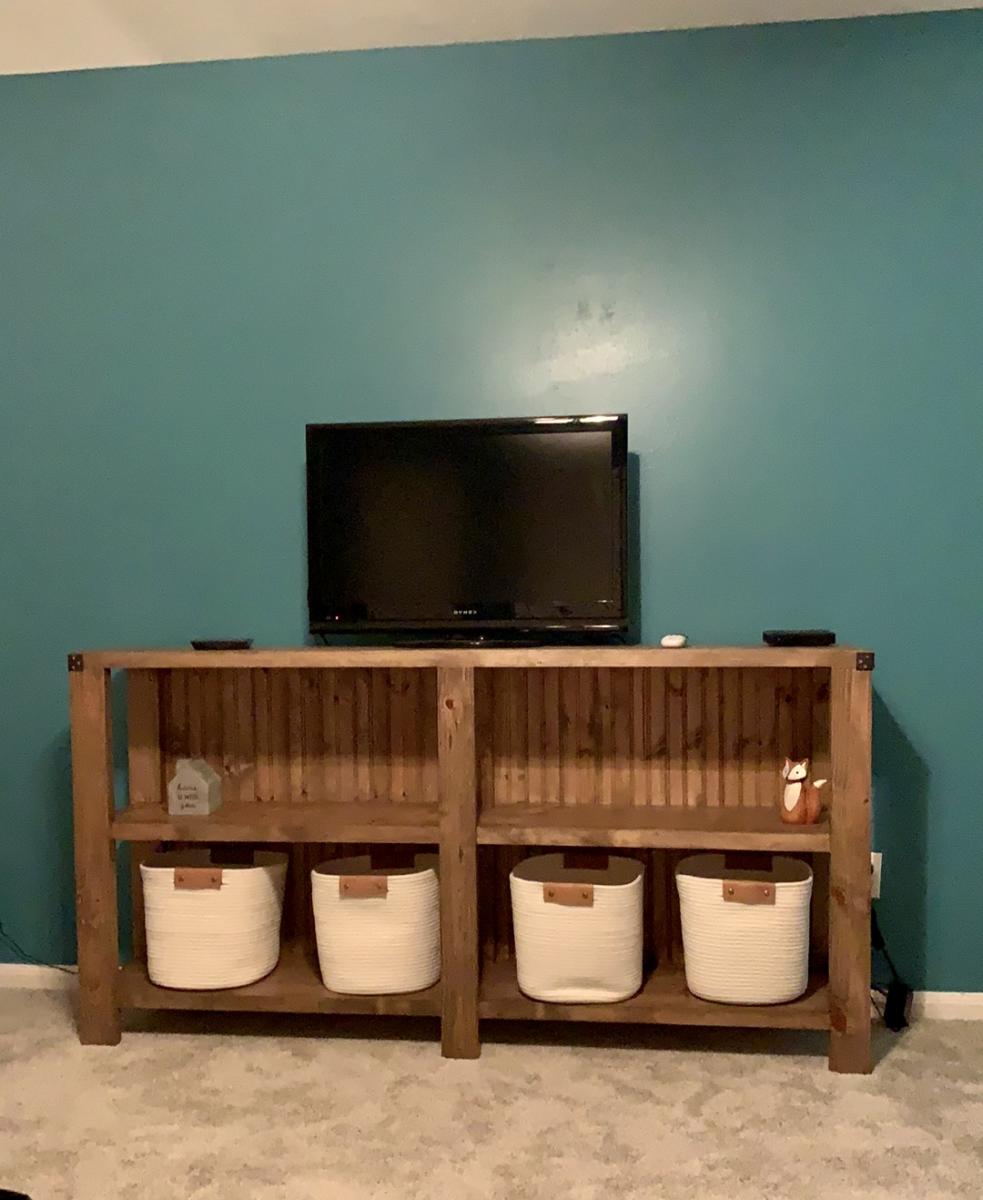
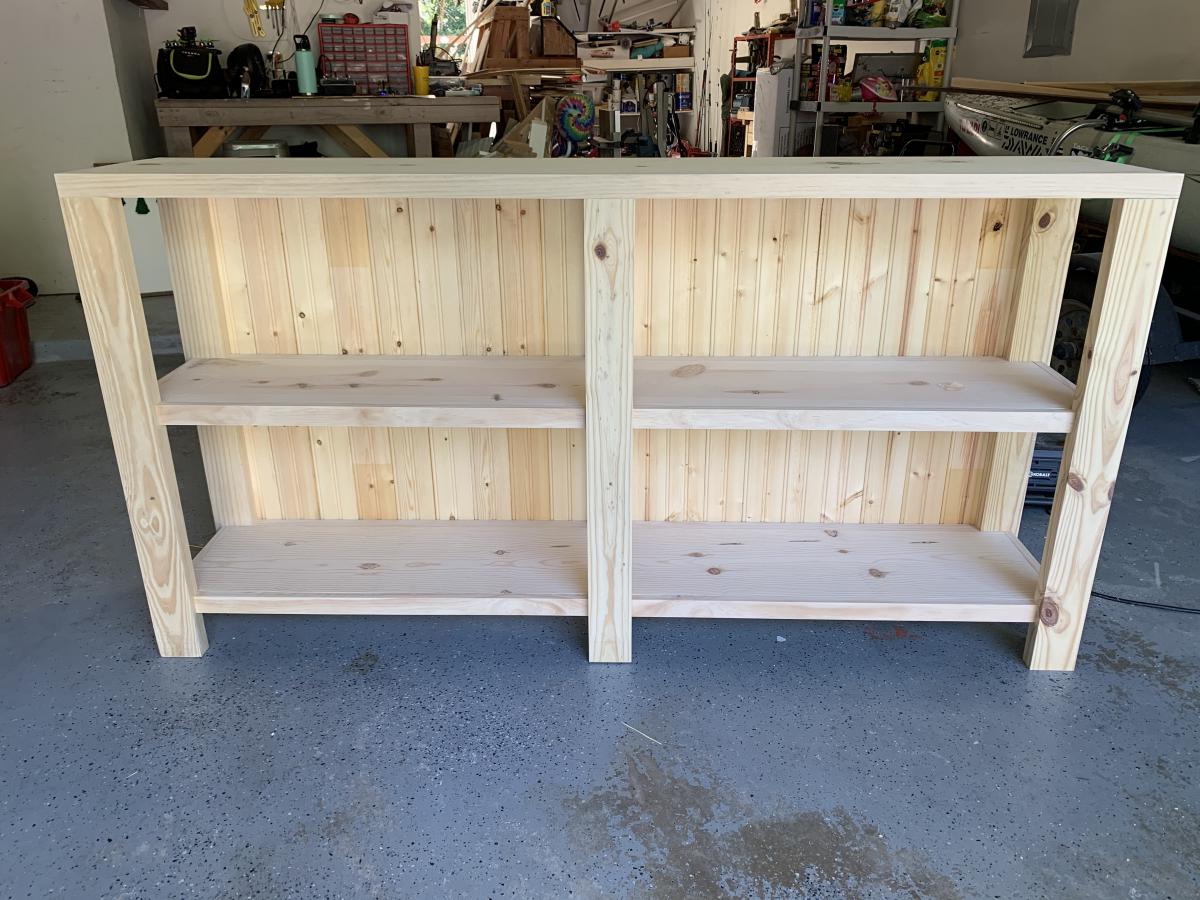
I loved the look of the Henry bookshelf, but I was looking for a longer, shorter bookshelf — so I modified the plans and created this version. It stands a little over 3ft tall and is 6ft long. I chose tongue and groove bead board for the backing and mixed two different stains to achieve the hint of gray. Finished it off with a satin poly.
-Whitney R. , Houston, TX

Built from Plan(s)
Estimated Time Investment
Weekend Project (10-20 Hours)
Finish Used
3 parts miniwax early american to 1 part miniwax gray and finished with miniwax satin polyurethane.

Comments

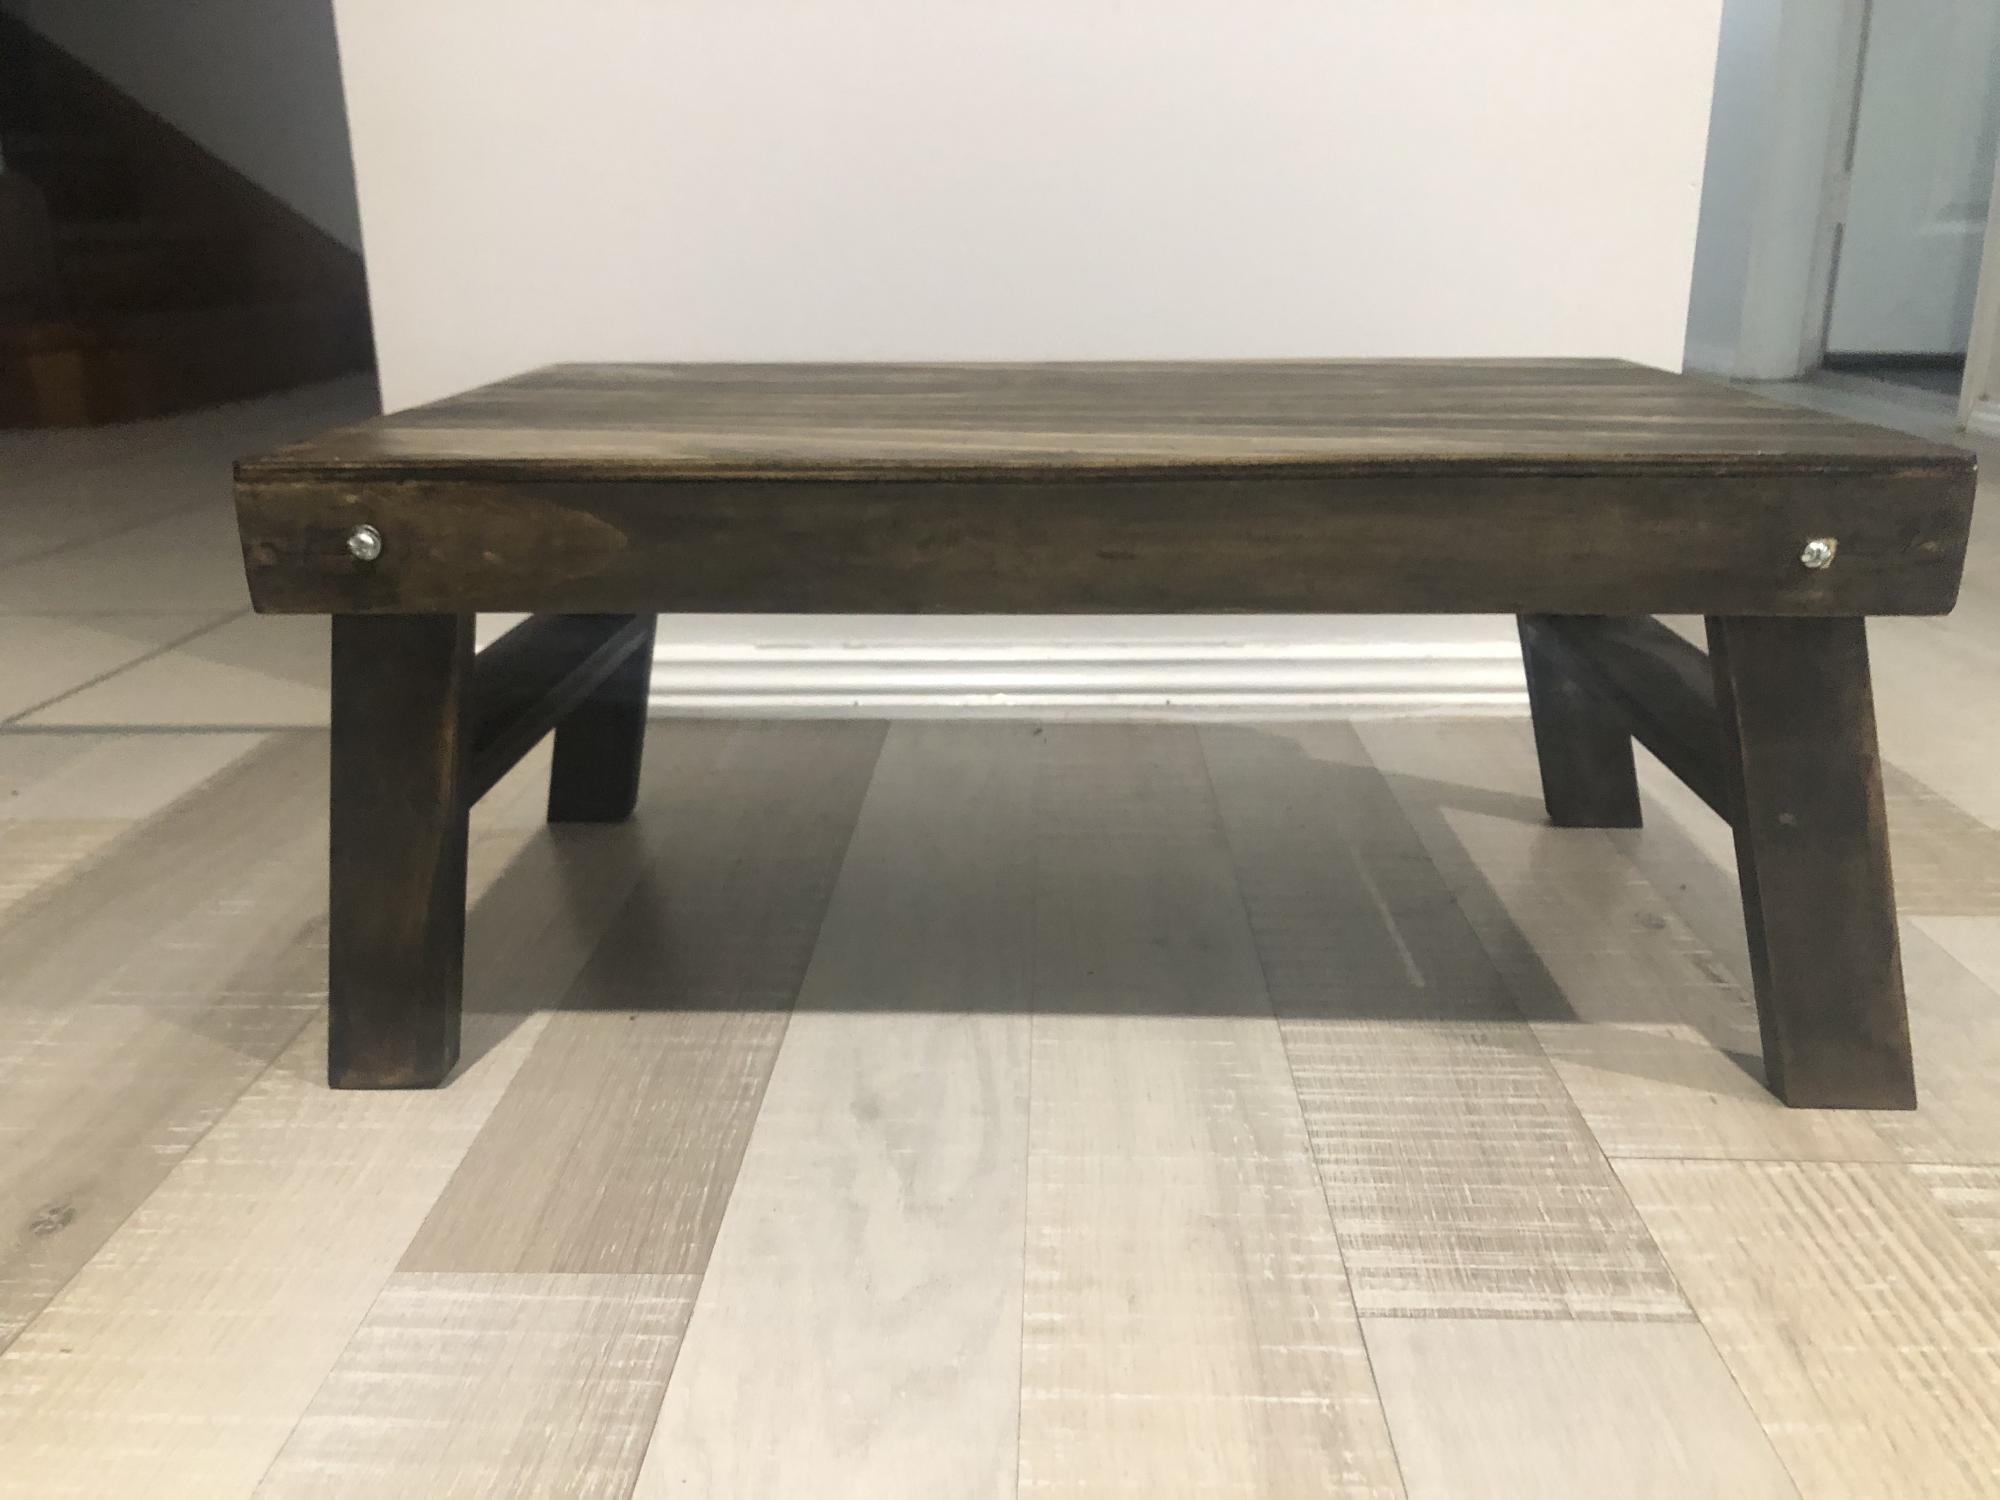
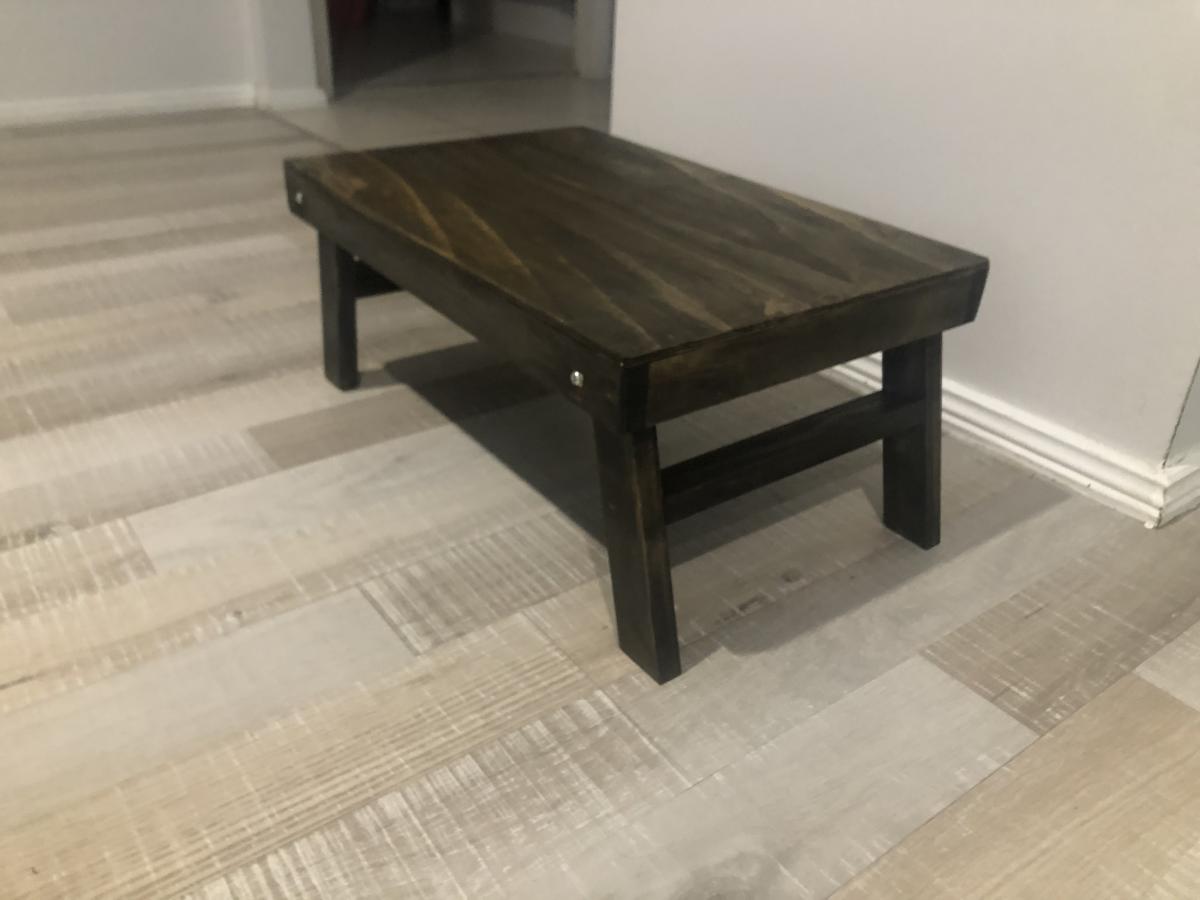
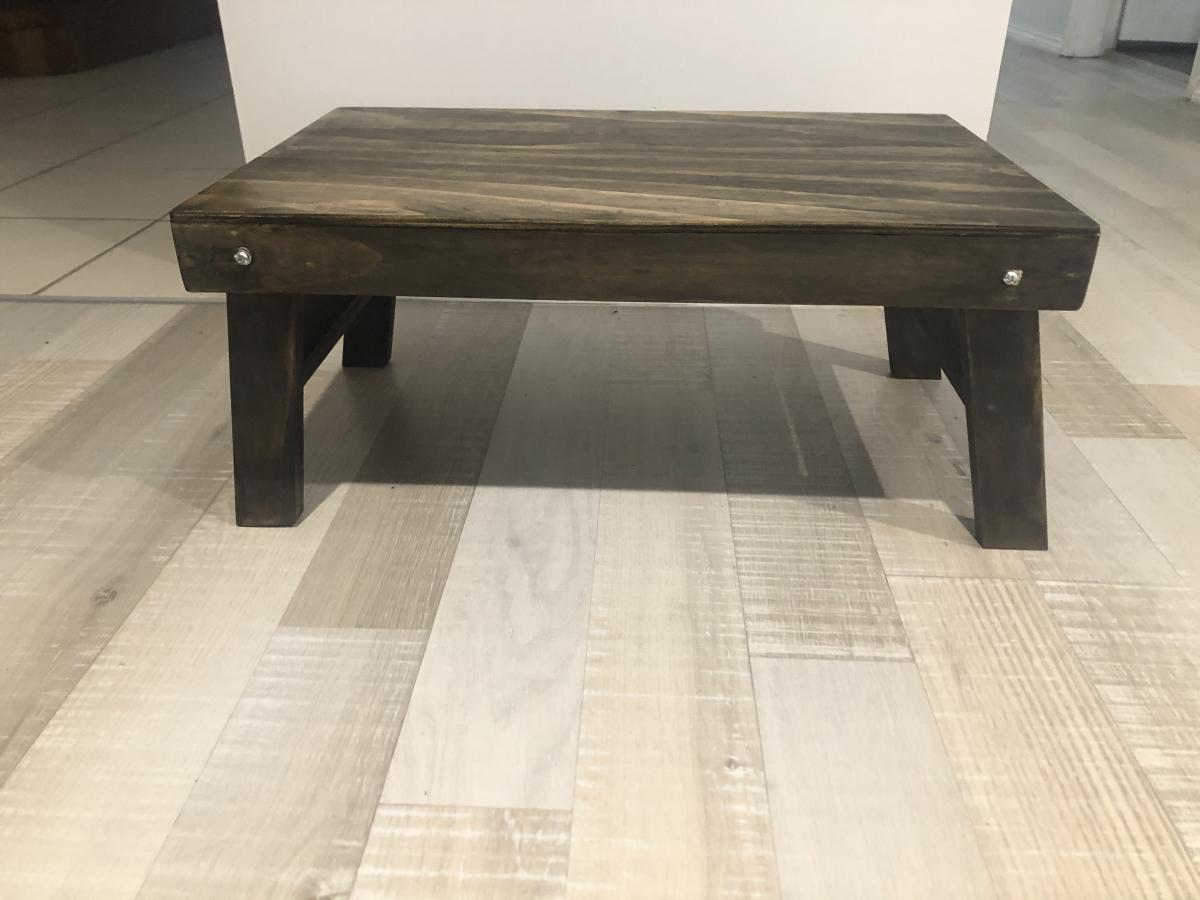
Folding lap desk

This is my first project that I’ve done entirely by myself and I’m so happy with how it turned out. These plans were great! The only thing I did differently was make the legs 1/2 an inch longer and I stained the table instead of personalising. I made this for my mum and she loves it, thank you for these awesome plans ❤️ This only took me an afternoon to build and then just going back and puttying the screws and staining the table was done over a few days. The wood cost around $30 and I already had the putty and stain at home. It would cost more to make if you had to buy the stain and putty.

Built from Plan(s)
Estimated Cost
$30
Estimated Time Investment
Afternoon Project (3-6 Hours)
Recommended Skill Level
Beginner

Comments

Teen Loft Bed

Submitted by KailuaGirl on Fri, 03/15/2013 - 12:59

Aloha!
I was inspired by what I saw on Ana's website. My daughter was obsessed with the PB Teen version of the loft bed, so I tweaked the plans here to make it more like the $2500 bed from the catalog!!!!! Yikes and don't even get me started on what the shipping to Hawaii would be....It was well worth the effort! My daughter loves her new loft bed...Now if I can just figure out a way to get the dog to love the high bed!!!
Cheers, Tina

Built from Plan(s)
Estimated Cost
$250 because I added a glass top to the desk
Estimated Time Investment
Weekend Project (10-20 Hours)
Finish Used
white glossy paint
Recommended Skill Level
Beginner

Comments

DawnL

Sat, 06/22/2013 - 02:57

Aloha Tina!

You did a great job! I was wondering, how high is the bed, room and clearance? We also live in Hawaii and my daughter's room is small. Any feedback on what modifications you made would be greatly appreciated! Mahalo!

KailuaGirl

Tue, 06/25/2013 - 13:35

Hi Dawn,
Yes, my daughter's room has low clearance, so I tweaked the loft bed height.
I determined what top clearance I could maximize that would allow my daughter to sit up in bed comfortably, but it will be tight as she grows. She's 5 feet now...
Then I tweaked the desk area height as well to maximize without too much of a struggle to get into the area.. I hope this reply is helpful..
Floor to ceiling height is 96 inches. desk area has clearance of 56 inches and from the top of the mattress to ceiling has a clearance of 28 inches.
Aloha, Tina

hansje01

Tue, 12/17/2013 - 16:06

Im having a problem finding the plans for the teen loft bed shown above. any direction would be appreciated! Thanks!

KailuaGirl

Tue, 12/17/2013 - 16:59

HI! There are no plans for this loft bed.. I used the plans on this site and just literally DIY'ed to fit my needs.. Sorry I know this doesn't help you much…
If you have a specific question, maybe I could help…
Aloha, Tina

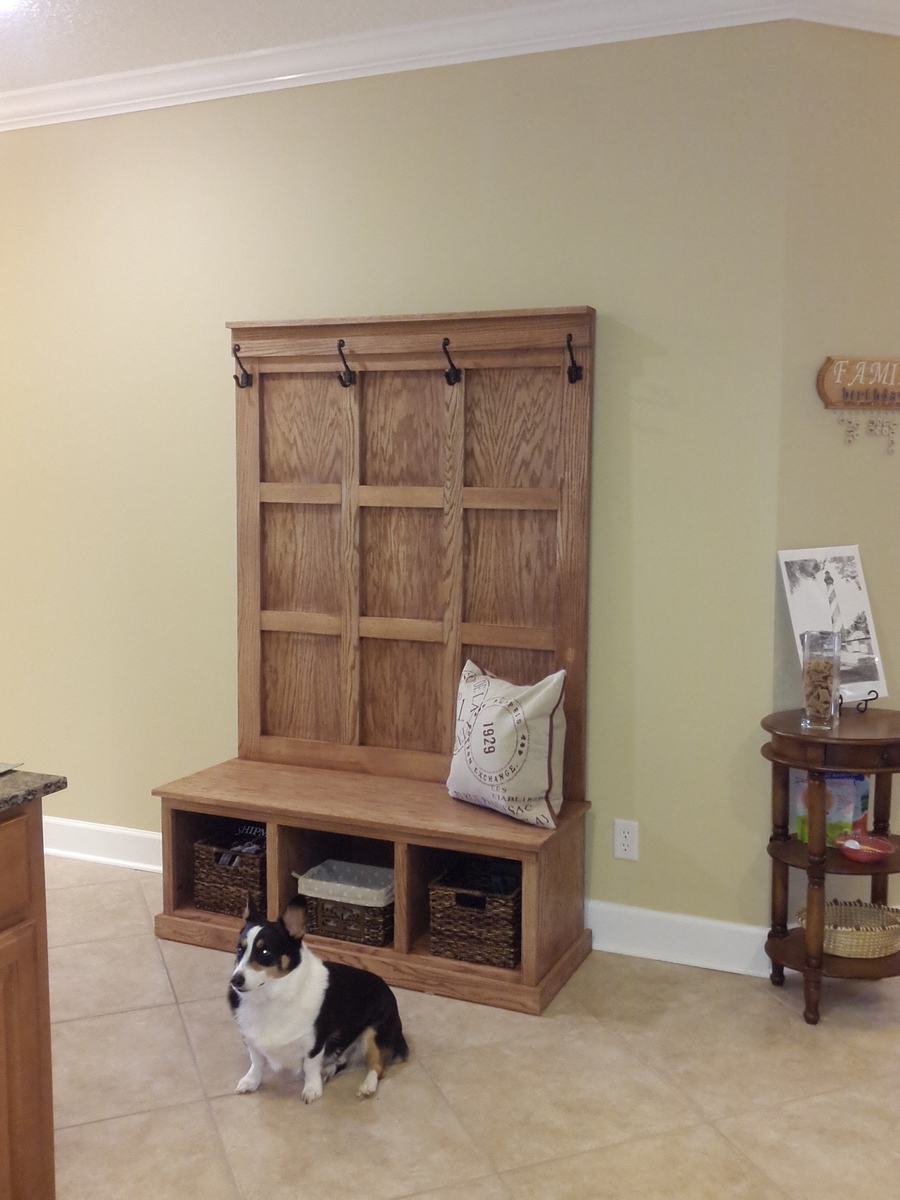
Fancy Hall Tree

Submitted by JHardaway on Sun, 03/31/2013 - 18:58

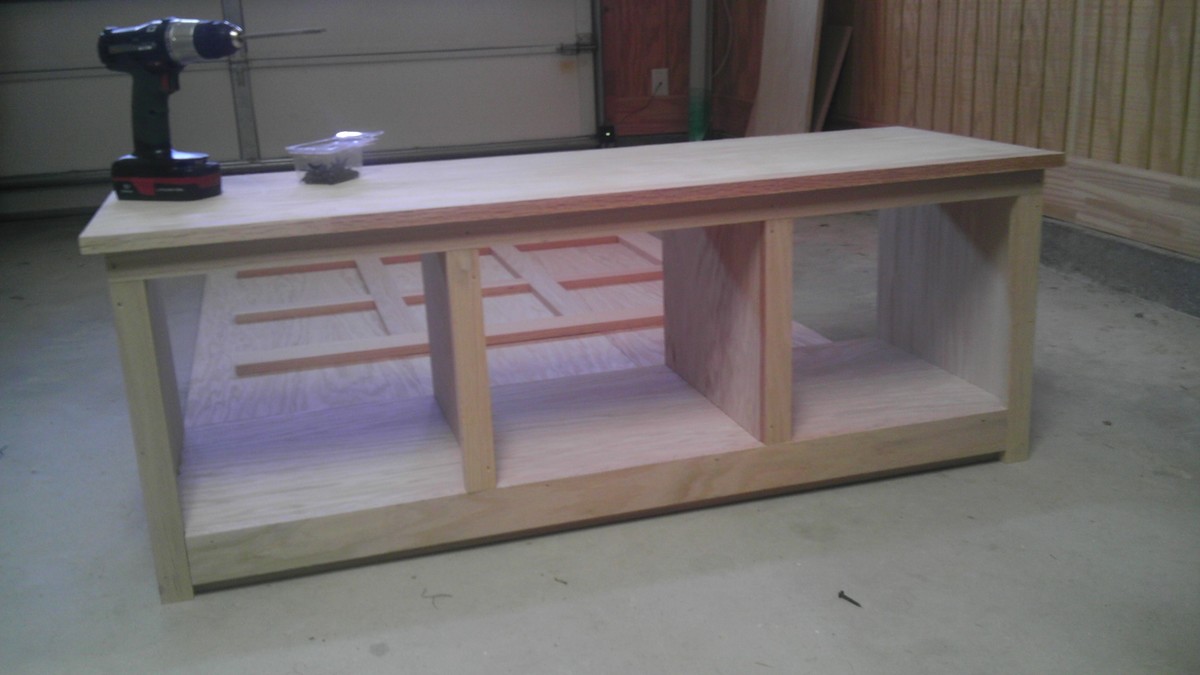
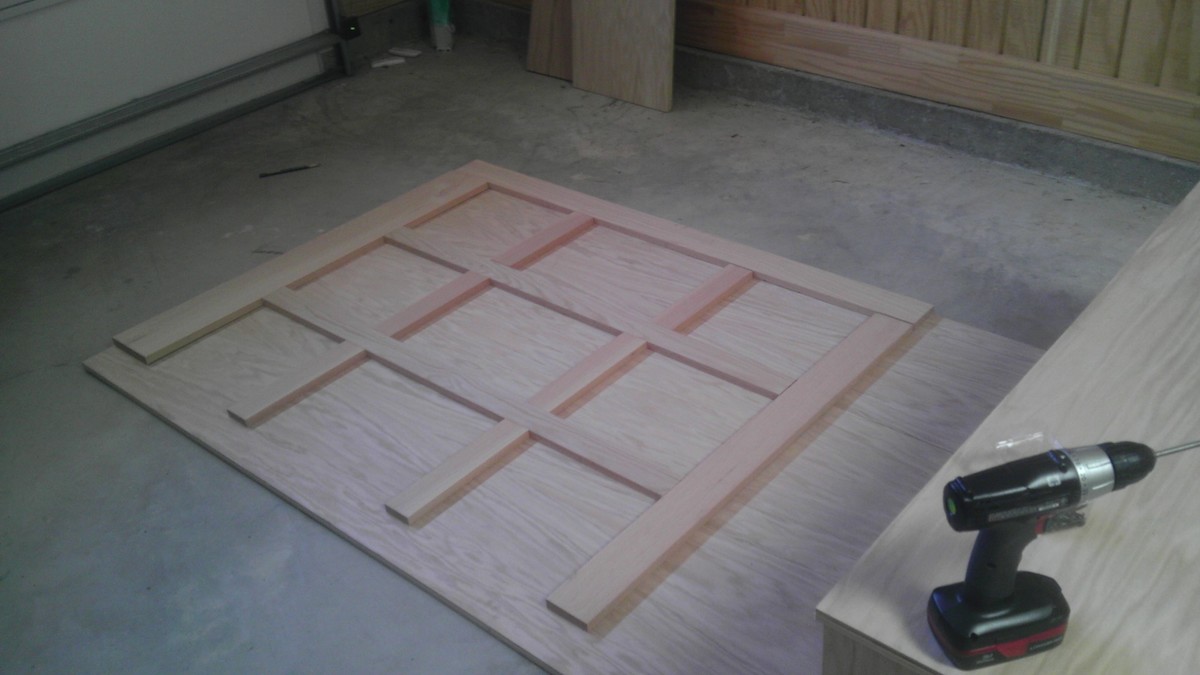
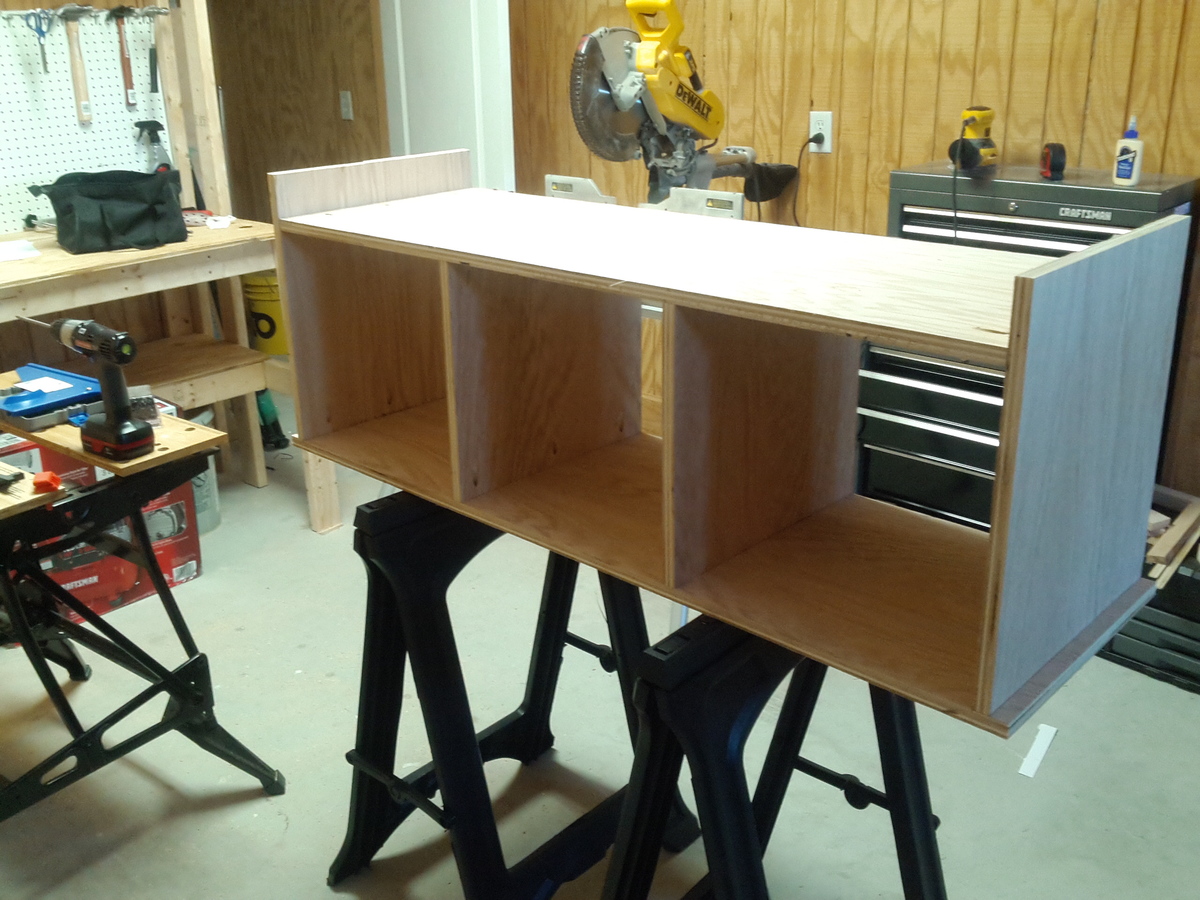
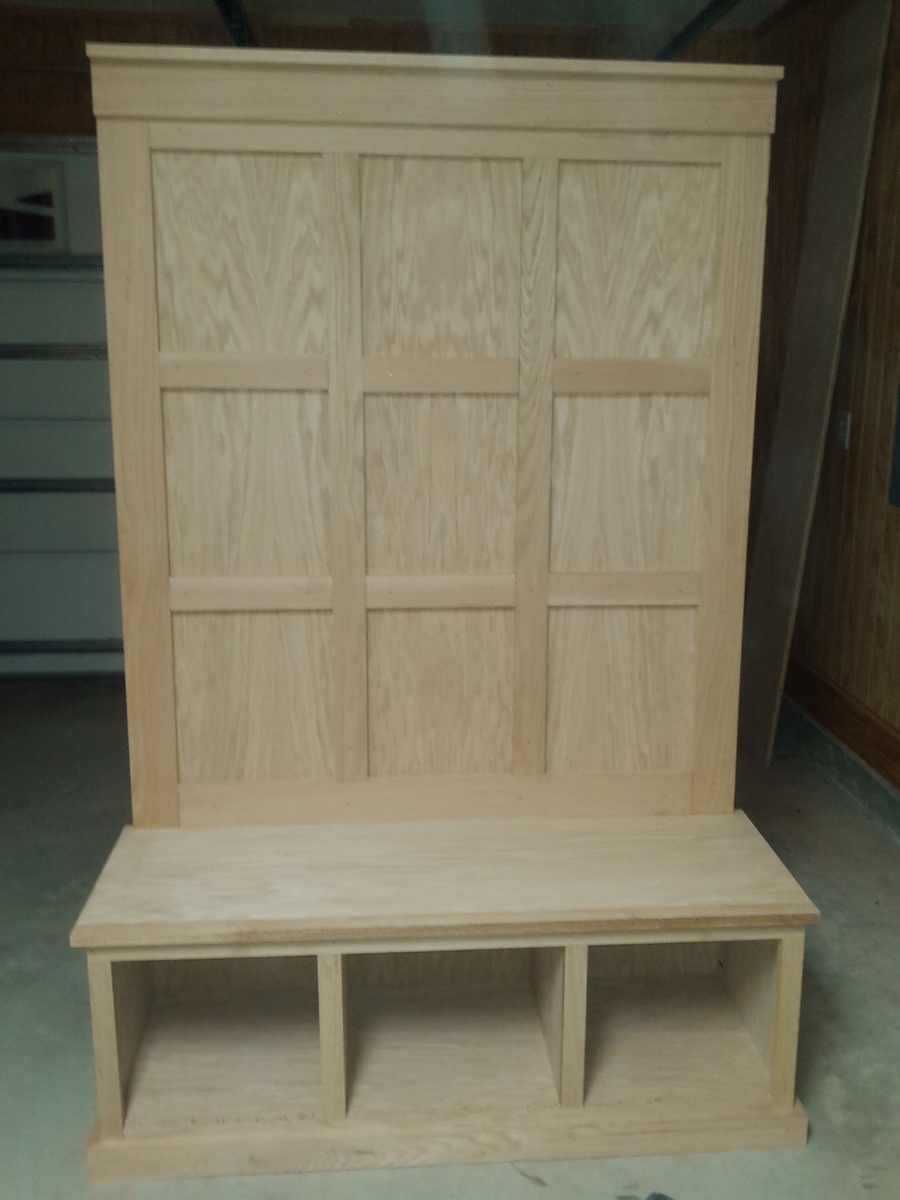
The Plans for this project made it relatively easy for a first time builder. Always wanting to build some furniture for my wife, I decided to start with this and it turned out way better than I ever expected. I used red oak and oak purebond plywood. I took a slightly different approach, using a 3/4" thick board of plywood for the back vice the 1/2 inch, which really gave the back a nice solid feel. I also assembled the lattice backing directly onto the backing plywood board and then attached the completed back to the finished Bench section (I know I didn't explain that well, the pictures show it better). Lastly I left off the arms for a variety of reasons, not the least of which was that I still need some work on cutting curves. Finished with one coat of Cabot Dark Mahogany and 2 coats of Rust-O-Leum satin polyurethane.

Built from Plan(s)
Estimated Cost
300
Estimated Time Investment
Weekend Project (10-20 Hours)
Finish Used
Cabot Dark Mahogany (1 coat) using cheap foam brushes and Rust-O-Leum satin polyurethane (2 coats) using nice-ish regular brushes. Sanded between coats with super fine (320 grit) sandpaper.
Recommended Skill Level
Beginner

Comments

Wooden Lanterns

Submitted by mrich_d60 on Fri, 05/14/2021 - 15:39

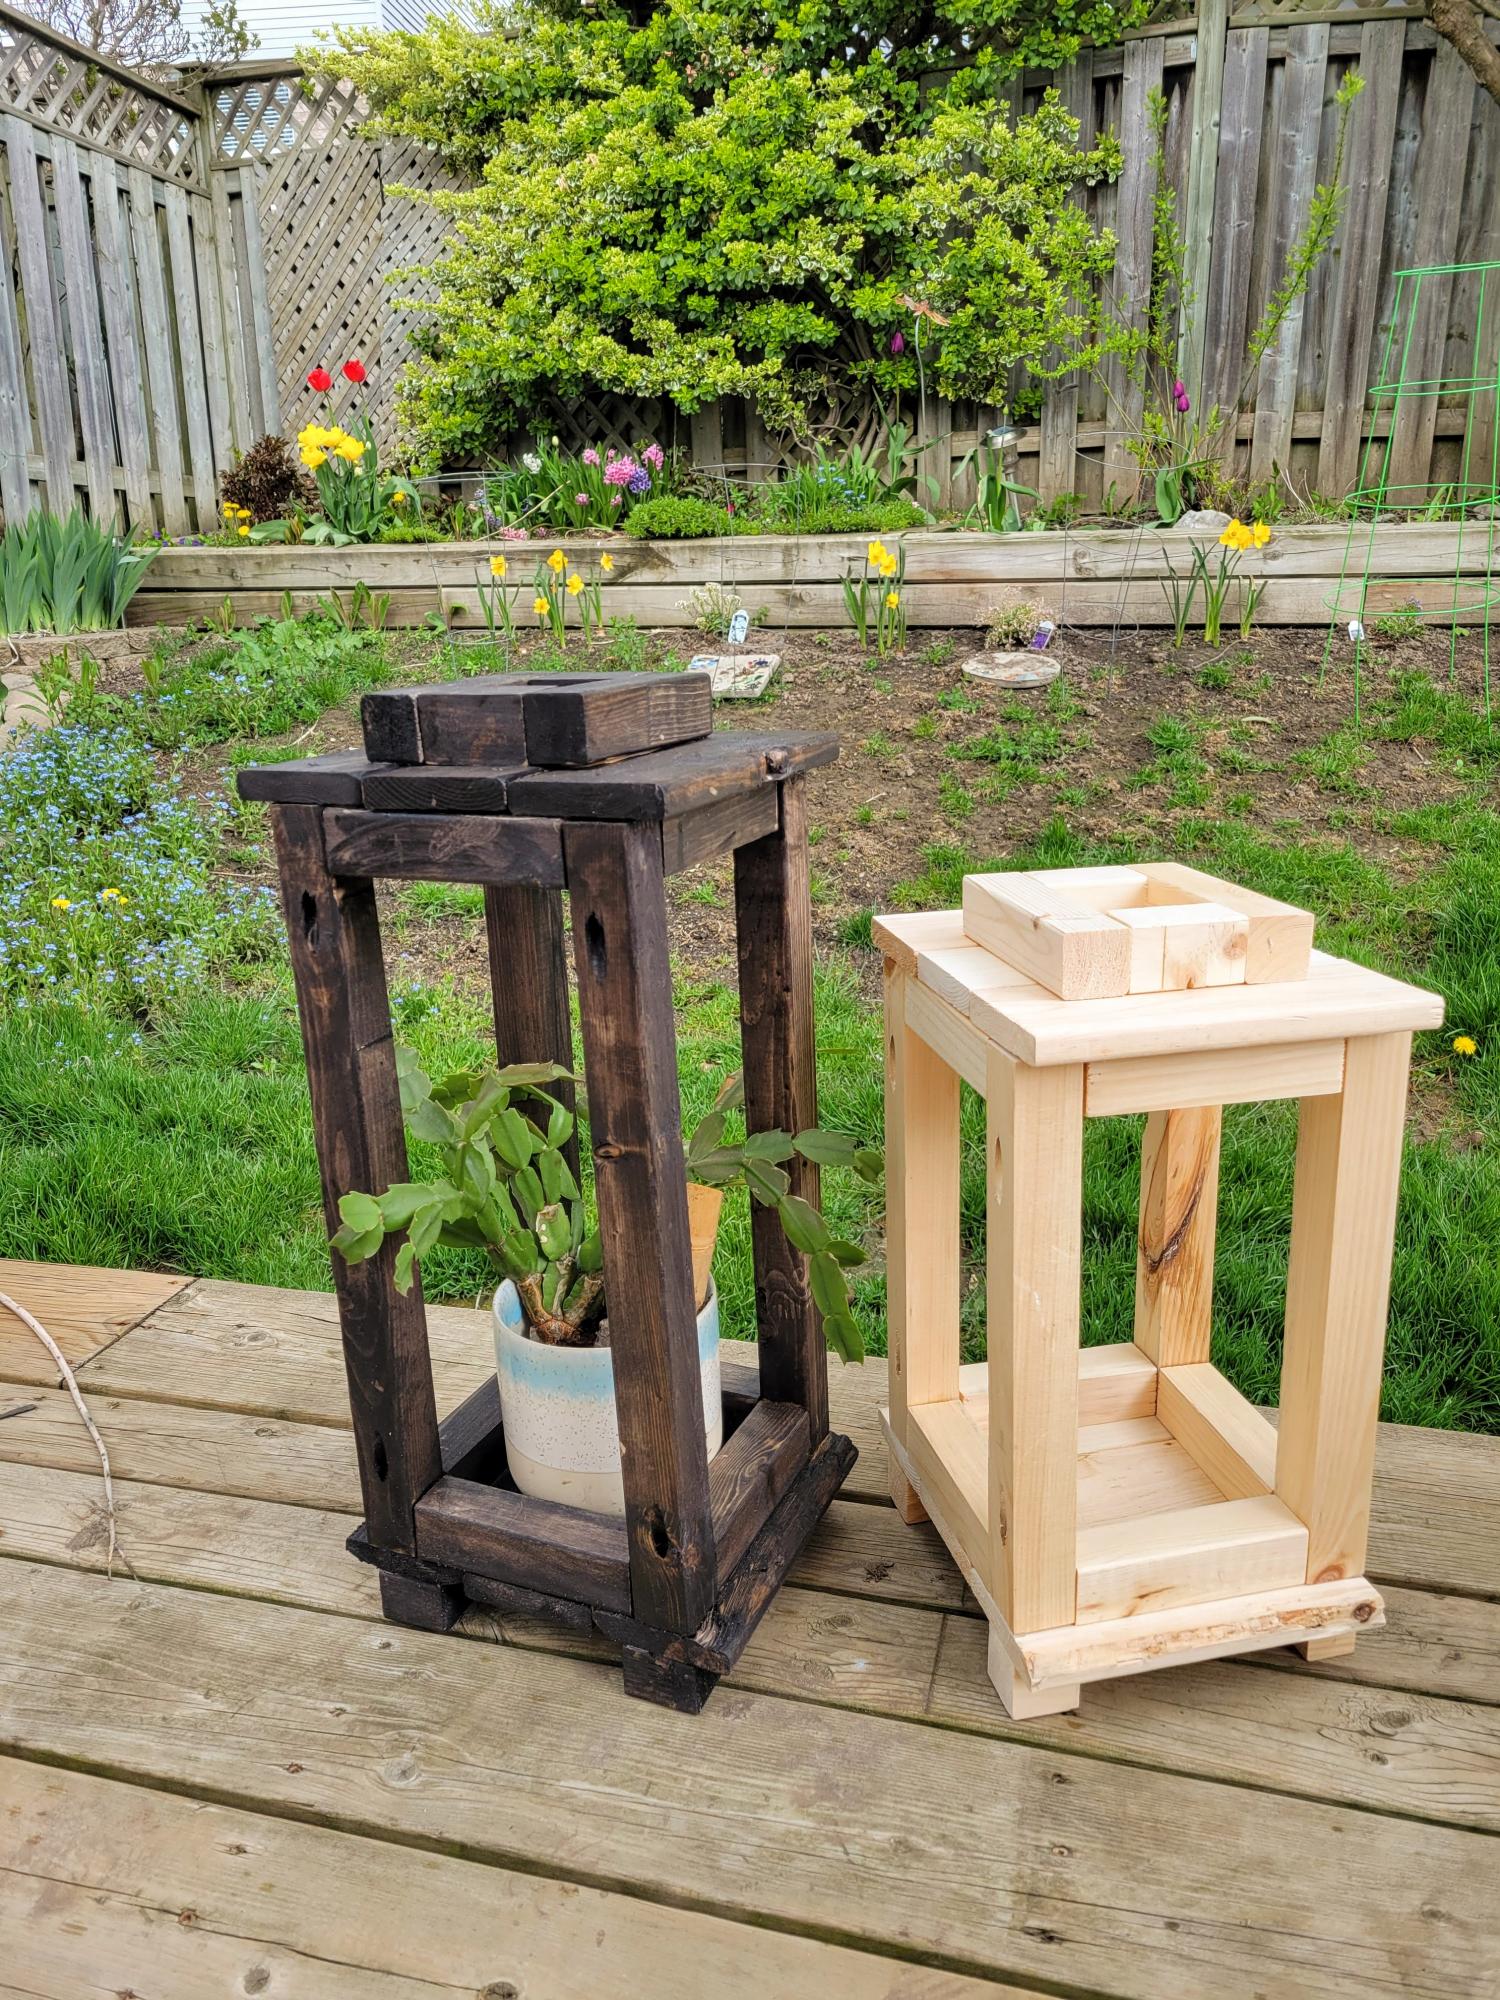
I made 7 lanterns - 6 with 18" uprights and 1 with 13". They were originally just for my daughter's backyard wedding. They aren't decorated yet because she's going to use them on the patio now and is waiting for the solar lights and LED candles to arrive. They were too nice not to use them right away!

Estimated Cost
About $9.00 each
Estimated Time Investment
Afternoon Project (3-6 Hours)
Finish Used
Varathane Ultimate One Coat coverage stain + Varathane Triple Thick one coat clear finish on entire lantern. Thompson's WaterSeal Waterpoofing Stain semi-transparent for underside and feet.
Recommended Skill Level
Beginner

Comments

DIY Farmhouse Bed

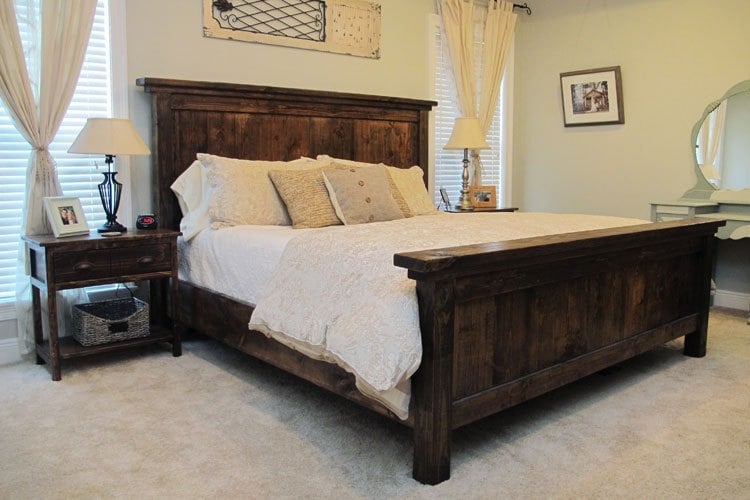
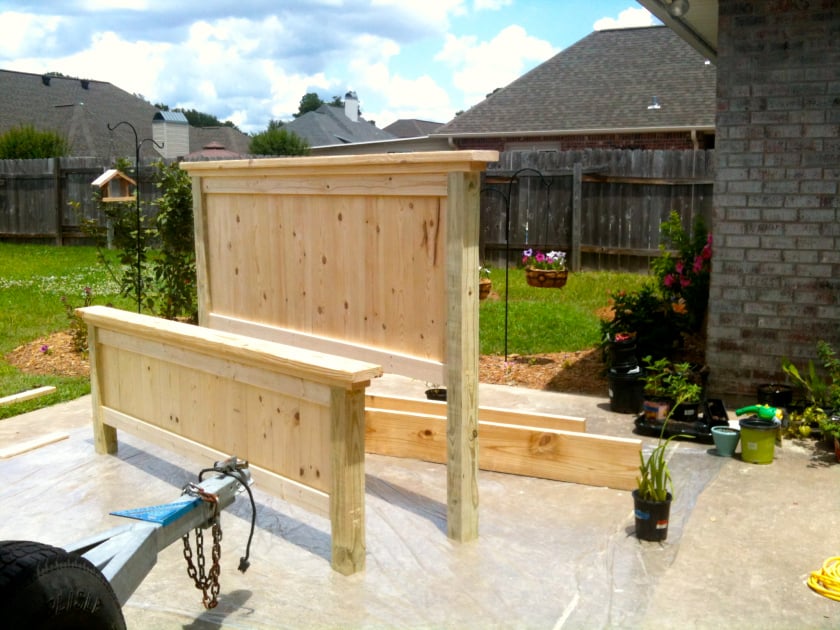
We built this Farmhouse Bed in 1 weekend for less than $200!

Estimated Cost
Less than $200
Estimated Time Investment
Weekend Project (10-20 Hours)
Finish Used
Rustoleum Dark Walnut Stain applied with a brush and immediately wiped off using a lent-free cloth. Sealed with Minwax Satin Spar Urethane.
Recommended Skill Level
Beginner

Comments

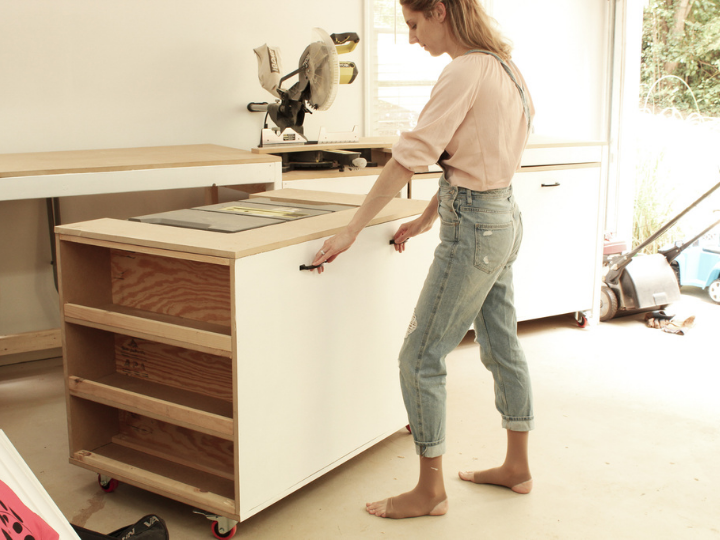
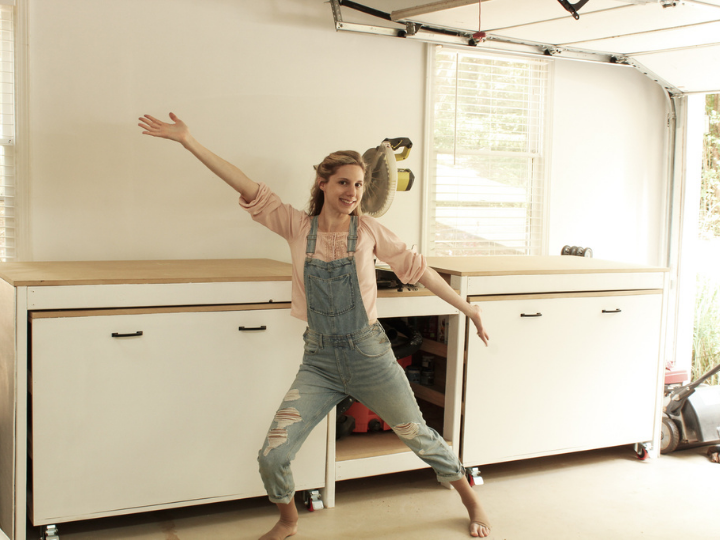
Painted Ultimate Miter Saw Workbench

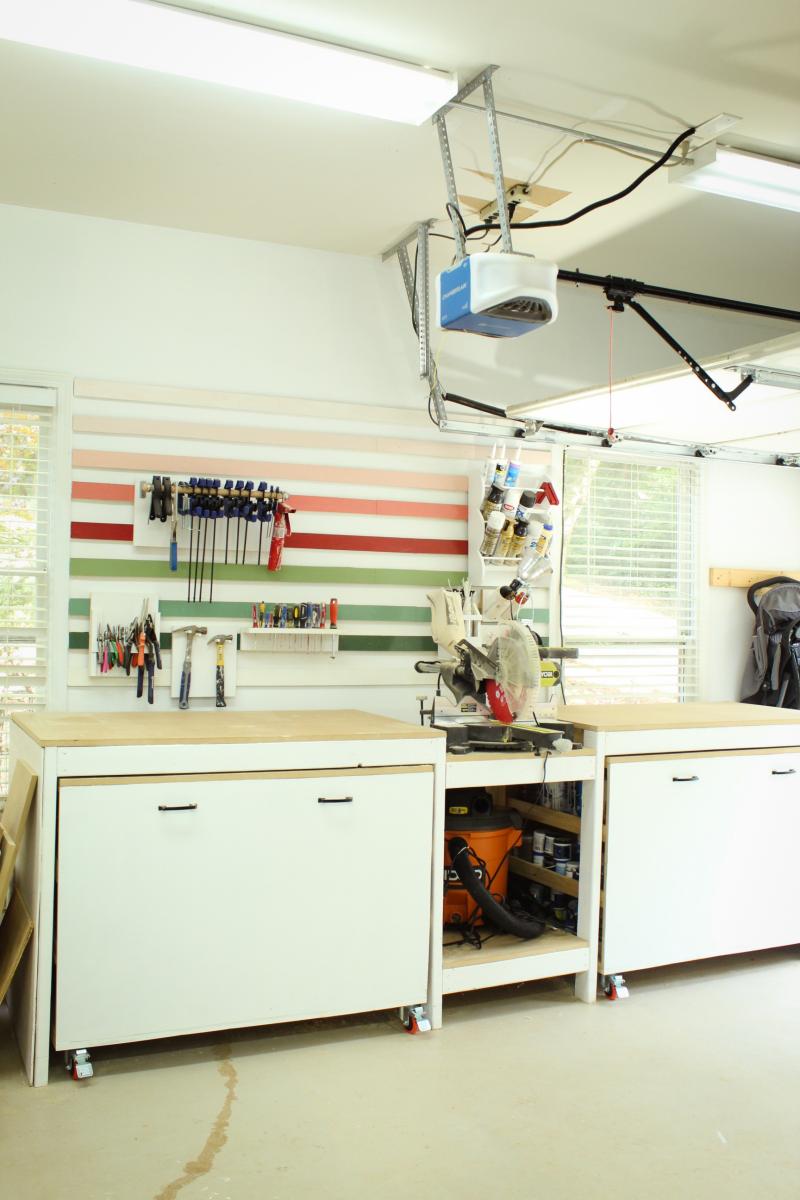
I love, LOVE my built-in miter saw stand! No more using my saw on the cold cement floor. I took others' advice and used pocket hole joinery to connect the bases. It was a lot more solid with this modification. I also secured the top and bottom of each cart with additional screws around the perimeter to prevent separation. I used MDF instead of plywood because plywood is crazy expensive right now! In retrospect, it would have been better to splurge on plywood since MDF splits easily and is more sensitive to temperature changes. I painted the front of the carts Chantilly Lace by Benjamin Moore and attached the hardware using an old cabinet jig leftover from a previous project.

Estimated Cost
600
Estimated Time Investment
Week Long Project (20 Hours or More)
Finish Used
Latex paint for the cart fronts in an eggshell finish.
Recommended Skill Level
Intermediate

Comments

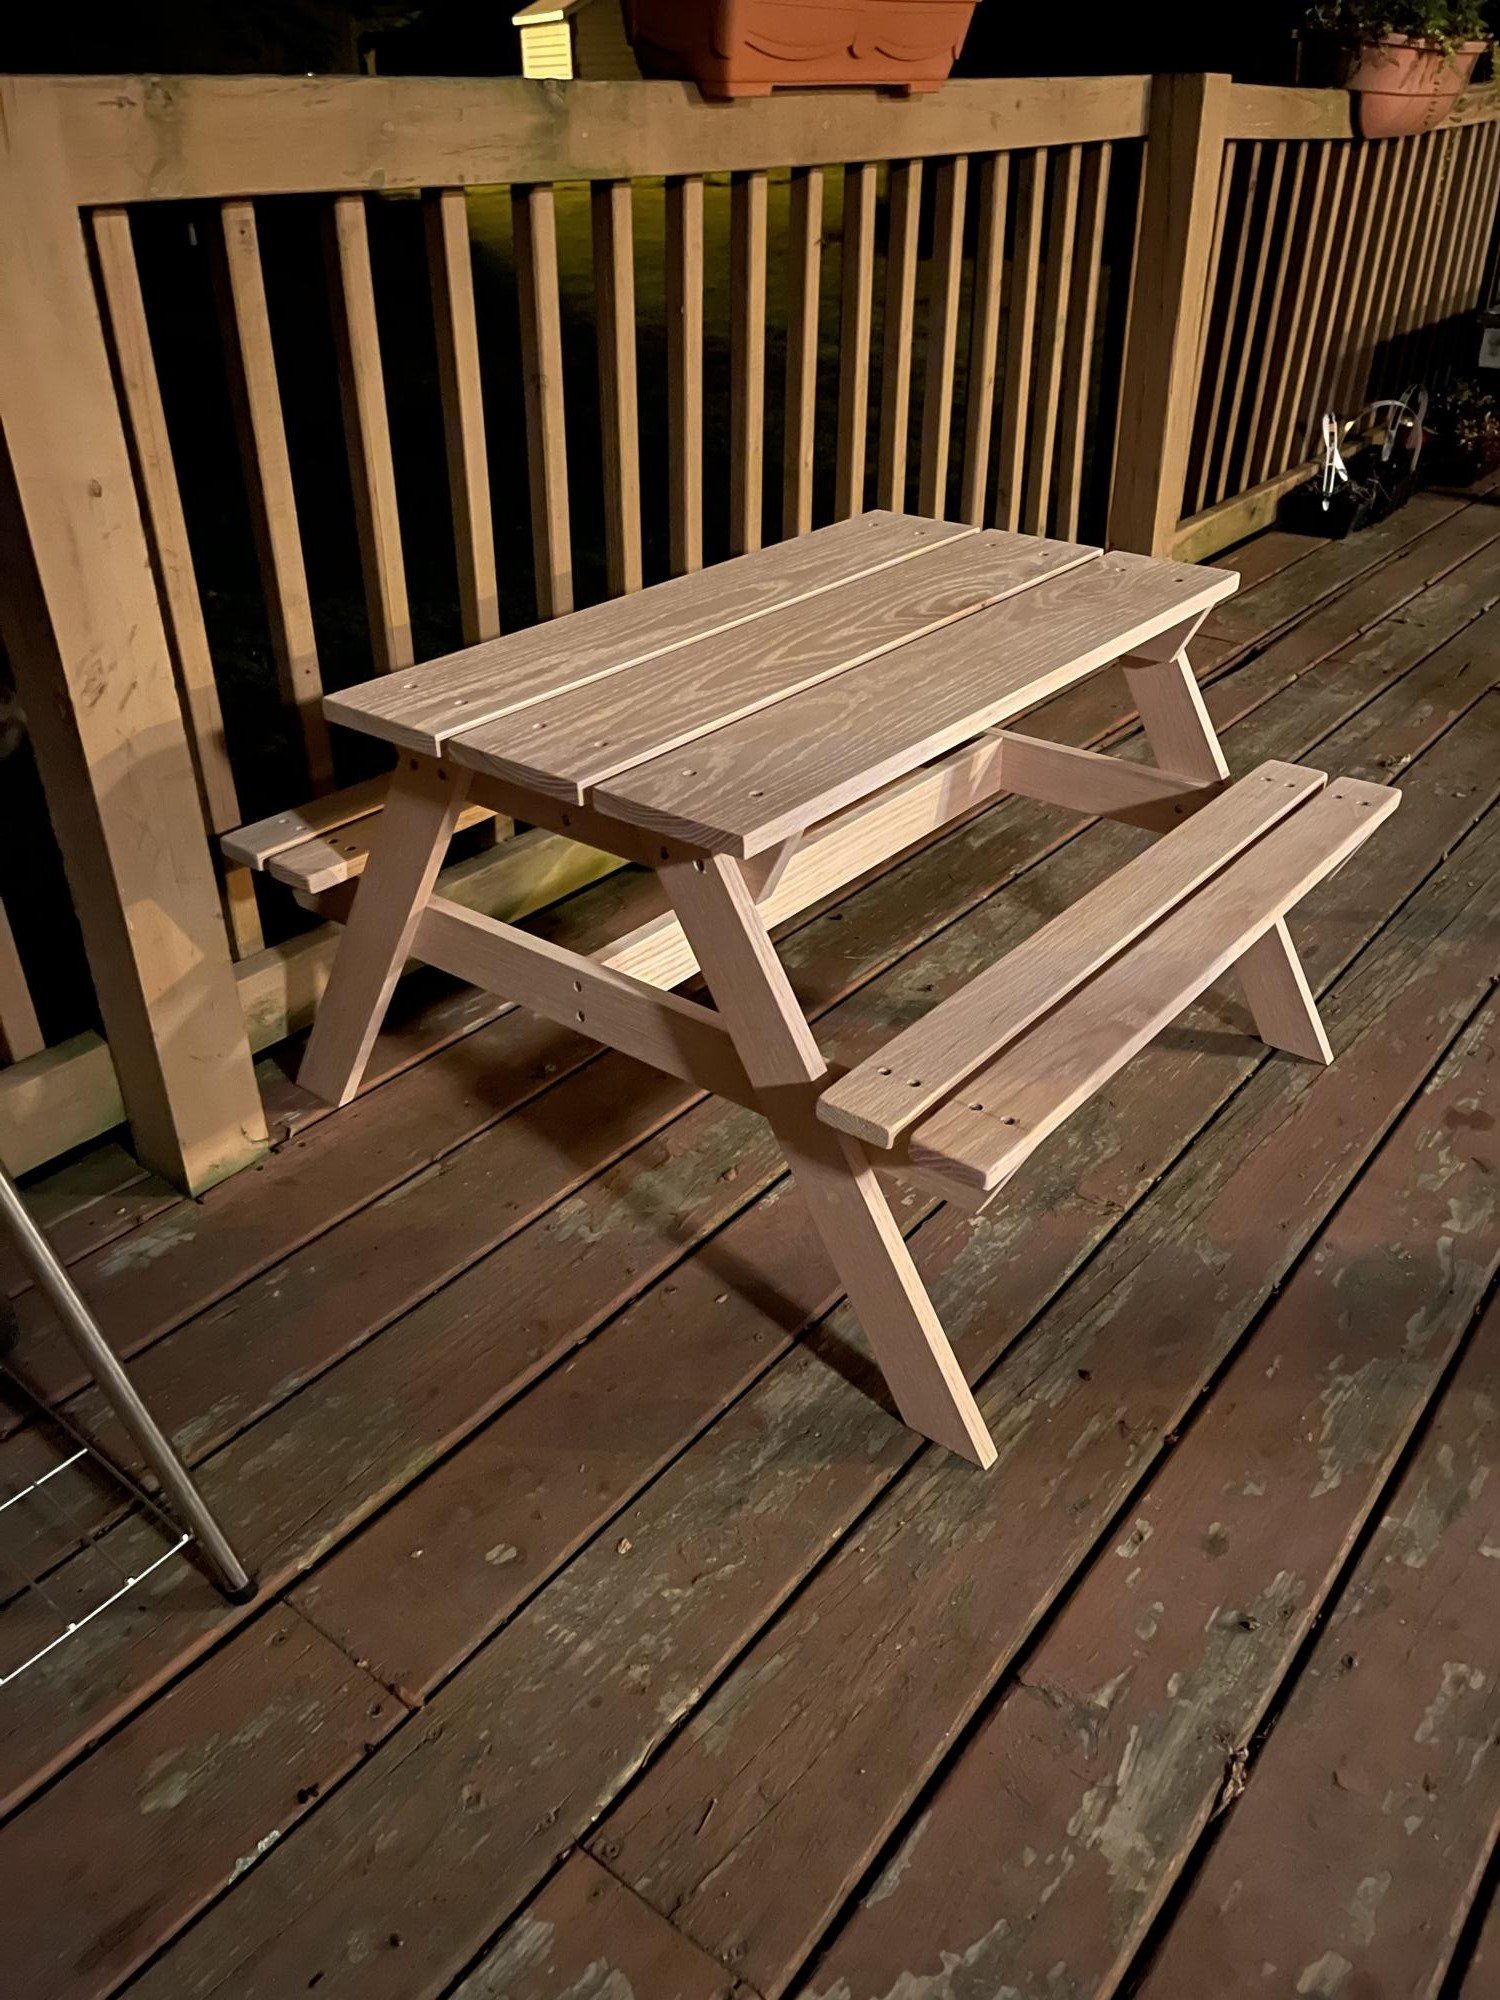
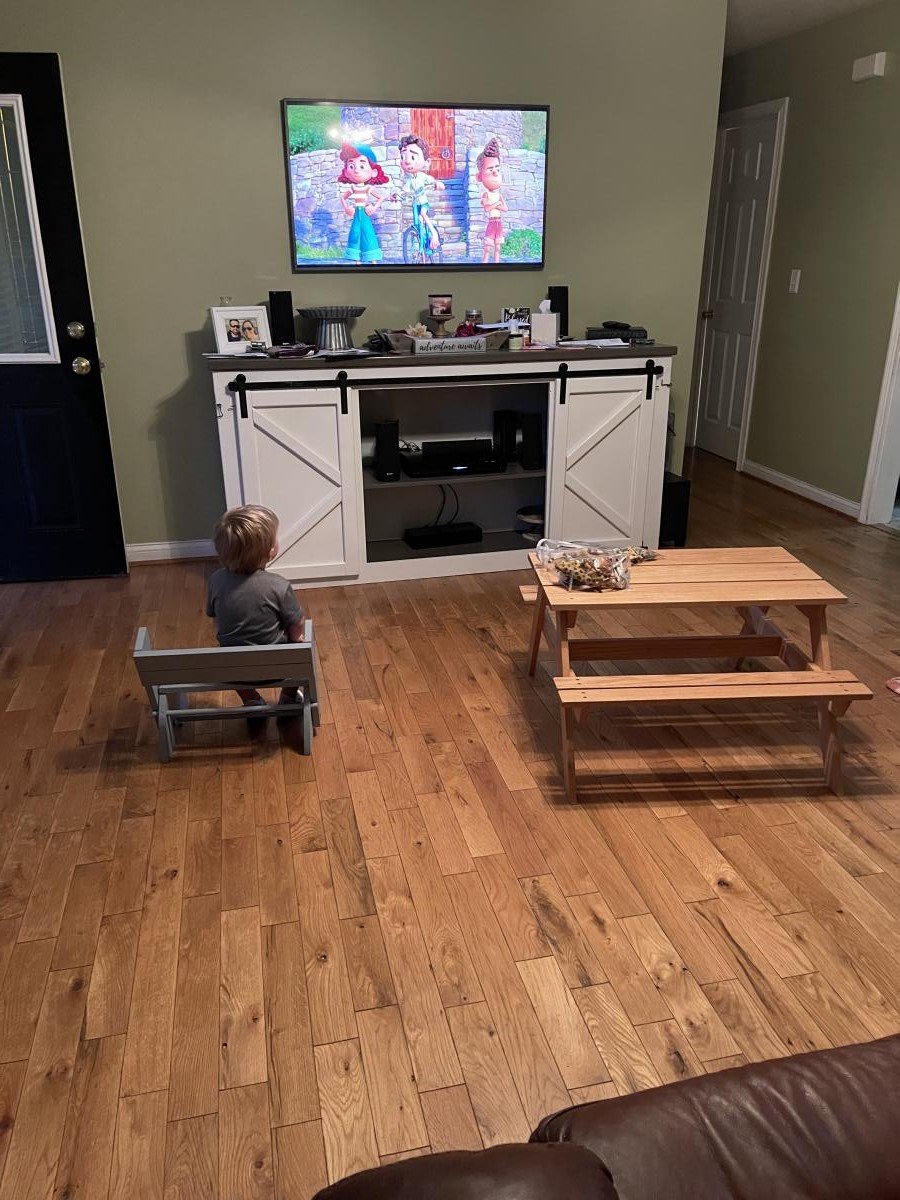
Little Kids Picnic Table

This little table was built for our grandson who loves it so much, it was taken inside. About 6 hours, and he took possession of it. Amazing piece!

Built from Plan(s)

Comments

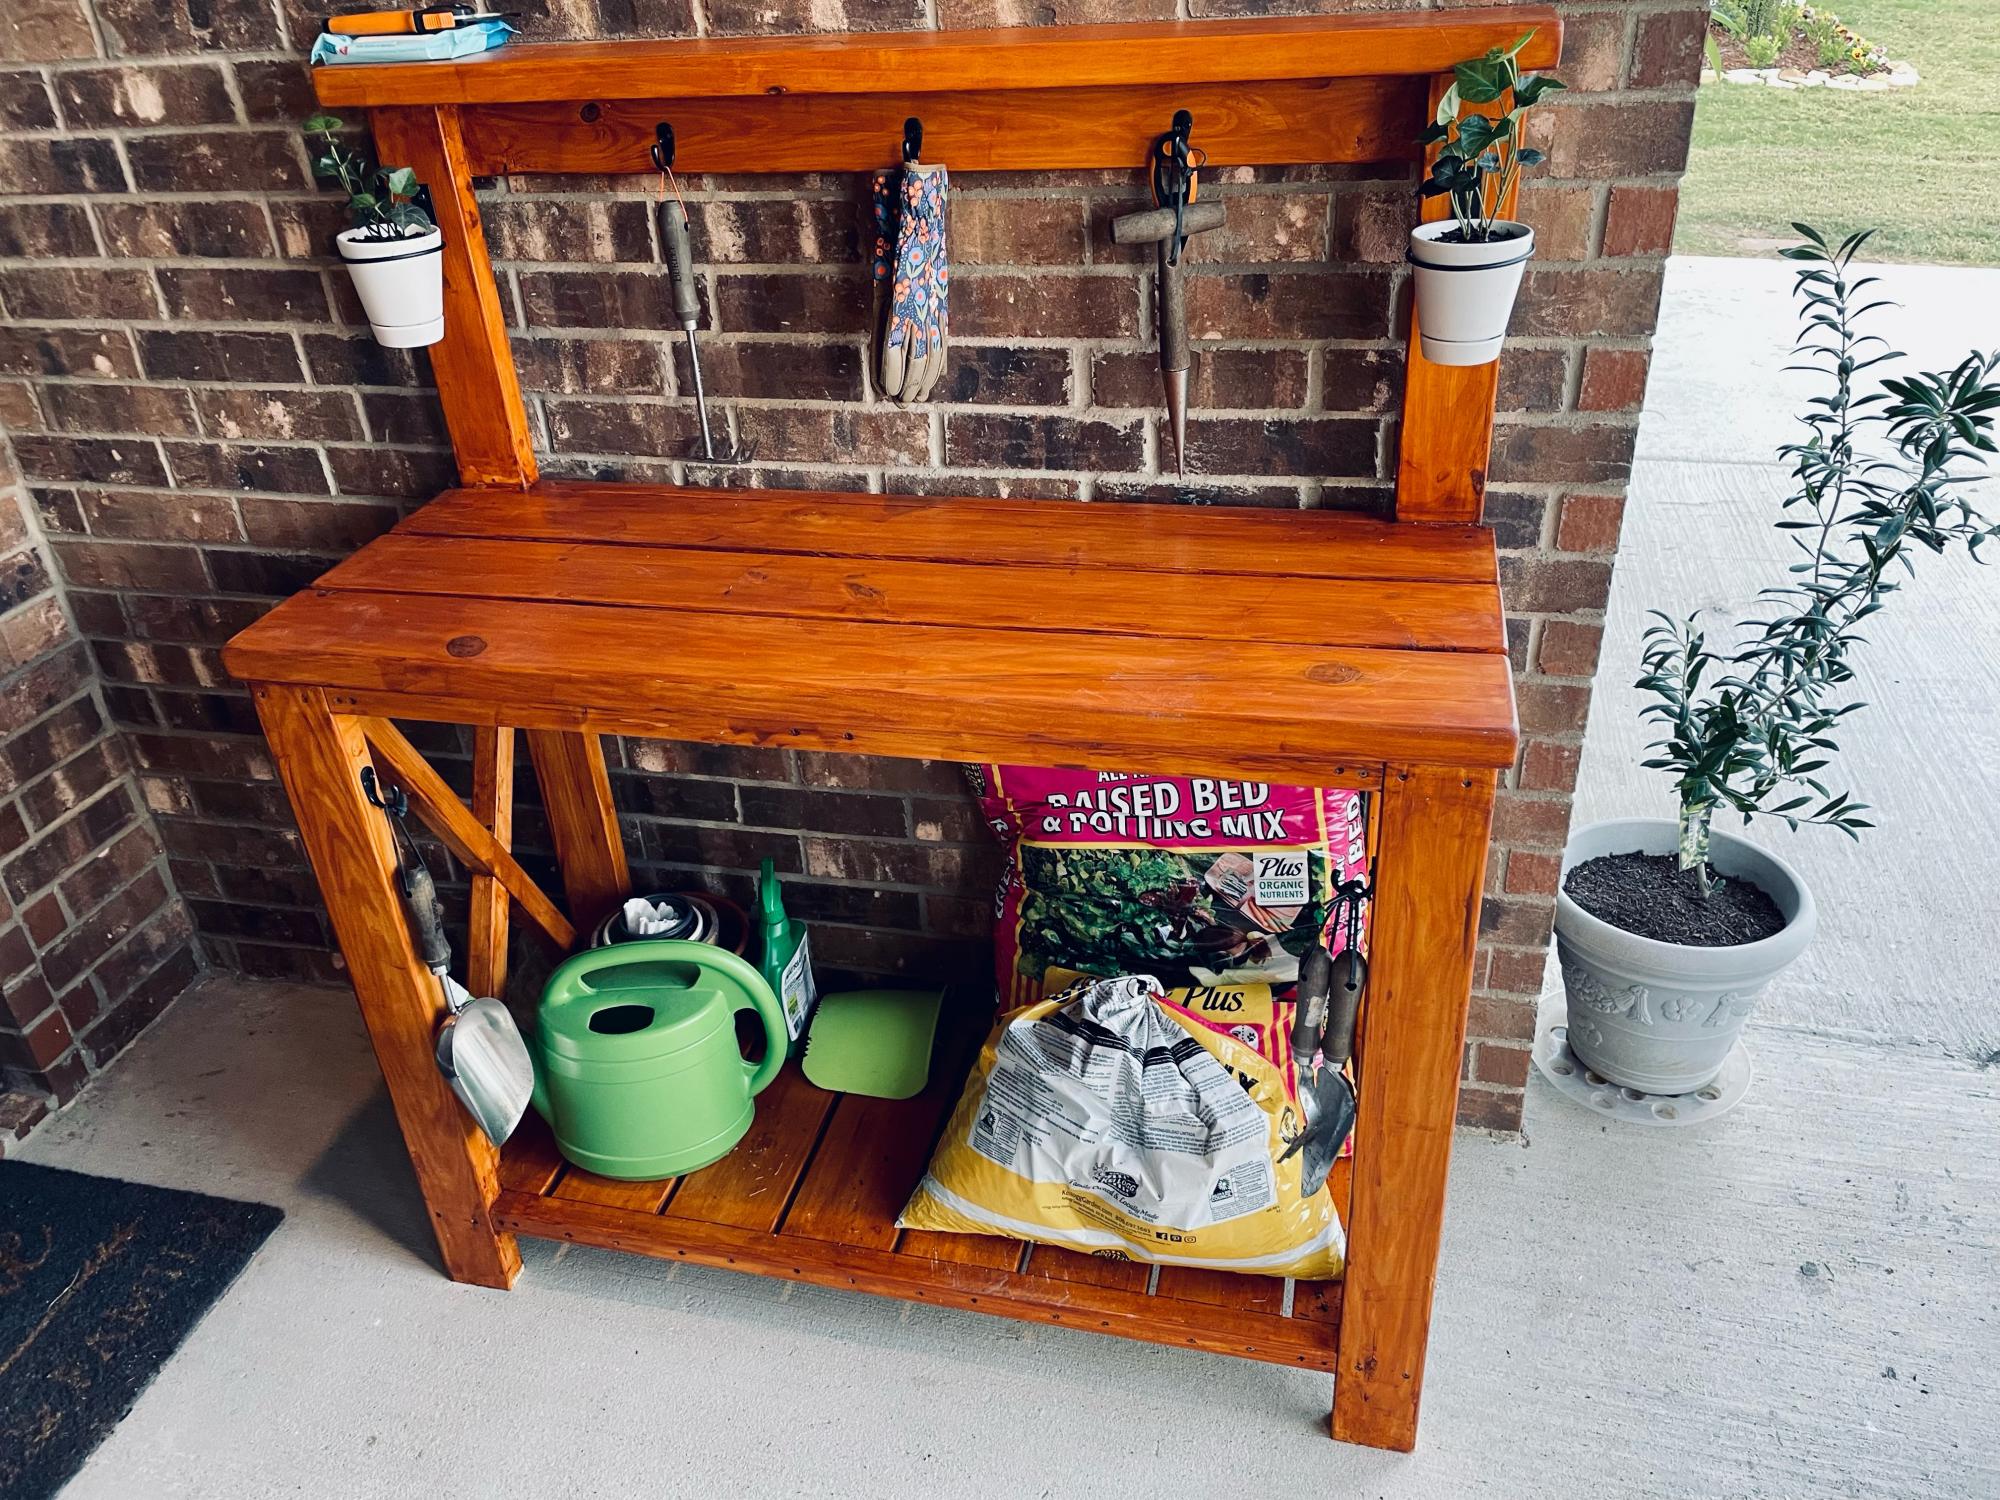
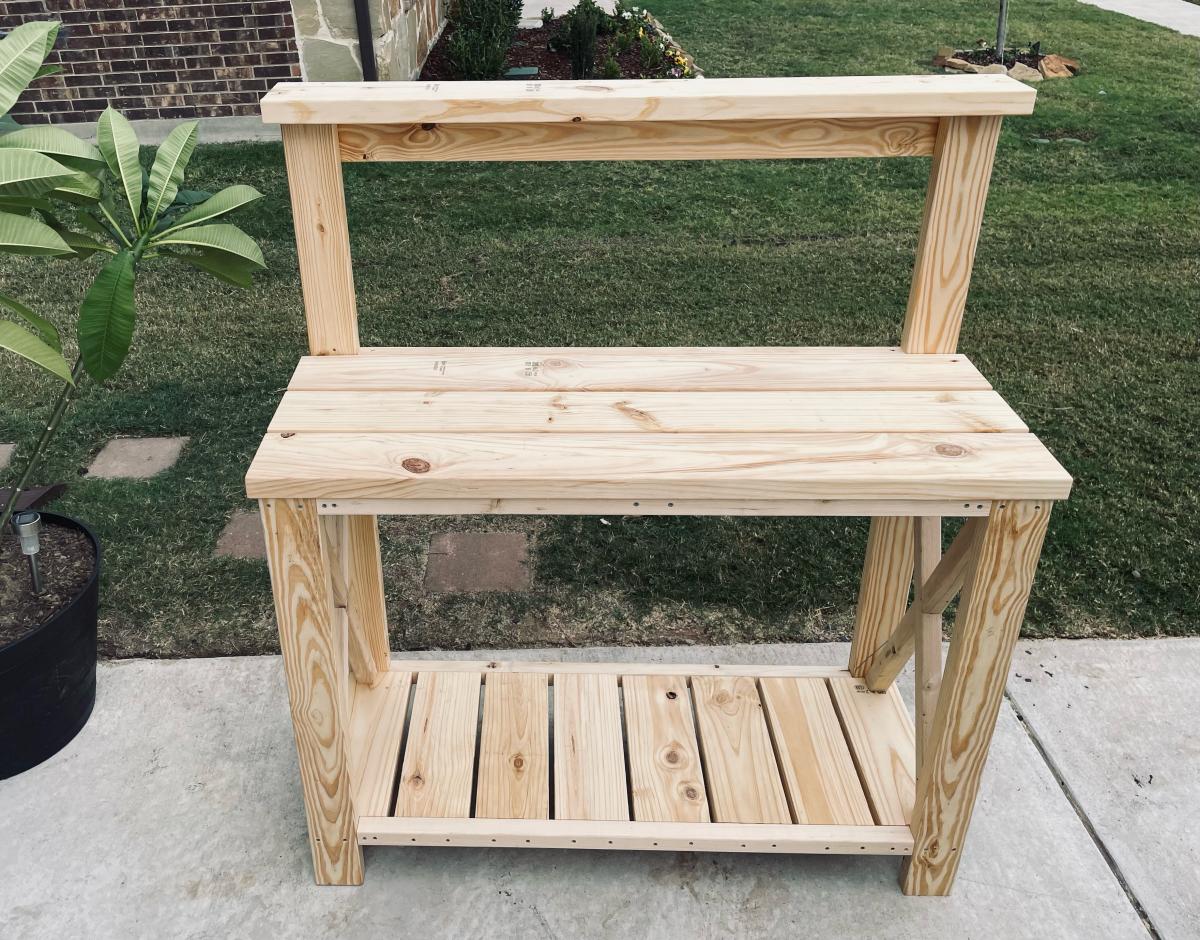
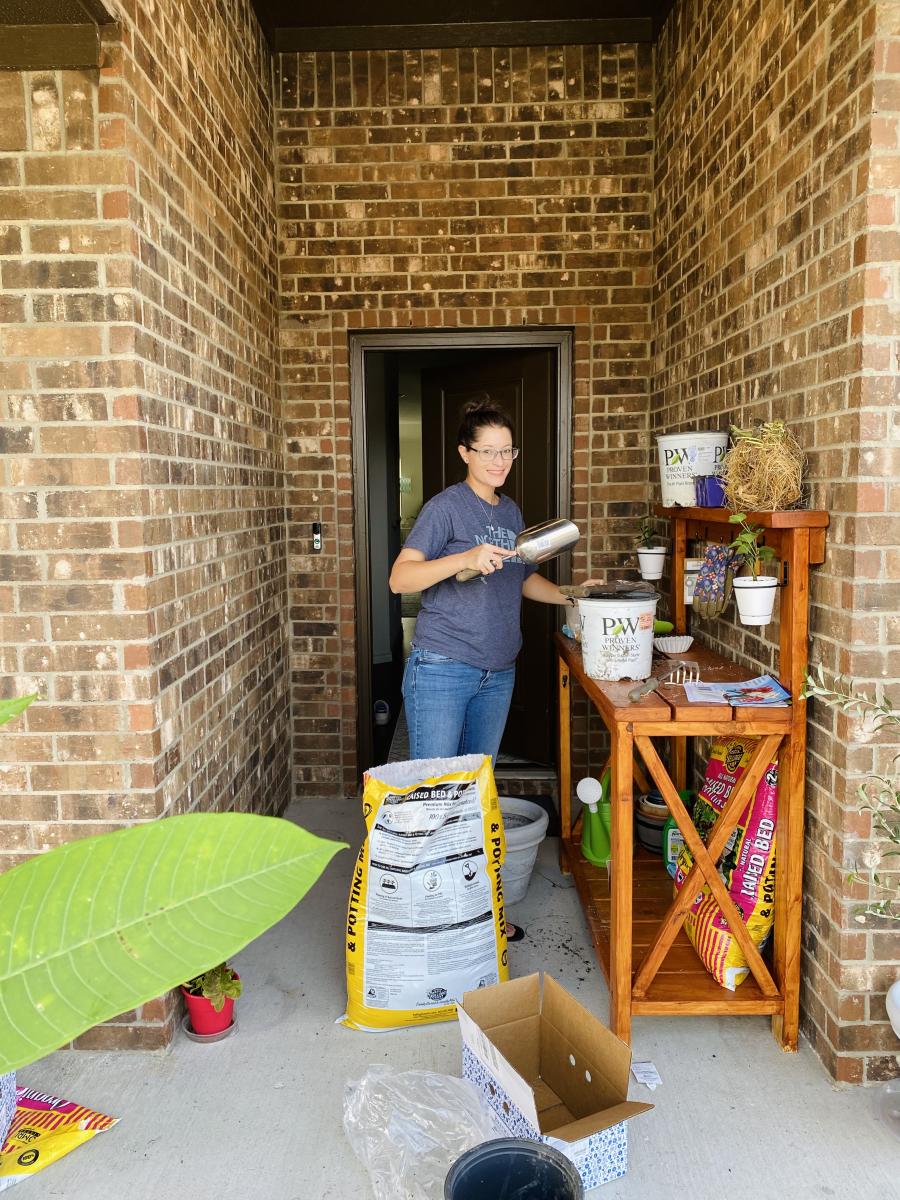
Farmhouse potting bench

Submitted by mbaylis on Mon, 10/18/2021 - 19:14

Birthday present for the fiancée. I think it was a hit! :)
Thanks for the plans!
Comments

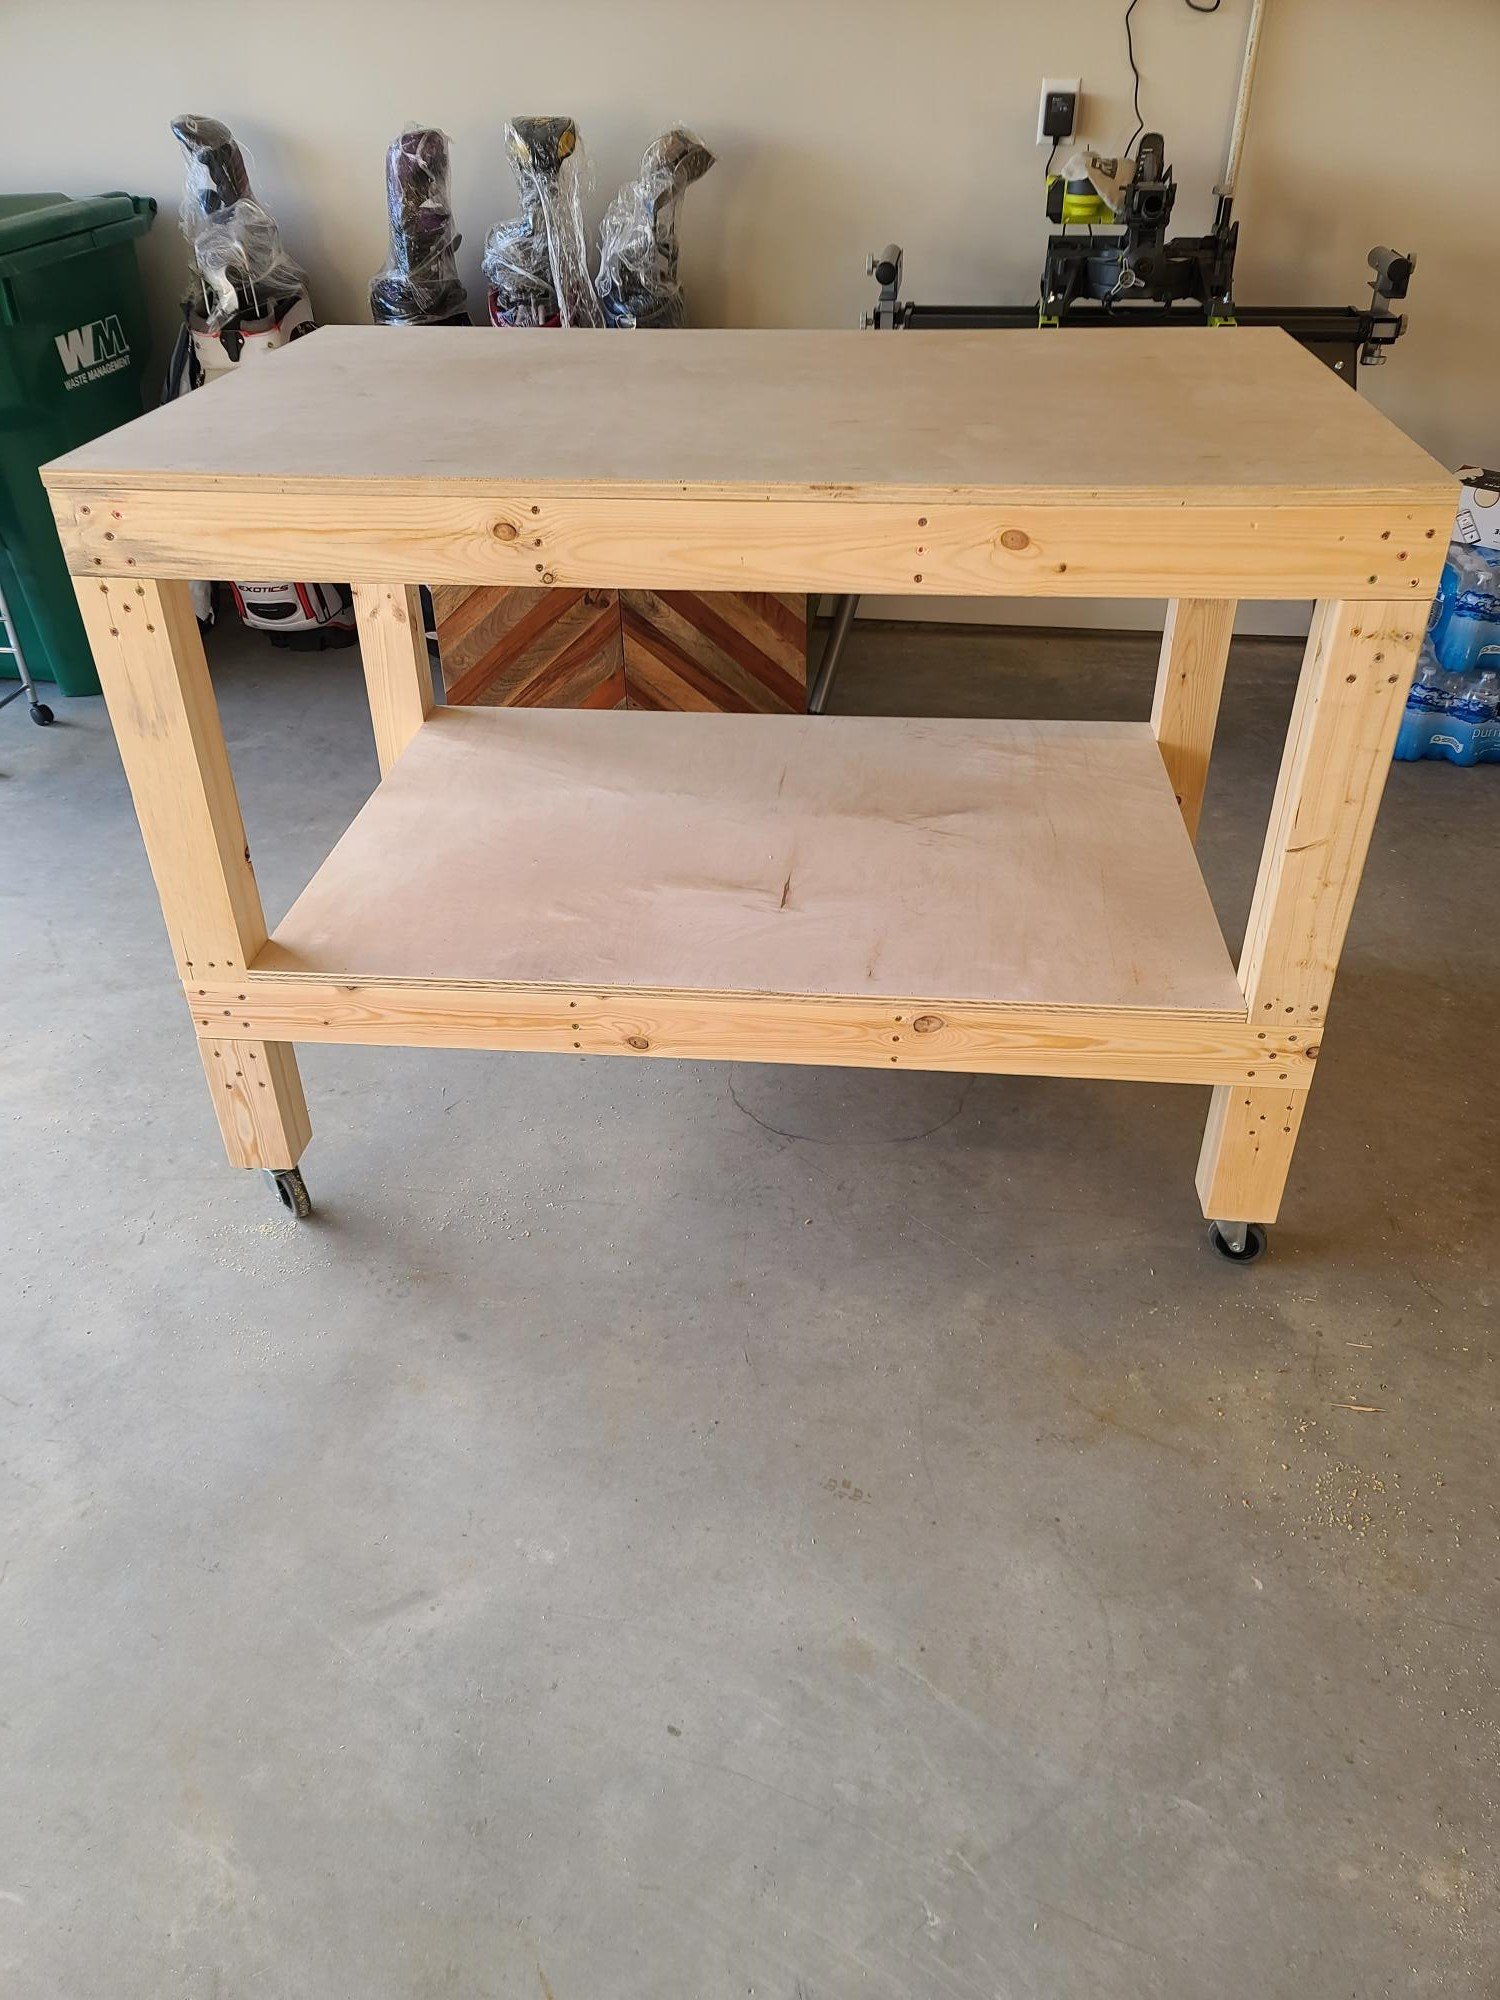
Garage Workshop Bench

This was my second project, with so many more projects in mind, figured I needed to get started on a Workshop bench. This was a fun and easy project and such a great plan.

Comments