Community Brag Posts

Laundry basket dresser/folding station

Submitted by morty2223 on Tue, 11/29/2011 - 19:37

After seeing the many posts on here about the great laundry basket dresser, my husband and I embarked on our first project. I knew I wanted the double dresser with the counter for folding on top. We love how it turned out! Since this picture, I have added shelves on the far left section. I also chose to use 1x2 for the slats instead of the "L" shaped pieces of steel.

Built from Plan(s)
Estimated Cost
$60 plus countertop
Estimated Time Investment
Afternoon Project (3-6 Hours)
Finish Used
white paint
Recommended Skill Level
Starter Project

Comments

guest (not verified)

Sat, 12/31/2011 - 09:00

Awesome job you did! This is exactly like I am hoping to do in my laundry room... I have a sink to the left in the corner of the room... hoping maybe to add some doors to the laundry dressers too.

Jamie

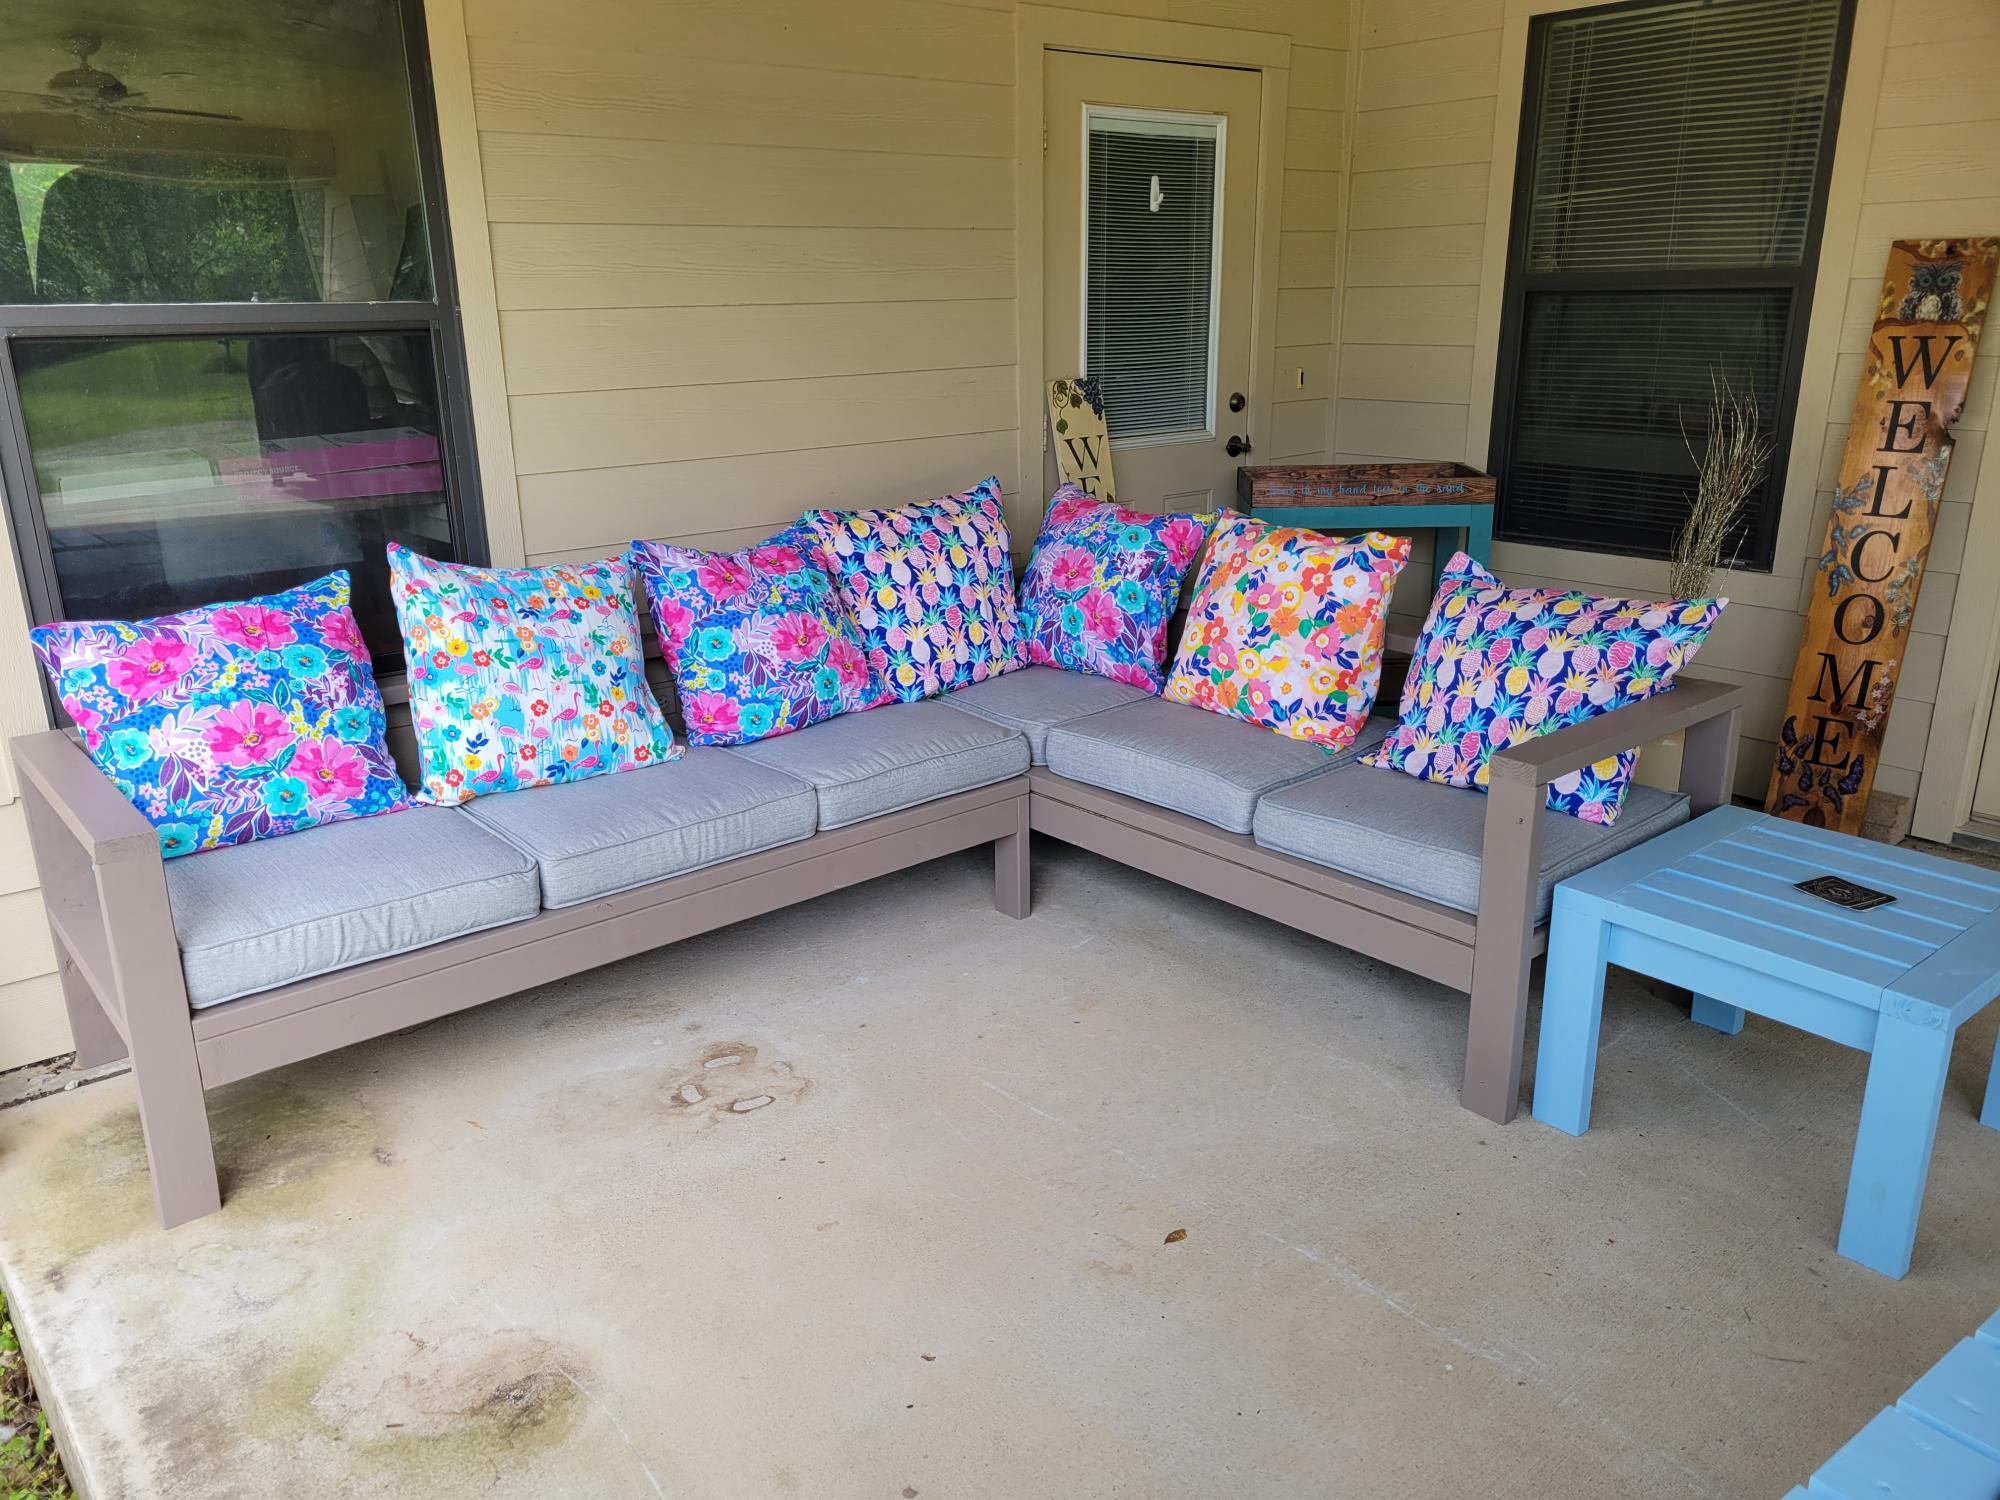
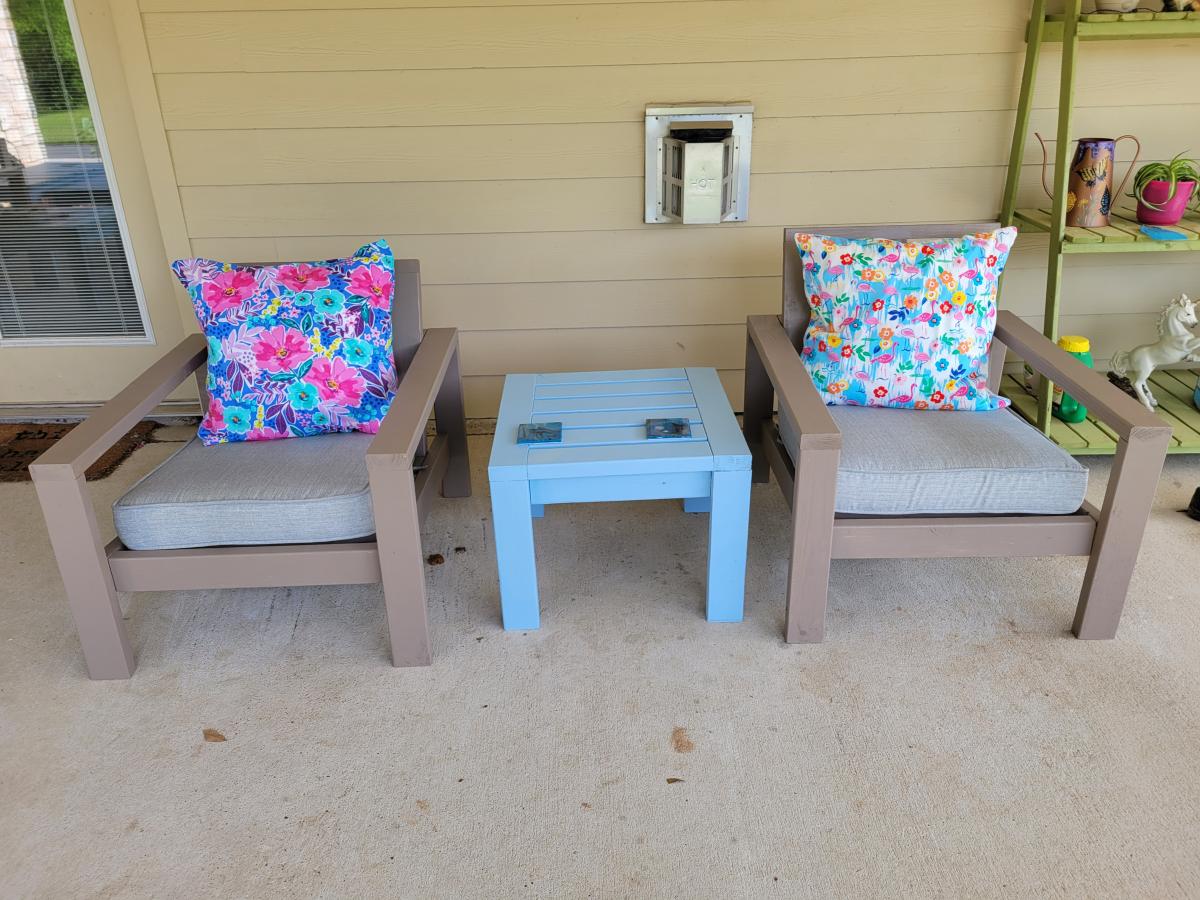
sectional and chairs!

Submitted by Anonymous (not verified) on Mon, 04/03/2023 - 13:57

my husband and I used your plans for the sectional, end tables and chairs I made the pillows thanks so much for the designs we love them

Comments

Industrial Coffee Table

Submitted by Anonymous (not verified) on Tue, 02/16/2016 - 12:24

I was seeing this coffee table everywhere so I knew we had to make it. It's the easiest build ever. I think the only tricky part is the painting near the edge. We like a more sanded/finished top. We tried spray painting the base and then attaching the top, but then we sanded the top and the spray paint on the base near the top came off, so I had to cut in and I'm not good at that.

So we're still working on a way to do this properly. We tried making the top on the ground and then sanding & attaching it. But the top needs to be completely exact/square in order to do this. We live in a old farmhouse, so we prefer to attach it as we go - then sand. We also plane the top for a more exact and modern look. 

Estimated Cost
Under 50.00
Estimated Time Investment
Afternoon Project (3-6 Hours)
Finish Used
Top stained in our custom beachwood mix. A mixture of Minwax stains, Bottom spray painted in Oil Rubbed Bronze & semi-gloss polyurethane ( two coats )
Recommended Skill Level
Beginner

Comments

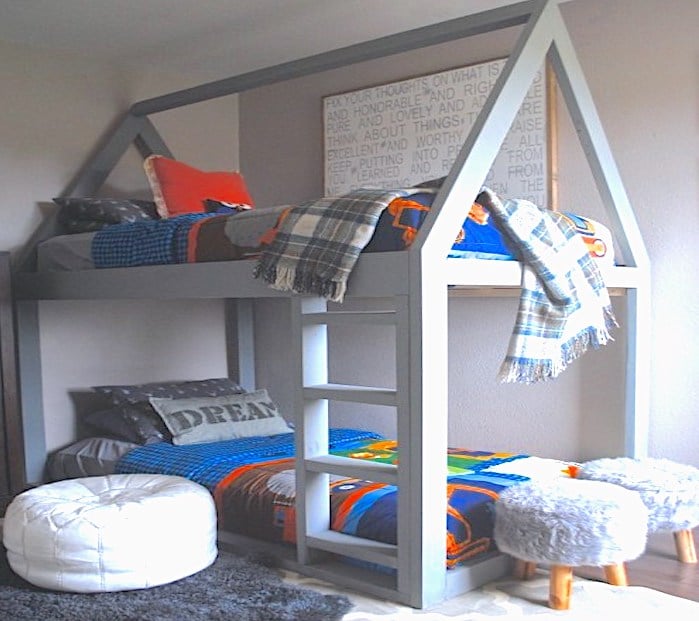
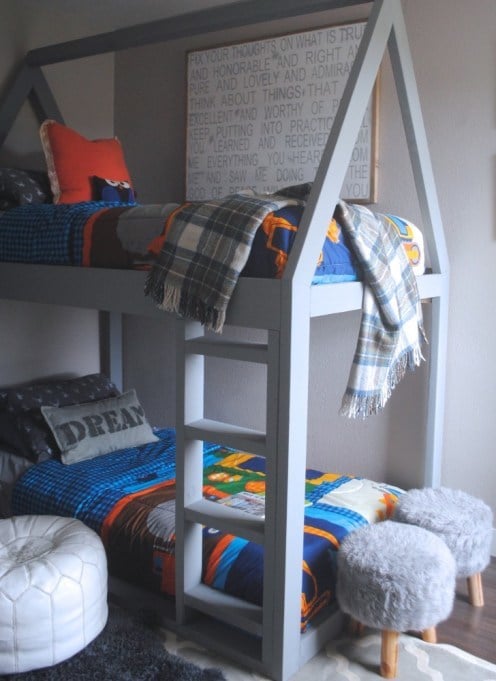
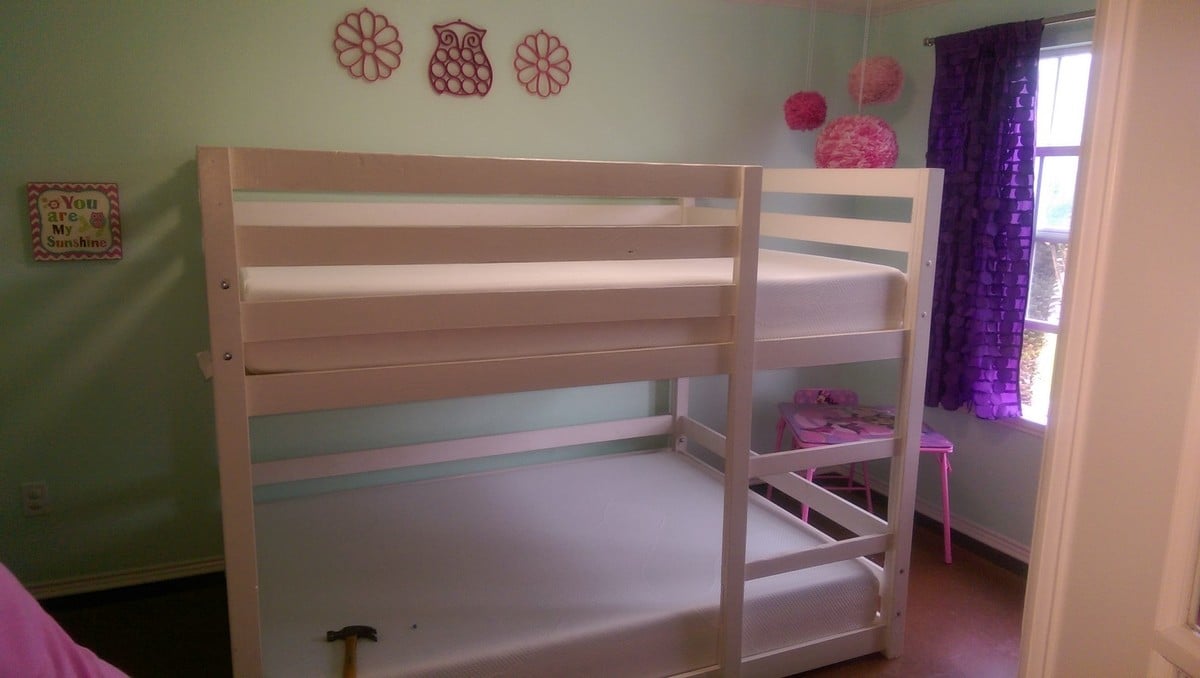
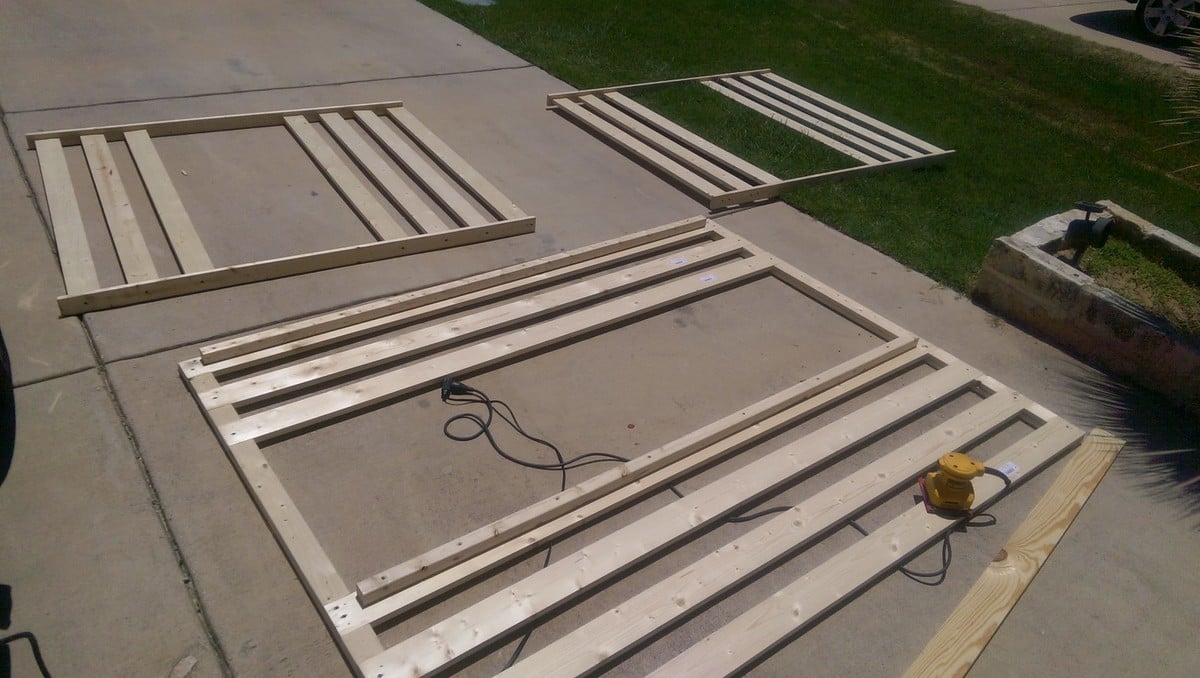
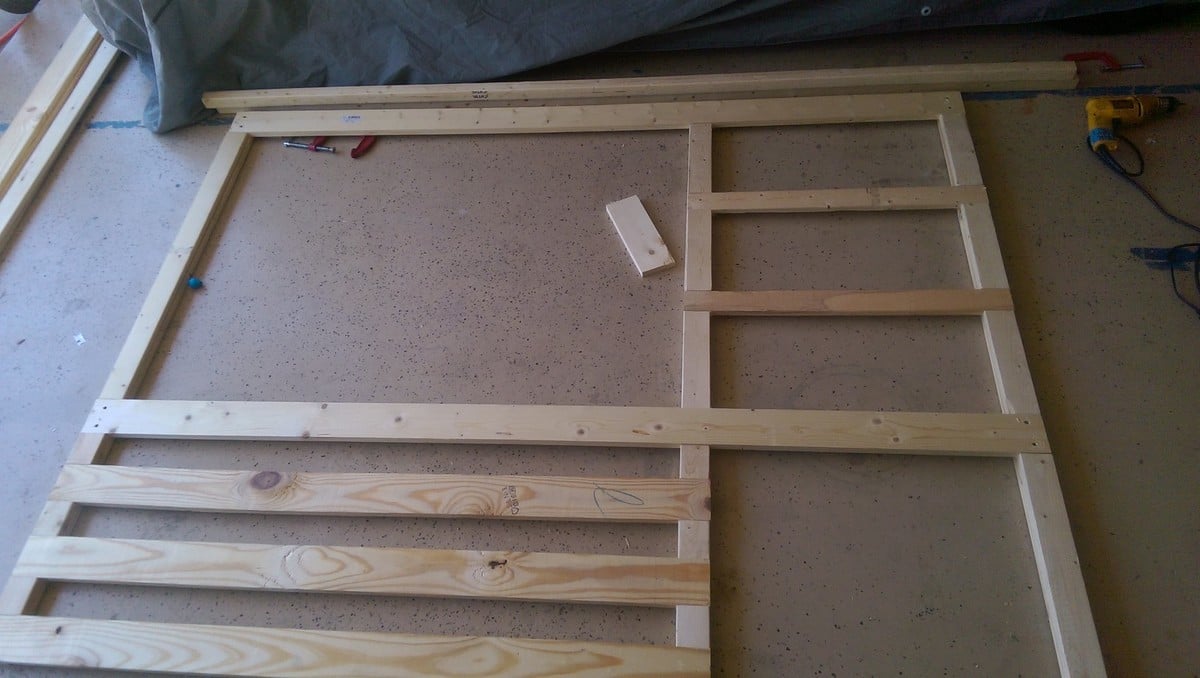
Build A House Bunk Bed

House Beds are a huge trend right now. I saw my first house bed over a year ago and I fell in love and I swore that as soon as we built our daughter a toddler bed someday, I would make a super cute pink house bed, decorated in cute pom pom buntings and it would be perfect. Well, fast forward a year, and she’s only 16 months, still a ways away from being in a toddler bed. Then I had a idea! We are in the process of decorating our boys bedroom. and we needed to build them a new bunk bed set as their old set was massive and took up half their room. Click link below to view the full tutorial!

Estimated Cost
53.00 ( we only had to buy the wood )
Estimated Time Investment
Afternoon Project (3-6 Hours)
Finish Used
Sanded with our dustless sander and then painted grey with chalk paint ( two coats ) and finished with a matte poly
Recommended Skill Level
Beginner

Full over Full Bunk Bed

Full over Full bunk beds. Adjusted for Full from a twin measurement. only 1" off floor for more head room.extra rail bar coverage upstairs for my daughter who rolls out of bed regularly.

Built from Plan(s)
Estimated Cost
used common board mix and a few premium cuts. Pine was more costly. @$250
Estimated Time Investment
Weekend Project (10-20 Hours)
Finish Used
White primer/paint
Recommended Skill Level
Beginner

Comments

bjerfr

Sat, 07/11/2020 - 10:12

What measurements did you use to adjust to a full size?

Cement top modification

Submitted by Anonymous (not verified) on Tue, 06/07/2016 - 00:31

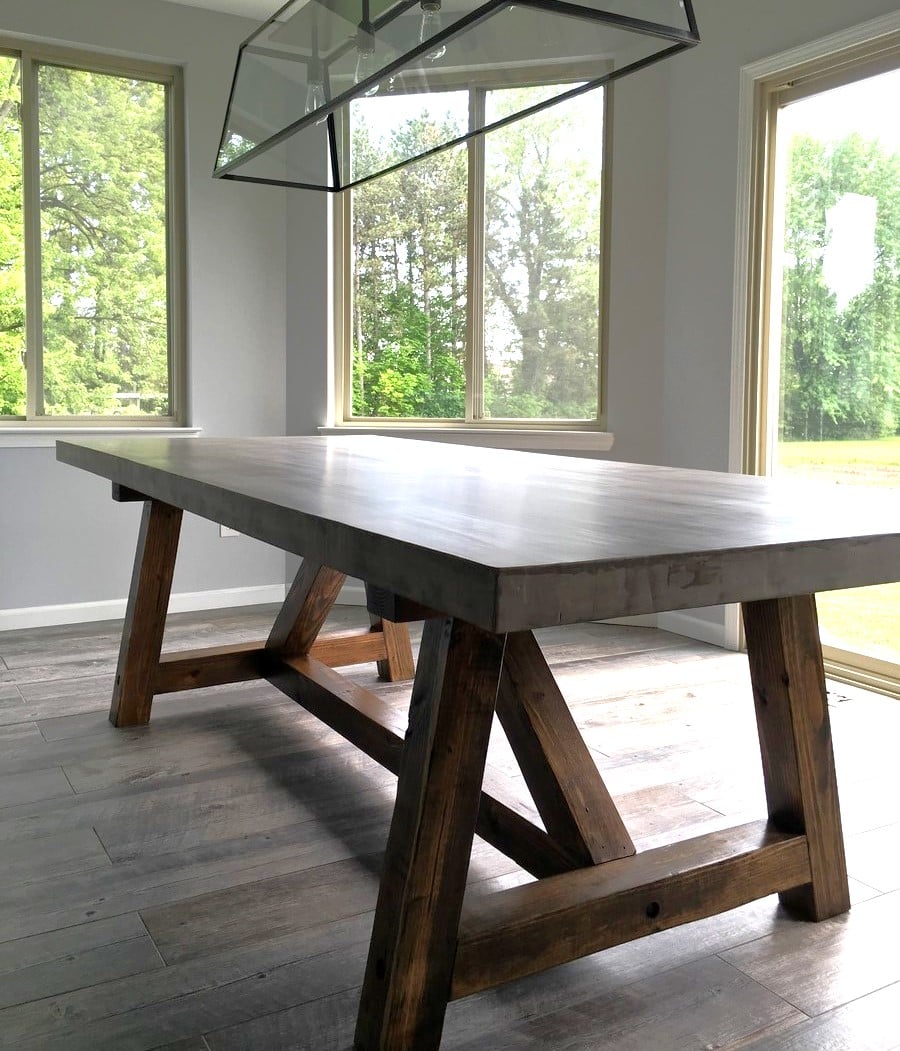
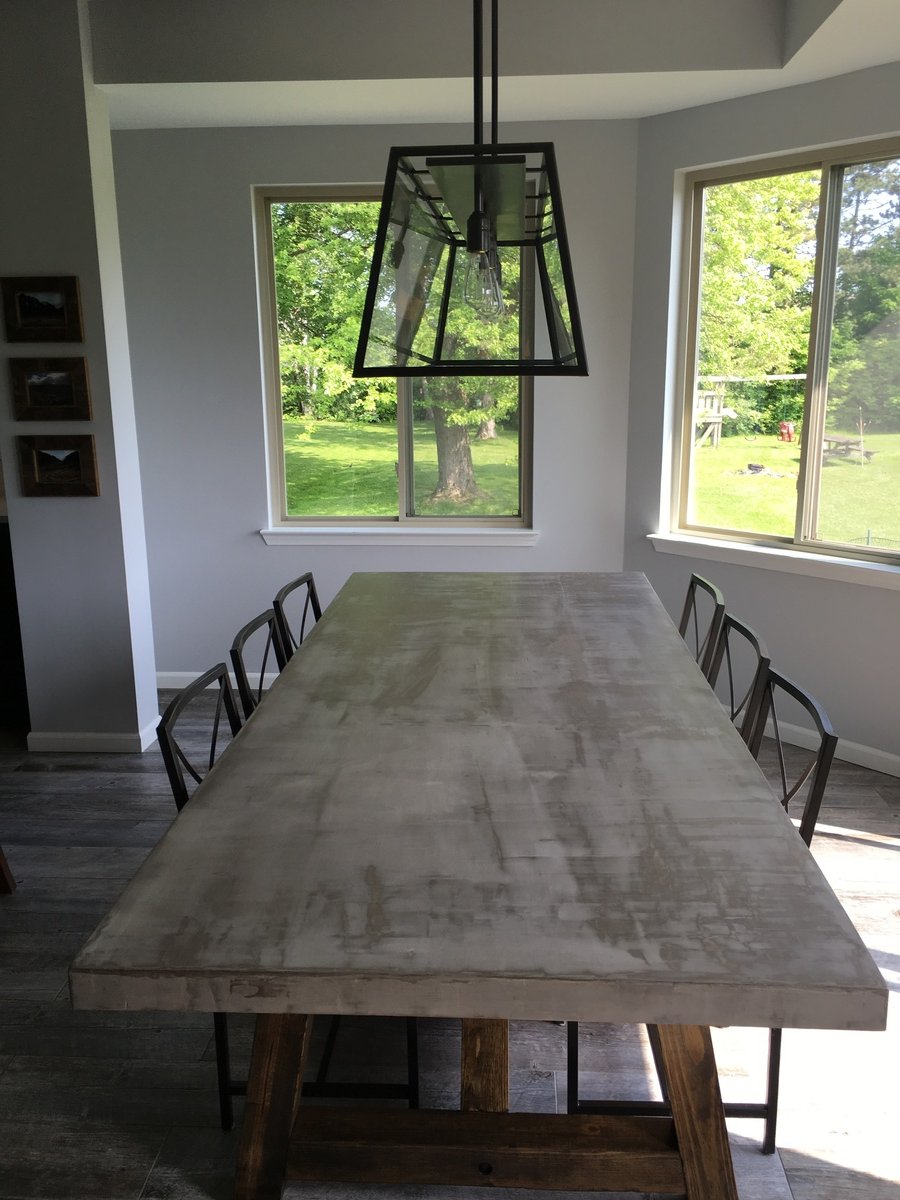
Instead of a wood top I used 2x 3/4" sheets of plywood plus 1/2" backer board to create a thicker top and used Ardex feather finish cement in 4 coats sanded and finished with Mexeseal sealant, recommended 4 coats of semi-gloss plus 2 coats of satin to get a matte finish (recommended by manufacturer) I followed the concrete countertop blog from "Young House Love" but used a different sealant when I contacted the safe coat manufacturer and they recommended their Mexeseal product. 

Built from Plan(s)
Estimated Time Investment
Week Long Project (20 Hours or More)
Finish Used
Ardex Feather Finish Cement
Safe coat Mexeseal Sealant (4 coats semi-gloss plus 2 coats satin for a matte finish)
Stain on base: Minwax weathered oak and dark walnut
Poly on base: 2 coats of Minwax satin poly
Recommended Skill Level
Beginner

Raised Bed Garden Enclosure

Submitted by Anonymous (not verified) on Tue, 06/21/2016 - 08:07

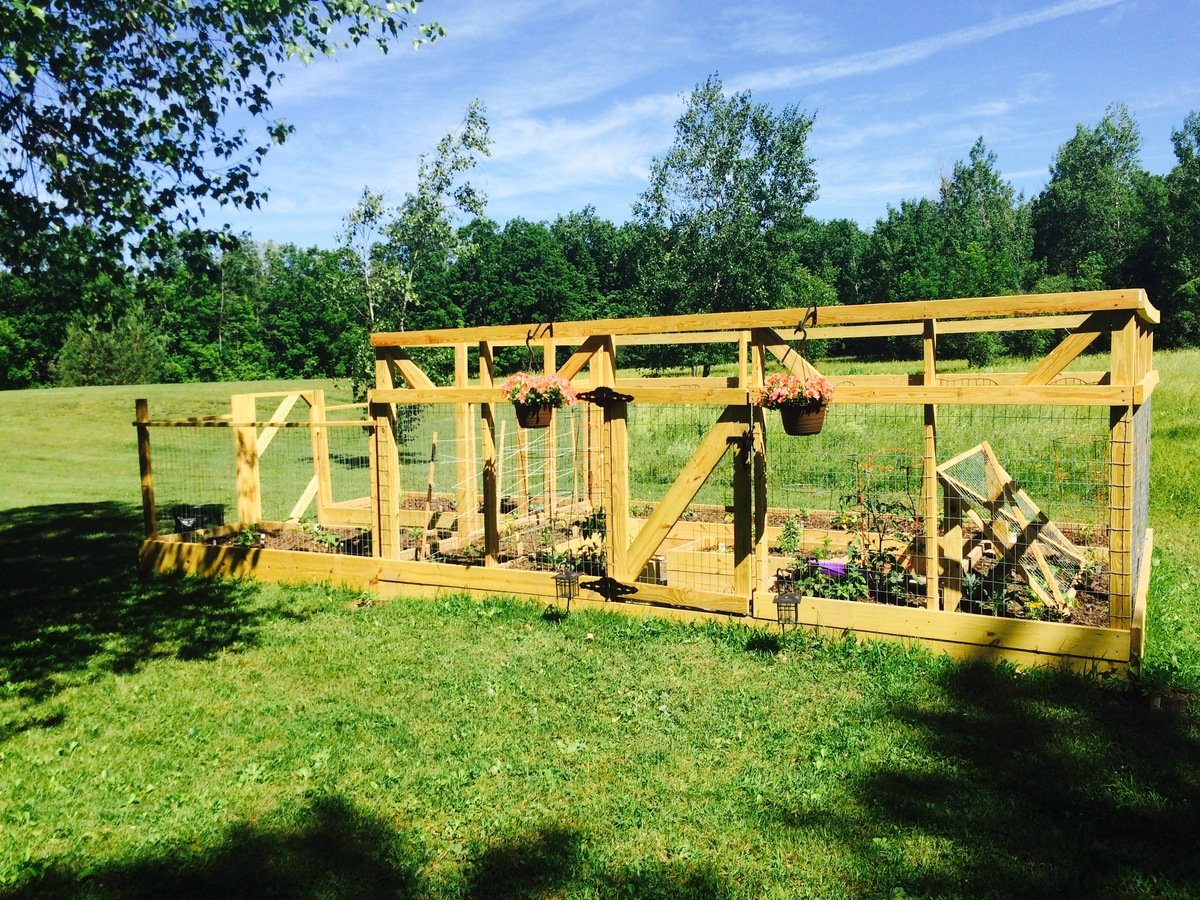
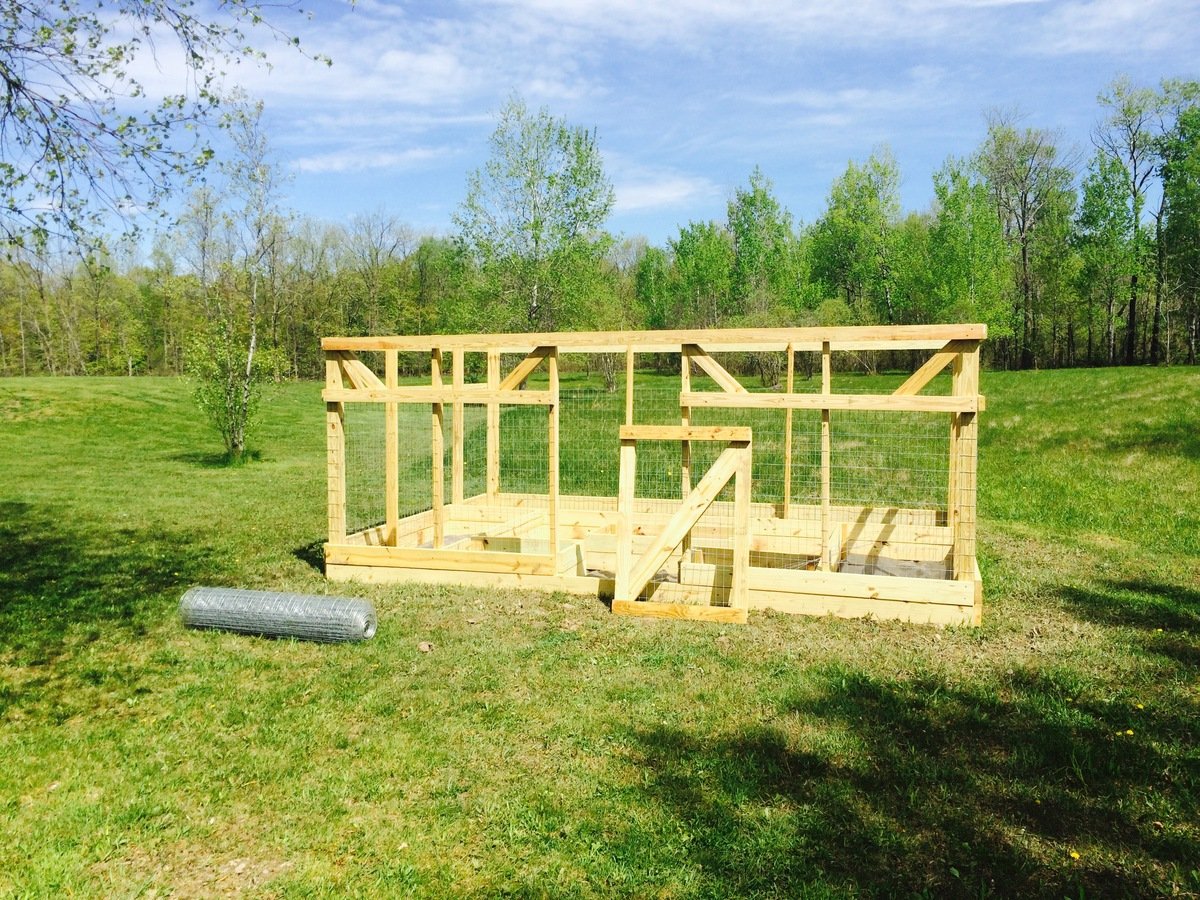
With lots of deer, rabbits, coyotes, and the occasional bear, garden enclosures are a must in our area (although I am not sure they will really help if a bear decides they're interested in our food). As our old garden enclosure was falling down due to the high winds and a quite a few winters in upstate New York, my mom found a horseshoe shaped garden with rasied beds that she loved. So, after searching around for a good plan, I found Ana White's collaboration with Home Depot for this enclosure.

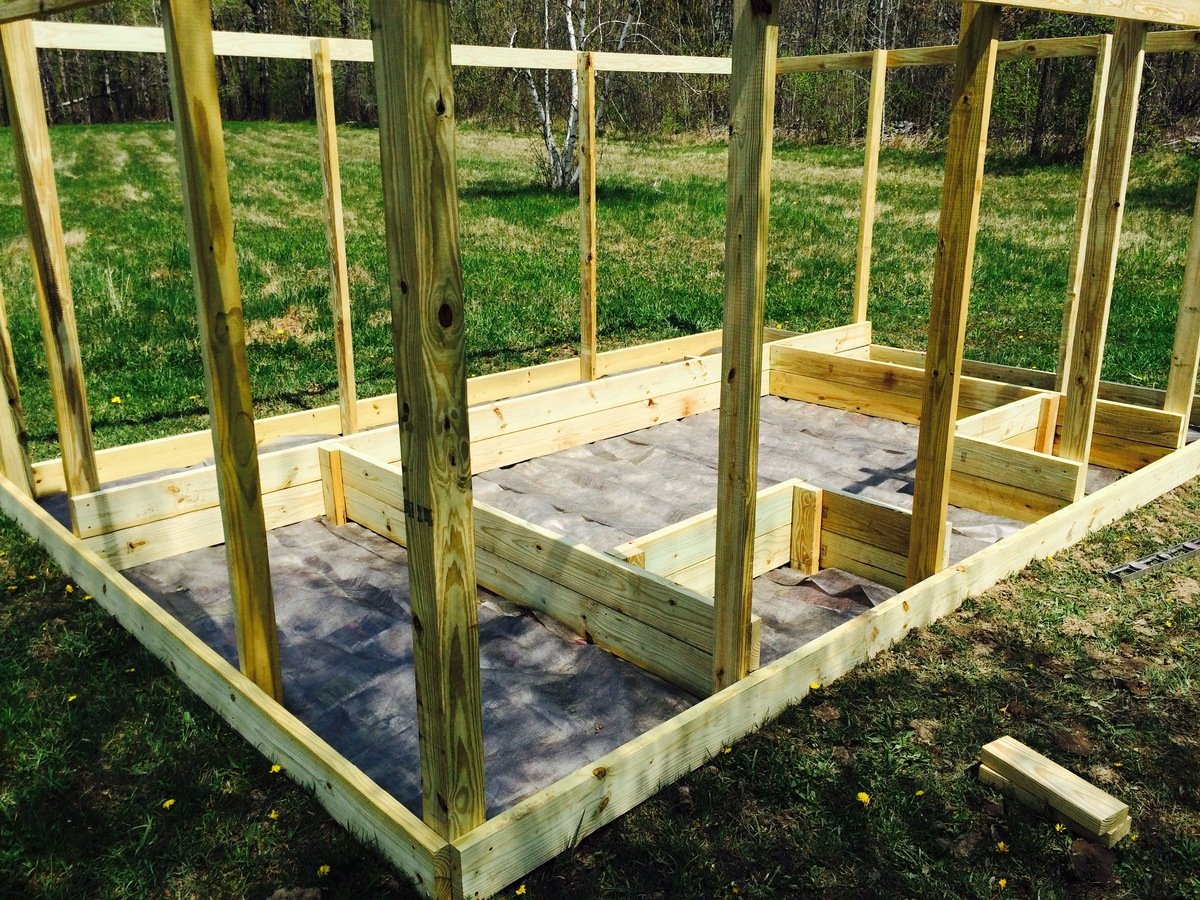
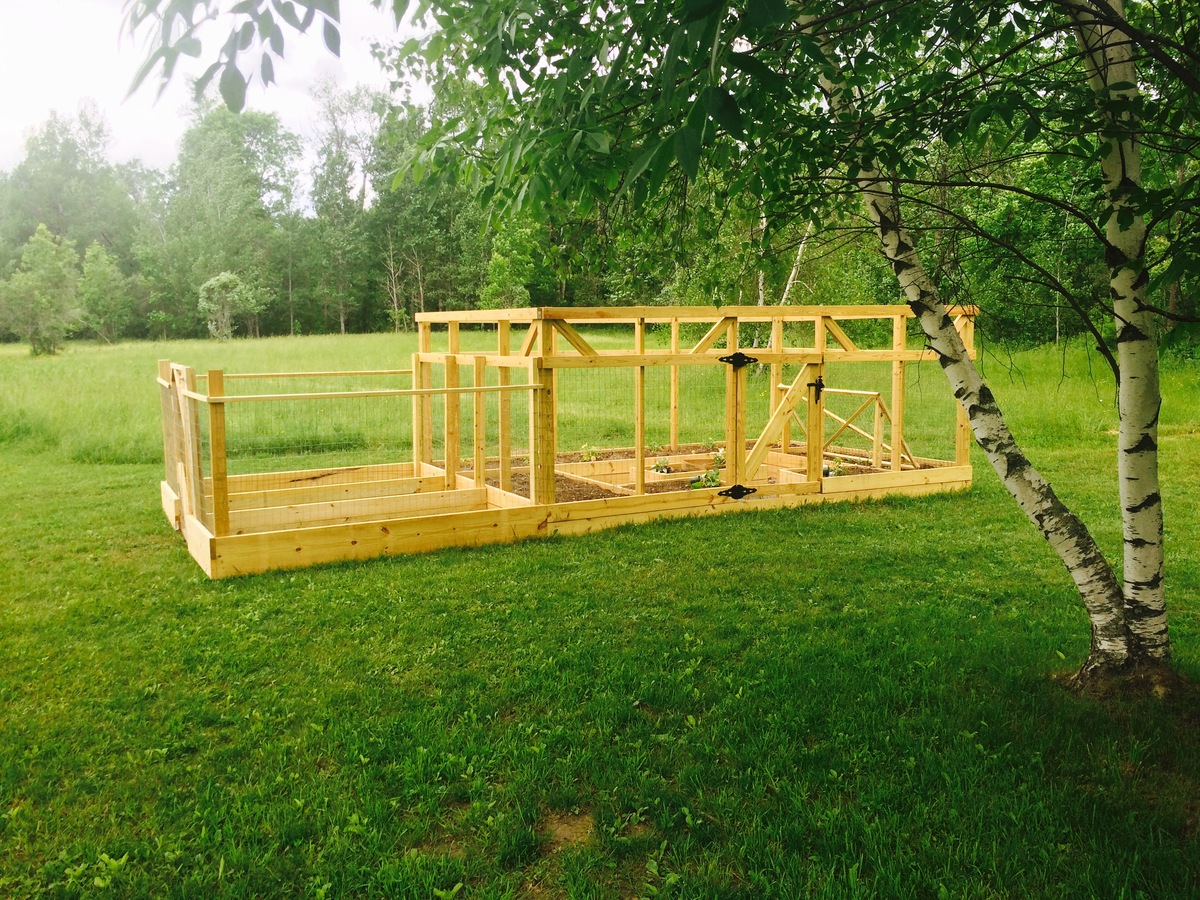
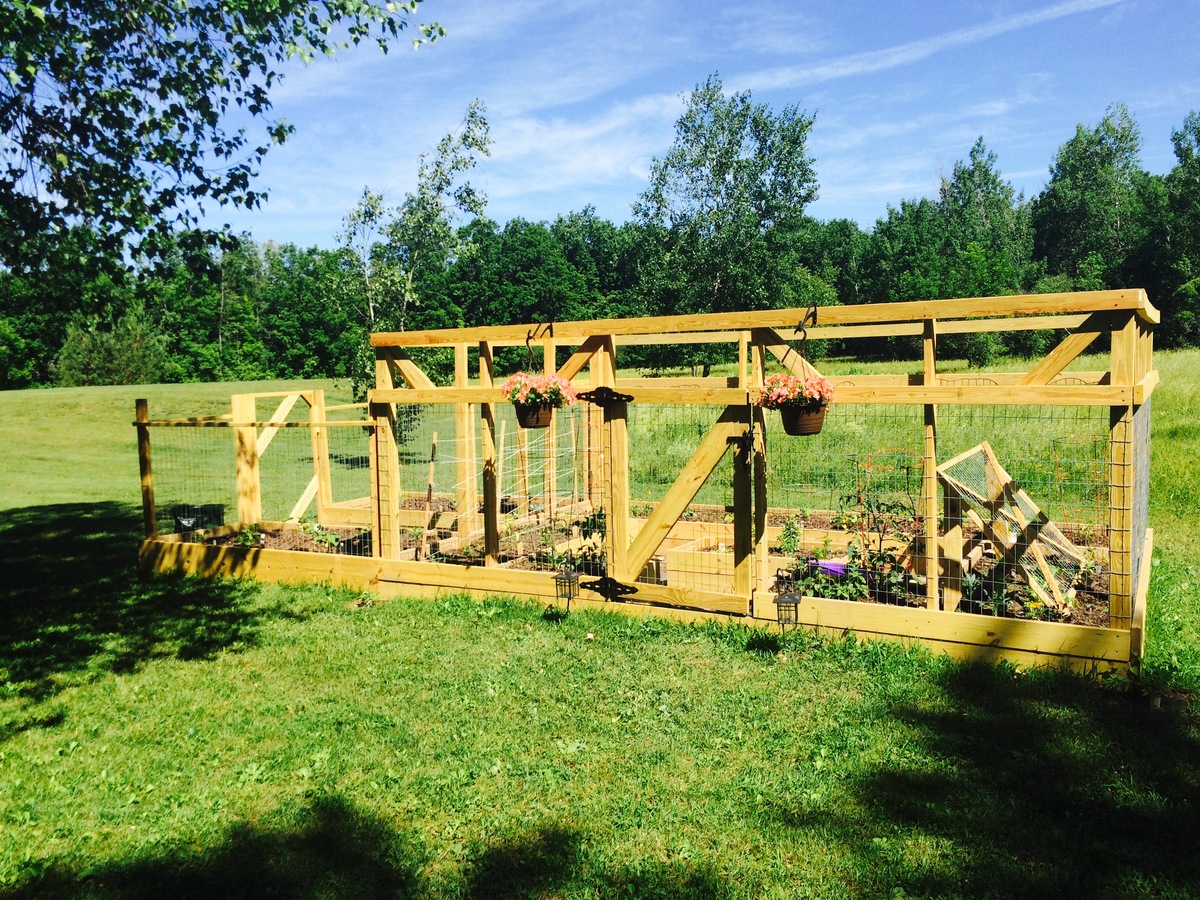
While the original plan was far too small for our needs, I was able to expand the length of the enclosure creating enough room to add two small beds on either side of the door and a center bed, which is perfect for herbs. The build was not difficult as I was able to do most of it by myself (with the exception of contructing the frame and attaching the door) and I am sure this would go much quicker with an extra set of hands. As I did not have a large chunk of time to devote to this project, it did take me quite some time stretched over a few weeks. Nonetheless, I am very happy with how it turned out.

After construction, my family got a little garden happy and decided we wanted to plant even more vegetables than we had originally planned. So, we created a much simpler but nonetheless less pest-proof enclosure for two more beds to the left of our original project (shown in the photos).

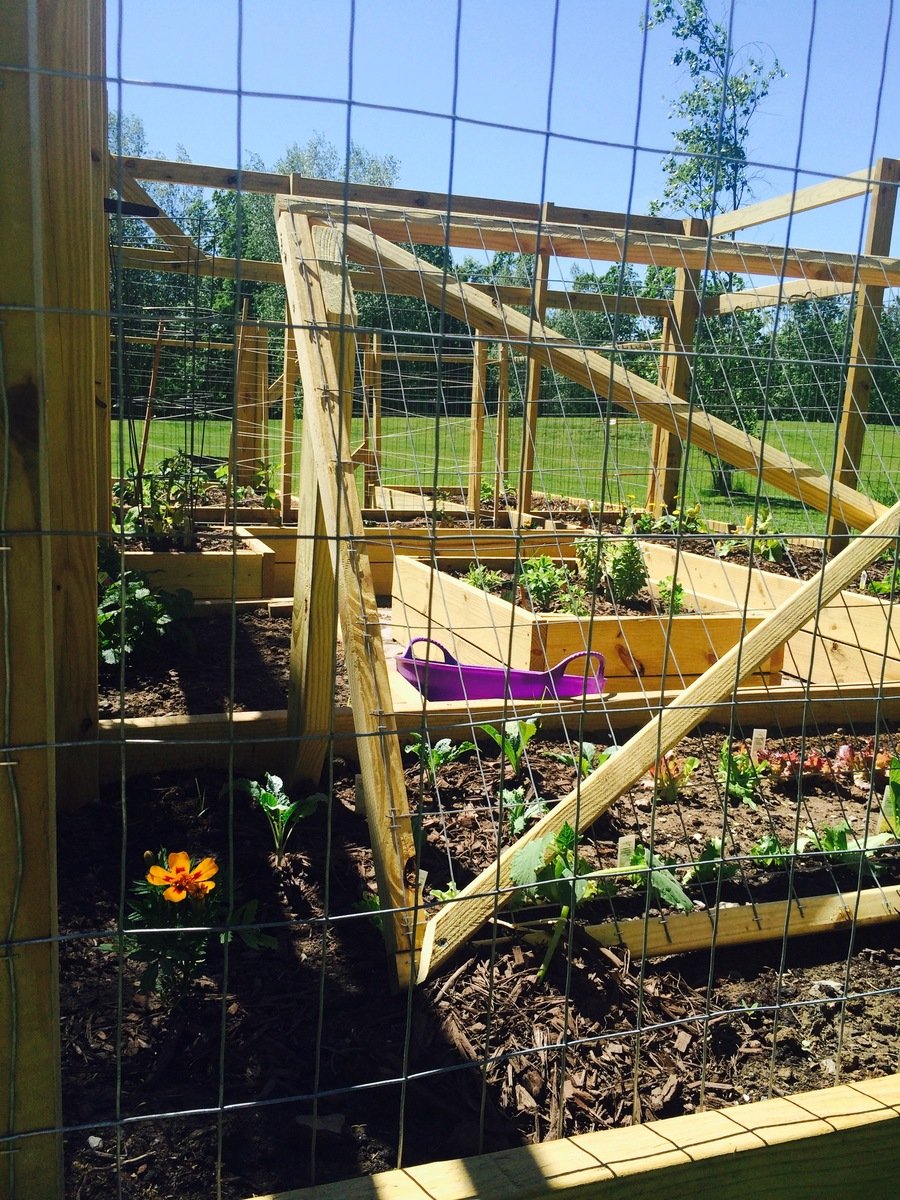
Although this was an expensive project (exact price is unkown), it is quite sturdy and we expect it to last a long time and provide lots of vegetables. We added some hanging baskets for decoration and decided next year we will add some morning glories around the outside corners for some extra shade during the afternoons. Some minor alterations also included a latch that allows us to open and close the door from both sides, we actually picked up a gate latch kit for this part of the project, and using welded wire fencing instead of chicken wire. While the welded wire added to the cost, it will hold up better to the wind and snow and is still protective enough to keep out our main predators.

Thanks so much for the plans Ana! In the begining, our neighbors joked we were building a guest house :). I have included some photos from throughout the build as well.

Built from Plan(s)
Estimated Cost
~$500?, we had to make some adjustments in size and swap out some materials due to the high winds we get, so this could probably be done for cheaper. The cost is also a guess as I am not completely sure what the total came to after many trips to the store. Nonetheless, our garden is twice the size of the enclosure kits Home Depot and other stores sell for what I predict to be more than twice the cost.
Estimated Time Investment
Week Long Project (20 Hours or More)
Finish Used
Unfinished
Recommended Skill Level
Beginner

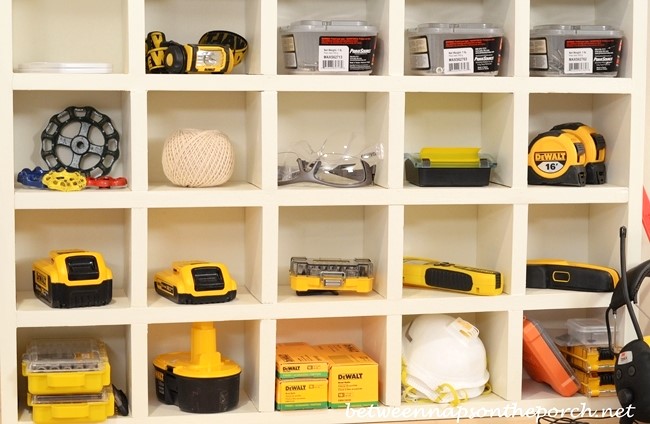
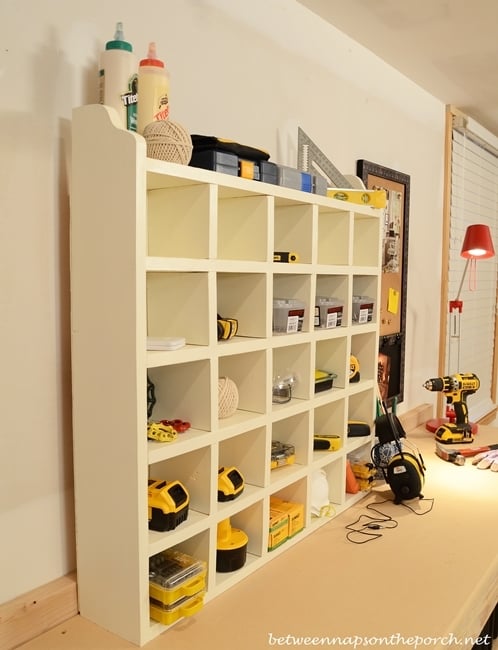
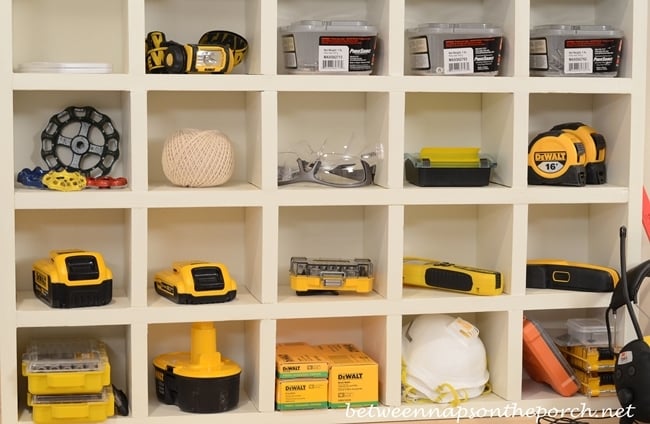
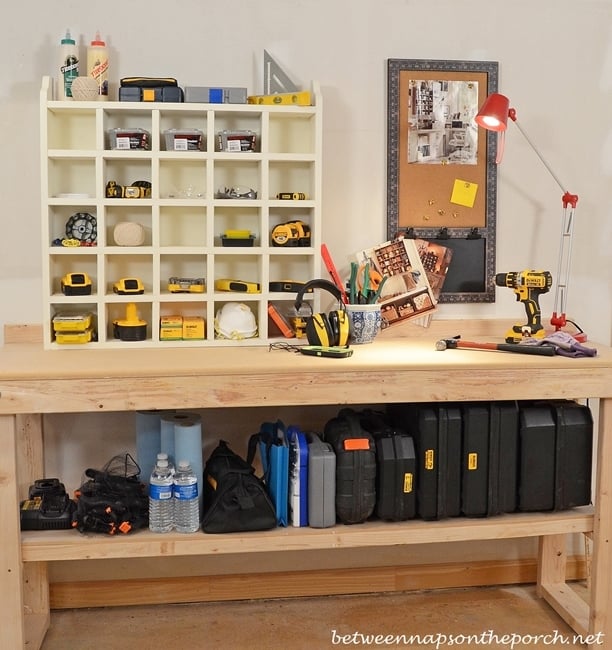
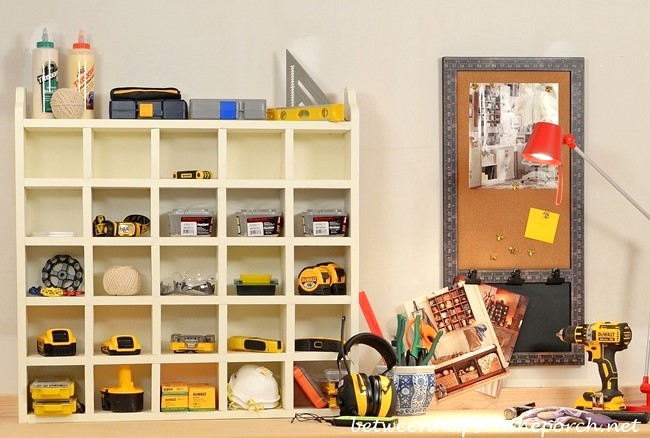
Cubby Organizer (Pottery Barn Inspired)

This cubby organizer is great for storage, displaying collectibles or as an advent calendar. I'm using mine in my mini-workshop for storing tools and supplies I use frequently when woodworking. Tutorial can be found at my blog here: http://betweennapsontheporch.net/build-a-cubby-organizer-pottery-barn-i… Thanks Ana for supplying the plans!

Built from Plan(s)
Estimated Cost
$40
Estimated Time Investment
Day Project (6-9 Hours)
Finish Used
I used Sherwin Williams Dover White paint for a soft white. Stain would work great for this piece, too.
Recommended Skill Level
Beginner

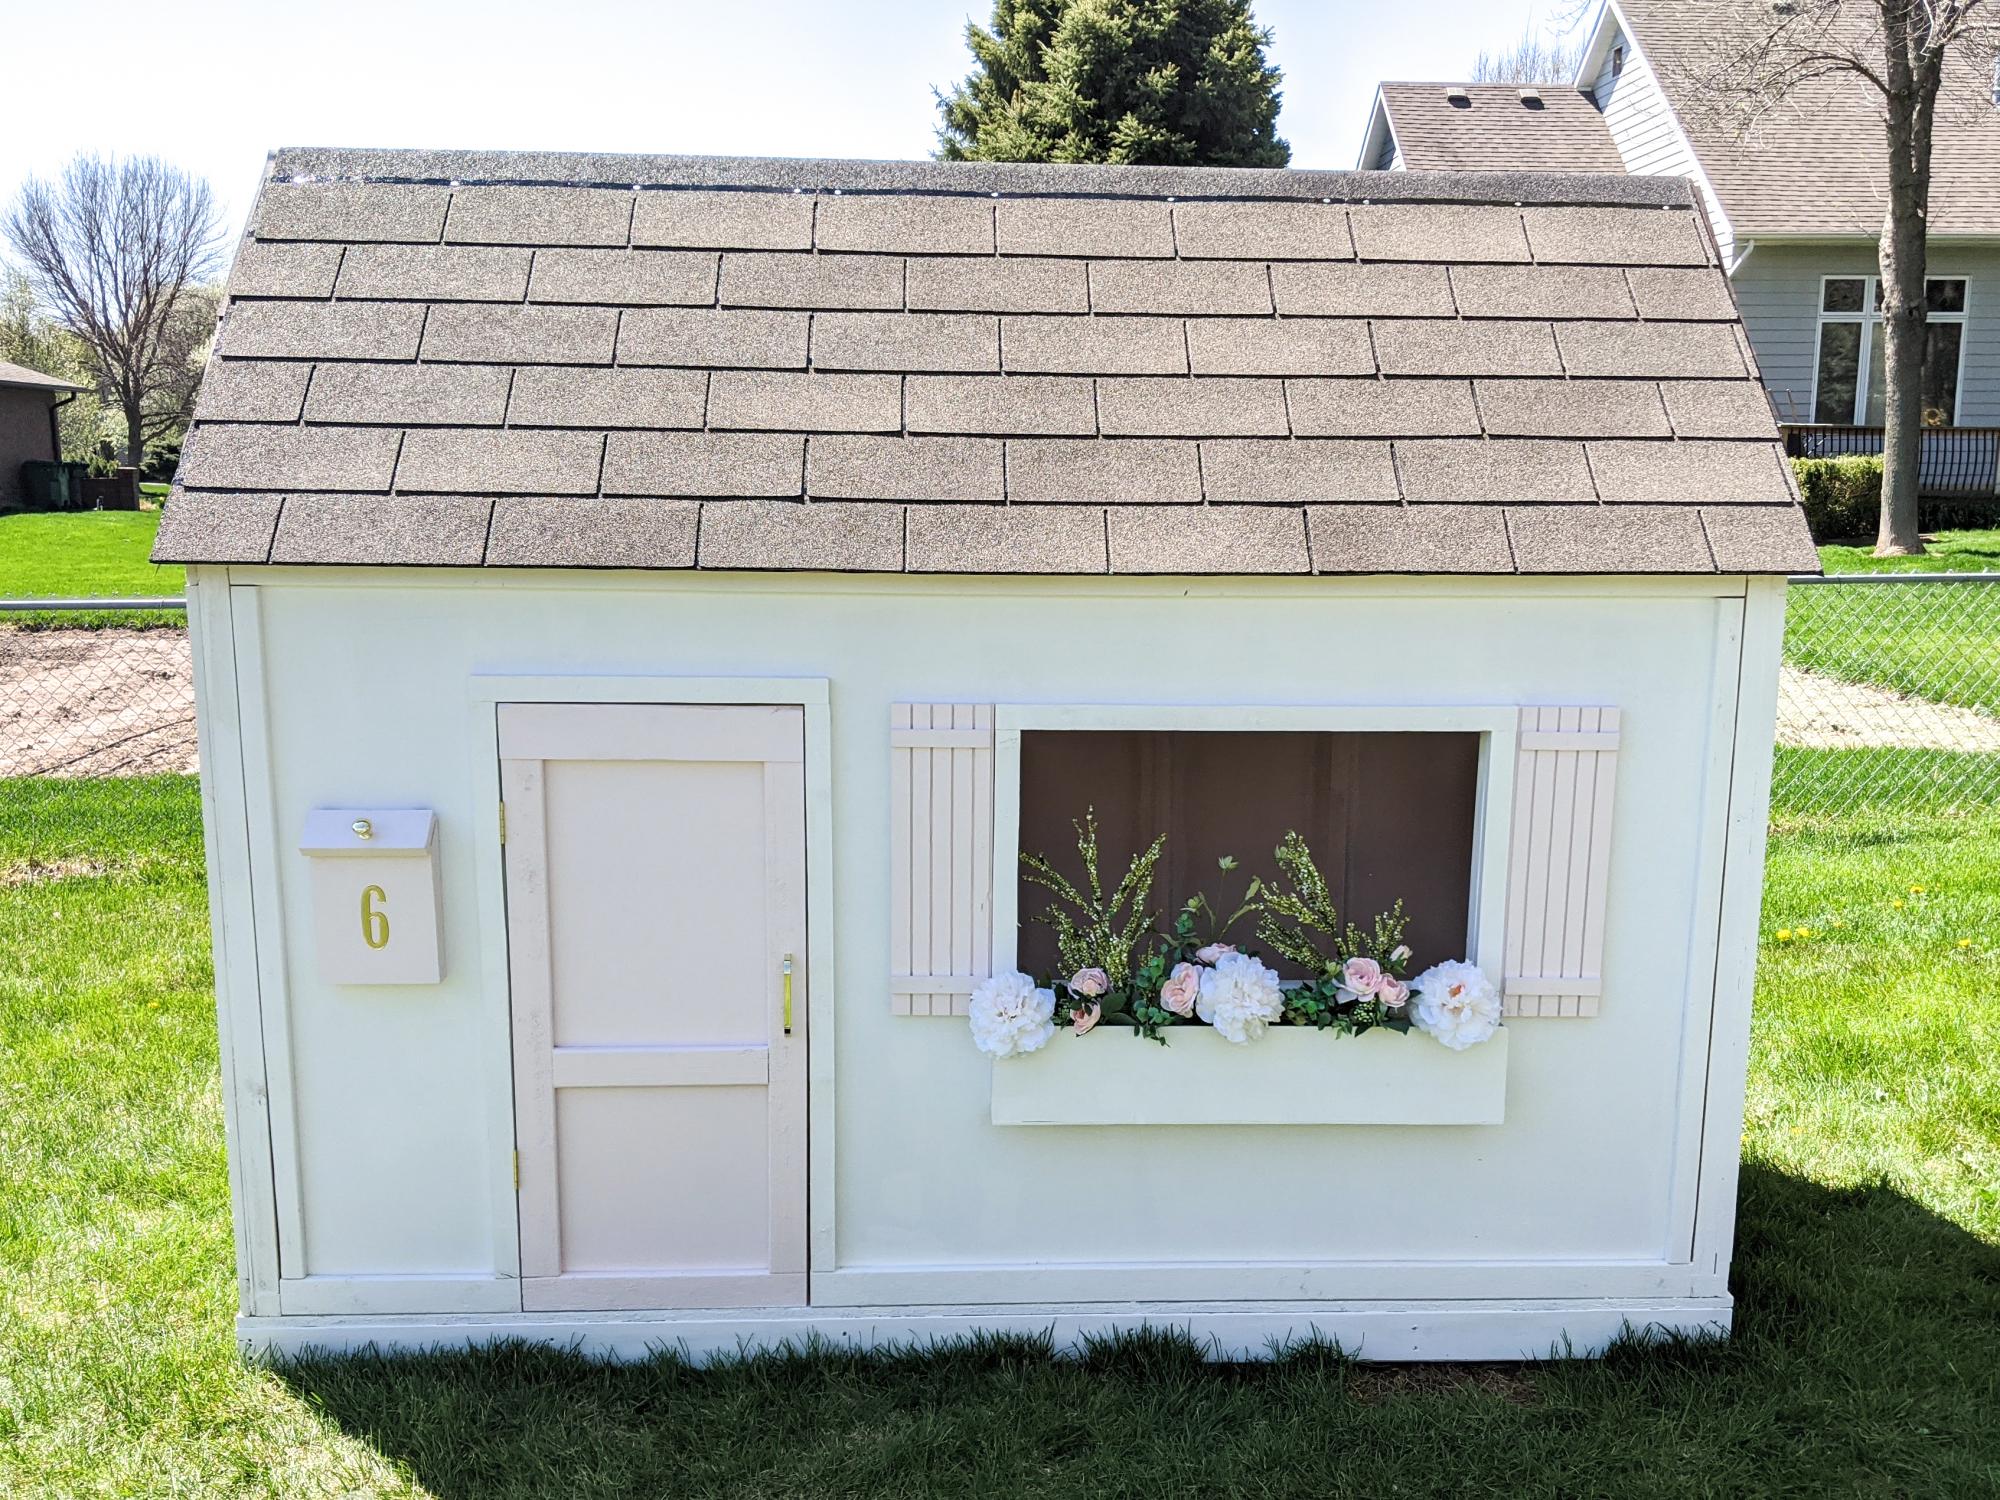
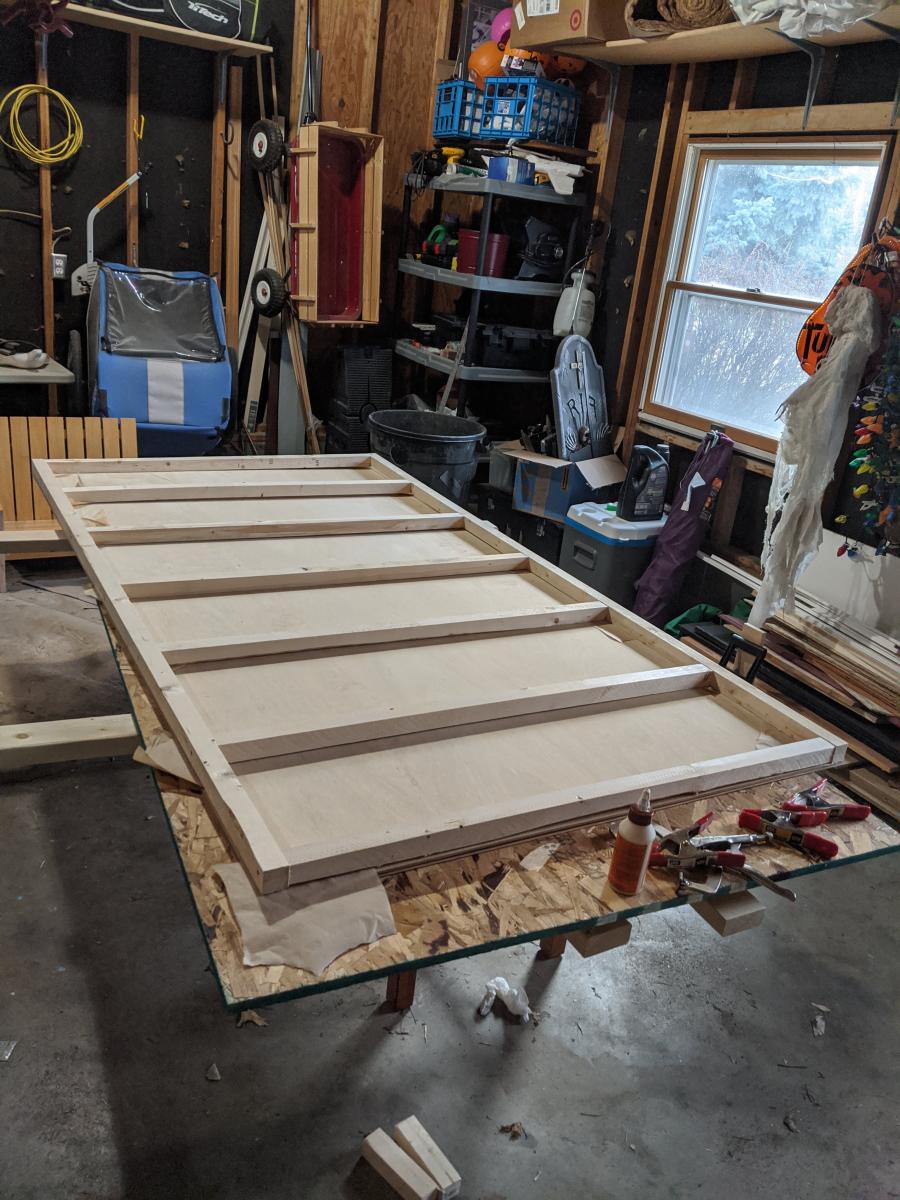
Playhouse

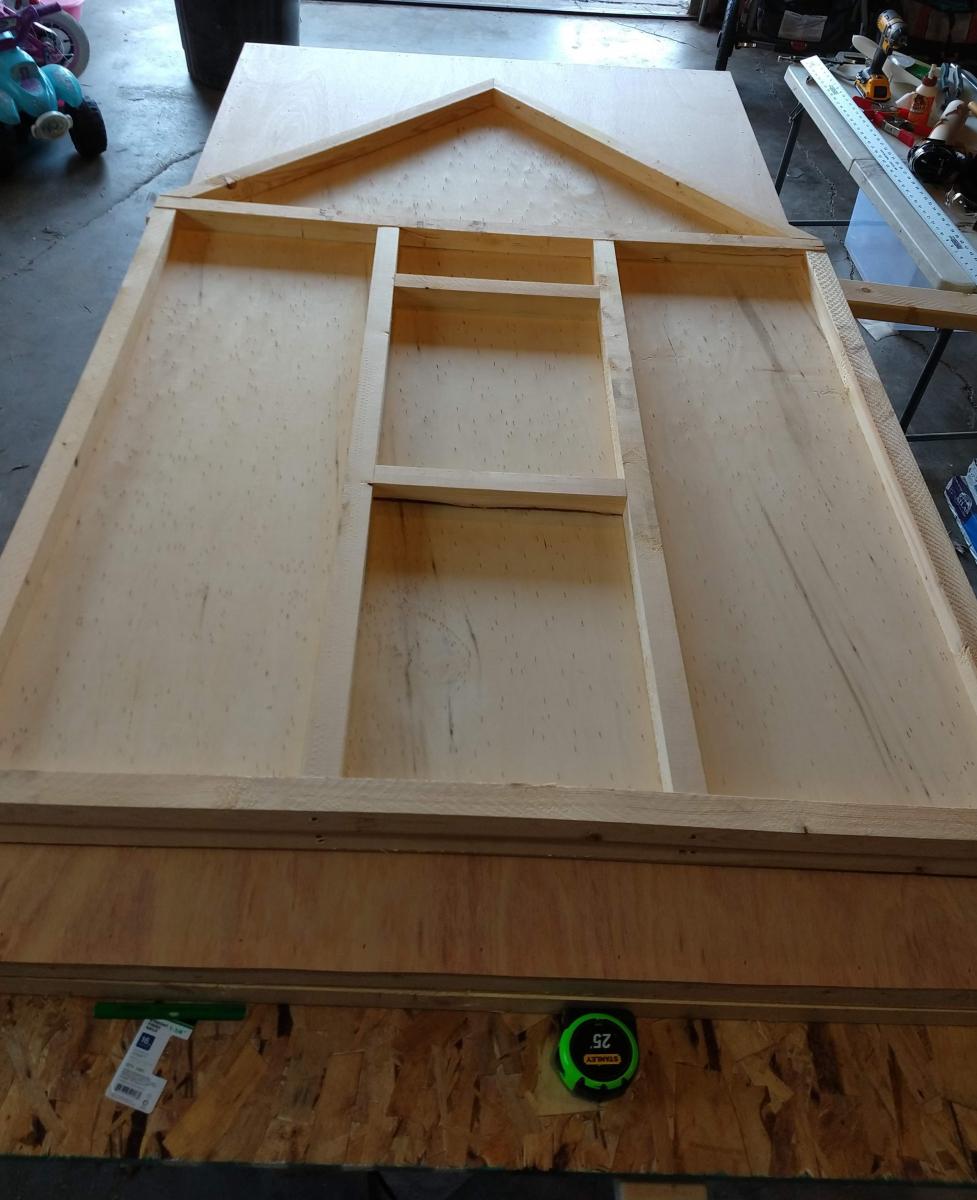
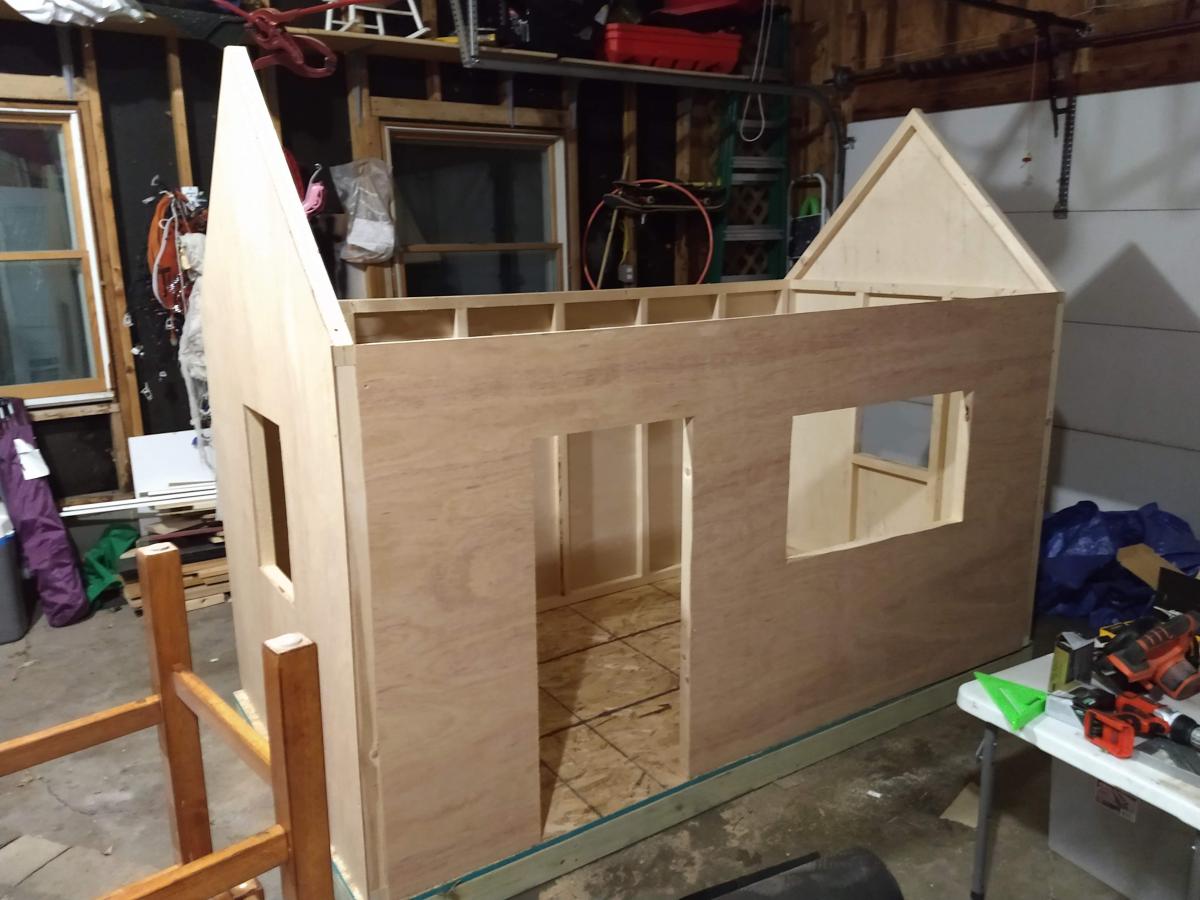
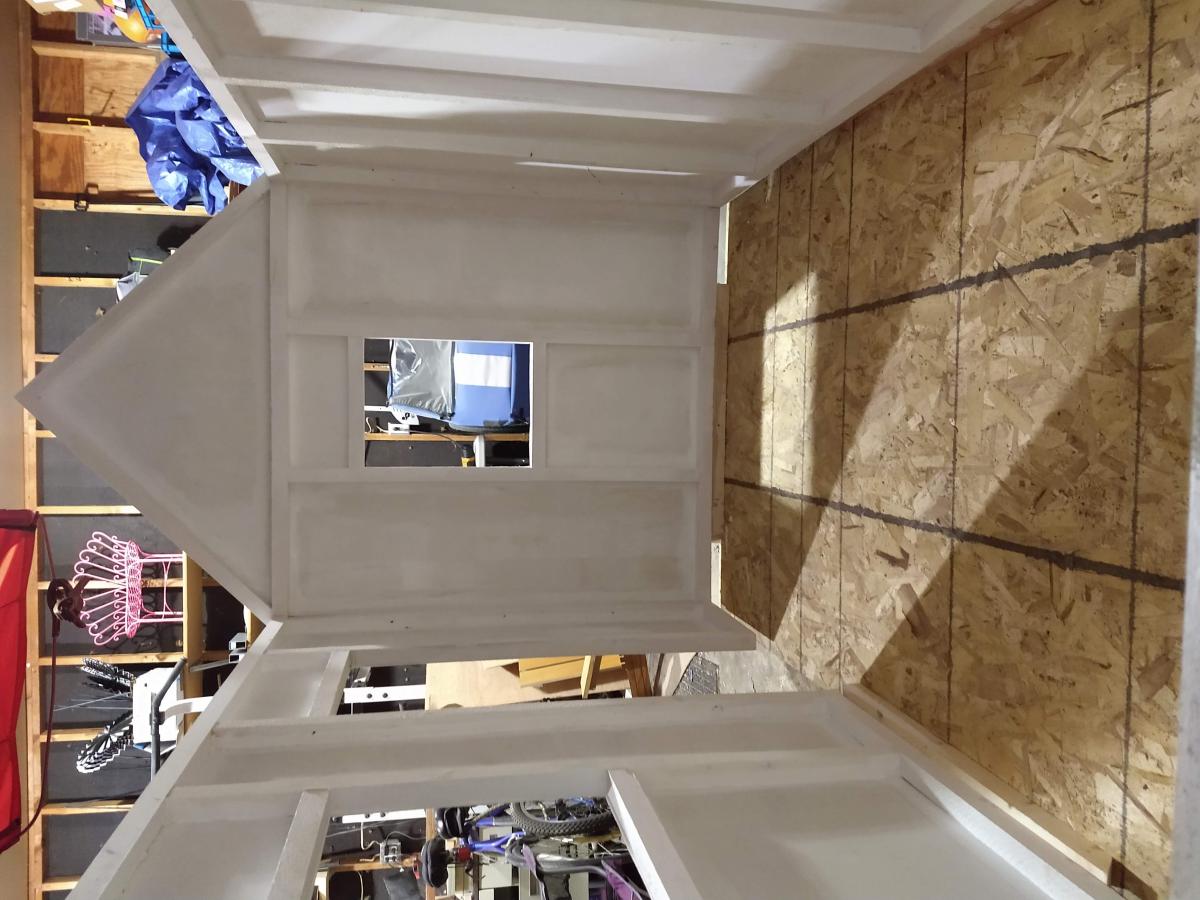
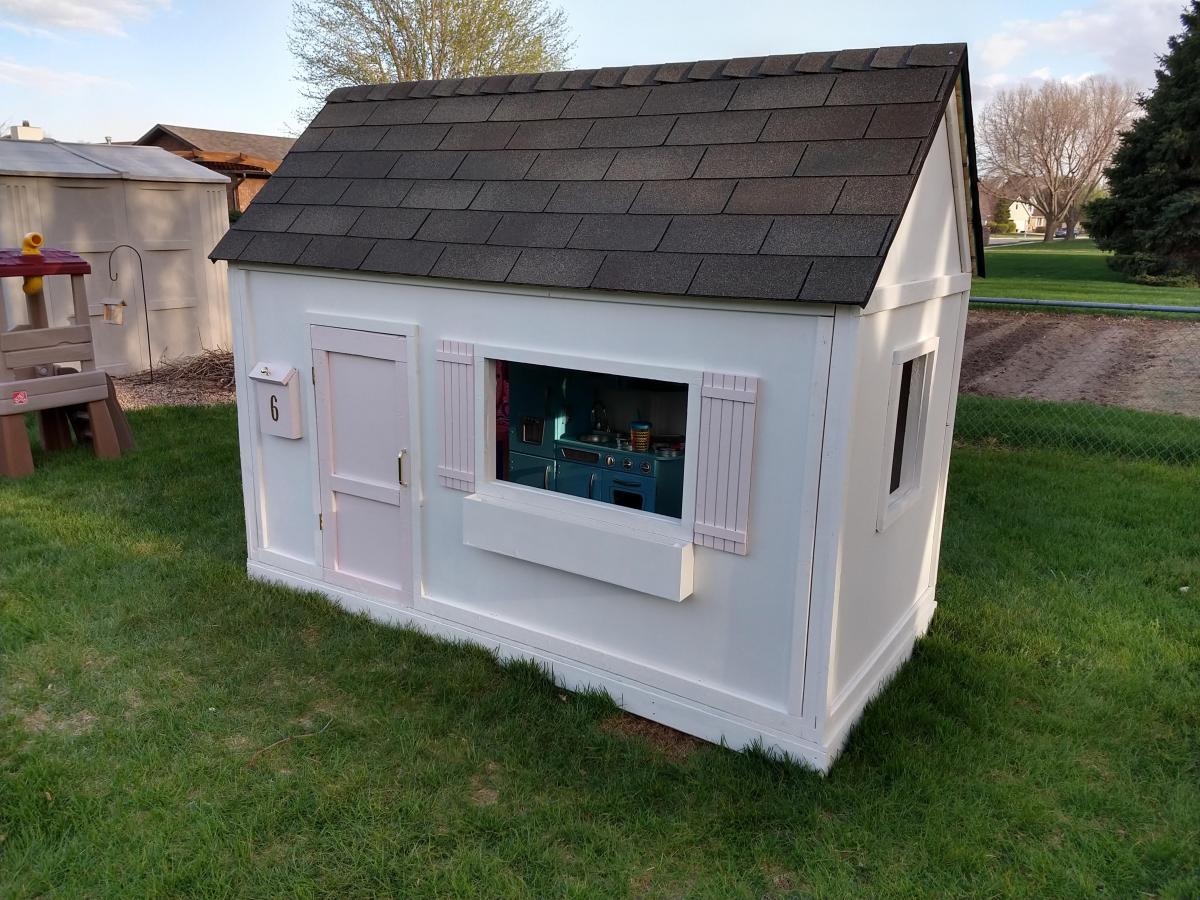
We built this playhouse for our daughter's 6th birthday. She absolutely loves it! We were looking at purchasing one, but they were way out of our budget. Ana saved the day with these plans :).

Estimated Cost
$320.00
Estimated Time Investment
Weekend Project (10-20 Hours)
Finish Used
We painted the house with white Pittsburg Ultra Exterior Latex paint. The mailbox, door and shutters were all painted with Pink Viburnum Sherwin Williams Satin Exterior paint.
Recommended Skill Level
Intermediate
Seasonal And Holiday

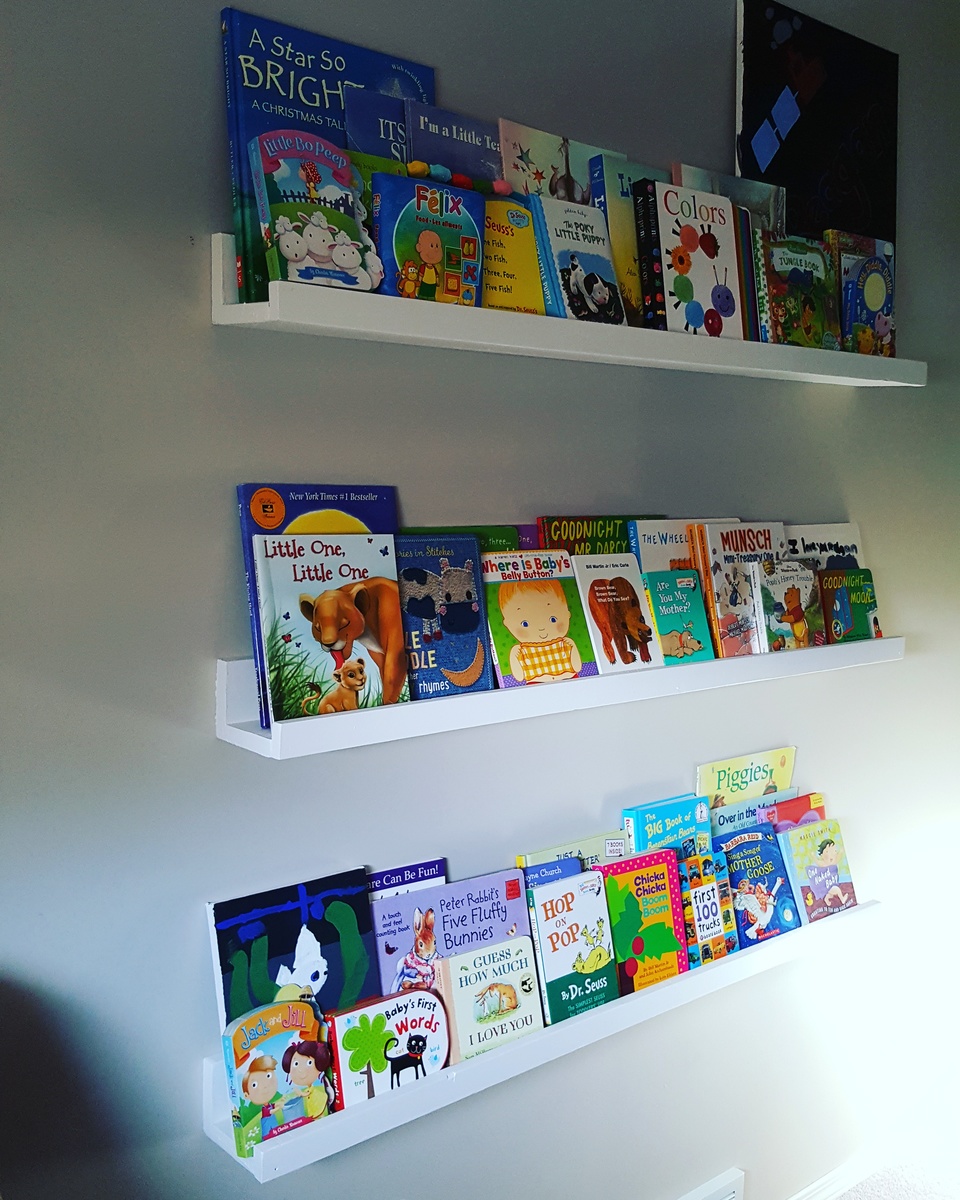
Baby library

Submitted by Anonymous (not verified) on Sat, 08/27/2016 - 18:23

Easy to build and look great!  And way cheaper than buying shelves.

Estimated Time Investment
Weekend Project (10-20 Hours)
Recommended Skill Level
Beginner

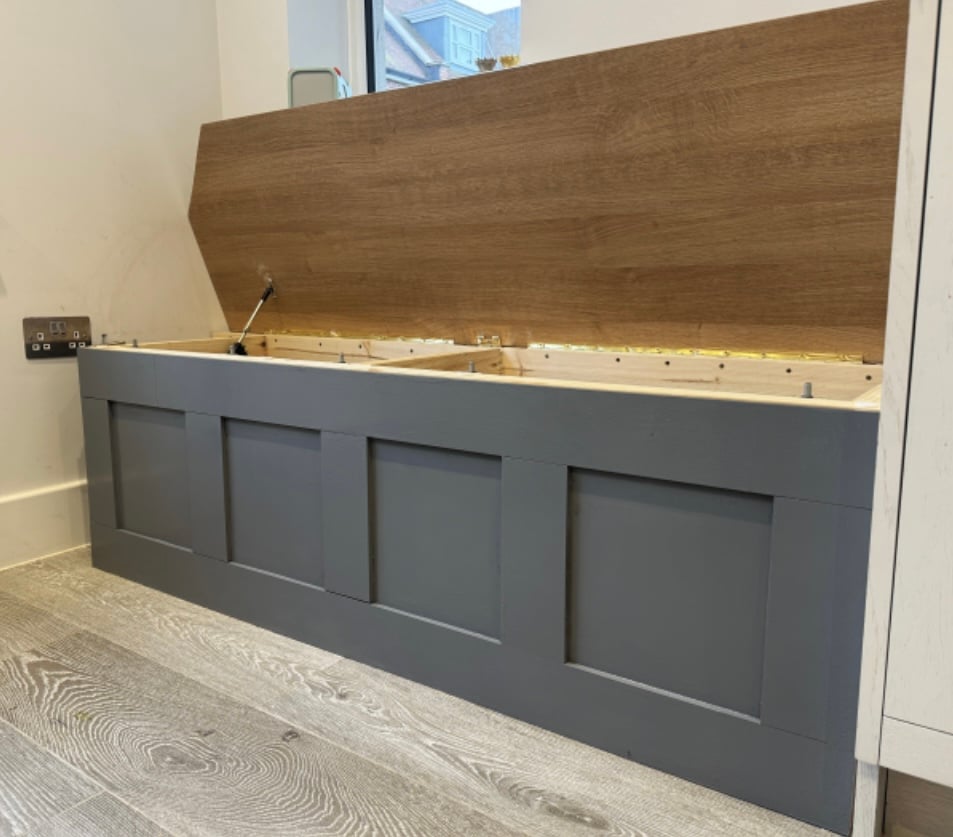
Storage Dining Bench

Submitted by Anonymous (not verified) on Fri, 03/22/2024 - 07:34

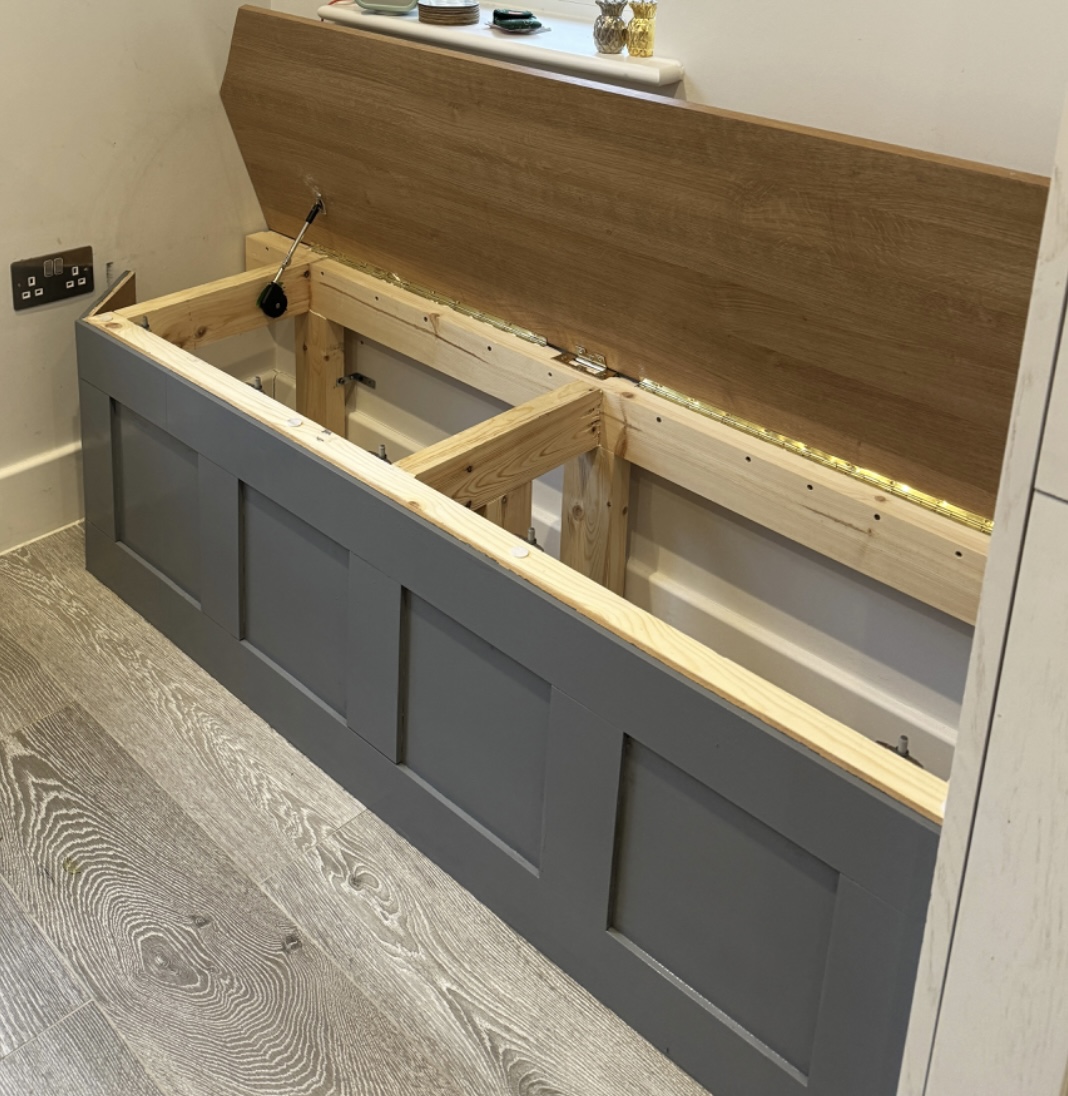
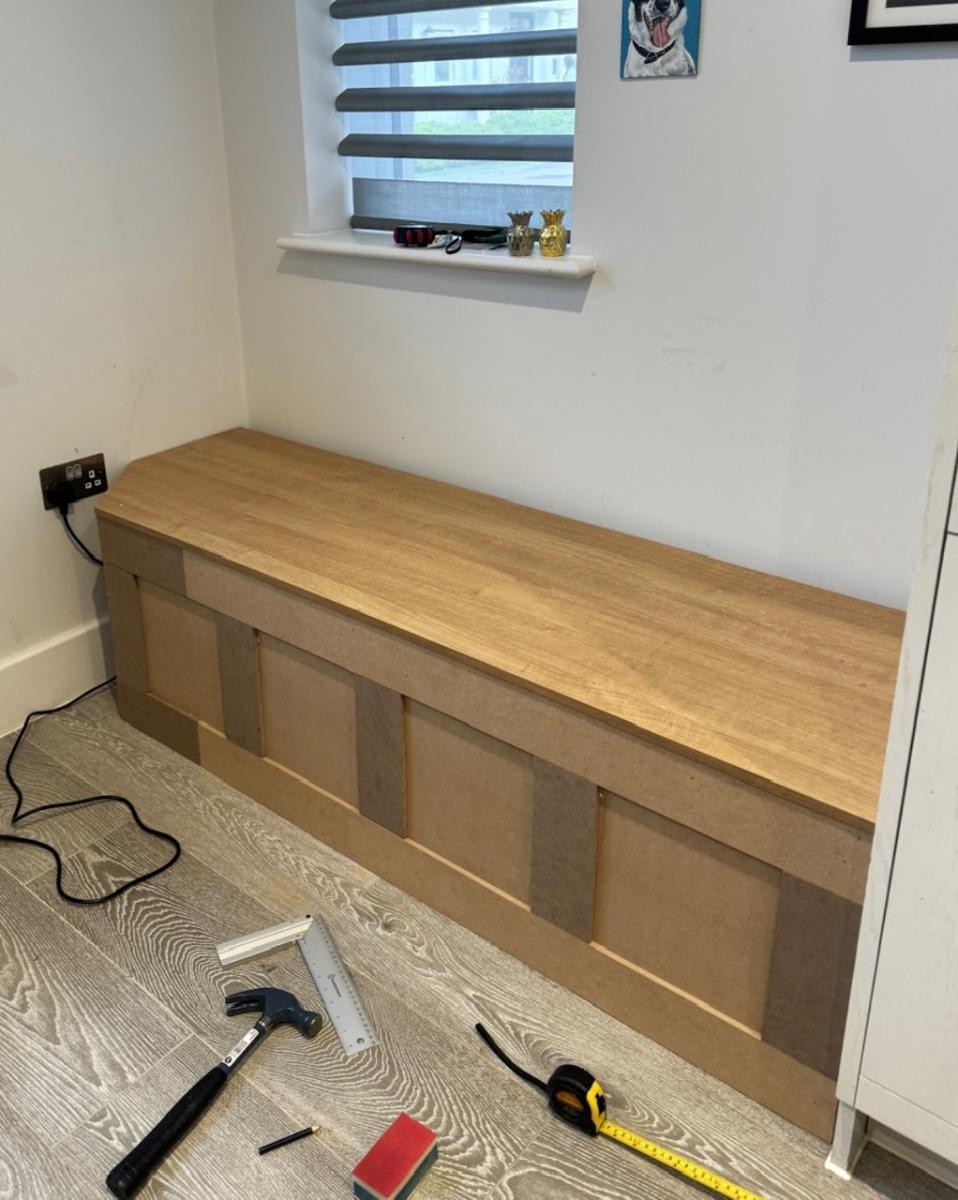
Kitchen dining bench with storage. Due to the plugs being in an awkward position, I opted to build this bench with a facade as opposed to adding a back and sides. This also meant it had to be panelled in situ which was a fun challenge! It has piano hinges as well as soft close pistons making for a great storage bench that is in keeping with the rest of our kitchen.

Cedar planter boxes

Submitted by JavaJoe on Fri, 06/06/2014 - 20:00

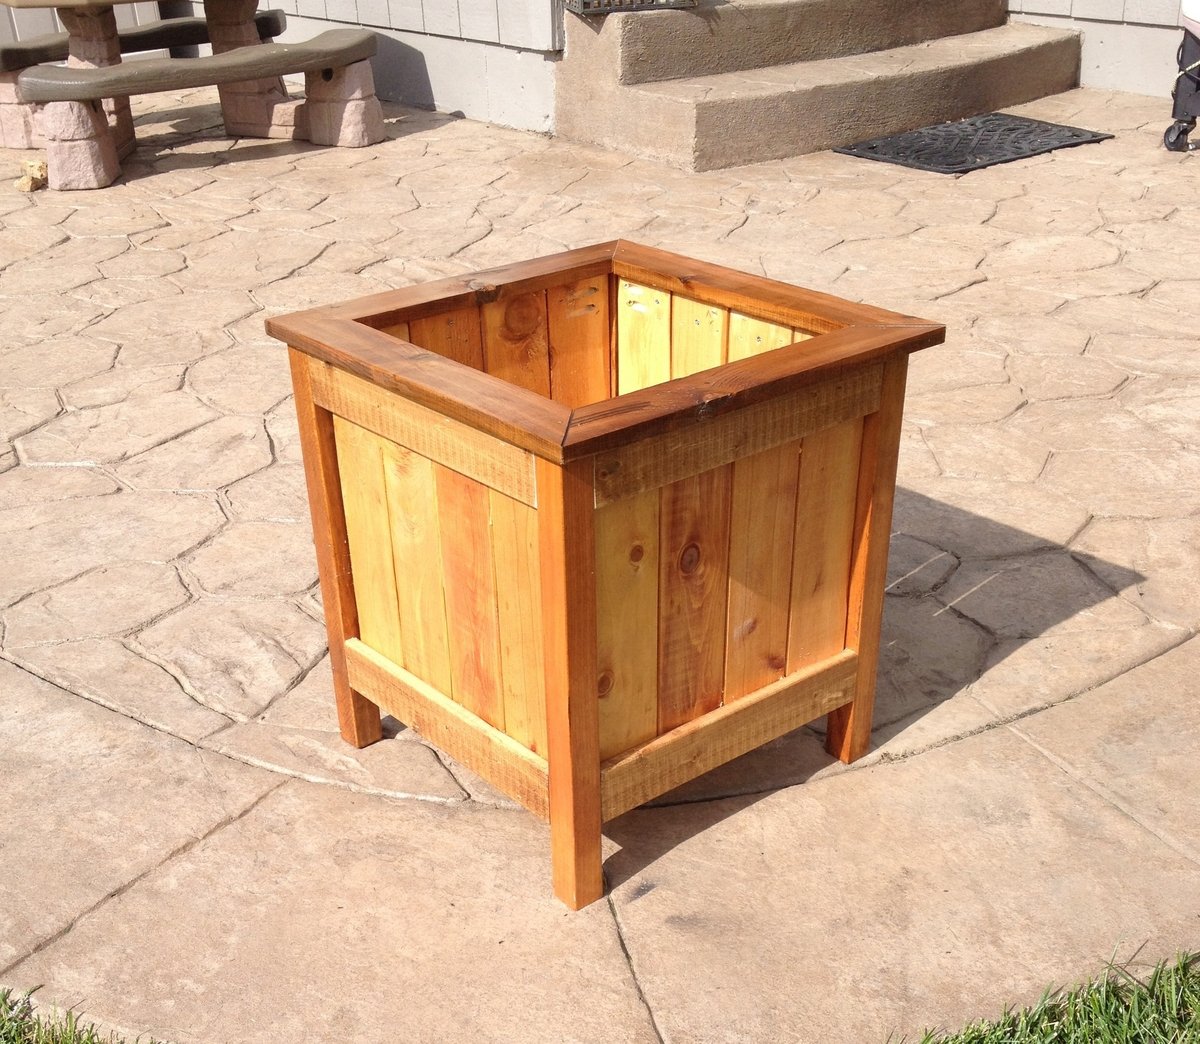
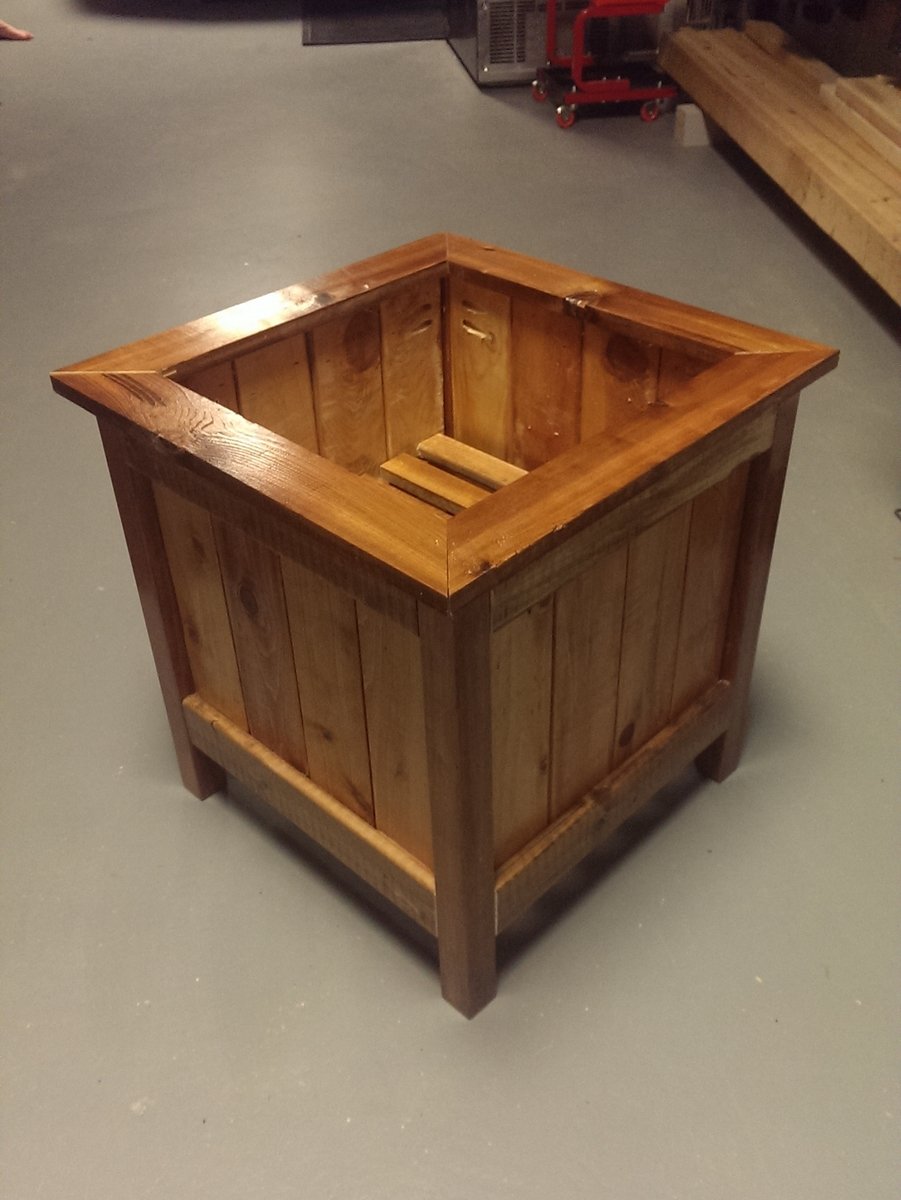
I used the main plan for ideas, but opted to use 3.5 inch pickets instead, which allowed for a smaller planter that wasn't as big. Also chose to miter 1x3s for the top which I think really finishes it off. Sanded everything with a belt sander to 220 grit. Used min wax golden pecan plus three coats of poly inside and out. Finished size was about 17x17. Tile spacers work great to keep the gaps even!

Built from Plan(s)
Estimated Time Investment
Afternoon Project (3-6 Hours)
Finish Used
Min wax golden pecan
Recommended Skill Level
Intermediate

Comments

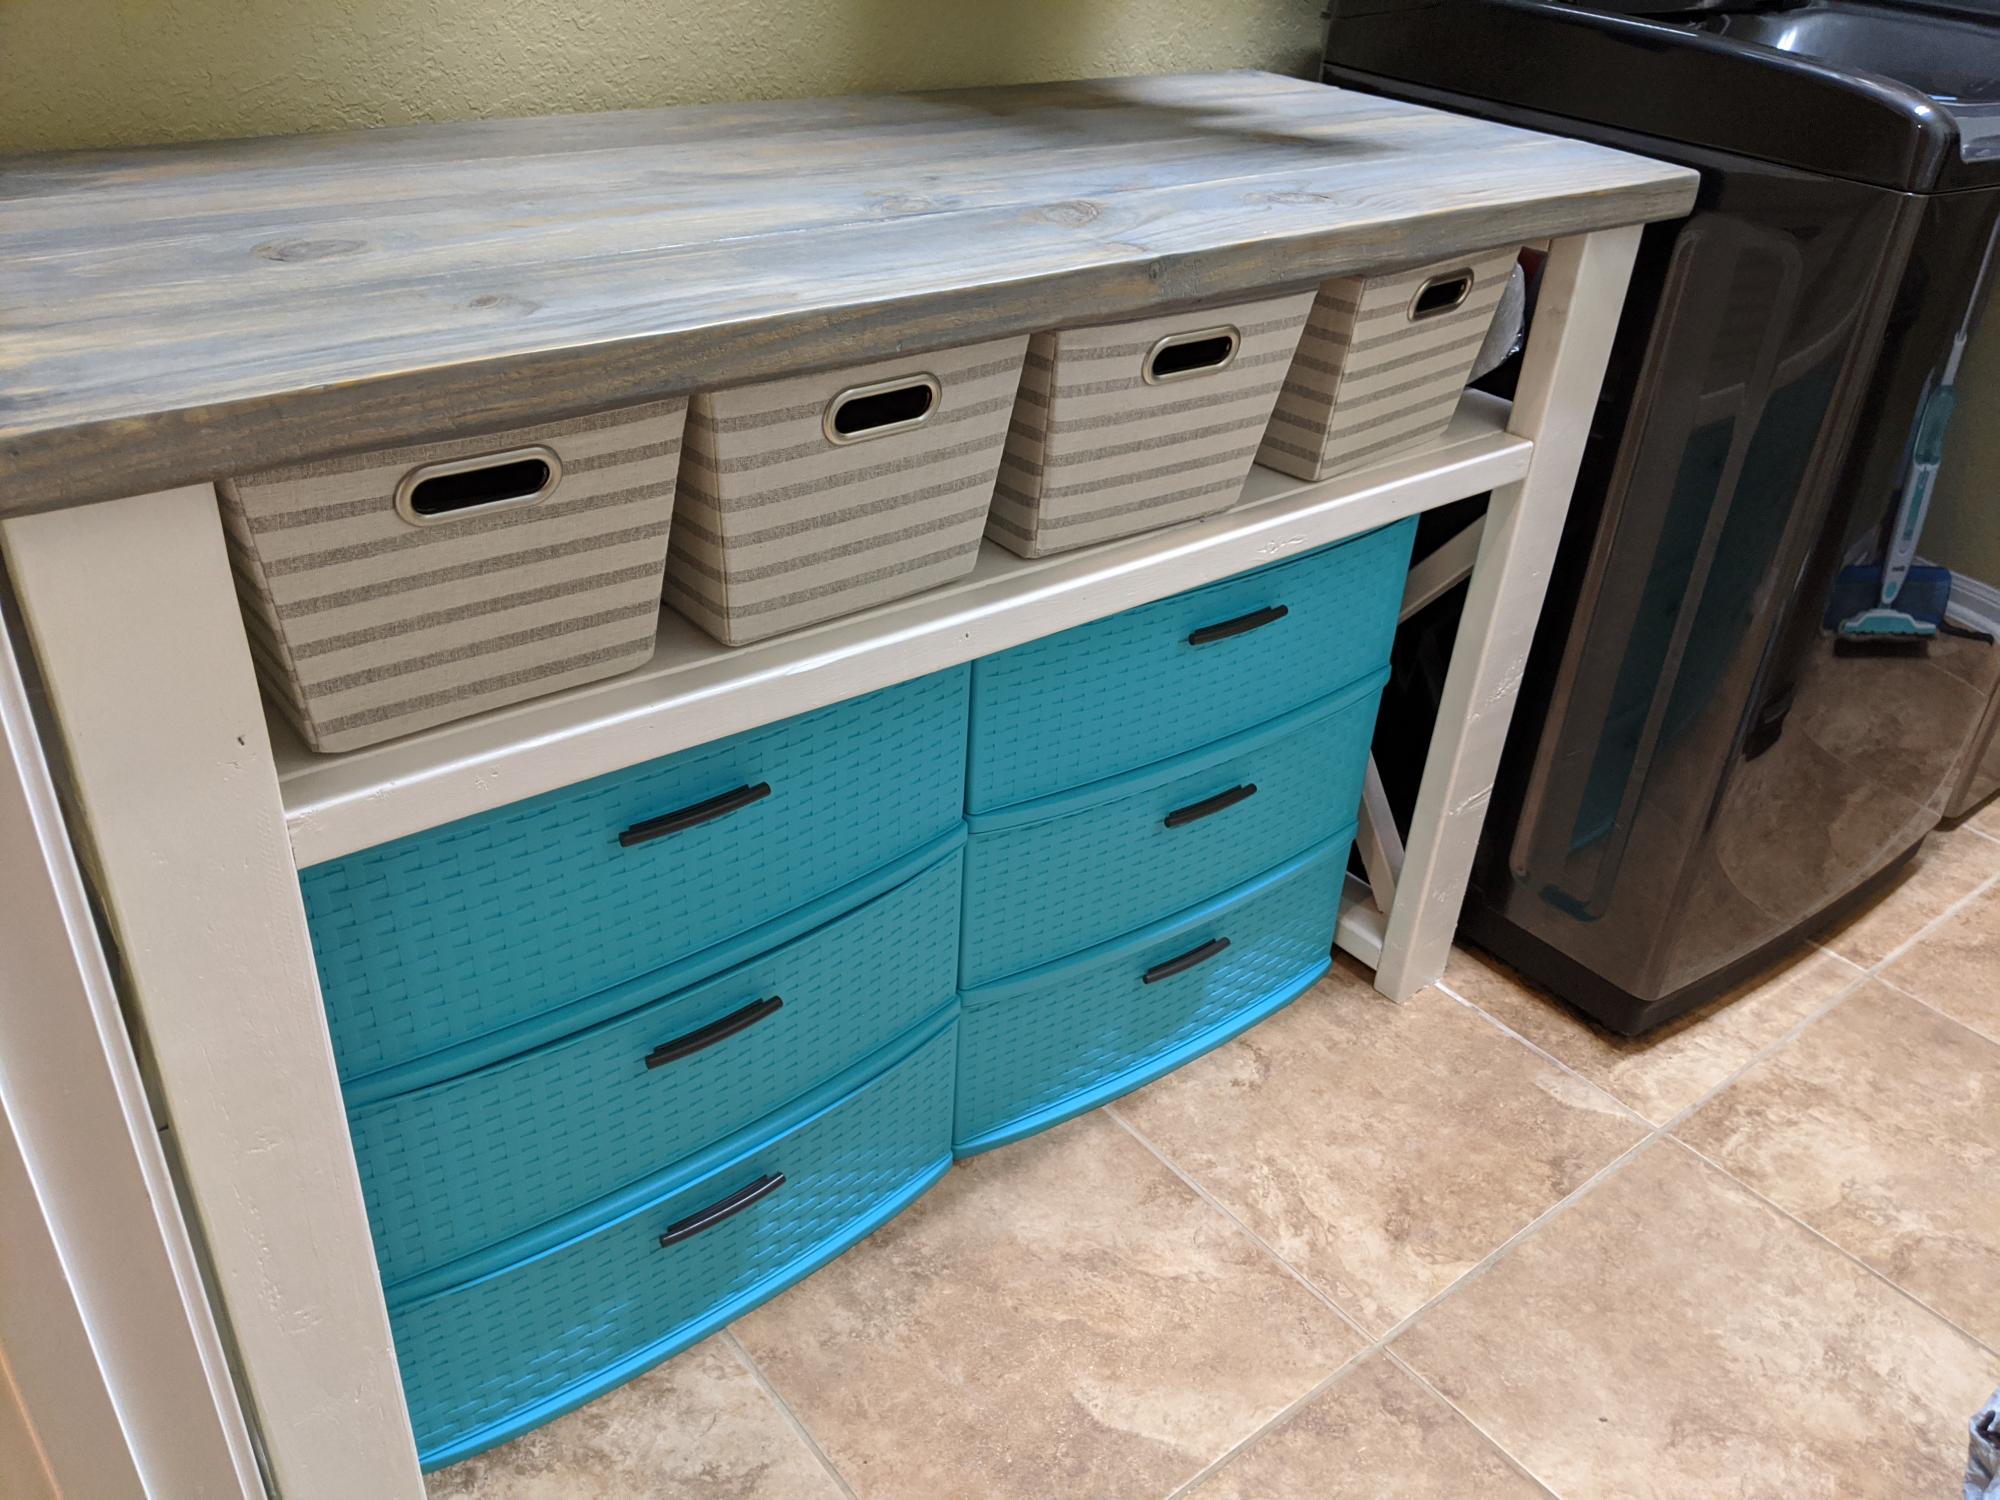
Laundry Room Table

Submitted by TX Shaun on Wed, 07/01/2020 - 21:05

I modified the plans for the farmhouse console table to create a laundry room table. I changed the shelf height and used 2x4s running the entire length for the shelf.

Built from Plan(s)
Estimated Cost
$50
Estimated Time Investment
Afternoon Project (3-6 Hours)
Finish Used
Minwax grey stain and white paint.
Recommended Skill Level
Beginner

Tapered Wood Planter

Submitted by Anonymous (not verified) on Wed, 04/24/2024 - 10:53

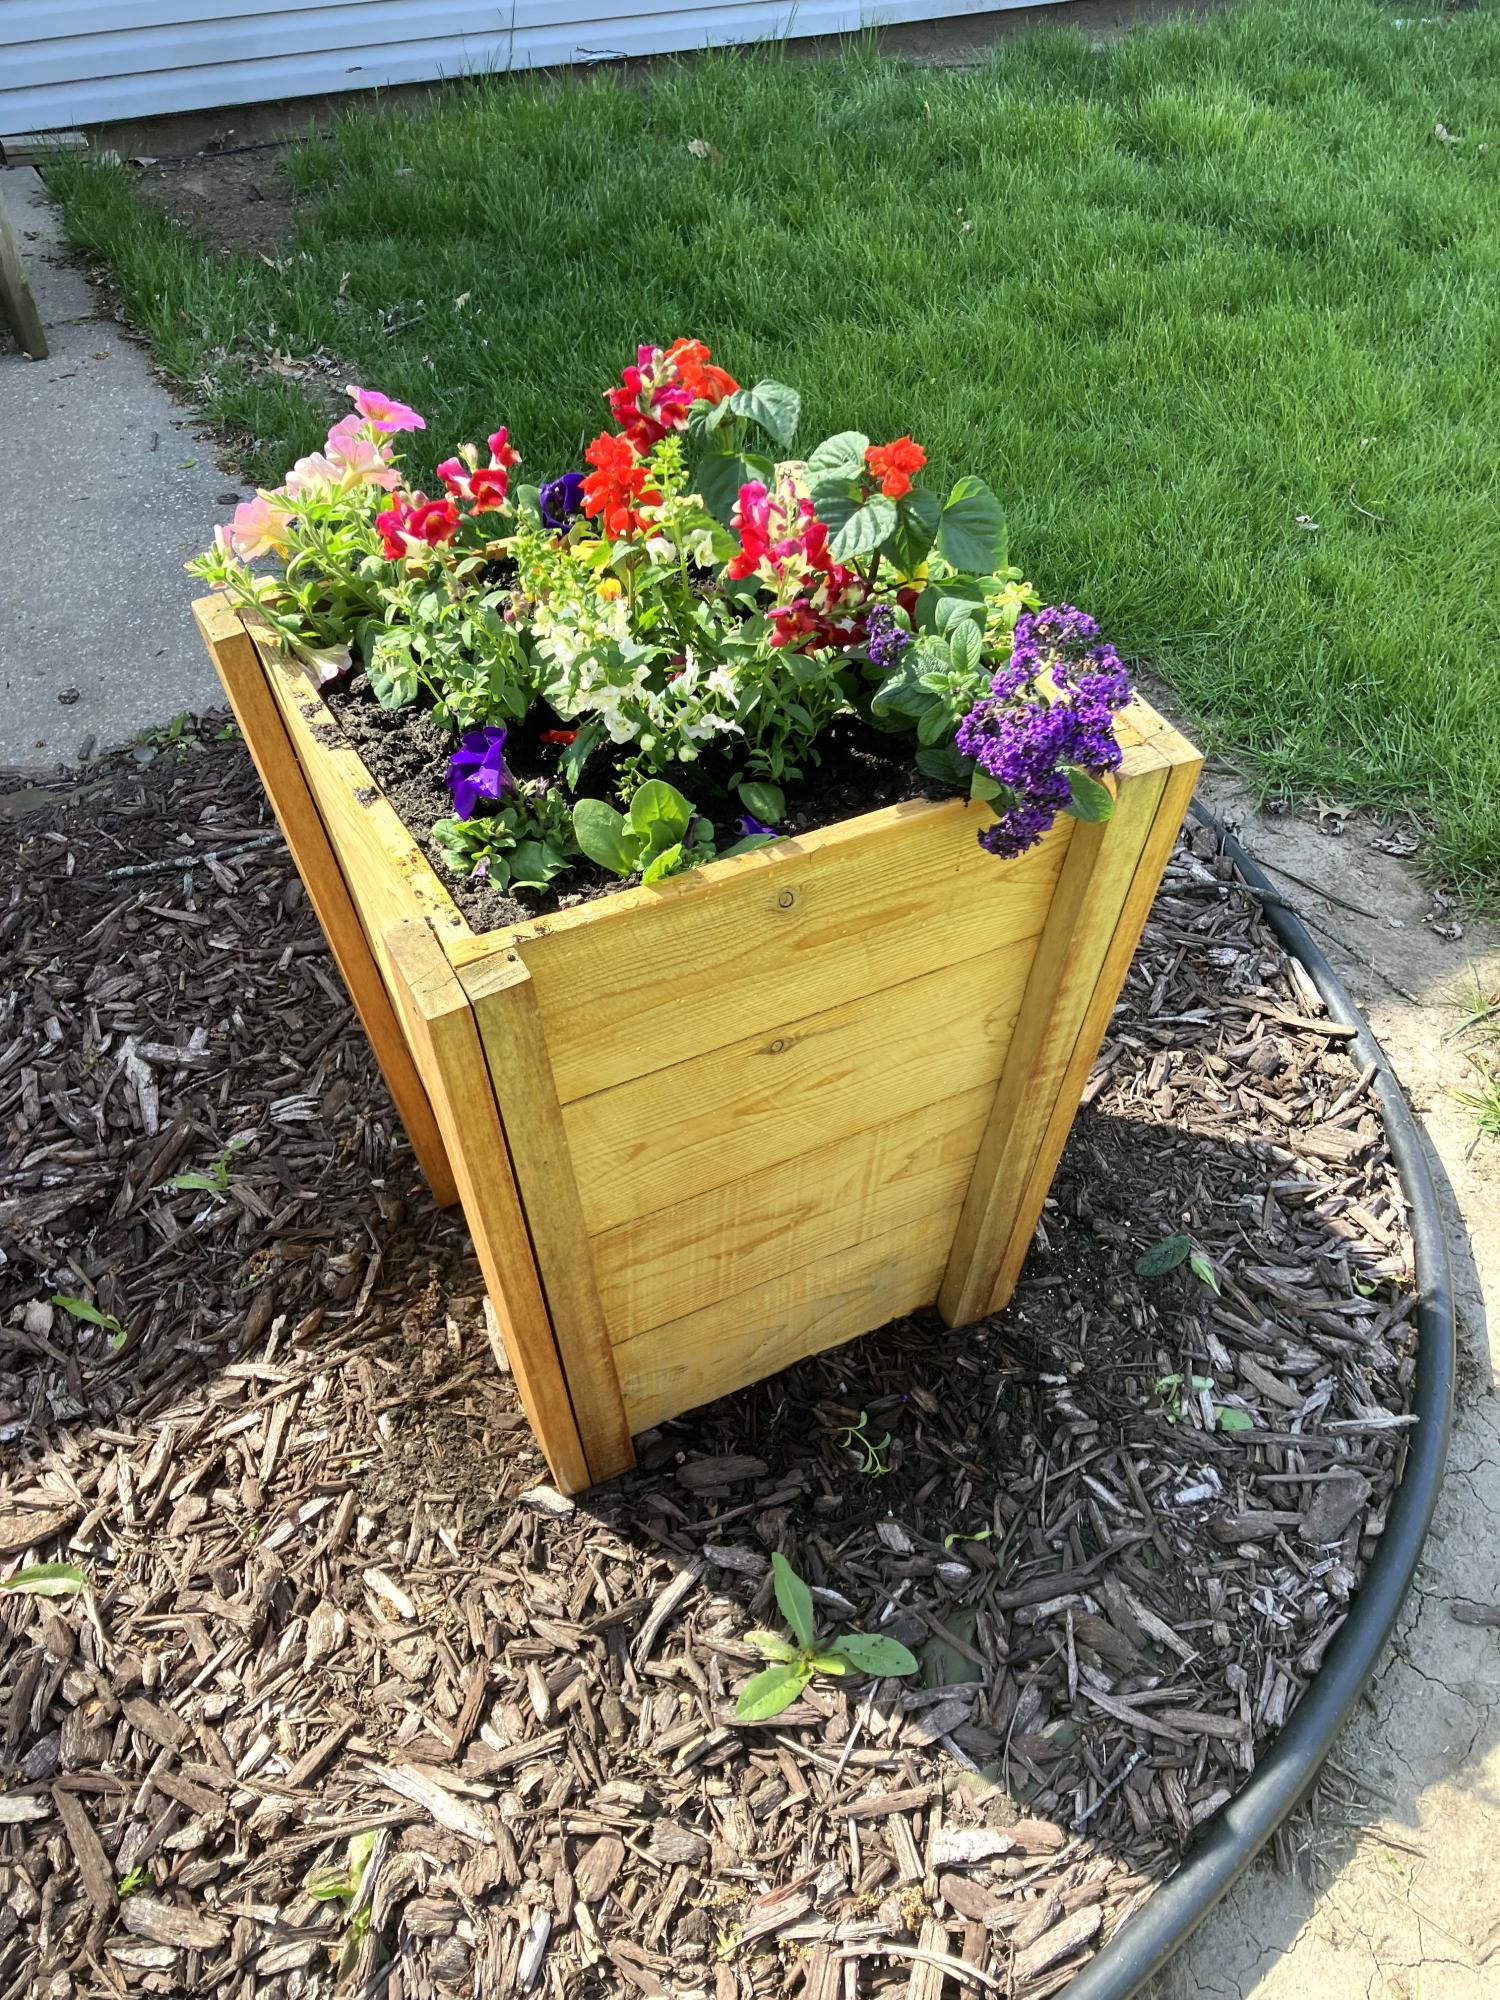
Made this for our patio area very fun build, my wife loves it so of course she wants another one! Back to the wood stove.

Blair K

Built from Plan(s)

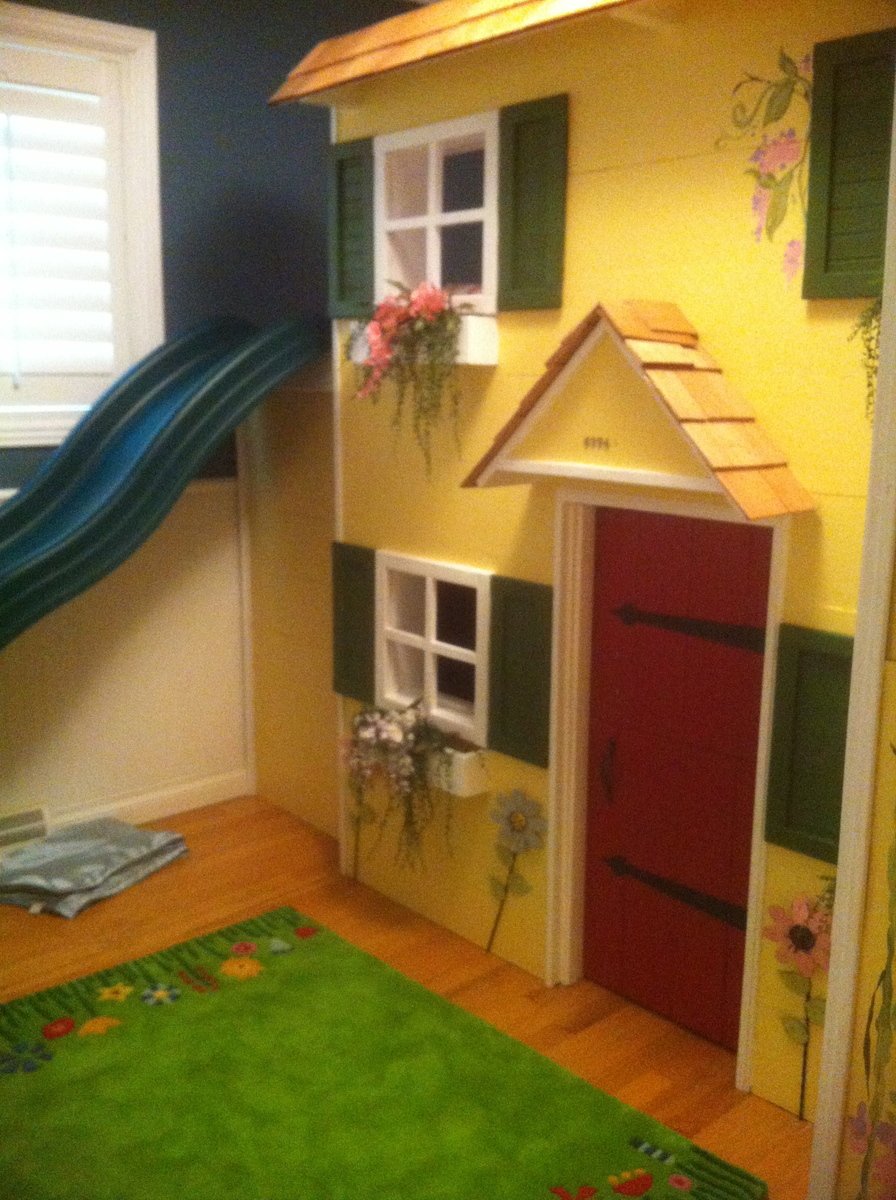
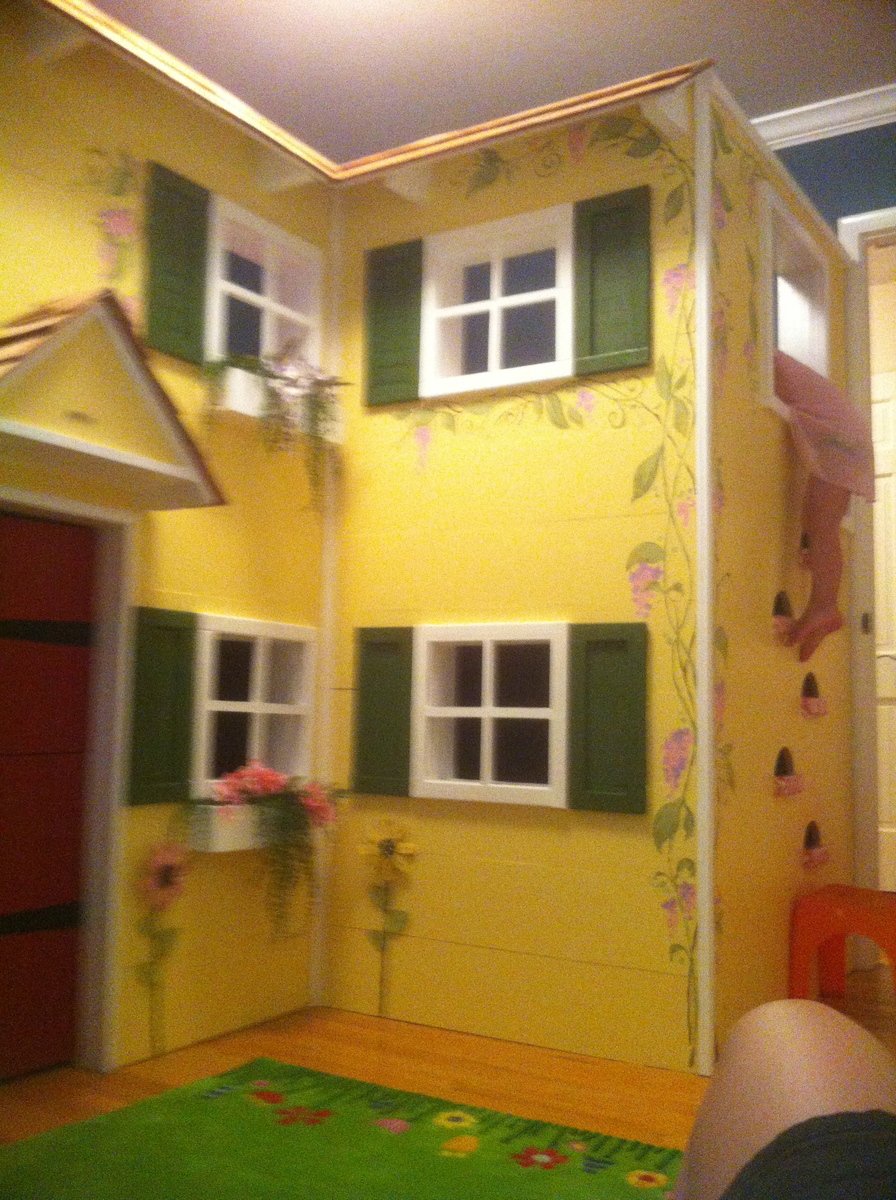
playhouse loft bed

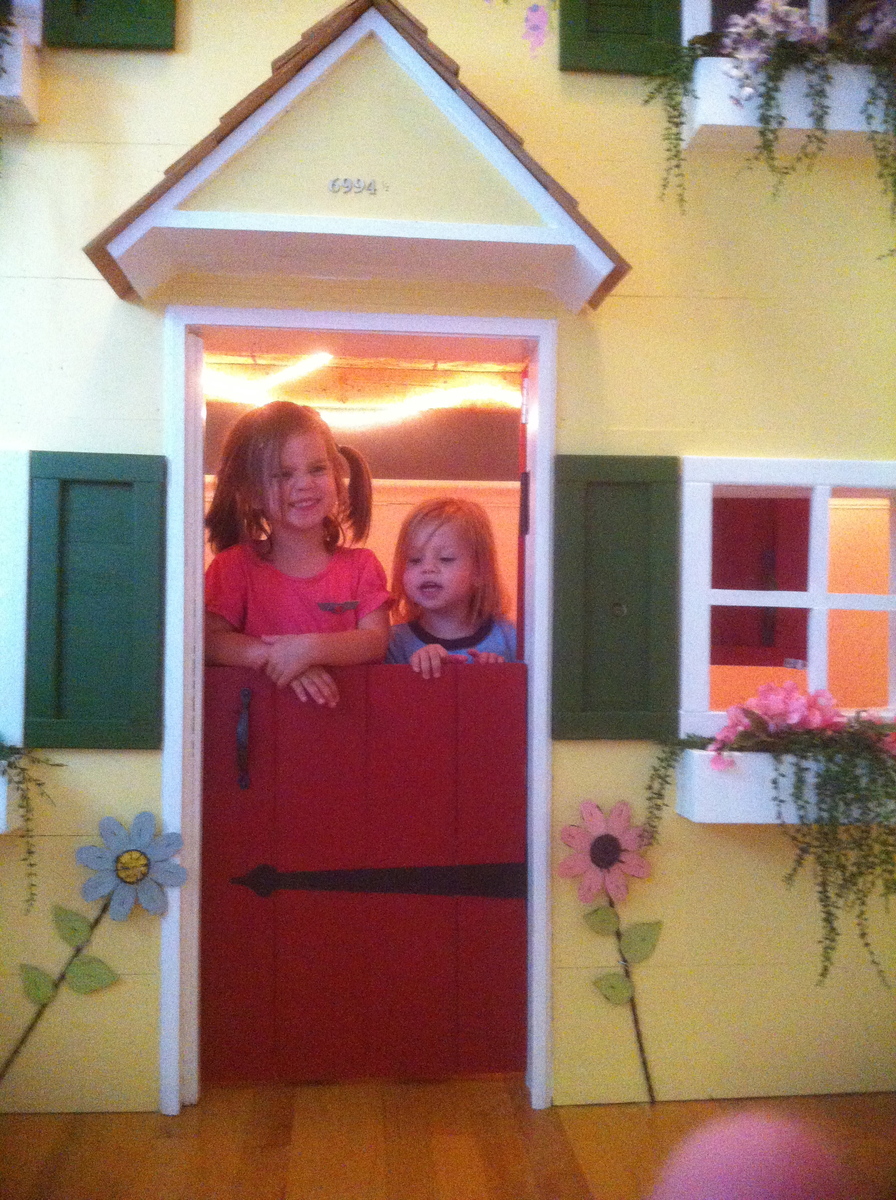
I started with the castle bed idea and it eventually evolved into this. It was very simple construction. I basically built 3 wall panels and screwed them together. I used 1x8 for the wall paneling. Then I attached 2x4 horizontally to the studs on the wall and the wall panels to support the plywood I put down to hold their mattresses. It's been a big hit. I added a doorbell and a mailbox, too.

Estimated Cost
$600
Estimated Time Investment
Week Long Project (20 Hours or More)
Finish Used
satin finish paint
Recommended Skill Level
Intermediate

Comments

abbpim

Sun, 09/16/2012 - 08:37

I've showed my kids every single bed plan and brag on here and yours is the only one they both agree on! So it looks like I'll be busy for a while!

adamdbrown

Sun, 07/12/2015 - 15:26

I am looking to build a modified version of your awesome bed/playhouse! I have 2 kids, and will essentially be making a duplex. Is there any chance you have schematics? Thank you!

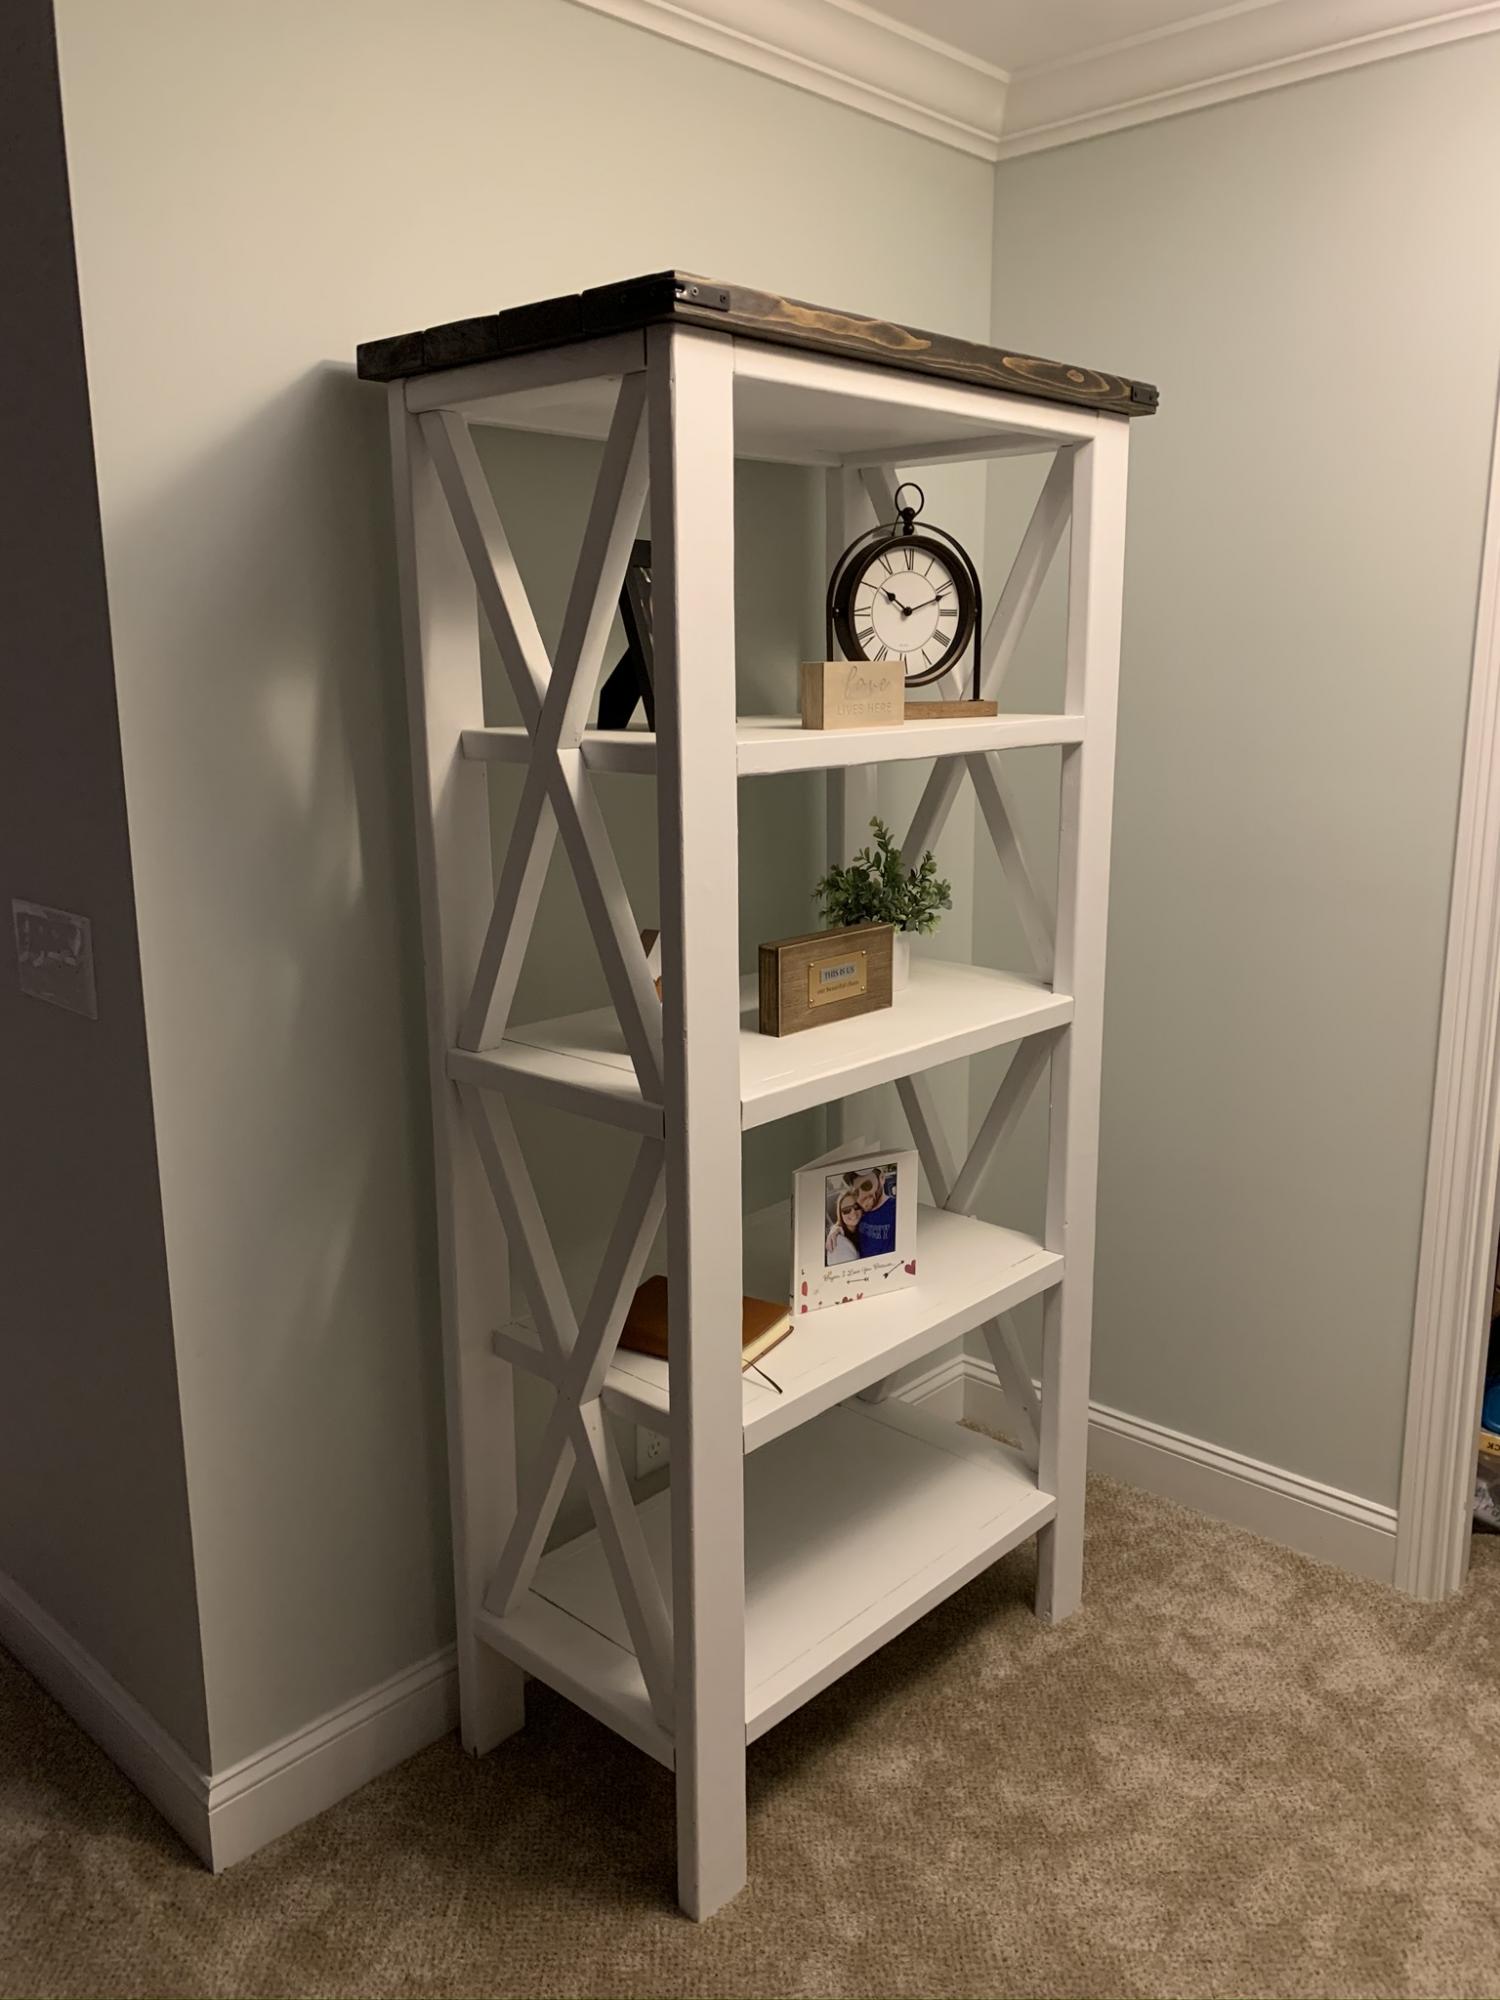
Rustic X Bookshelf

Submitted by boneill on Thu, 07/09/2020 - 04:31

Added a 2x6 stained top to the bookshelf to add accent .

Built from Plan(s)
Estimated Cost
$110
Estimated Time Investment
Day Project (6-9 Hours)
Finish Used
Minwax dark walnut , satin poly Minwax quick dry, satin white paint
Recommended Skill Level
Intermediate

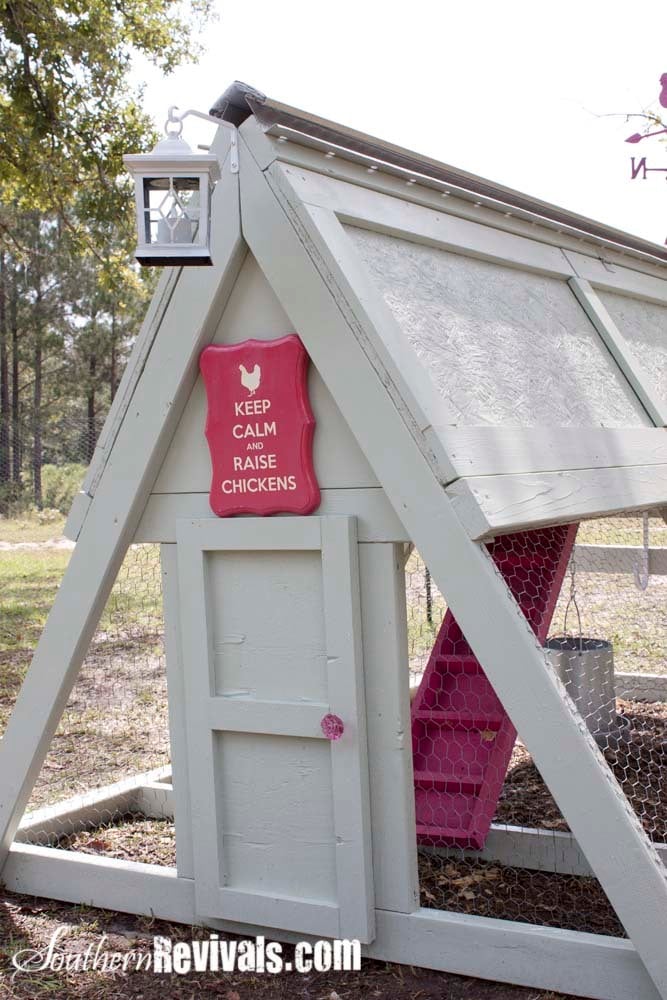
A-Frame Chicken Coop

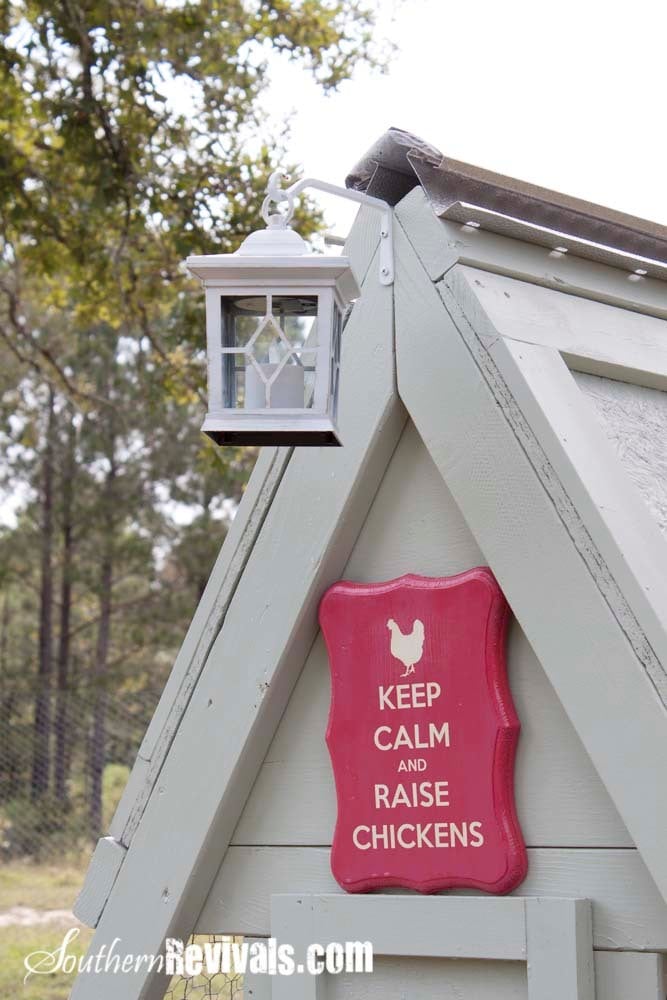
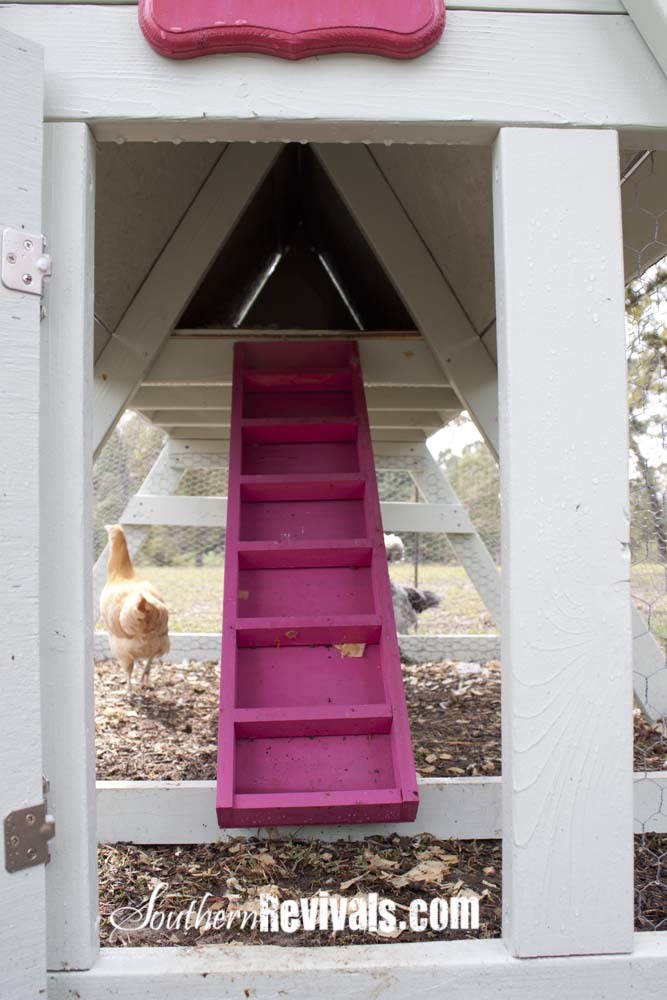
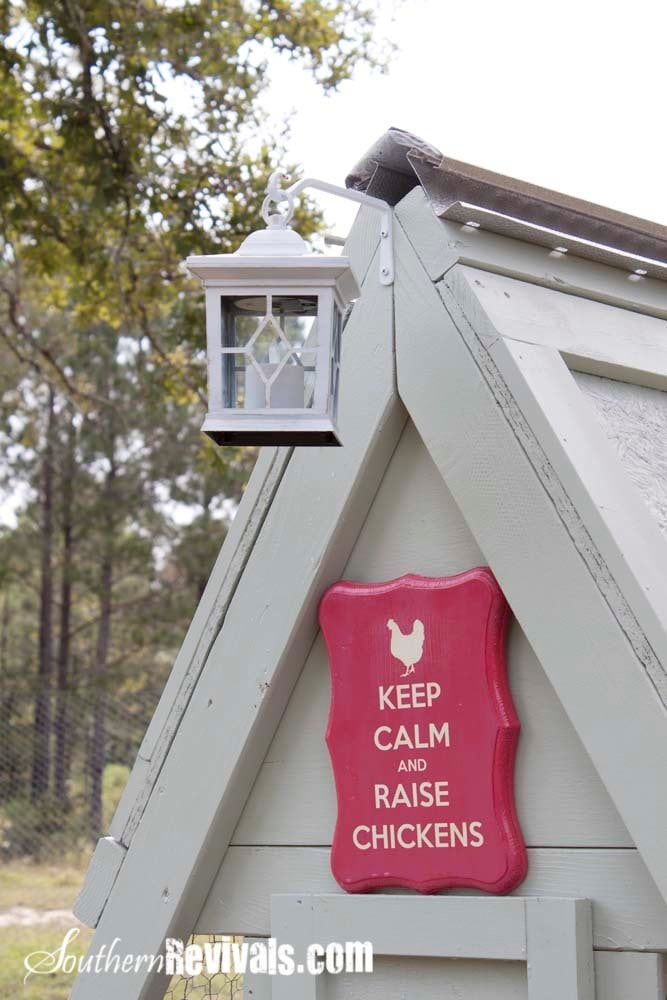
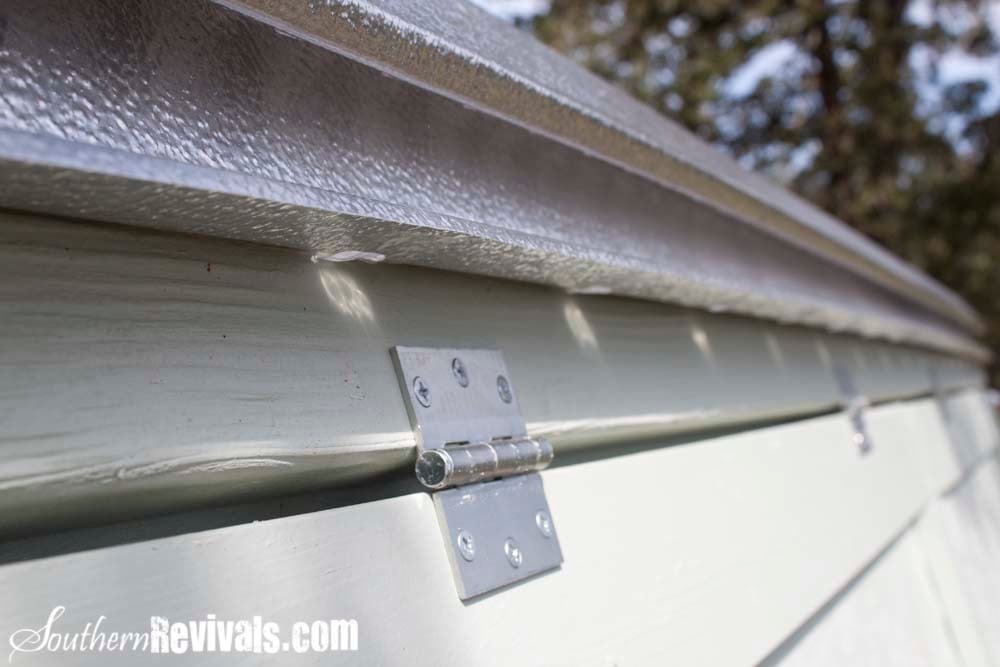
We took Ana's original coop plans and diva'd it up a bit to suit our needs and our climate. We added a pop door and decided to split the roof panels into four, three of which open up. We put the hinges on the top of the roof panels so we could easily prop them open. We also added a brace across the bottom of our ladder for support. Since we added a door I believe our ladder is a bit more steep than in the original plans.

Because we put our hinges on top we added lattice strips inside on the top of the door panels that go just under the 2x4 of the roof peak to keep the rain out. We also used a roof cap for the same reason. We went back and added silicone to the strategic places to prevent water leaking into the nesting box while also being careful not to affect the necessary ventilation.

We used OSB for our roof panels instead of T111 because it's what we had on hand and also because we were going to be painting it.

Finally I added handles to each of the hinged panels to make opening easy. And cute!

Built from Plan(s)
Estimated Time Investment
Weekend Project (10-20 Hours)
Finish Used
I used a no VOC exterior paint from Valspar (green) that I found in the mistinted section at Lowe's. The pink (ladder) is Very Berry by Valspar and is not an exterior paint.
Recommended Skill Level
Intermediate

Comments

anniejw17

Wed, 02/27/2013 - 11:11

Love your coop! It's so cute! I need to find a weather vane. We ended up adding a roof cap of sorts - just aluminum flashing really. It does still leak in the nest box, though, which just encourages me to change out the bedding for fresh straw, which is a good thing I guess!

Southern Revivals

Wed, 02/27/2013 - 13:24

Yes mine leaked, too. We added the roof cap and some silicone but that still didn't stop it. So I finally went in and added some screen molding behind the panels in the nesting box. It still isn't quite "leak proof" but it is better. I will share if I figure out how to make it leak proof! Thank You!

billd333

Mon, 01/13/2014 - 09:45

These were great plans, thanks for sharing!
I'm new to having chickens so since it's cold now is Massachusetts I'm holding off on getting a couple of hens. The 2 main questions I have are where did you end up mounting the roost? And where did you end up putting the nesting box? I only put a floor on half so was thinking the roost board could be suspended above the ground on the open side. That leaves the 1/2 floor to hold the nest box?? Please any comments on the roost, nest box, watering and feeding systems are welcome.
thx..Bill

Southern Revivals

Mon, 01/13/2014 - 10:03

Hi Bill,

I am actually in the process of writing another blog post about this coop. I have gotten so many questions about the modifications we did and have lived with it long enough to know what I would have done differently. You doing the 1/2 is great and is one of the things I would do differently if we had it to do over again.

I will post an update here as soon as that post is live. In the meantime, feel free to contact me directly at Jamie @ Southern Revivals.com

Thanks!
Jamie

Farmhouse Table

Submitted by ssshindler on Fri, 11/07/2014 - 05:39

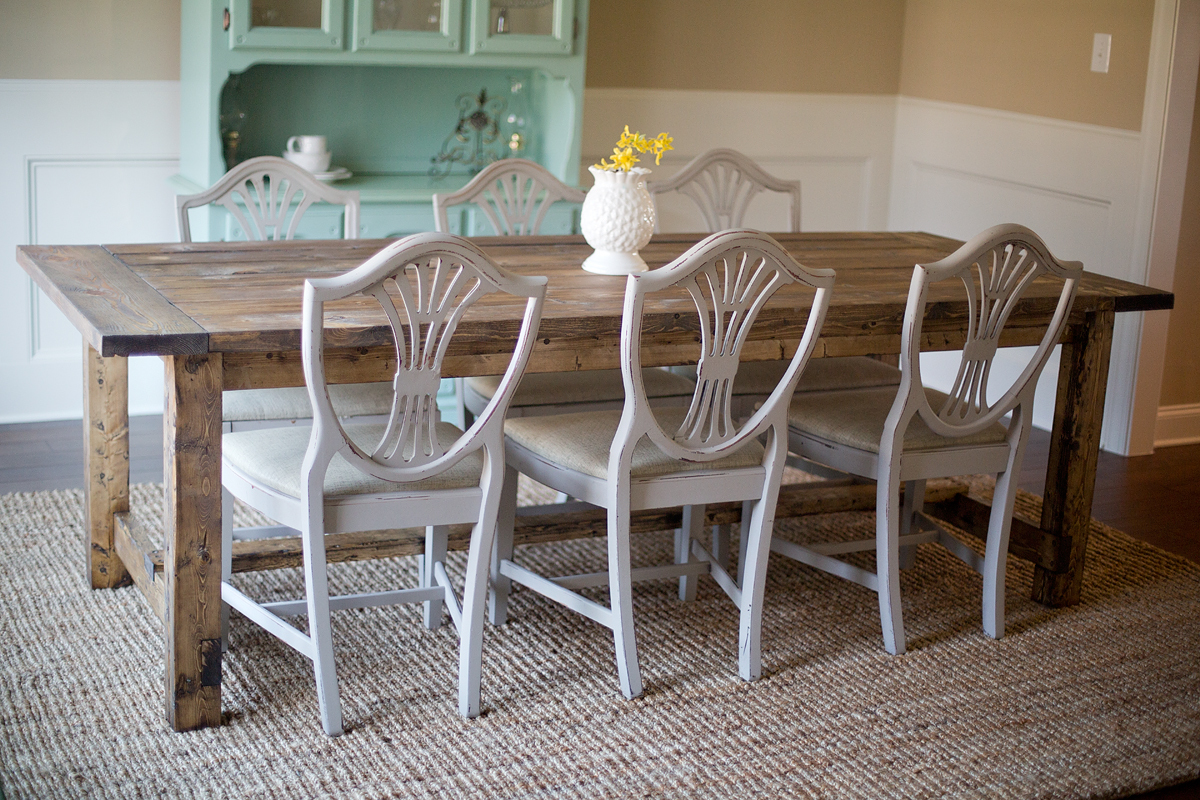
This is my first project and I am thrilled with how it turned out. Thank you Ana, you have empowered this stay at home mom! 

Finish Used
minwax dark walnut stain, polyvore wax varnish
Recommended Skill Level
Starter Project

Comments

sagey

Sun, 11/09/2014 - 18:41

I  love this table sooooooo much .

please explain exactly how you achieved the finish on it > is the wood reclaimed!!!!

sagey

Sun, 11/09/2014 - 18:42

I  love this table sooooooo much .

please explain exactly how you achieved the finish on it > is the wood reclaimed!!!!

Back