Ava's Play Kitchen
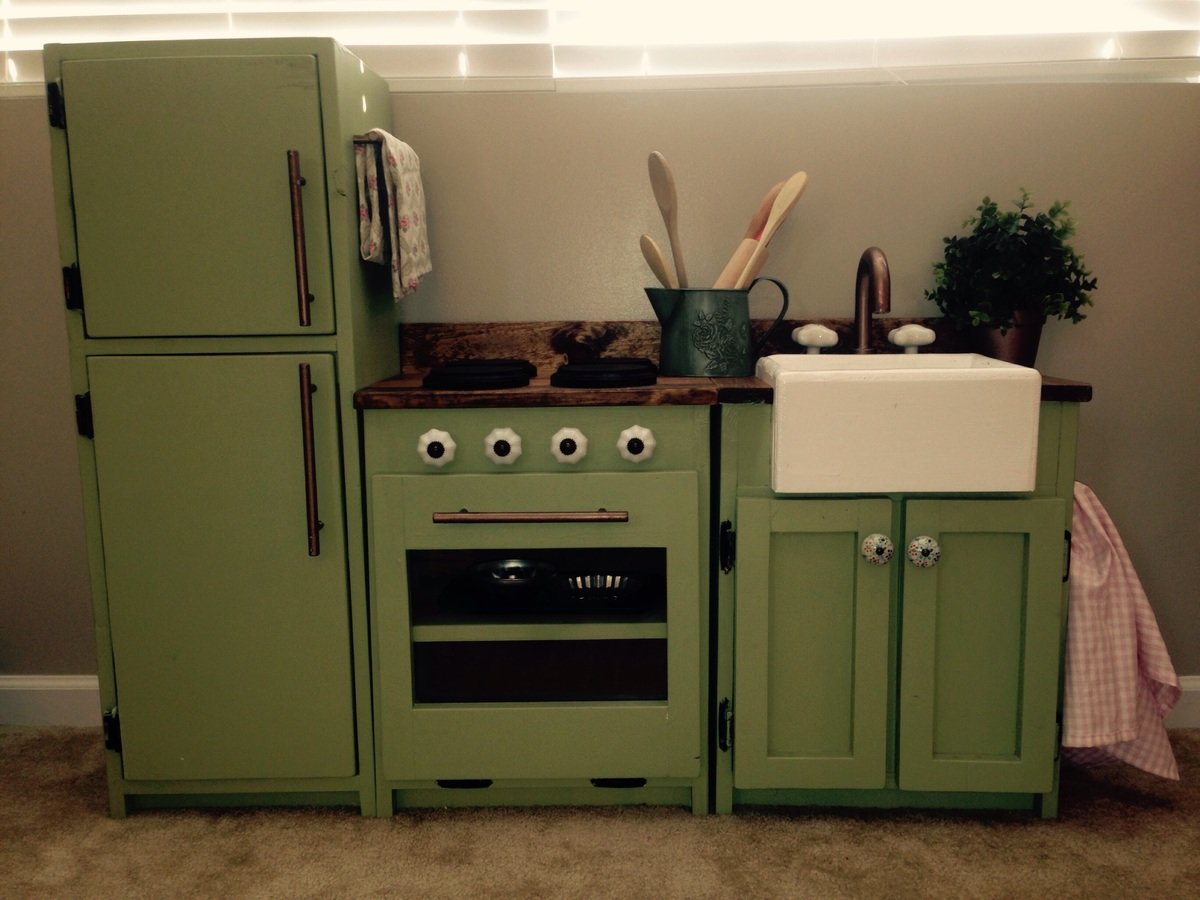
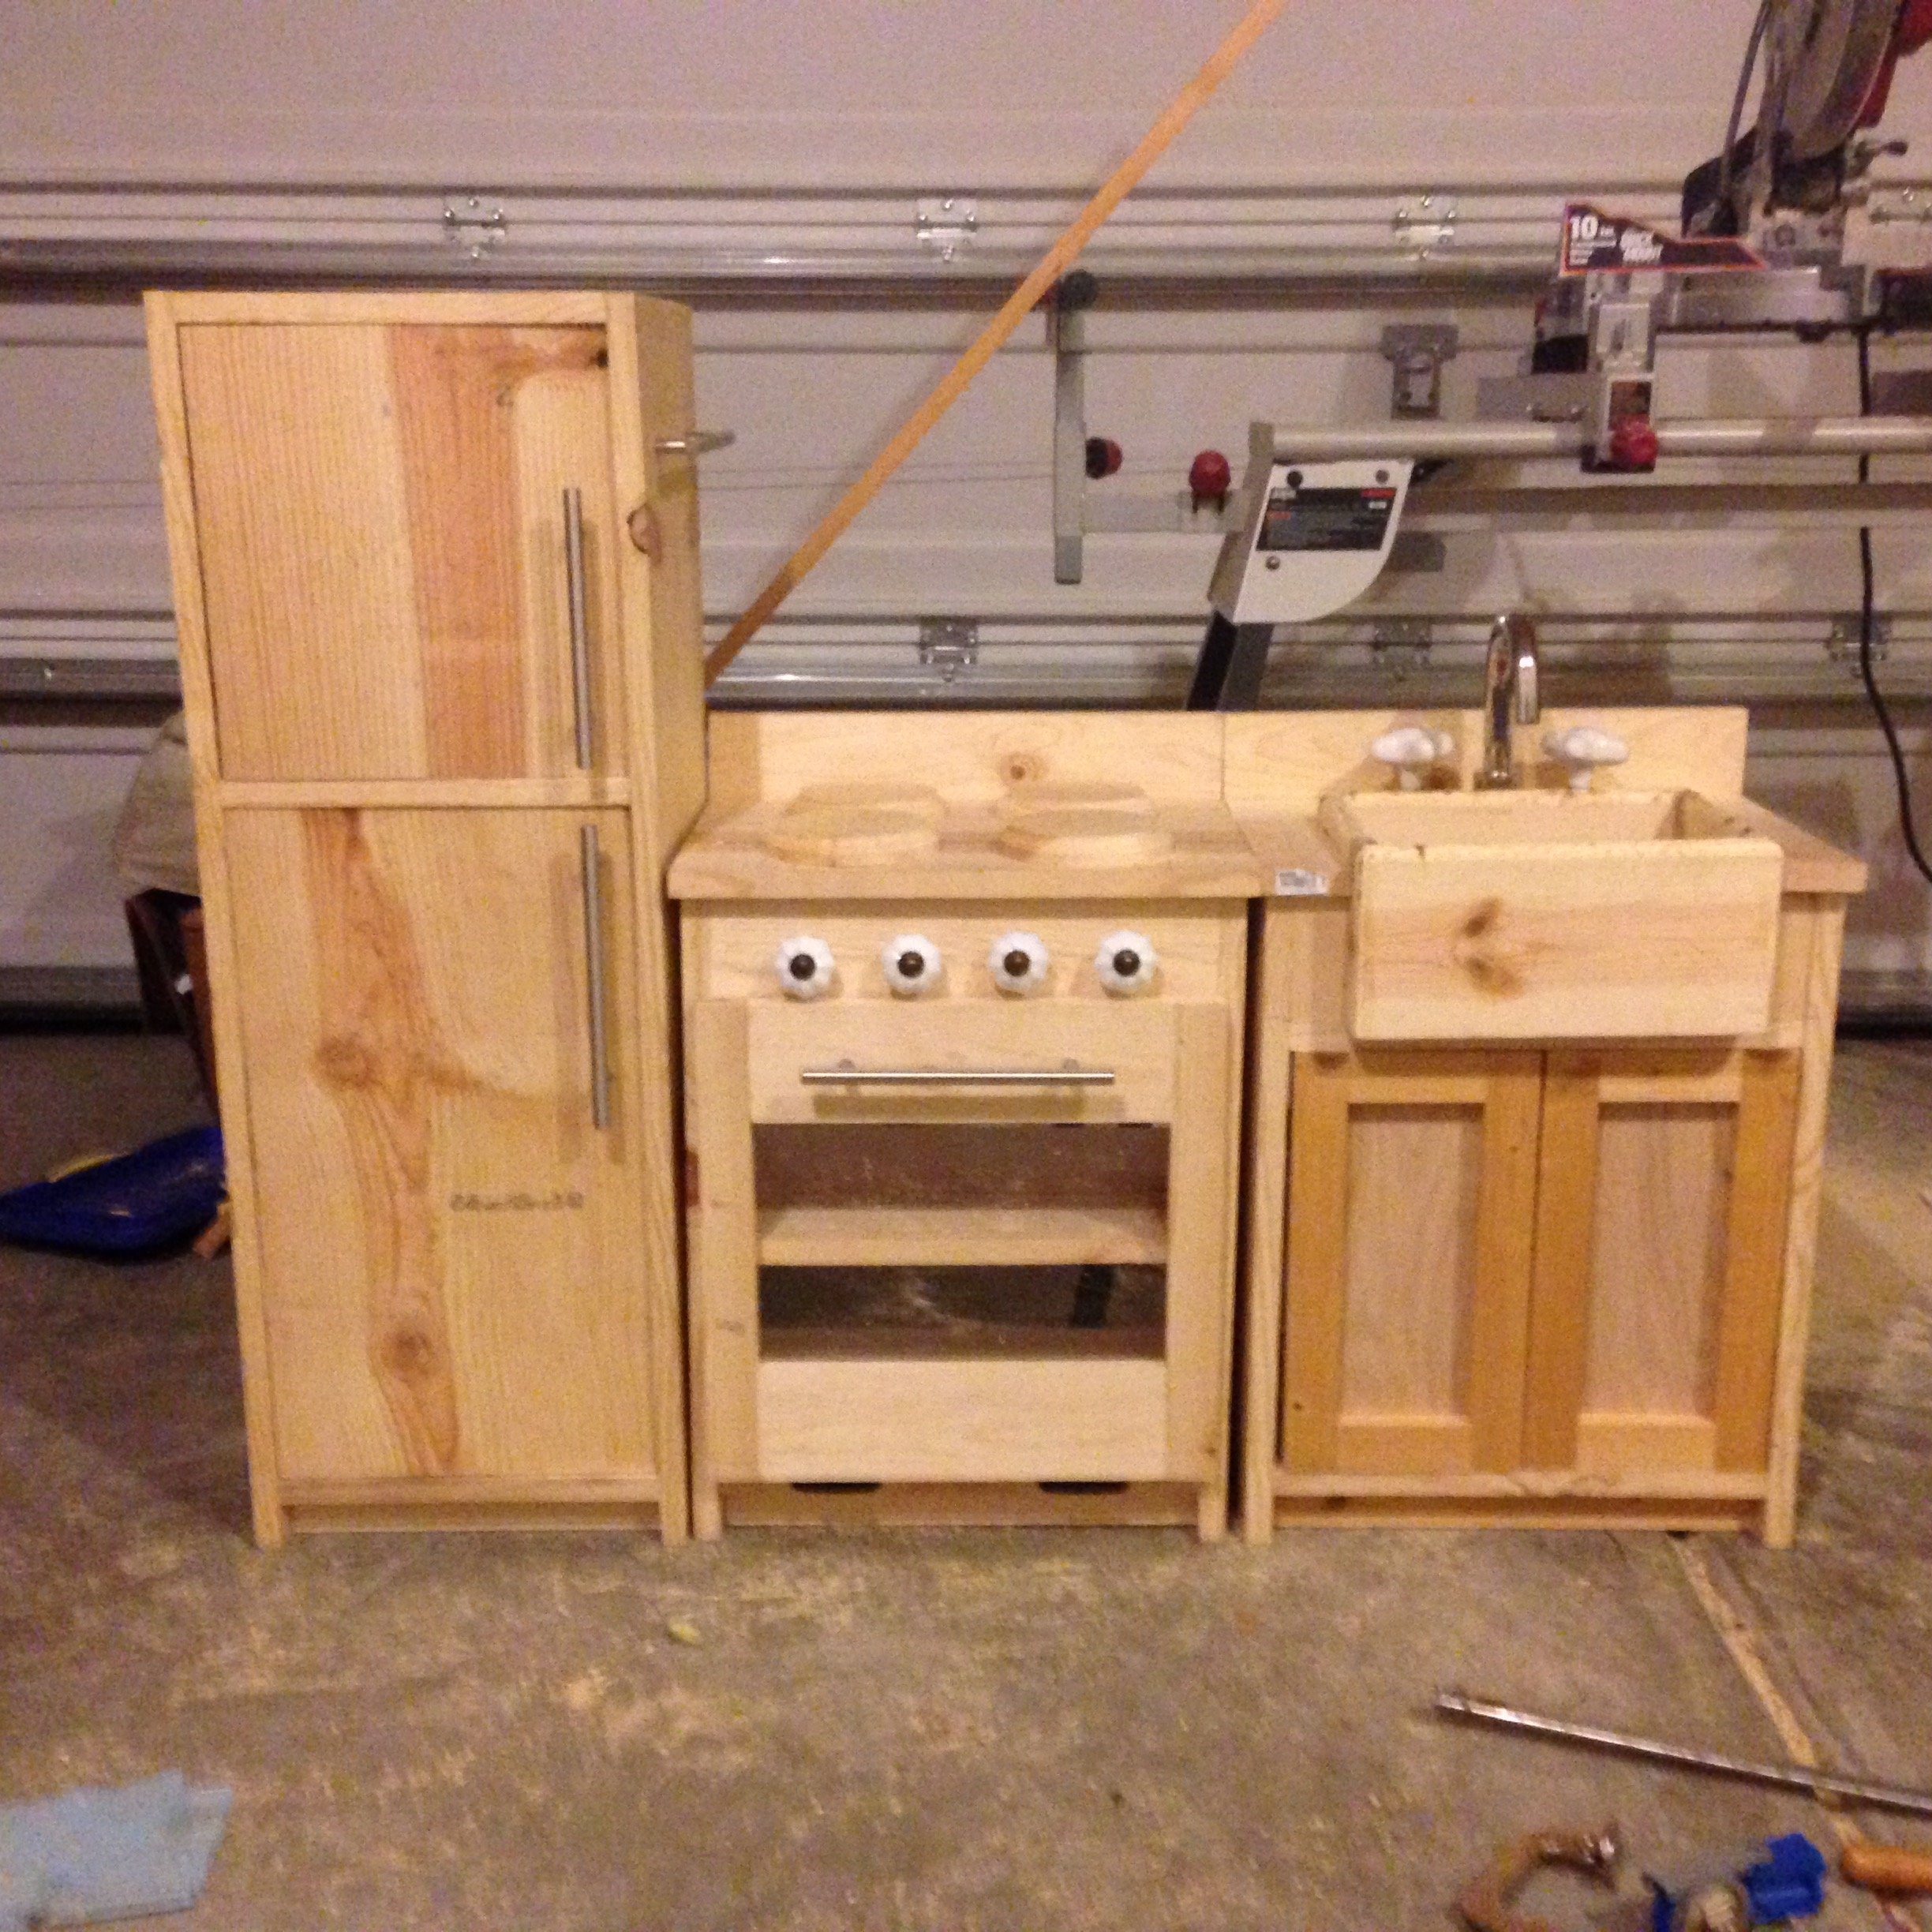
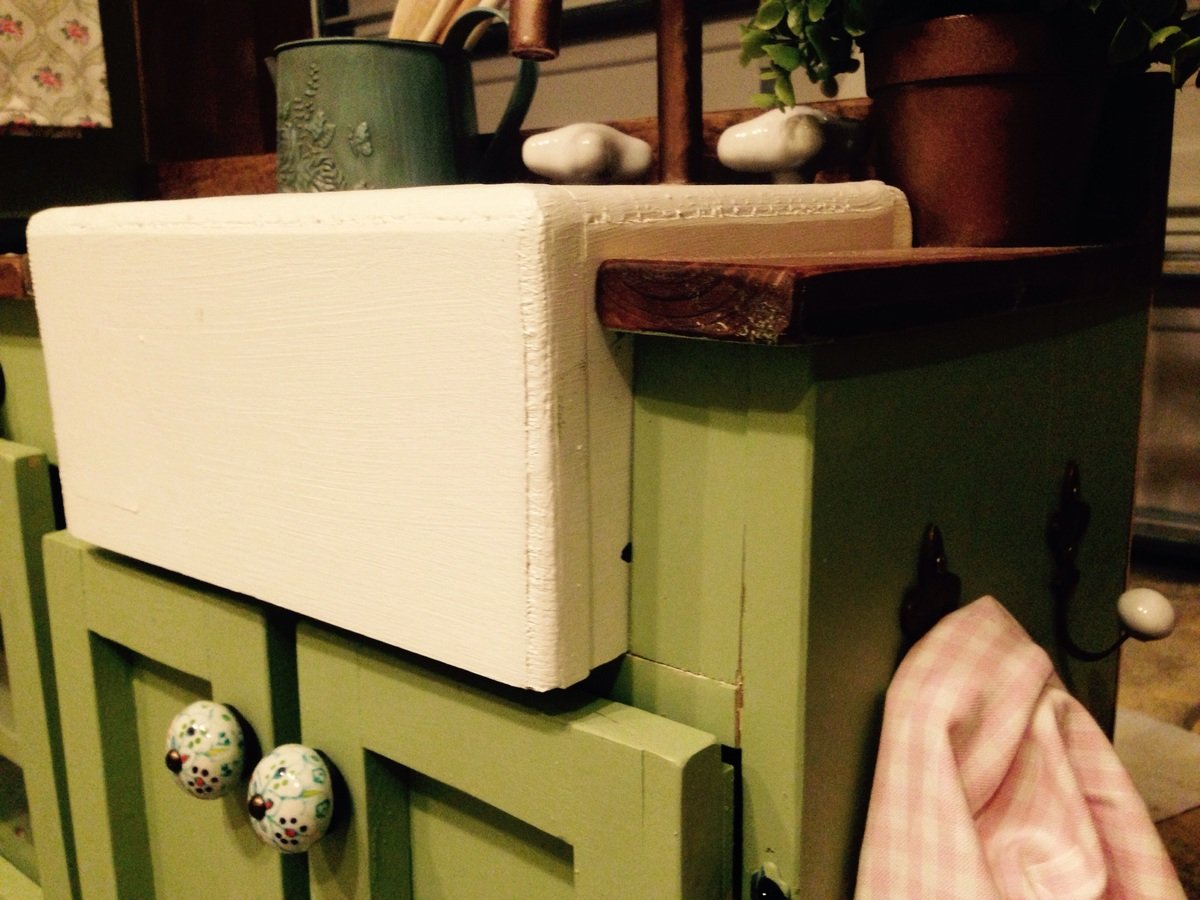
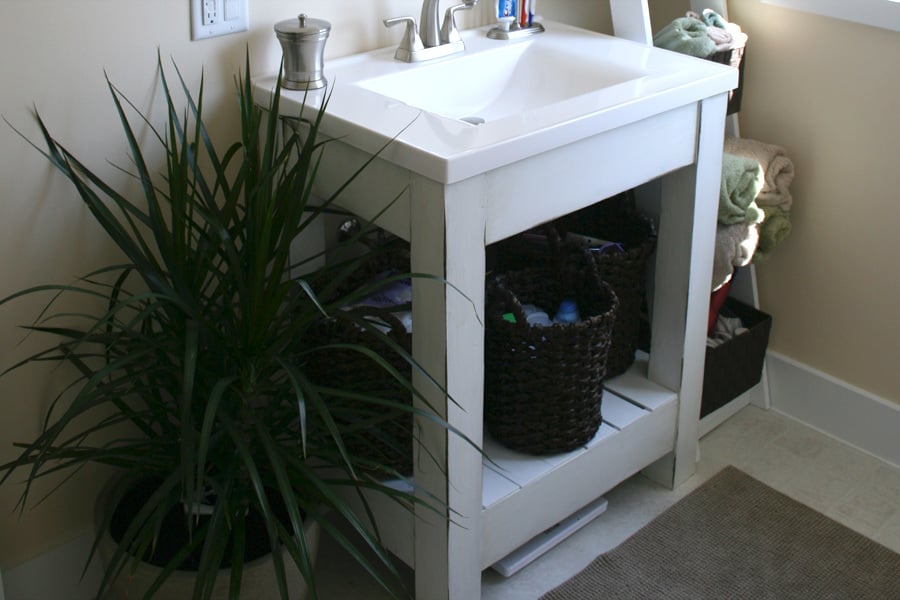
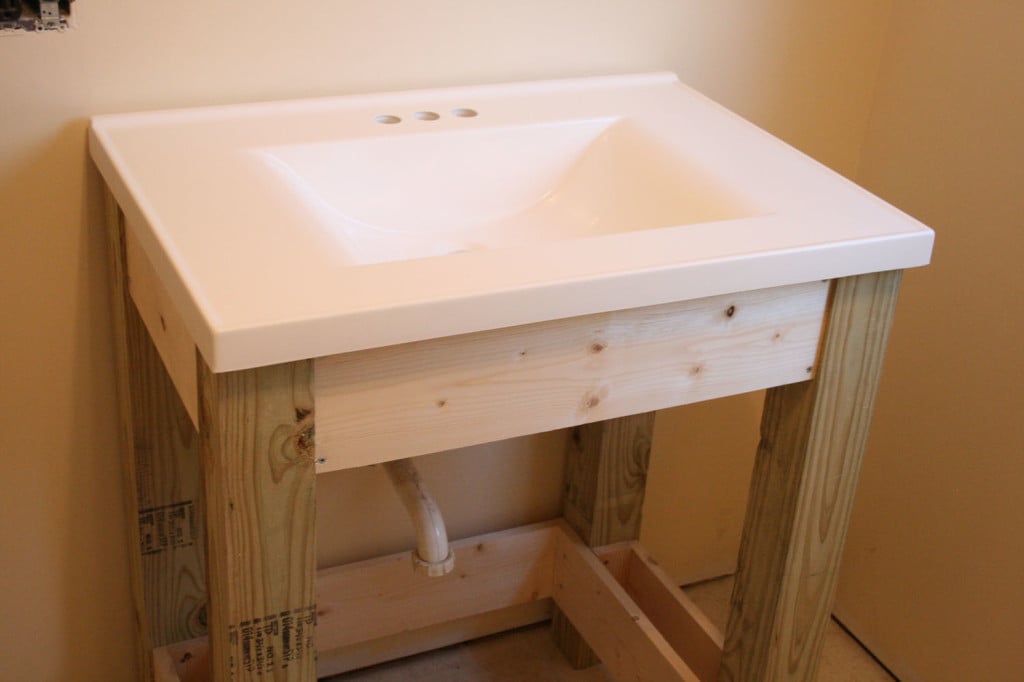
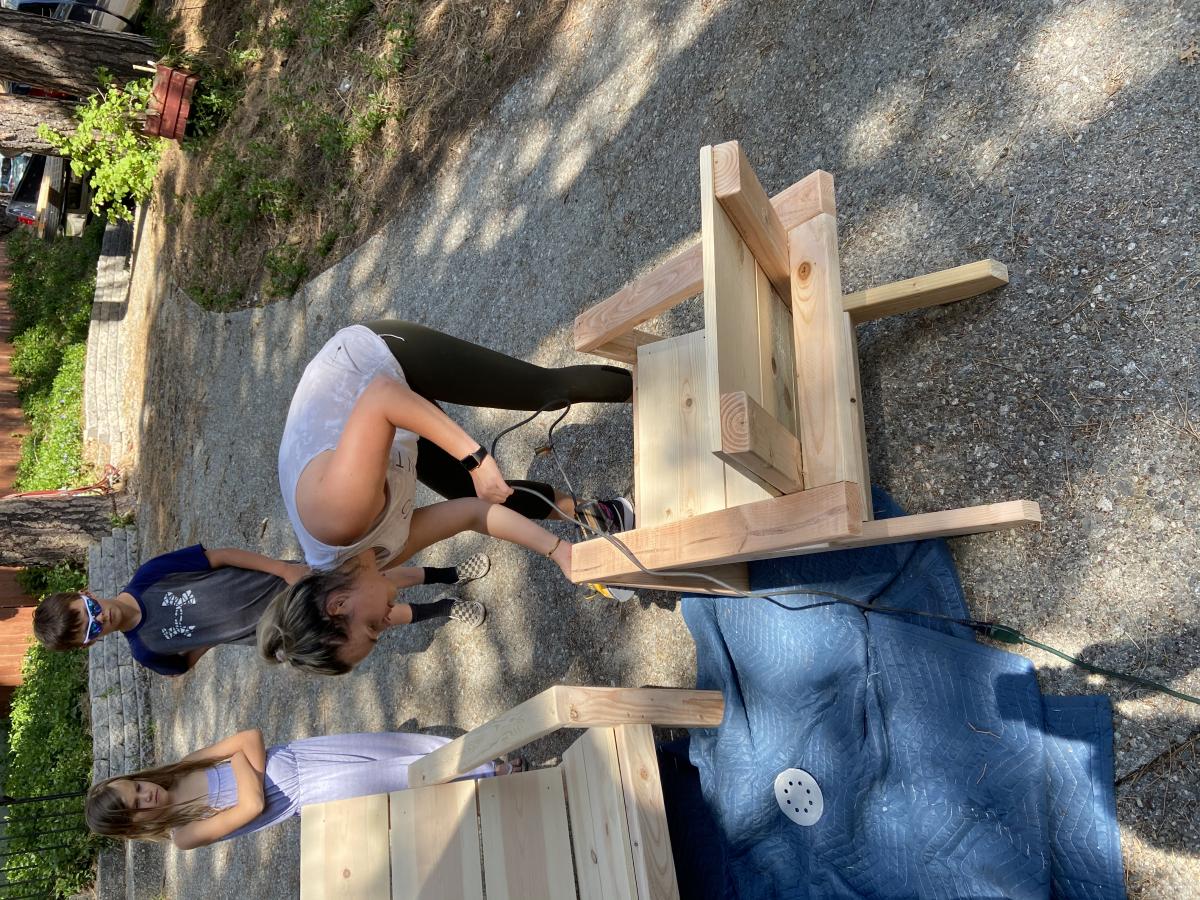
We really wanted to give our 2 year old a play kitchen for Christmas. We also didn't want to spend the money on the likes of the Pottery Barn set, and weweren't sold on the lesser-expensive options. Fortunately, a quick internet search led me to Ana White's website and plans for this play kitchen. As someone who has never built anything before, the plans seemed very doable. All of the brag posts were also inspirational and sold me on starting this project. I worked on this an hour or so after work for a couple of weeks, and then a few longer nights running up to Christmas Eve (always a bit of a procrastinator!). As neither my wife or I know how to sew, we decided to turn the space underneath the sink into a cabinet. The paint color was left over from painting our kitchen and family room, and we decided to stain the stove and counter tops. Overall, we are very pleased and proud with how this turned out, and our 2 year old loves playing with the set!


Comments
JoanneS
Wed, 12/31/2014 - 13:15
Super kitchen!
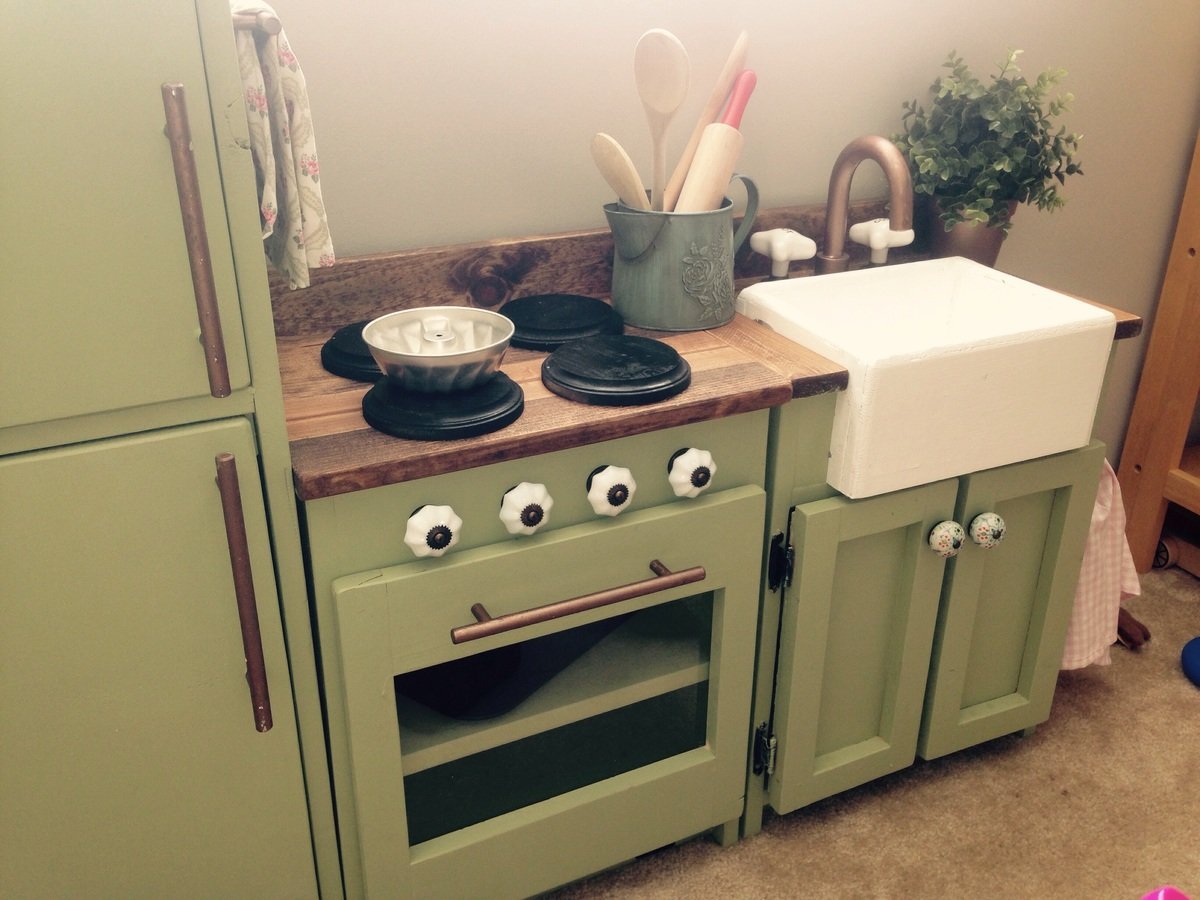
This looks awesome! Love all the details and the green color with the stained counter. Great job!
handmadewithash
Wed, 12/31/2014 - 15:17
This is so adorable. I
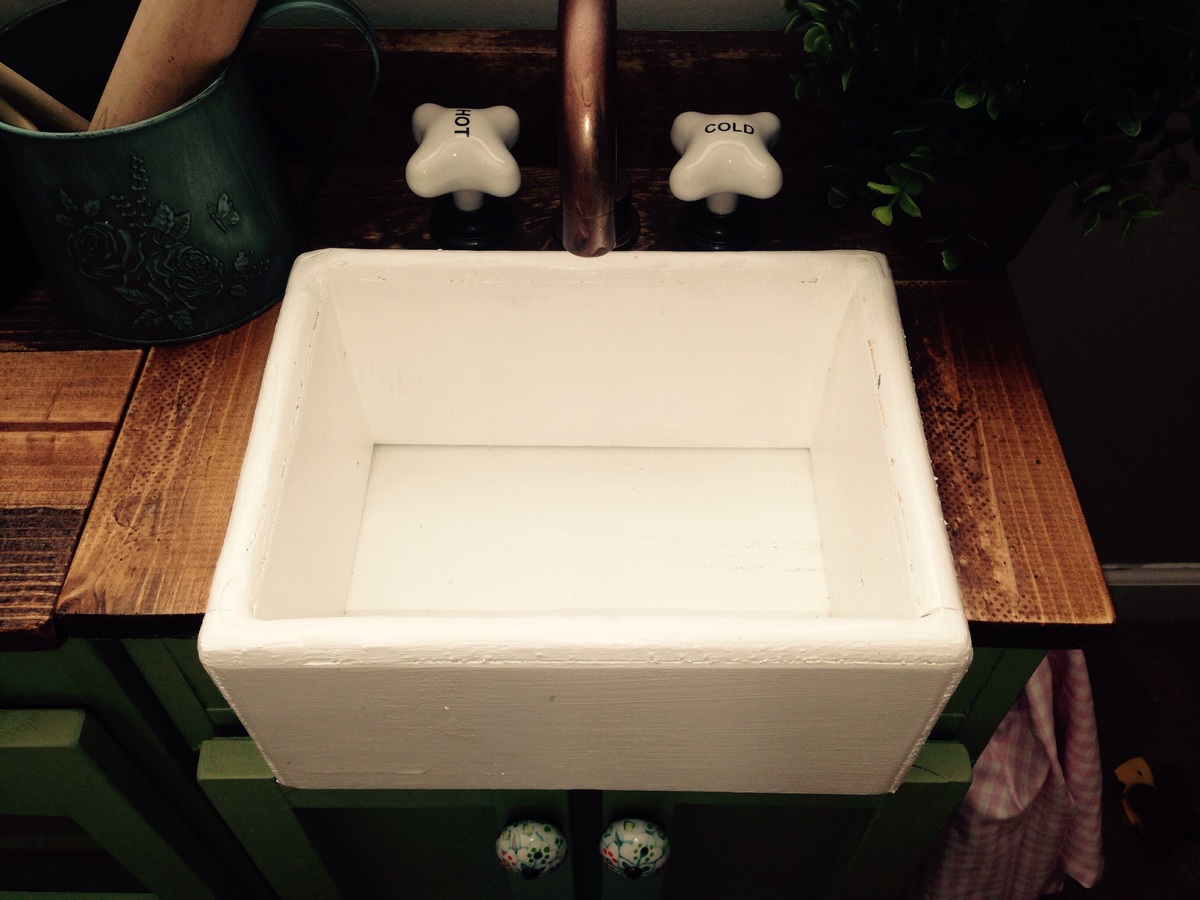
This is so adorable. I especially love the little sink.