Community Brag Posts
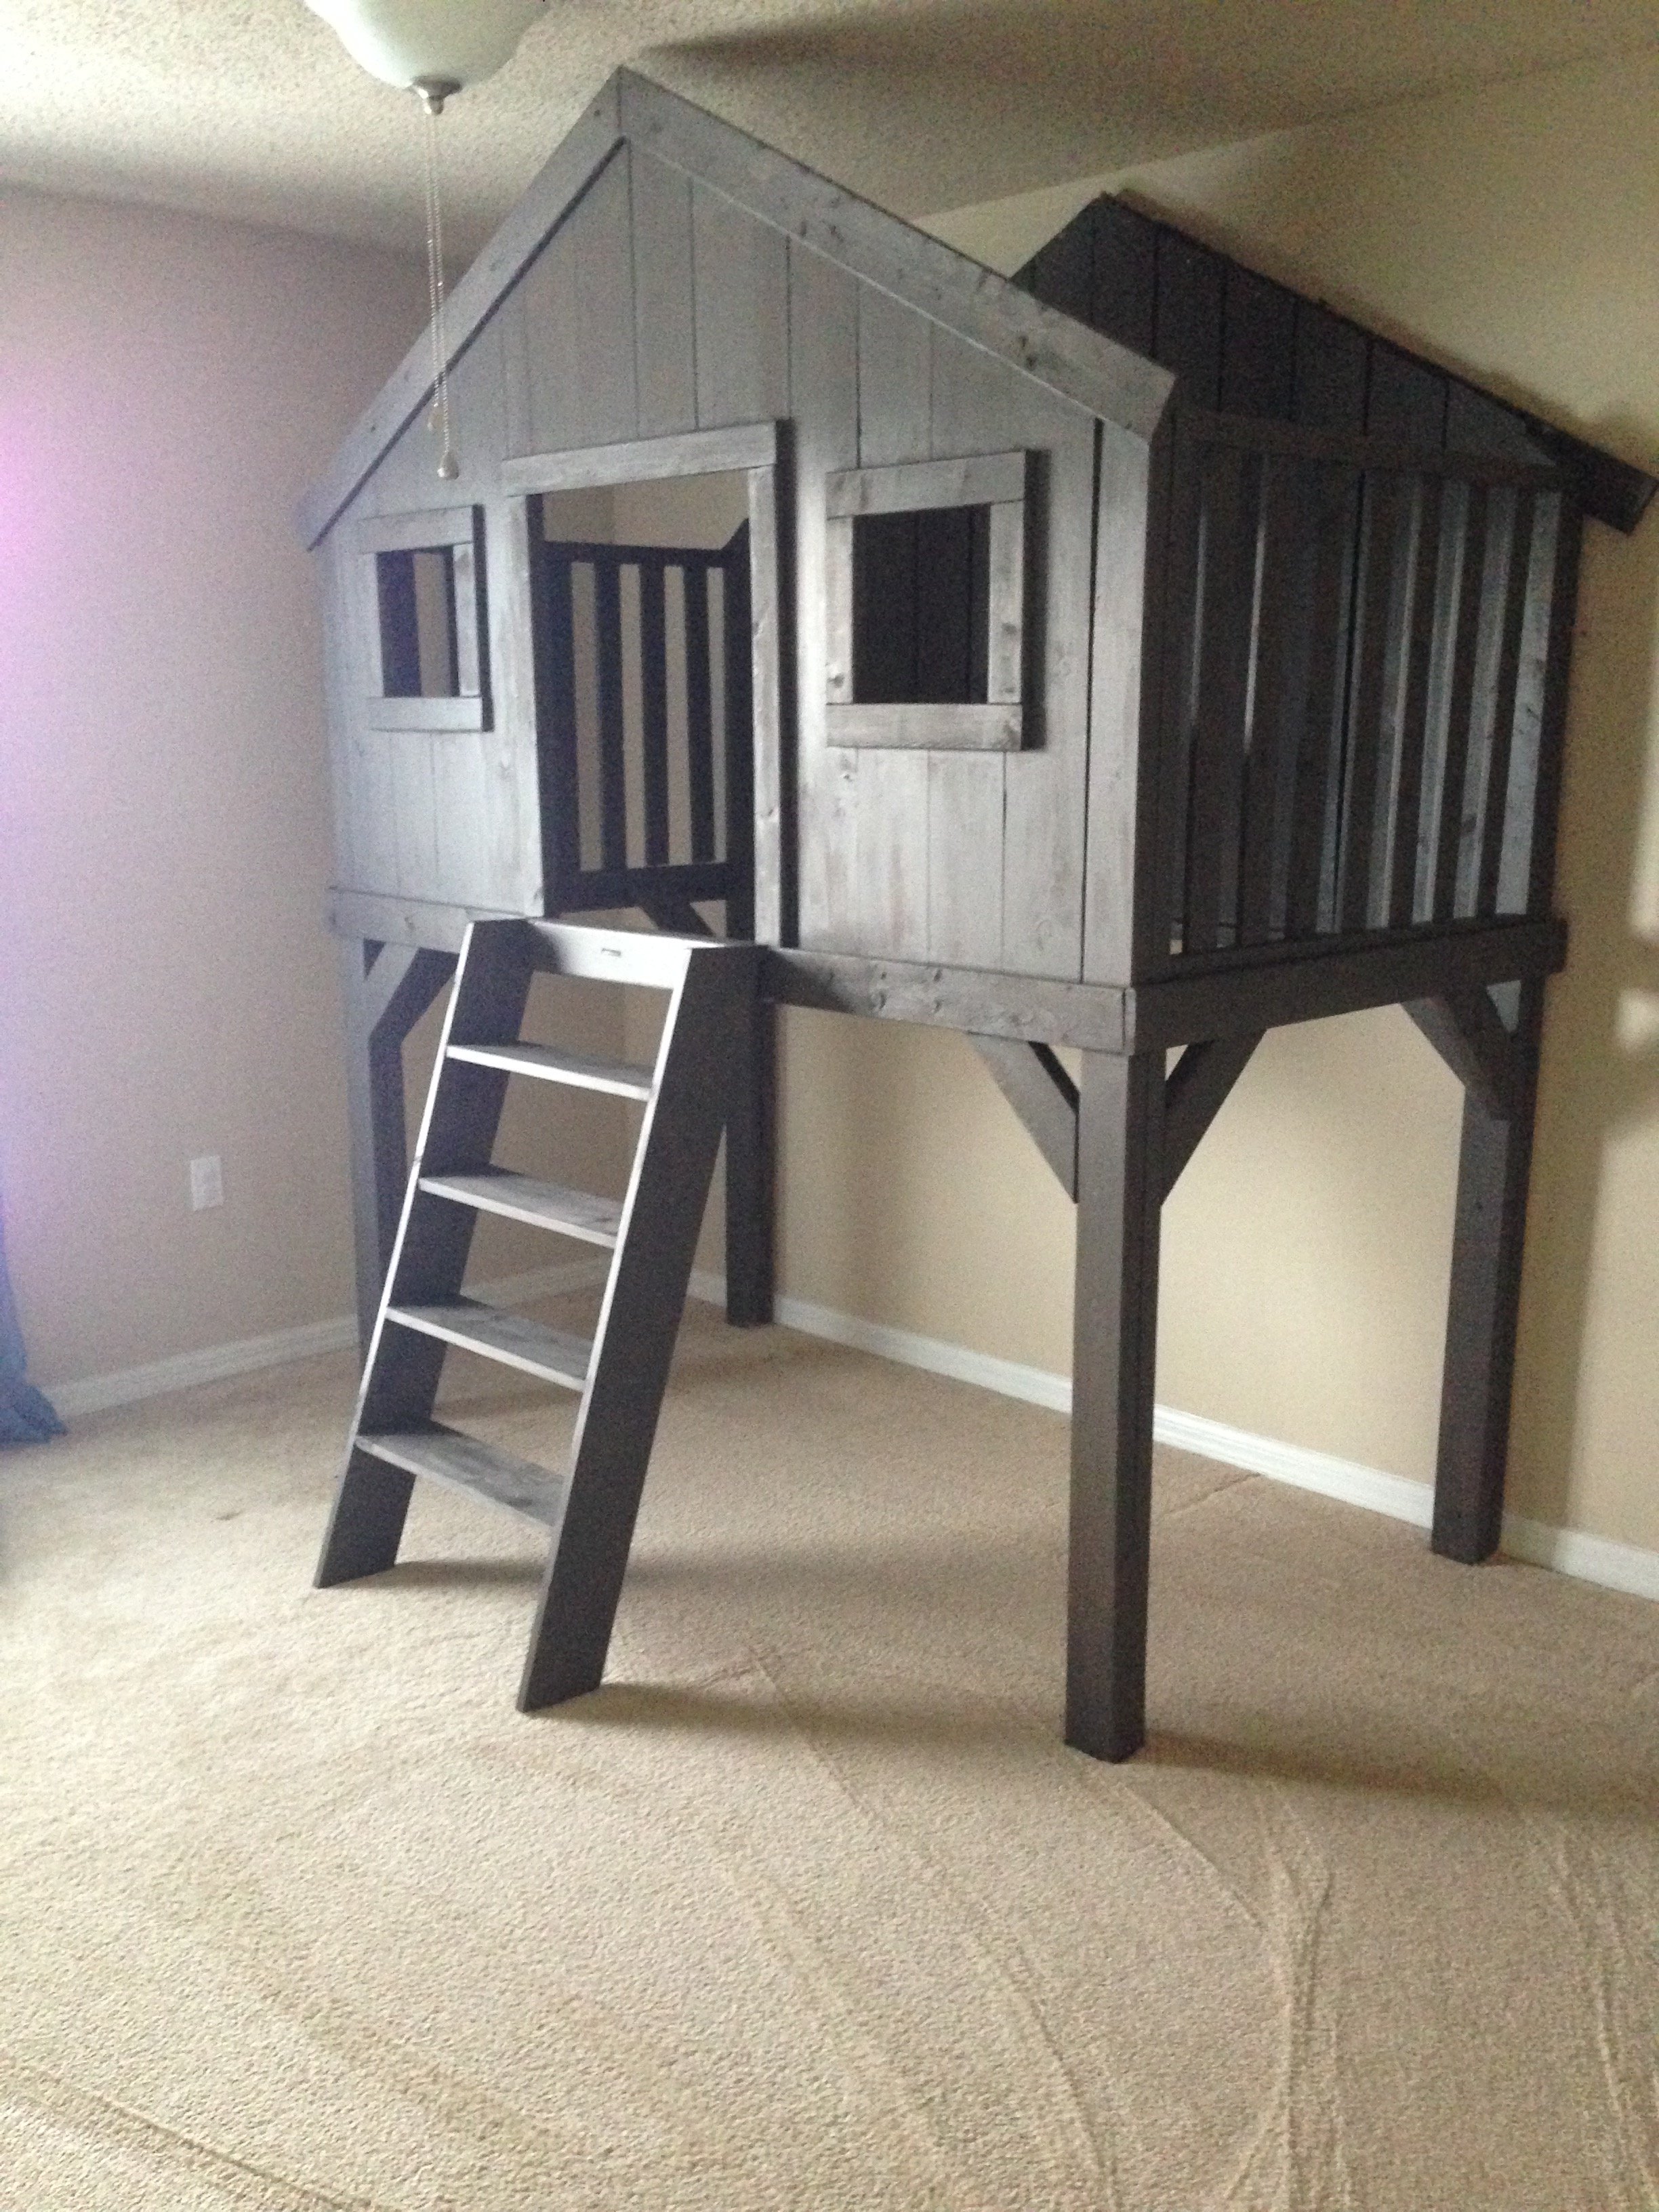
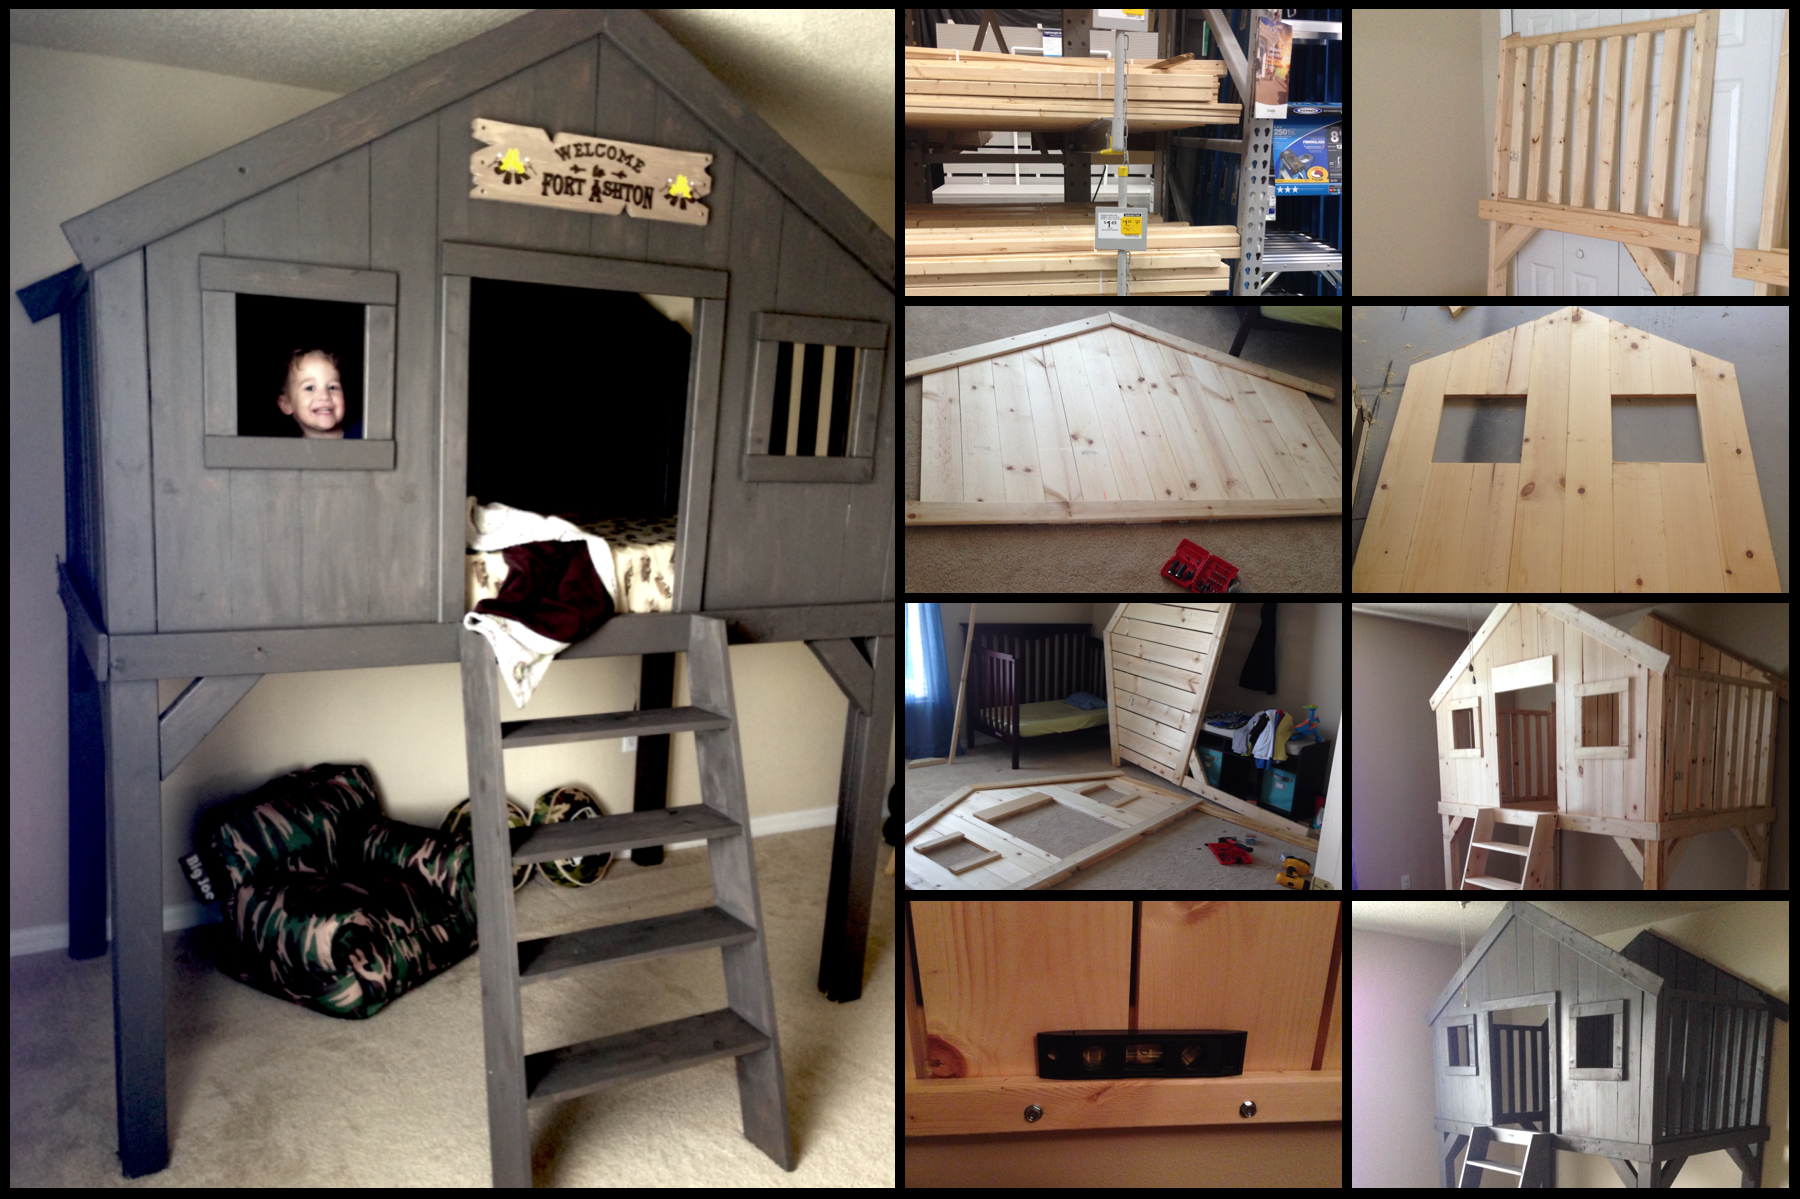
Treehouse for a sweet little boy!
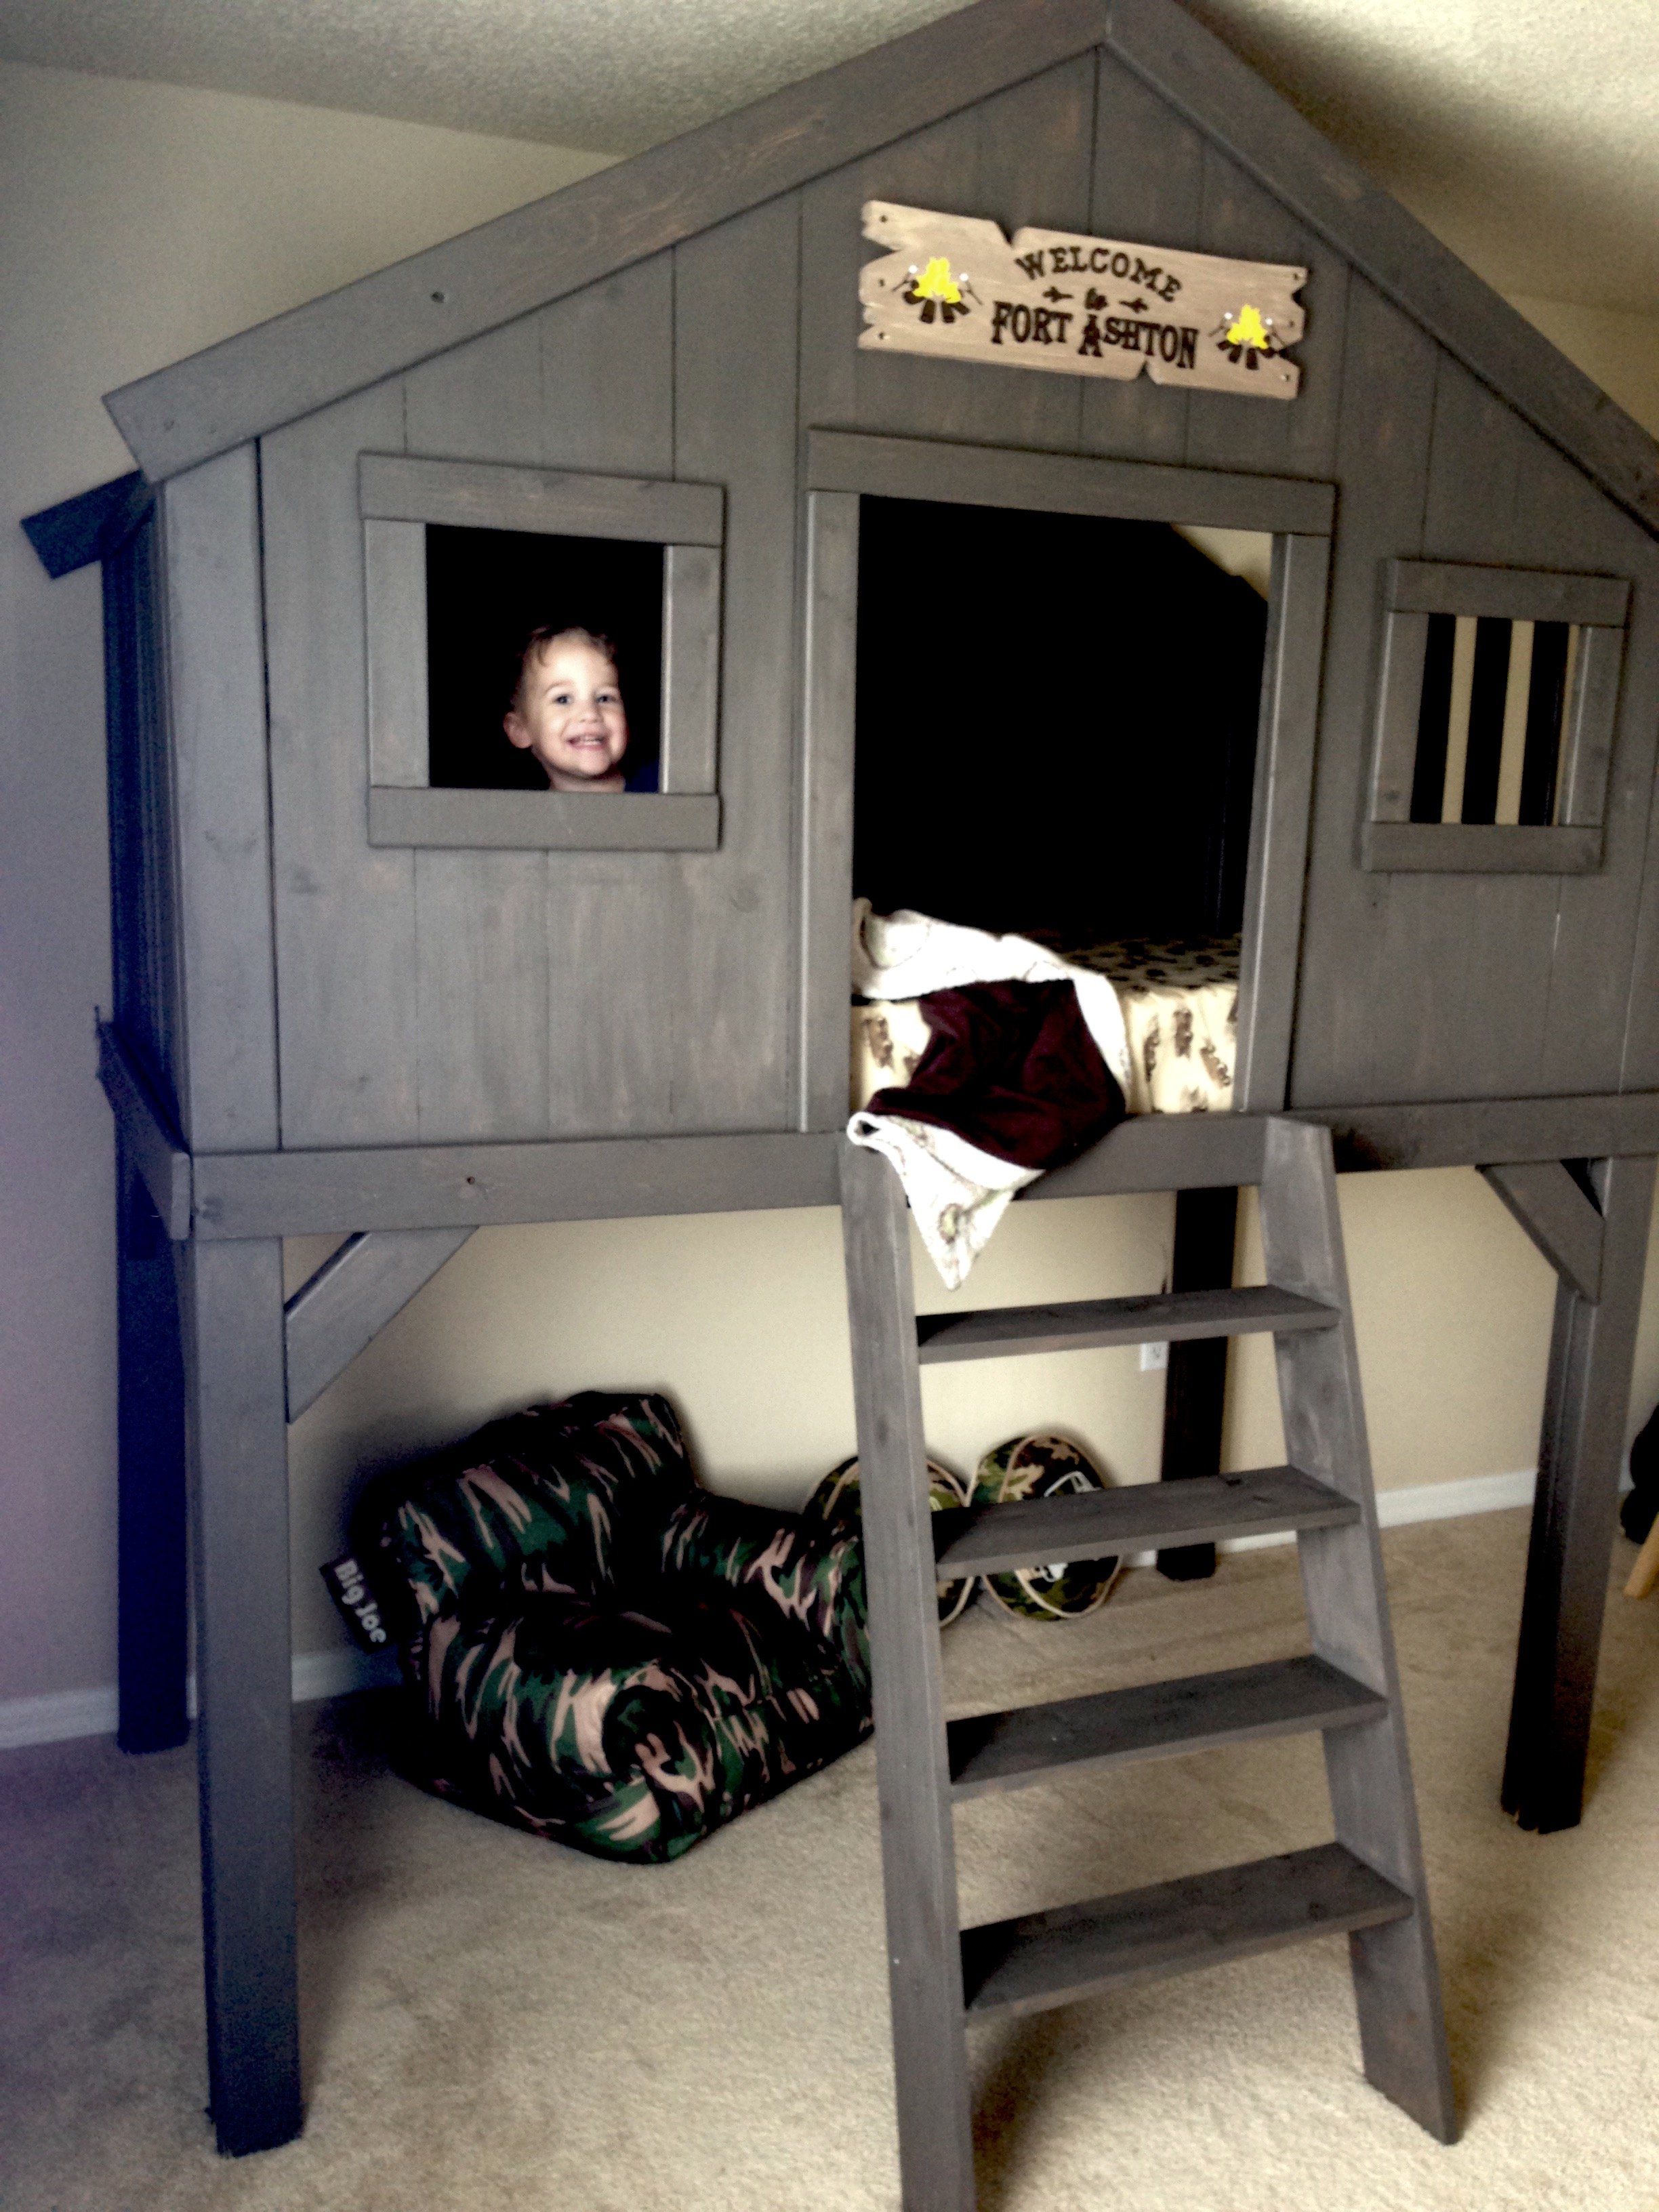
If you are wondering if you can do this, I just learned to use a saw a week ago! So... YES, you can! =)
Took me all weekend to do the cutting and building. Was able to do everything alone except final assembly. I just didn't have enough hands.
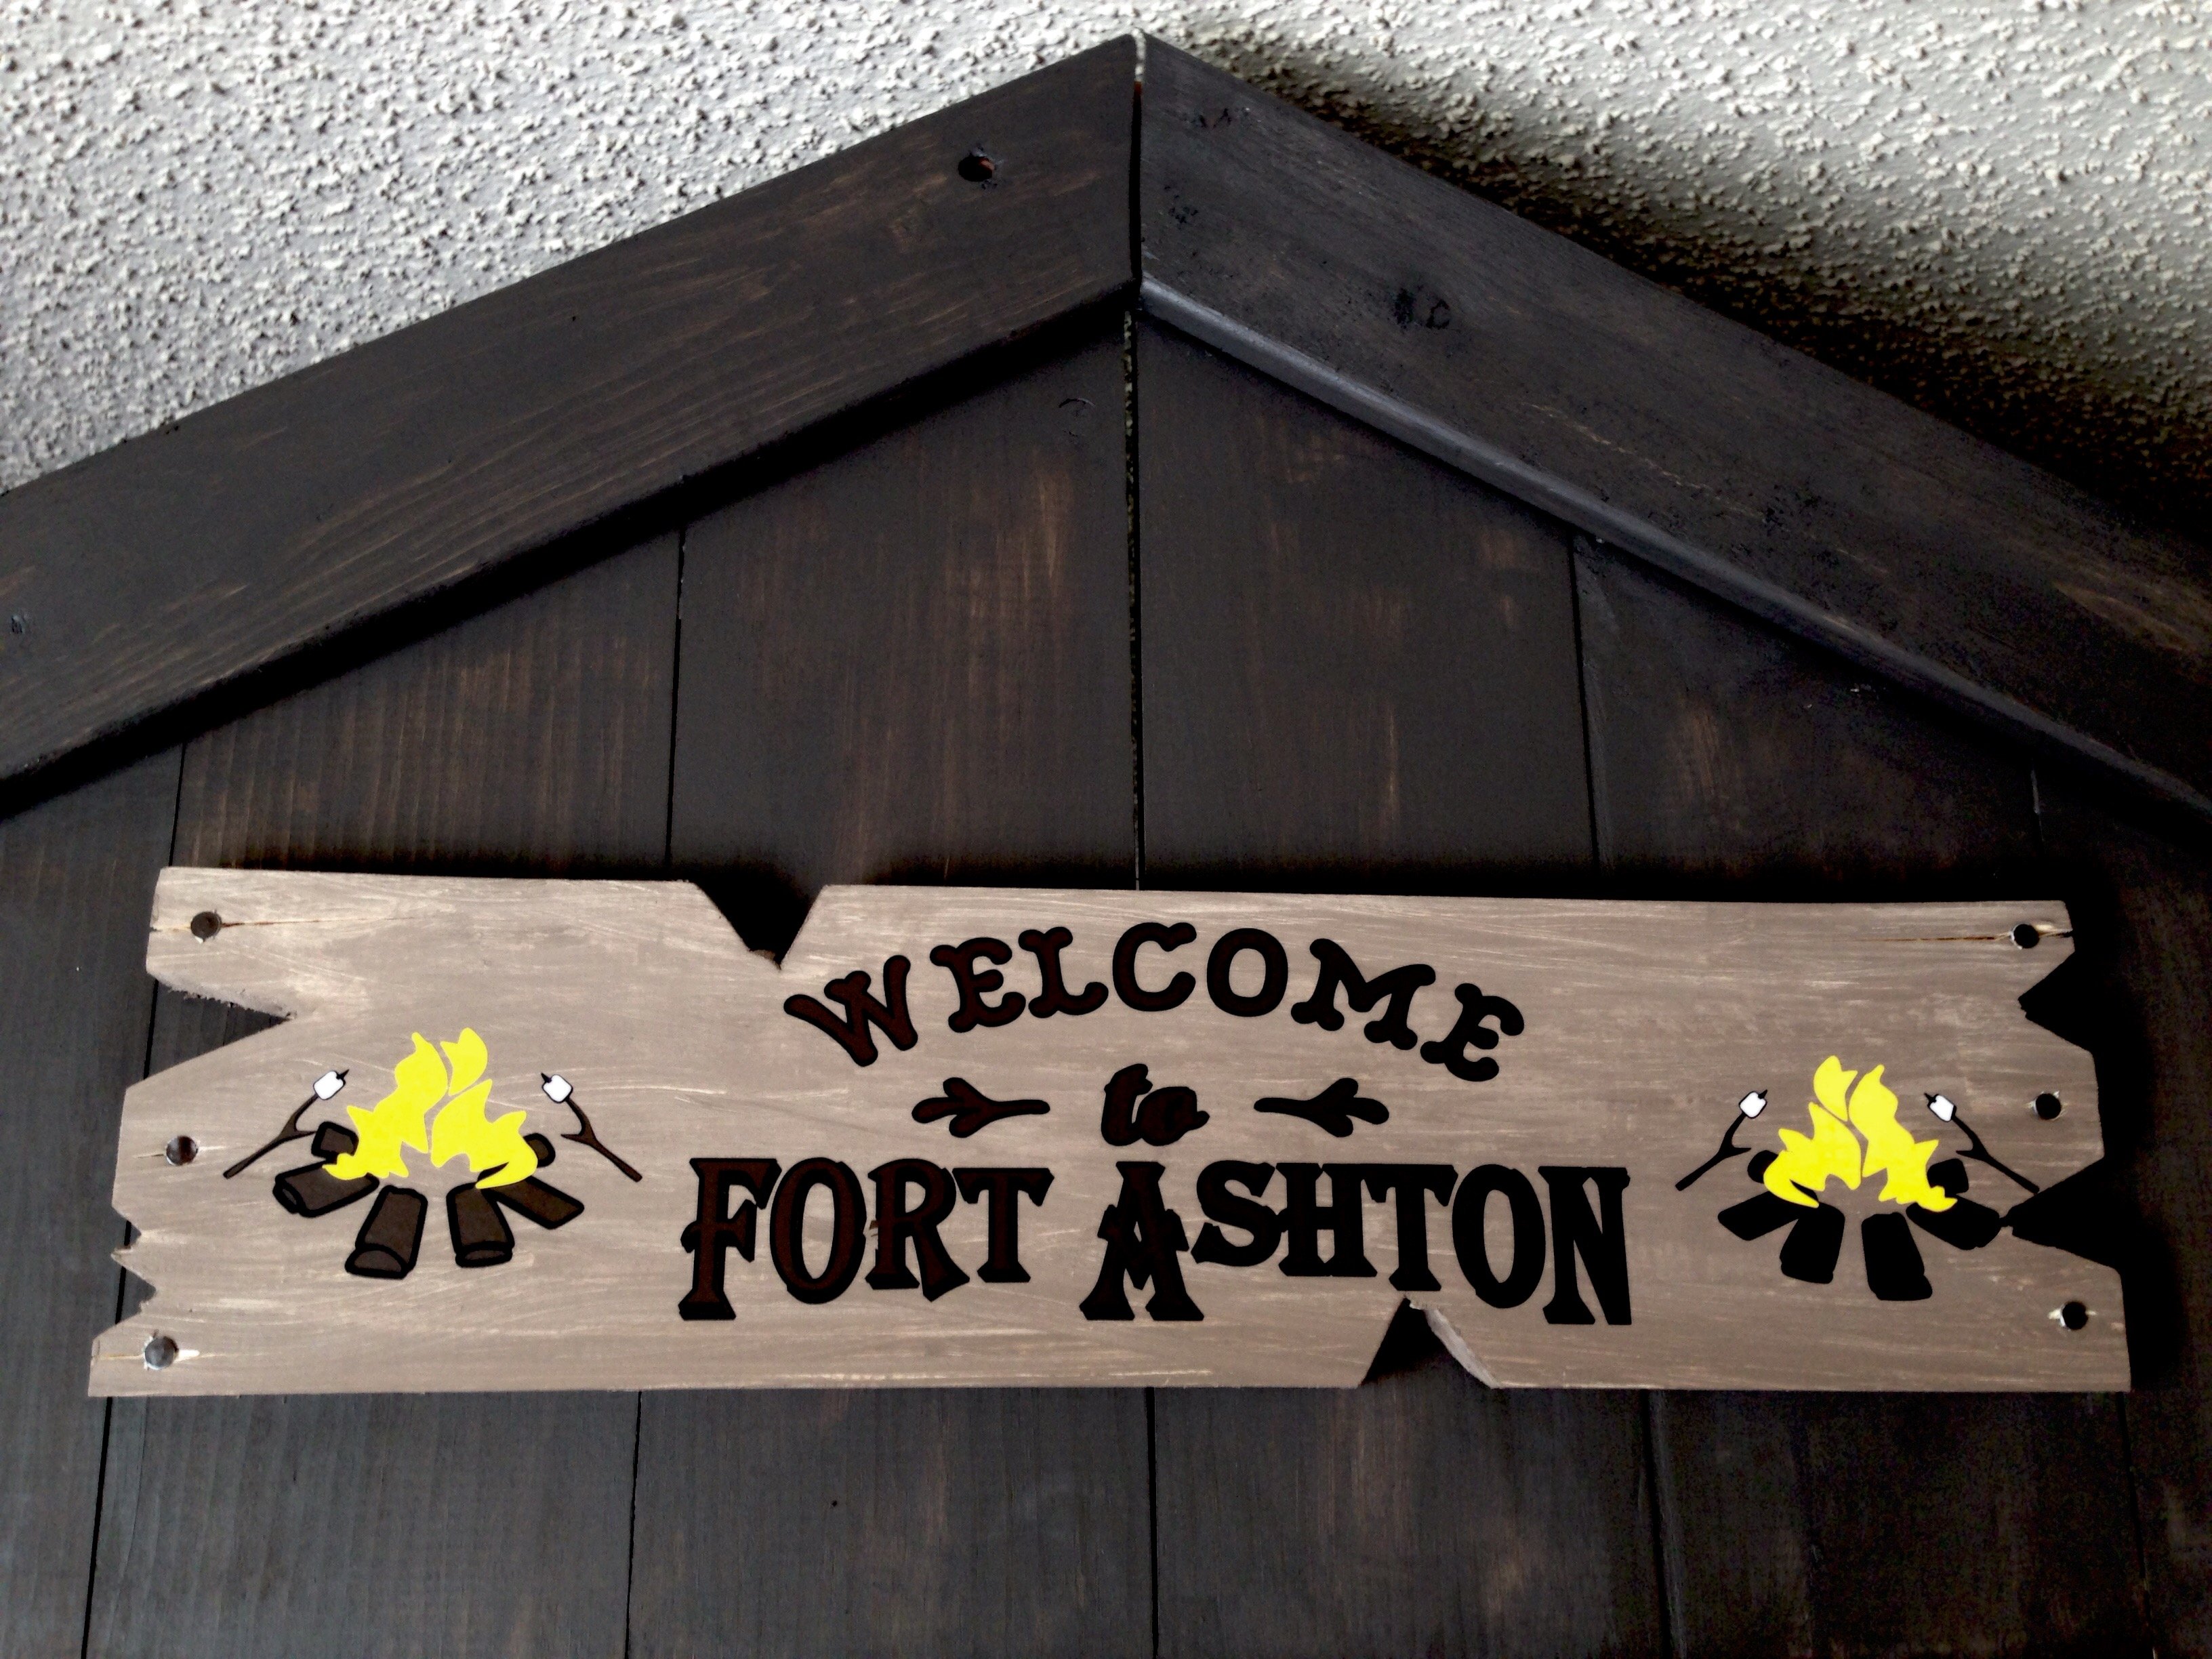
Feel free to ask any questions. Also, take a look at my site for custom signs!! =)
www.heathersvinylcreations.com
Built from Plan(s)
Estimated Cost
$300.00
Estimated Time Investment
Weekend Project (10-20 Hours)
Recommended Skill Level
Intermediate
Comments

Sun, 08/30/2015 - 12:42
This looks great!! I want to
This looks great!! I want to build this bed for my little guy but I am worried my ceiling may be too short for it
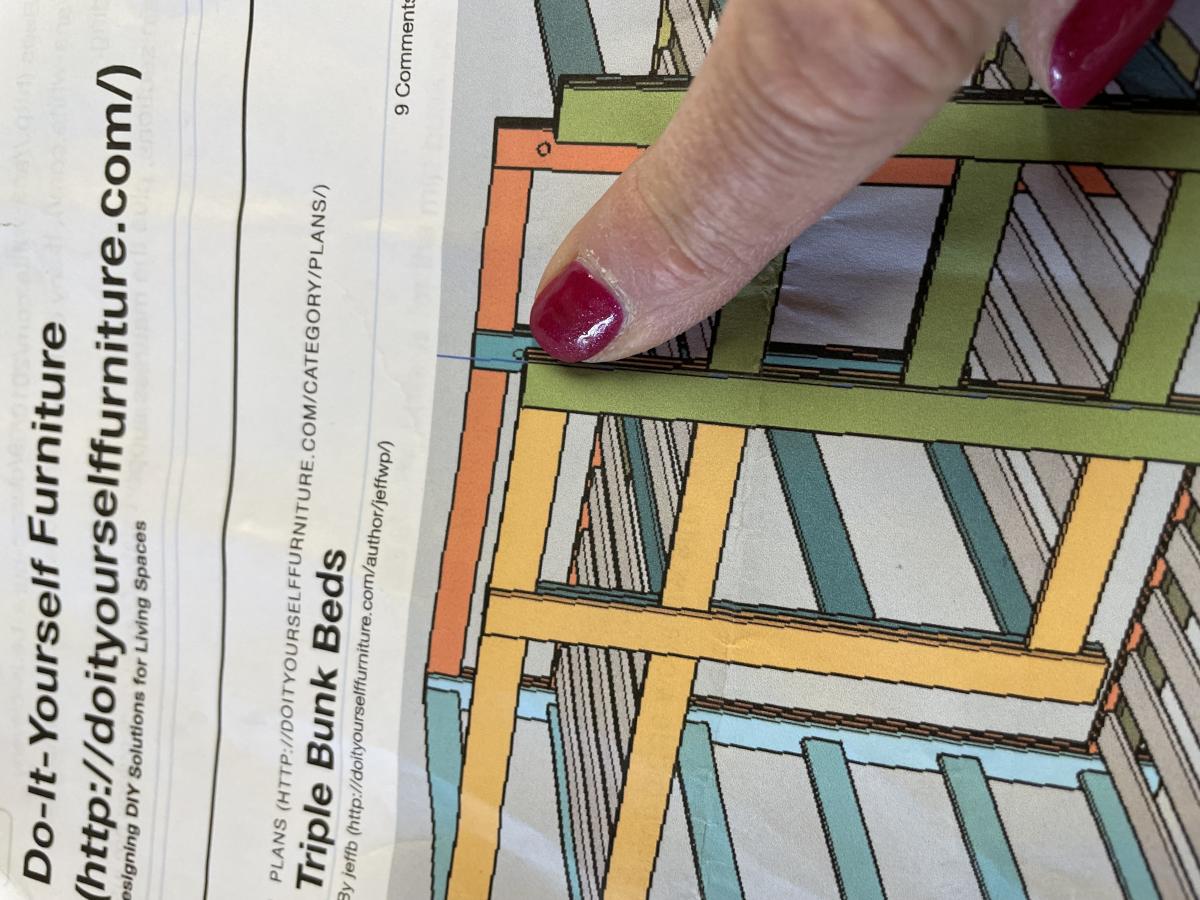
Triple Bunk
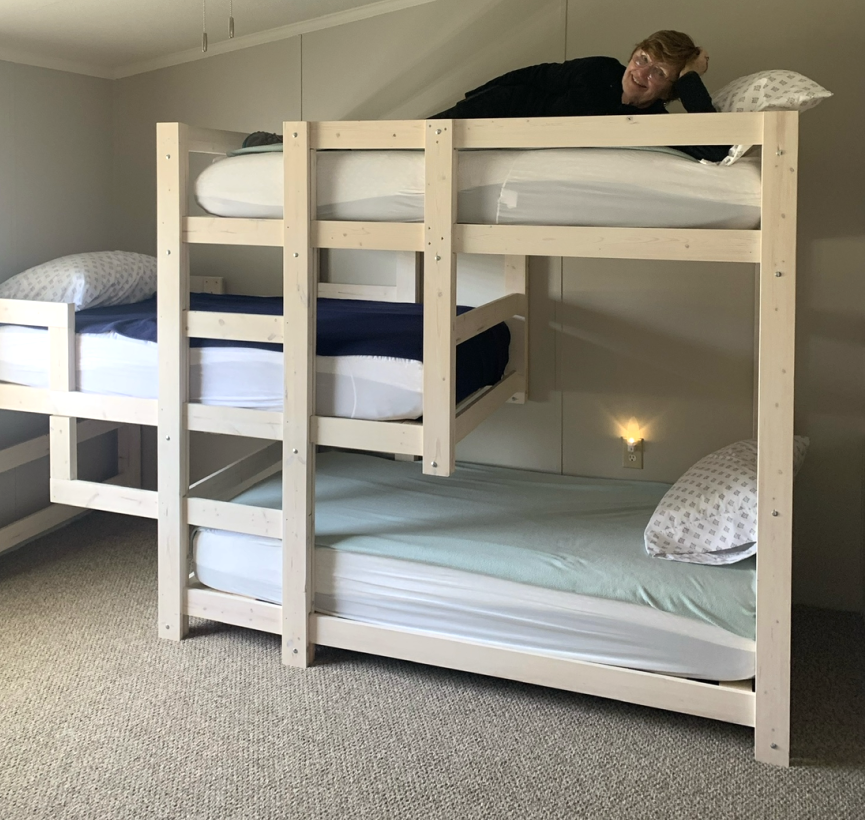
I needed to find a way to conserve space for 3 children to sleep in a very small home. I used an adapted pattern from Ana White. It turned out perfectly!
Built from Plan(s)
Comments
Sat, 04/29/2023 - 09:22
Triple Bunk Awesomeness!
WOW, this is great, you fit a lot of sleeping in a small space!
Wood Adirondack Chairs for Children
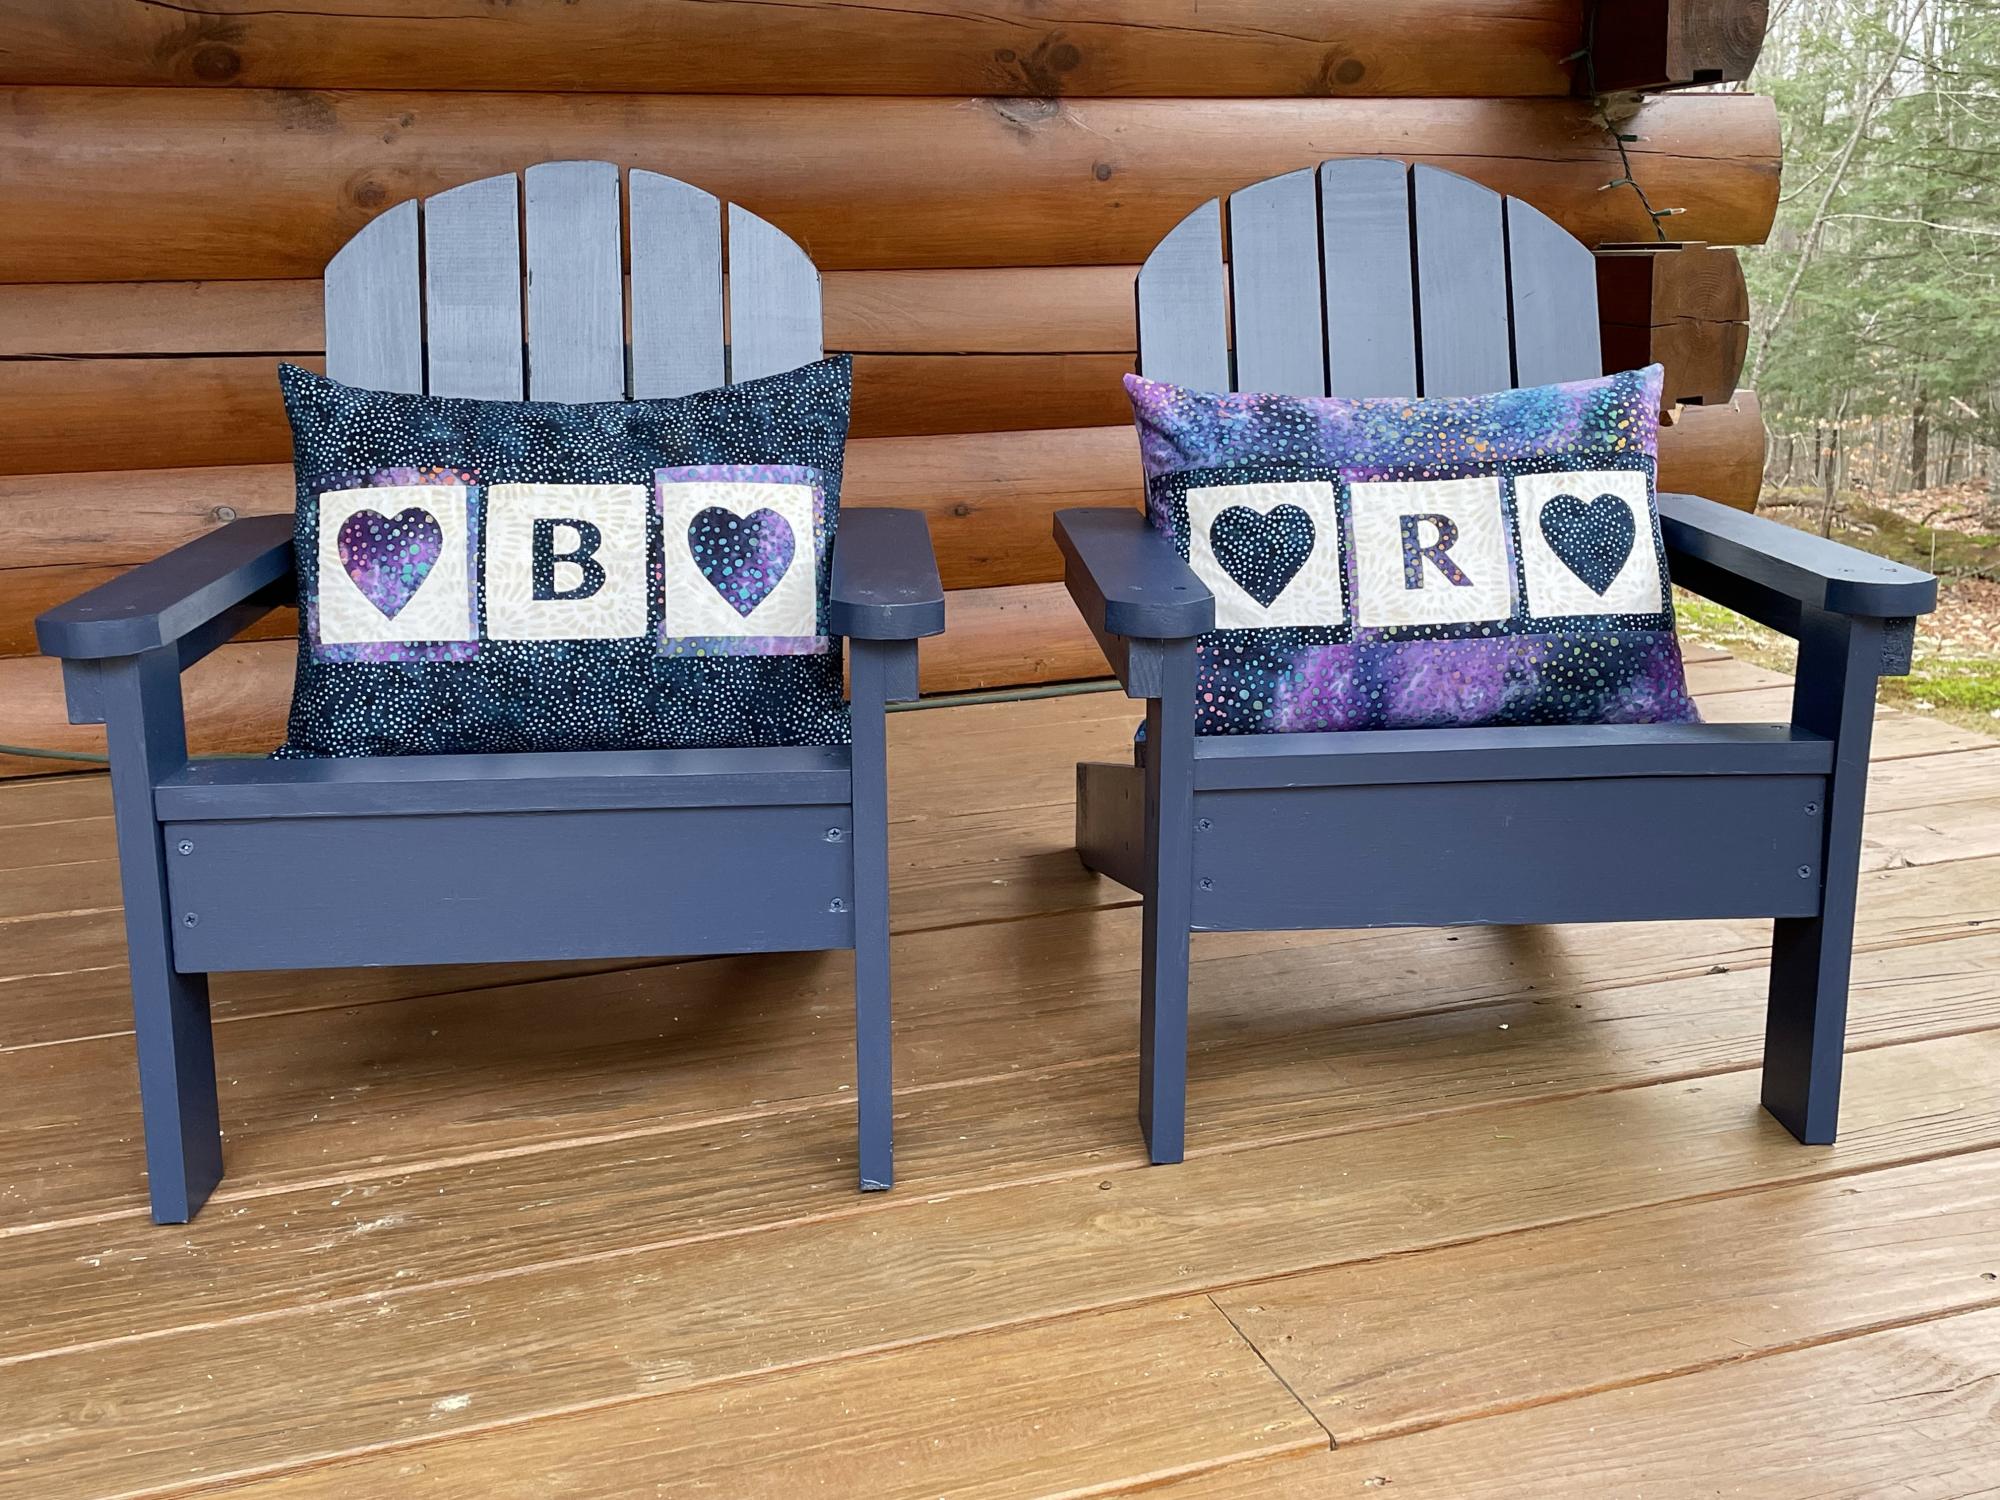
I used your plans to create this pair of grandchild Christmas gifts. They were a huge hit!
Built from Plan(s)
Best Chairs Ever!

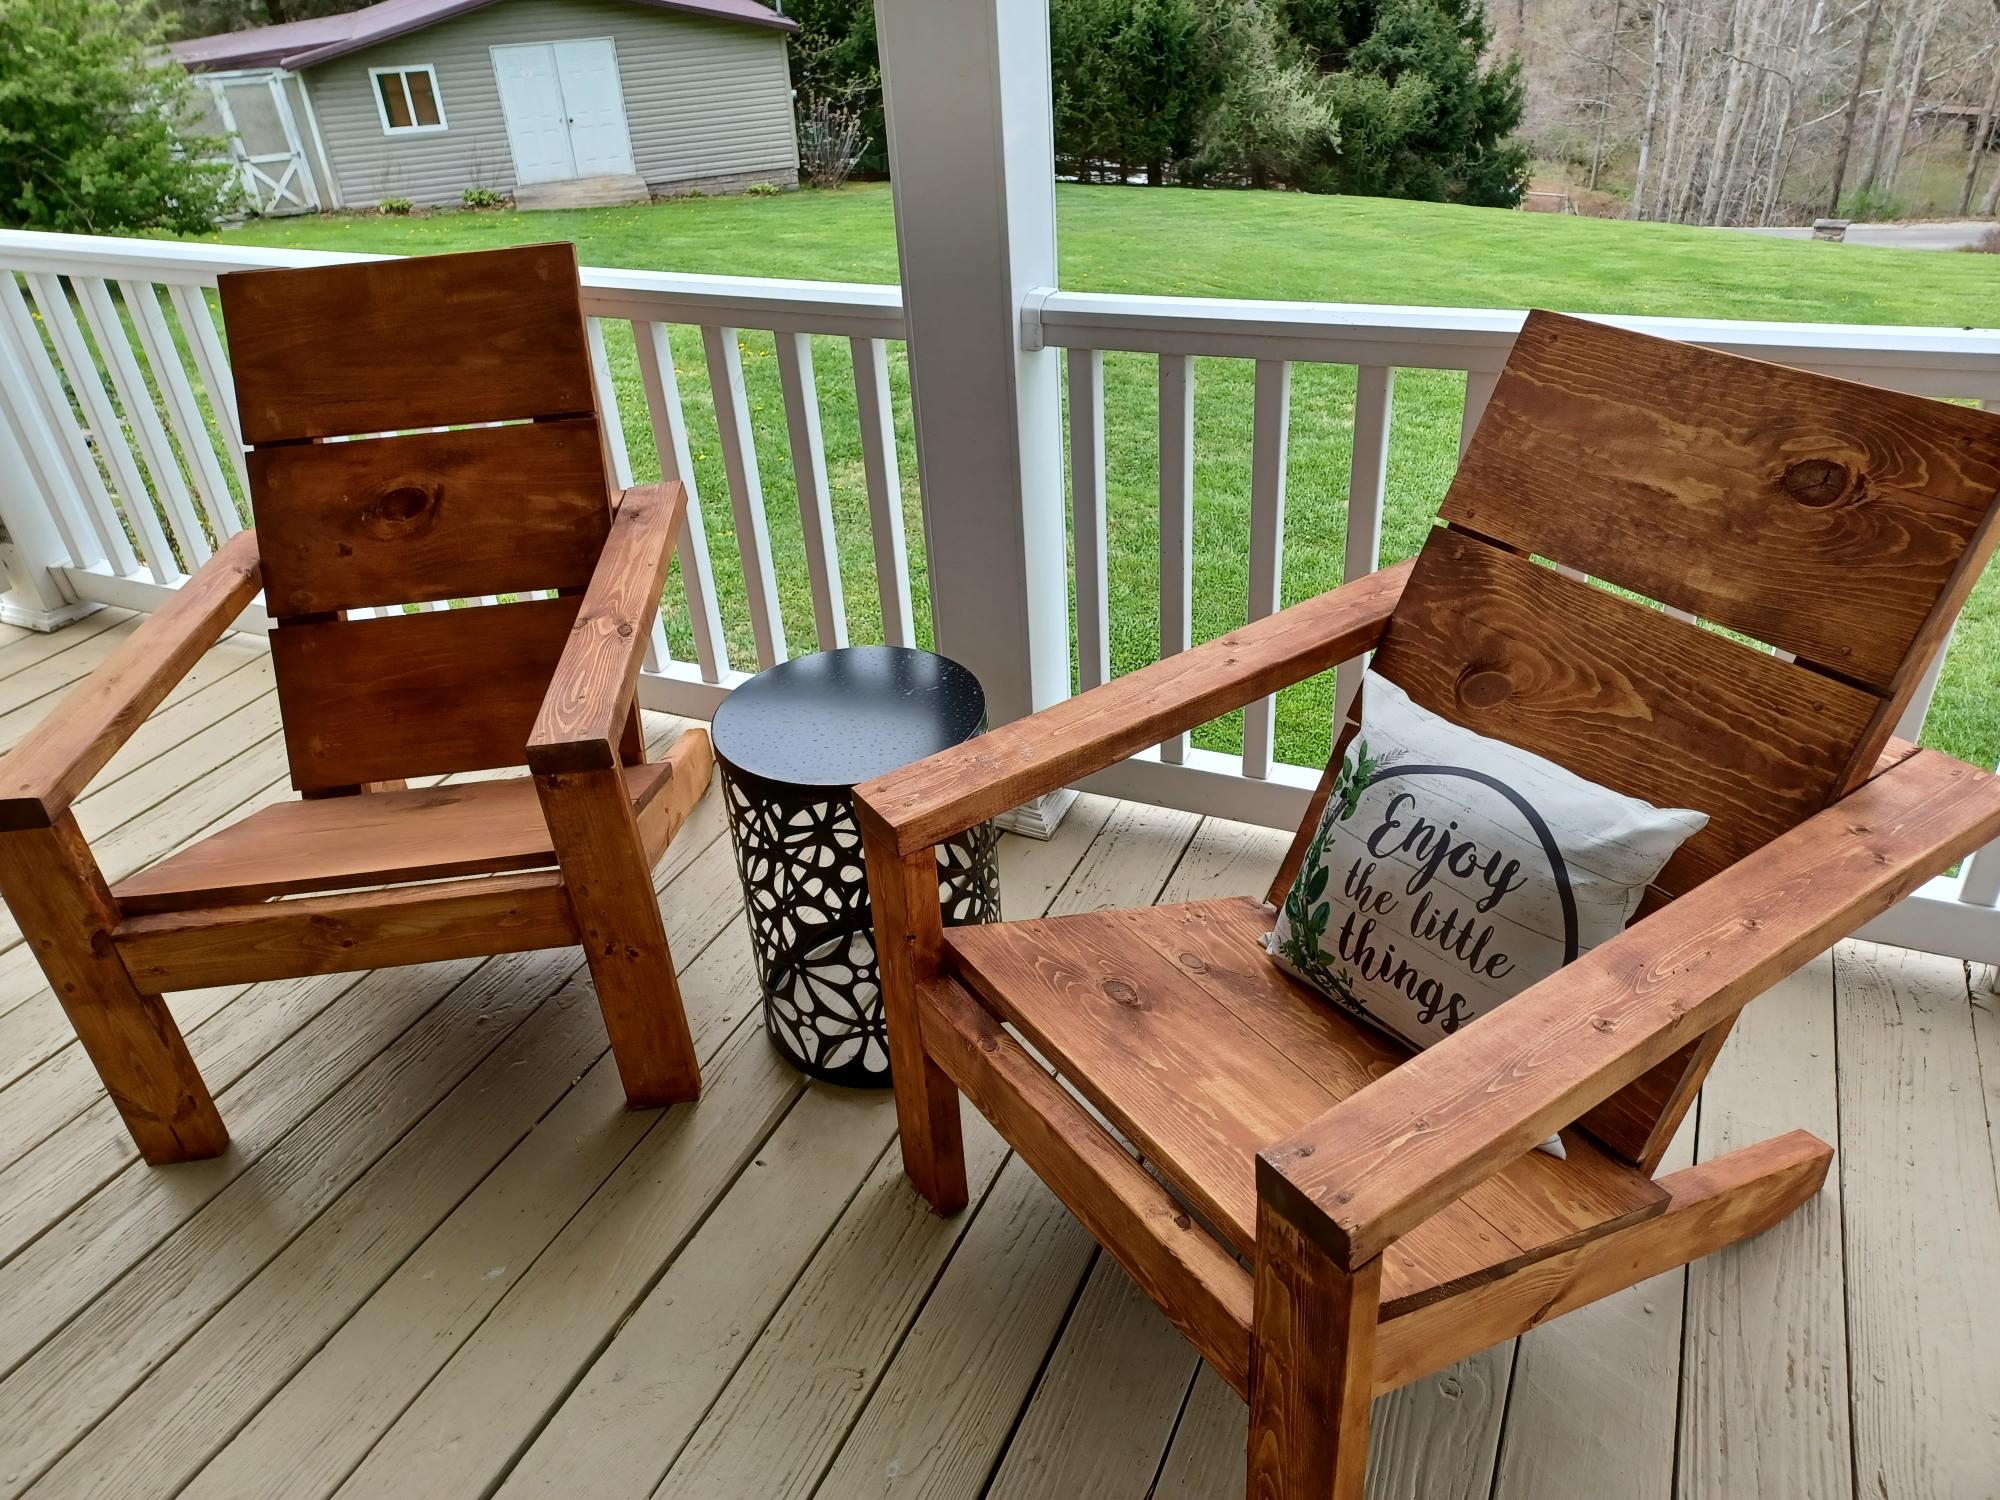
I made these modern Adirondack chairs for our business in Anchorage. GREAT and easy to build design by Ana - we upgraded the arms to tapered 2x6 and they're awesome!


Built from Plan(s)
Garden Bench!!

I built this for my wife for an anniversary present. She had wanted a garden bench for some time but the ones that she wanted were between $500-$700 which is ridiculous for this type of bench. So, I did a search on here for garden benches but there weren't really any plans for them and the few brag plans were not really the type of bench I was looking for. I printed off a few pictures of benches that I liked and got to work. The front and back legs a 2x6 and a 1x6 glued together and then cut to be straight. I wanted something thicker then just a plain old 2x6. If I had to do this again though, I would have just glued 3 1X6's together. The reason being, is that 1x6's usually do not have a rounded edge and a 2X6 does. So needless to say when you glue them together you have a nice little gap on either side. Without a table saw to take this off, its pretty difficult to get a straight cut. But I ended up getting it right after sweating for a few hours in the garage. The bench stands 36 inches high, 48inches wide and about 18 inches deep. The seat height is right at 18in also.
In the unfinished pictures I actually had the depth being 24 inches. After sitting on it though it was just way to deep. So I pulled it apart, made the adjustments and its now much more comfortable to sit in.
If anyone has any questions or wants more details feel free to drop me a line!
Thanks!


Estimated Cost
85
Estimated Time Investment
Weekend Project (10-20 Hours)
Finish Used
Oil based acrylic paint
Recommended Skill Level
Beginner
Comments
Fri, 06/19/2015 - 13:32
Yes I think thats what they
Yes I think thats what they came out to be. yes the cross pieces are 2x4 and the slats are 1x4's

In reply to back legs by smz1919
Fri, 06/19/2015 - 13:34
I glued a 2x6 and a 1x6
I glued a 2x6 and a 1x6 together to get the thickness. Now that i have a table saw and a jointer this entire process would have been much easier but after getting it to look like one solid piece i just outlined the slant i wanted and cut it using a jig saw.
Fri, 06/19/2015 - 20:17
Back slats
So the back slats are just glued in place right? I wonder if it would be easier to use a biscuit joiner or not
Sun, 10/23/2016 - 17:46
Garden Bencch
on the back legs how high up did you go before you started cutting the angle? and was it around 15 degrees fromt he edge?
Wed, 05/26/2021 - 08:32
Hi Nathan Love the look of…
Hi Nathan
Love the look of the bench. Would you have a list of material requirements. I intend to make a bench like this and would like to know the measurements of the top back spar (the shaped one).
Here in the Uk our timber yards do not always supply the same cuts as the US so I need to have some idea of the pieces I need
Many thanks
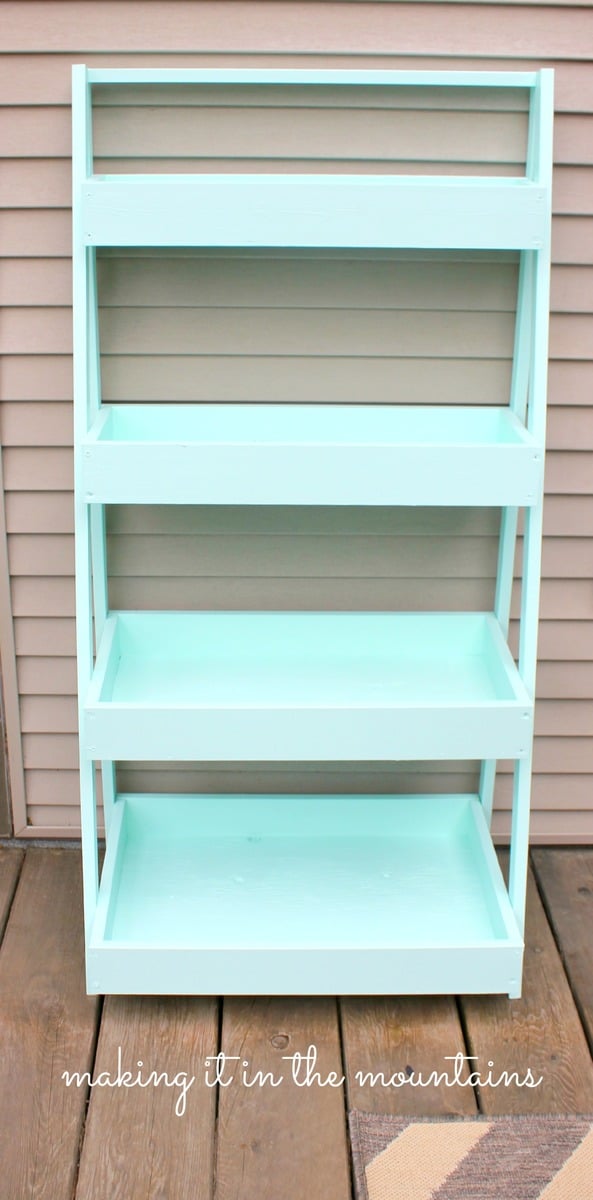
DIY Ladder Shelf
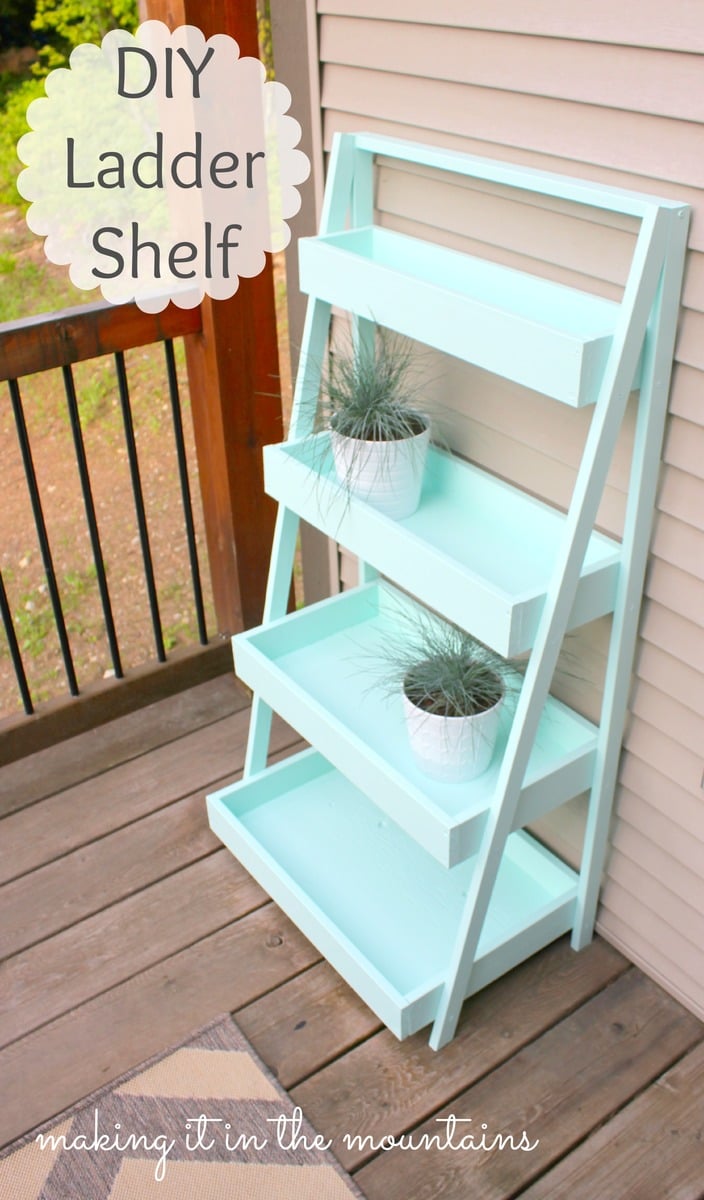
DIY Ladder Shelf to use as a plant stand on our courtyard deck.
Built from Plan(s)
Estimated Cost
$35
Estimated Time Investment
Afternoon Project (3-6 Hours)
Finish Used
Benjamin Moore Paint: OR-368
Recommended Skill Level
Beginner
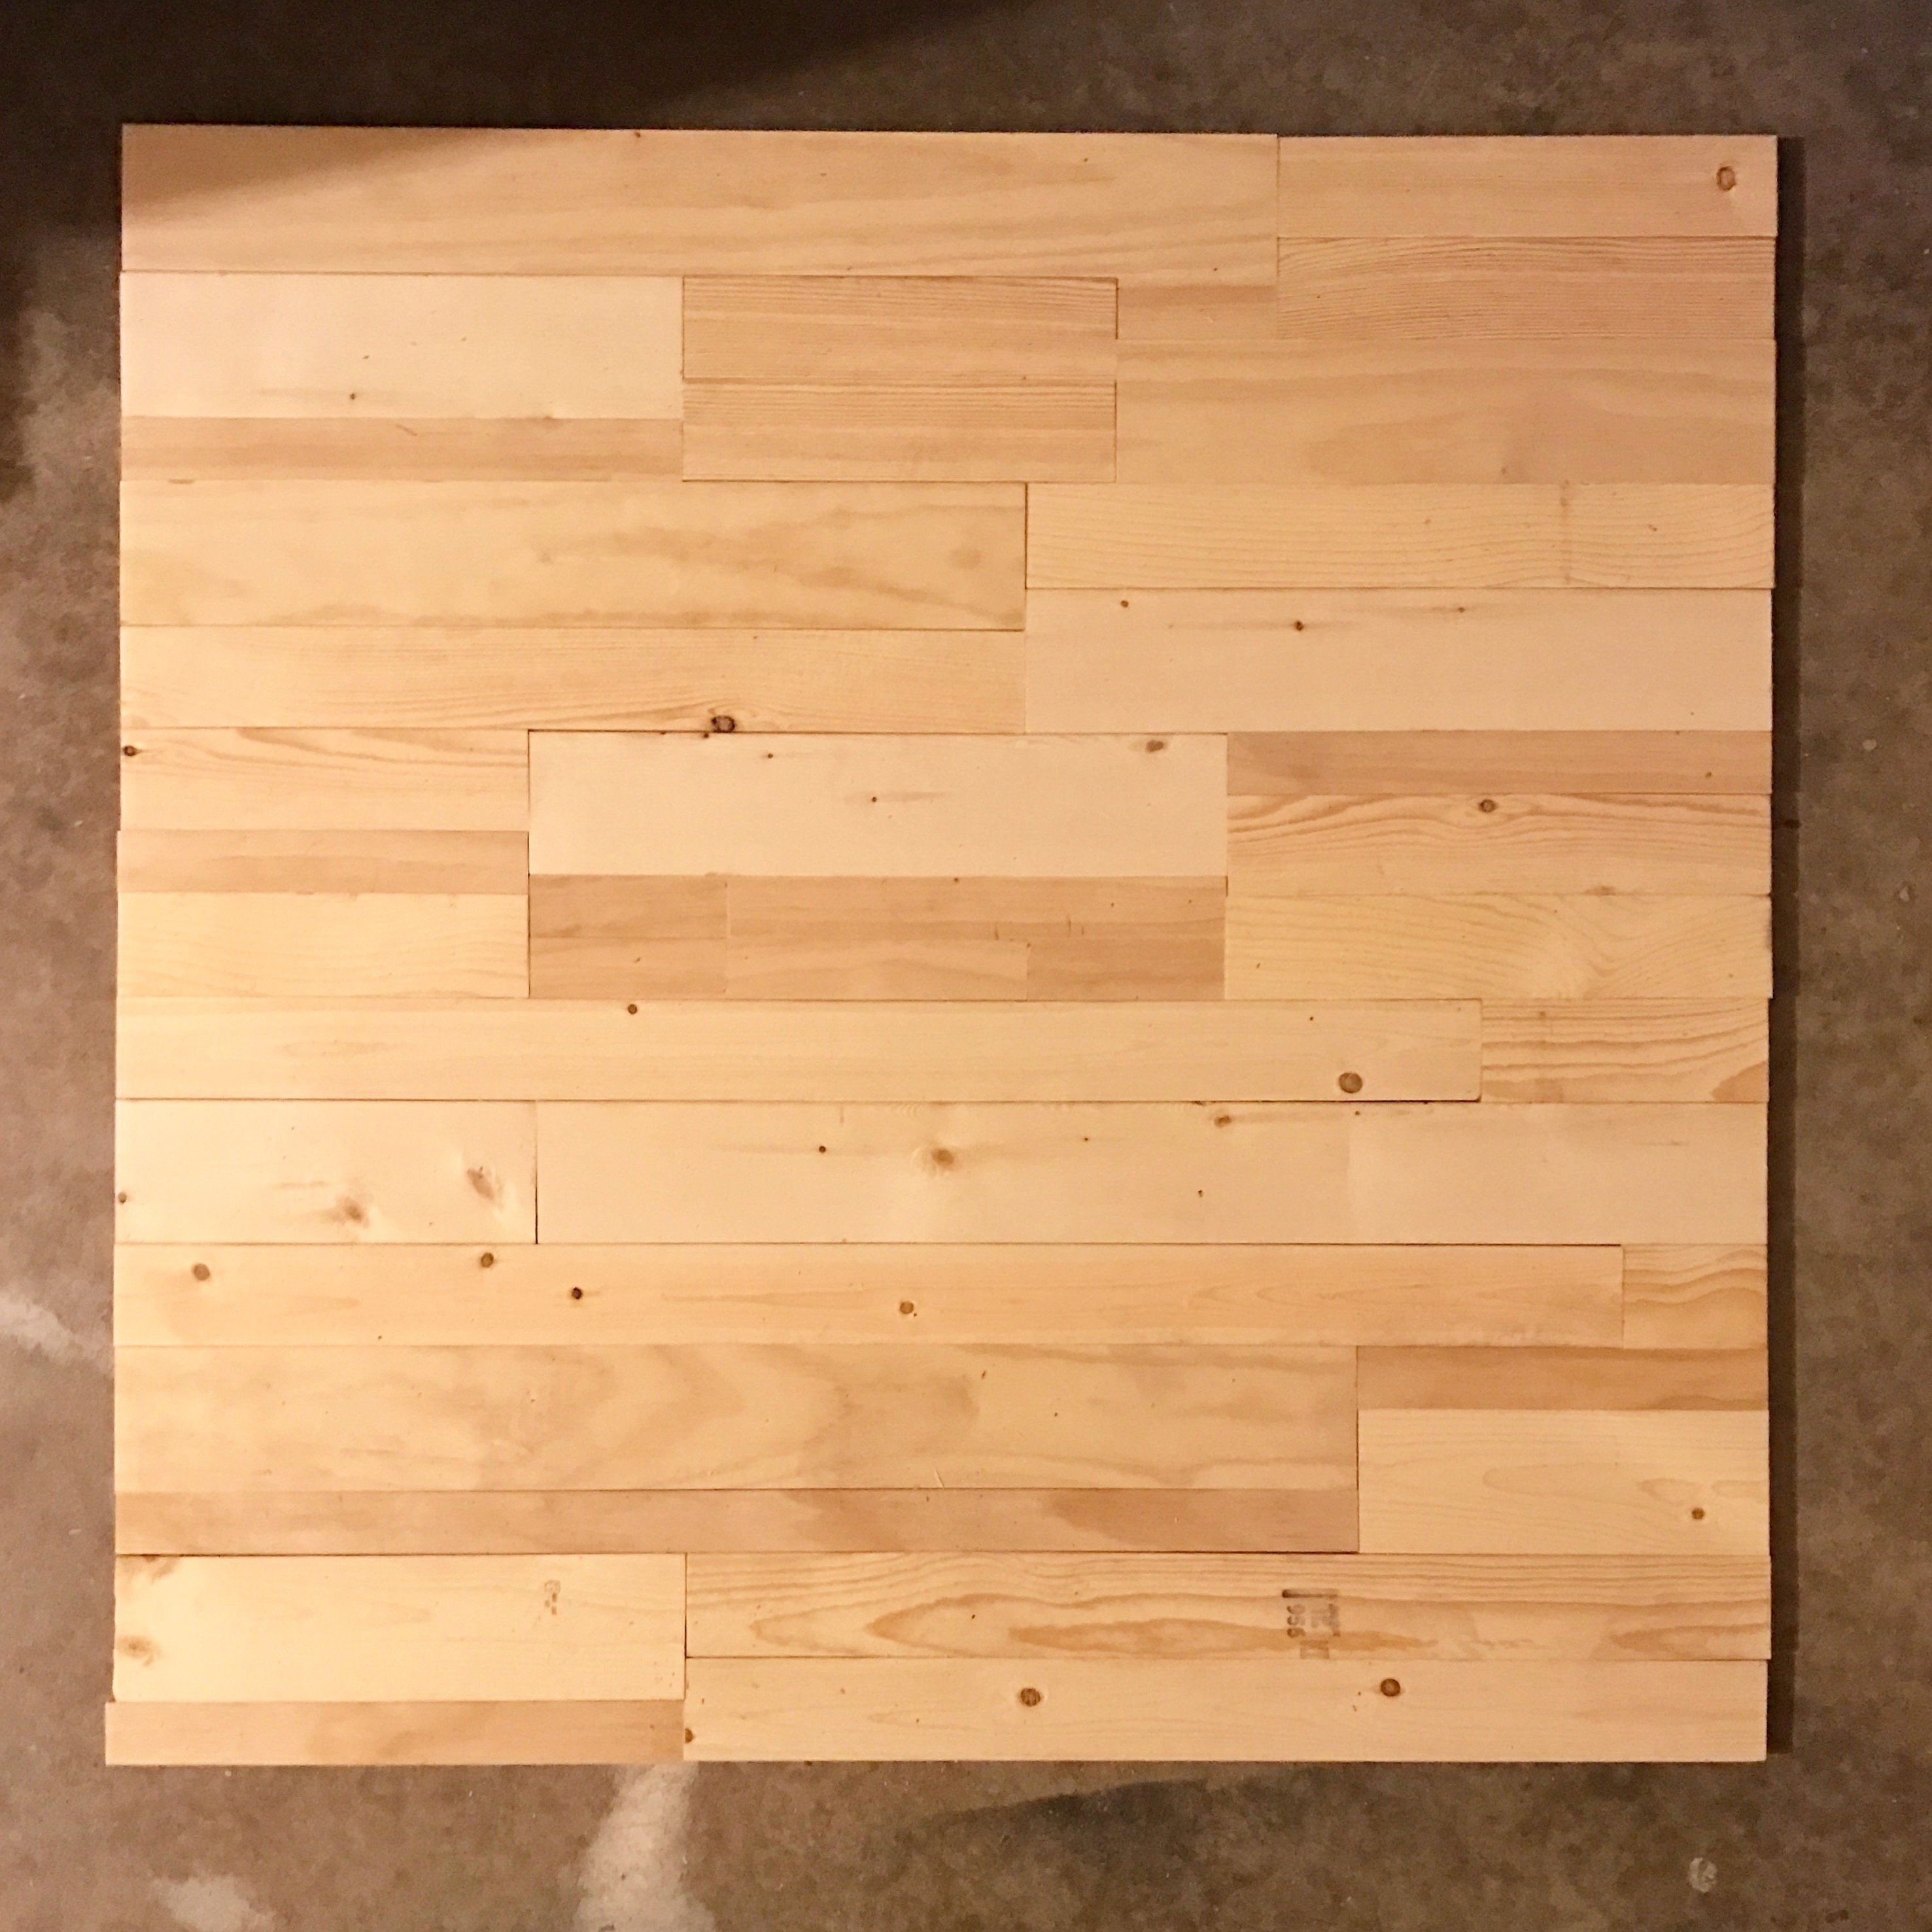
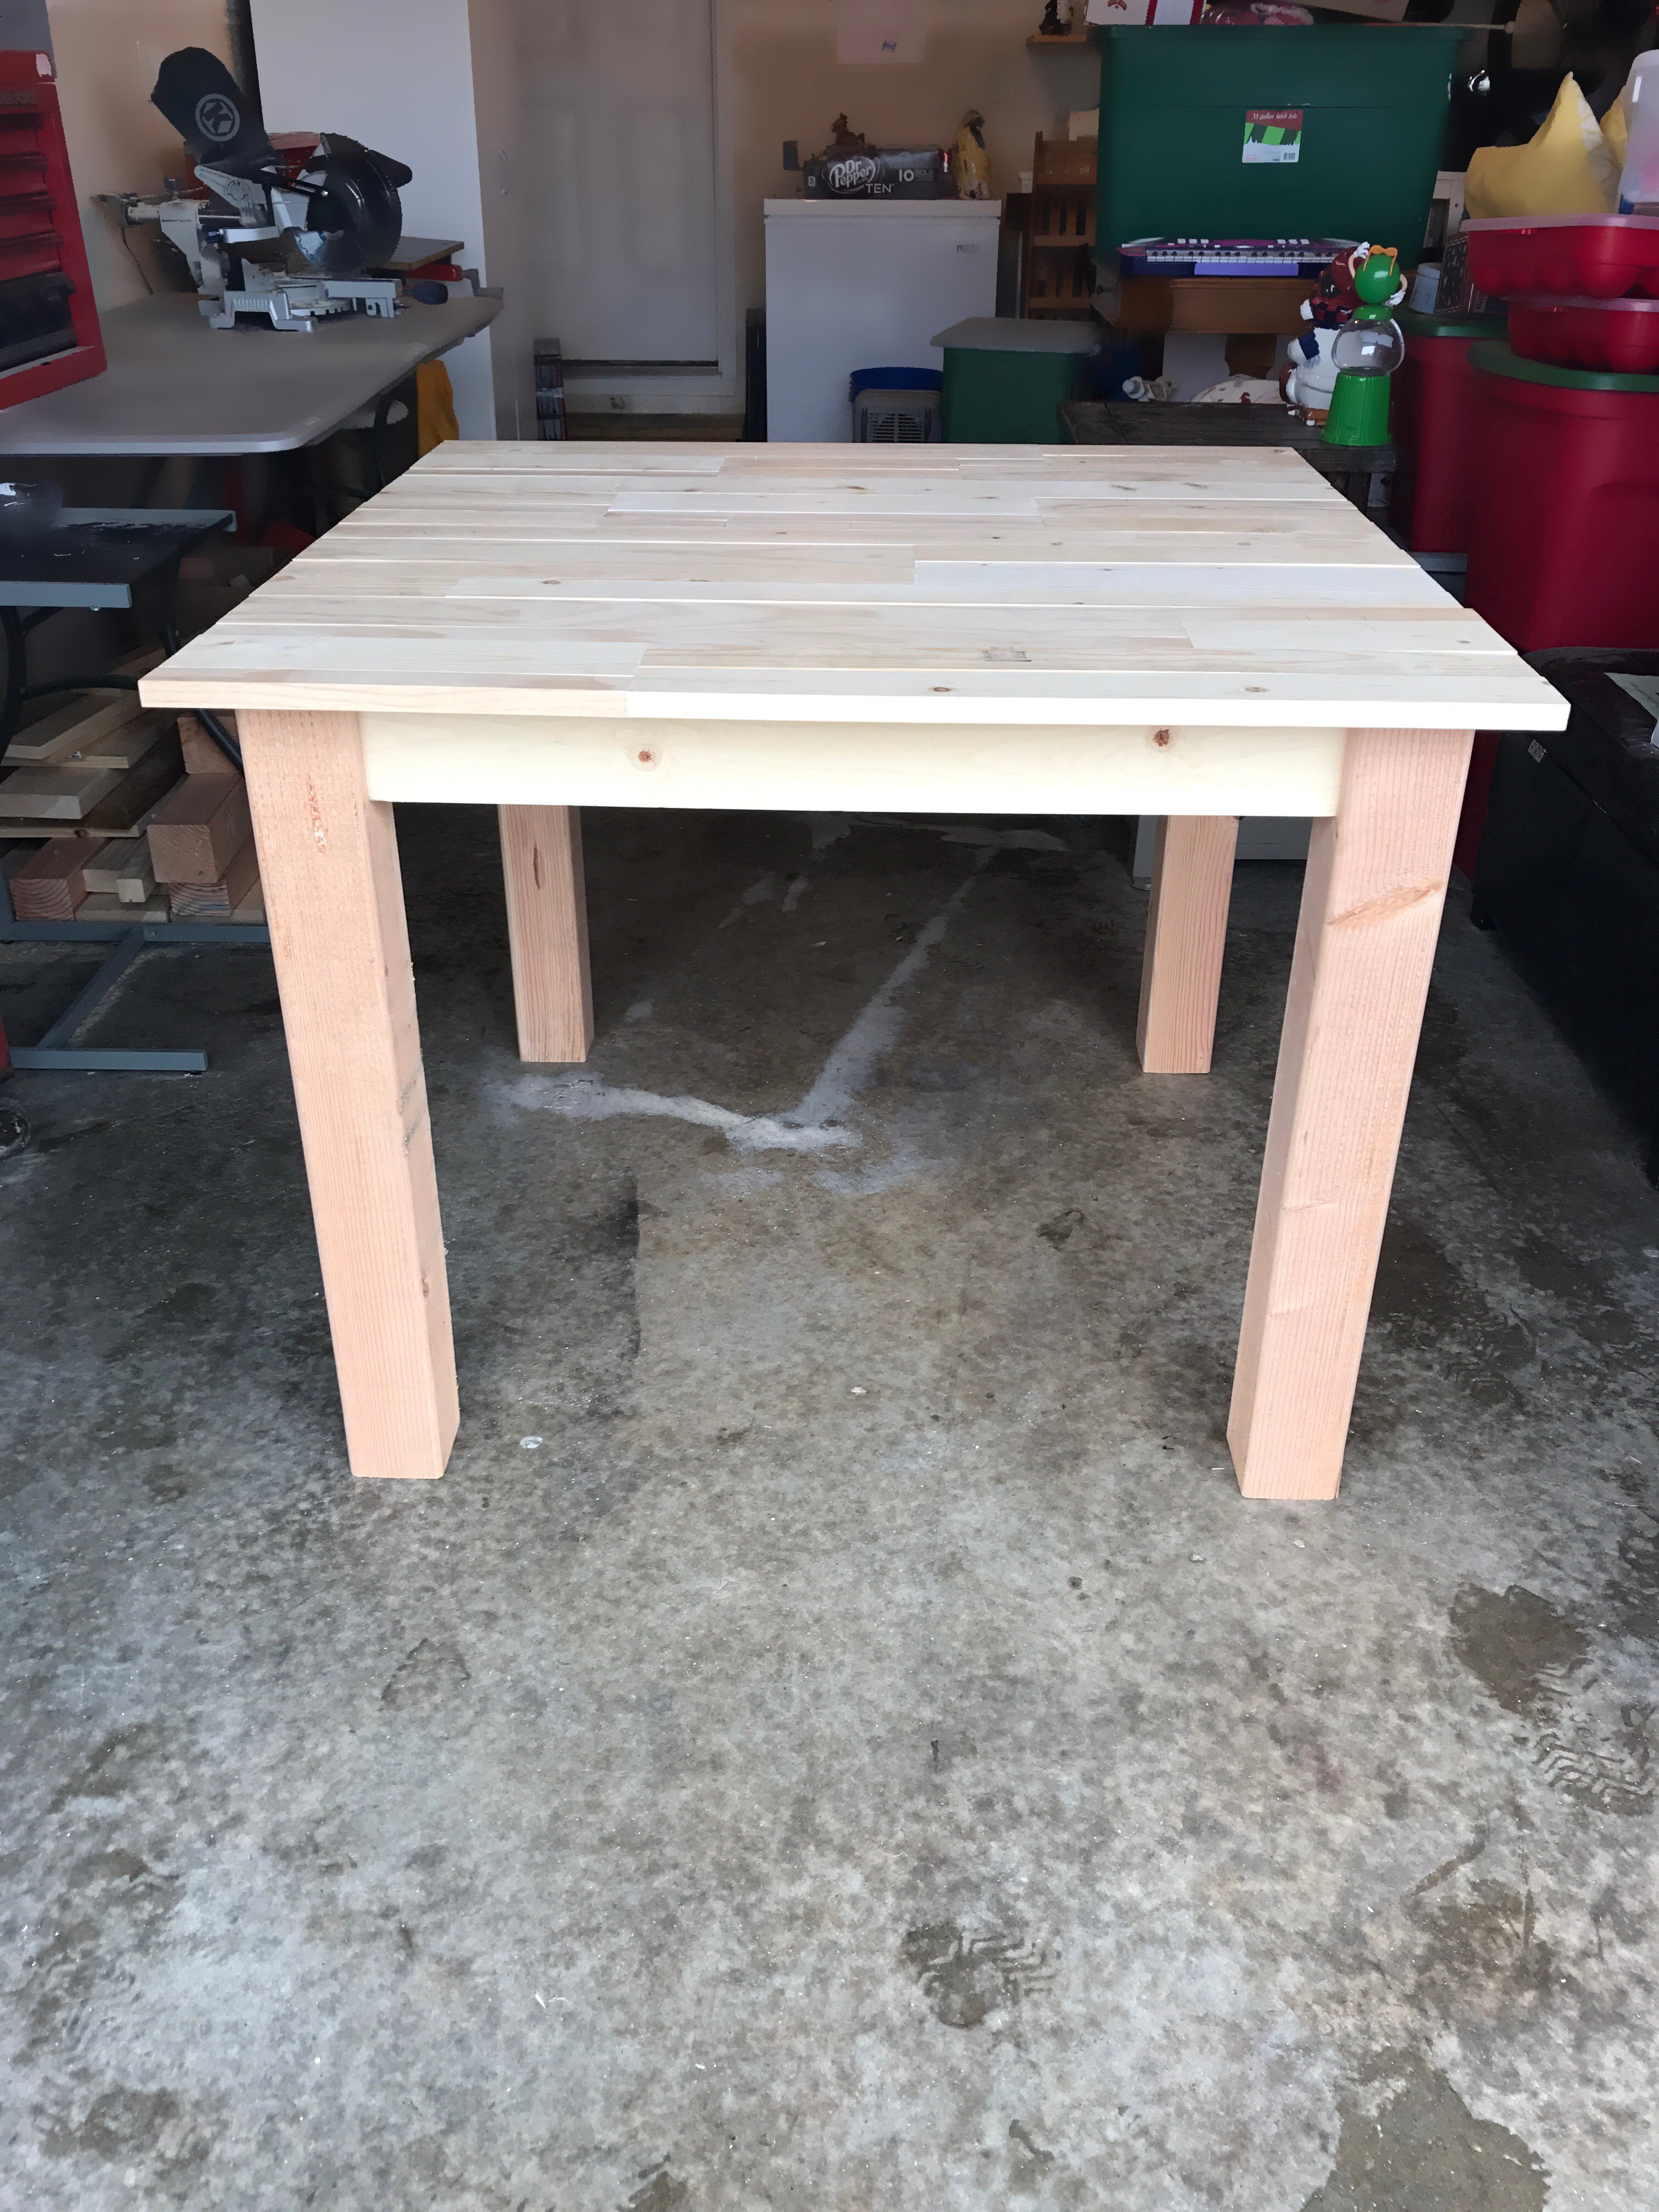
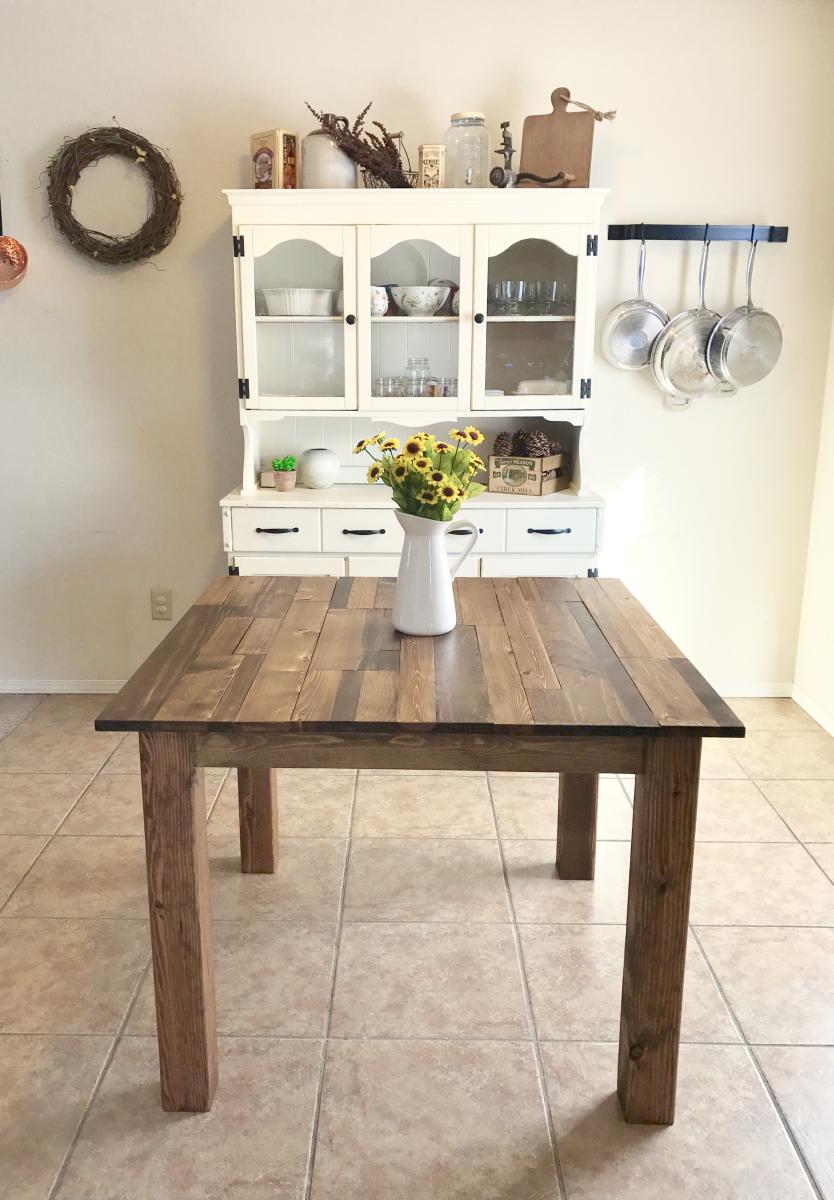
Square Farmhouse Table
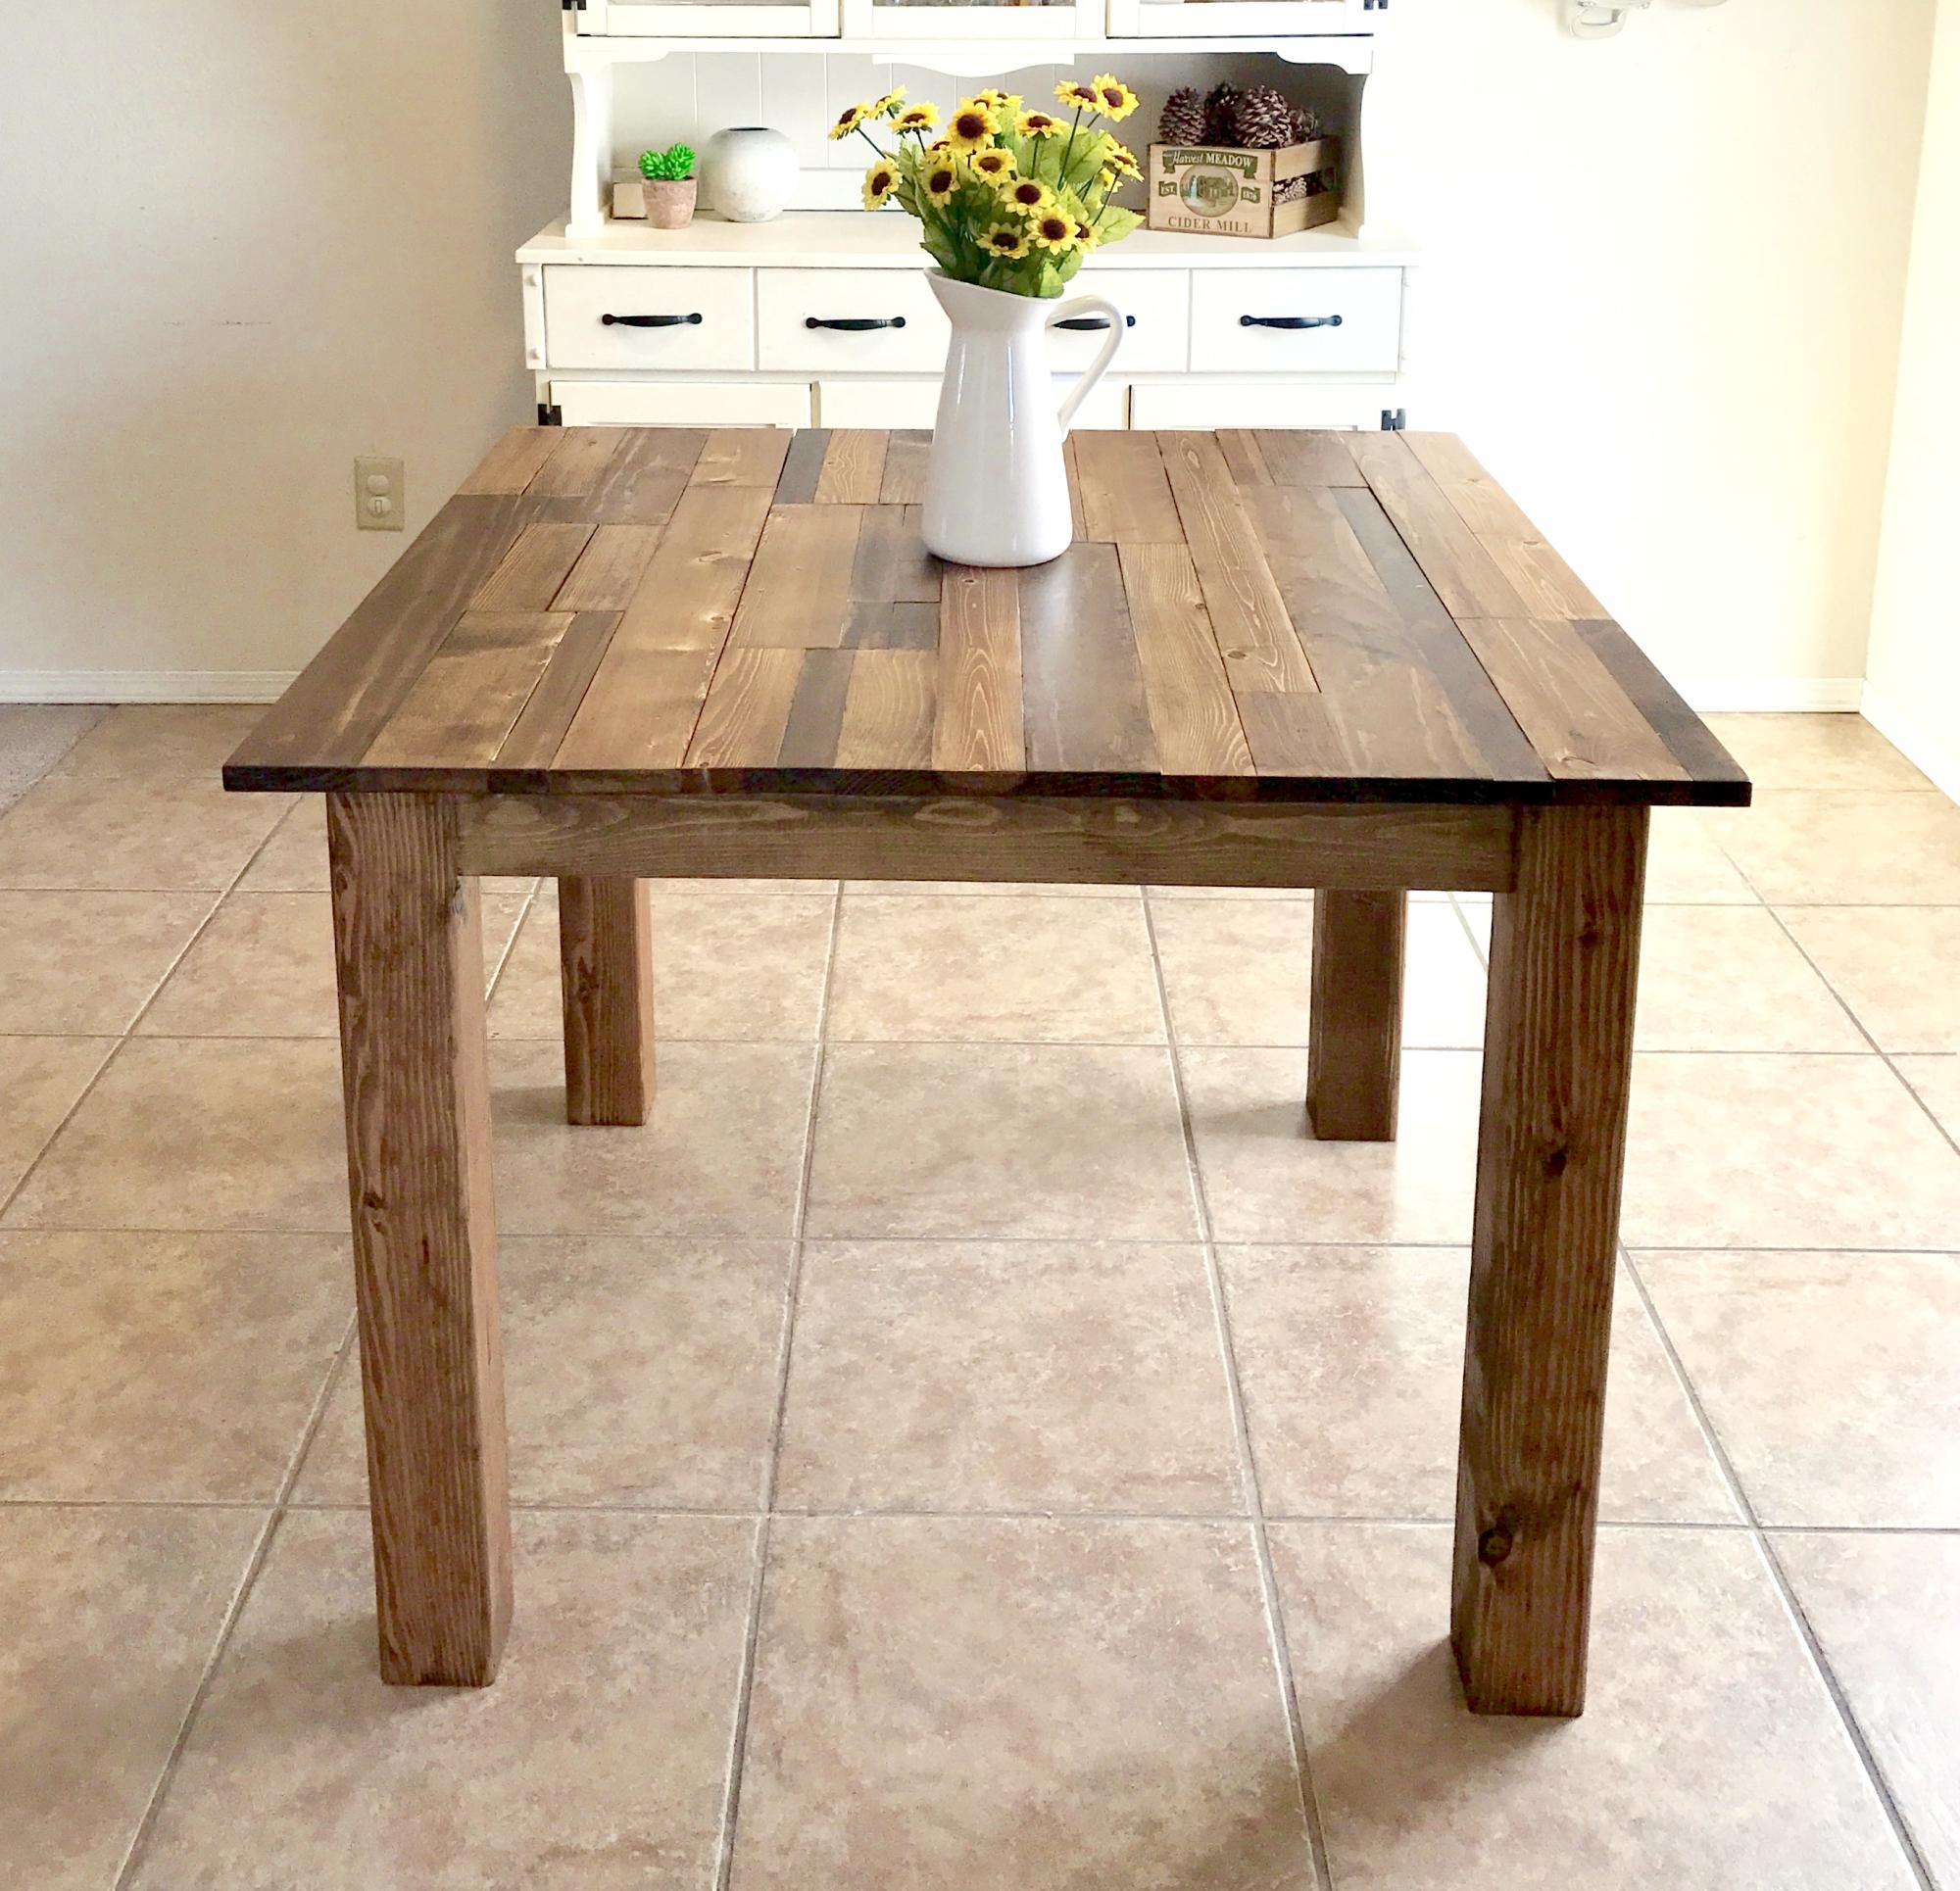
I built this table for a friend who wanted a rustic, plank-top kitchen table. She wanted a square table with 4x4 legs. Since I don't have clamps, I used pocket holes and wood glue for the table top. Also, I only have a 7&1/4" miter saw, which means the 4x4s were too thick to cut. So I made one cut in the legs, then flipped them and made another. It worked! :) I sanded down the sides of the table top with 80 grit. They needed to be evened up since some of the planks were a little longer than others. I back braced underneathe the top with (3) 1x3s. Then, I sanded all over with 120, vacuumed, then wiped it down with a damp towel. Fun build!!
Built from Plan(s)
Estimated Cost
~$100 for lumber, screws, wood glue, sandpaper, and finishing products.
Estimated Time Investment
Week Long Project (20 Hours or More)
Finish Used
For the finish I used Minwax wood conditioner, then a coat of Minwax stain in Provincial. I went back and put a second coat of stain on a few of the premium pine pieces, because they soaked up the first coat really well, and I wanted some darker pieces on top. I let those soak for about 15 minutes. Afterwards I did 2 coats of Polycrylic all over, then a third coat for the top only. I dry sanded between coats with 600 grit sandpaper.
Recommended Skill Level
Intermediate
Narrow Console Table
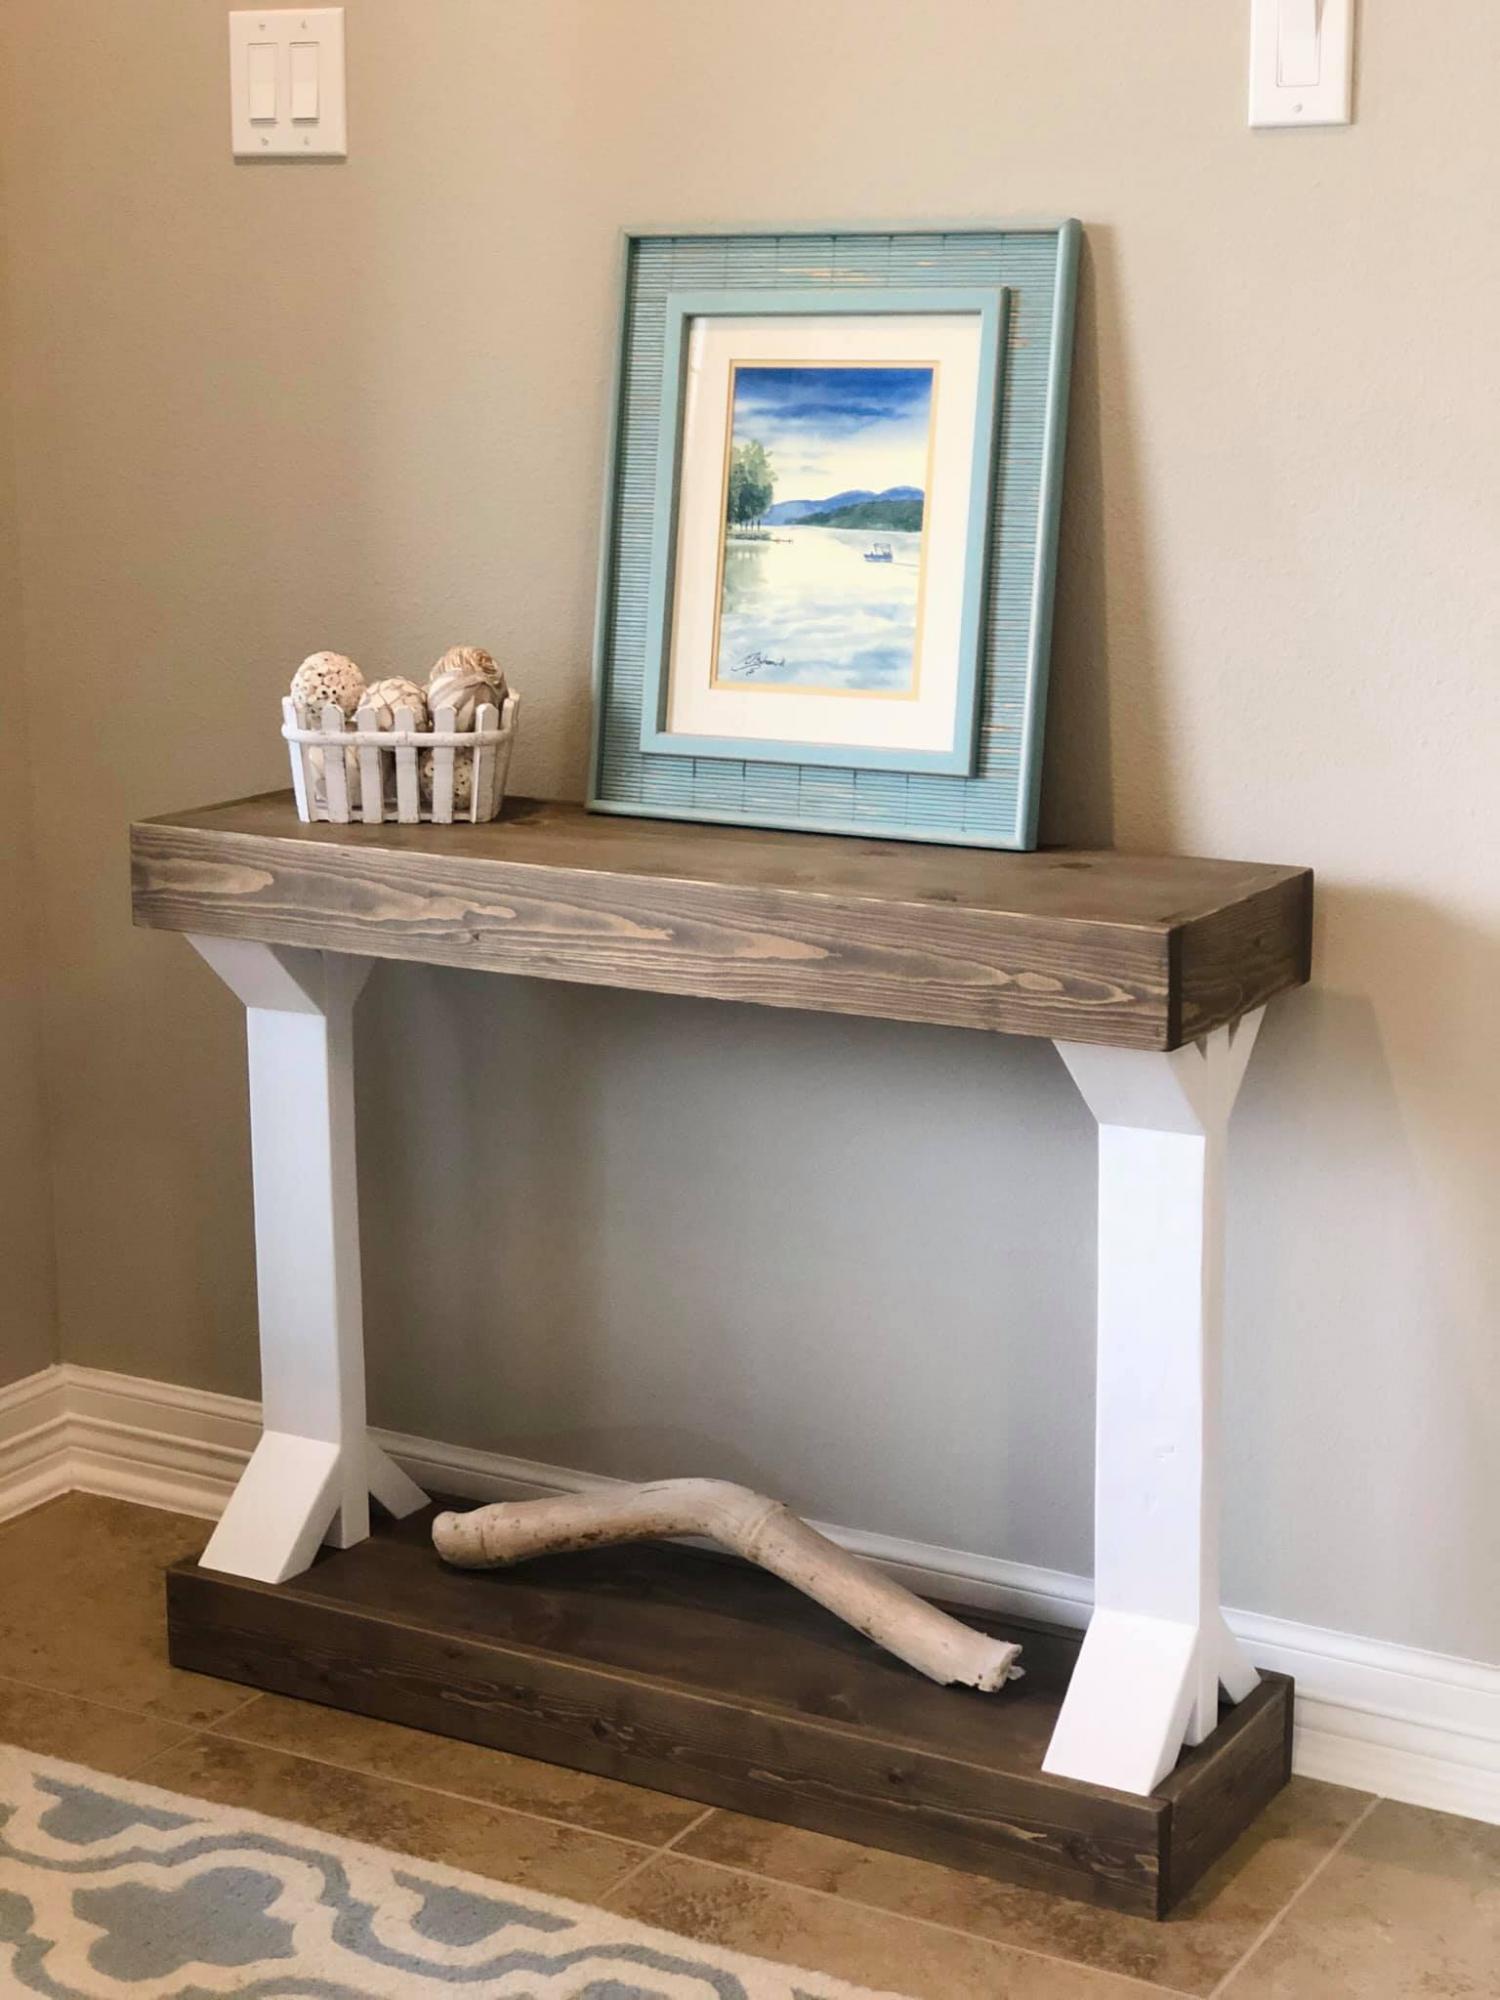
New table for my entryway!
Built from Plan(s)
Comments
We did it! Our first every project!
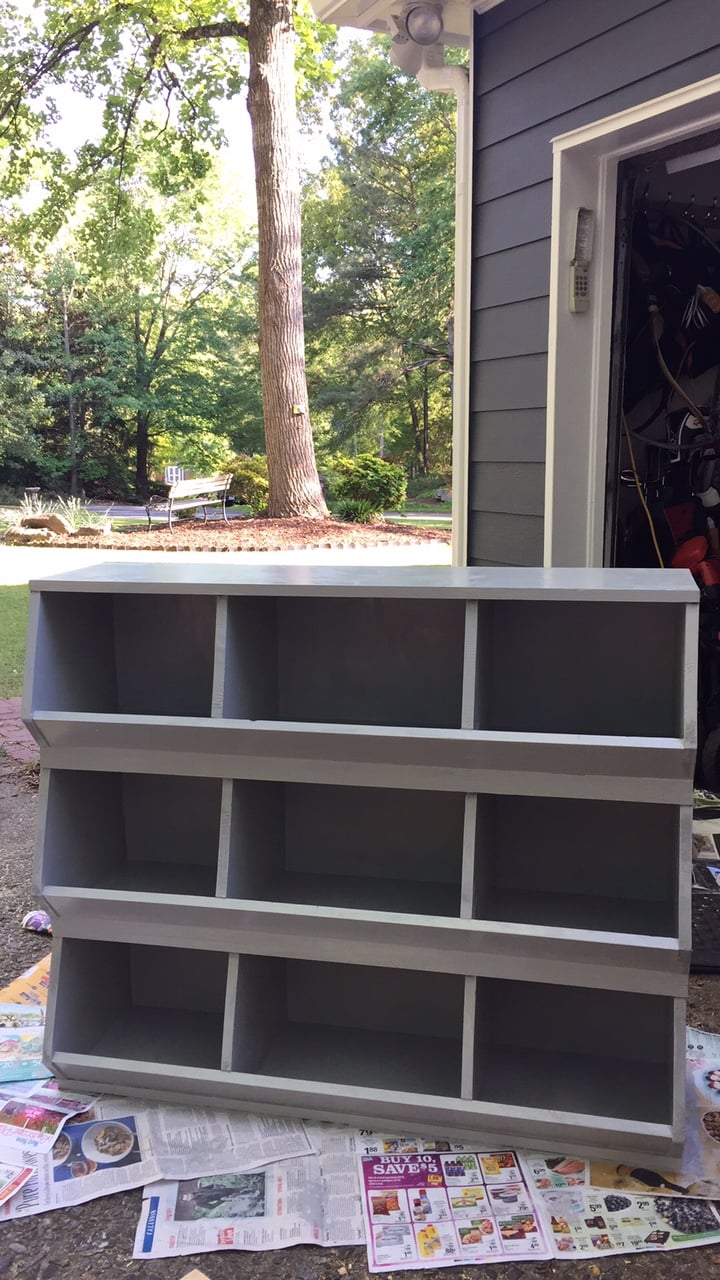
We are in desperate need of toy storage in our playroom. We are planning to build several more of these bulk bins.
Built from Plan(s)
Estimated Time Investment
Day Project (6-9 Hours)
Recommended Skill Level
Beginner
Comments
Mon, 05/04/2015 - 10:59
Awesome First Project!
You did great! Thanks for sharing, now fill those things up:)

Sun, 11/20/2016 - 10:39
type of wood
It was just standard pine. We painted afterwards with grey paint leftover from a kitchen project.
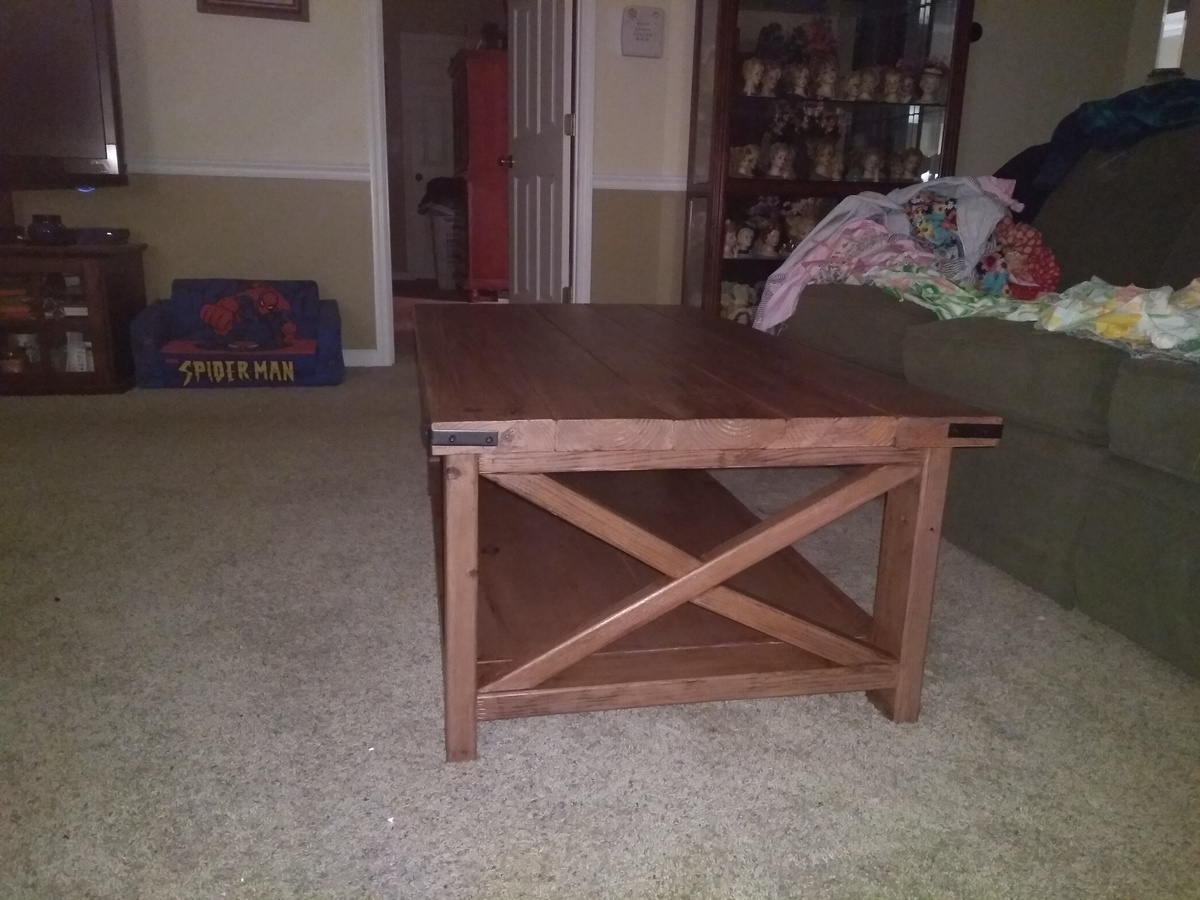
Coffee Table Finished
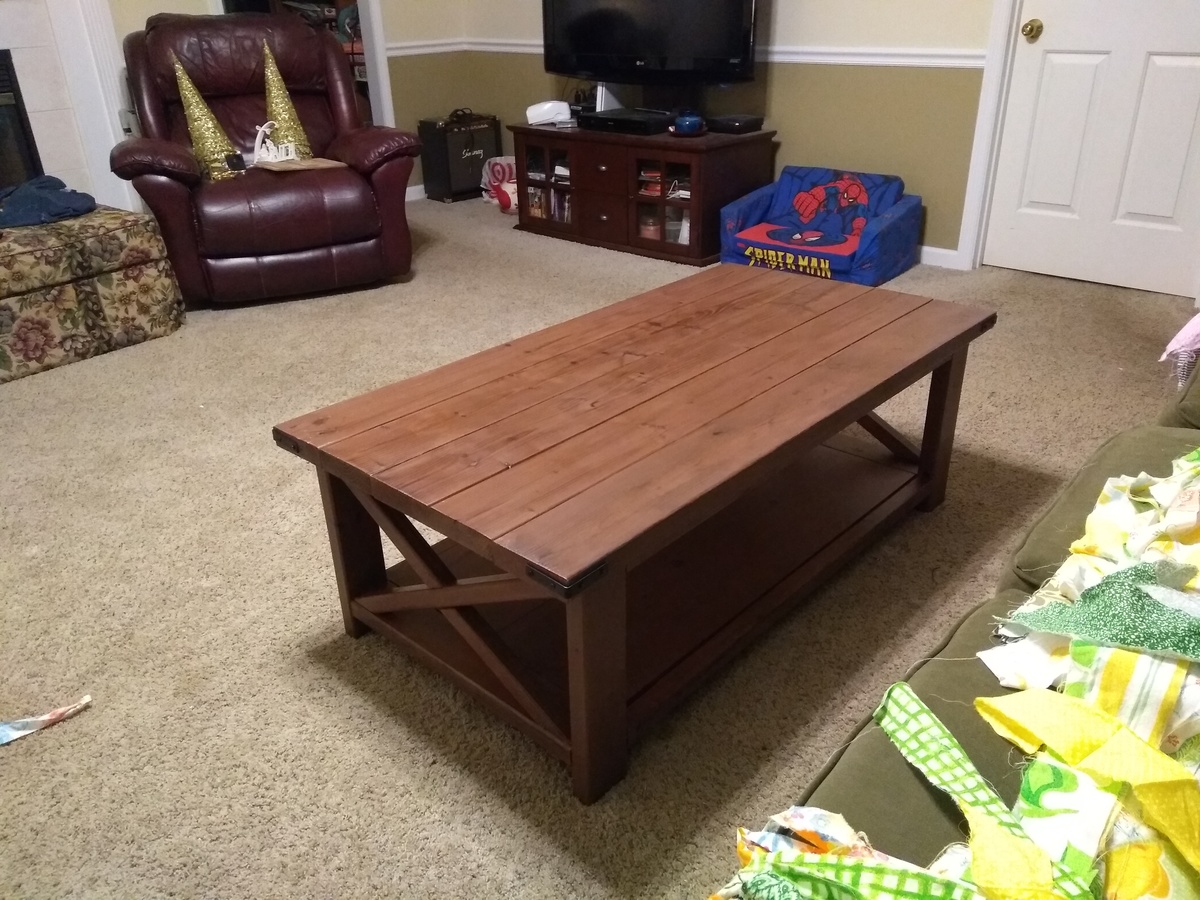
Glad to finish this build. Completed the matching end table over a year ago. Finally got around to find this table. I enjoy Ana's plans and look forward to selecting my next project. Thanks for the free plans!
Built from Plan(s)
Estimated Cost
$75 for lumber. Already had PH screws, wood glue, and necessary tools.
Estimated Time Investment
Week Long Project (20 Hours or More)
Finish Used
Vinegar and steel wool stain
Recommended Skill Level
Intermediate
Outdoor chair frames and coffee table

I built a set of chairs and a coffee table for our newly designed outdoor area. These look amazing and people love sitting on them and hanging out outside our house.


Built from Plan(s)
Comments
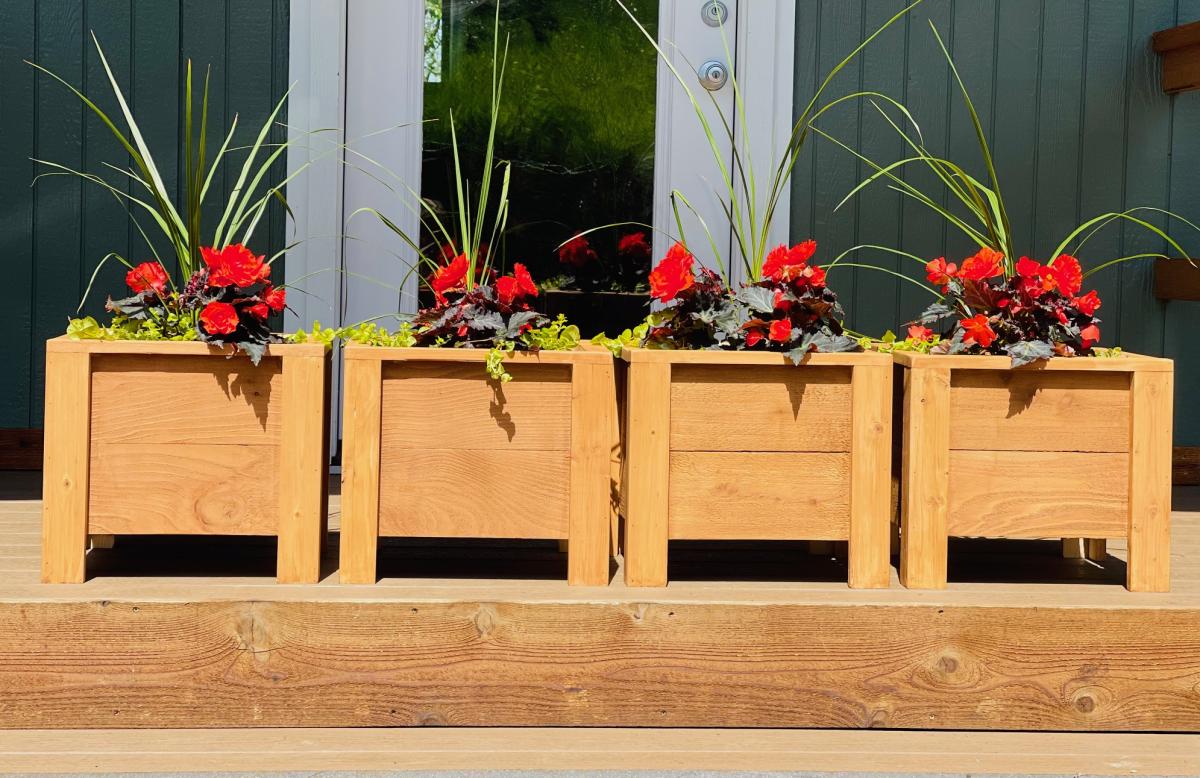
Easy Build Fence Picket Planters
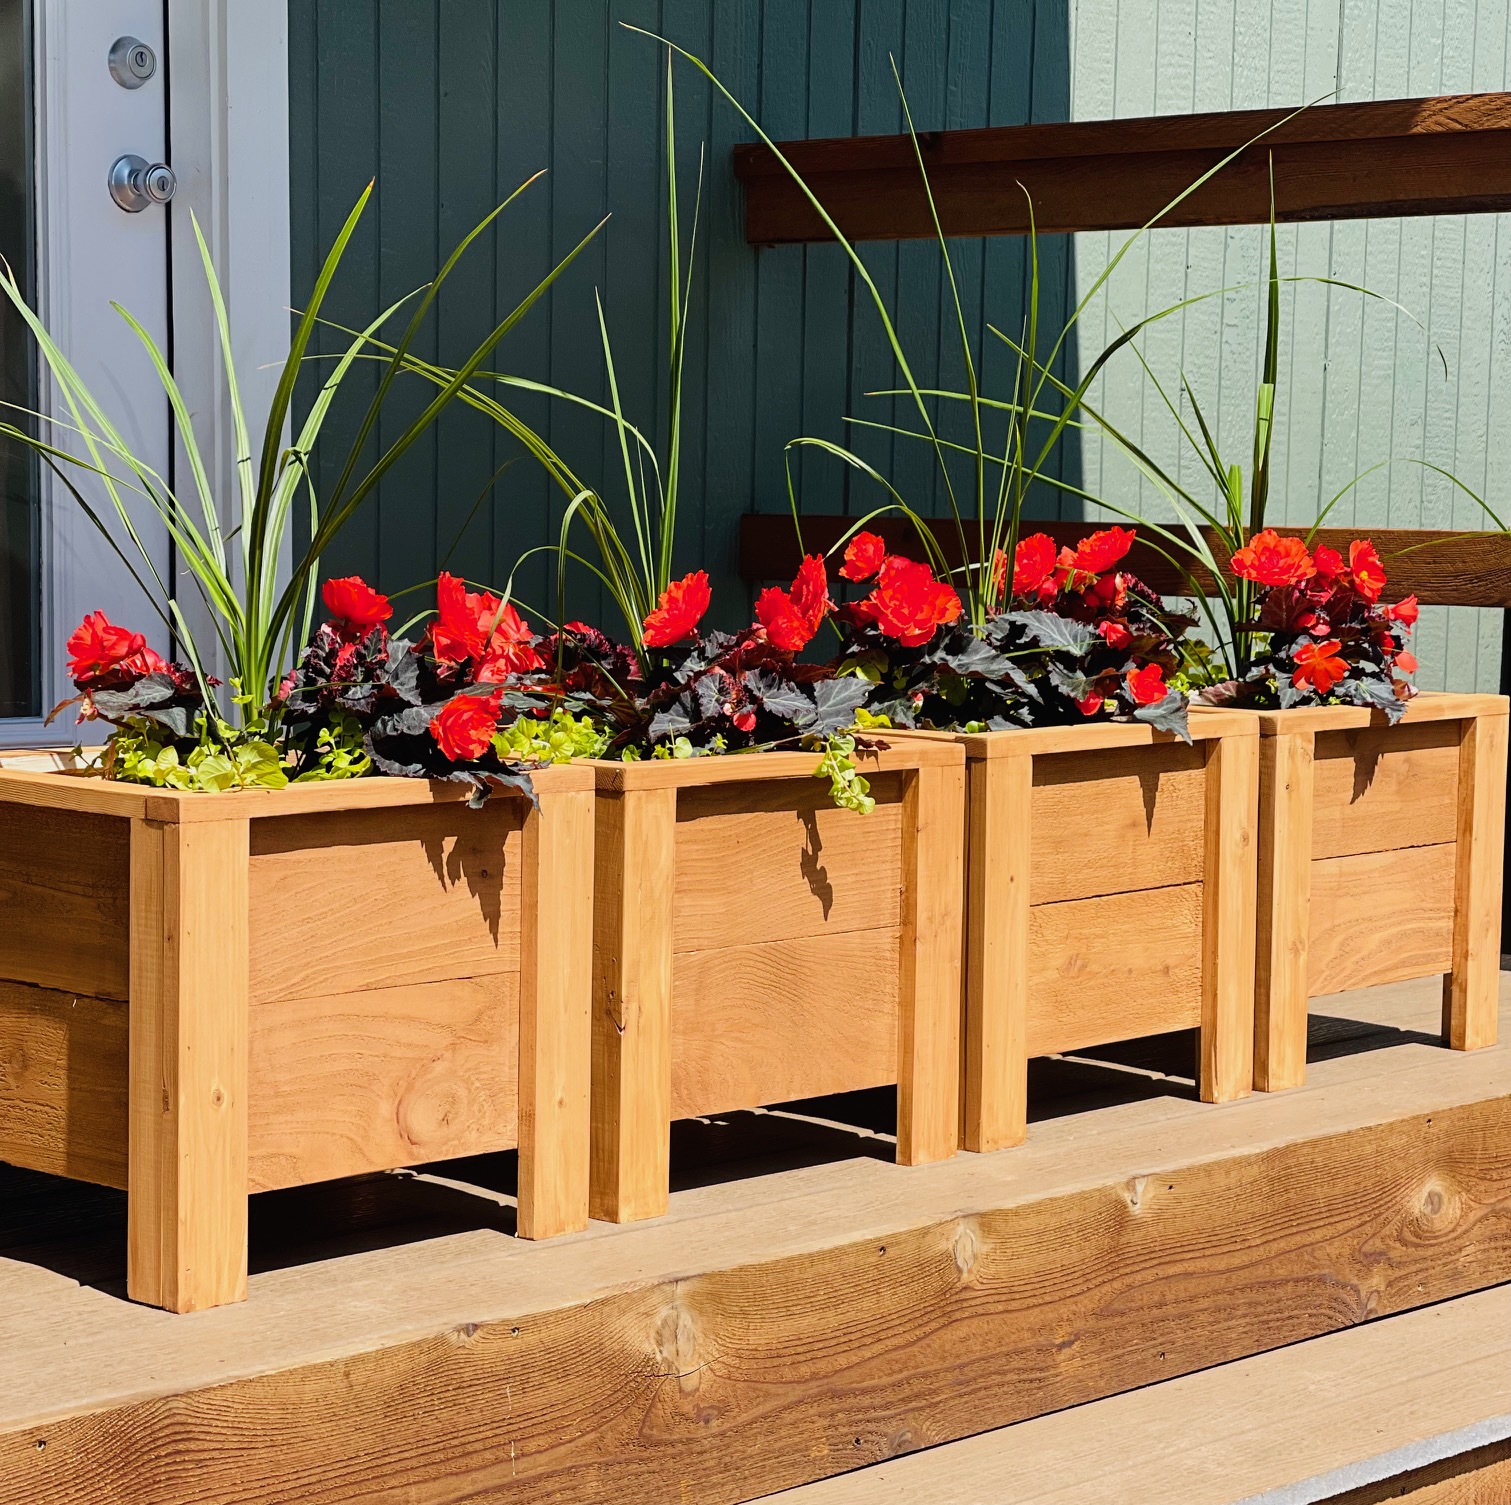
I've been wanting to build this plan for quite some time! Took me about 2 hours to build and 1 hour to finish. Giving these as gifts for Mother's Day! Total cost was about $15 per planter. I scaled down the design after I found the plants I wanted to put in them. Ana has the best and easiest plans!

Built from Plan(s)
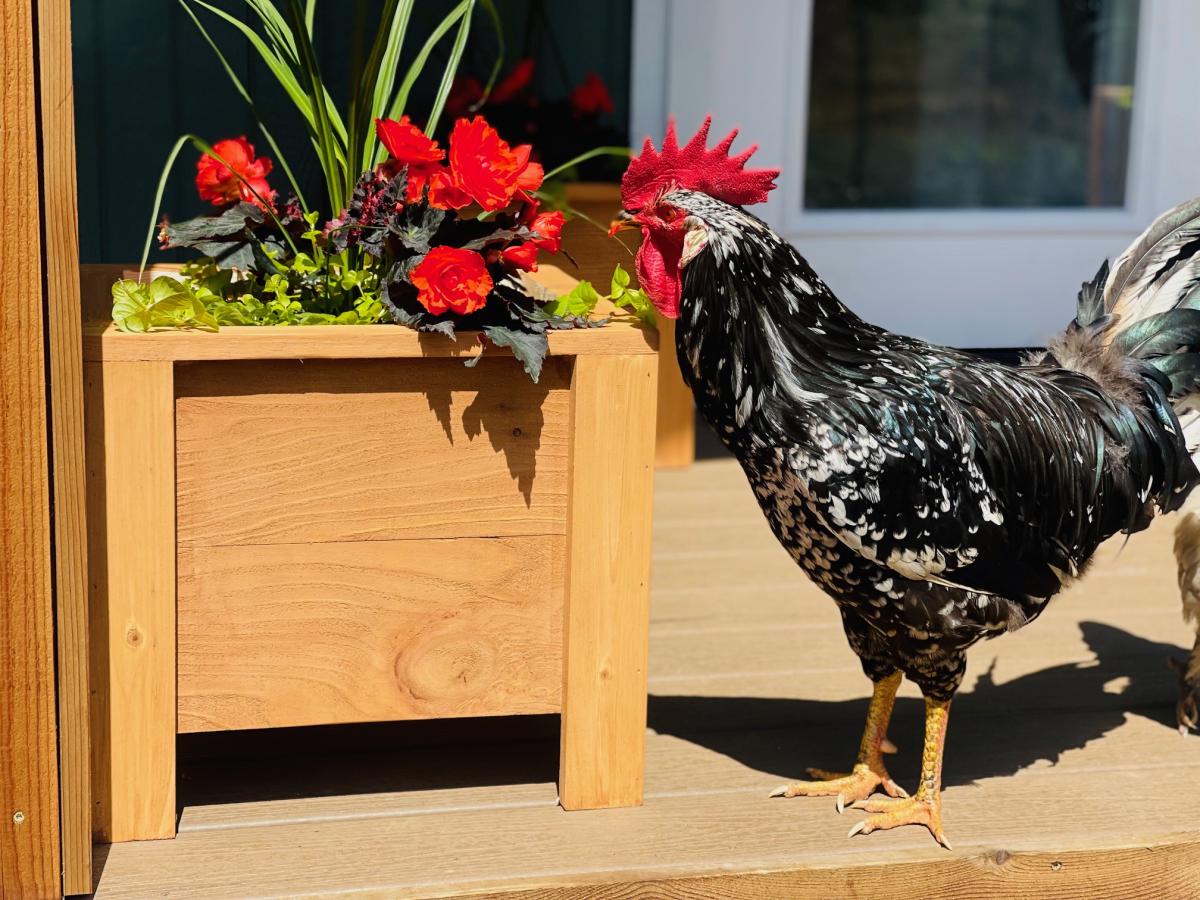
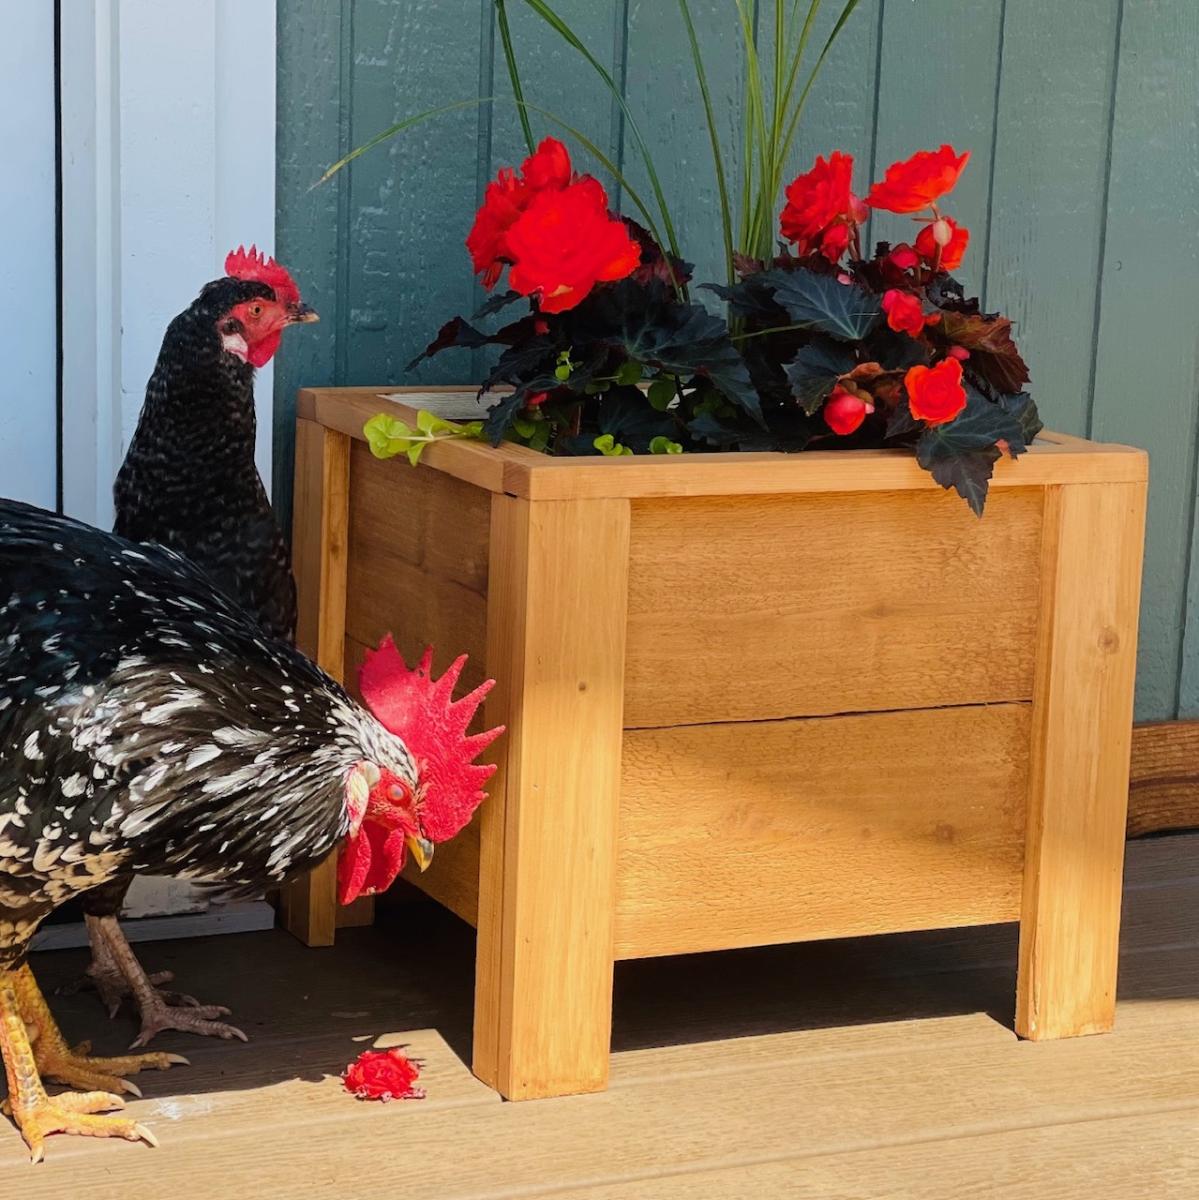
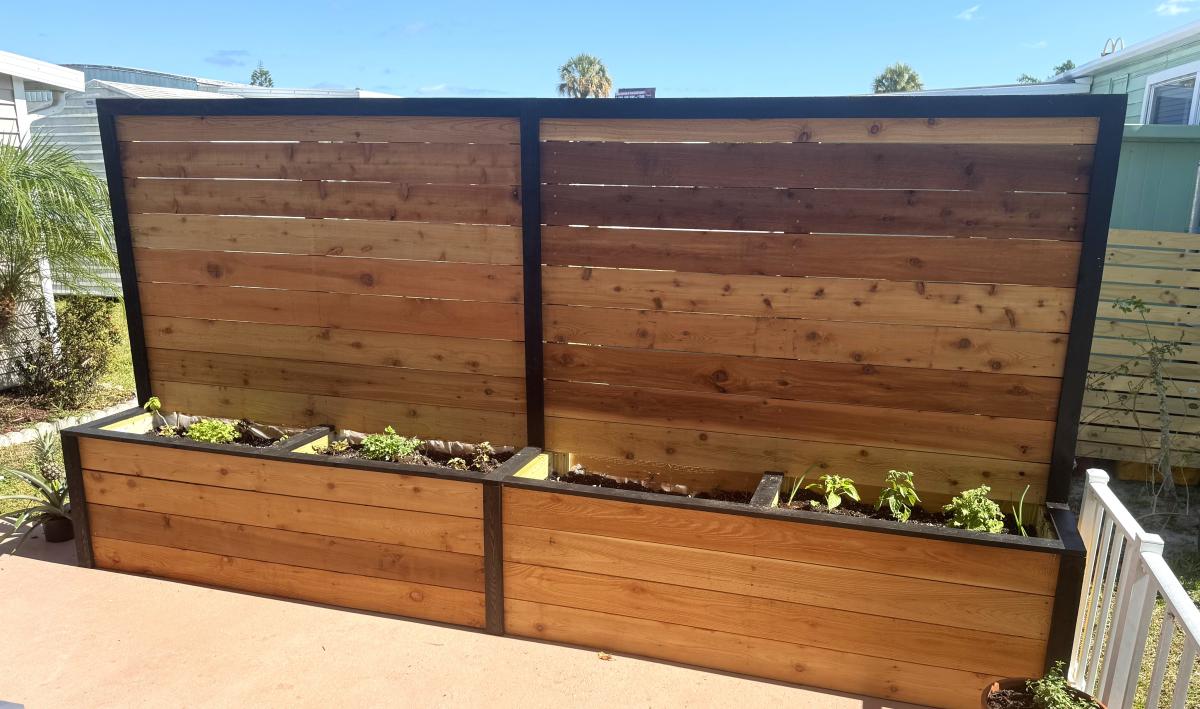
Double Pirvacy Planter
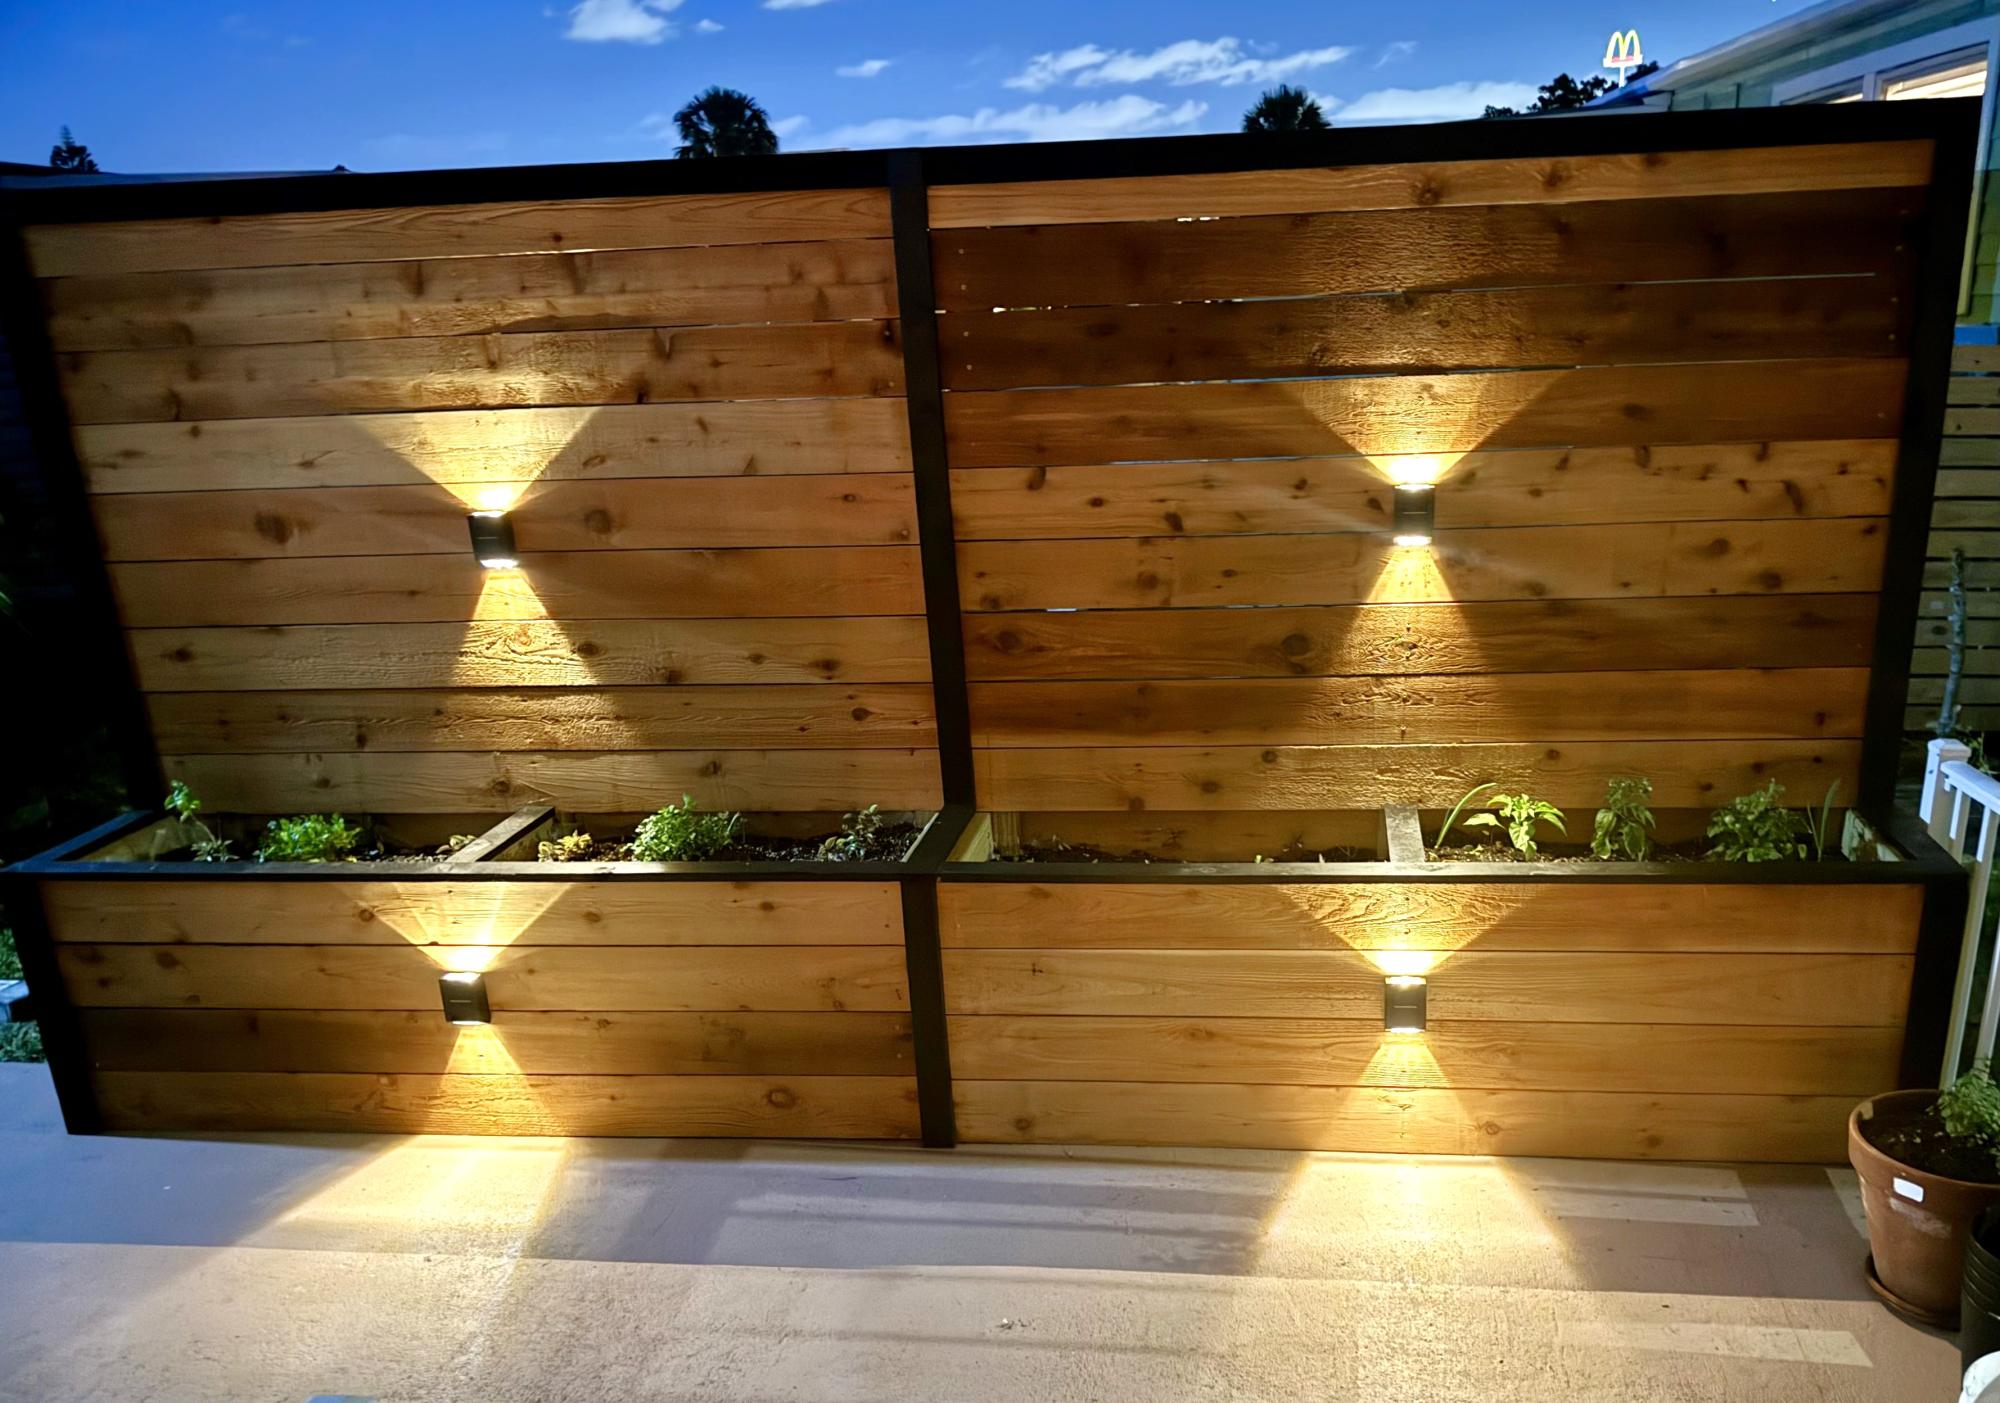
Used your plan as a start and improvised from there. Thanks
Built from Plan(s)
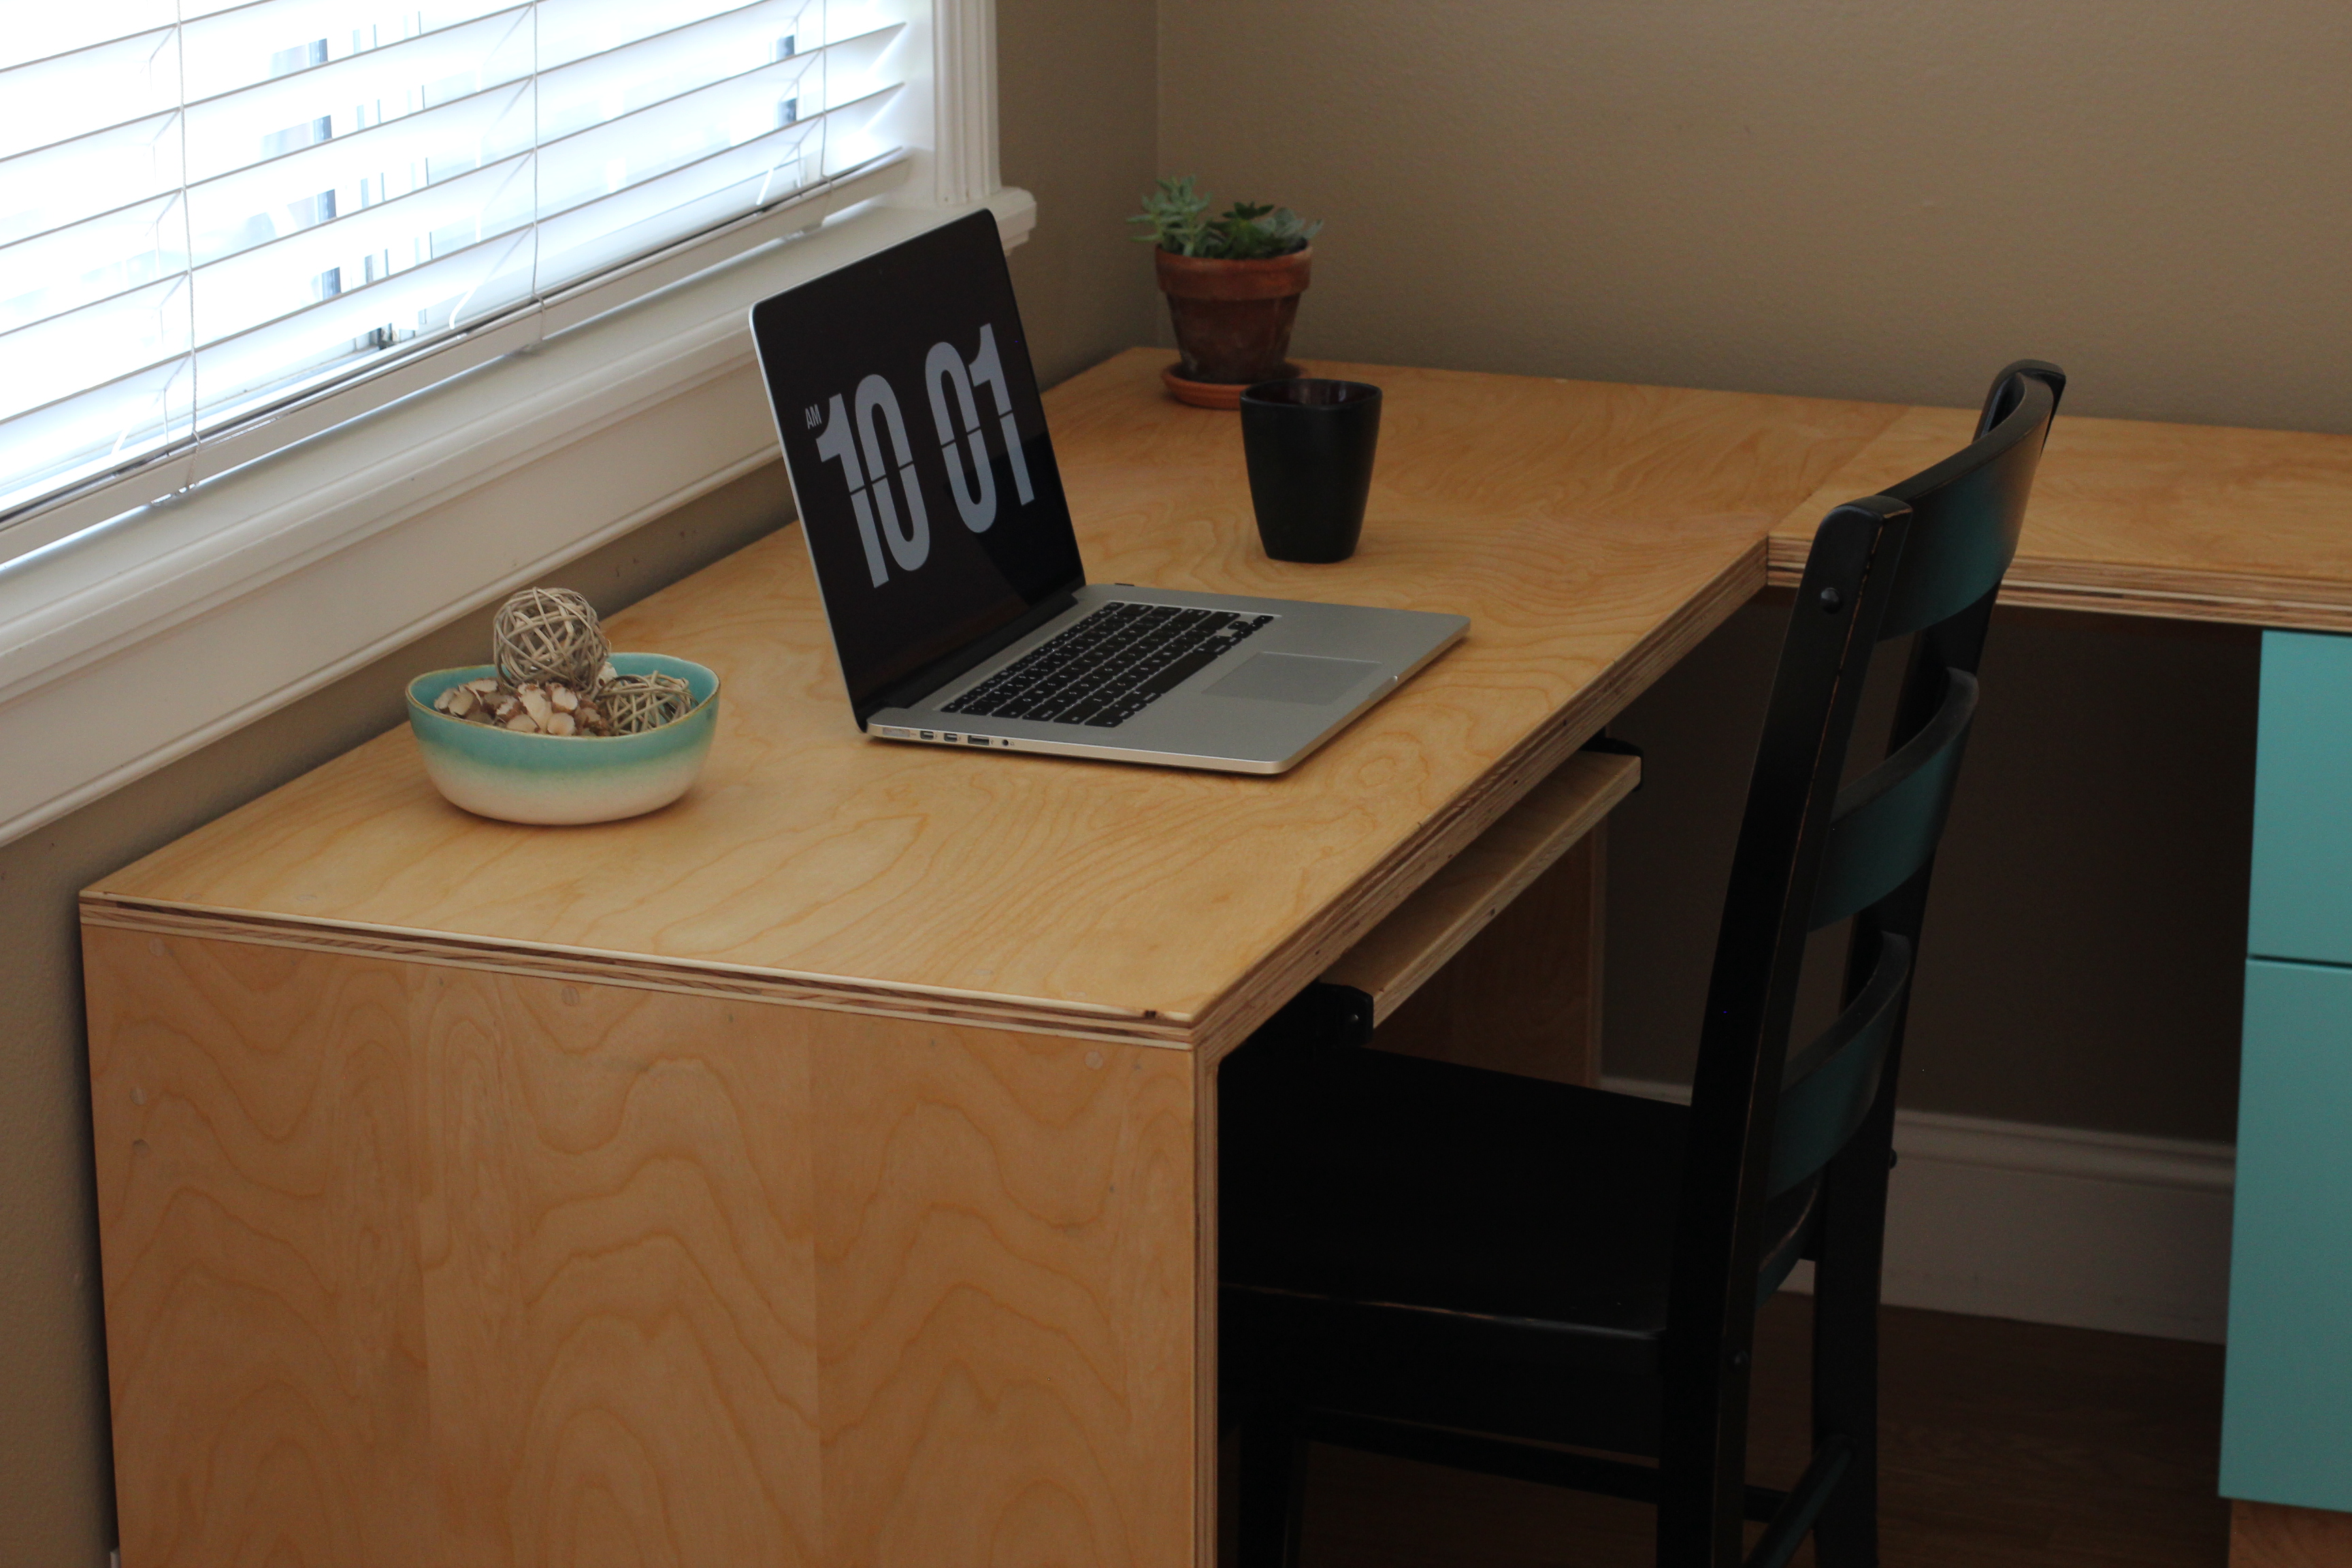
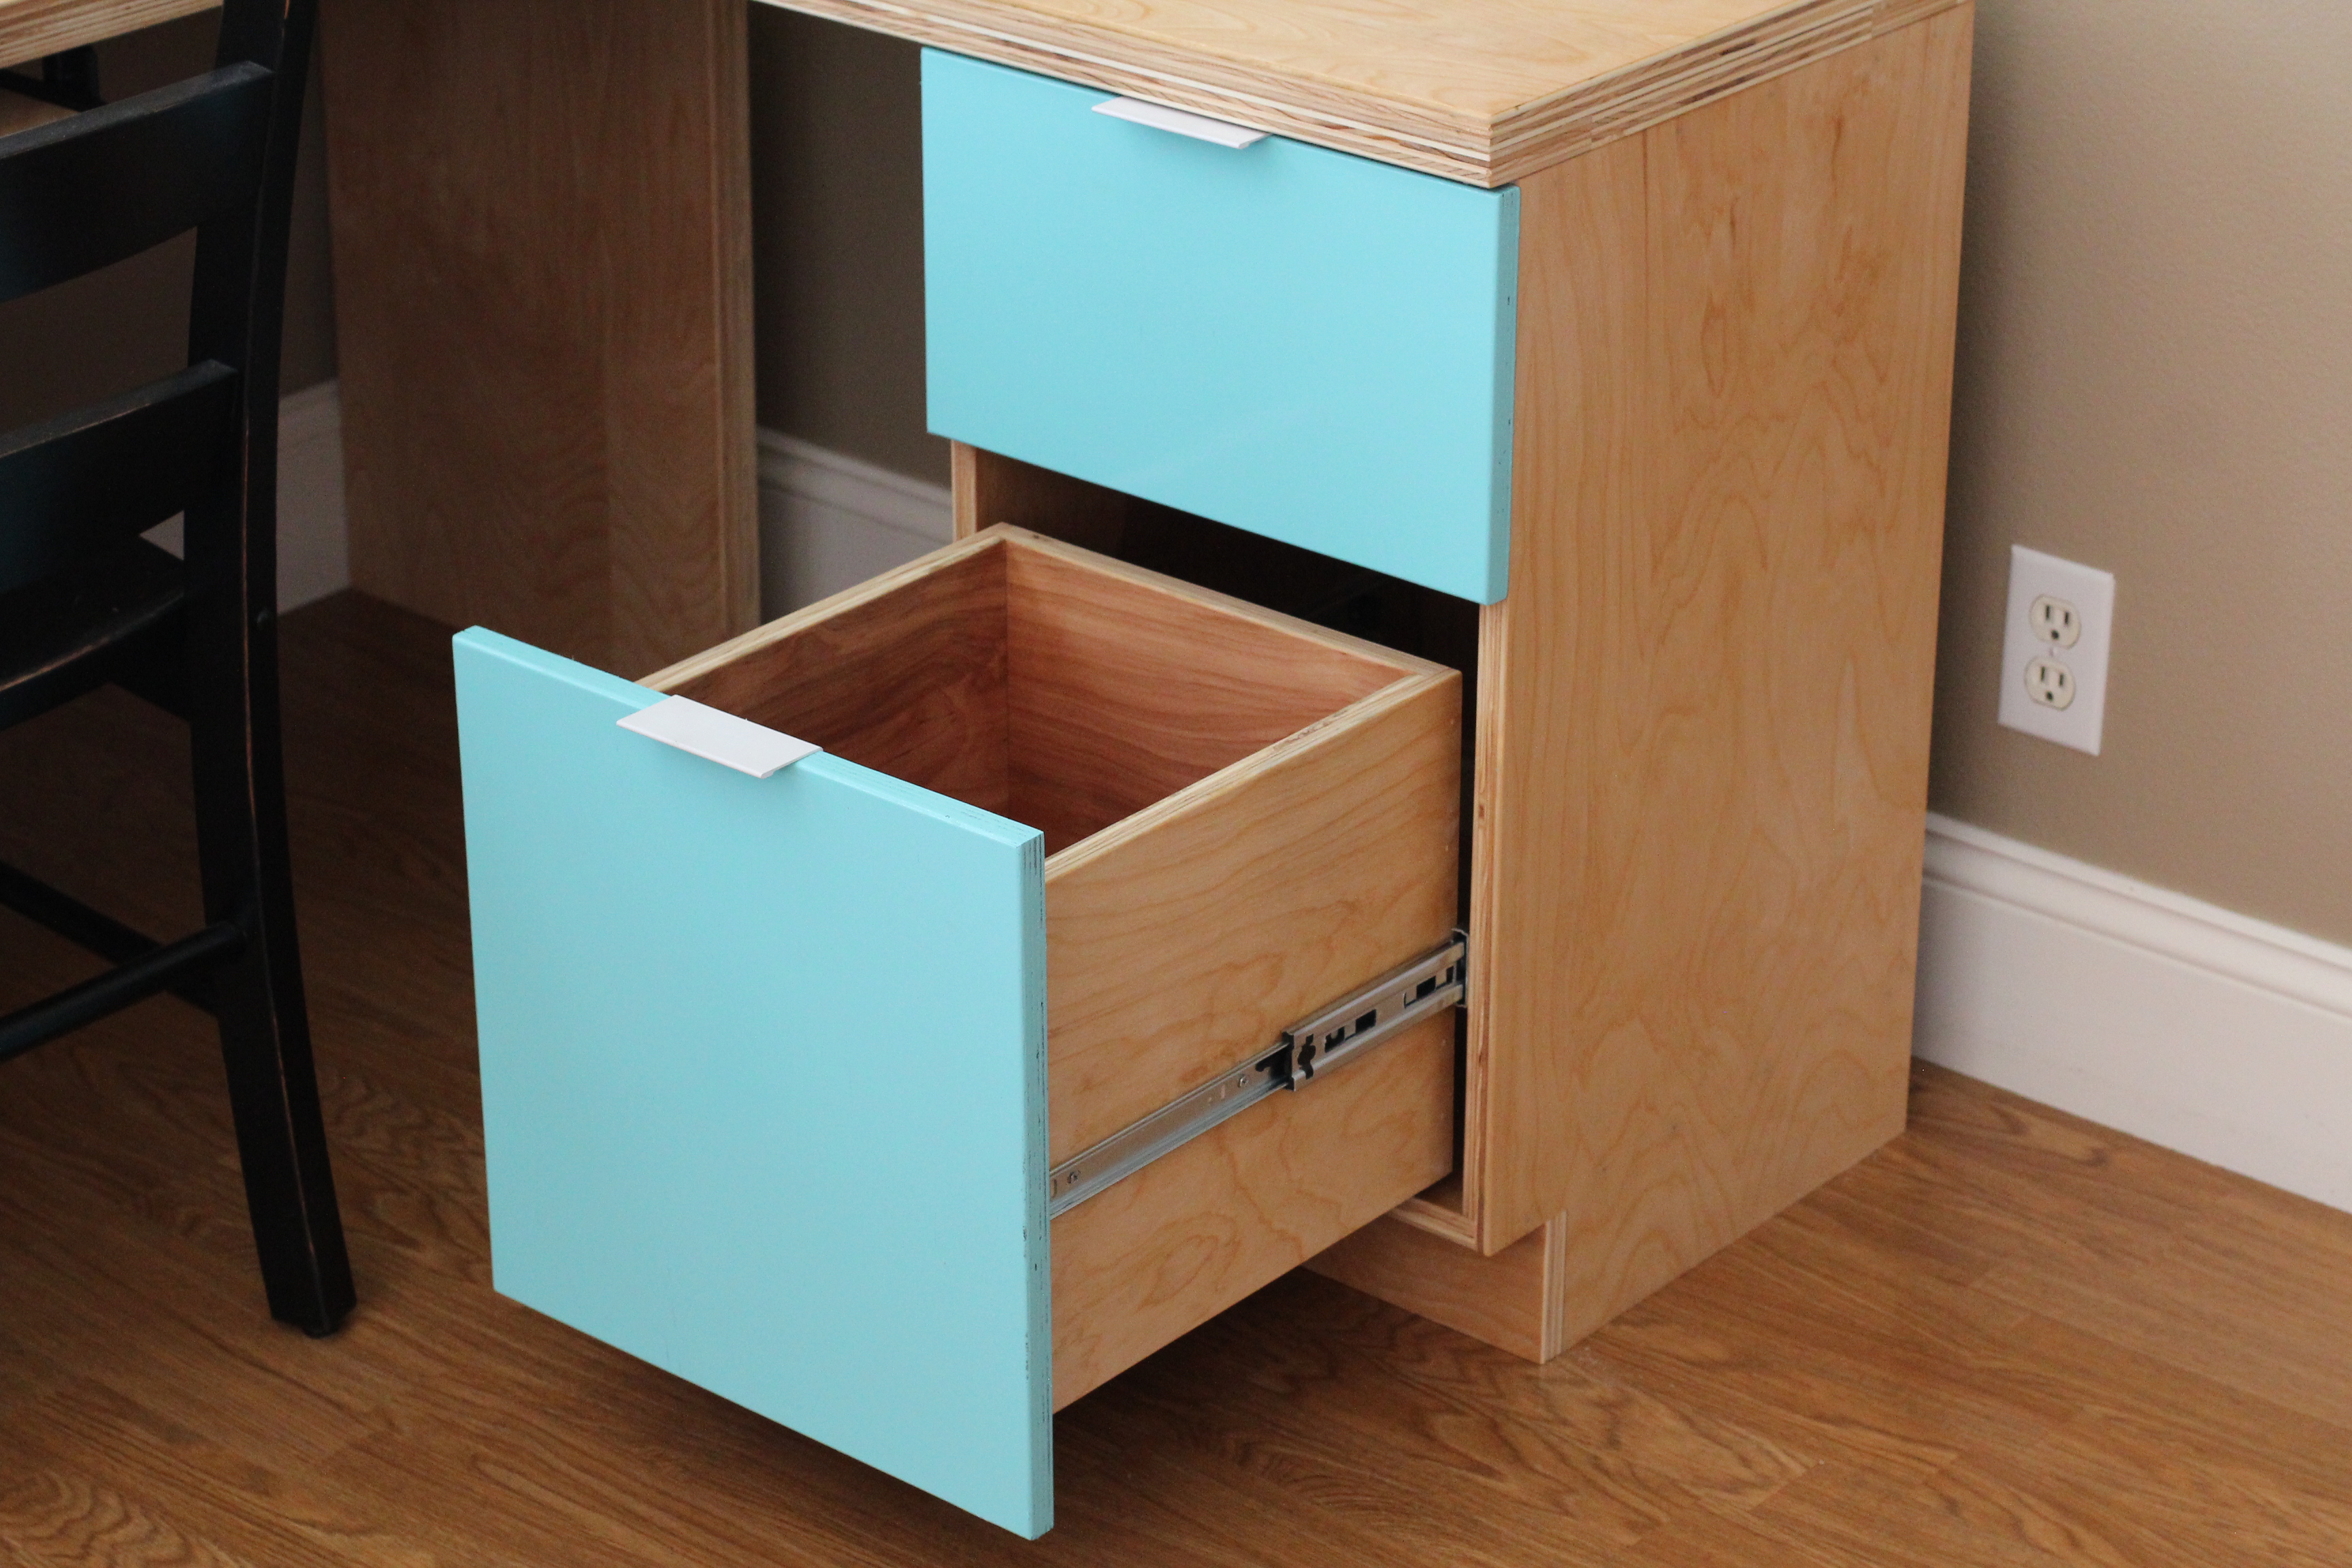
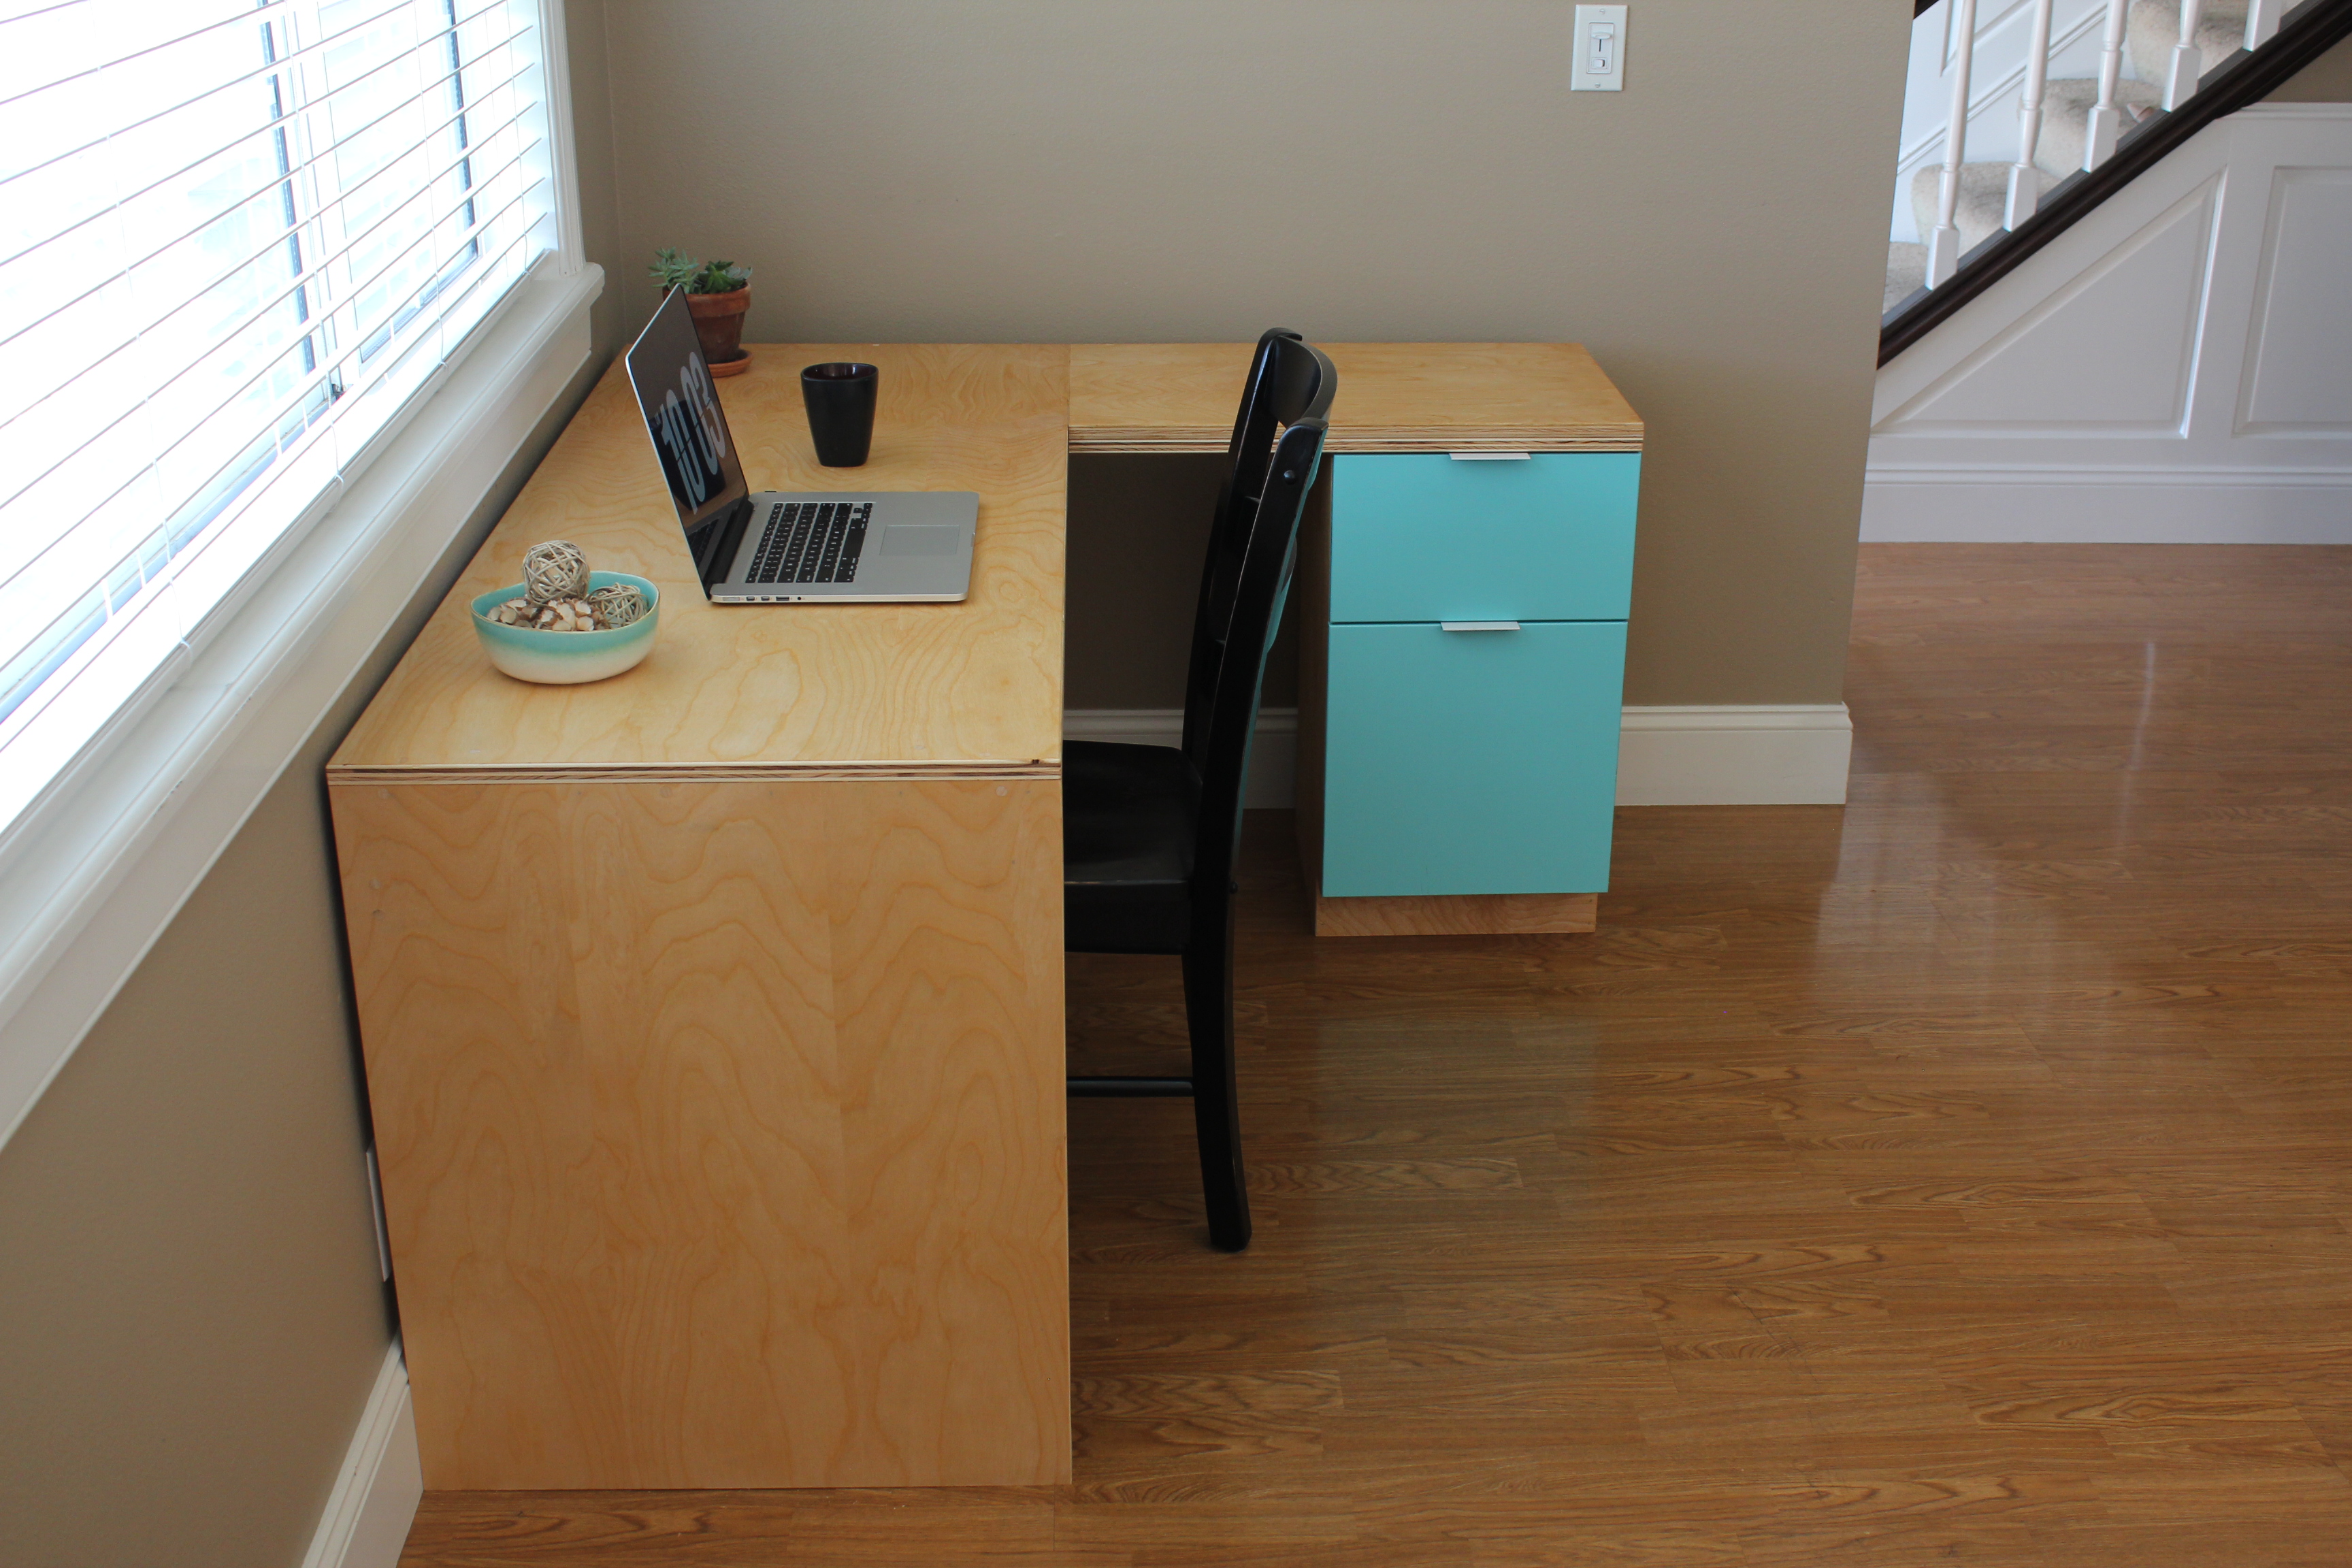
L-shape Modern plywood desk
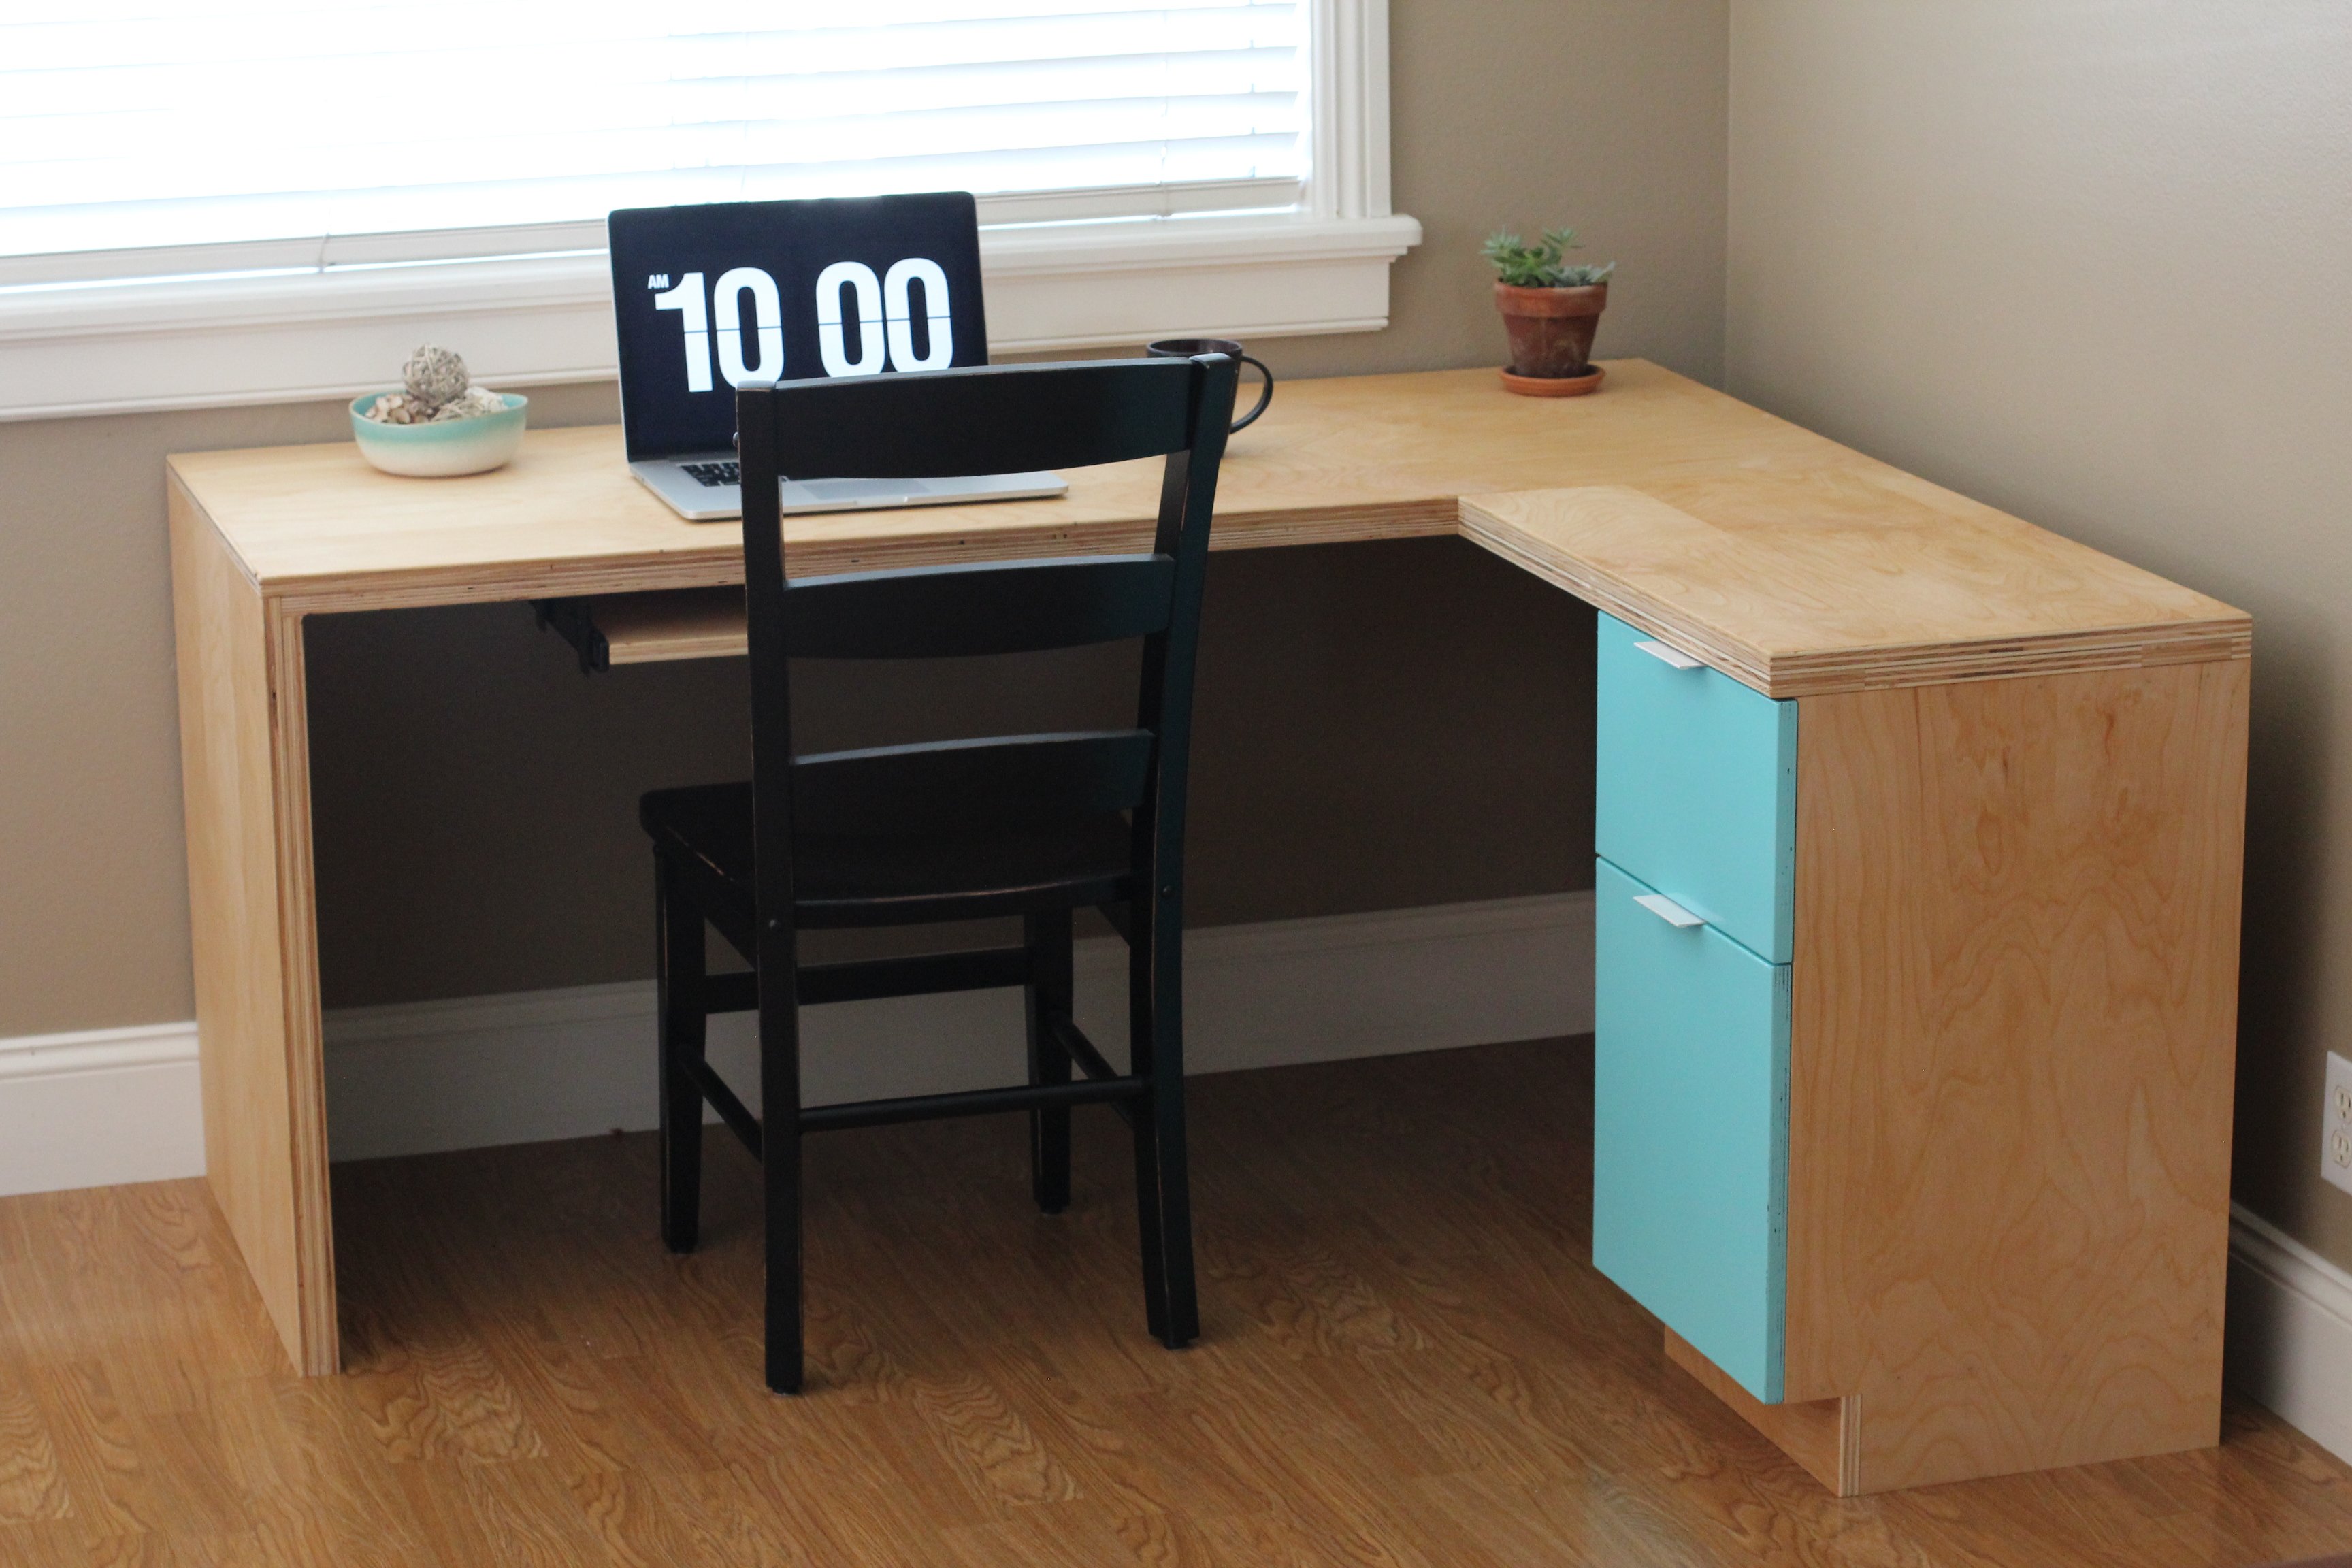
I constructed this desk all from birch plywood. It features a pull out keyboard tray, modern drawer finger pulls, and full extension drawer slides. The plywood was finished with a hand-rubbed danish oil for a natural wood appearance.
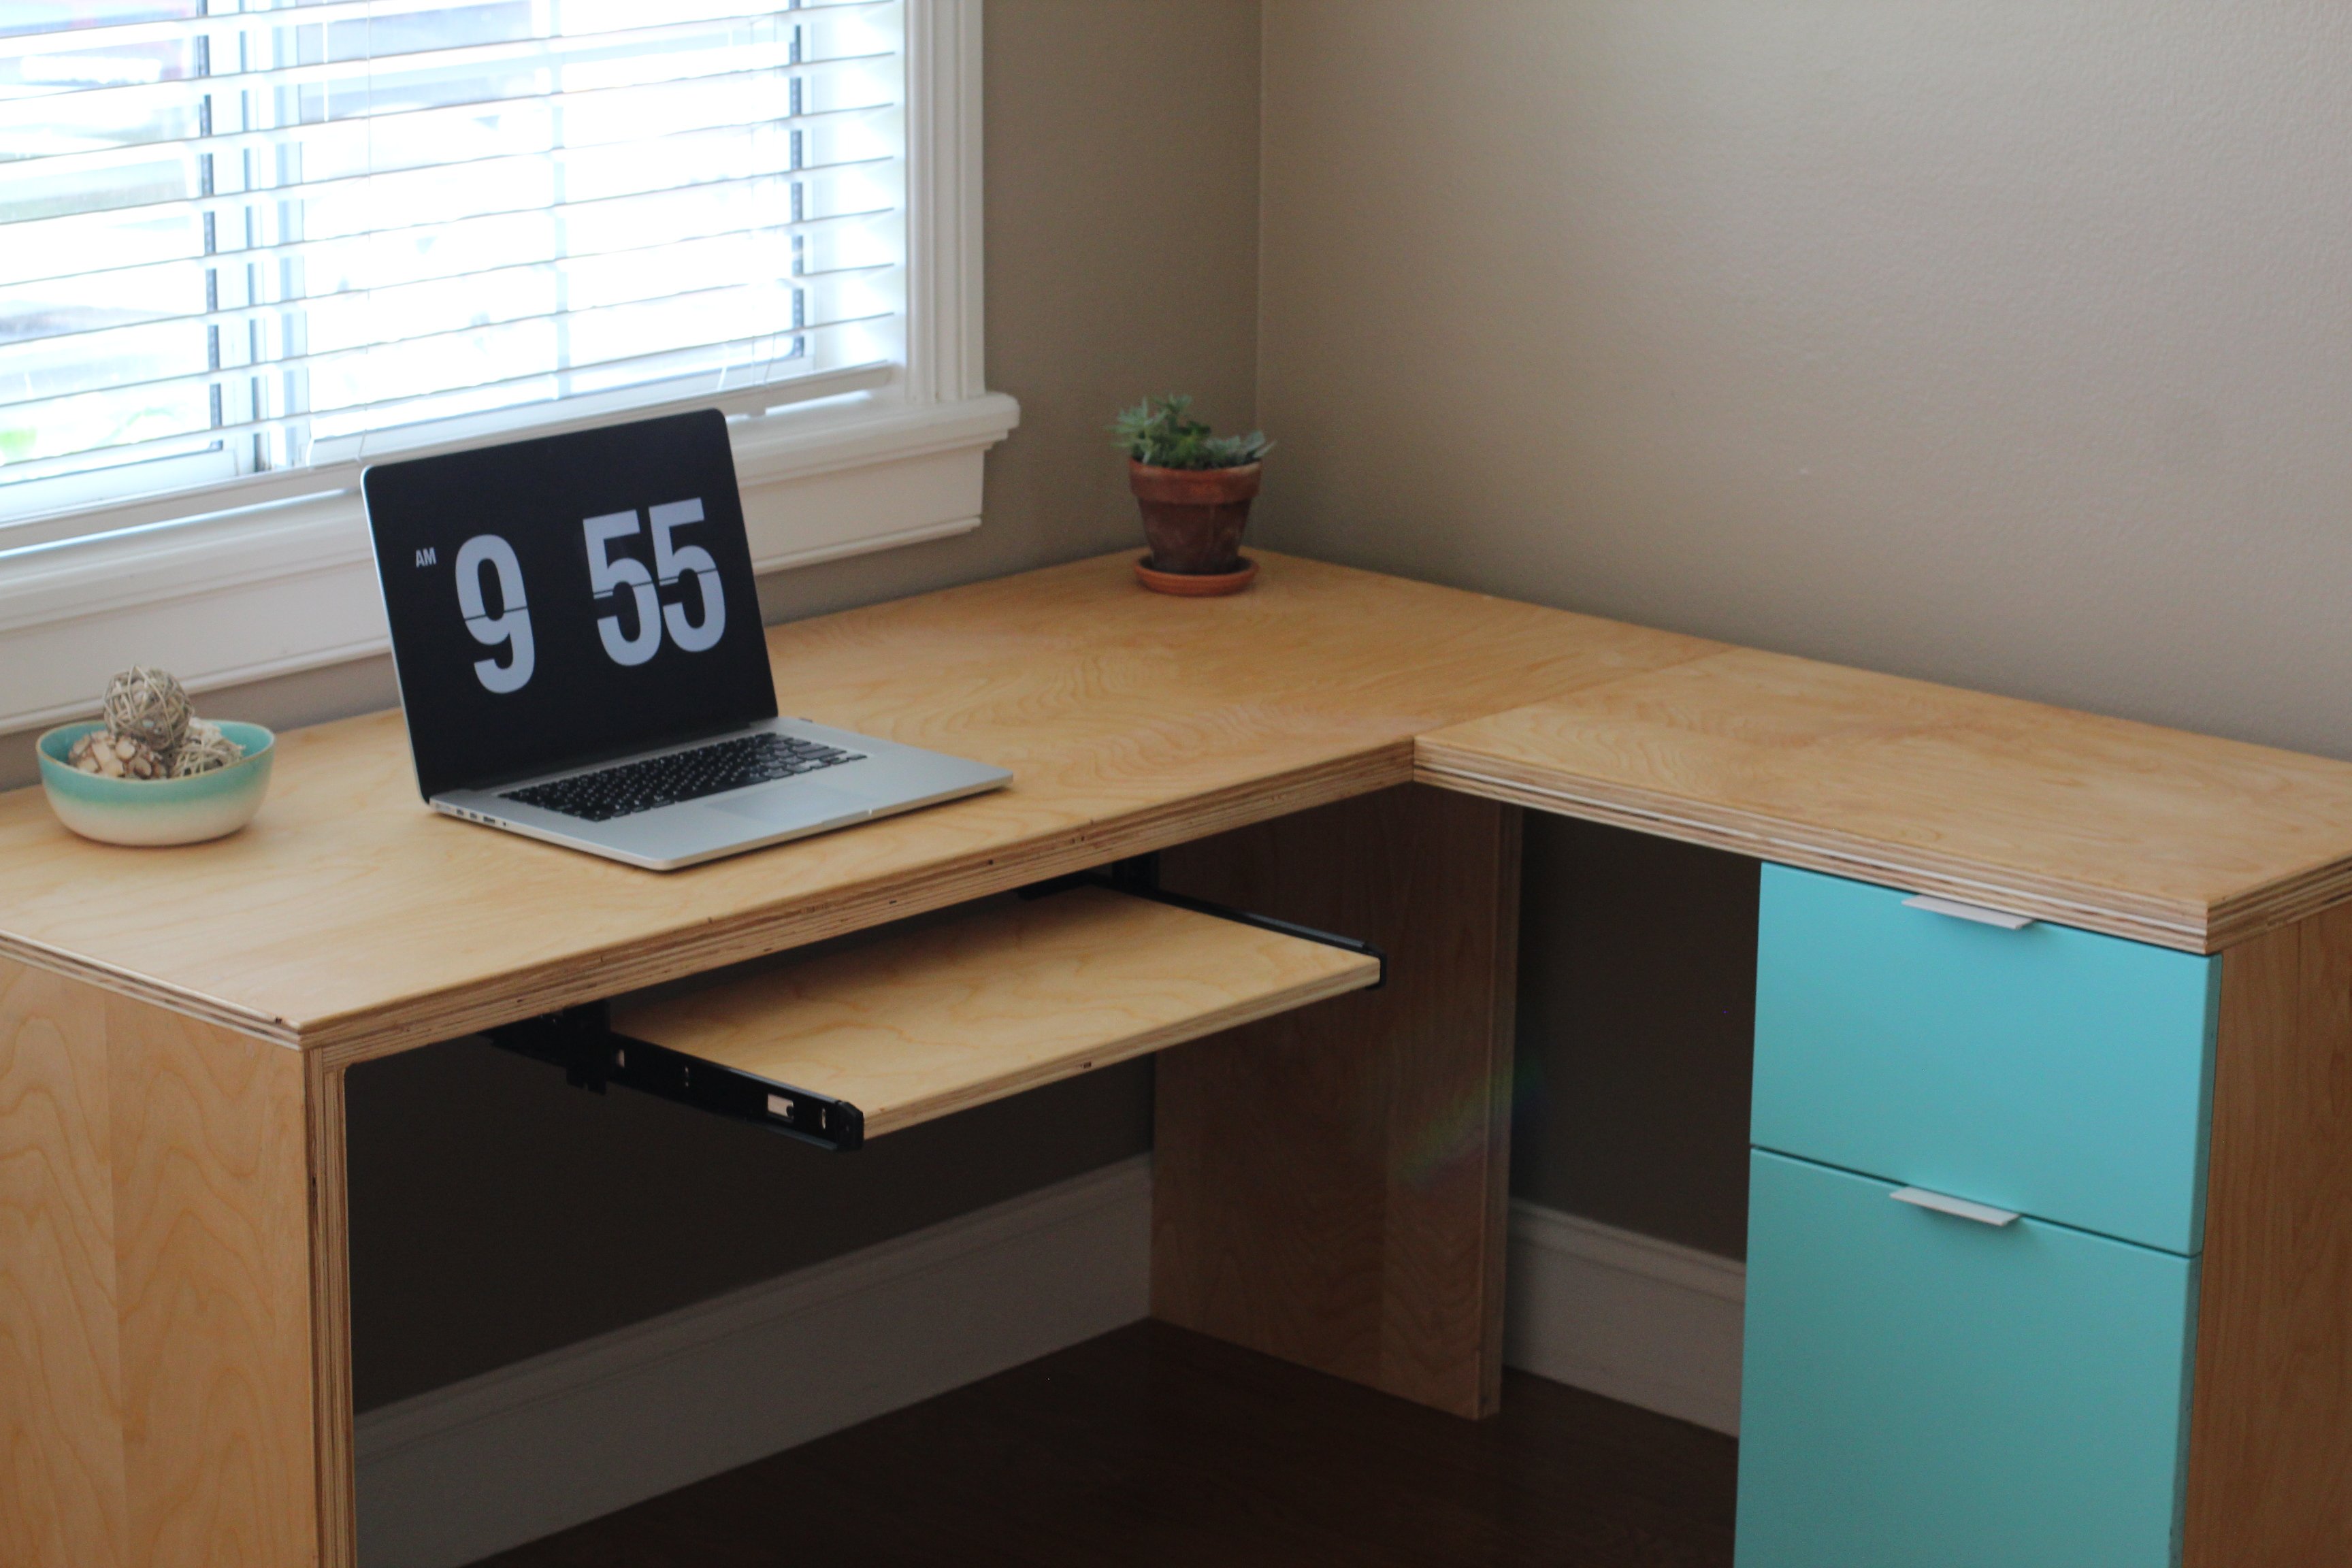
Estimated Cost
$150.00
Estimated Time Investment
Afternoon Project (3-6 Hours)
Finish Used
danish oil
Recommended Skill Level
Starter Project
Kids Adirondack Chair
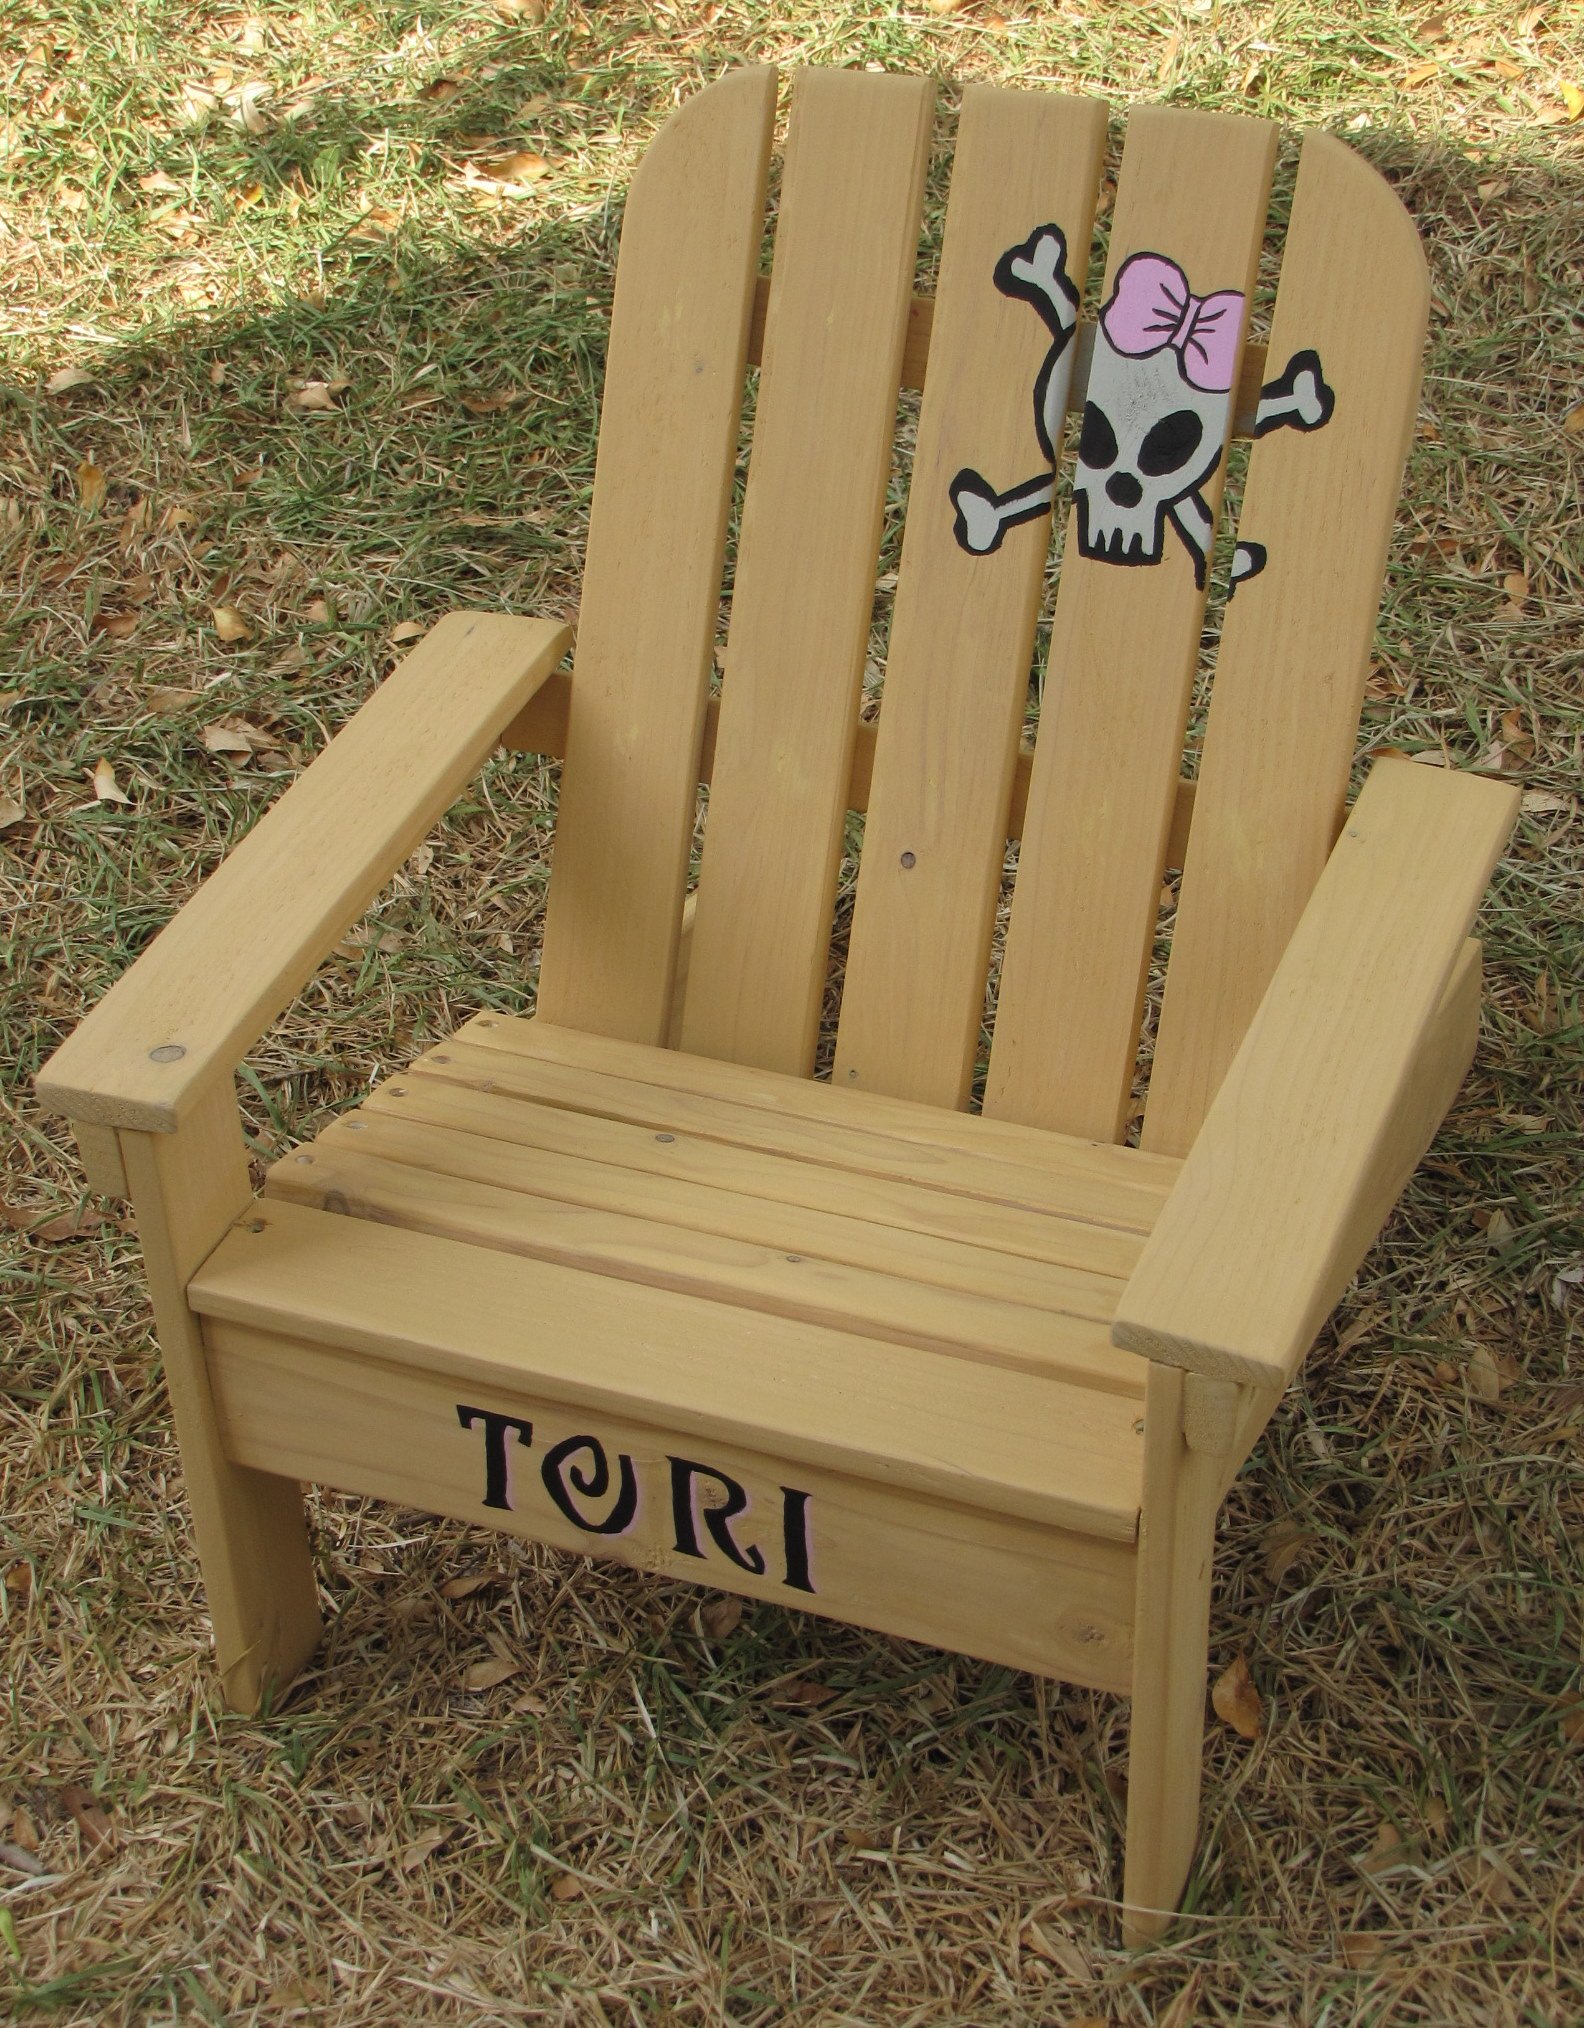
The Kids Adirondack Chair. I love these little chairs! Simple and easy to build. This one was a birthday present for my niece's daughter. Read more about this project on my blog.. Thanks Ana!!

Built from Plan(s)
Estimated Cost
under $20
Estimated Time Investment
Weekend Project (10-20 Hours)
Finish Used
Behr Deck Stain in semi-transparent Sand Beige
Recommended Skill Level
Beginner
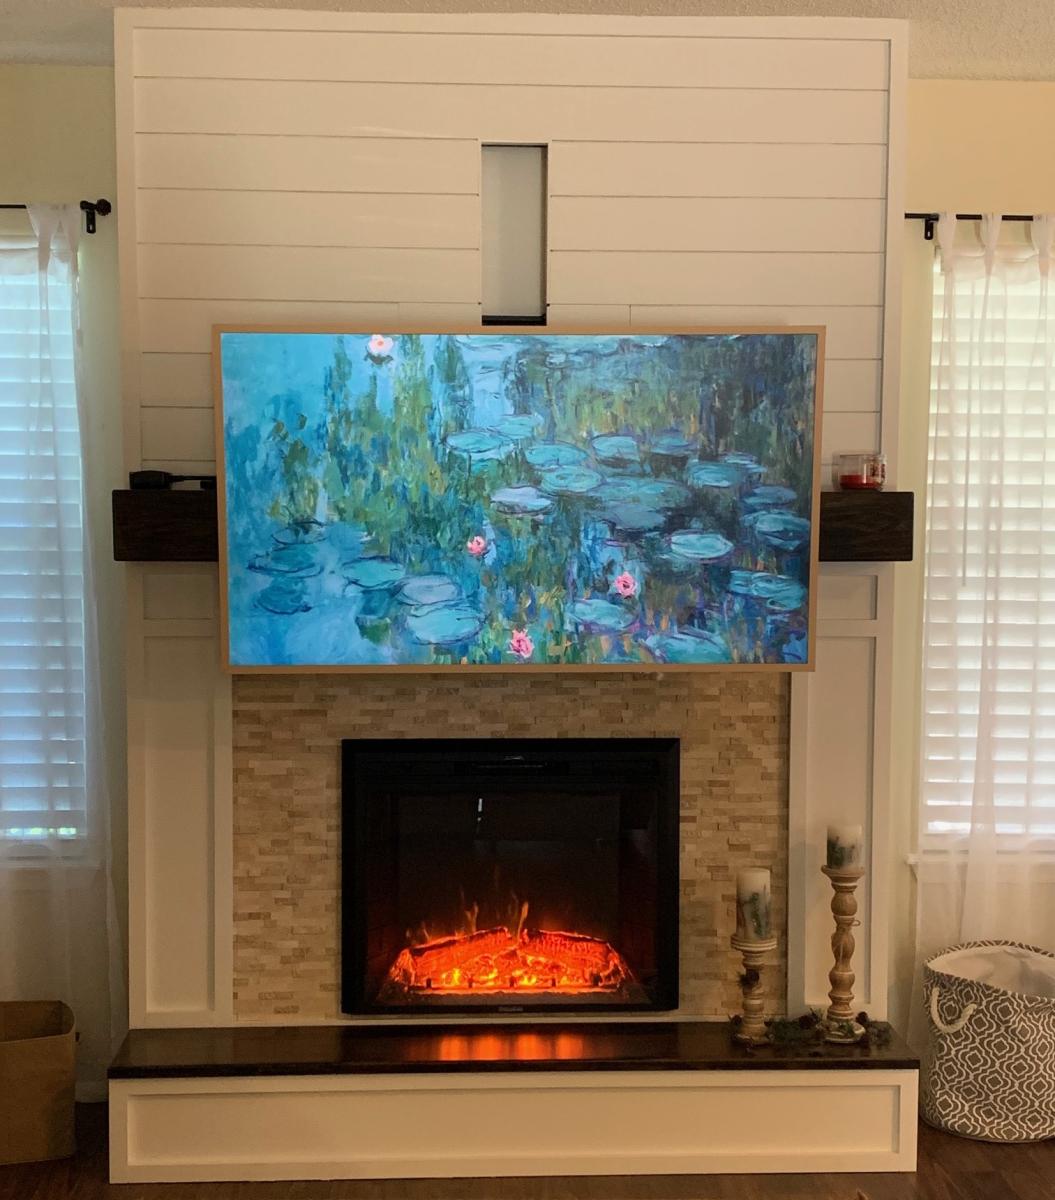
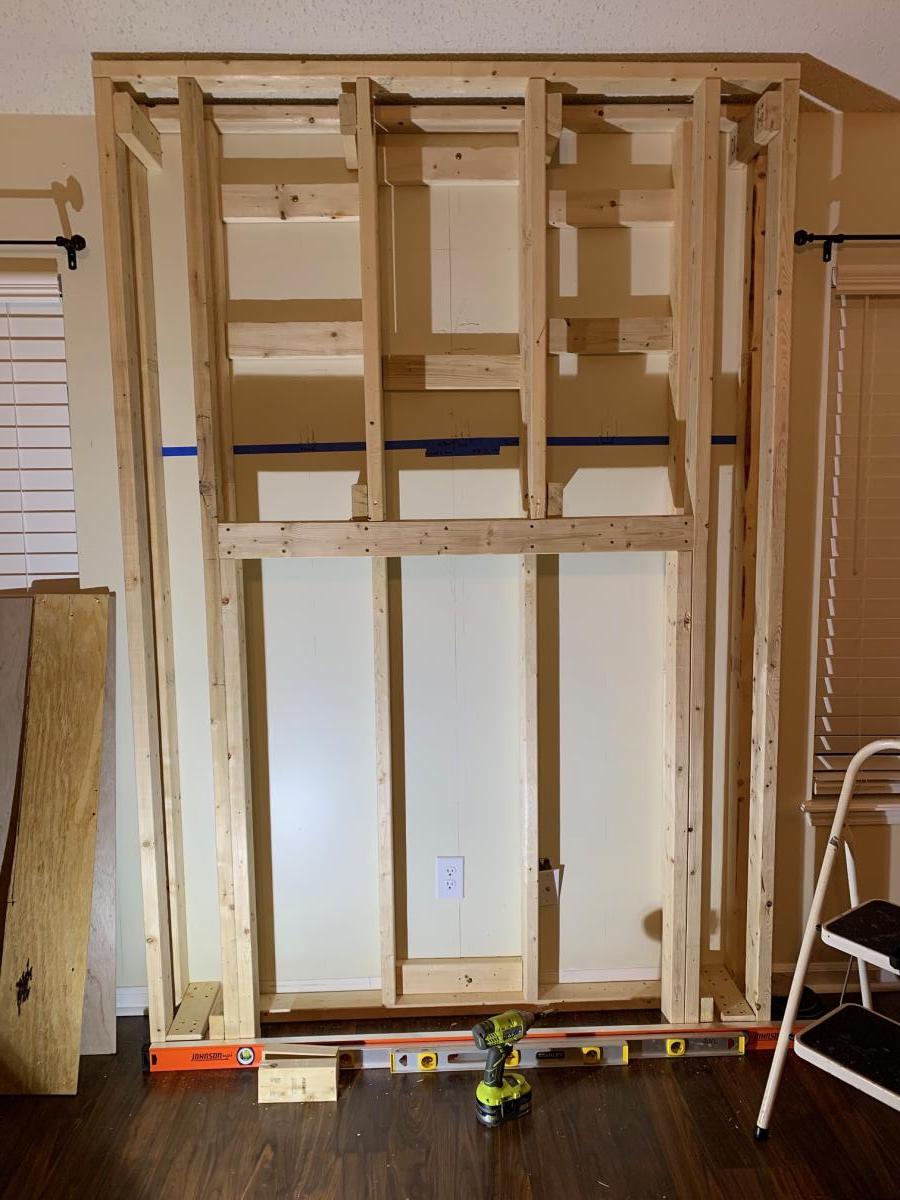
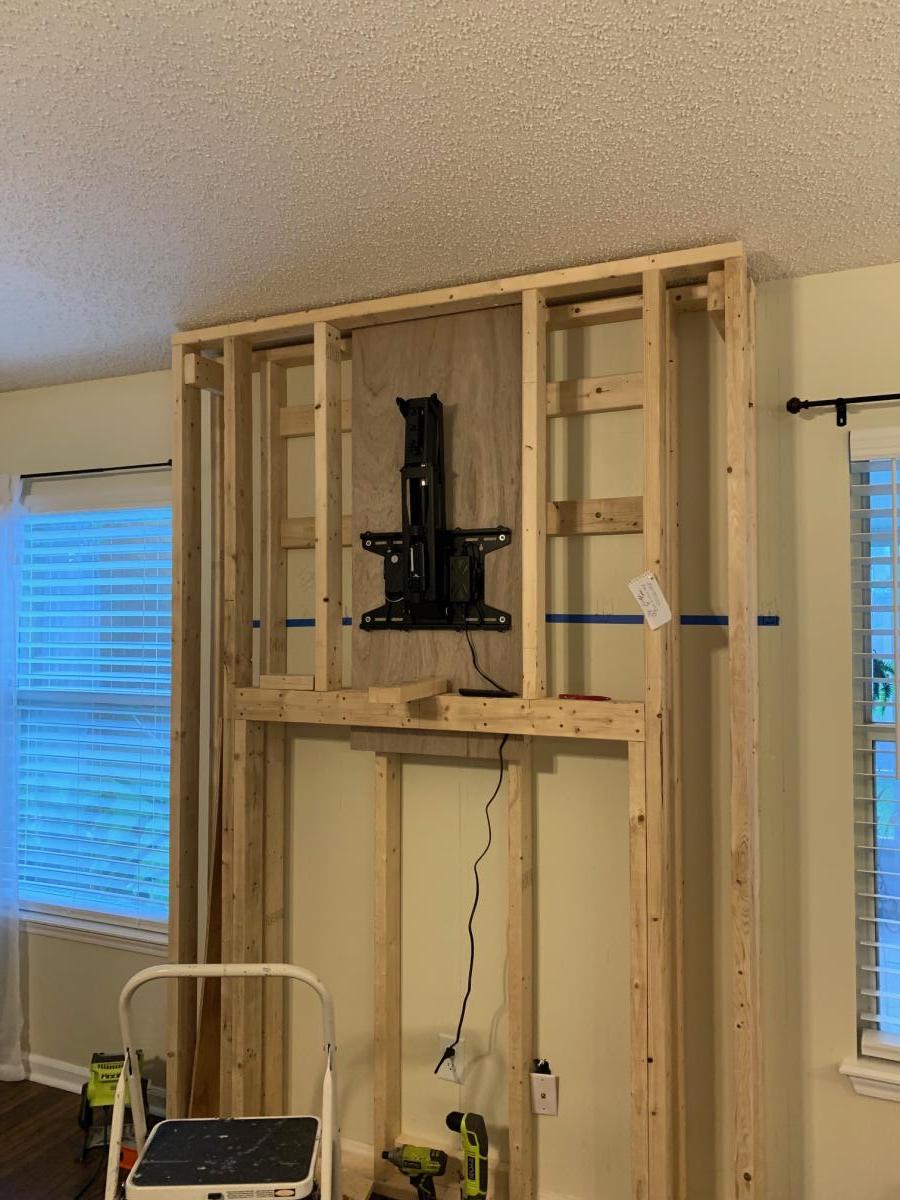
Fireplace with recessed TV mount
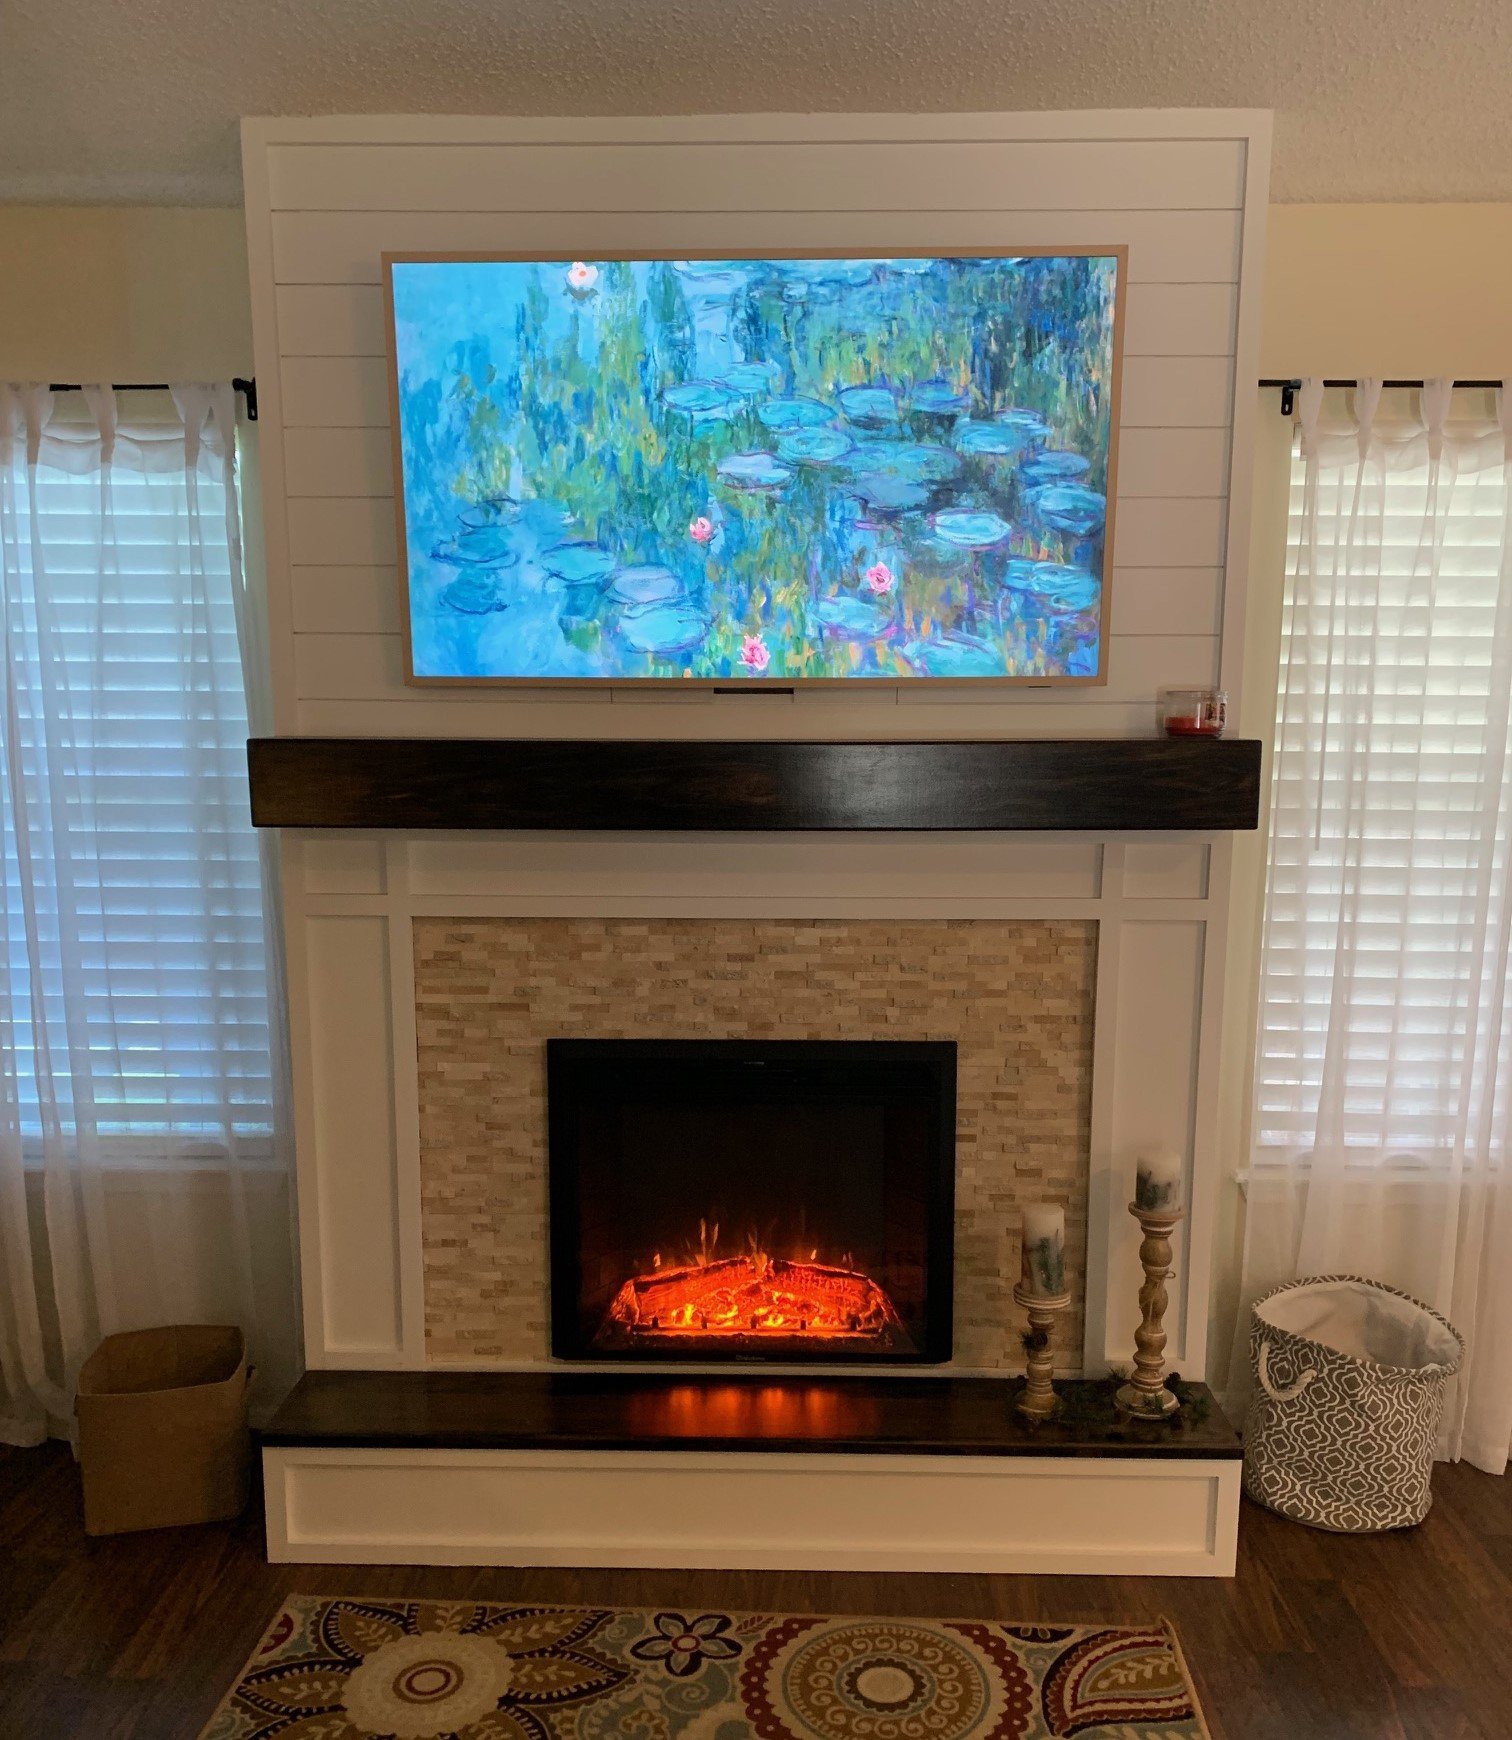
This is a very custom fireplace that I built for my wife as a 40th wedding anniversary gift. It is built around a Samsung 55” Frame TV and a Vivo motorized mount. The motorized mount allows the TV to be lowered to a better viewing height than the standard above mantle position which is usually too high for comfortable viewing.
In order to maintain the flush mount effect with the TV in art mode, I recessed the mount into the fireplace. That required building a “back” frame for the TV mount then the outer frame for the surround. I covered the outer frame with ½” OSB then ship lap. The mantle and hearth is made from Poplar with walnut stain and Polyurethane satin top coat. The hearth opens for storage.
This was sourced from several different plan sets with a lot of customization and input from the Technical Support Staff at Vizo-US.
Built from Plan(s)
Comments

Thu, 02/16/2023 - 09:46
Happy Anniversary! This is a…
Happy Anniversary!
This is a beautiful, well thought out project.
I was hoping someone would do the recessed mount, and you nailed it! It's so much better with the tv flush like yours.
Also love the motorized mount.
Thank you very much for sharing photos.
Ana
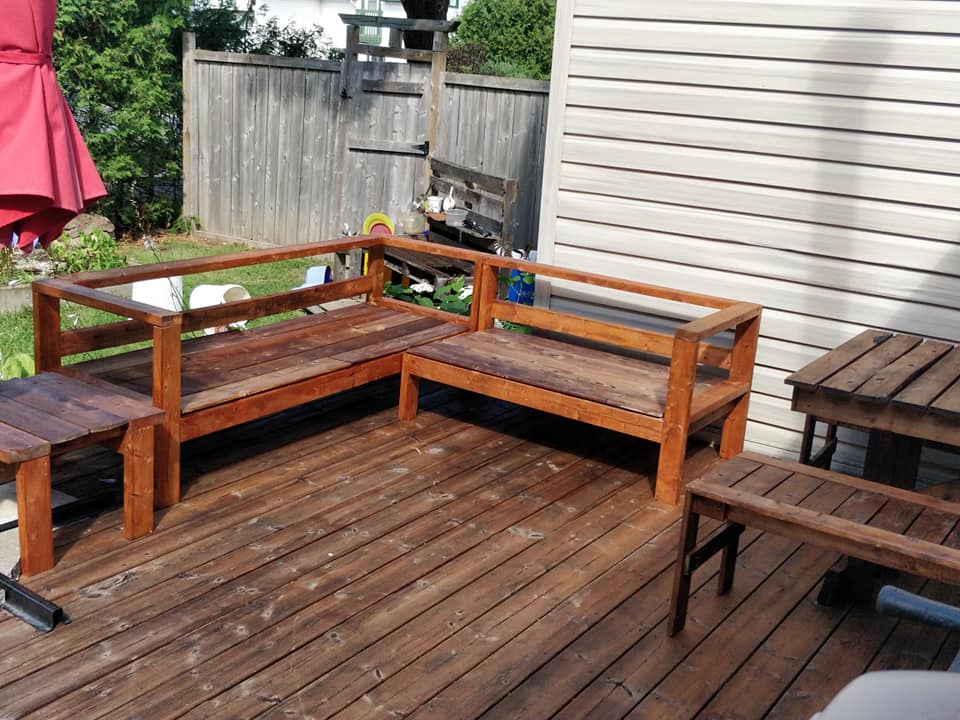
Outdoor hangout using 2x4 and fence boards
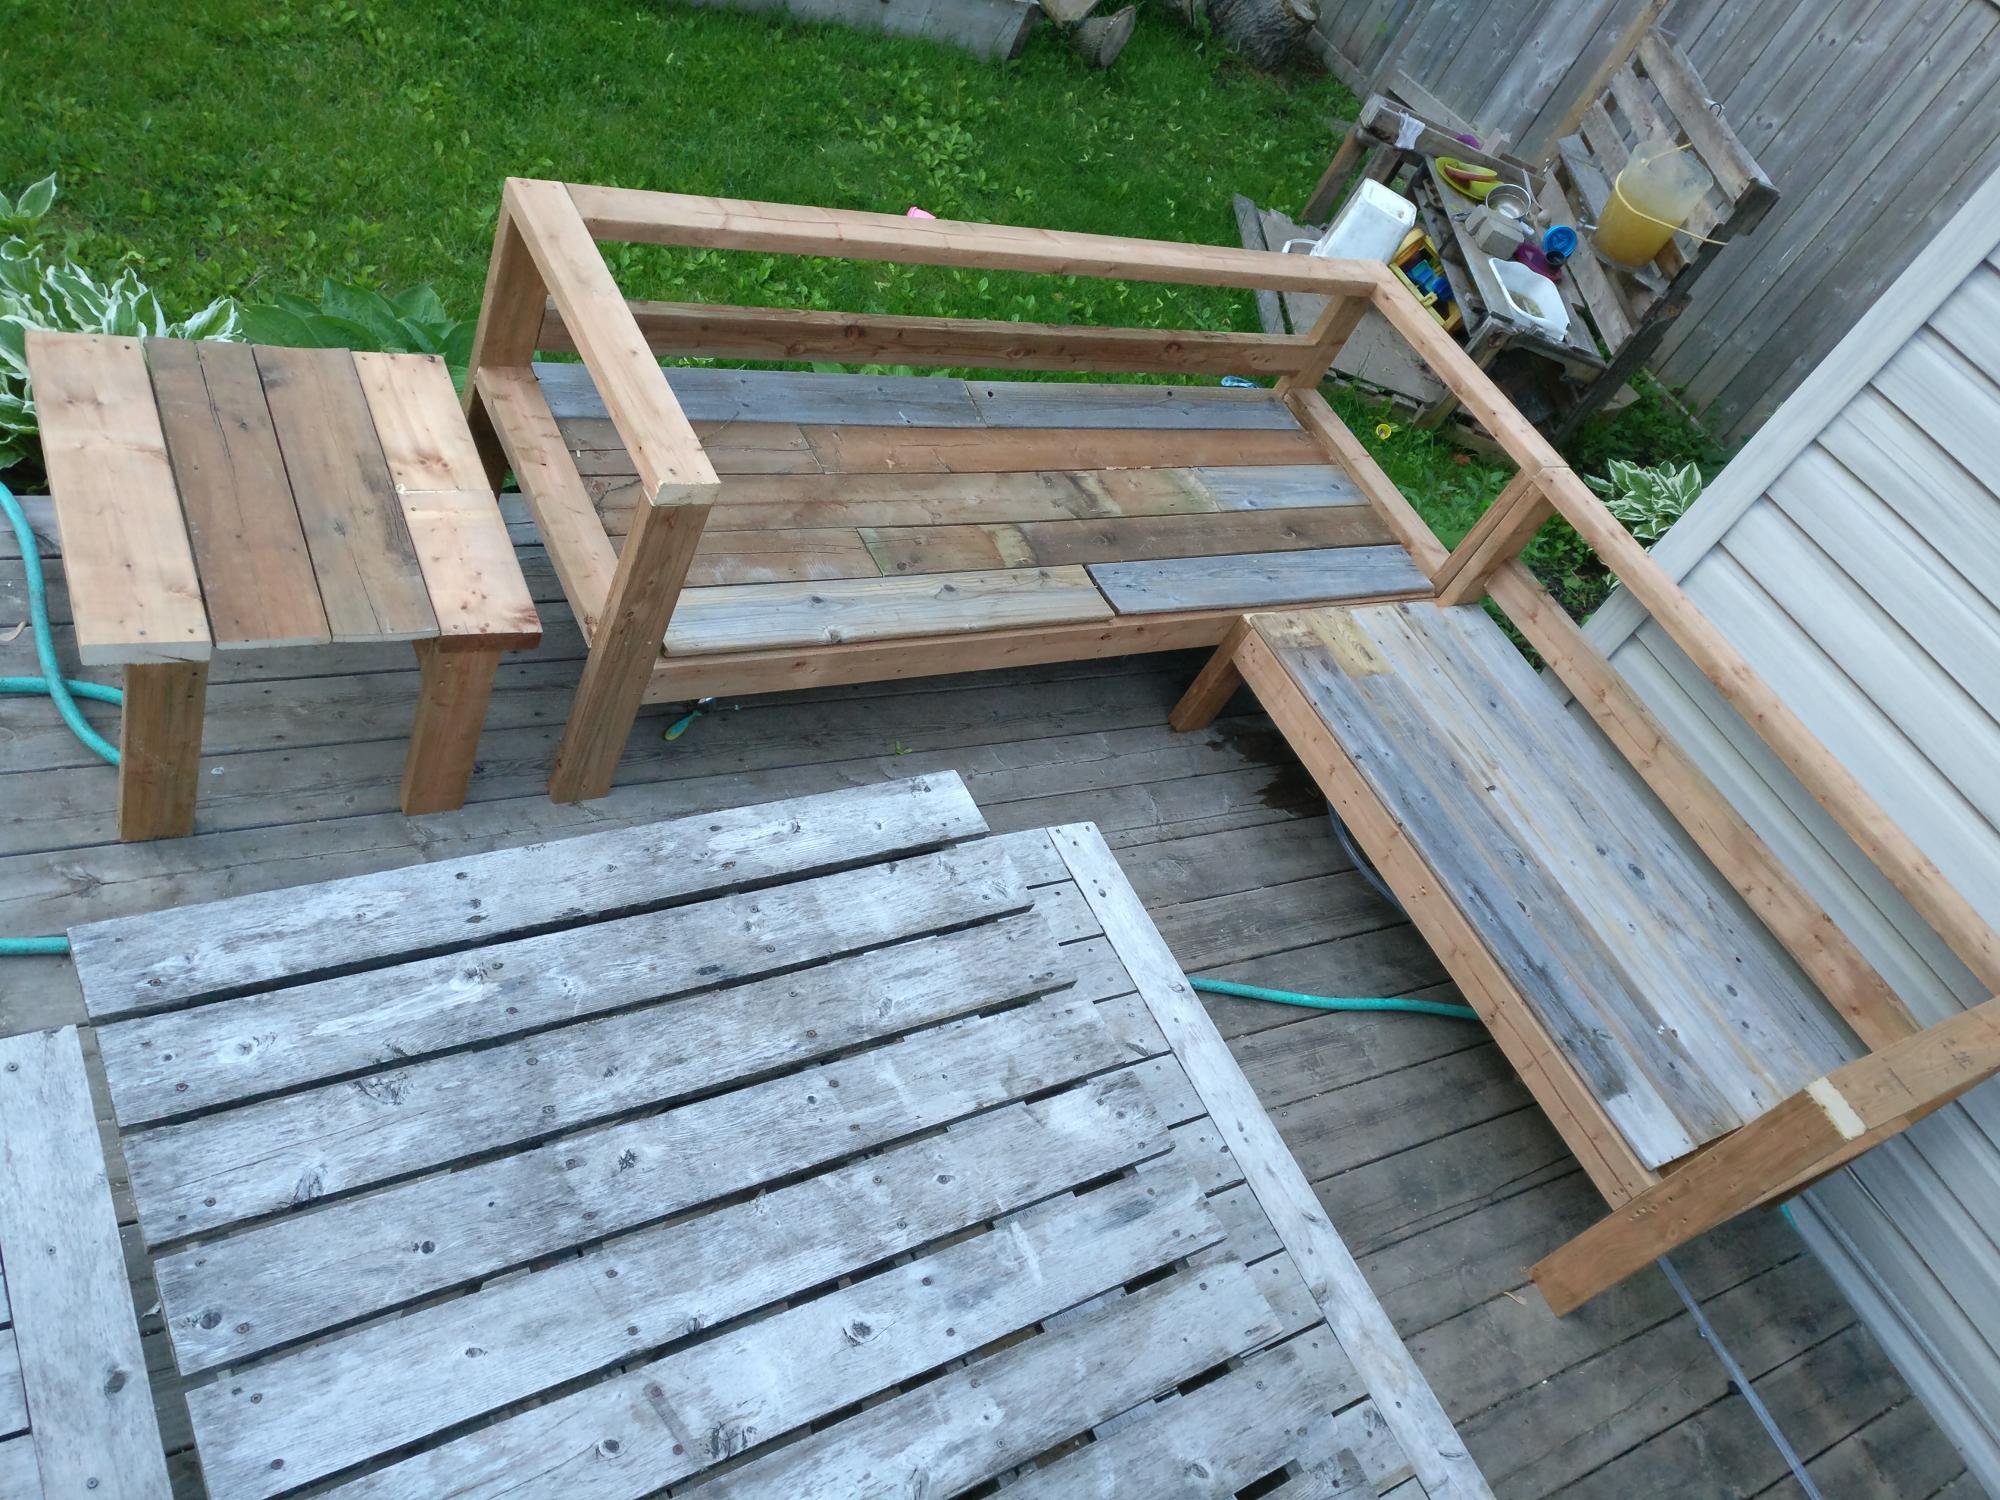
Bought enough lumber for one sofa but ended up using old fence boards for the decking so had enough lumber to make the sectional and a shortened coffee table.
Great way to save some cash even if u have to buy the fence posts.
Added a reinforcing piece to the one armed sofa between the legs using a kreg jig to stabilize the legs a bit more.
Waiting on my foam from Amazon to finish off this project!
Used inspiration from the beer/wine cooler patio table and made the middle of the table removable to add a buck underneath later.
Note the 5 year old patio set, also an ana white project from back in the day!
Super quick build!
I did find that the measurements for customizing it for your cushion size seemed about 1.5 inches too big for all the depth pieces so I sized down but I haven't received my foam yet so maybe I'm wrong but Smth to think about. I didn't want my cushions to slide around so I took that into consideration when building.
Built from Plan(s)
Estimated Cost
60$ CAD for the high density foam for each sofa (3x24x72) plus throw cushions for the back.
11 2x4x10 - cost varies depending on cedar or PT
Fence boards were reused
Outdoor Fabric to cover the foam
11 2x4x10 - cost varies depending on cedar or PT
Fence boards were reused
Outdoor Fabric to cover the foam
Estimated Time Investment
Afternoon Project (3-6 Hours)
Finish Used
None yet
Recommended Skill Level
Beginner
DIY Pantry Shelves
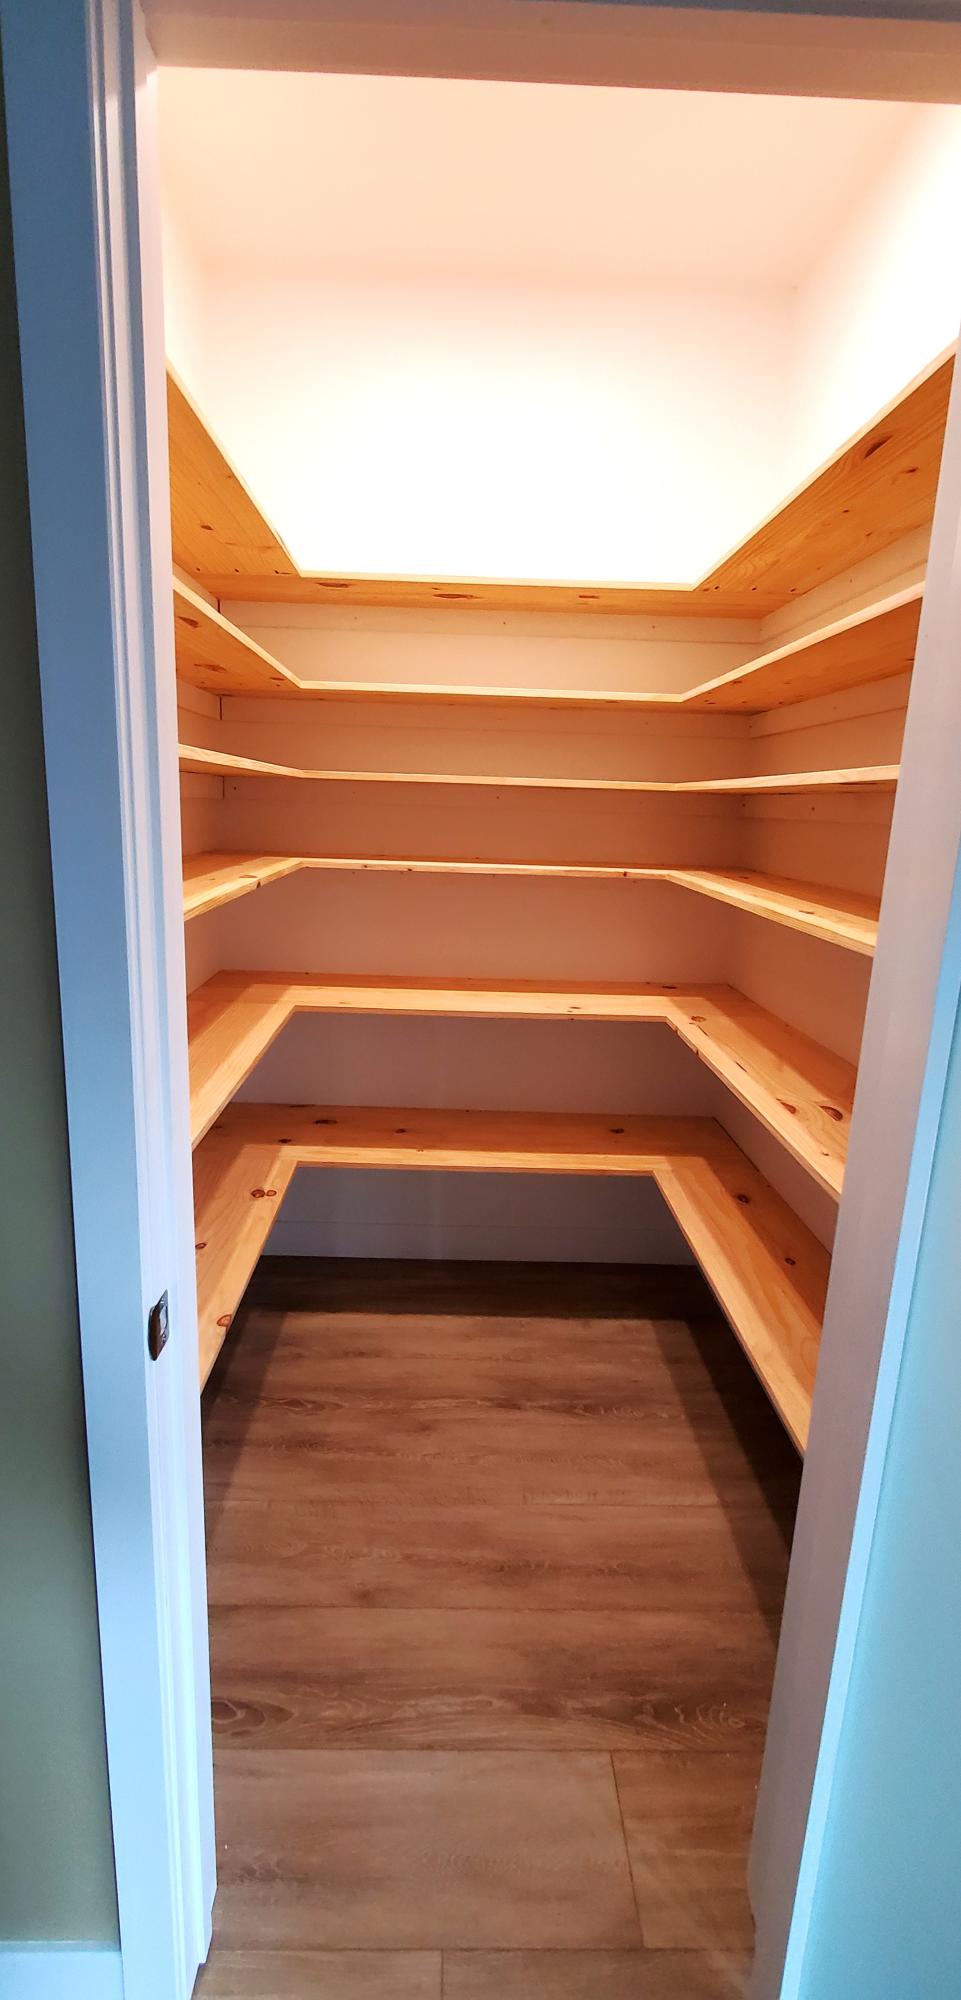
Built in 5ft x 5ft pantry using pine panels as they were available in the widths we needed. Inspired by your pantry build video, thank you.
Rob Worsnop
Built from Plan(s)
Octagon Picnic Table

Was a good project that I built for my son's new home.
I found a few errors in the instructions such as:
A) 2 - 2x4 @ 30 1/2 should be 30 1/4
B) 8 - 2x6 @ 32 15/16 both ends at 30 degrees off square, parallel to each other) should be cut at 34 15/16 blank sizes then cut the angles to acheive the finish size of 32 15/16
C) 8 - 2x6 @ 36 3/4 (both ends at 90 degrees off square, parrallel to each other) should be (both ends at 22 1/2 degrees off square, NOT parrrallel to each other)
Built from Plan(s)
Estimated Cost
$120
Estimated Time Investment
Week Long Project (20 Hours or More)
Finish Used
Dark Walnut Stain, Urethane Top Coat
Recommended Skill Level
Intermediate
Simple DIY Daybed

This is the daybed option. The plan and cut list worked great.
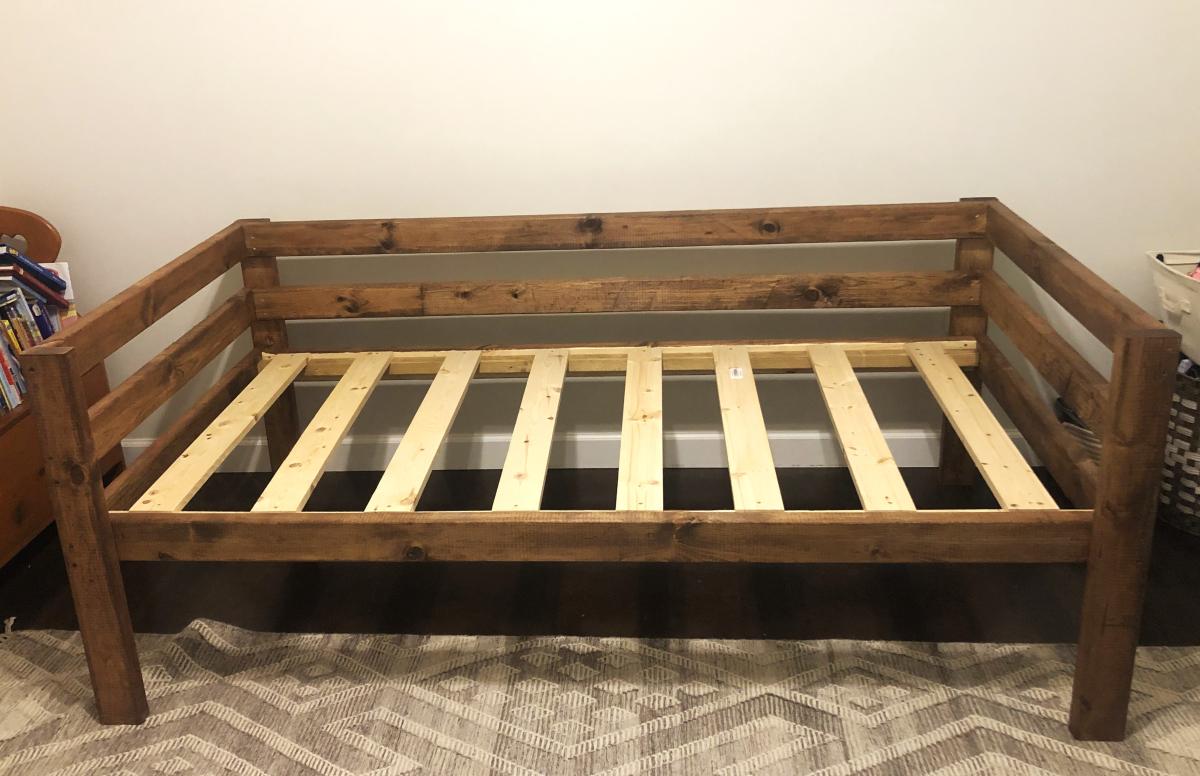
Built from Plan(s)