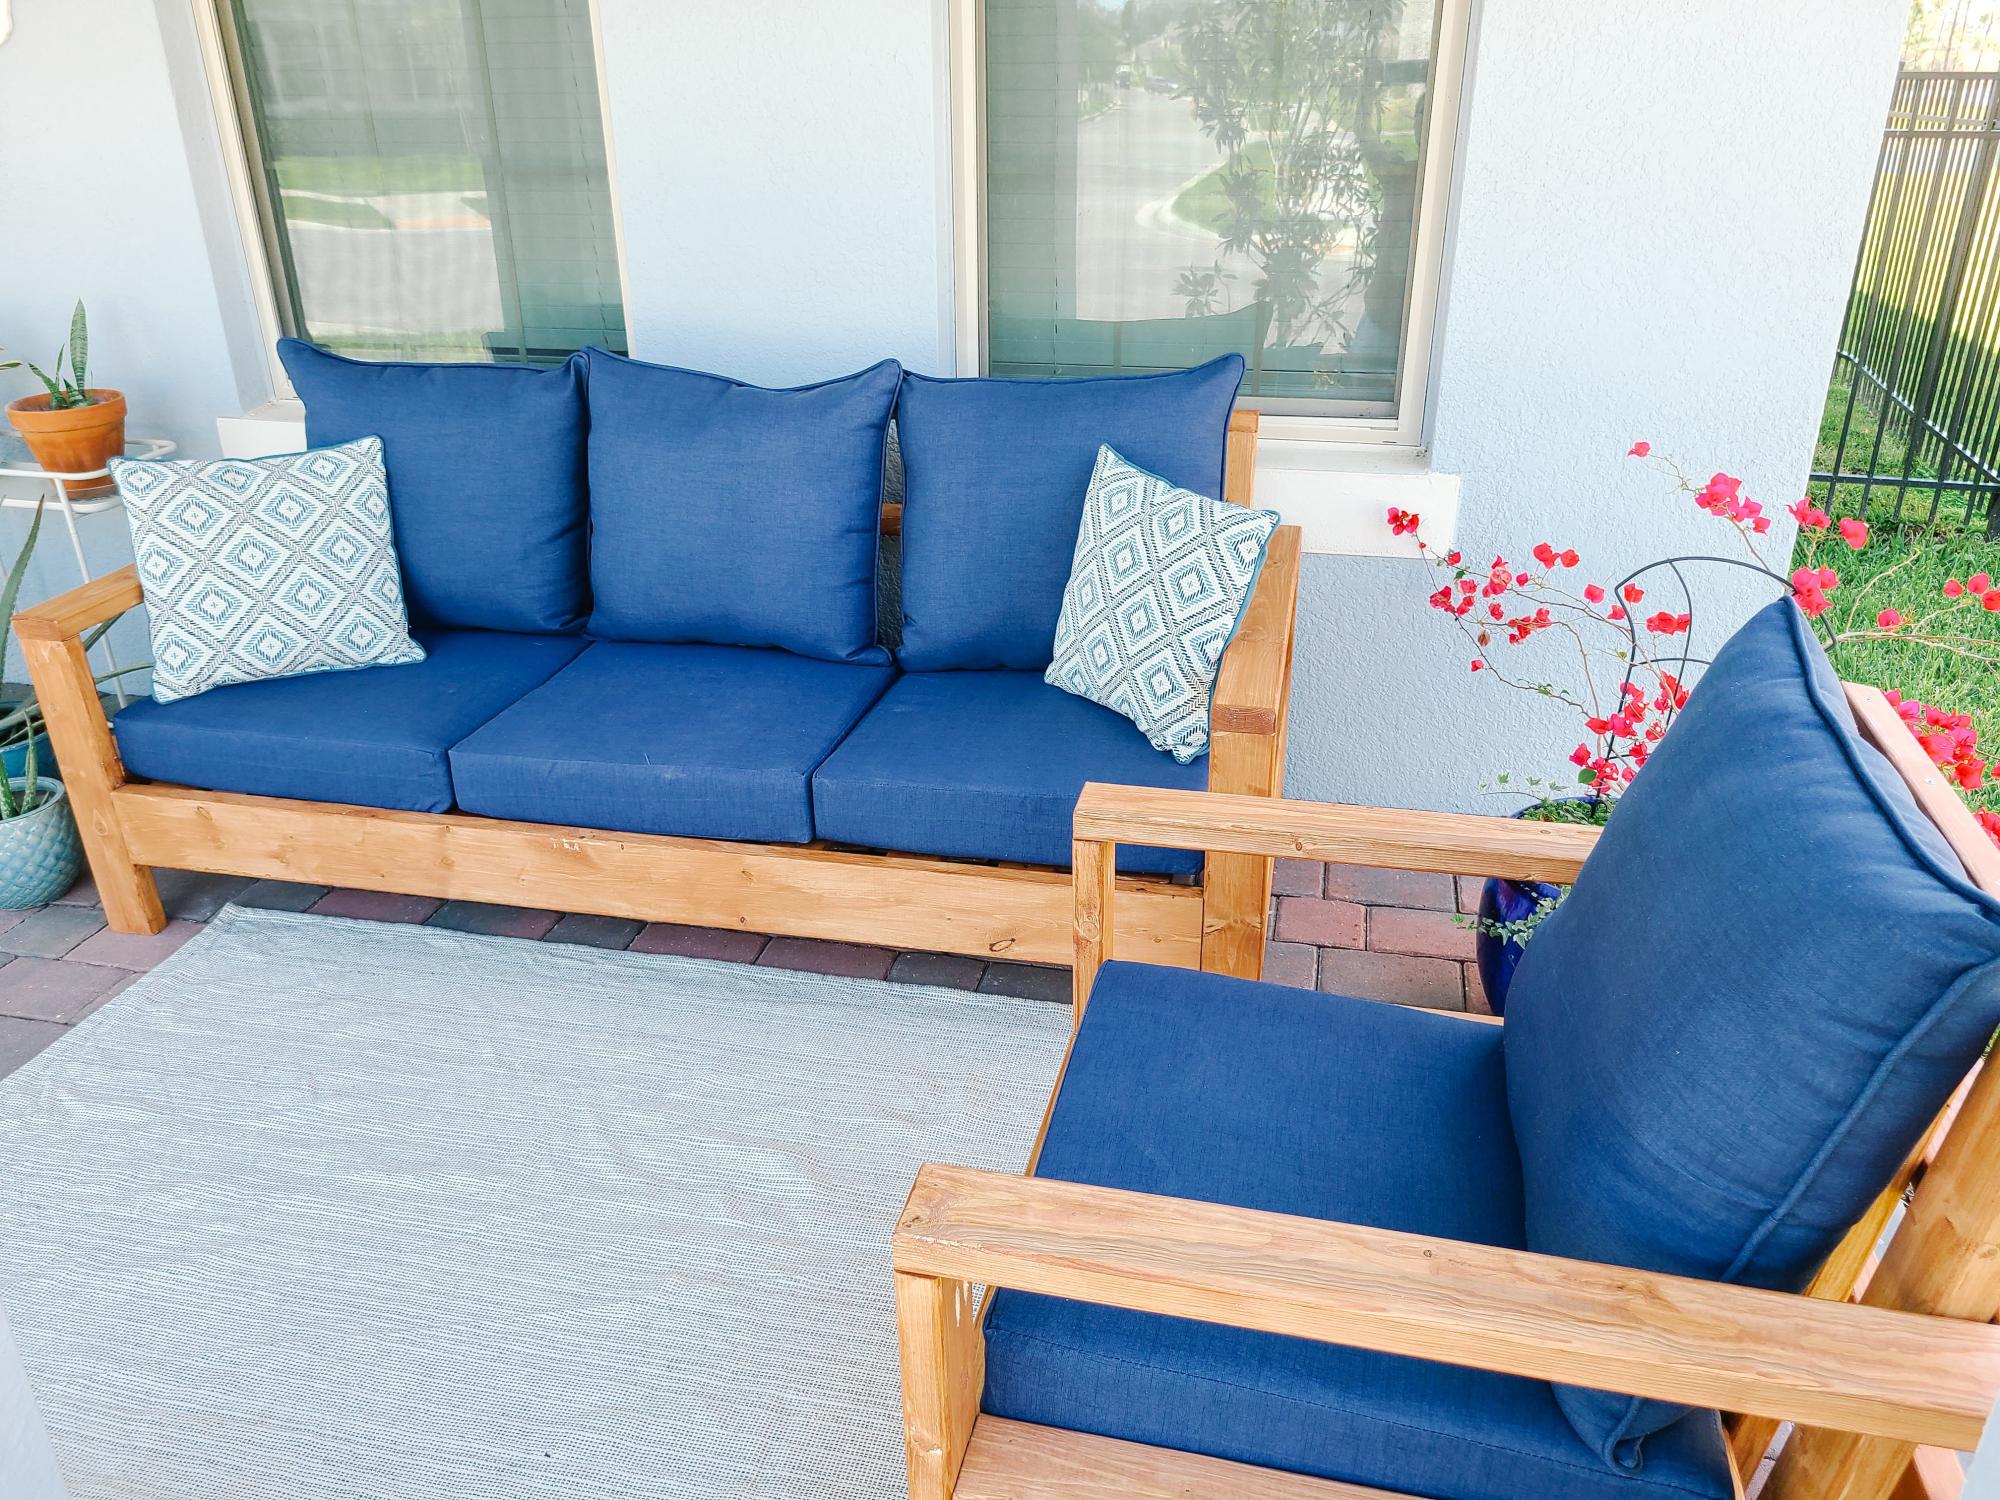
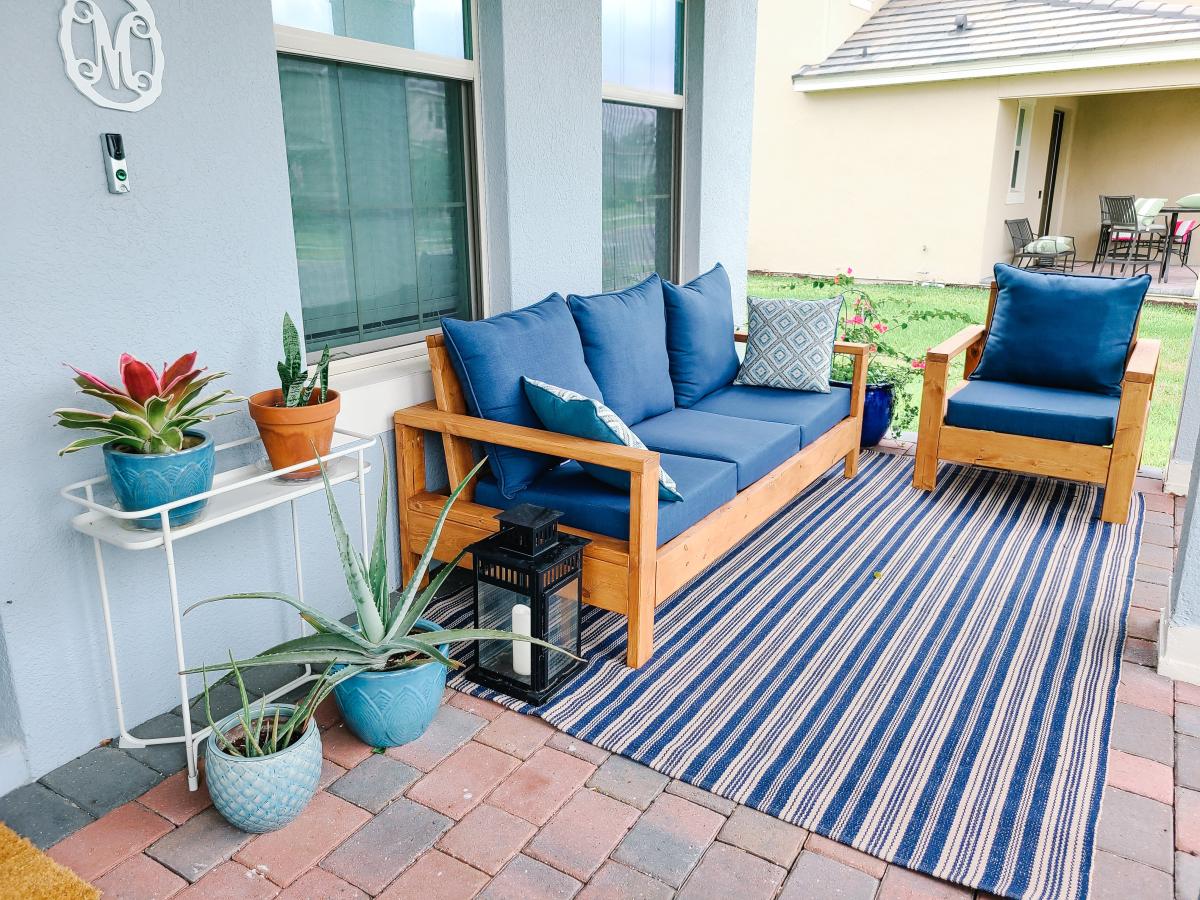
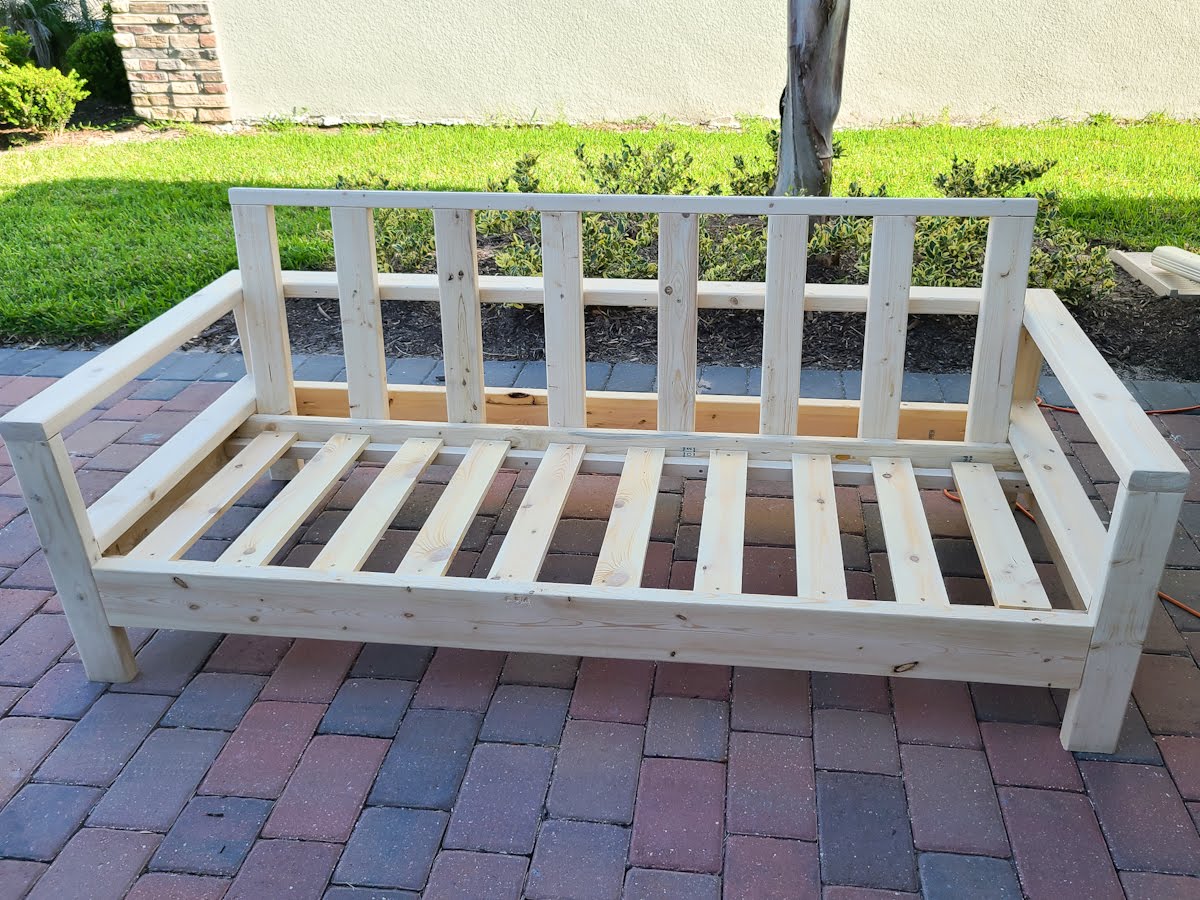
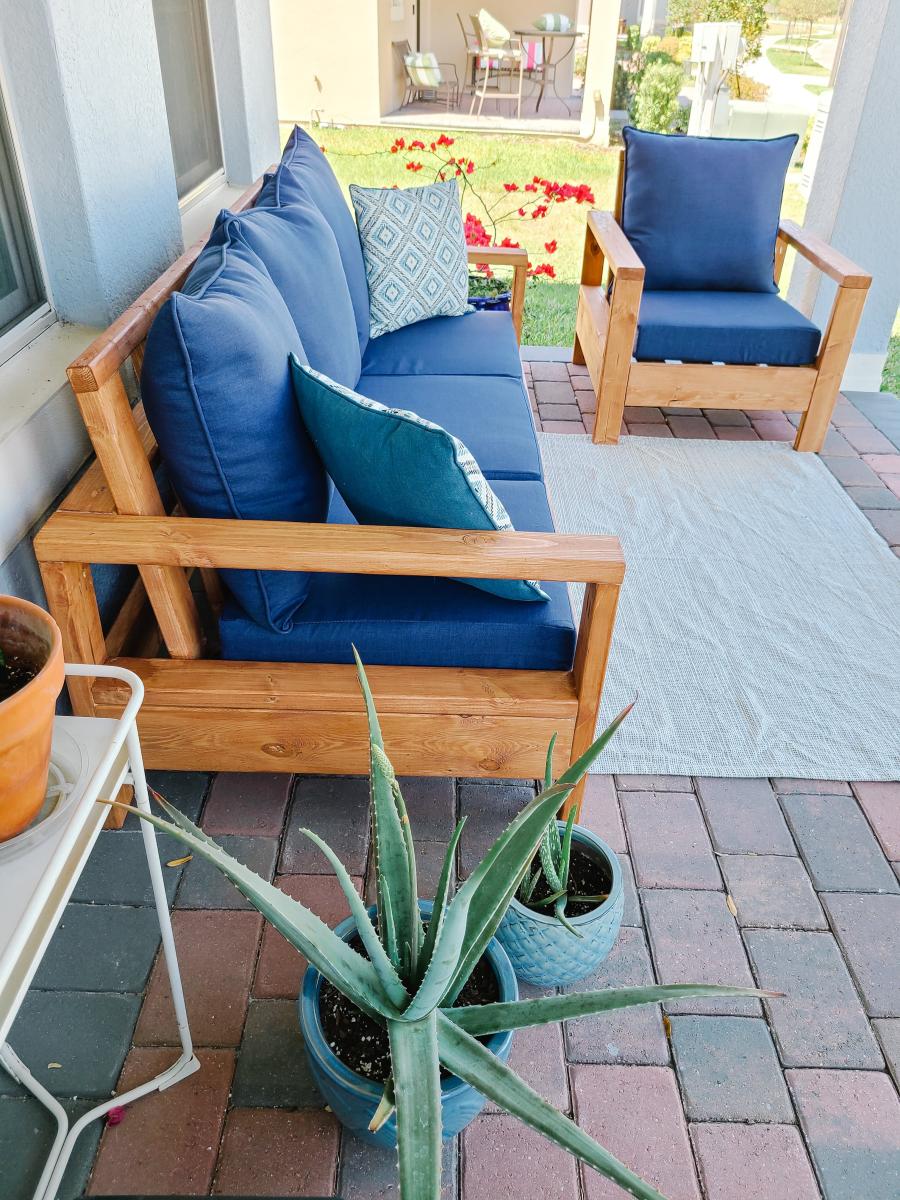
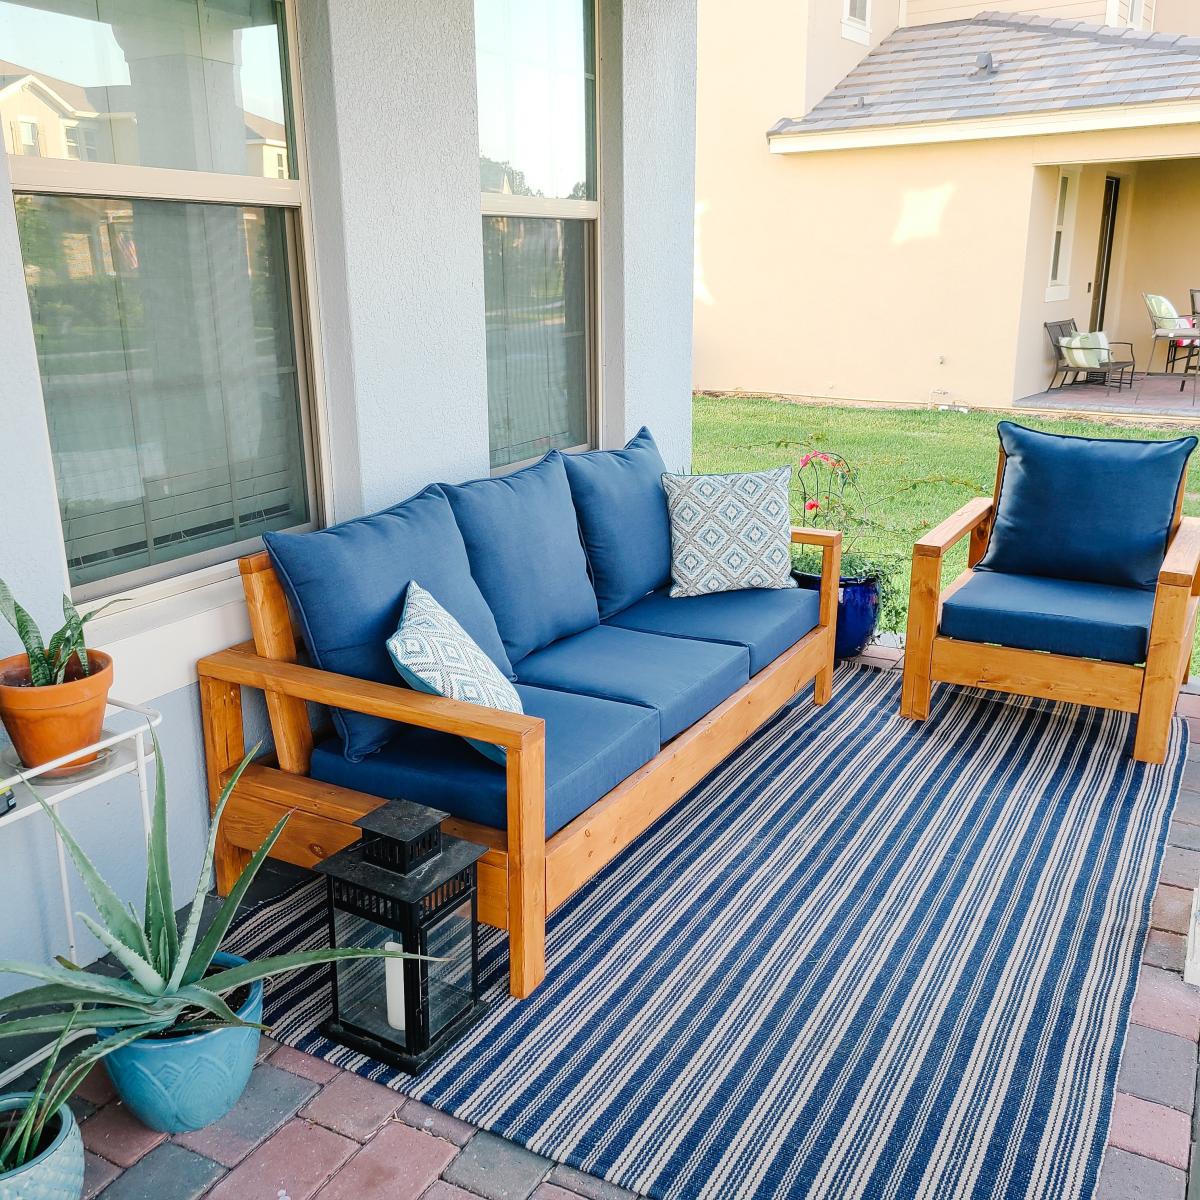
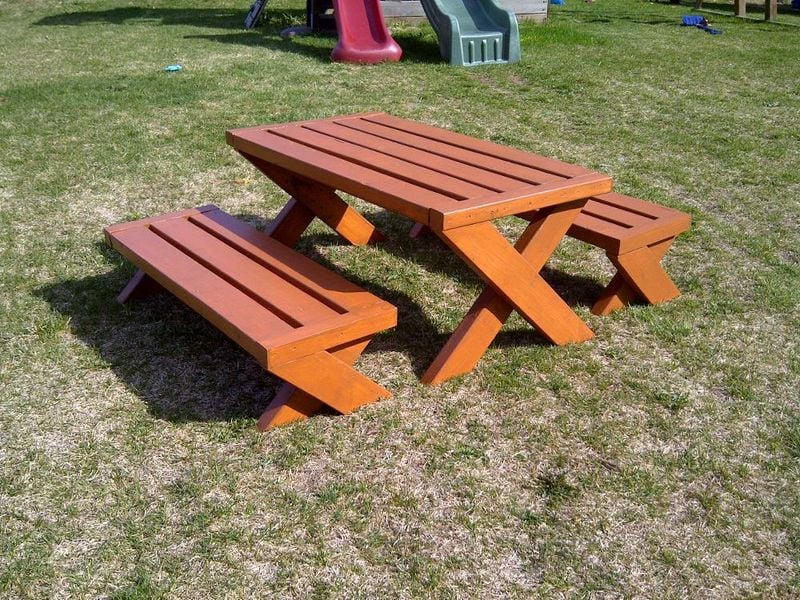
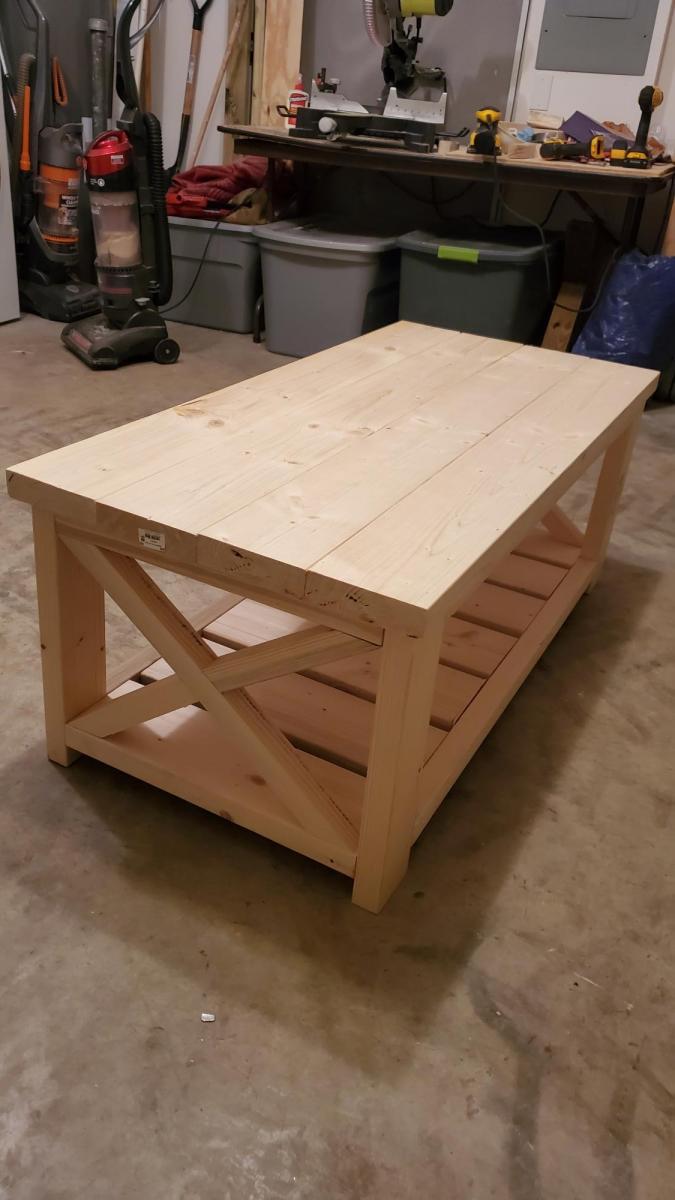
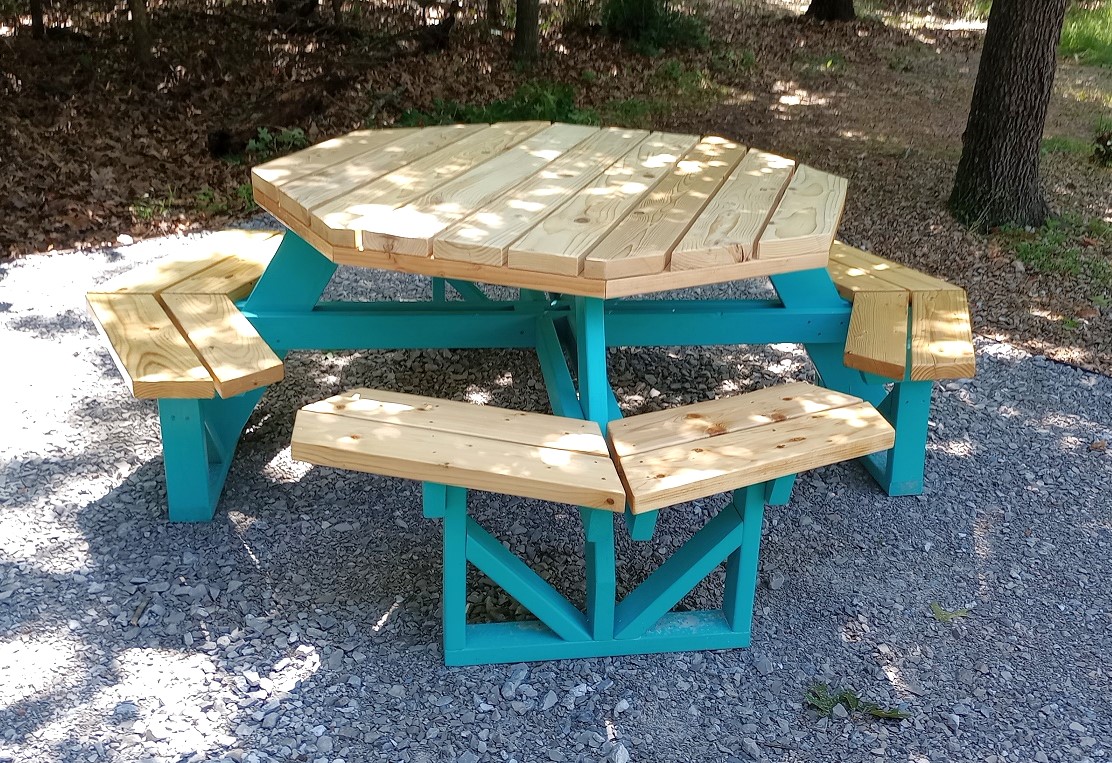
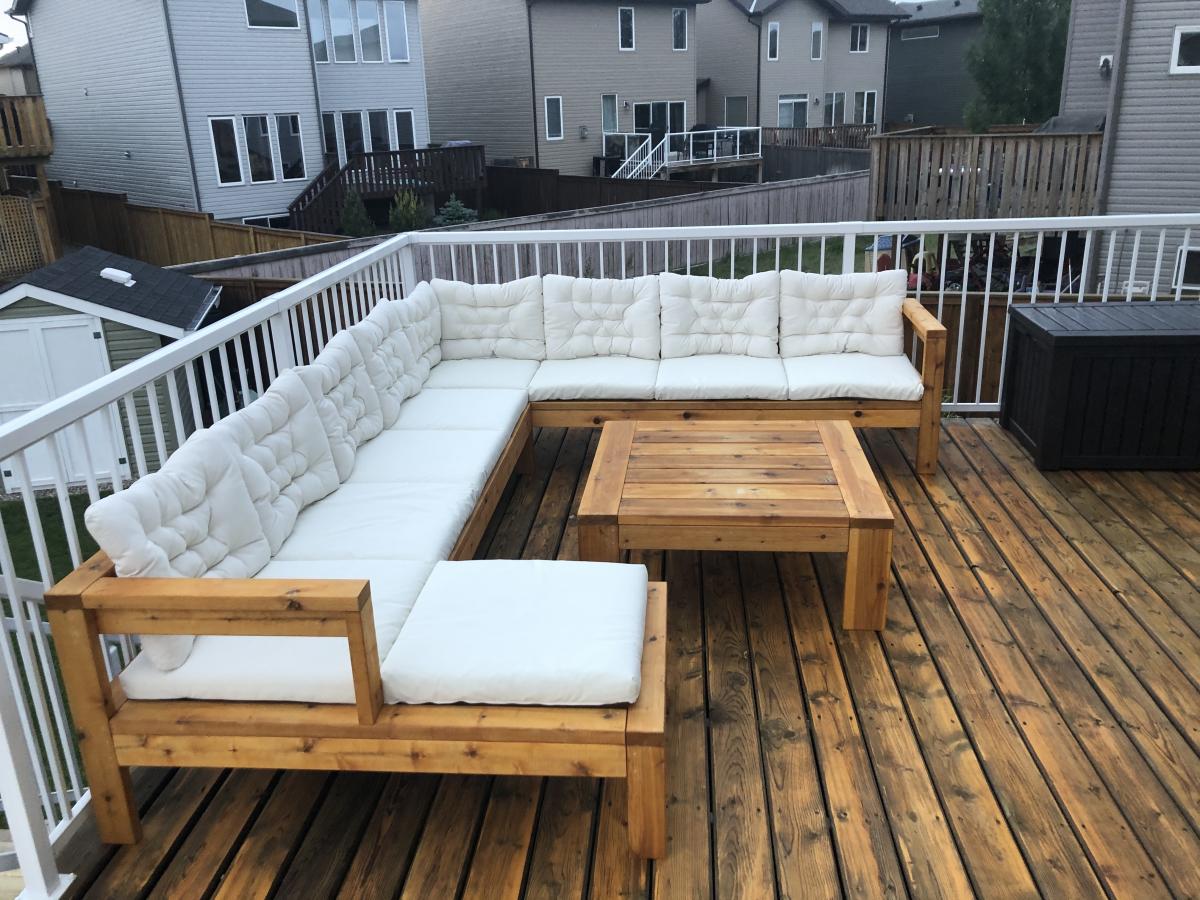
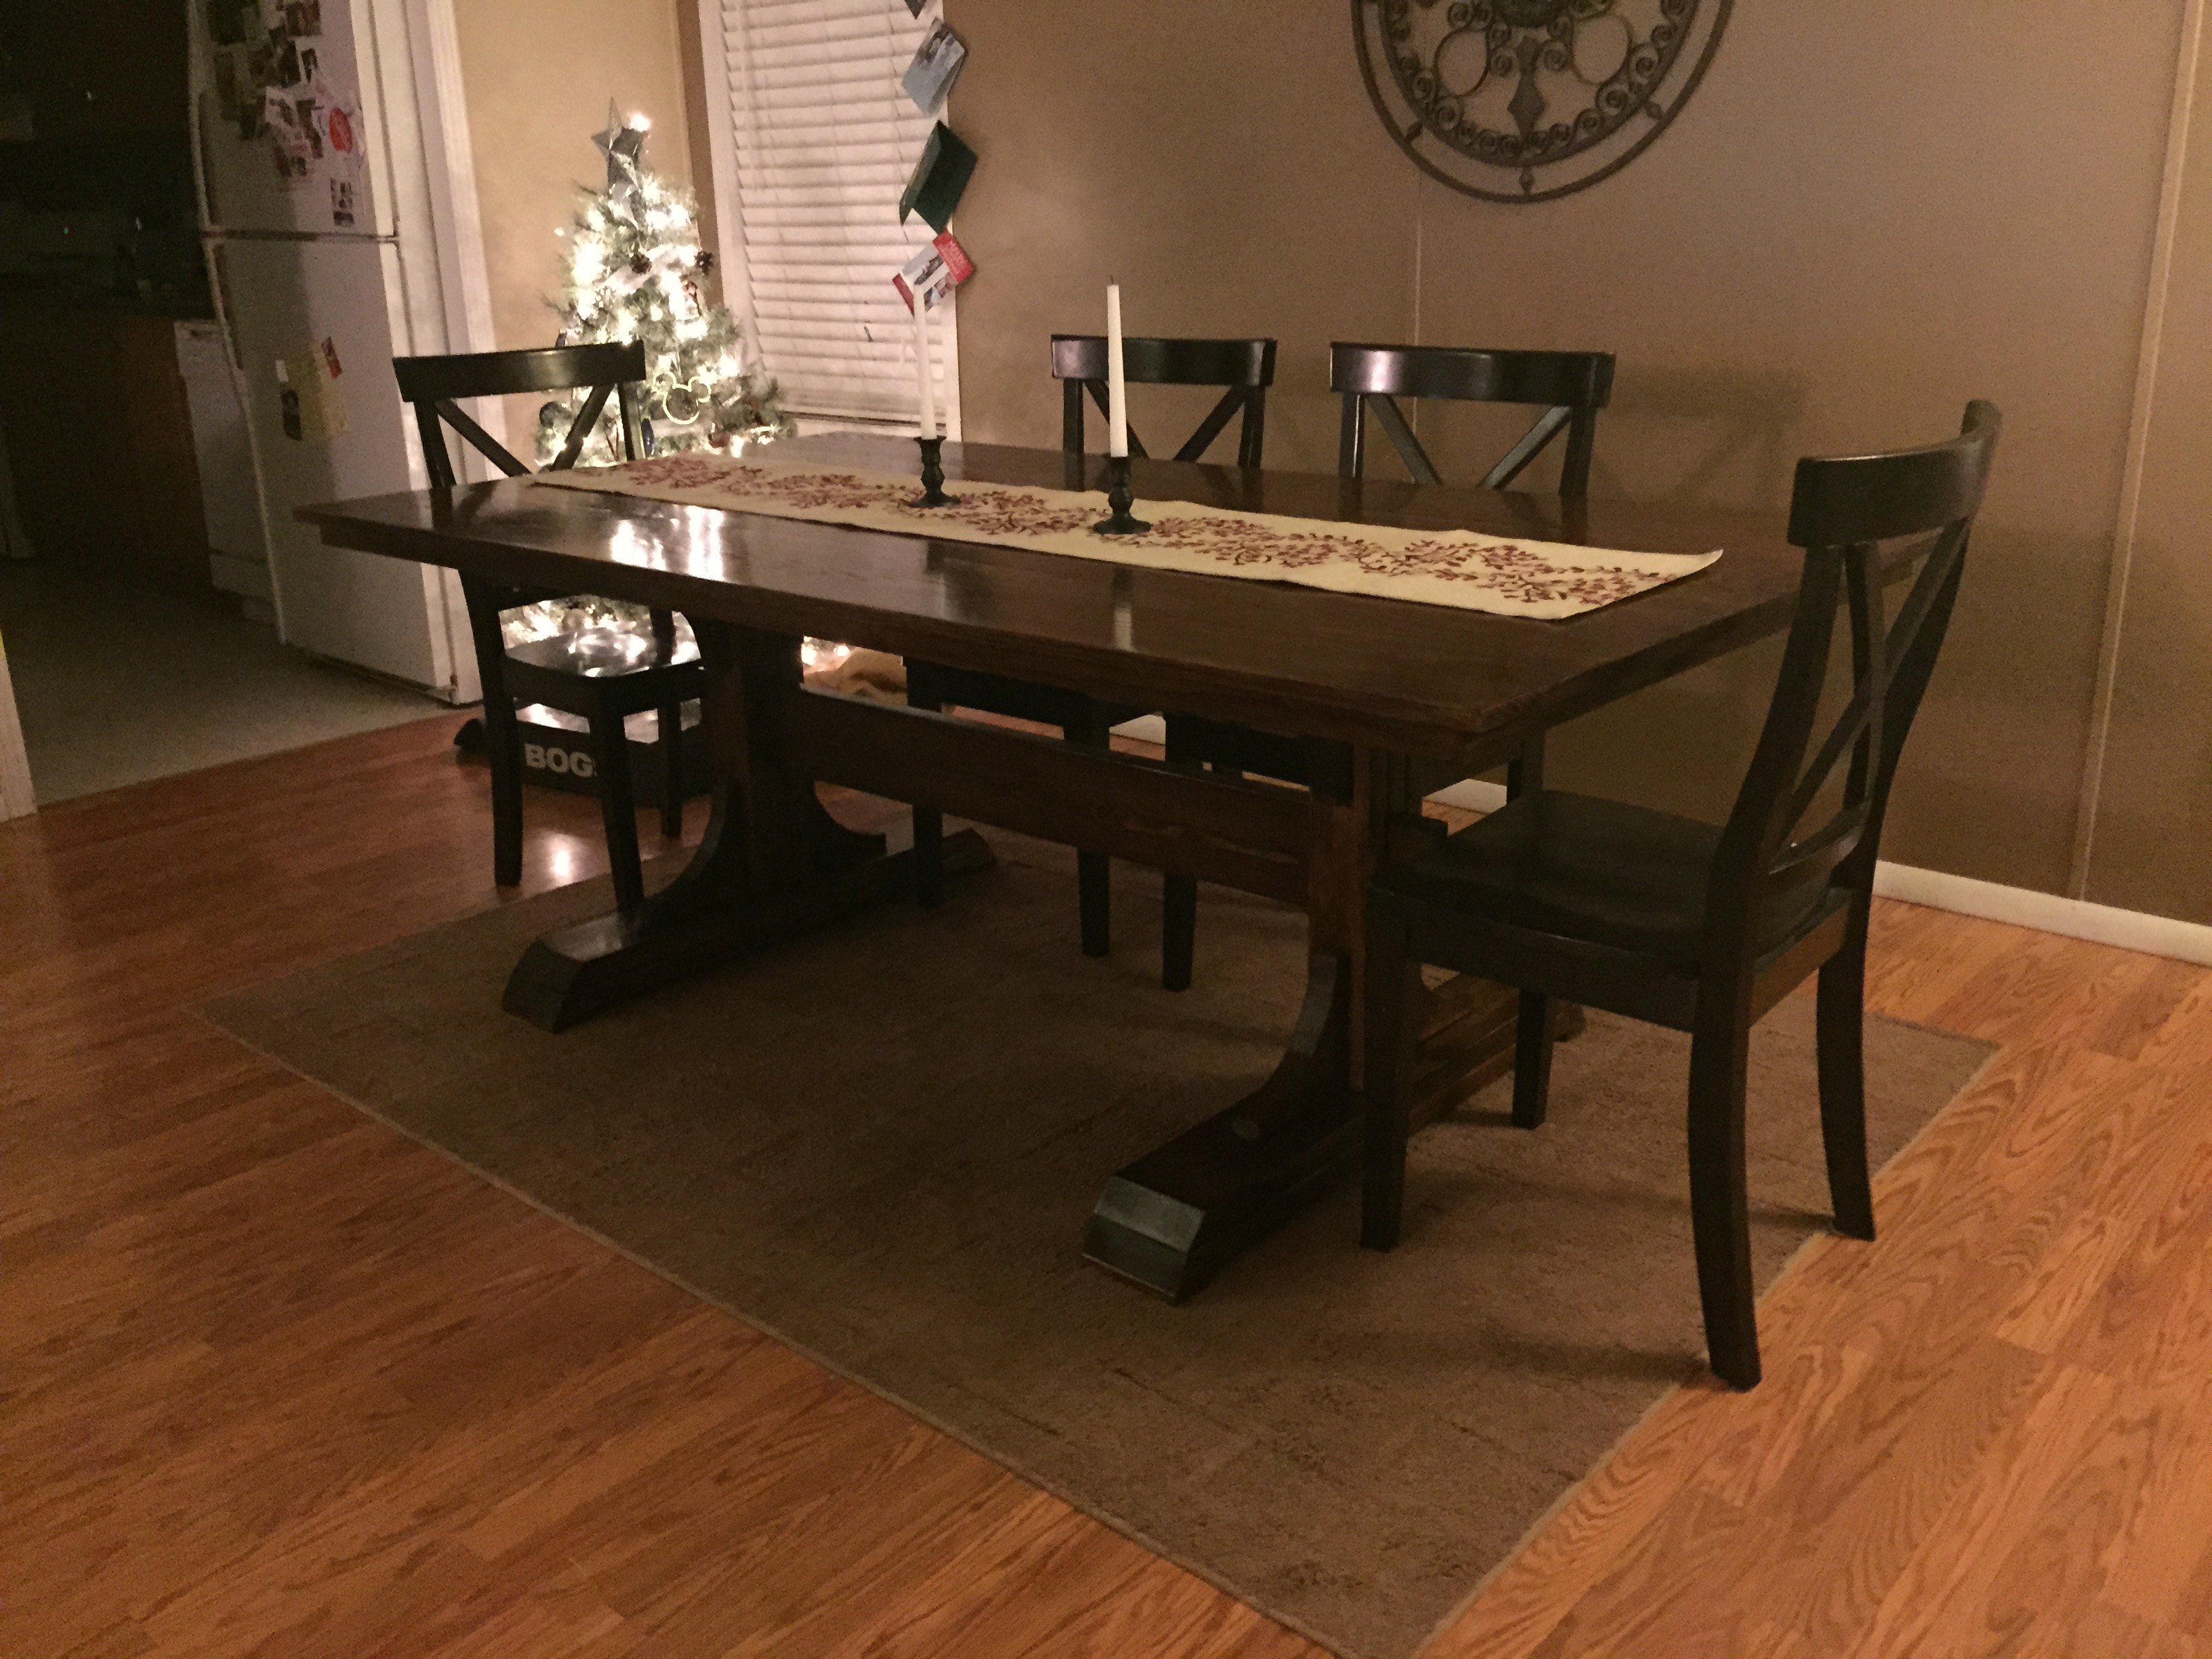
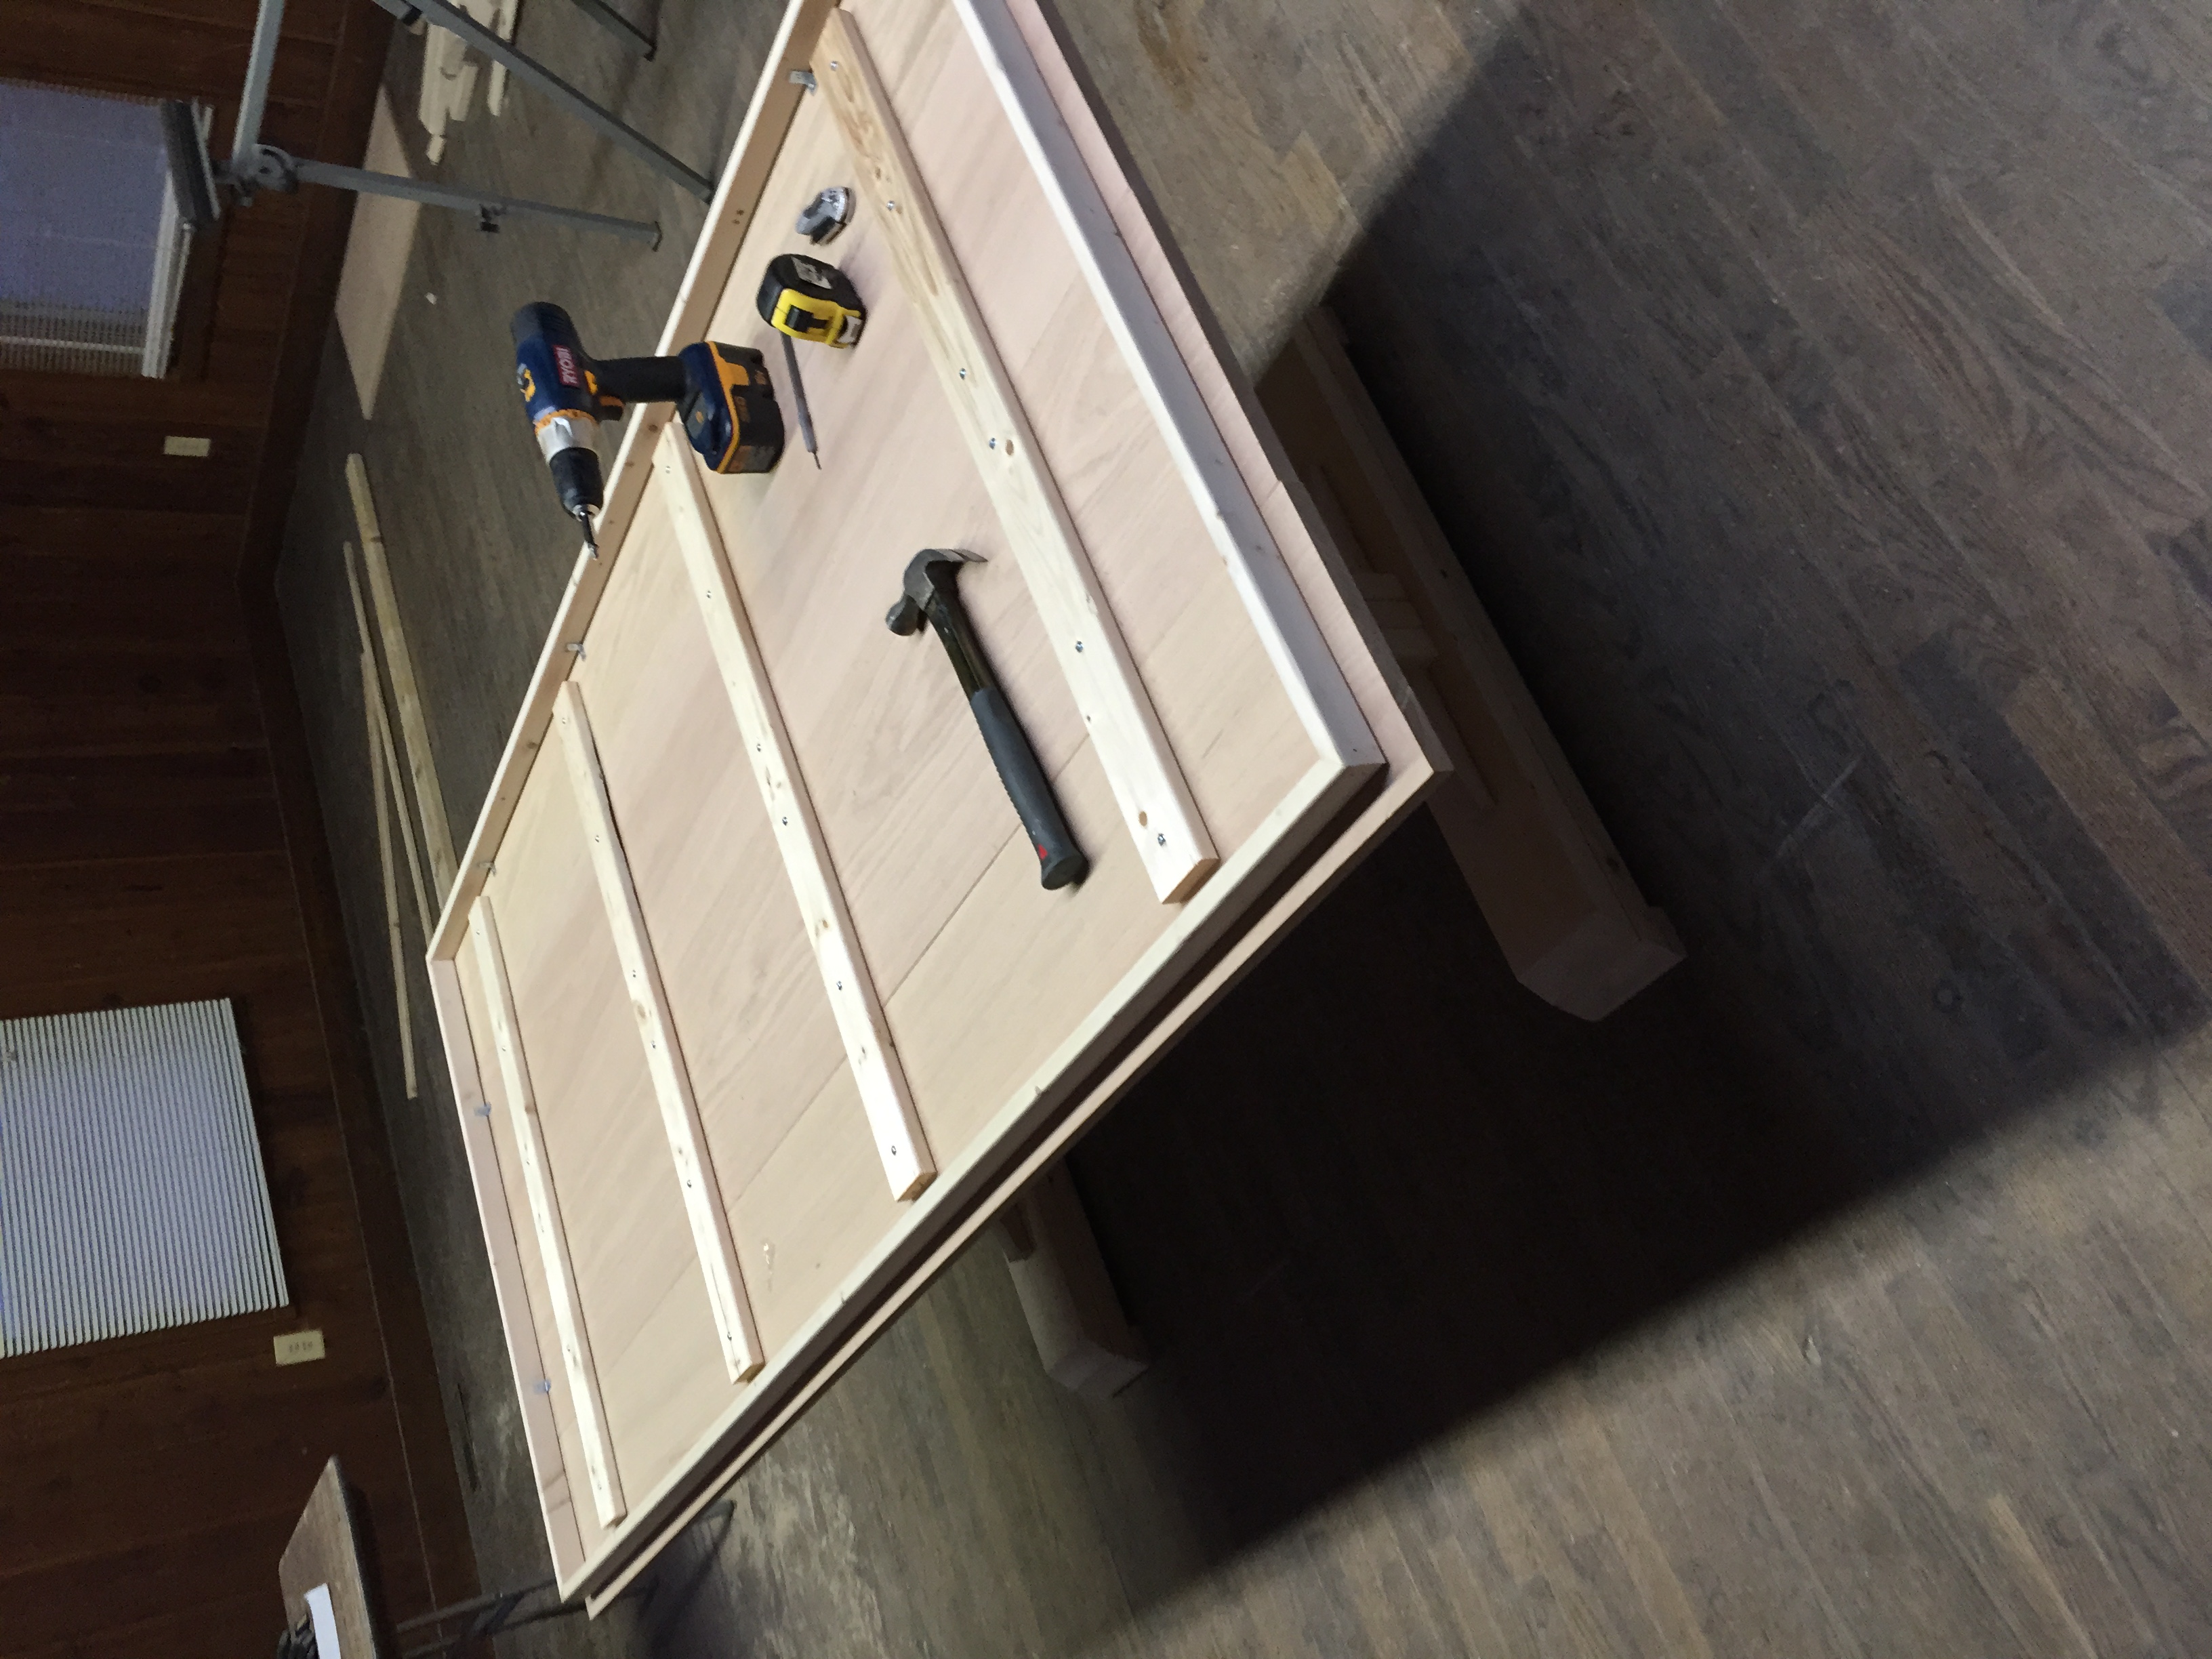
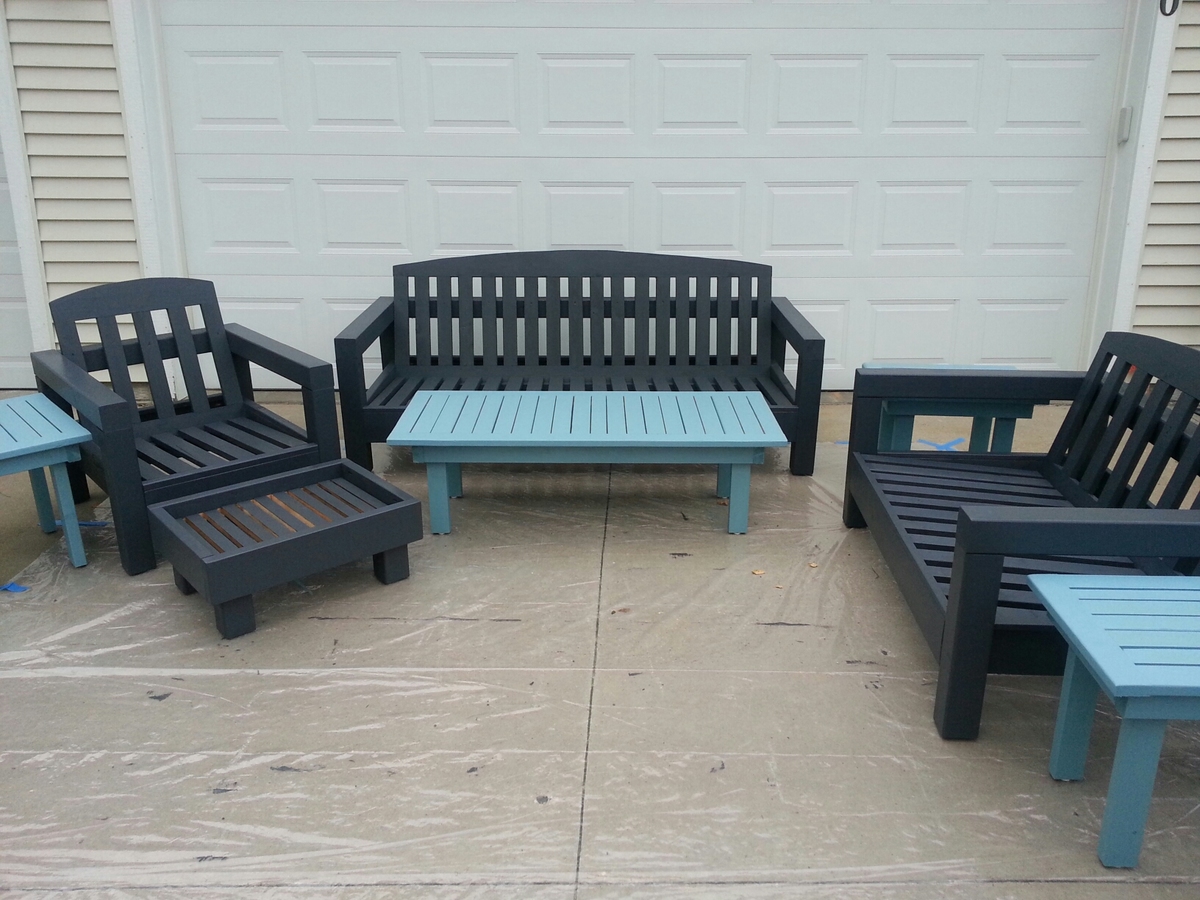
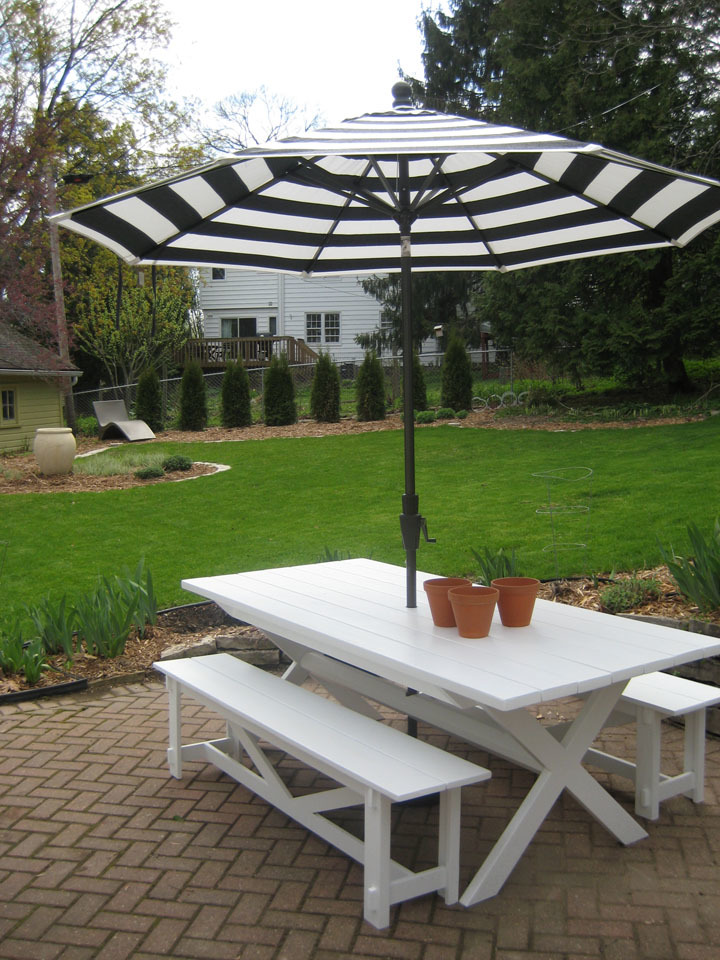
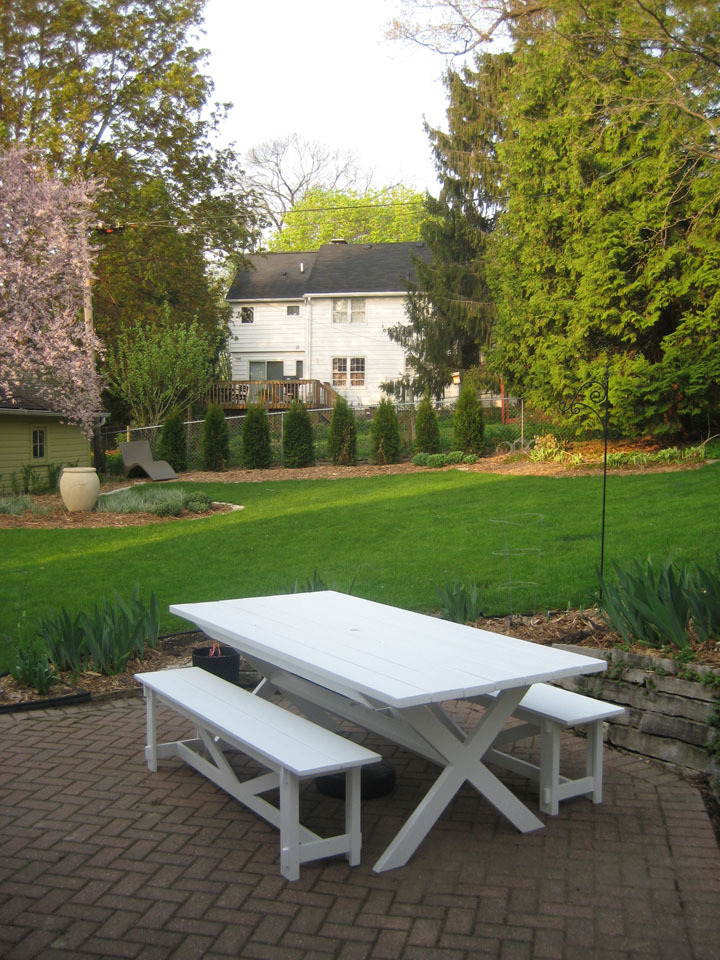
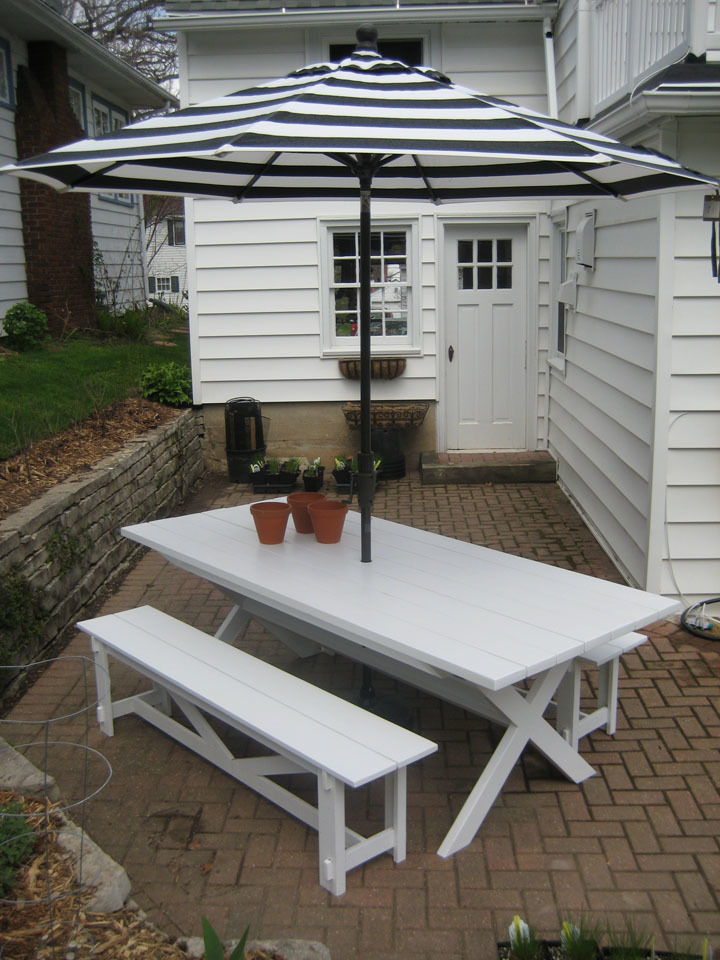
Pottery Barn Benches with X Table...Modified
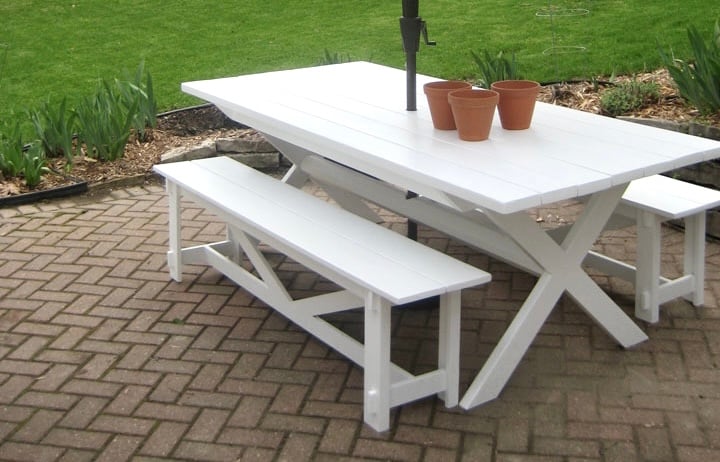
Pottery Barn Bench: Length Modified and utilized 2-1x6s for seat. X Table: Length Modified, utilized a 6x6 for the stretcher and drilled a hole through both the 1 top material and 6x6 stretcher beam. Holds the Pottery Barn umbrella real well. All made of Cedar and painted for good measure. Everything counter sunk and plugged, sanded to high heavy and ready to last.
Built from Plan(s)
Estimated Cost
$350
Estimated Time Investment
Week Long Project (20 Hours or More)
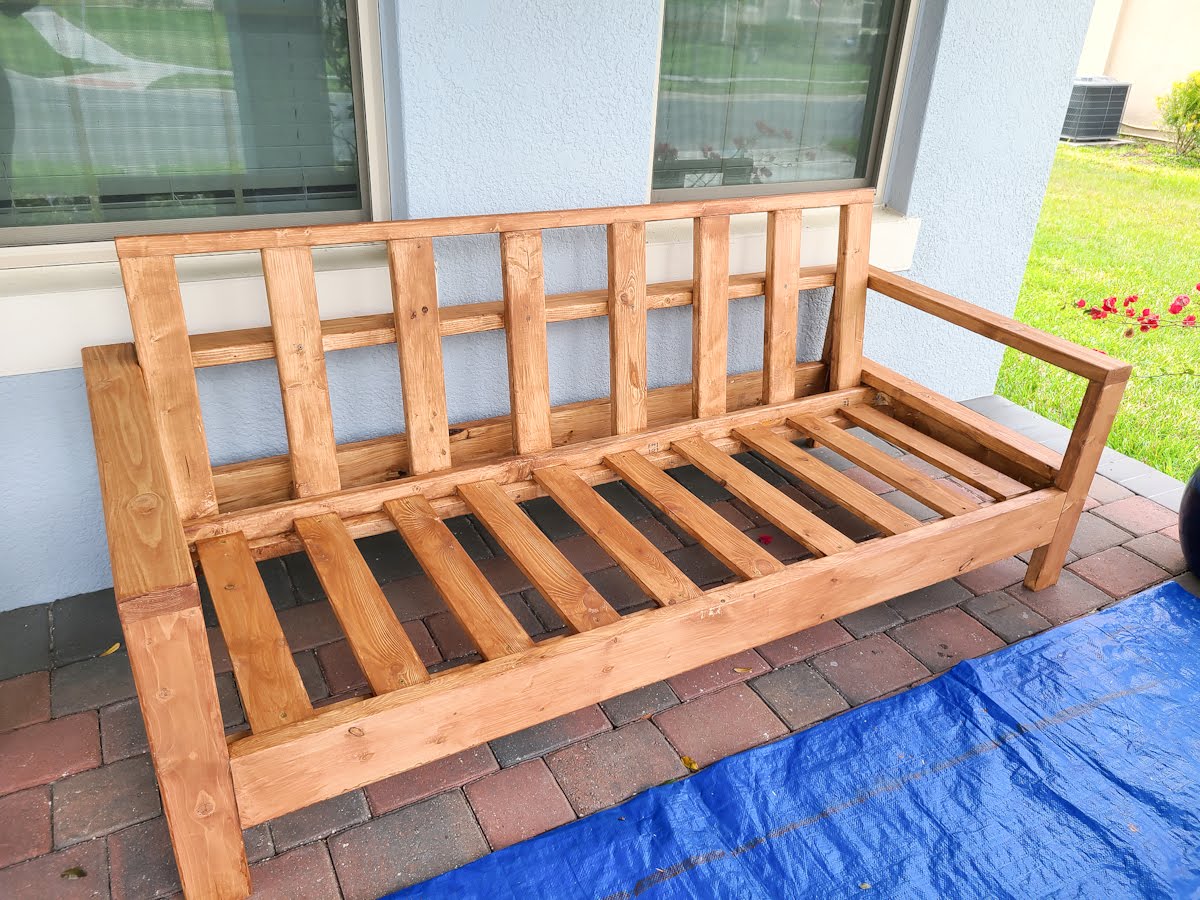
Finish Used
Oil based primer with 2 coats of acrylic over top.
Recommended Skill Level
Intermediate