Community Brag Posts

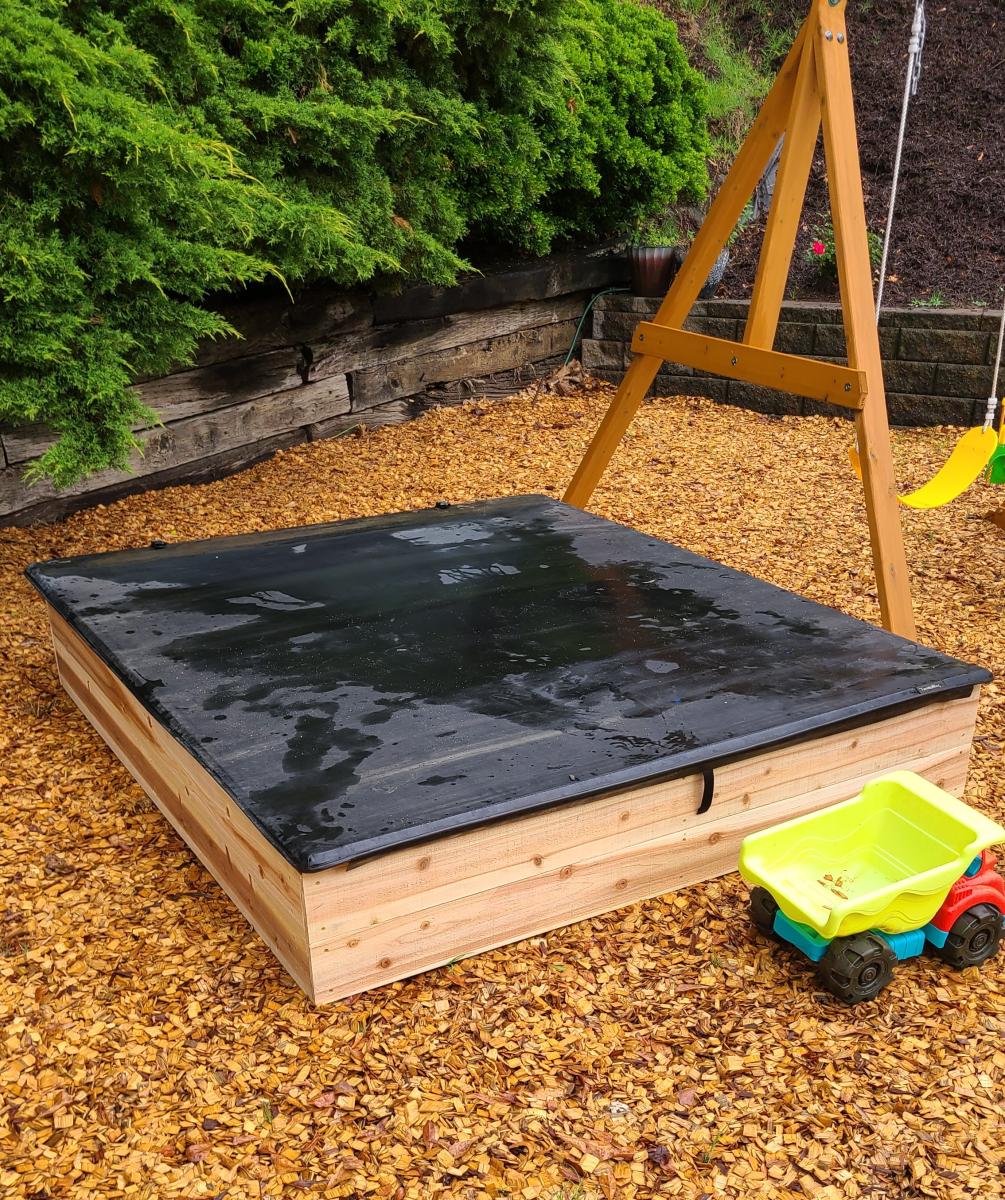
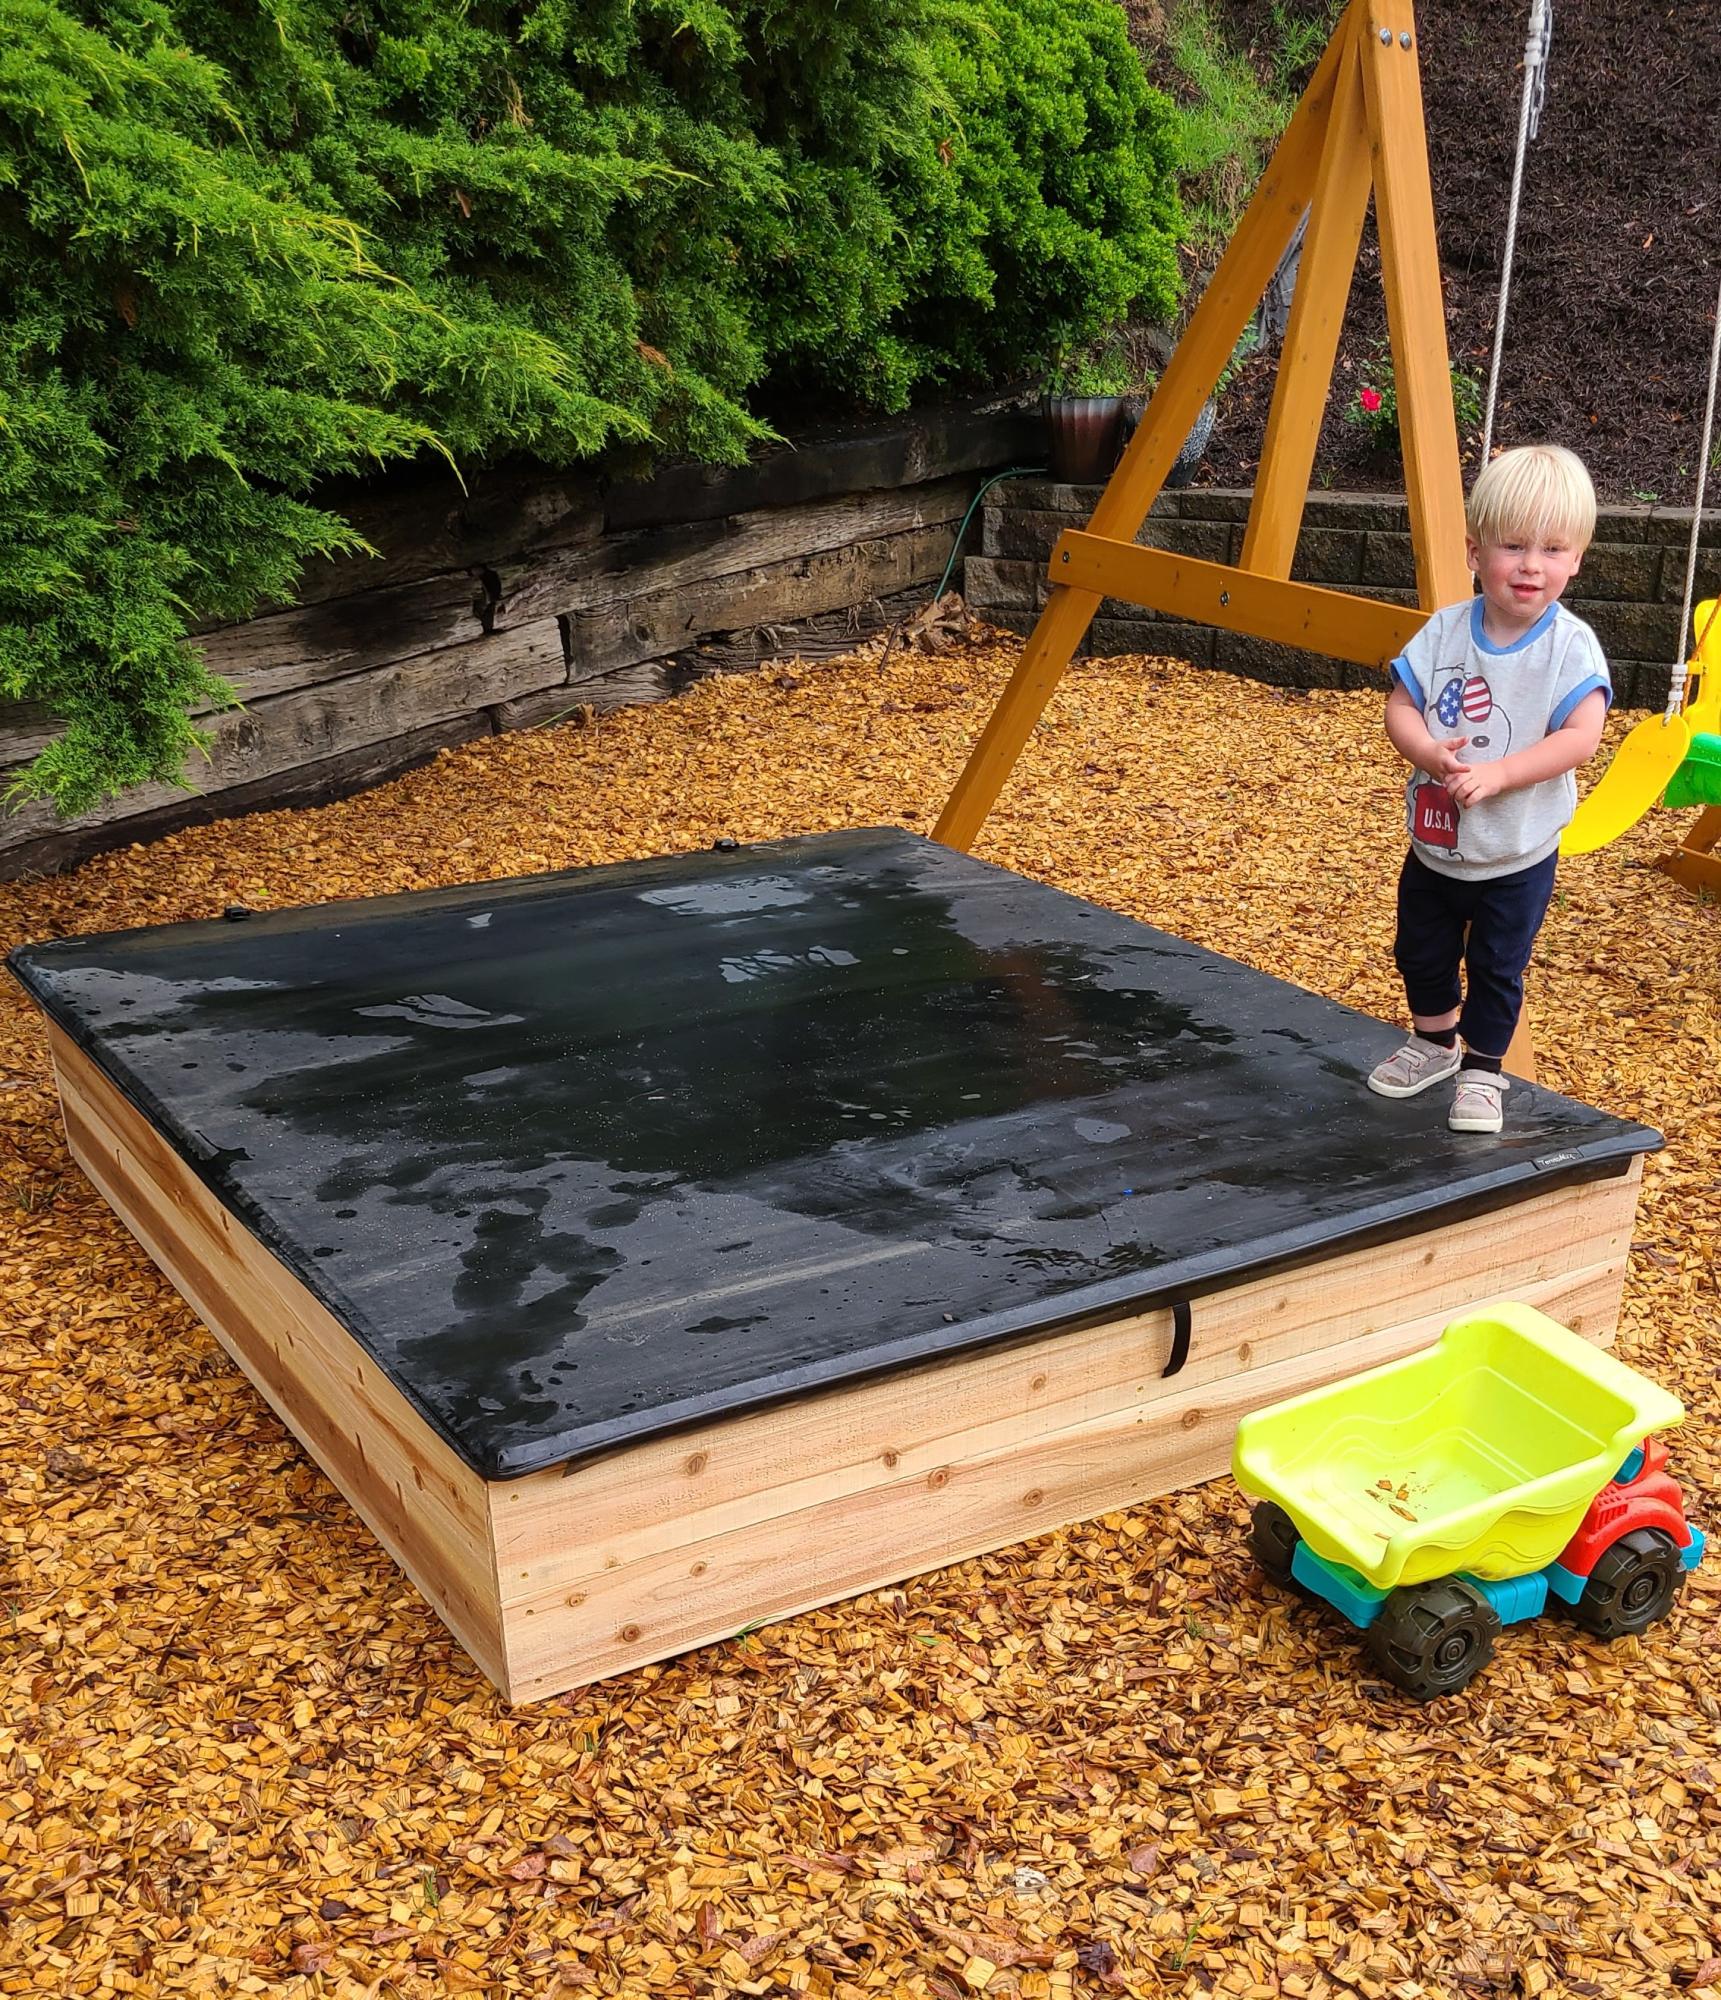
Sandbox with Cover

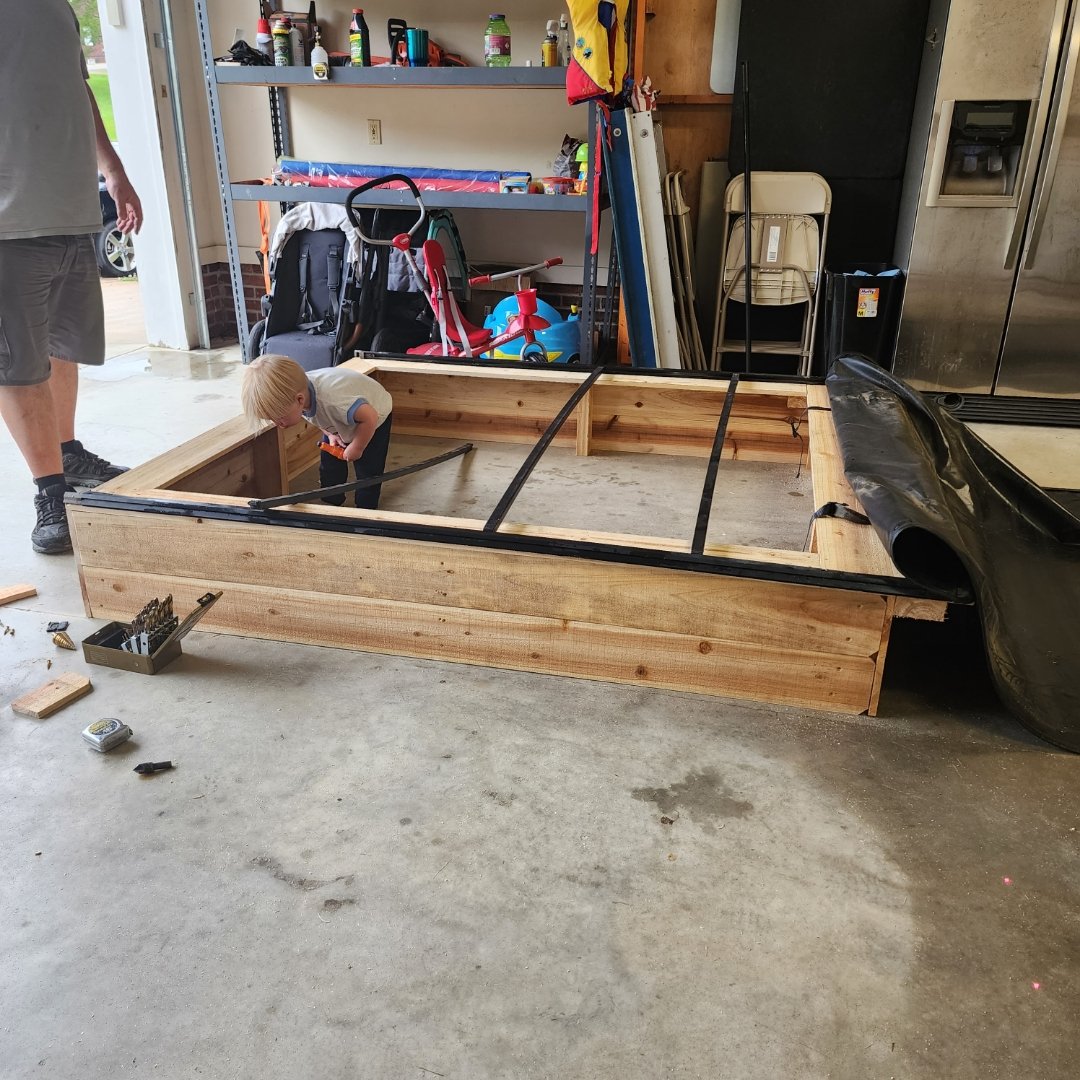
The cover is a tonneau cover for a pickup truck. It's for a 6.5' truck bed so if you notice, I had to ad a 2x4 and one more picket on top to accommodate the extra length. 

The cover would add a ridiculous amount of money to the project but it was repurposed.  I found it on a truck that was in an accident and going to the scrap yard. I think it it came out great and my grandson loves it.

John

Built from Plan(s)

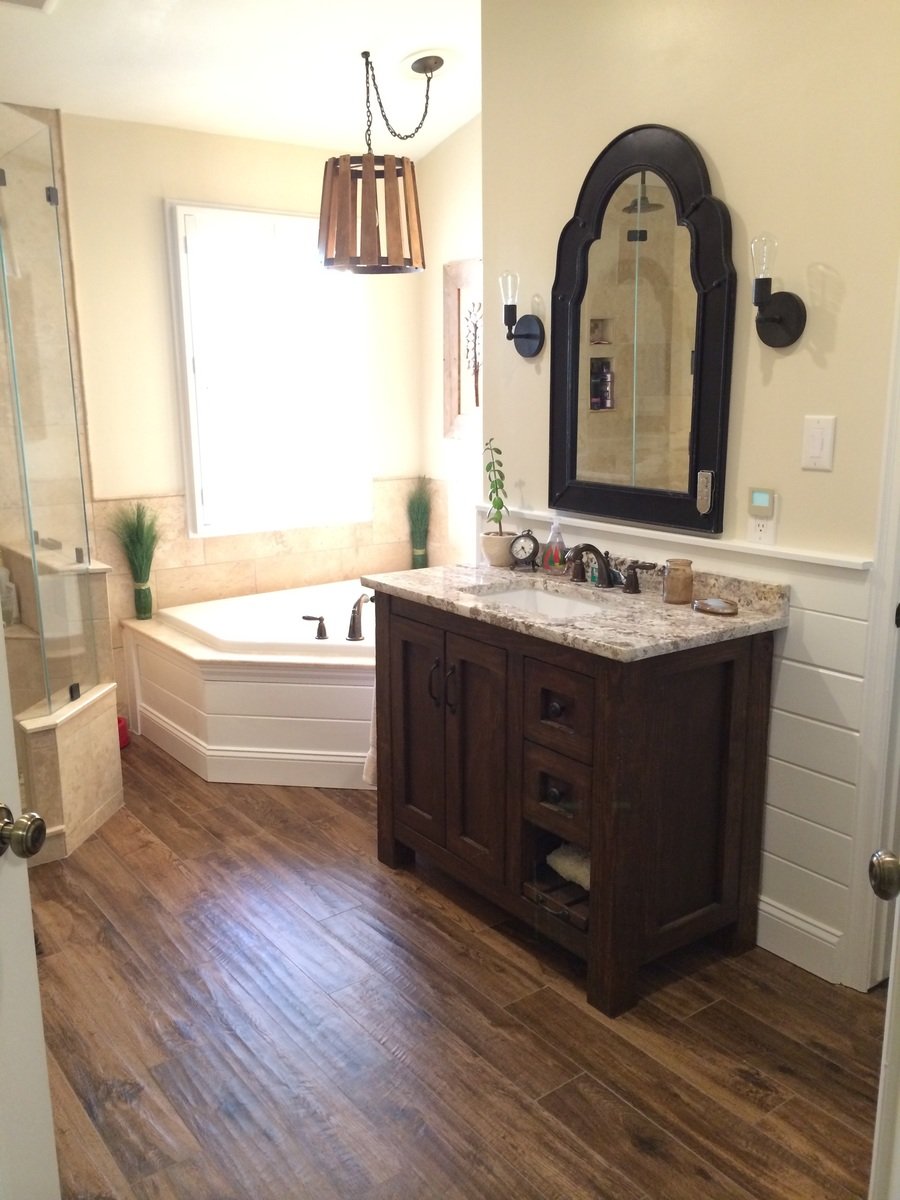
Bathroom Vanities

Submitted by kdins31 on Sat, 01/04/2014 - 13:09

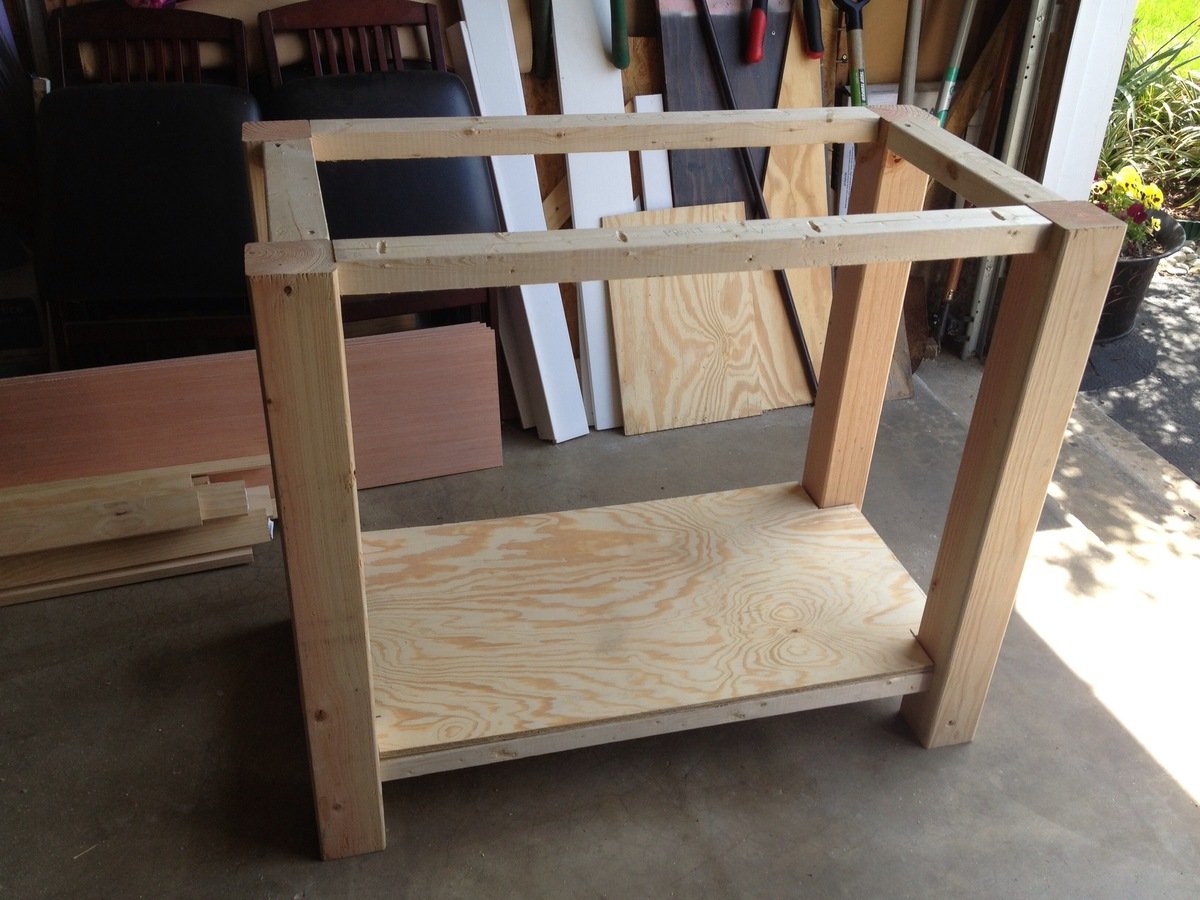
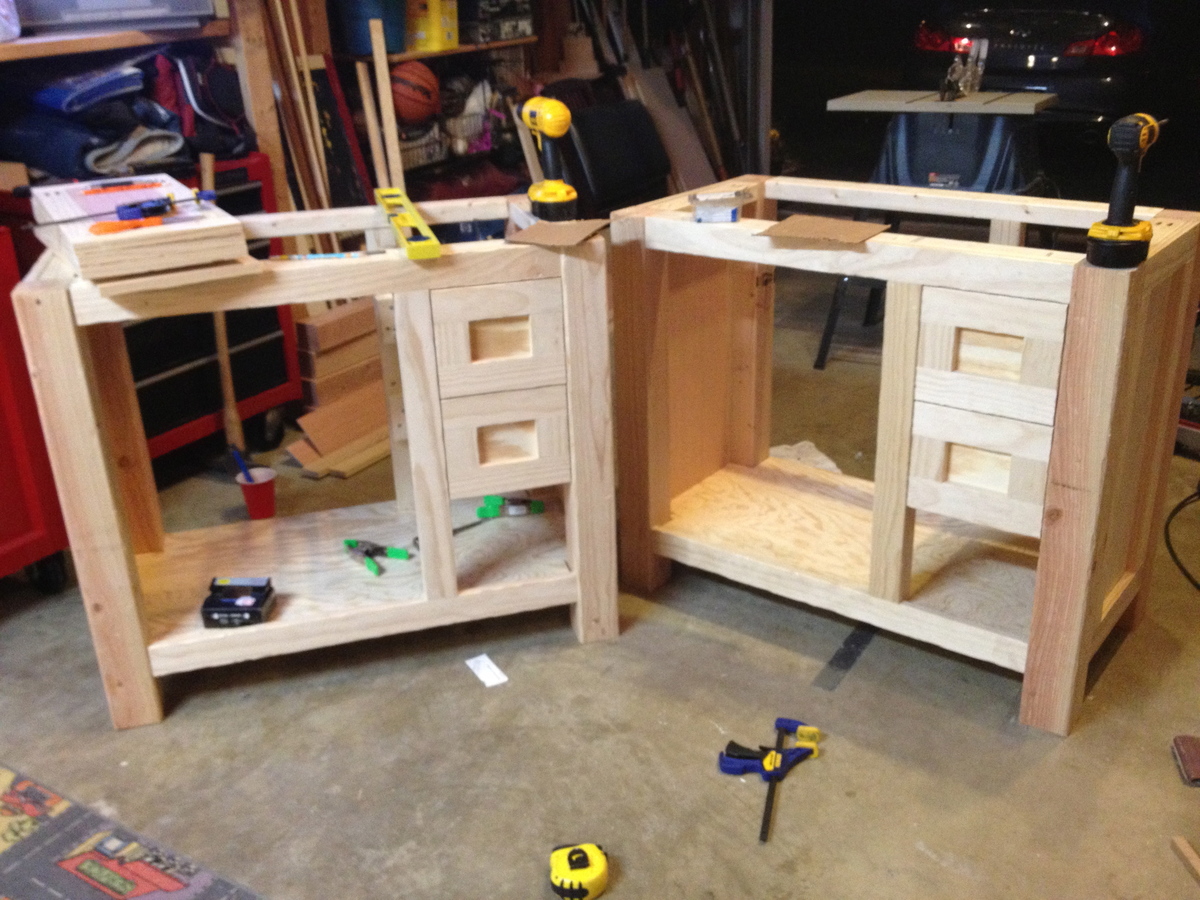
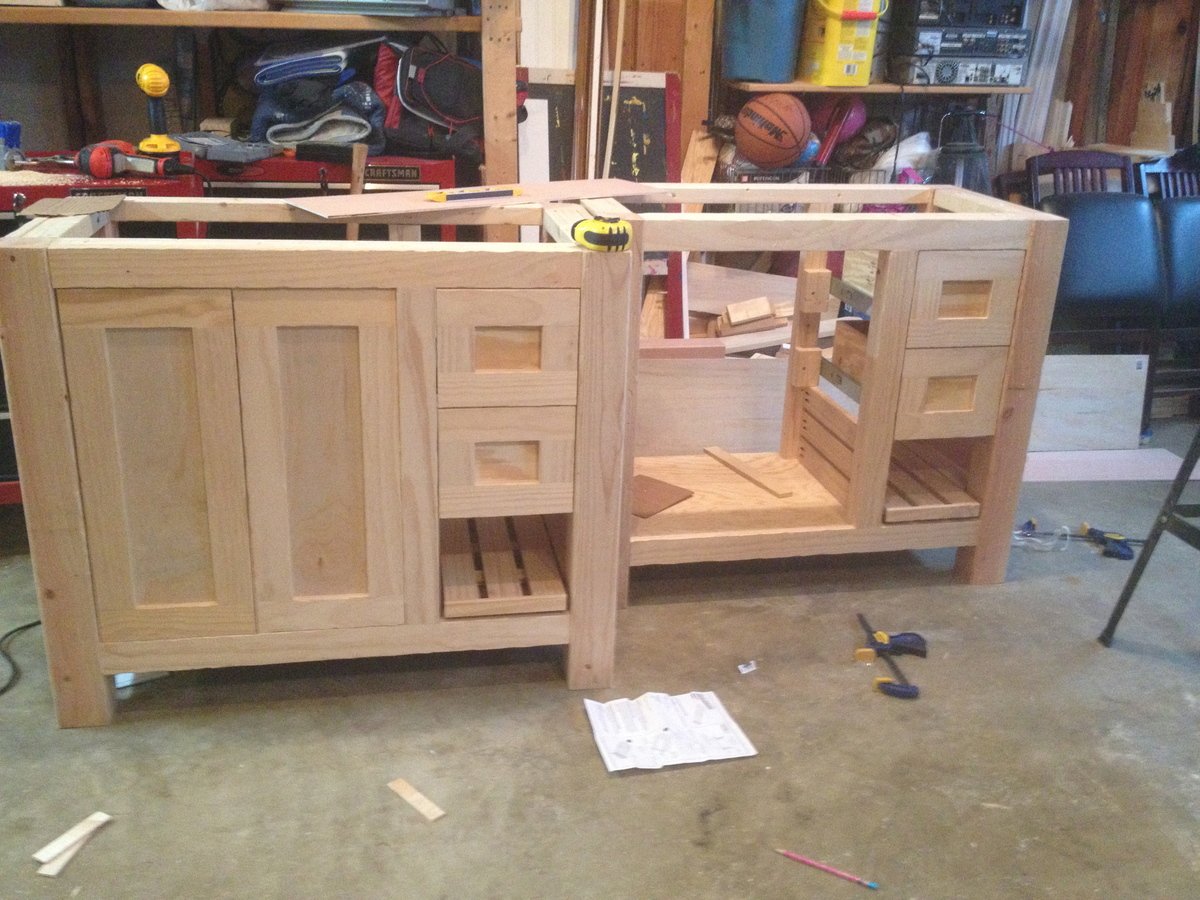
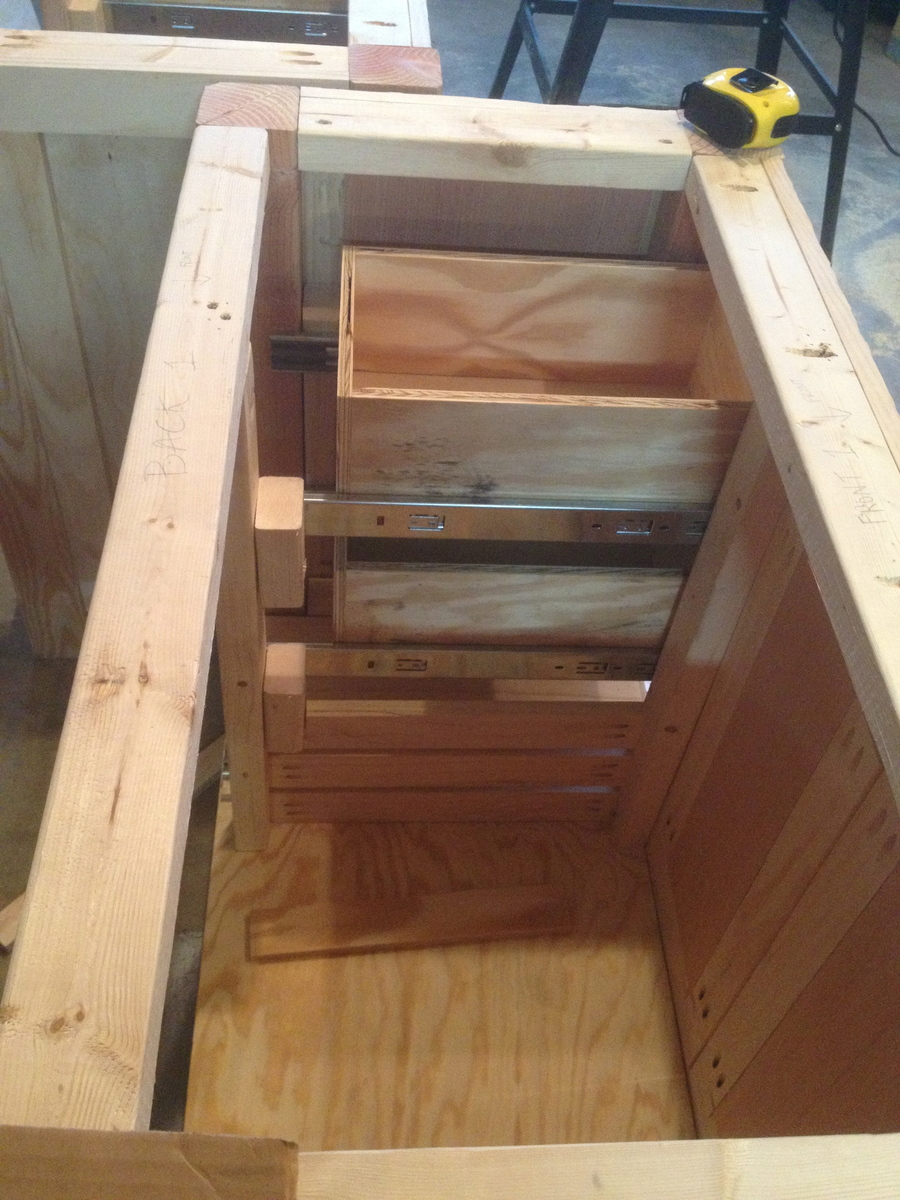
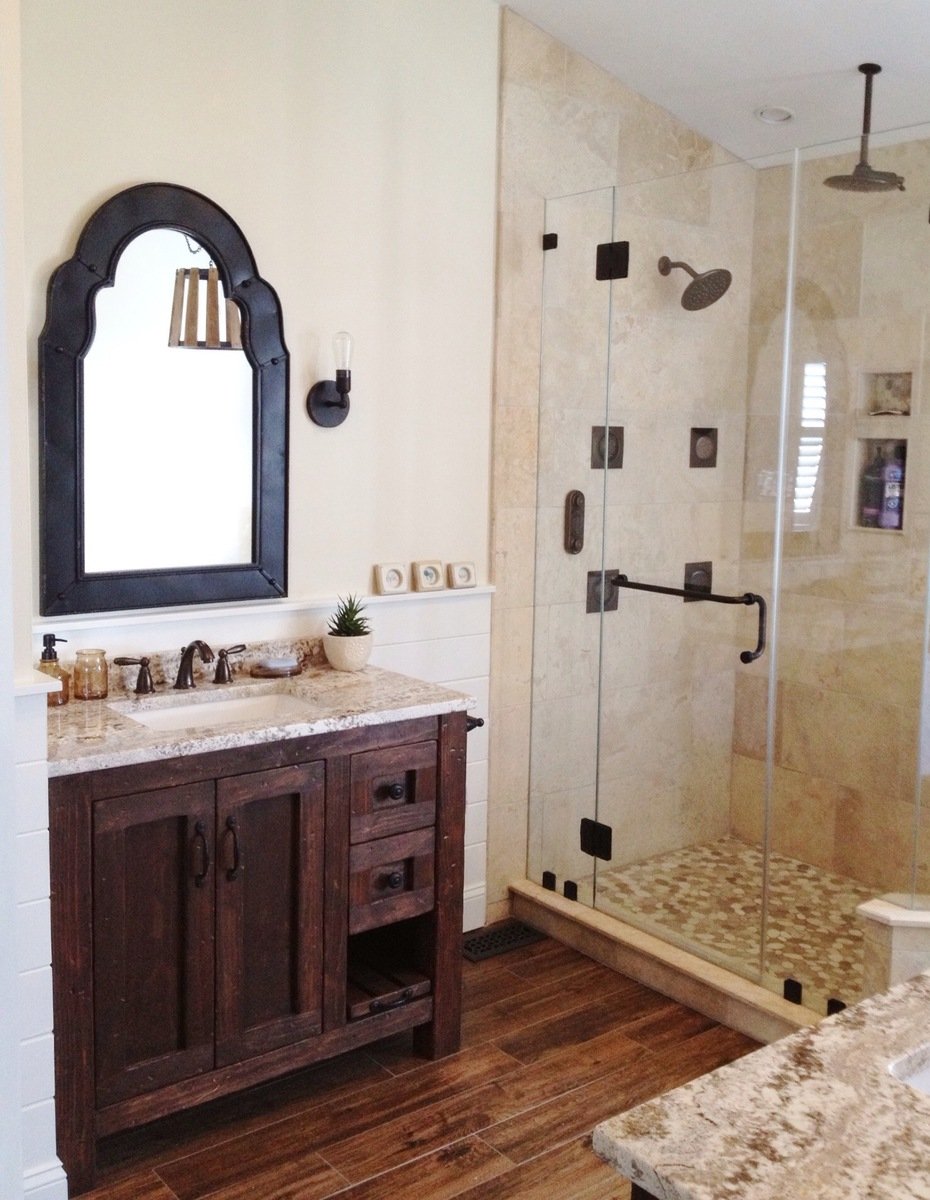
Rather than burning a few thousand on vanities for my bathroom remodel I decided to build them instead. The bottom shelf on the right slides out for a footstool so the kids can reach the sink.

Estimated Cost
Wood was cheap, the granite and sink were not, though I was able to save by getting remnant slab from granite shop.
Estimated Time Investment
Weekend Project (10-20 Hours)
Recommended Skill Level
Intermediate

Comments

Joni

Sun, 01/05/2014 - 20:55

These are so beautiful -- they really look like high-end rustic pieces. The slide-out footstool is genius. The distressing is fantastic. I really love your pebble art as well.
Would you mind sharing the stain color?

Flip Top Piano Bench

Submitted by amycourts on Mon, 12/17/2012 - 17:54

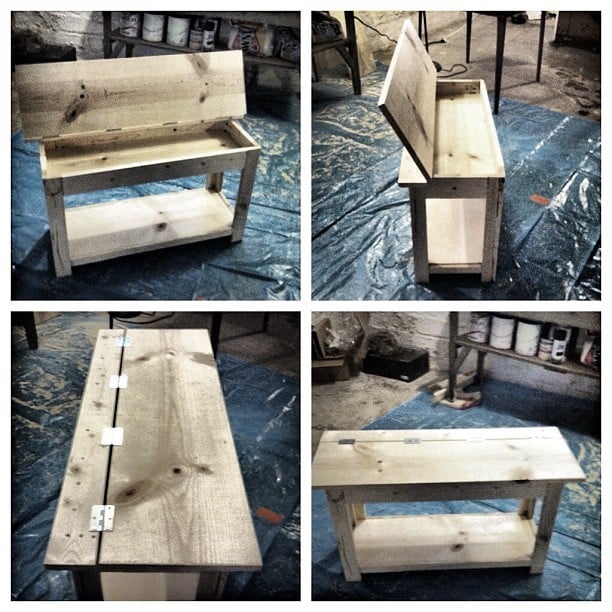
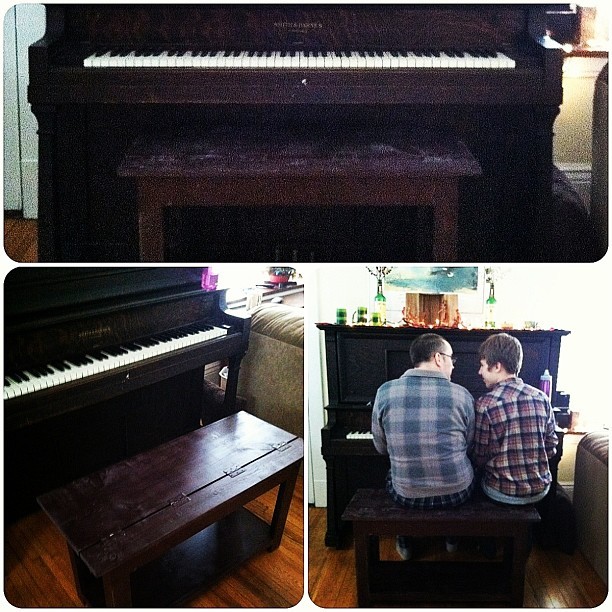
This was my first DIY build. Having been inspired by my good friend, the brilliant Jen Woodhouse of The House of Wood, I decided surely I could do this too. So I picked something that looked like a challenge, but that we also needed. We have an old piano we bought from Craigslist that has heretofore been benchless. So I used the Flip Top Storage Bench plans, headed to Home Depot, collected the wood (and let them cut it - but made a few of my own cuts, too), and got to work.

I had a little trouble at first, simply because, after assembling the sides and aprons, the unit did NOT square up. I took a few pieces apart and realized it wasn't user error (what?), but warped wood. That's right: one of my 1x3s was warped and bendy. So I rebuilt that side with some of my leftovers, and made sure to square up after each step, and lo and behold it came together!

It's not perfect - one of my legs is a bit off, so it wobbles when no one's sitting on it, but there's no issue when it bears weight - but for my first build, I'm quite pleased! And now that I know I can do this...well, this is just the beginning!

Total time it took me was probably around 15 hours, which includes practicing using my circular saw and kreg jig (both of which were straight out of the box when I started), along with my rebuilding the side.

I used Minwax pre-stain wood conditioner after sanding, followed by two coats of Rustoleum spray stain in Kona. I sanded with 400 grit sand paper after each coat of stain, and finished with one coat of semi-gloss polyurethane. I considered a few more coats of stain, but so fell in love with the weathered look that evolved from the staining and sanding that I just left it!

I also spray painted the hinges - that was a bit of an accident (I didn't know how NOT to cover them in stain...), but turned out to my liking!

My estimated cost is about $100, which covers the wood (including the extra 1x3s and an extra 1x2 I needed for a screw-up), nails, screws, three cans of spray stain, polyurethane, wood conditioner, paint brushes, two packs of sandpaper, and my hand sander. All but the wood will be used in my next few projects too, so that cost covers QUITE a bit!
Estimated Cost
$100
Estimated Time Investment
Weekend Project (10-20 Hours)
Finish Used
Two coats "Kona" spray stain, Minwex wood conditioner, one coat polyurethane, for a weathered look.
Recommended Skill Level
Starter Project

Comments

Angela J.

Wed, 01/30/2013 - 00:25

I am going to be building this bench this weekend. What is a kreg jig? I am so confused. I am going to HD tomorrow to buy supplies.

Great looking bench! I will certainly look out for warped wood :)

In reply to by Angela J.

amycourts

Wed, 01/30/2013 - 08:19

Hey Angela,

The Kreg Jig is a tool that creates pocket hole joints on all your boards - whether you're joining vertical to horizontal pieces, or two horizontal or two vertical, etc.... - and made this build, as my first, INFINITELY easier. You don't *need* the Kreg Jig to build this bench, but Ana recommended it, my good friend Jen Woodhouse, who contributes a lot of plans and builds to this website recommended it, and I highly, highly recommend it. It's about $100, and worth every penny.

Here's the video I used as a tutorial on how to do it. And seriously - it made this job SO much faster than it would have been without the Jig! :)

http://www.youtube.com/watch?v=IrIFHMEPkXs

x frame coffee table

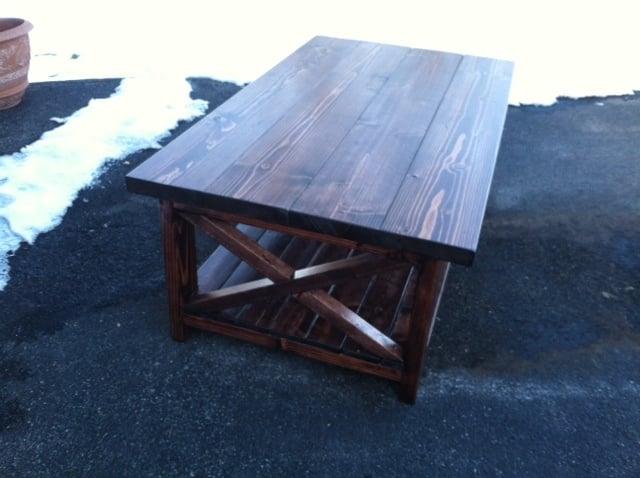
fun table from the X Series

Built from Plan(s)
Estimated Time Investment
Day Project (6-9 Hours)
Recommended Skill Level
Beginner

Comments

Courtlh

Sat, 03/30/2013 - 22:59

I was wondering what stain you used? I have a lot of douglas lying around and like the way it turned out!

Aesimpson

Tue, 01/27/2015 - 11:49

Approximate cost for this project? Thank you for the help! :)

jlynchtx

Fri, 01/05/2018 - 23:13

i am thinking about building one of these myself soon. Have you noticed any warping or cracking since you built it?

wooden cooler stand

Submitted by stealth517 on Sat, 04/18/2015 - 20:48

This is the cooler stand presented by Jenny from Birdsandsaoap. Very easy to build and always ends up with someone asking to buy it or have you make them one.

Built from Plan(s)
Estimated Cost
$120.00
Estimated Time Investment
Week Long Project (20 Hours or More)
Finish Used
Minwax gloss polyurethane.
Recommended Skill Level
Intermediate

Comments

Bike Storage

Submitted by vendo on Wed, 10/13/2021 - 10:10

I live in a smaller rental with limited garage space, so I needed a place for my kids bikes. This is what I came up with. It required minimal screw holes in the treated fence posts and I attached a rail system(rubbermaid fasttrak) for the bikes to hang from. I used Ana's easy shelves plan for the upright supports and then just added some corrugated roofing and cedar fence pickets (which I had on hand) to finish off the top.

Garage Workshop Bench

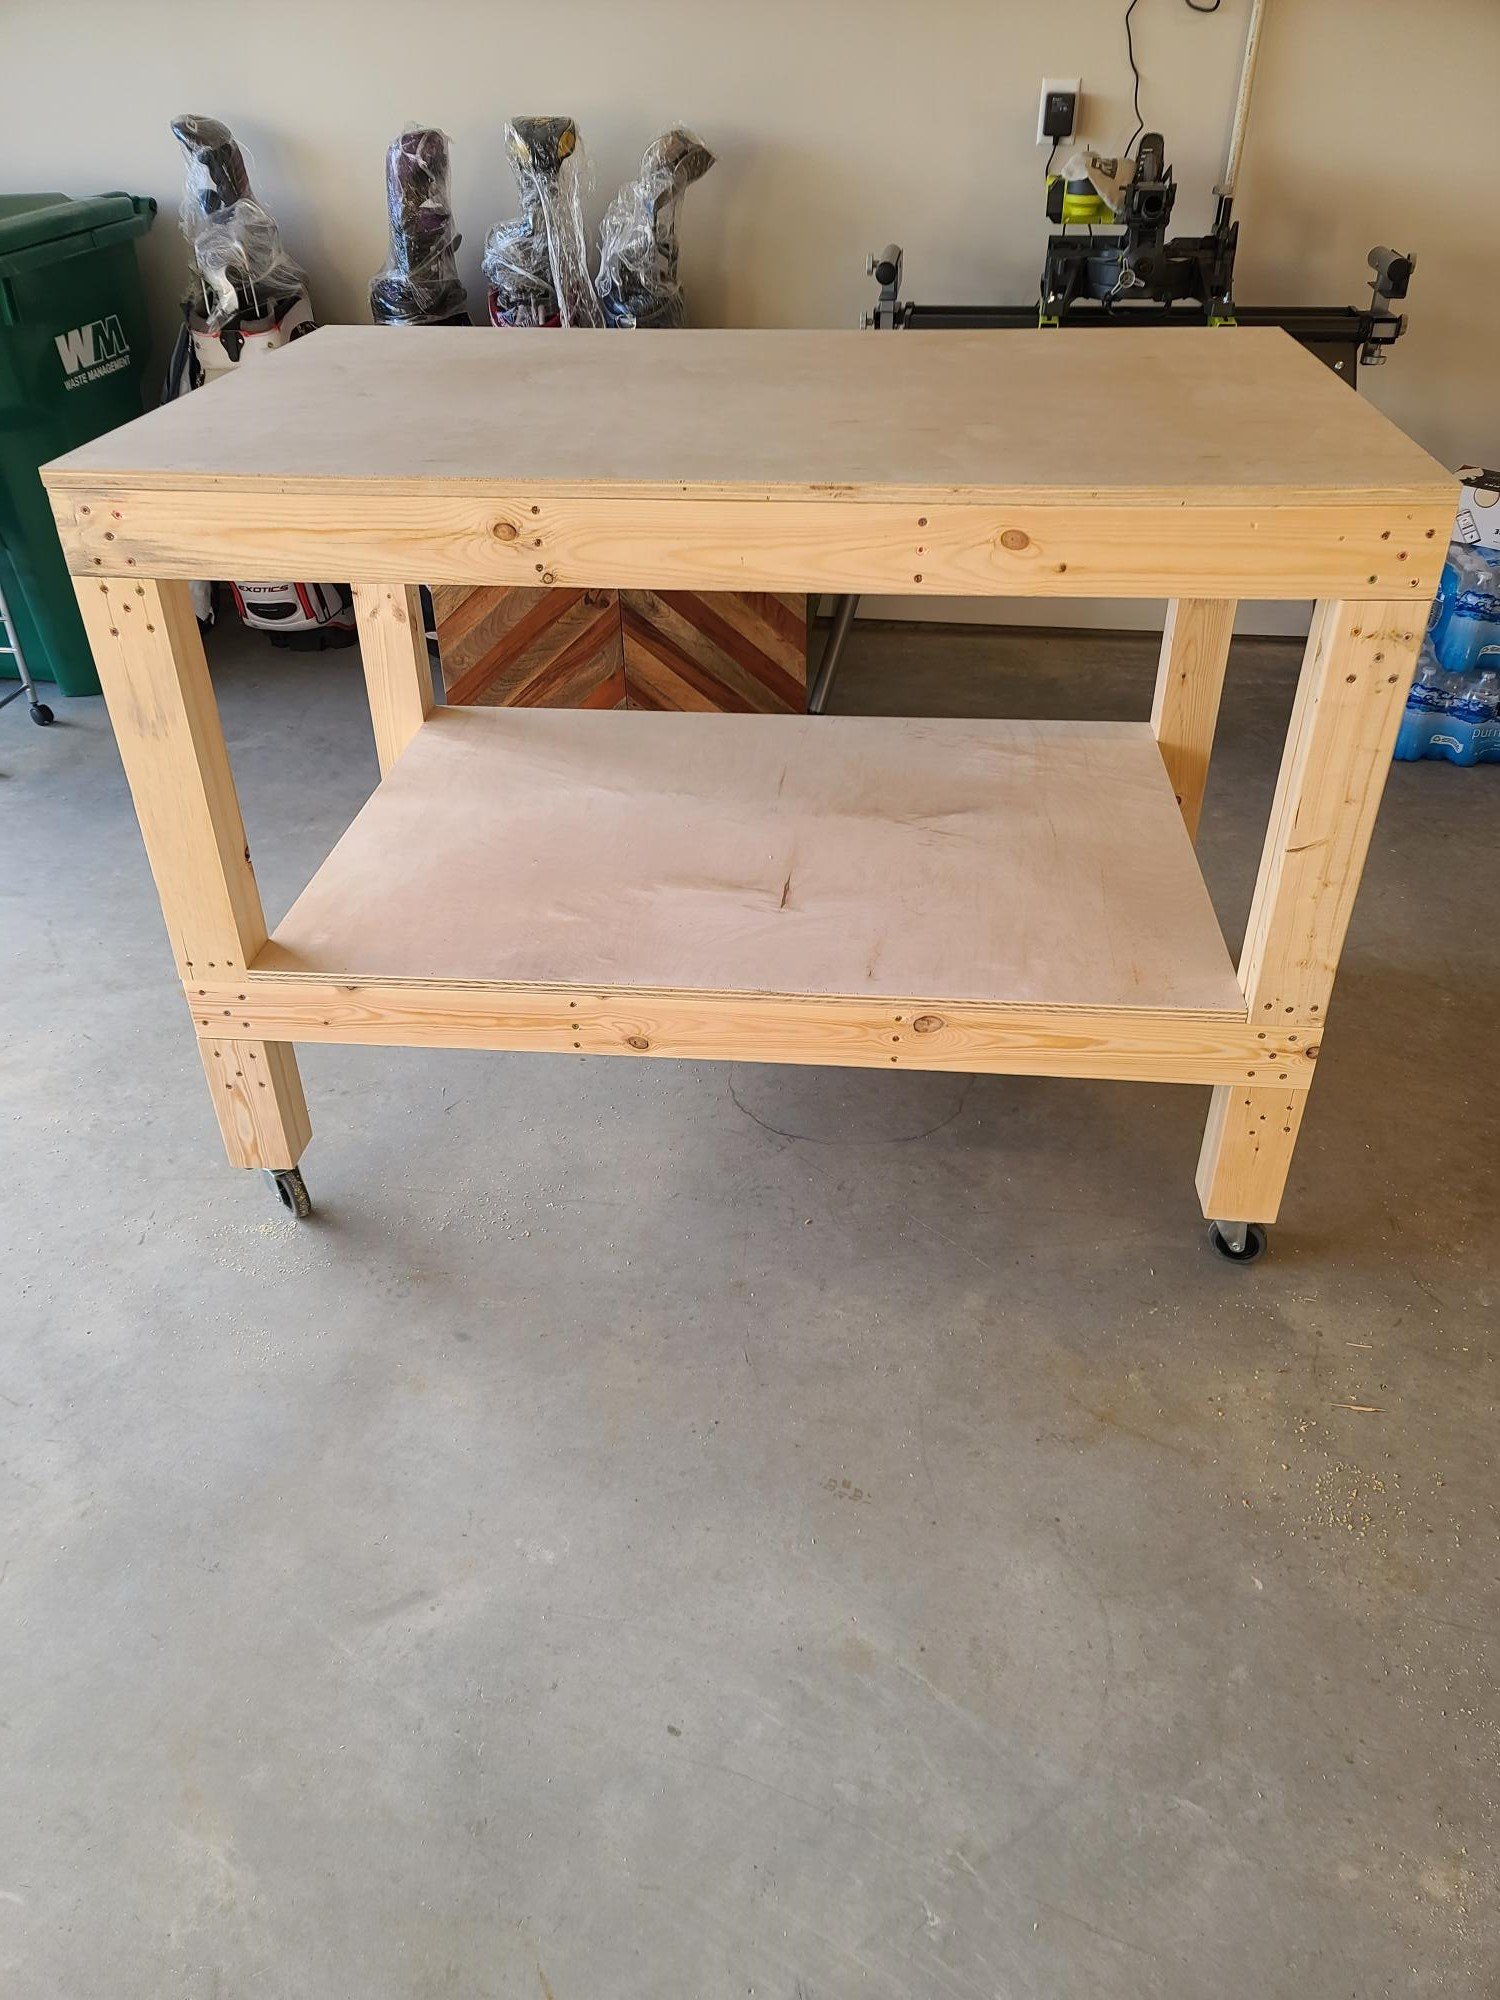
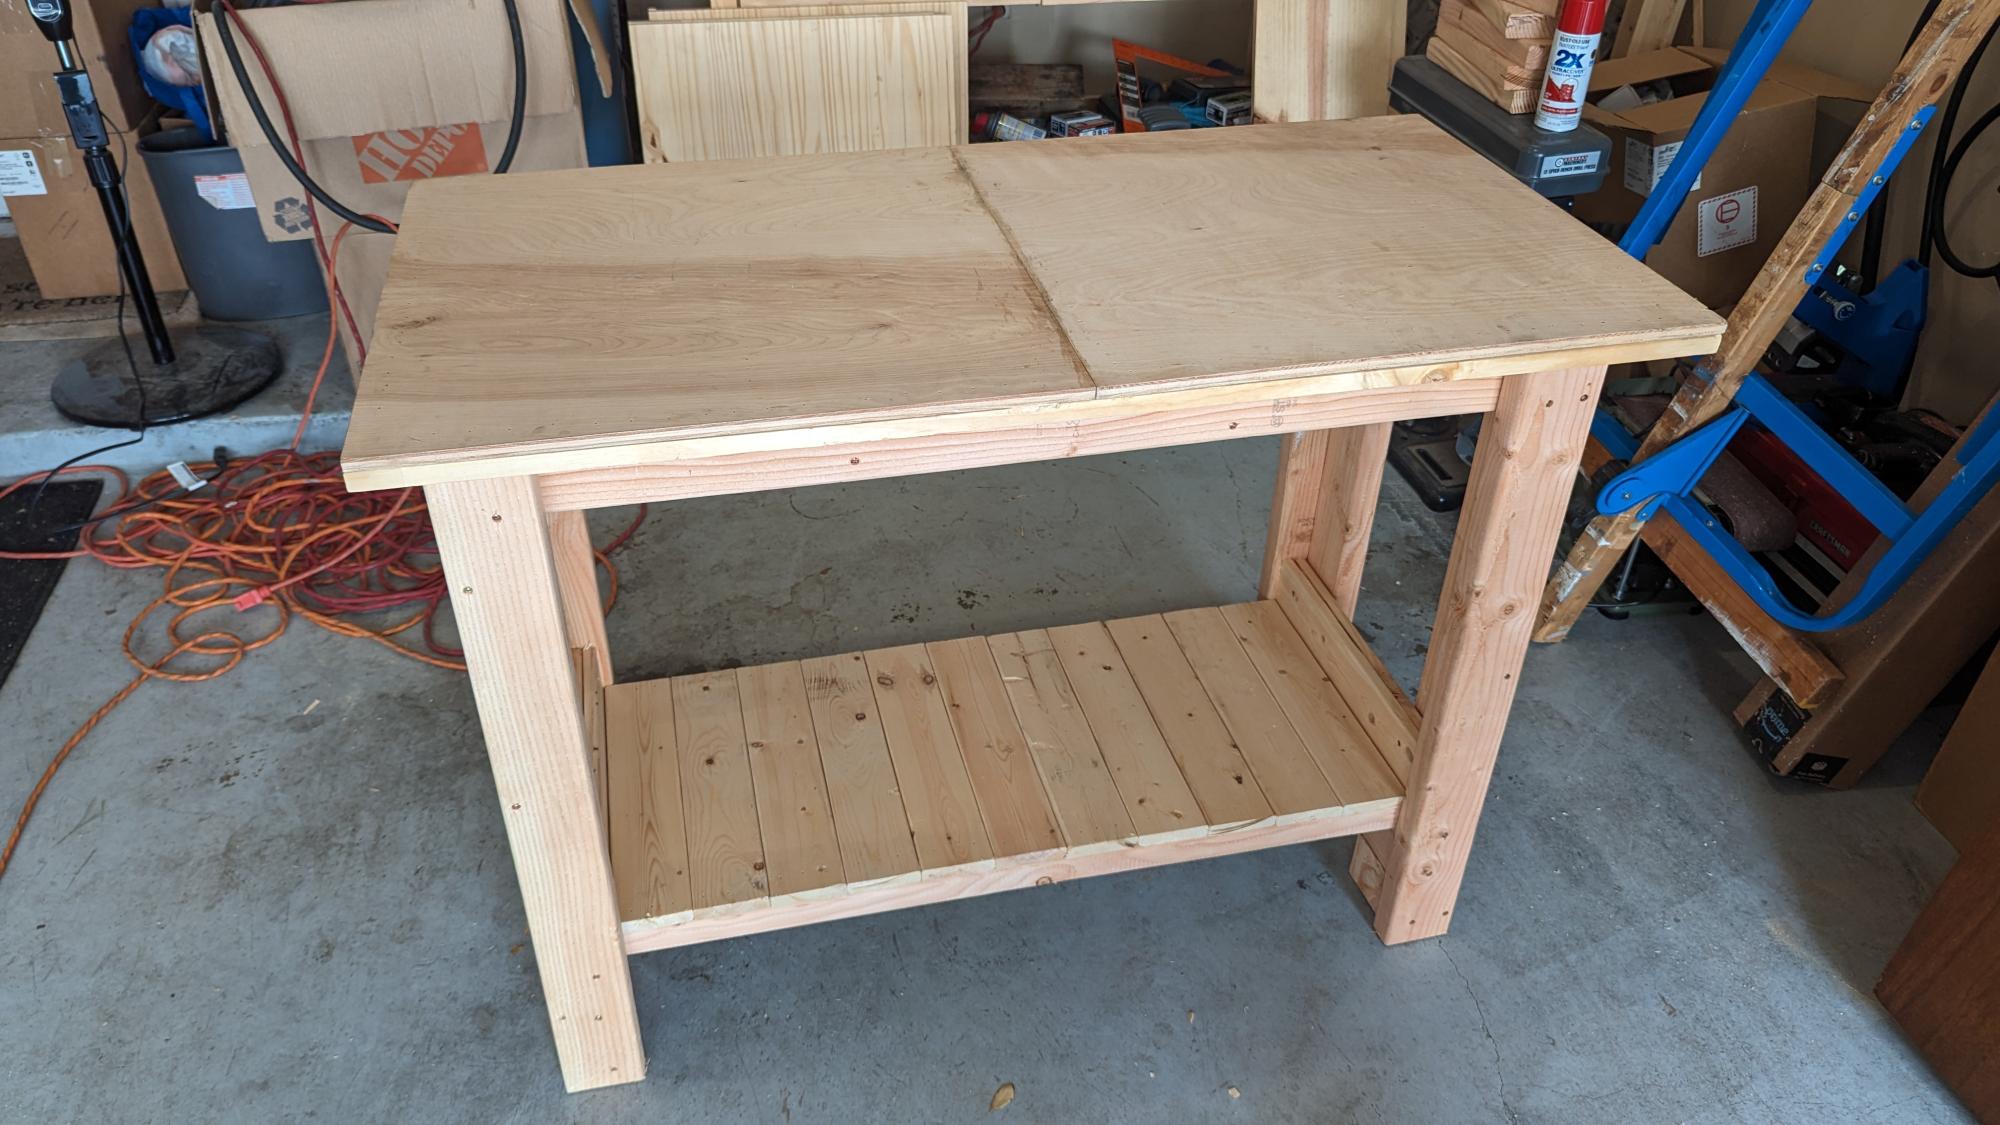
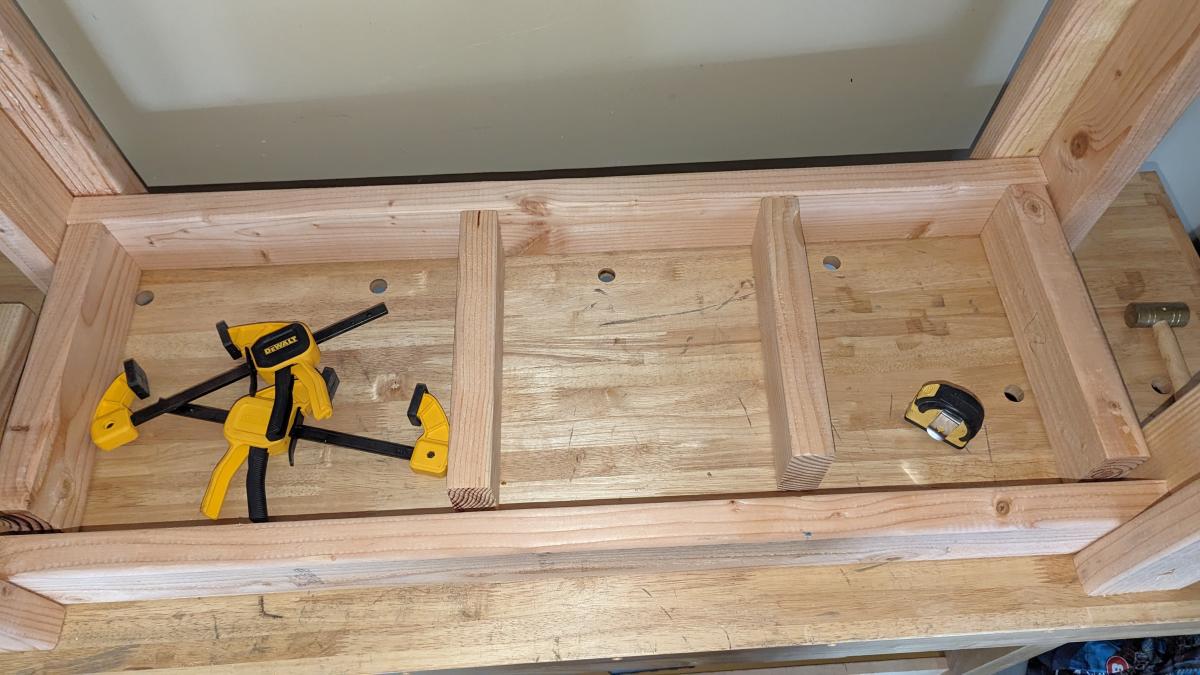
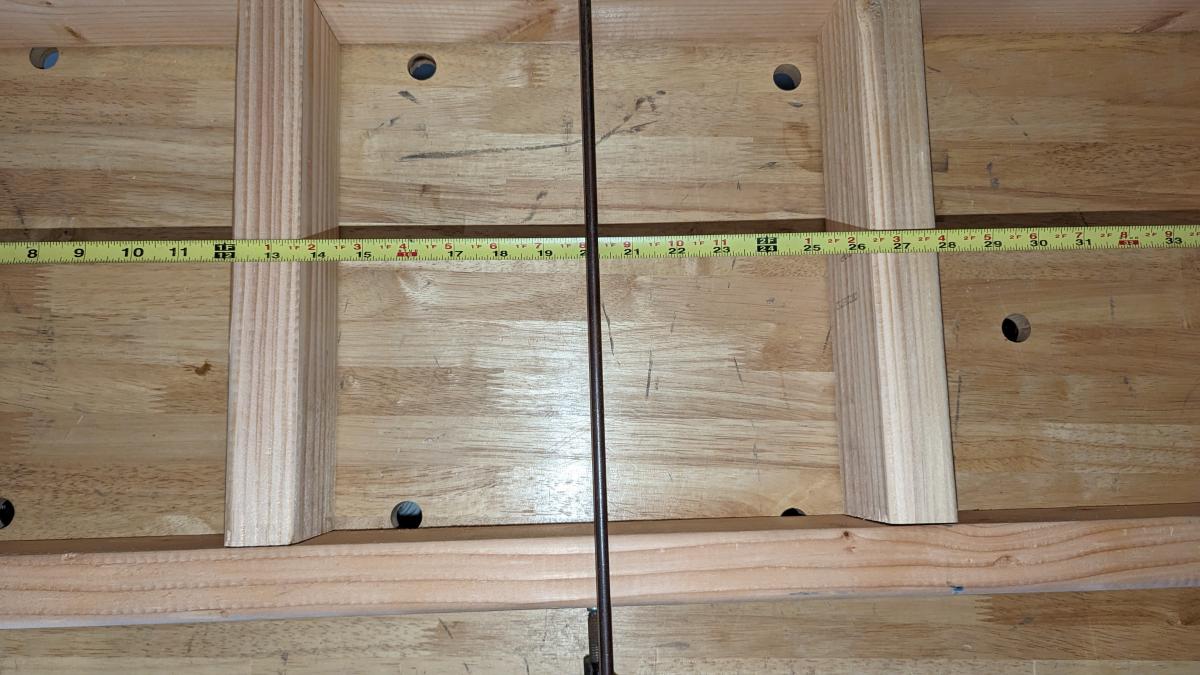
This was my second project, with so many more projects in mind, figured I needed to get started on a Workshop bench. This was a fun and easy project and such a great plan.

Comments

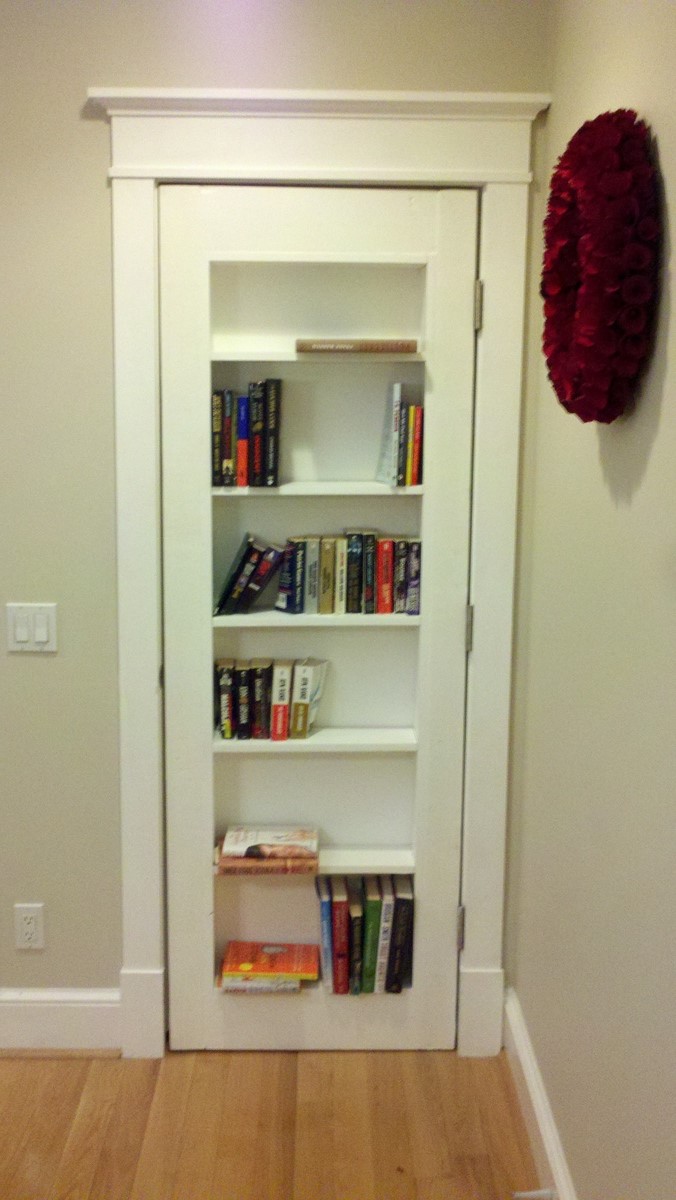
My First Project - Inset-Bookshelf Doorway

Submitted by Conlonke on Fri, 12/13/2013 - 07:17

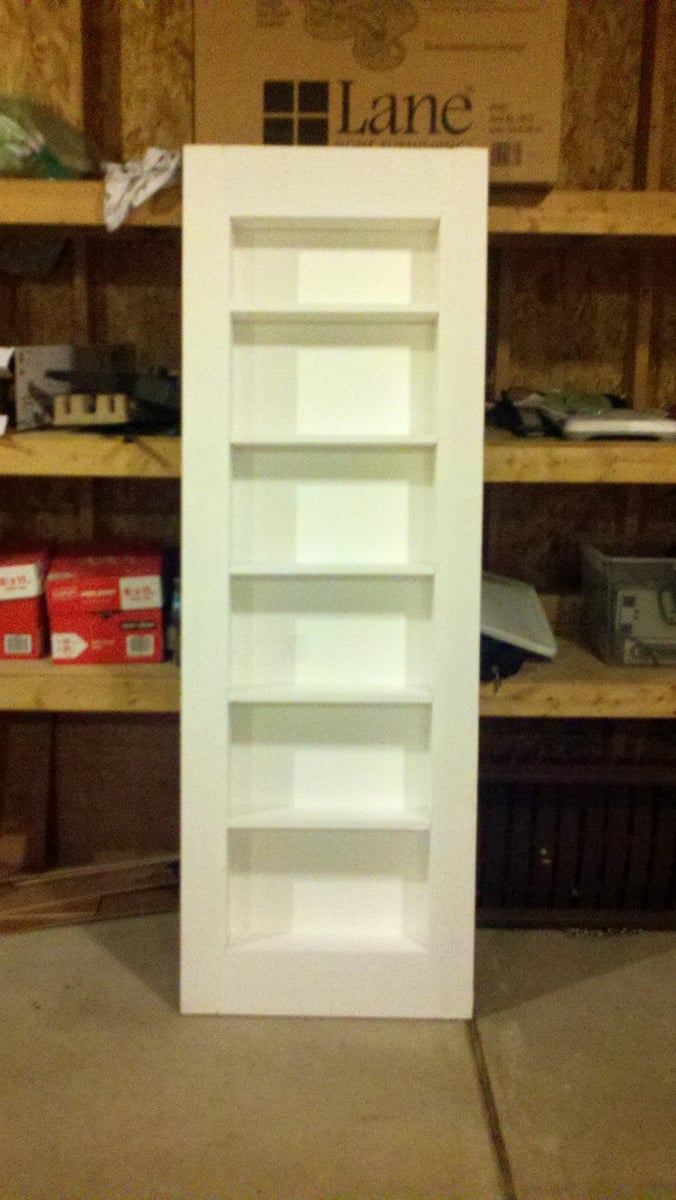
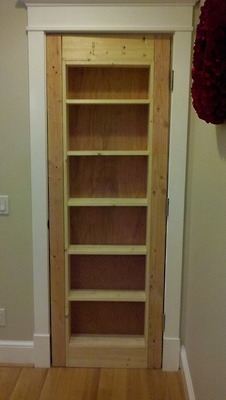
I bought a house in 2011, and I didn’t like the way the door looked in a dining room that leads to the crawl space and a little broom closet. So instead, I built a bookshelf on hinges and painted it white and so with the help of the plans from Inset Bookshelf Doorway plans I was able to create some more bookshelf space within my house for my Fiance, who is an avid reader and Librarian. I apologize for the lack of pictures as I had no idea it would turn out so well. It was actually relatively easy using a circular saw, a kreg jig, wood glue, wood filler, and a spray painter, I thought it turned out well. At first, I measured the doorway, and adjusted the plans to meet my needs taking into account that a 2x4 is actually a 1 3/4 by 3 3/4. This was the hardest thing for me to adjust to is the actual wood size. From there, I started building out the frame. Once that was complete, I added in the shelves with the Kreg Jig to make sure that it was all flush and hidden. Lastly, I added in 1/4 inch sheet wood for the back. Now it was time to prep. I took wood filler and filled in the sides, where the drill holes were, and since I could not get sheet wood long enough for the whole door frame to make sure everything was smooth so I used wood filler and puddy to fill in the space in between. Once everything was dry, I used my Ryobi paint sprayer and may have over-done it on the first pass, since this was my first time using it. After cleaning it up, I applied another coat and I am pretty happy. Finally, I finished it off with a magnetic pin to lock it in place so it appears to be shut and all you have to do is to push to open. Future updates, per the Fiance's request is to use a book with string through the back to unlock it in a gated fashion. I hope you guys enjoy, and I apologize for the lack of overall detail. This was done over a year ago and I have since cleaned out my notes.

Built from Plan(s)
Estimated Time Investment
Weekend Project (10-20 Hours)
Finish Used
White Paint (Behr Premium with primer) - Semi-Gloss finish
Recommended Skill Level
Beginner

Podium for My Wife's Classroom

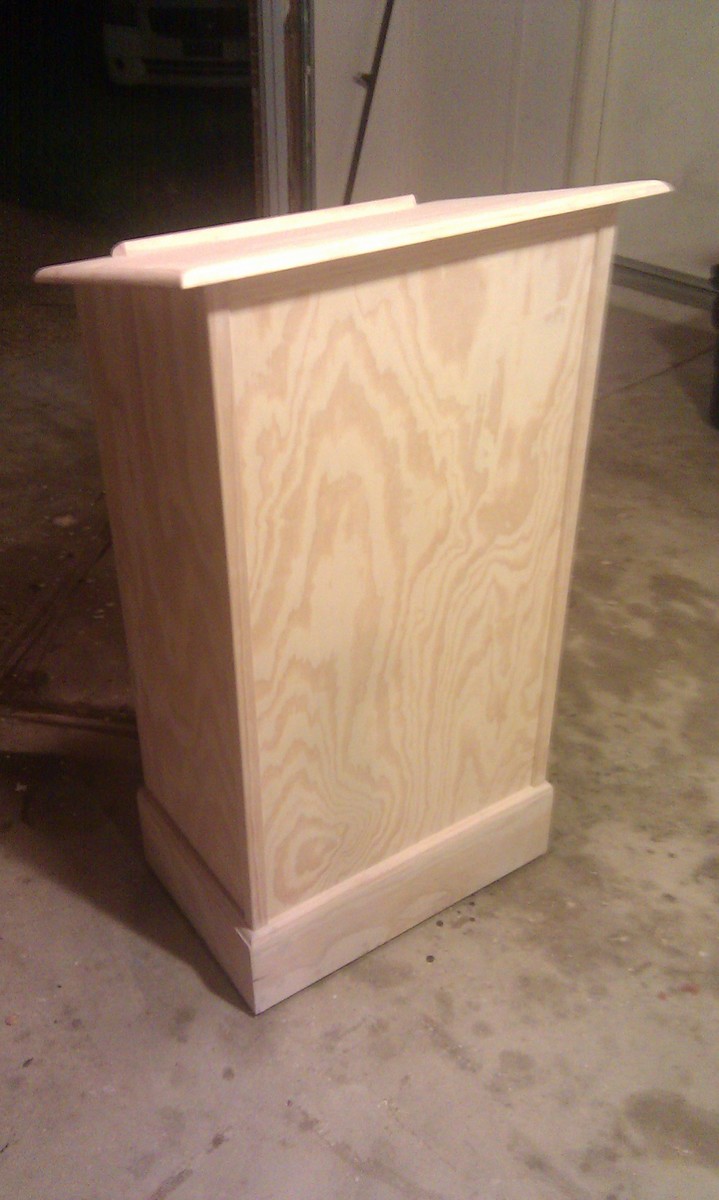
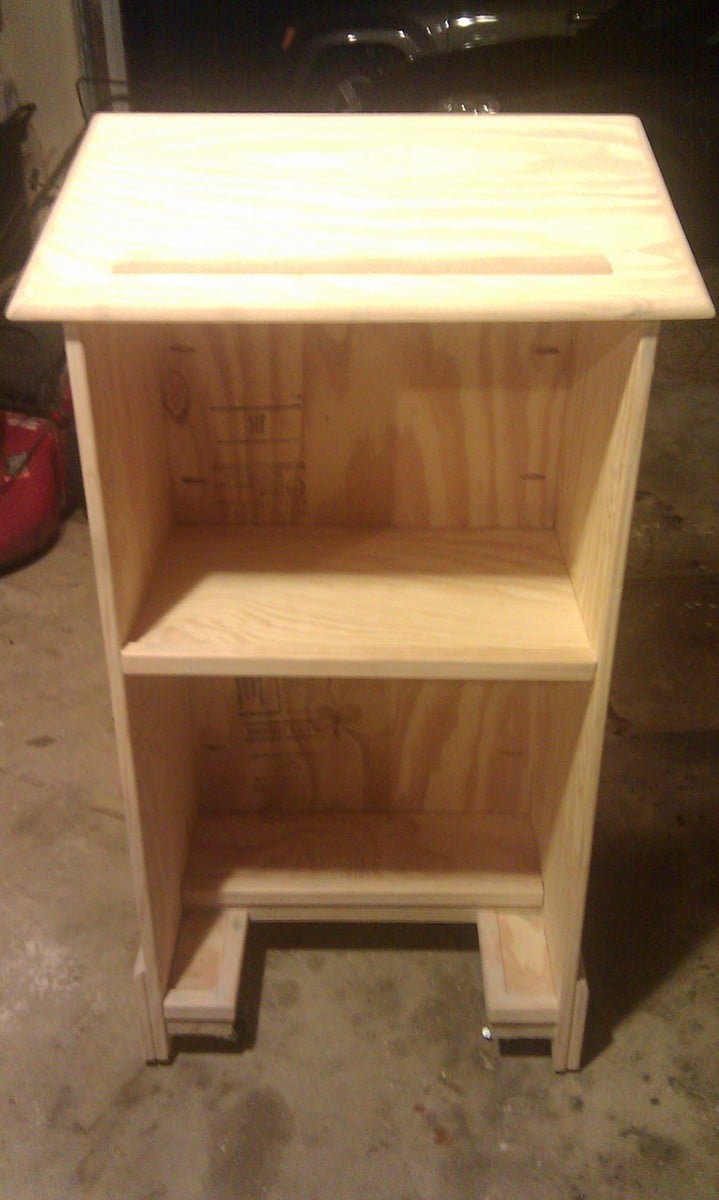
This is my first try at building furniture. I've built larger things in the past like decks and a fort for my nephews, but never furniture. Even though I used the plans to build the main box, I did change up the bottom and added some new stuff. I added wheels to the bottom my wife could easily move it around her classroom. I didn't want to put a square base on it because I thought it might hit her ankles when she was standing close to it. So I sort-of notched it out to give an opening for her feet and I used some scraps to create a short shelf at the bottom. I also added more trim that the plans call for. I cut strips of the pine plywood for the base molding and topped it with quarter round. I used corner trim for the front corners, the self inside and the bottom notched shelf. I also used screen trim for the back of it. I think it came out nice and I've very pleased with it. I used 2 coats of Minwax PolyShades American Chestnut on it.

Built from Plan(s)
Estimated Time Investment
Weekend Project (10-20 Hours)
Finish Used
Minwax PolyShades American Chestnut
Recommended Skill Level
Beginner

Easy Workbench

Submitted by Anonymous (not verified) on Tue, 05/07/2024 - 07:44

Easy to put together and quick! A great set of plans which produced a very sturdy bench. Some adjustments were made, as we had spare 1x3s which we used to expand the bottom shelf.

We pre-cut everything to specification. We only needed 6 2x4x8s. We only broke into the 7th because our cuts for the cross bars on top came up short once it was together and we had to recut. Just save the 12 inch boards to cut when you need to add them to ensure the measurements are accurate. The top was glued and nailed together with brads, a bottom layer of 1 inch pine with a top layer of 1/4 oak plywood on top. It was what we had on hand and it provides the strength needed with girth yet the hard exterior of the hardwood ply.

S Walker

Built from Plan(s)

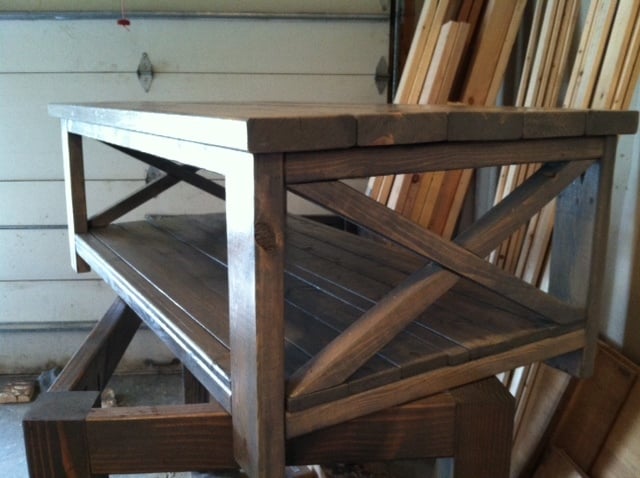
Heavy Bench for New Greenhouse - Modified Farmhouse Table

Submitted by Tonya P on Wed, 09/12/2012 - 11:38

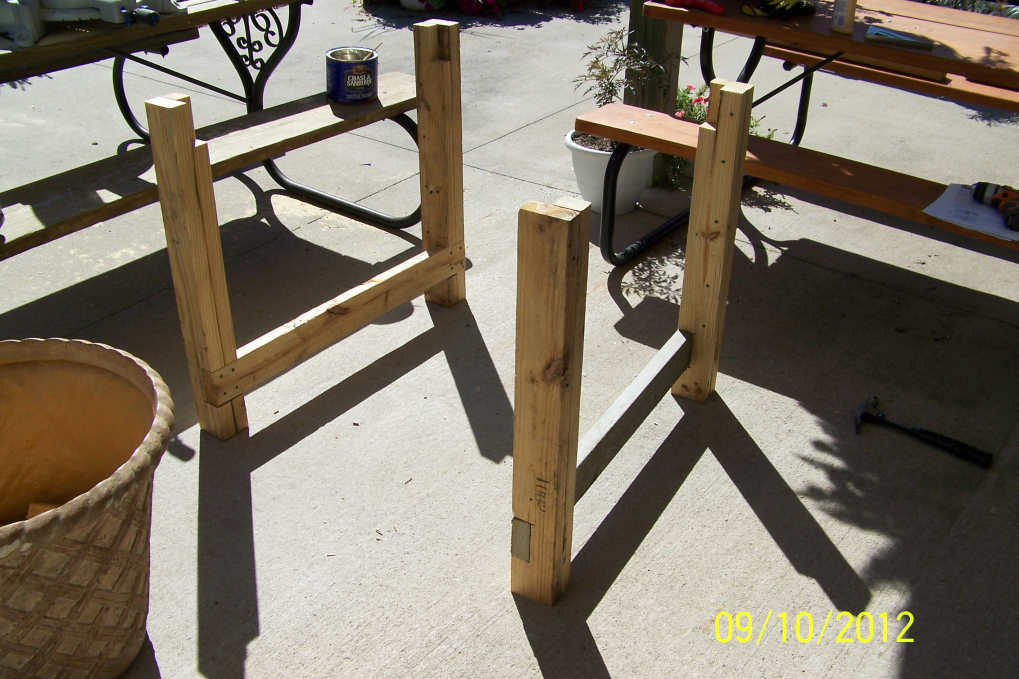
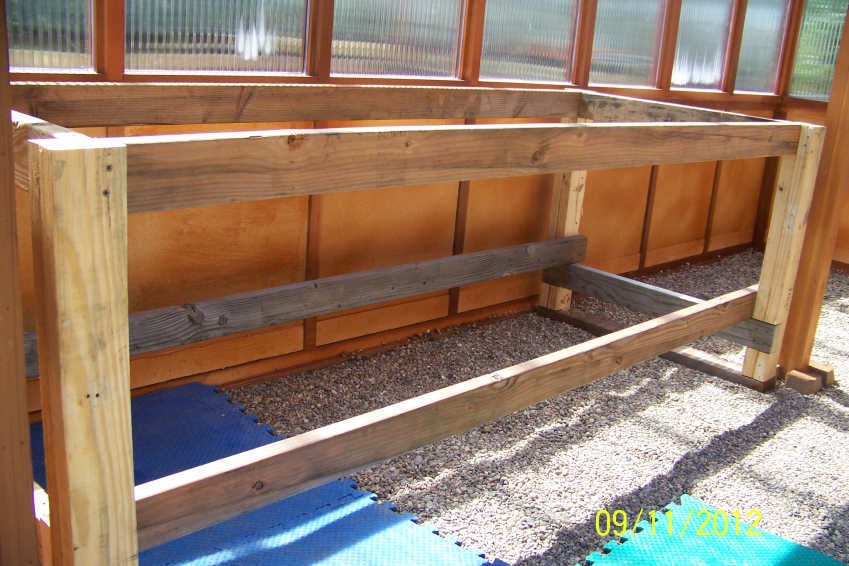
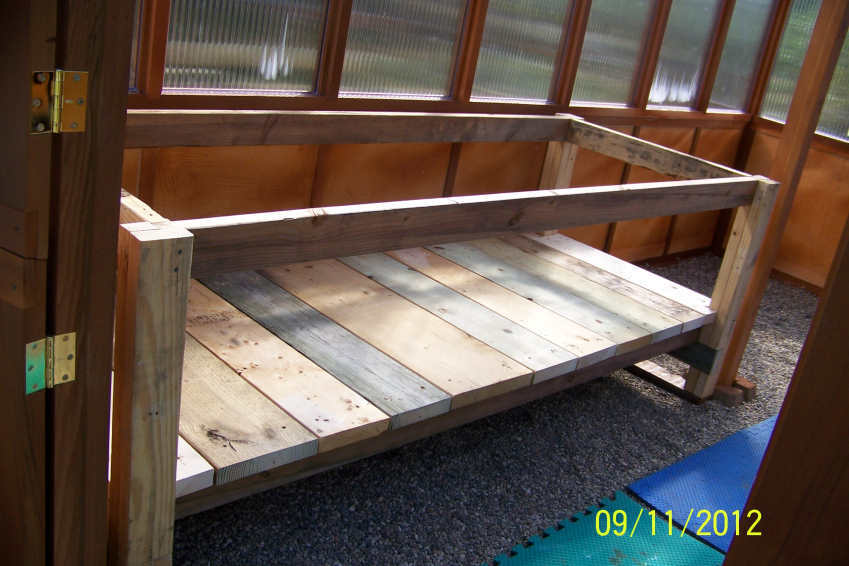
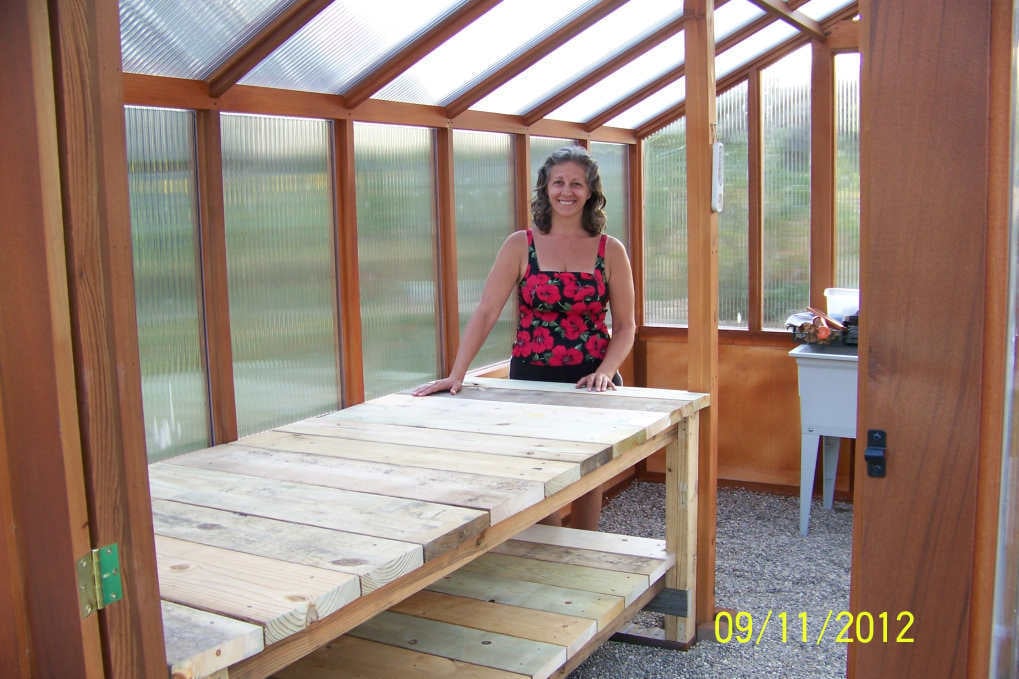
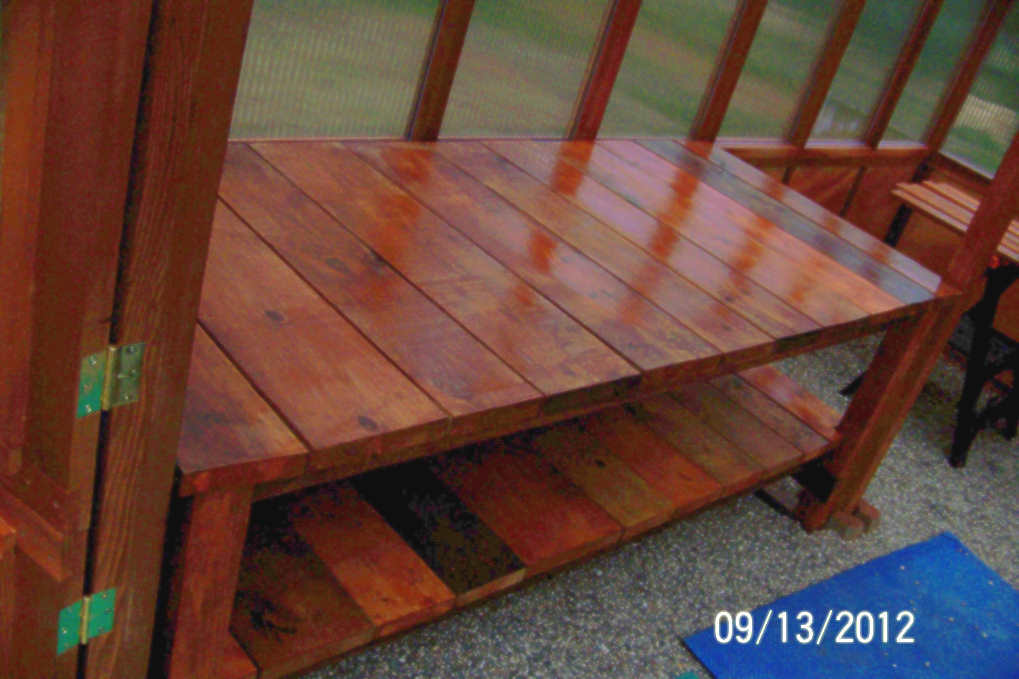
Before my new greenhouse was even delivered and built, I was searching for ideas on potting / greenhouse benches. The company wanted nearly as much $$ for the benches as they did for the greenhouse. By accident I came upon Ana's site. I saw the Farmhouse Table plans, then I saw Handy Andy's modification of the plan, and I was inspired to build them myself!
I found a big pallet of 2x pieces of wood at Menards for $25. They usually set out a pallet of odds and ends that are of "like" items. These were about 3.5' long pcs of 2x10's and 2x8's and such (I have enough of these to do the other benches I want to build... and then some!). I also used some 2x4's that came off a really nice sturdy pallet that we picked up for free, and the rest were just boards we had around the shed.
Hubby was willing to help me with this project, but I wanted to do it myself. He did help with the heavy lifting, and I do appreciate that :) Once I had the frame built, we had to move it into place in the greenhouse otherwise we would not have been able to get it in there. And now that it's complete... it's HEFTY!!! And believe me, it's not going to shift about! lol I also put 2x4's across the bottom of the legs so that it wouldn't sink down into the pea stone floor.
The benches basic construction is the Farmhouse Table, but I added a bottom shelf, a little like Handy Andy's. I must say, because this was not a fine piece of furniture, I was not as intimidated or nervous. It was great for my first ever big project :) It took me some time to complete it, over the course of 2 days, but then I also have to cook and clean and work and garden and a hundred other things in a day :) So, I was in no hurry, but it was a very fun project and I'm SO glad I took it on.
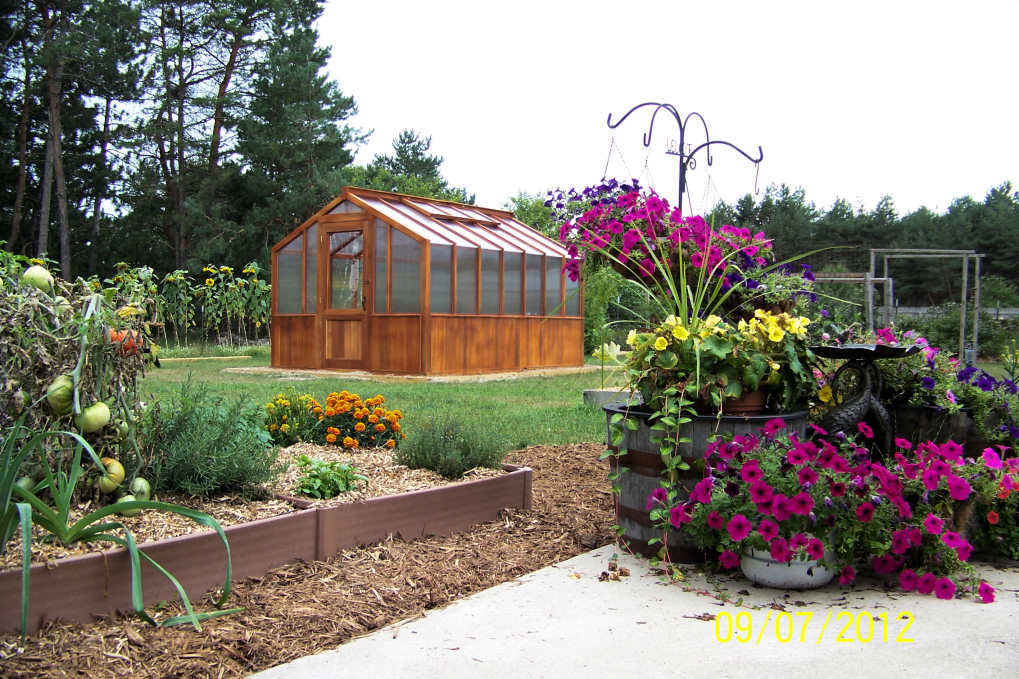
I will be building more of these benches to fill up my beautiful new 10x14 Cedar Built Greenhouse.
Thank you Ana, and Handy Andy!!! I couldn't have done it without your examples!
~ Tonya

Estimated Cost
$10 more or less
Estimated Time Investment
Day Project (6-9 Hours)
Finish Used
Cedar colored stain sealer.
Recommended Skill Level
Beginner

Paulieboxer

Ana, First time I have every attempted any kind of woodwork/building furniture other than building Ikea stuff. The plans were very easy to follow and now I want a chop saw for xmas. I roped my daughter in to help me and we completed the project in 2 days. Husband was totally blow away by our achievement. I love it and feel accomplished. Away to work on the table and further benches/seating over the next few weeks. Pauline

Estimated Cost
£200
Estimated Time Investment
Day Project (6-9 Hours)
Recommended Skill Level
Beginner

Outdoor Sectional and Pallet Coffee Table

Submitted by Anonymous (not verified) on Sun, 11/20/2016 - 17:56

Hi Ana! 

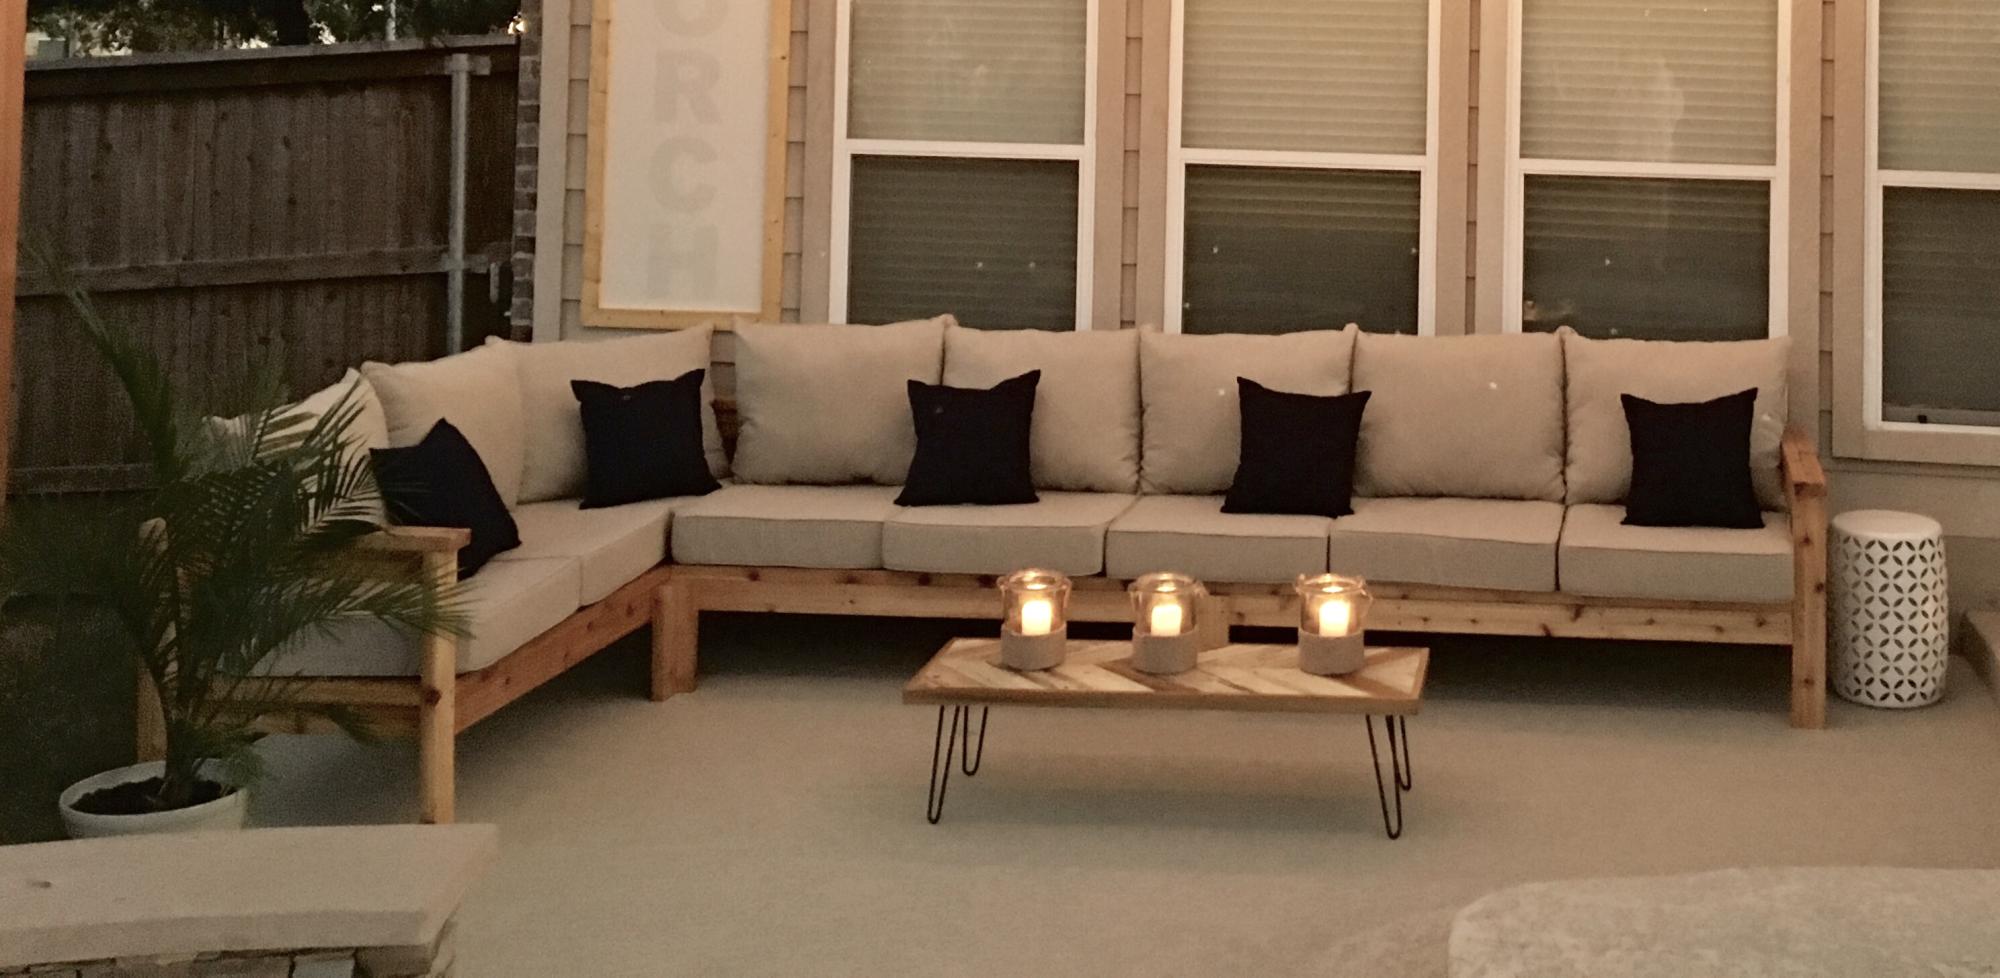
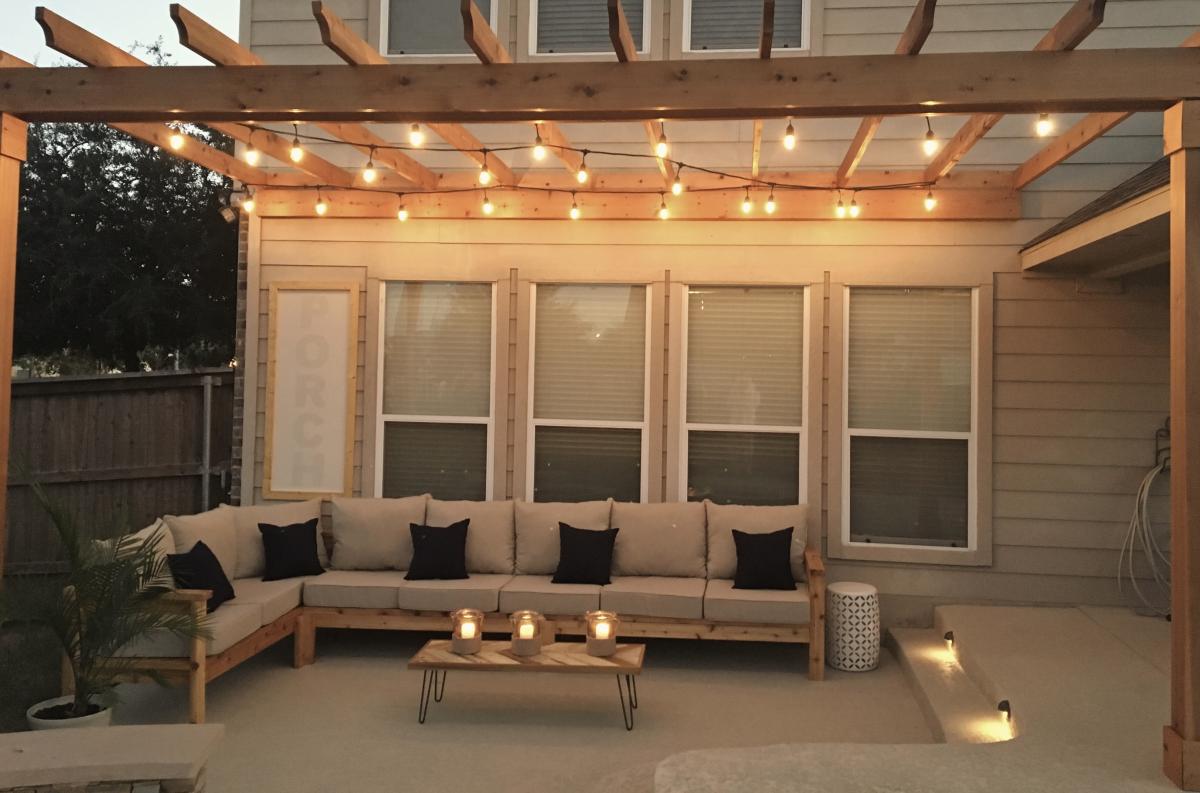
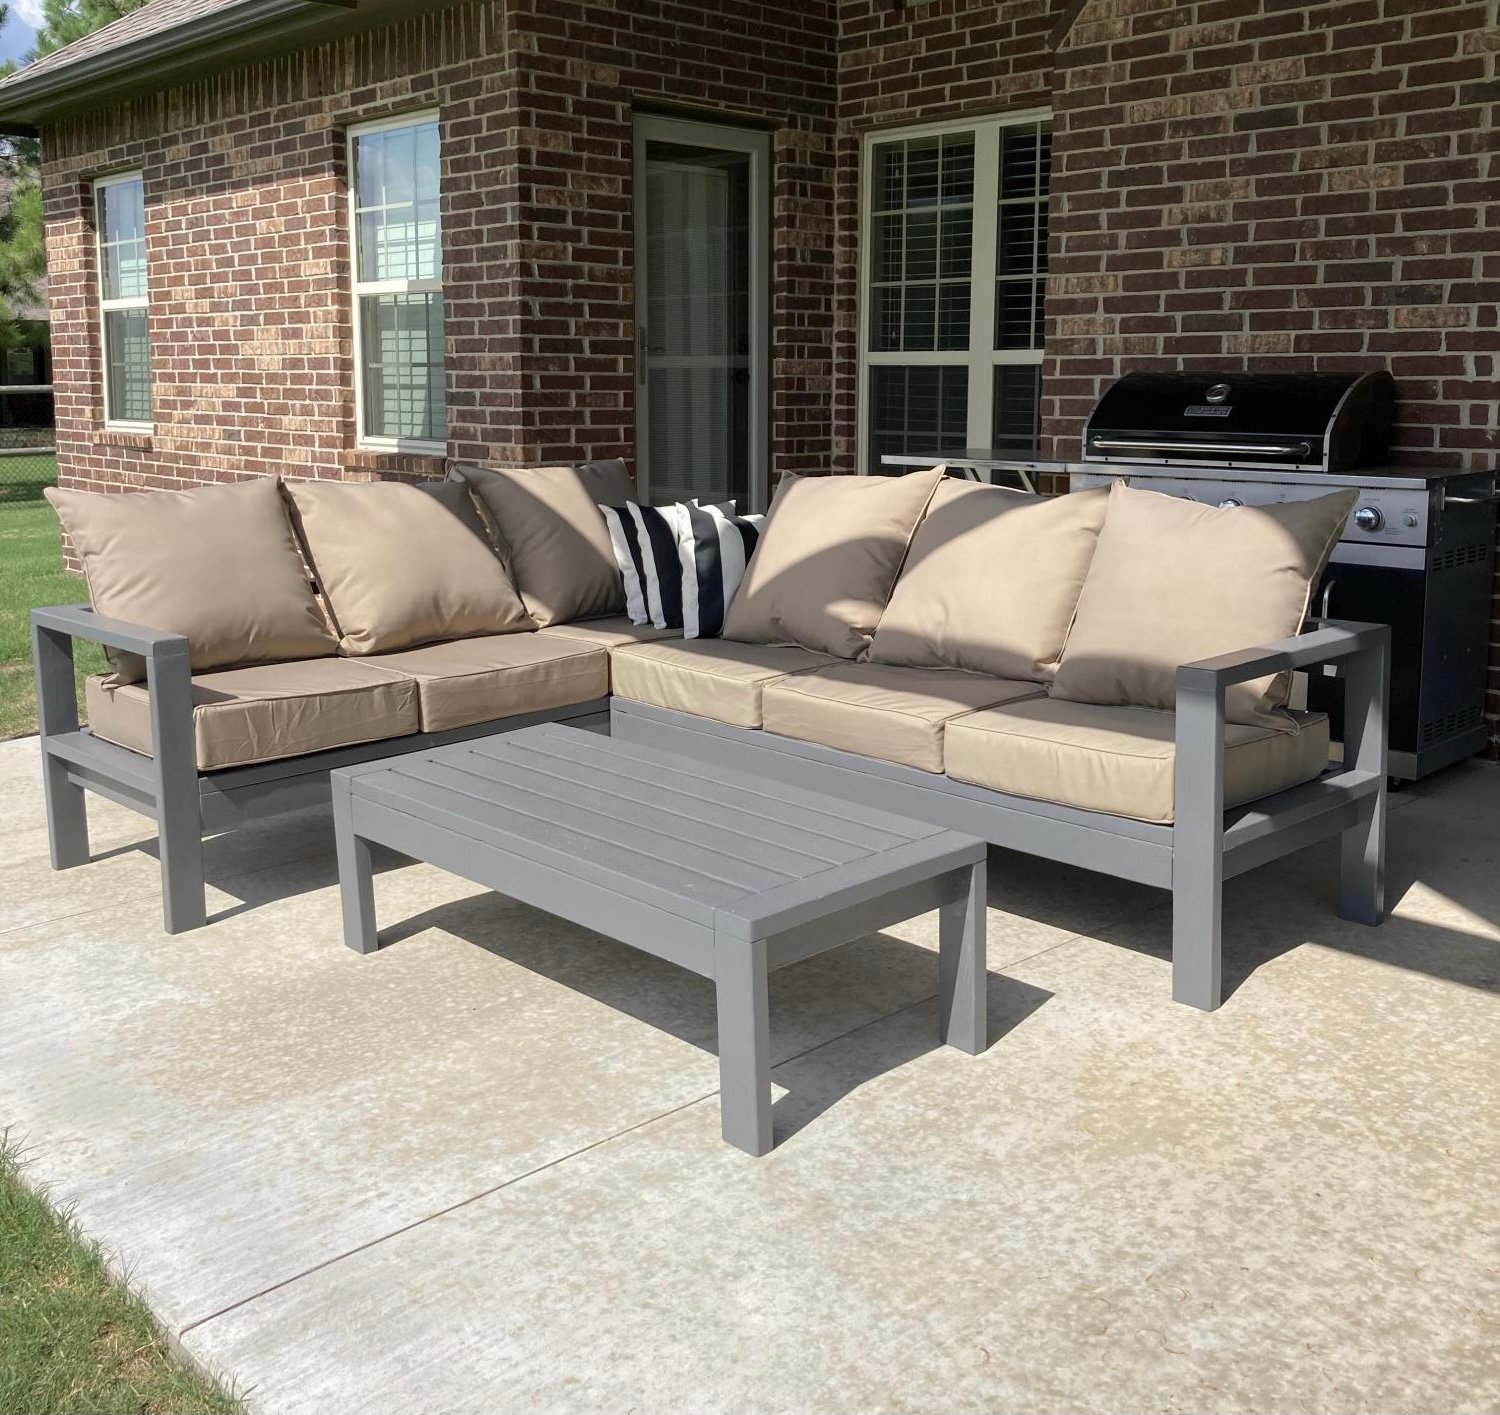
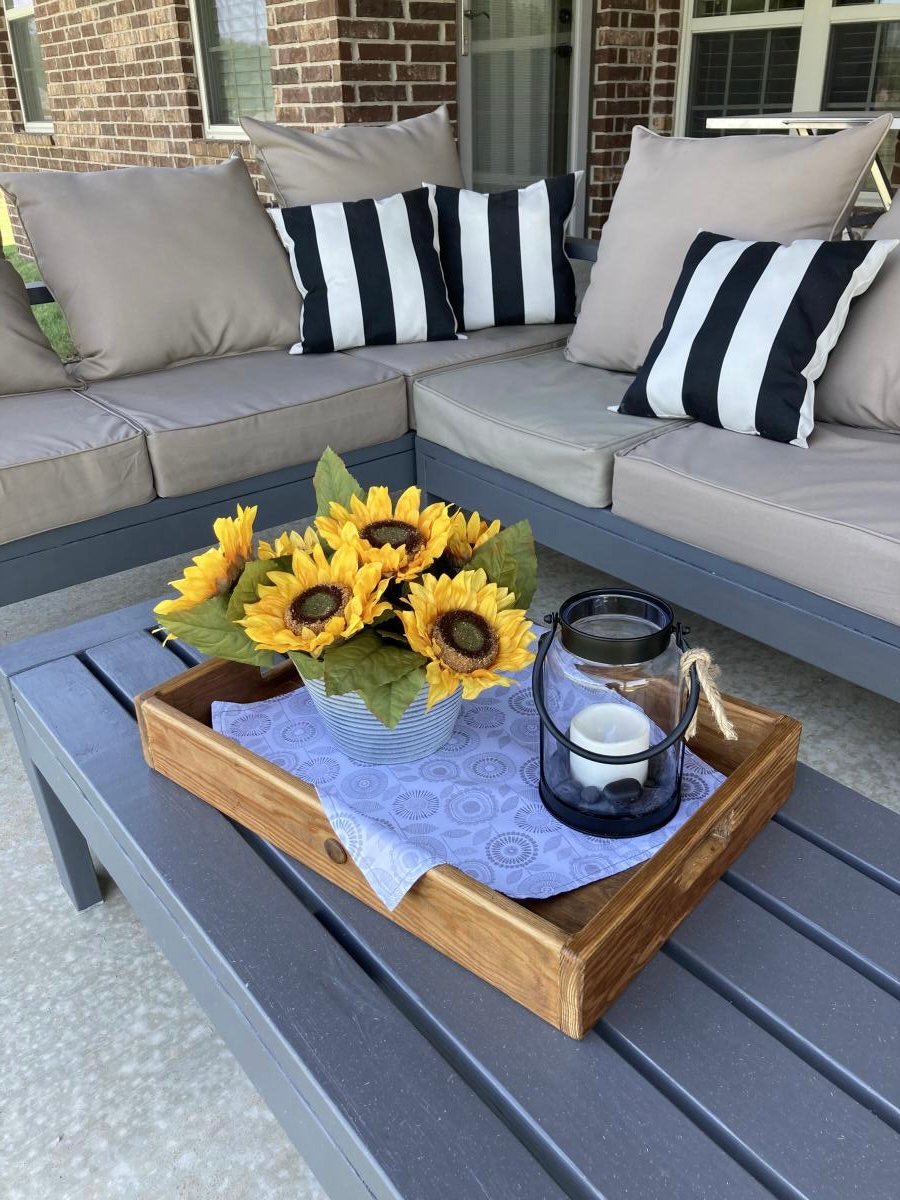
My husband used your plans to build the 2x4 outdoor cedar sectional :) He did it in 1 day and it couldn't have been easier! He even tried first time working with pallets to make a small table and it came out perfectly too! Can't wait to enjoy family time on our new back porch.

Thanks Again & Love From Austin ❤️

Kathleen 

Estimated Cost
$350
Estimated Time Investment
Day Project (6-9 Hours)
Finish Used
Stain
Recommended Skill Level
Beginner

Comments

meredithl

Thu, 10/24/2019 - 16:35

Hi, your furniture is beautiful.  May I ask:   Where did you find your cushions?  And what color/ brand stain did you use?  Lovely job.

Seasonal And Holiday

White Washed Queen Headboard

Submitted by sawdust on Tue, 02/12/2013 - 11:39

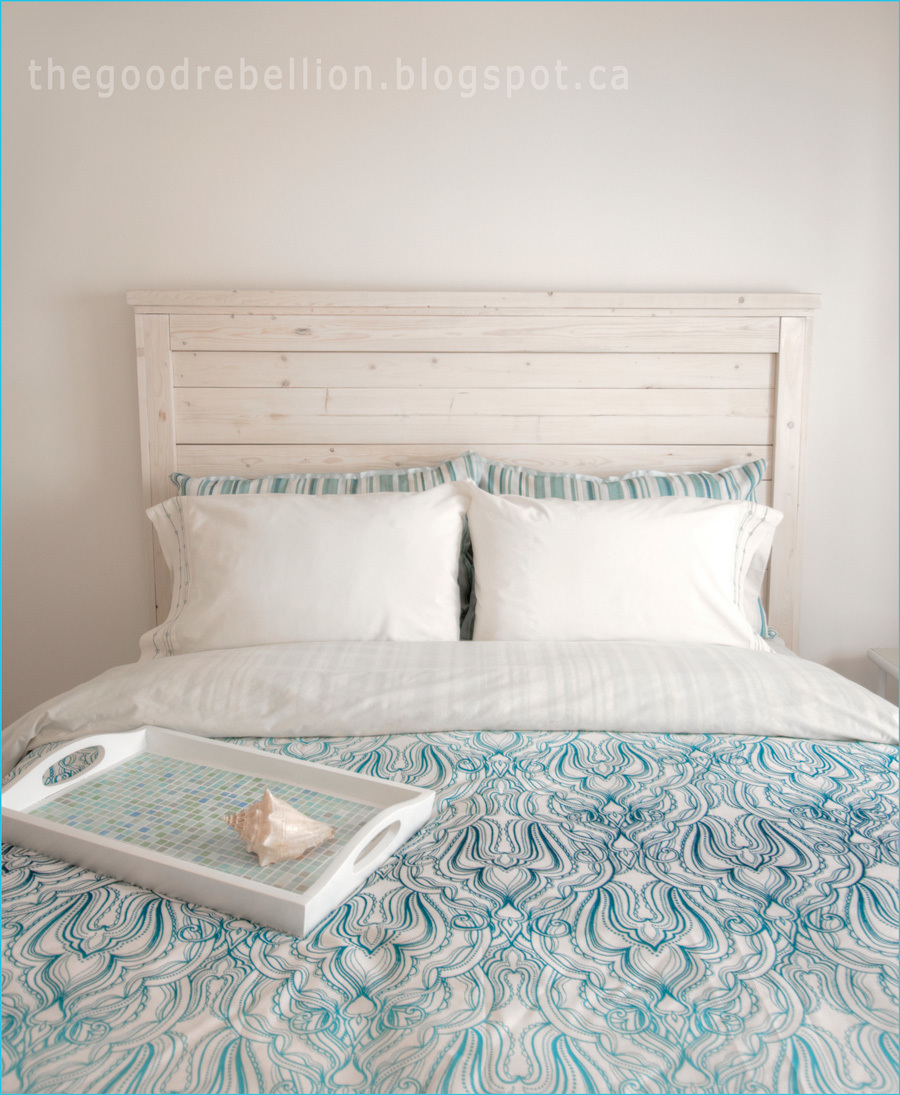
This is my first piece of furniture I've ever made from a plan. I would recommend this for someone who is new to the craft. I also sanded each board before I put it together. I just find this easier to do than sanding it afterwards. Plus, it gives me the chance to look at the grain and see where I might want it. Both the stain and clear coat I used can be washed out of your brush with soap and water.

Estimated Cost
$90.00
Estimated Time Investment
Weekend Project (10-20 Hours)
Finish Used
Minwax white wash pickling stain - one application with a foam brush.
A very forgiving stain and easy to use.
Minxax Polycrylic clear satin - one coat with a paint brush.
Recommended Skill Level
Starter Project

Comments

spiceylg

Wed, 02/13/2013 - 05:18

Really like the white wash look, great job! Also, love the bedding and the tray. Did you make that tray, too?

My First Project

Submitted by loniwolfe on Wed, 03/09/2011 - 16:23

Summer 2010 My first building project!
I did not intentionally leave the bottom shelf off. When I bought the lumber, I didn't realise you could buy 6' boards. So I ran a little short. Woops, lol. But I think I like it better this way.

I selected beginner project because it was my first project and it turned out great! the only thing I ran into was that I bought the wrong length of boards so I didn't have enough to finish the shelf. lol.

Built from Plan(s)
Estimated Time Investment
Day Project (6-9 Hours)
Finish Used
After Cutting all the wood but before putting it together I used a white outdoor stain/sealer first and then painted it white. I don't remember what kind of paint I used though.
Recommended Skill Level
Starter Project

Double Tilt-out trash bin

Submitted by lindy19 on Wed, 10/23/2013 - 17:47

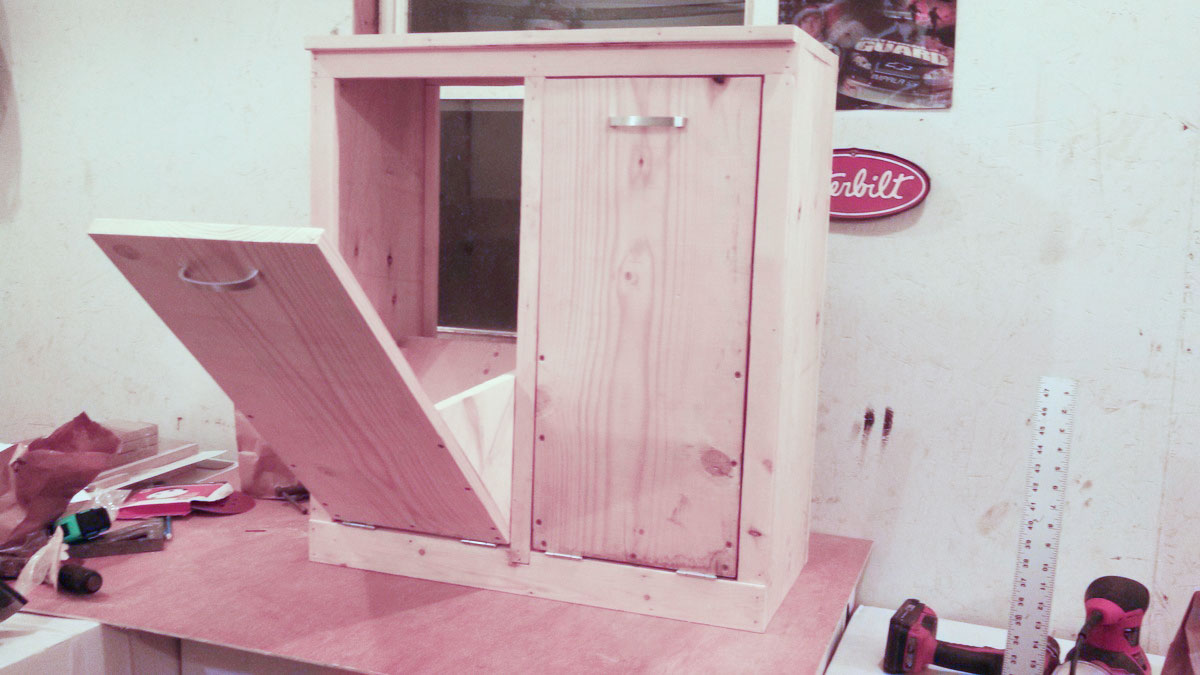
Really wanted one of these but everything I found was way too expensive so I found these plans, tweaked em a bit to fit the space I had and voila, double tilt-out trash bin. Thanks for the wonderful plans!

Estimated Cost
$50-75
Estimated Time Investment
Day Project (6-9 Hours)
Recommended Skill Level
Beginner

Comments

ADeboer

Sat, 05/02/2020 - 14:36

This is the exact Style I've been looking for!! I see that you made this ages ago - any chance you still have the dimension modifications you made somewhere?

Outdoor Sofa and Chair with Slanted Back

Submitted by Anonymous (not verified) on Sun, 07/16/2023 - 10:22

OK, I think this build may be my biggest project yet! It is definitely the heaviest. With the strong winds we can get here in Florida we needed substantial outdoor furniture.
I did make some modifications along the way measurement-wise so the sofa would fit my front porch better. All in all, this took 2 full days. I built the sofa first, stained it the next day and then decided (due to trying to get stain in all the nooks and crannies) to stain the chair pieces first before putting it together.
I am so happy with the results and so far, almost a year later, this furniture looks great and hasn't moved an inch in any of the thunderstorms we've had! Thank you Ana!!

DIY Sauna

Submitted by Anonymous (not verified) on Thu, 02/15/2024 - 10:17

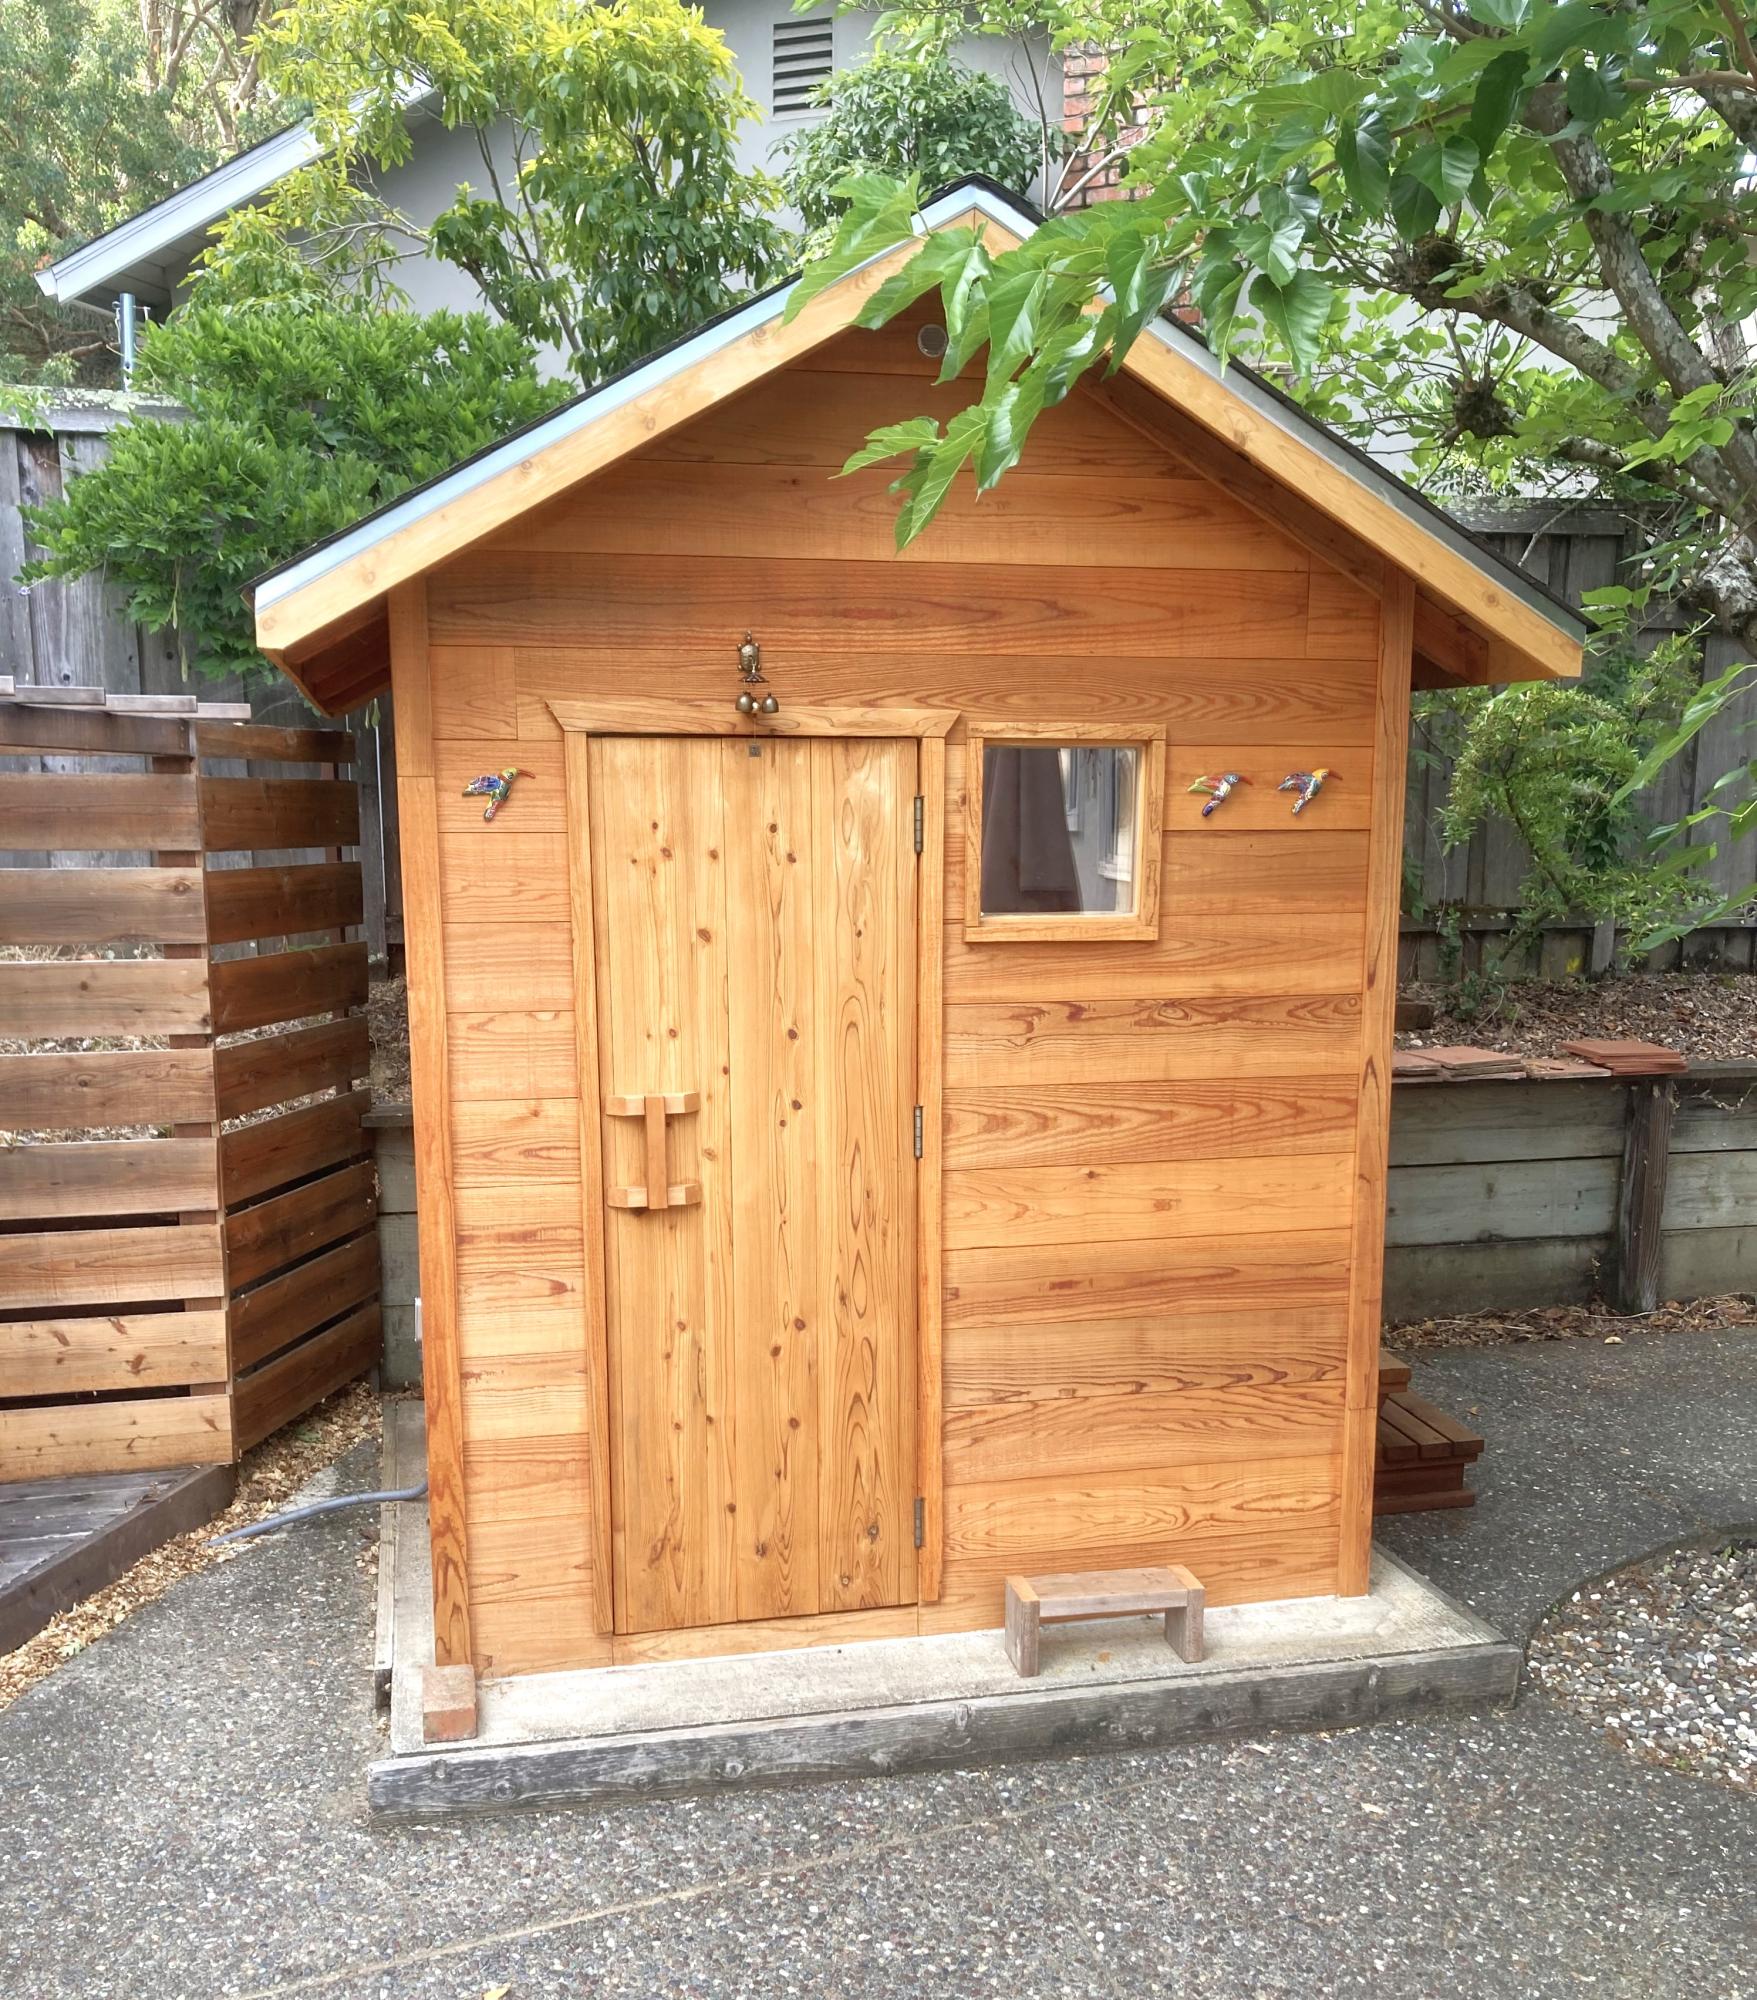
Outside sauna.

Charles

Screen door with built in dog door

Our old screen door wasn't cutting it anymore, so I built a new one, and to kill two birds with one stone, I included a built-in dog door. Now I just need to find the motivation to close off the old dog door.

I have the plans to build this screen door with a built-in dog door posted via the blog link below for anyone interested.

Estimated Cost
80
Estimated Time Investment
Afternoon Project (3-6 Hours)
Finish Used
white exterior paint
Recommended Skill Level
Intermediate

Great Patio Set

Submitted by Anonymous (not verified) on Mon, 10/04/2021 - 13:02

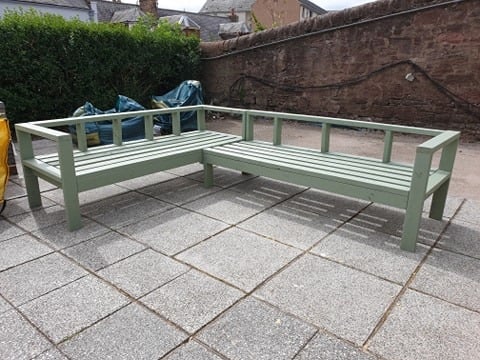
I wanted sturdy seating for my patio. Ana White had the perfect plans for my L shaped seating and coffee table. It was simple to put together and we love it!
Comments

Seasonal And Holiday
Back