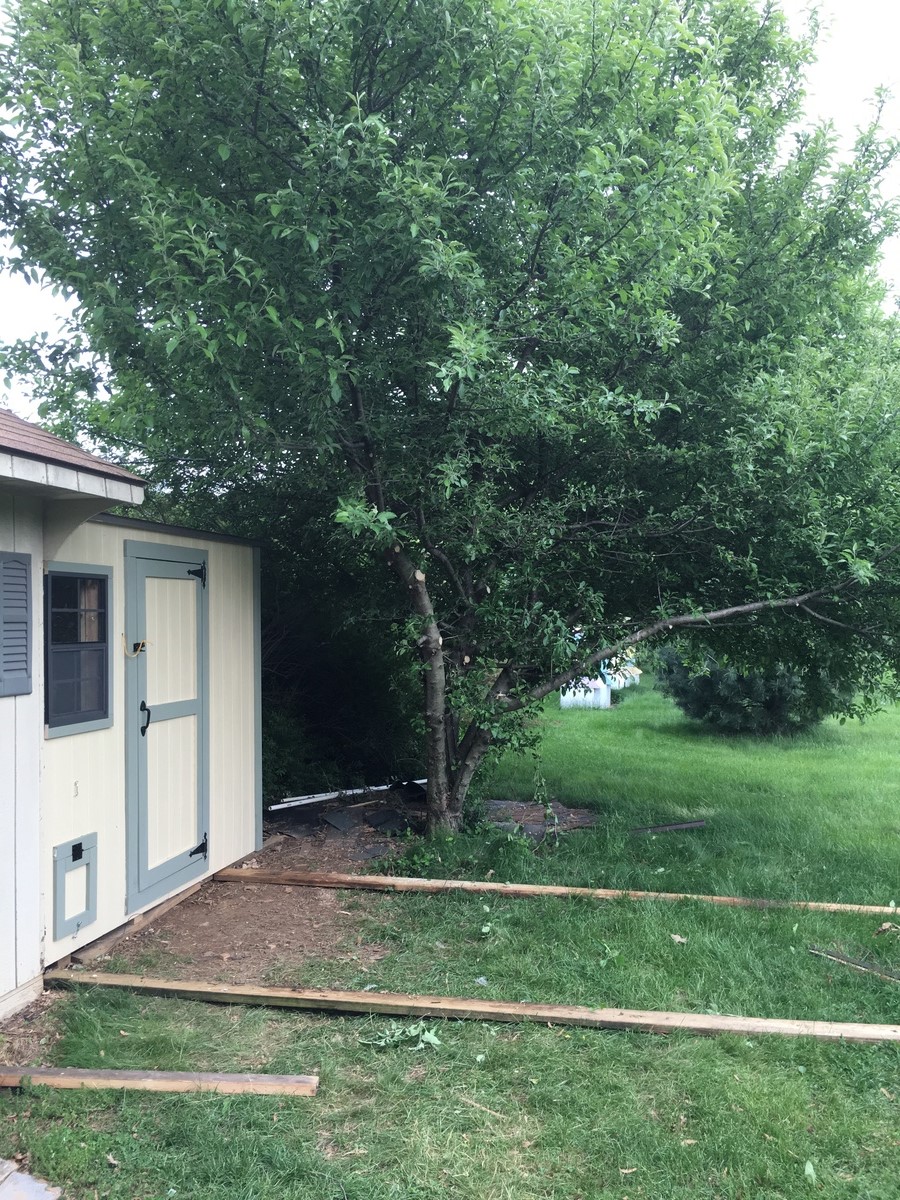
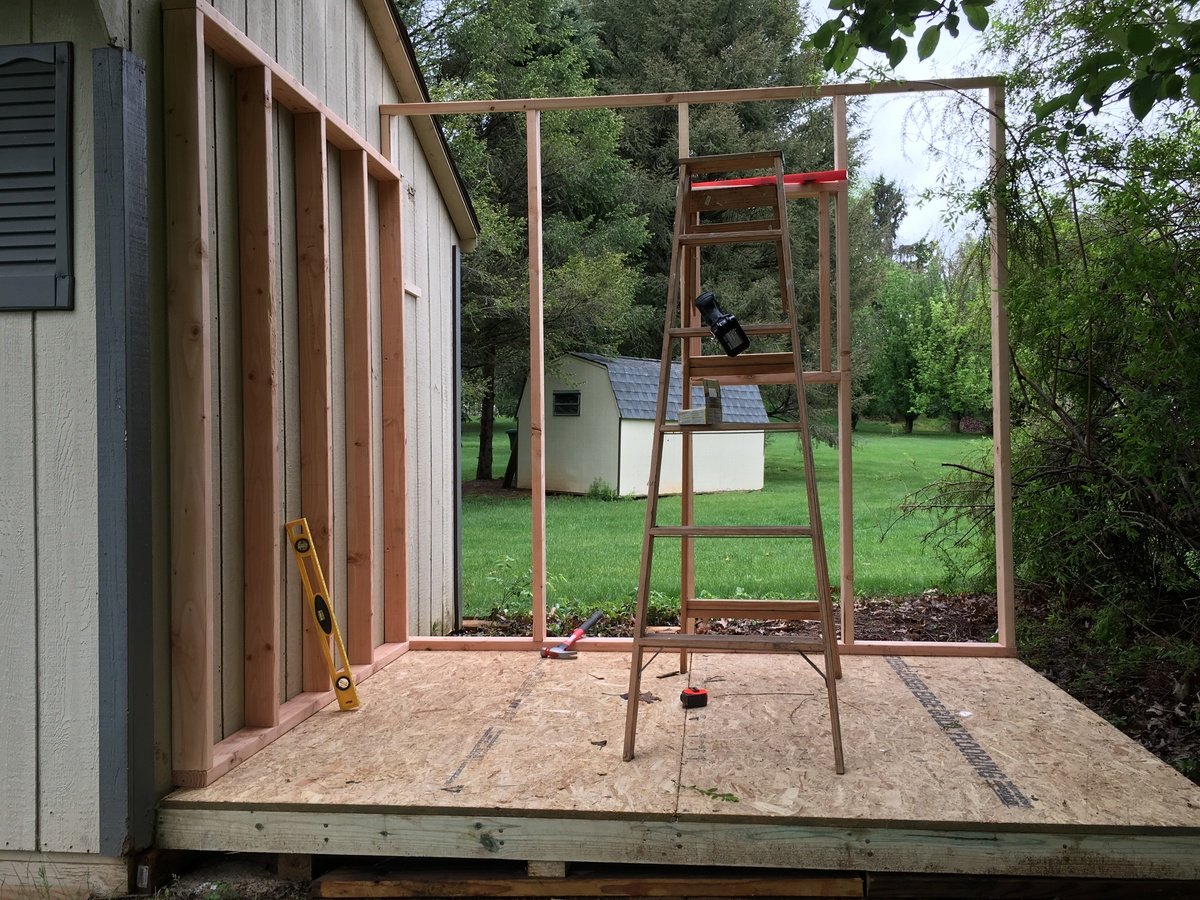
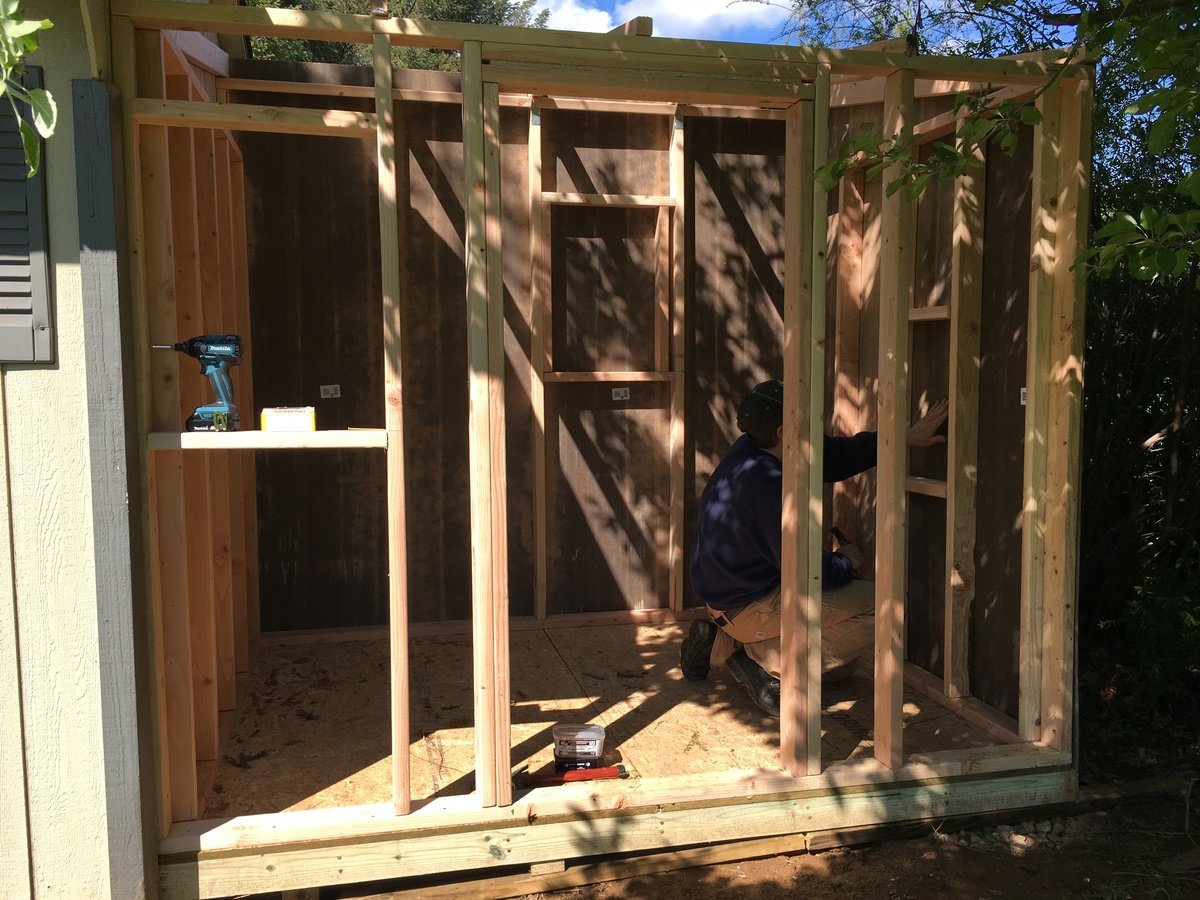
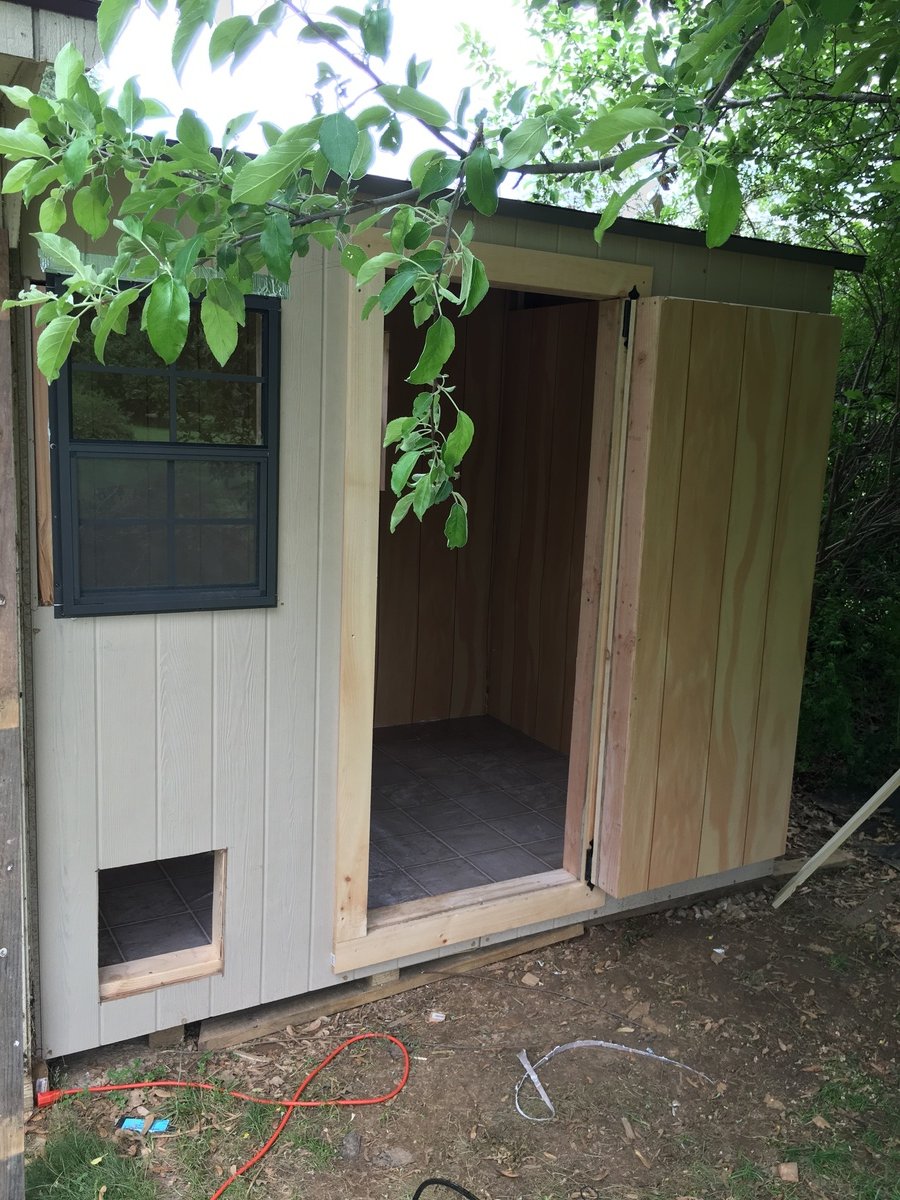
Lawnmower Shed

Modified the design to allow me to roll lawnmower directly in the end. Fun project.
Built from Plan(s)
Recommended Skill Level
Intermediate
Modified the design to allow me to roll lawnmower directly in the end. Fun project.
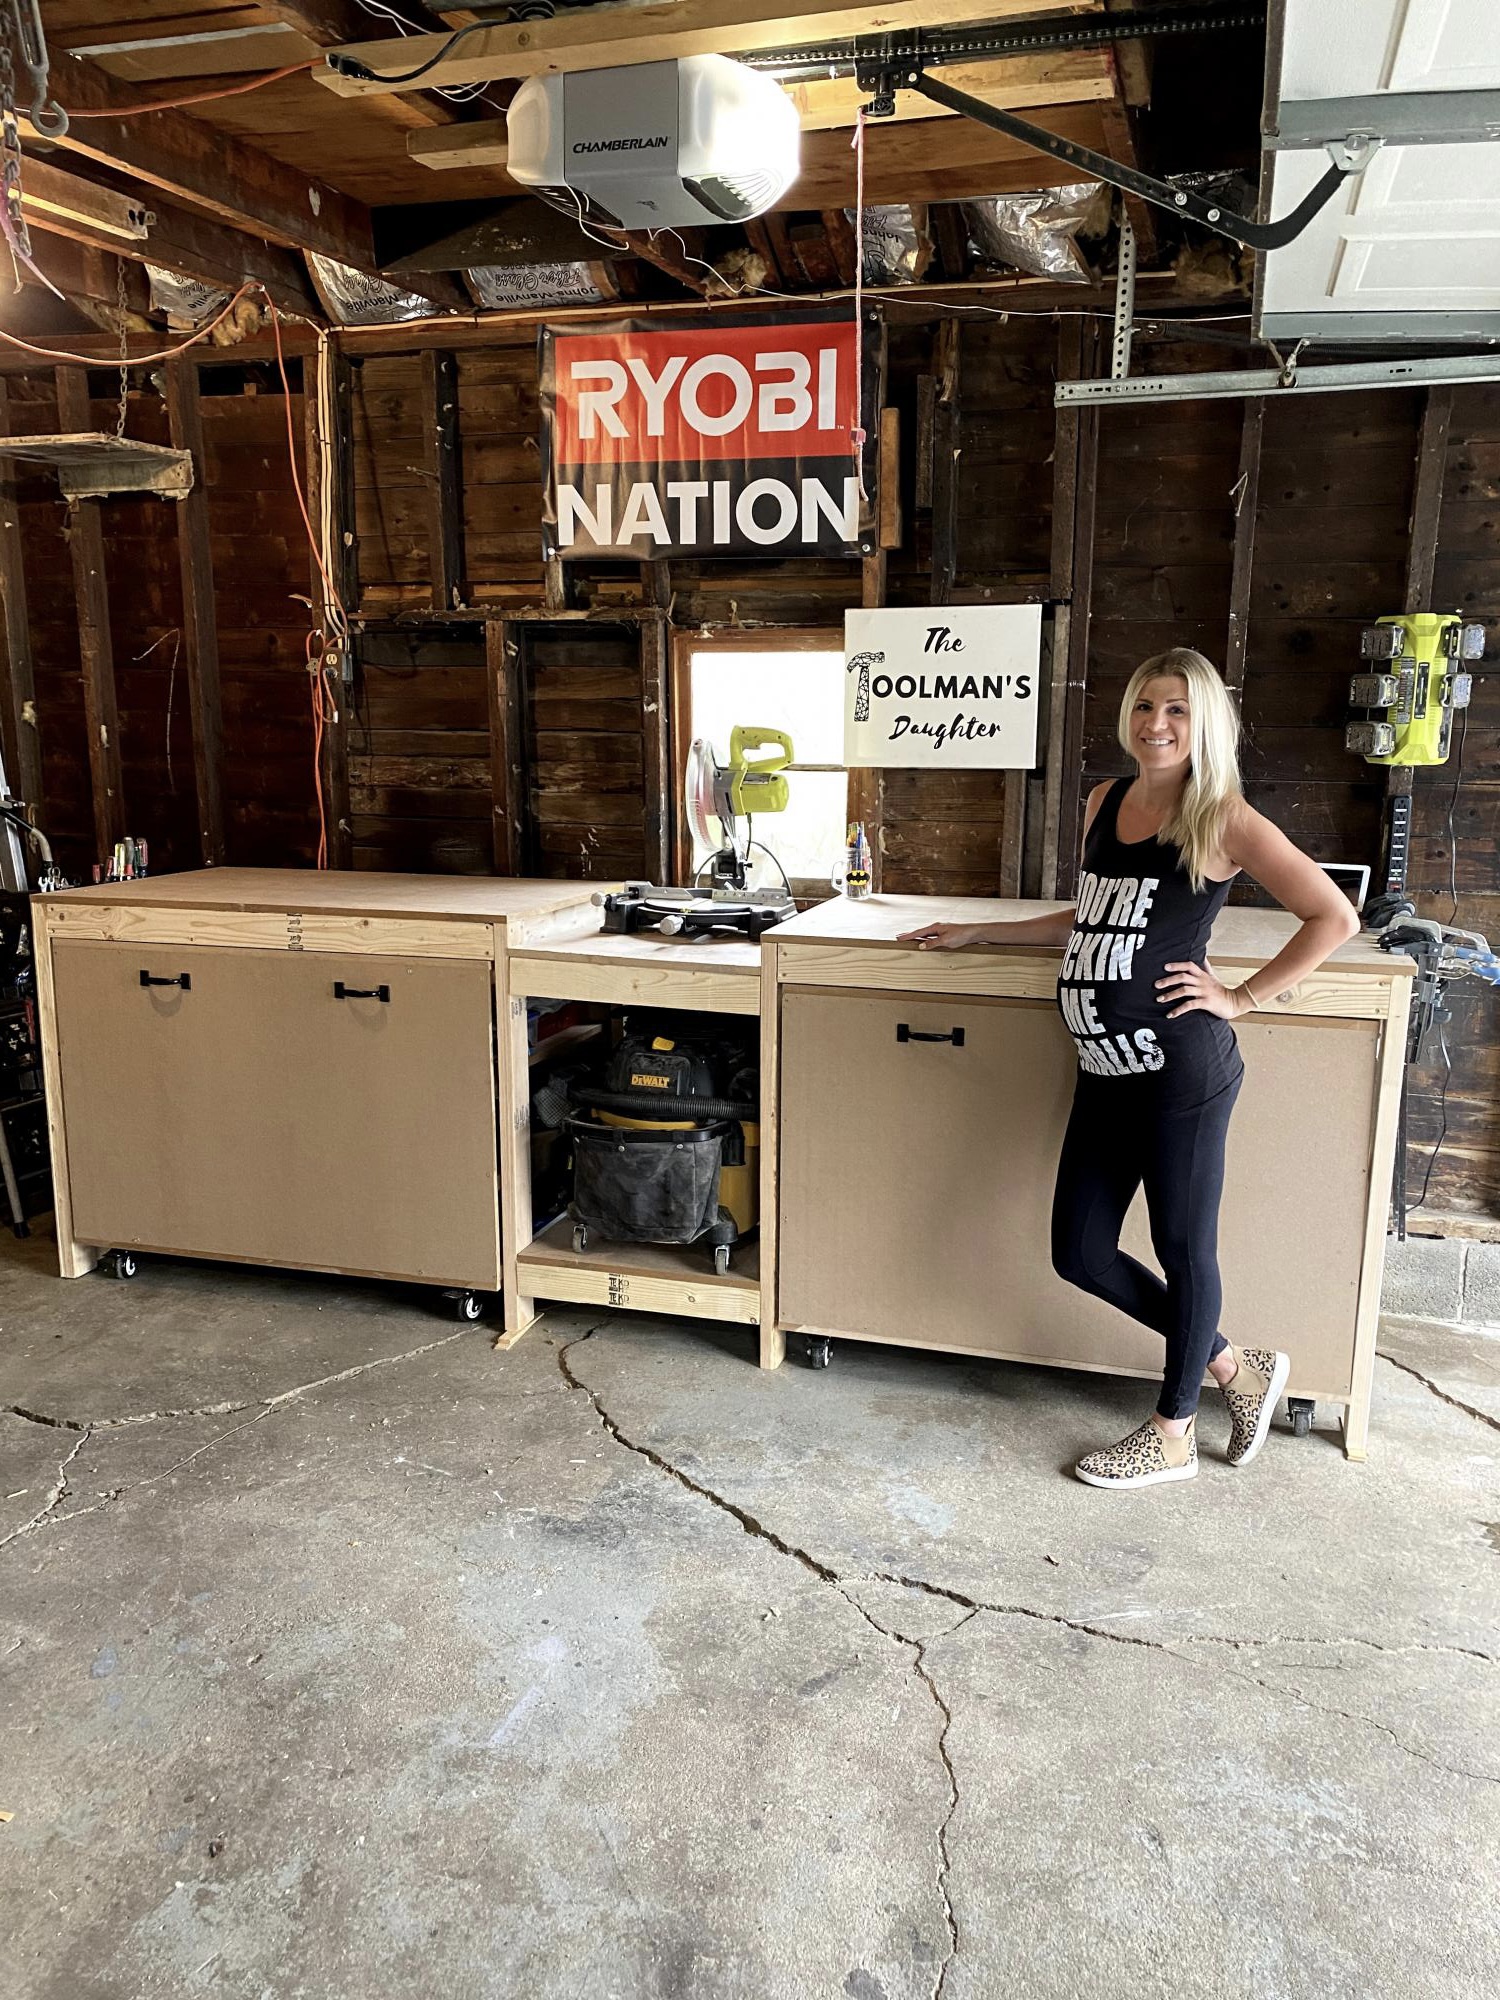
When I was 8 months pregnant and going through my “nesting phase” I knew I needed to get my garage organized. Prior to building this, my tools were all over the place. To try to get it done before the baby came, I called my dad to help me out, and we built it together in just a couple days. It was a weekend I will never forget and I smile every time I walk into my shop knowing we did it together.
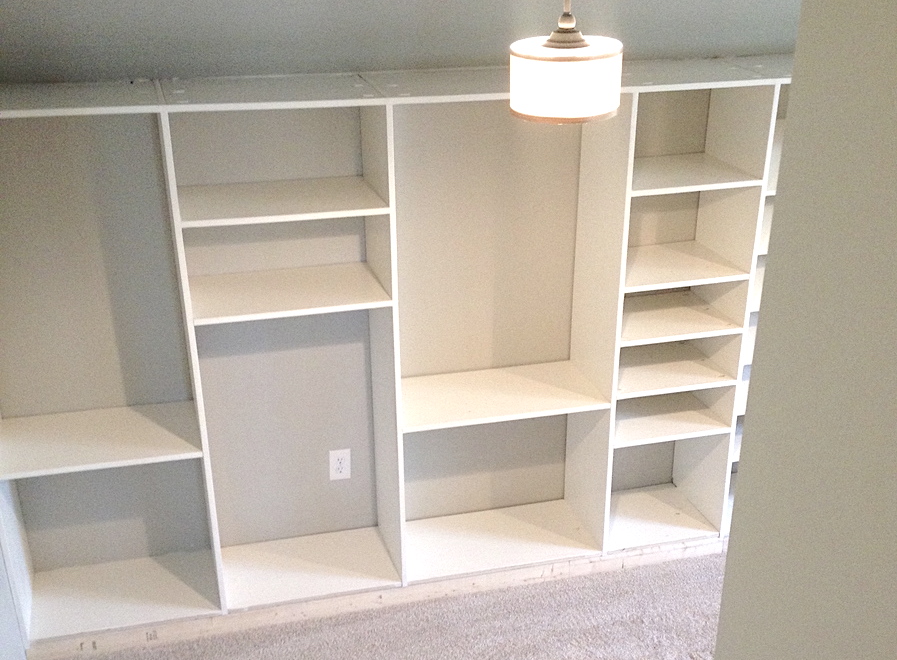
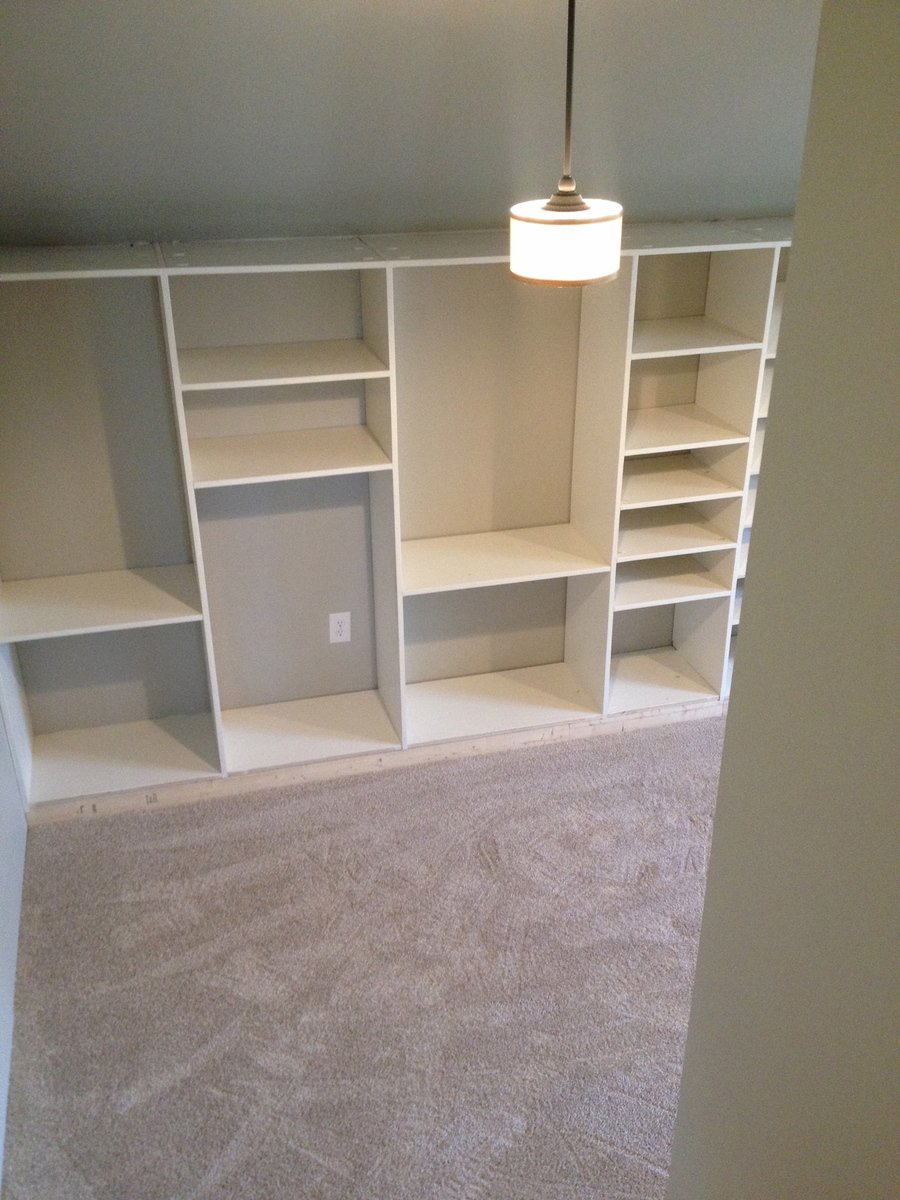
We used an unfinished attic space above our garage that was connected to our bedroom to make a walk-in closet with great shelving. This project took a lot of time but we are so happy with the results! There is a side for my husband and a side for me. Although it is hard to see we also incorporated a small door/bookshelf into the room to allow us access to attic storage space.


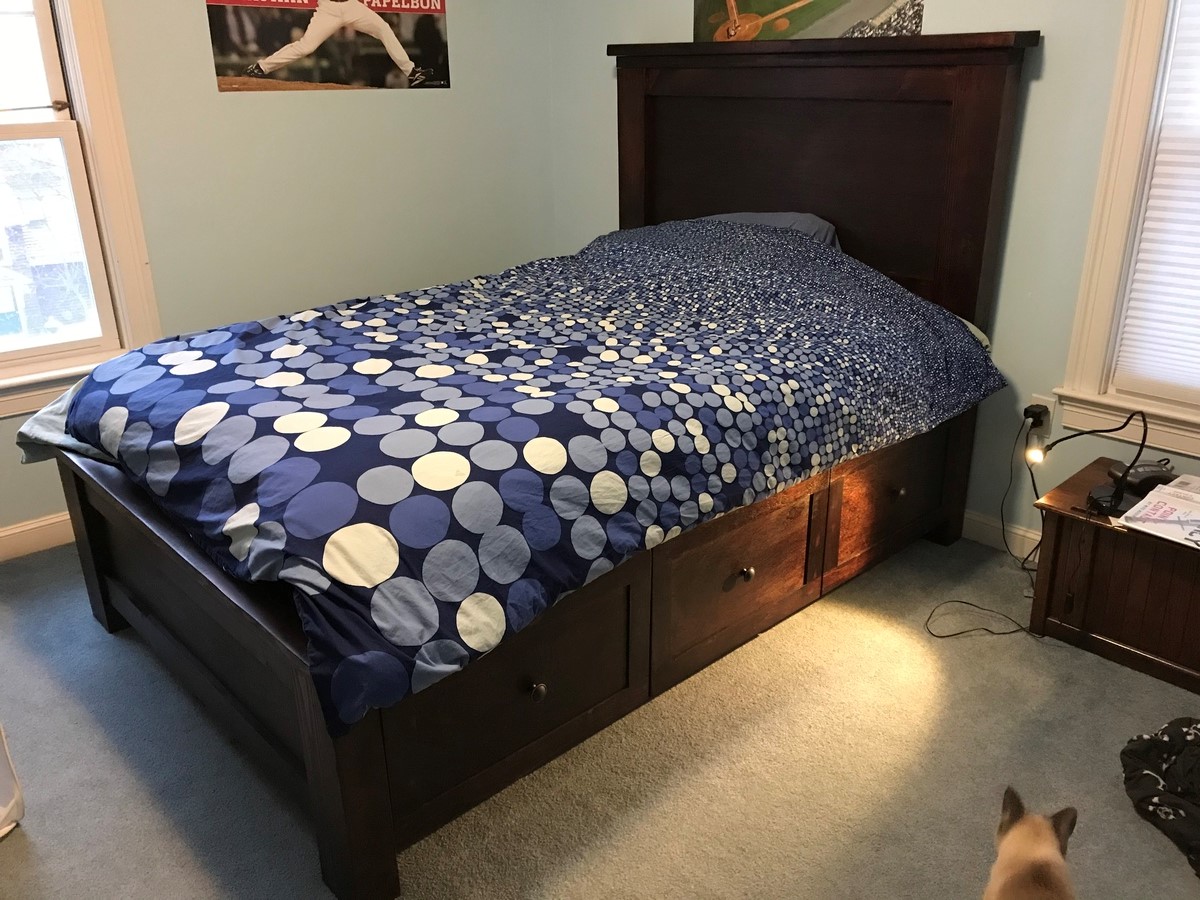
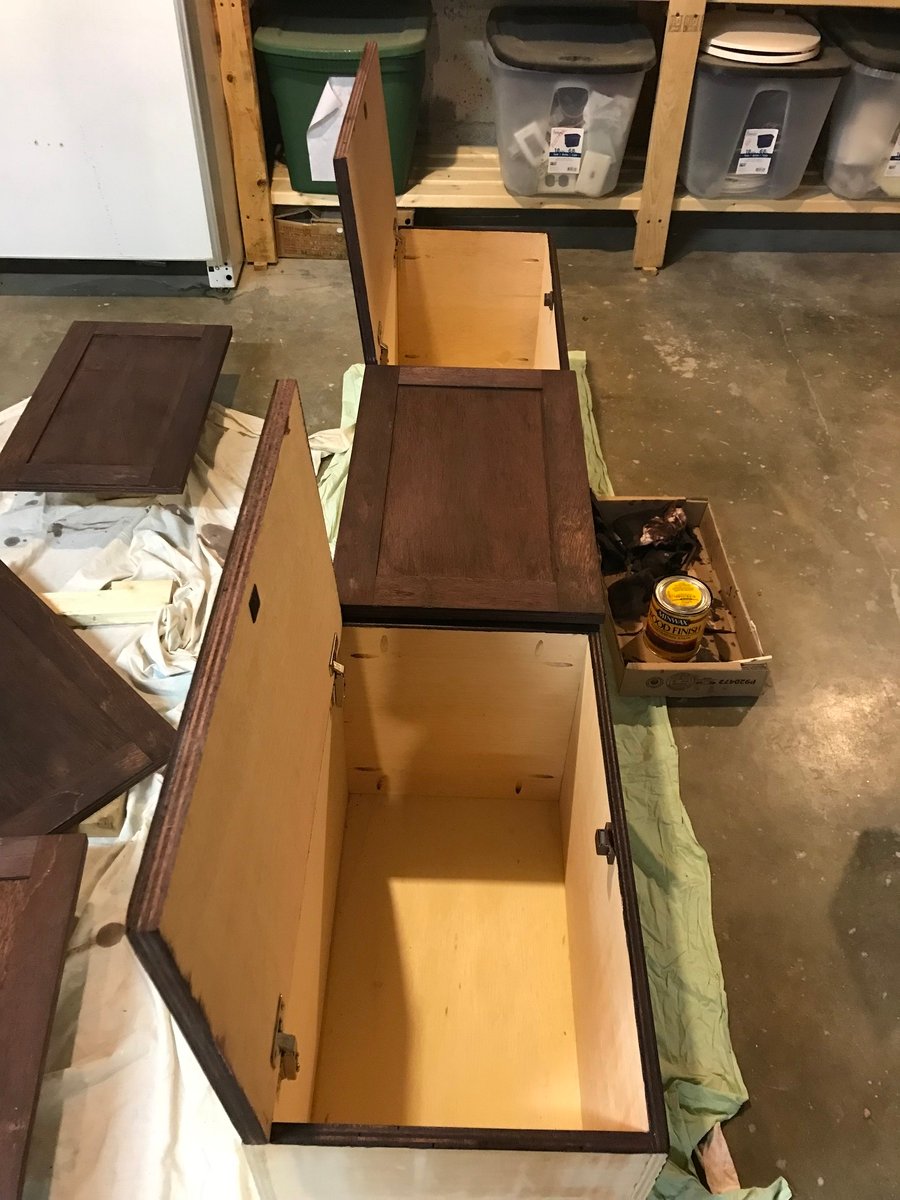
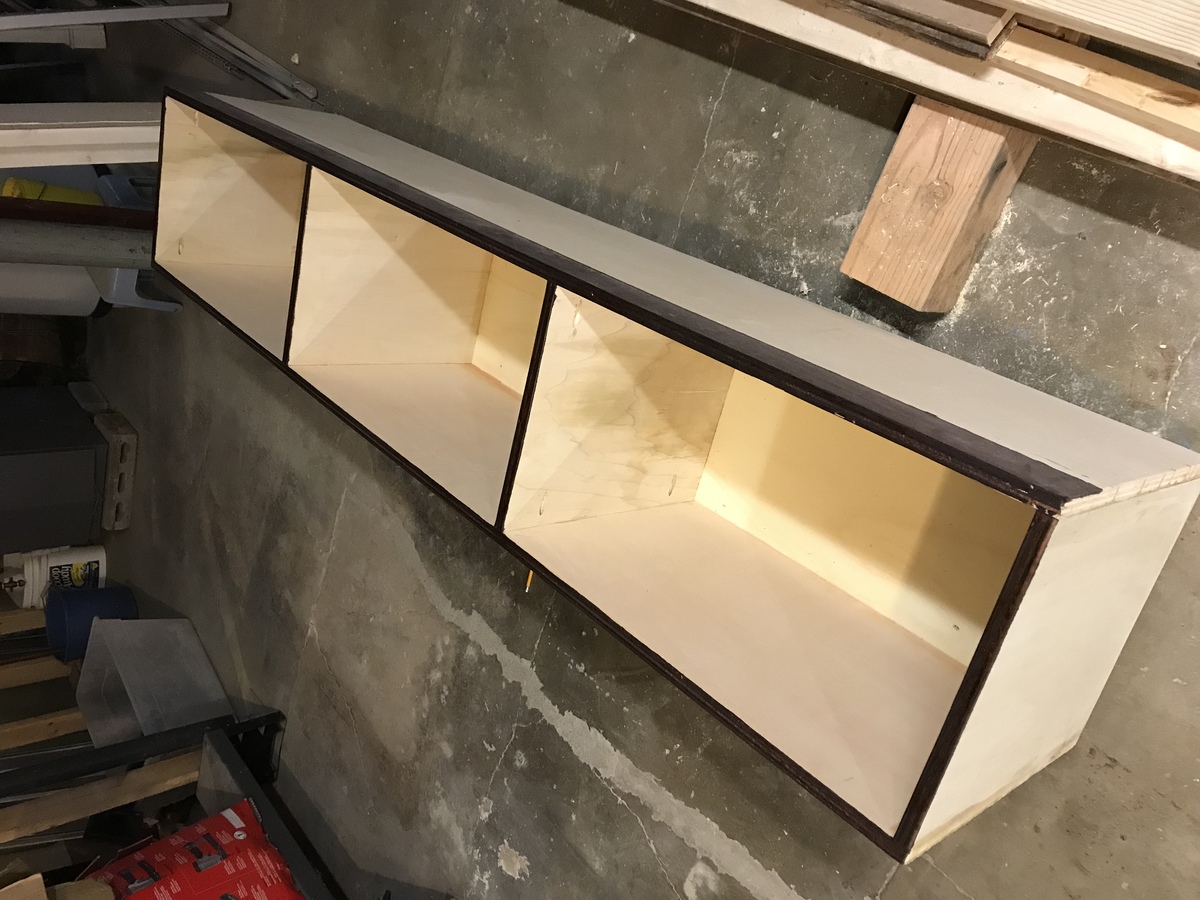
Made the standard full farmhouse bed with storage, but did a couple modifications. 1) Didn’t use drawers, but wanted closed, not open cubbies. I made the drawer fronts and then attached with full overlay hinges and magnetic catches do they open from top down like a horizontal cabinet. 2) built the slats as two, one piece slat frames which sit on the cleat so that they can easily be removed for the extra long term storage between the cubby boxes. Just lift mattress and the two pieces of slats and lots more space.
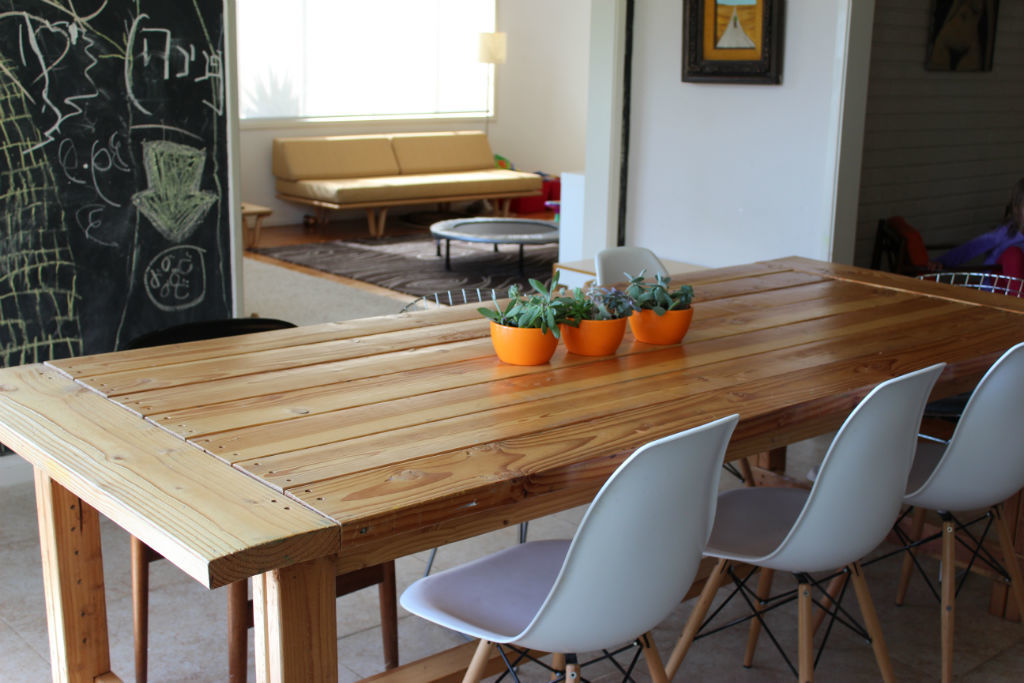
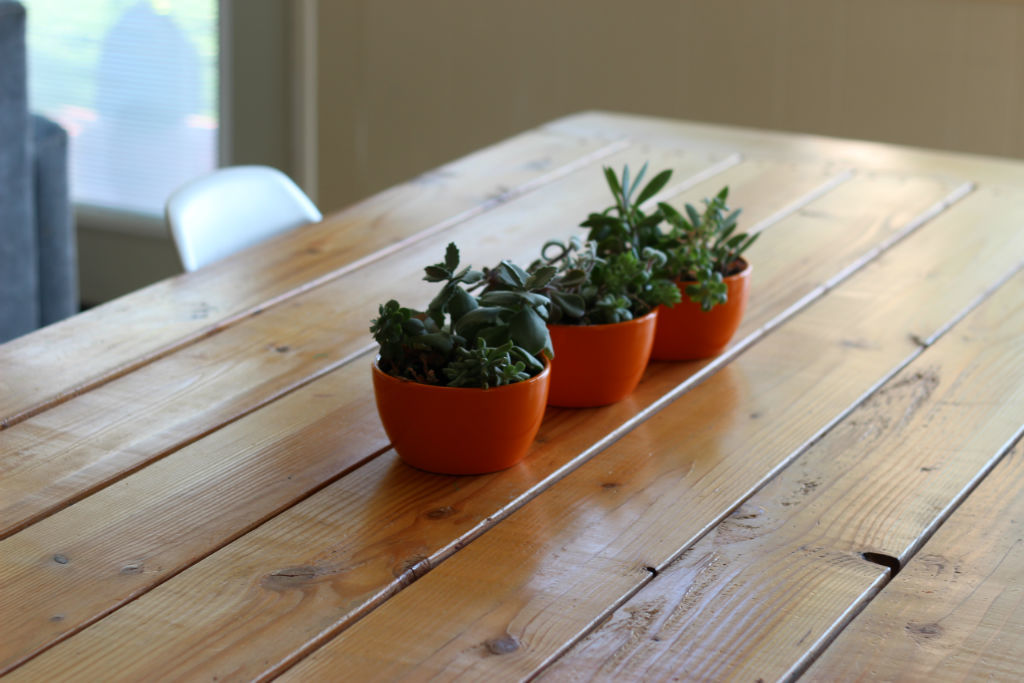
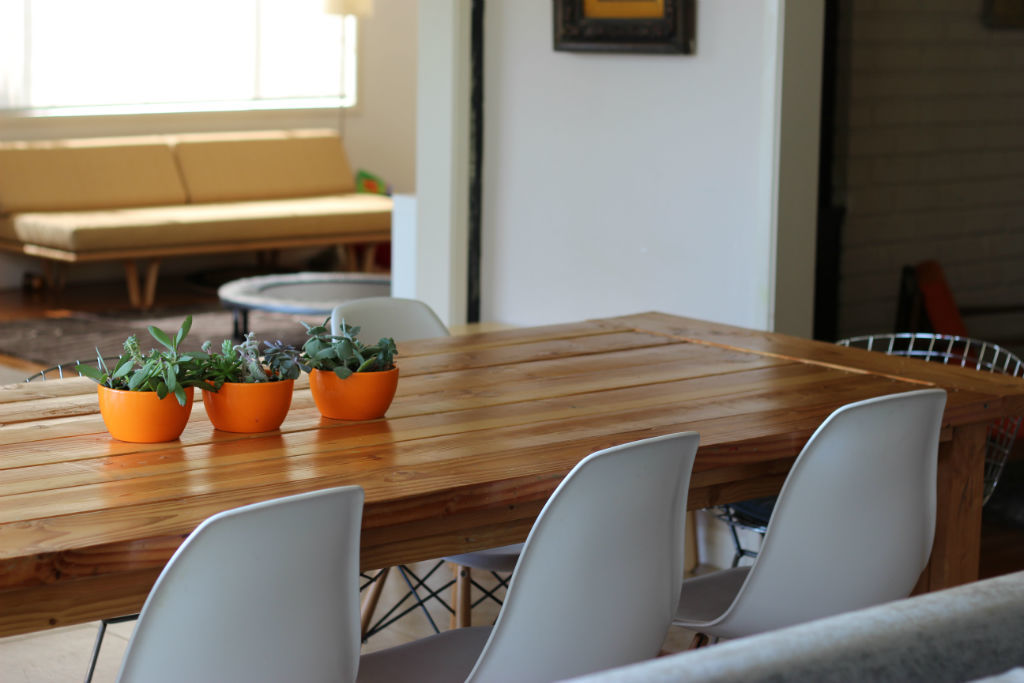
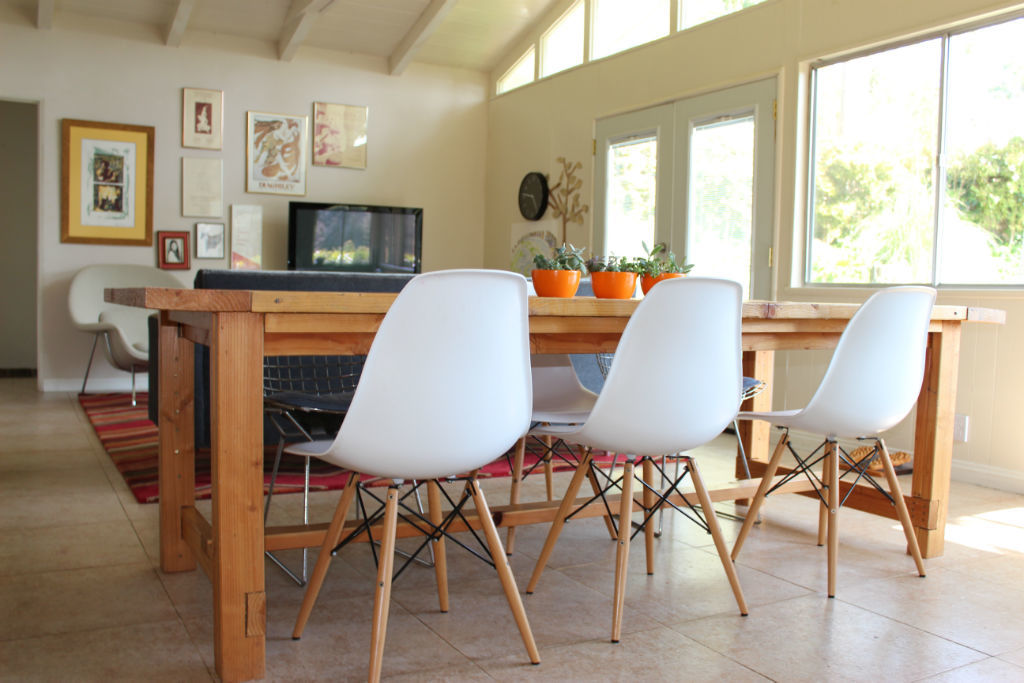
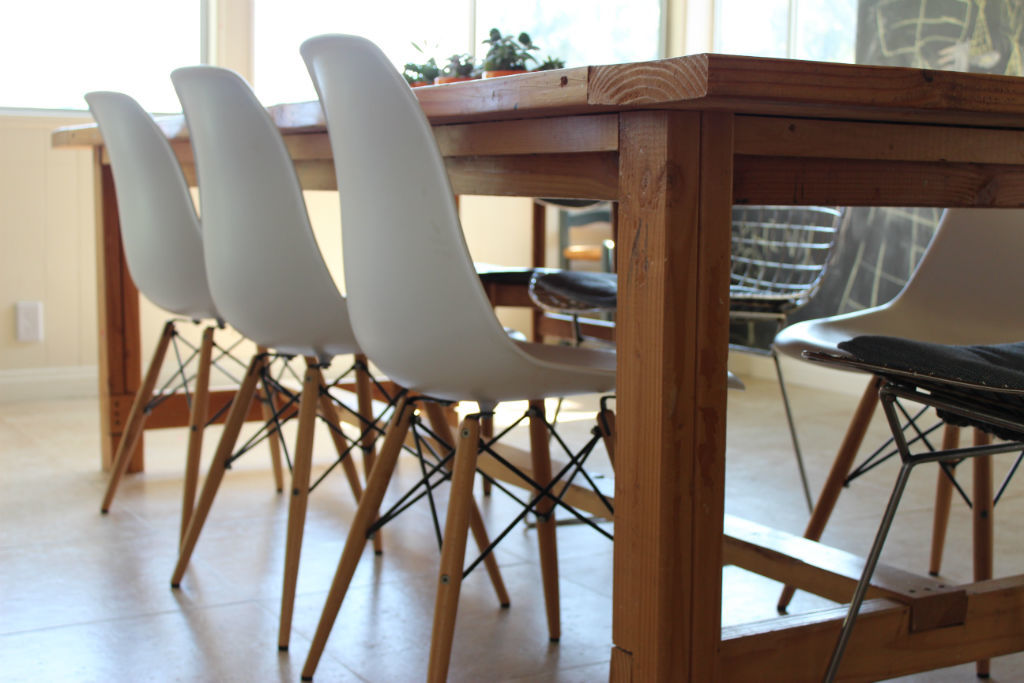
Inspired by Ana and driven by a desperate desire to nest, I made this table in my first-trimester. We live at this table. It's where we eat, play, and craft. On special occasions we stand on top of it, and sometimes we even eat under it. We love the way it looks in our mid-century ranch house with modern chairs. Thank you, Ana!
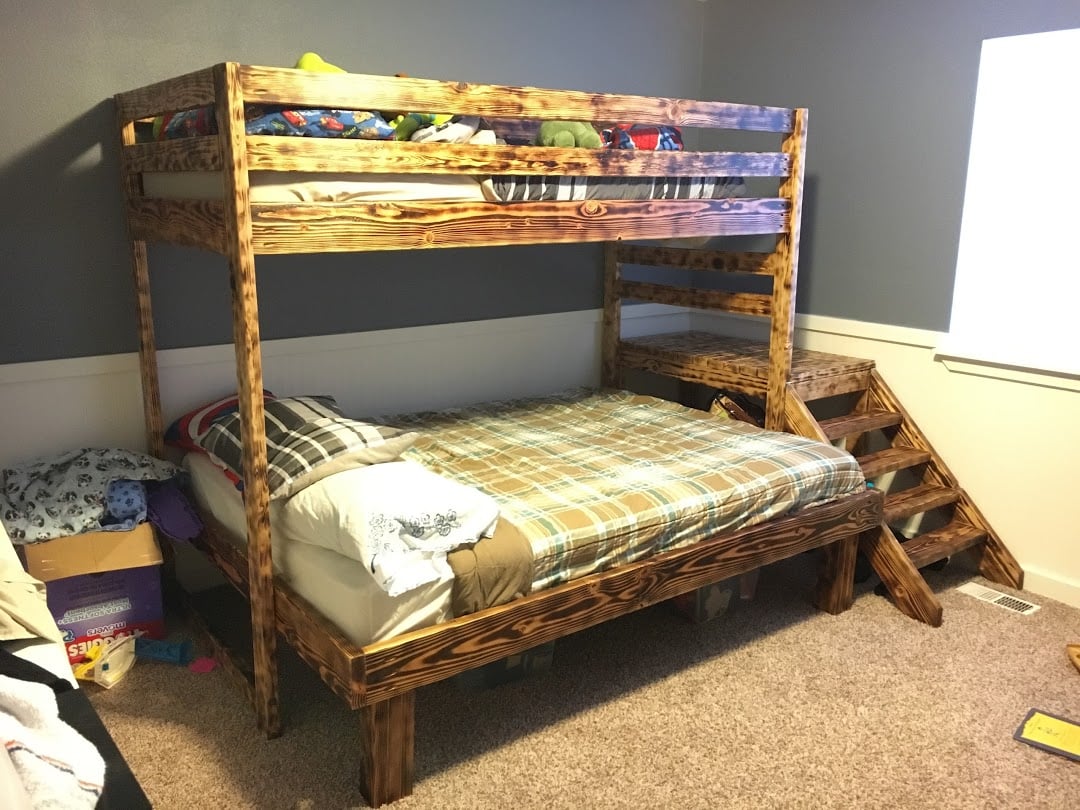
This is the nightly sleeper for our 6yo (queen) and 4yo (twin) boys, but we have in-laws who visit from out of town frequently and we also wanted a place to allow them to be comfortable as couples.
To accomodate adult headroom on the queen, I raised the entire loft 7" (72" high) and to fit the queen beneath, I had to lengthen the loft rails by 9" (84" long). To fill the resulting gap, I just used some 39" scraps of 2x4 and 2x6 overlapped to create a 4x10 landing which actually ended up a cool addition since it gives the kids a spot lower than the mattress to make the transition from the ladder to the mattress. It also has given us adults a spot to sit off the mattress while comforting them to sleep when needed, so we don't end up waking them when we leave.
I based the height of the queen legs (made four of them) off the size of a standard storage tote, which was ~13". We can fit 12-16 totes of clothes or other random storage under the bed as a result. The queen frame was just a simple 64"x84" rectangle out of 2x6s with 7 2x4s used as crossbeams to hold the mattress.
Note on the mattresses - these 8" memory foam mattresses are just as comfortable as our expensive name brand king mattress, but MUCH cheaper!
https://www.walmart.com/ip/Mainstays-8-inch-Memory-Foam-Mattress-Multiple-Sizes/47826185
Despite raising the loft, I kept the height of the stair platform the same, but just added a second 'ladder' rung to get up to the loft (refer back to the 4x10 landing spot on the loft). To keep with the using available storage space theme, instead of attaching the stairs permanently, I used 1"x4" hinges to that we could swing the stairs up and put 4 more storage totes under there. (However, we quickly found that the kids liked that area as a 'fort', so we've left it open for their use.)
In the picture, you'll note there are four treads/steps on the stairs because I thought to myself "little feet, little steps" would be better. I soon learned that the littles are more than capable of using adult sized steps while adults nearly killed themselves coming down the little feet, little steps. As such, I ended up removing one of the middle steps and moving the new singular middle to a spot between the other two. Much better, stay with 3 steps.
While the queen can stand alone, I still attached it to the 'legs' of the loft so that our rambunctious boys didn't 'sweep the leg' and bring the whole thing down on themselves while under it.
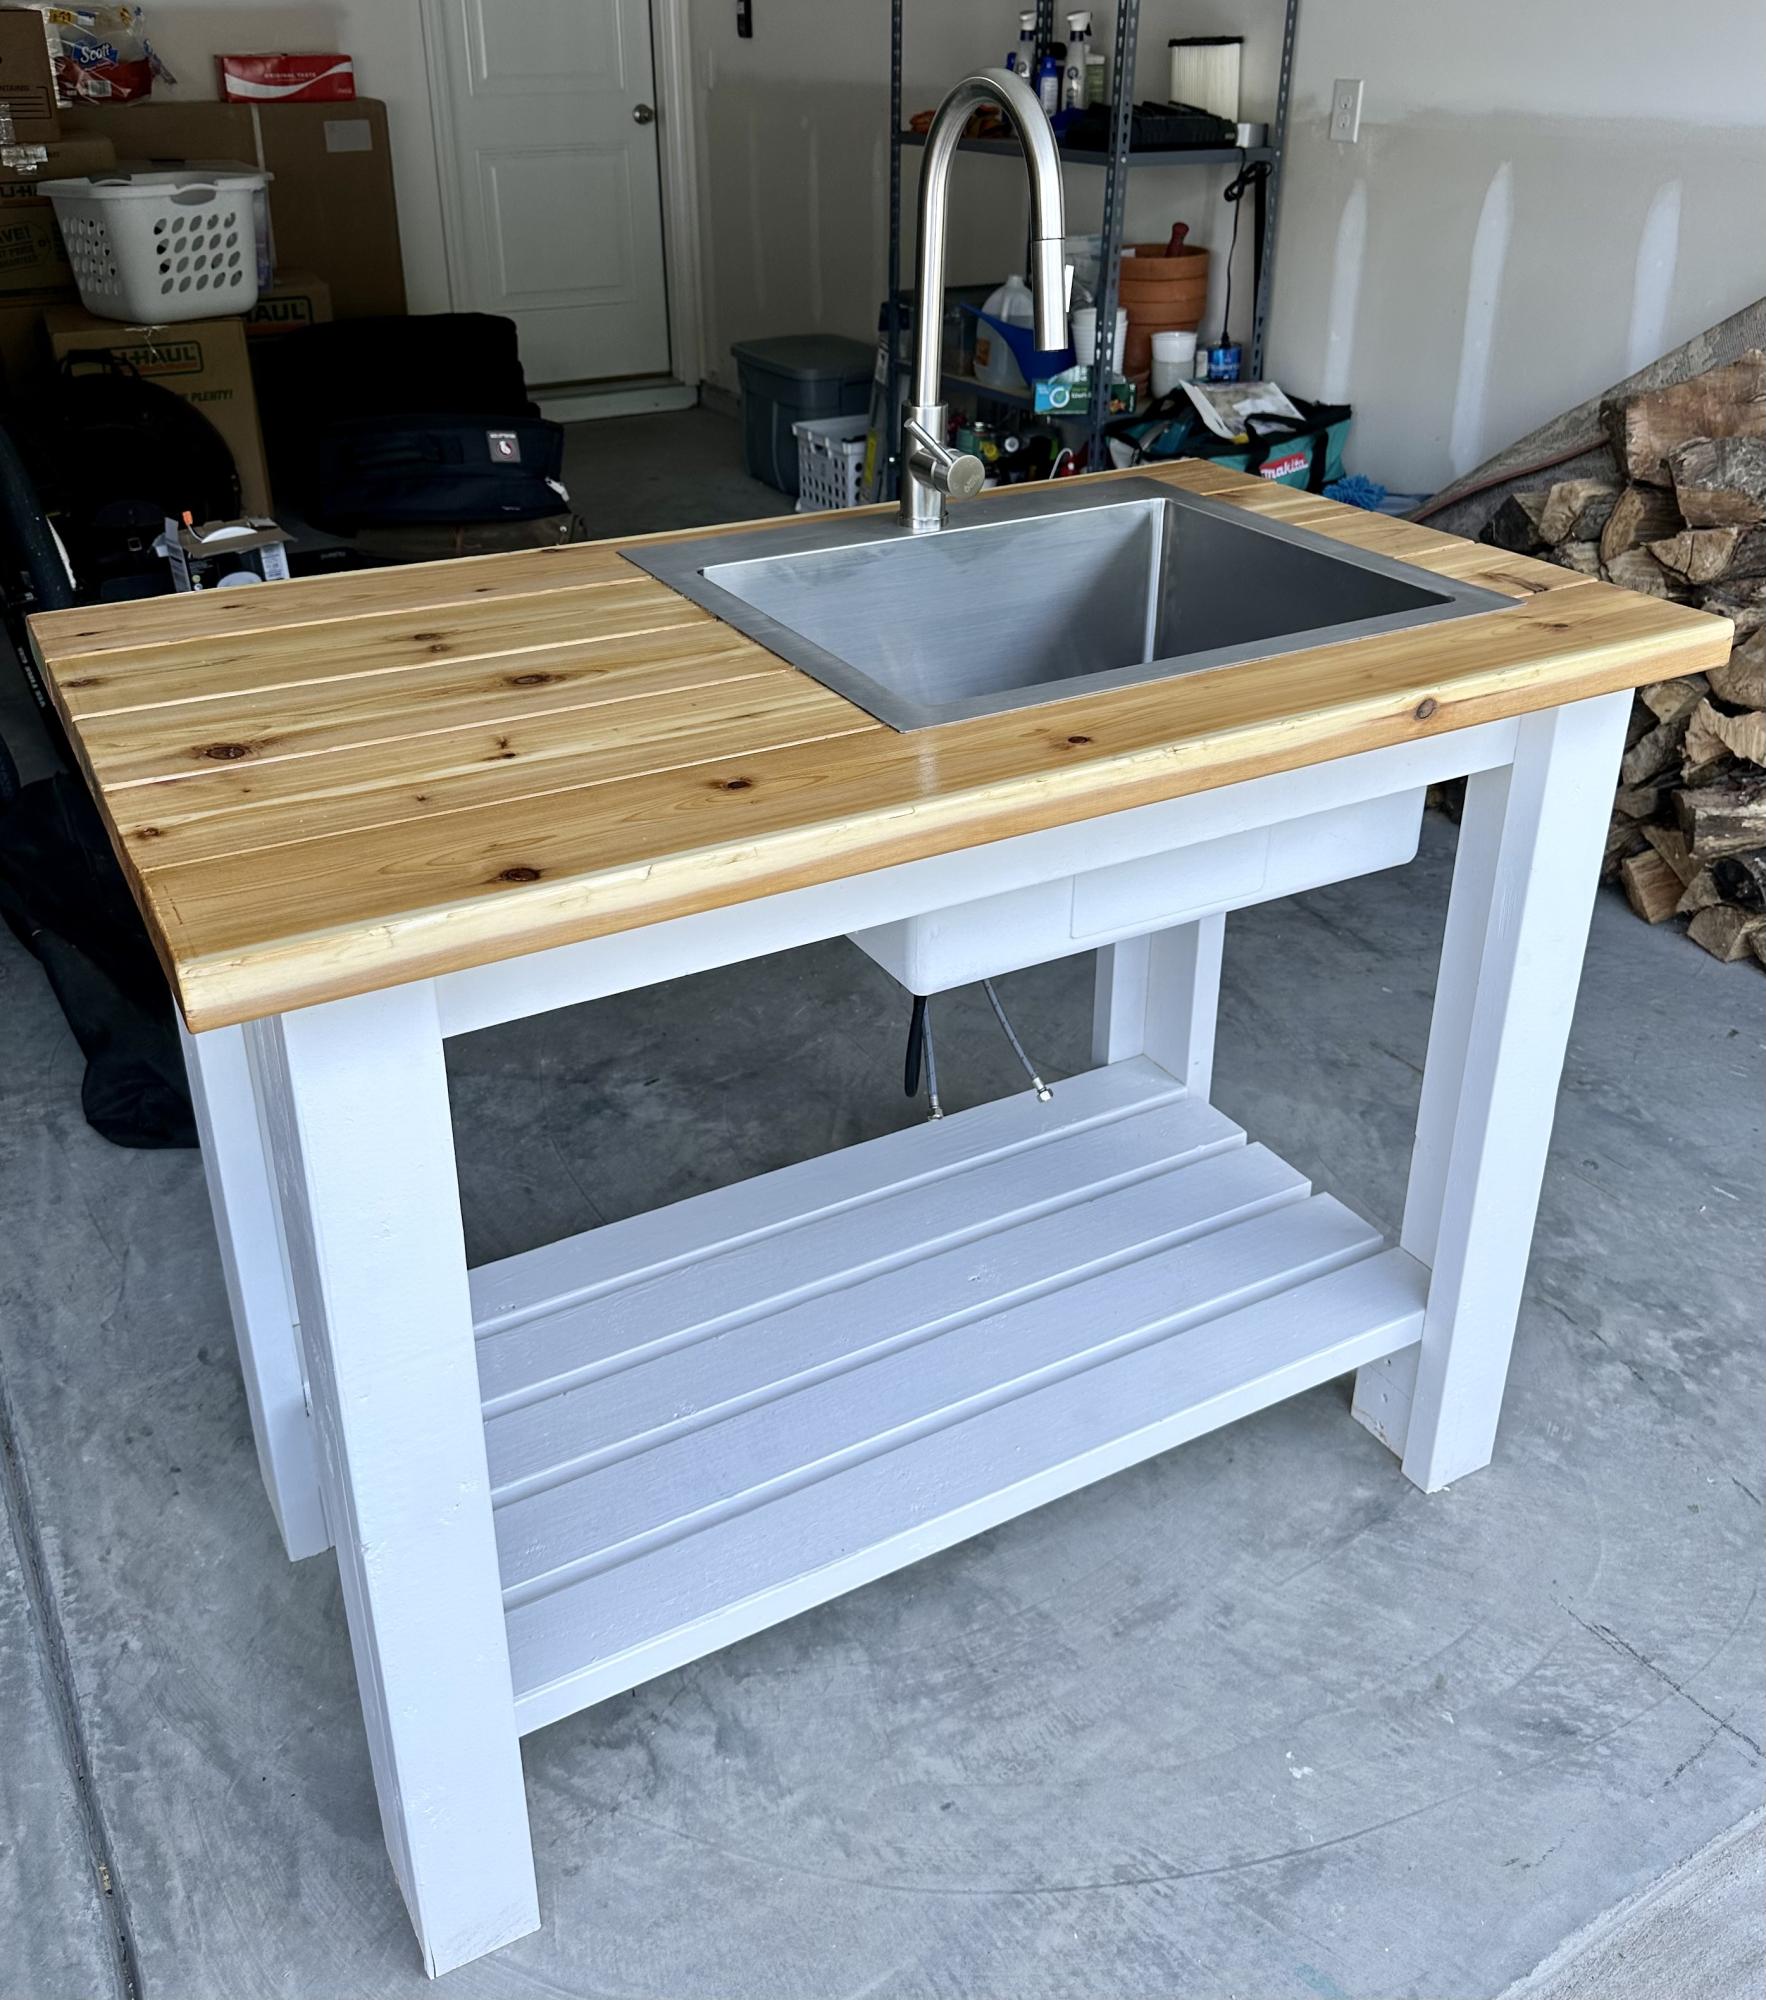
Used sturdy workbench plans with 2x6 cedar top for outdoor sink. Turned out much better than I expected!!
Tue, 05/02/2023 - 07:09
Way to go, it is beautiful and functional! Thanks for sharing.
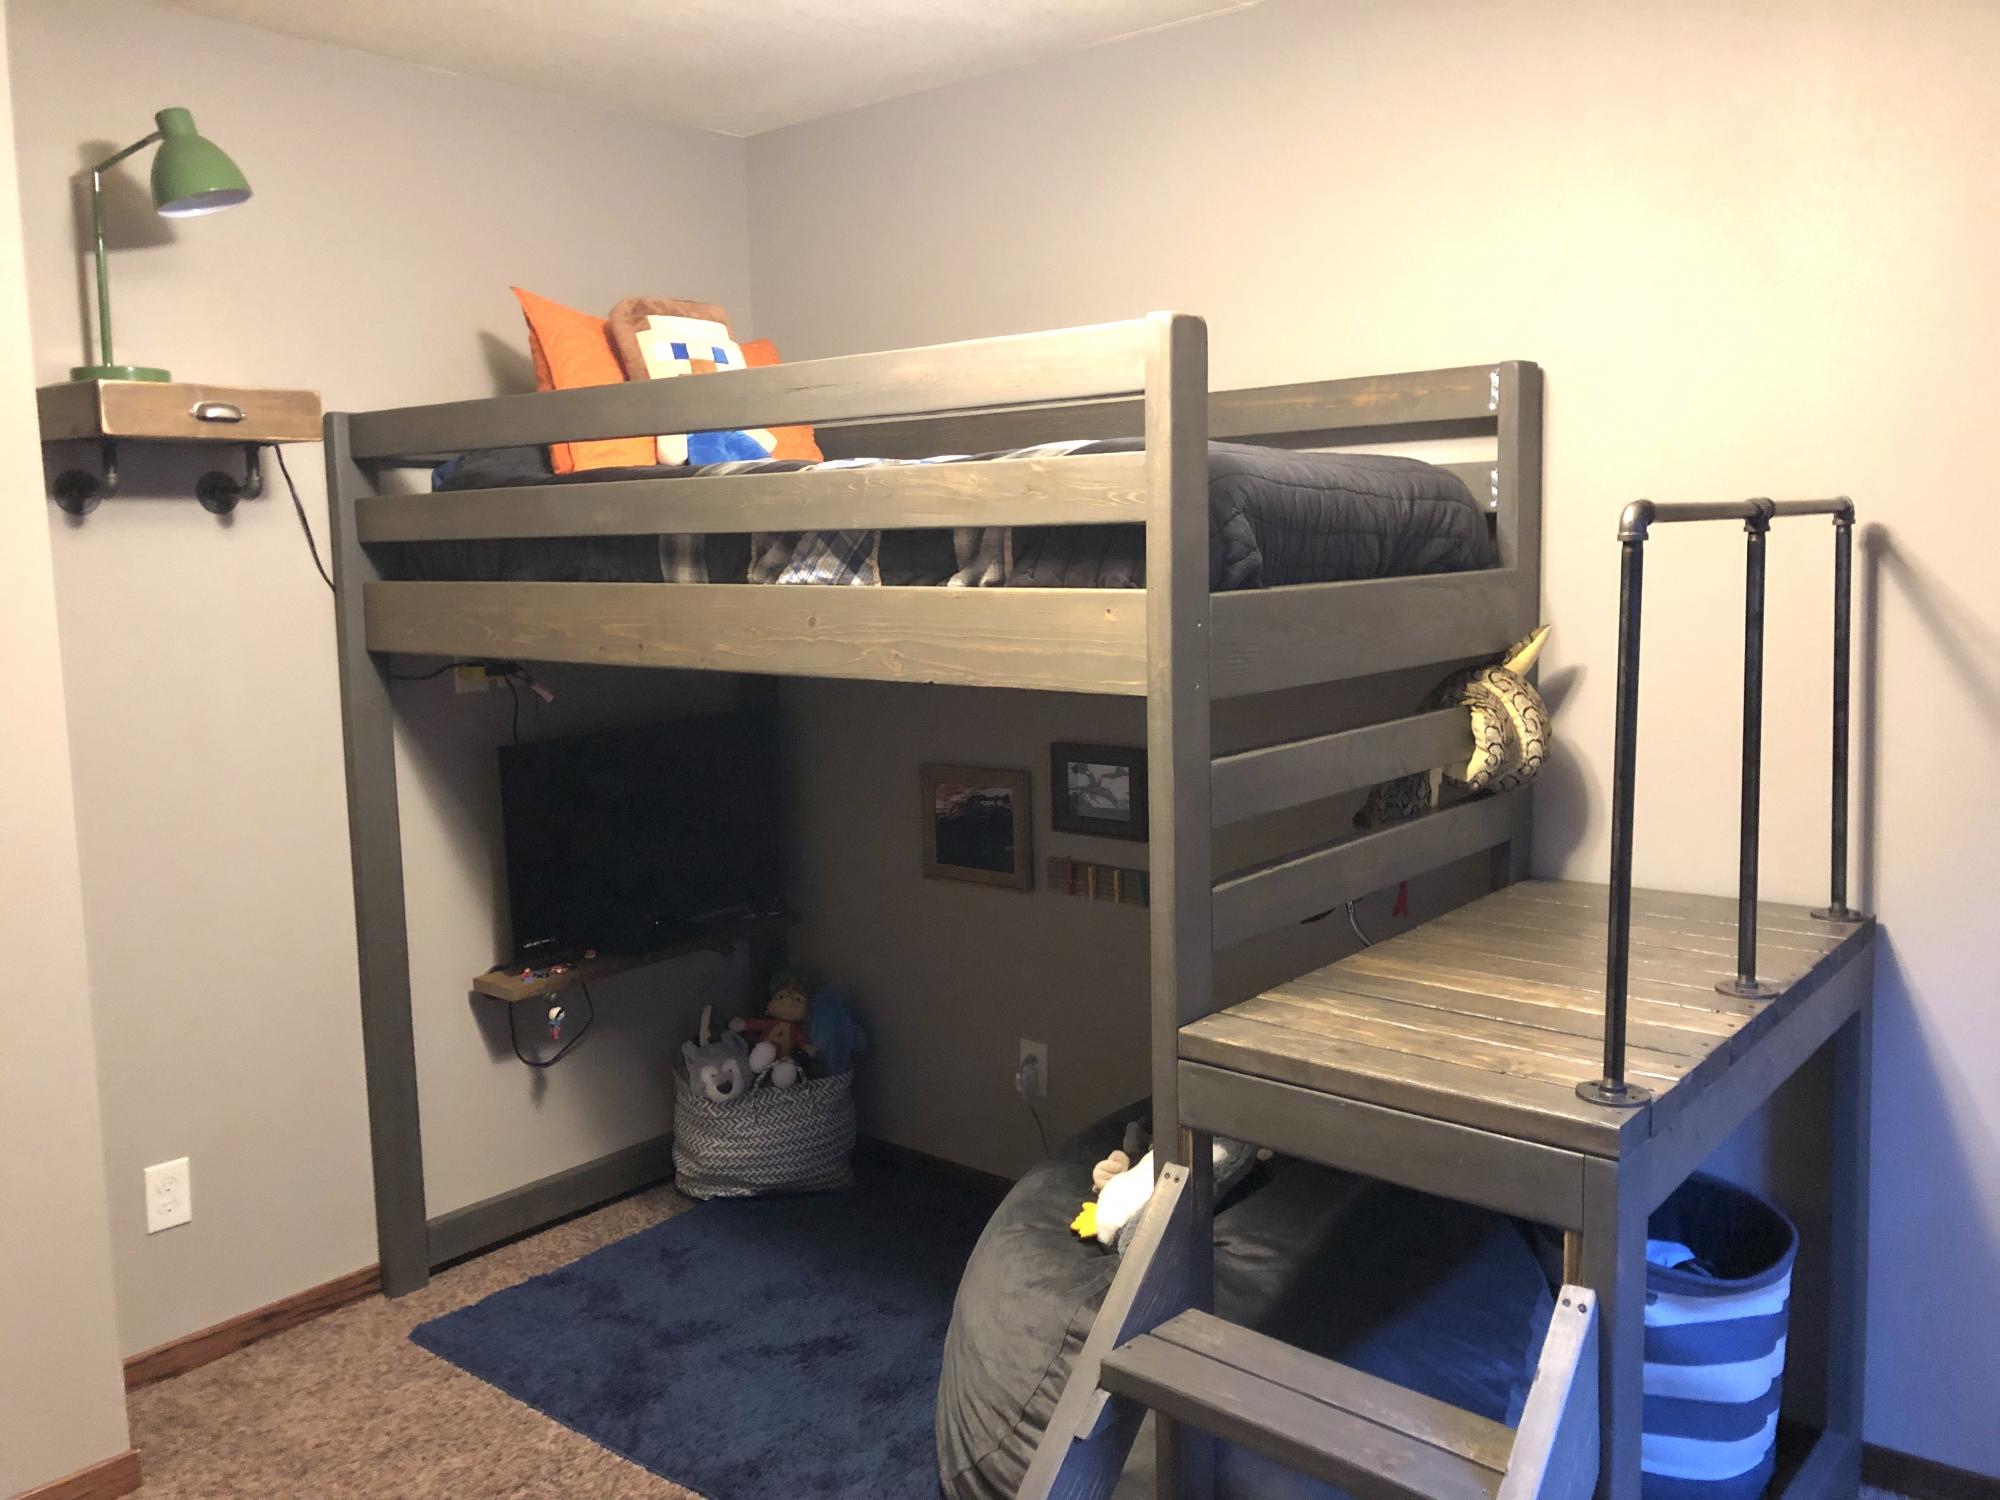
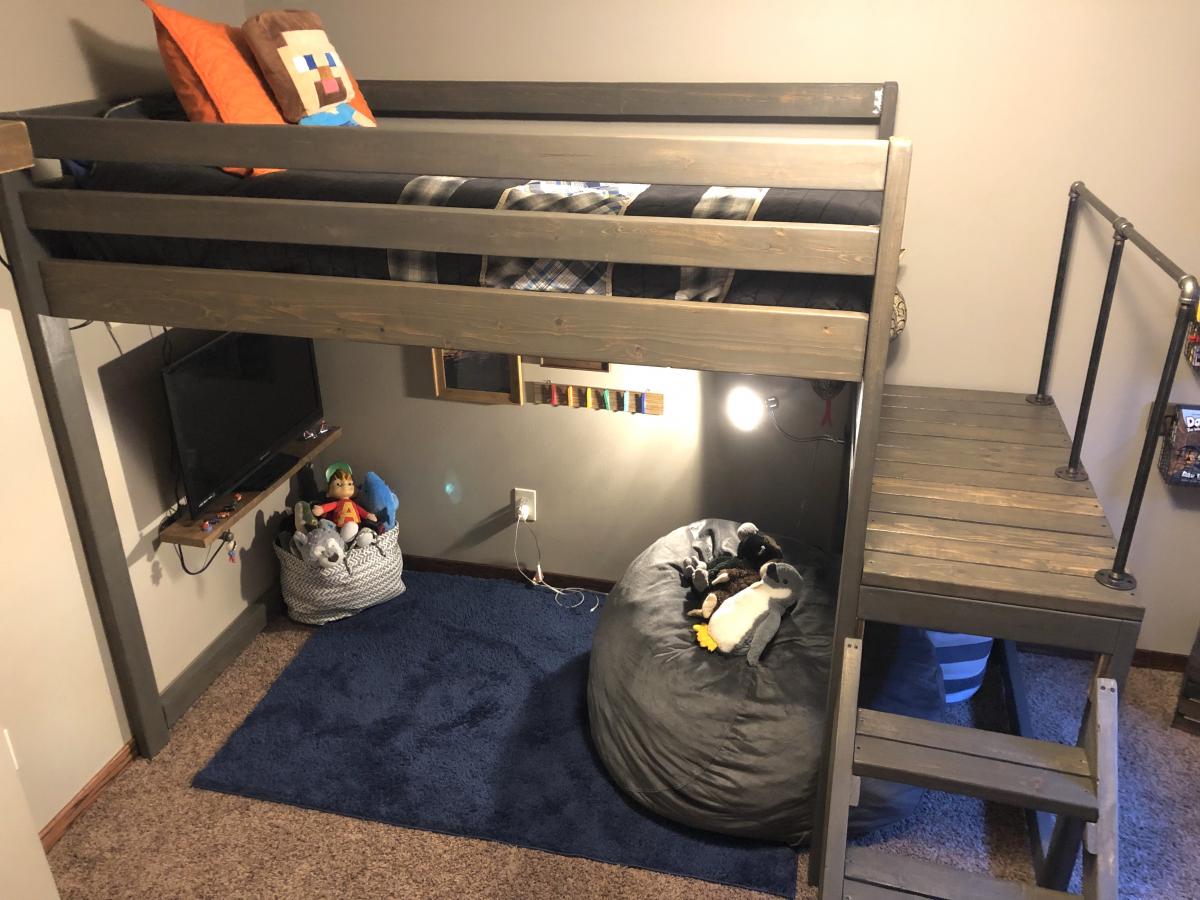
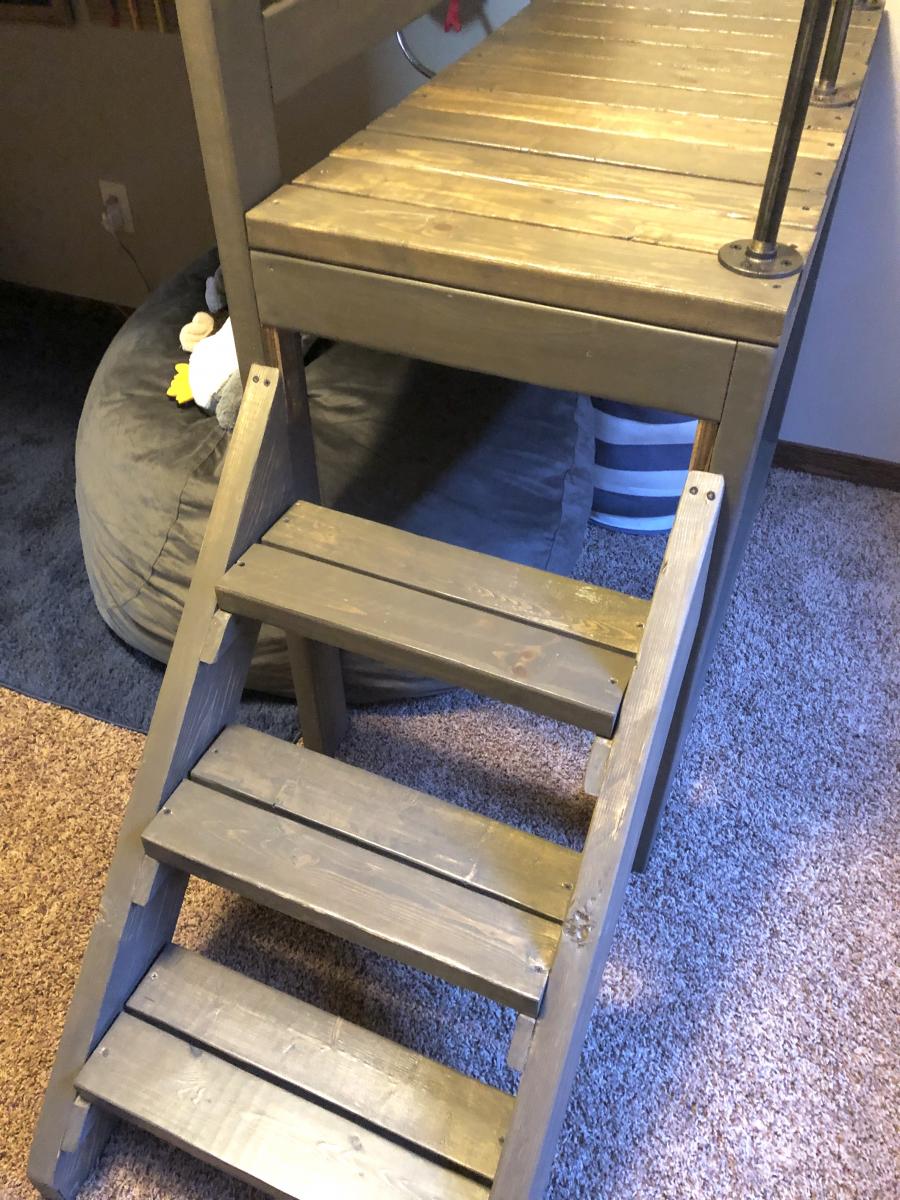
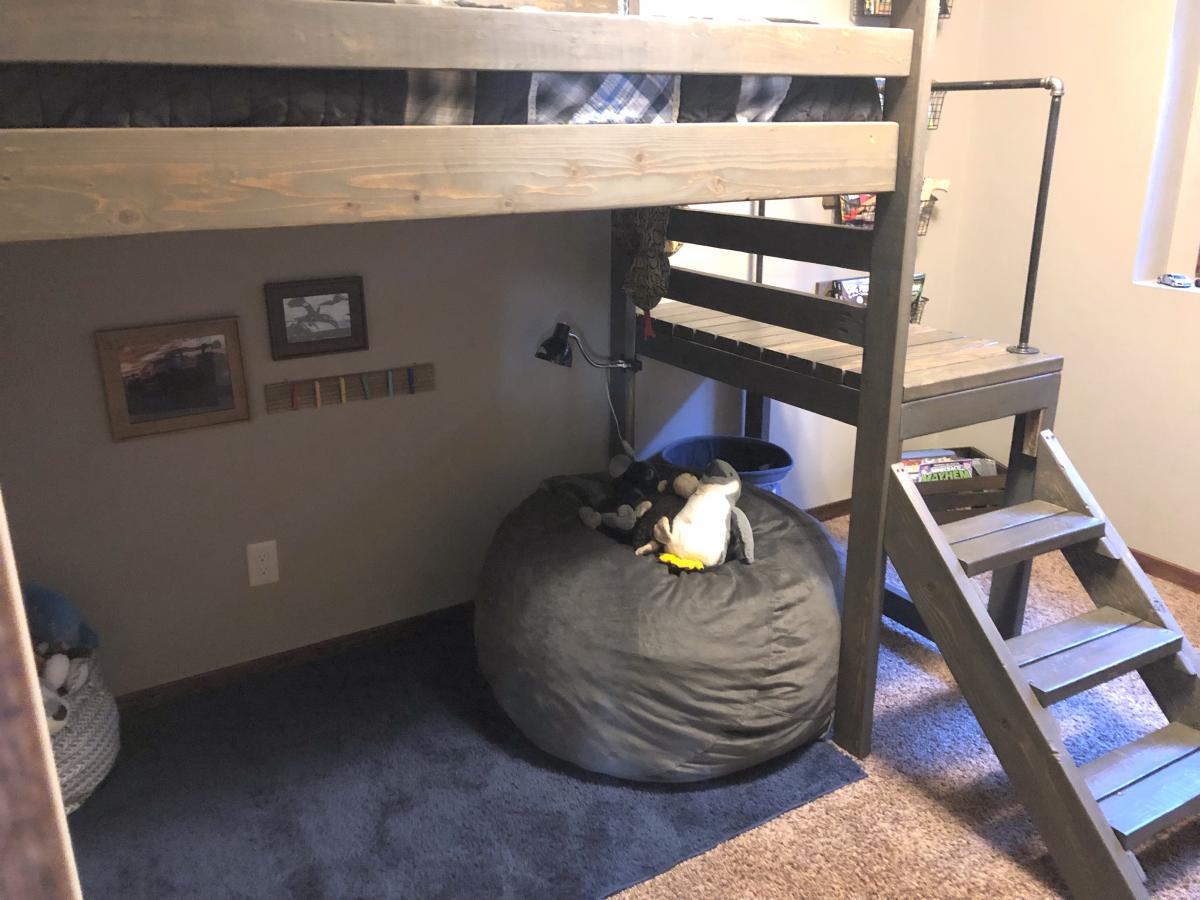
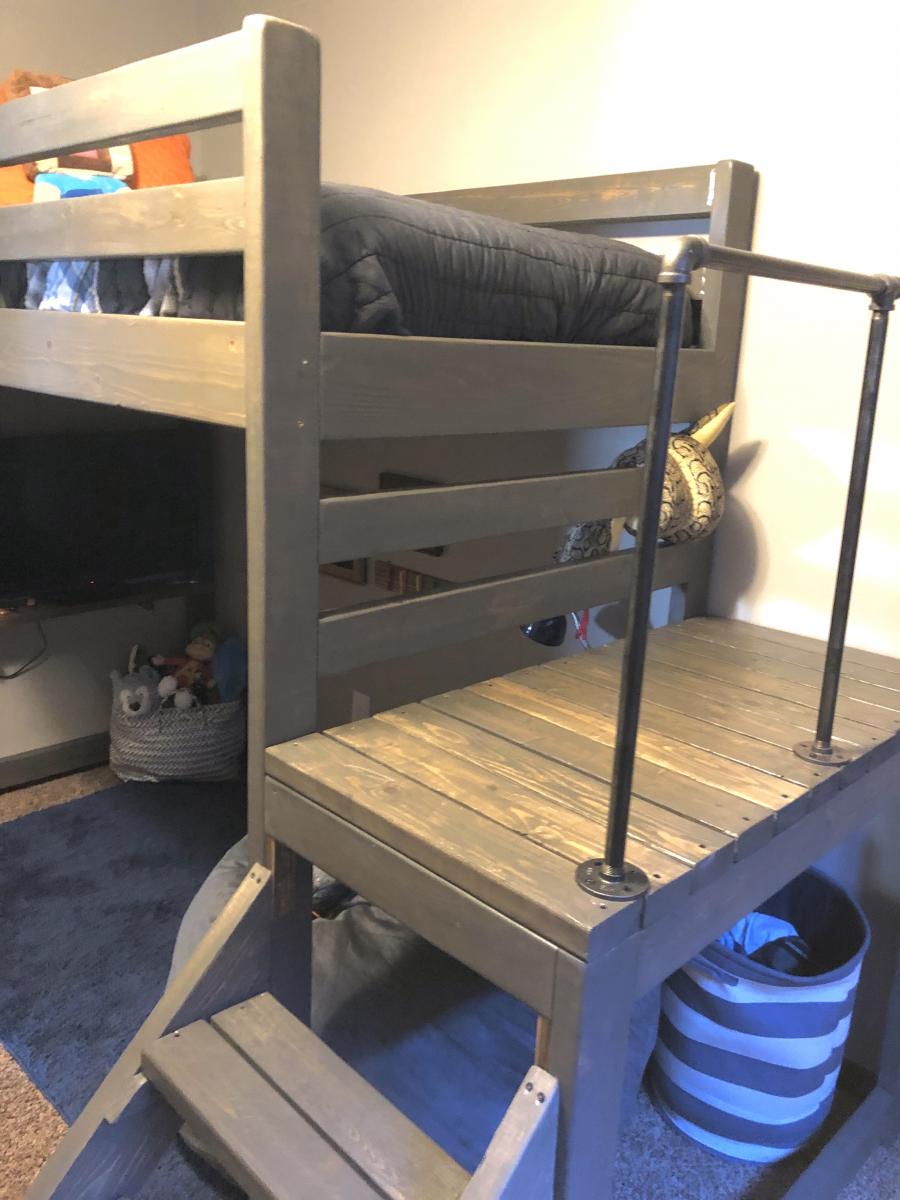
I built this bed for my 8 year old son's room "face lift." His only request was to have a place to hang out, but being his room was so small, that was a struggle! The loft bed allowed us to make a cozy little hangout - the poor guy can't get rid of his siblings now!
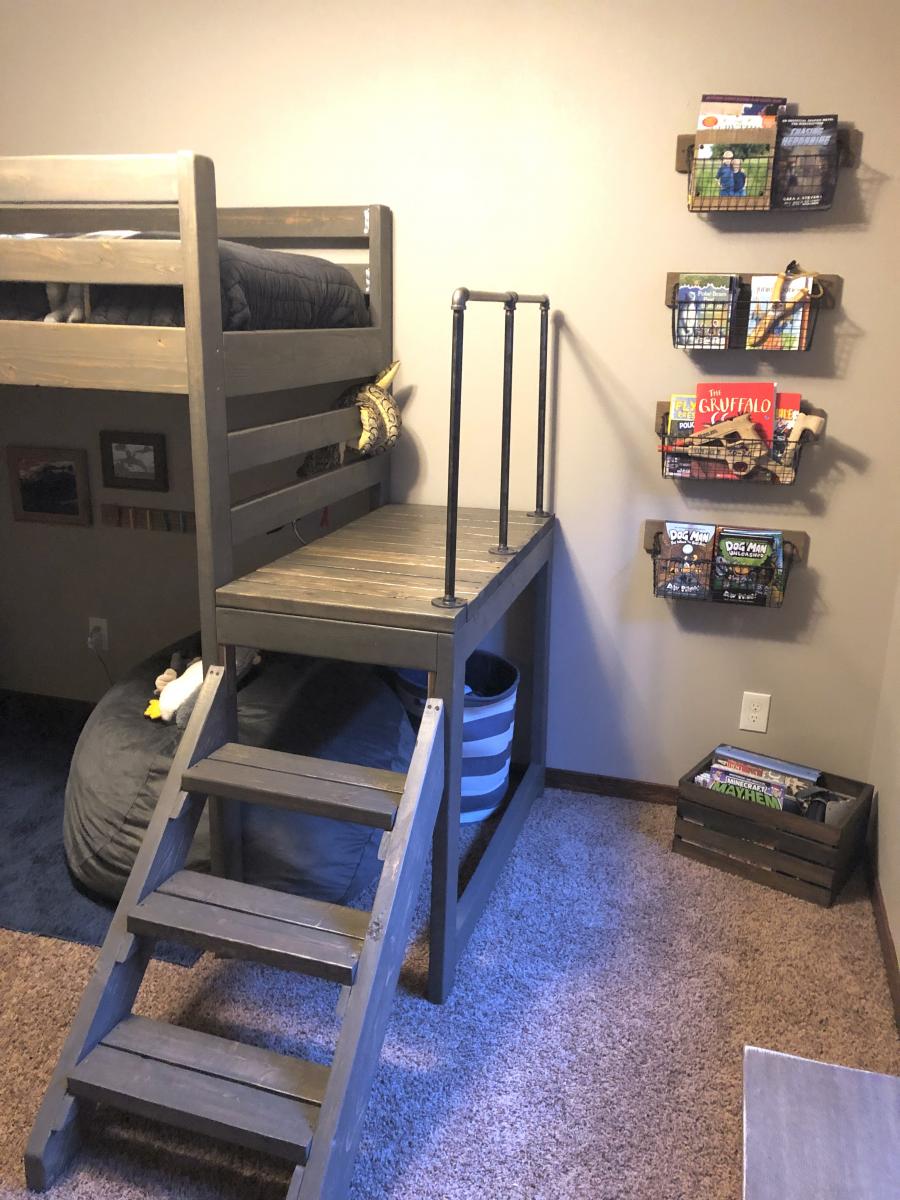
I added a few extra inches to the height of the Camp Loft plan, I also added the pipe hand rail for additional safety and give his room a little older boy vibe! It was a very easy build, the staining/sealing took the longest. The stairs make it much easier to change sheets and getting up and down for those of us who aren't 8 year olds :).
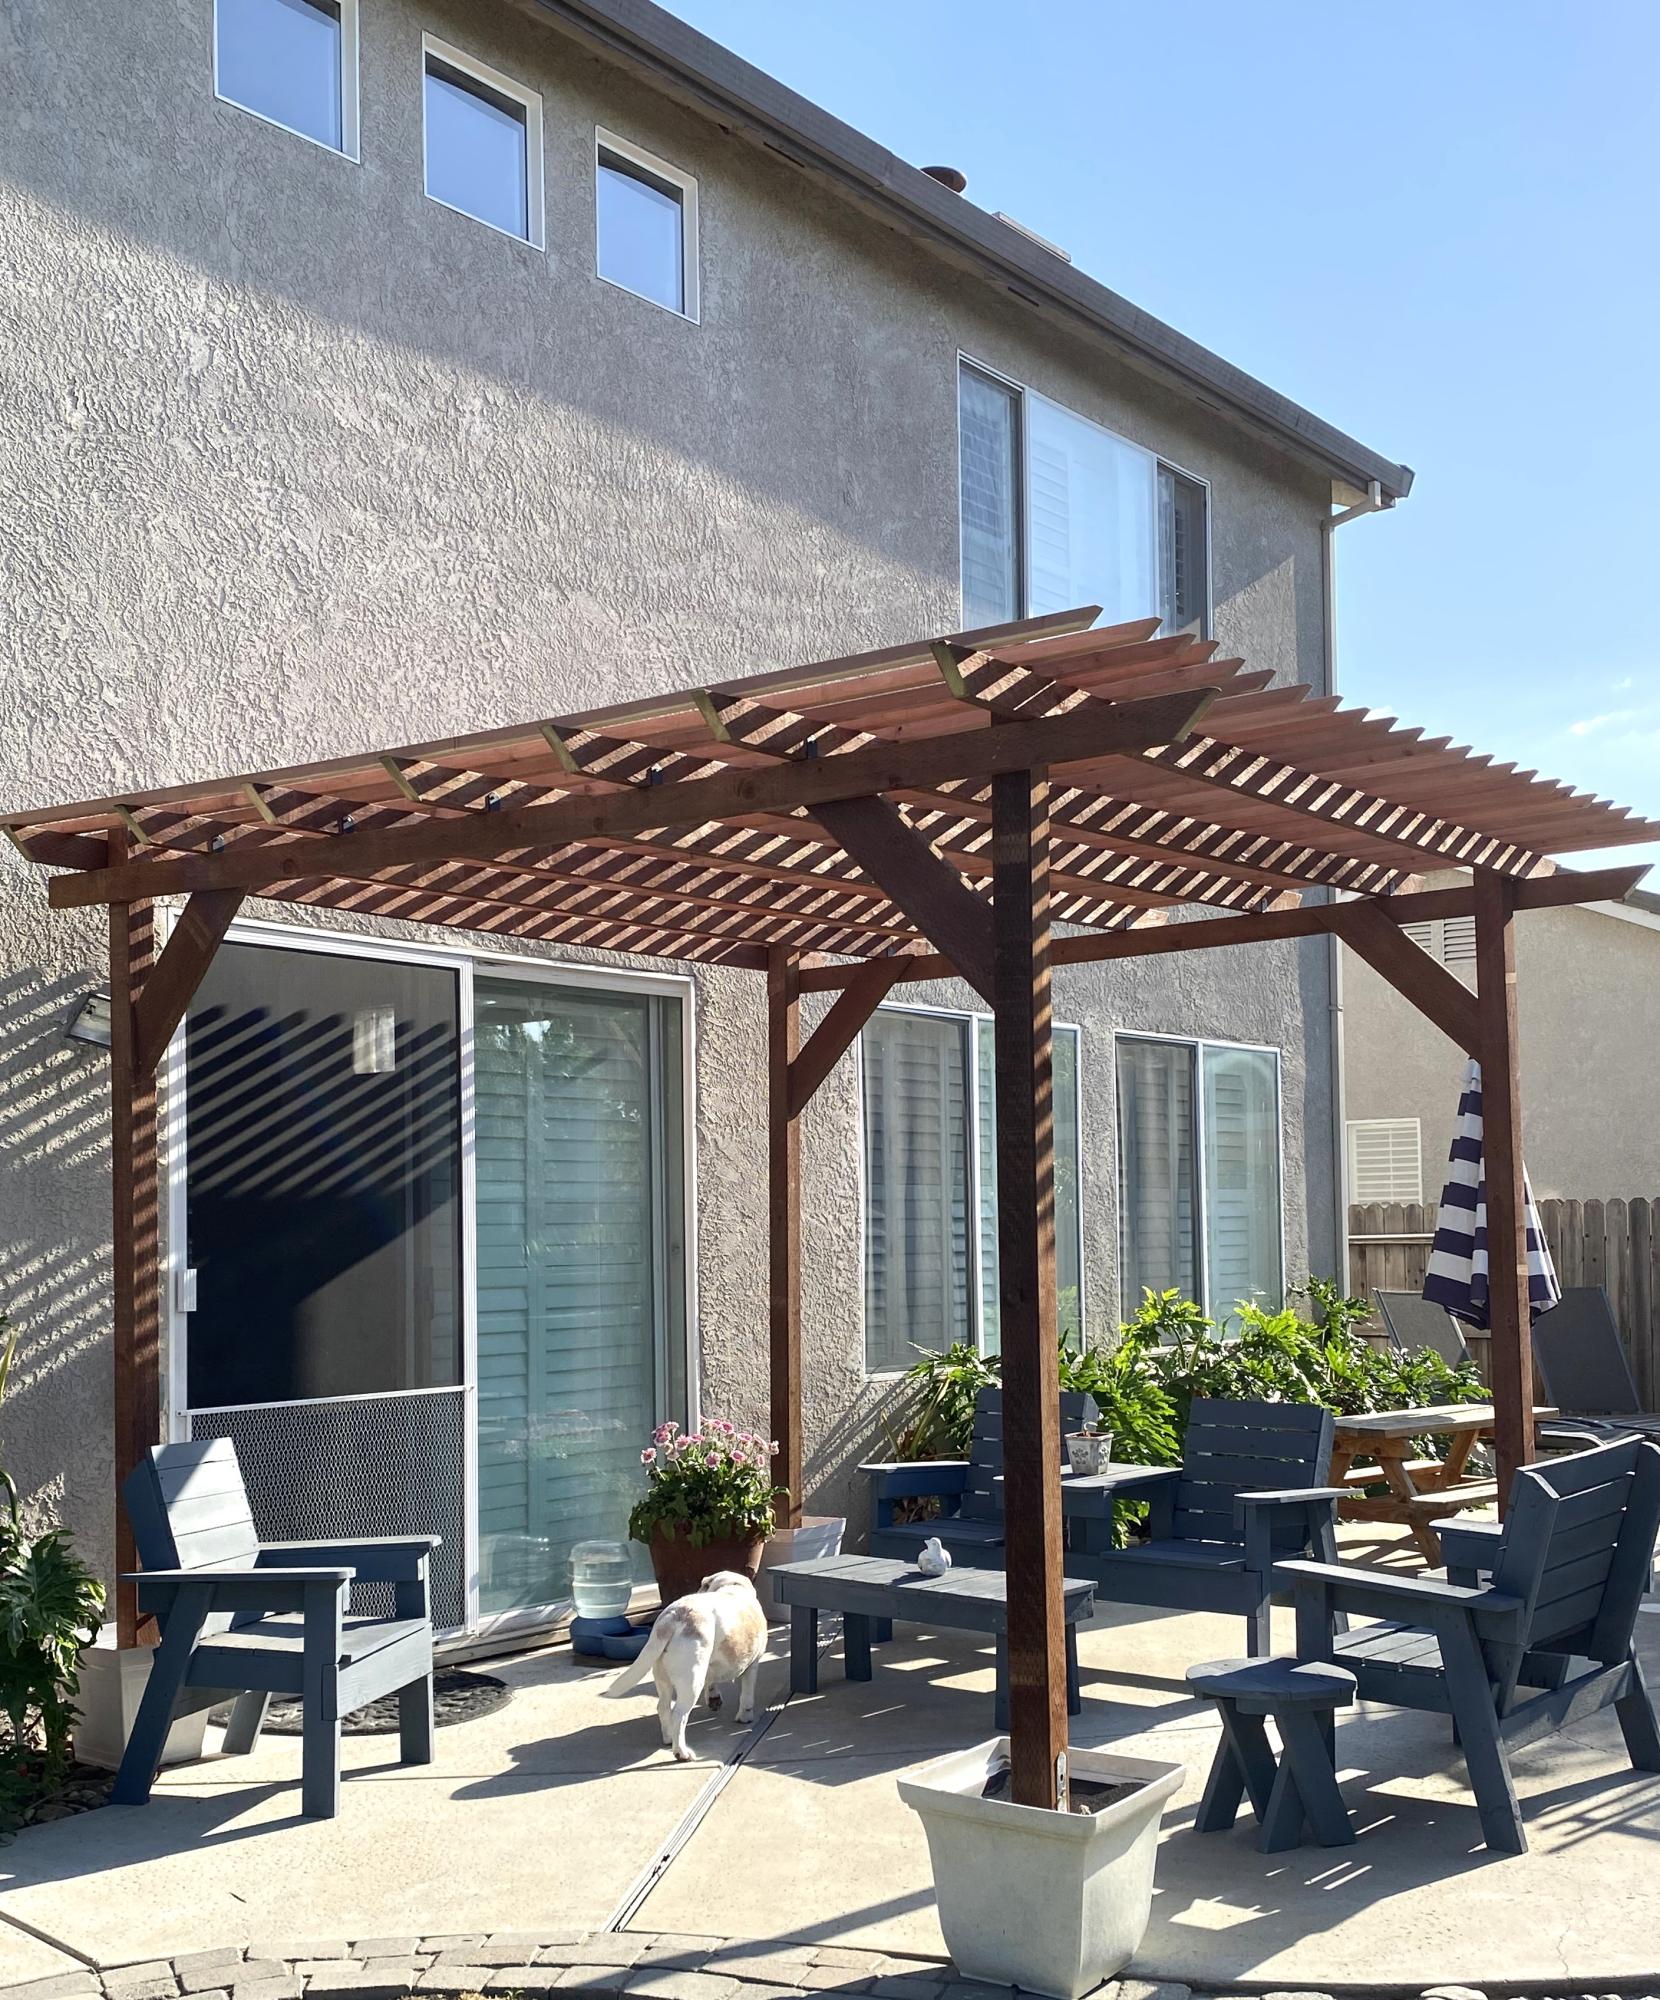
I built this pergola in 3 days and added mason jar solar lights.
Vonda Jones
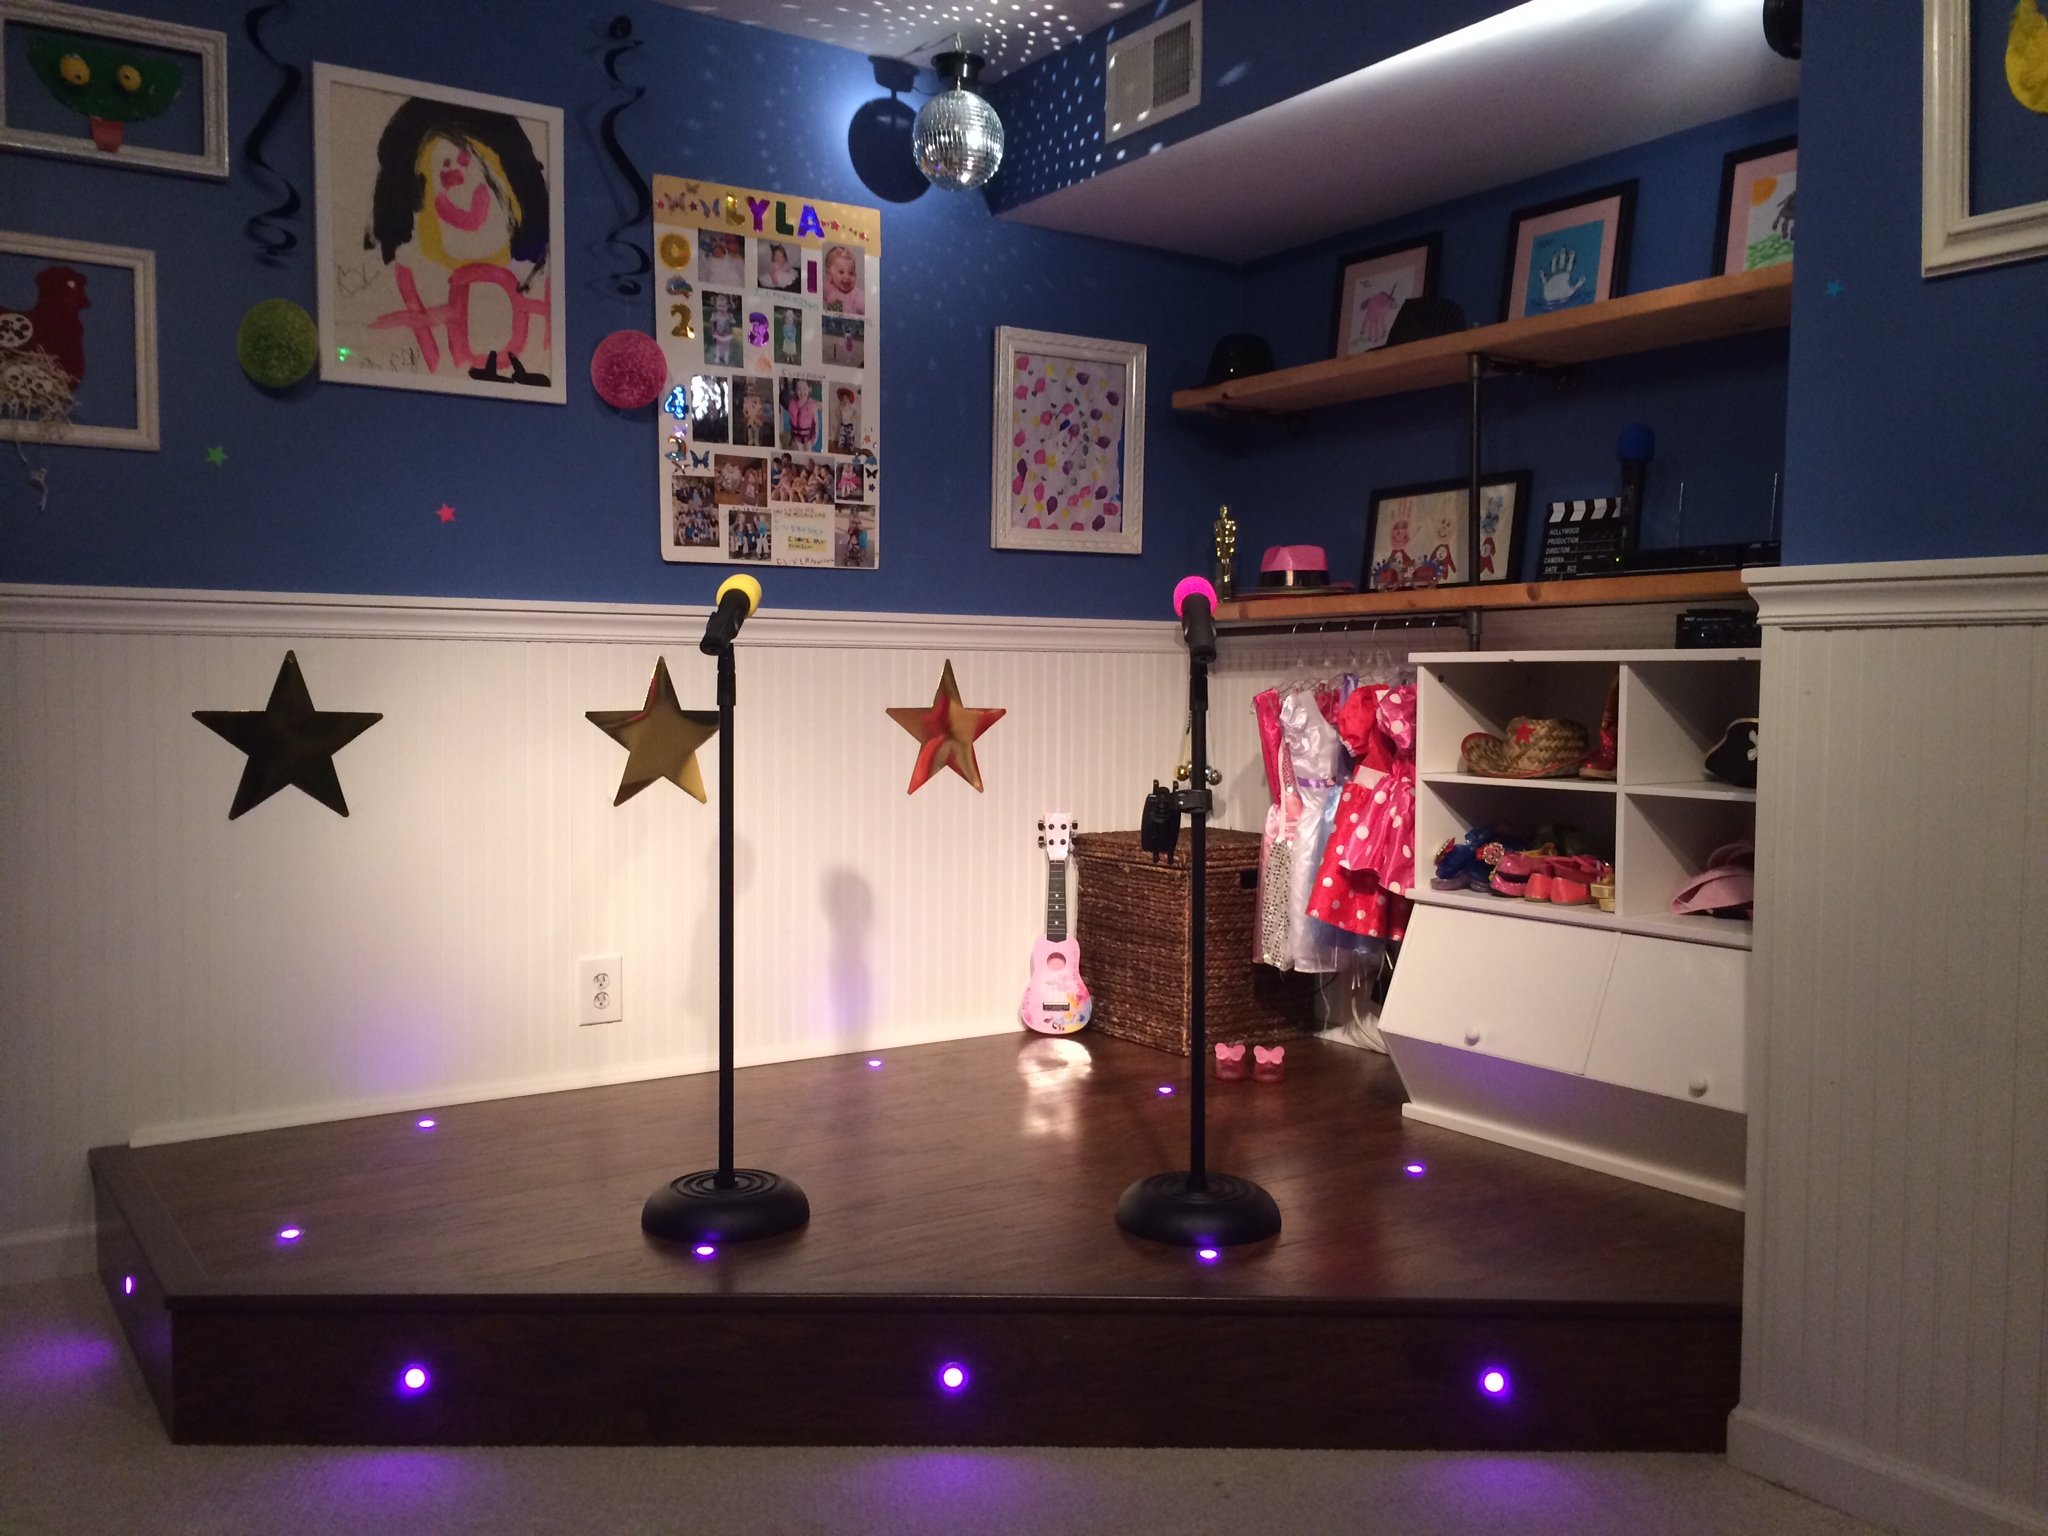
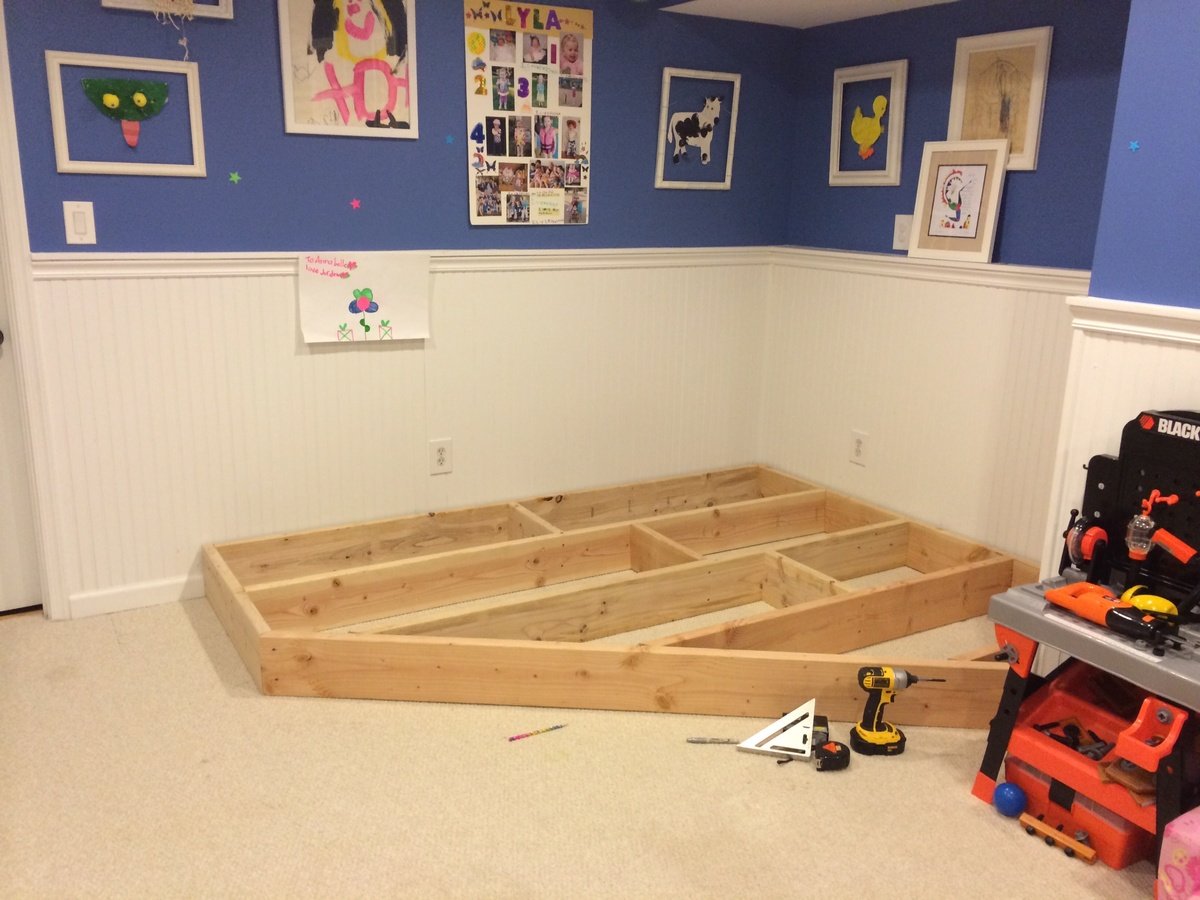
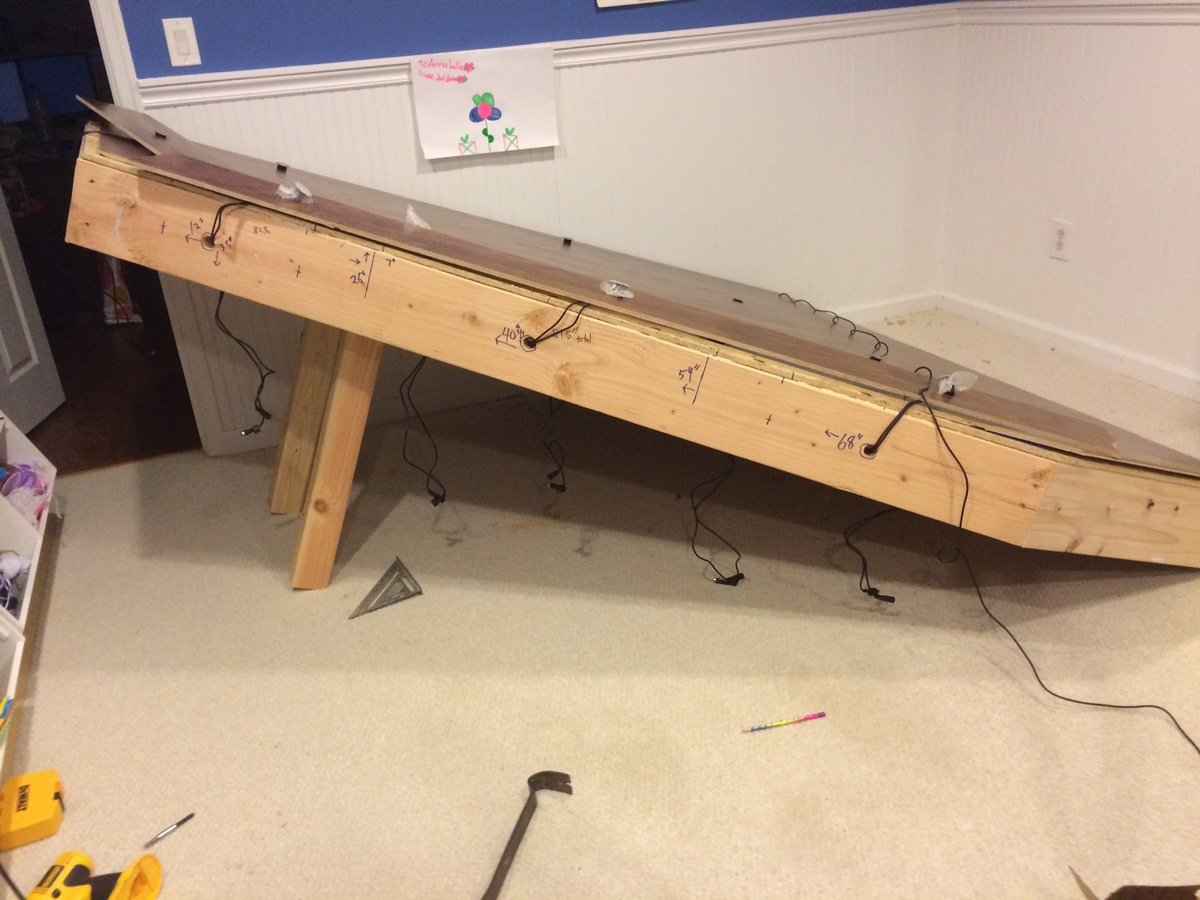
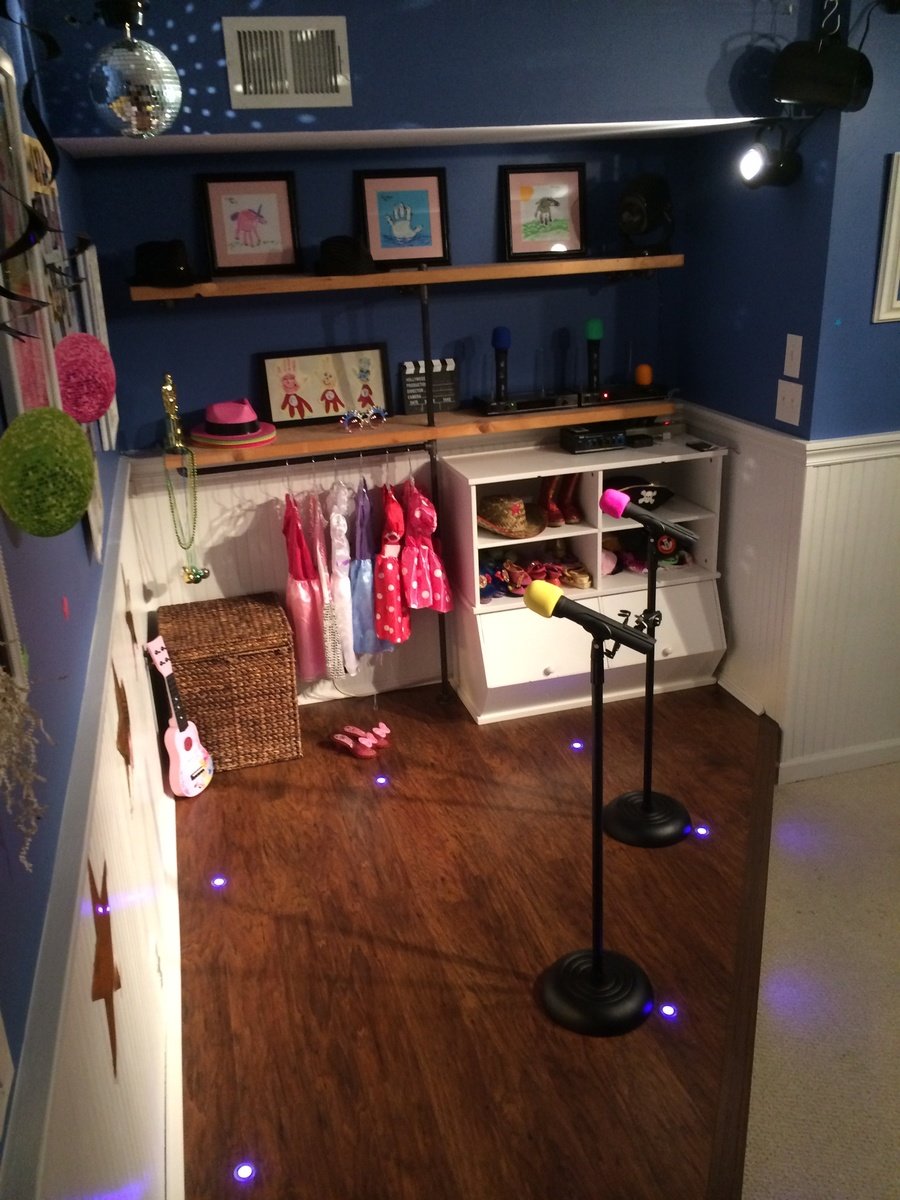
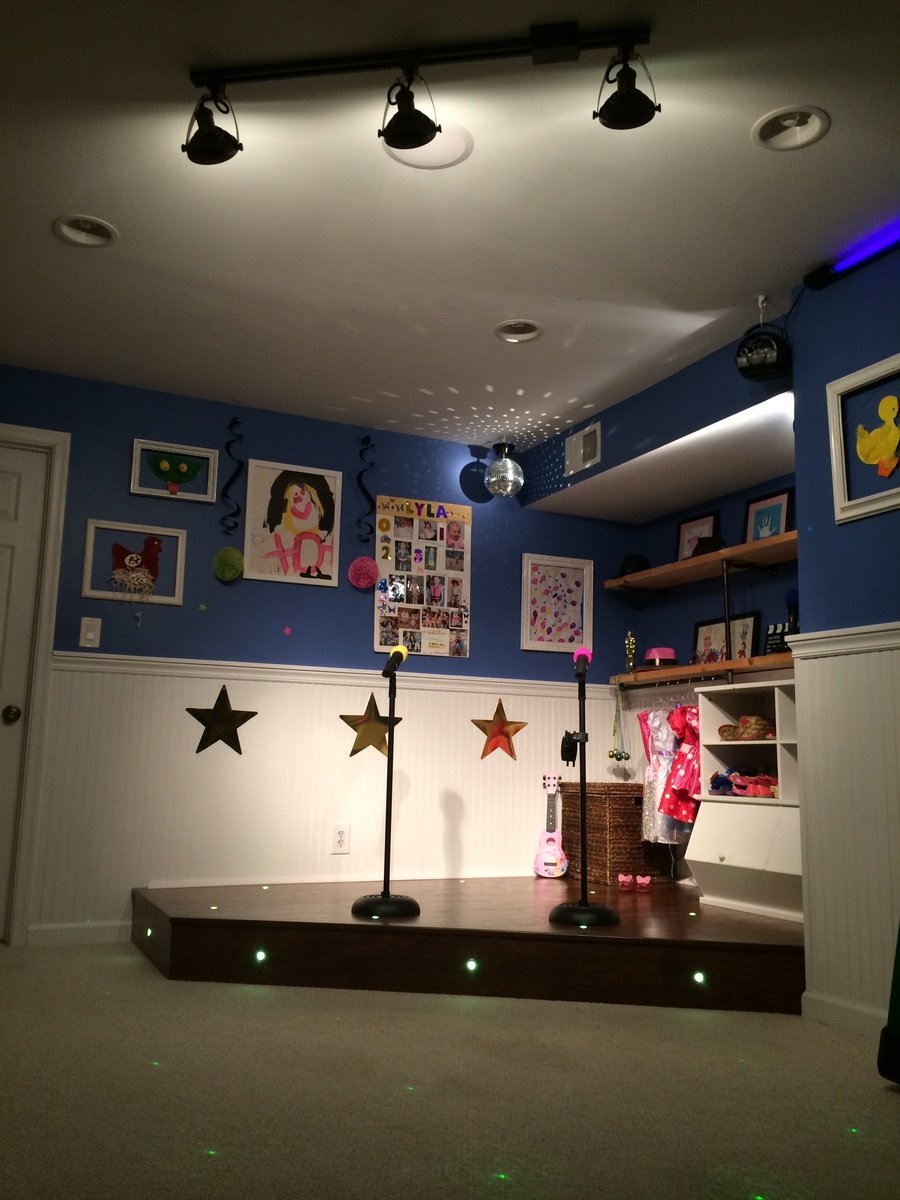
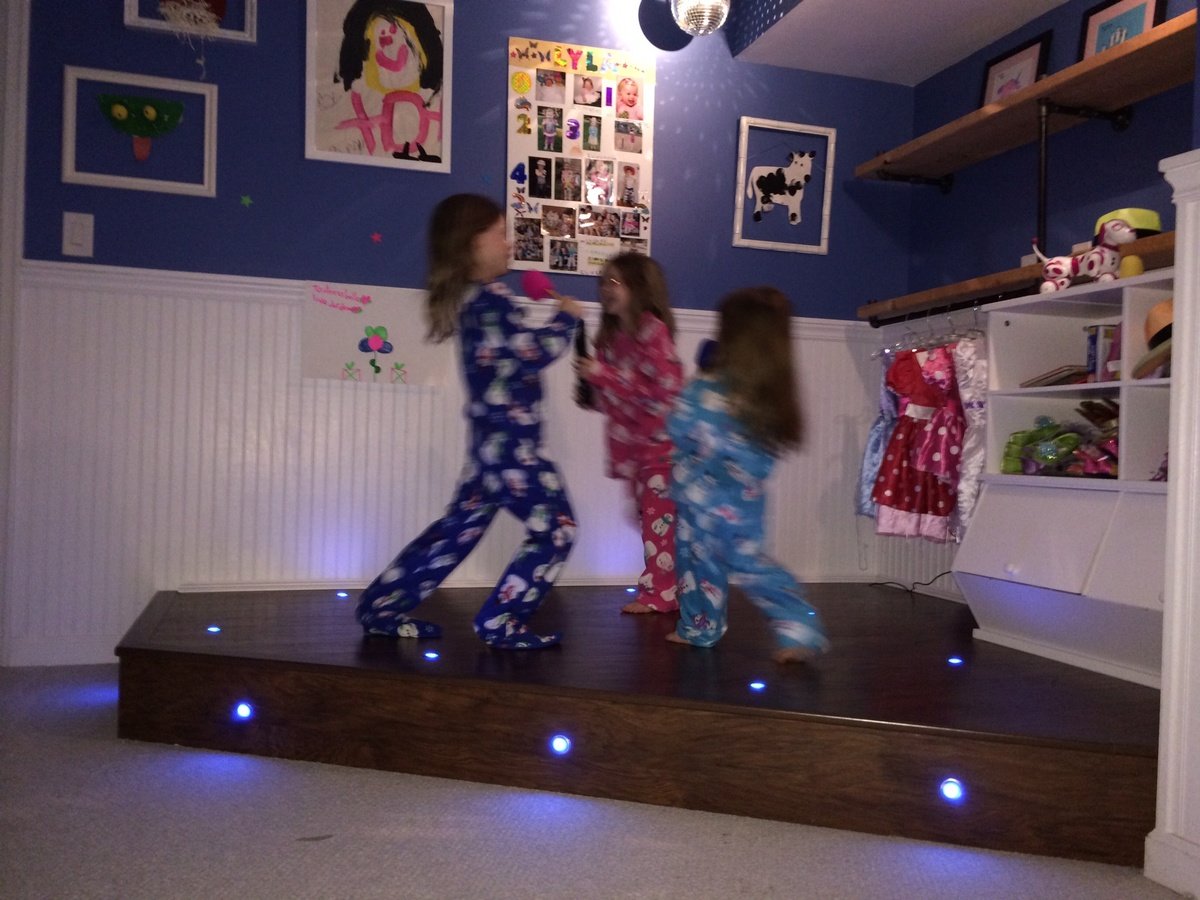
I had a perfect corner in our playroom that was reserved mostly for clutter and always wanted to do something fun with it. The base is made with 2x8"s topped with Handscraped Hickory laminate flooring. Bored holes into the floor and installed 1" diameter color-changing LED decklights. Added theatre-style tracklights, disco ball and other dance floor lighting for extra effect. Of course the stage wouldn't be complete without wireless microphones for karaoke and mic stands hooked up to a small amp and speakers in the ceiling. I made the shelving on the right side with 1/2" black pipe and used leftover 2x12" shelves from an old garage shelving install from 7 years ago! The kids were ecstatic on Christmas morning for the reveal!
Sun, 07/27/2014 - 15:52
This is great! I was just wondering what your dimensions were? I've been looking for something like this to do for my niece but have been struggling to find a plan and figure it out myself LOL.
Tue, 08/05/2014 - 05:58
Hello, the back wall is 8' and side wall is 6.5'. The stage comes out about 2.5' on each side then the front is around 7'.
Hope that helps, good luck!
Sun, 04/10/2016 - 14:44
Actually, I was wondering ,what lights did you use? I'm working on a very similar project and was curious to the lights your used please.
Sun, 12/08/2019 - 17:11
Can I ask about the lights you used or would recommend? Getting started tomorrow. A stage from Santa. Please help! 😬
Sat, 12/18/2021 - 14:09
Hello! Also wondering which lights you used. Thank you!
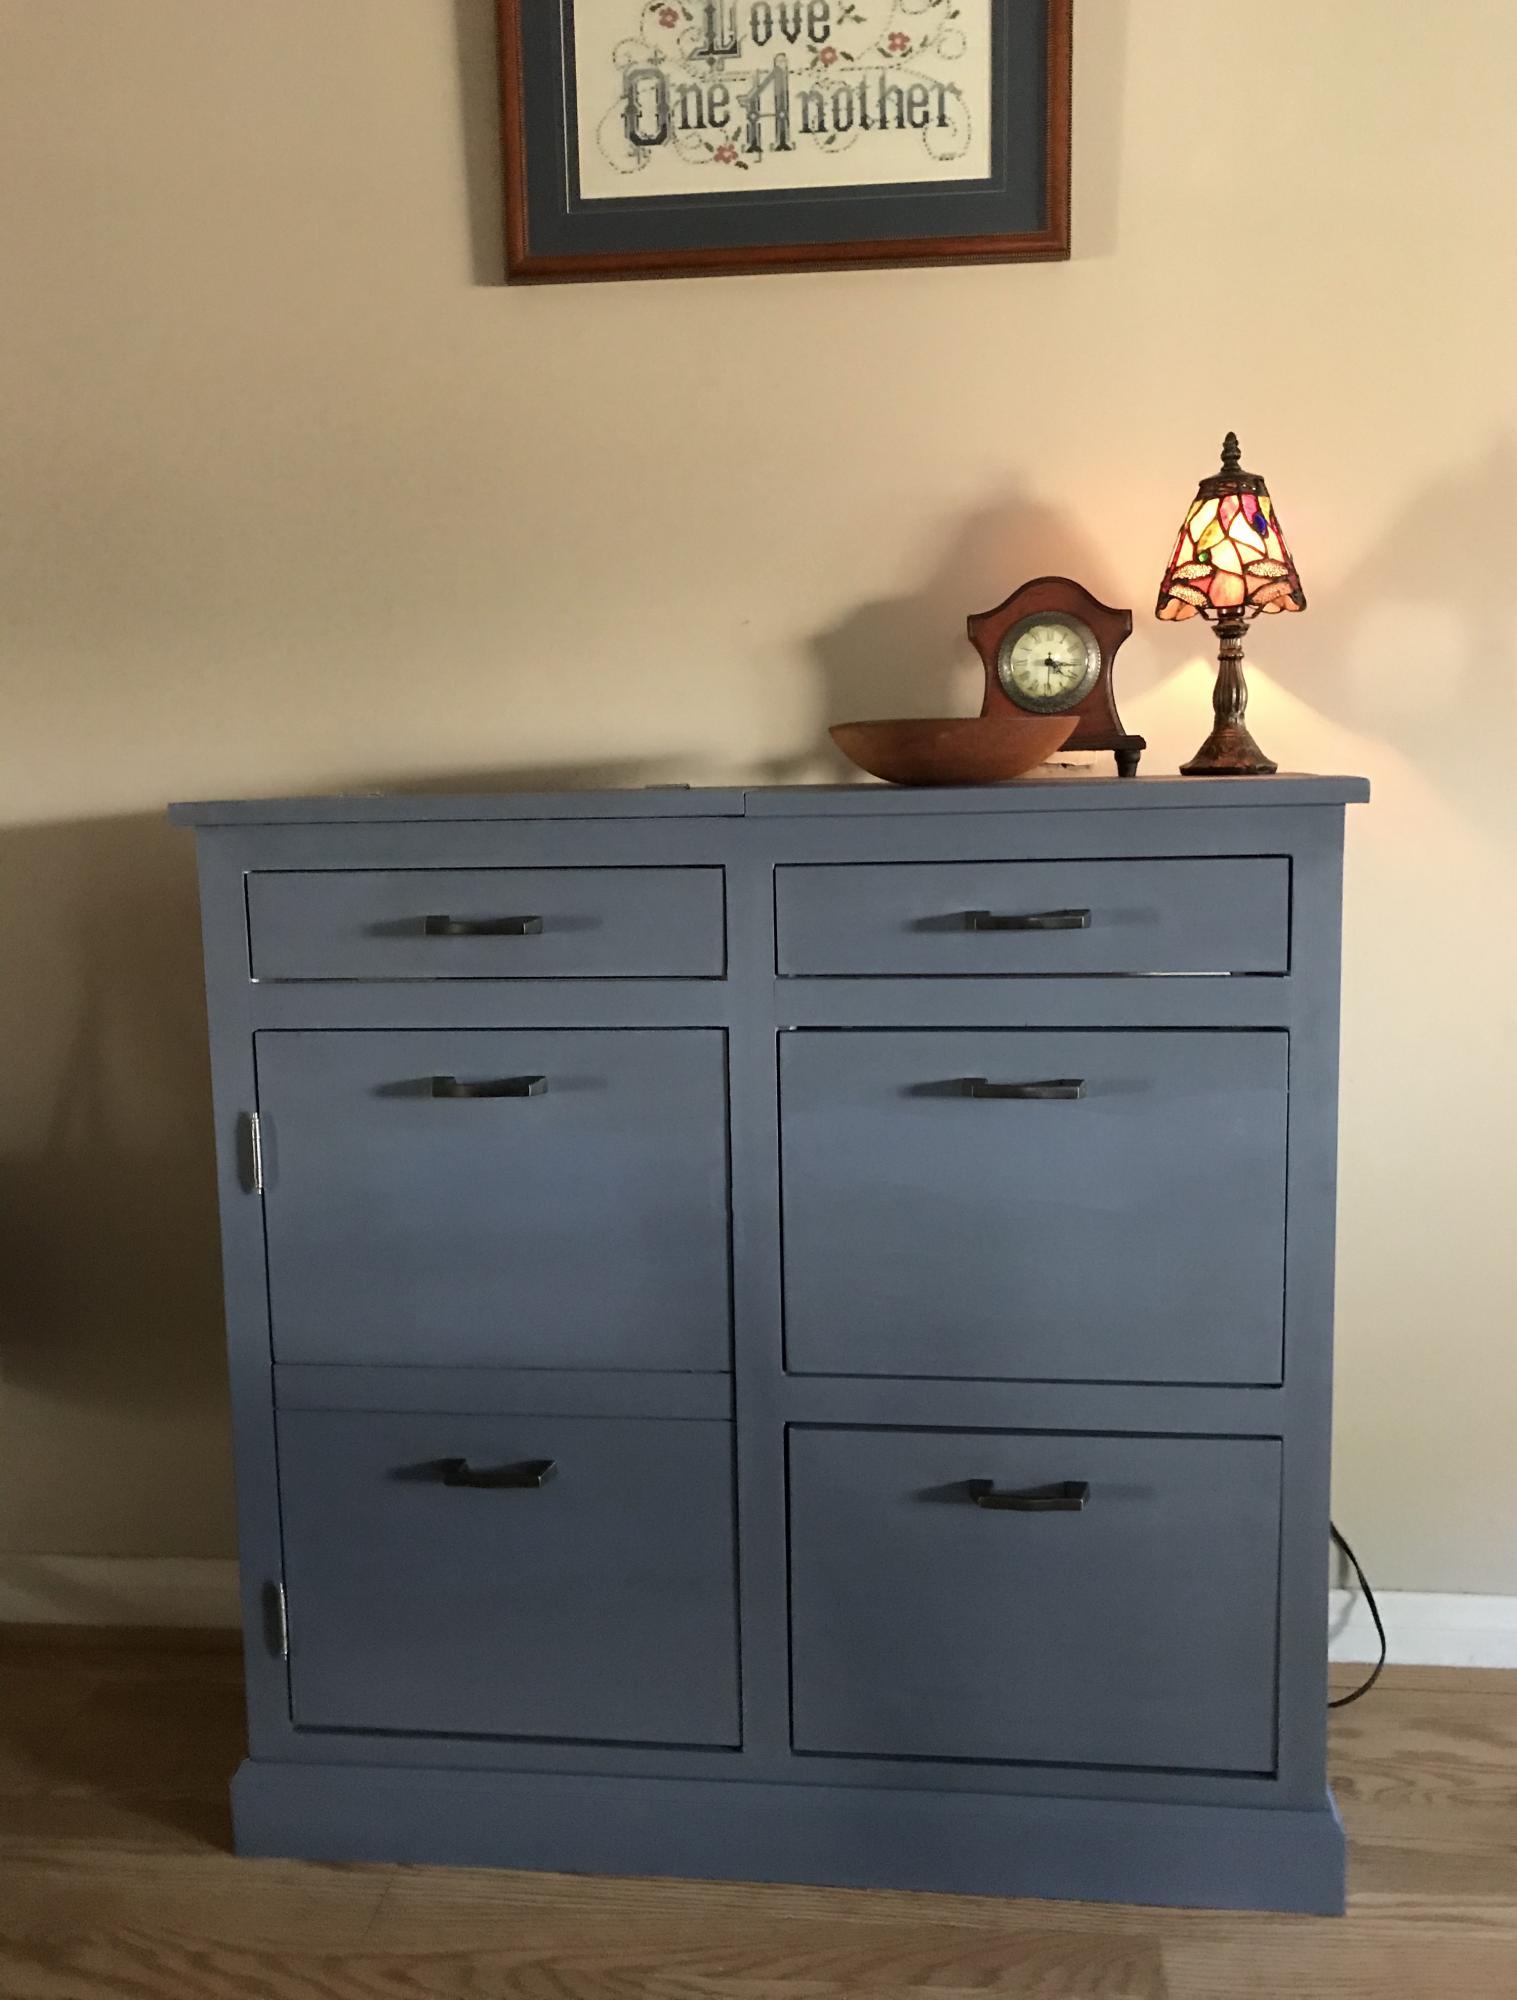
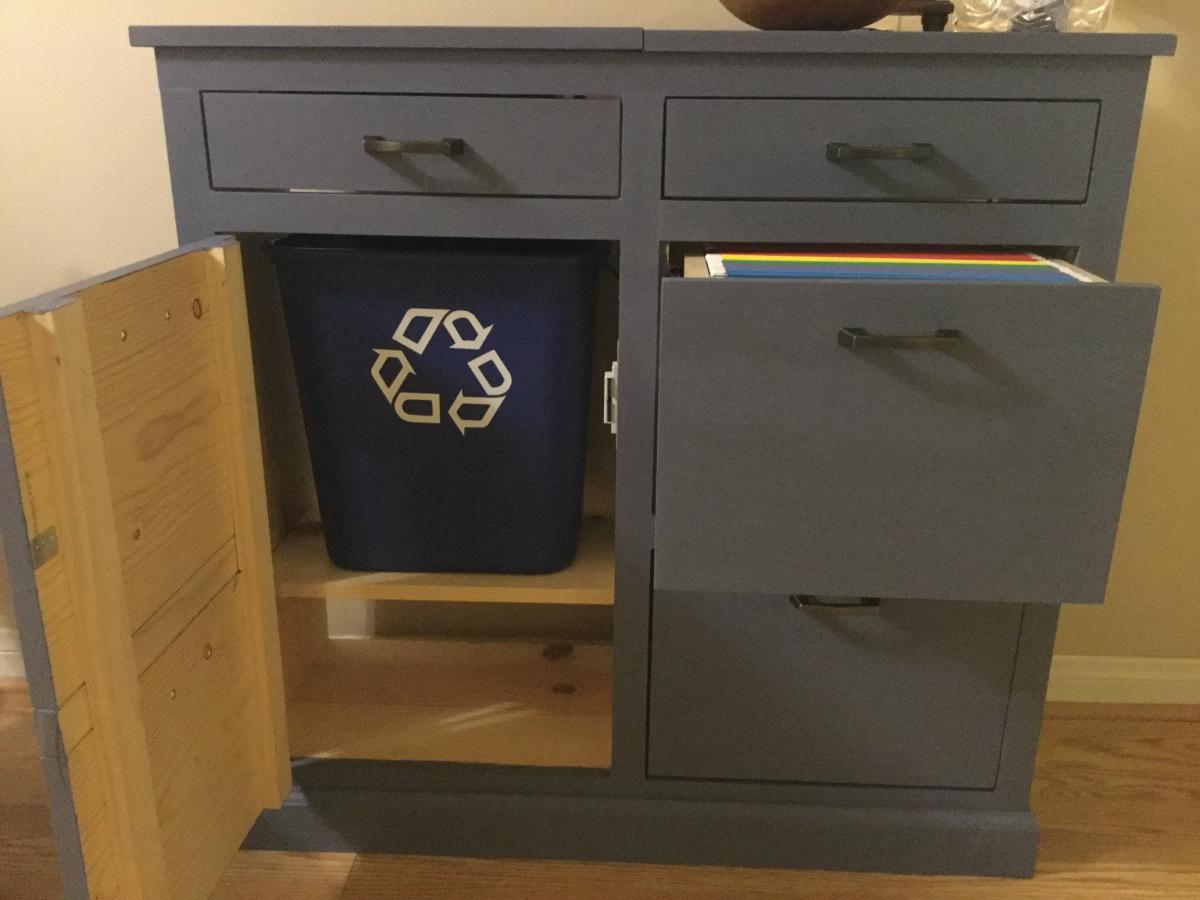
The Mail Boss cabinet with chalk paint and wax finish. Ana White plans.
I worked on this project off and on for two days. I love it! Thank you Ana

Wed, 02/05/2020 - 20:46
Love this & we would like to make it! Want a “command center” to get organized. We have all needed tools. Can you estimate the supply costs for the building materials?
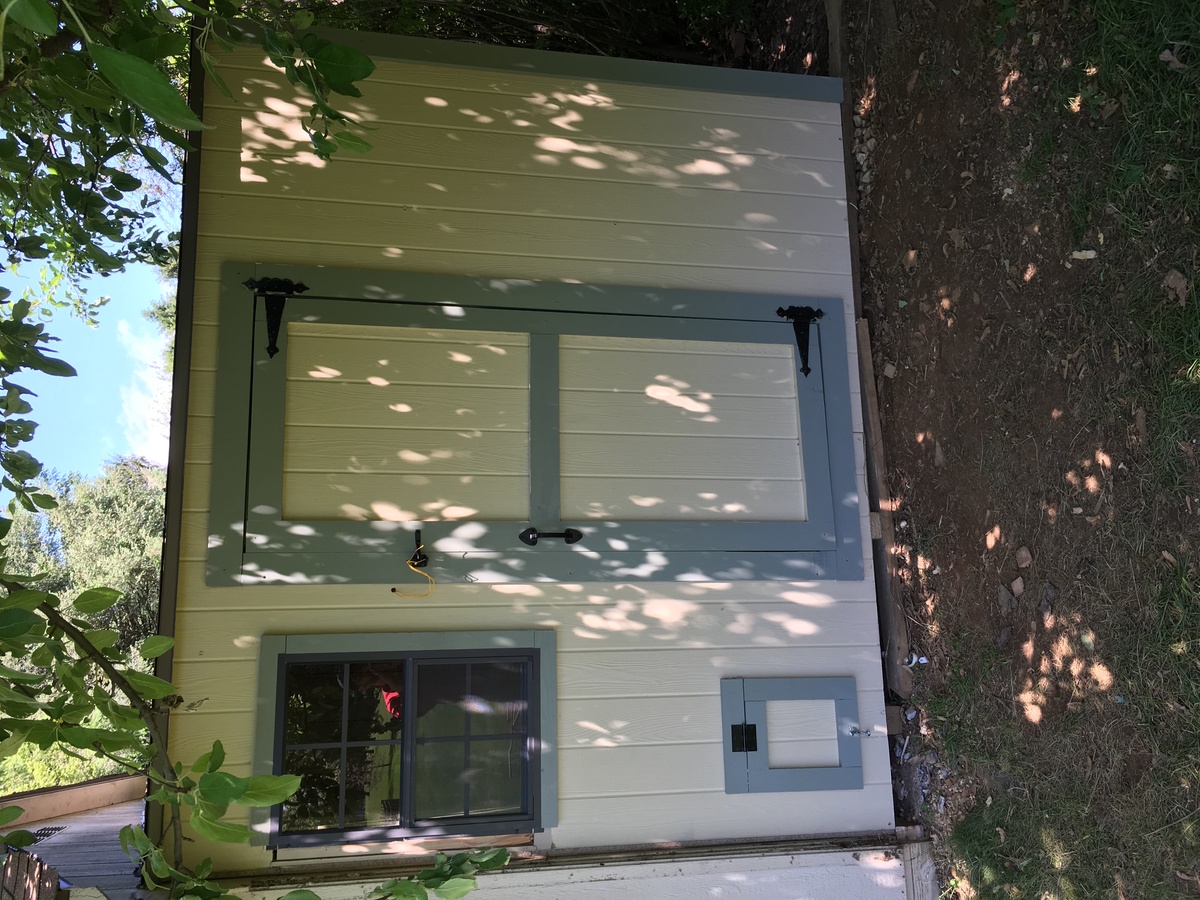
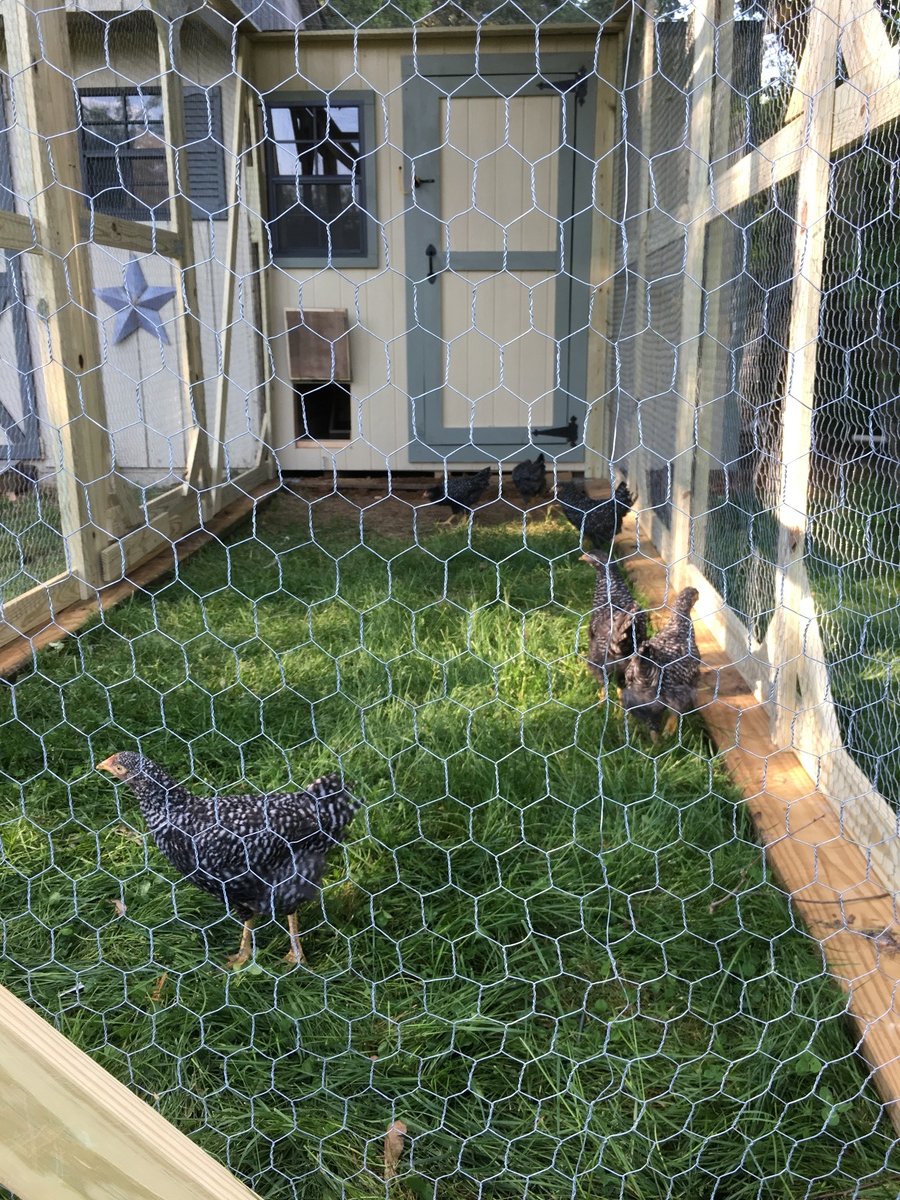
The project was used using the same plans but I extended the floor to be 6 feet wide vice 4 feet the additional 2 feet provided the perfect amount space I wanted. I also added an extra windows to get cross ventilation. I also insulated the coop and put paneling on the walls and lenolium on the floors. I dropped the back wall sheeting 1.5 inches for additional airflow since the shed doesn't have a ridge vent. The plans are easy to follow and easily adaptable.

Thu, 07/02/2020 - 11:29
Great job! We are getting ready to build a coop for our chickens which arrive in 3 weeks!
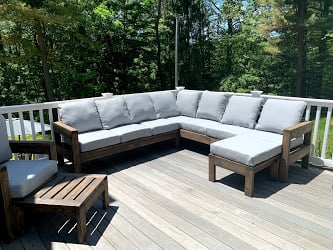
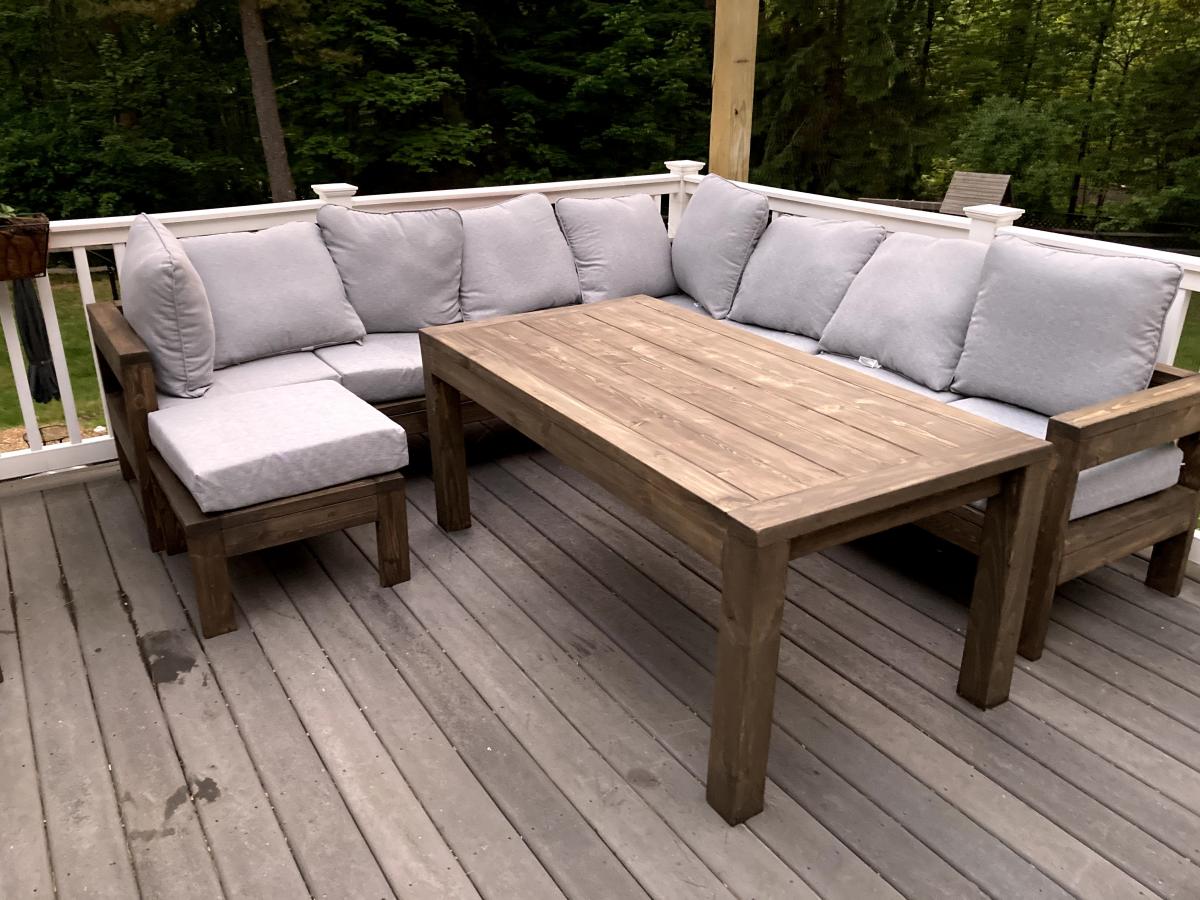
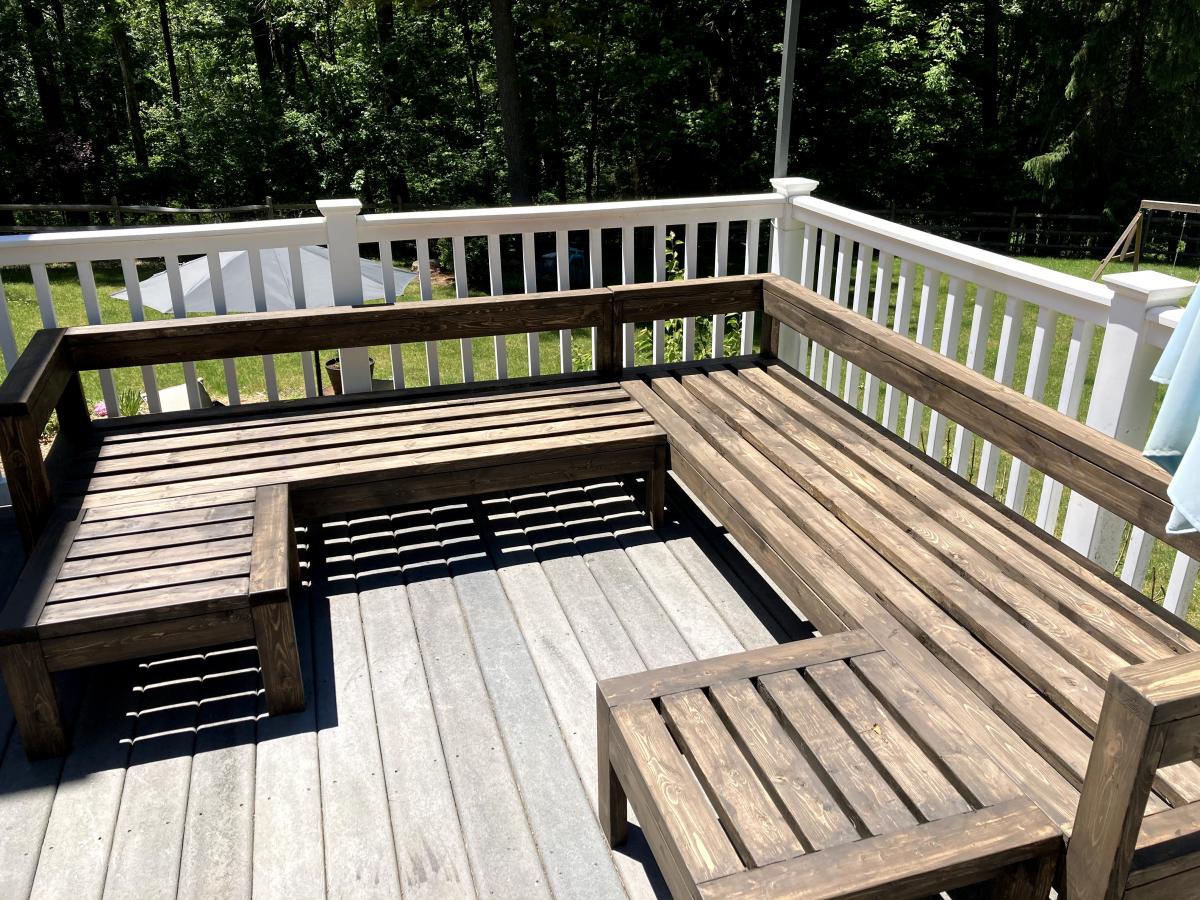
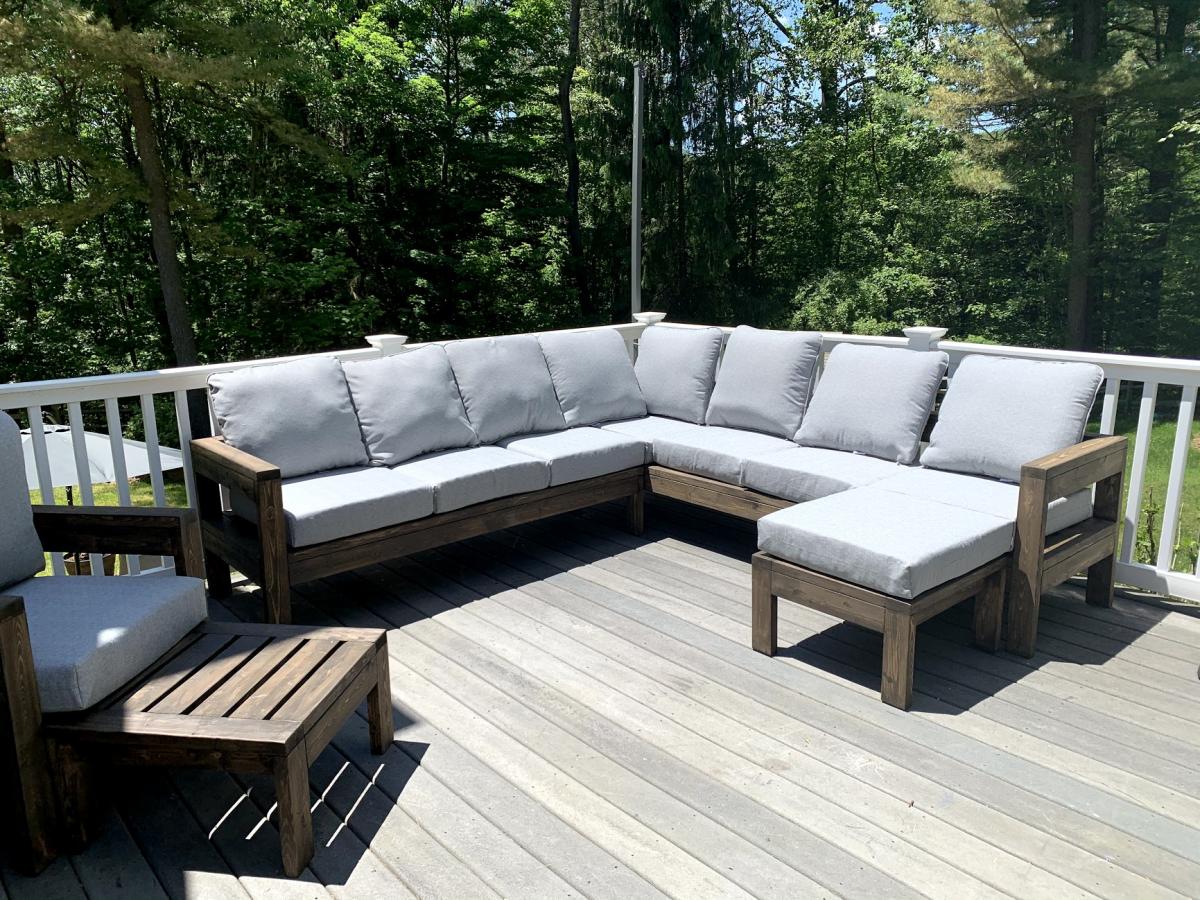
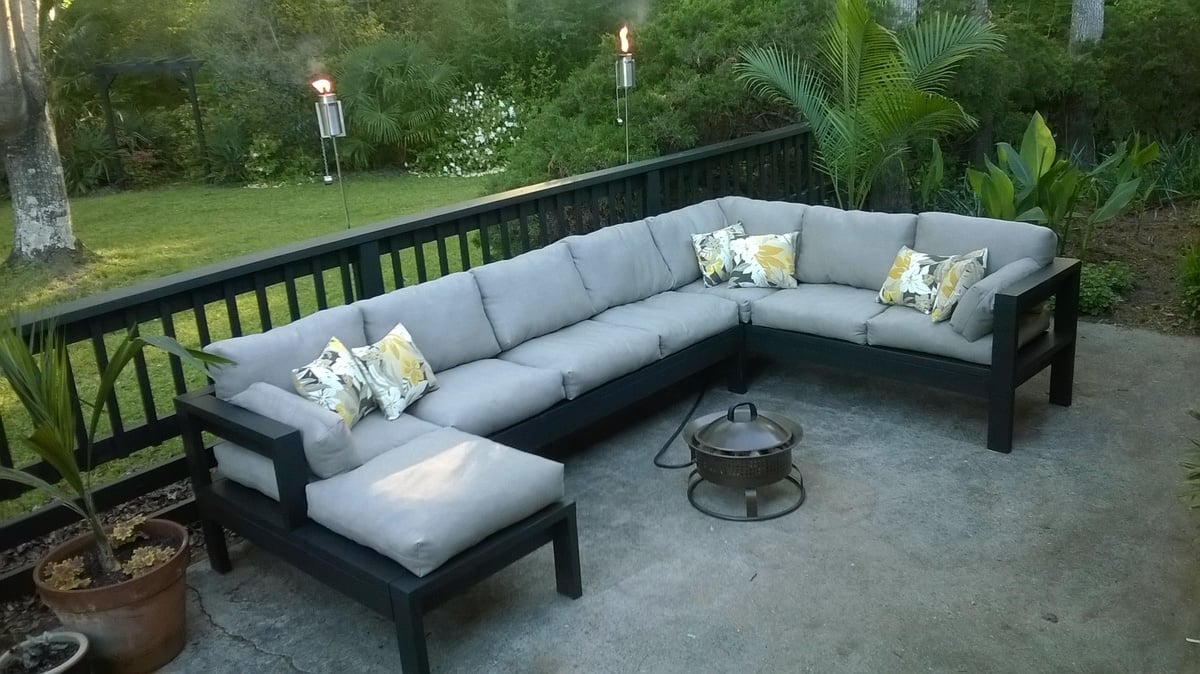
We were looking for outdoor furniture for our deck, and for the size and amount we needed it would have cost us at least $2000. We really like the idea of having an outdoor sectional that we can also use for dining, and we had trouble finding a set we liked. We found Ana's plans for the 2x4 Outdoor Sectional, and i loved the look. After seeing what others have done with the plans, I thought I would be able to modify it to get everything we needed for much less cost than buying a set.
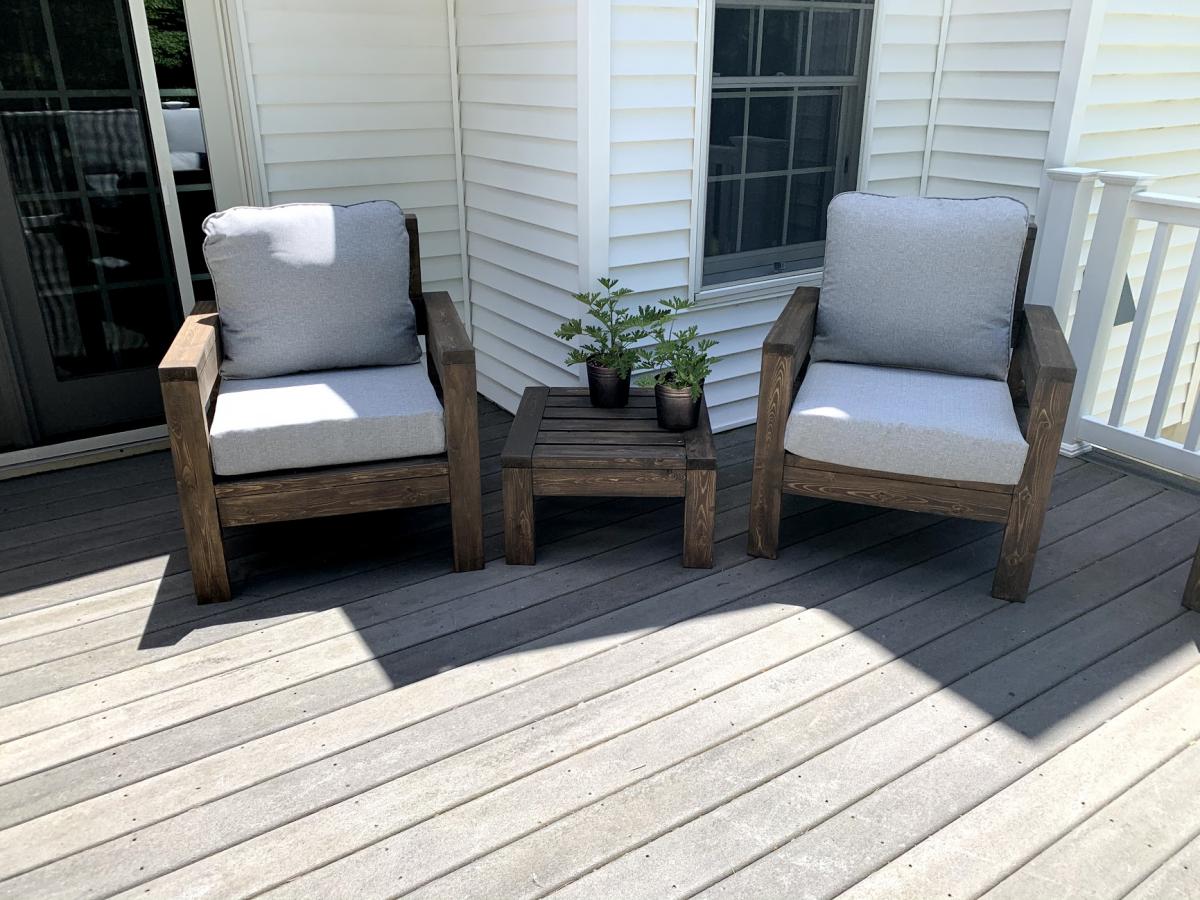
We ended up extending the size of the 2x4 outdoor sofa by one 24" section, for a total length of 96". I then used the same design to make two outdoor chairs, just reduced the length to 24". I modified the 2x4 outdoor coffee table plans to create two ottoman's that can be moved around to make the seating more lounge style Finally, I modified the coffee table plans to make a 5 foot outdoor dining table. All in all, it took about a week and I couldn't be happier with how it turned out!

Mon, 08/02/2021 - 09:44
Looks amazing! What method did you use (pocket holes, dowels, deck screws, etc) to join the visible portions like the arms?
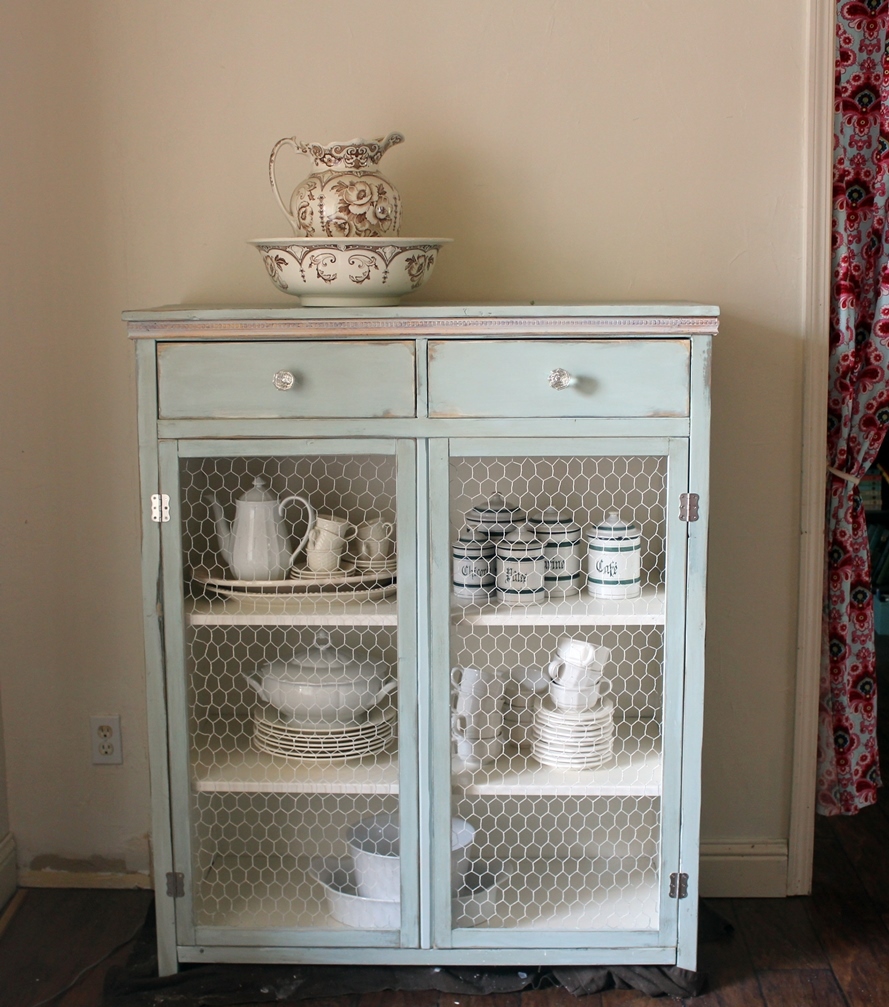
I'm still pretty new to woodworking so this cabinet took a little longer than it probably should have. I made the drawers a little deeper than the plans originally called for, which changed the height of the cabinet doors, but otherwise, all the other dimensions are the same. The laminated glass would have added another $100 to the cost so I used a chicken wire mesh that I dry brushed with the white I used on the interior. The knobs are from Anthropologie and I added a little trim piece around the top. I really love how much this cabinet holds. It is very versatile.

Tue, 08/19/2014 - 13:05
Thank you for the kind comments! I am excited to build another one of these for my mom.
Sun, 10/30/2016 - 13:07
love it! Did you have any issues getting the drawer in when the slides are installed? We installed the slides on the drawer box and then the slides on the case and we had to loosen some to actually get the drawer in, because the little wheels of the slides were basically blocking us from pivoting it in. Thanks!
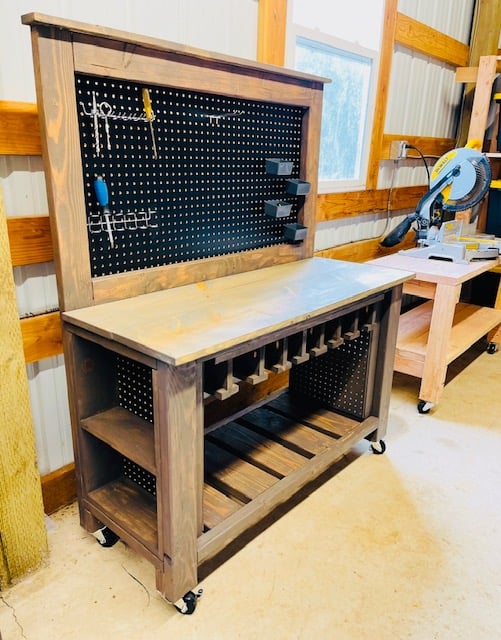
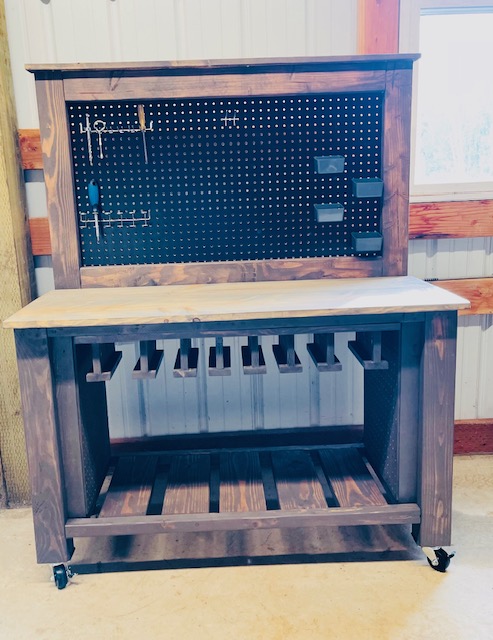
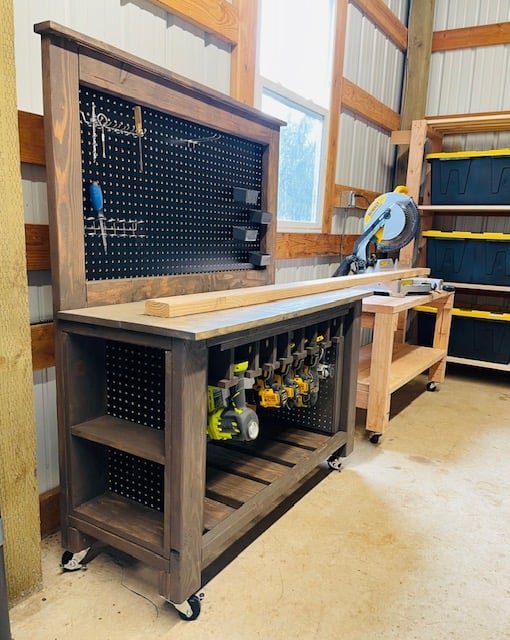
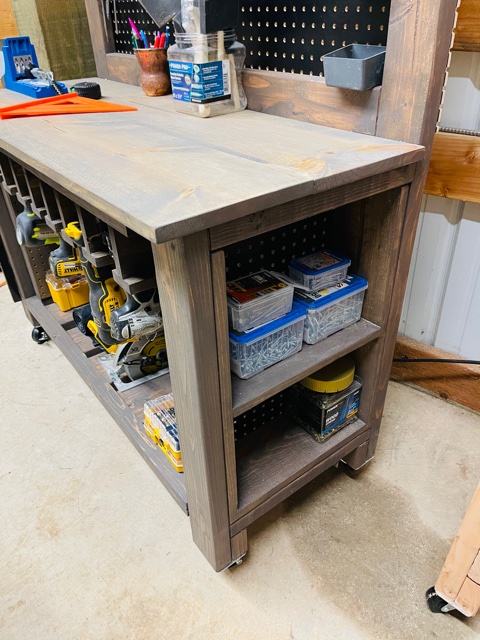
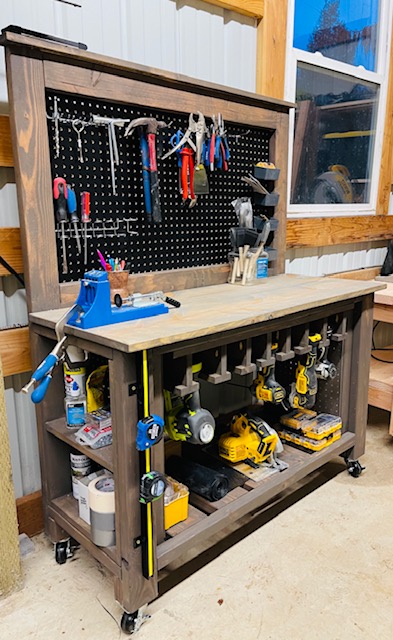
I took Ana's Farmhouse potting bench plan and made it a workbench with some mods. I added the tool storage and adjusted it for different widths depending on the tools. I added some support under the tabletop to attach the tool storage piece. On the ends, instead of the X detail I built shelves for each end for added storage for screws and paint. Finally the pegboard back allows for more storage! The height is consistent with the height of my chop saw on my other workbench for when I need to chop longer boards. I am very happy with how this project turned out and it is now full and in use!

Fri, 01/29/2021 - 10:28
Nice job on this! I think the mods really are great and practical, you're a genius!
Mon, 05/09/2022 - 07:21
True inspiration! Love love love it and stealing it for my garage!!
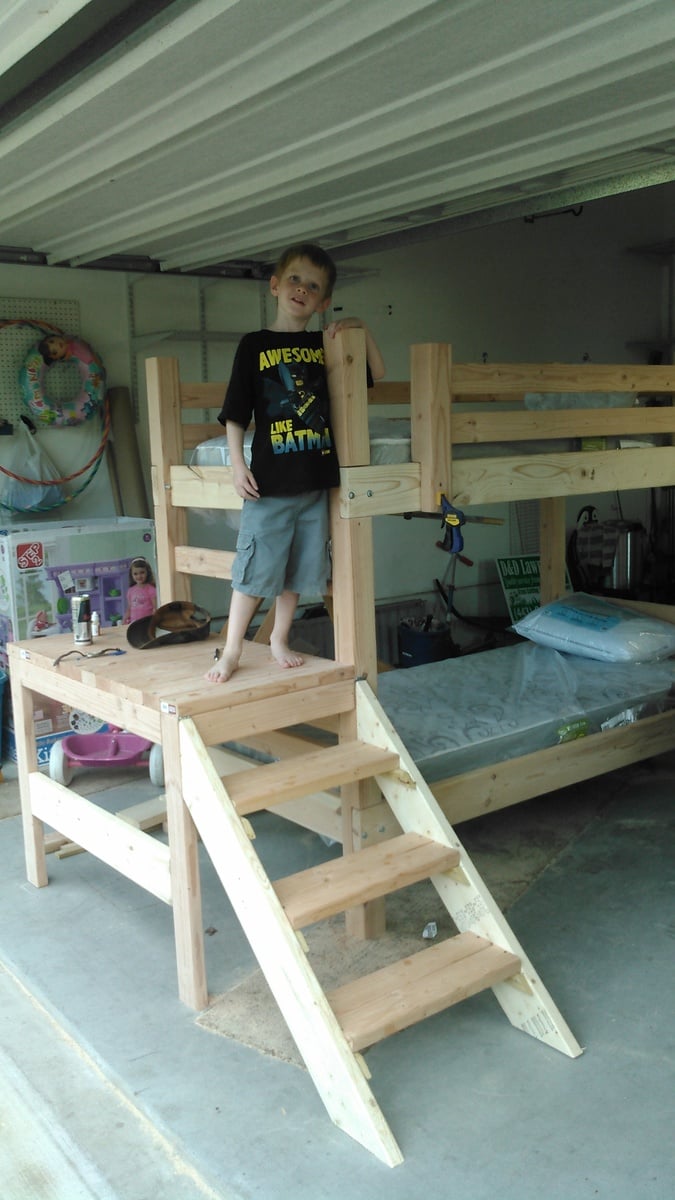
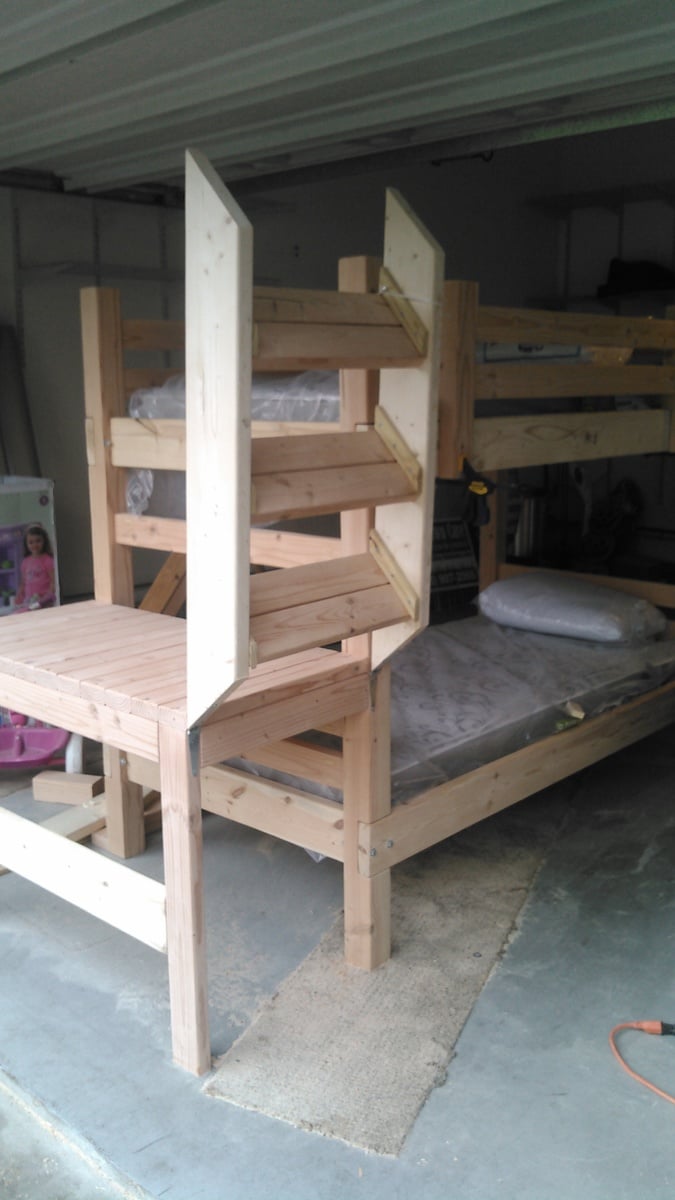
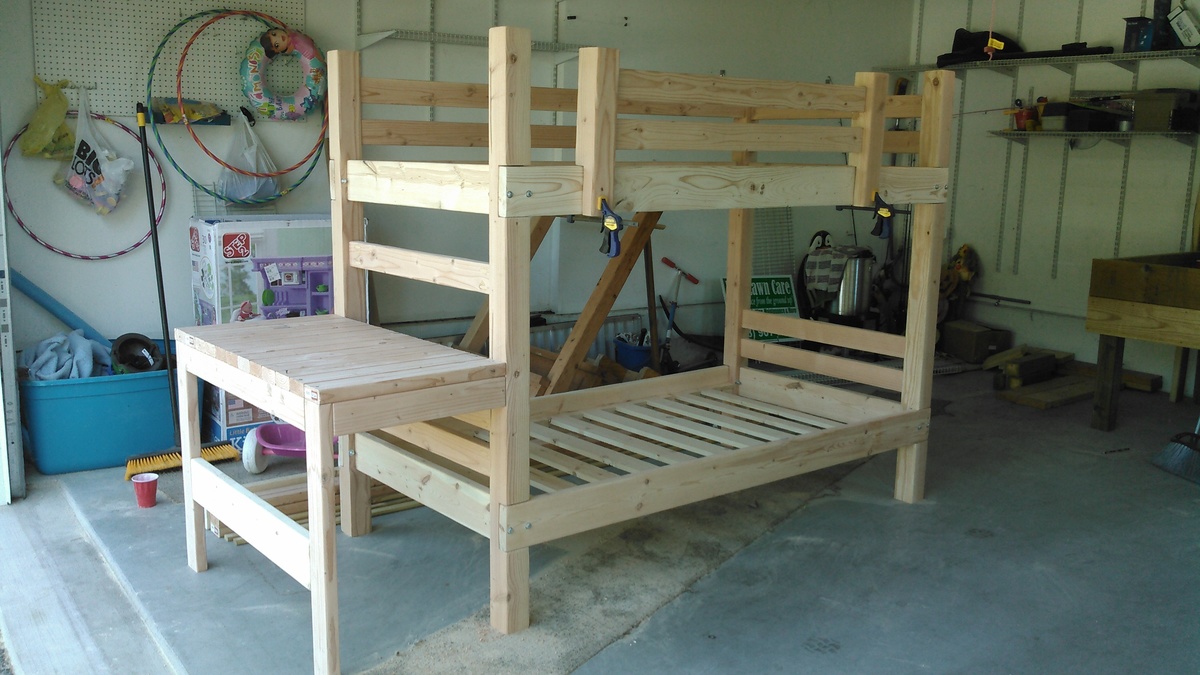
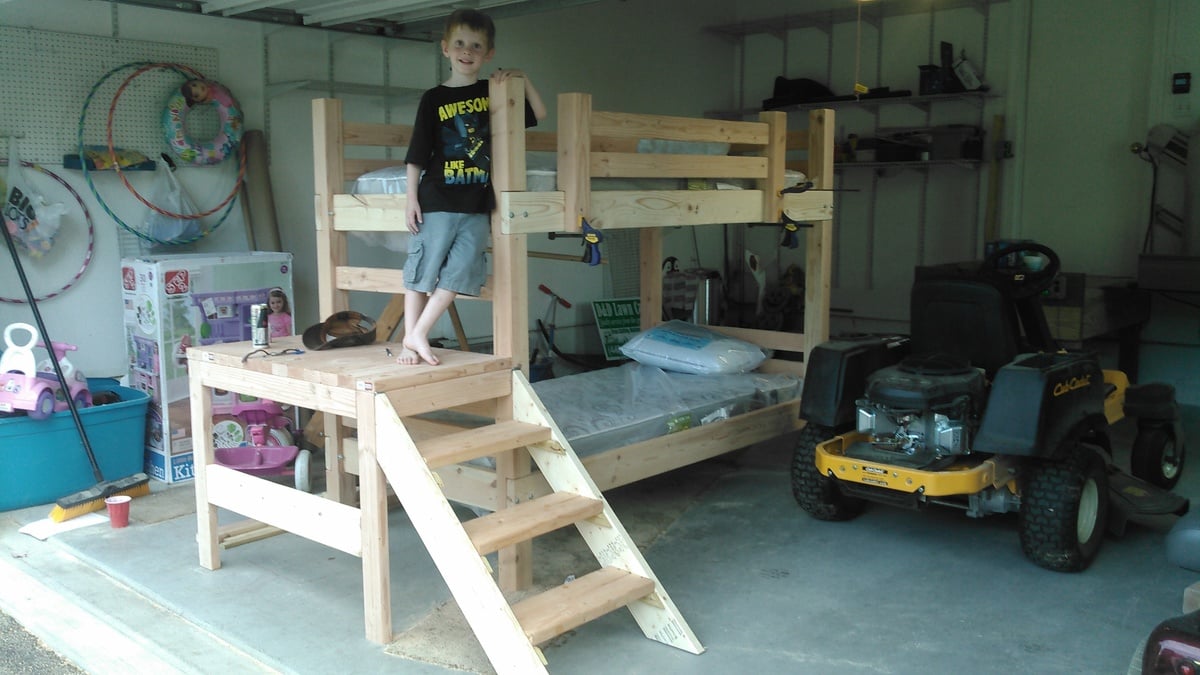
Started with the basic loft plans. Changed out the 2x4 post for some sturdy 4x4's and added a bottom bunk to build this set for my two boys. I also deviated from the plans by using carriage bolts to connect the landing for the steps and the side rails to those post so the bed can easily be disassembled and moved in the future. Finally I placed the steps themselves on a set of hinges so I could easily access the area underneath the landing if needed. This has the added bonus of allowing me to lock the steps in the up position to restrict access to the top bunk during visits with younger family and friends. Now just need to stain it, seal it, and put inside.
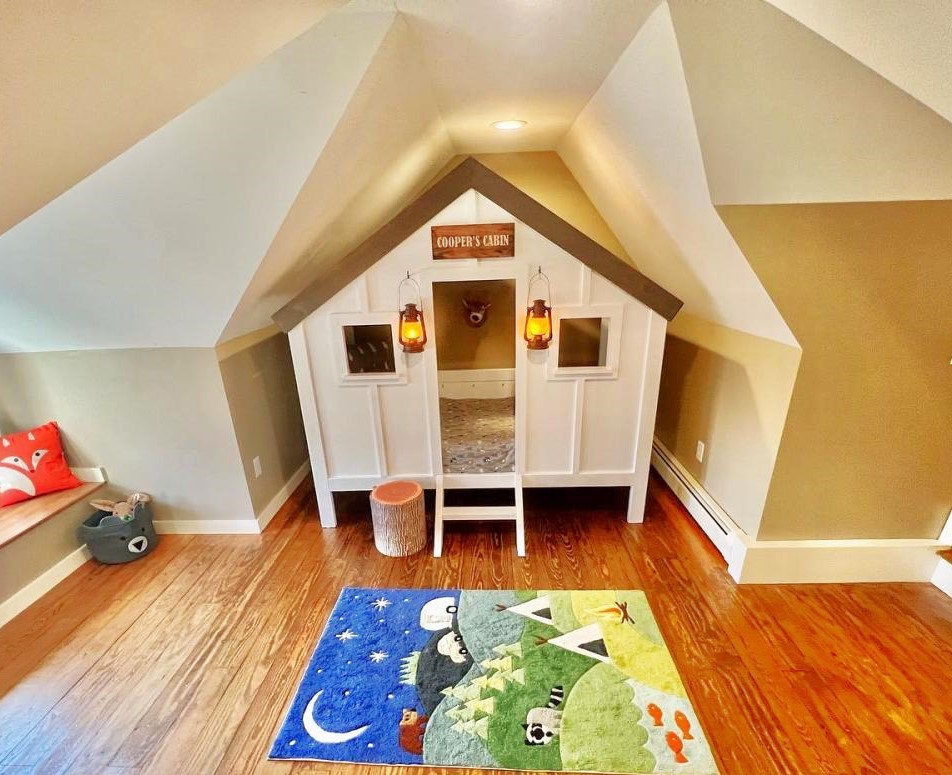
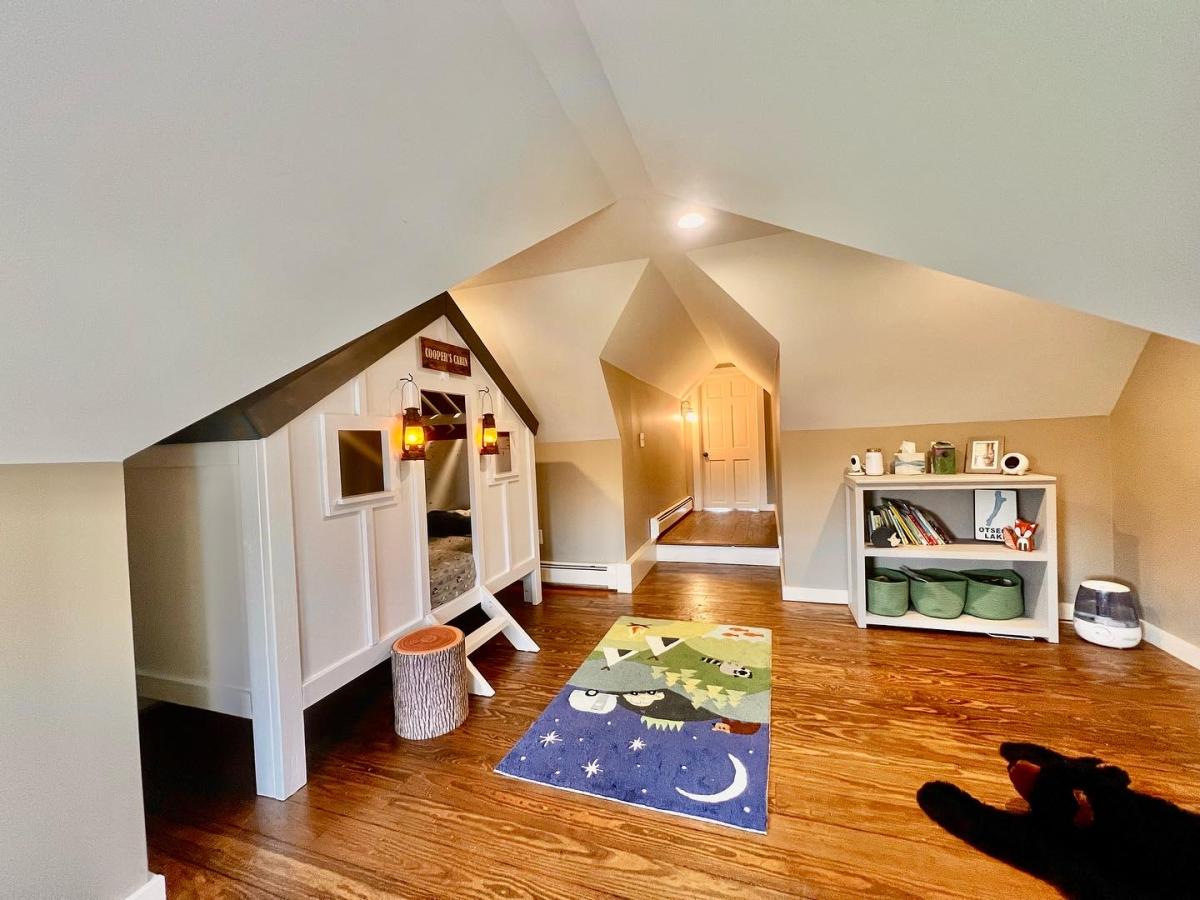
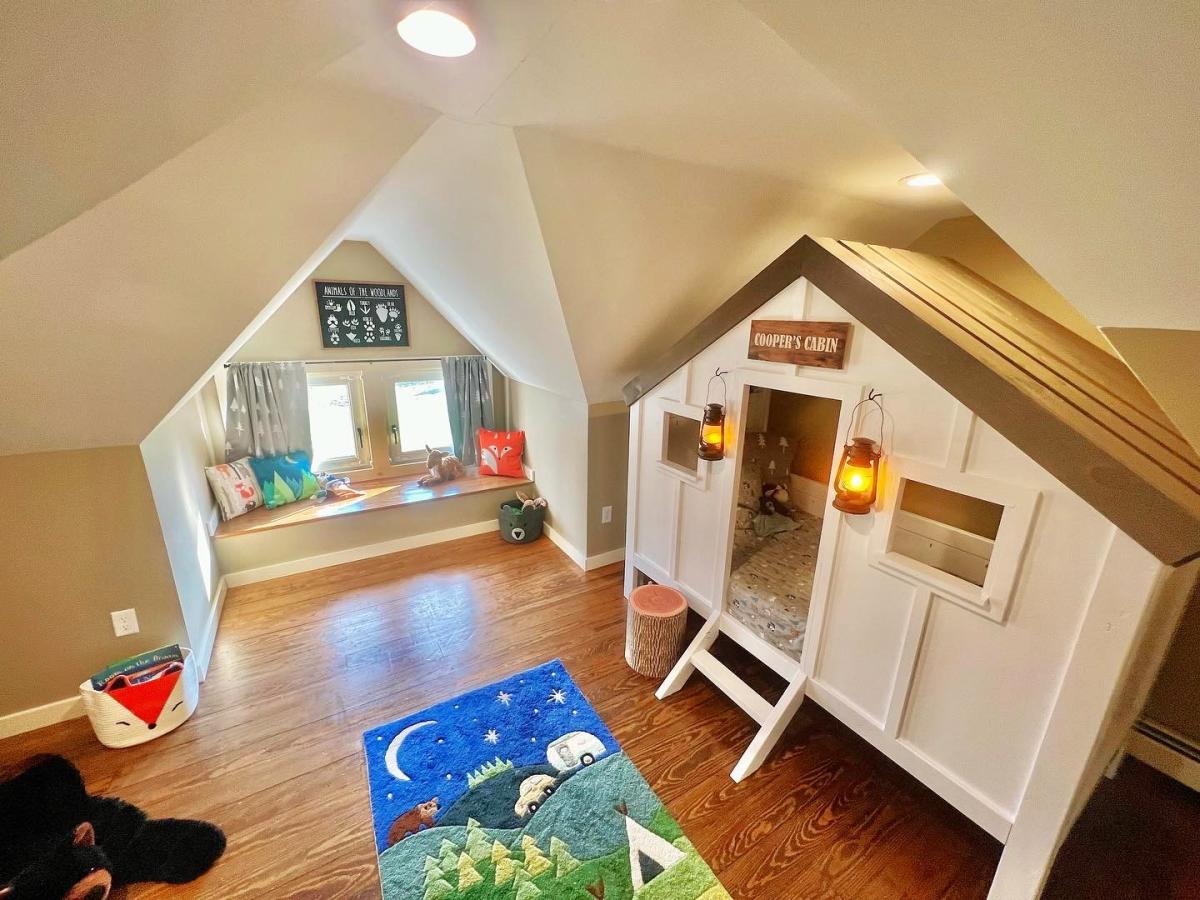
Cabin Bed for toddler. Alternate take on the Jen Woodhouse bed. Built to fit the space
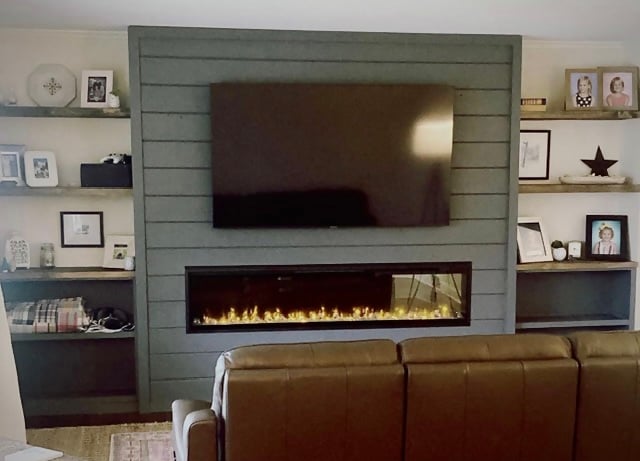
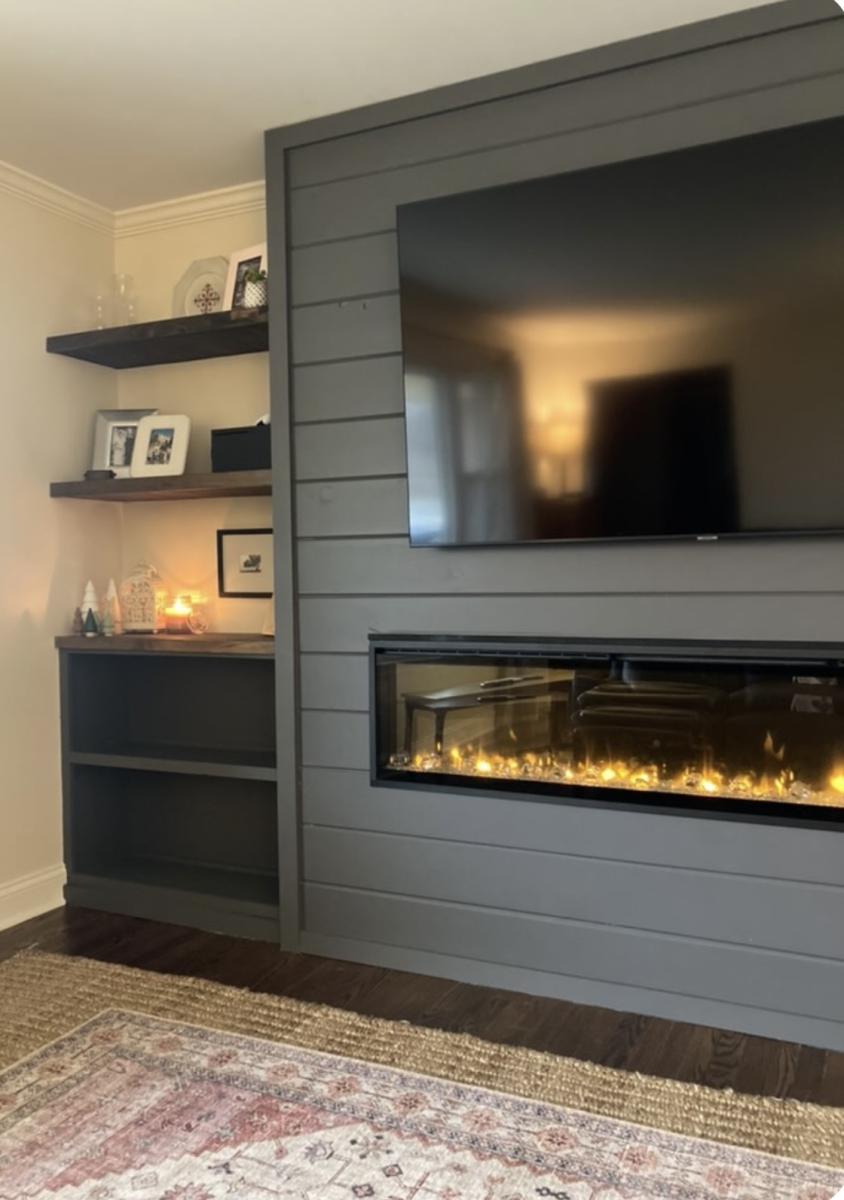
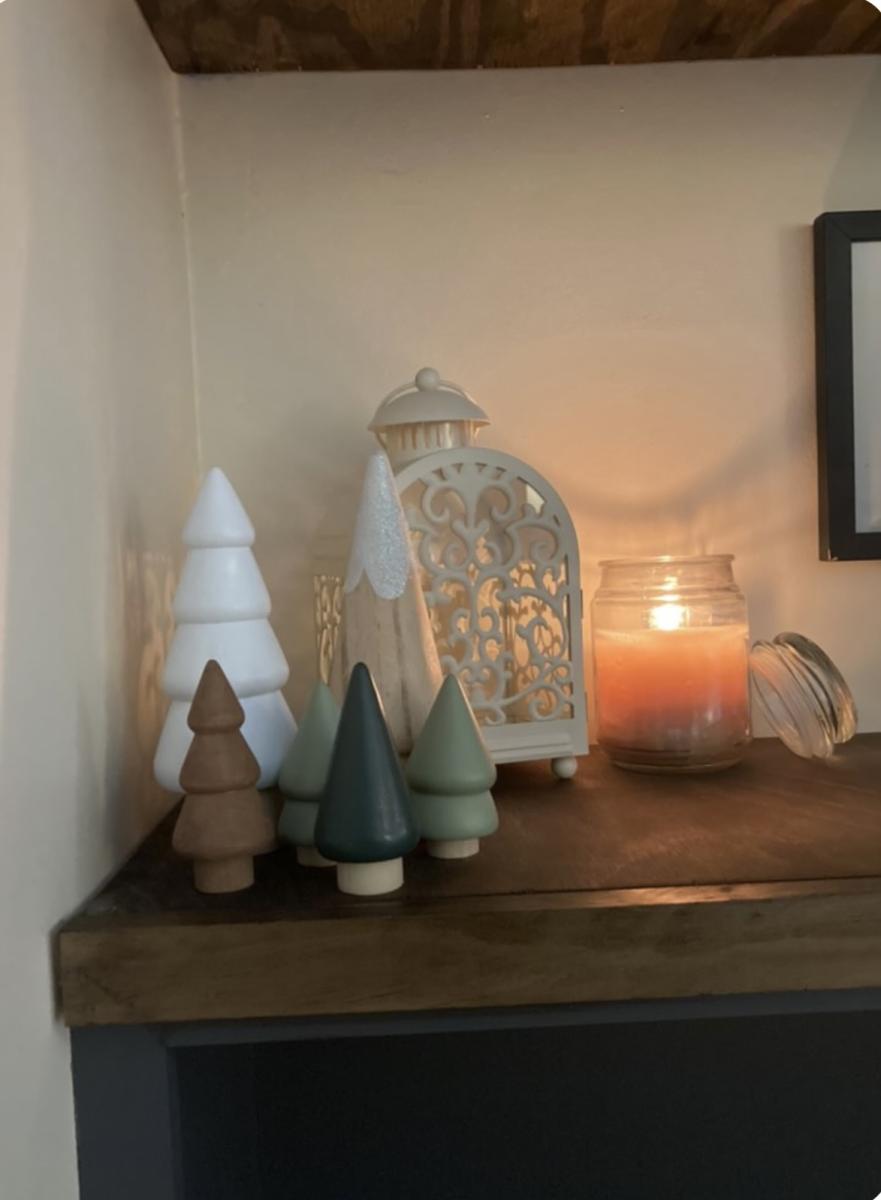
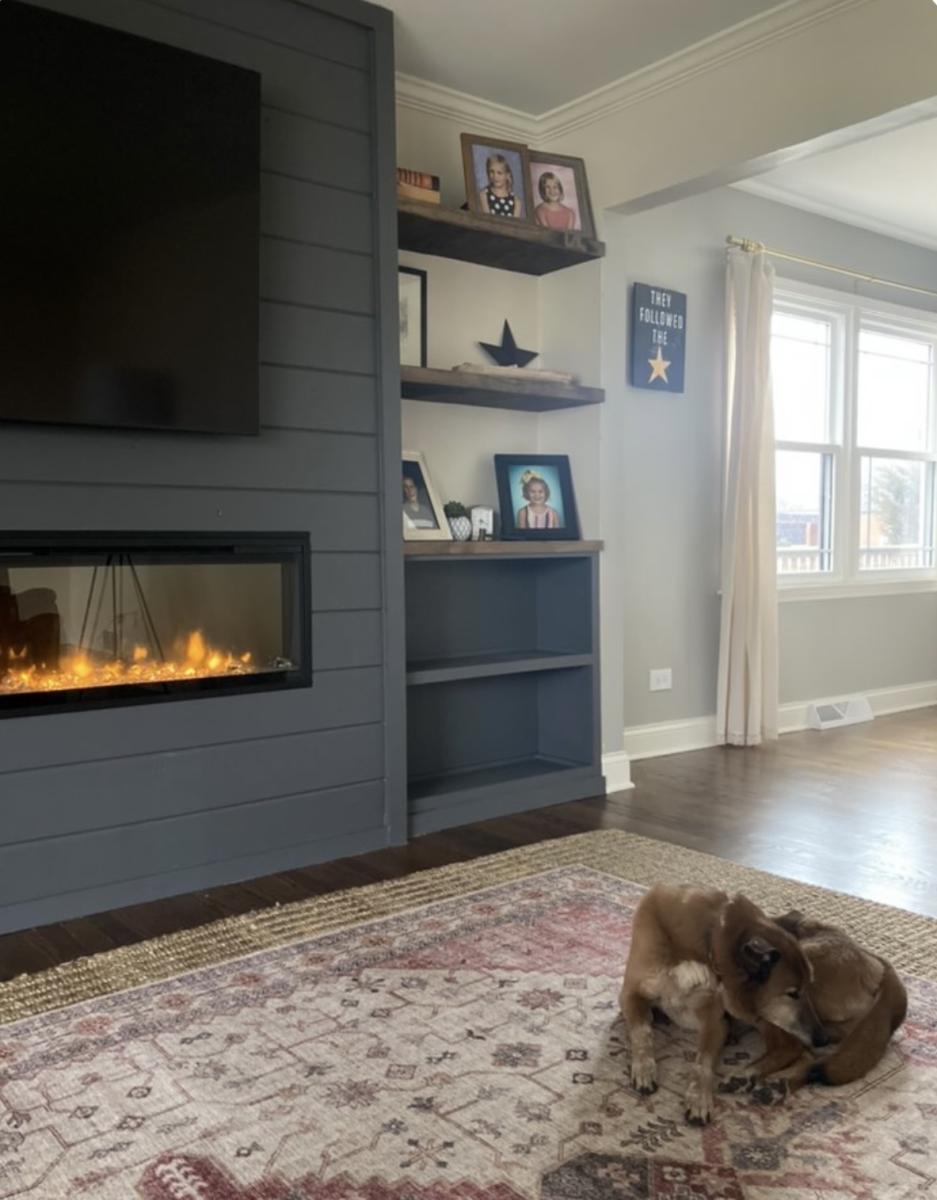
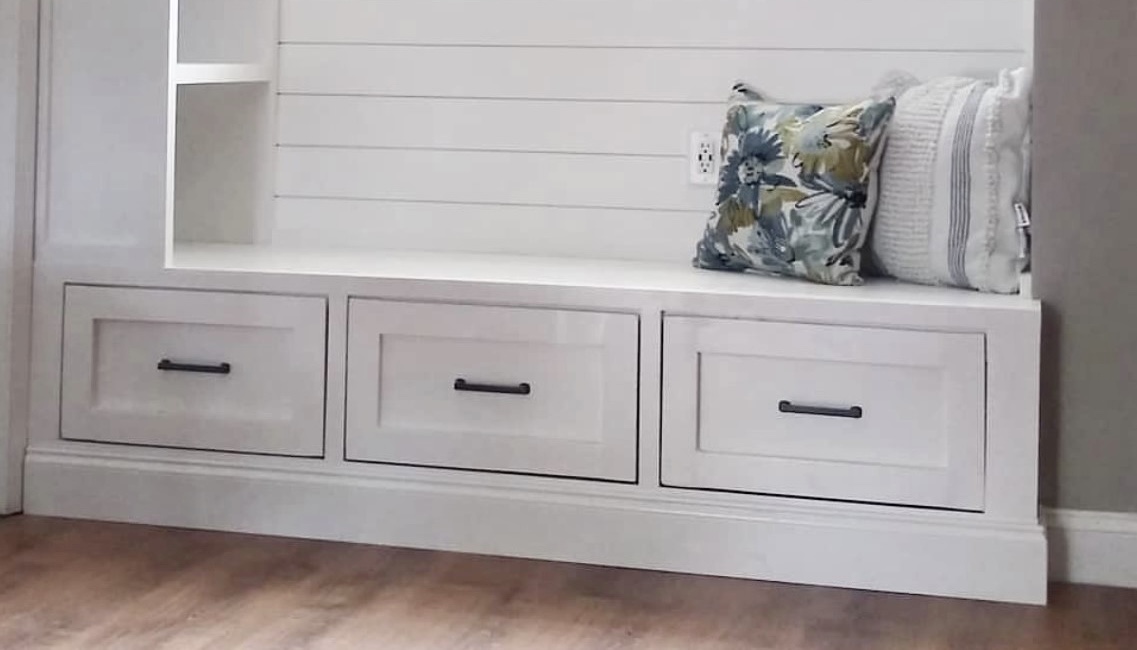
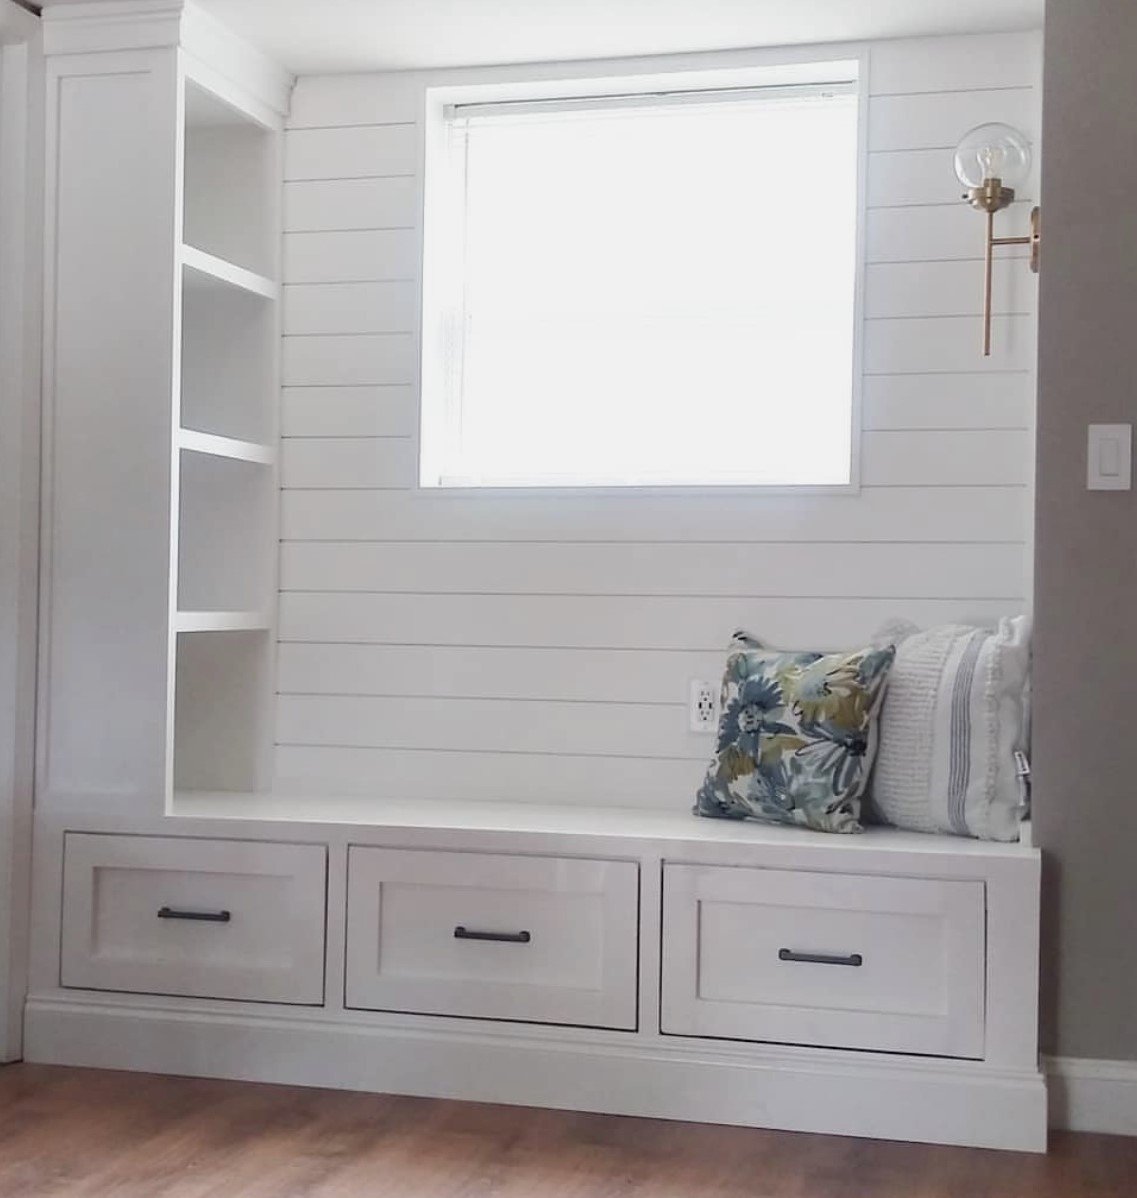
Entire wall fireplace built-in!
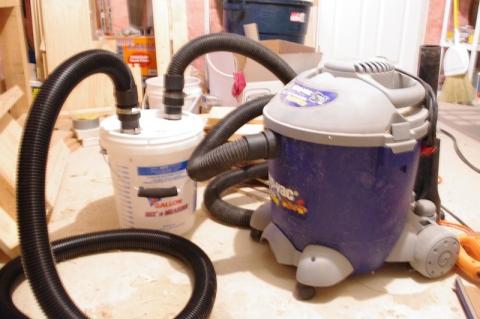
I have allergies to wood dust, which can make working in my shop a challenge. To help deal with the large amount of dust I've been kicking up lately with my table saw, I built my own dust collection system. It's not as good as a professional dust collector, but it's pretty good, and it was really easy to build.

Sun, 12/04/2011 - 07:13
On facebook somebody suggested that putting the port for the vacuum in the center would improve the vortex action. That would match the configuration of the vortex collectors, which draw from the center as well.
I modified the plans slightly, reducing the overall seating depth by 1.5" so I could use 8' lumber with minimal waste, and make 2 cushions out of one 54" width of fabric. I also tweaked the design to make a chaise lounge on one side. I used bargain priced sunbrella fabric (has a few imperfections) and recycled soda bottle fill for the cushions to keep cost lower. Building the wooden part was quick and easy (took an afternoon including two trips to the store), but this was my first sewing project so the total project time reflects my learning curve making and stuffing cushions.
Tue, 04/05/2016 - 06:45
This looks like a very lovely place to relax, can't believe that was your first sewing project!
Wed, 04/06/2016 - 06:34
This looks really great! You have inspired me to stop procrastinating and get started on our outdoor sectional. Every time I think about doing it the building part seems fun but, I'm overwhelmed by the task/cost of the cushions. I'm interested in learning more about the fill you used. Where did you find it and what was the approximate cost? Thanks and great work!
Wed, 06/29/2016 - 20:25
Whoops - sorry about that. This looks amazing, and the detail on the fabric is quite fantastic. I have been wanting to replace some old furniture that is falling apart, and this would really be a wonderful addition to the outdoor space. Kudos on the great work.


Comments
Ana White Admin
Wed, 04/13/2022 - 10:35
Smart!
This is fabulous, thanks for sharing!