Community Brag Posts

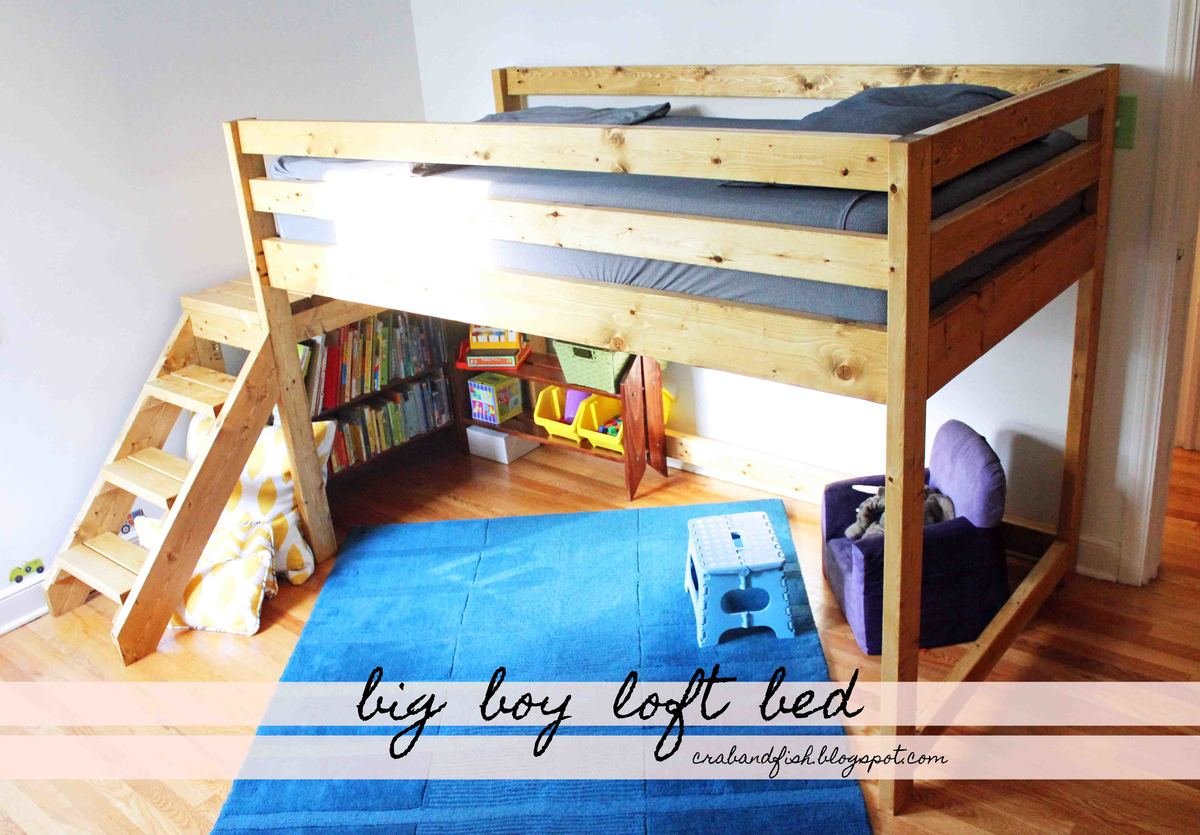
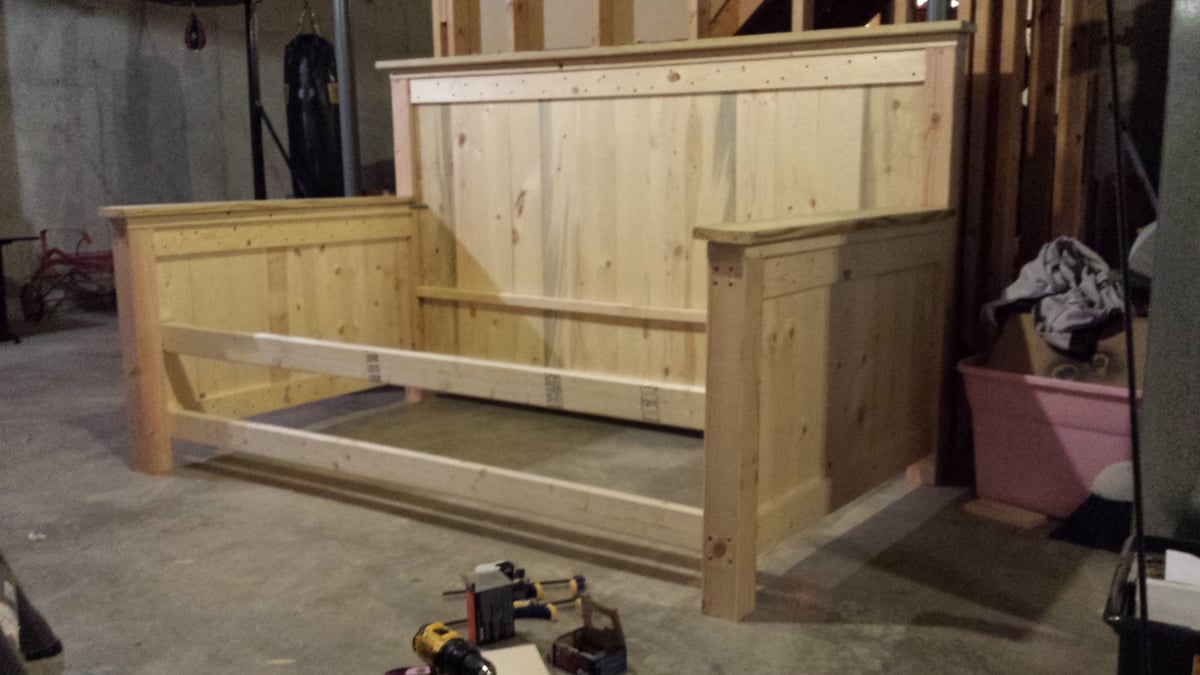
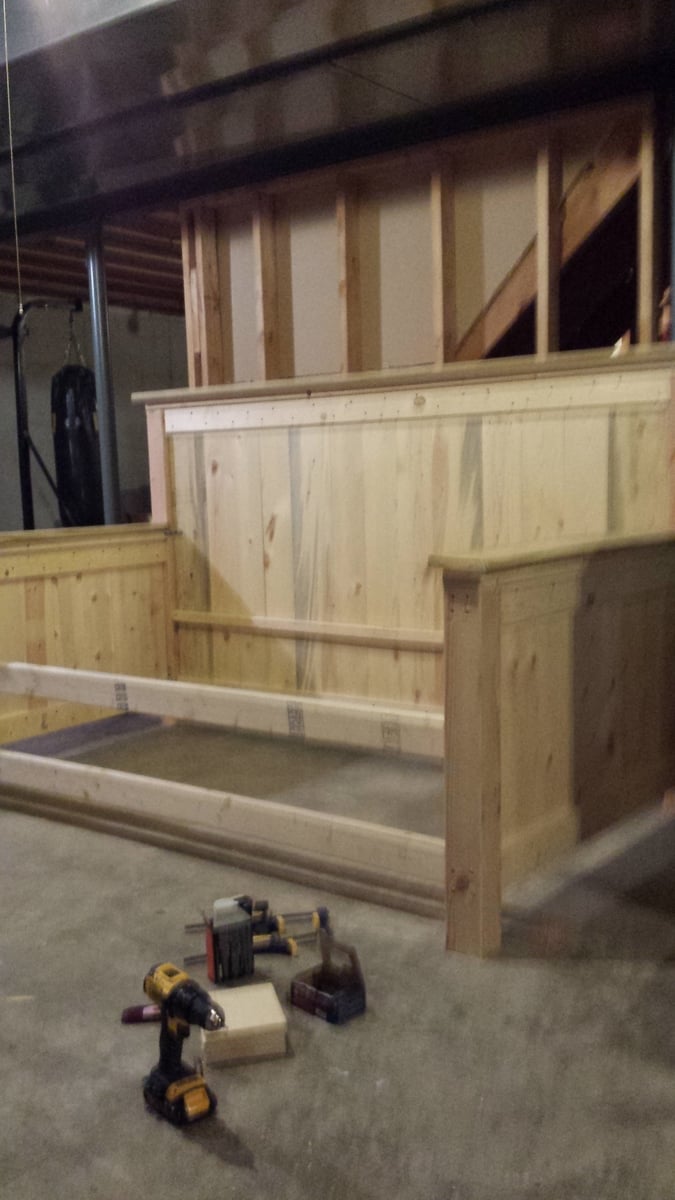
Big Boy Toddler Loft Bed!

You can see the final project here: http://crabandfish.blogspot.com/2012/10/lil-archers-bed-its-done-its-do…

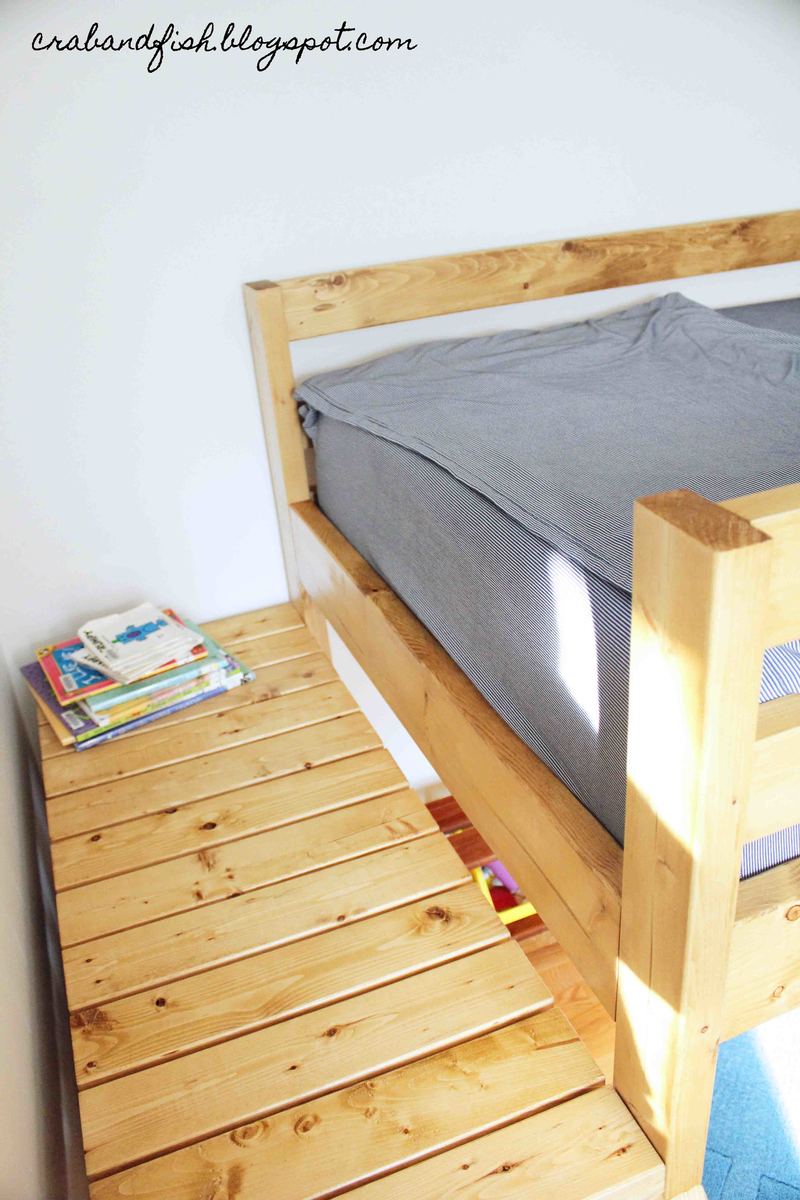
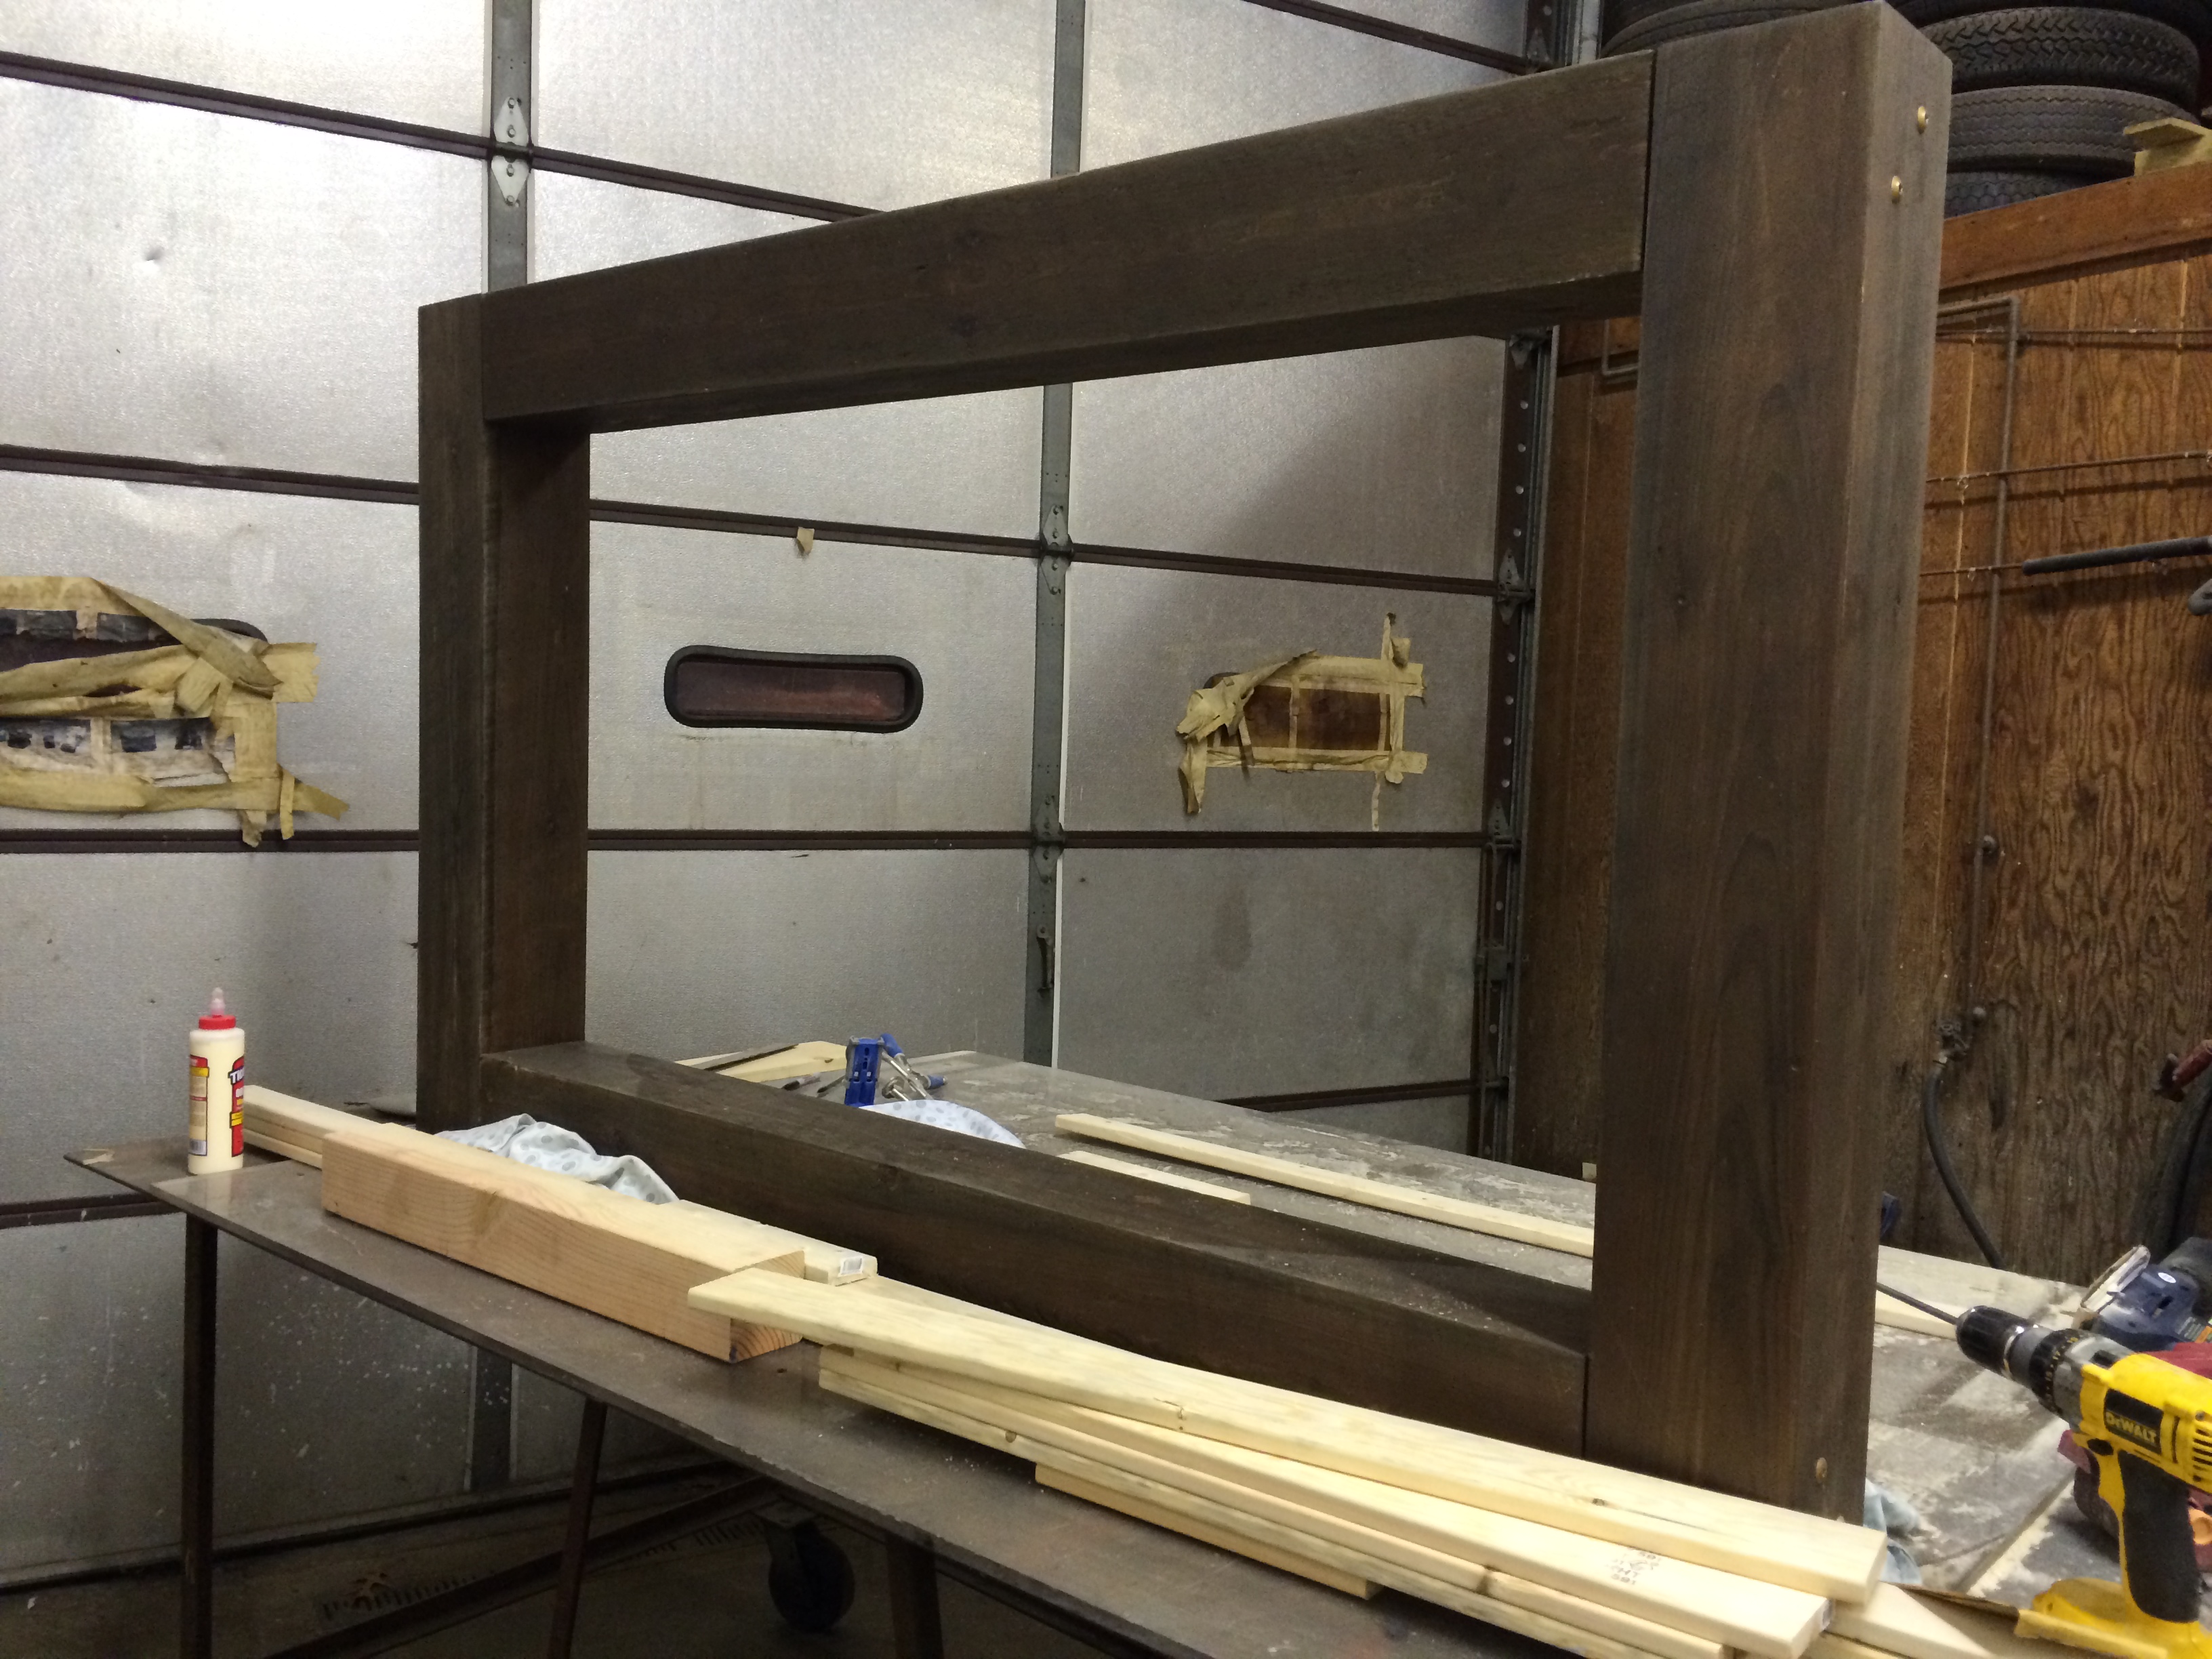
It was time for our son to move to a big-boy bed! We looked at tons of plans, but none were quite what I wanted. In the end, fish modified plans for Ana White's Camp Loft Bed with Stair. We wanted to make it a bit shorter because we only have 8' ceilings and there is a ceiling fan in the room. We spent about $80 for the lumber and invested in a kreg jig as well. The bed is stained with Minwax Golden Oak. We bought a 10" deep twin-sized foam mattress for the bed - if you are adding a coil mattress and boxspring, the bedside rails would definitely need to be higher.

Our son LOVES it! He is almost three and is easily able to navigate the stairs, which I don't believe will become too "baby-ish" as he grows older. If they do, the steps can easily be removed from the frame without losing structural integrity.

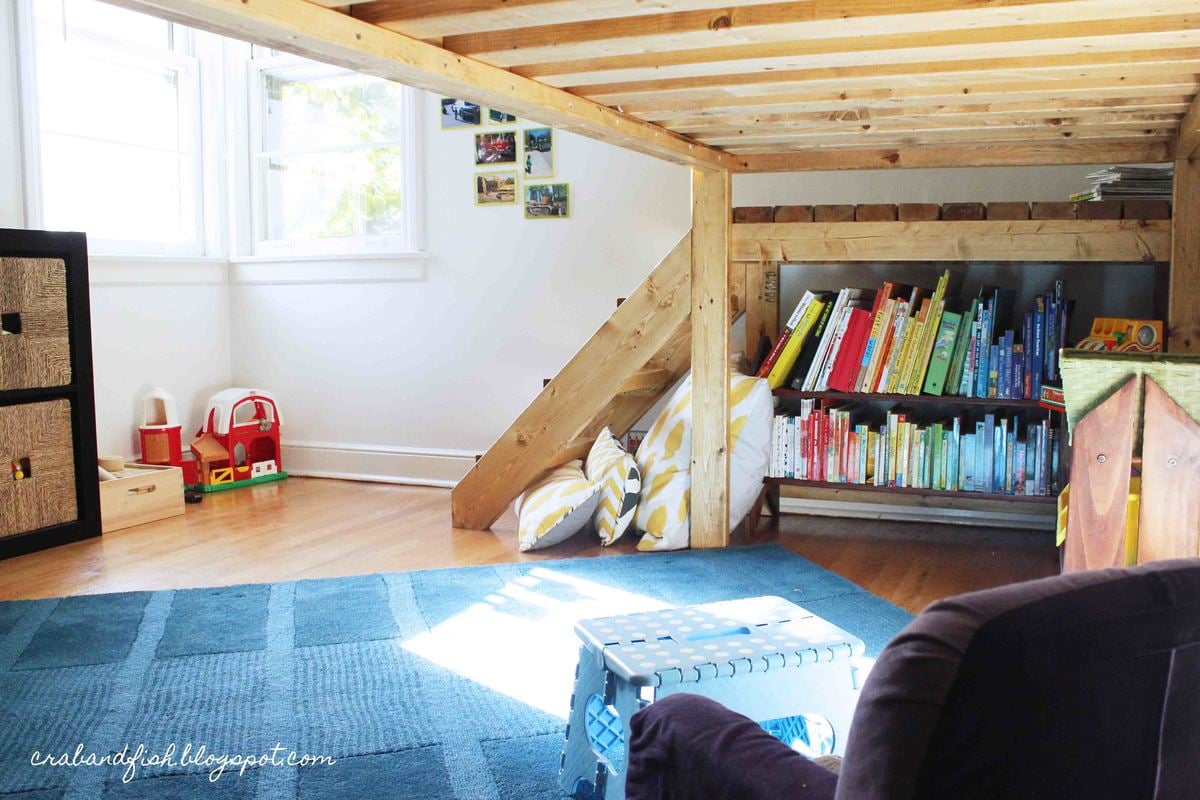
The underbed area has a great "cool" factor - we hang blankets to create forts, and it has become a place our son gravitates to for reading, playing, anything!

Estimated Cost
$100 for lumber and stain. Also invested in kreg jig.
Estimated Time Investment
Week Long Project (20 Hours or More)
Finish Used
Minwax Golden Oak
Recommended Skill Level
Beginner

Comments

Garden Bench!!

Submitted by Nathan1342 on Mon, 08/06/2012 - 12:09

I built this for my wife for an anniversary present. She had wanted a garden bench for some time but the ones that she wanted were between $500-$700 which is ridiculous for this type of bench. So, I did a search on here for garden benches but there weren't really any plans for them and the few brag plans were not really the type of bench I was looking for. I printed off a few pictures of benches that I liked and got to work. The front and back legs a 2x6 and a 1x6 glued together and then cut to be straight. I wanted something thicker then just a plain old 2x6. If I had to do this again though, I would have just glued 3 1X6's together. The reason being, is that 1x6's usually do not have a rounded edge and a 2X6 does. So needless to say when you glue them together you have a nice little gap on either side. Without a table saw to take this off, its pretty difficult to get a straight cut. But I ended up getting it right after sweating for a few hours in the garage. The bench stands 36 inches high, 48inches wide and about 18 inches deep. The seat height is right at 18in also.

In the unfinished pictures I actually had the depth being 24 inches. After sitting on it though it was just way to deep. So I pulled it apart, made the adjustments and its now much more comfortable to sit in.

If anyone has any questions or wants more details feel free to drop me a line!

Thanks!

Estimated Cost
85
Estimated Time Investment
Weekend Project (10-20 Hours)
Finish Used
Oil based acrylic paint
Recommended Skill Level
Beginner

Comments

Torwart13

Tue, 06/16/2015 - 11:25

So legs are about 2 1/4" square? Are the seat supports 2x4's? Back cross pieces 2x4? Slats 1x4"?

smz1919

Wed, 06/17/2015 - 12:39

how did you get the curve on the back legs?

In reply to by smz1919

Nathan1342

Fri, 06/19/2015 - 13:34

I glued a 2x6 and a 1x6 together to get the thickness. Now that i have a table saw and a jointer this entire process would have been much easier but after getting it to look like one solid piece i just outlined the slant i wanted and cut it using a jig saw.

smz1919

Fri, 06/19/2015 - 20:17

So the back slats are just glued in place right? I wonder if it would be easier to use a biscuit joiner or not

Mikeyw221

Sun, 10/23/2016 - 17:46

on the back legs how high up did you go before you started cutting the angle? and was it around 15 degrees fromt he edge?

SawdustMaker21

Wed, 05/26/2021 - 08:32

Hi Nathan
Love the look of the bench. Would you have a list of material requirements. I intend to make a bench like this and would like to know the measurements of the top back spar (the shaped one).
Here in the Uk our timber yards do not always supply the same cuts as the US so I need to have some idea of the pieces I need
Many thanks

Modern Outdoor Chair - High Back Adirondack

Modified with a high back and modern adirondack arms.

The base of the chair is built exactly to the plan except that the arms are done in a modern adirondack style.

The back was made independently to fit inside the base and then attached to the plan base.

Very comfortable but very heavy chair even without the modified back.

Not stained yet obviously.

Cushions are hard to find I think I would make it slightly smaller next time and maybe even find the cushions first and alter the plan to fit.

Estimated Cost
$45 Can
Estimated Time Investment
Afternoon Project (3-6 Hours)
Finish Used
None yet
Recommended Skill Level
Beginner

Comments

My First Project

Submitted by Anonymous (not verified) on Wed, 05/24/2023 - 05:04

My very first woodworking project and could not have done it without you!!

Mistakes were made and lots was learned but pretty happy with how it turned out in the end.

Built from Plan(s)

Comments

Upholstered bed frame (King size)

I used the plans from Ana excepted converted the measurements to fit a King. Our mattress comes in on July 3 so I'm praying that it fits! This was our first project and we cannot wait to do more!!

Estimated Cost
$200
Estimated Time Investment
Weekend Project (10-20 Hours)
Finish Used
fabric from fabric.com
Recommended Skill Level
Starter Project

Comments

bso_71

Tue, 08/04/2015 - 14:48

Does anyone have the plans to make this bed? I really loved it!

bso_71

Tue, 08/04/2015 - 14:48

Does anyone have the plans to make this bed? I really loved it!

Coffee Table Plan Modified for Flat File Cabinet Table

I found this fabulous vintage metal flat file cabinet at an antique store (Hunt & Gather Vintage Market, in Princeton, MA), but it didn't have a base or a top, so I went searching online for something that I could build.  The Corona Coffee Table plans were going to be perfect!  I just had to make a few adjustments:

  1. Build it to fit my flat file cabinet.  
  2. I didn't inset my apron 1x3 boards because I wanted the top ones to be flush with the edge of the flat file cabinet, and then I wanted the bottom ones to match.
  3. There was a "lip" on the top of the flat file cabinet, so I had to build a thin trim around the bottom edge of the table-top.  This lip keeps the top from sliding off the flat file cabinet, but just to be sure there wasn't any wiggle, I put a bead of silicone around the top of the metal cabinet and then placed the wood top on.  

LOVE how this table turned out!  It's counter-height and the perfect centerpiece for my craft room.


Built from Plan(s)
Finish Used
I stained the piece with dark walnut and then painted with 2 coats of "creamy" Sweet Pickin's milk paint.  Sanded it down to distress it a bit, and then used a clear wax to seal it.
Recommended Skill Level
Beginner

Chicken Coop

Submitted by Elloh on Tue, 08/11/2020 - 11:05

This was my biggest build yet and these plans along with being able to see a few brag posts with modicifactions made this project less intimidating. I extended the coop in order to add a walk in door. The drop down doors on both sides will give plenty of access and help with cleaning. I've added door latches to all the doors since putting it in place. My dad provided the cedar so that greatly reduced my costs. This project took about six days to complete. The fun part was getting it out of my carport : ) This was built for my daughter's chickens and she is thrilled with it. So am I! Thanks for the plans Ana!

Estimated Cost
Hardware, screws, hardware cloth and plywood - around $150

Ultimate work bench

Submitted by markmart74 on Fri, 06/16/2017 - 18:44

Tablesaw, router, fliptop mitersaw, and dust collection workbench. 

Recommended Skill Level
Intermediate

Comments

Homemade Home Office with Peninsula Desk

Thank you Ana for so many amazing plans and shelf help that helped me get this monster built! Now my husband has a nice office where he can work from home. I was so impressed with how easy it was to make the plans in shelf help and how quickly it all arrived. (I can’t link the drawer slide trick plans, but they were key and I based the middle table off of the foldable farmhouse idea)

Comments

2x4 outdoor furniture collection

Submitted by Anonymous (not verified) on Mon, 04/11/2022 - 18:21

My husband made 4 pieces from the 2x4 outdoor collection. It was his first time doing a wood working project. The step by step plans made it easy and manageable!

Comments

DIY Pergola

Submitted by Anonymous (not verified) on Fri, 06/30/2023 - 11:15

I built this pergola in 3 days and added mason jar solar lights.

Vonda Jones

Built from Plan(s)

Reclaimed Wood Outdoor Sofa

Submitted by Anonymous (not verified) on Sun, 07/30/2023 - 14:43

We had a small deck with many rotted boards. The contractor who demoed it, knowing my interest in diy projects, sorted out any usable boards. I loved the idea of an outdoor sofa, so altered your beautiful pattern to accommodate decking boards - I literally only had to purchase 2 boards for the entire project! I’m so thrilled with how it turned out! Thank you!!

Camey Brown

Built from Plan(s)

Grandkids built Cedar Planter

Submitted by atlayank on Sun, 07/26/2020 - 18:22

Two of my grandsons built this cedar planter after I did the cutting of the wood. They did all the measuring and put it together very nicely!

Built from Plan(s)
Estimated Cost
15
Estimated Time Investment
An Hour or Two (0-2 Hours)
Finish Used
Natural
Recommended Skill Level
Starter Project

XL Modern Craft Table

I modified this plan so I could have 4 total work areas. Total Size: 48" x 96"

Built from Plan(s)
Estimated Time Investment
Weekend Project (10-20 Hours)
Finish Used
White paint to match walls and trim (SW Alabaster)
Recommended Skill Level
Intermediate

Comments

briannamcelfresh

Tue, 09/08/2020 - 19:42

Is there anyway you can share these plans with me!? I drew out some plans for an identical table but I think my cuts may be off! It would be so helpful.

Slatted double vanity - FINALLY finished!

I was a bit over my head with this one but I am so far very happy with the project. It is not quite finished. The marble was installed last week and we are awating the plumber to come back to hook up the sinks. I will install the second slatted shelf once the plumbing is in. Will post finished pictures soon. The mirror is made from 6x6 posts from the lumber yard. We had a friend cut them to size using a band saw. We made the mirror frame based on a picture I found on Houzz.com. The mirror glass was something I picked up off of craigslist for next to nothing and removed from the original frame. It is HEAVY (~200lbs) and attached to the wall with metal brackets. We purchased the sinks/faucets on ebay. 


Estimated Cost
For the vanity alone: $200-250
Estimated Time Investment
Weekend Project (10-20 Hours)
Finish Used
I used Hilary's vinegar/steel wool solution to age the wood, then sanded and finished with the vermont natural coatings polywhey in satin.
Recommended Skill Level
Intermediate

Comments

Square Picnic Table Project

This was a great summer project. The table looks great and it was any easy build. Doesn’t get any better than this. I added a hole in the center of the table for my umbrella and used the longer screws for more frame stability.

Built from Plan(s)
Estimated Cost
$200.00
Estimated Time Investment
Day Project (6-9 Hours)
Finish Used
Used semi transparent cedar tone stain. Lightly sanded edges and surfaces. Applied stain with a brush before assembly.

Comments

Seasonal And Holiday

Tall Bedroom Dresser

Had a blast with this project and am getting more confident with drawer slides. I built a matching dresser that is much shorter and wider. It can be found here: http://www.ana-white.com/2018/08/DIY_furniture/bedroom-dresser

Estimated Cost
$150-$200
Estimated Time Investment
Weekend Project (10-20 Hours)
Finish Used
Varathane Weathered Wood Accelerator, Varathane Poly
Recommended Skill Level
Advanced

Comments

hutchingslv

Thu, 08/12/2021 - 15:35

Any way to get a copy of these plans? I really like the look and want to give it a shot. Have to make a few of these if all goes well for all my boys.
Thanks

Farmhouse Daybed with Storage Drawers Twin

Submitted by jburns2013 on Fri, 12/27/2013 - 16:05

This daybed was modified from the Farmhouse bed plans. I am still finishing the drawers, sanding, putty and paint.

Estimated Time Investment
Day Project (6-9 Hours)
Finish Used
Will finish with white wash paint and poly
Recommended Skill Level
Intermediate

Comments

lneese

Fri, 01/22/2016 - 09:07

This looks amazing! Do you happen to have a picture of it finished? What about the plans and supply list? I am wanting a bed with drawers just like this for my daughters room. 

Kimberly Carew

Sat, 03/10/2018 - 20:24

Do you have the details about this build? I would love to build this for my daughter this week. 

What would it take to add a railling to it?


Thank you for sharing all of your amazing work. 

Adirondack Chairs with Foot Rest

Submitted by Anonymous (not verified) on Sun, 07/30/2023 - 14:45

Great set of outdoor chairs with foot rest!


RG Design & Build

Comments

Back