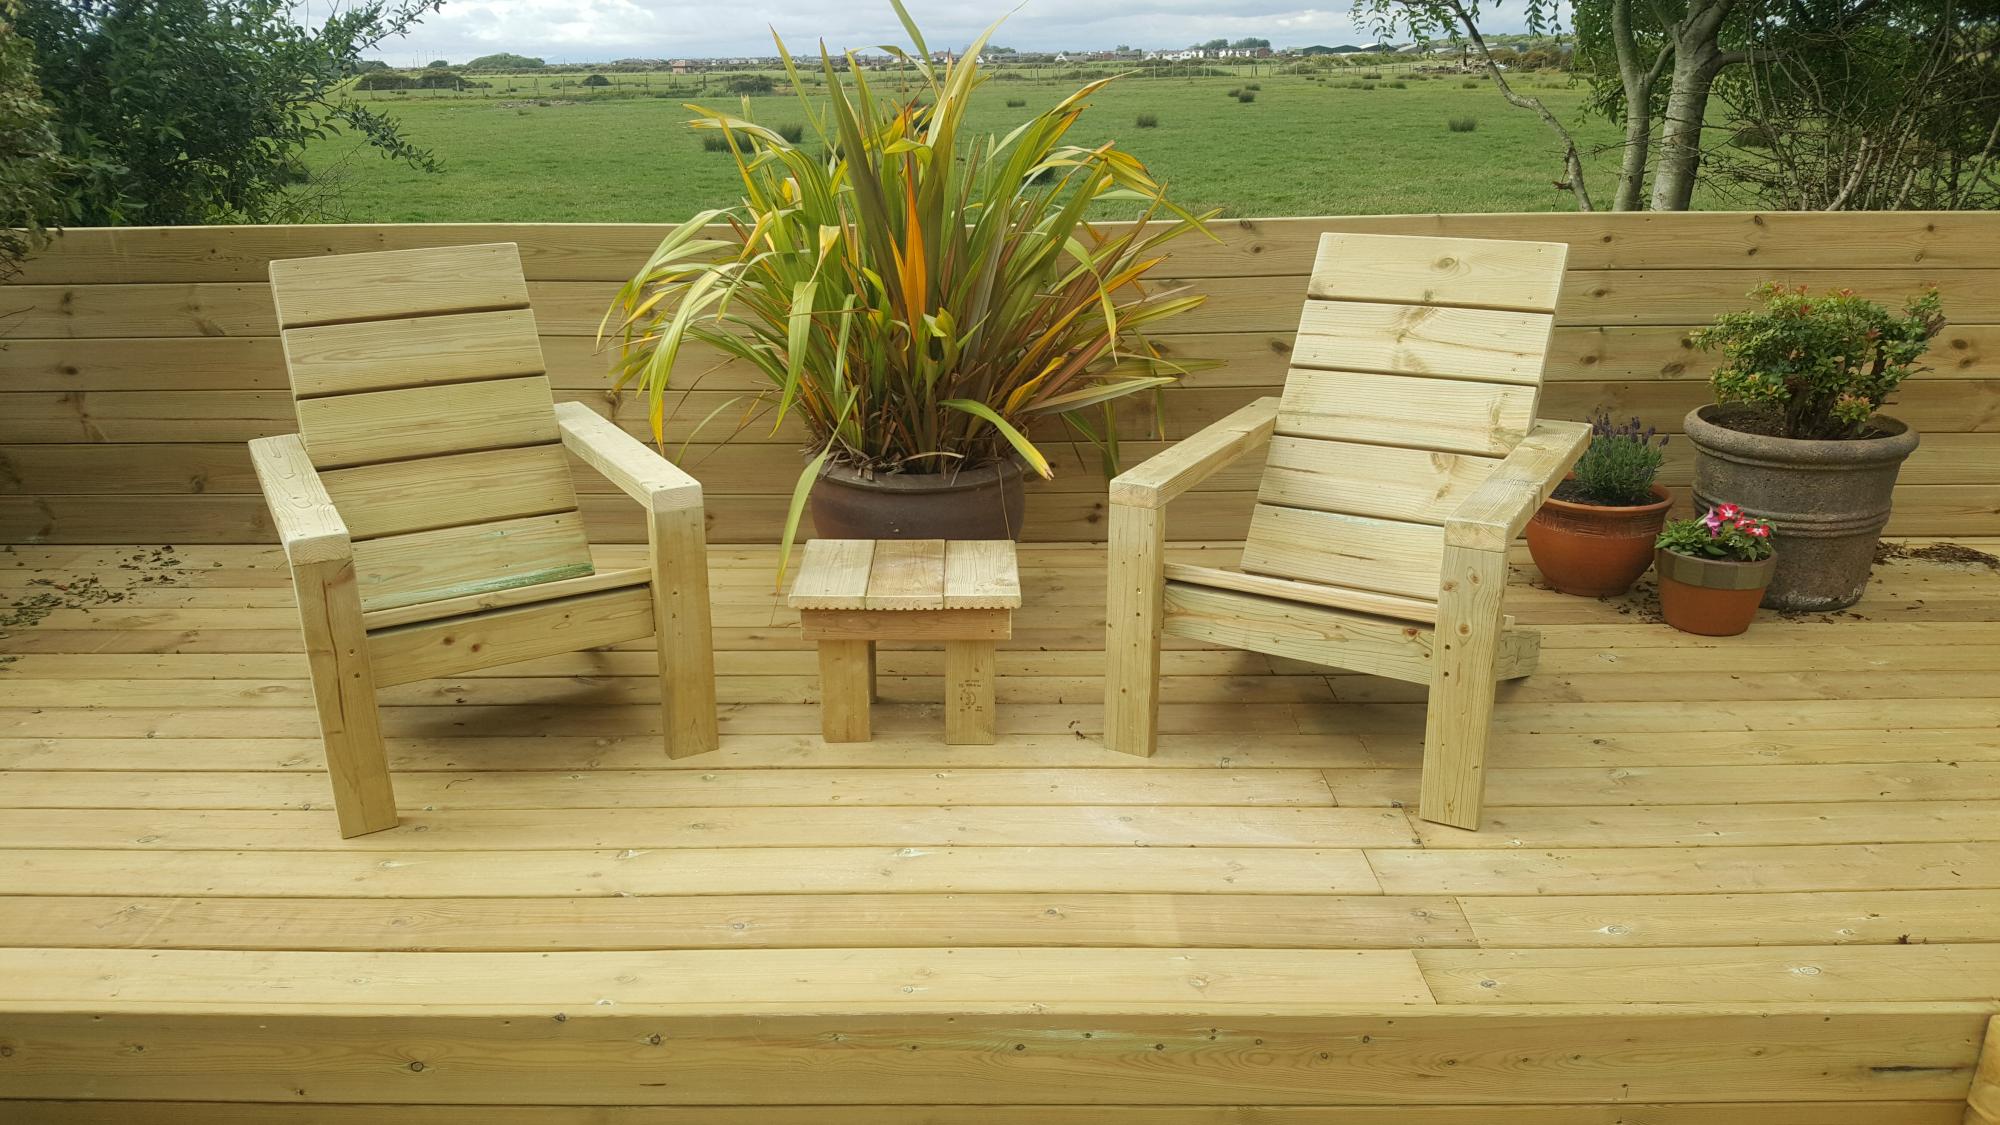
DIY Wood Chair
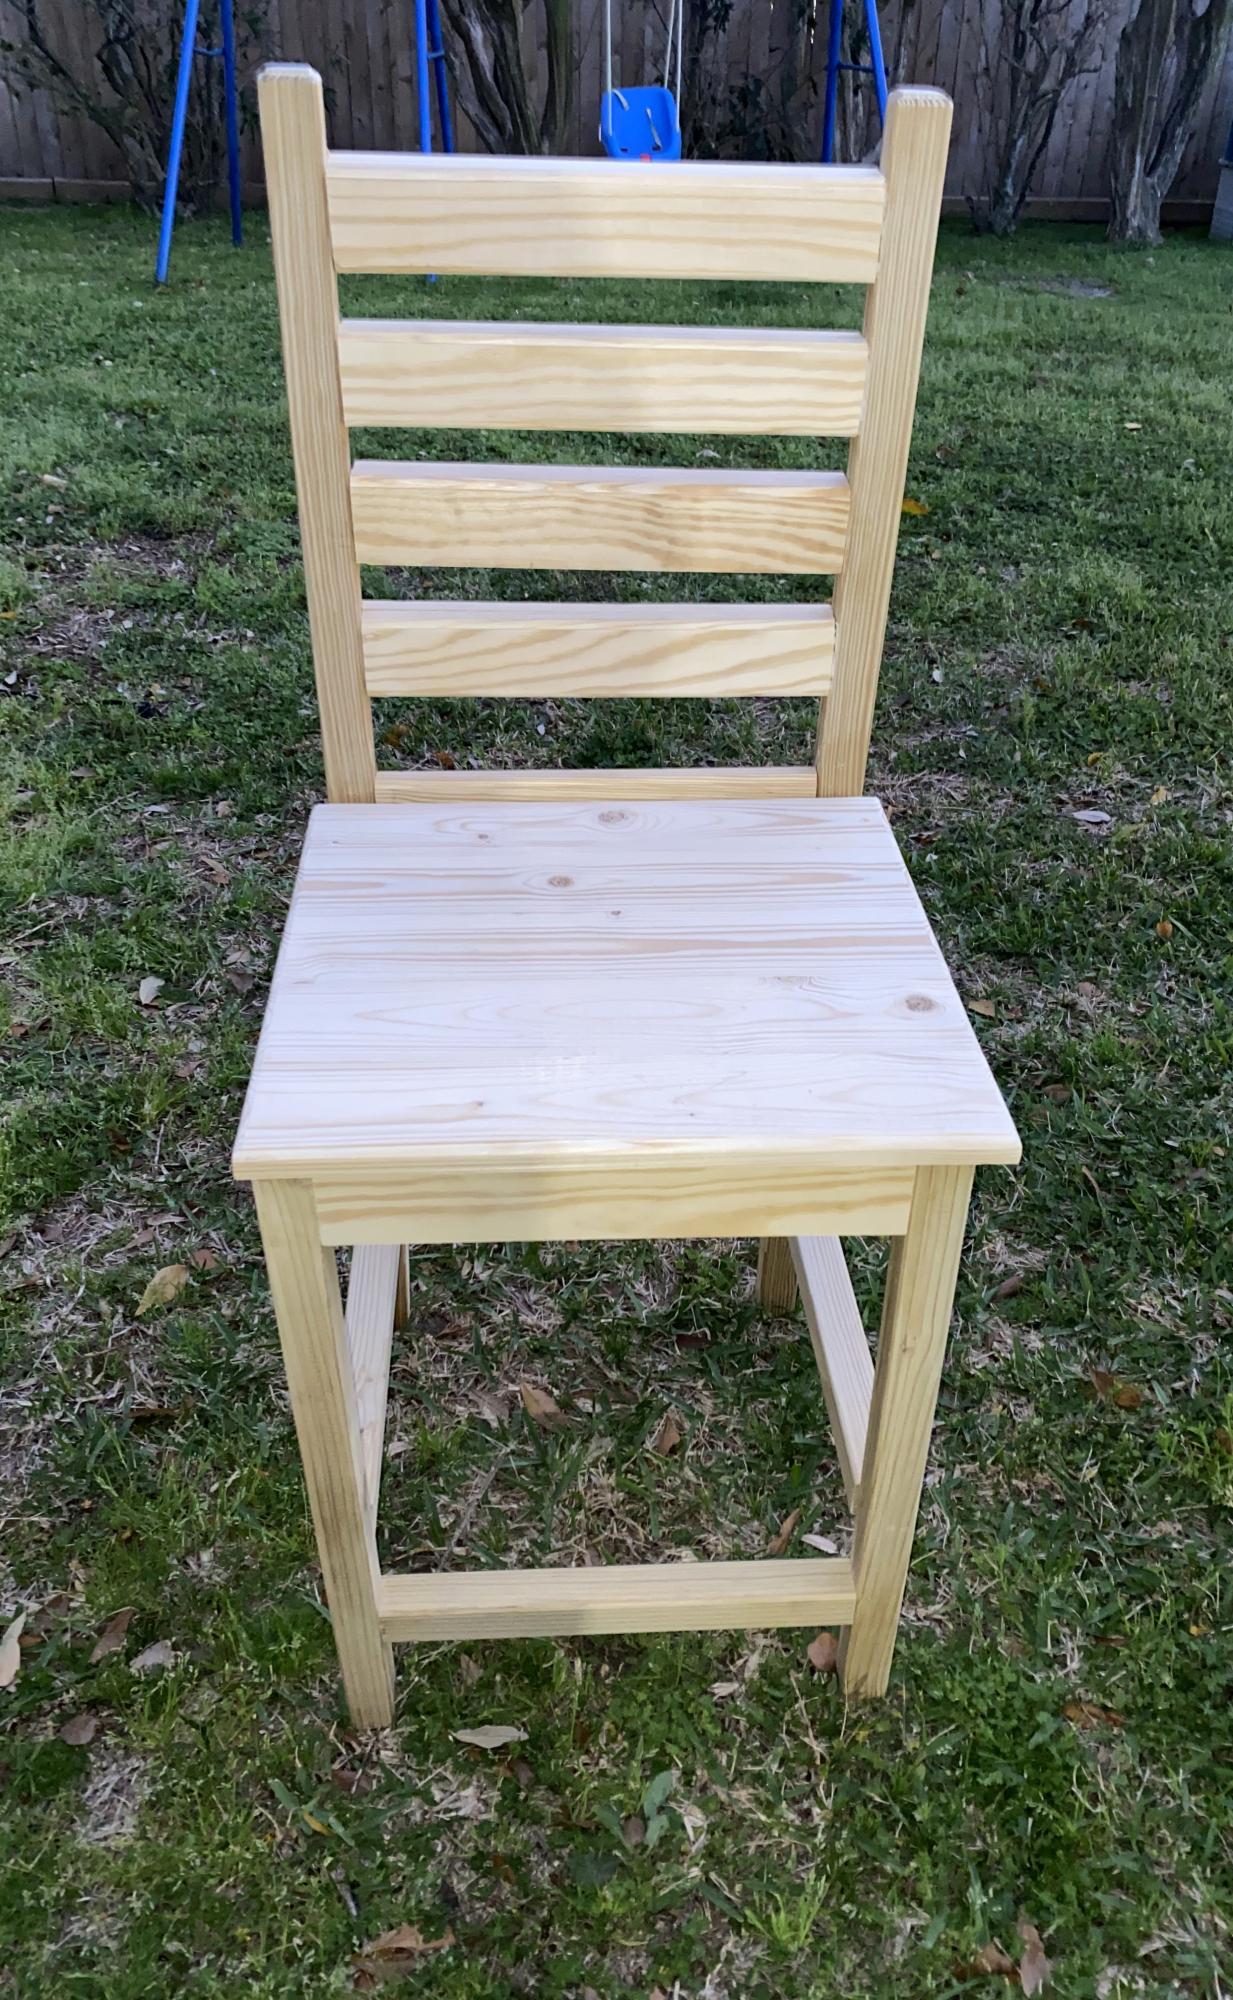
Still needs a finish but I couldnt wait to share.
Danny
Built from Plan(s)
Still needs a finish but I couldnt wait to share.
Danny
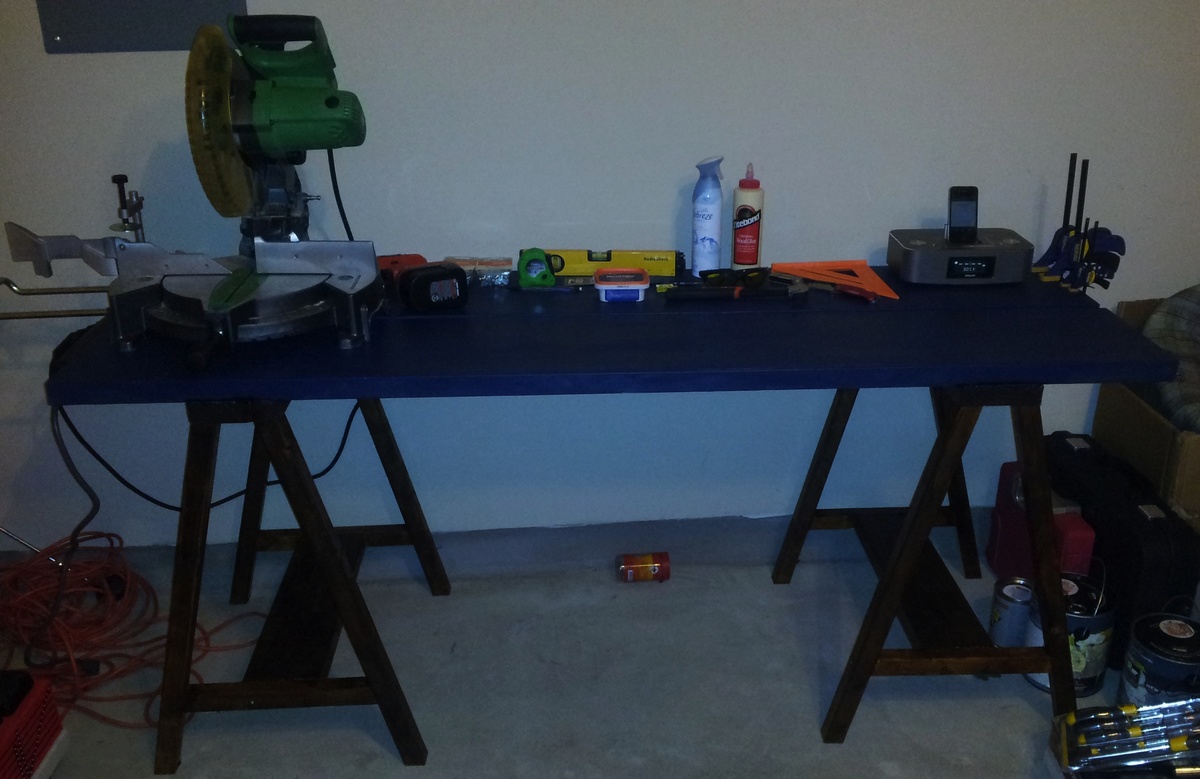
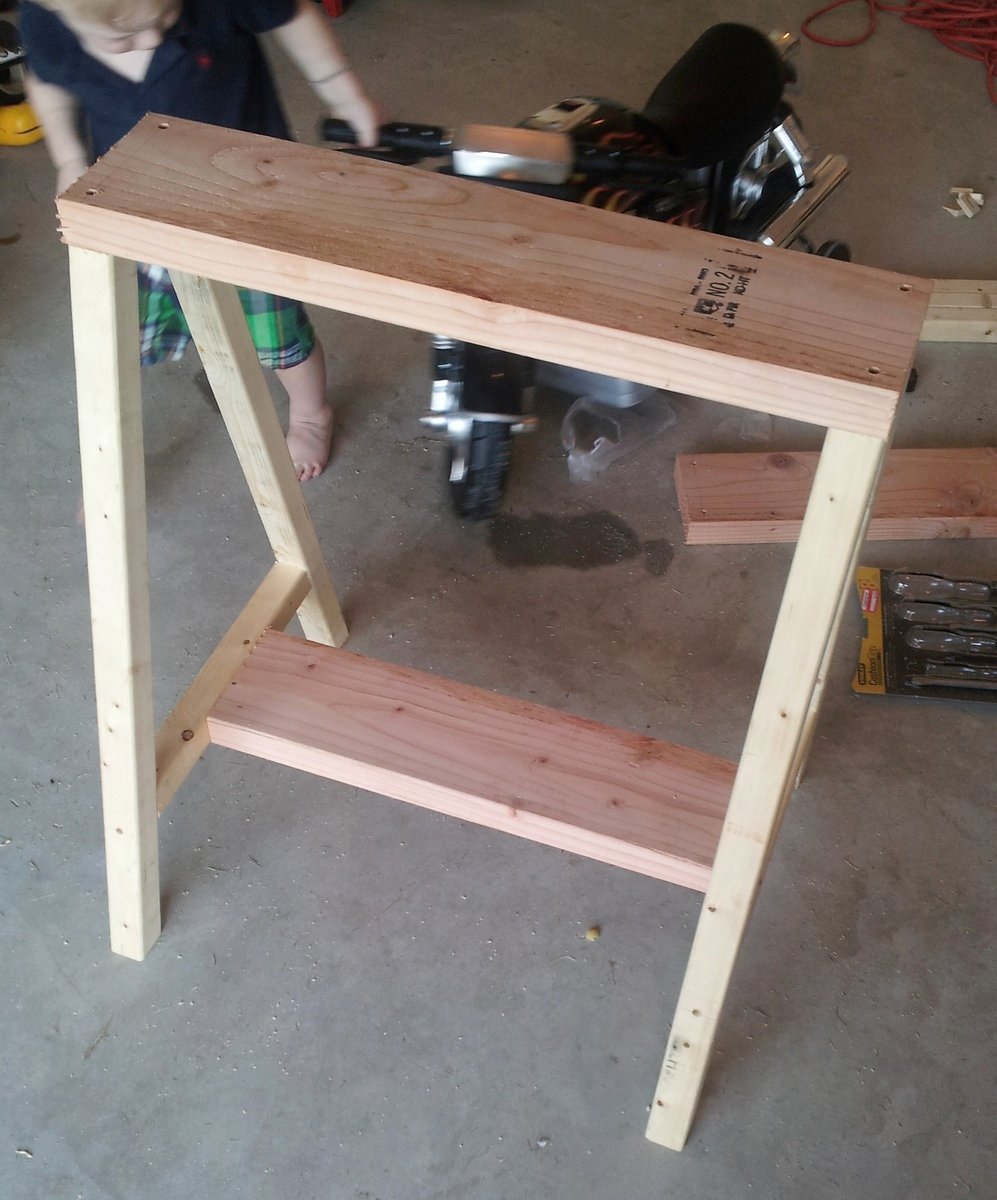
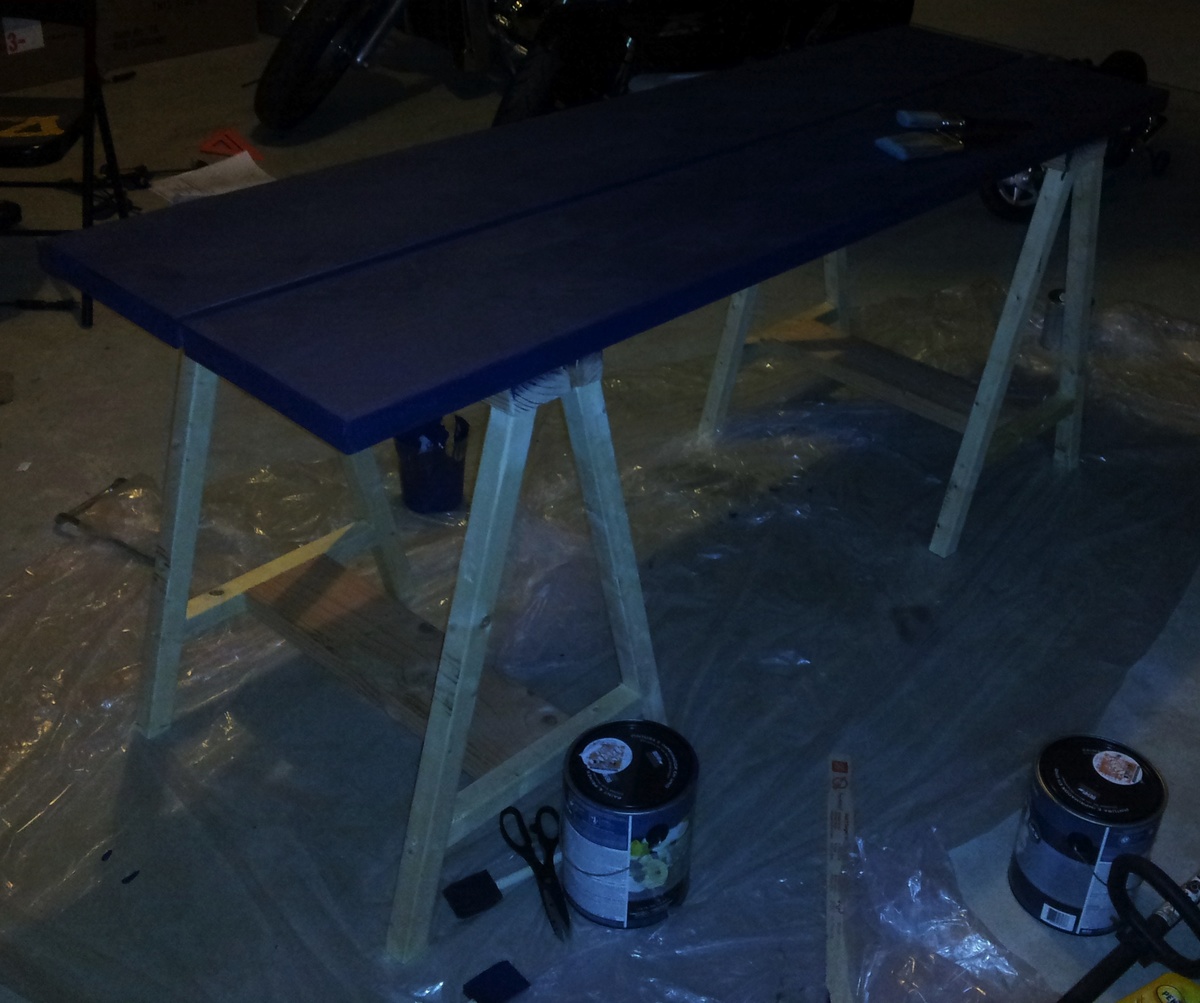
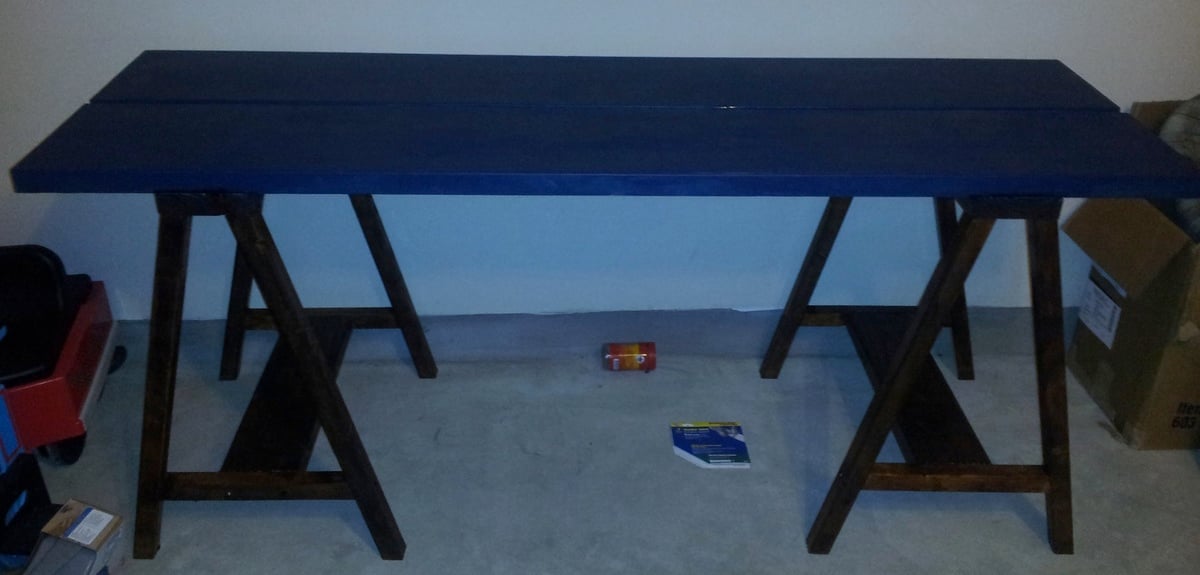
This was my first project off of Ana's site. I followed her simple sawhorse table plans verbatim. The only thing different I did was use a self-made chalkboard paint for the top (instructions under the finish section) and added screws to the left side to mount my power strip with (easy on and off for everything on the bench). I made the top a chalkboard top so that I could write notes on the table and mark measurements for various projects. Costs were $30 for wood (some leftover), $8 for paint, $2 for screws, and $5 for surge protected power strip. If you have any other questions please let me know.

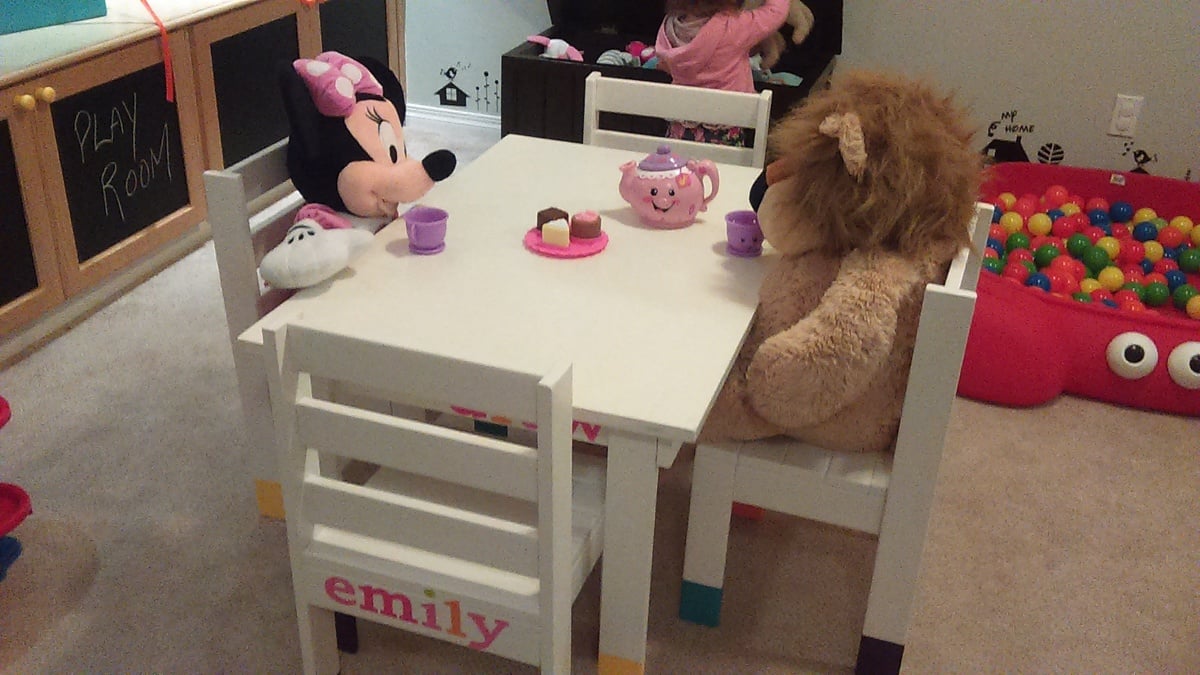
So we had our grandchild Emily needing a play table and chairs, a limited budget, an old play table but no chairs! Ana White to the rescue! We made 4 chairs and painted them and the table to match. As you can see Emily has made lots of new friends over tea!
Hi Ana
Just wanted to say thanks for the plans. Here's how ours came out!
Ben.
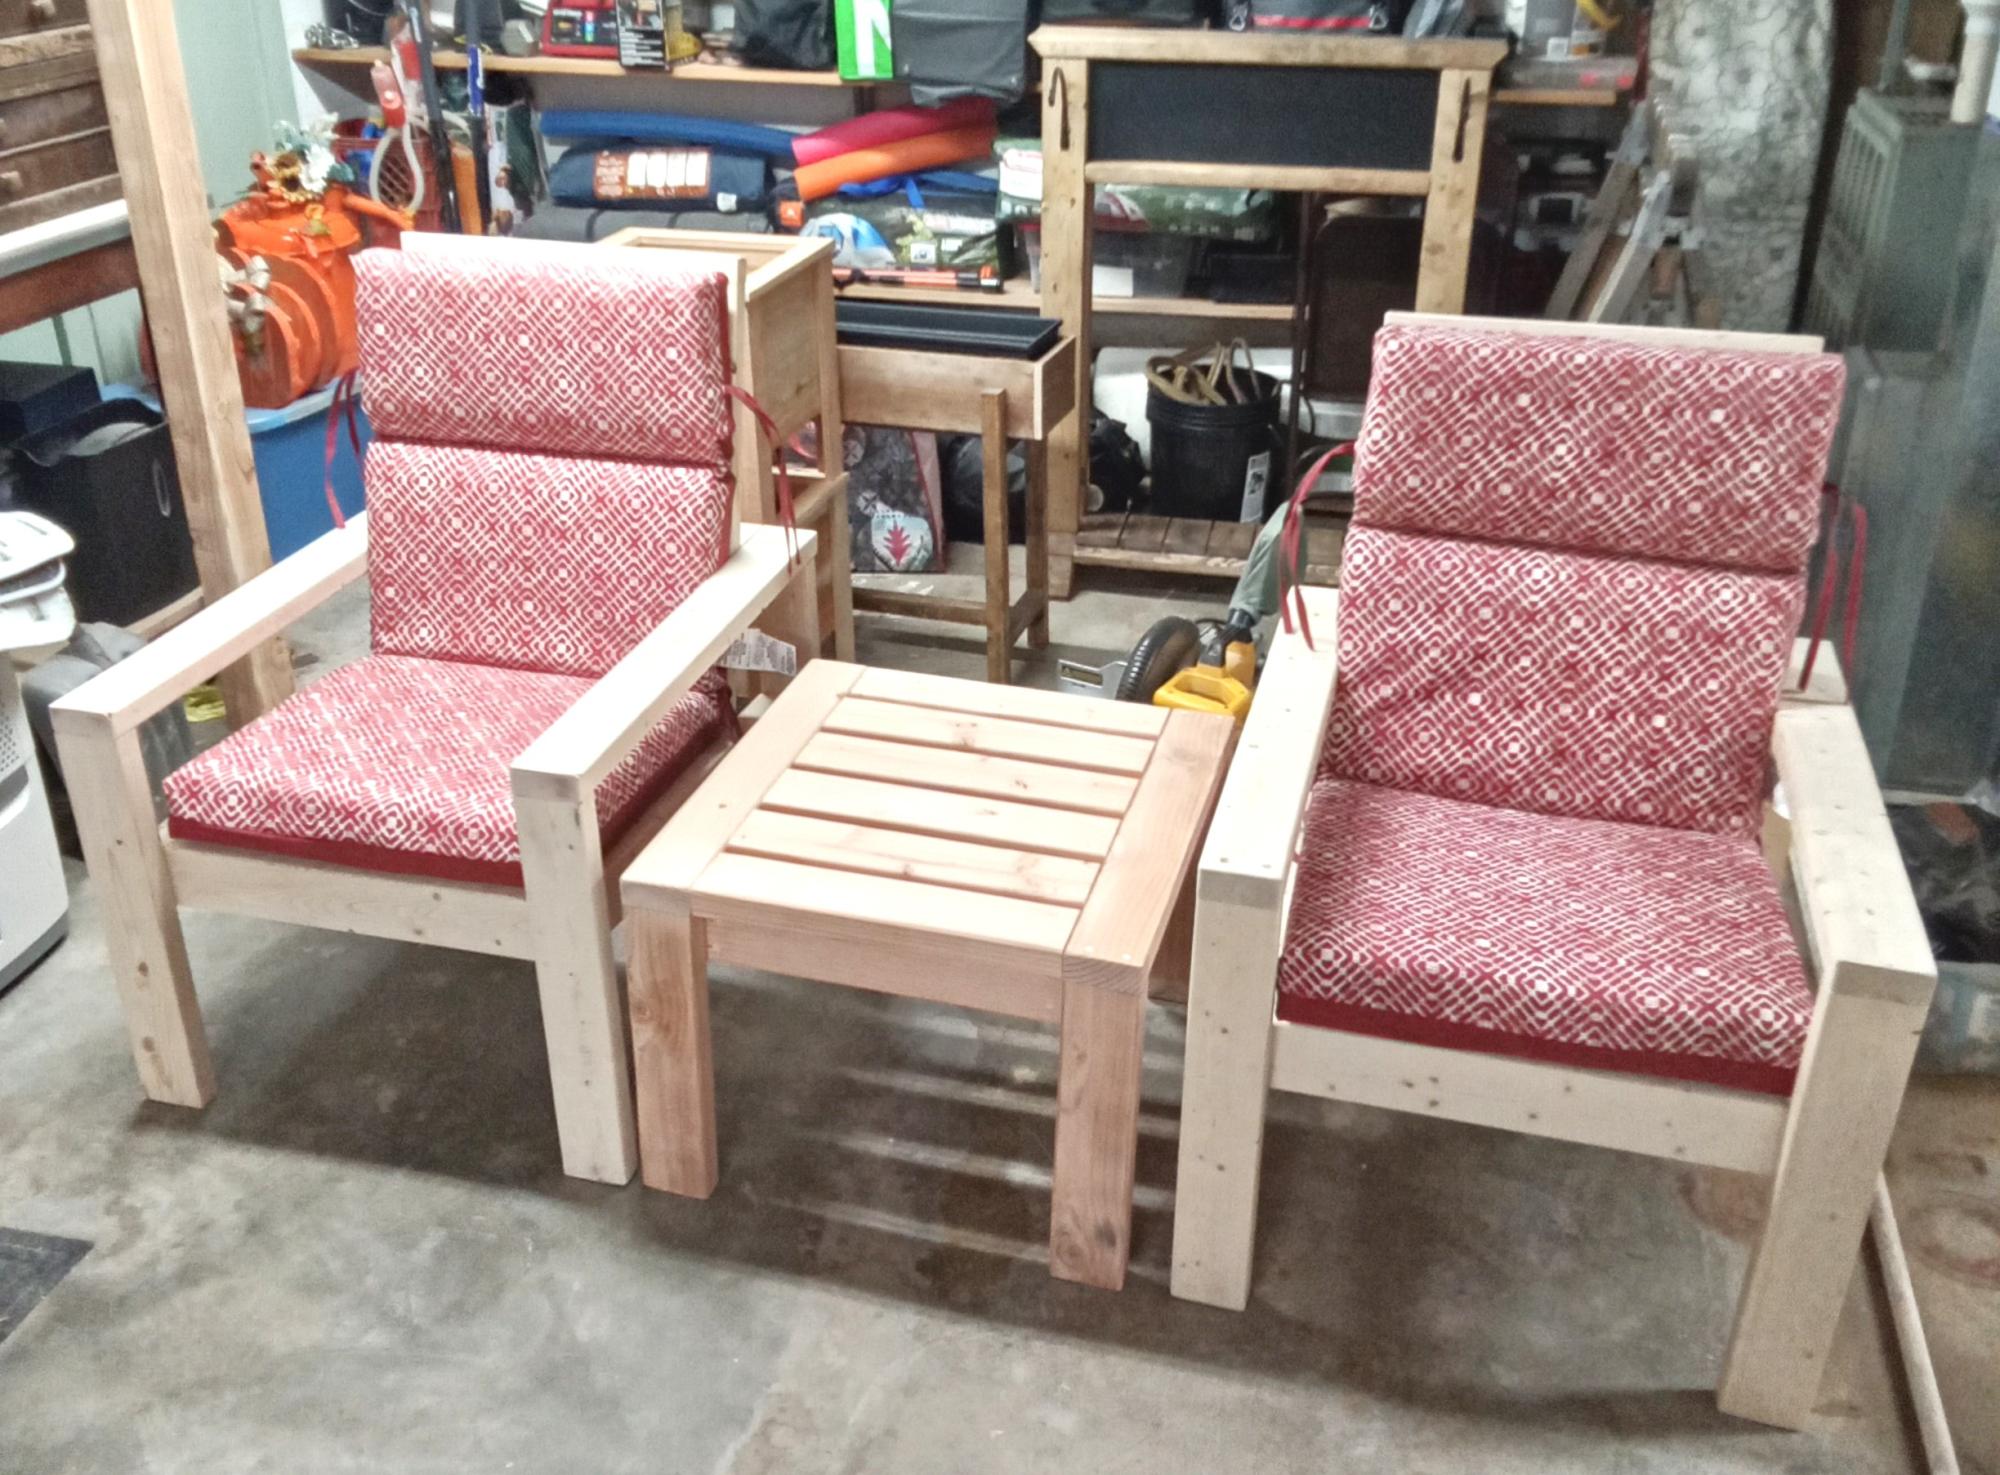
Done the 2x4 chair and table, I think it turned out well. Bought the cushions at Lowes.
Ray and Sandy
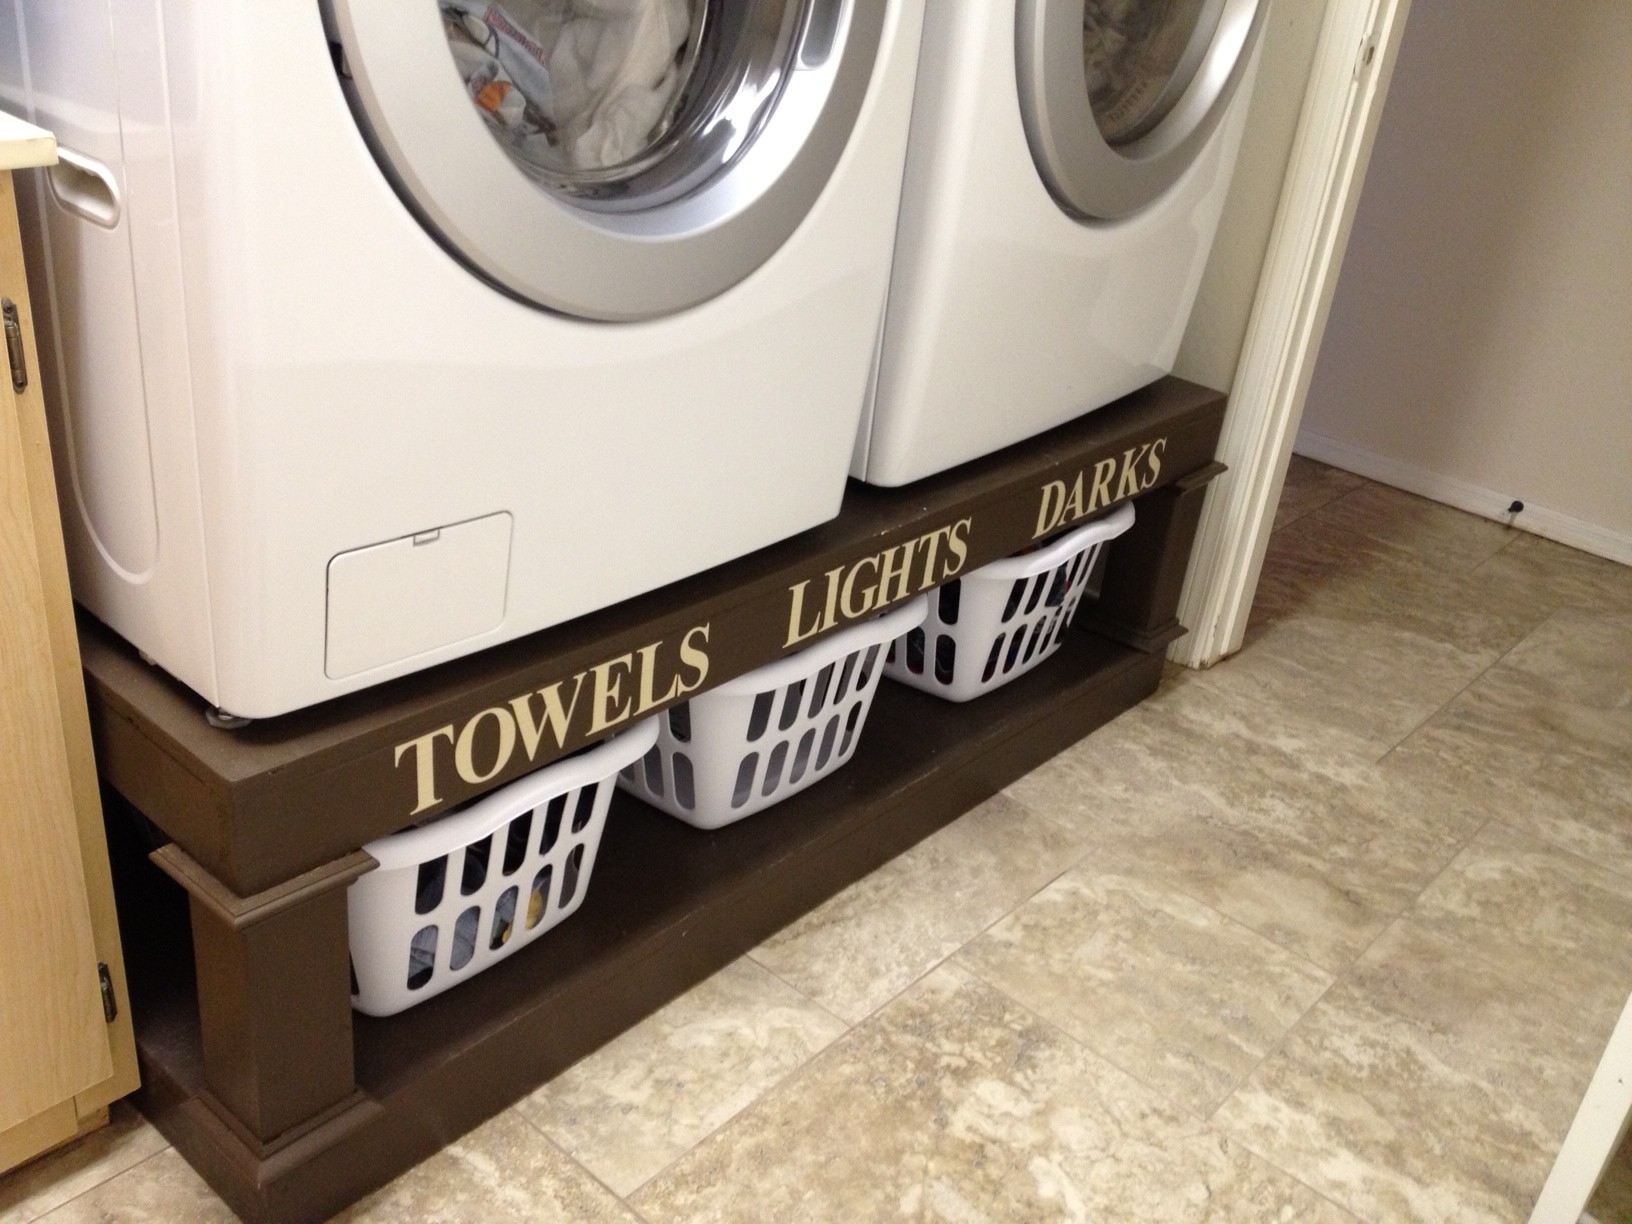
Our very first project! We absolutely love how it looks and that there's an easy way for our kids to sort their laundry. Can't wait to start more projects! You can see how we built it here http://addicted2diy.com/2014/01/14/diy-laundry-pedestal/

My 11 year old son made this library cart for our homeschool books. He followed Ana's plans with a few changes on dimensions. I love how it turned out, and it is a perfect addition to our school room. We kept the cost low by using some wood and paint that we already had.

We have 3 (almost) teenage boys and needed the storage of the Brookstone bed for their sport gear, etc. I built 2 of them and my 15 year old built his. I can't get over how easy they were to build! This was the first building project I ever made and they turned out beautifully! The headboard took about 2 hours to build and the bed about 5 hours. I was pretty slow though, checking and double checking measurements, glueing and clamping like crazy, being careful not to rush. Still, 7 hours to make the bed and a couple hours to paint, not a bad days work! The lumber cost $144/each so we were happy with the cost of the beds. I would highly recommend furniture movers underneath them. I used 4 huge ones under the ends of the 2x2 supports and small squares under the legs/headboard. They move so easily with them! Thanks, Ana, for a great plan!! We are so thankful and love our new beds!!
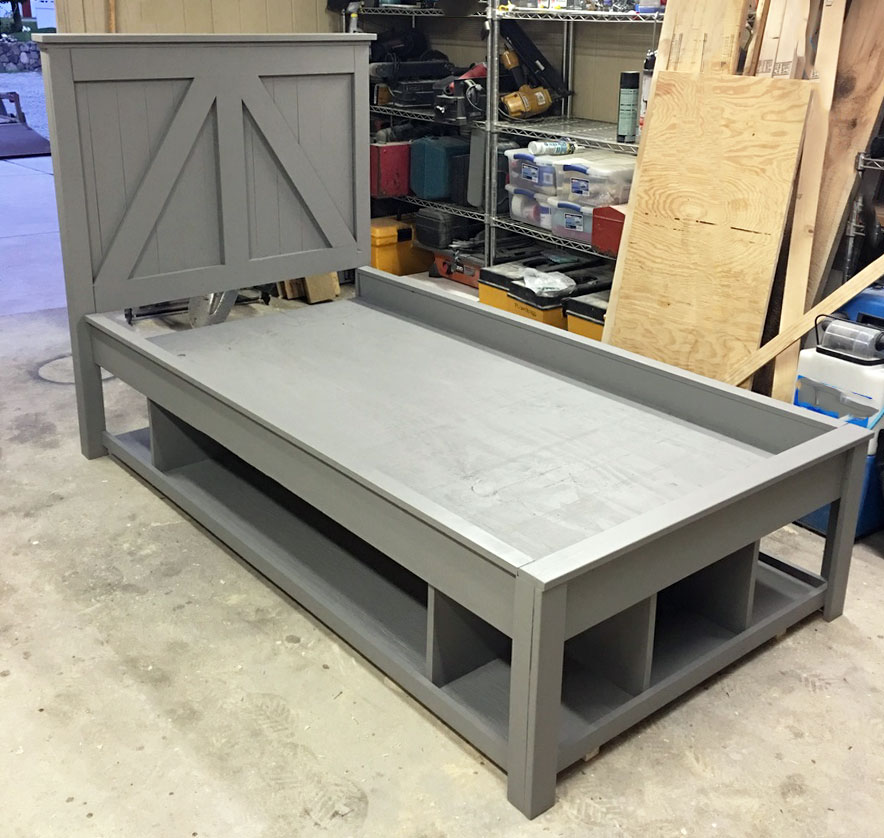
This design turned out to be perfect! It was super simple and easy to build! Easy to follow plans! Great beginner project!
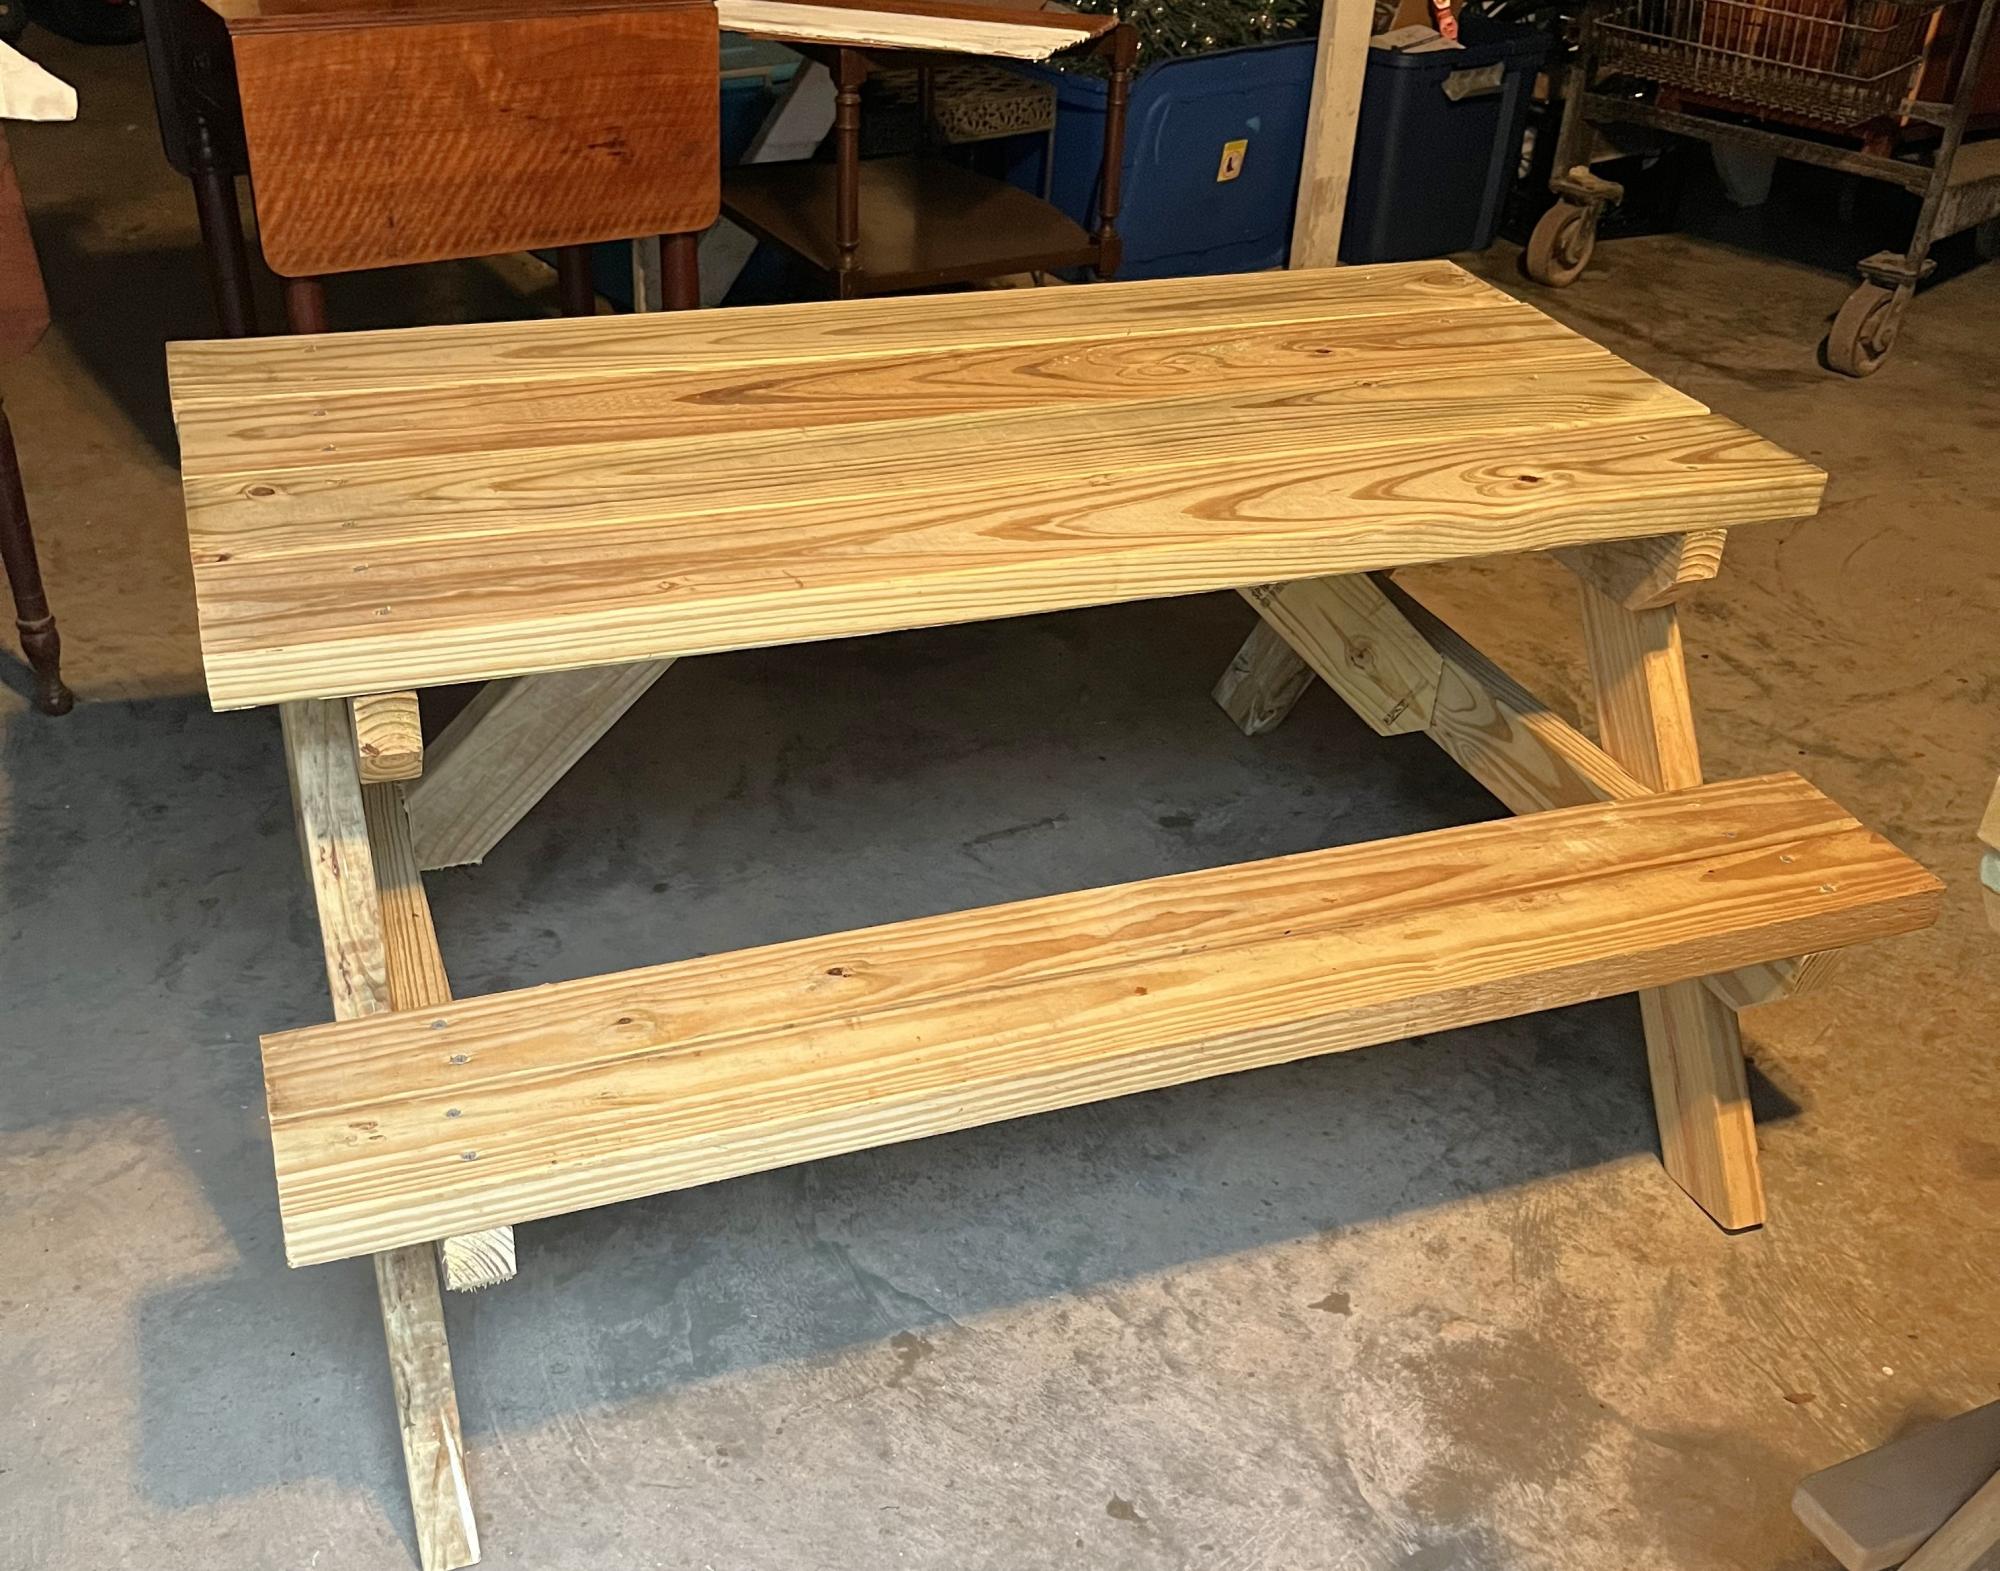
Built this to replace a cheap picnic table that I had bought. The table is solid and a great first project for me Pops. The grandkids will enjoy this one and Gammy has me already building #2 table. Thank you for the plans and your expertise.
Mark E aka Pops
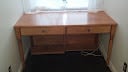
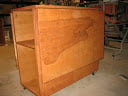
I have a friend who makes beautiful quilts. She's been doing this by sitting on the floor to cut her fabric and plopping her sewing machine on a wobbly folding table. When she decided to turn her guest room into a dual purpose sewing/guest room she asked me to build her something that would fit into a niche under her dormer window.
The built in table has two large drawers for sewing notions and is supported at the back by a shelving unit with adjustable shelves. She plans to store items that she seldom uses here. They will be accessible, but out of the way and barely visible when she has guests using her room.
I suggested that I also build Anna's sewing table for small spaces so that she use that as a night stand when not in use as a cutting table.
I usually don't finish projects I build for others - I'm just not good at it! But, my friend asked me to put a finish on it. She picked out the Minwax polyshades product, and I have to tell you that it was a nightmare! (You can read about that here: http://thewidowsworkshop.blogspot.com/2012/06/lessons-learned-again.html)
I ended up using a stripping product to remove that finish. The final finish, just a stain and rub on poly, turned out beautifully!
Installation was also a challenge, but using brute force - and a hammer! - I was able to fit it between those very out-of-square walls!
She's happy, I'm happy to be done!
I found Ana's website in my search for the desk plans, and in the process found many other wonderful plans I want to try. My goal is to make a sawhorse desk for my new home office. I need to learn all proper woodworking skills, however.
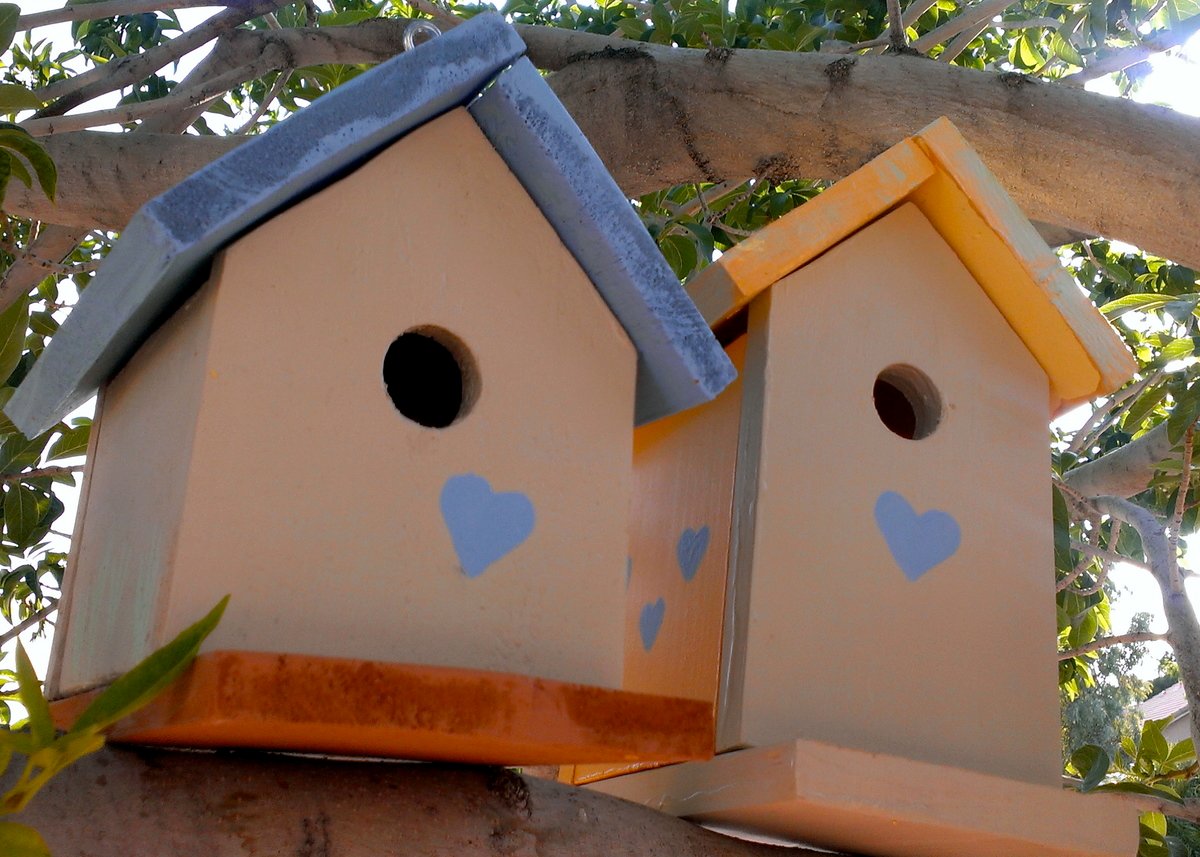
Therefore, I decided to start with this birdhouse project, which was a joy for me since I have a fascination with photographing birdhouses wherever I go. I also have fond memories of making birdhouses with my mother when I was a little girl. She did all the cutting and nailing, and I sanded and painted.
This project brought back happy memories, and my mom got a kick out of seeing photos of the finished results.
In addition, today I had the wonderful opportunity to photograph my own birdhouses!
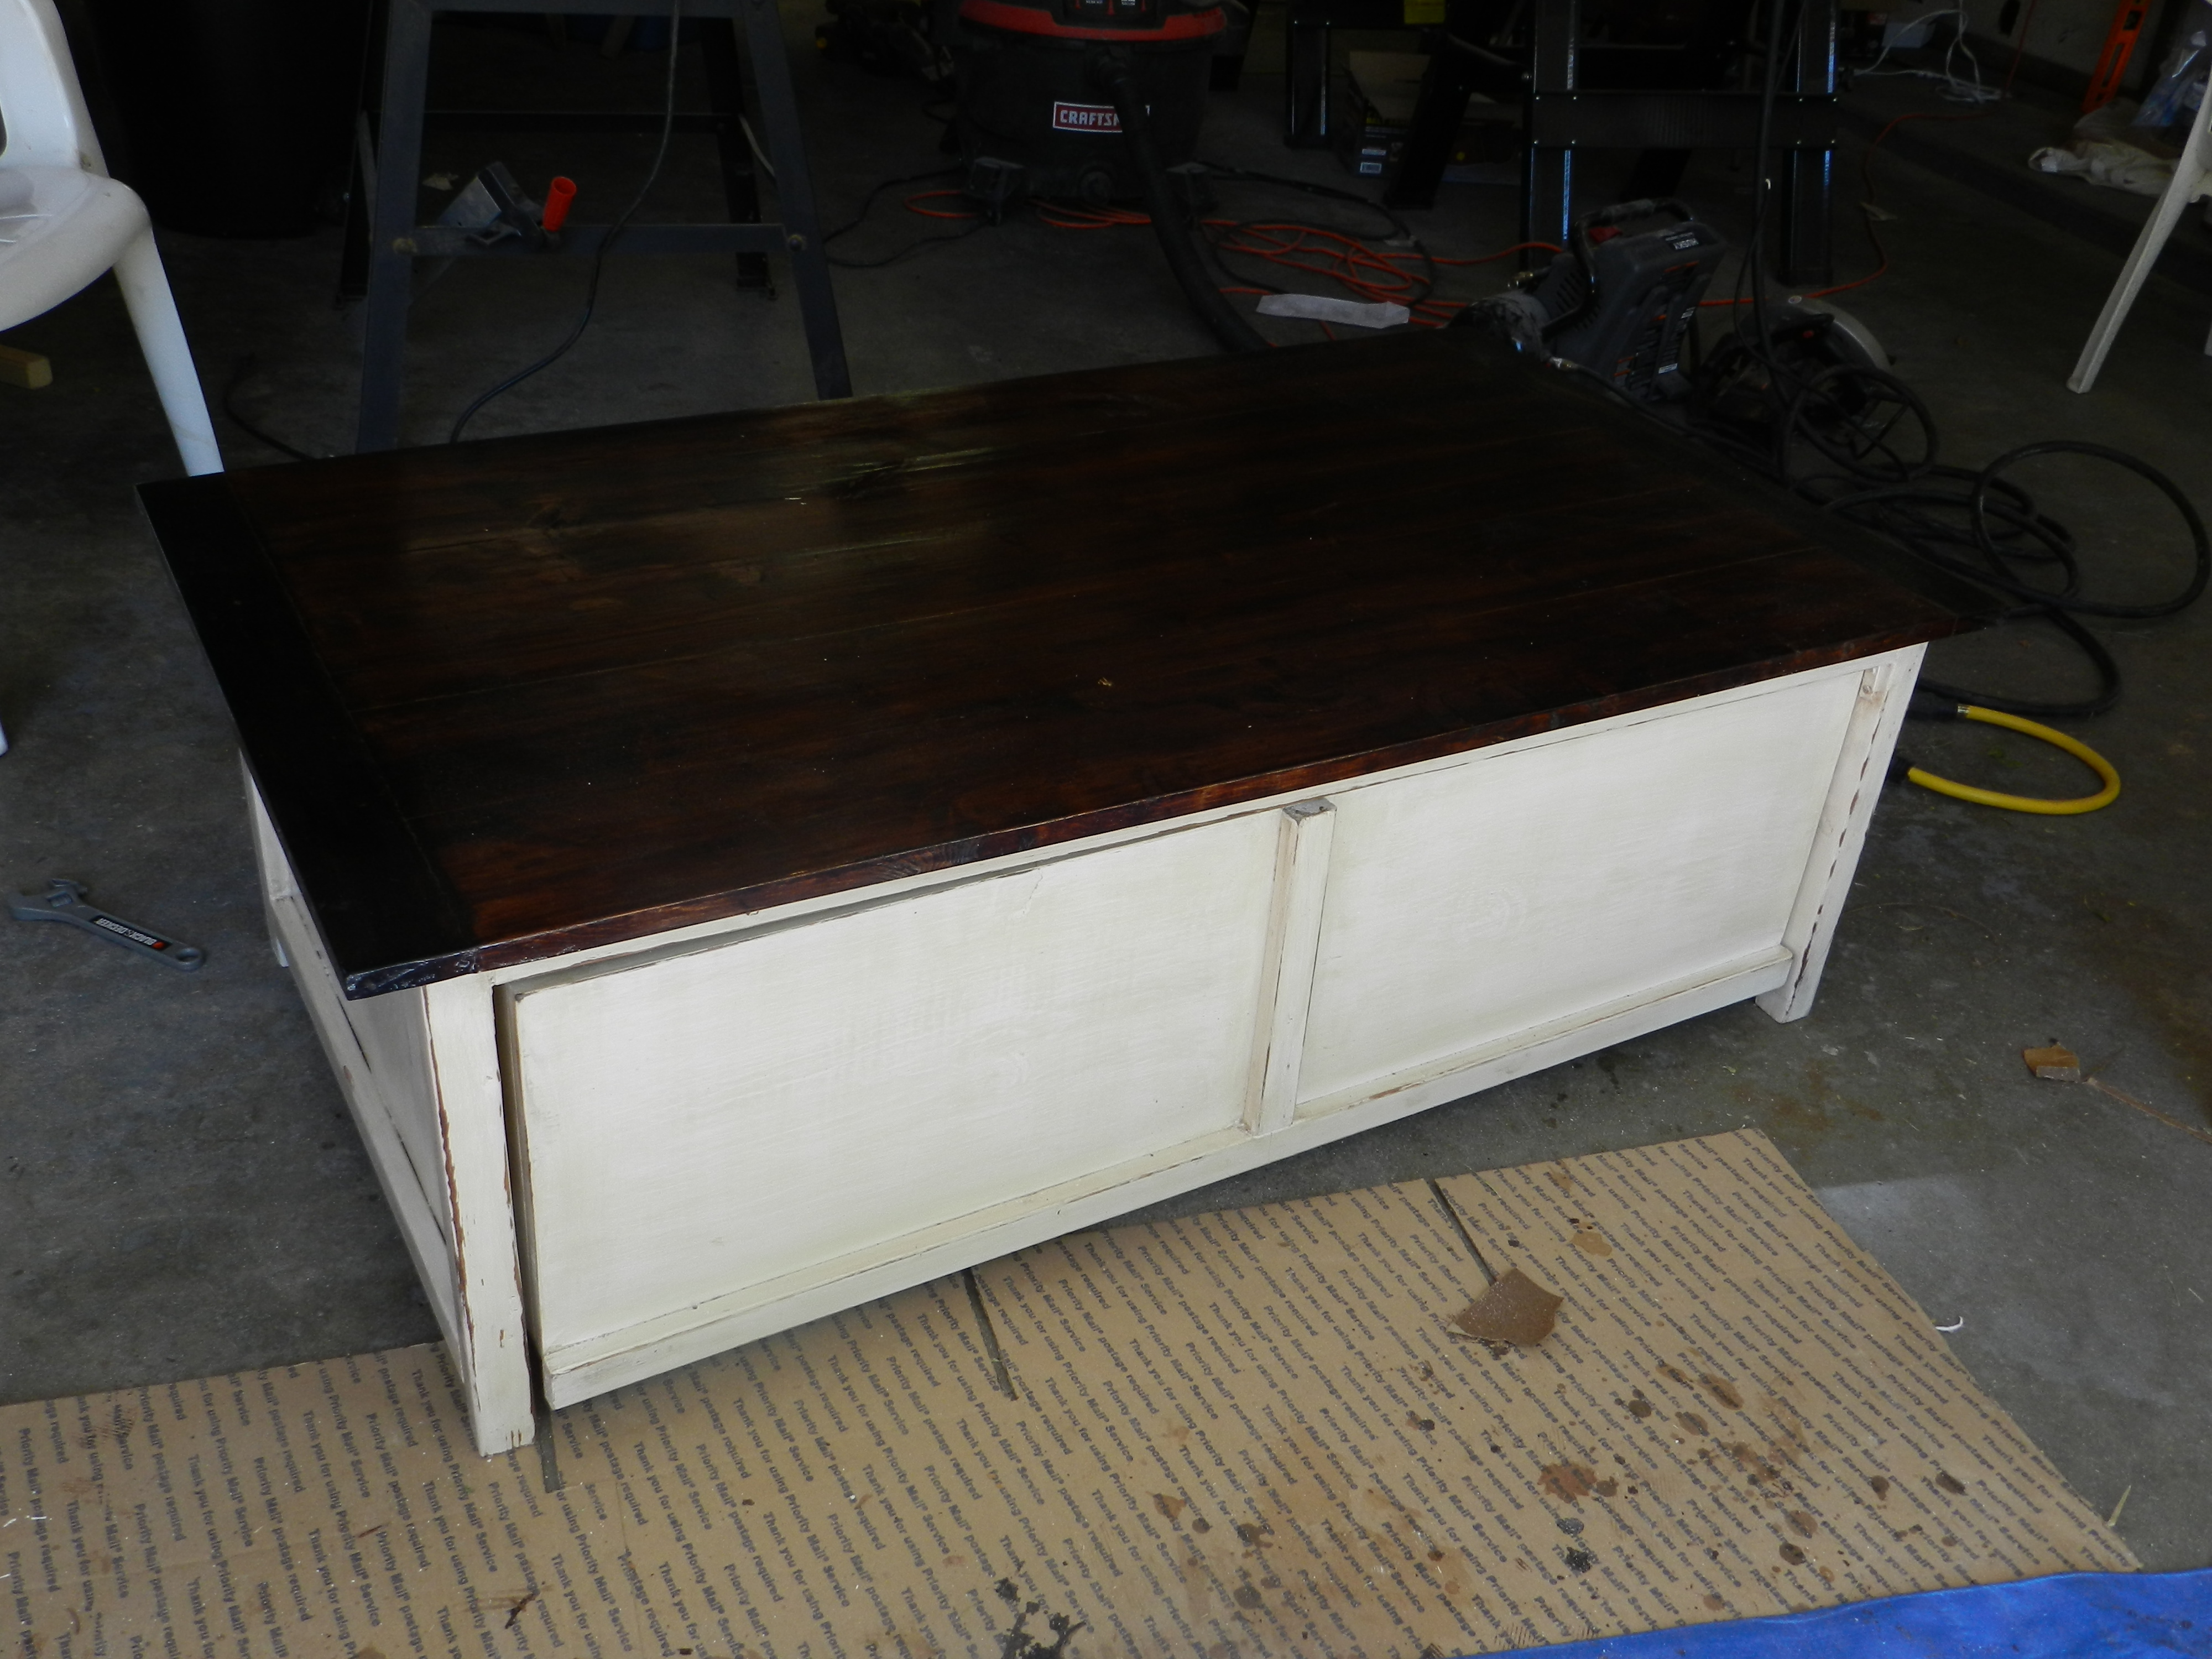
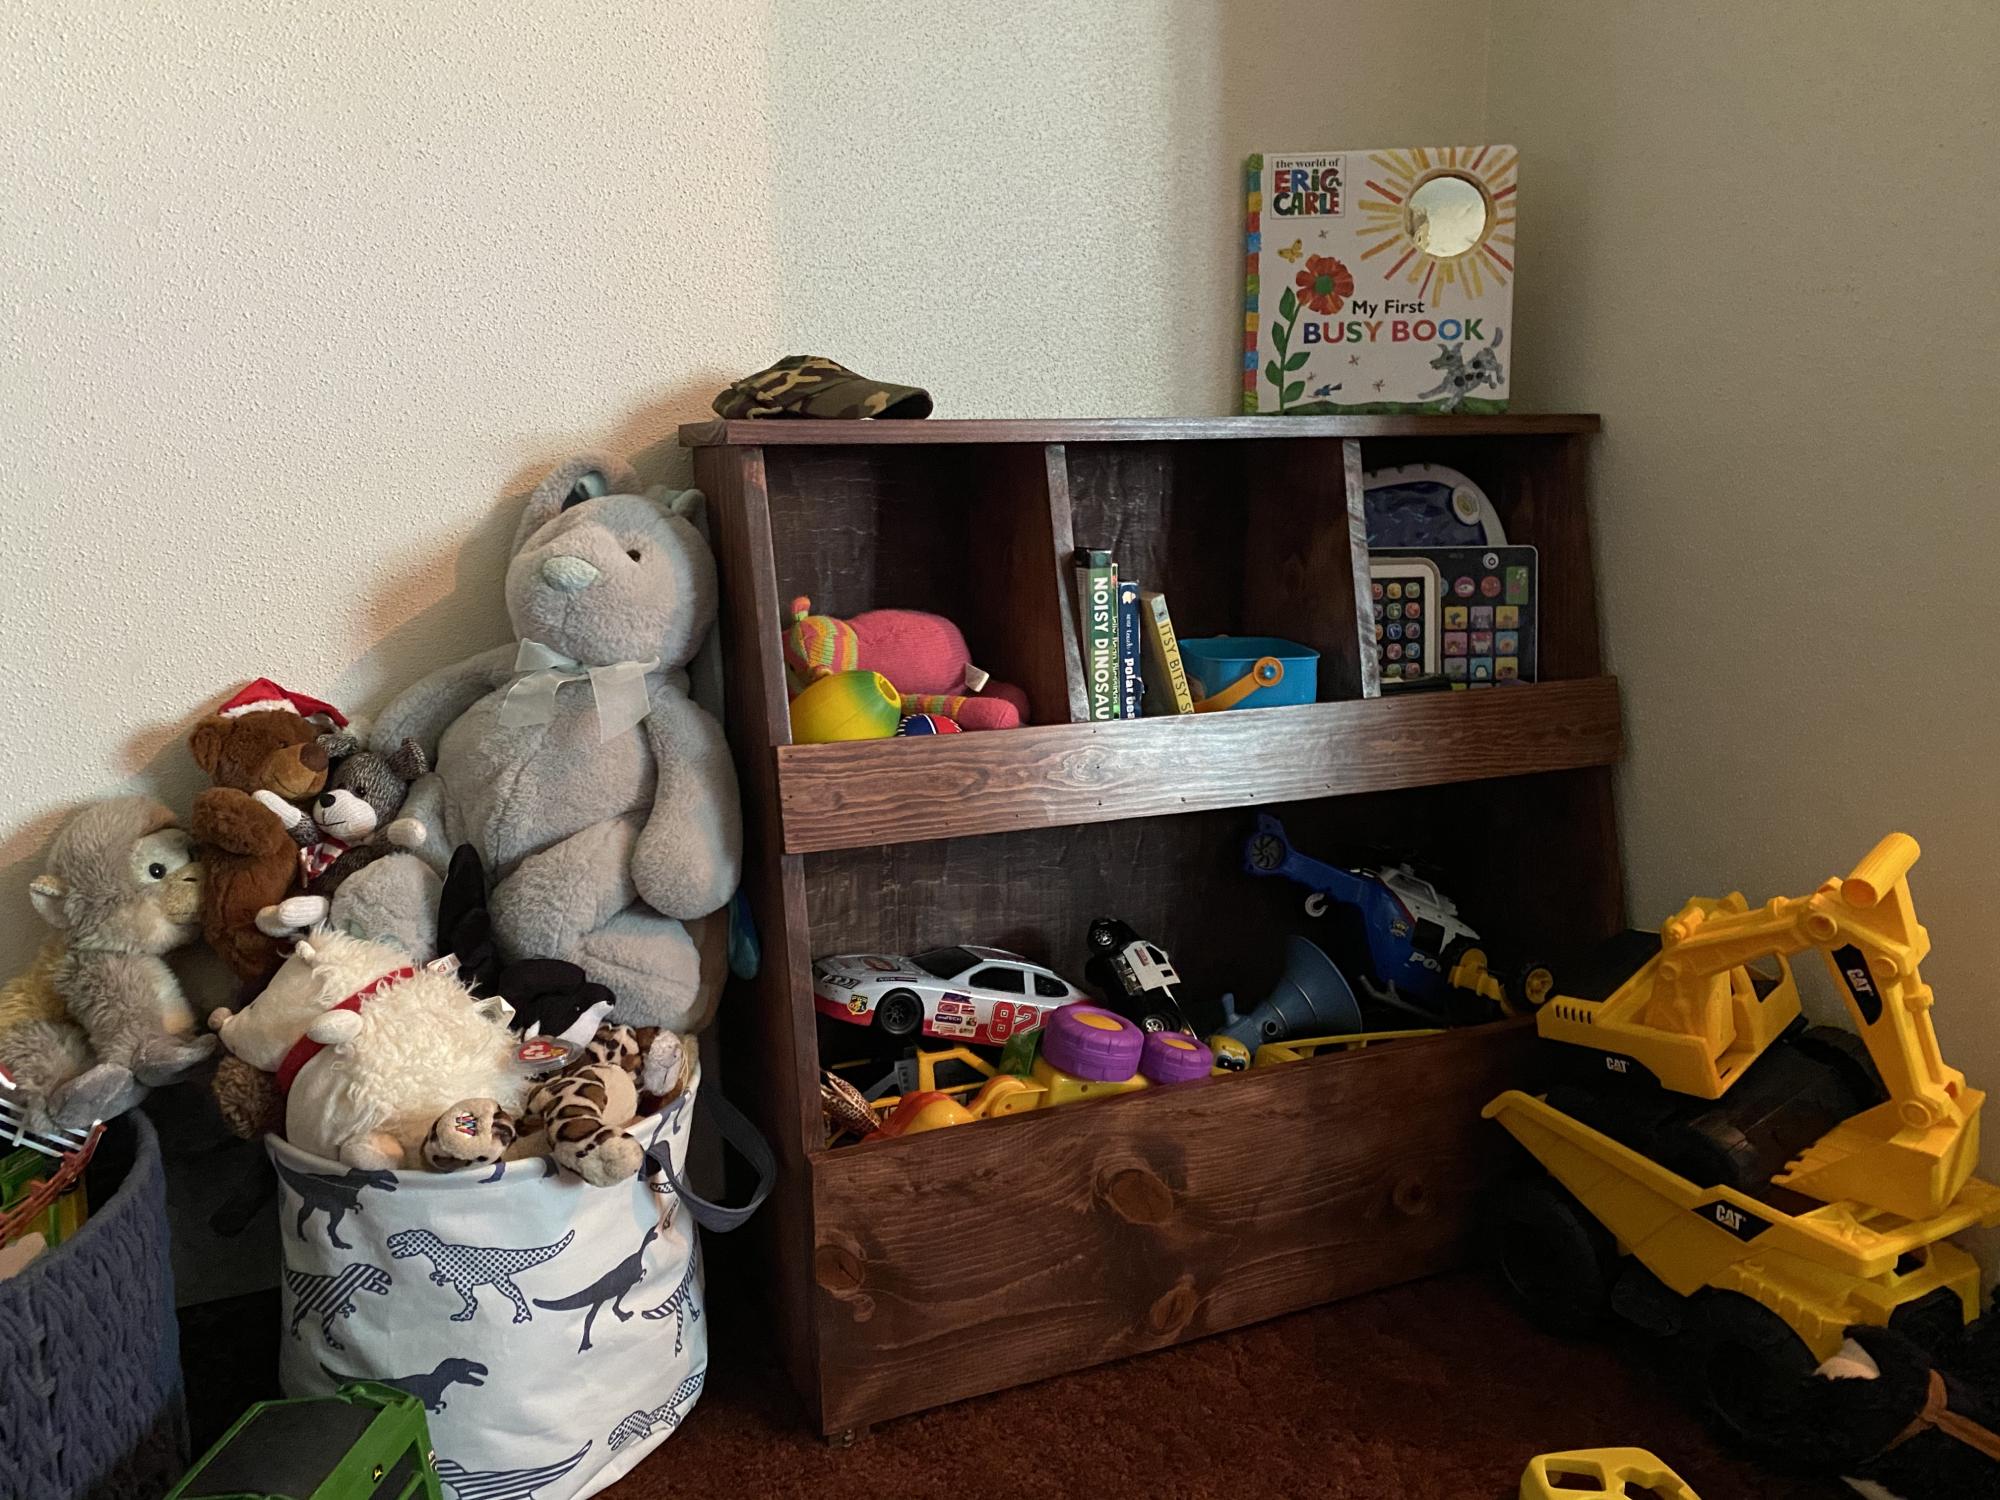
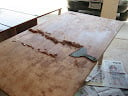
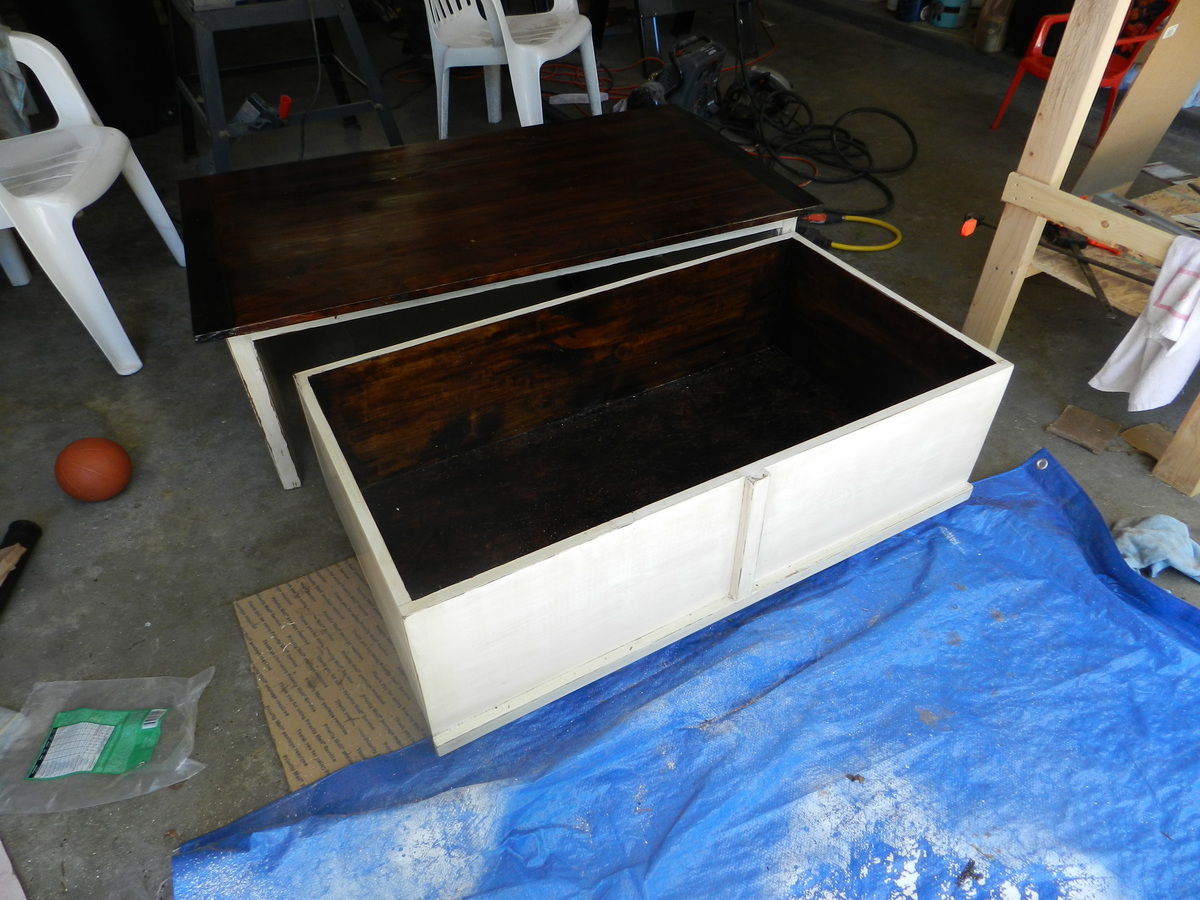
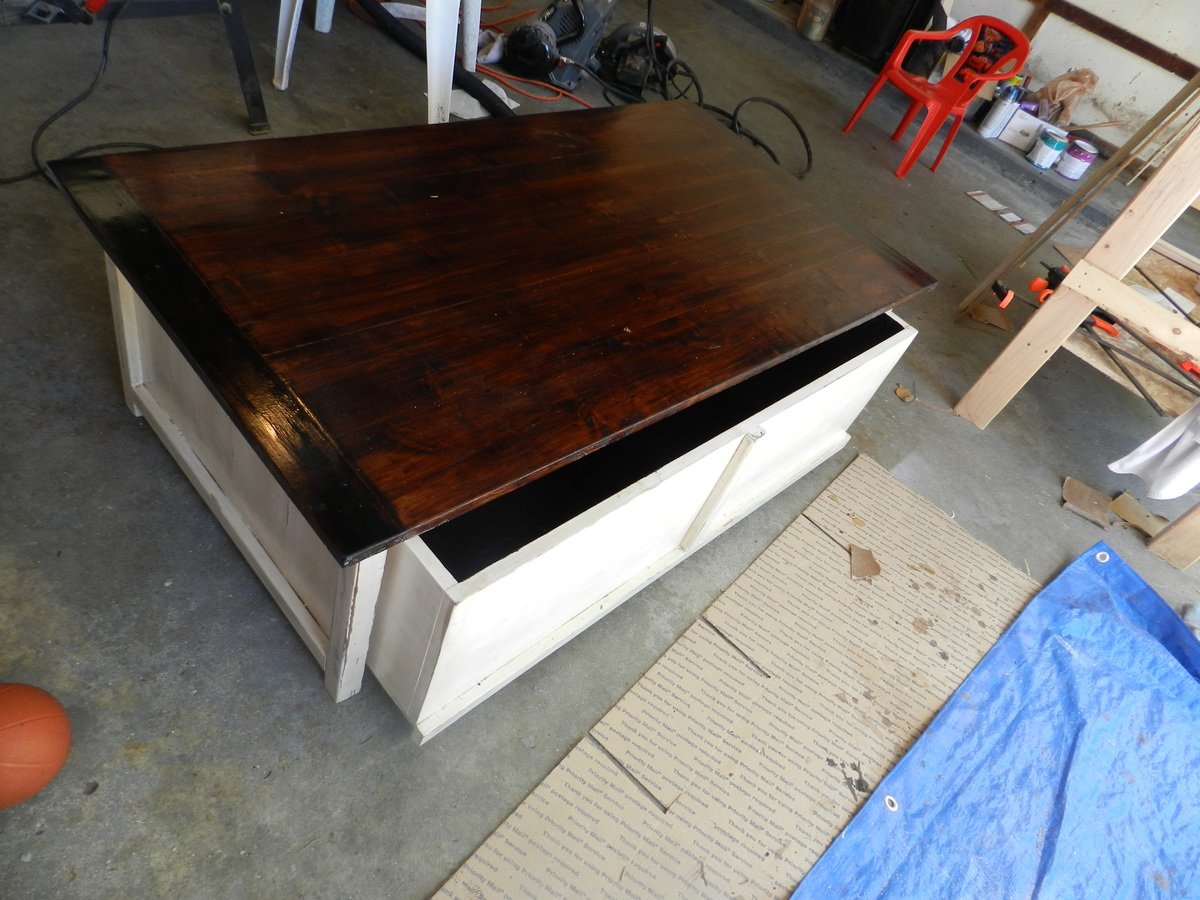
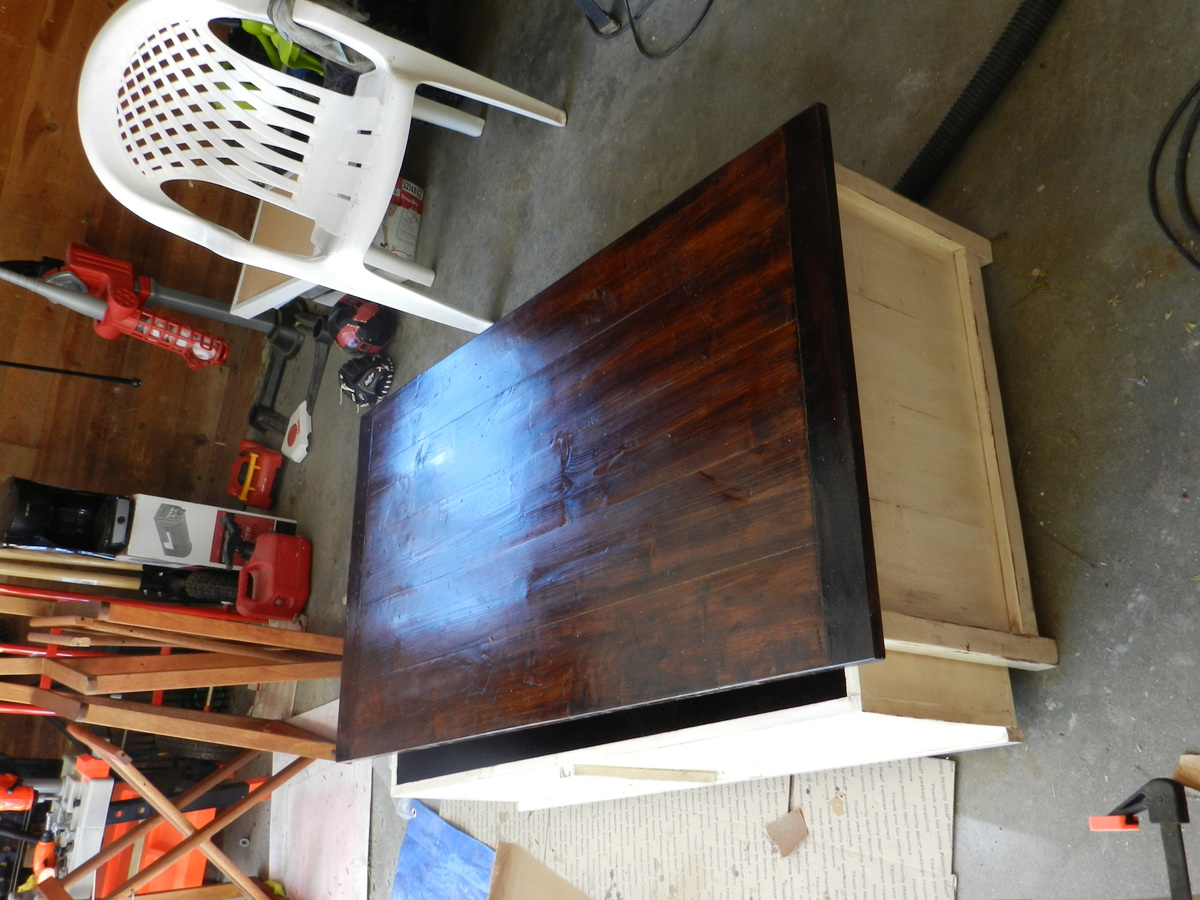
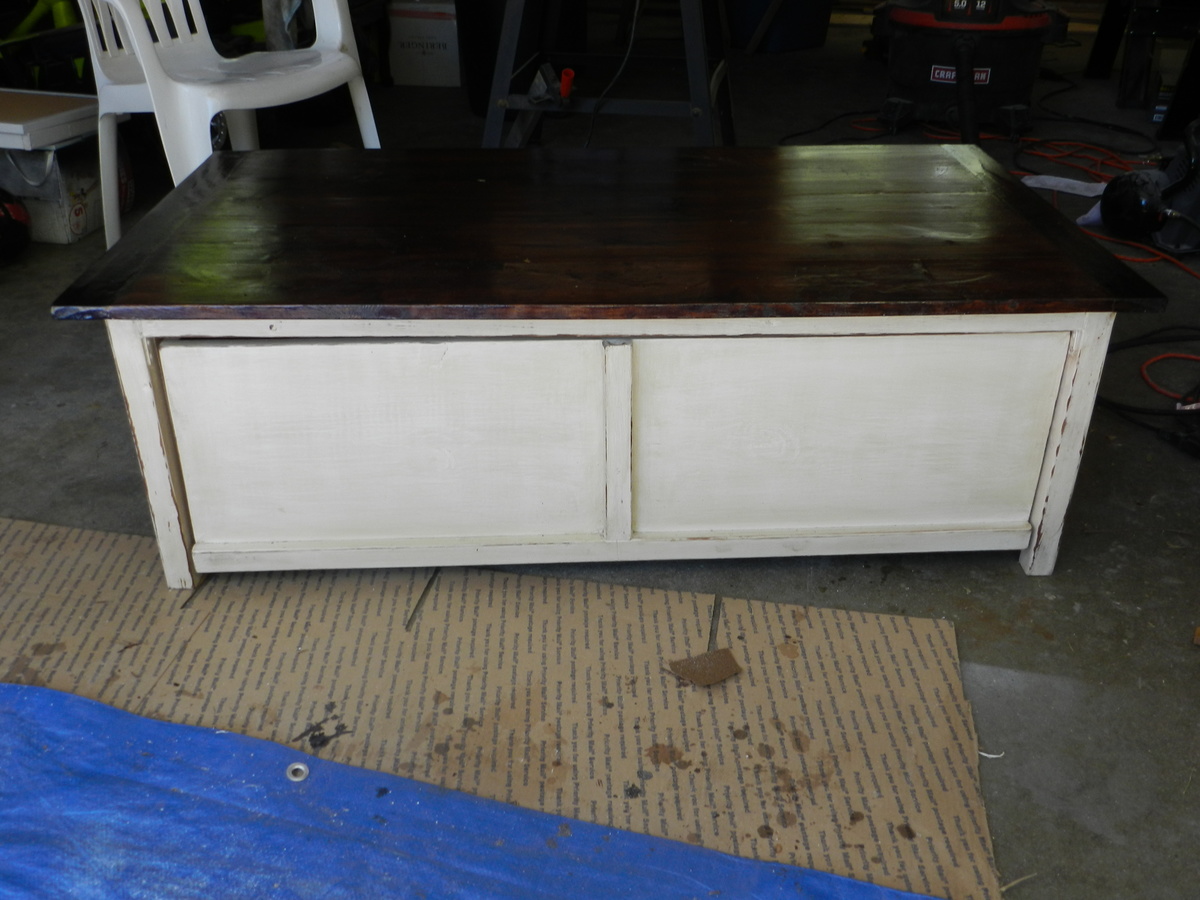
This was my second project ever, so I know it is far from perfect, but I am so happy with it. It is super useful since I have 3 little kids that are so far the only grandchildren from both sides of the family and I have the impression that toys come to our house to reproduce.
I made a mistake on choosing the stain for the top, and had to adapt to what I wanted, but I kinda like the end result, although it is more formal than what I had wanted at first.
It is a gloss mission oak, from miniwax.
I built this without the Kreg, but I have bought one since, so my next project should be better!
The paint is Antique White from Glidden (DUO), distressed until my shoulders could not handle it anymore.
Building is so empowering, I am so happy I found this site! Thanks Ana for all the great work!
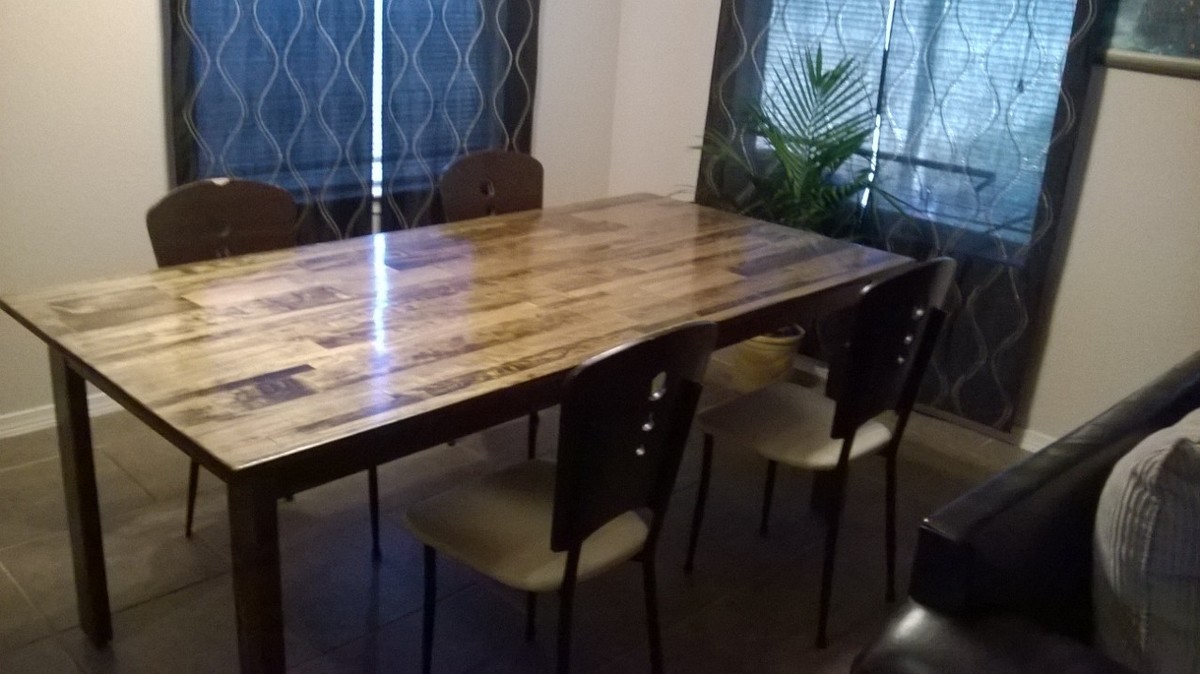
This build was done with all pocket holes. I used some pre-made project boards for the top and joined them with pocket holes and glue. Also I used all pine for this project. The chairs are just old chairs from my previous table. Stained with special walnut and finished with semi-gloss poly and finishing wax. I rubbed and buffed the finish to get the nice shine. This project took a while because I decided to let the poly cure for about a week before finishing and placing in my dining area.
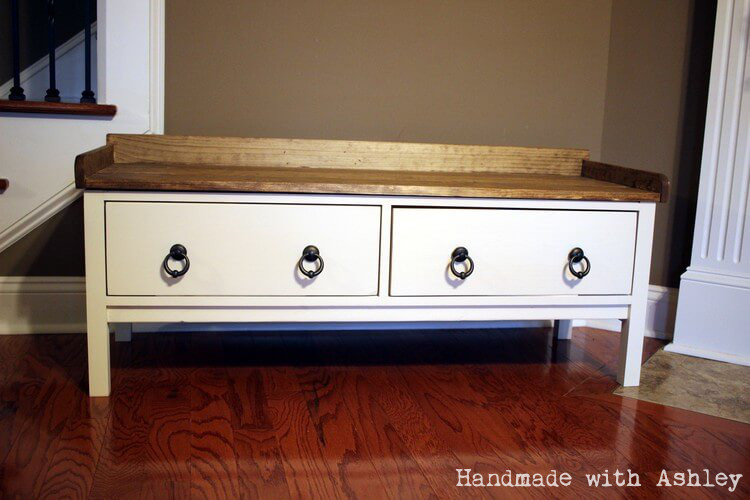
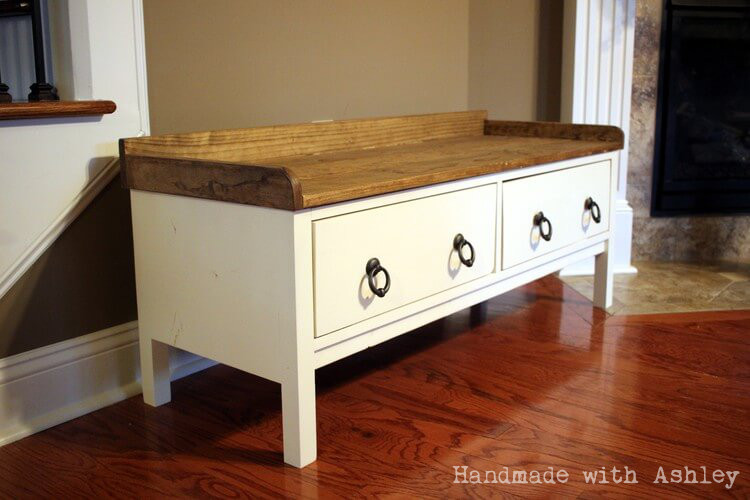
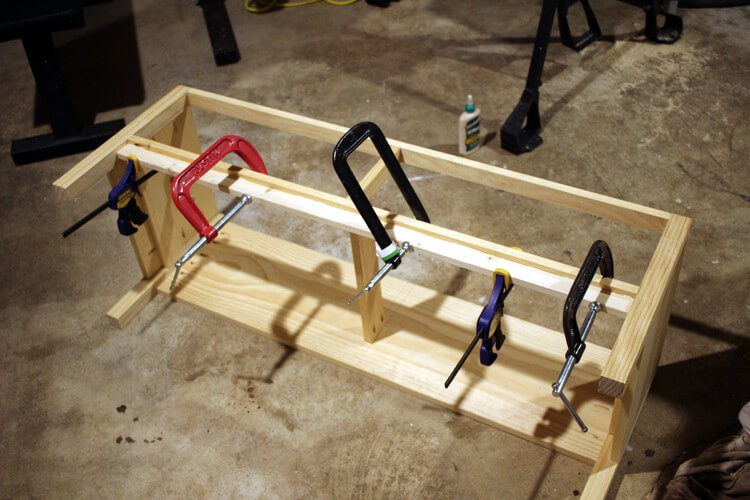
This weekend I finished building the Alexia Bench. :D This is my entry for this month's Fab Furniture Flippin' Contest sponsored by D. Lawless Hardware :)
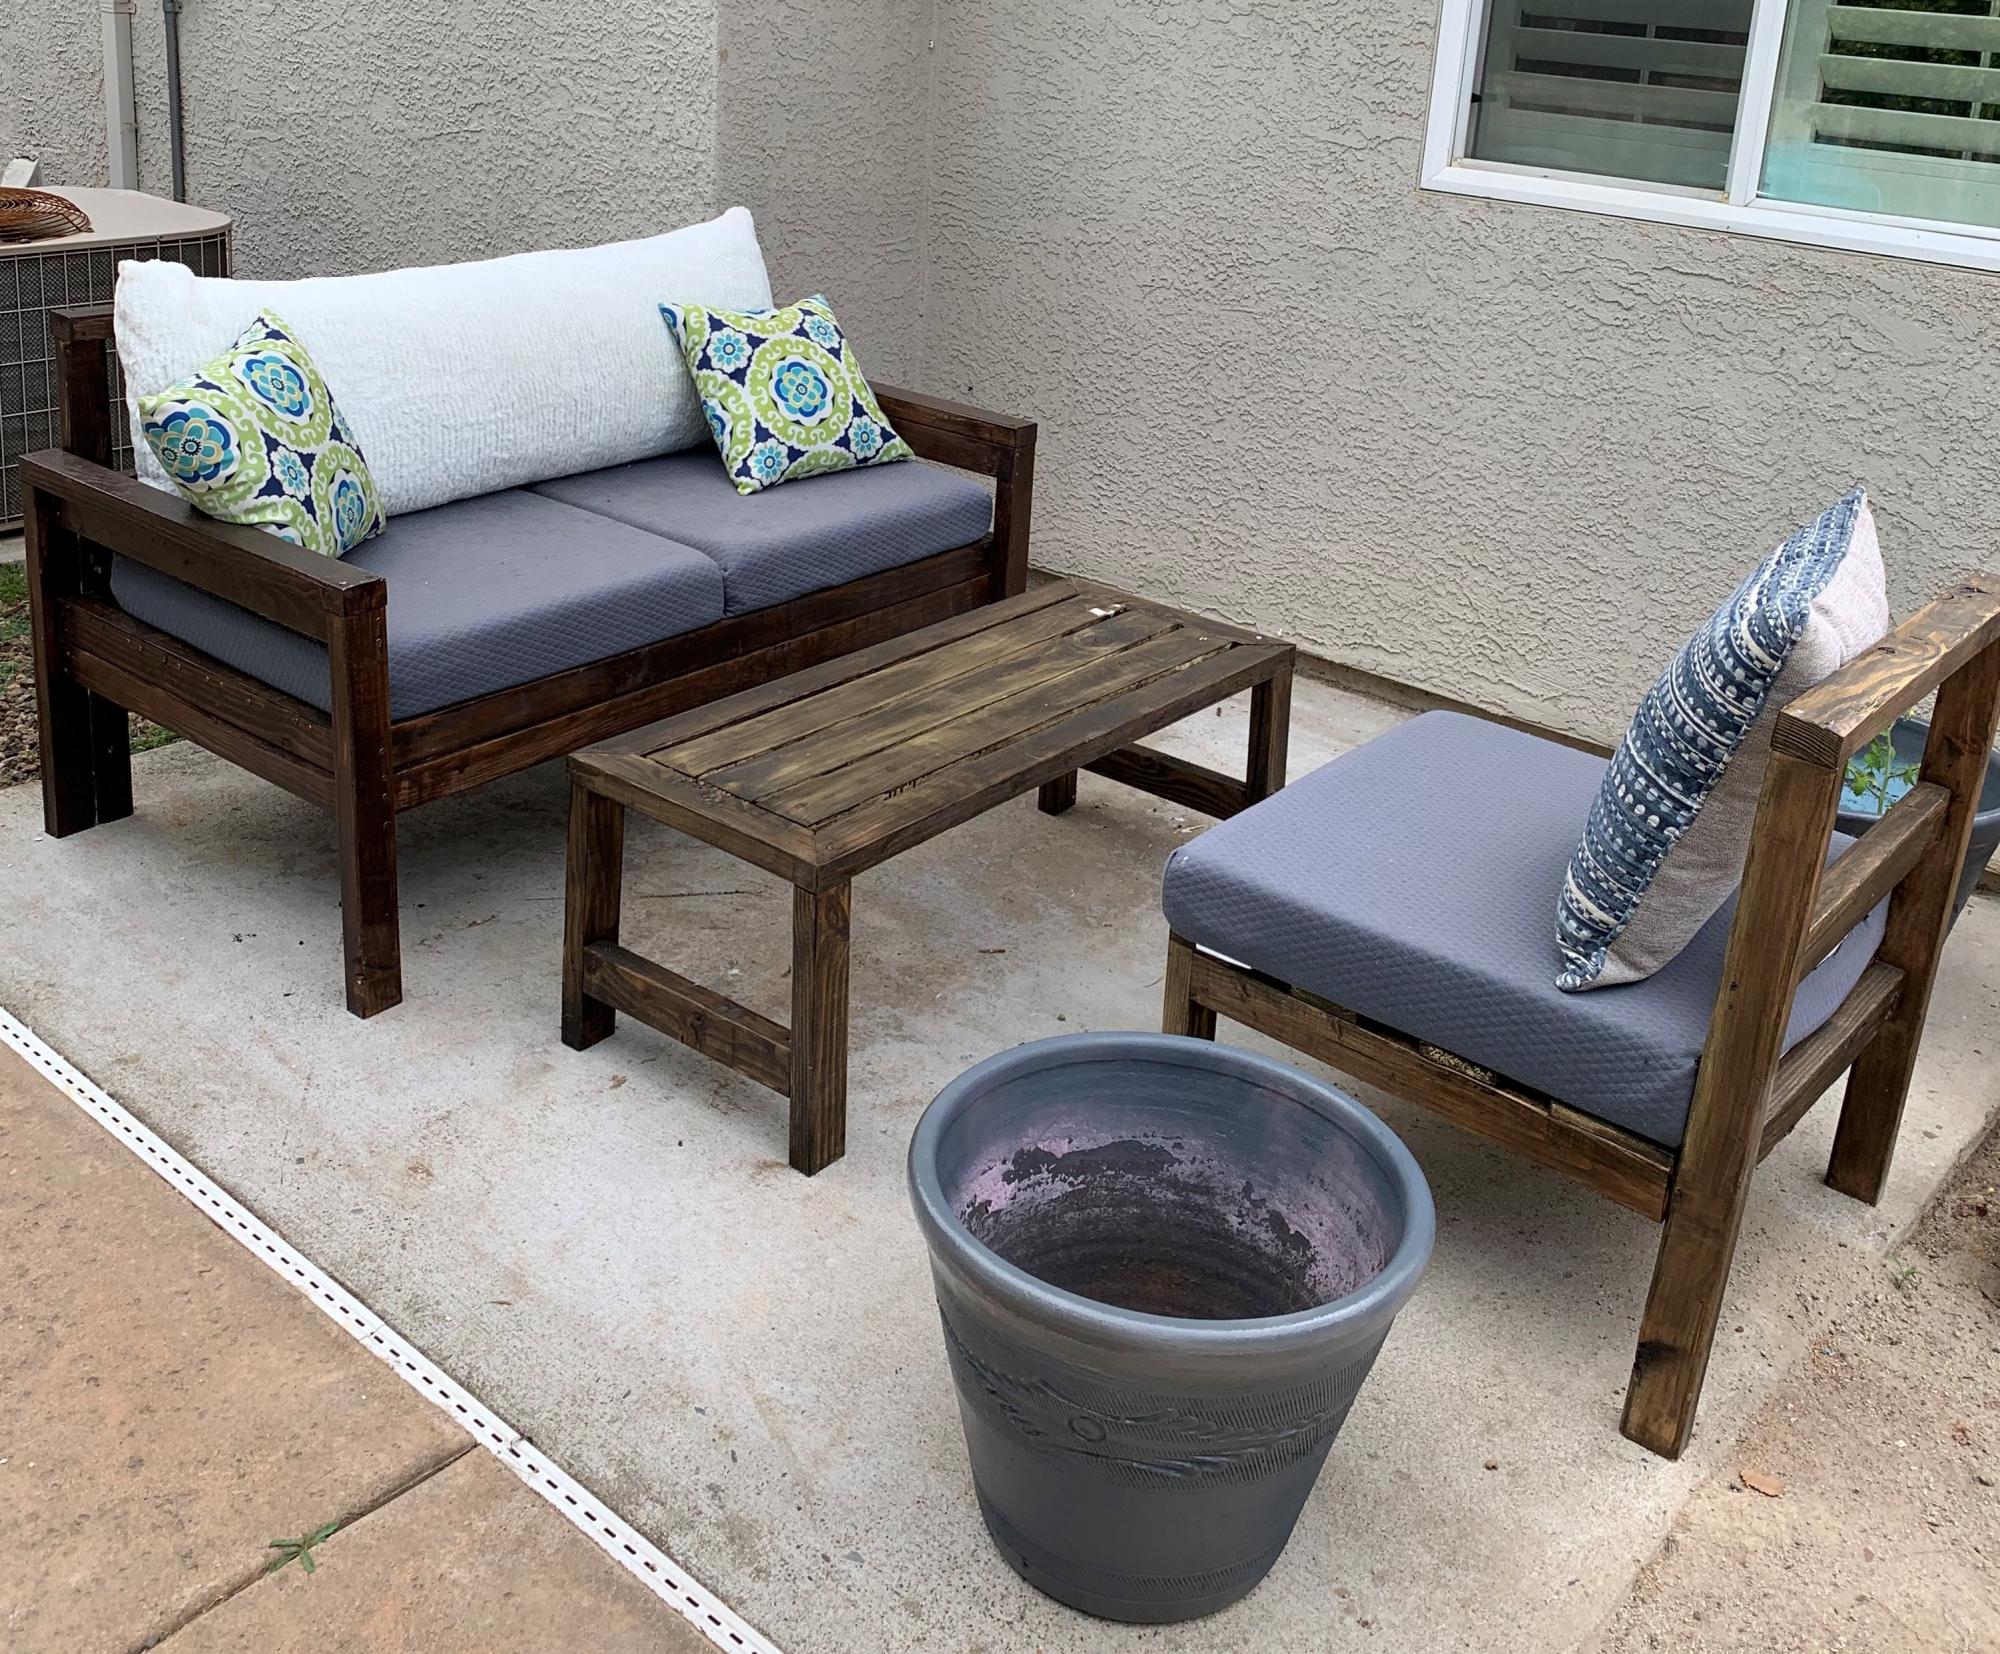
Easy great design... Fit our space where old spa used to be.
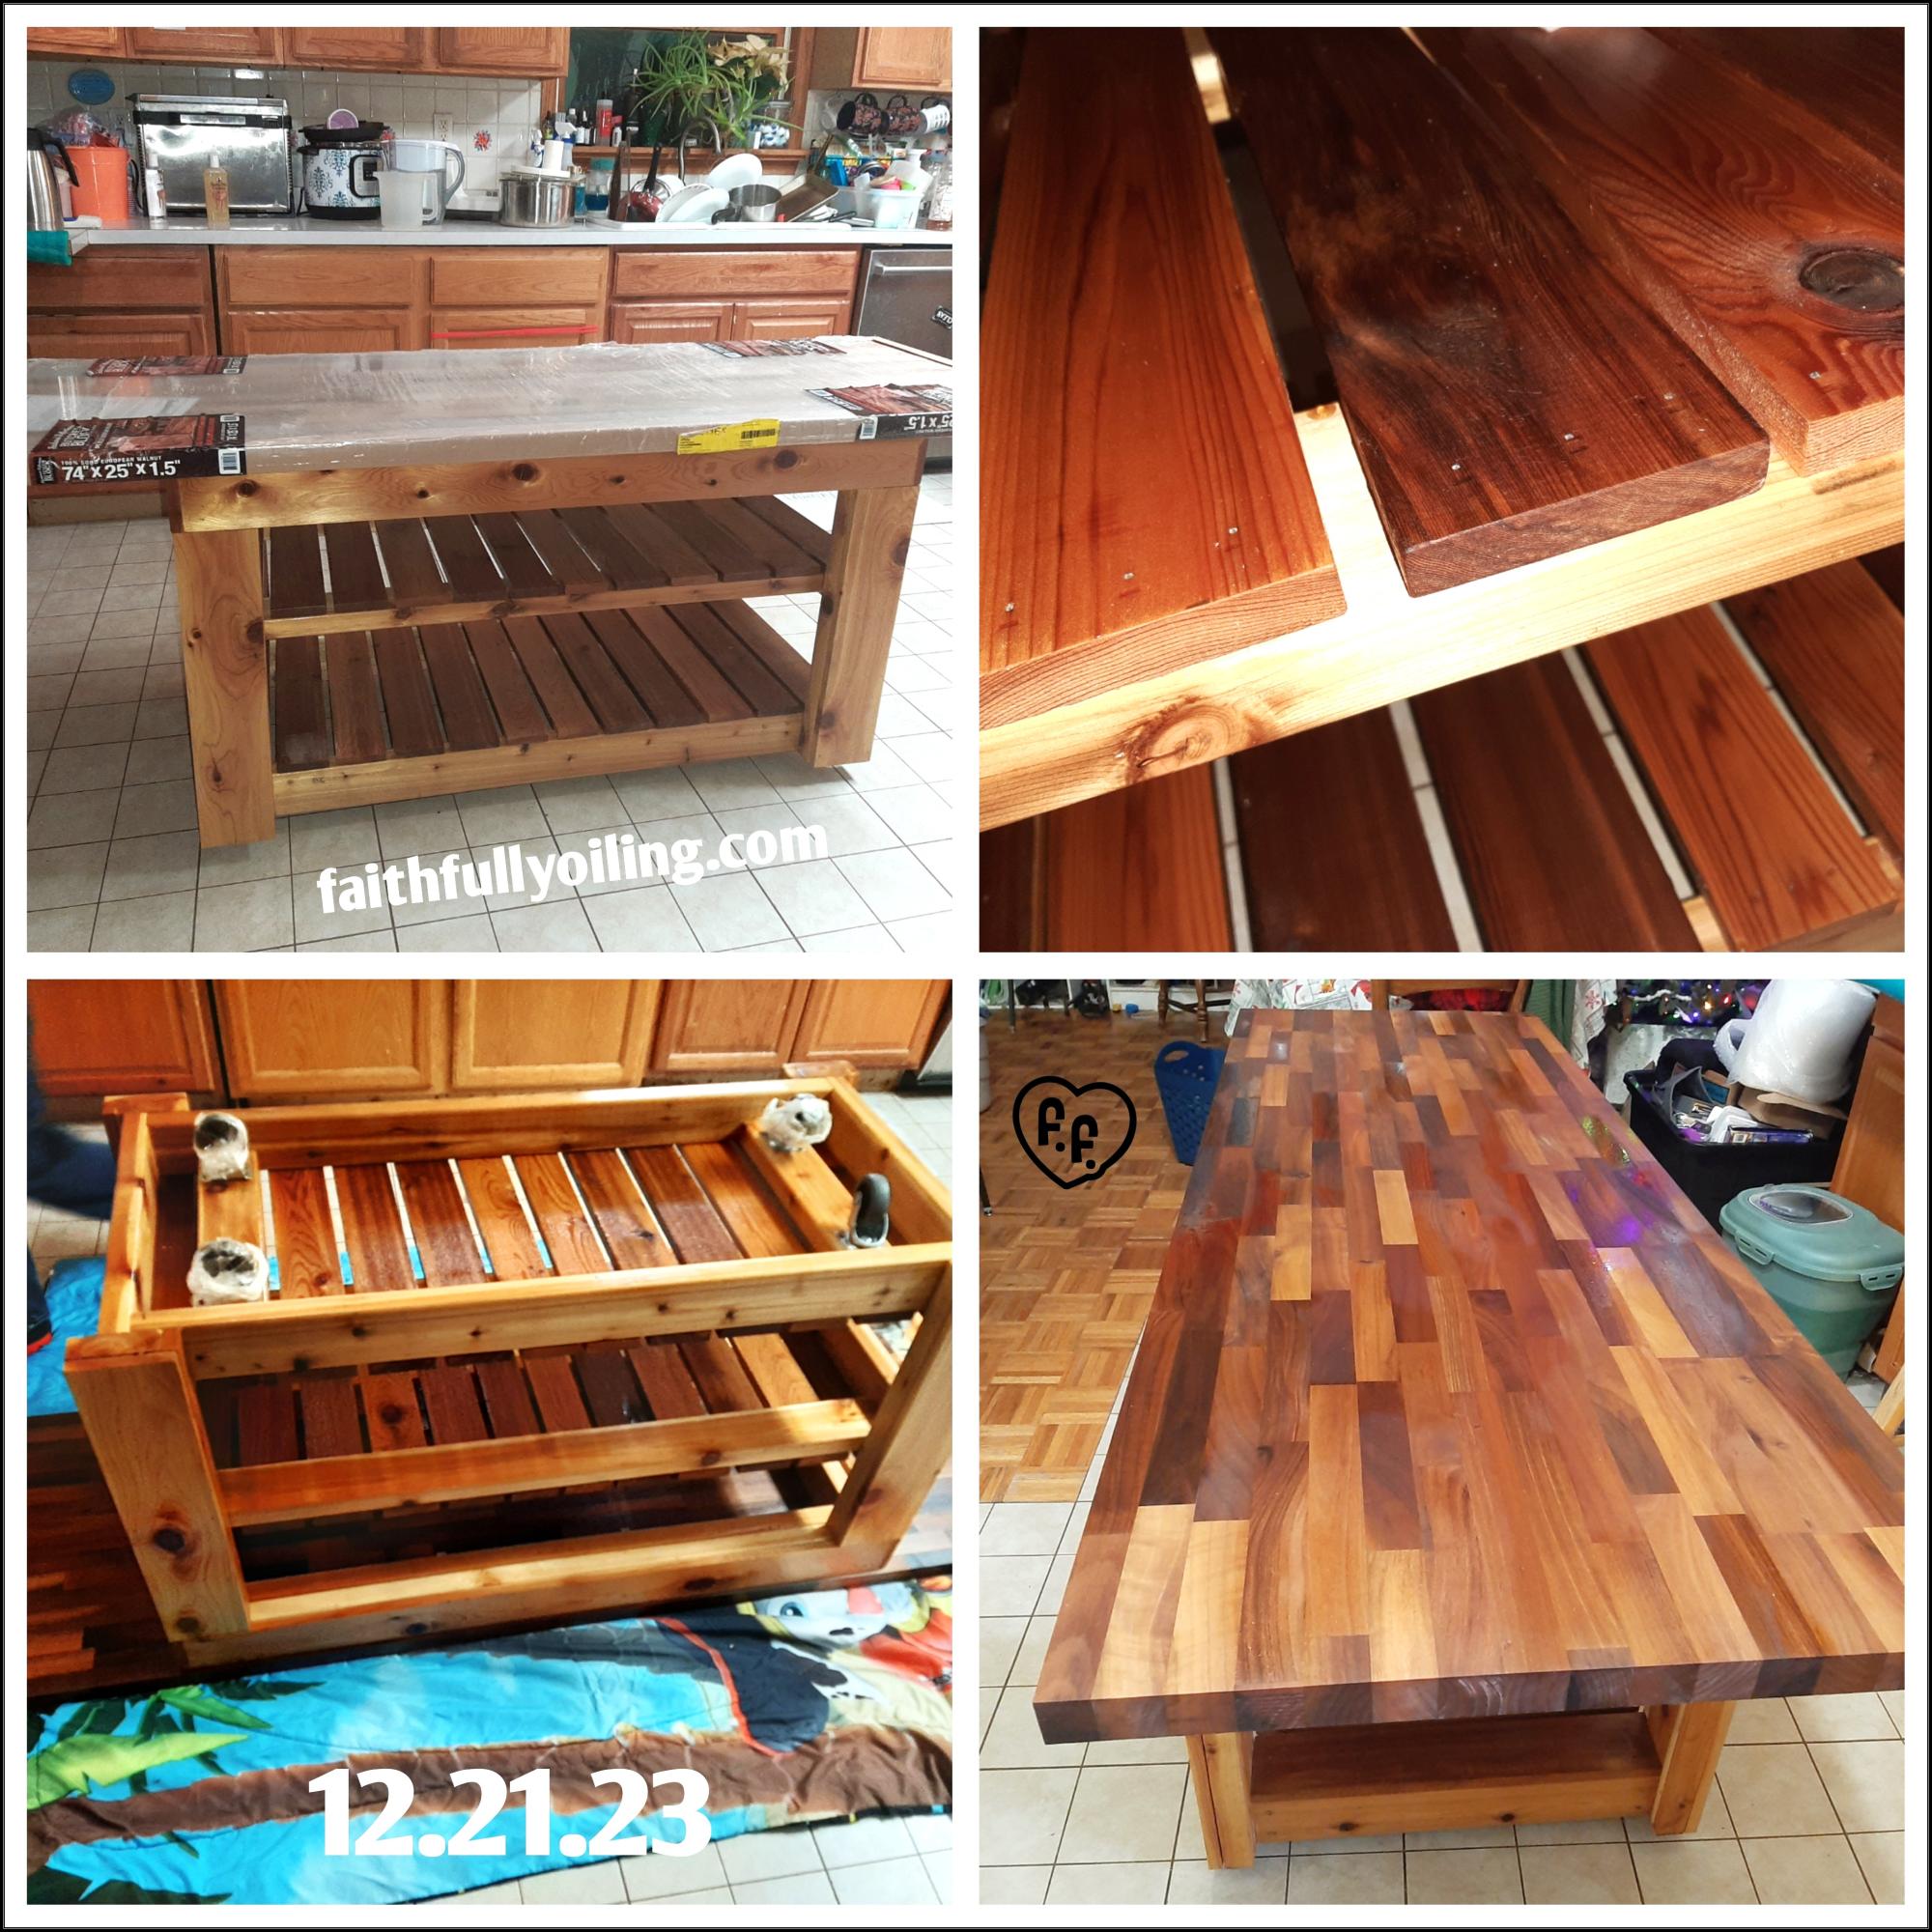
I really needed a kitchen island. That would work for me & last.
We, my husband & I, based our plan off of the Easy Kitchen Island Plans. I printed the plans. Then modified a few items. Originally I was gonna do a 4ftx25" but my butcher block we found was 6ft. So we left it with 6ft. My barstools slip under the overhang so kids can pull them out & use when needed but not be in the way.
We also made it custom to my height for mixing & kneading dough. The selves are different to work.with my tupperware containers. (Goal is to get all the same eventually).
We used cedar & a little pine for the main structure. The top is European walnut butcher block.
It's on wheels. So I can move it out of the way if needed.
We did seal the sides (kids & messy cook). The shelves & top I used butcher block oil & conditioner. Ever month I add a thin coat of conditioner to the top.
I love that I have so much room now to create.
Thank you so much for the inspiration!
Faith & Jonathan Flesher
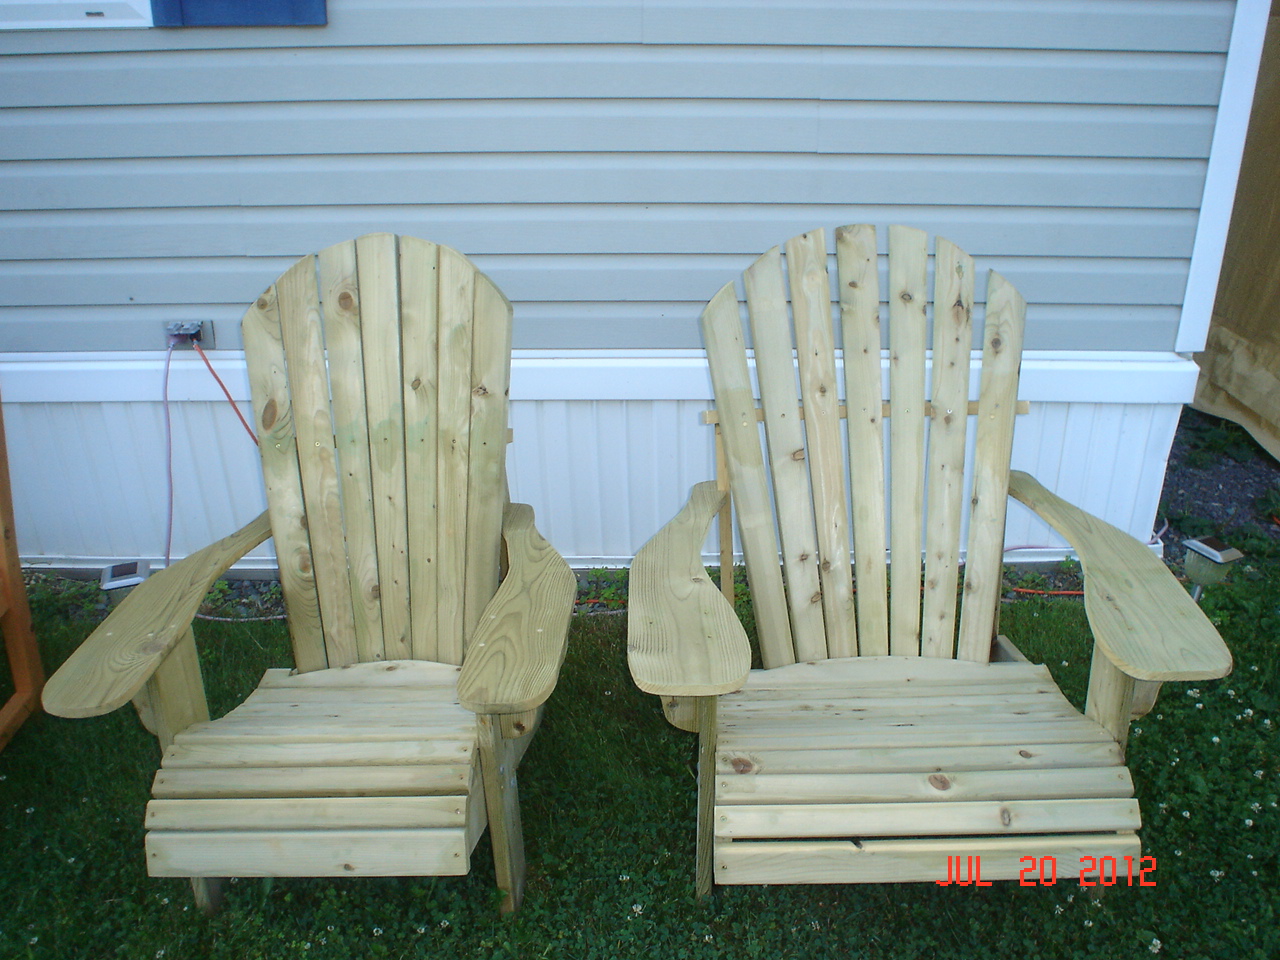
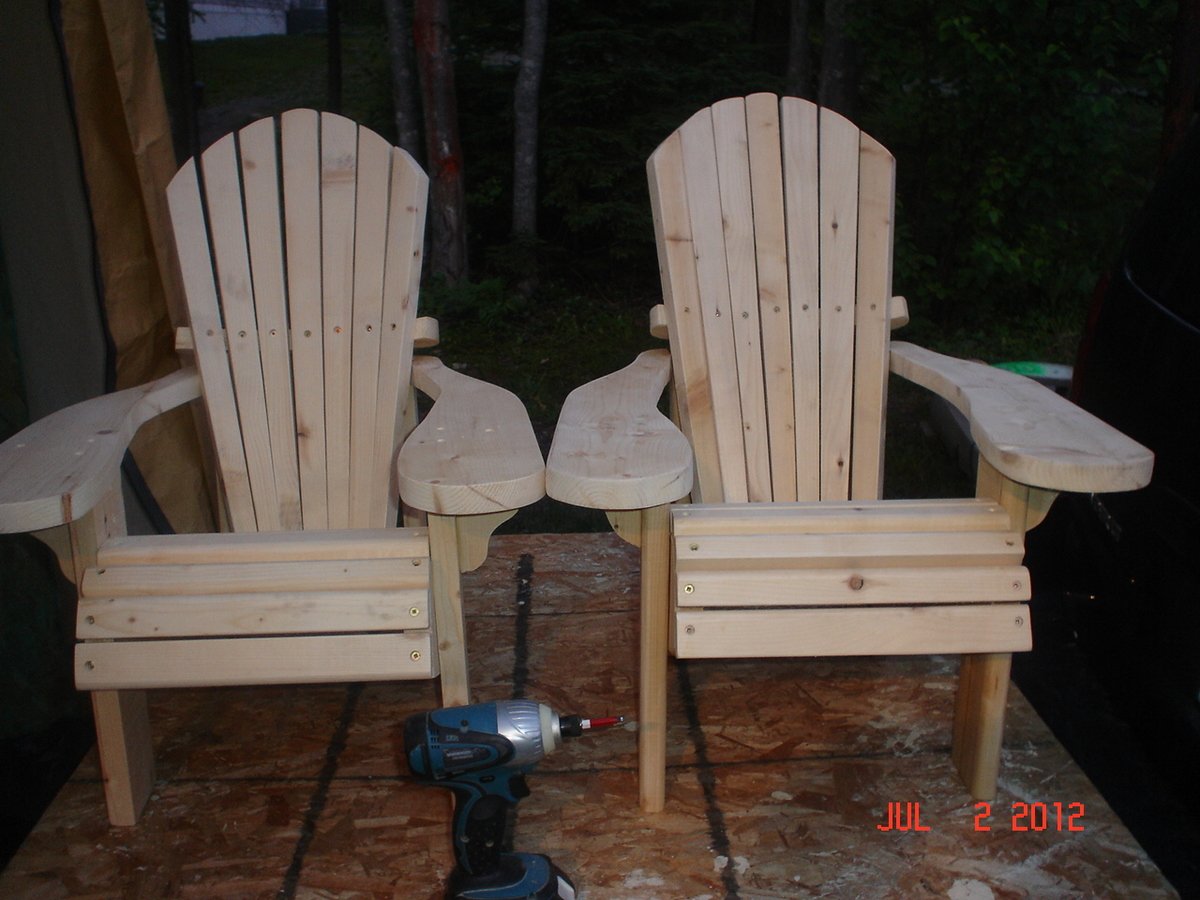
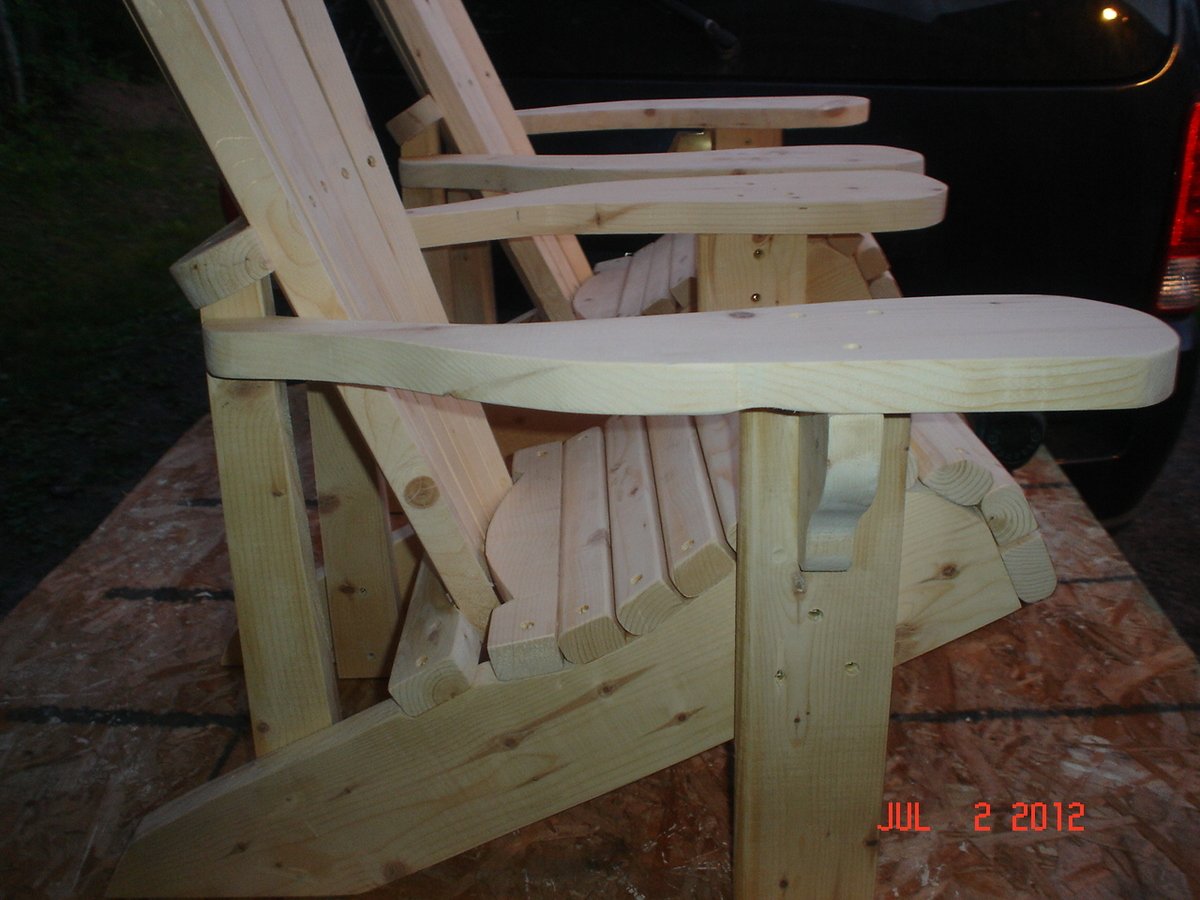
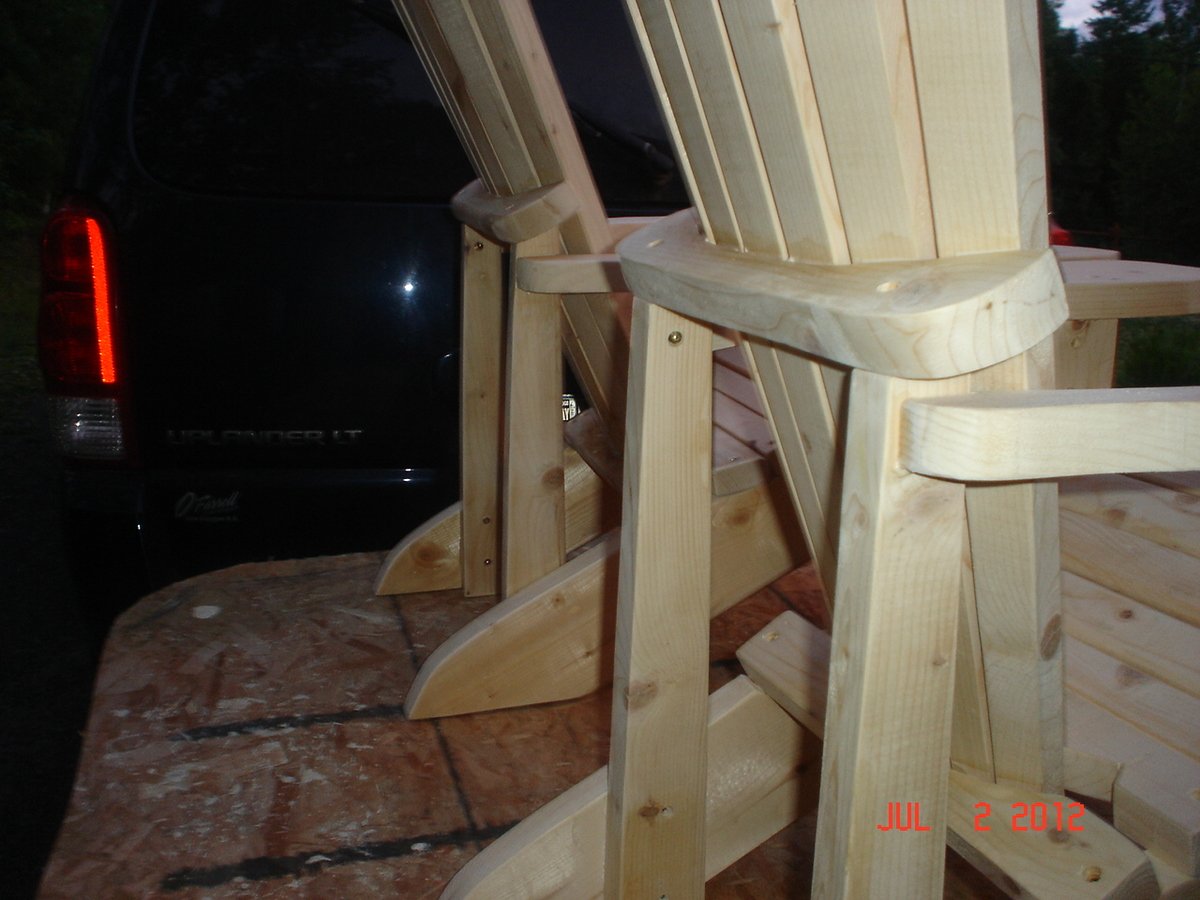
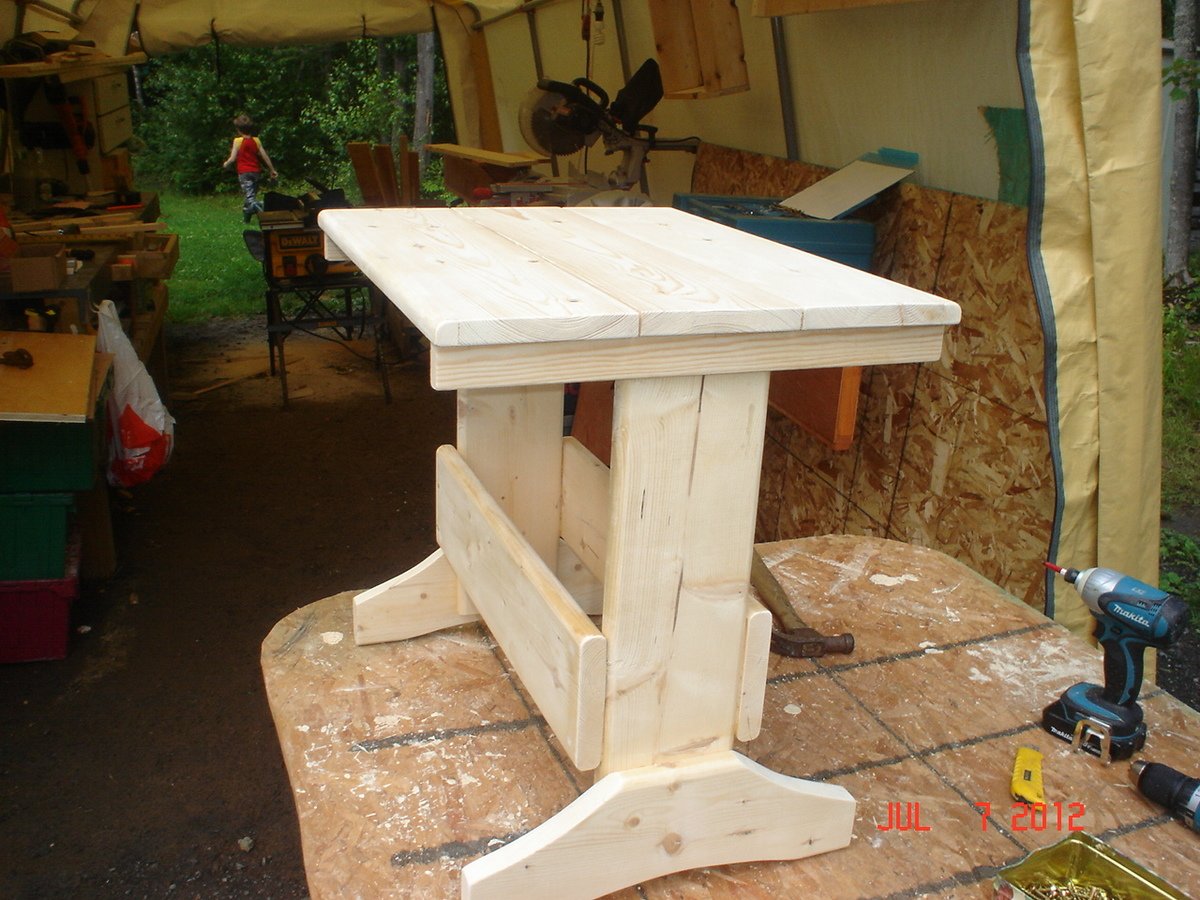
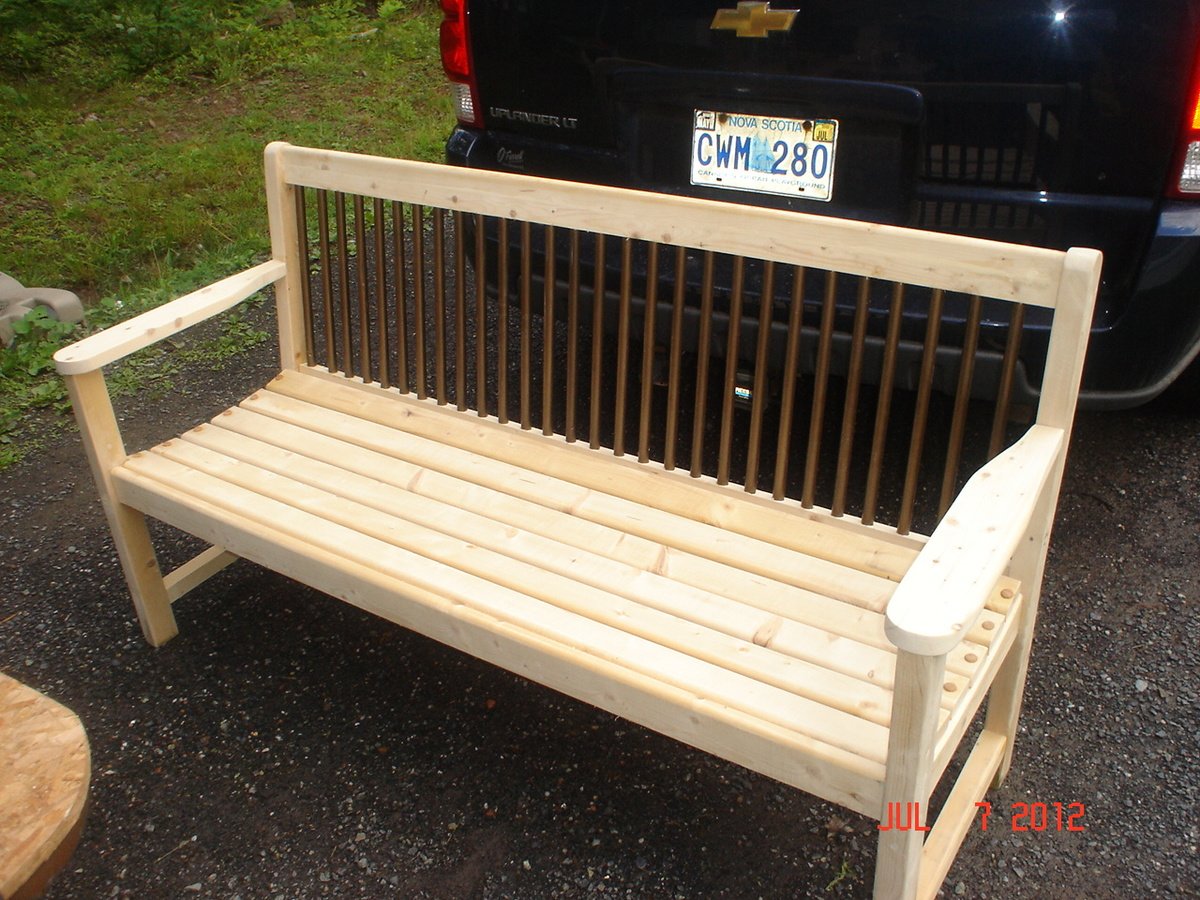
Here are some of the outdoor projects that I do to make extra money, Adirondack chairs...adult and kids sizes....patio tables....garden benches, used old pipes for the slats!!!

Thu, 08/09/2012 - 04:56
Wow, really nice and I love the idea for the back slats! Great job!
Tue, 08/14/2012 - 14:52
would you consider posting your plans?? they look really great & comfy!
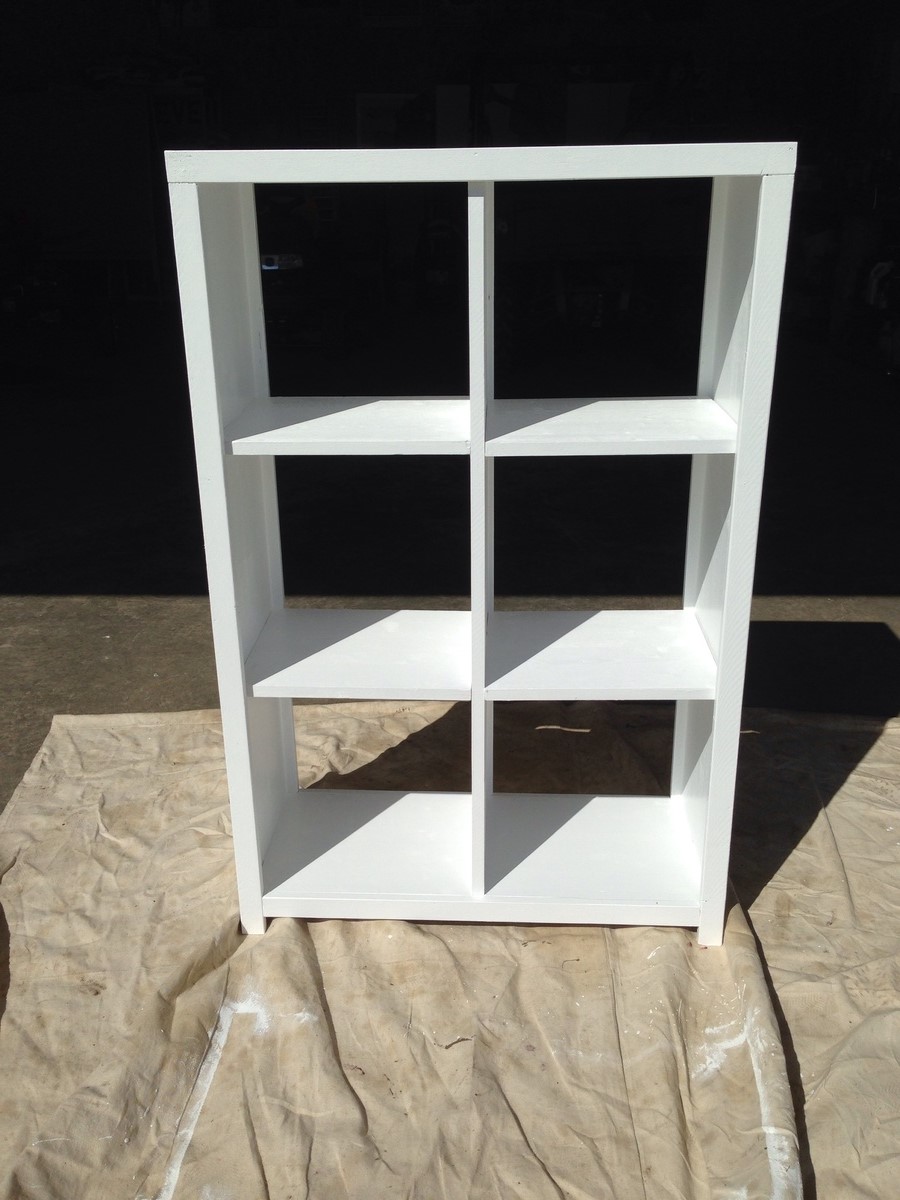
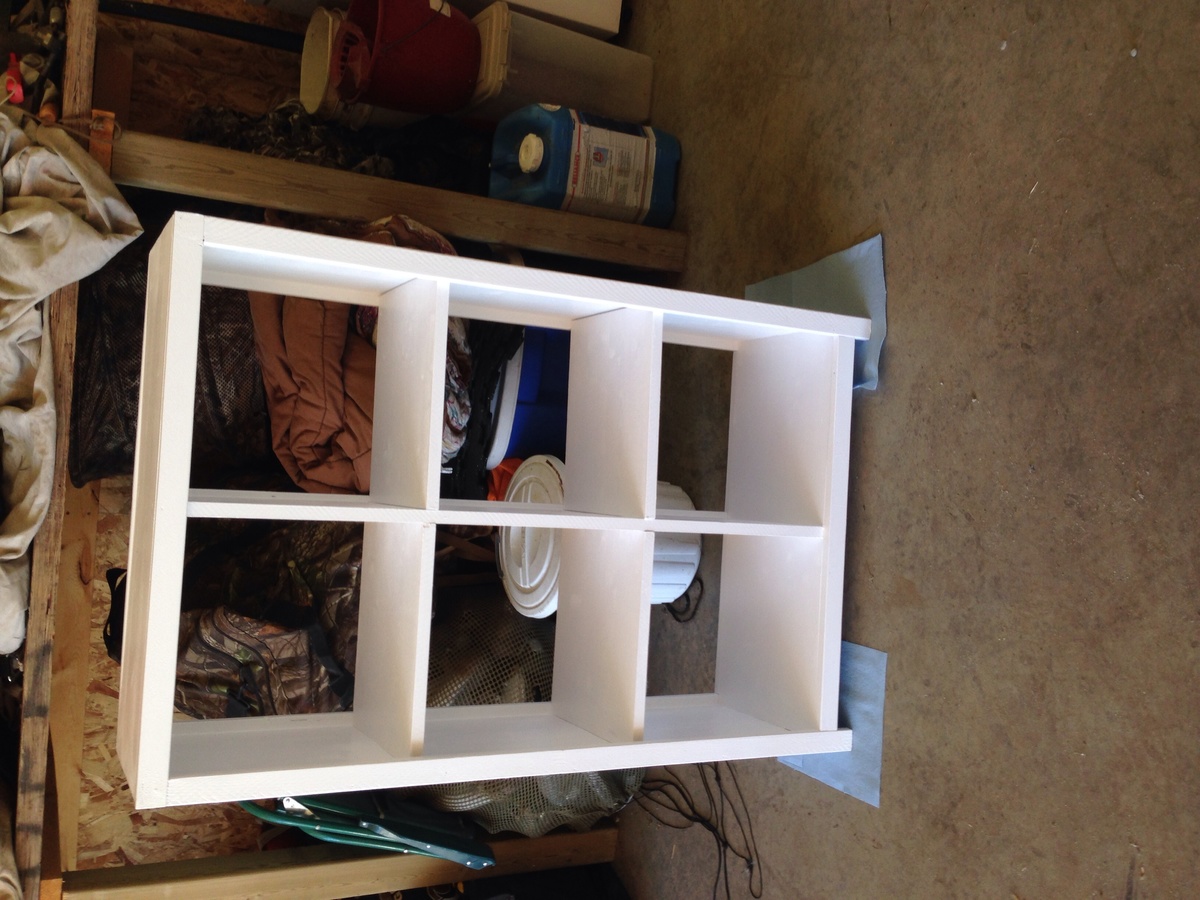
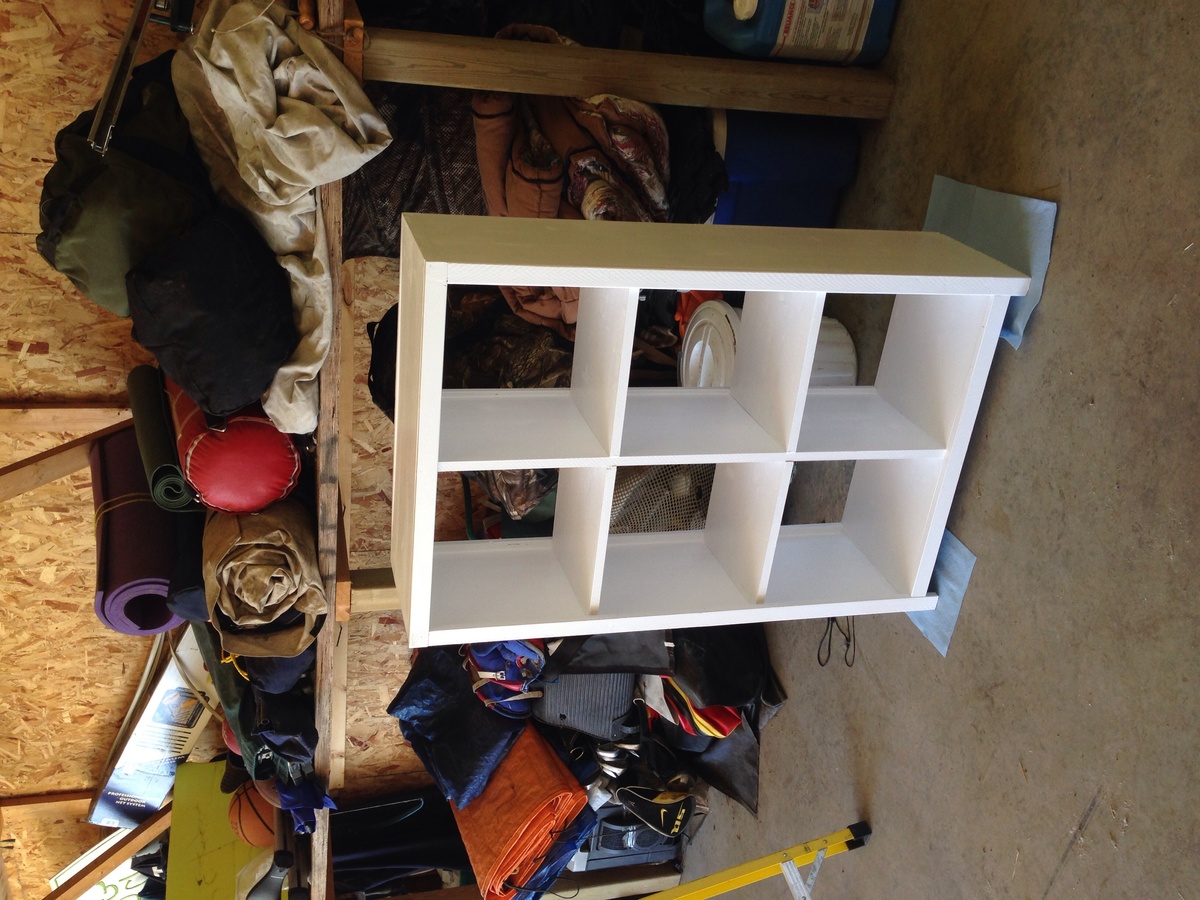
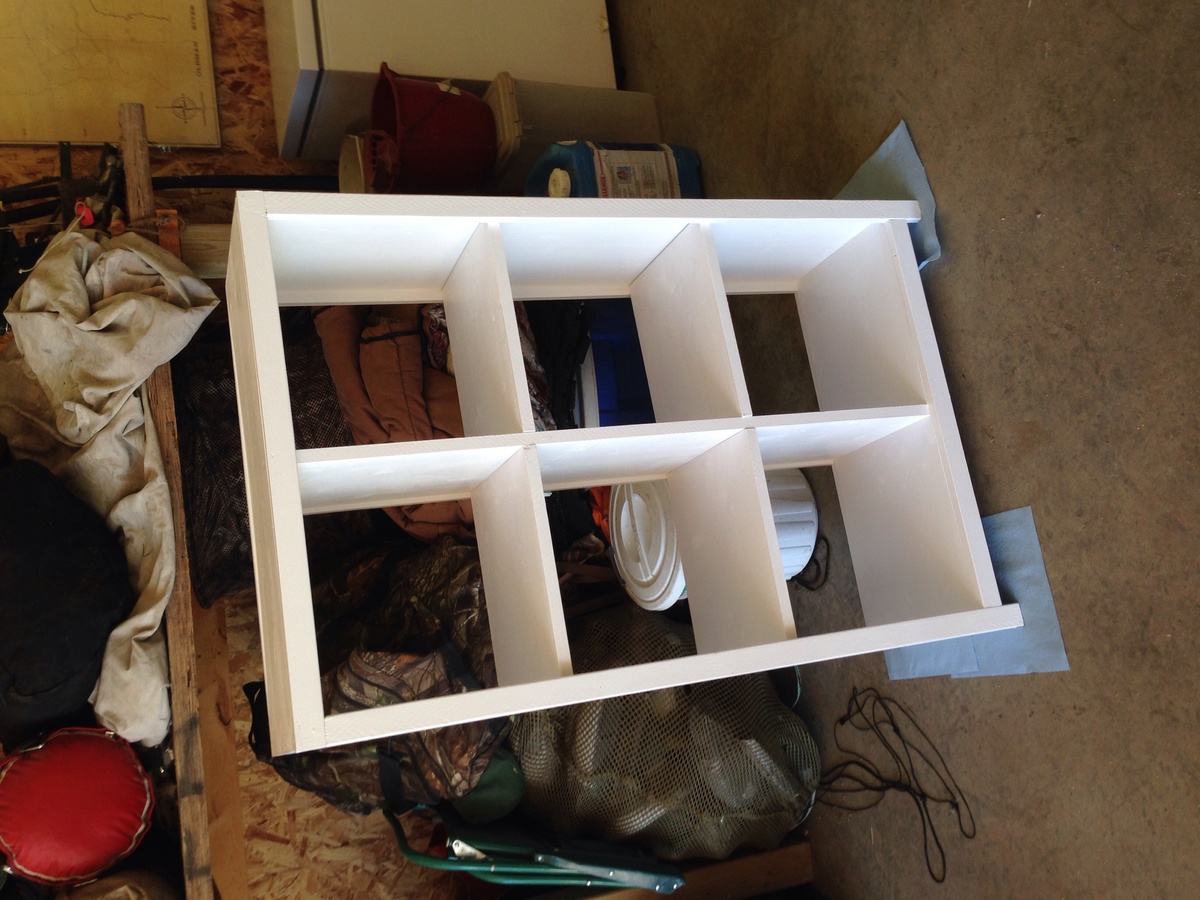
This was my first project. It is for our nursery. Painted white to match the crib and dresser. So much fun. Plan was great and very easy to follow. Thanks to the other brag post which mentioned there was a missing cut for the box (bottom shelf). 28 3/4. I used countersink screws with a 1/2" countersink drill bit. I also used shelf pins to secure the shelf. With the paint I noticed the shelfs were very snug. I would probably take off 1/4" off the shelf size if I built it again. Can't wait for the next project! Thanks.
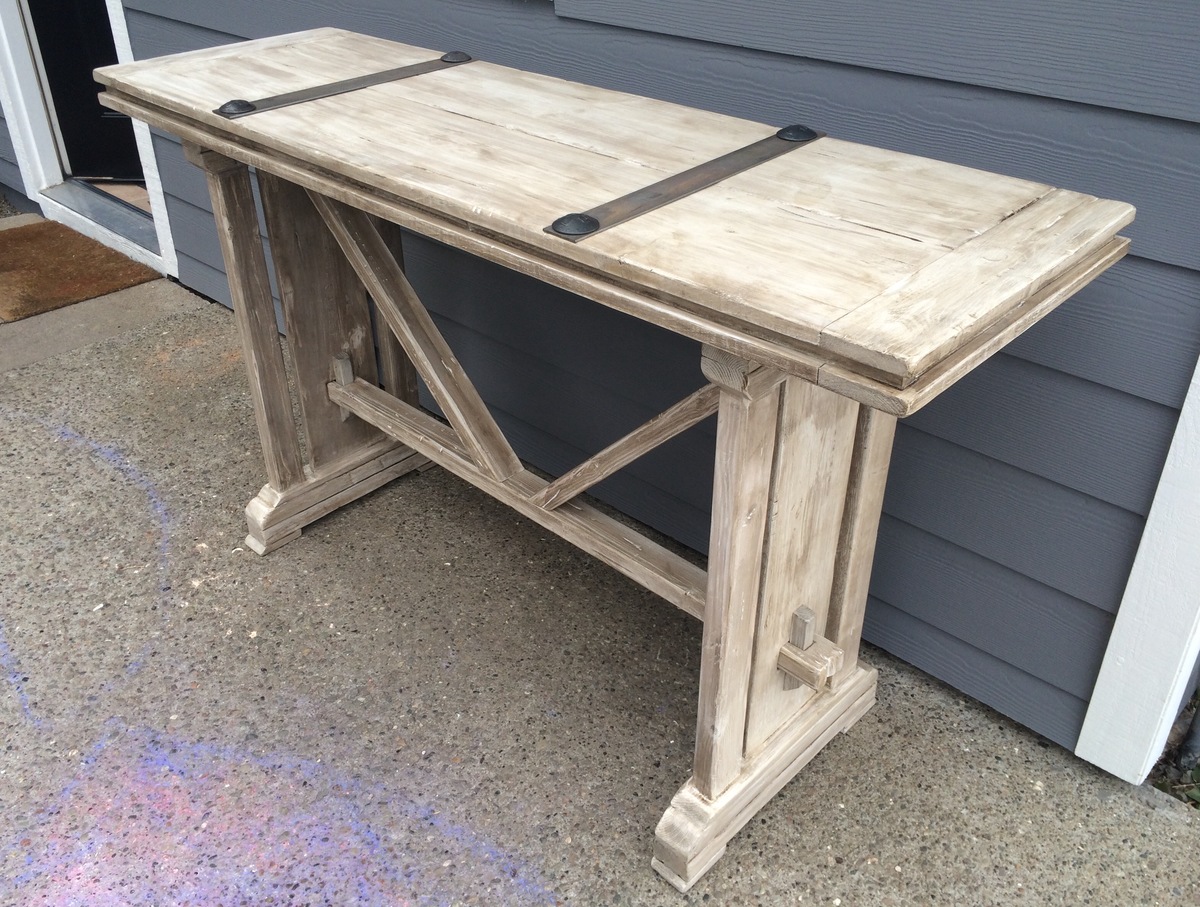
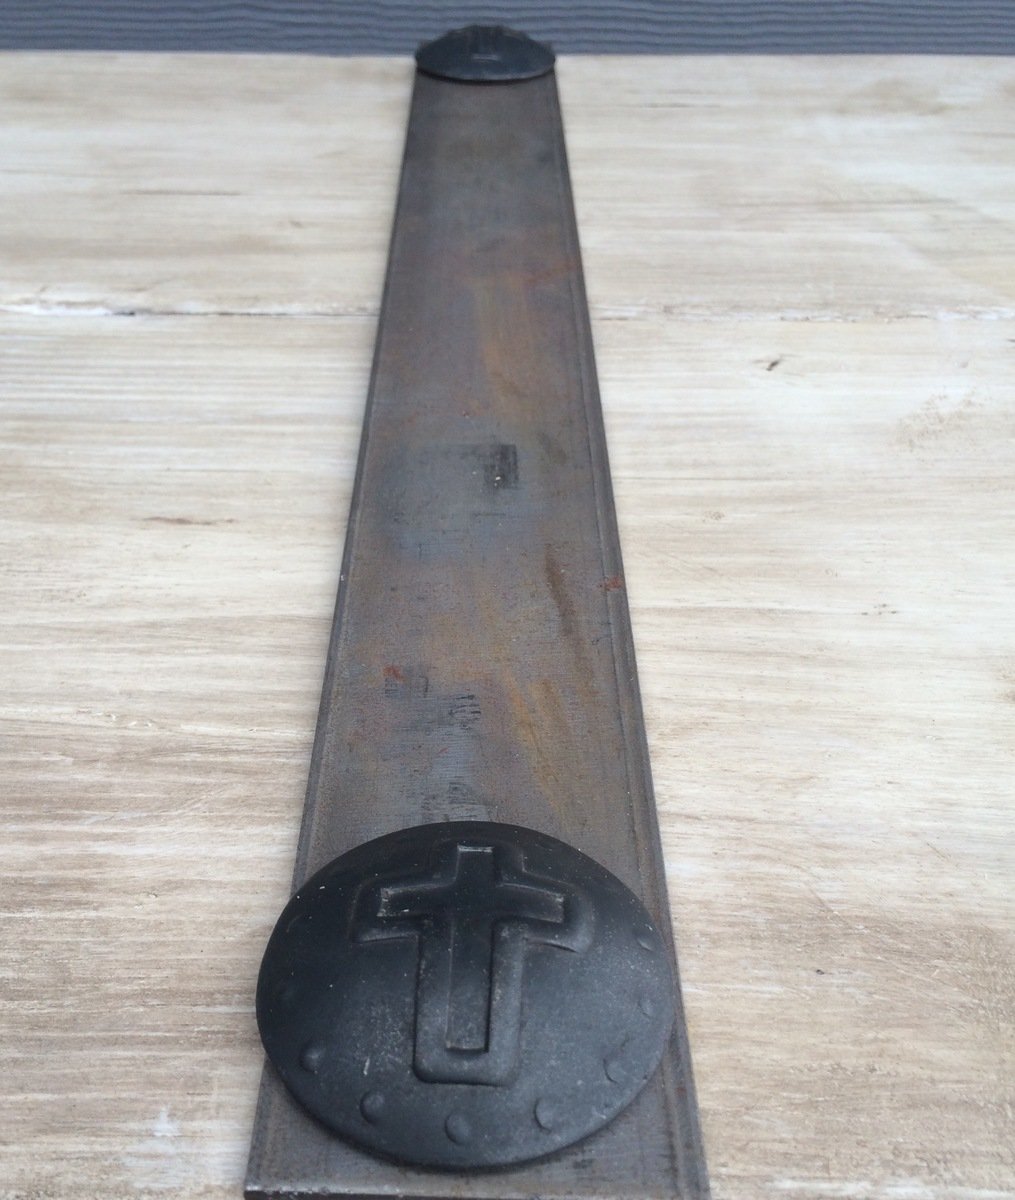
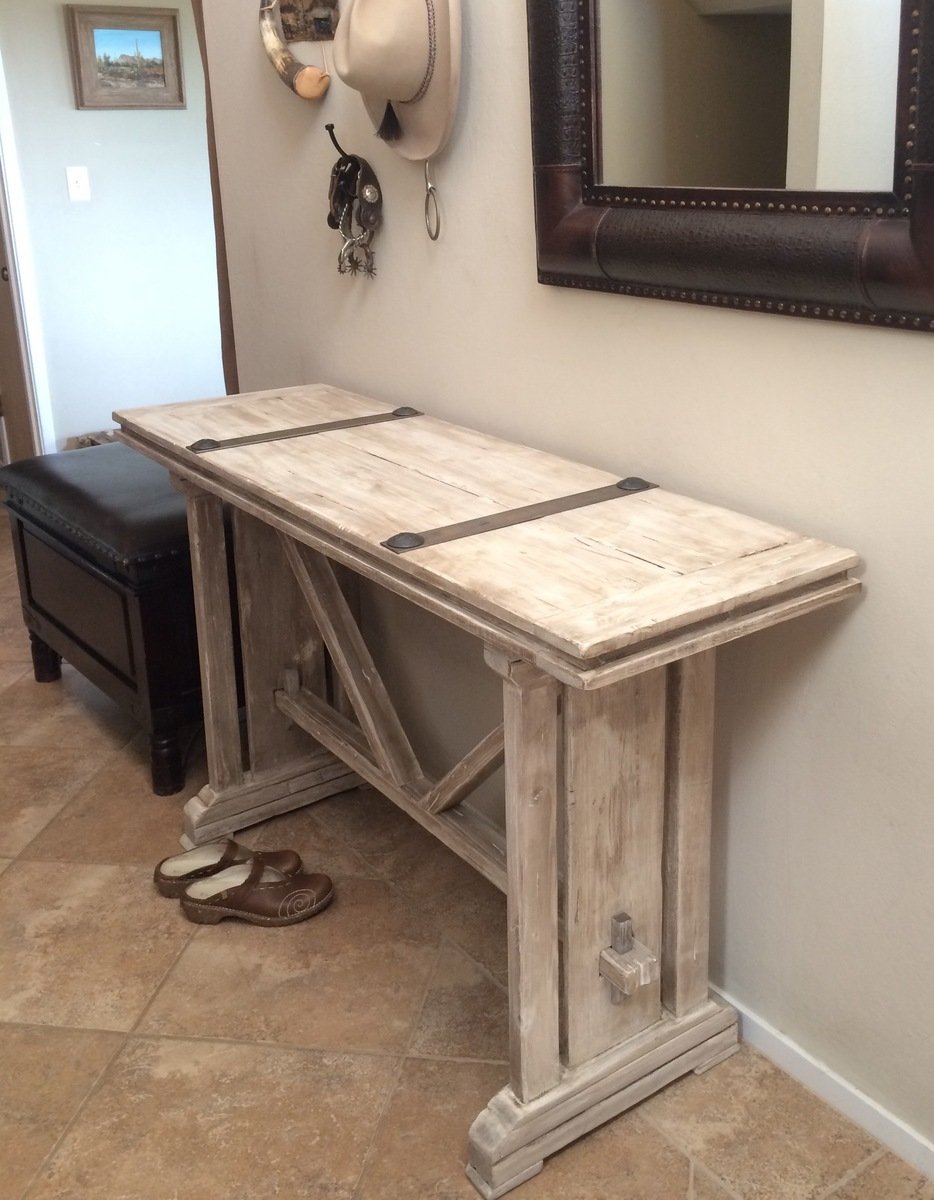
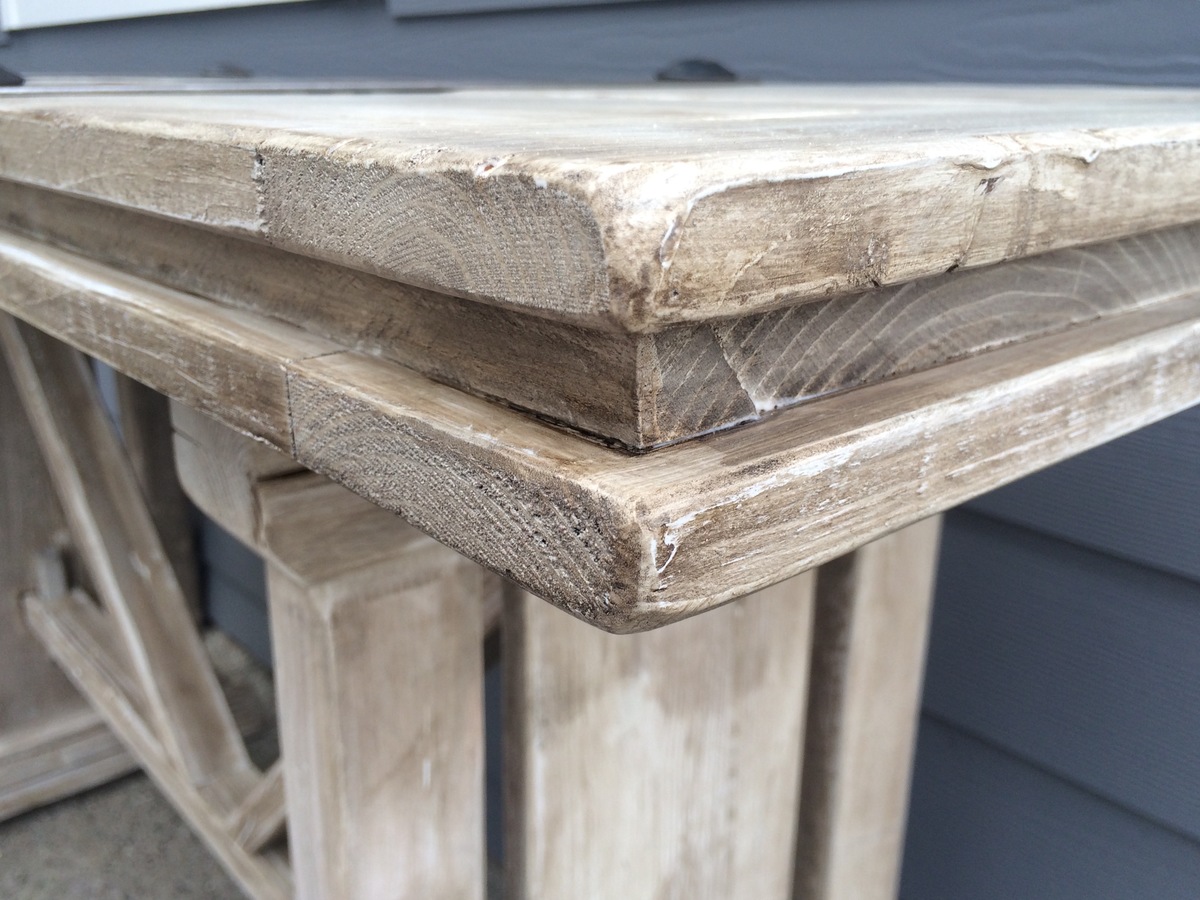
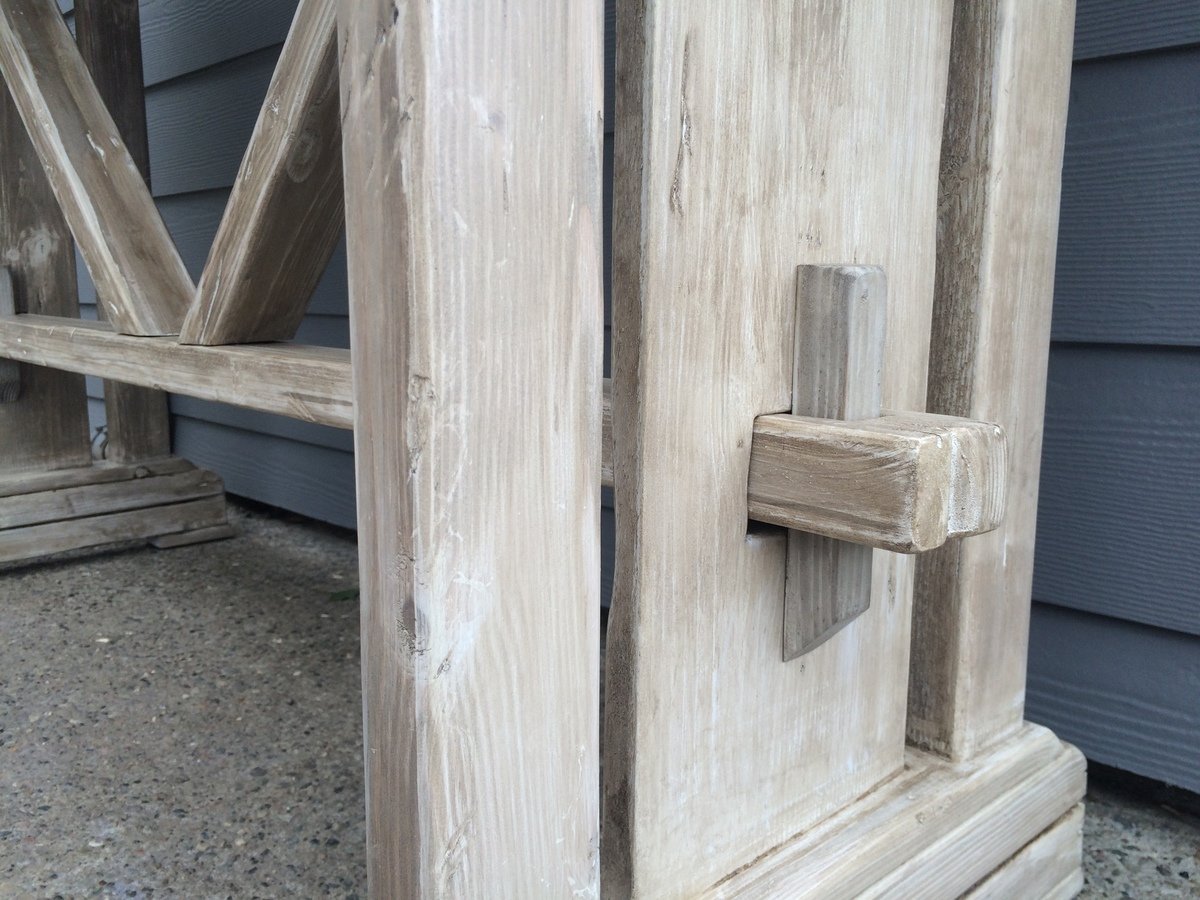
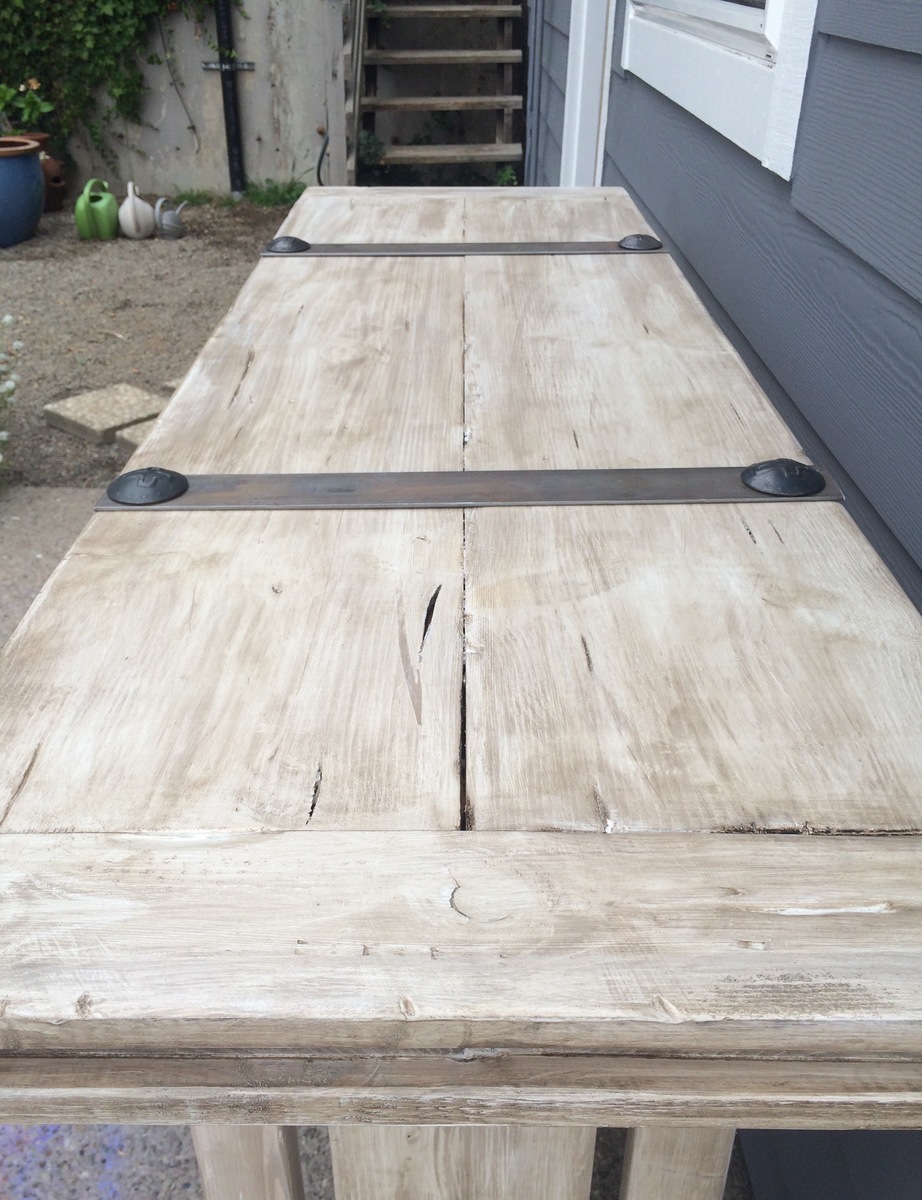
Built this entry table as a gift for my aunt. She has a beautiful Spanish style home, and I wanted to create a piece that looked as though it would have come from one of our California Spanish missions. I used the Honey Bear Lane staining technique. I used HD pine lumber and accented with metal straps from HD and clavos. This was a challenging but very fun project!
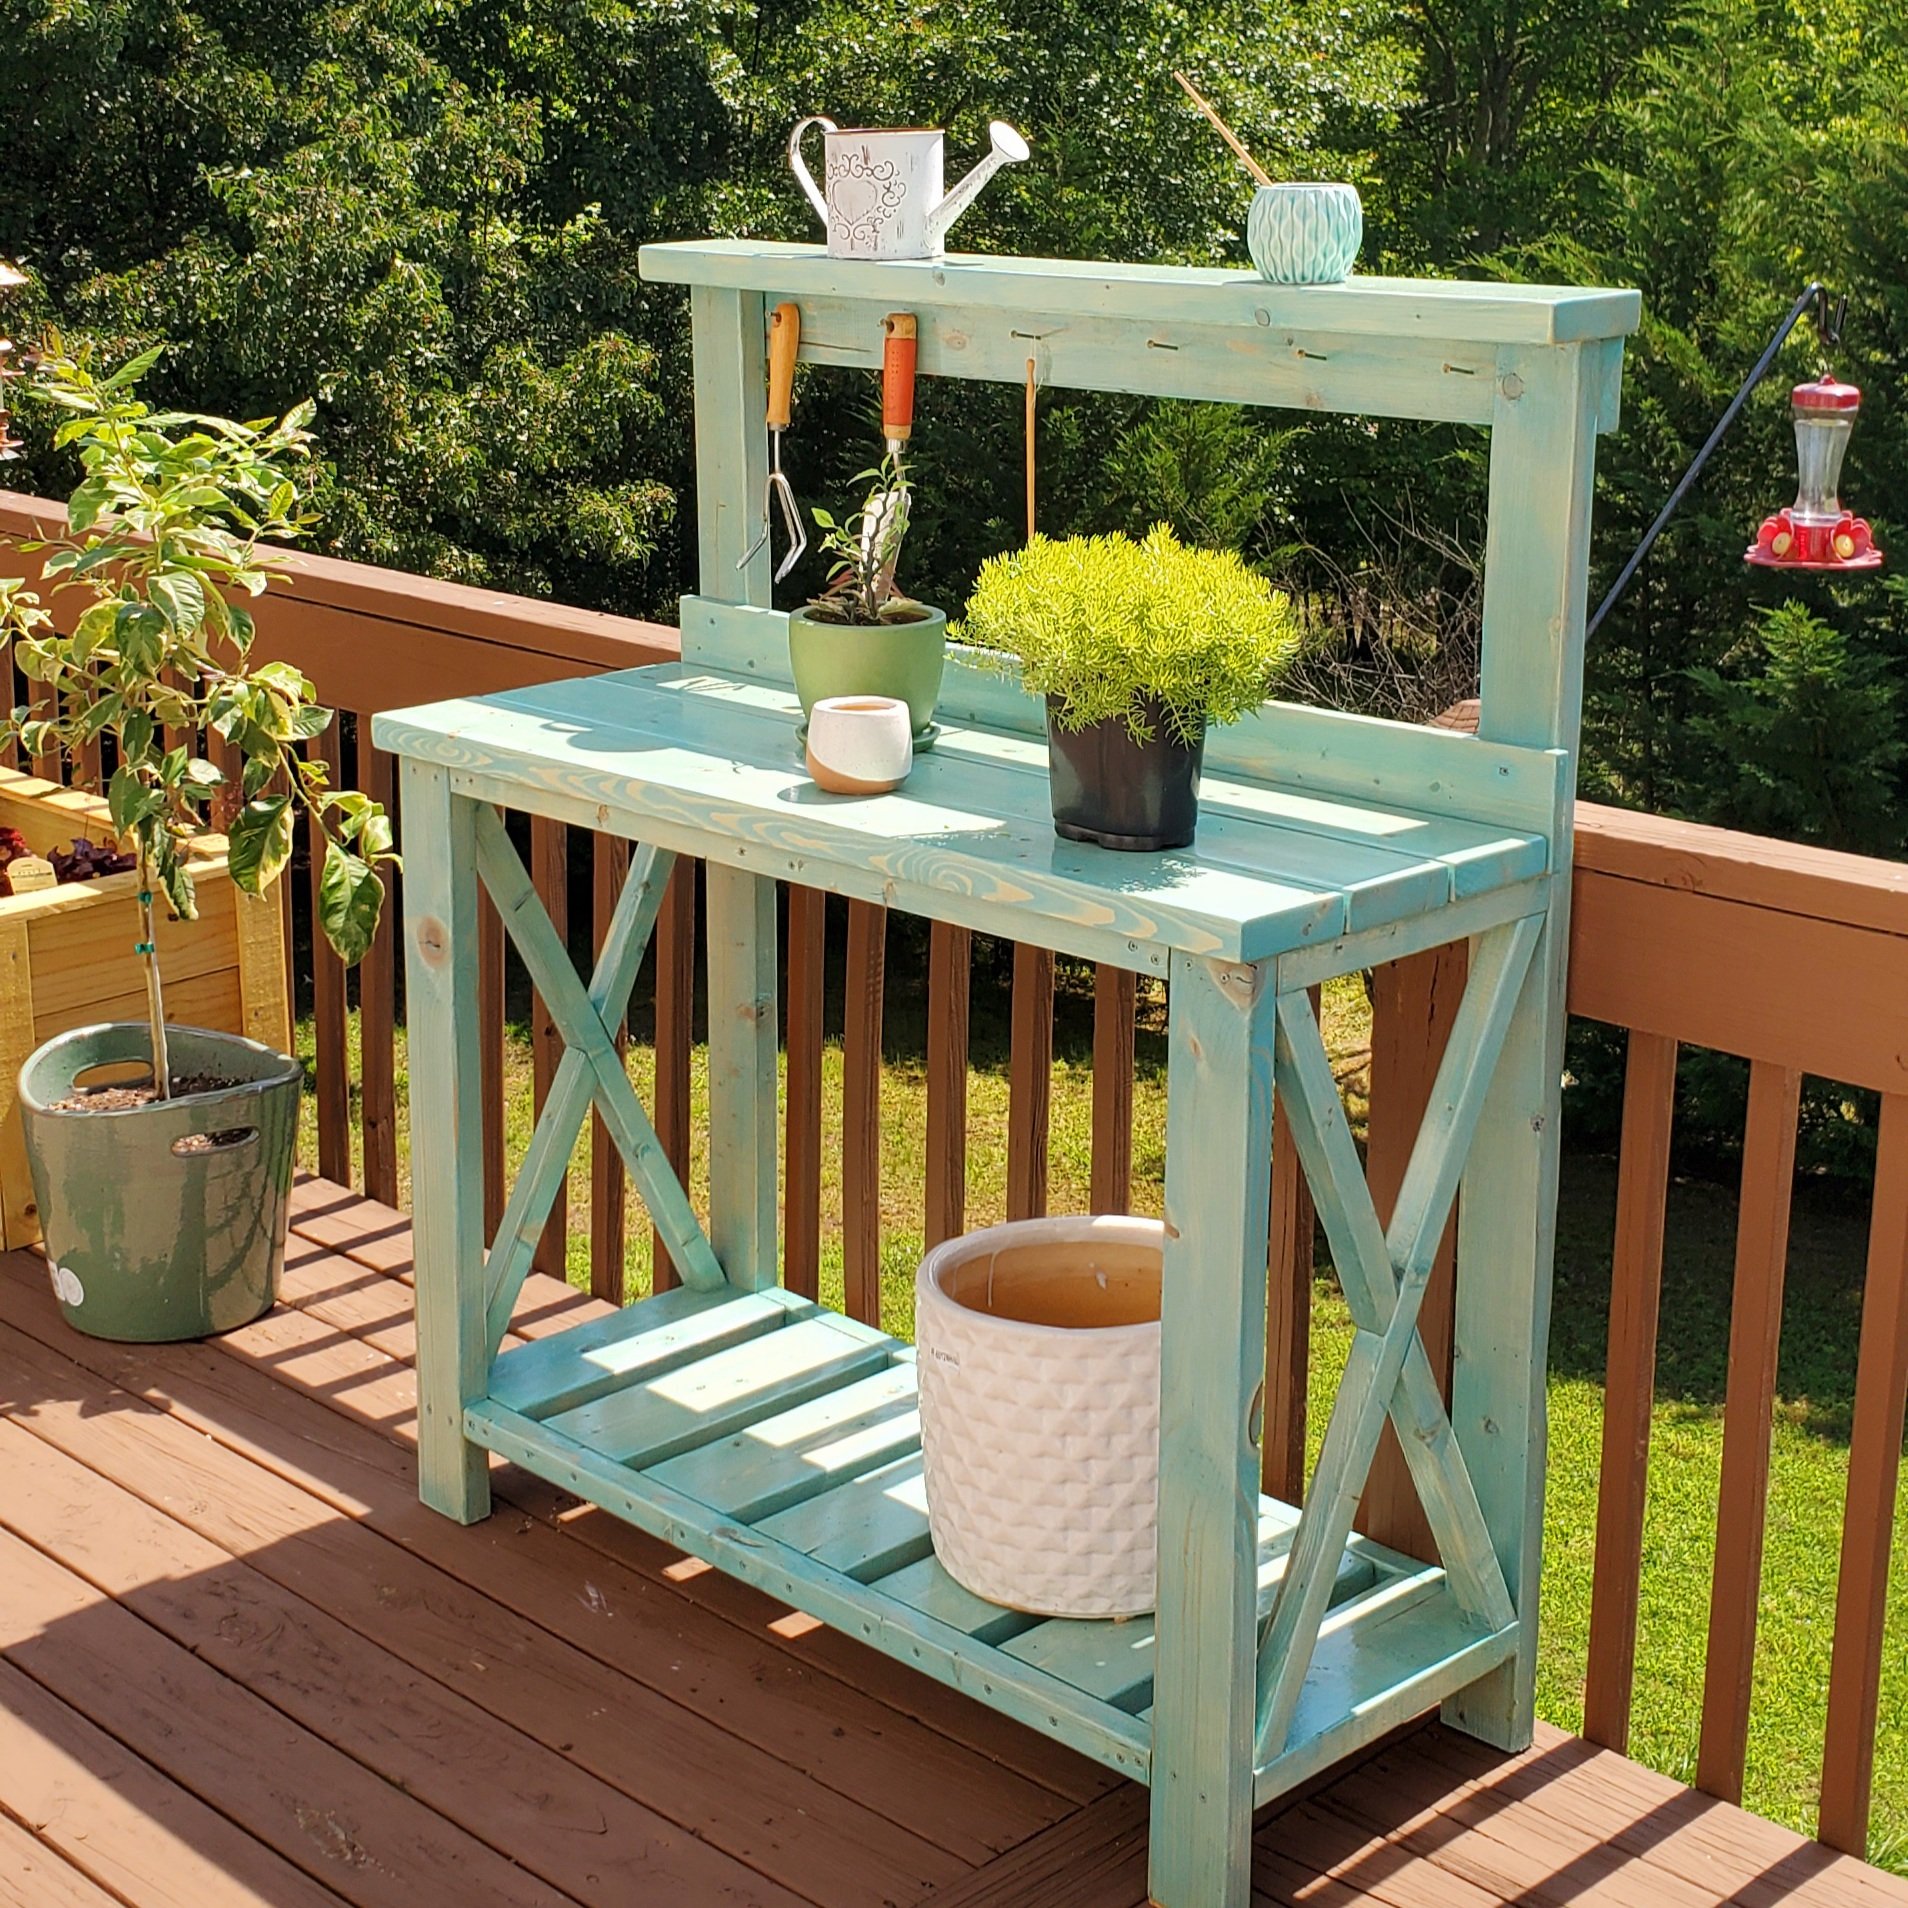
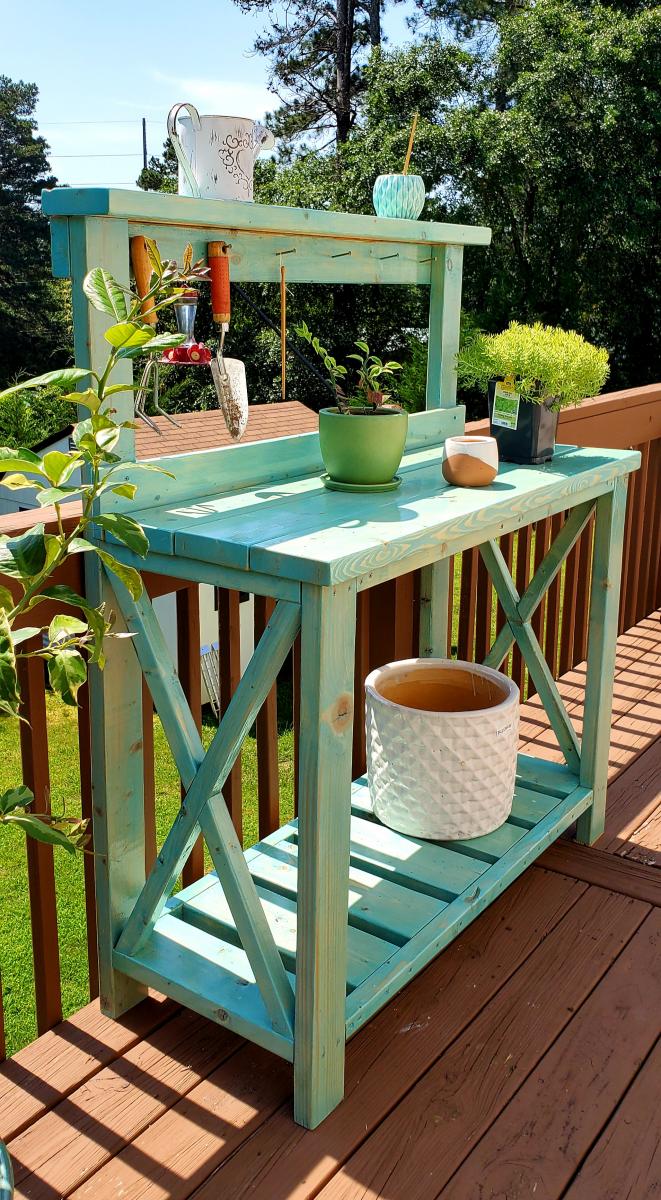
Built this for my girlfriend's birthday present. Added a 1x4 backsplash and a 2x6 for the top shelf to give a little more shelf room instead of the 2x4 called for in the plan. Stained with Varathane "Vintage Aqua" color and then 3 coats of Helmsman Spar Urethane for outdoor durability. Set the whole thing on caster wheels (not pictured) so she can move around the deck as needed.