Rustic small island
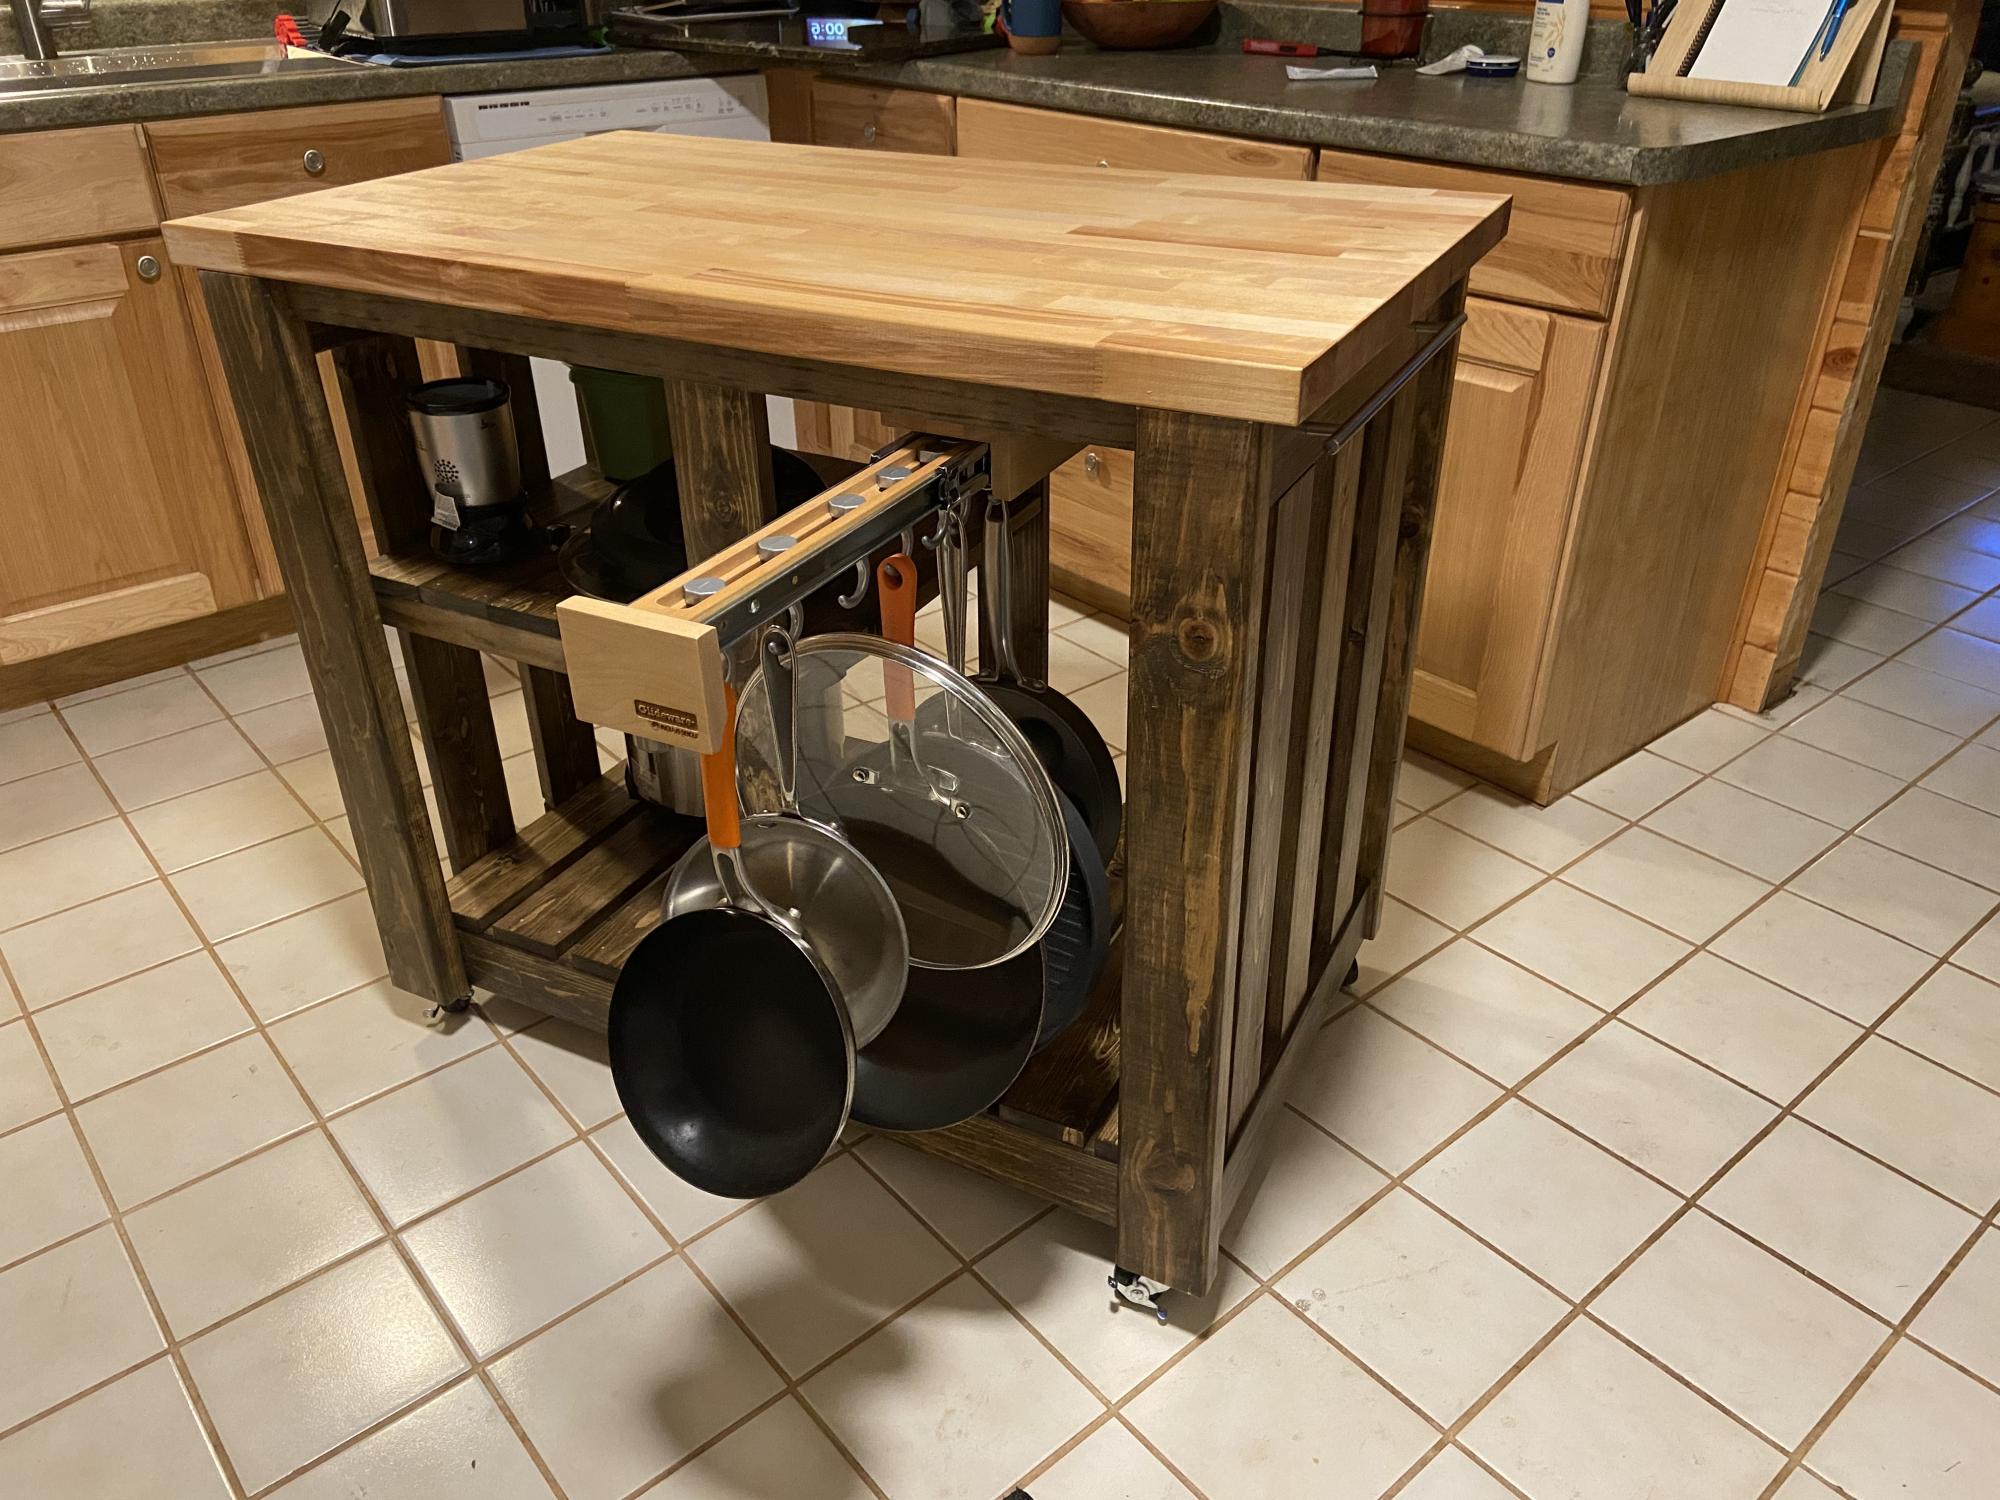
I have actually made this island several times and modified the size each time. I really like this and it fits my kitchen well. Thank you for the inspiration
Built from Plan(s)
I have actually made this island several times and modified the size each time. I really like this and it fits my kitchen well. Thank you for the inspiration
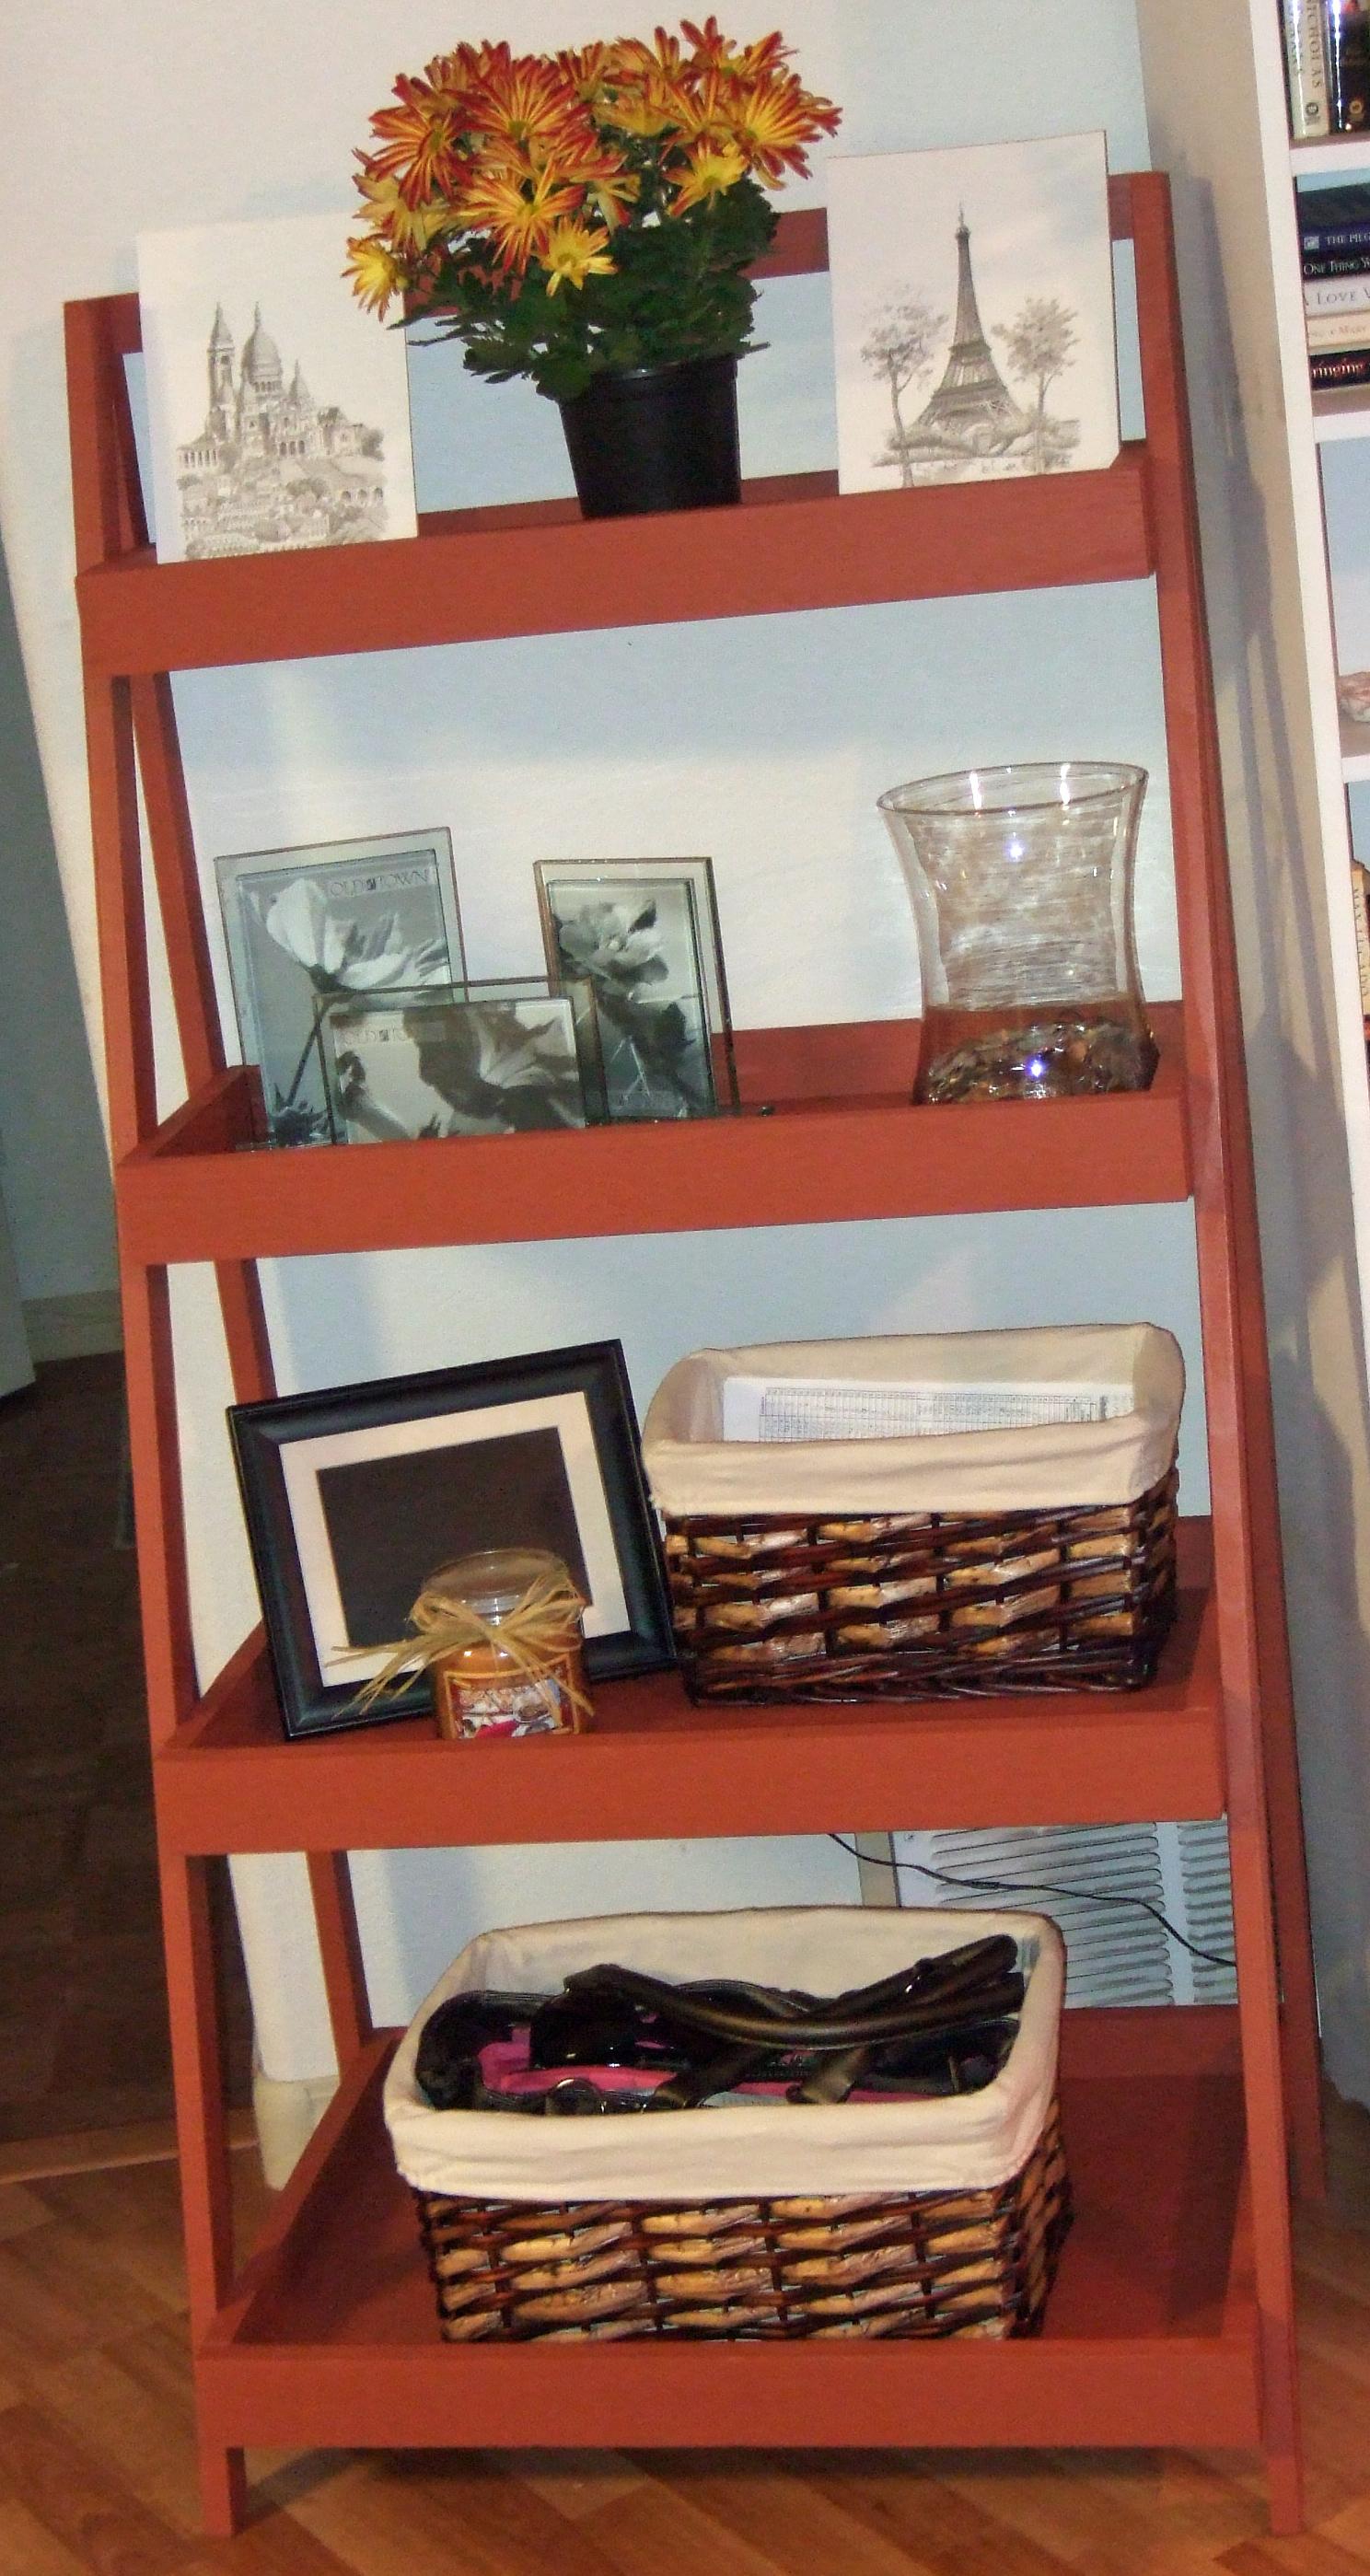
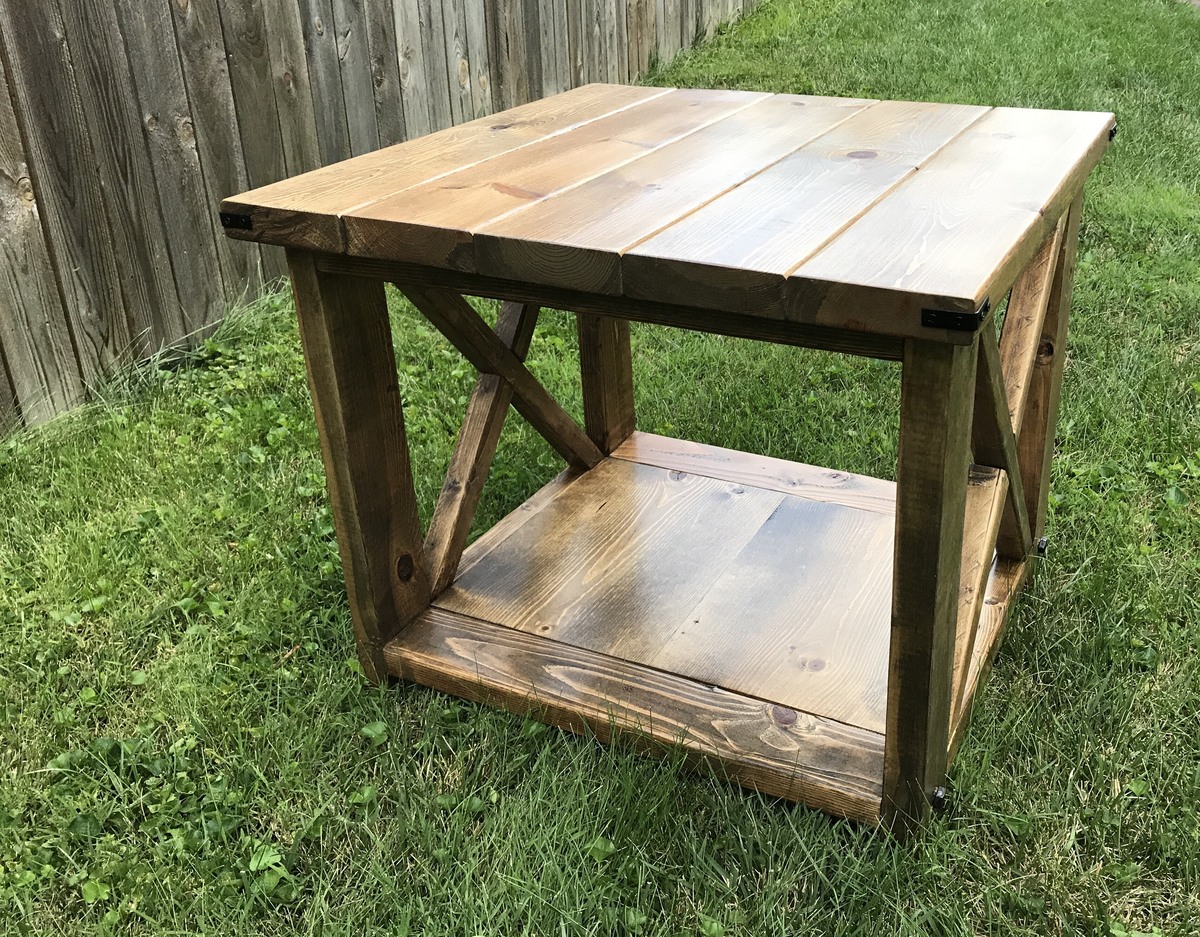
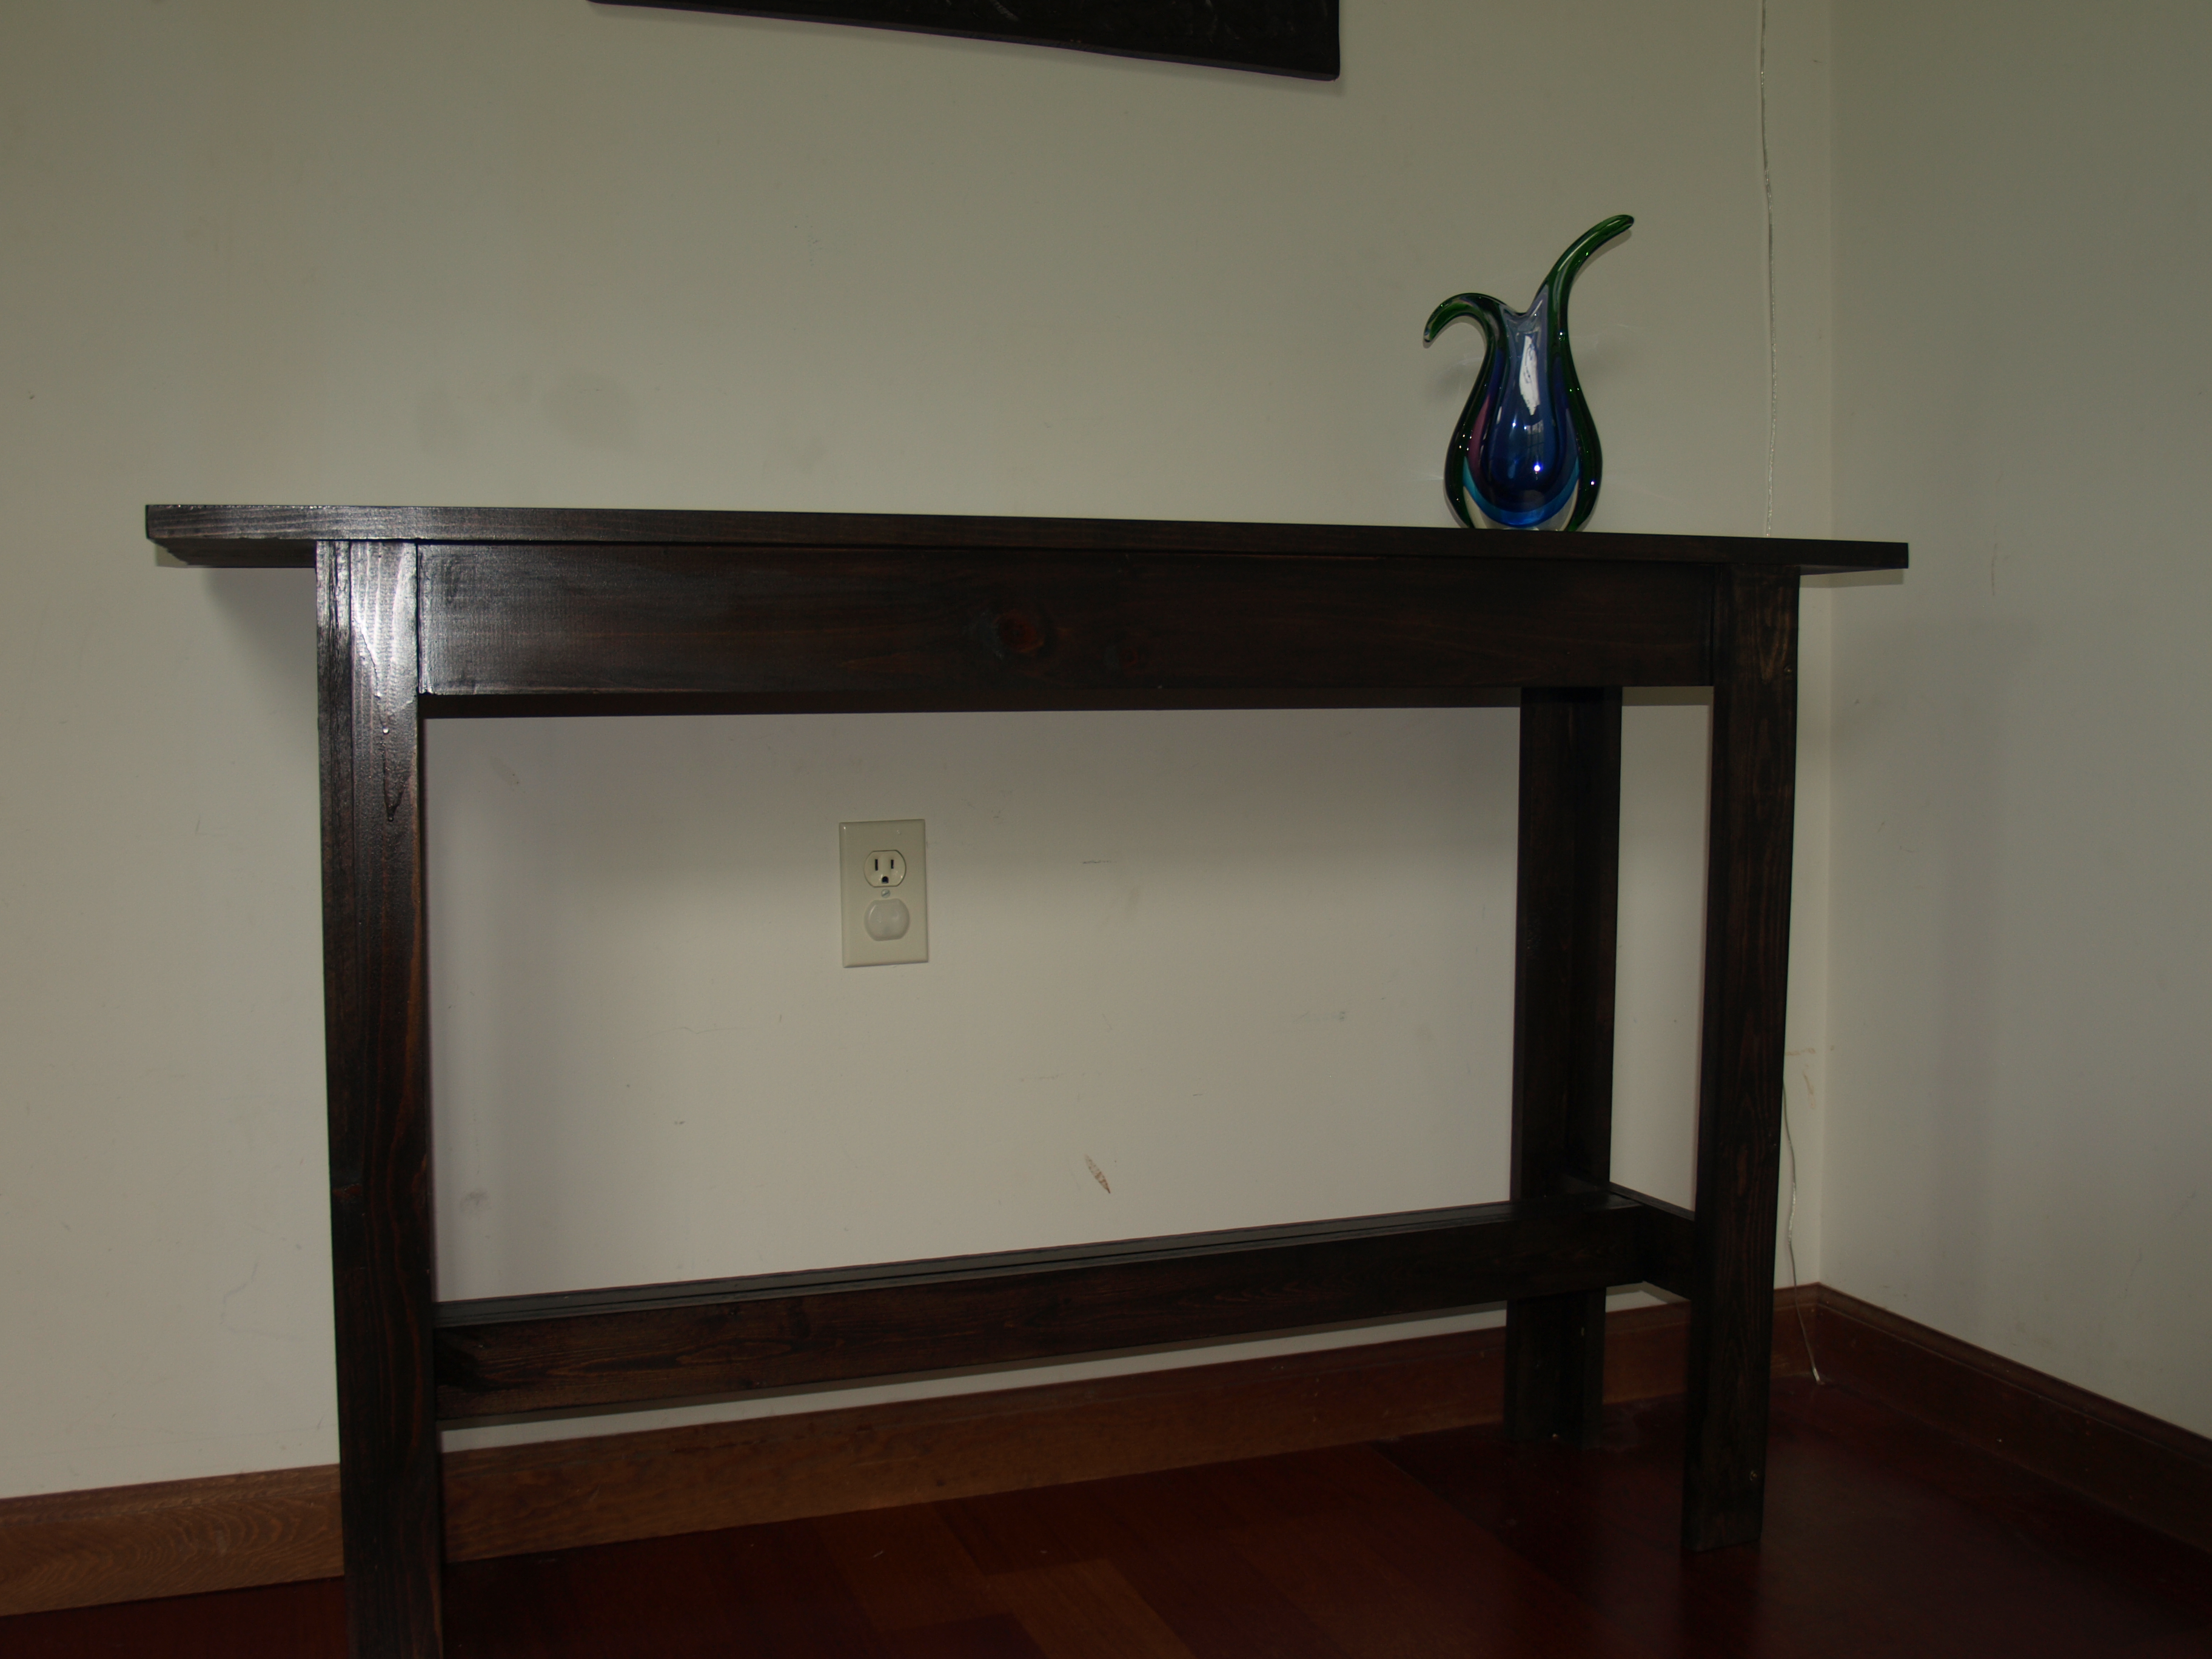
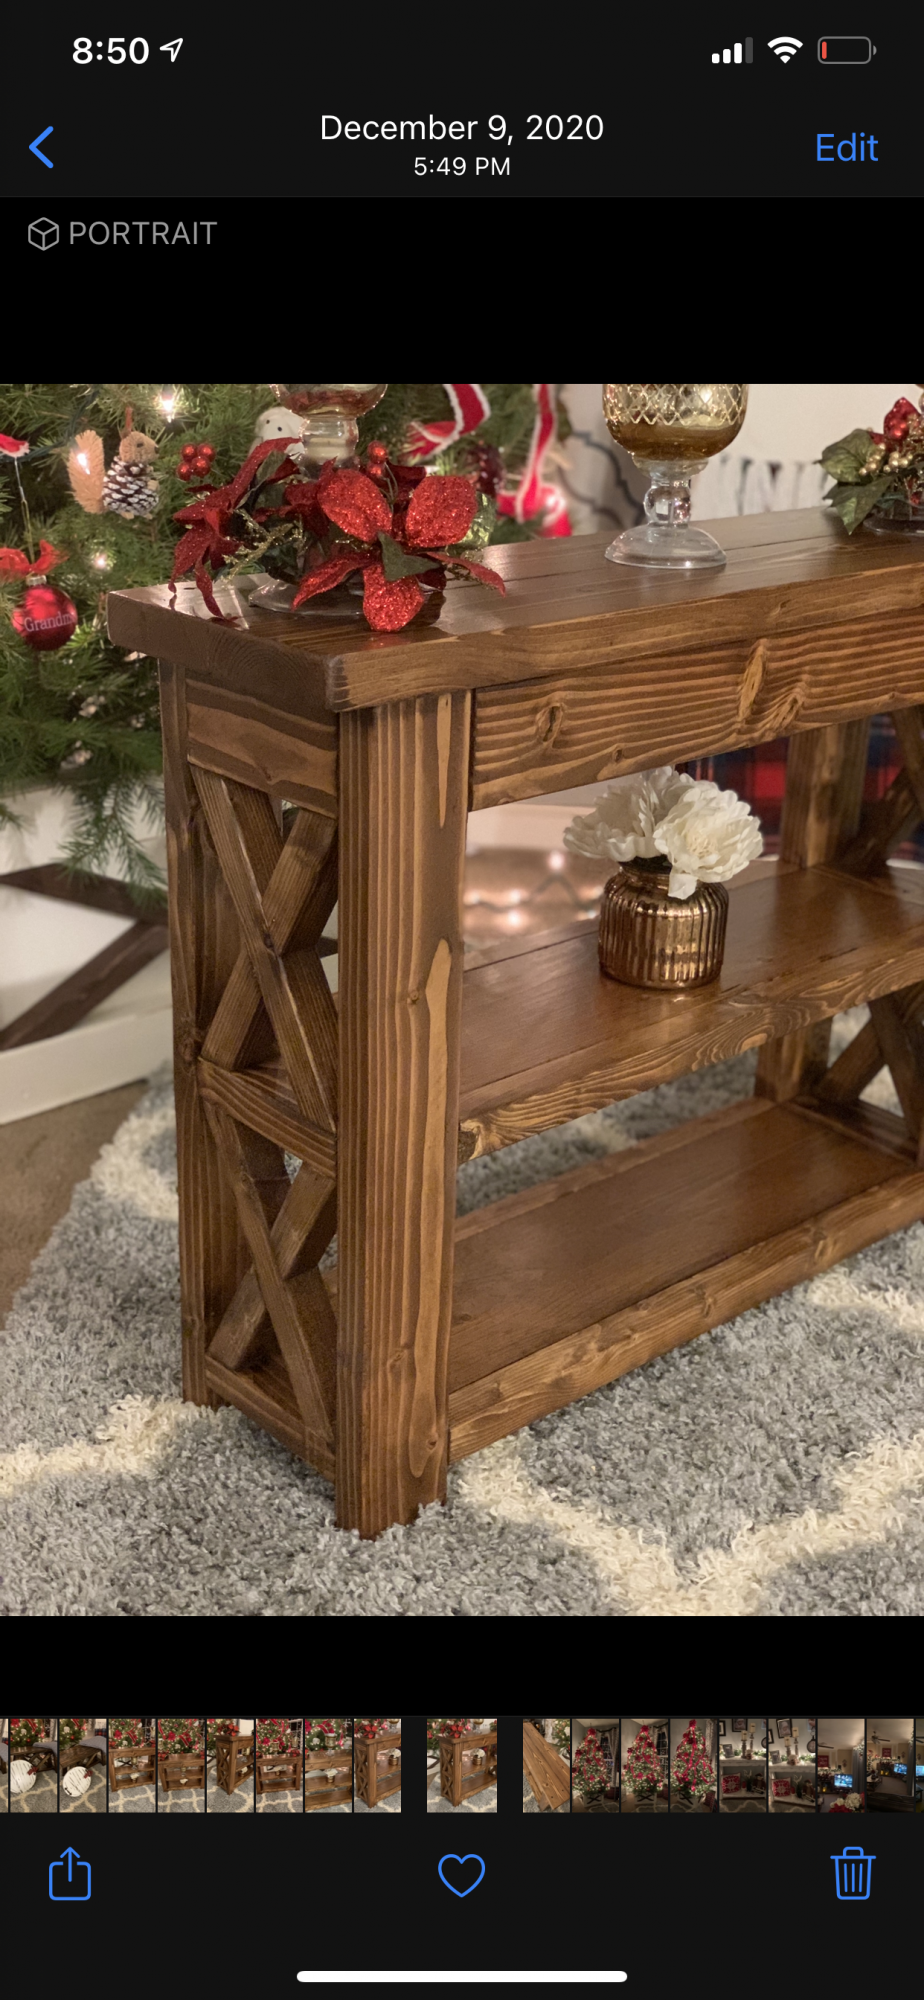
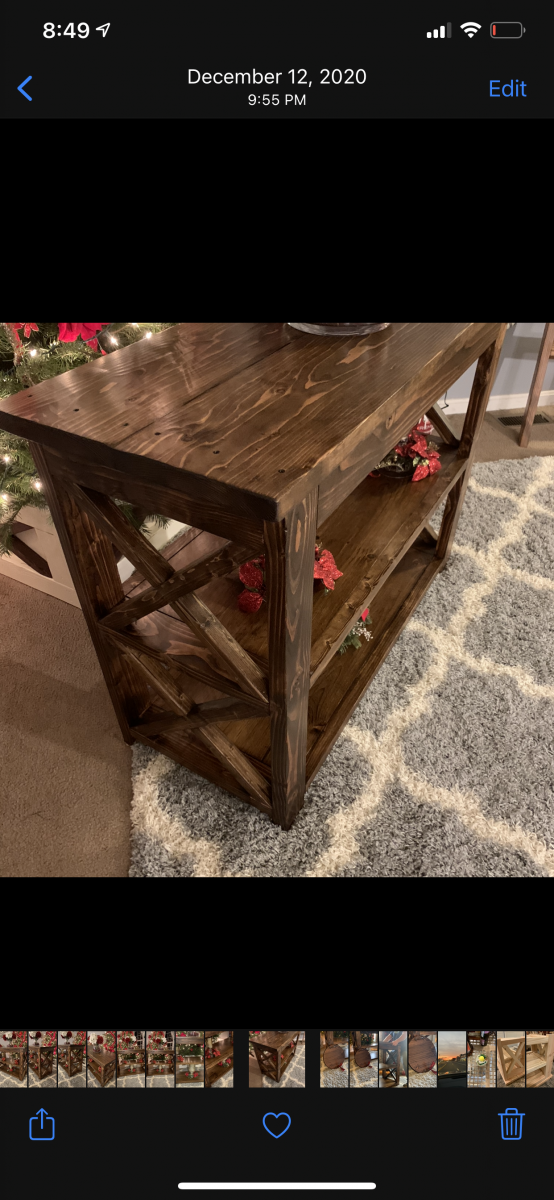
This was the first good-sized project I built by myself. I finished it more than 4 months ago and it still makes me smile every time I look at it. :-) A simple, functional and BEAUTIFUL shelf that will work anywhere and for anyone! I was so impatient for it to be finished I didn't put poly or any clear coat on it and I'm still in love!
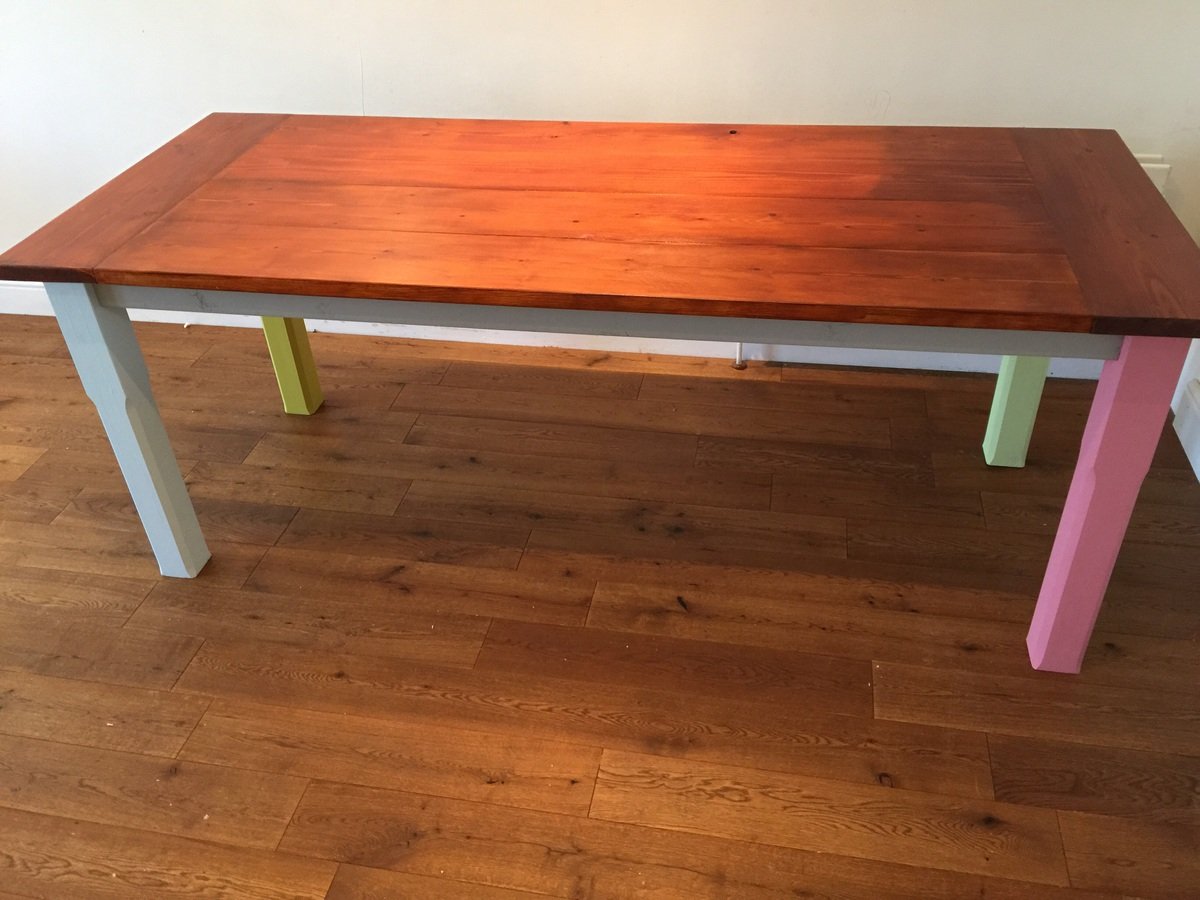
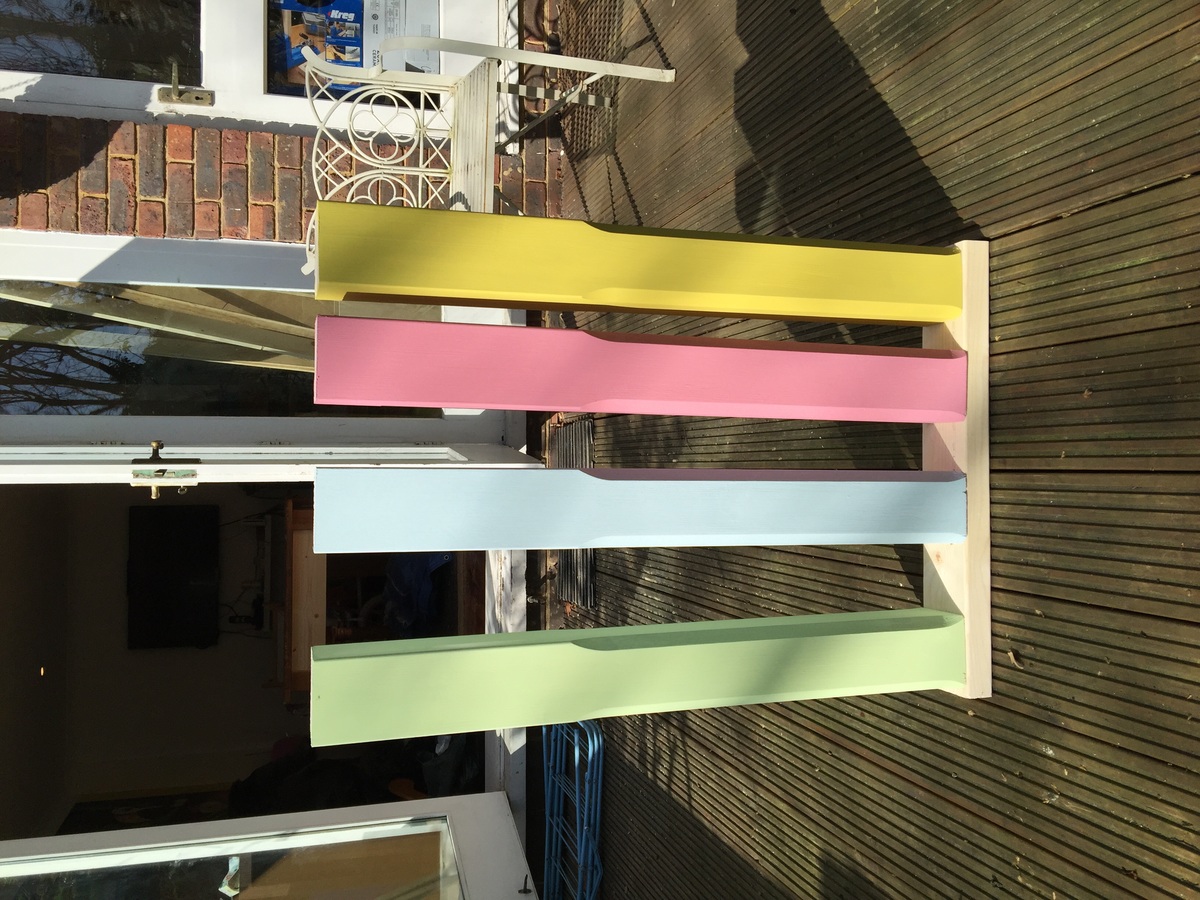
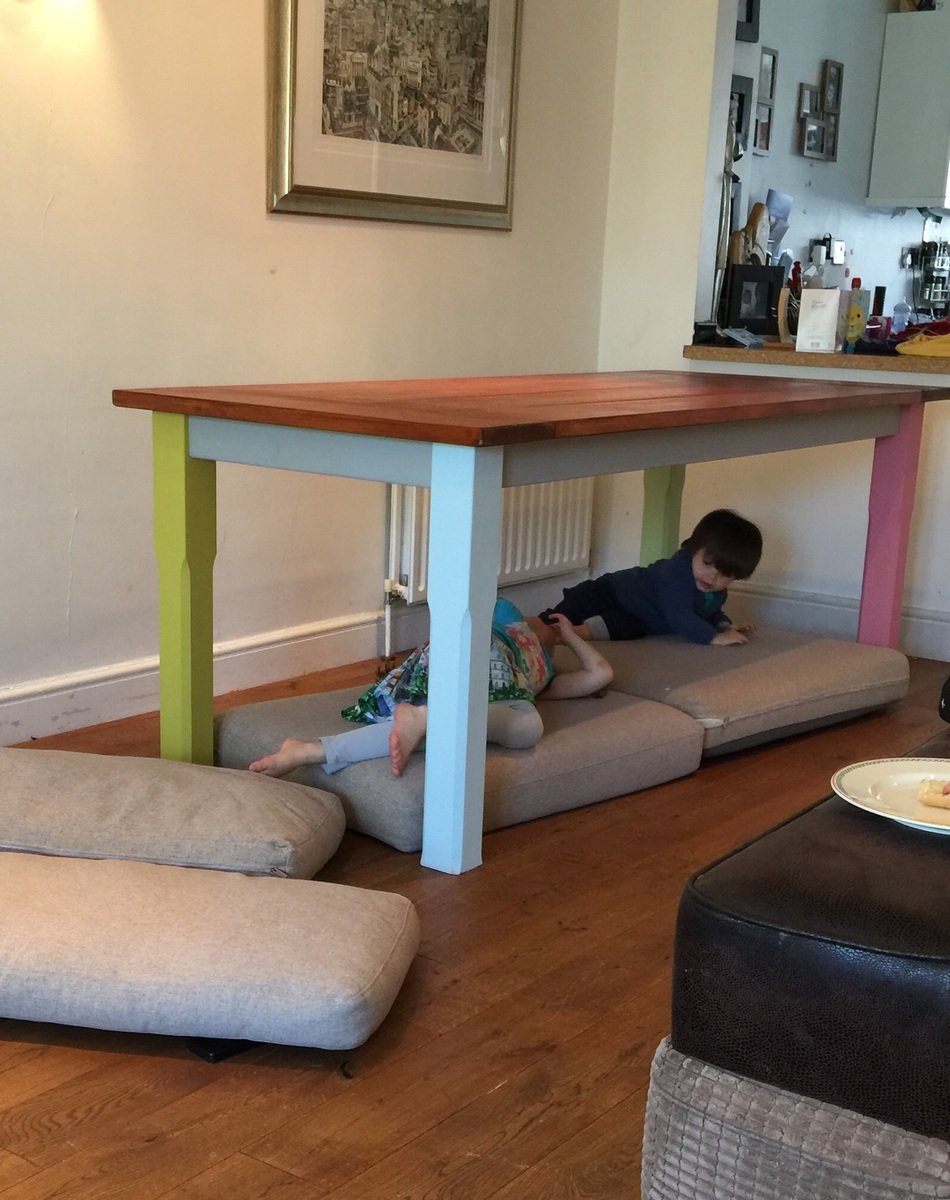
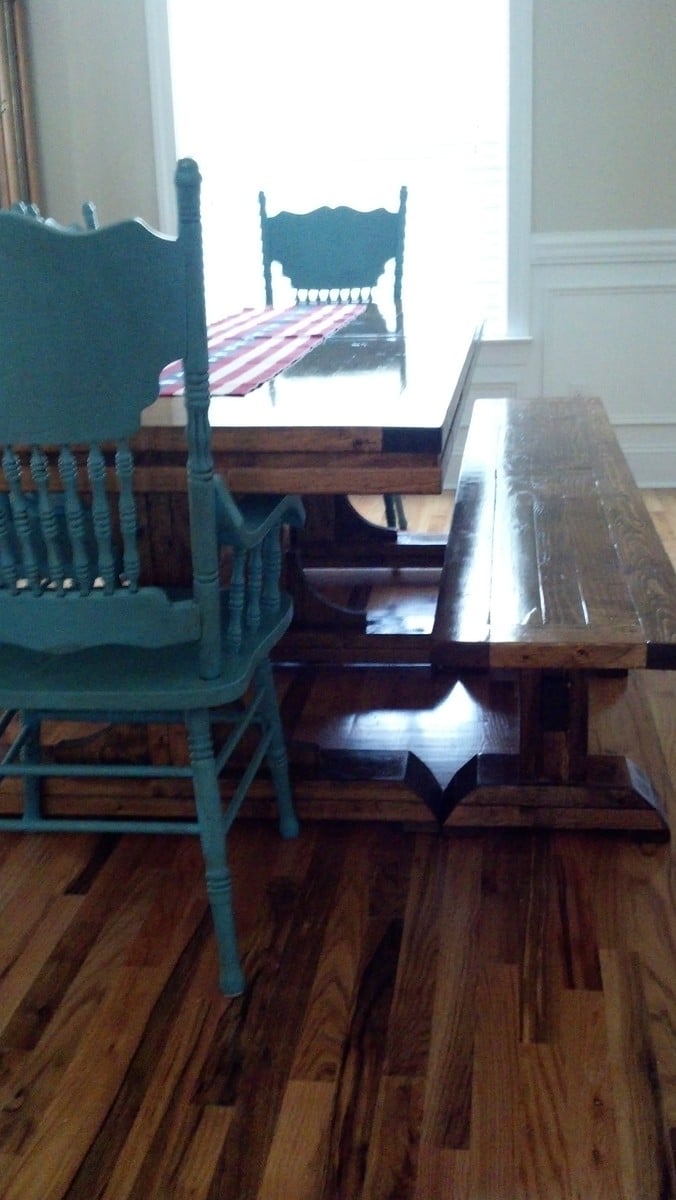
My first attempt at a country farmhouse style dining table, my children managed to also use it as a playhouse within minutes!!

Tools Used:
Jigsaw, Hammer & Sander.
FIRST Project! Made this for my brother who works out at home and uses his bed as bench when he lifts weights. tsktsk. It took me 2 days, on and off to finish this. :))
Thanks Ana for the plan. I learned a lot and I can't wait to try and build your other plans. :)
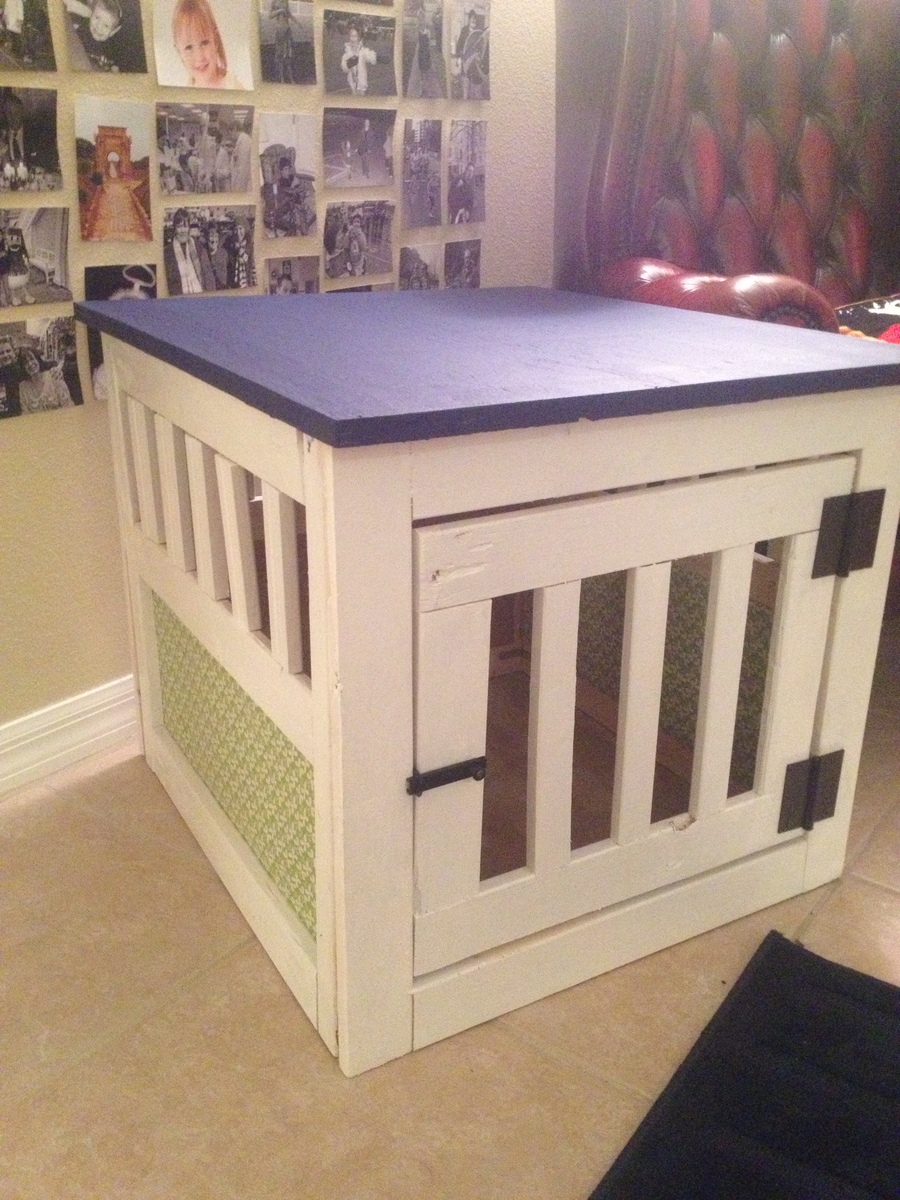
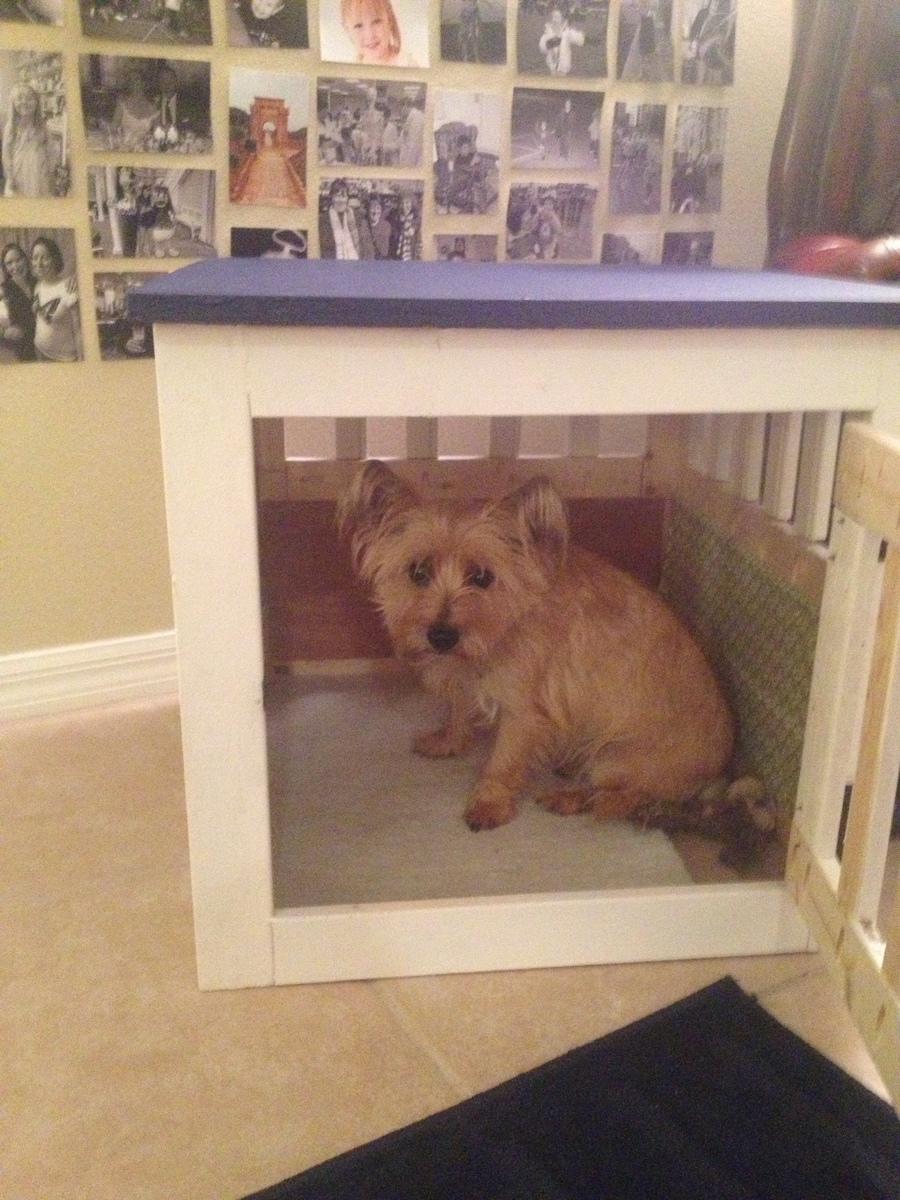
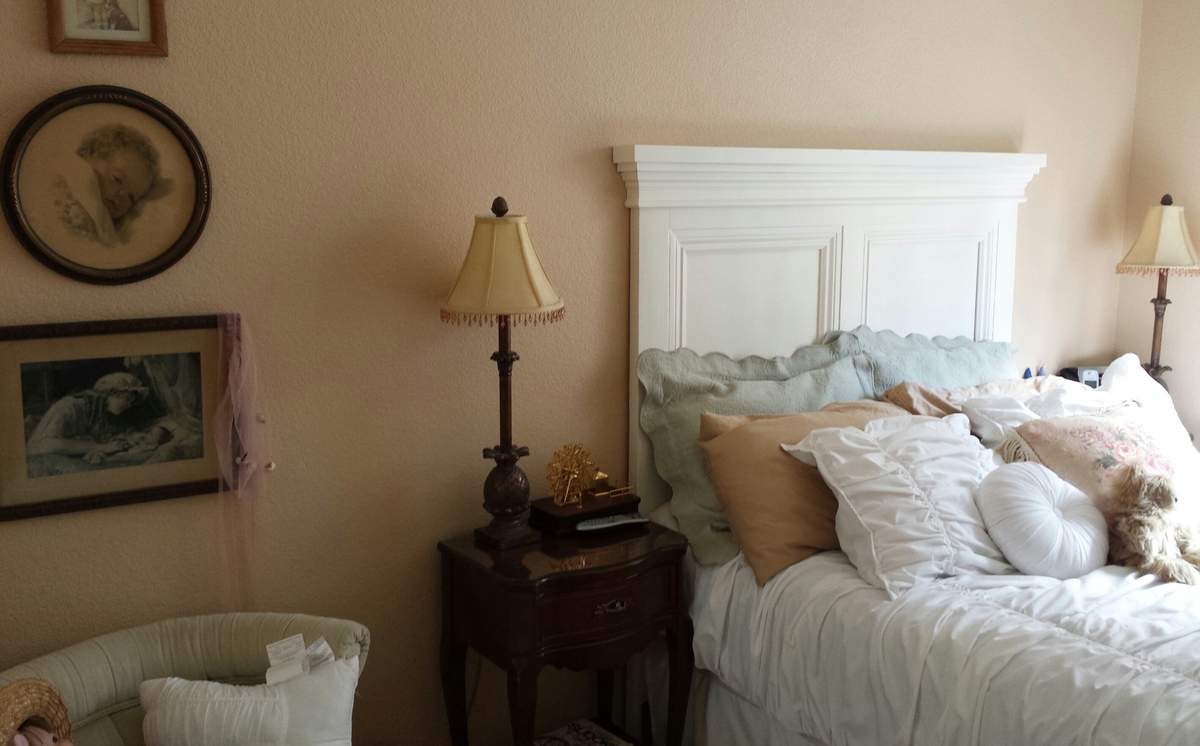
I loved this plan, but needed to cut down the size. I added fabric to the side panels to make it a little prettier. I had my ply cut at Home Depot, but cut all of the rest of the wood with my little had miter box, which added a lot more time to the process, but it was worth it! More details on my blog. Great plan, as always, Ana!
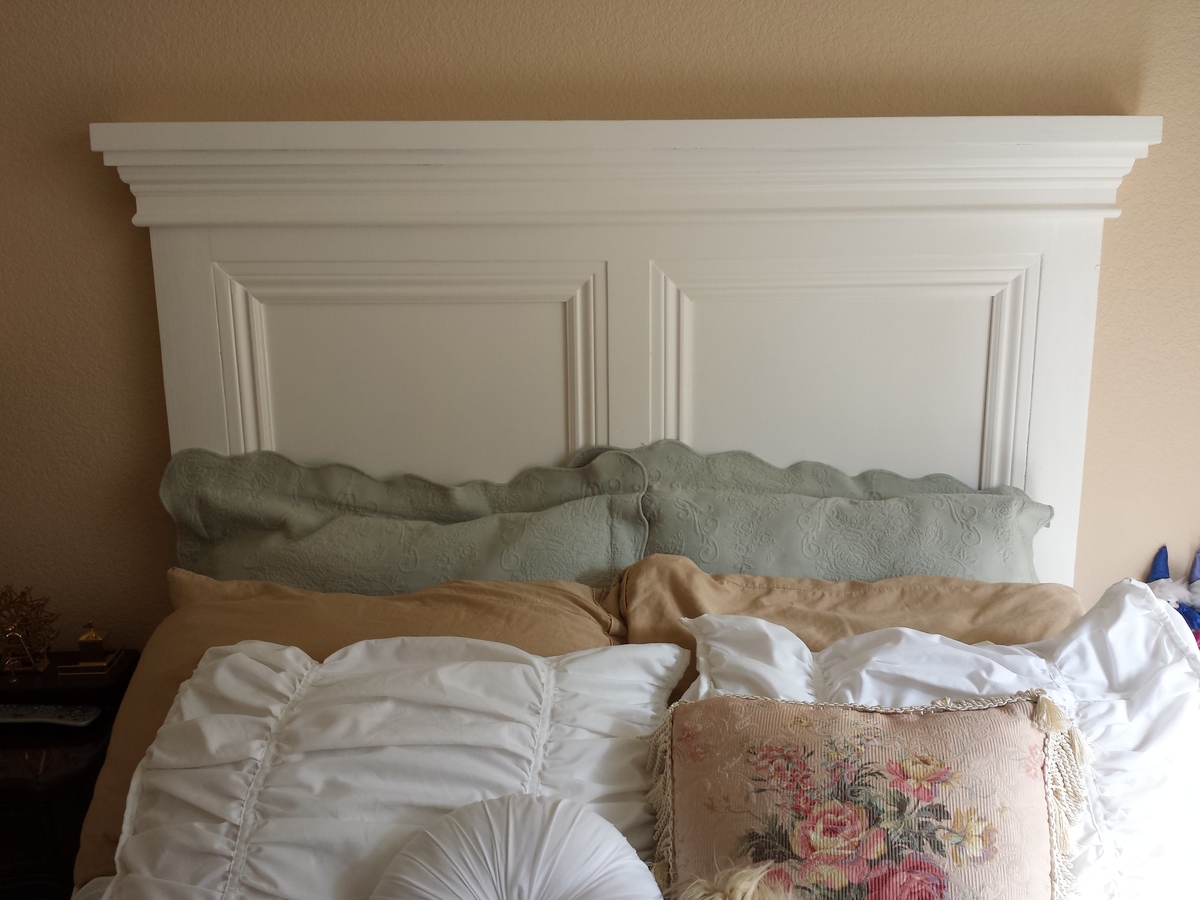
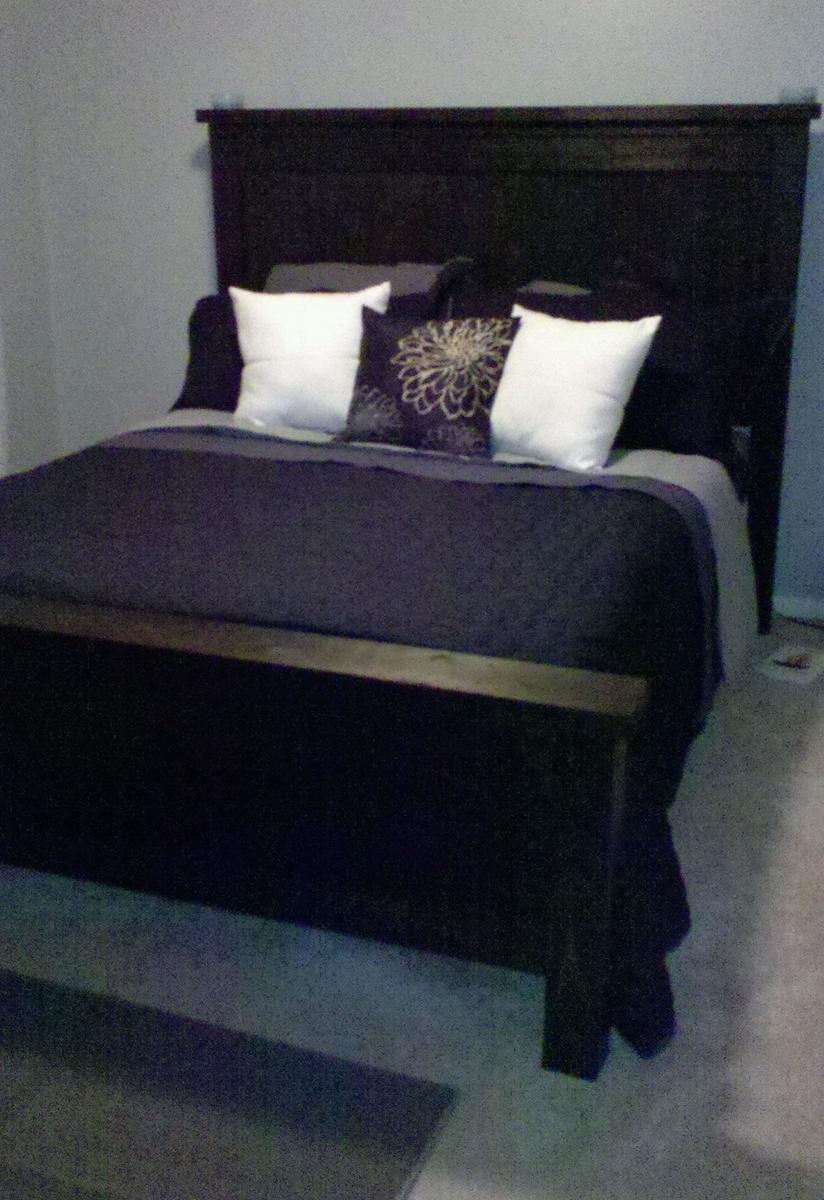
I built this headboard as a birthday gift for my grandmother. She had a rickety, old makeshift headboard composed of a couple of 2x4's and some lattice that was spray painted. I modified the plans to fit her Full size bed and lowered the height down to 62".

Finished the X end table, turned out great.

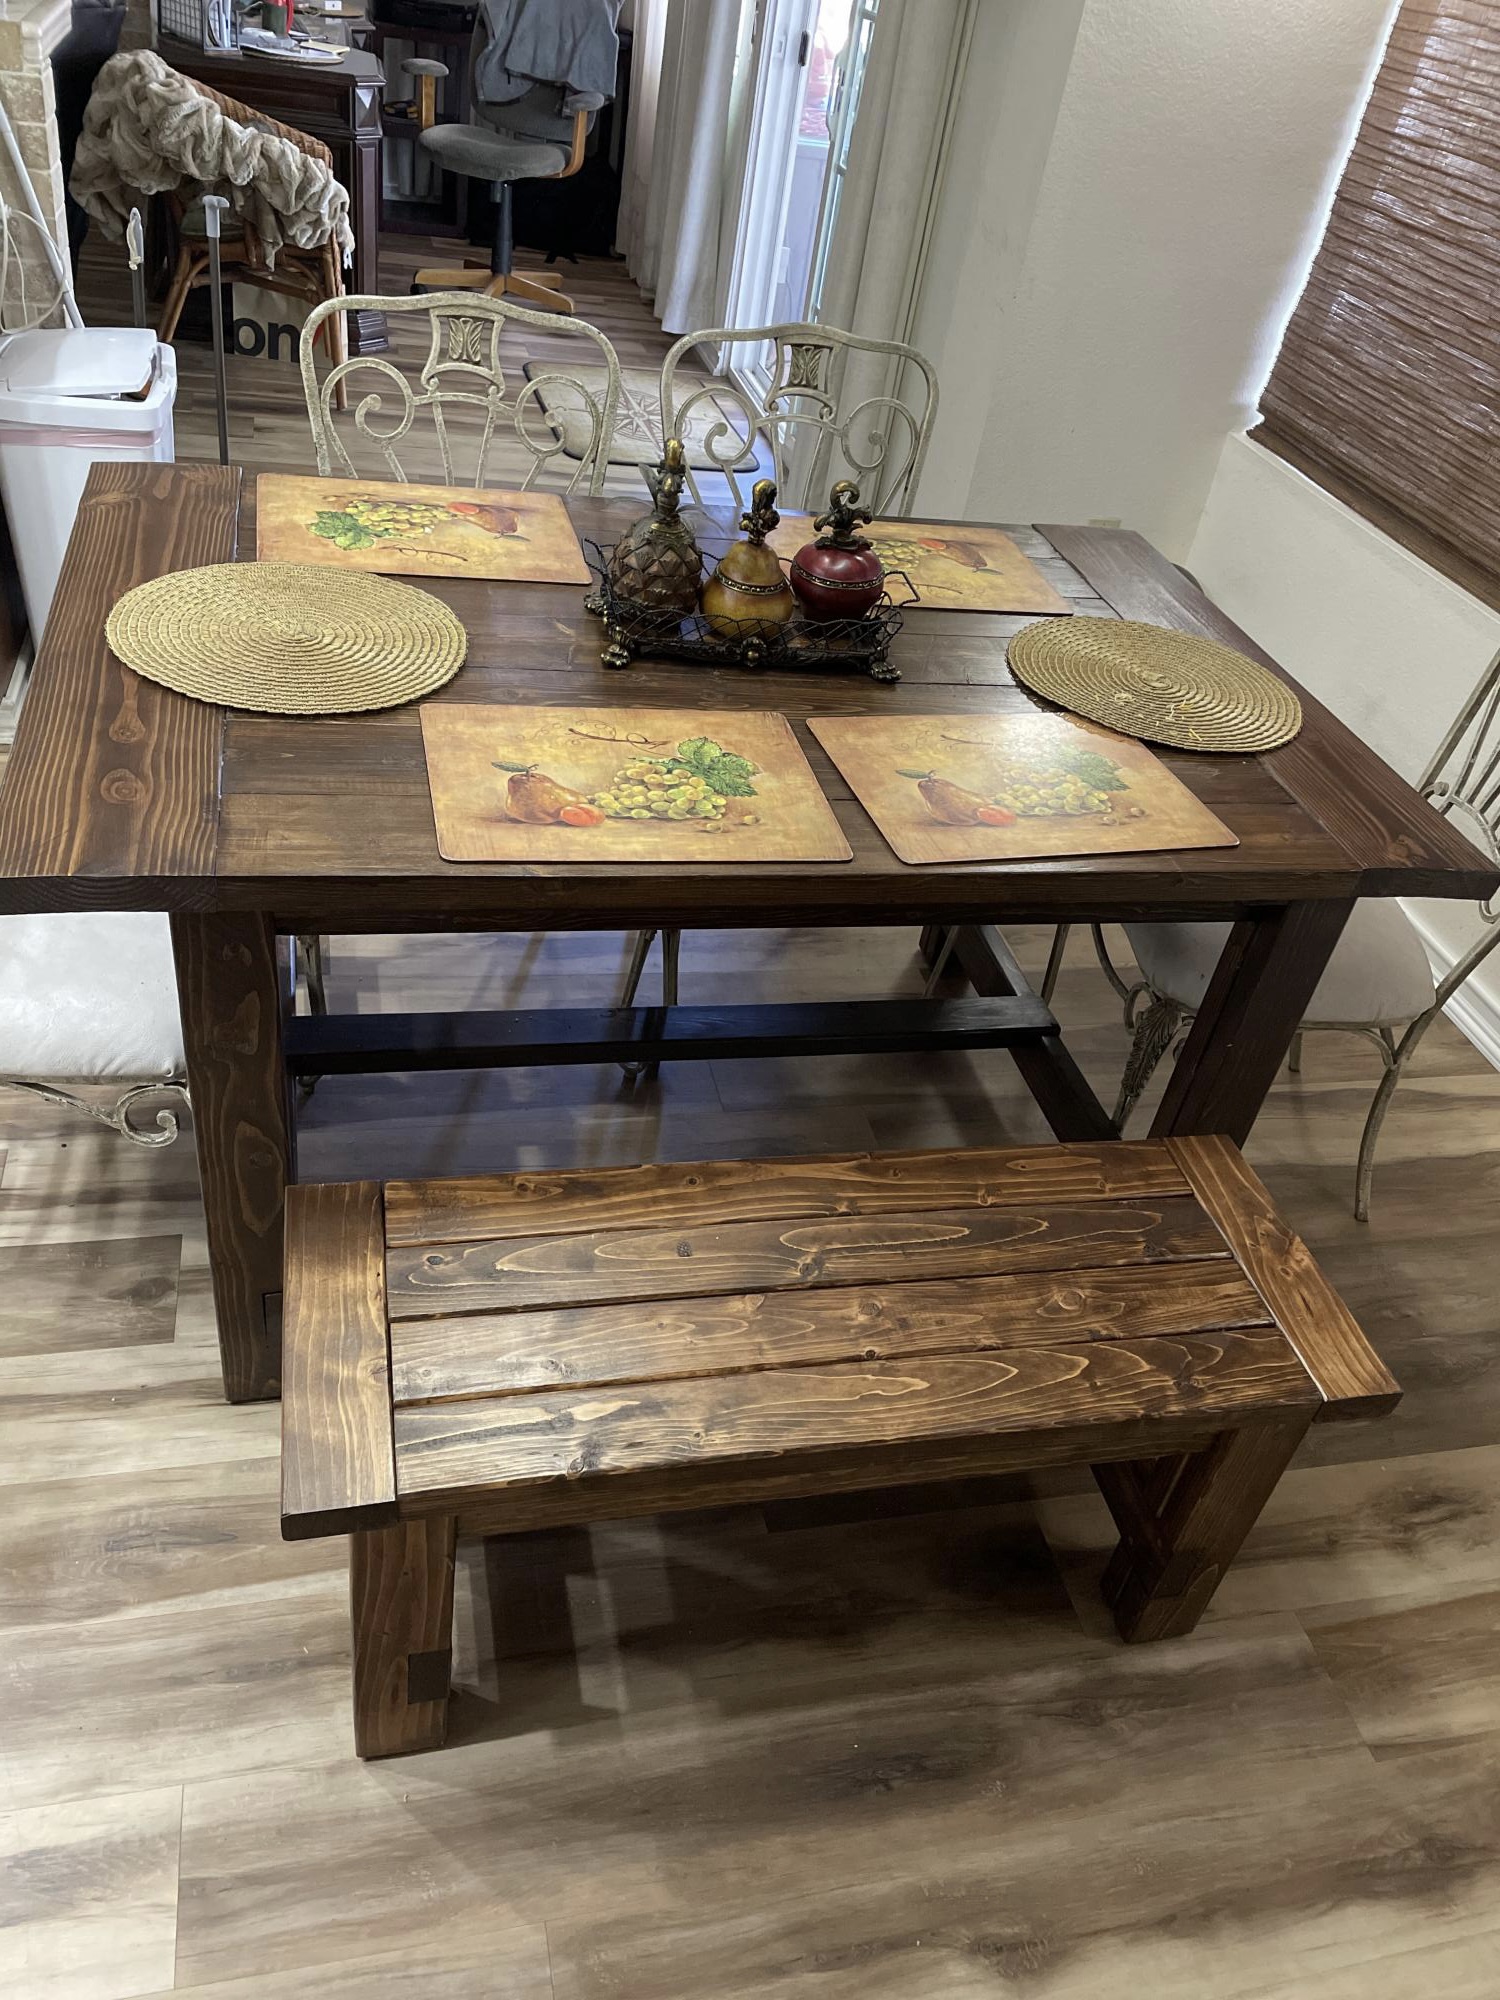
I used a few pocket holes and cut it down to 5 ft long(I have a smaller kitchen). The plans made it real easy to do so. The bench was also cut down.
Tue, 10/05/2021 - 09:12
Perfect solution for a smaller dining area, love it! Thank you for sharing:)
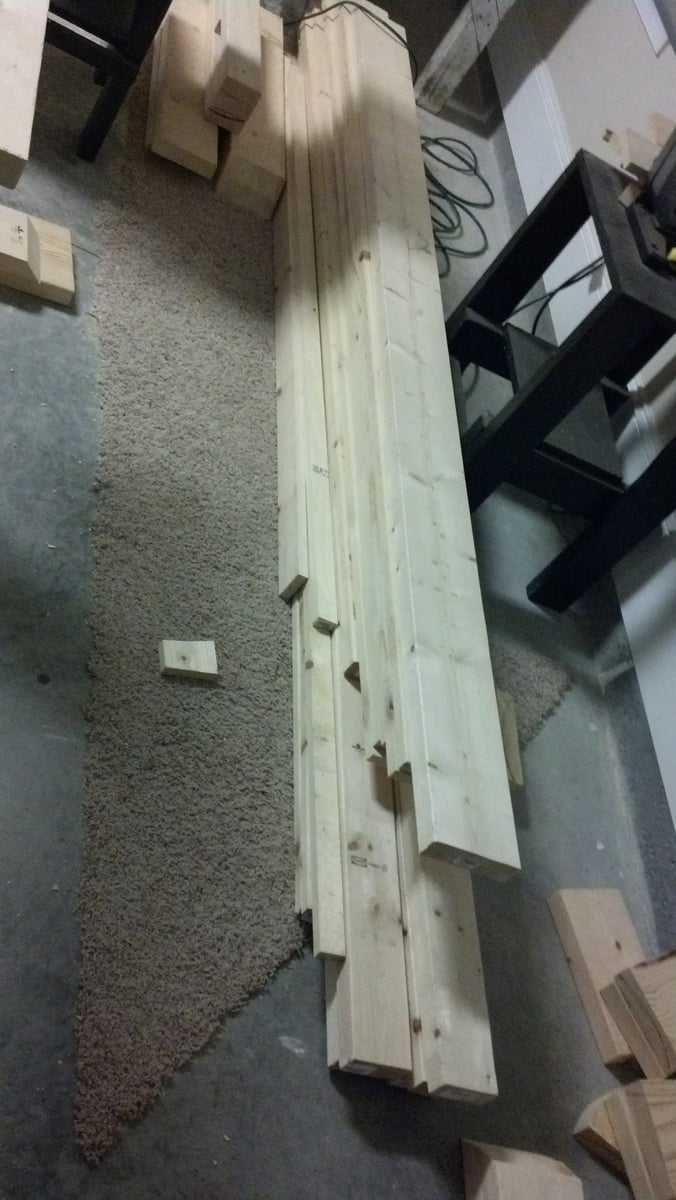
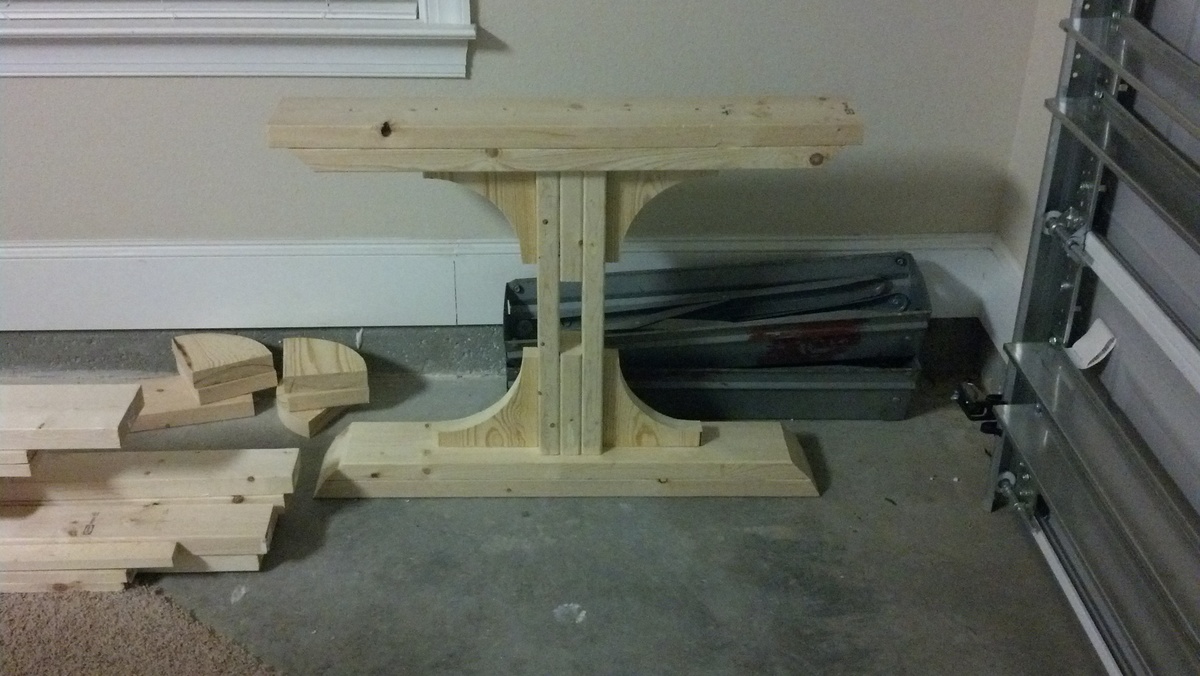
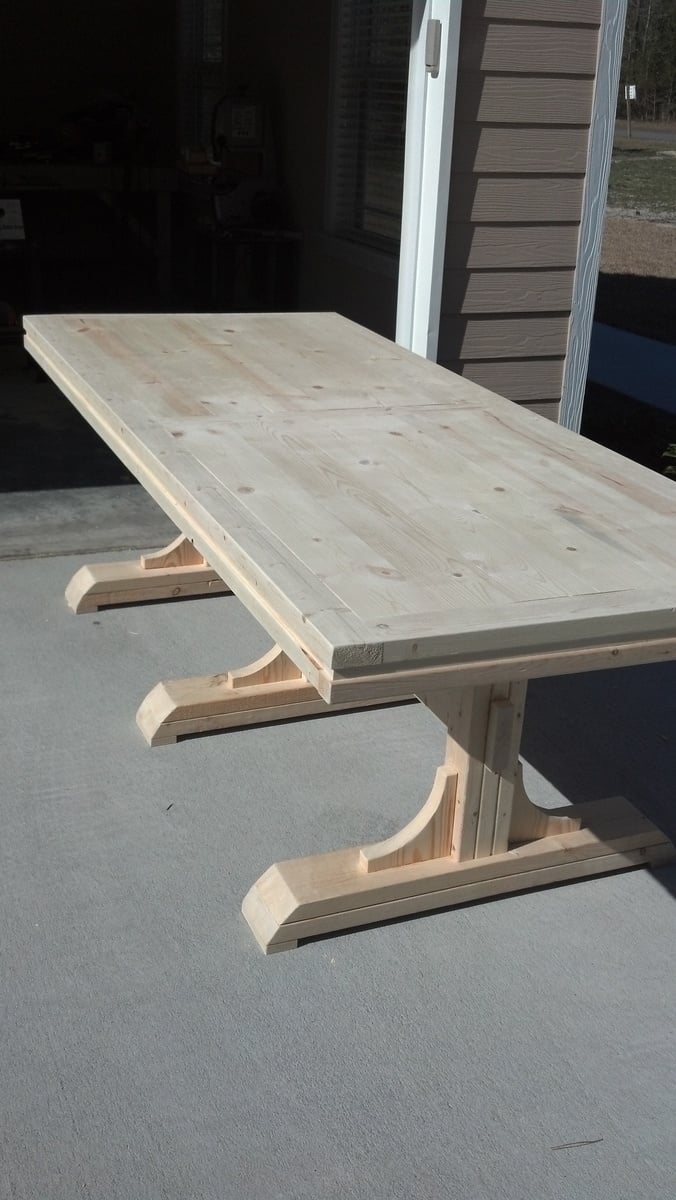
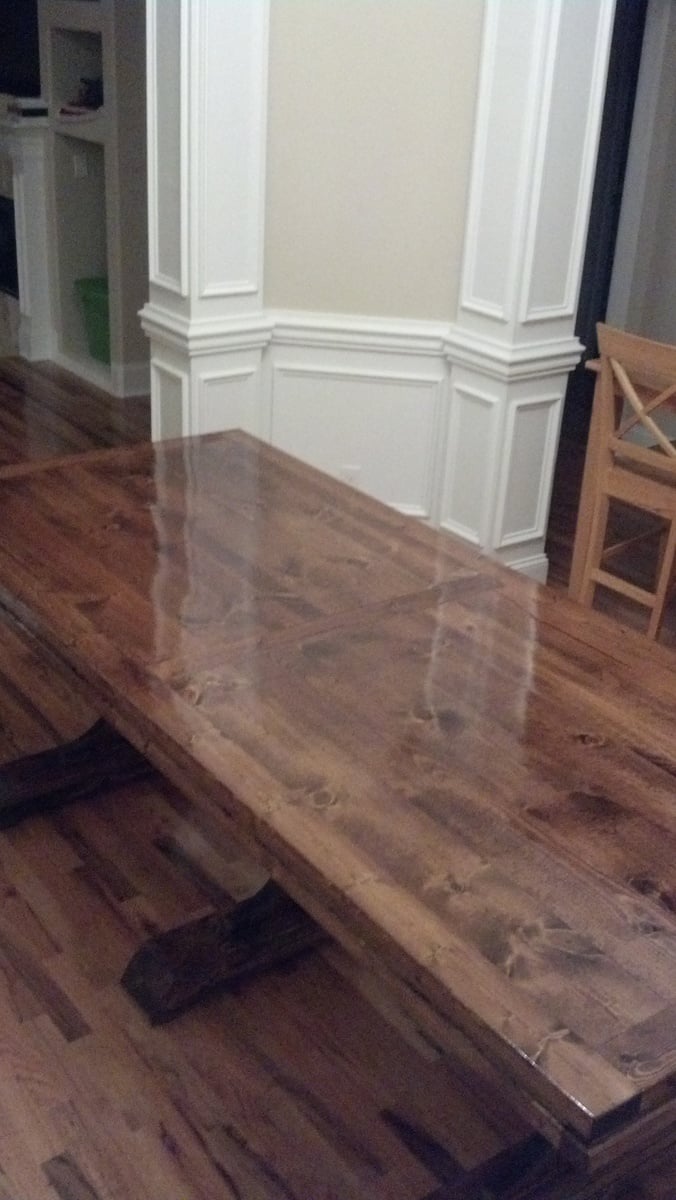
When my wife and I bought our new house, our little apartment-size table looked dumb in our new dining room. With the help of Ana White's plans, my first ever building project was a great success. The project took some extra time because I was doing it by myself in the afternoons and whenever I found the chance. The plans were for a 9ft table and matching bench, but our dining room wasn't quite that big. I shaved about 14 inches off the length and planed the boards for a flat surface (making the table and bench slightly narrower.) As an absolute amateur, I cannot stress how important the use of the Kreg Jig was for this project! With a little bit of patience, love, and faith in yourself, you can do anything you put your mind to. I am so honored to have built the table at which my children will grow up sitting. Thank you, Ana White!
Wed, 08/21/2013 - 12:26
I love how smooth your tabletop looks! I grew-up with a kitchen table with a grove all the way around it and can't imagine dealing with that again. Can you go into more detail about how you planed the boards and how difficult the process was? I have built a couple pieces from Ana's site but am still new to all of this...any advice would be greatly appreciated.
Thanks,
Sarah
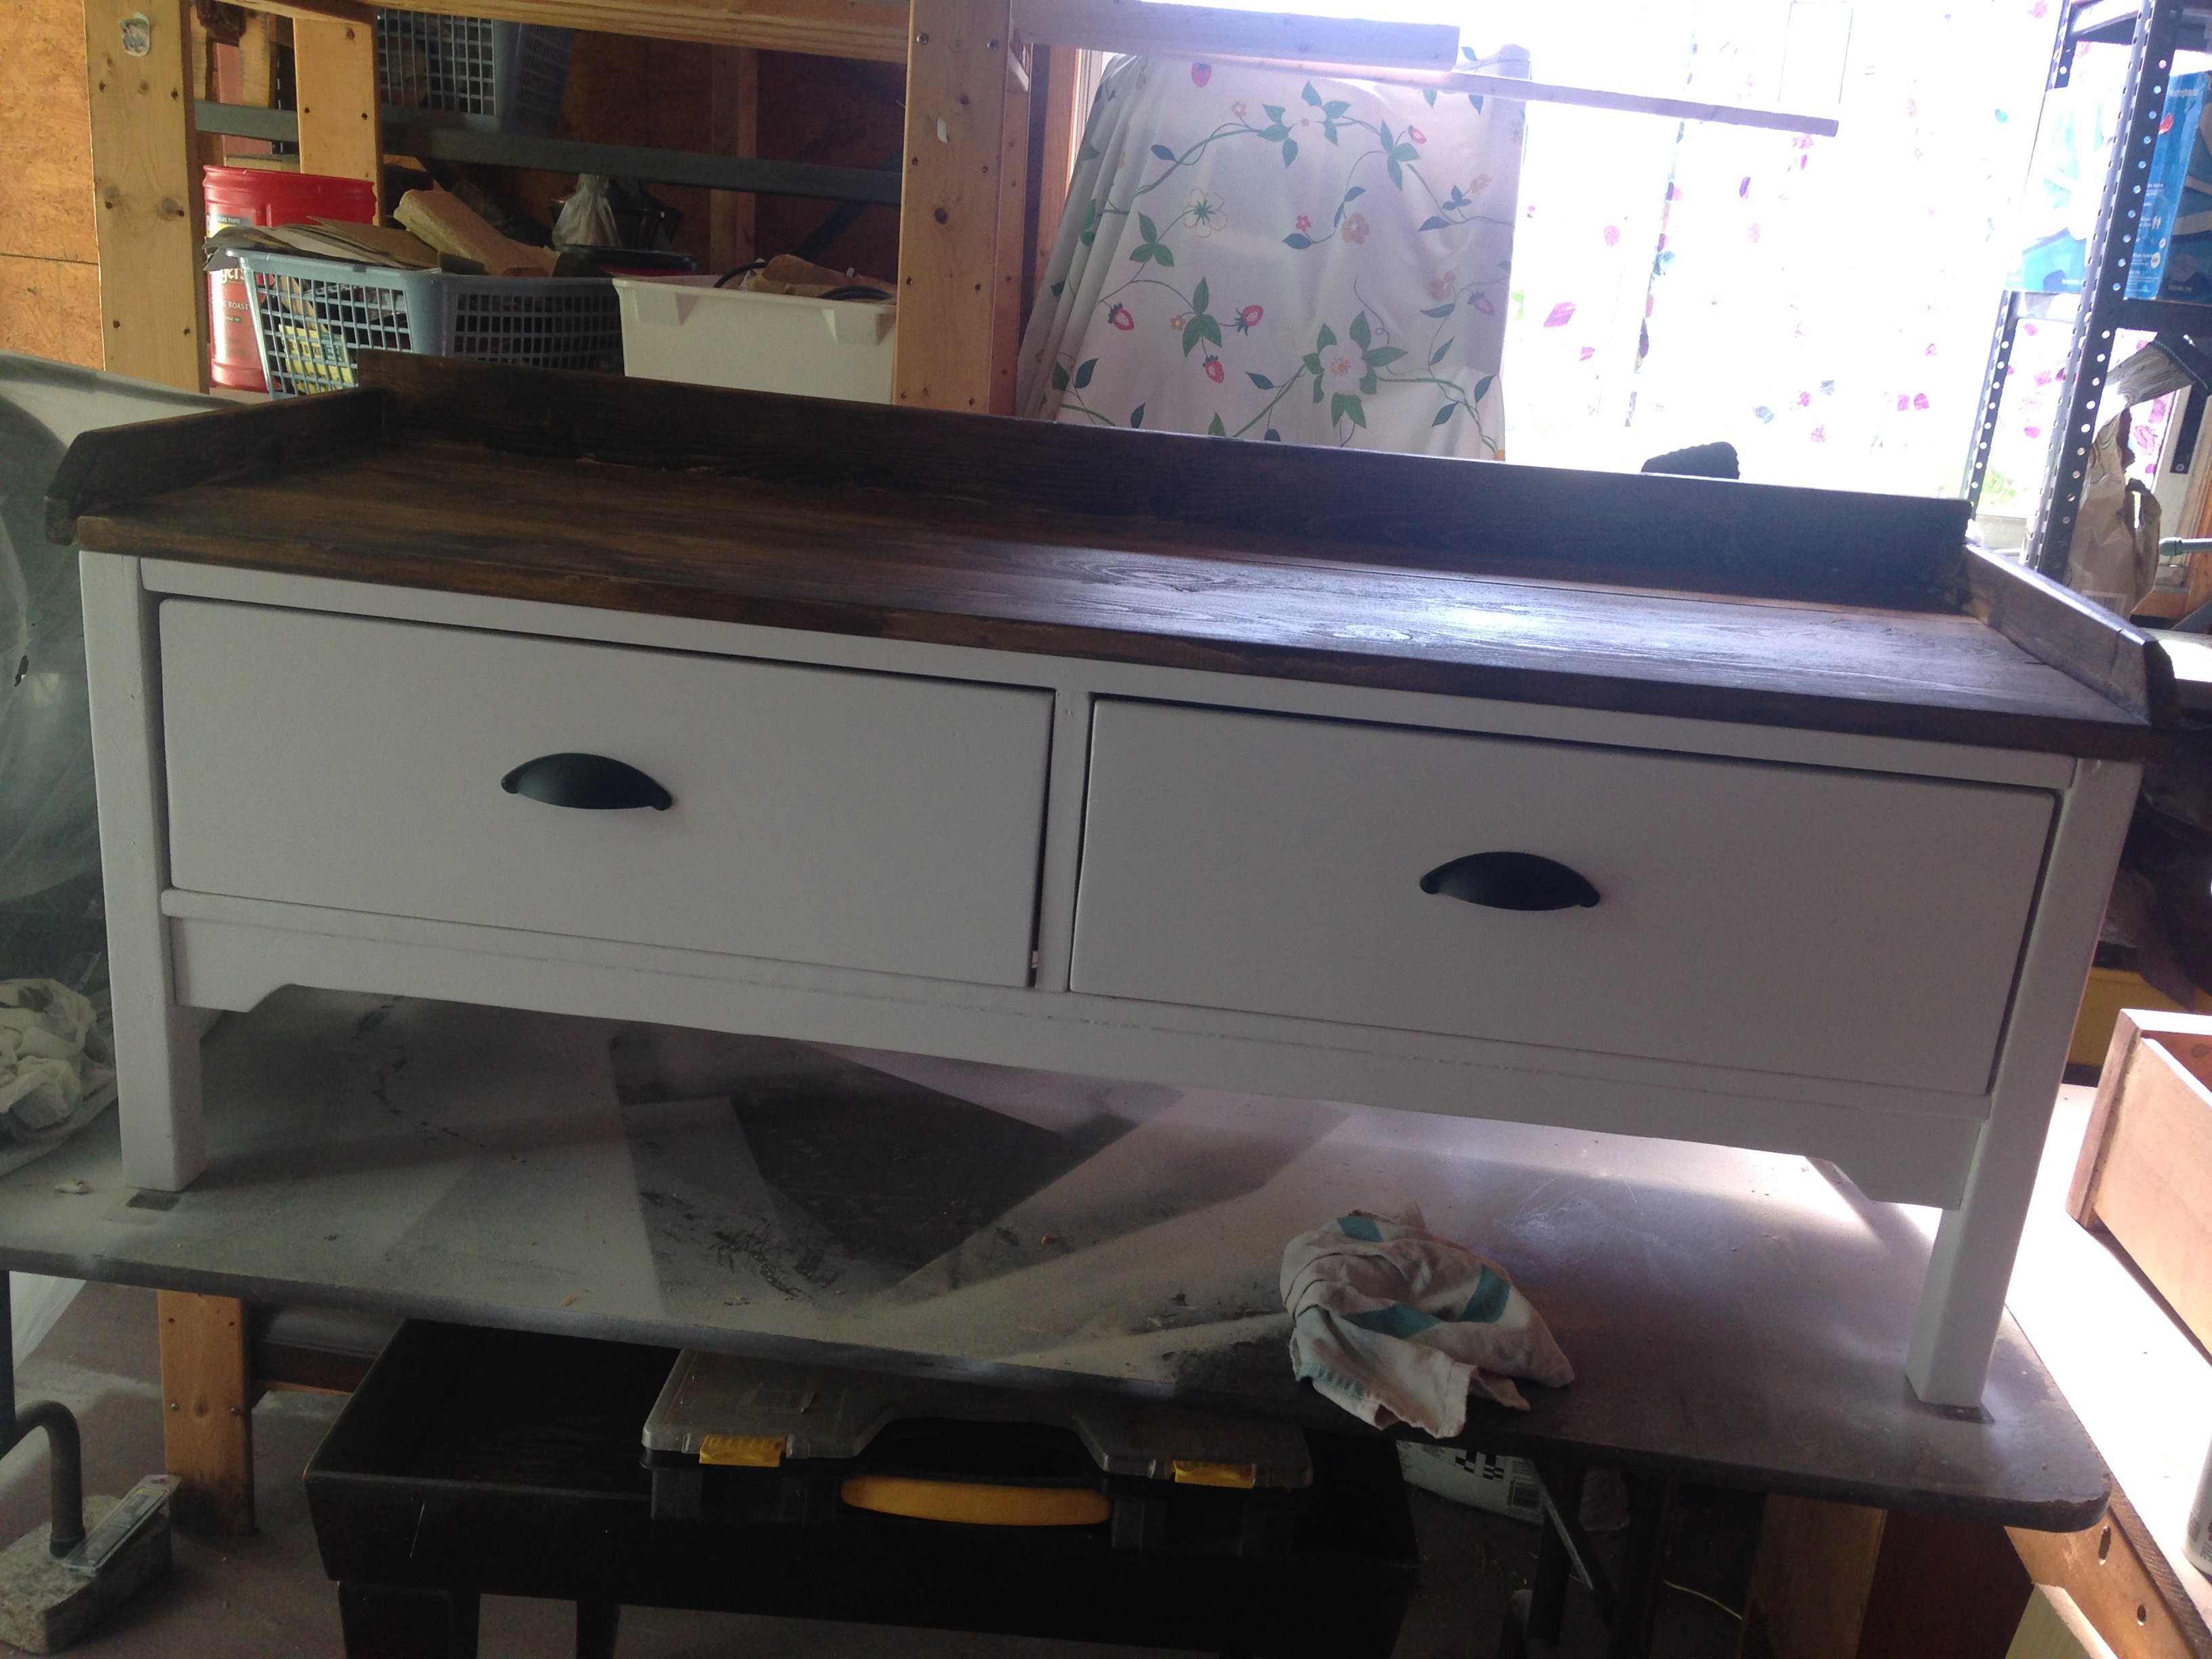
This is only my second build. I love it and am very proud. I made this for my son and daughter in law to put at the foot of their bed. It took a couple of times for me to get drawer glides on right but I did it! I love wood working and want to keep learning!

Wed, 04/15/2015 - 15:49
I really love the two tone colors :) I've got this bench on my todo list too :)
Fri, 04/17/2015 - 07:09
I know, I do too, thanks. Seriously, not that hard really, I say give it a try.
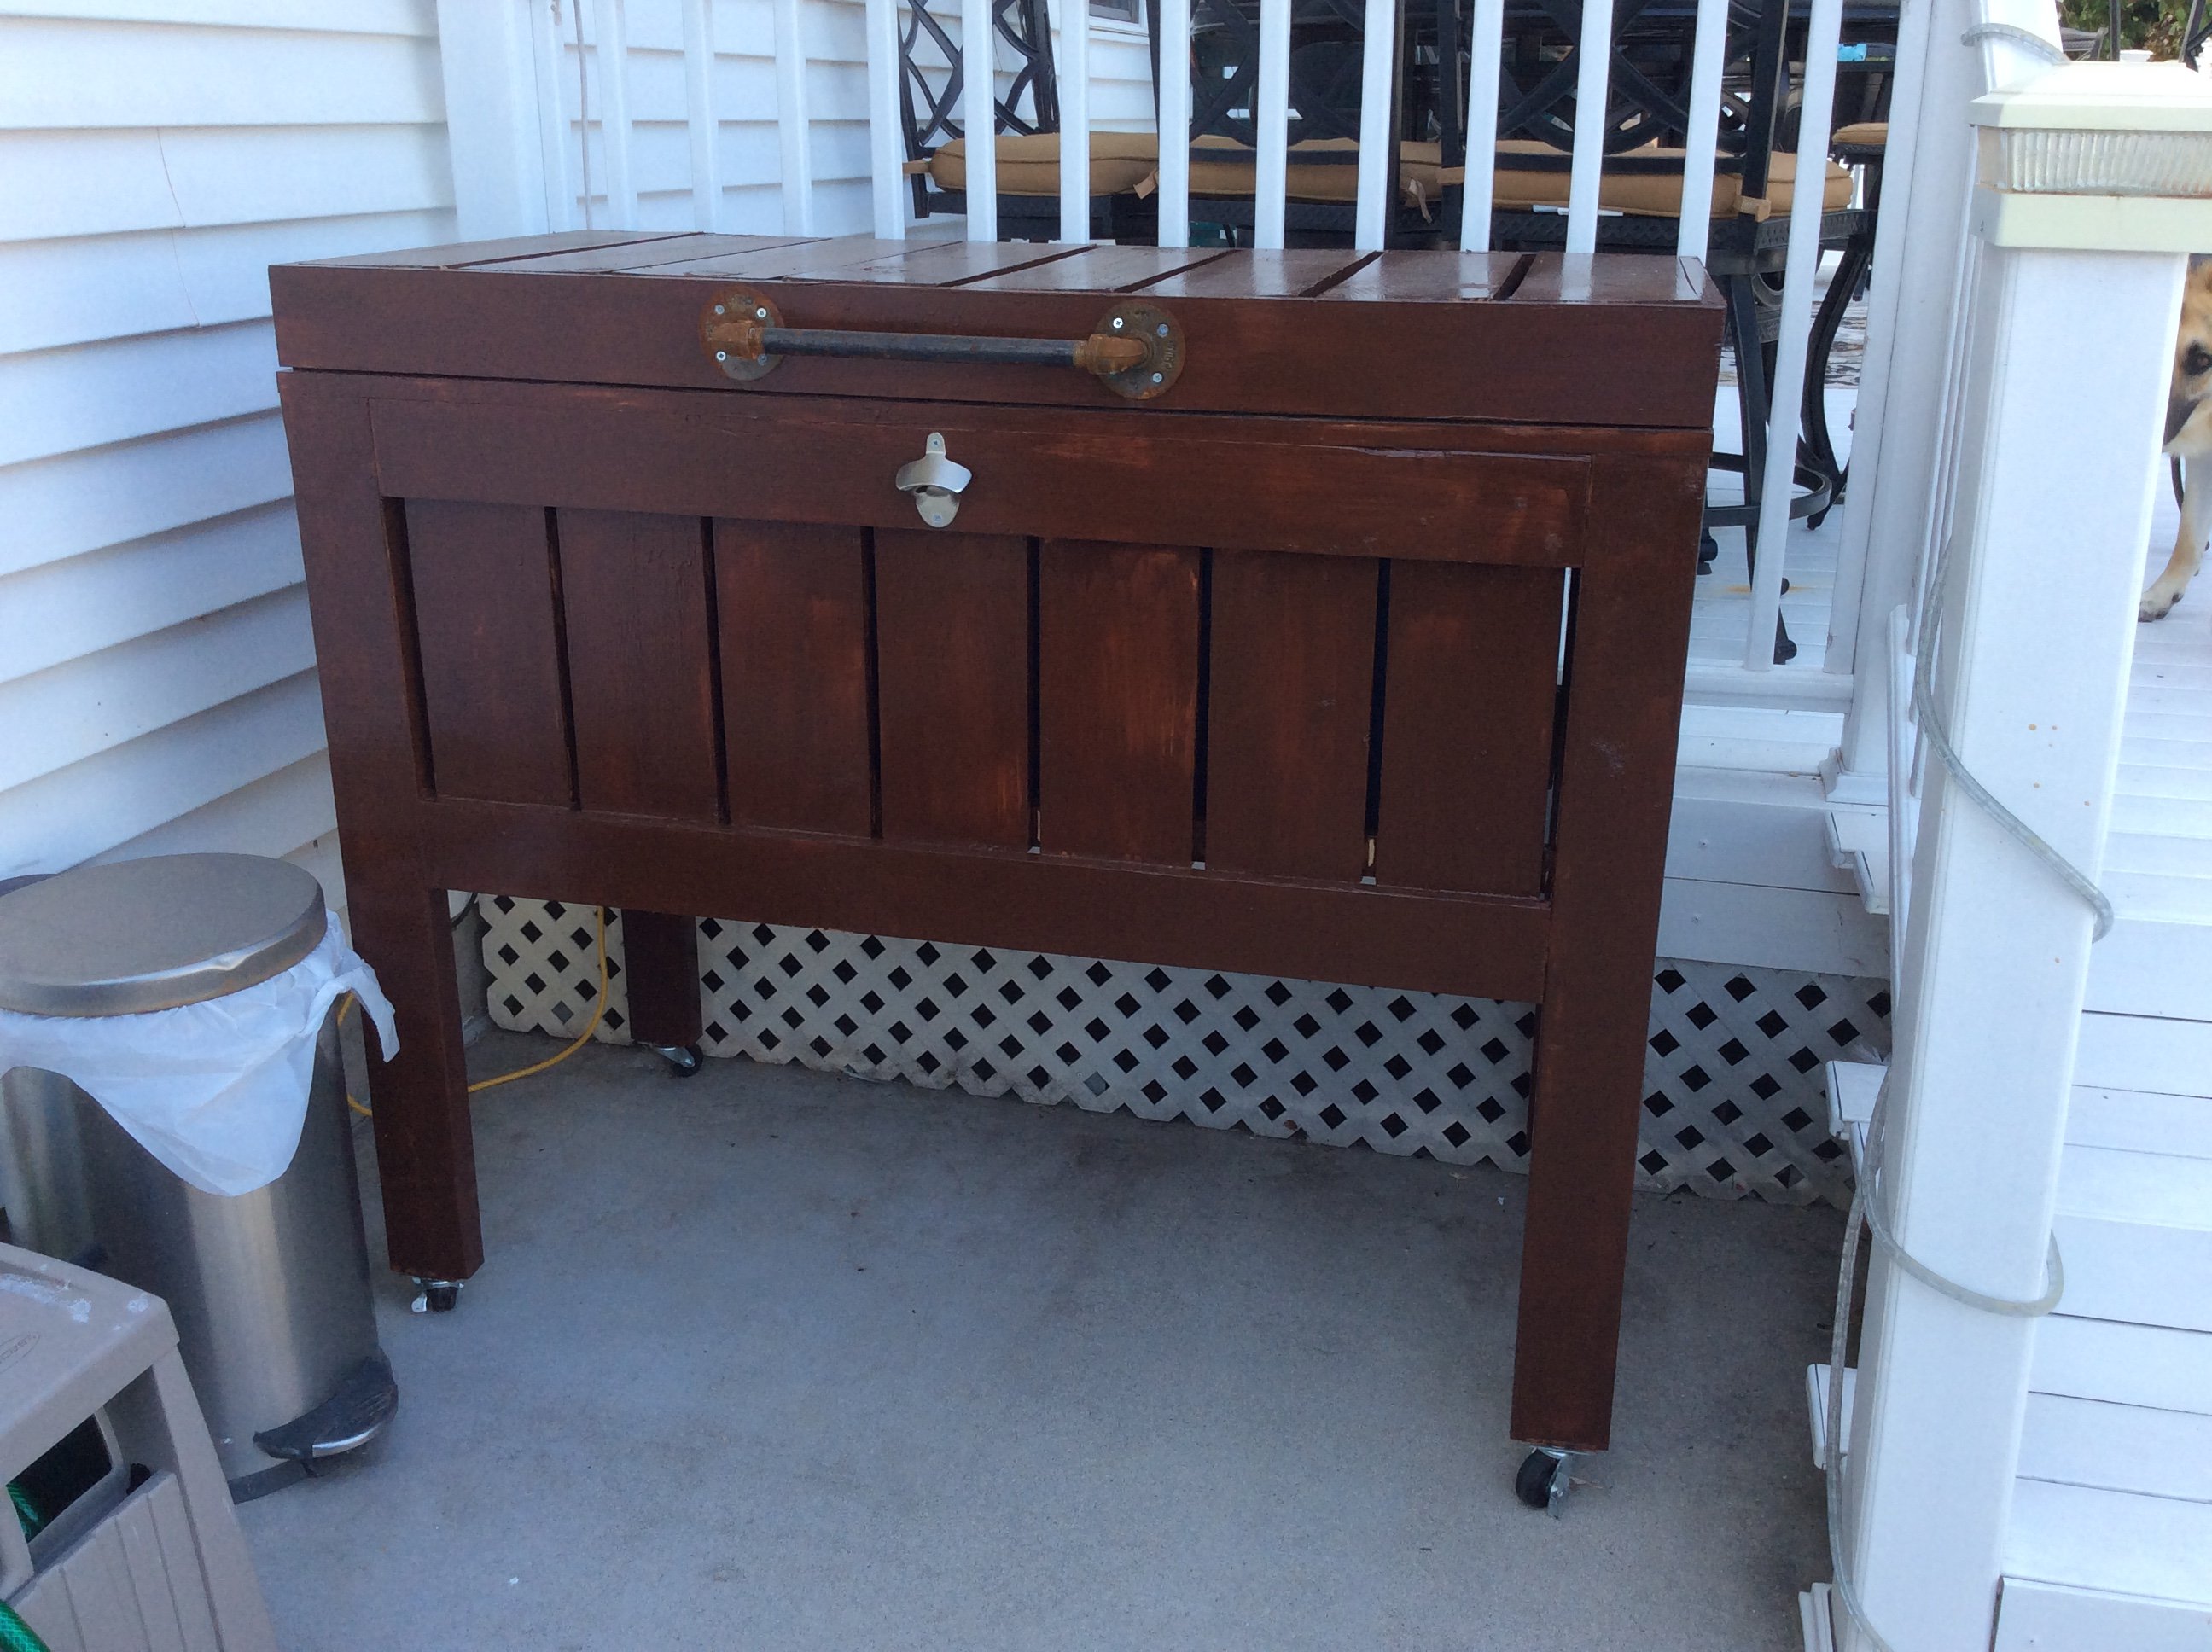
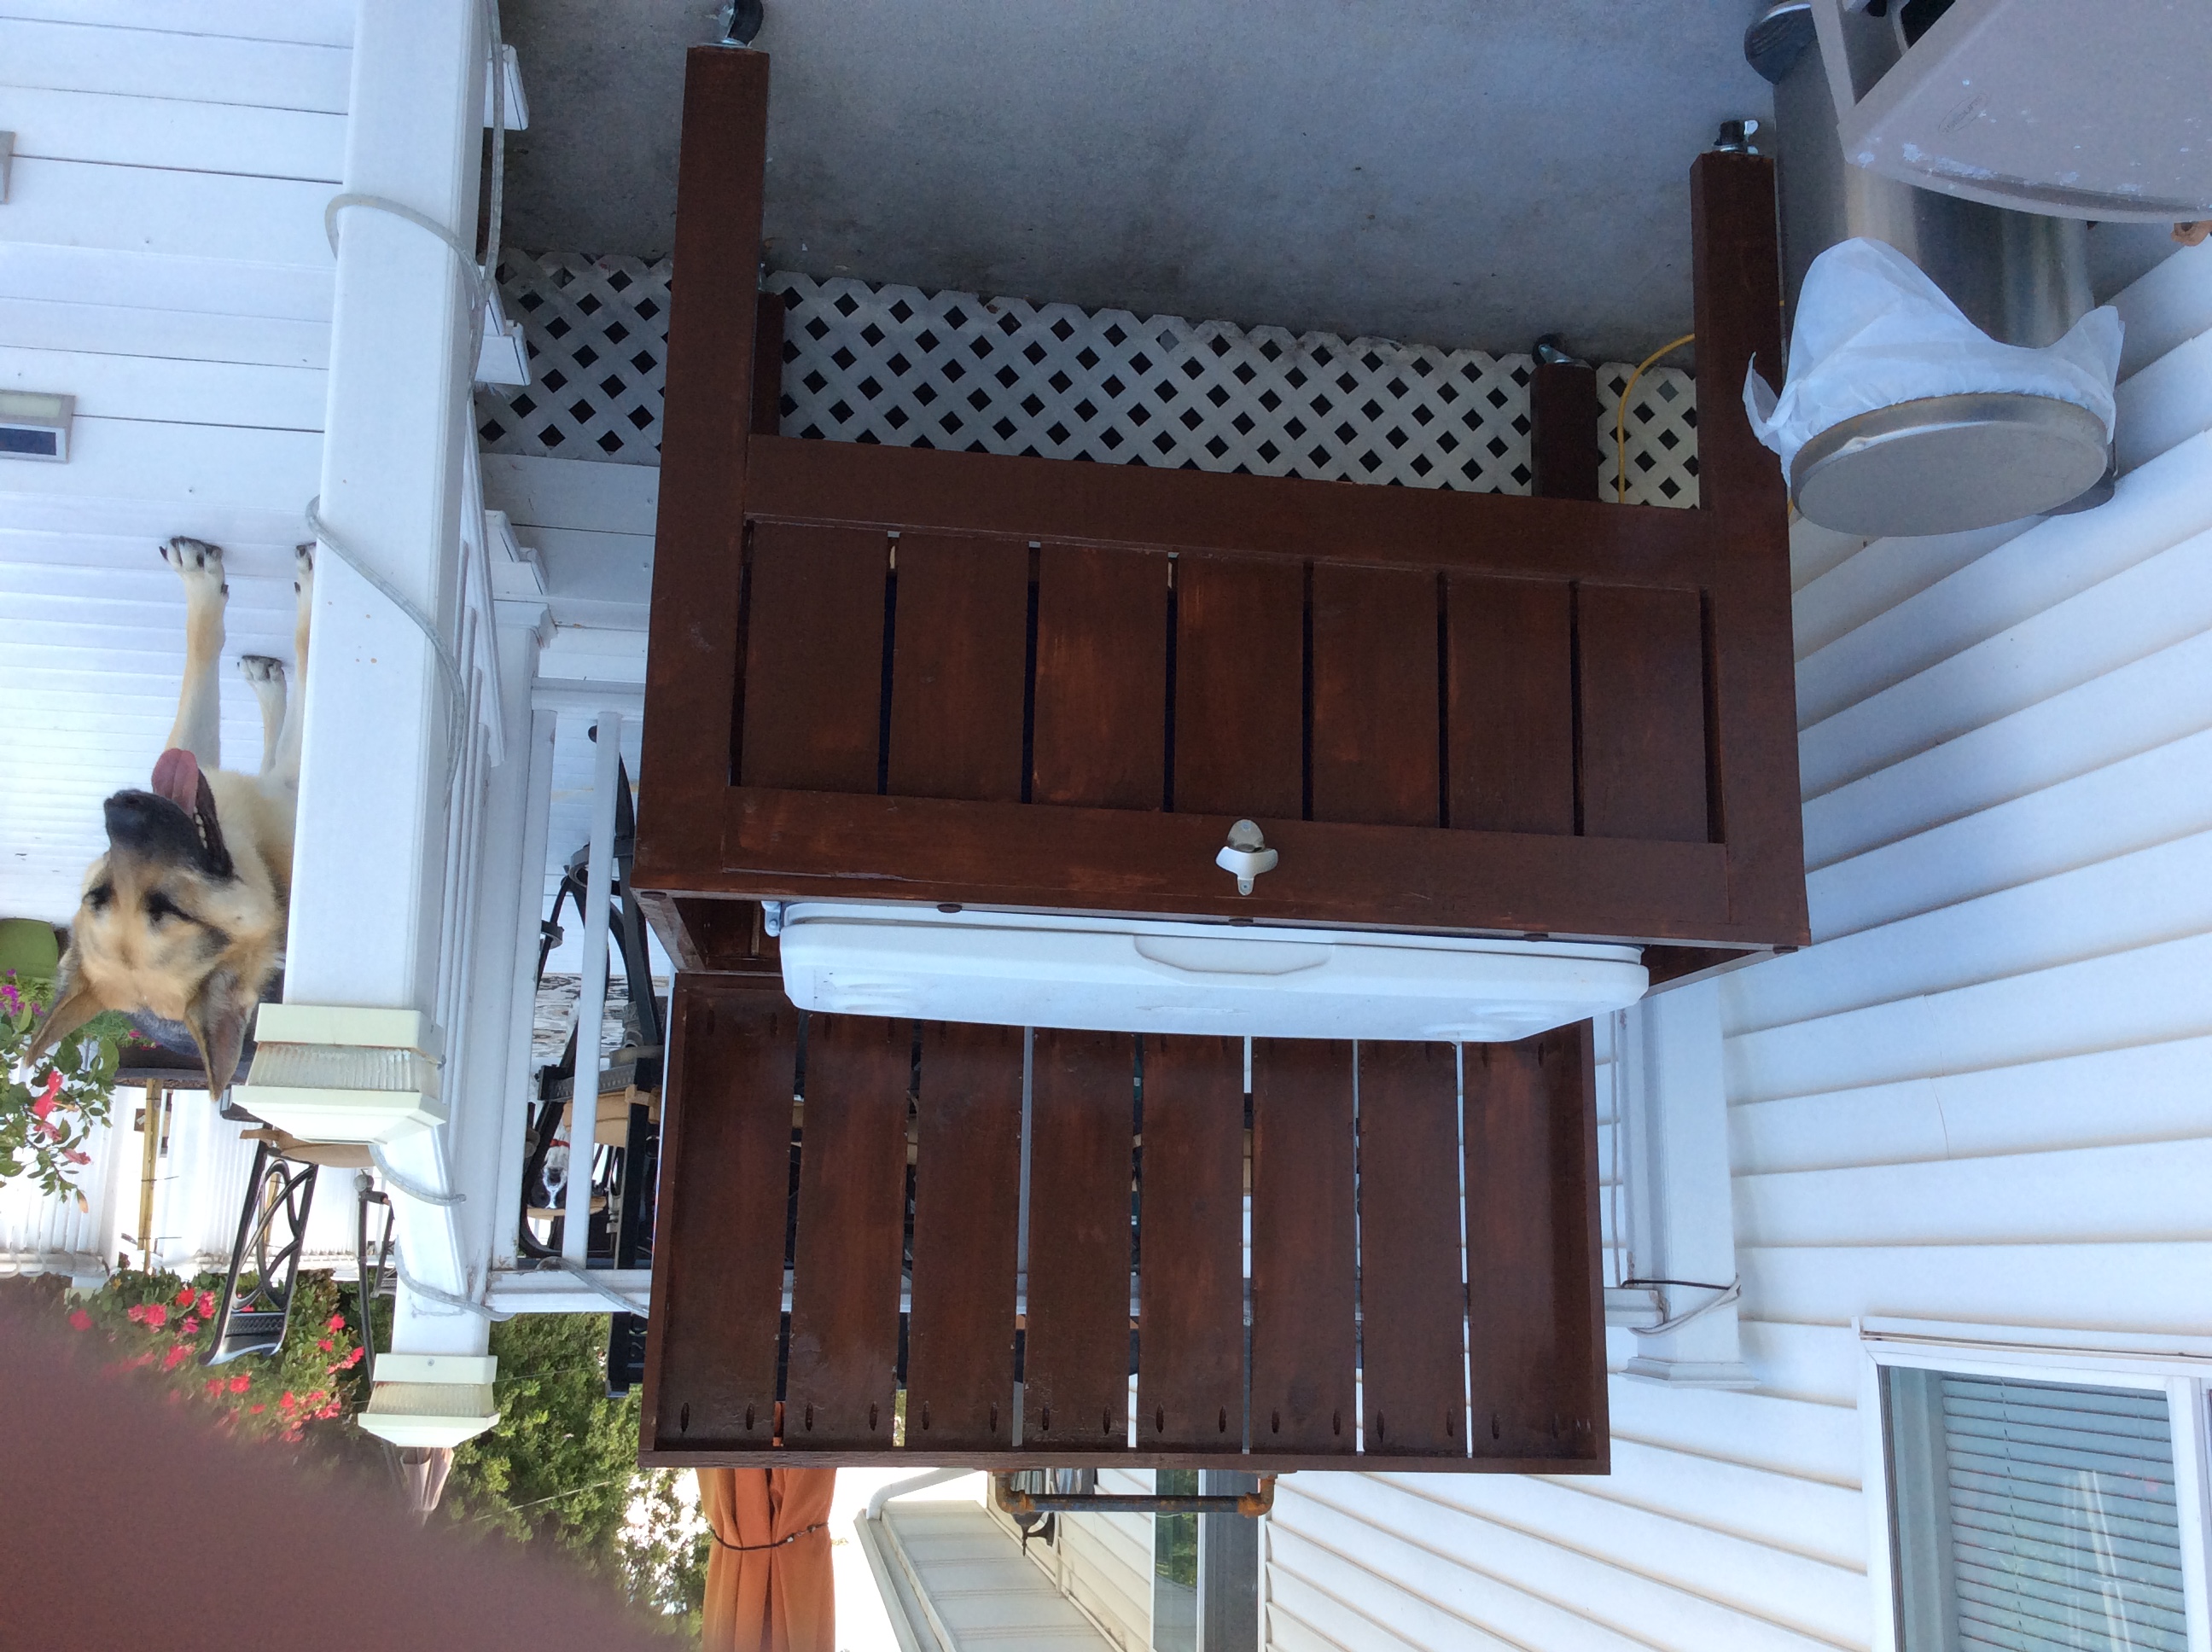
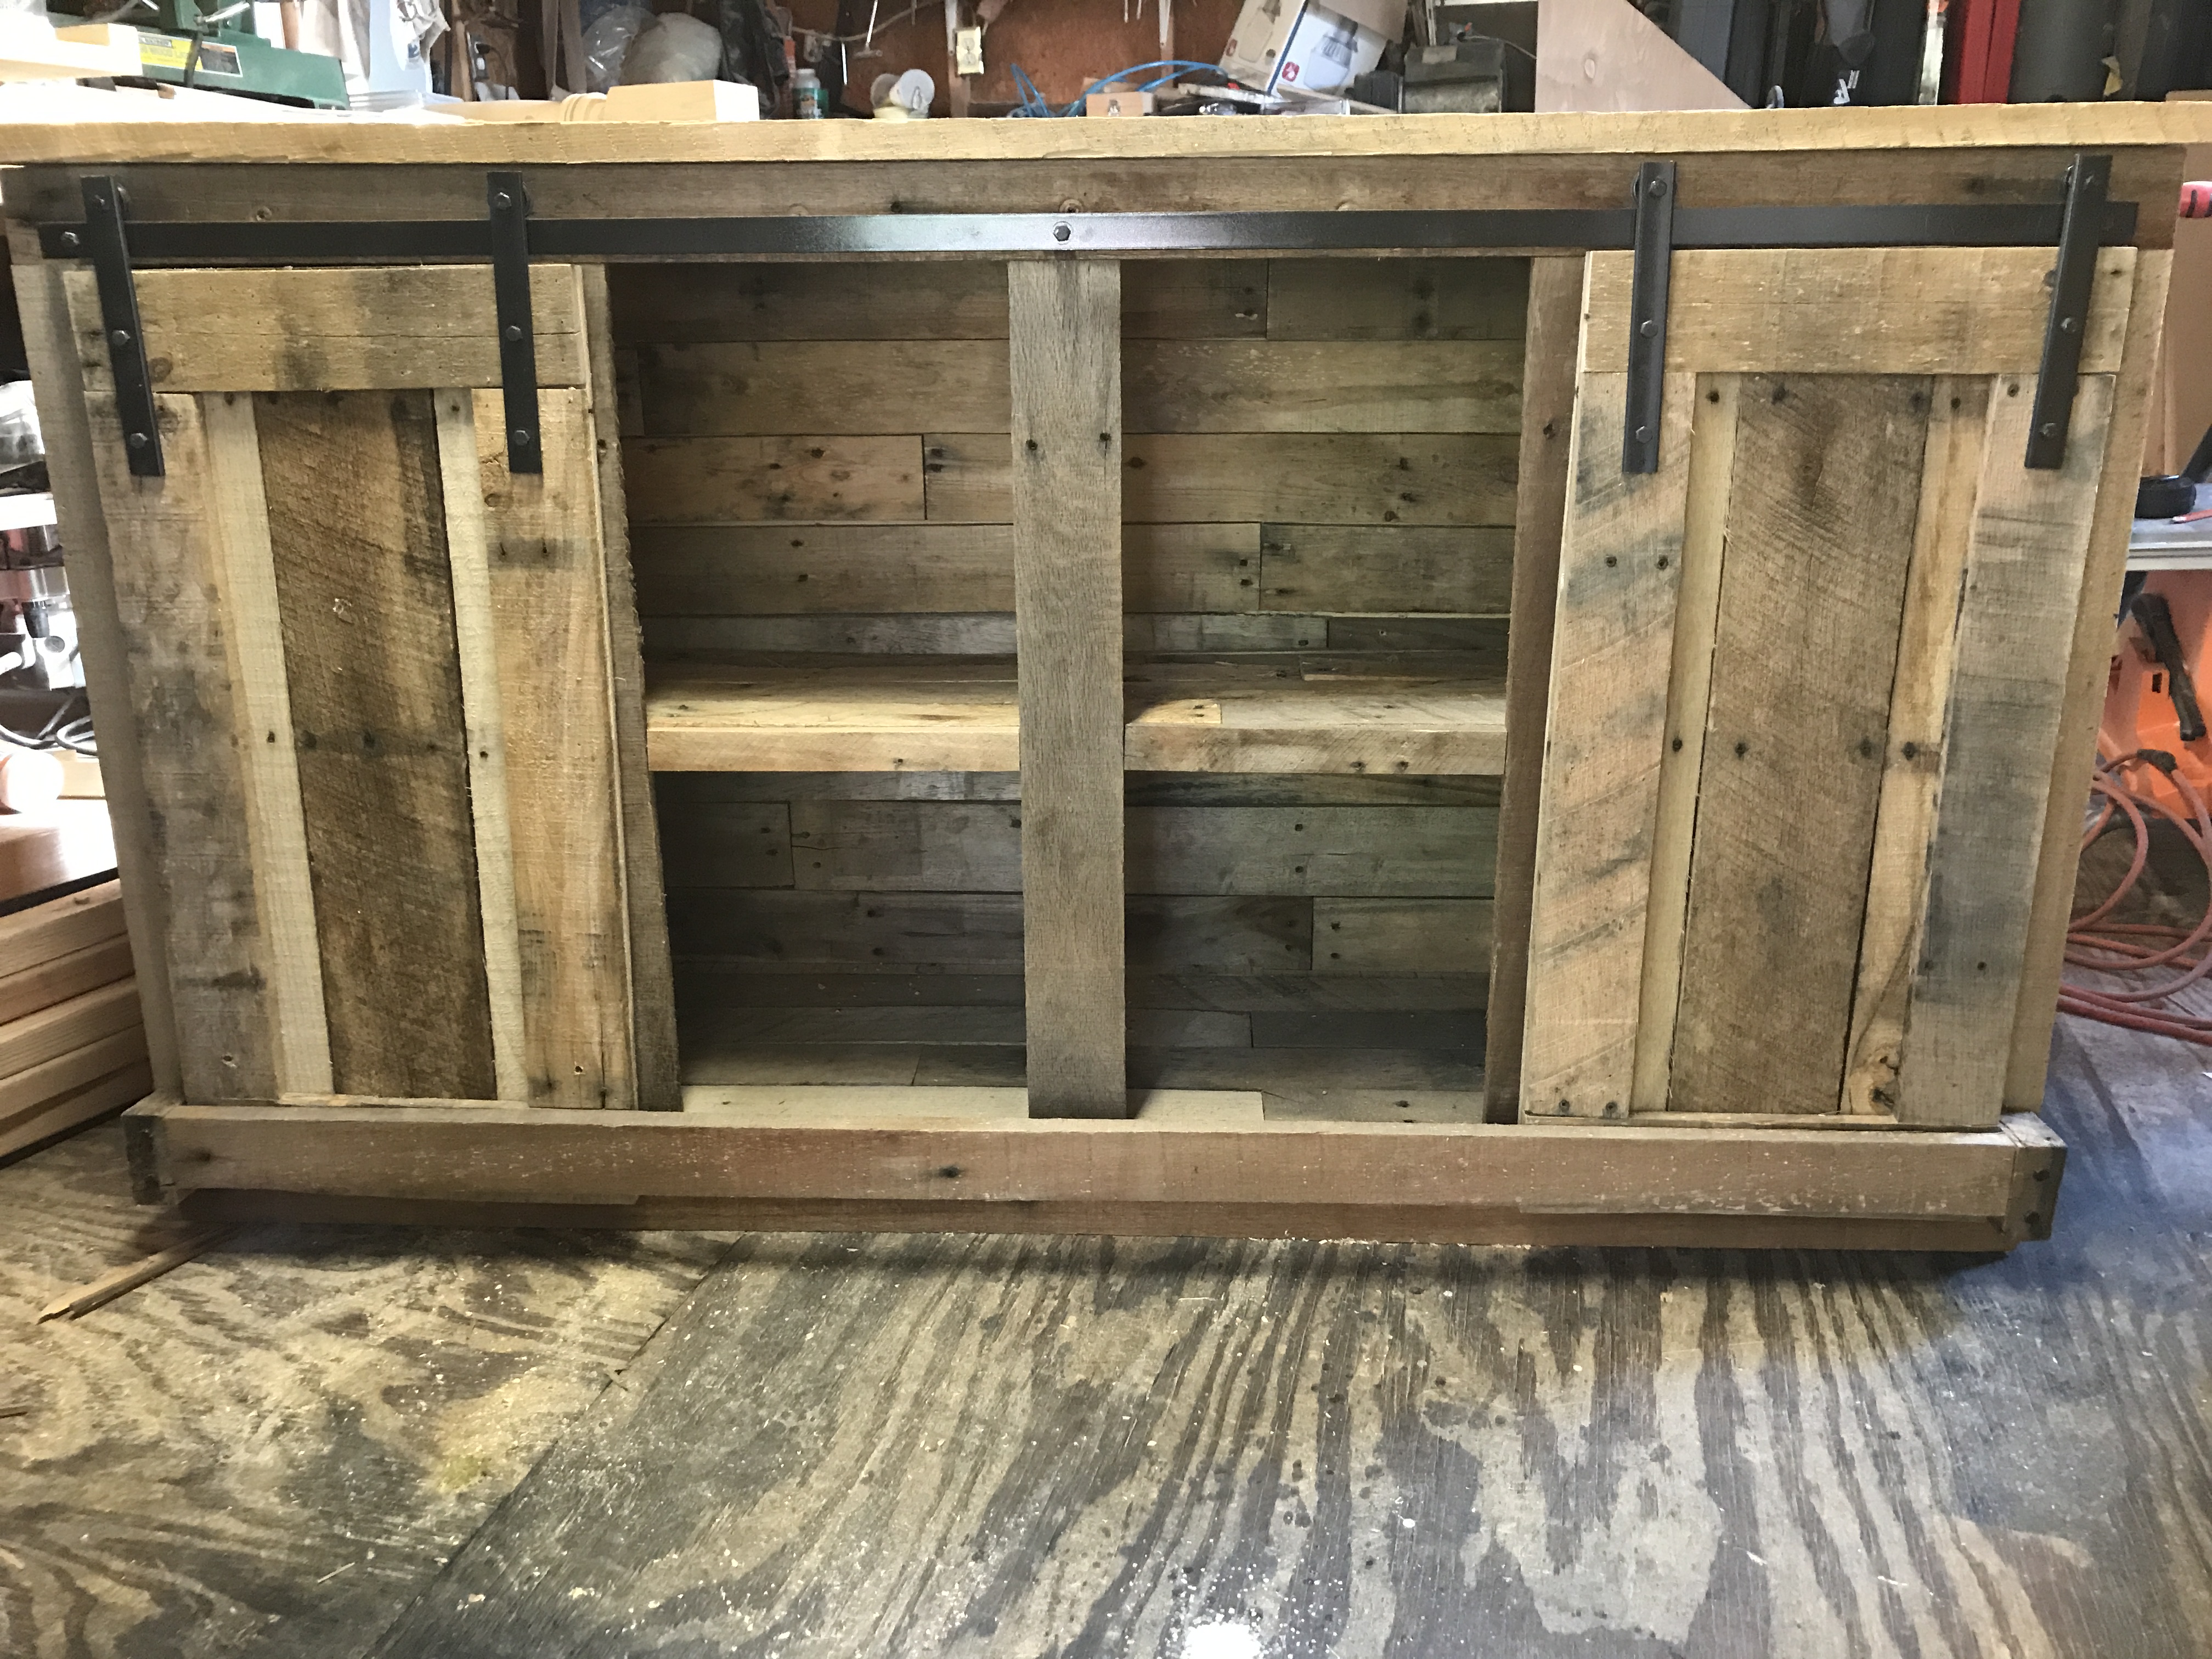
Large cooler stand built for a huge cooler. I wanted to be able to take the cooler out, so it oversized for the cooler, with slats on the bottom to hold the cooler for draining without water sitting on a solid surface inside.
Our fifth build.
Built from rough pine.
Modified for 1x2s in both panels.
Footboard is stacked a little different because silly me got carried away and cut a board, before it was time to cut, and cut it too short. Oooops. Still works though. And looks superb I think.
We did not screw the joists vertical, and through the sideboards. I cut 1 inch pieces off the scraps from the joists, and mounted them from the inside, then laid the joists thick side up, and screwed them down into the mounted pieces.
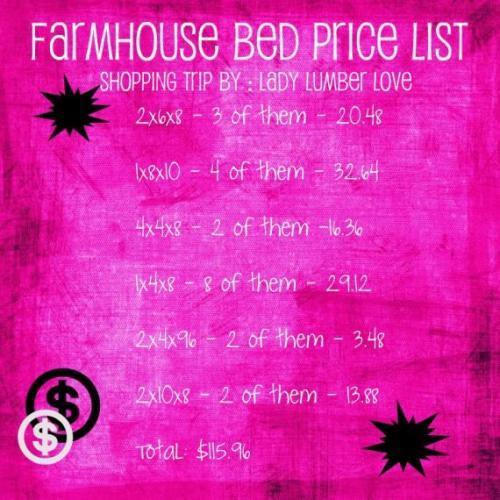
For step by step instructions, and details on where to buy everything, see my blog. I blogged each step of the way. It took us a month to build this due to life obstacles and bad timing on baby naps, but you should be able to do it in one good afternoon.
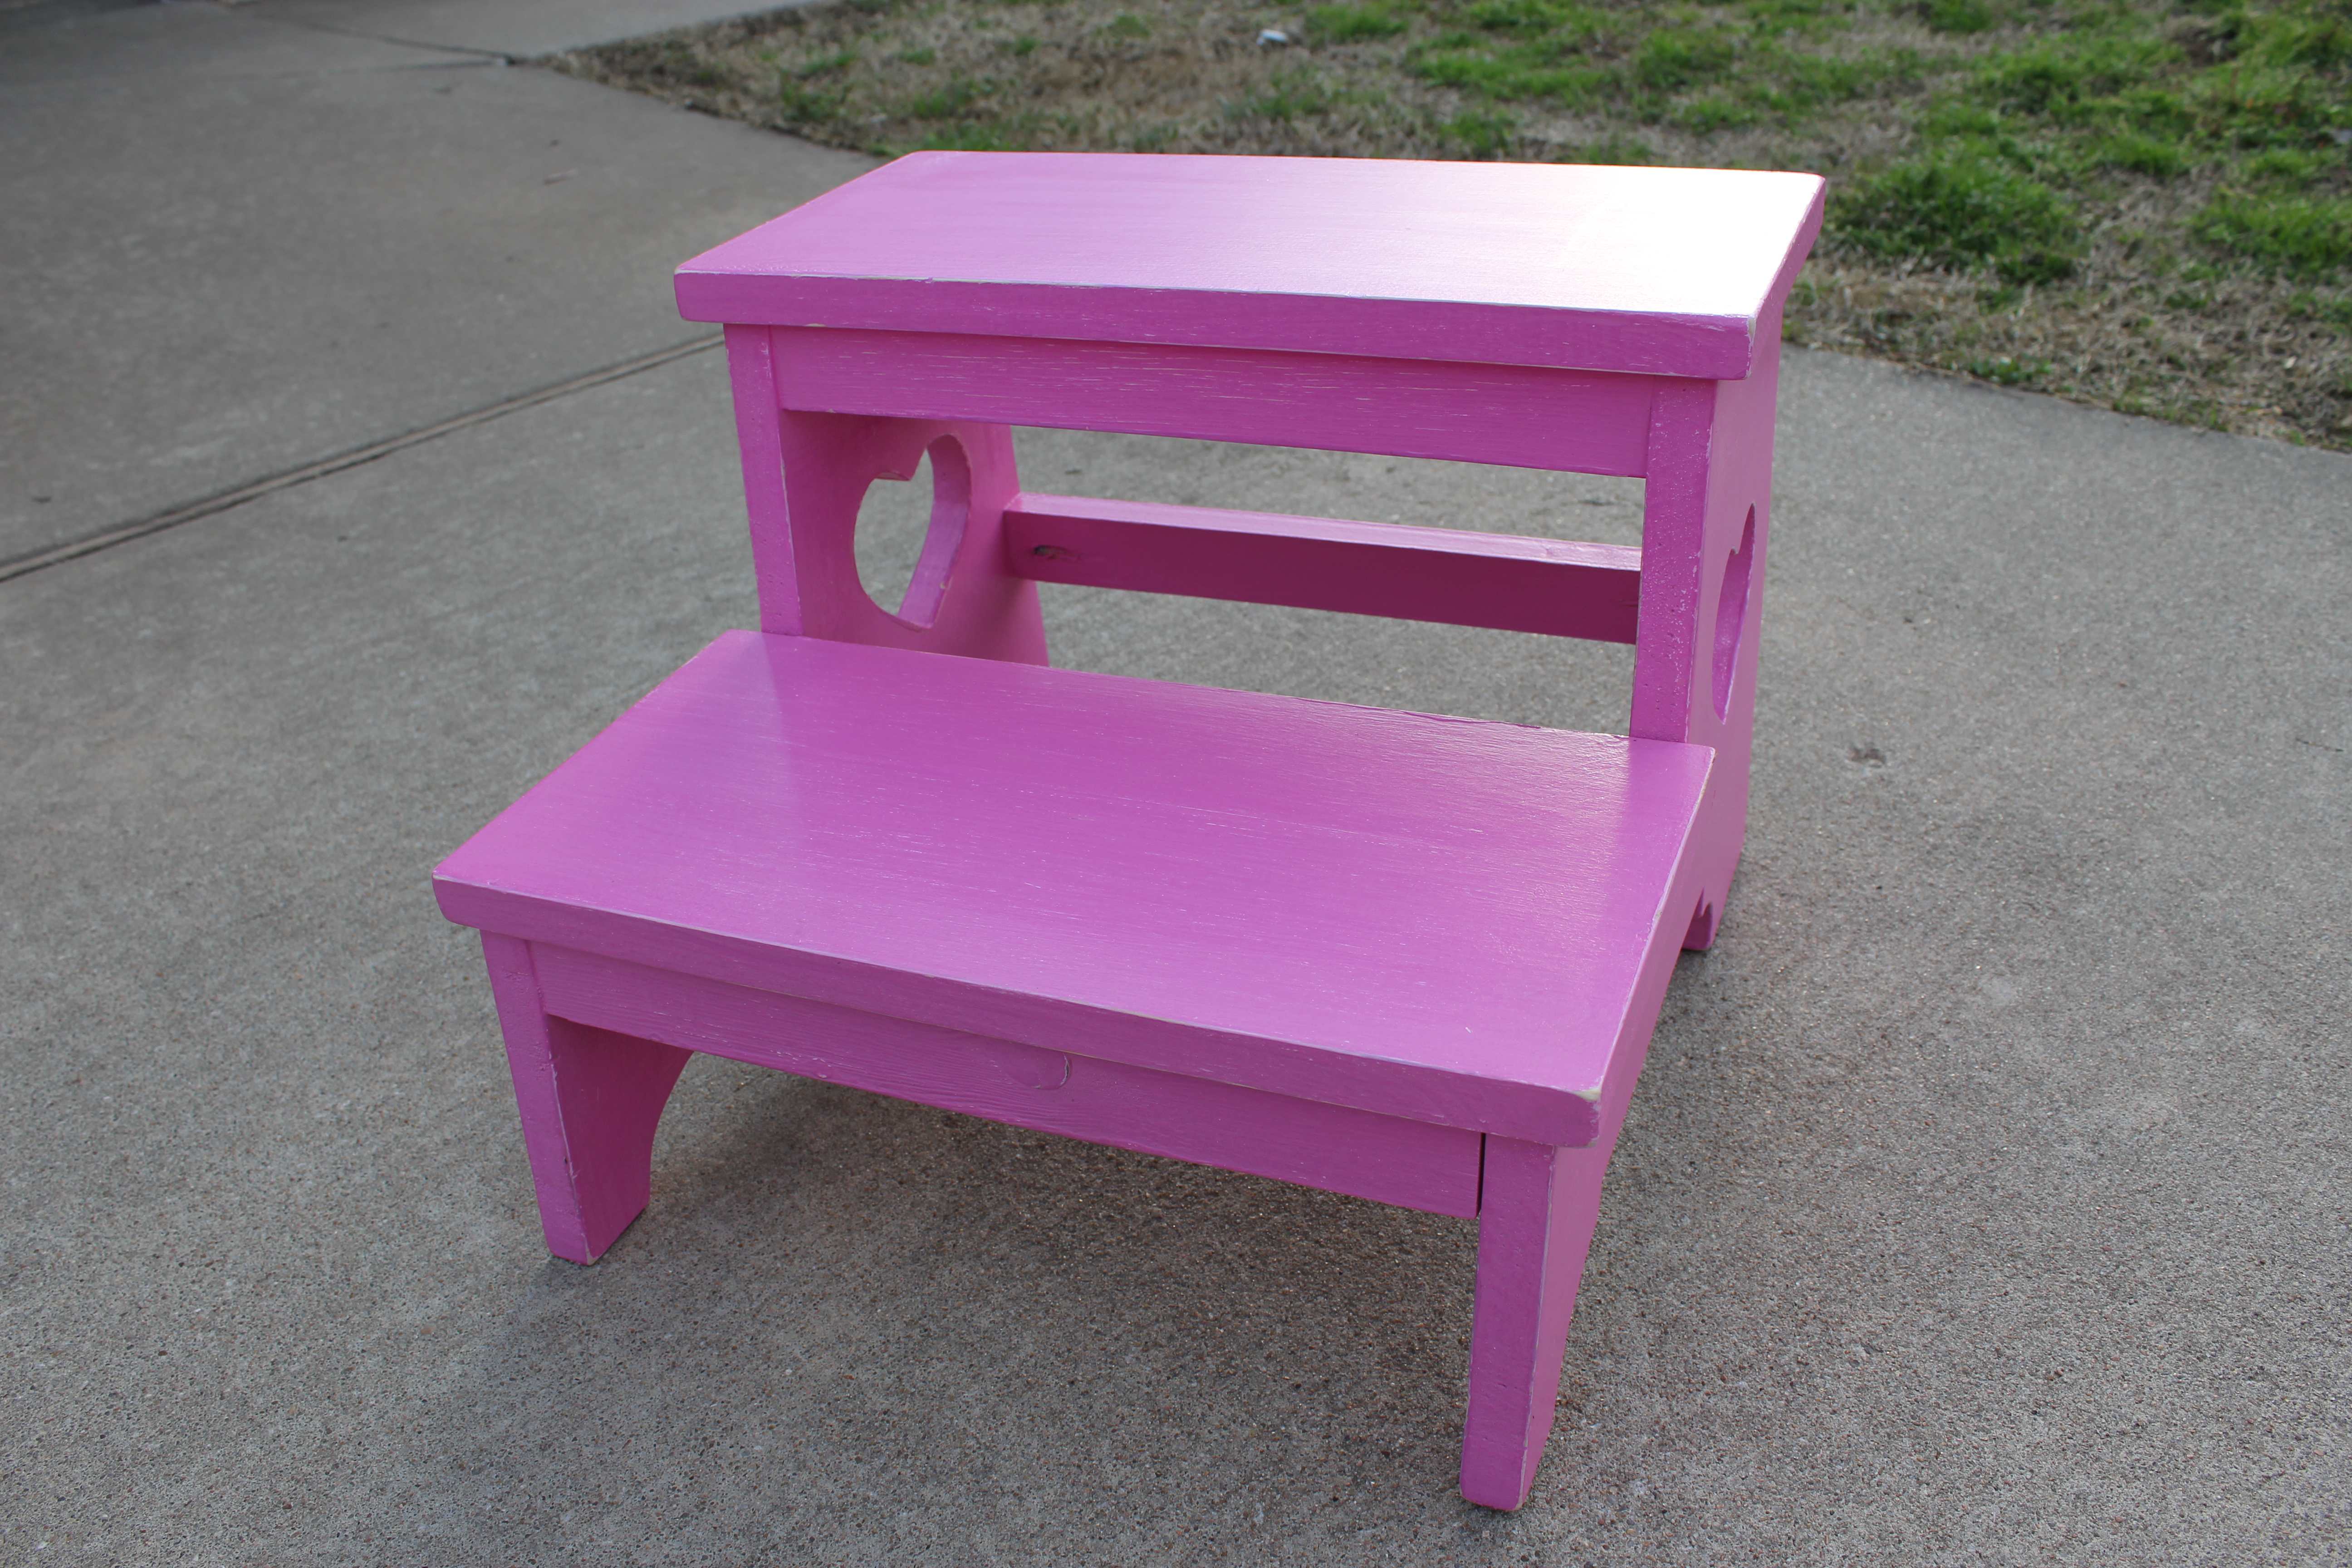
I made this awesome step stool for my daughter to be able to reach things a little bit better. It works perfectly. And the heart adds the perfect touch, don't you think?


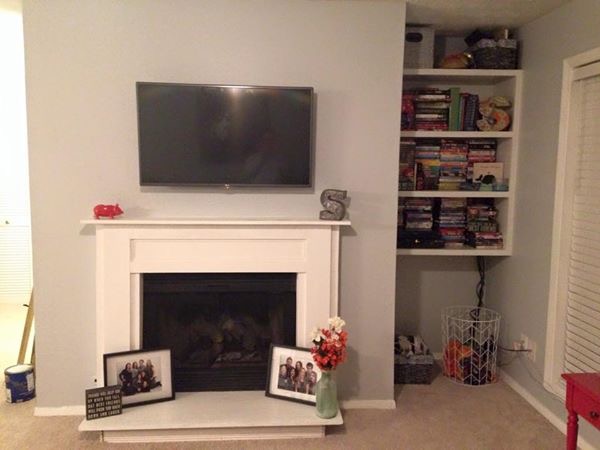
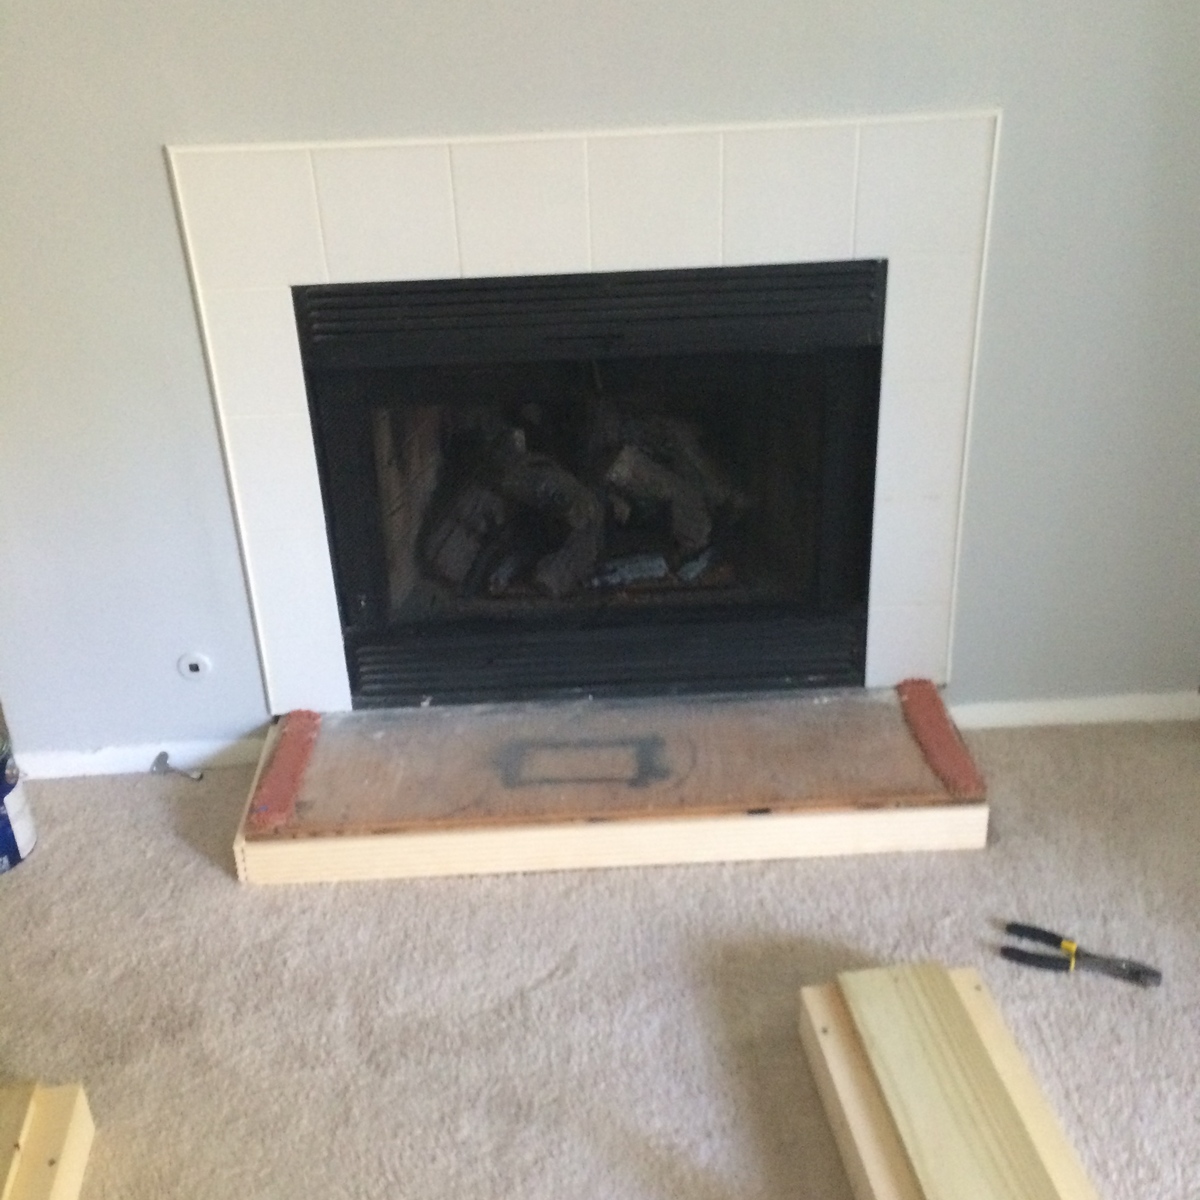
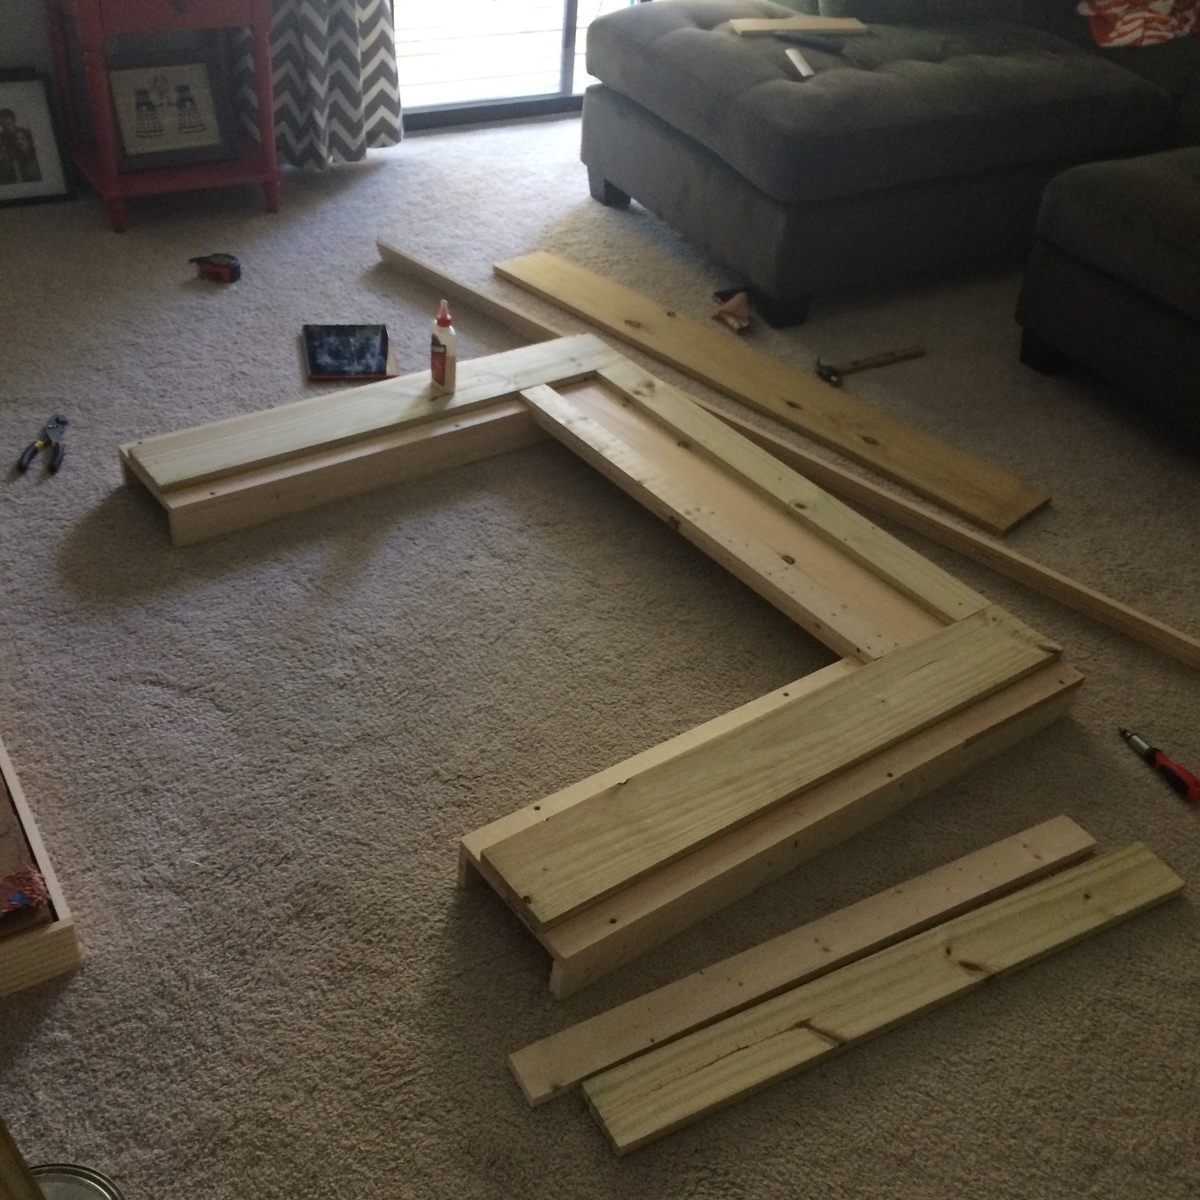
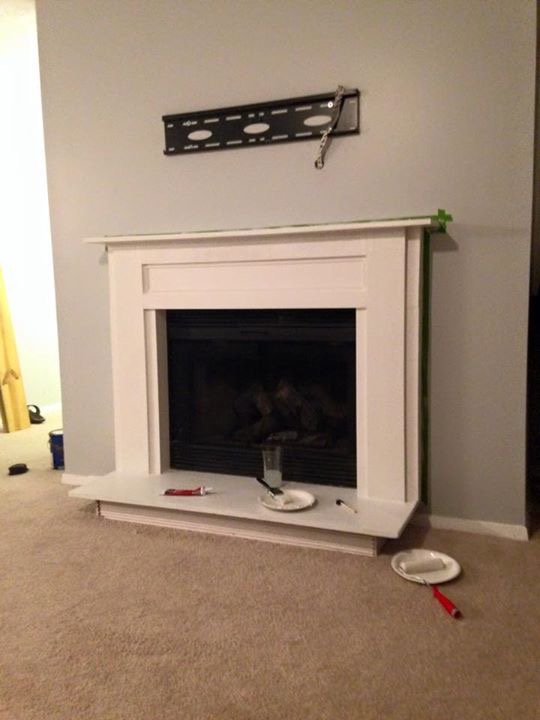
My friend just bought a condo here in Atlanta, and it only had an awkward tile mantel. She had requested we update this, so one Saturday we decided to tackle this. The plans were super easy to follow - and we could not be more excited with the results!!
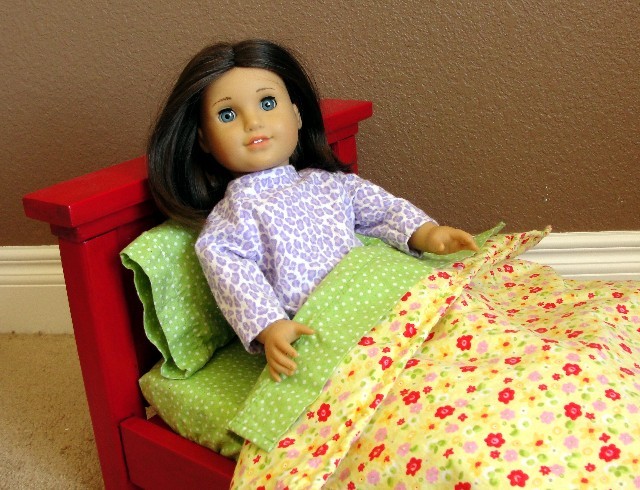
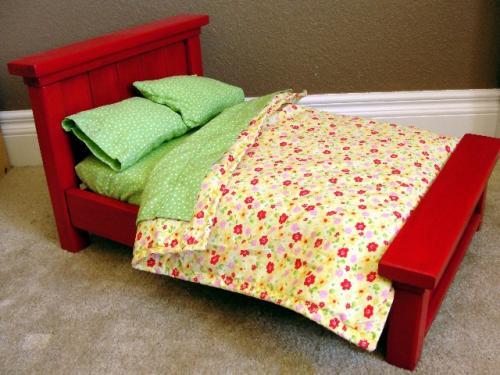
I love this little farmhouse bed. I made it for my daughter for Christmas. It is spacious for one doll and cozy for two.

This was our first project. The directions were easy to follow. We used wood screws to put this project together as I do not have a nail gun. My five year old was in charge of the electric screwdriver. I just used 1 peice of wood for the table top and diagonally screwed into it from the bottom. It took us a few days to complete as when you are working with a little one, everything takes quite a bit longer. This was the perfect project for us to work on together! My husband requested a table to put next to the hottub so he could put his drink on it, but I don't want this to move outside! Maybe I'll have to make another one. :)

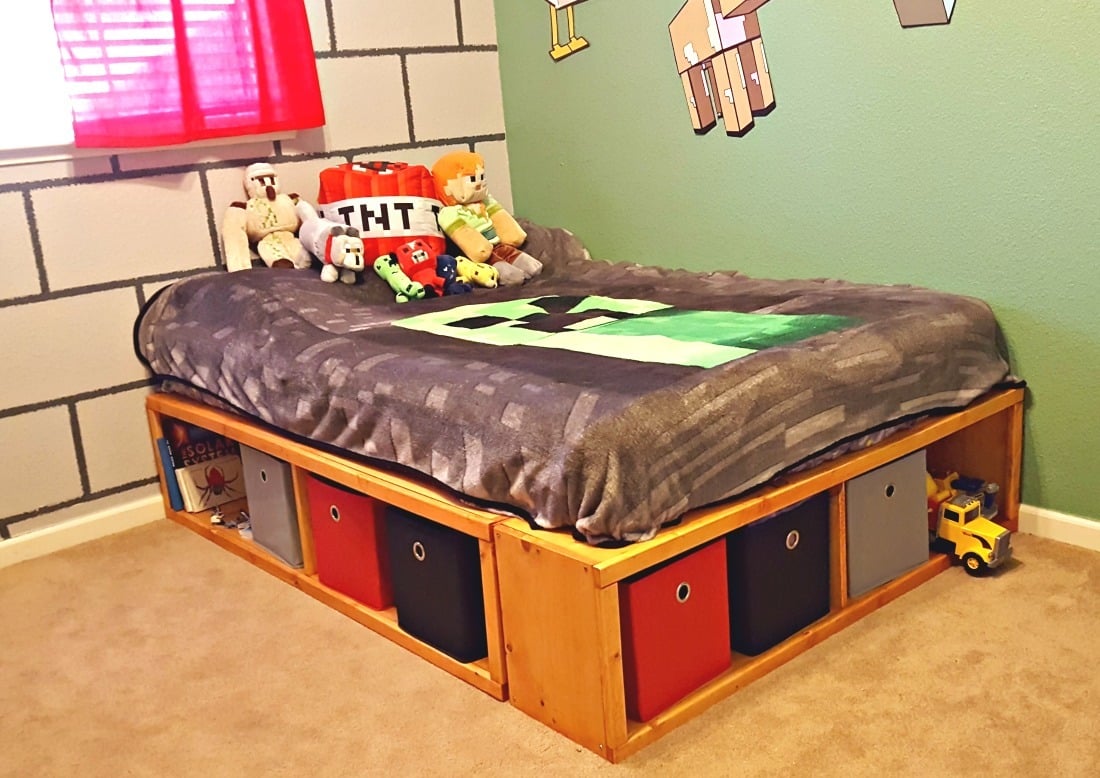
This was a pretty quick build and works perfectly in my son's room. I love all the room for the cubbies! All of his cars and tracks stay off the ground!
The only tricky part for me was attaching the first edges and keeping it straight. Since I was doing this all by myself, I used my nail gun to attach them quickly and then drilled in screws to secure them.
I kept them in three separate parts so it was easier to take upstairs and then I used my nail gun to attach the slats in the middle. Pretty easy and inexpensive for a nice wood full size bed frame!
Check out my blog post for more pictures of my build! http://www.leapoffaithcrafting.com/diy-full-bed-frame-storage/


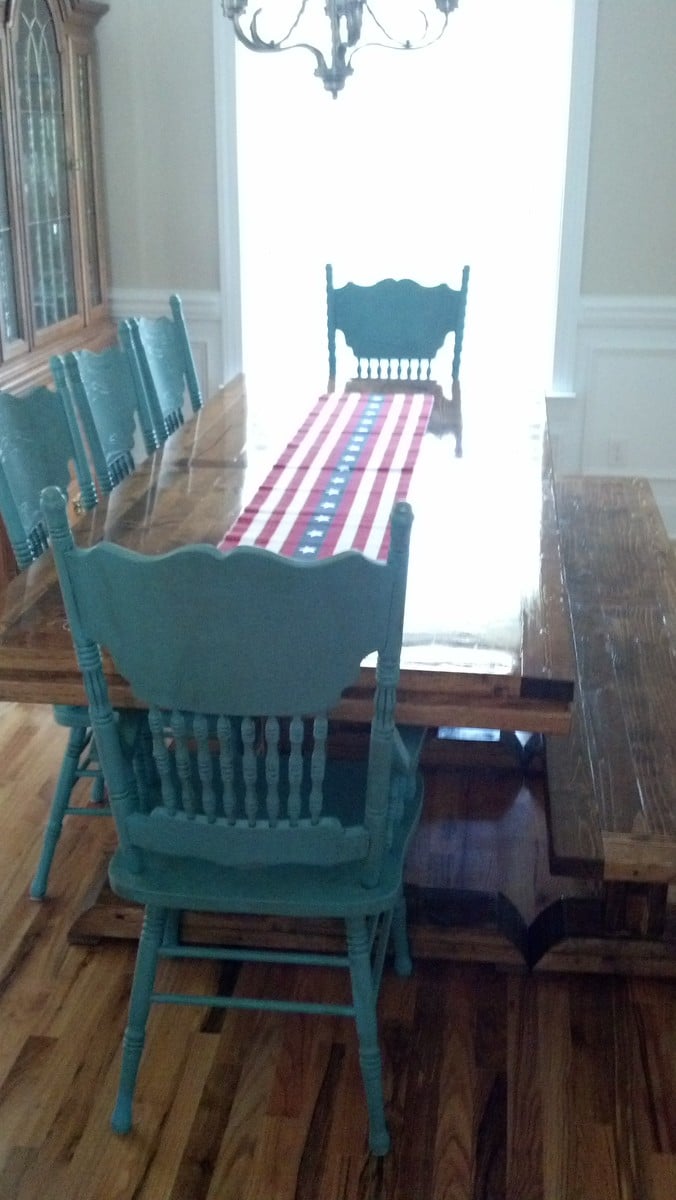
I made four of these chairs and my wife has ‘ordered’ more for the spring, the will probably be more purple ones
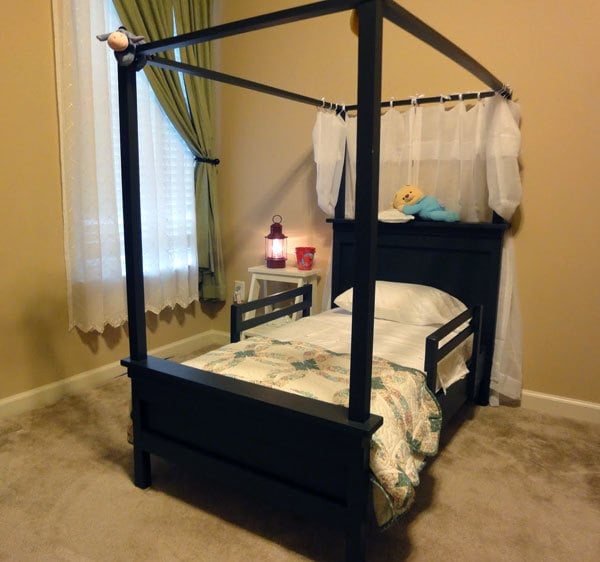
When I saw the farmhouse toddler bed plans on Ana’s site, I knew I had to build it for my daughter. I added siderails (modified from the bunk bed rail plans) and a canopy (modified from the adult size farmhouse bed canopy plans).
I can’t really give an estimate of how long this project took…I had to work on it while keeping my five year old and one year old entertained. If I’d had no distractions, it probably would have taken only 3 or 4 hours to build it (more for the painting).

Comments
Ana White Admin
Tue, 10/05/2021 - 09:35
Shared!
Wonderful job combining the two plans, so smart! Shared on our Facebook page this morning:)