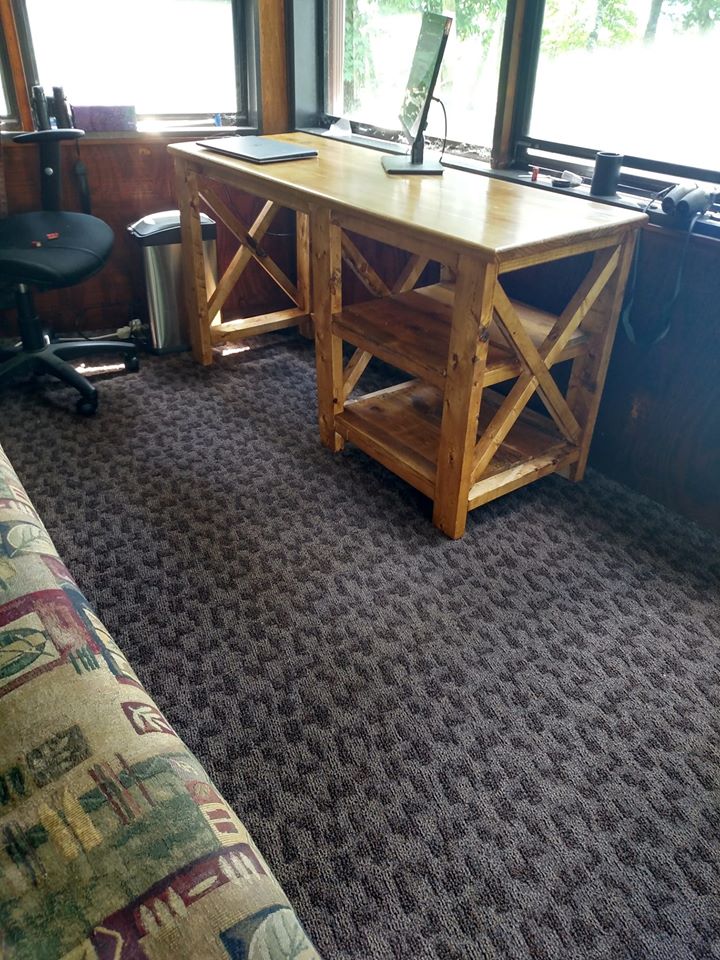
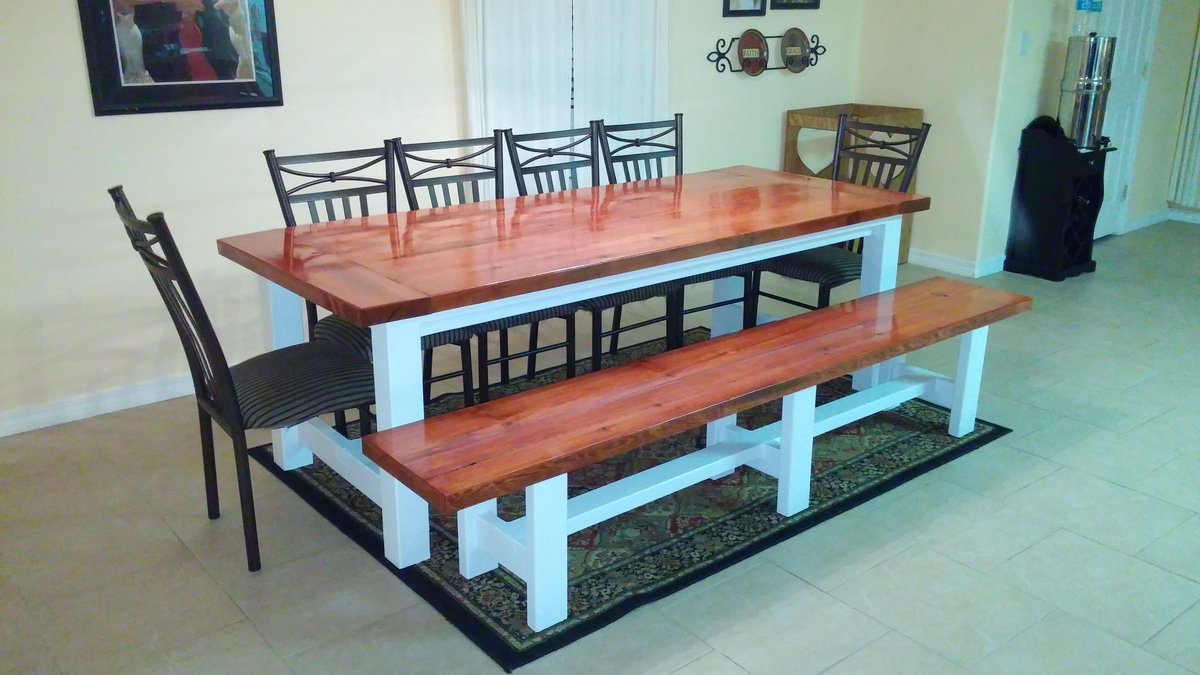
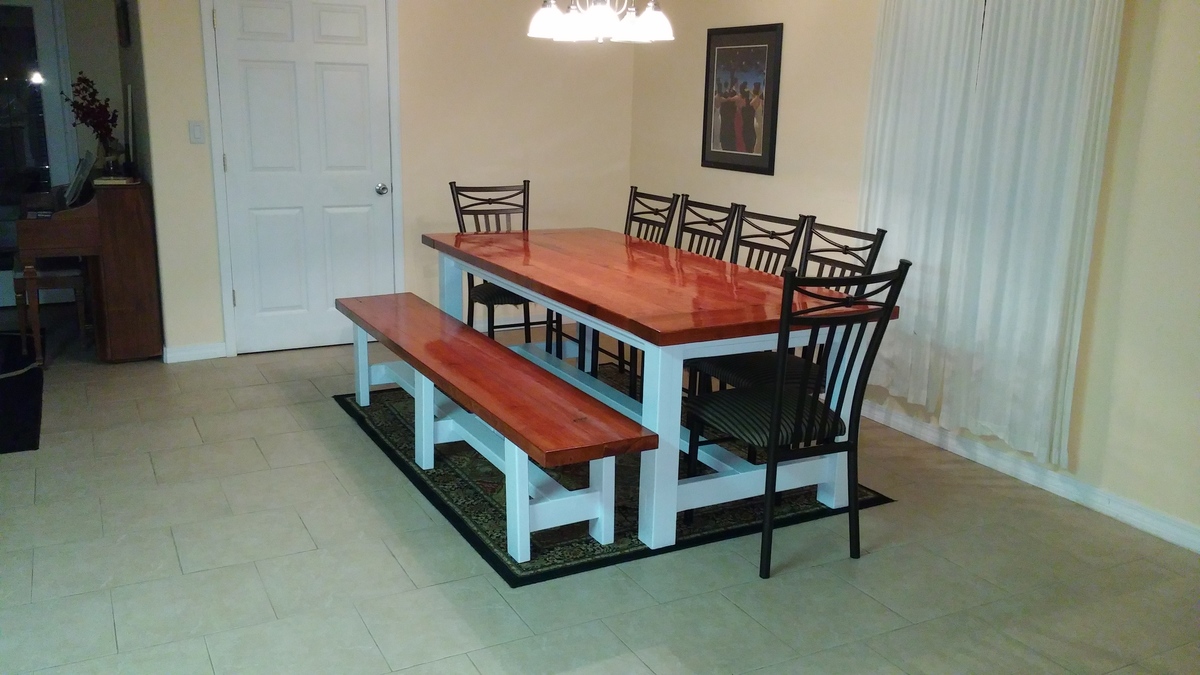
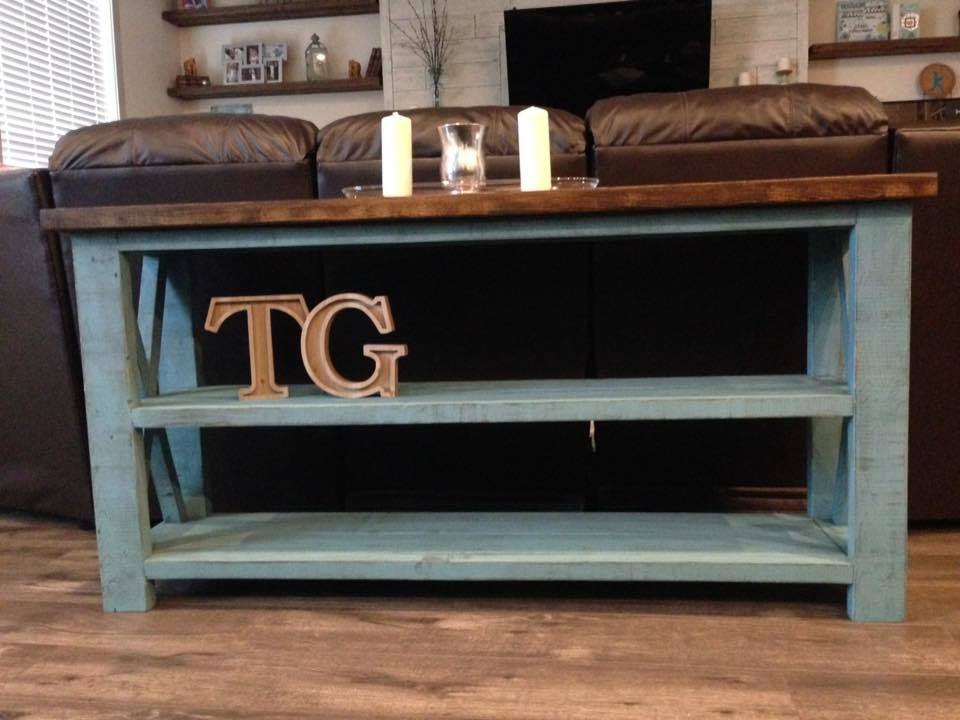
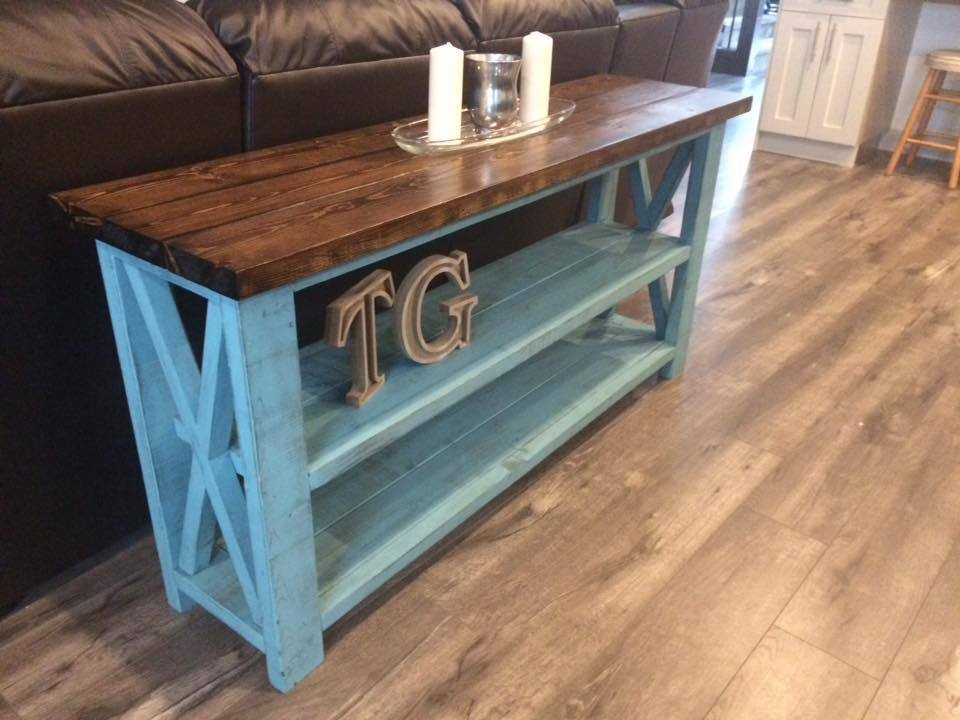
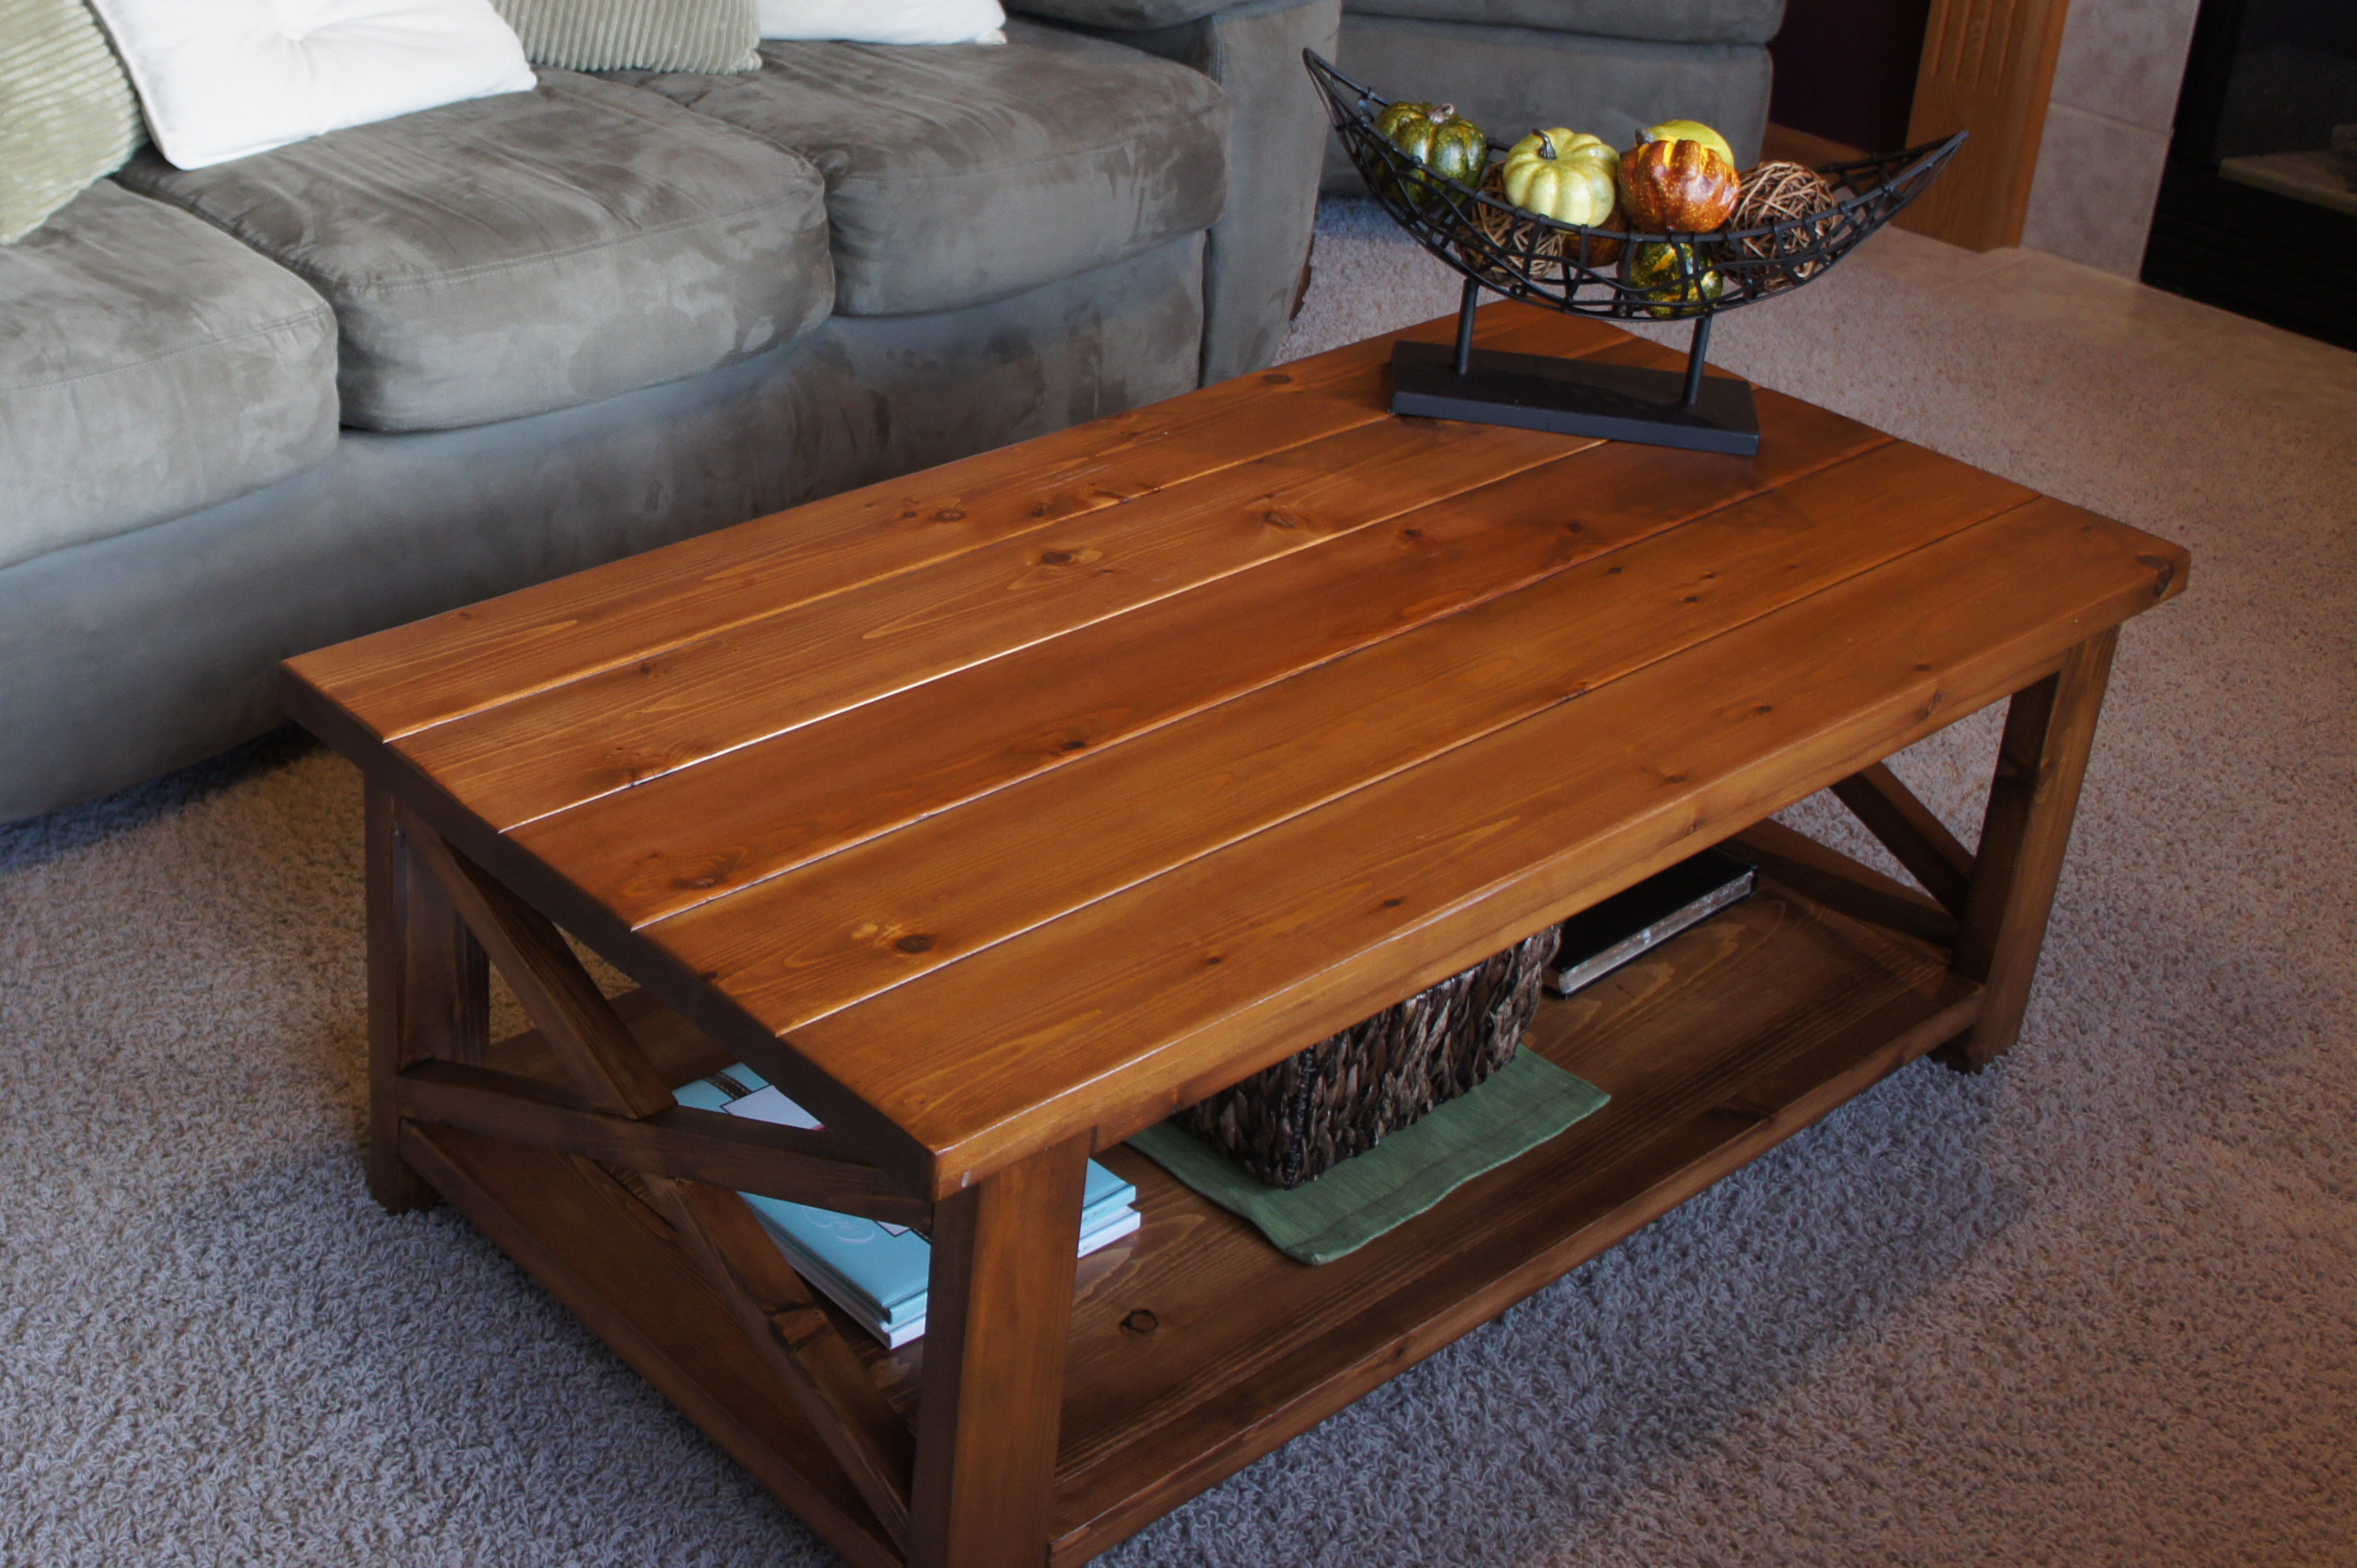
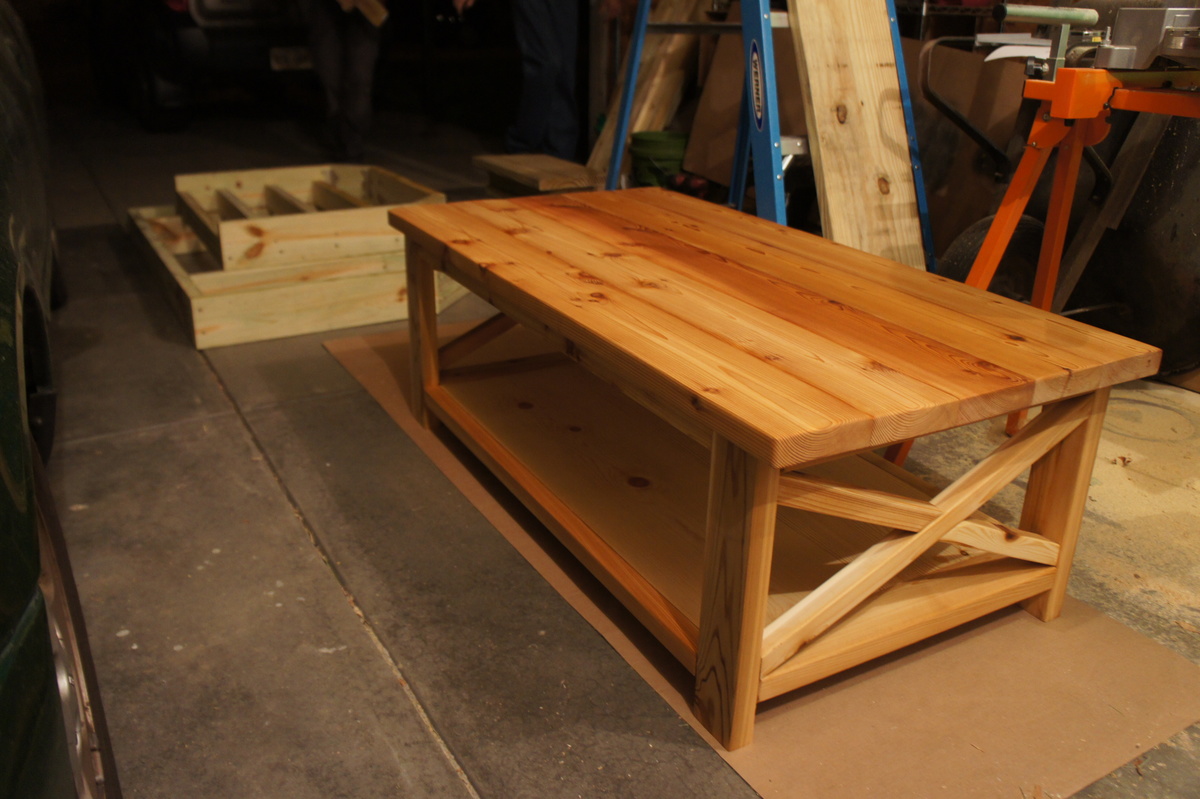
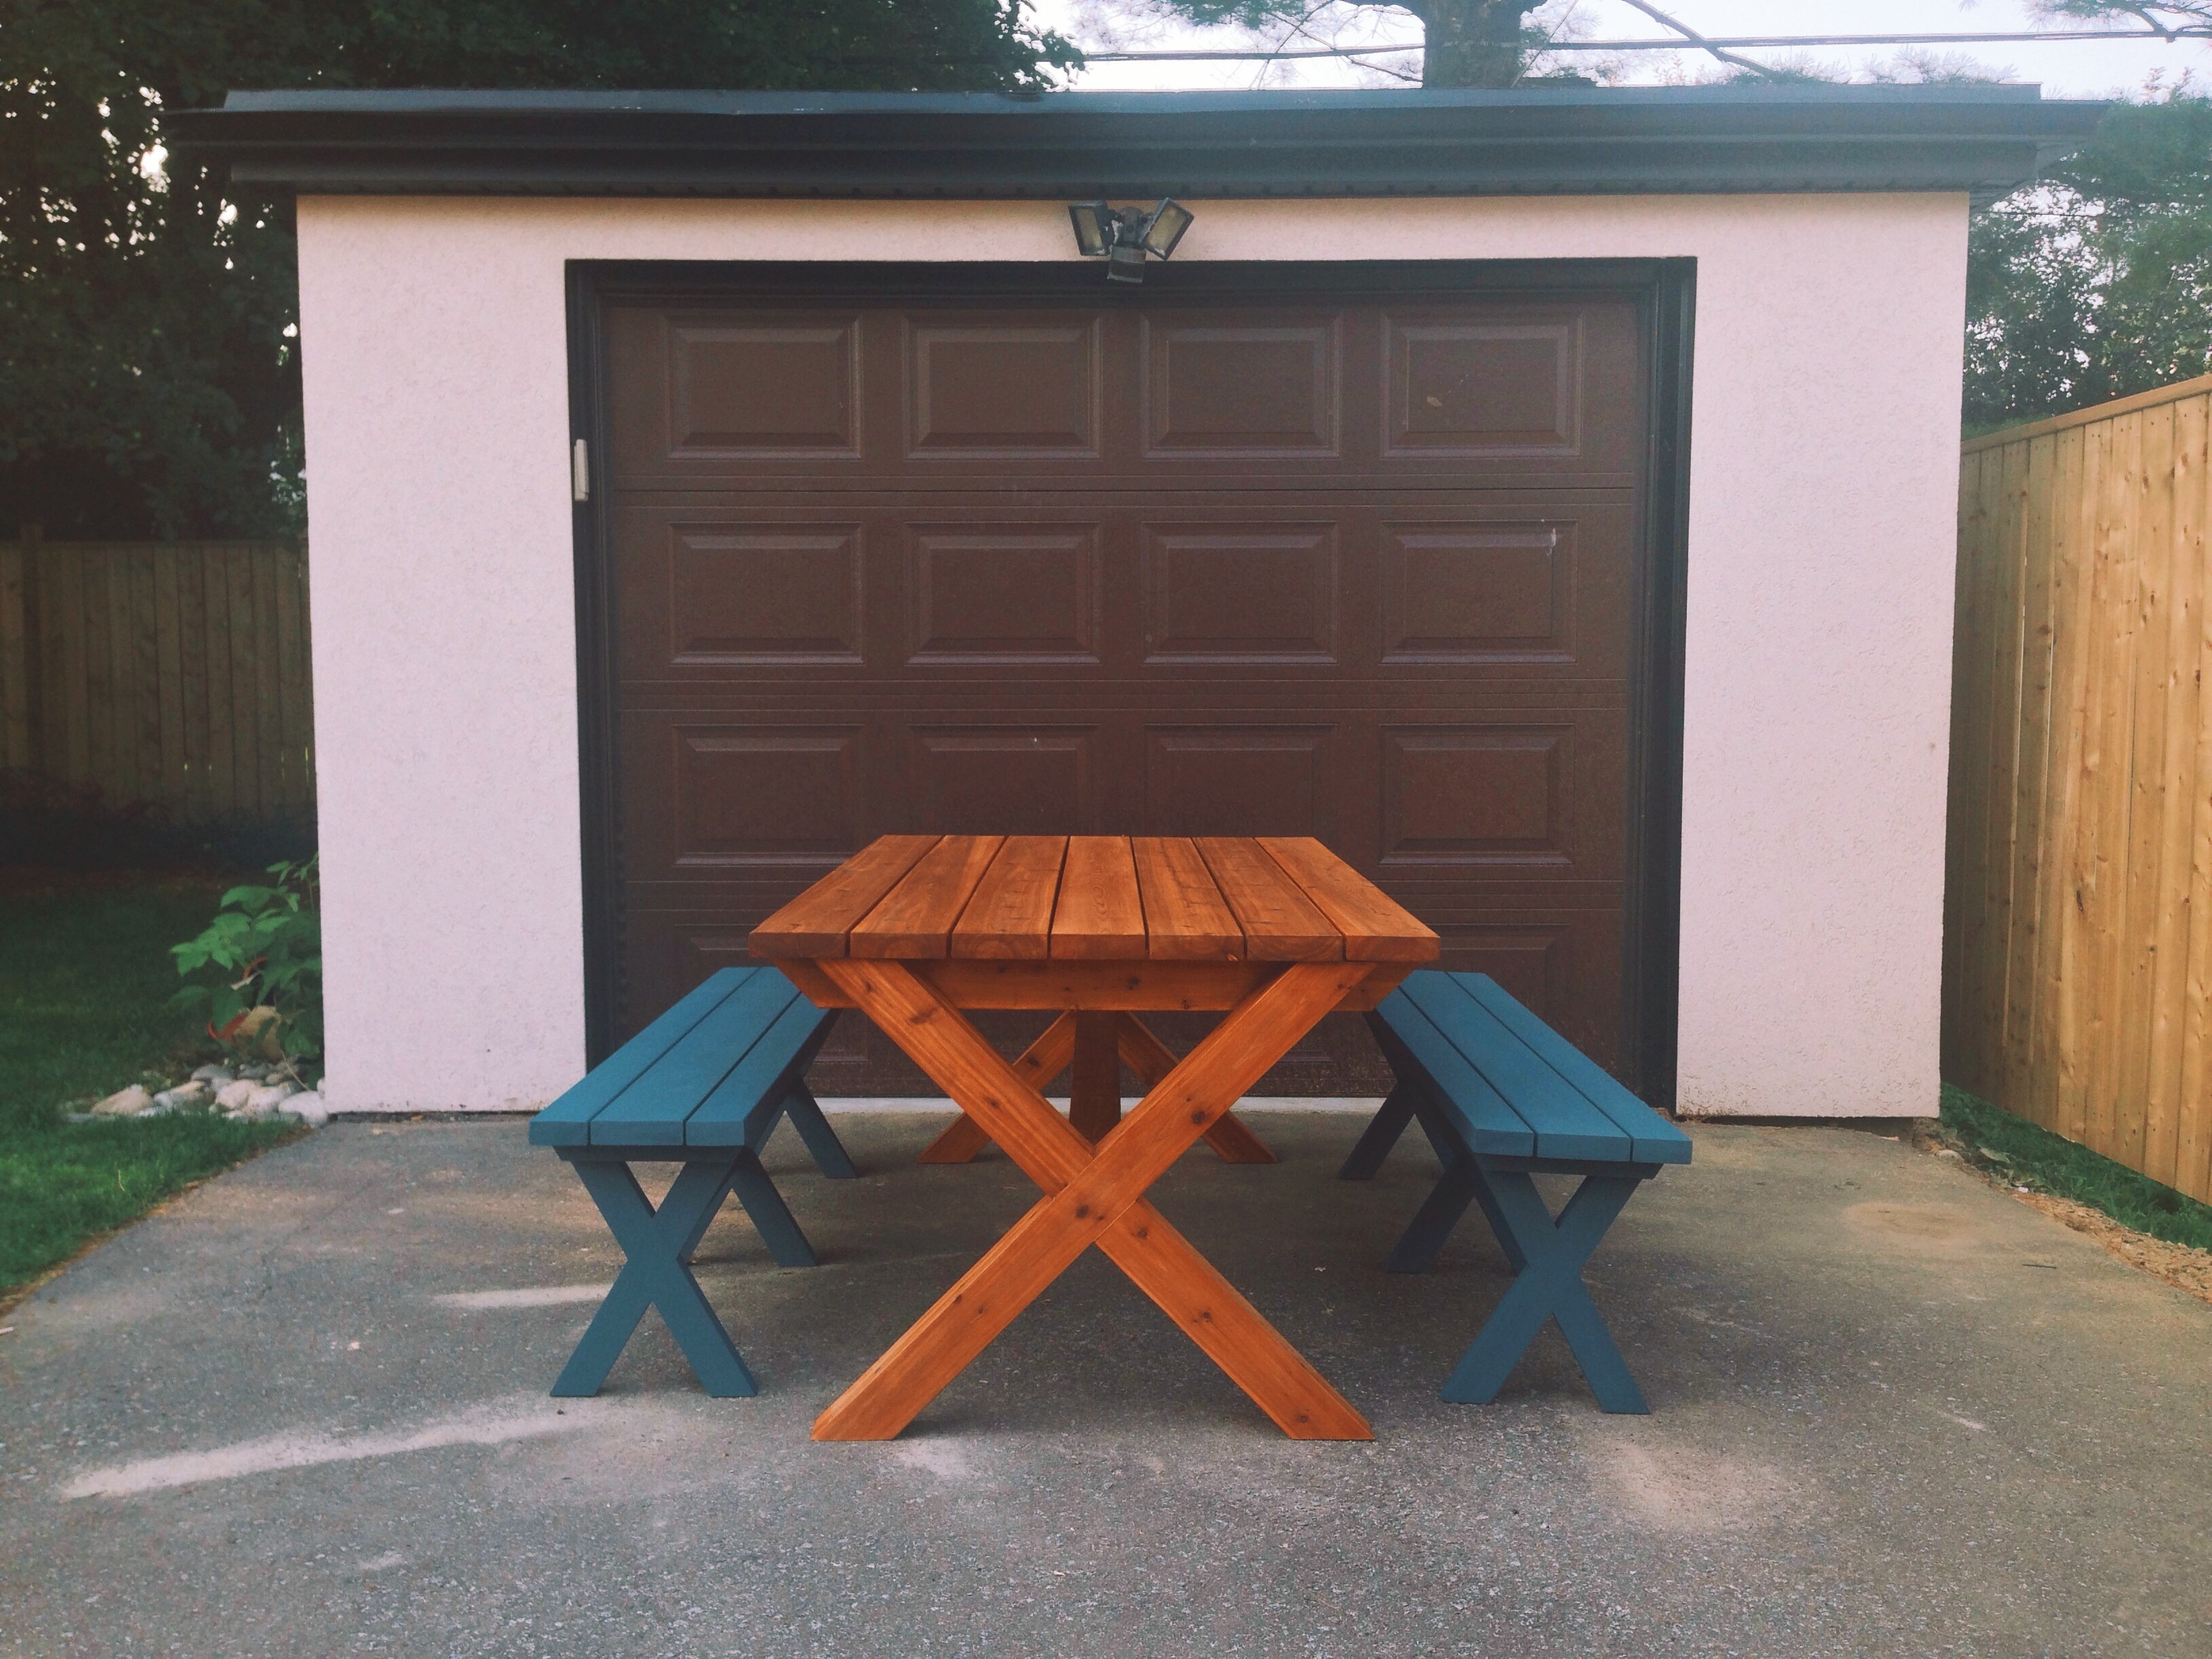
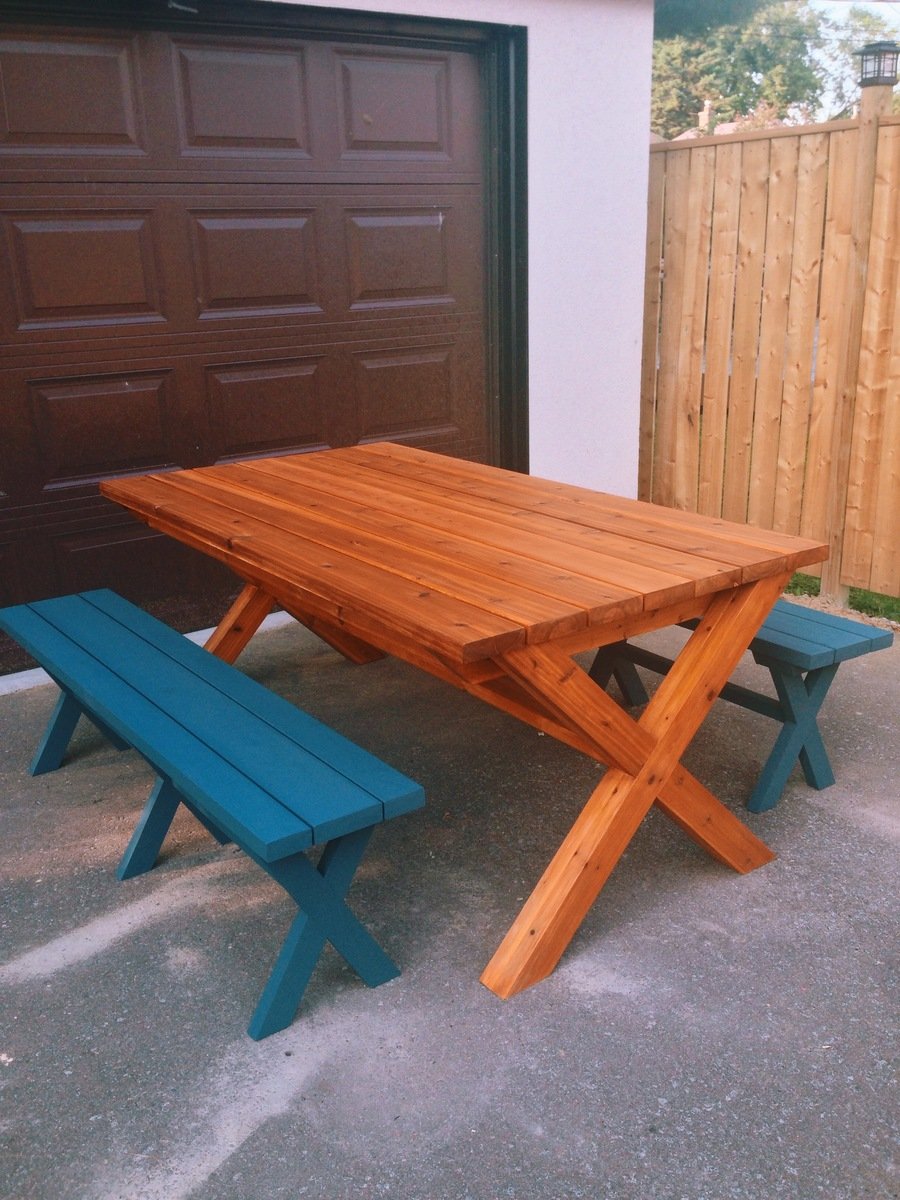
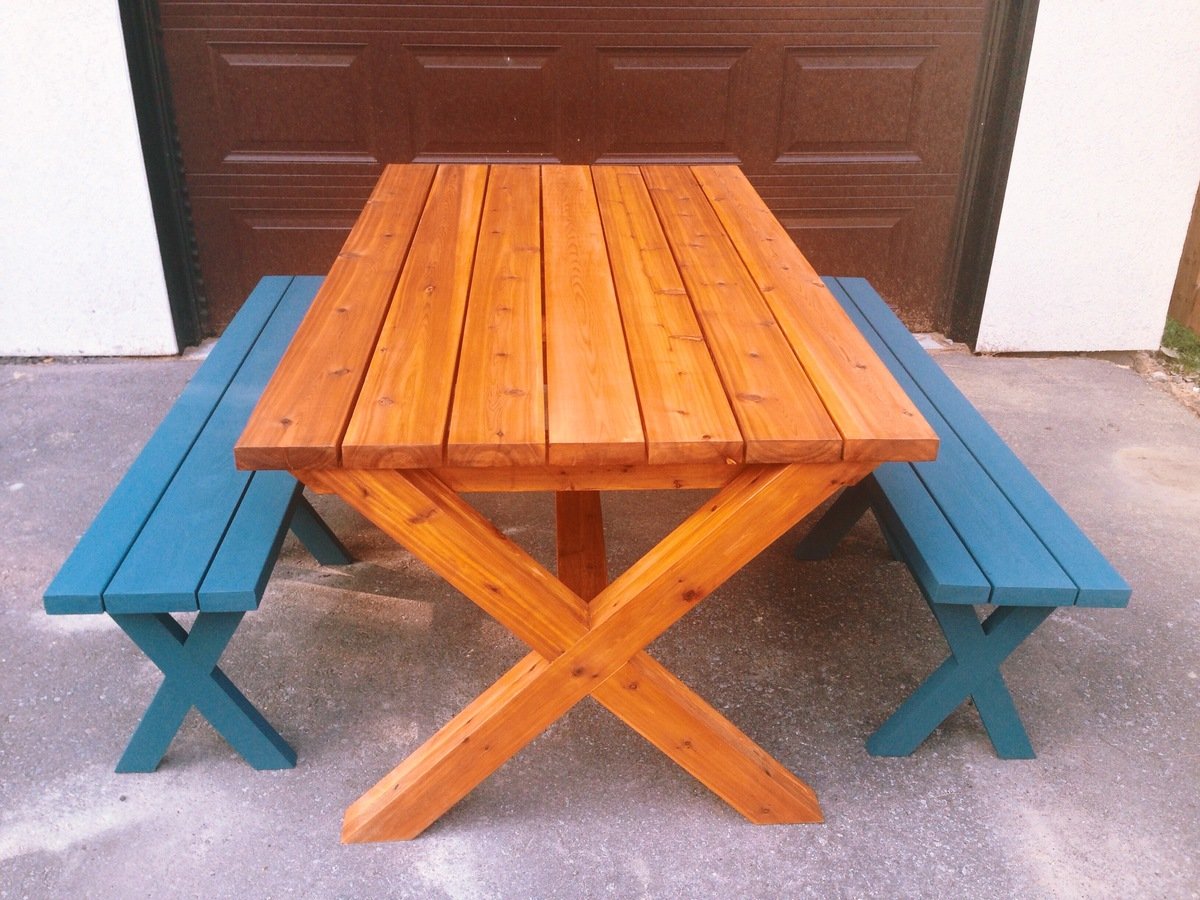
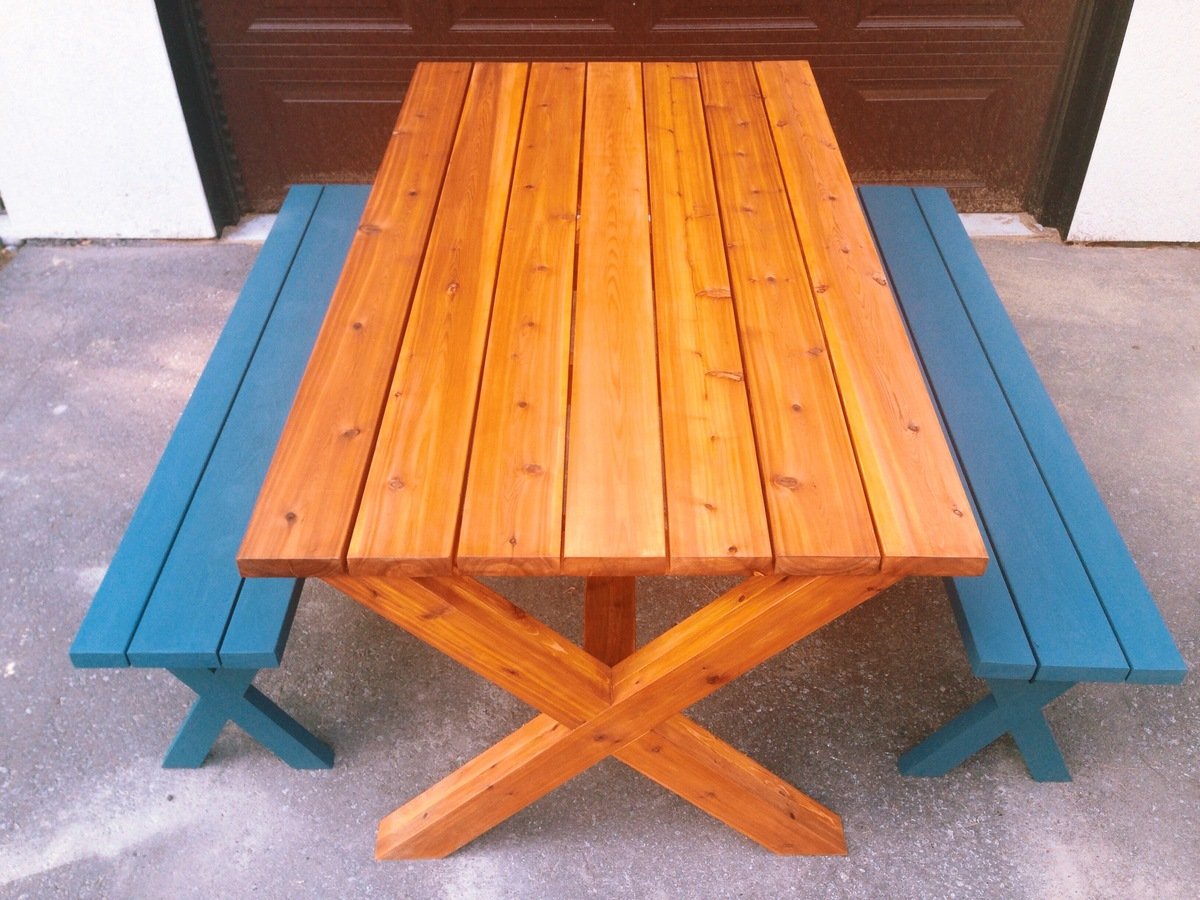
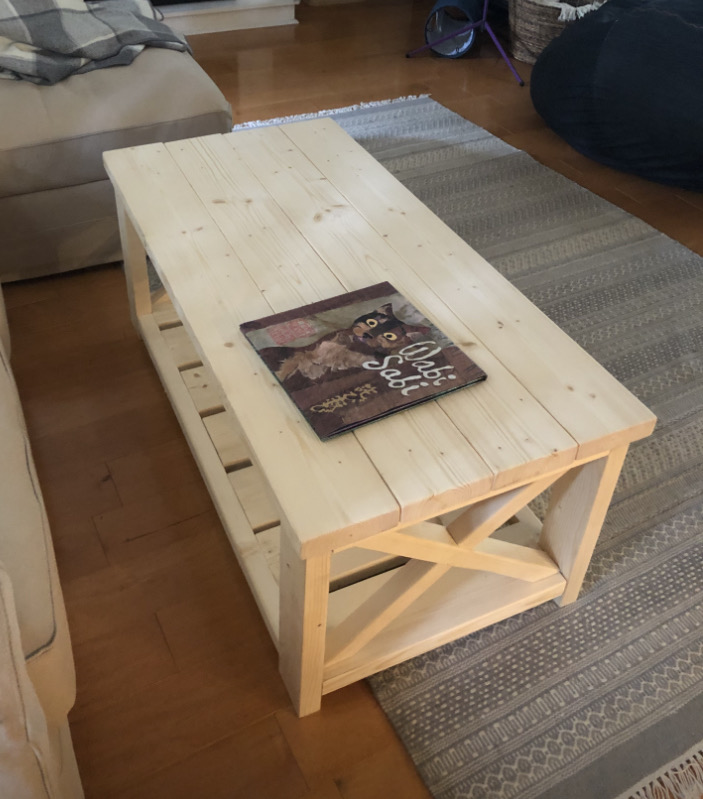
Fancy X Farmhouse Table
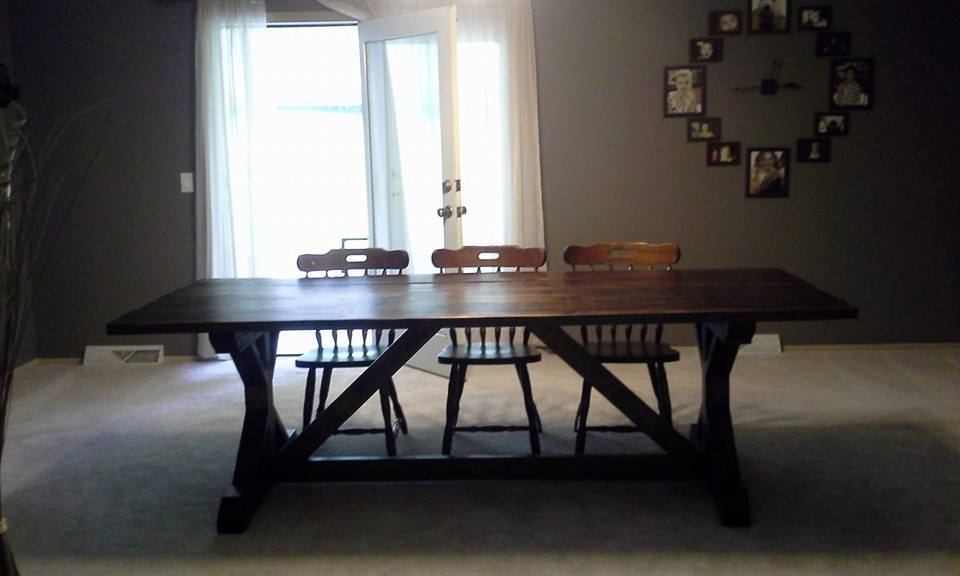
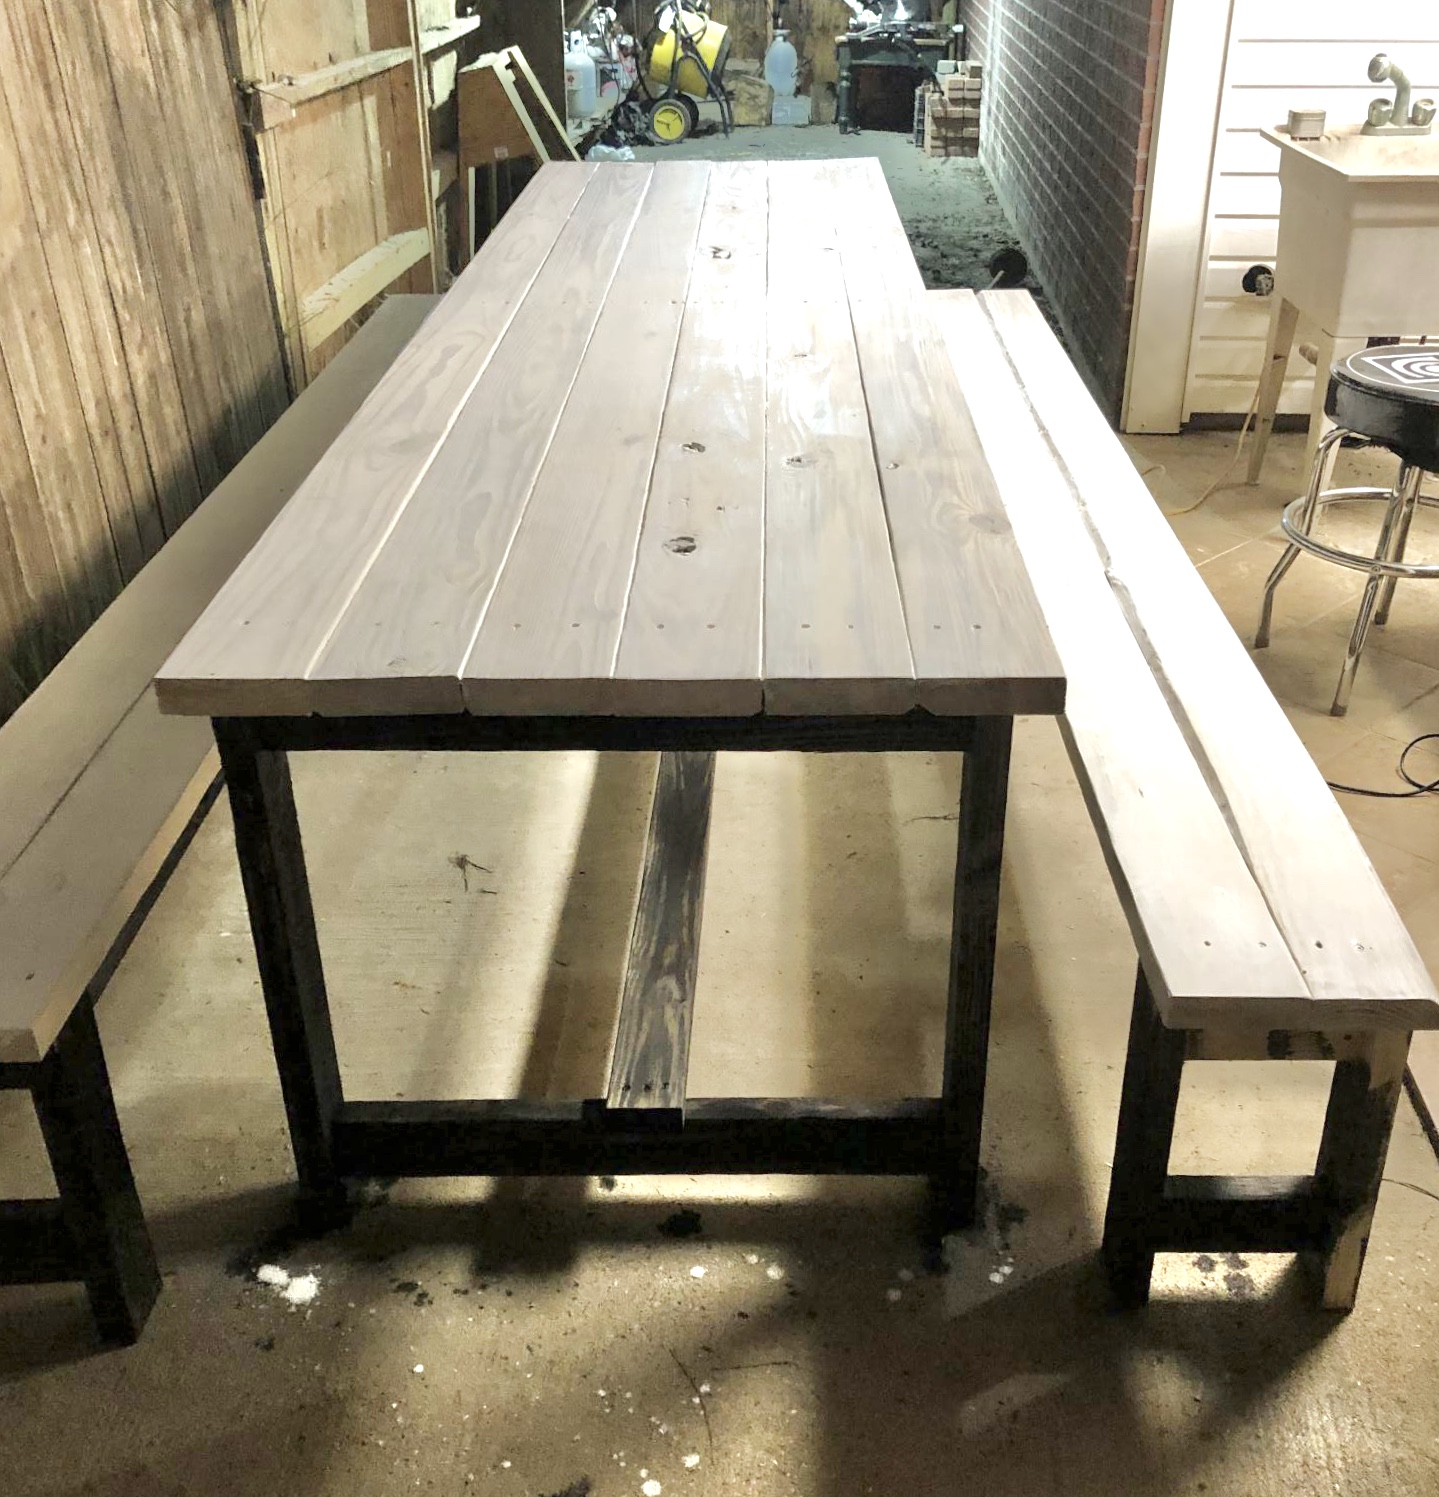
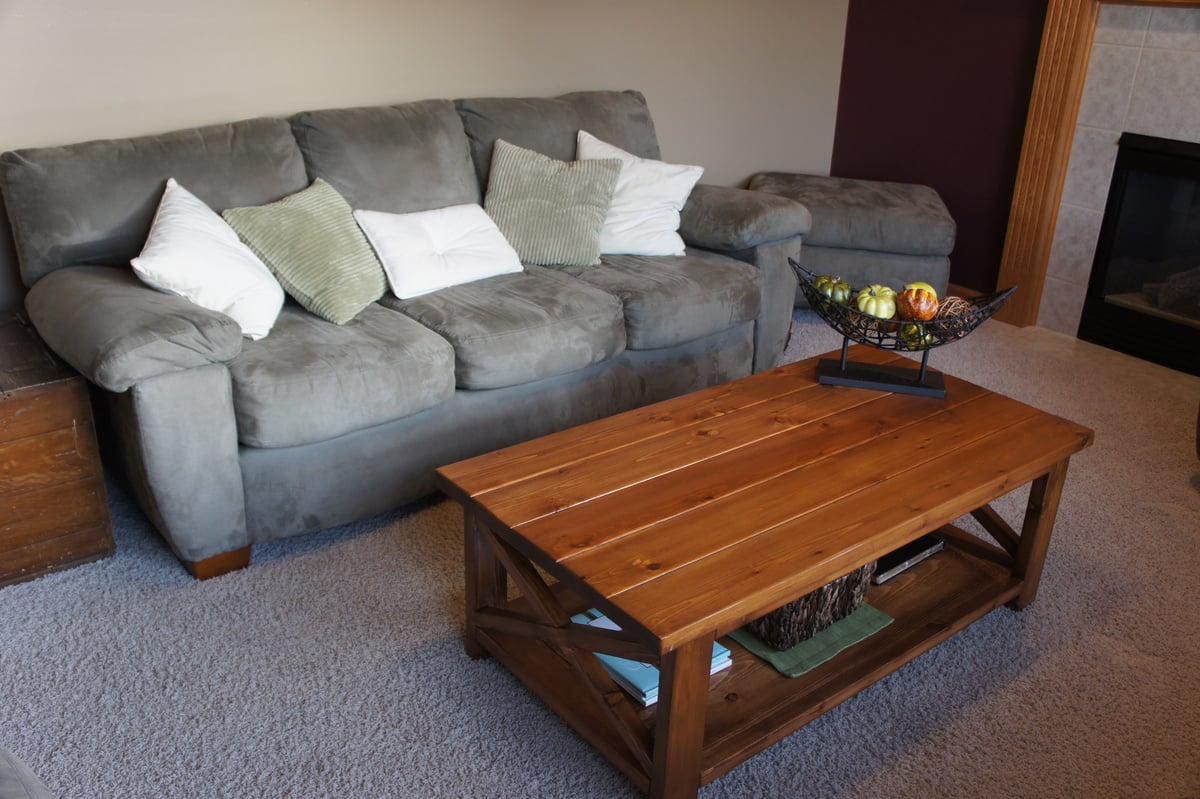
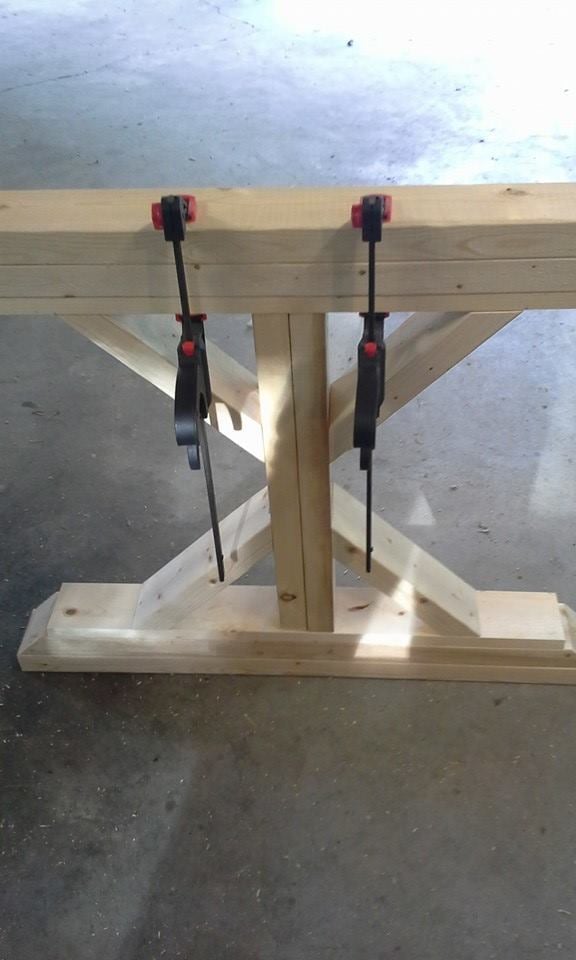
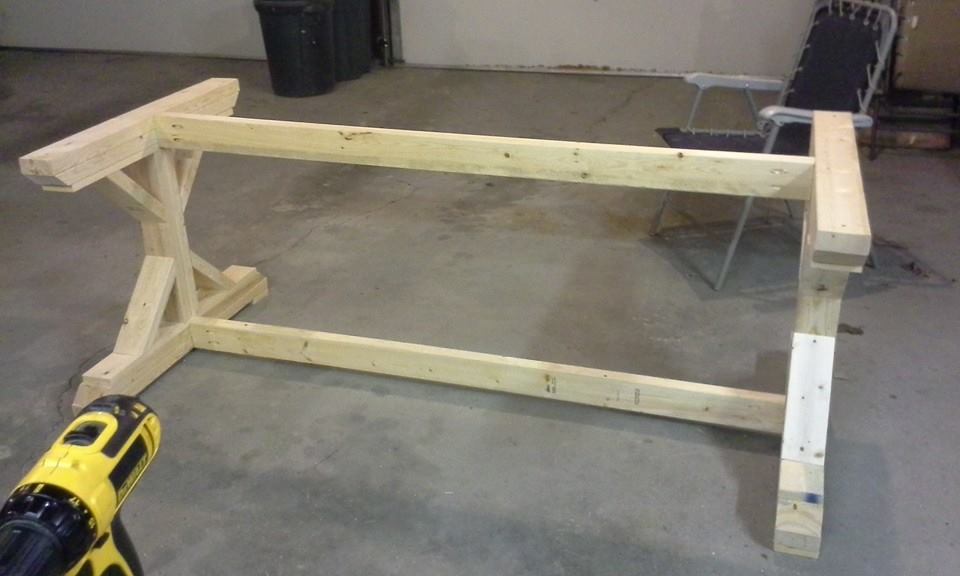
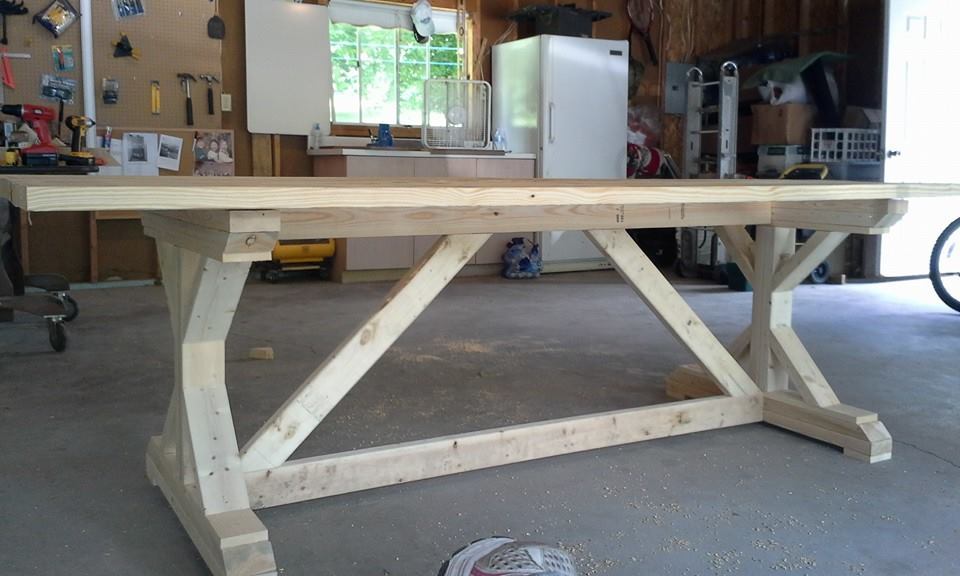
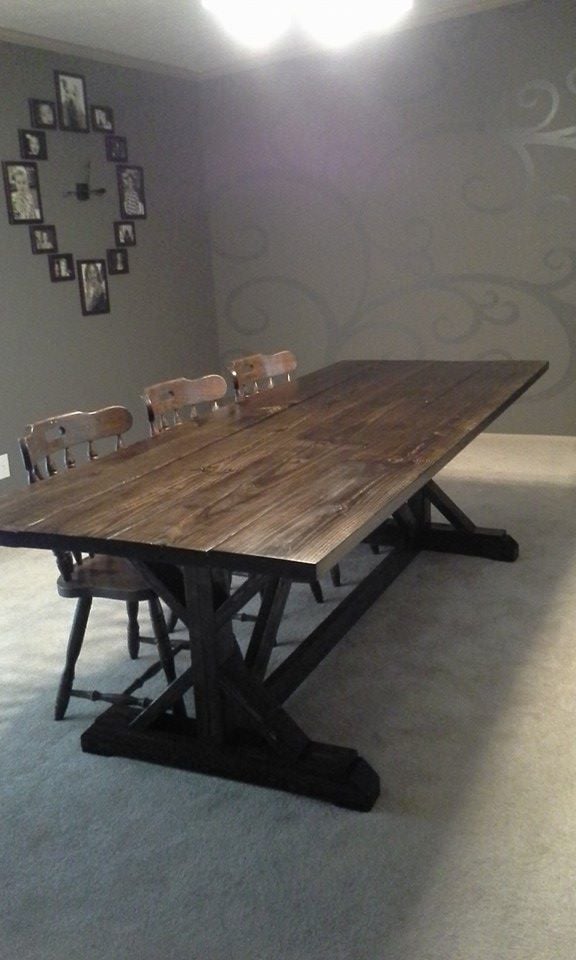
This was not my first build, but it was the first time I have done miter cuts. It was an easy to follow plan. The hardest part was trying to decide on the stain color! I am thrilled with the way it turned out. This table will easily seat 10 people which will be perfect for parties and dinners.
Built from Plan(s)
Estimated Cost
About $100 (including wood, sandpaper, stain, poly)
Estimated Time Investment
Week Long Project (20 Hours or More)
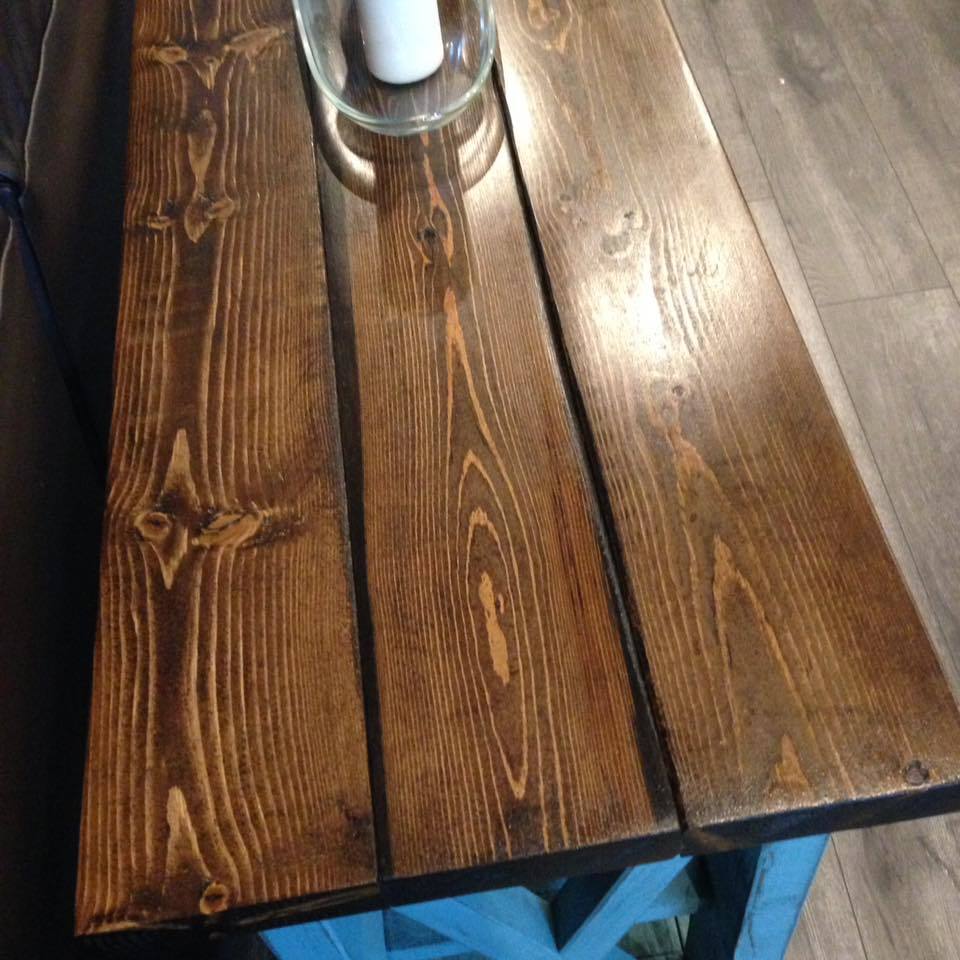
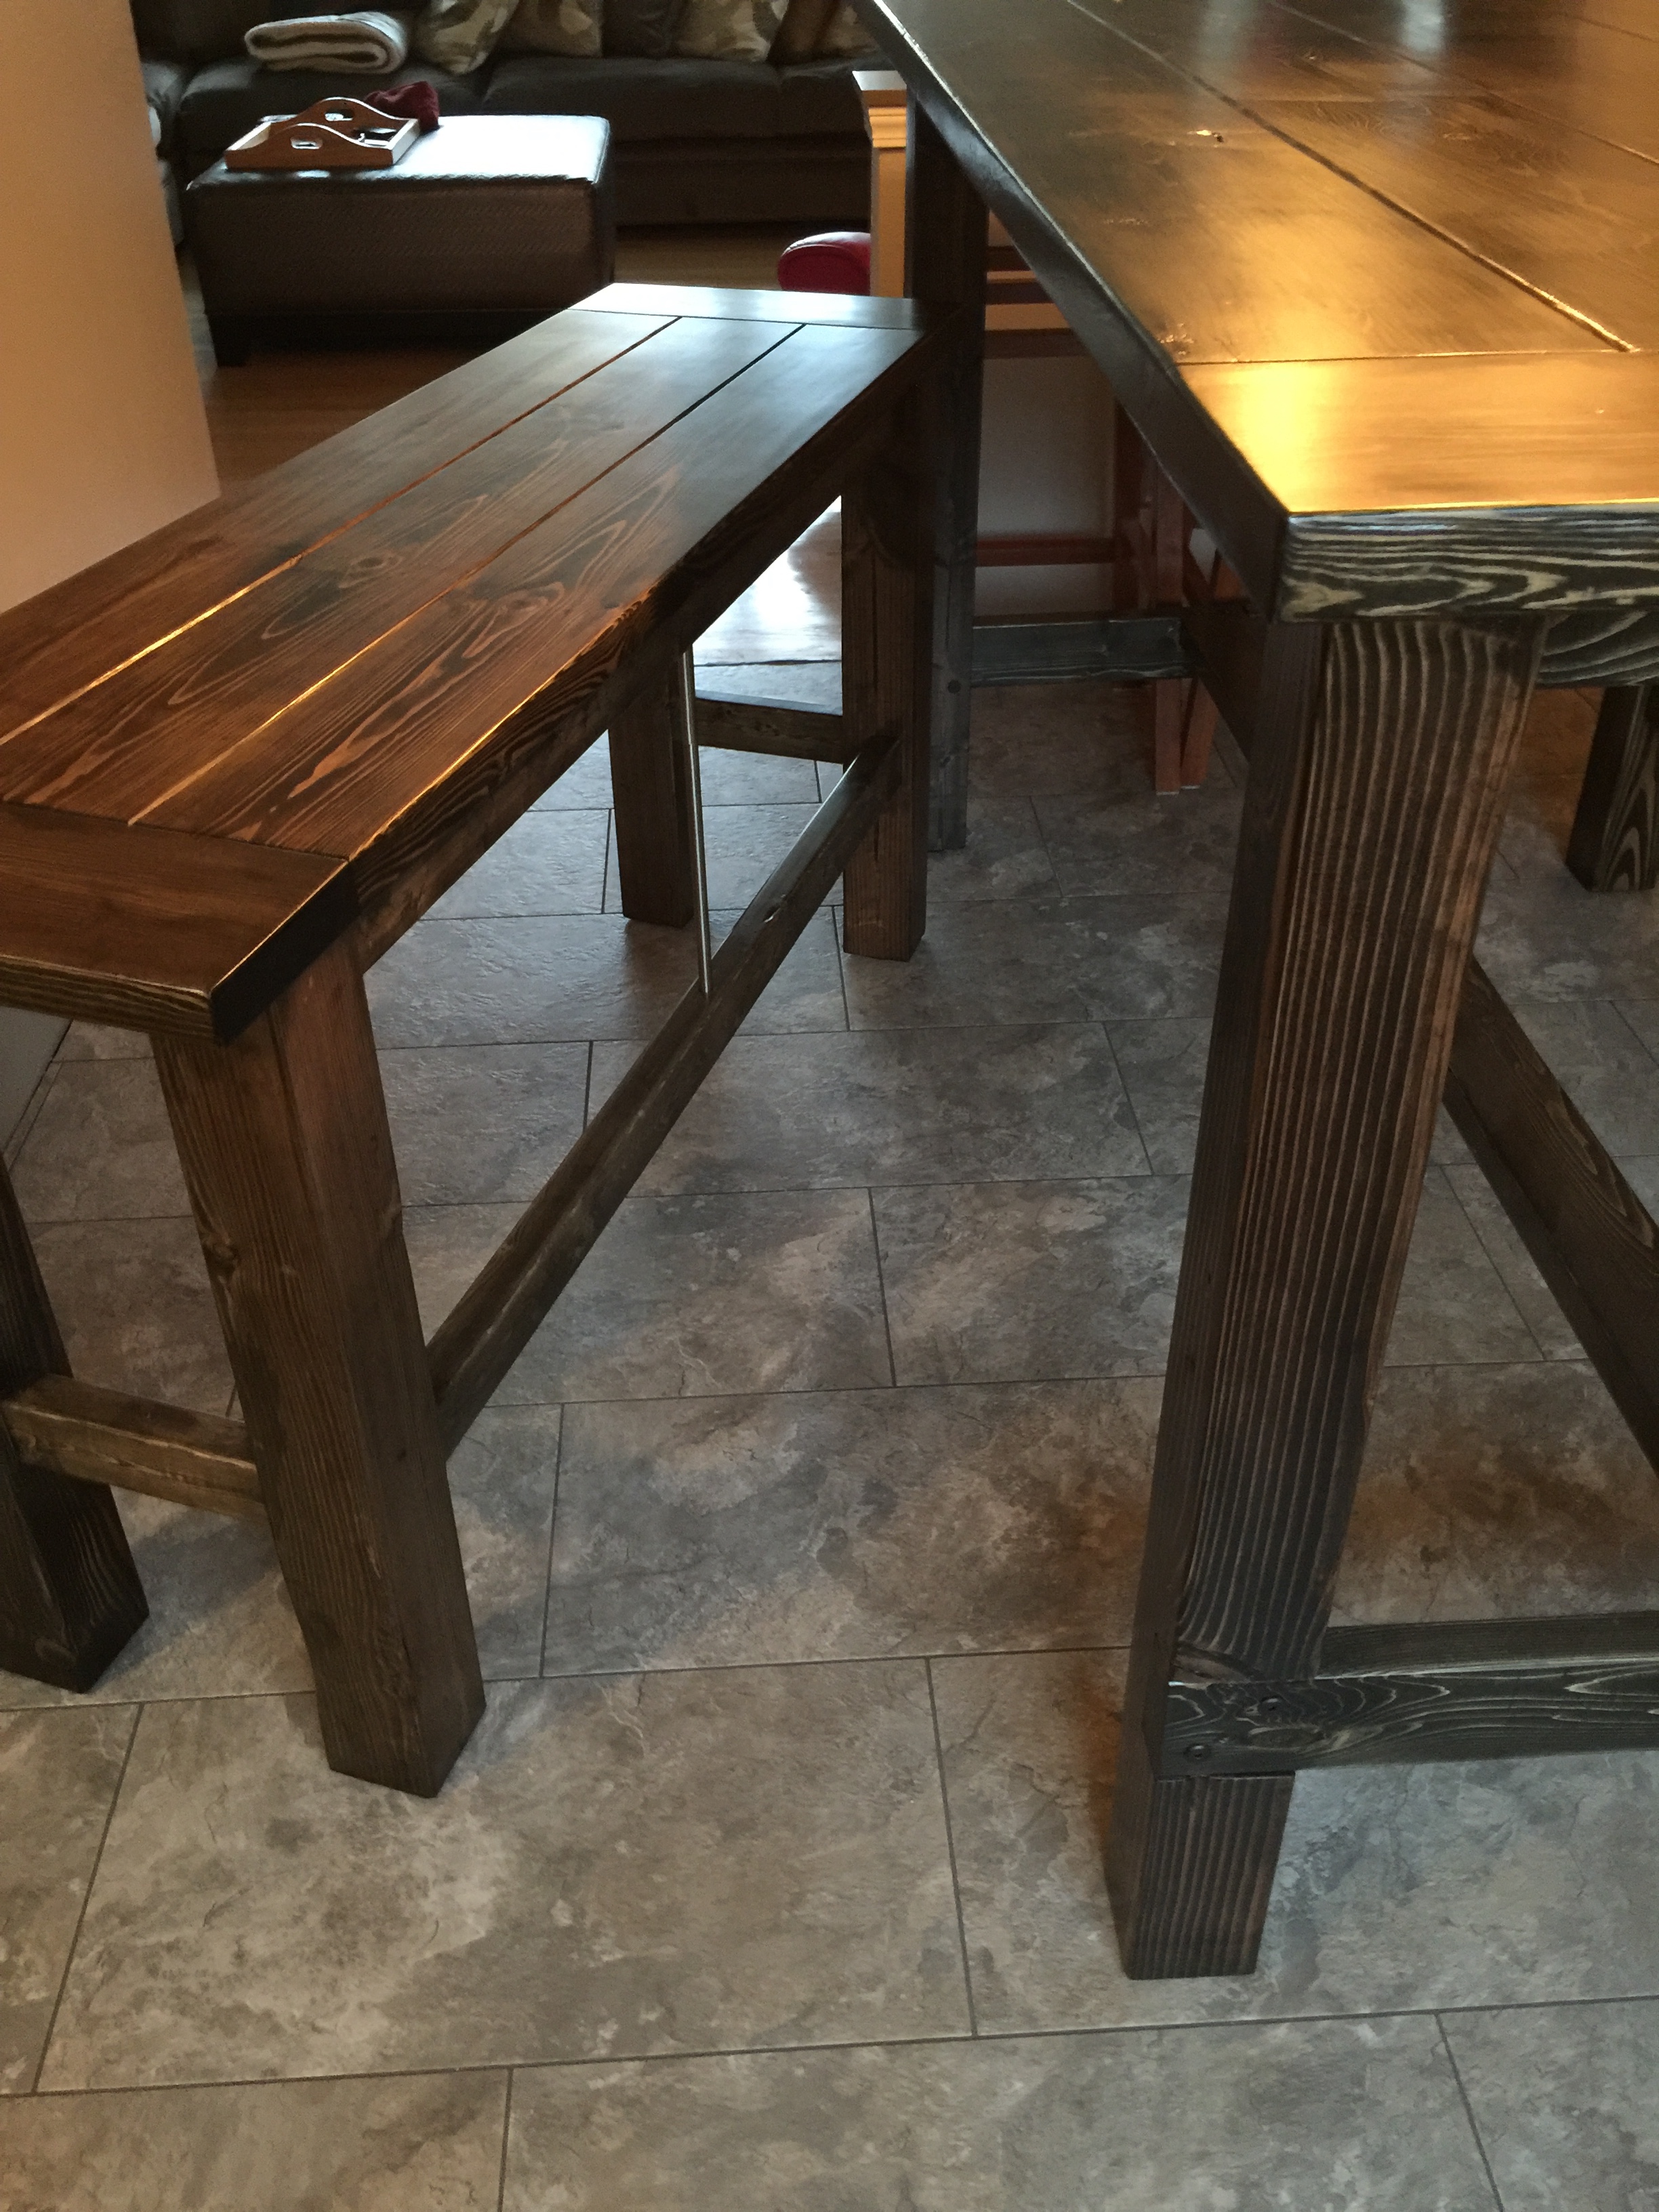
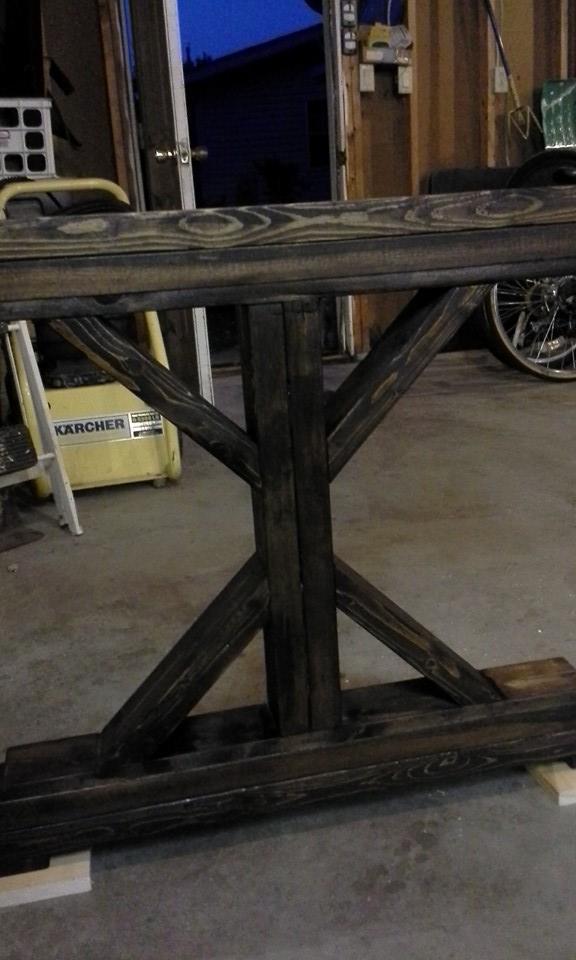
Finish Used
Minwax Jacobean and Helmsman Spar in satin finish
Recommended Skill Level
Beginner