Community Brag Posts

Shanty Sideboard and Hutch - First Build
Submitted by DIYER_MD on Mon, 01/27/2014 - 12:39

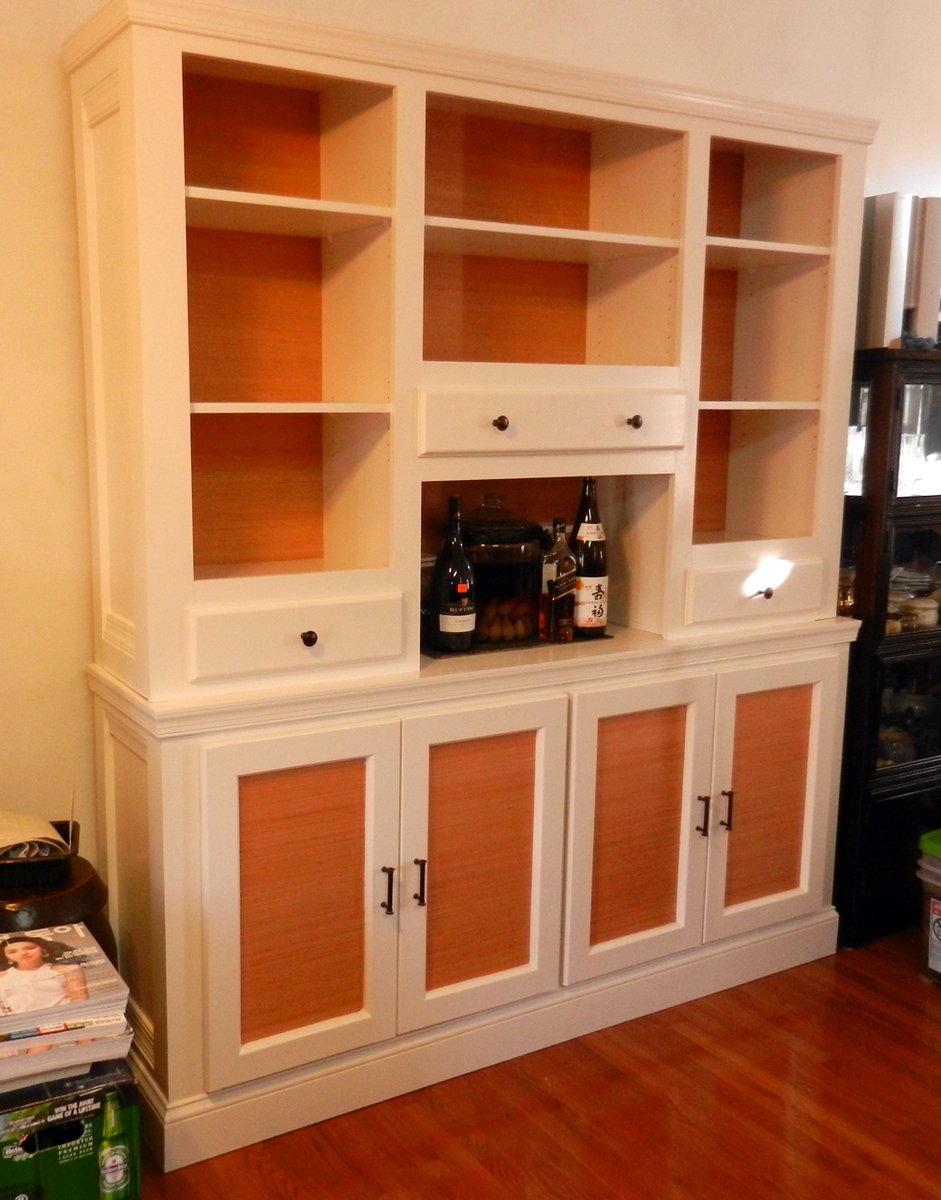
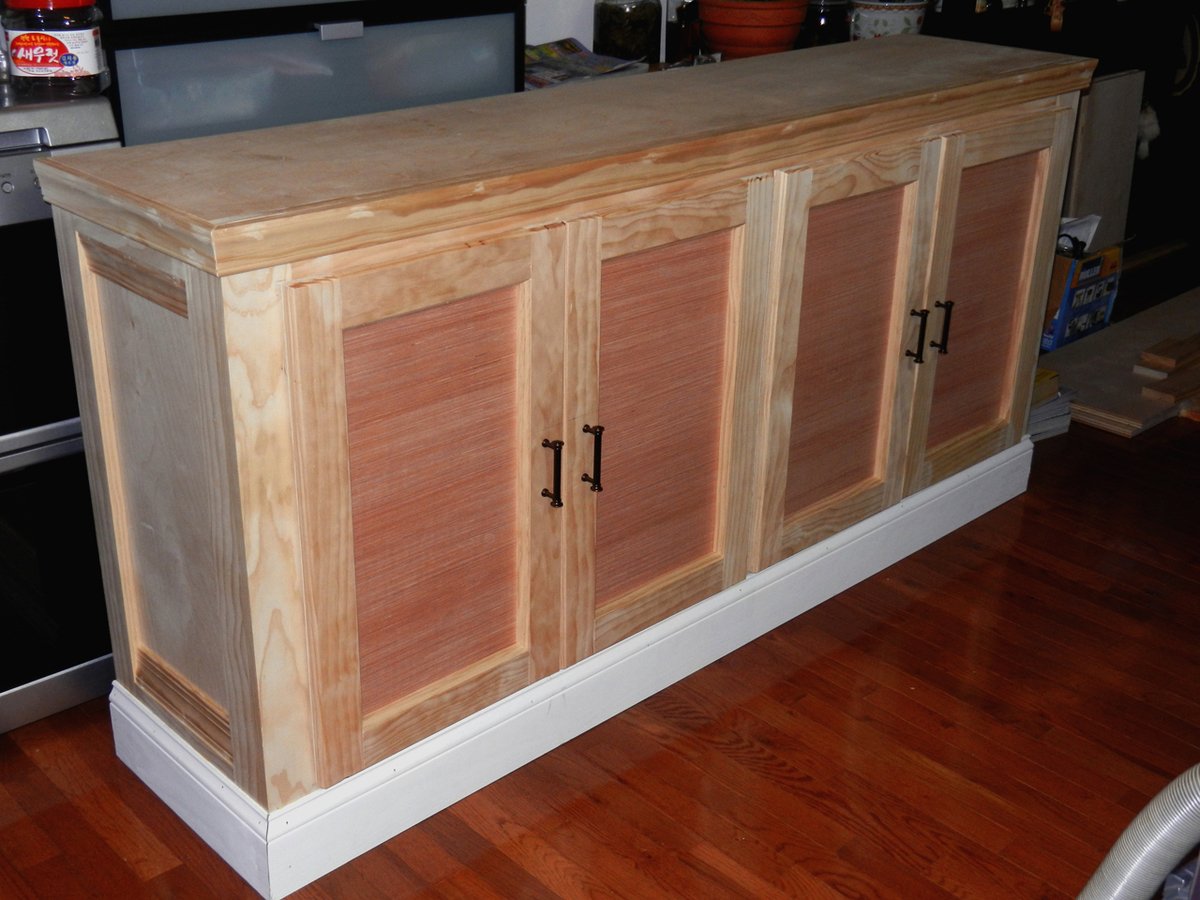
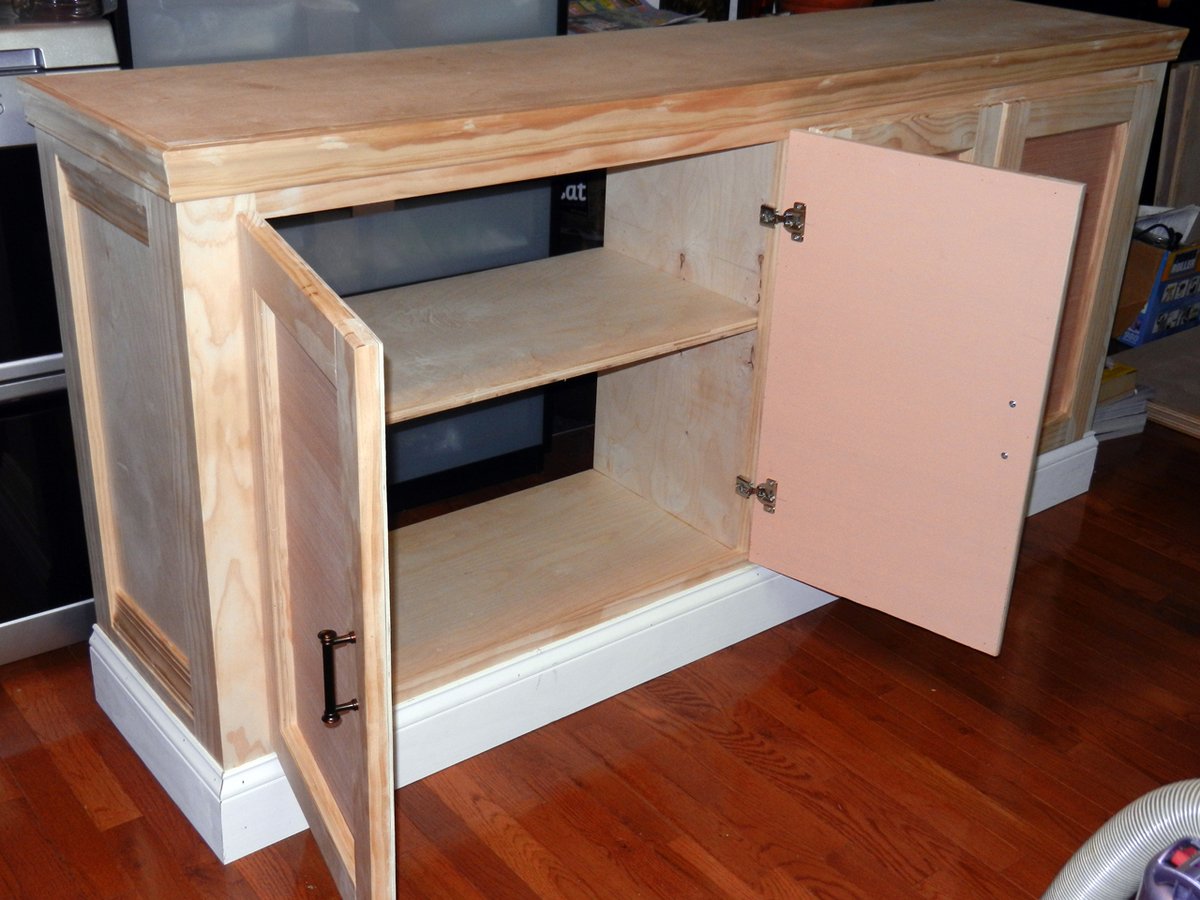
I came across the Shanty Sideboard plan while looking around the site. I decided to make this my first build from the site. I modified it slightly by making overlay doors instead of inset. I found that this allowed me more room for adjustments to the doors to get the best look. I used Pure-Bond Birch Hardwood Plywood from Home Depot for the main build with Select Pine from Lowes as the trim. This was all put together using Kreg Pocket Holes and 1 1/4 inch screws.

I used Luane Plywood as the backing for the doors. I then finished it by painting it with an off-white from Olympic (at Lowes). I left the Luane plywood in its natural state. The doors were mounted with Blum style Face-Frame cabinet hinges. I then applied several coats of Water Based Ultimate Polyurethane from Rustoleum.

I have included a picture of the sideboard in the unfinished and finished state.

I will soon be building a Hutch to go one top. I will use the Shanty Hutch Plan as the basis and modify it from there.

----------------------------------------------

I recently completed the hutch for the sideboard. I used the Shanty Hutch plan as the beginning point and then modified it quite a bit. I made three sections and added drawers at the bottom of each section.

I then used the same Luane Plywood to make the backing. This brings it all together.

The total cost was around $550.00 and worth every penny. Much better than spending $3,000.00 at store.
Built from Plan(s)
Estimated Cost
$550.00
Estimated Time Investment
Week Long Project (20 Hours or More)
Finish Used
Olympic One Egg-Shell paint in Off-white with Ultimate Polyurethane Coating from Rustoleum.
Recommended Skill Level
Intermediate

Comments

Faux Mantle

Submitted by Anonymous (not verified) on Fri, 04/22/2016 - 04:14

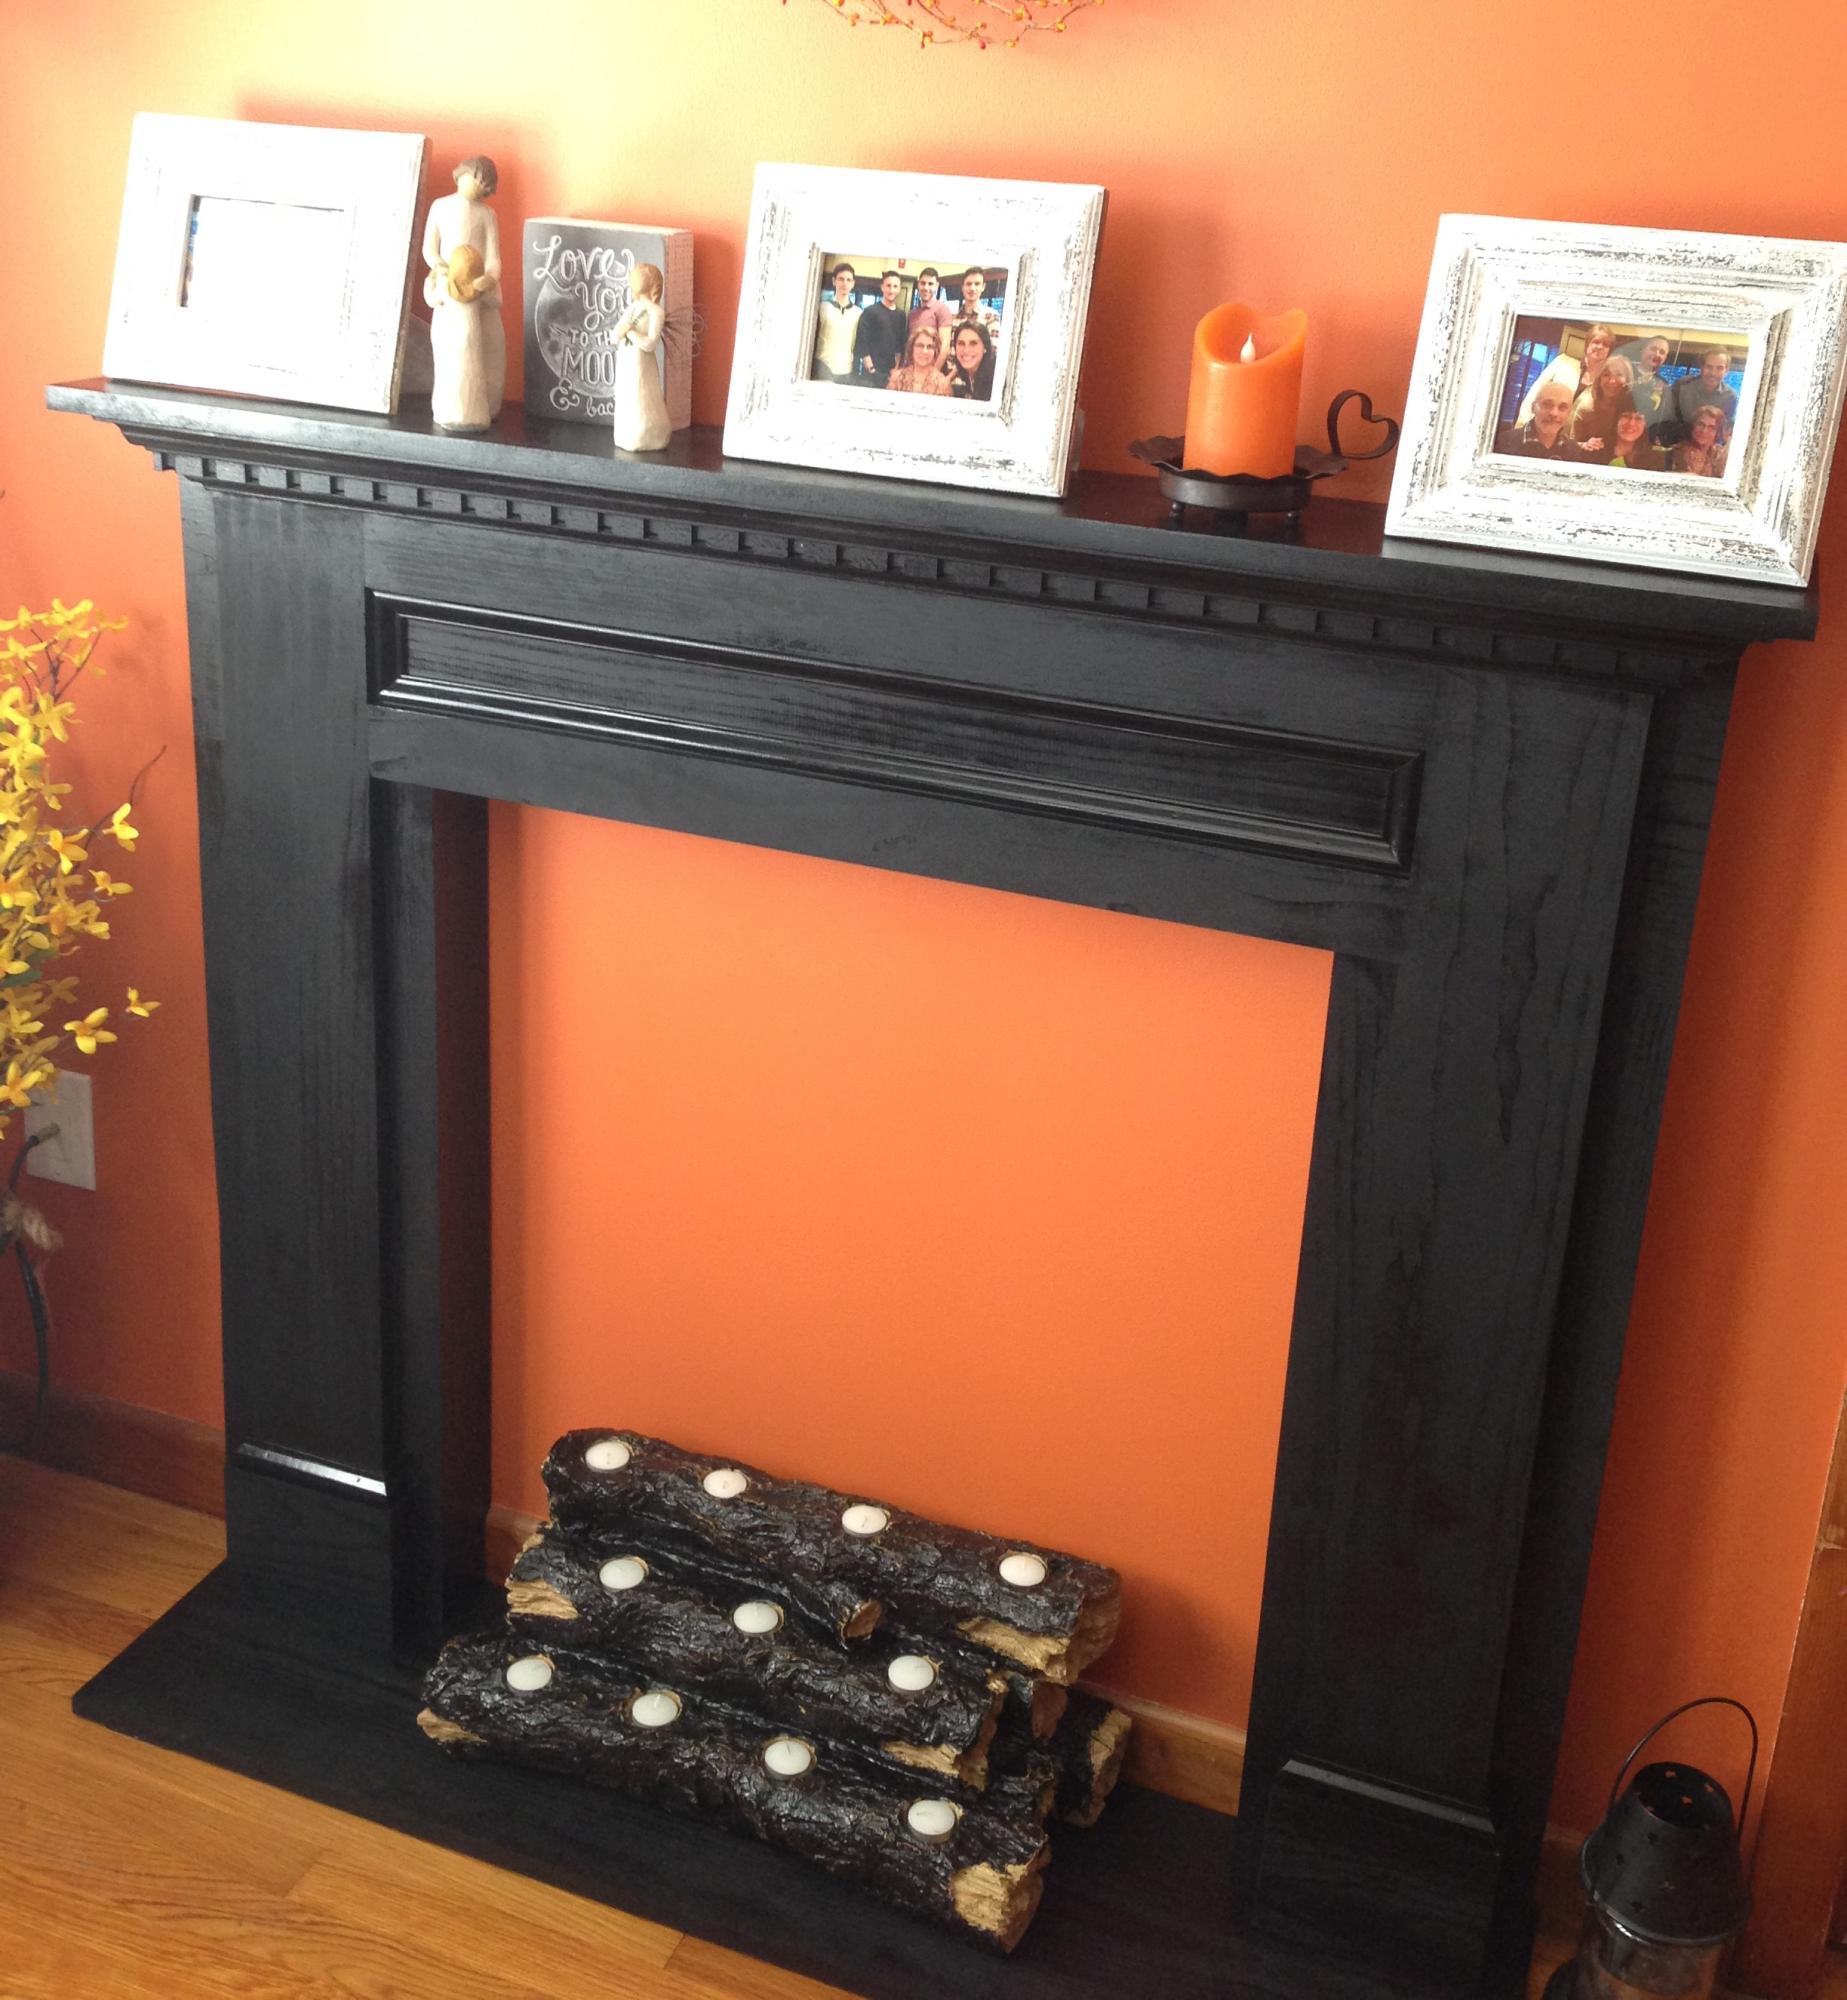
My office faux mantle came out awesome thanks to Ana White. The only changes we made was that we used dental crown molding and we added the base. Other than that everything else was exactly according to the plans.

Estimated Cost
$180 using #1 pine from Home Depot
Estimated Time Investment
Day Project (6-9 Hours)
Finish Used
We used Black spray semi-gloss
Recommended Skill Level
Intermediate

Kid's Trestle Play Table and Rolling Cubbies

Submitted by mamamea33 on Wed, 01/29/2014 - 09:36

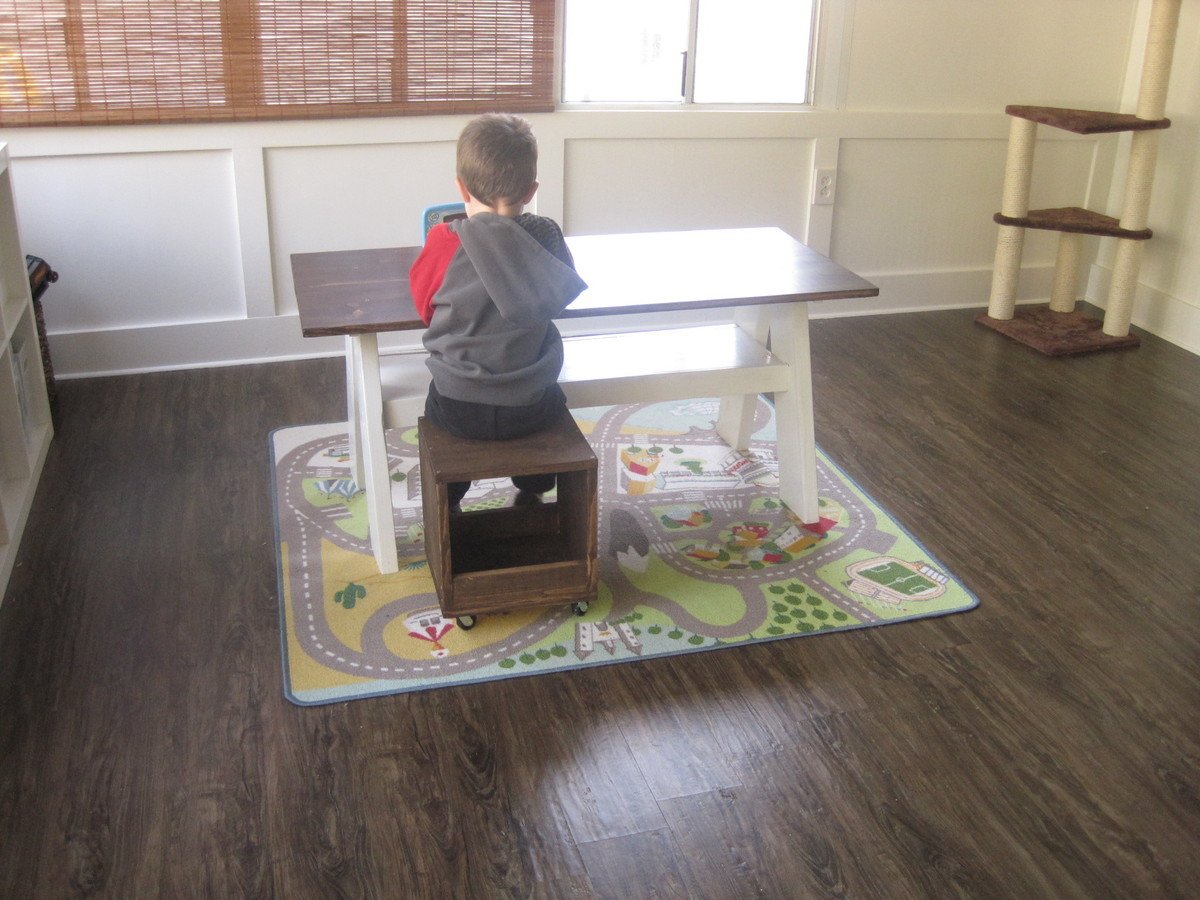
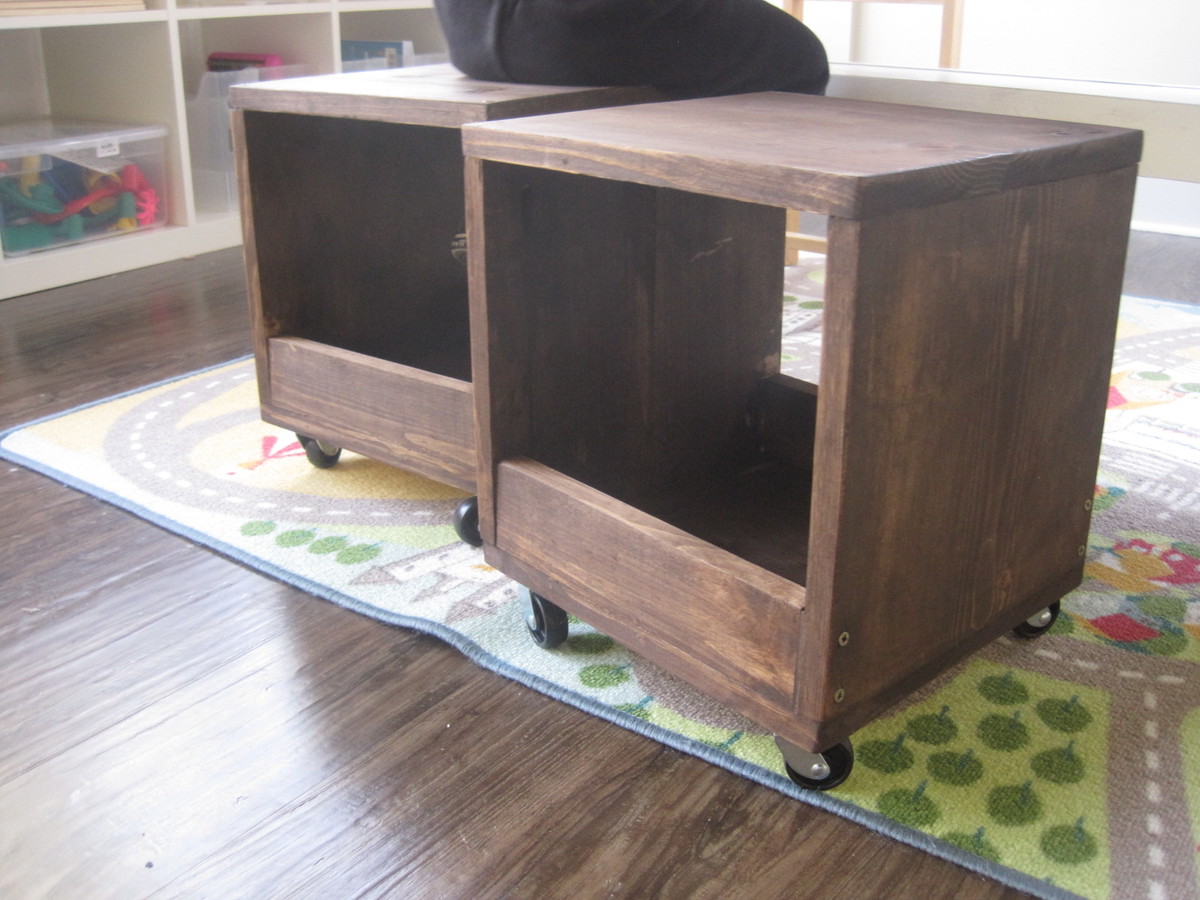
We have been slowly updating our sunroom and making it a play area for our kids. I built this trestle play table and a couple of rolling cubes to go with it. I still need seating for two more (for playdates and when the grown-ups want to sit) so I'm trying to decide what to do on the other side.

I wanted to use all wood that we already had in the garage, so the top is made from 1x12s connected with pocket holes, and the legs are 2x6s.

In the background you can see the board & batten my husband and I installed a few weeks ago. We also ripped out some moldy carpeting, sanded the concrete and laid vinyl plank flooring. It's coming along!

Plan for the rolling storage cubes: http://www.shanty-2-chic.com/2012/07/rolling-storage-cube-stools.html

Built from Plan(s)
Estimated Time Investment
Day Project (6-9 Hours)
Finish Used
Rustoleum Ultimate Stain in Dark Walnut on the top, plus three coats of poly. The base was painted with Behr semi-gloss in Swiss Coffee.
Recommended Skill Level
Beginner

Media Center Console Unit

We just love your work and detailed plans!

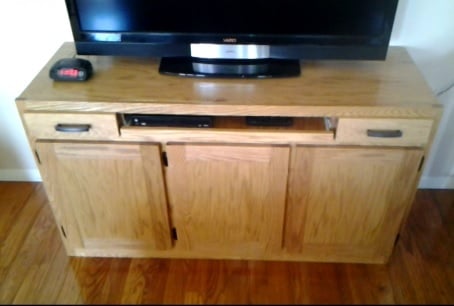
Hubby and I built the Console Unit and plan to add on the base units and hutches. We built the unit only 30" tall vs. the 34-1/2" height from the plans. We used oak plywood and oak trim and finished it with a Fruitwood Stain and Polyurethane Seal. We shortened the height of the upper shelf, adding two shallow drawers and a pull-out tray for setting our cable modem on and hooking up our laptop to view movies and You Tube videos on our television, when desired. My hubby loves to make You Tube videos and made one of our work and posted it at:

https://www.youtube.com/watch?v=6JuQ4N-jUq4

Keep up the great work and we plan to posted more pics!

Estimated Cost
$125 for 1-1/2 pieces of oak plywood and approximately 5 pieces of oak trim. We also used 100 kreg jig screws.
Estimated Time Investment
Week Long Project (20 Hours or More)
Finish Used
Minwax Fruitwood with Polyurethane Seal.

Watch the video to see it applied at:

https://www.youtube.com/watch?v=6JuQ4N-jUq4
Recommended Skill Level
Intermediate

Farmhouse king bed

Submitted by hailey807 on Fri, 01/17/2020 - 20:42

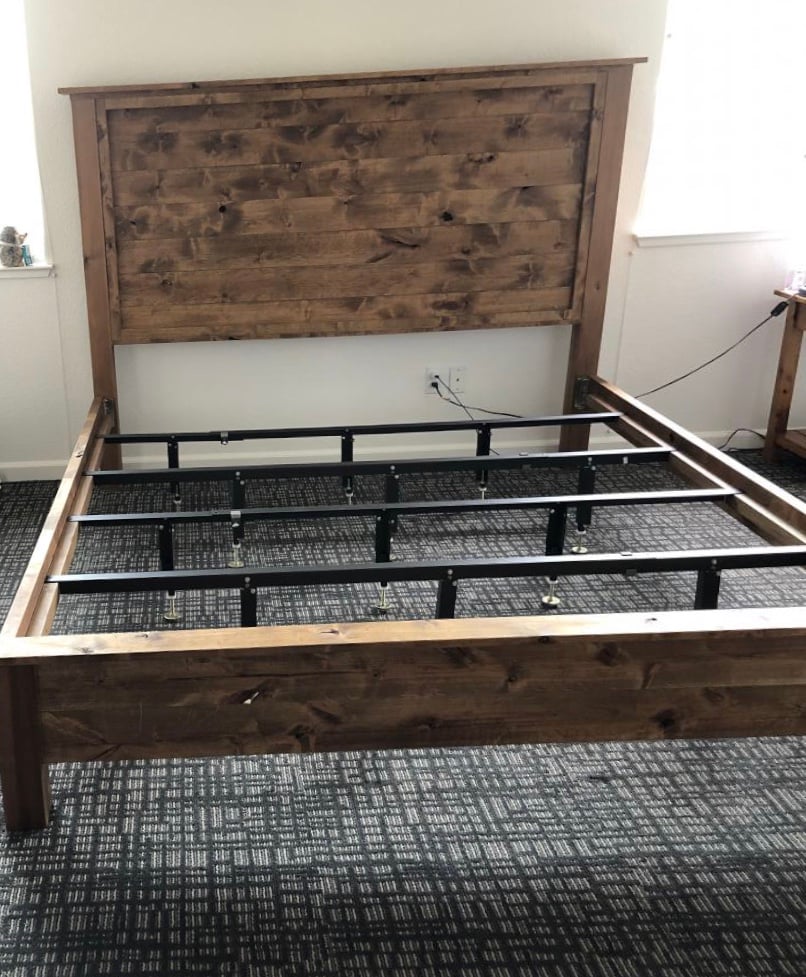
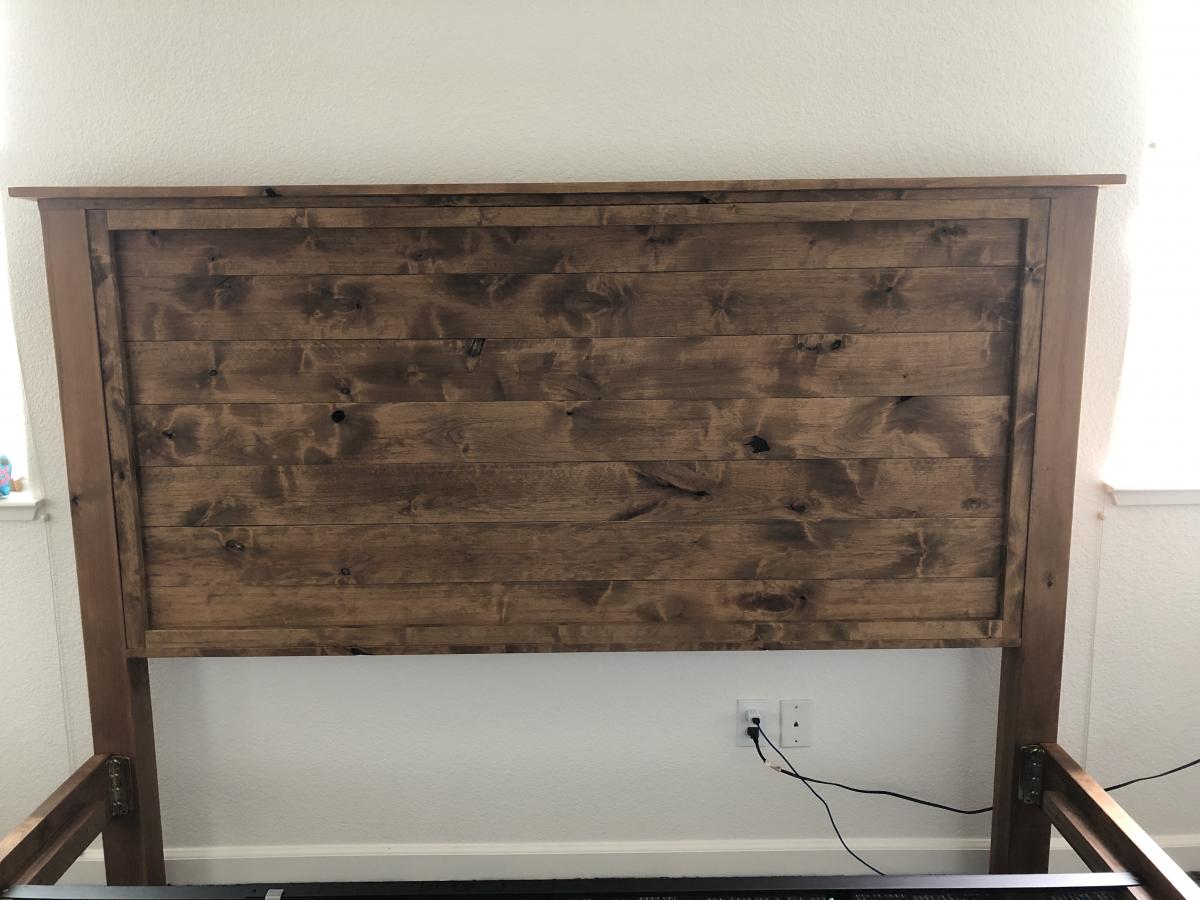
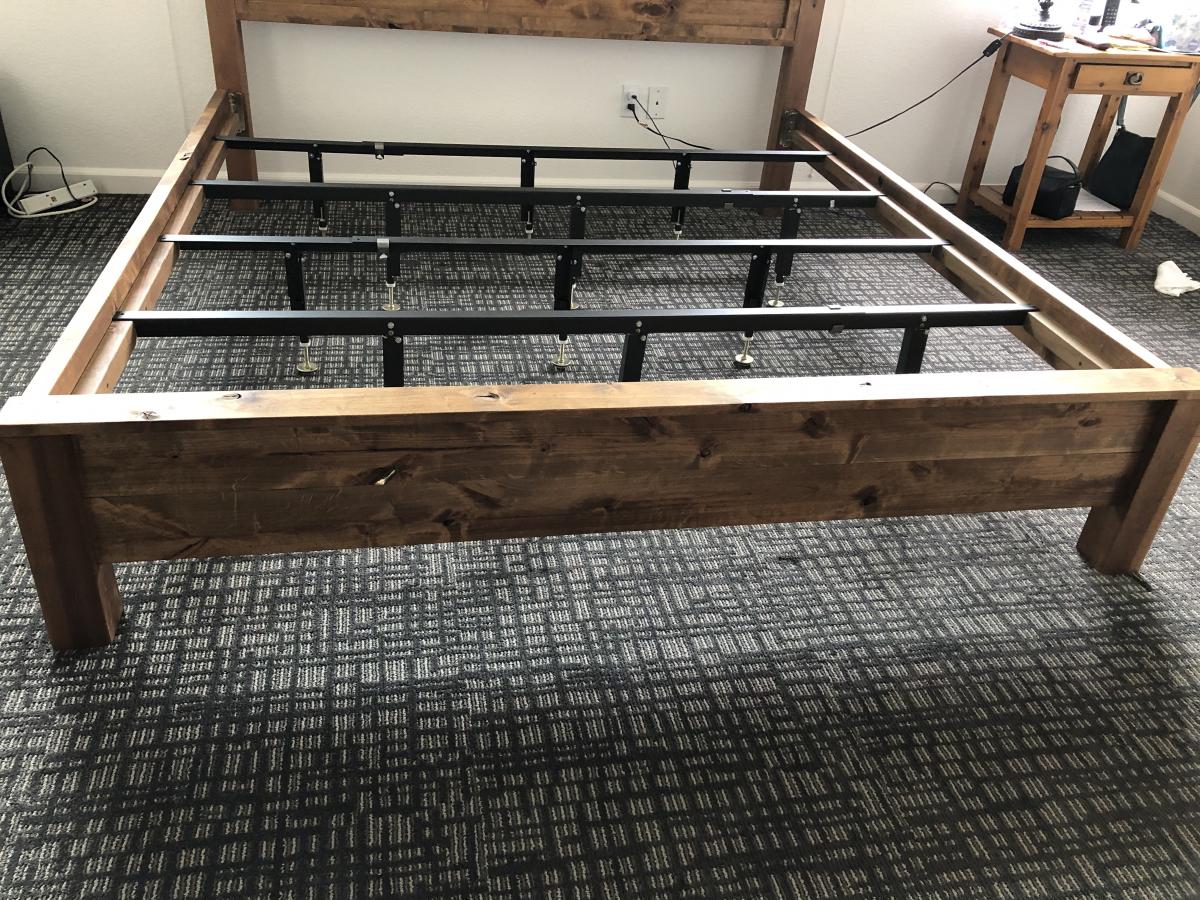
i love the farmhouse look and decided to start changing the furniture in my bedroom. I went shopping and everything I liked was very expensive. I looked online and found DIY plans on Ana’s website. They were an awesome start. I tweaked a few things and absolutely love the end product. 
 

I decided to buy a metal frame and put the mattress on plywood. It’s as solid as a rock!!

Estimated Cost
500.00
Estimated Time Investment
Weekend Project (10-20 Hours)
Finish Used
I did one coat of Danish Oil in dark walnut. If you have never used Danish Oil....I highly recommend that you try it. I applied the oil with a foam paint brush and wiped off the excess with an old pillow case. It took about 2 weeks for the smell to lighten up.


The knotty alder is beautiful wood. It sands nice and stains easy.
Recommended Skill Level
Intermediate

Comments

Adirondack Chair Modified

Submitted by Anonymous (not verified) on Fri, 09/15/2023 - 08:50

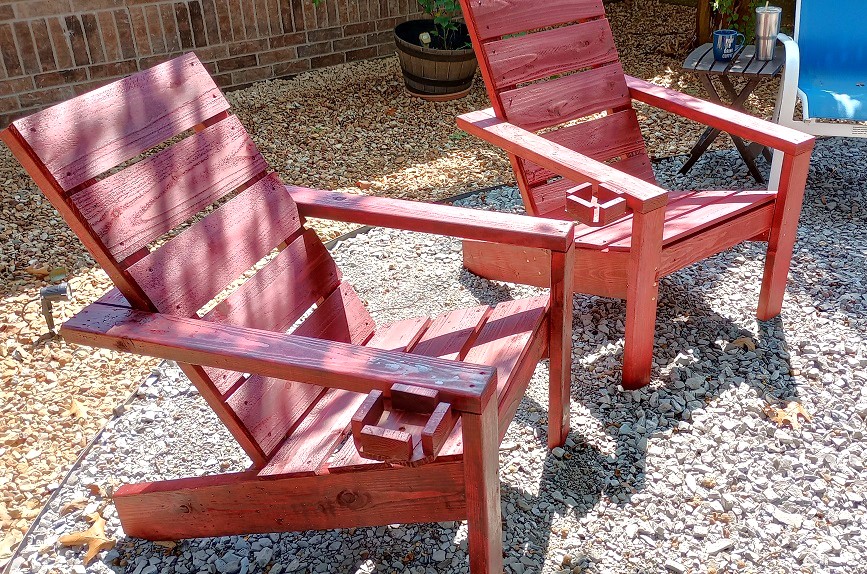
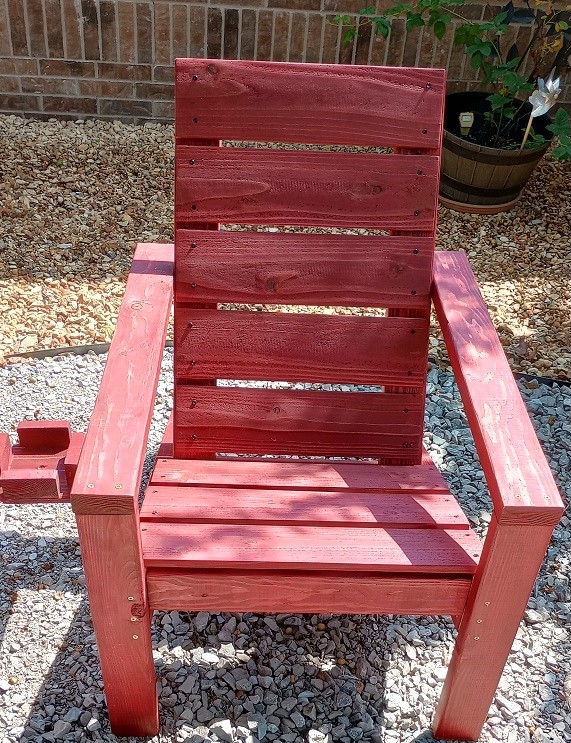
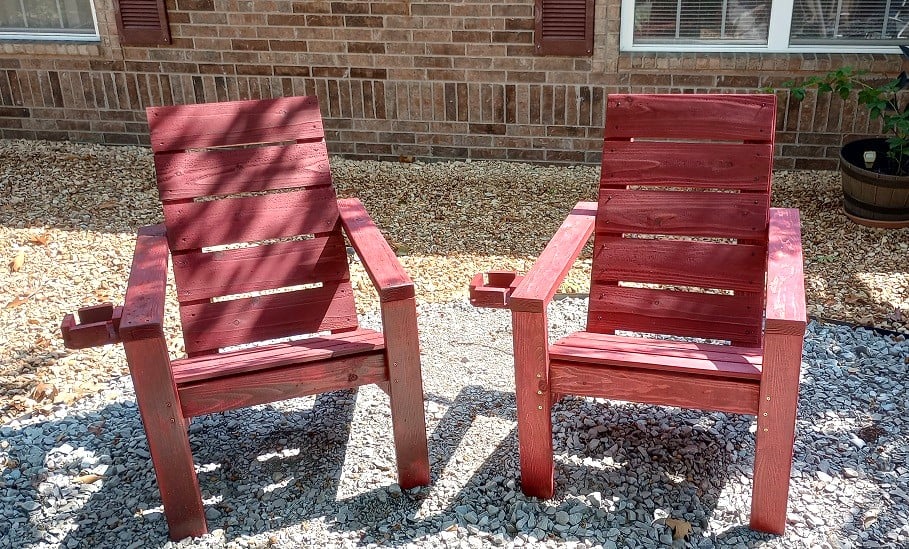
Modified Essential Adirondack Chair
I modified the basic design by making the seat 3 inches higher and 1 inch wider to better accommodate my senior body.
I also used cedar fence boards for the seat and back instead of 1x10s, and added clunky cup holders.
I used Barn Red stain and Thompson's Water Seal for the finish.

Brad Tom

Indoor Outdoor Side Table

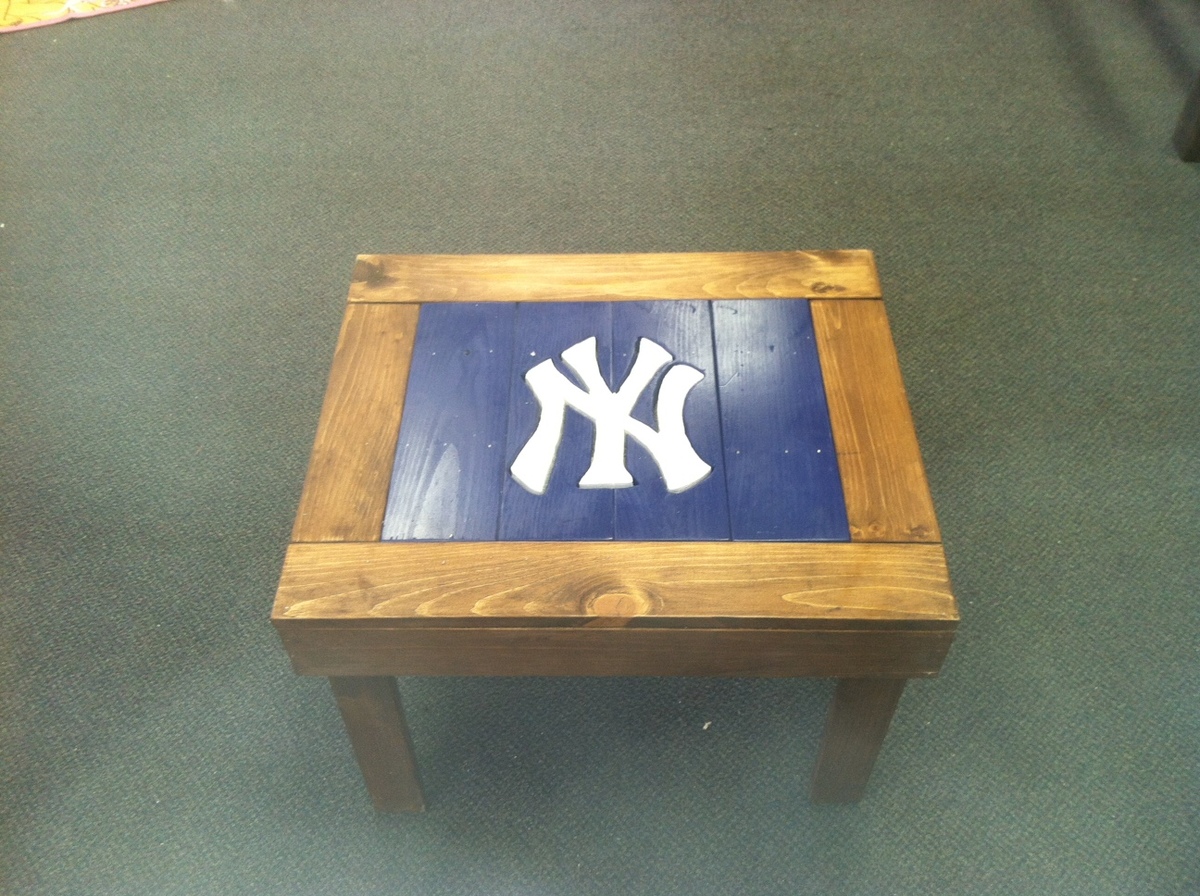
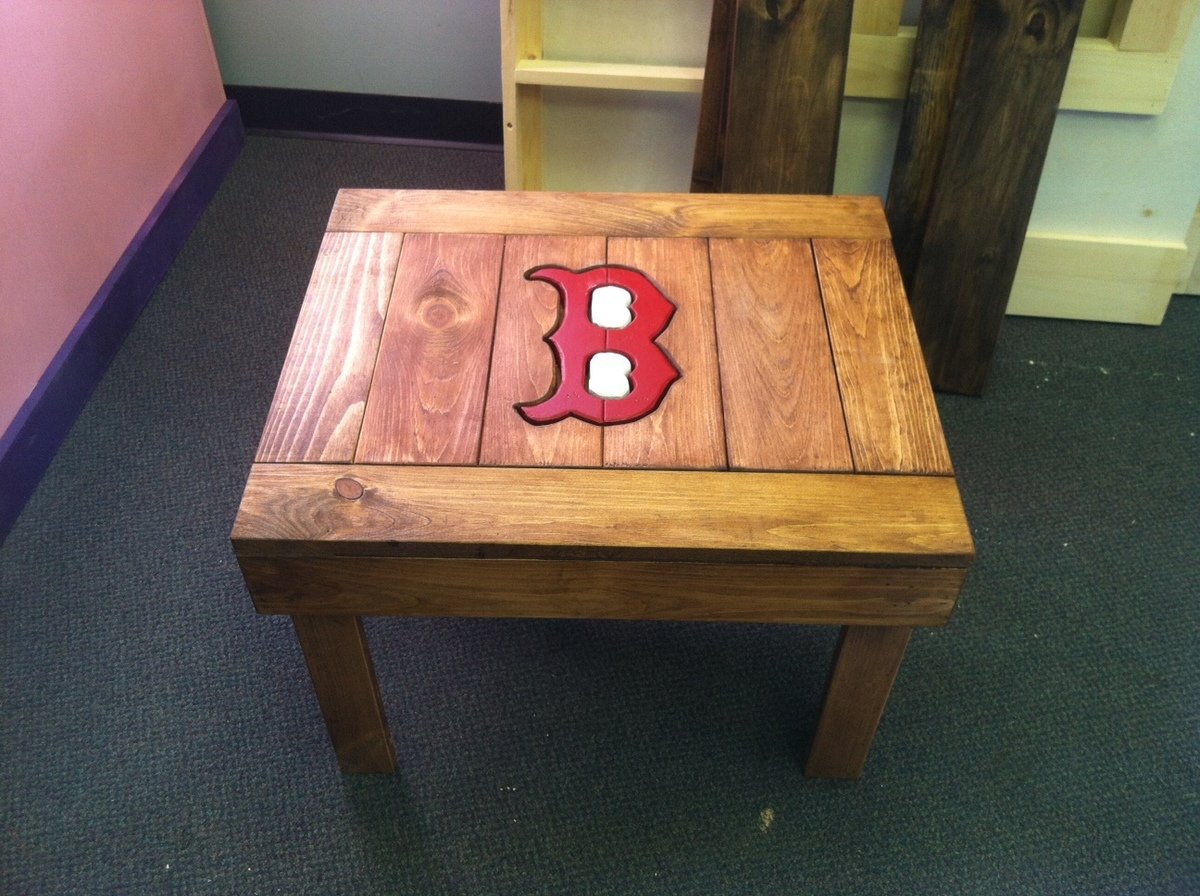
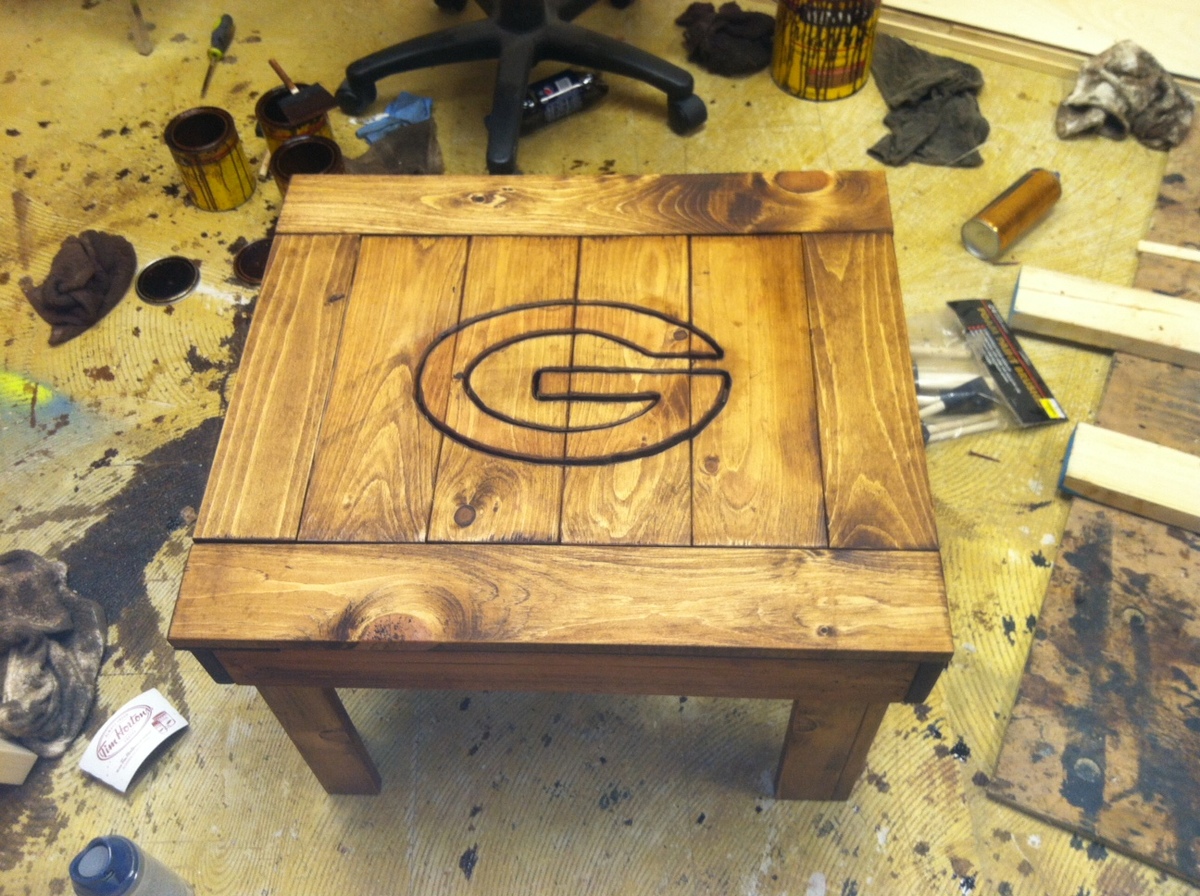
Used the table and cutout logo's and put back into the table using luan scraps. ;0)

Estimated Cost
50
Estimated Time Investment
Day Project (6-9 Hours)
Finish Used
Stain Chesnut English
Weather sealer
polycrilic
Recommended Skill Level
Intermediate

Comments

Colonel (not verified)

Fri, 04/20/2012 - 18:53

How exactly did you get the logos on the table? They look carved or burnt...they are really awesome!

jcrabb

Tue, 04/24/2012 - 13:28

I was wondering the same thing as Colonel.....How did you get the team logos on the table top? I love this!

Loft Bed

Submitted by Jalkcv03 on Sat, 02/01/2014 - 19:04

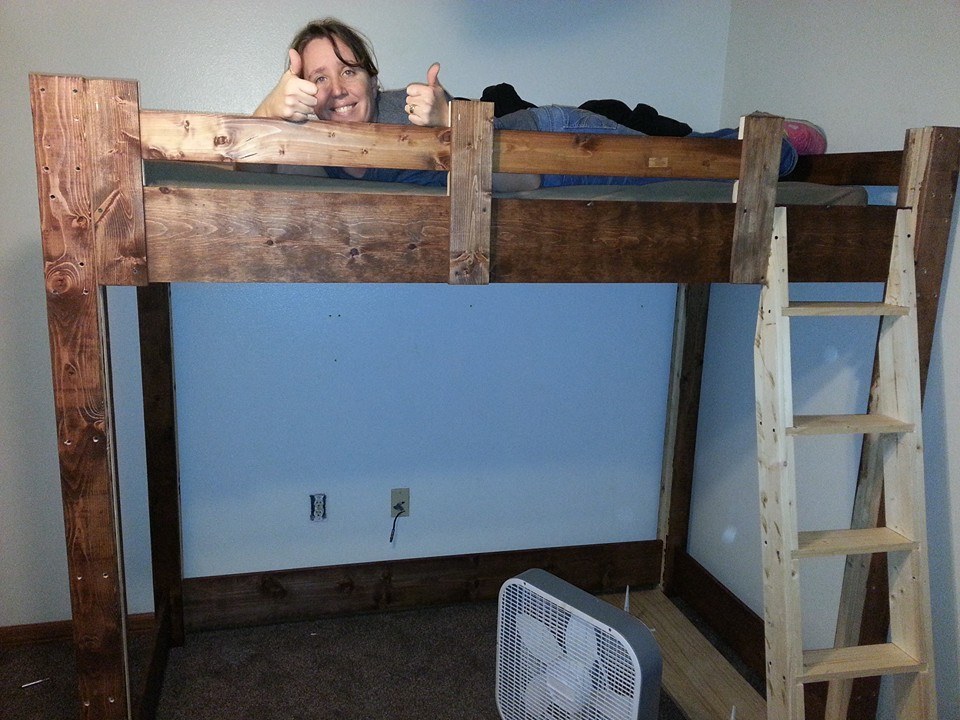
Instead of using 1x3's for the legs we used two 2x4's for the outside legs and then used 1x4's for the fillers. We also used 1x4's for the ladder. We will be adding shelving against the wall and we have a desk top that has been painted with dry erase surface which will give it a whole new dynamic. Project one of many is done :)

Built from Plan(s)
Estimated Cost
160
Estimated Time Investment
Week Long Project (20 Hours or More)
Finish Used
Stained most of the wood, we will be adding custom paint to the stairs listing her name, birthdate and then her birth measurements as well.
Recommended Skill Level
Beginner

California Beach Farmtable

Submitted by Anonymous (not verified) on Sat, 04/30/2016 - 09:04

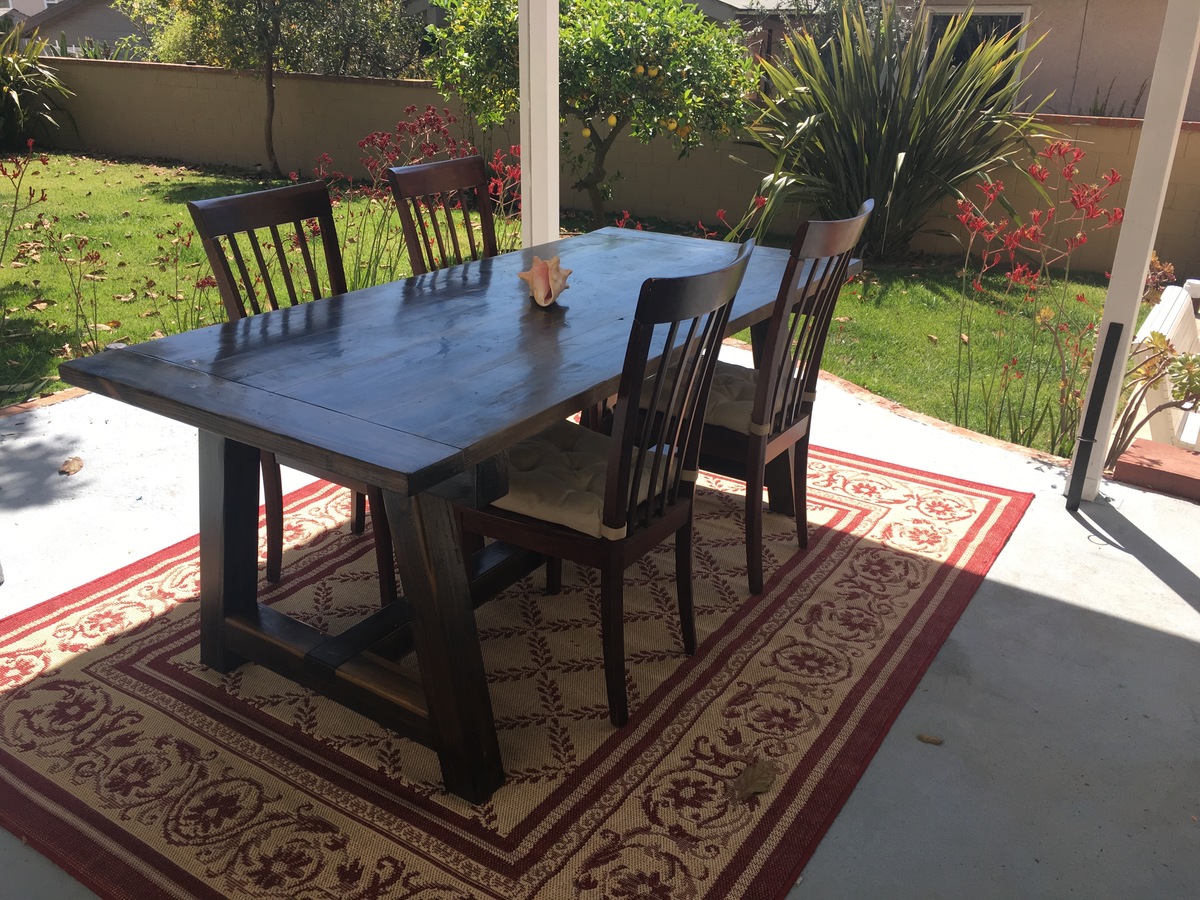
I built this farmtable using old fashioned methods of tongue and groove, biscuits, etc.  It was a true labor of love but it came out great.  The stain I made using vinegar, steel wool and water.  I the protected it with spar urethane.  Next project is the chairs and benches.  Thanks Ana for the inspiration.

Built from Plan(s)
Estimated Cost
$100
Estimated Time Investment
Week Long Project (20 Hours or More)
Finish Used
Spar urethane
Recommended Skill Level
Advanced

Ultimate Workshop Workbench

Submitted by Anonymous (not verified) on Mon, 09/18/2023 - 15:38

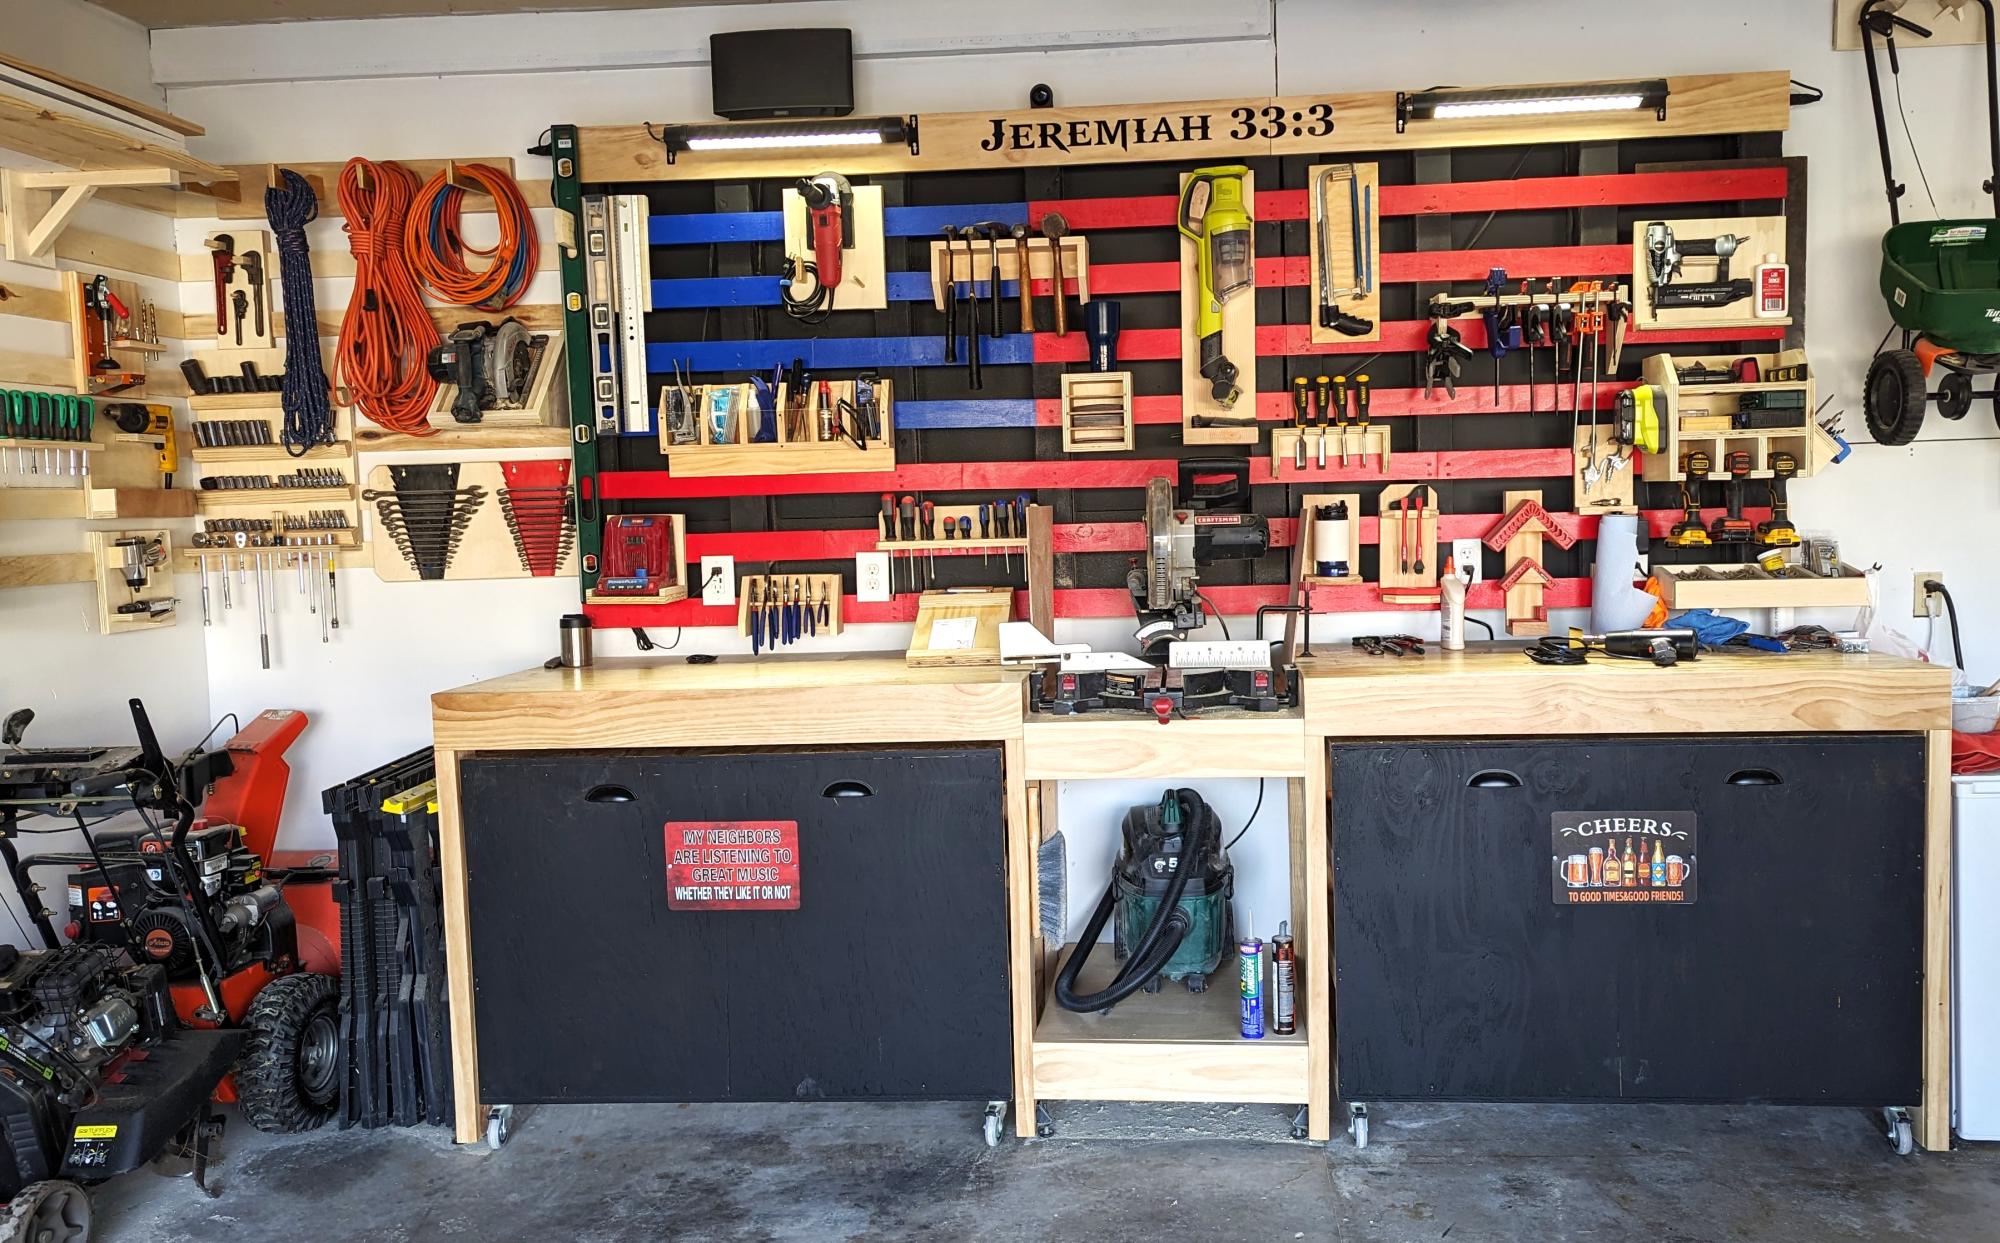
My garage needed an overhaul and I wanted to start a hobby in woodworking.
I found my way to Ana's website and found some of the best ideas and decided to try my attempt at building the Ultimate Roll Away Workbench with Miter Saw Stand.
This helped inspire me to augment my garage and build that workbench and new french cleat wall.

Thank you Ana for having such an awesome website and offering up ideas for free!!

Comments

Sylvie's coat tree

I built my daughter a coat tree from Ana's plans and it looks basically just like Ana's-even the same color. My daughter-in-law saw it and wanted one for my granddaughter's room to hold her dressup clothes but she wanted a natural look, instead of painted and her room is basically natural wood, red and white so this is what I came up with. I would never have even known I could build a coat tree if I hadn't tried Ana's first!! This one was super easy and cheap, made mostly with scraps and some varnish I already had. I had to buy the balls, dowel and letter S.

I would encourage anyone to build one of these if they have need of a coat tree. You could even make it adult size if you combined Ana's plans with these plans and screwed in some hooks.

Estimated Cost
about $8.00 if you don't have scraps
Estimated Time Investment
Afternoon Project (3-6 Hours)
Finish Used
Spray on varnish and acrylic paint for knobs and letter.
Recommended Skill Level
Starter Project

Addison Headboard - King Size

Submitted by awbrown on Tue, 02/04/2014 - 16:07

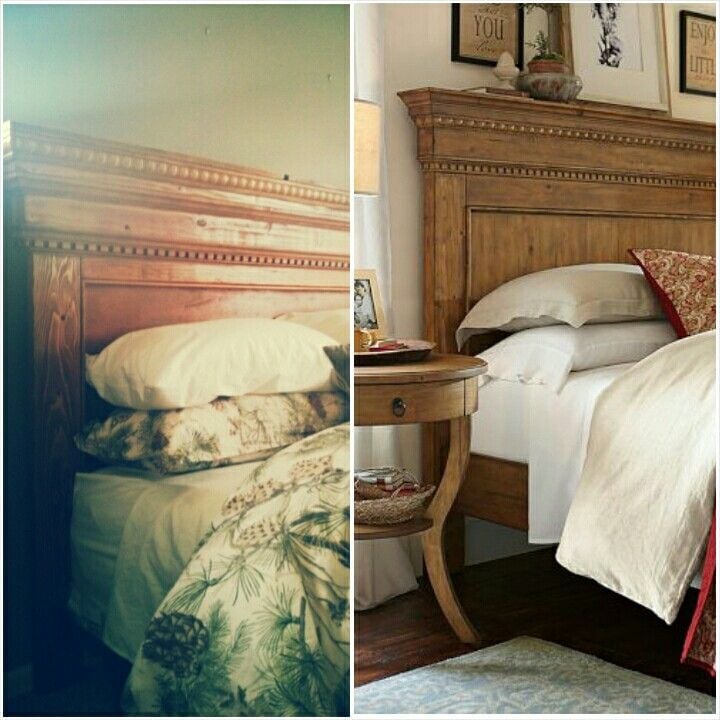
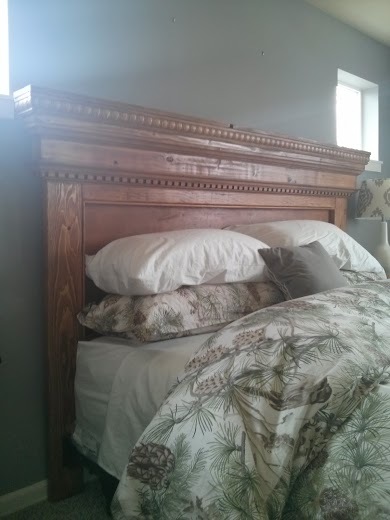
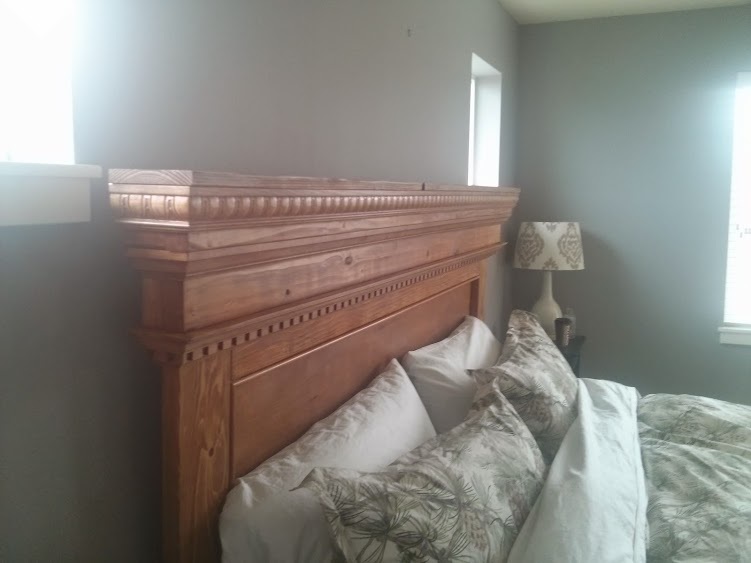
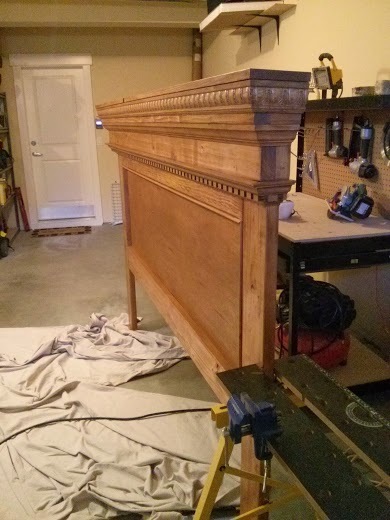
This site features the queen size version of this headboard, I decided to build the King and use more elaborate molding pieces, which increased the cost. I stained the wood to a very close match although my mobile photos don't do justice to this claim. It took me about a week to complete with nights and weekend availability.

Built from Plan(s)
Estimated Cost
130
Estimated Time Investment
Week Long Project (20 Hours or More)
Finish Used
Custom
Recommended Skill Level
Intermediate

Comments

PorkyPok

Thu, 03/12/2015 - 13:37

looks great. Did you use pine? Which stain did you use? I would like to be able to closely match the stained version of pottery barns addison too. Thanks!

Built in Secretary hutch

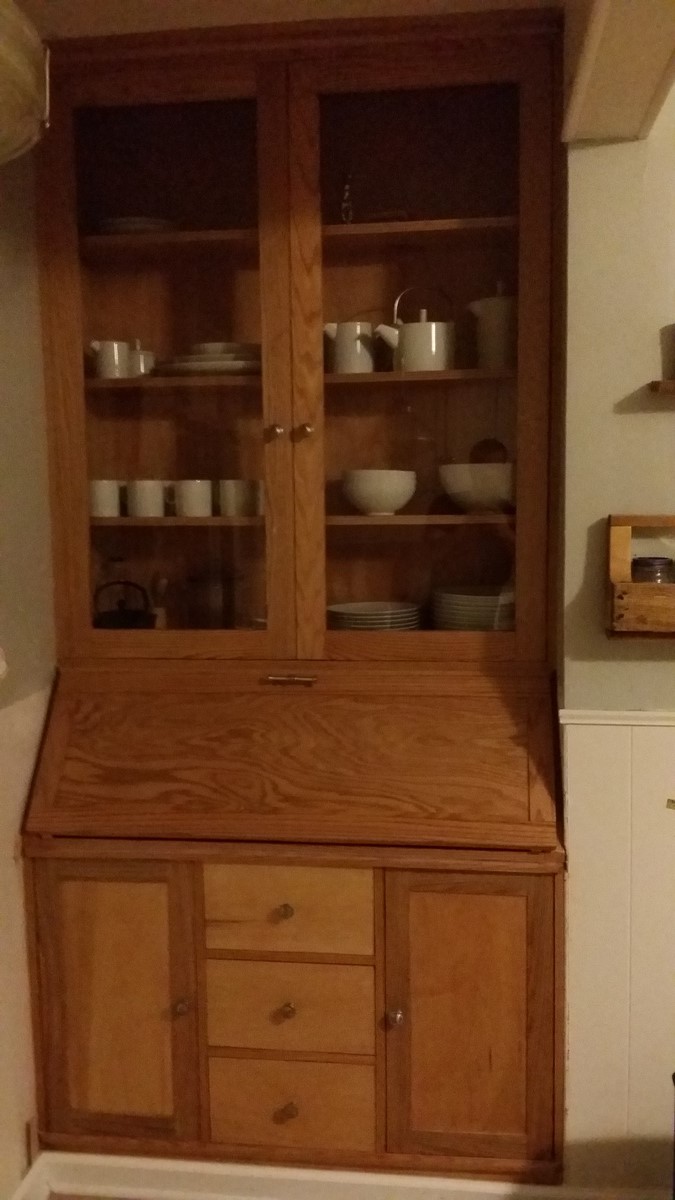
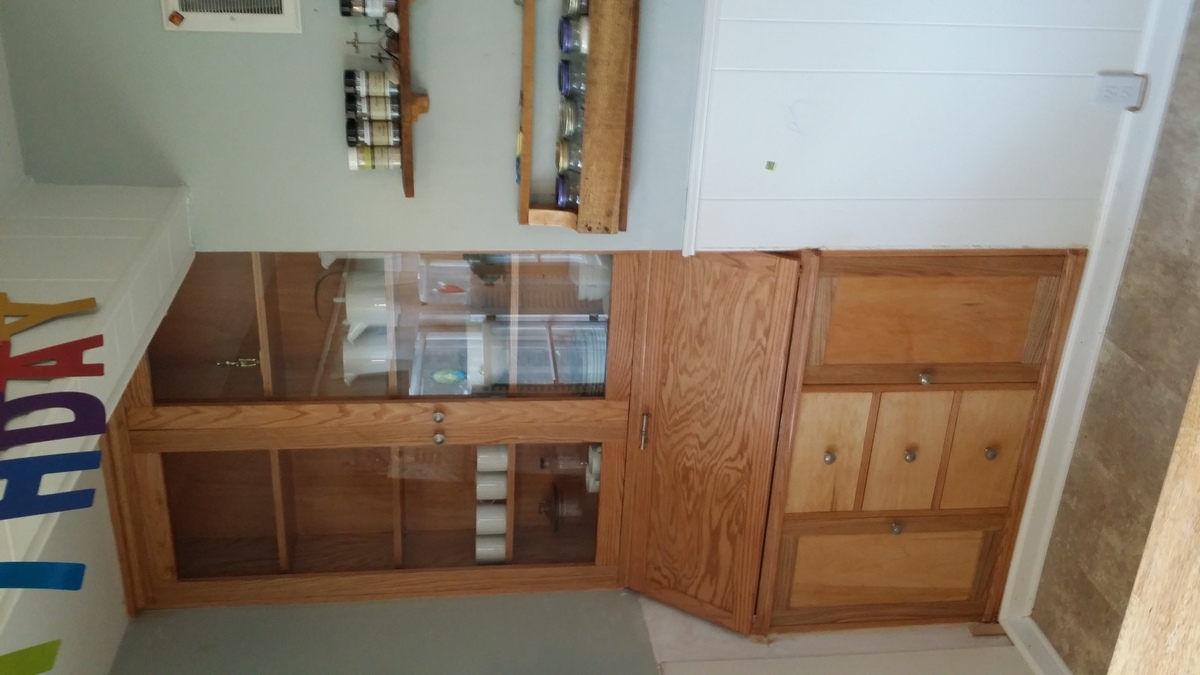
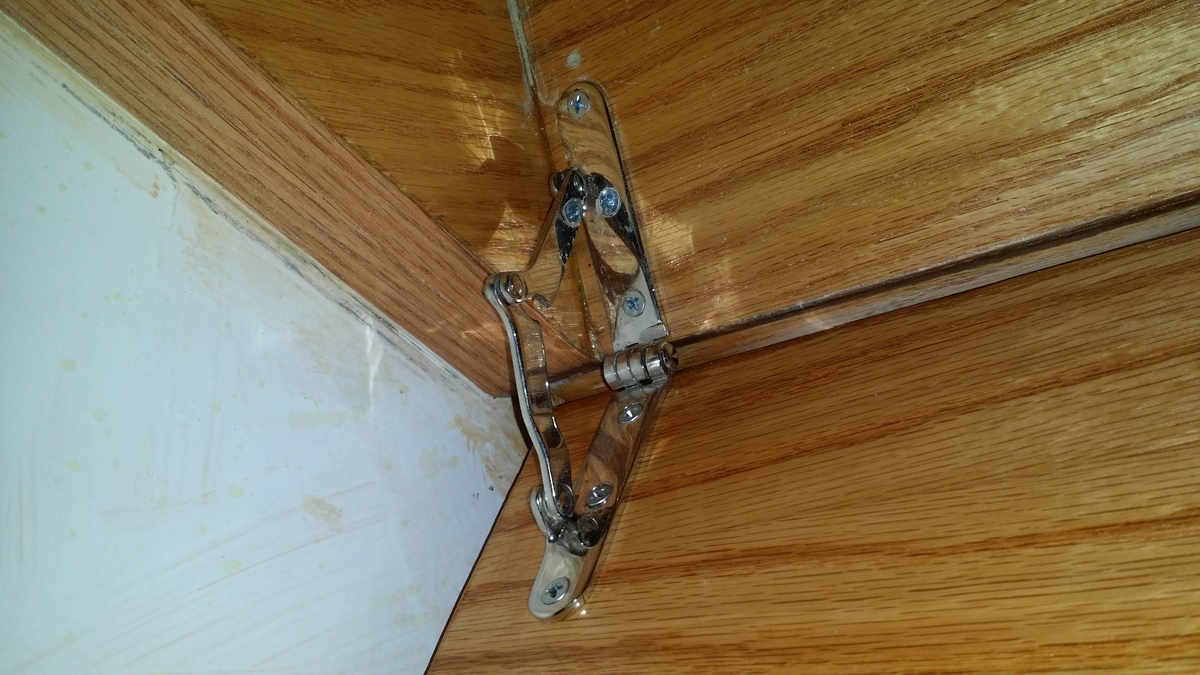
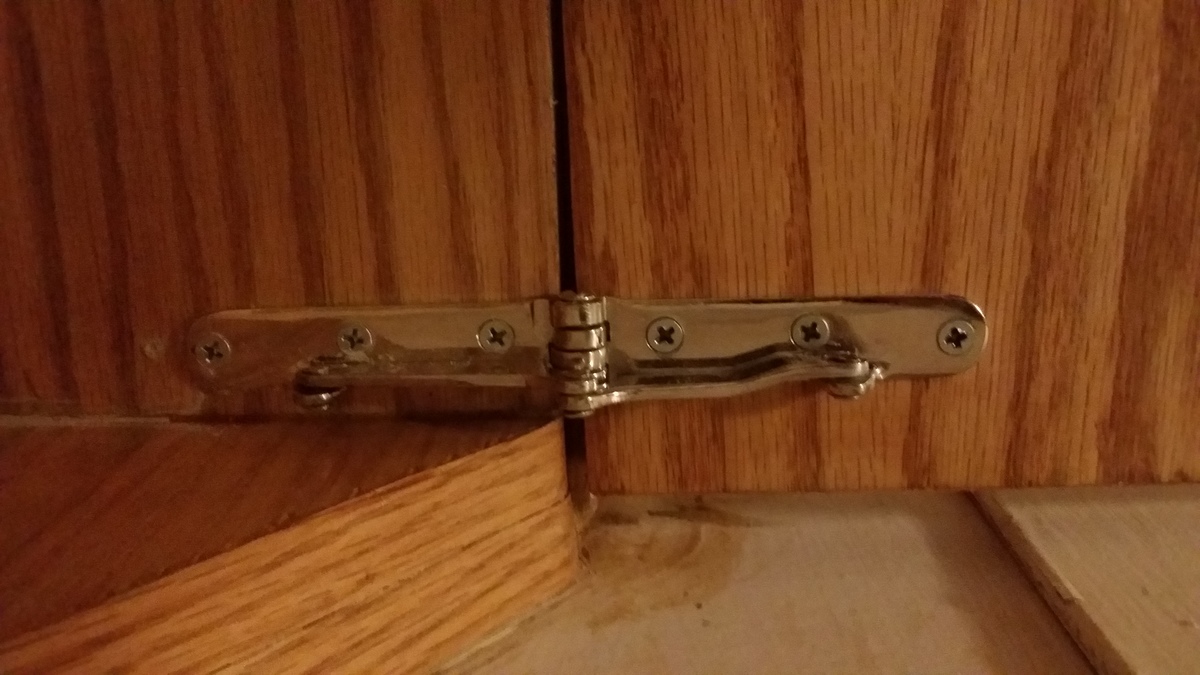
Wanted a builtin hutch change the plans a little for depth and height. I used tempered glass instead of lexan for the last ability as lexan discolor and looks a little cheap. Mostly red oak plywood, but choose hard wood for shelves so they wouldn't sag and small desk drawers and doors because it was easier to buy it cut and cost effective. Wish I would have done the drawer faces hardwood also. I used maple on the bottom and decided I wanted more grainy look so finished the desk and top with redoak. Matches bottom trim which was red oak. Special ordered old style secretary desk hinges. I had them played $60 for both. I liked the look and they are stable. Time consuming building but impressive when done. Don't know why photos alway turn up sideways, tried flipping them and saving them same result...

Estimated Cost
$500
Estimated Time Investment
Week Long Project (20 Hours or More)
Finish Used
Pecan maple stain, semi gloss poly. Stain poly, sand poly.
Recommended Skill Level
Intermediate

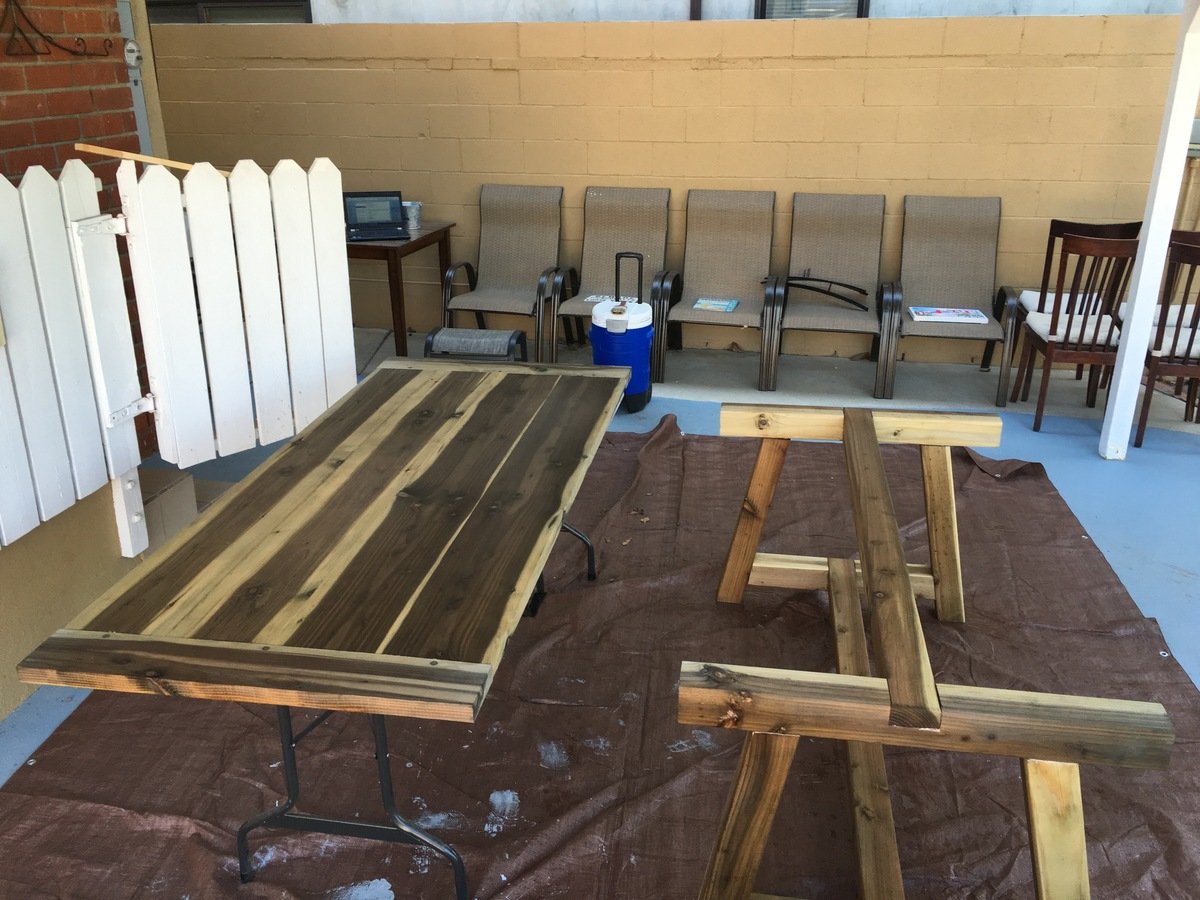
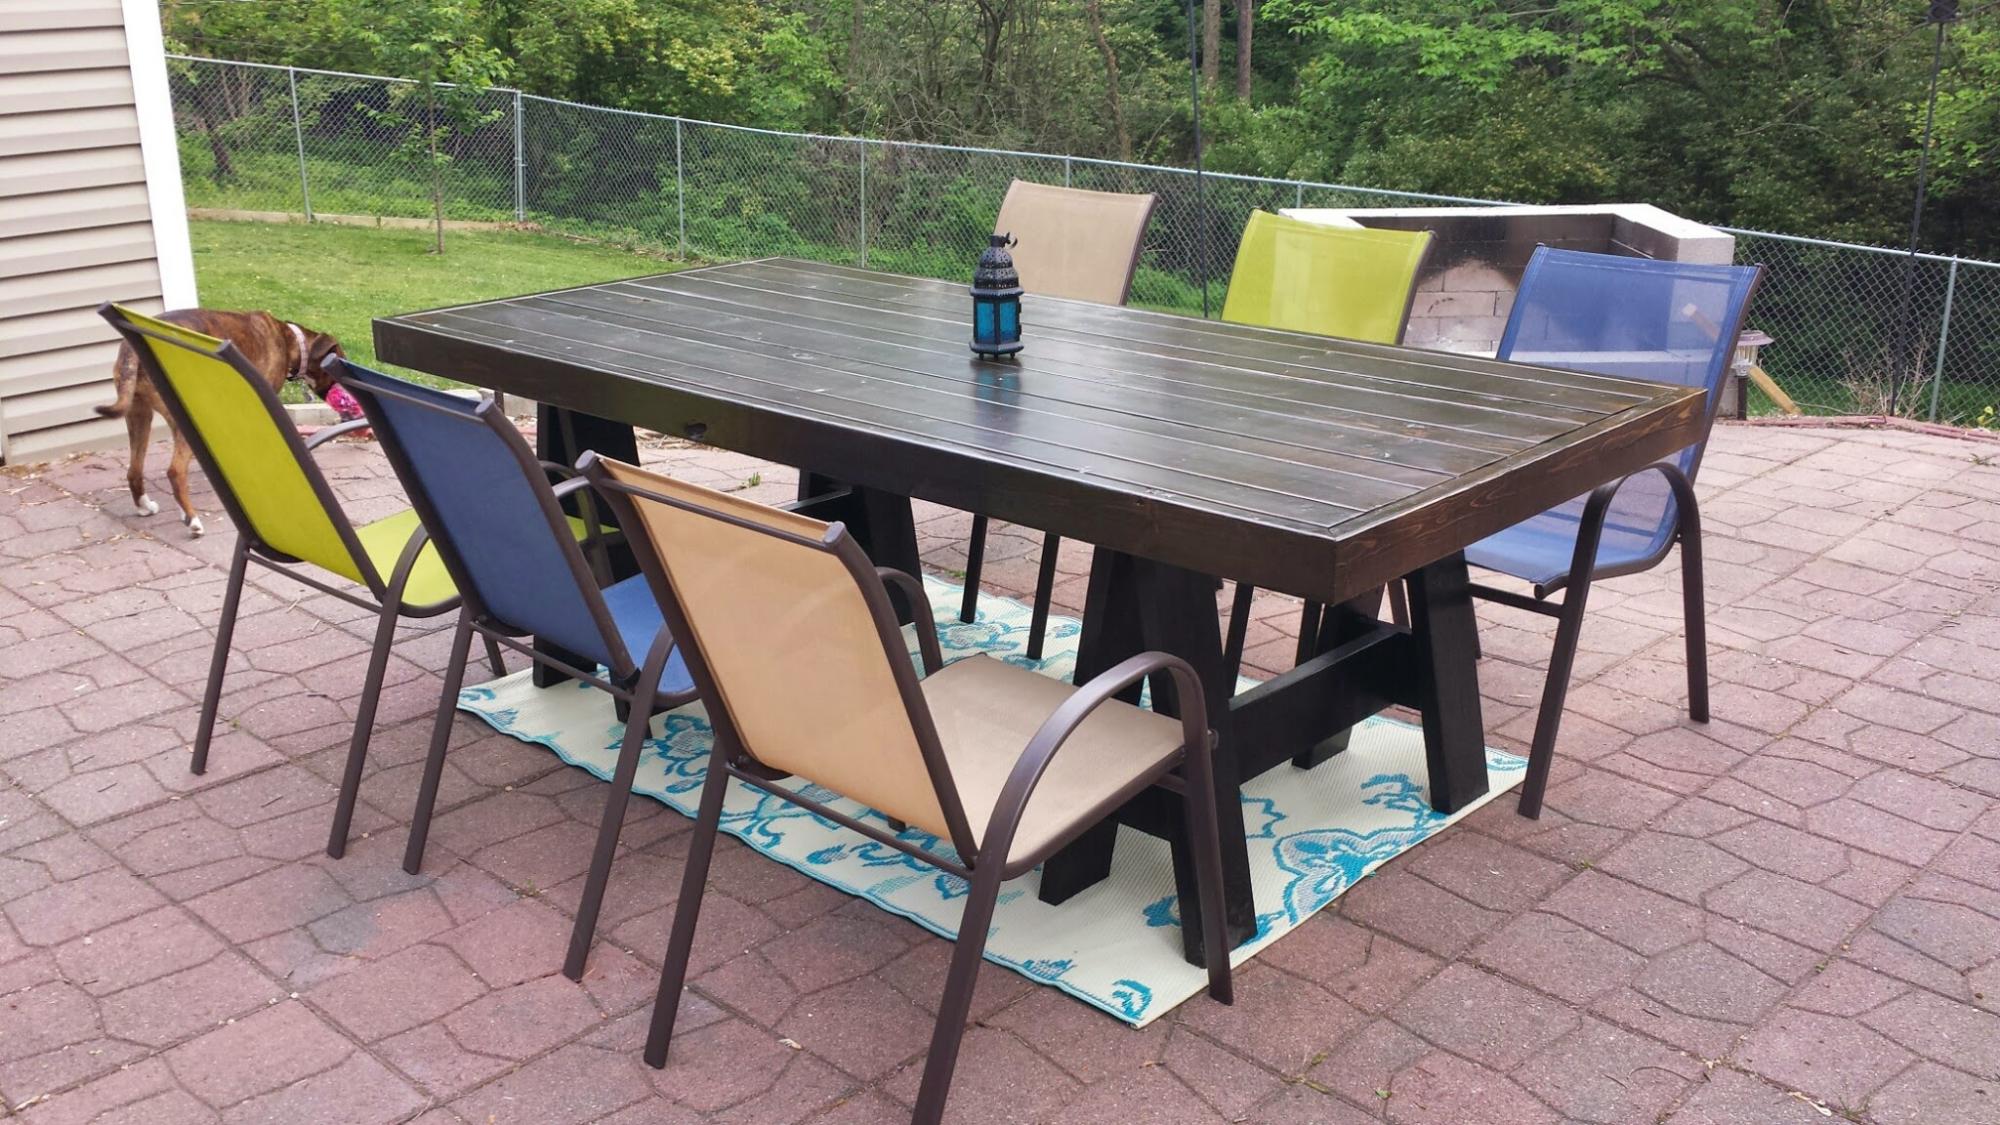
Saw horse patio table

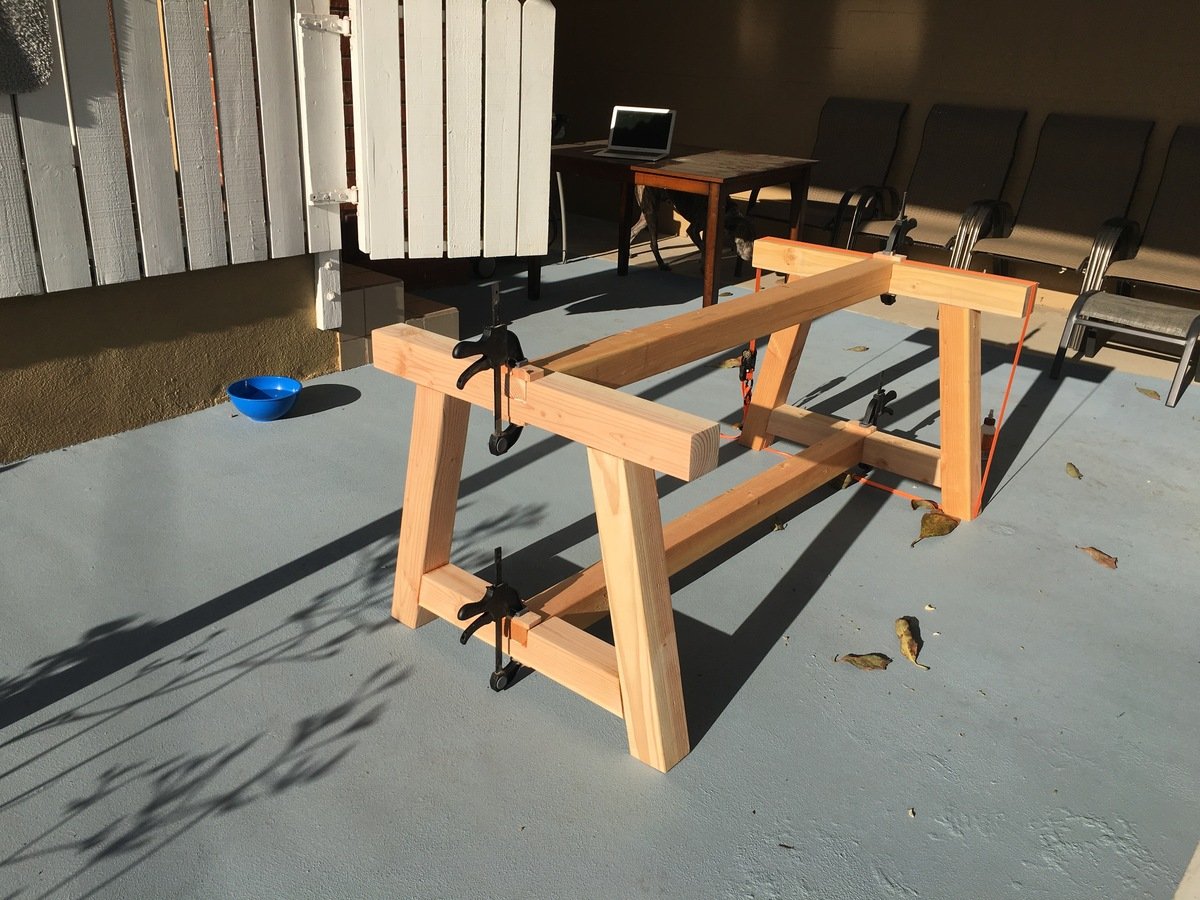
Great table! Loved the build. 

Built from Plan(s)

Comments

Small Farm Table

Submitted by Anonymous (not verified) on Fri, 09/22/2023 - 07:54

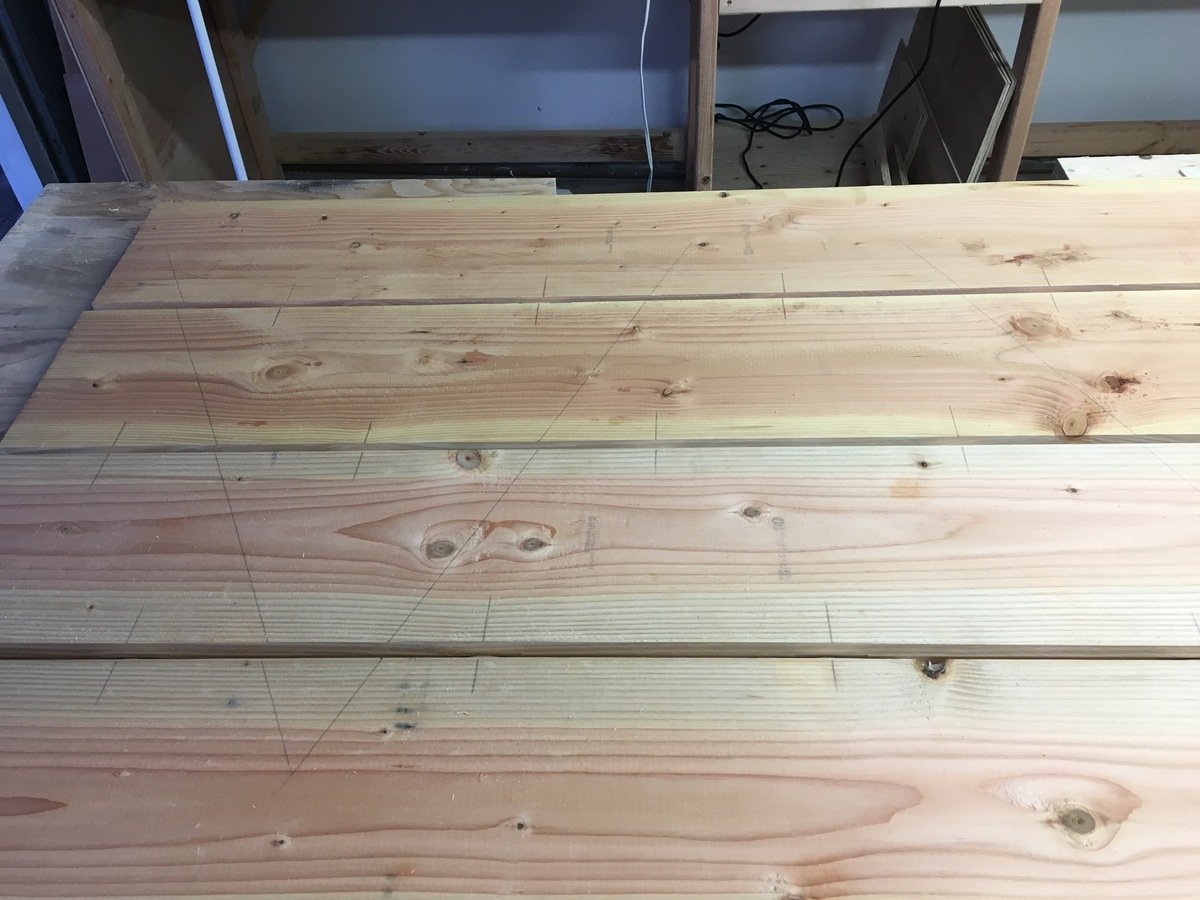
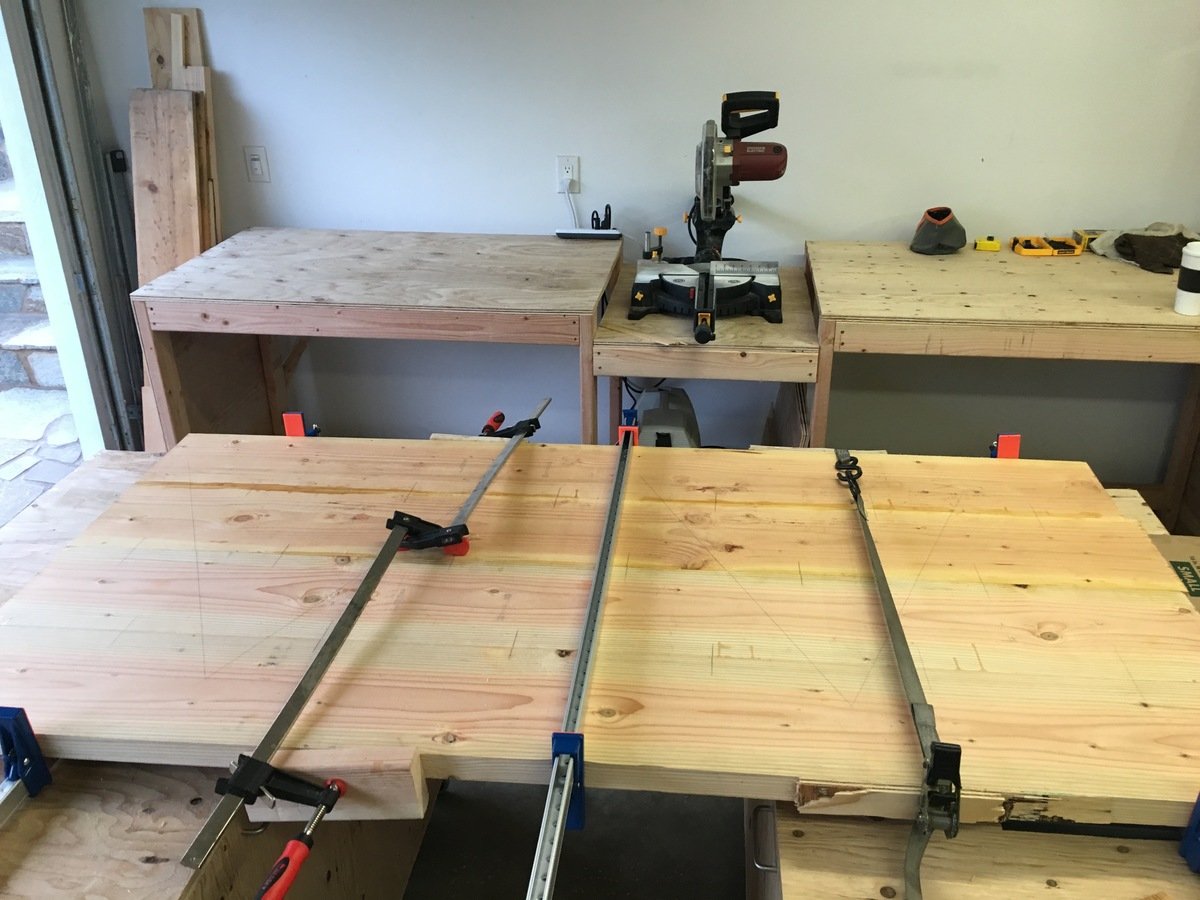
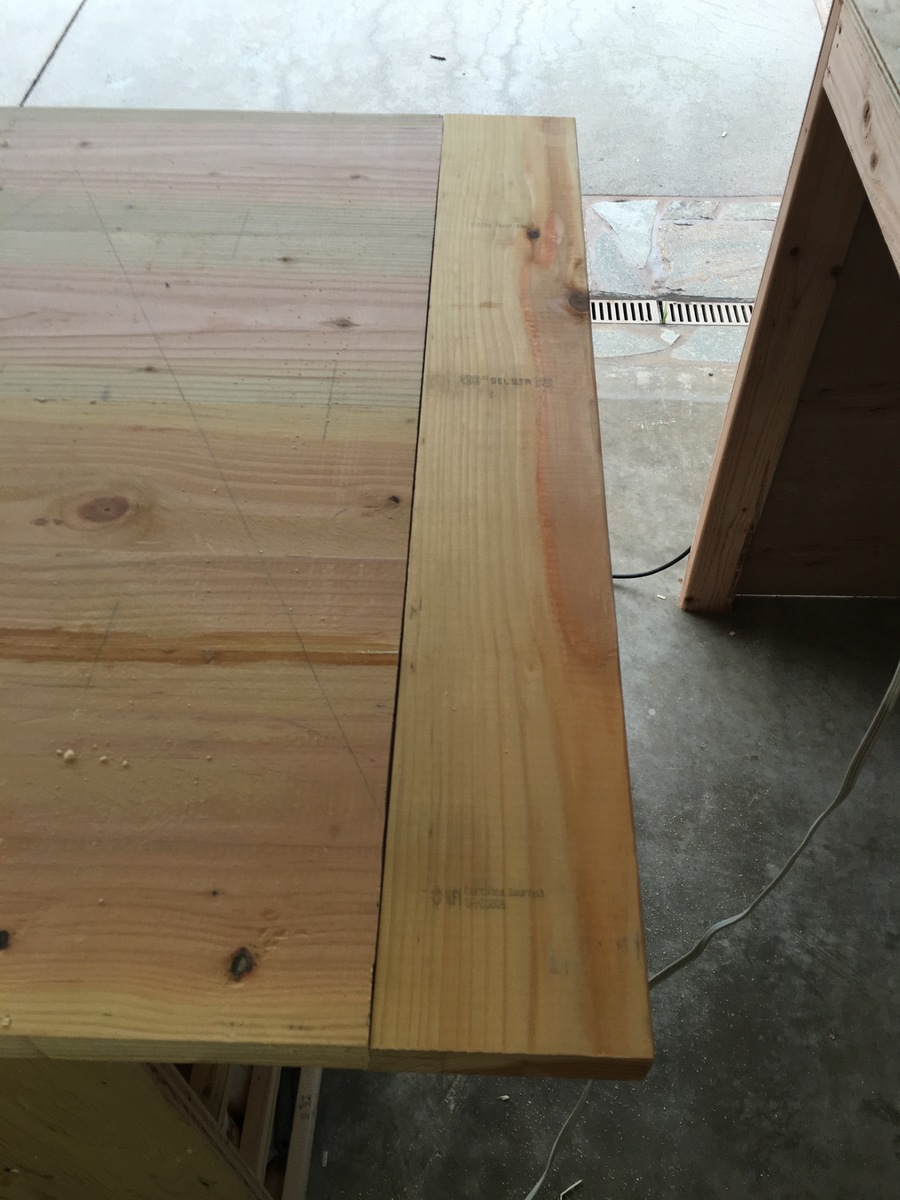
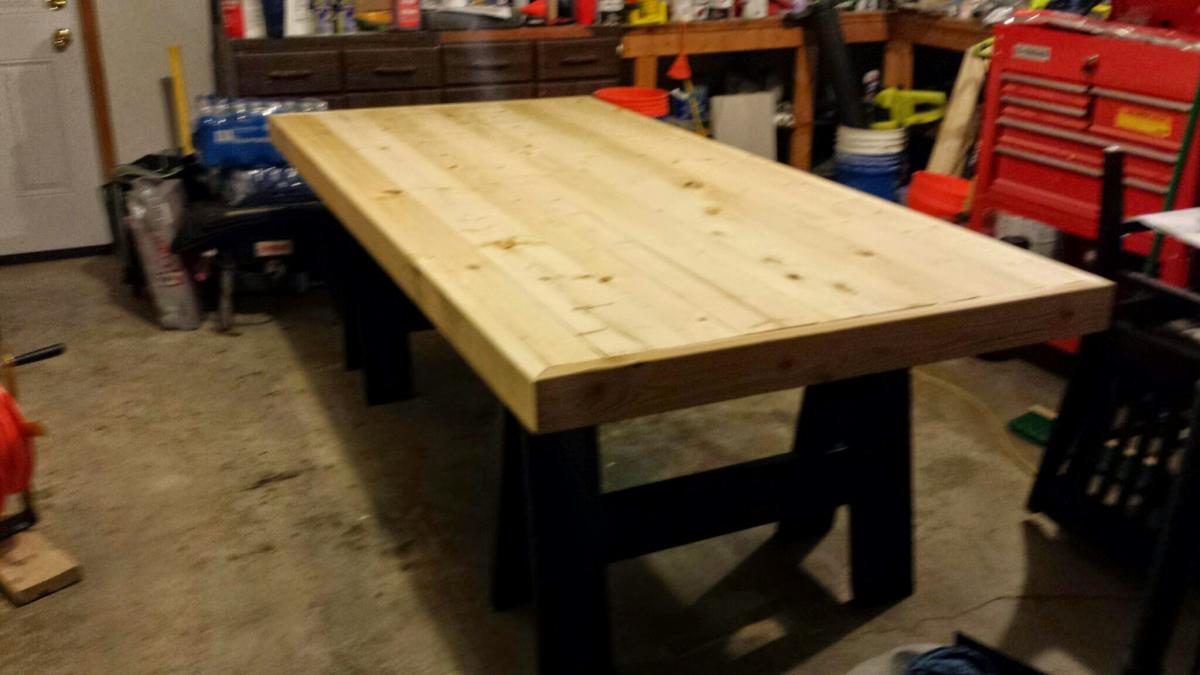
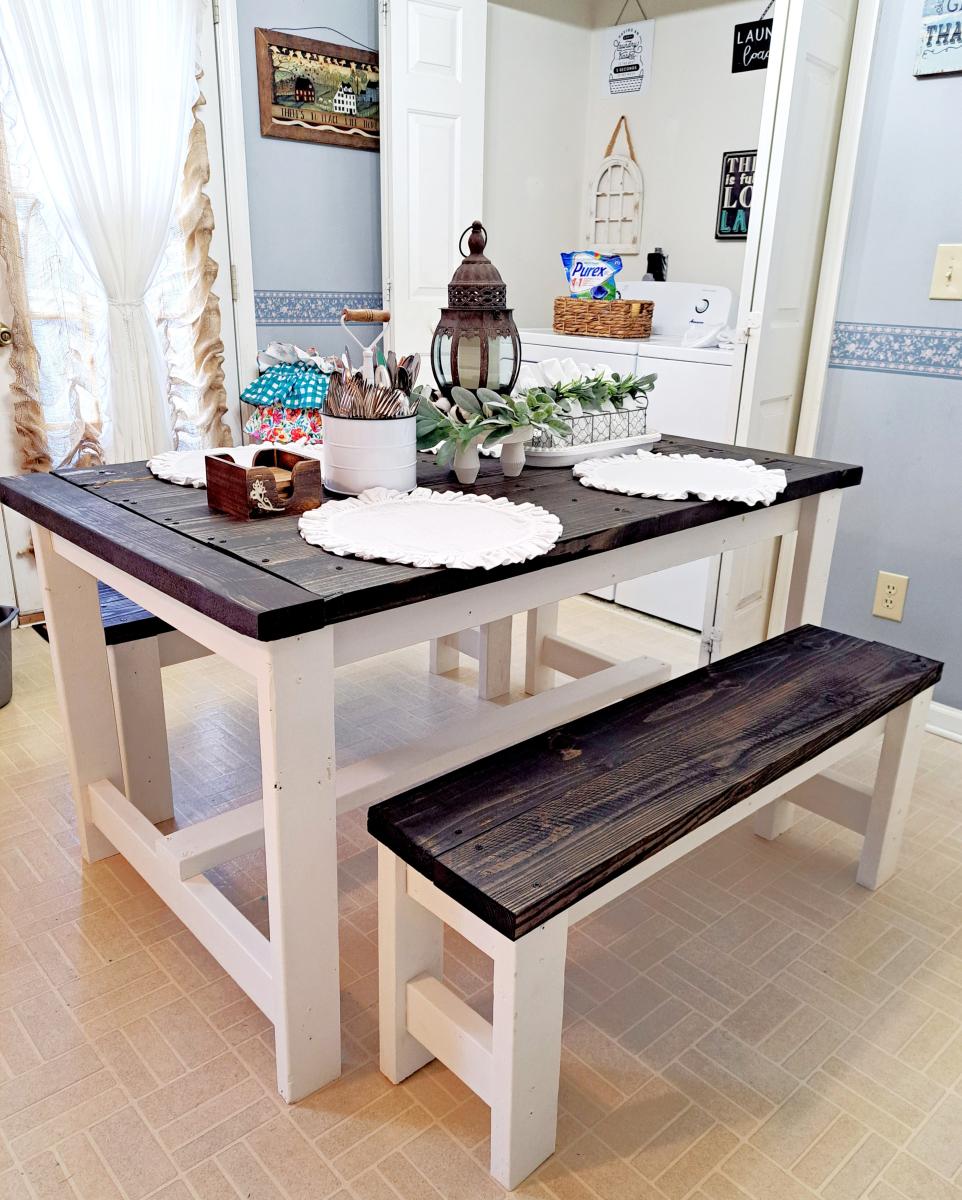
This was my first time building furniture. I've restored and refurbished antique furniture for years and but never imagined building my own before. I have a small kitchen and had to modify the size to accommodate area space. I also added breadboard ends to the tabletop. I am now planning to build more furniture using your plans. Thank you Ana White for providing such a wonderful resource to help beginners build their own furniture!
Built from Plan(s)

Comments

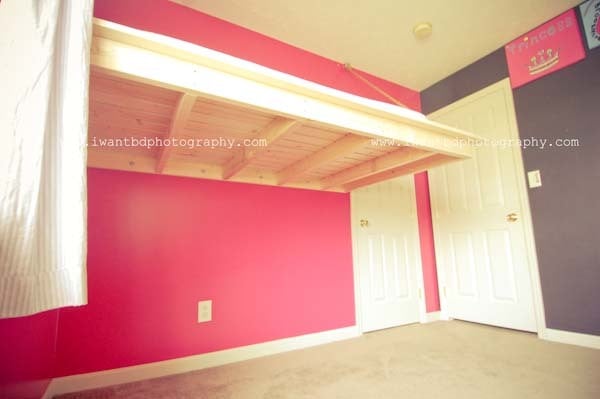
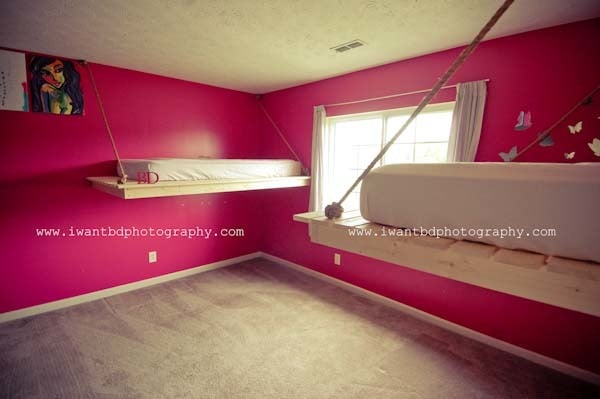
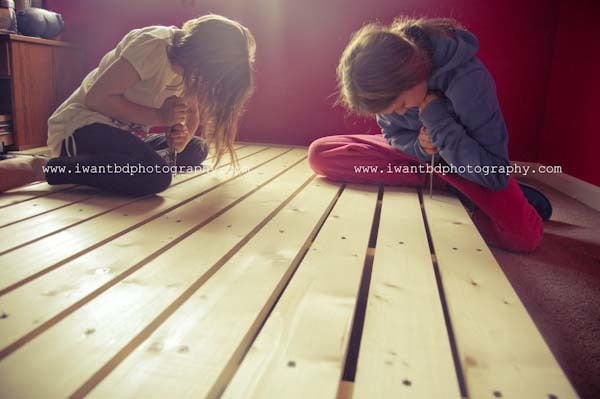
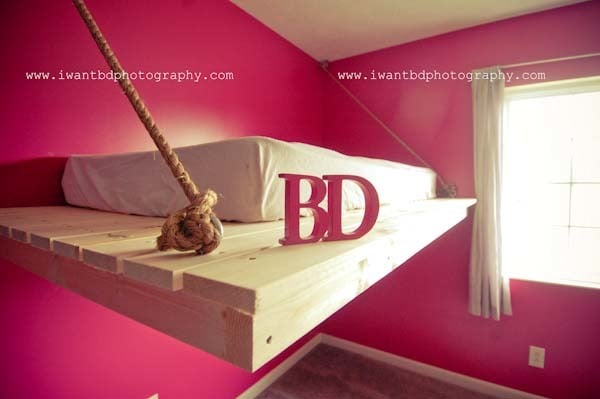
easiest daybed turned floating twin beds

we love ana's plans, and we love the way this one was executed by the bumper crop. check out more pics of our girl version and how we did it at http://www.iwantbdphotography.com/archives/2661

Built from Plan(s)
Estimated Cost
$90 each
Estimated Time Investment
Weekend Project (10-20 Hours)
Finish Used
none :) gutsy for a kid's room. not sure how they will hold up, but we just love the raw unfinished look
Recommended Skill Level
Intermediate

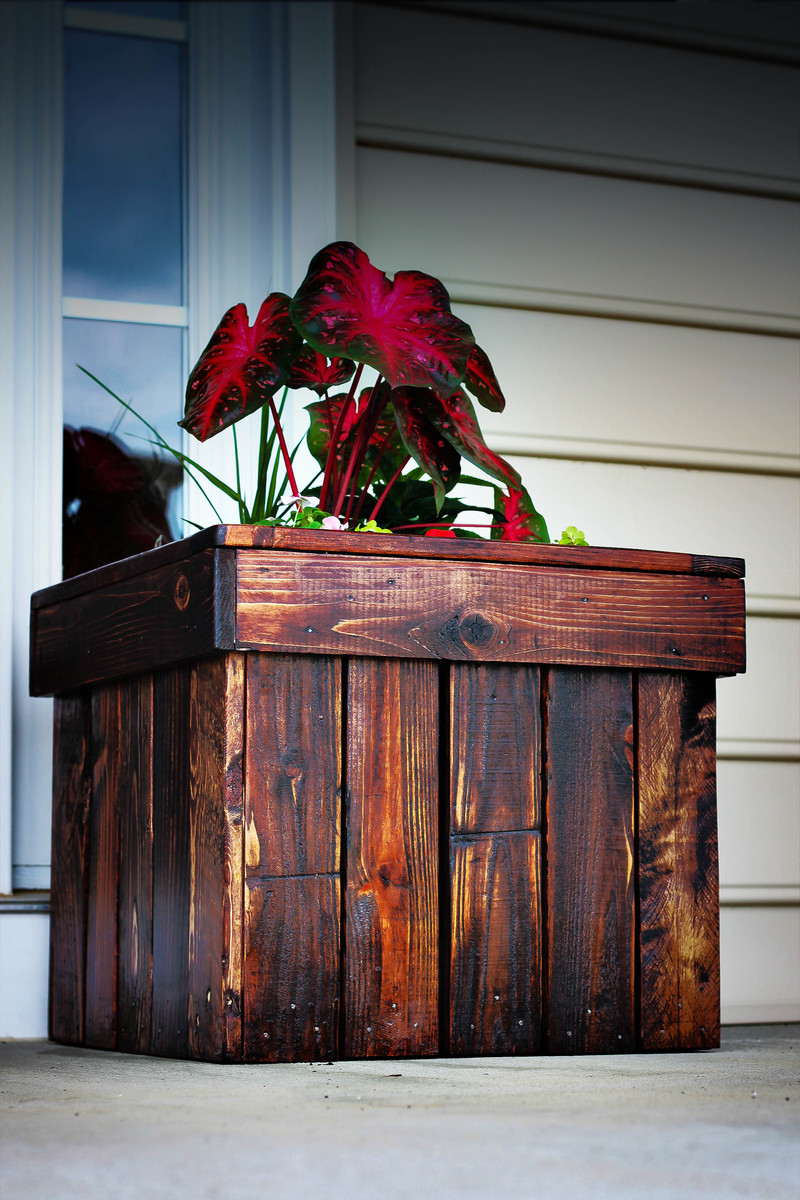
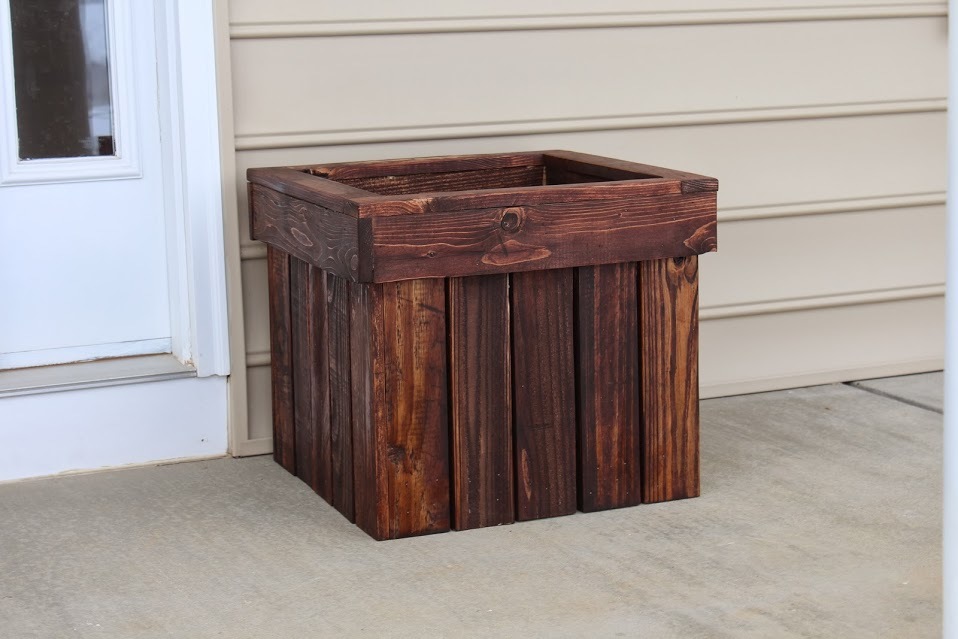
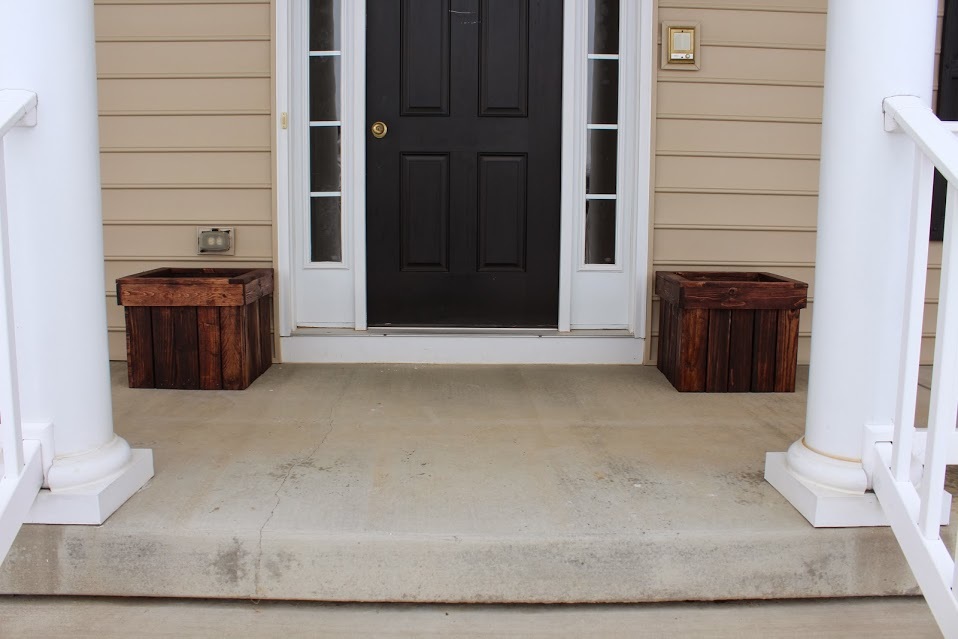
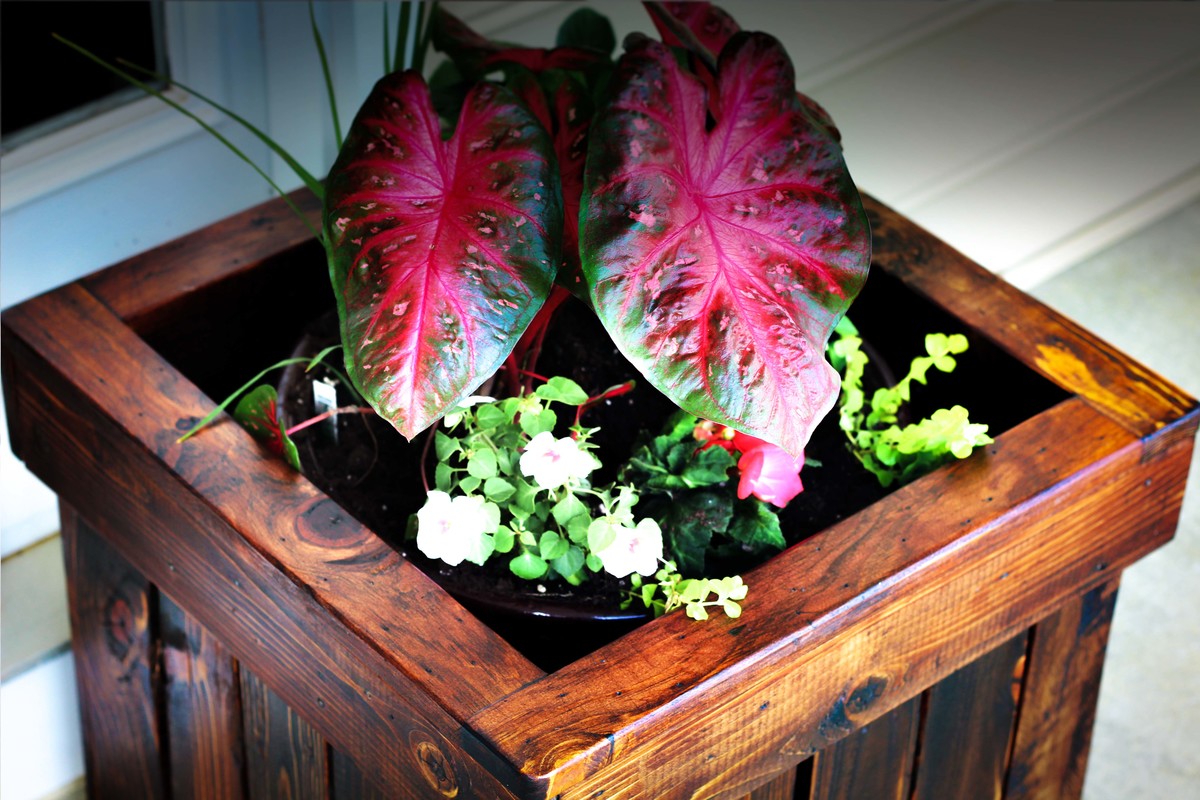
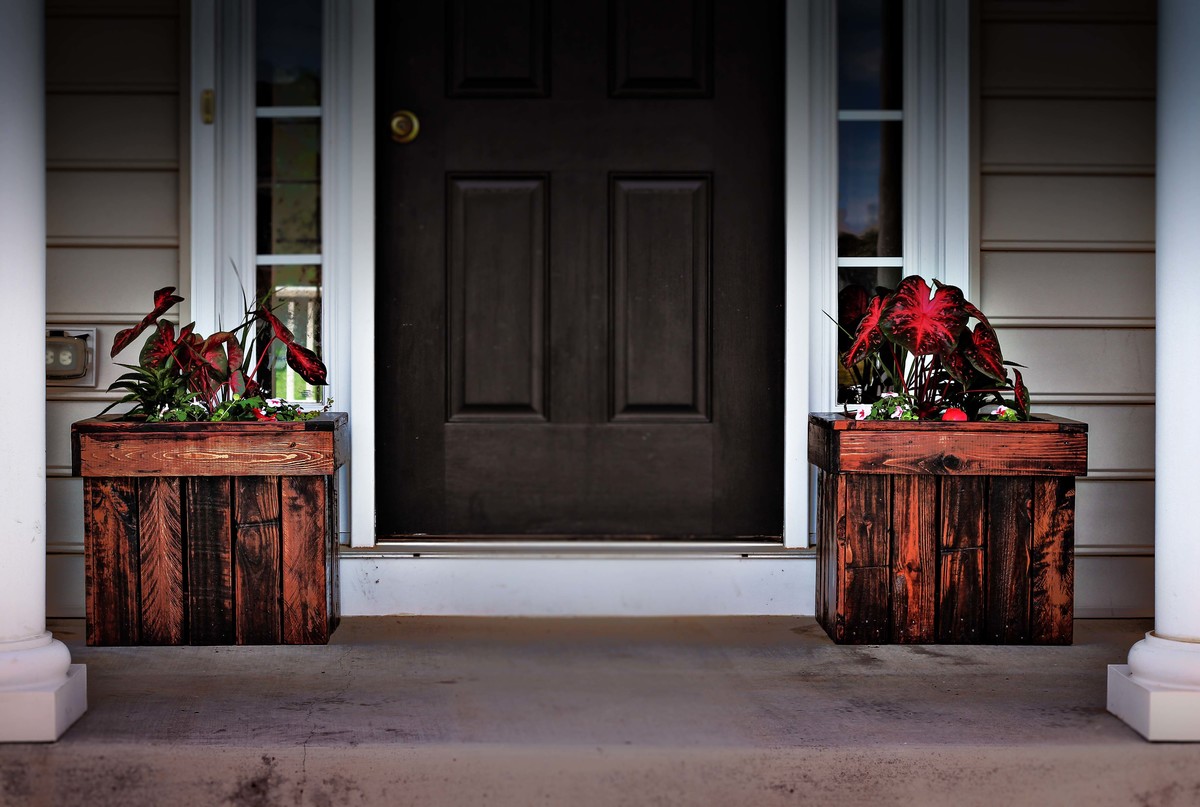
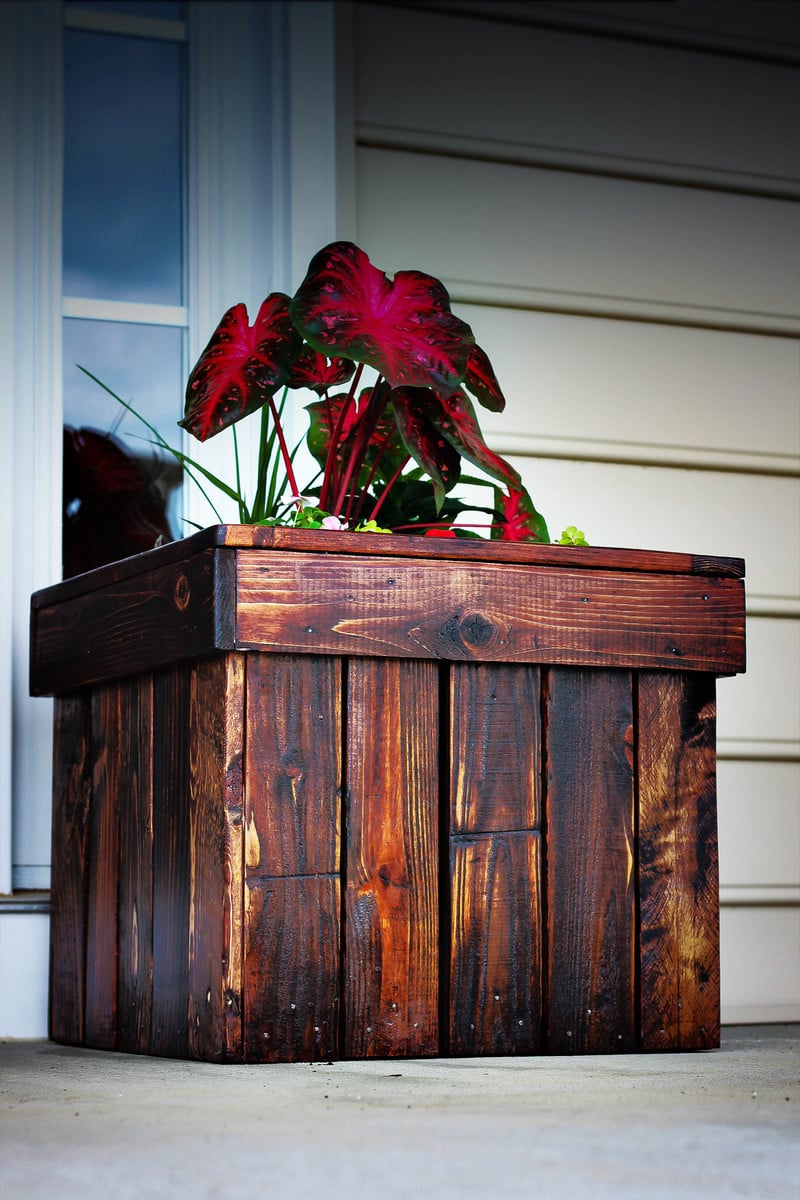
Planter Box from Pallets

Submitted by mtairymd on Sat, 02/08/2014 - 05:10
Estimated Cost
$5 Stain & Nails - free pallet wood
Estimated Time Investment
Weekend Project (10-20 Hours)
Finish Used
Red Oak
Recommended Skill Level
Beginner

Coffe table

Submitted by rnkimg on Tue, 02/04/2020 - 12:23

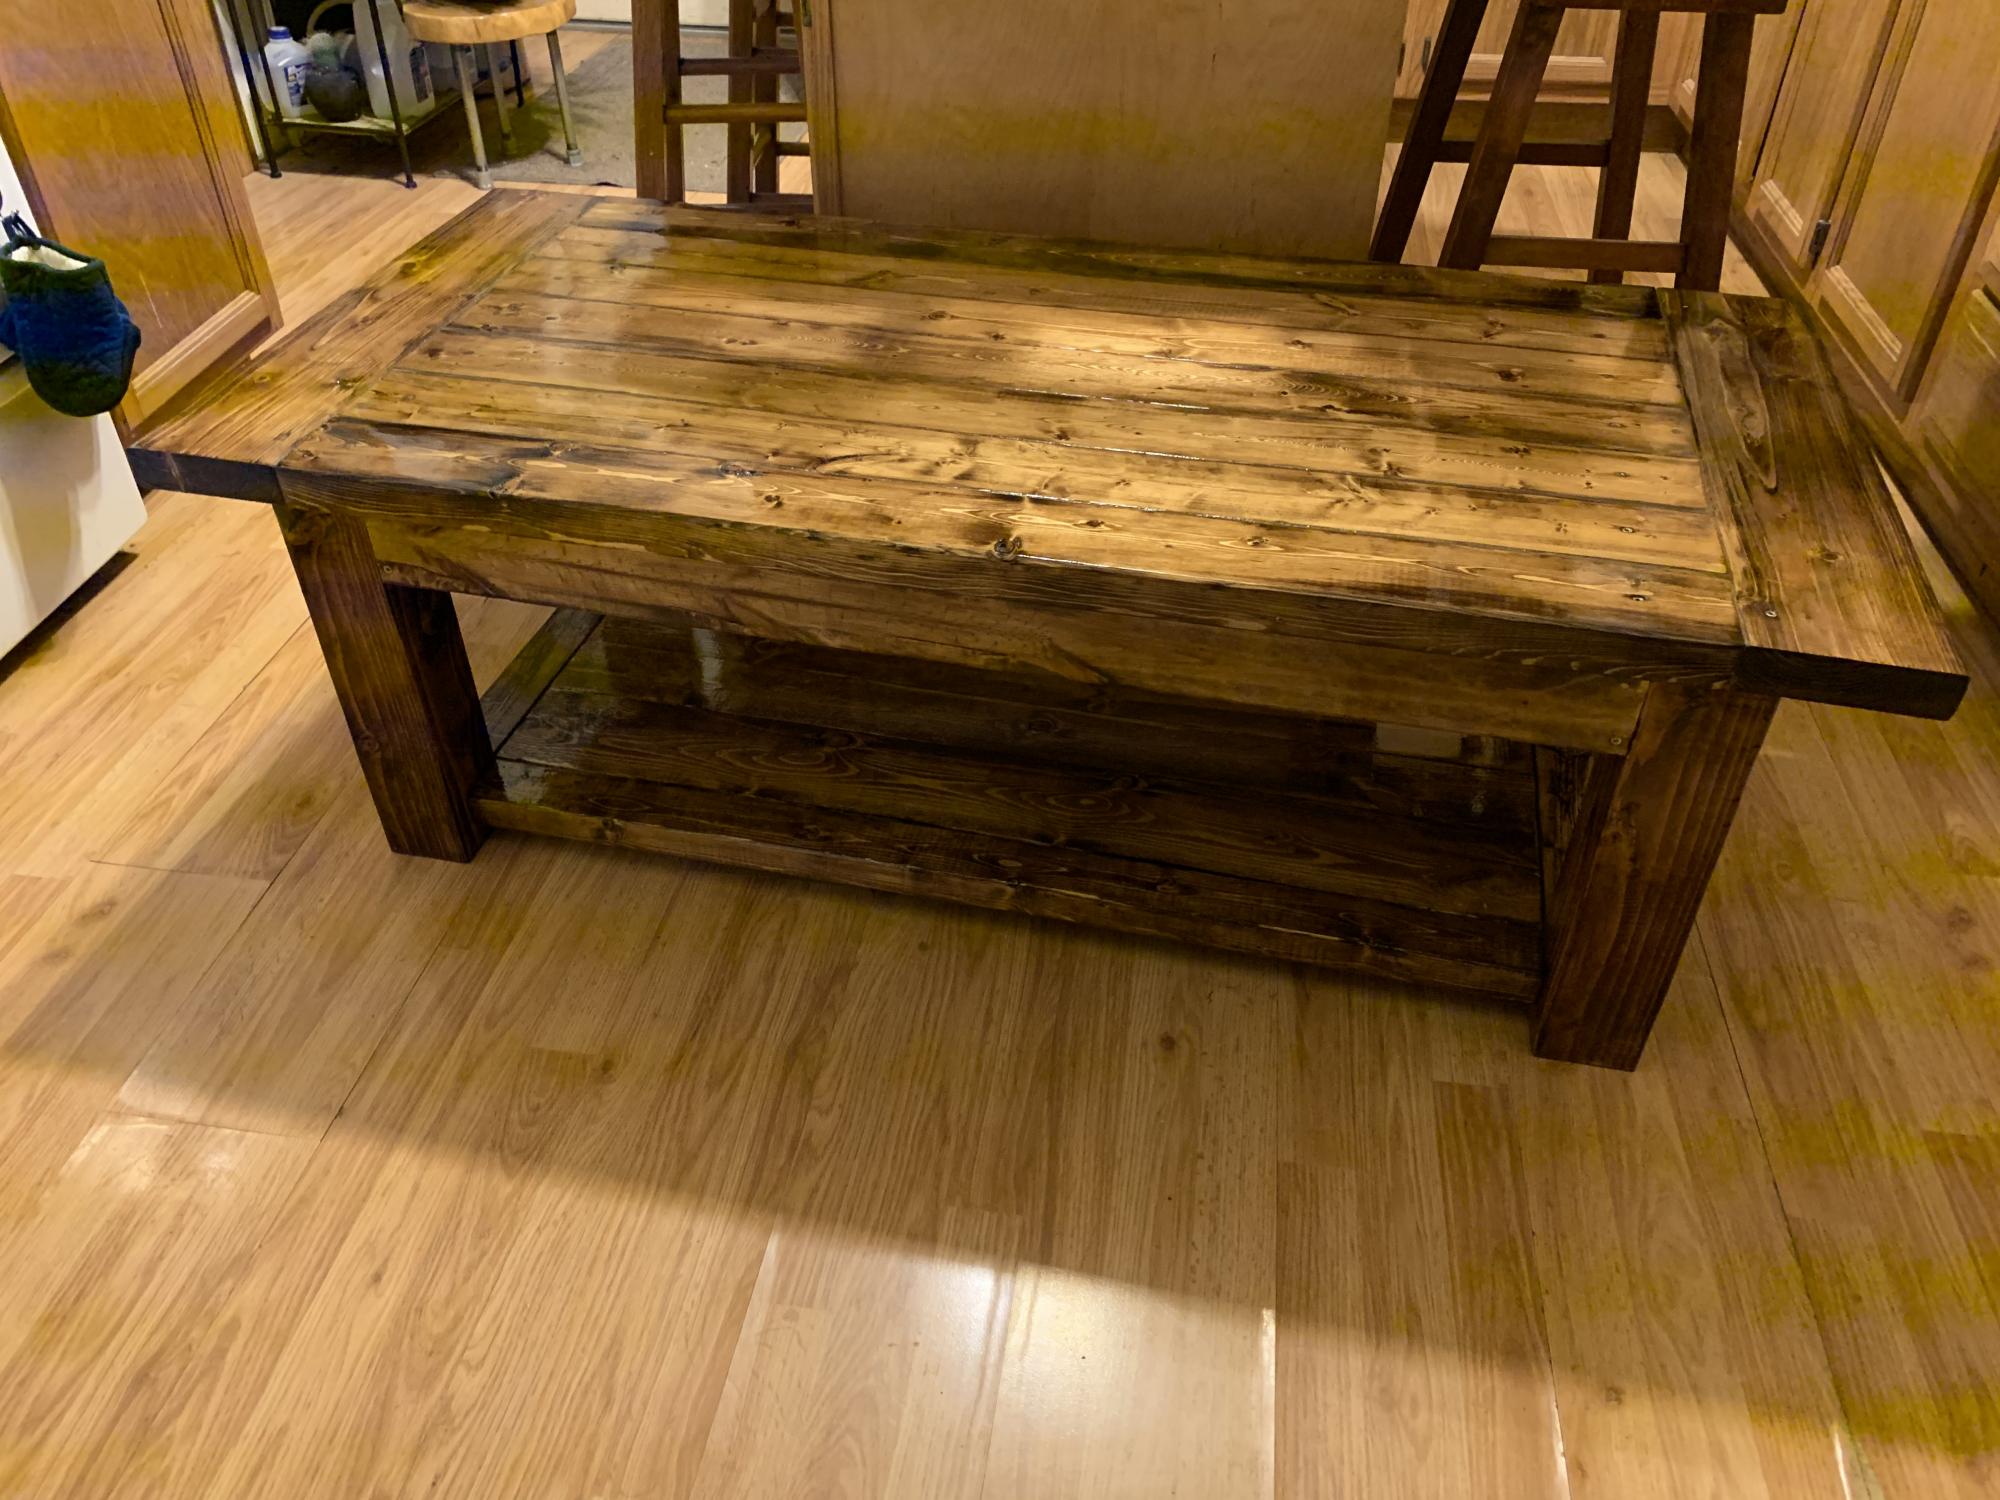
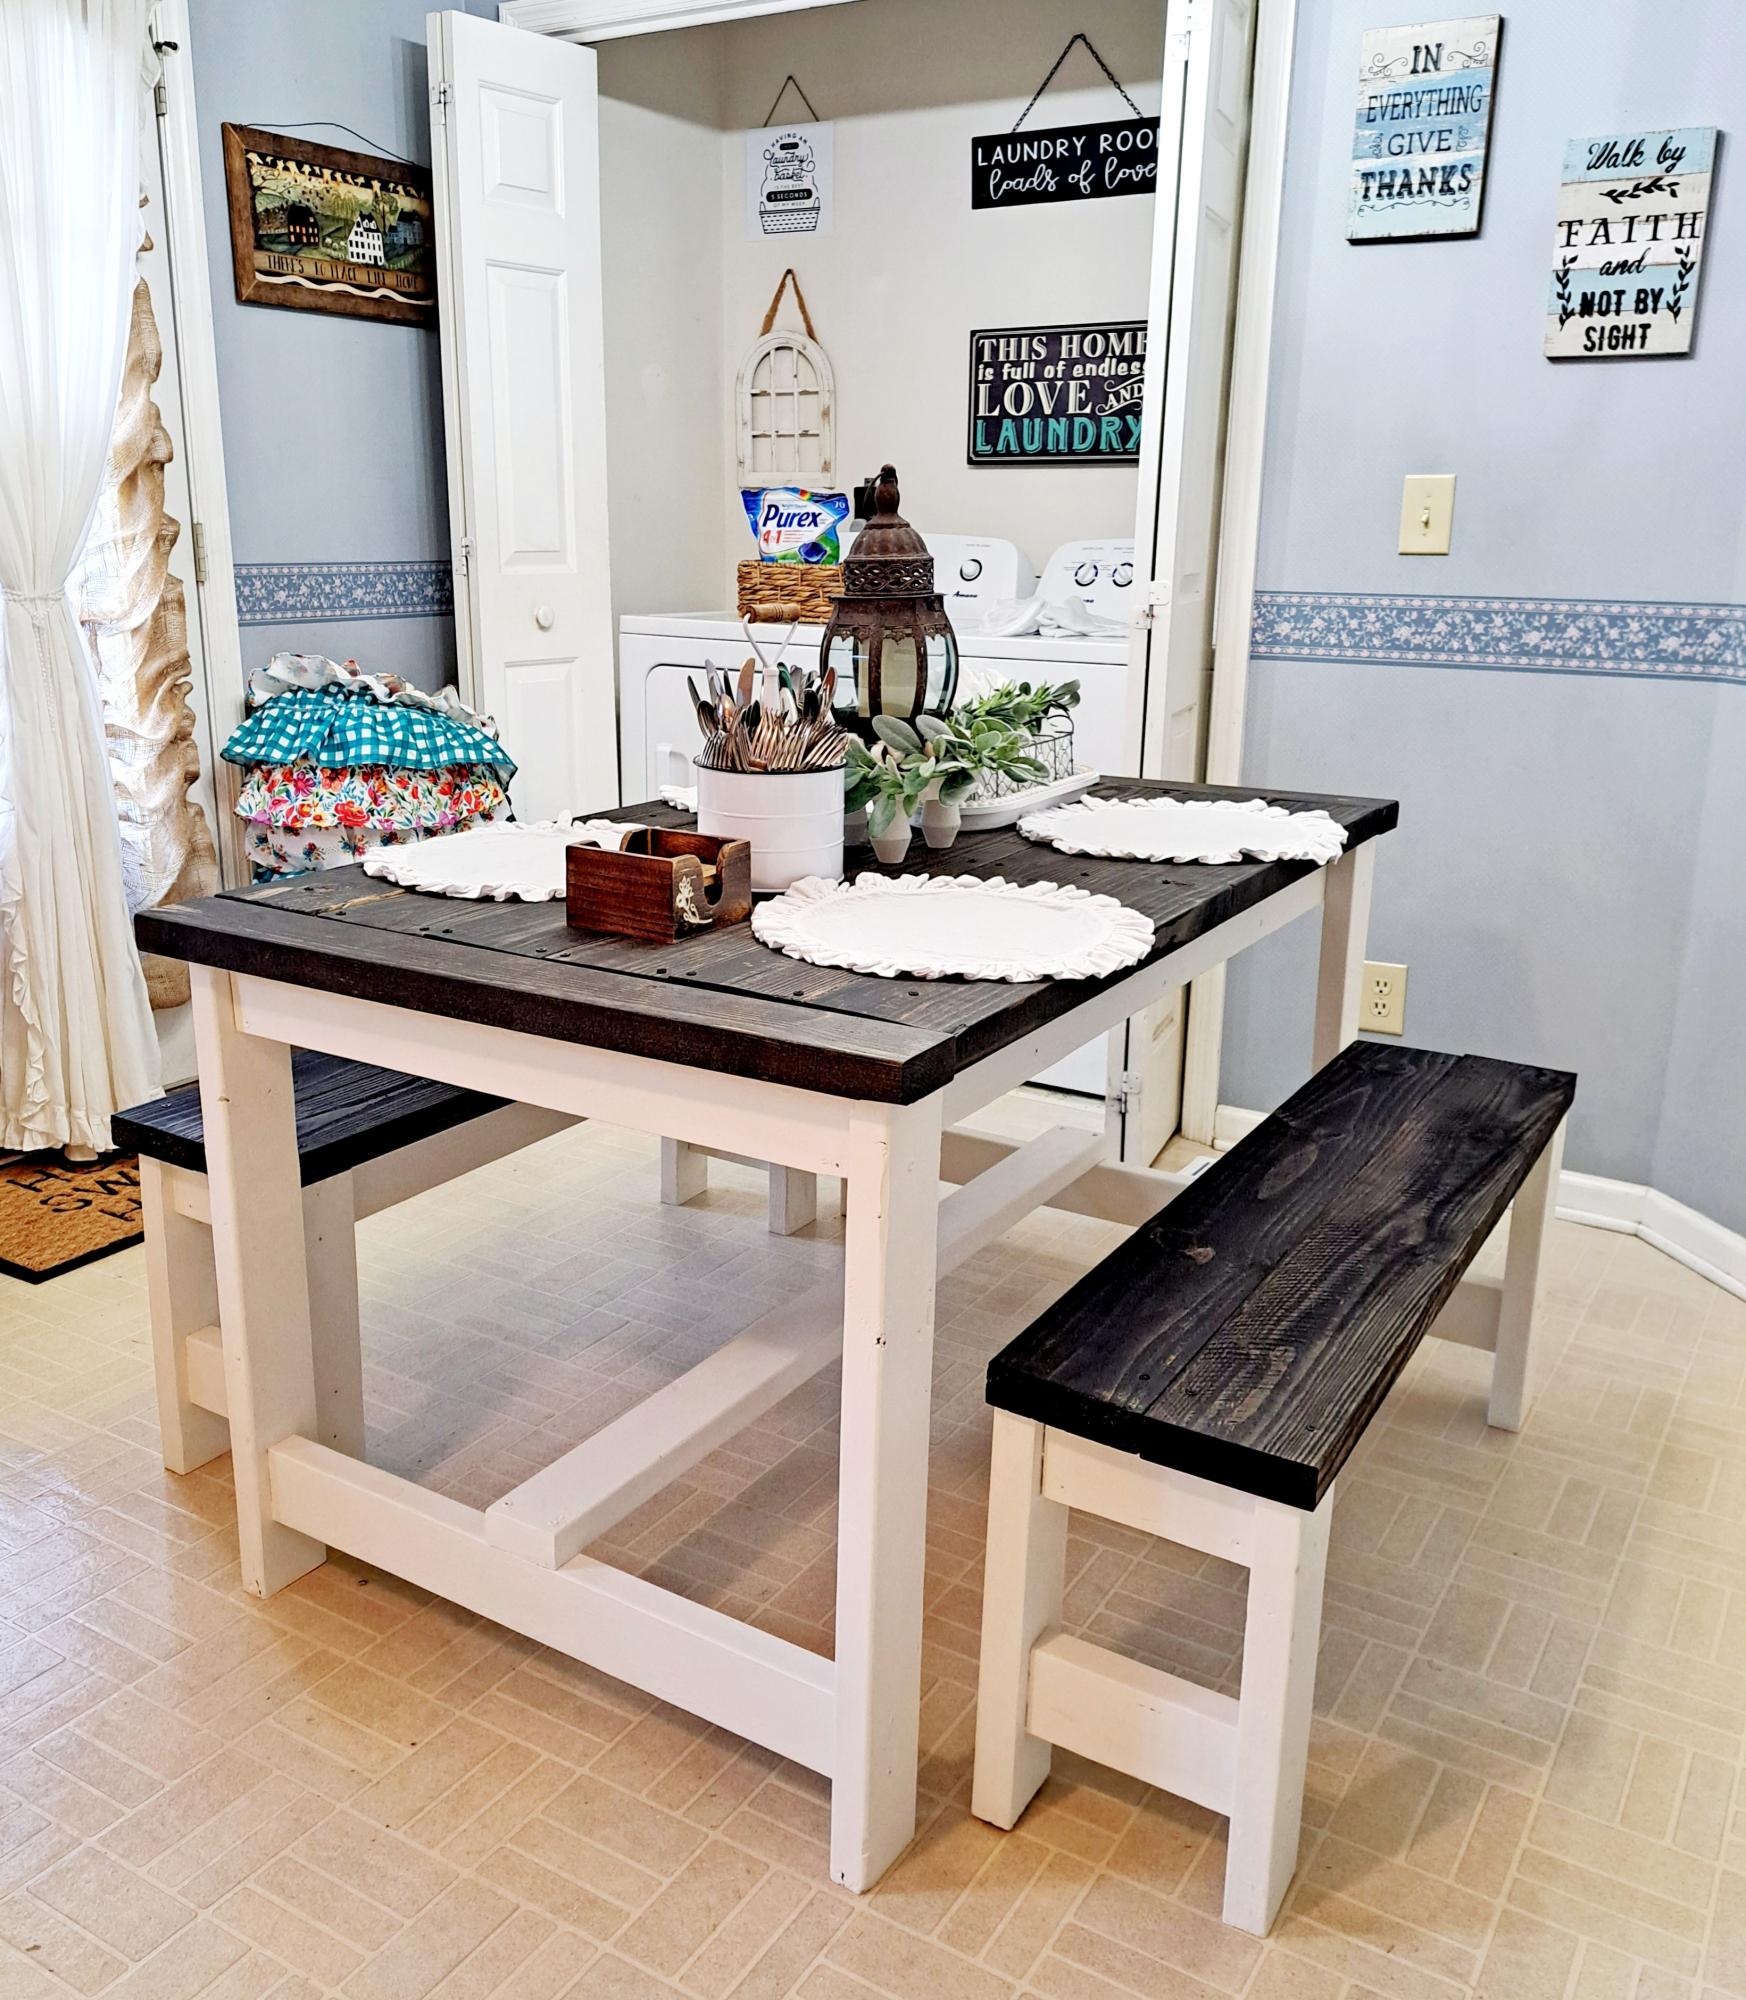
Plans from the Tryde table plans. Added bottom shelf. Next up, Tryde end tables, one is done, other trying to plan it out to include a drawer. I added carriage bolts for looks, and black metal corners. So much fun! 

Built from Plan(s)
Estimated Time Investment
Afternoon Project (3-6 Hours)
Finish Used
Minwax provincial, sealed with Minwax clear gloss polyurethane.

Comments

rnkimg

Tue, 02/04/2020 - 12:36

Thanks Ana!  You really were my inspiration to try and build furniture. With every build I’m getting more comfortable. I talk about you all the time when people ask where I learned... Ana White! 
Thanks again. 
btw. I really need rocking chair plans!

Karyl75

Tue, 04/14/2020 - 20:32

What kind of mods could you add in order to open the table top for a bin. Nothing deep, but a great place to keep a firearm, hide remotes etc.

Stuffed Animal Containment

Submitted by Anonymous (not verified) on Fri, 09/29/2023 - 09:32

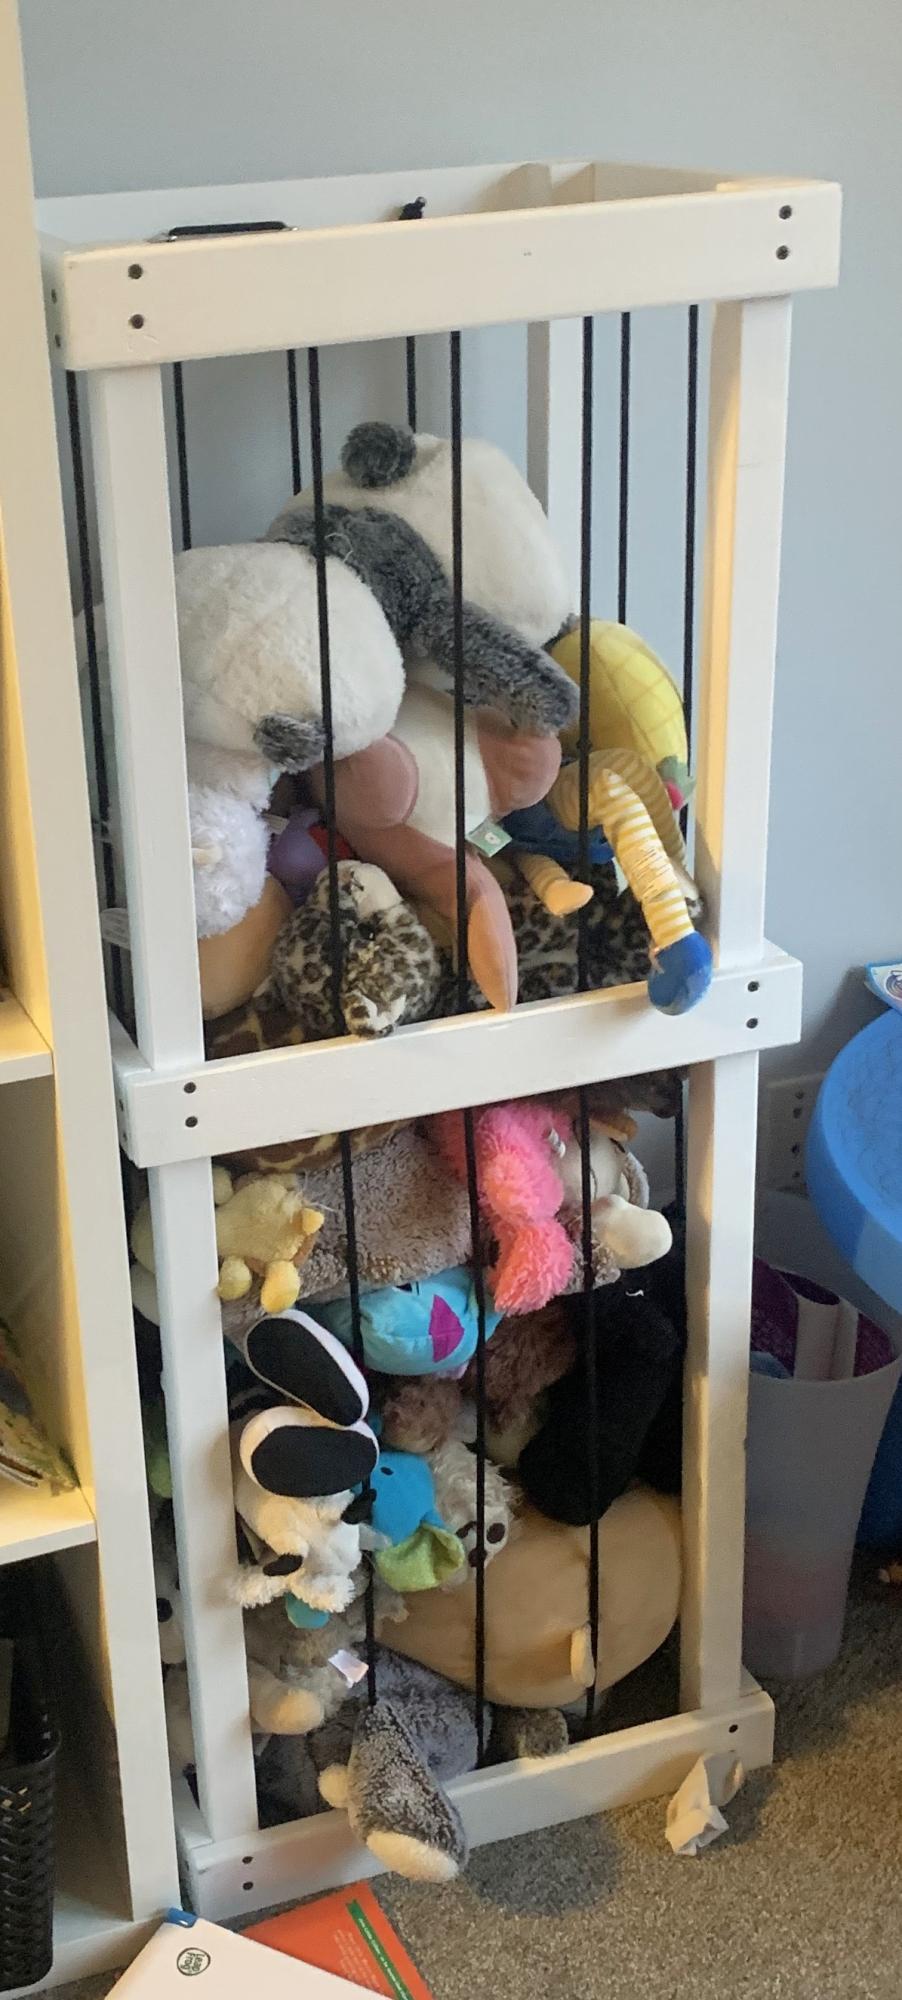
I made mine with 1/4” shock/bungee cord instead which I preferred for this project but turned out great. Easy to follow and the easiest project I’ve ever made. Go for it!

Kate

Built from Plan(s)
Back