Community Brag Posts

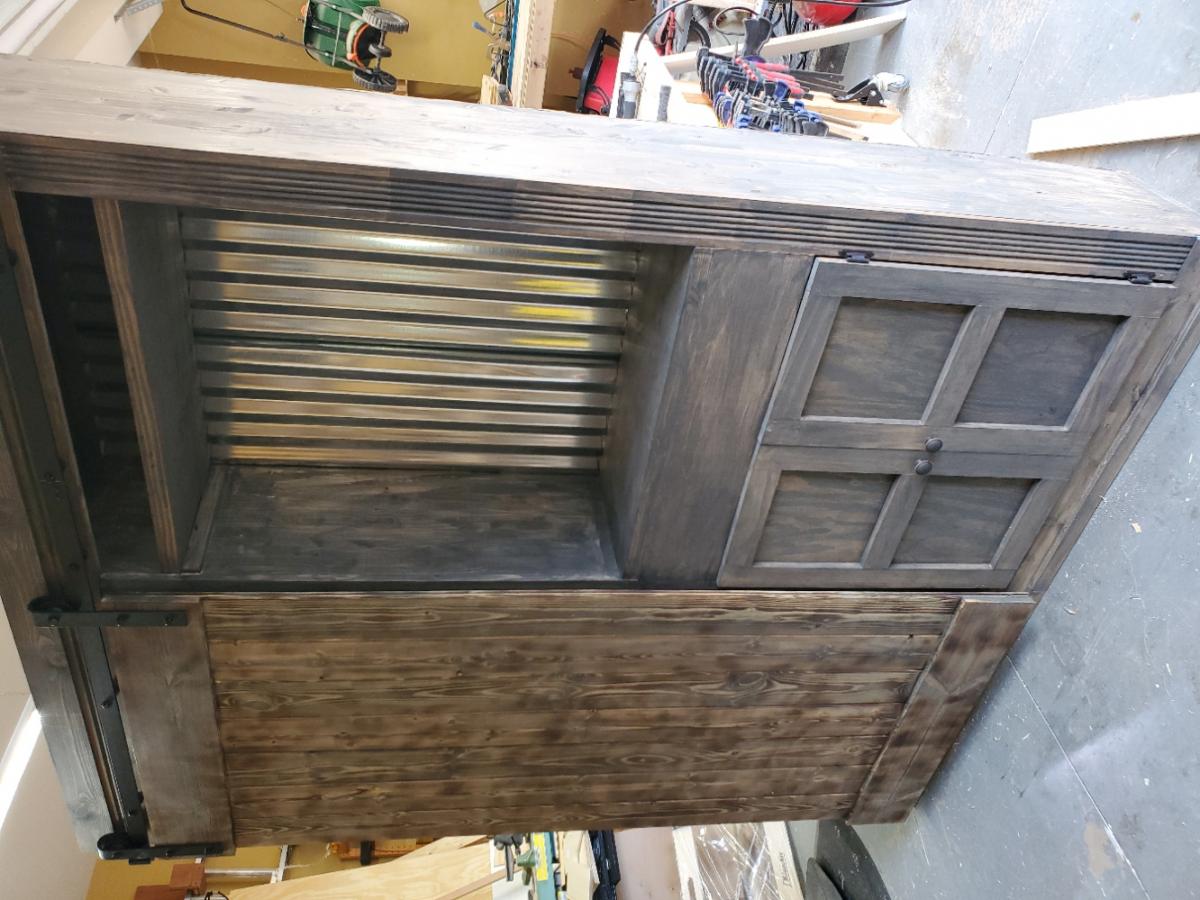
Max's Big Boy Bed - thanks to Ana White!!!

Submitted by jaimekehoe on Sat, 02/16/2013 - 16:56

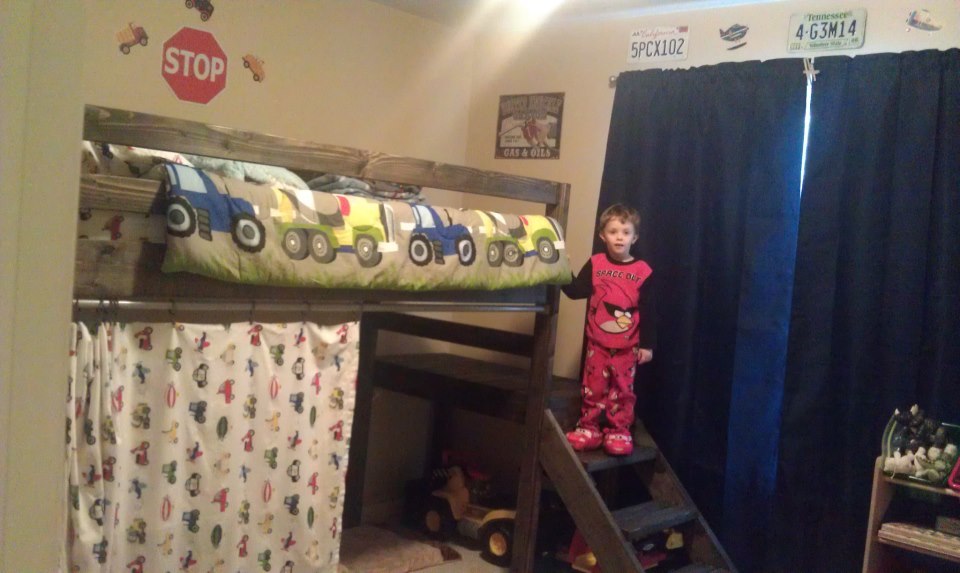
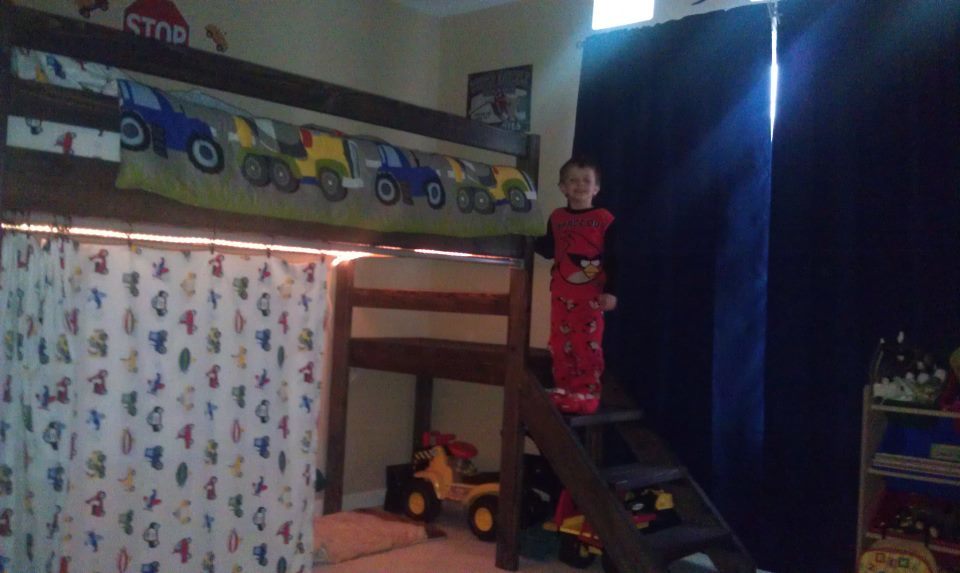
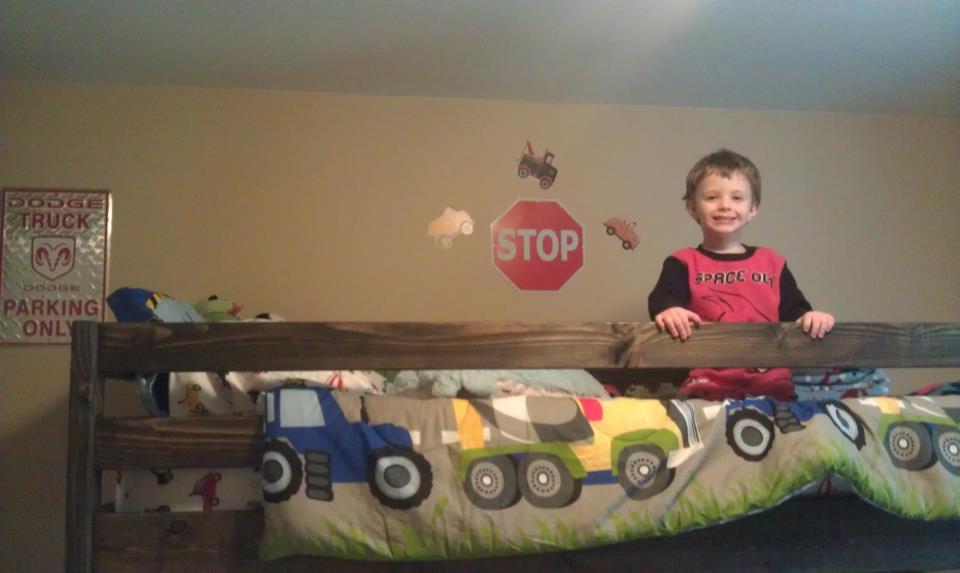
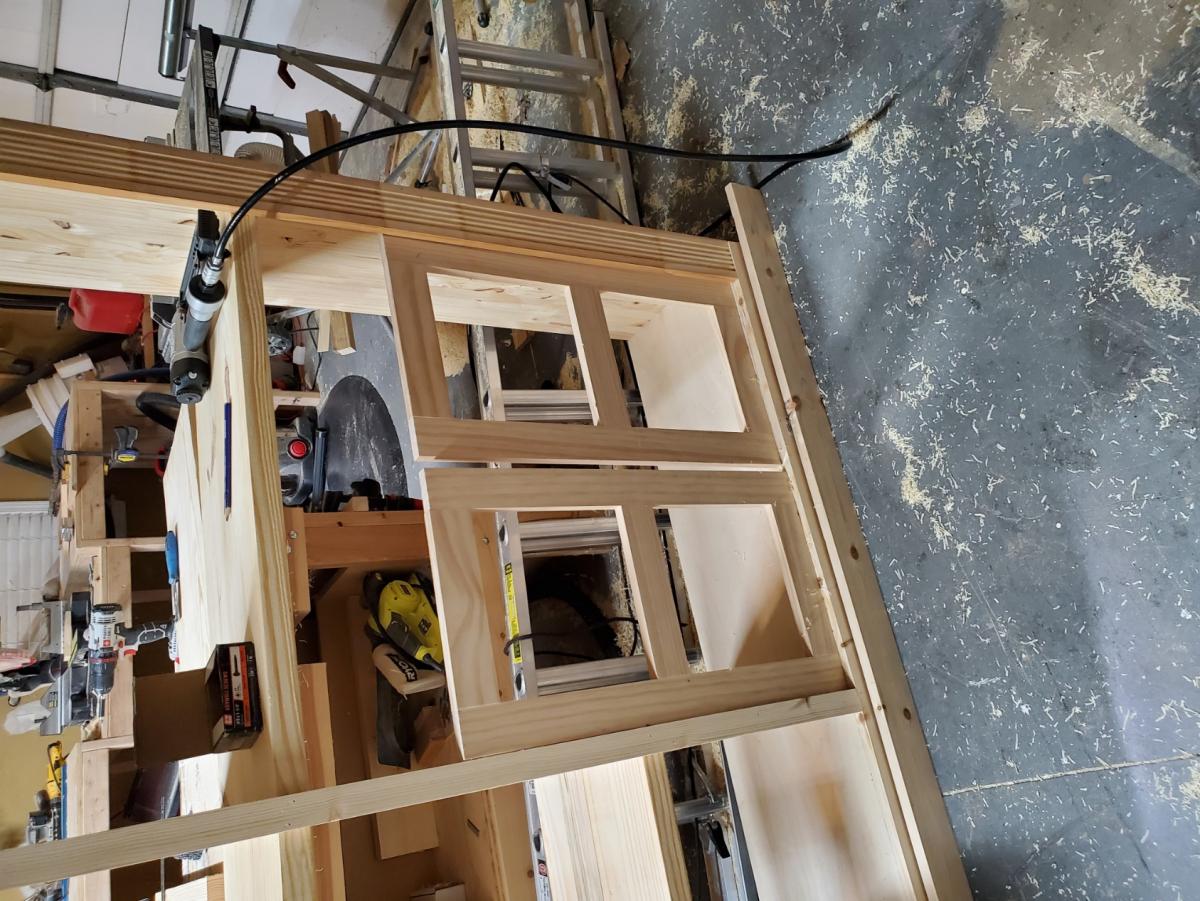
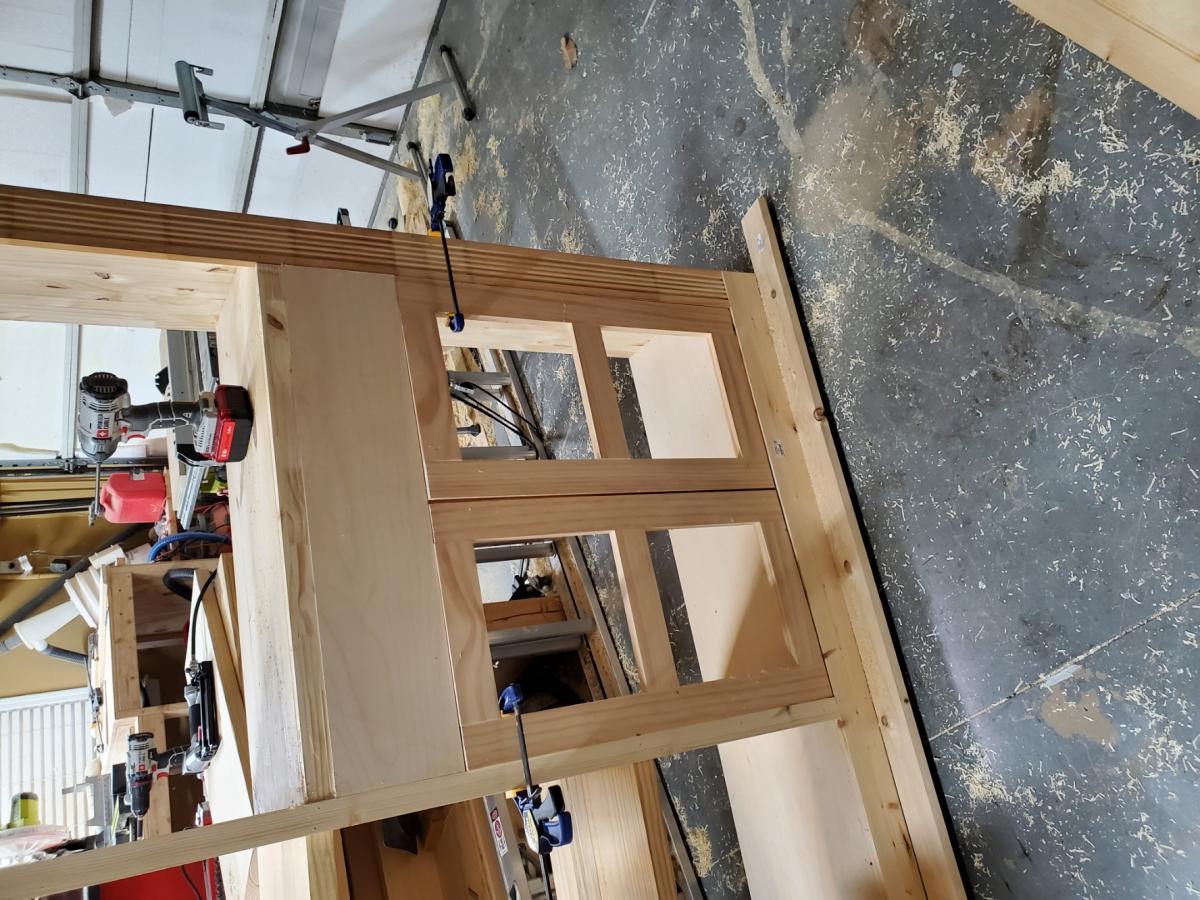
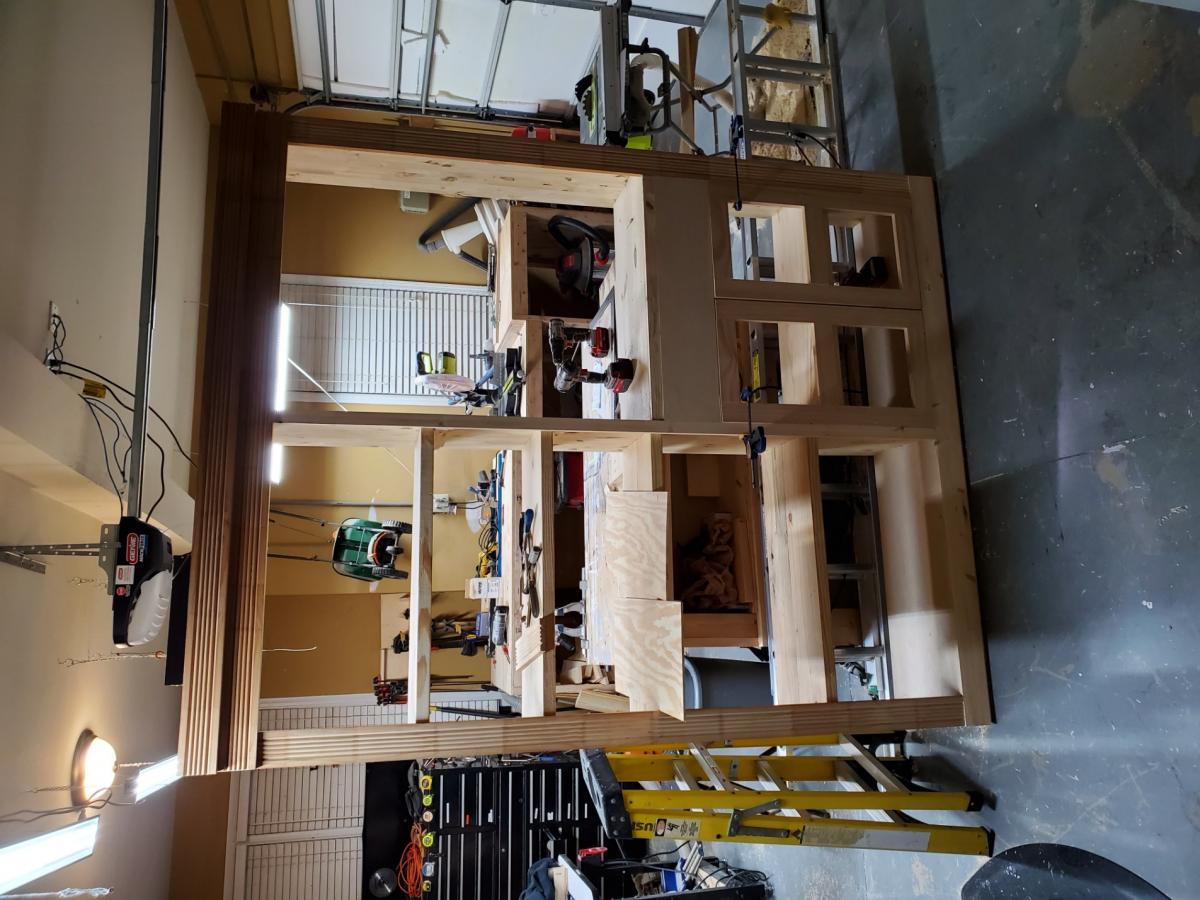
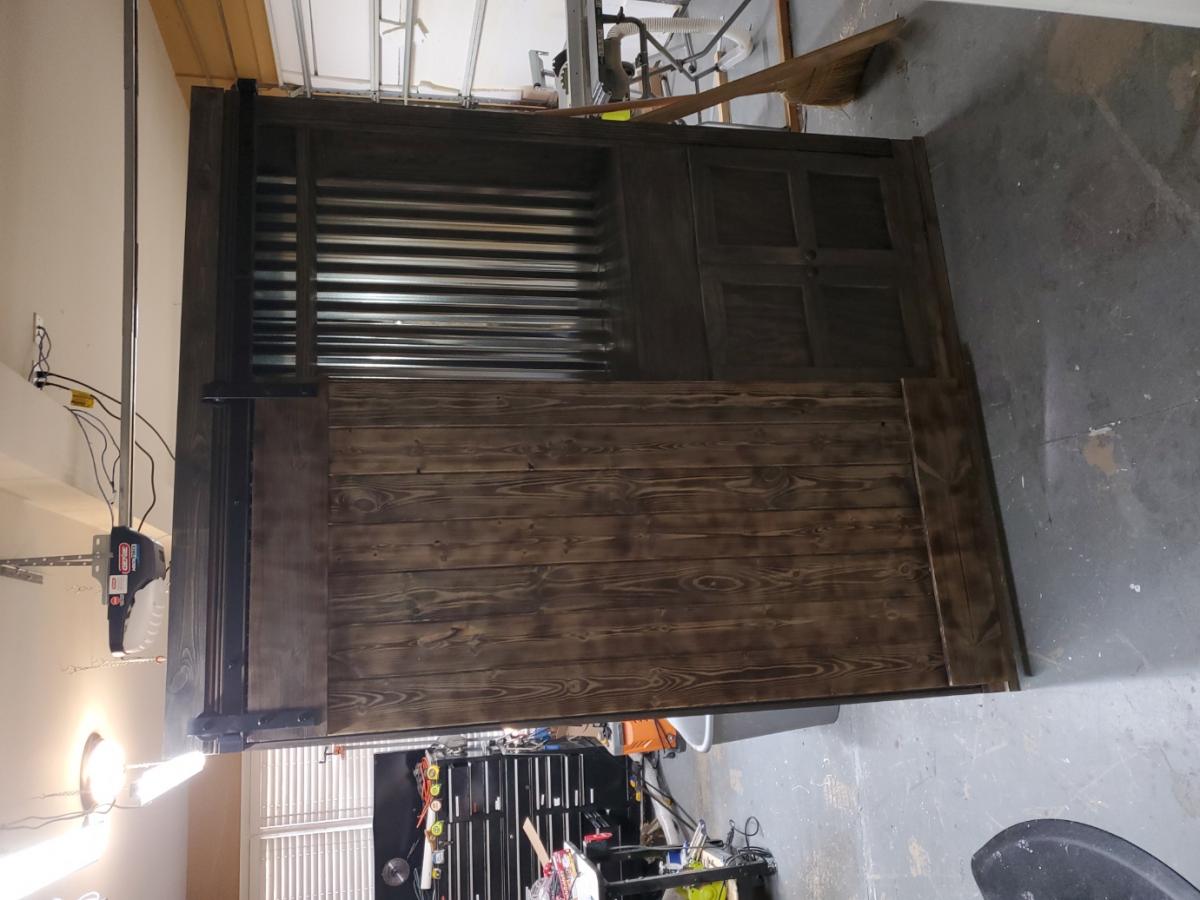
My son was finally ready for a big-boy bed and I found the plans for this bed on this website (ana-white.com). My husband and I built it w/o too many problems (this being our first attempt at building a piece of furniture). I stained it with "classic black" stain for a rustic look and my son, Max, picked the "cars, trucks, construction" theme and I ran with it. I installed some rope lighting and a closet rod (along with curtain clips and a bed sheet) for a super cool play area underneath. Along with some vintage signs, new signs, old license plates and automobile decals - my son now has a big boy room he LOVES!

Recommended Skill Level
Beginner

Comments

Folding Lap Desk Christmas Presents

Submitted by beeski44 on Mon, 12/22/2014 - 13:47

This was a fun project for my three nephews for Christmas (ages 3, 2 and 2). I thought they'd each like their own little personalized desk for coloring, blocks, snacks, etc.

This was a relatively simple build with the only tricky part being the leg holes (and getting the legs to open at the exact angle I wanted). I had to fudge a couple of them with some patches that you can see in one of the photos.

I would suggest using lock nuts on the bolts. The original nuts I used were turning as the legs opened and closed. I thought that eventually the nuts might work themselves off the bolt.

The frame was built completely out of 1x6 scrap wood I had lying around my garage that had been used for shelves. I cut the 1x6s down to 1x2 and 1x3 with my table saw. I did buy a small sheet of plywood underlayment for the top.

Built from Plan(s)
Estimated Cost
Aprox $10/ea for my three. If you buy all the wood, it would probably be closer to $15-20/ea.
Estimated Time Investment
Afternoon Project (3-6 Hours)
Finish Used
Acrylic paint for the names and border. Poly clear coat all over.
Recommended Skill Level
Beginner

Comments

Beautiful Modern Farmhouse Table

Submitted by Anonymous (not verified) on Fri, 03/24/2017 - 10:56

I added black accent brackets to this project to give it a more unique feel. Love it!

Estimated Cost
$175
Estimated Time Investment
Weekend Project (10-20 Hours)
Finish Used
Dark Walnut
Recommended Skill Level
Intermediate

My X desk with drawer

Submitted by MSteed7931 on Sat, 01/23/2021 - 08:11

Here is my version of Ana White's X desk with a drawer. This desk was made out of poplar wood.

Built from Plan(s)

Comments

Twill Frames

Made these from plans found inside Ana's book. My wife loved them and so did my "little helper".

Estimated Time Investment
An Hour or Two (0-2 Hours)
Finish Used
No Finish. Light sanding to minimize splitters.
Recommended Skill Level
Starter Project

Grandy console

Submitted by Anonymous (not verified) on Sun, 03/26/2017 - 16:07

Made a couple of mods because I didn't want shelves on the two ends and changed to "z" doors. I had a welder make the hardware. 

Built from Plan(s)
Estimated Cost
$400 ($200 for custom hardware from welder)
Estimated Time Investment
Weekend Project (10-20 Hours)
Finish Used
Grey Tabby paint by Glidden and Special Walnut stain by Minwax
Recommended Skill Level
Intermediate

60" Barn Door Console

Submitted by Anonymous (not verified) on Wed, 01/27/2021 - 09:39

This is my #1, go to, piece to make and sell! I love these plans and I'm so grateful for Ana for posting them!!

Built from Plan(s)
Estimated Cost
$300
Estimated Time Investment
Weekend Project (10-20 Hours)
Finish Used
Professionally painted with Woodwright paint in Black with 20 sheen
Recommended Skill Level
Intermediate

Comments

Modified Kitchen Island

I have been wanting to build this island for years! Seriously. But we finally got to the point that we had some extra time, and no other projects were screaming at us! We decided to make our island 24in x 36 in. So 12in shorter than the original plan. This was an easy adjustment. We also added another shelf, which we love.

The only issue we had was the slat length. Almost all of the pictures I looked at showed that the aprons, and side supports weren't exactly lined up with the front or back of the 2x2 legs. I'm guessing they were put in the middle, but I couldn't find that info in the plan. So we decided to make our aprons and sides flush with the front of the 2x2 leg. This added about an 1in to the slat length. Sadly, I didn't figure this out till after we cut the slats. After re-cutting, things went smoothly! It was my first time using a Kreg Jig, and it was great. We had to use A LOT of spray paint to cover it, but I am so happy with the final result! It's not perfect, but it's homemade, sturdy, and I hope Ana-White would be proud!

Built from Plan(s)
Estimated Cost
$75
Estimated Time Investment
Afternoon Project (3-6 Hours)
Finish Used
Rust-Oleum Heirloom White Spray Paint (2-3 coats), and Rust-Oleum Clear Coat )2-3 coats).
Recommended Skill Level
Beginner

Comments

superchou

Wed, 02/20/2013 - 13:53

I am about to do the same project... love seeing what others are doing with it :) nicely done.

Desk & Hutch

Submitted by Wildlife26 on Mon, 12/29/2014 - 08:04

I was not able to get to this desk last year and thought my 15 year old teenage daughter had forgotten about it and was getting too old. Around Thanksgiving she made a comment with a sigh that it would never happen and she understood. I immediately went to work in the garage to have this ready on Christmas morning. She had no idea and was very surprised to find it near the Christmas tree!

Desk included a power strip with USB ports, an under the hutch light, magnet board & dry erase board w/ magnet markers to stick on the magnet board.

Thank you so much for putting these plans on-line.

Estimated Time Investment
Weekend Project (10-20 Hours)
Recommended Skill Level
Intermediate

Comments

Nitzan

Submitted by Anonymous (not verified) on Mon, 03/27/2017 - 14:04

I love this plan, it was easy to follow. 

I live in Israel, so had to translate to centimeters. 

I made the X from 2 full pieces, cutting a half width dado. Found it easier to assemble. 

Few minutes after placing it in the house front, a friend suggested buying it....

Thanks


Estimated Cost
300 NIS, it's about 83$
Estimated Time Investment
Week Long Project (20 Hours or More)
Finish Used
Chalked rustoleum,
With Yacht Varnish Matt top.
It made the bench a bit too yellow, but the result is still nice
Recommended Skill Level
Advanced

Truss Beam Dining Room Table

Submitted by td_tx on Wed, 02/03/2021 - 08:57

We built this table for our dining room. The project followed the plans for cuts and dimensions except for the top. Instead of using 2x10, we used 2x12 and ripped an inch off each side to have flatter top with out needing to plane.

We used pine for the top and douglas fir for the 4x4 base. Before staining we used a pre-stain conditioner. The table was stained using Minwax Early American and then finished with a clear satin polyurethane.

Built from Plan(s)
Estimated Cost
200
Estimated Time Investment
Weekend Project (10-20 Hours)
Finish Used
Minwax Early America and clear satin polyurethane
Recommended Skill Level
Beginner

Comments

Farmhouse bedside table

Submitted by JimmyE3 on Sat, 02/23/2013 - 09:19

Another project for the wife, though there will be a matching one for my side of the bed in the near future! This was the first plan I constructed from this site.

Built from Plan(s)
Estimated Cost
$60
Estimated Time Investment
Day Project (6-9 Hours)
Finish Used
Hand wiped Minwax Early American 230 - which is why it is not quite as dark as my other projects.
Recommended Skill Level
Starter Project

RH Inspired Shanty Sideboard & Hutch

Submitted by jhavinga on Wed, 12/31/2014 - 14:34

Have been wanting to build this for 6 months now and just havnt had the time. Finally completed it!
I made some small changes to the design, different trim layouts, different dimensions, and went with a plank look for the back of the hutch instead of a solid peice of 1/4" plywood.

Built from Plan(s)
Estimated Cost
$500.00. This price includes wood, stain, and hardware.
Estimated Time Investment
Weekend Project (10-20 Hours)
Finish Used
1 coat of Minwax Weathered Oak, then 1 coat of Minwax Special Walnut.
Recommended Skill Level
Beginner

Comments

In reply to by ehays216

jhavinga

Thu, 01/01/2015 - 22:48

Thank you ehays216! Ive looked at your Farmhouse Storage Bed a few times.. Have always wanted to try the Steel wool/Vinegar trick.

Cheers,
Justin

timberandsoul

Sat, 01/03/2015 - 07:40

Great job! The love how the color turned out. May I ask where you purchased your backdrop from? And what size it is?

Thanks!

In reply to by timberandsoul

jhavinga

Sun, 01/04/2015 - 16:09

Thanks a lot timberandsoul!
Photo was taken on an empty wall in my living room, Which is currently a light gray wall. thought it looked boring so I did a quick switch of backdrops in PS. I just typed in brick wall in google.

Cheers,
Justin

Singhs

Sun, 01/04/2015 - 16:27

What type of wood did you use, home depot/lowes regular pine or some specialty wood ?

jhavinga

Sat, 01/24/2015 - 13:08

Sure! the plans call for 2 solid sheets of 1/4 plywood for the backing.. I simply just ran the plywood through a table saw at 5.5" wide and brad nailed it the back. =)
The stain is weathered oak and let sit for 15min. Then right away special walnut and let sit for 15 min.
repeat until desired colour. let me know if you have any more questions!

Cheers,
Justin

Sschoono

Sun, 01/08/2017 - 07:33

How many coats did you have to do to achieve this look?  The weathered oak looks so light...and gray.


Thanks!

Painterlyrhett

Sun, 05/17/2015 - 19:40

What was your strategy on attaching the sideboard to the Hutch. I haven't seen where there is any instructions or conversation around this. What and how did you accomplish this and/or is there anywhere to go that discussed this that helped you.

Thanks,

My girlfriend loves it!

Submitted by Anonymous (not verified) on Wed, 03/29/2017 - 12:38

Very easy to build!! Looks great!

Estimated Time Investment
Weekend Project (10-20 Hours)
Recommended Skill Level
Beginner

Free standing pantry with coffe bar

Submitted by Keldani5 on Wed, 02/10/2021 - 06:14

I loved doing this project, I did a burn treatment on the door and I made the shelves adjustable. It took me a weekend to build and 2 days to stain and do a matte poly finish.

Estimated Cost
300.00
Estimated Time Investment
Week Long Project (20 Hours or More)
Finish Used
smoke grey stain with a matte poly finish
Recommended Skill Level
Intermediate

Brina Bedside table

Submitted by jlouki01 on Mon, 02/25/2013 - 07:59

Heavy modification to the original plan to accommodate extra drawers and trim. Finished with Min-Wax custom mixed color or Gunstock and English Chestnut.

Estimated Time Investment
Week Long Project (20 Hours or More)
Finish Used
Min Wax Oil Stain
Recommended Skill Level
Intermediate

Comments

Entry Table

Well after completing the console table I decided to change the sizes a little and create an entry table and stain it to match my great great grandmothers mirror that we have. That mirror has to weigh 50lbs. It turned out great and I did sanding and staining before putting it together which saved a lot of time trying to get into all of the corners. Then just had to ploy and stain the edges of the top once finished.  

This is approximately half the width of the console table so calculations were fairly easy to figure out. 

Built from Plan(s)
Estimated Cost
$50
Finish Used
Used dark Walnut with a satin polyurethane
Recommended Skill Level
Beginner

Comments

Heavy duty log peeling stations

Submitted by Anonymous (not verified) on Sat, 04/01/2017 - 18:03

I modified Anna's plans to make these heavy duty saw horses.

Estimated Cost
$120
Estimated Time Investment
Day Project (6-9 Hours)
Finish Used
2 of these sawhorses can support 2 1500lb logs, I can peel the bark off then rotate the logs. I added vertical removable supports to support the logs when they are on the sawhorses. Thanks for the ideas.
Recommended Skill Level
Beginner

Farmhouse coffee table under 40 - ( 65 dollars Canadian)

Submitted by Anonymous (not verified) on Wed, 02/17/2021 - 15:50

This was my first project and had tons of fun building it. Can’t wait to build to end tables to match.
The plans are so easy to understand. The only change I made was instead of exposed screws I used the pocket hole method

Estimated Cost
65 dollars ( Canadian)
Estimated Time Investment
Weekend Project (10-20 Hours)
Finish Used
Minwax pre- stain wood conditioner, minwax classic grey ( 2 coats) minwax clear satin poly urethane.
Recommended Skill Level
Beginner

Comments

mh6558

Fri, 01/12/2024 - 08:33

This is beautiful and just the look I'm going for with the color scheme. I am wondering if it would be easier to paint the wood before constructing it? Also, what is the pocket hole technique? I think I would like the screws hidden too.

Small Scrap Wood End Tables

We had shortened our kitchen windows in our above garbage apartment remodel and had 1x2 framing wood left. I did not want to put this wood to waste, so I made two identical end tables in a similar style as the Ikea Besta Burs desk plan, but without drawers. These were the first two pieces of standing furniture that I built for our apartment and was technically free for me to build. The end tables are truly small, being only 8" wide, 2' long, and about 18" high, which is a great size to place beside our low modular sofas. The top is made of 1/2"x8"x4' plywood leftover from a floating shelving project (worth about $2.50). I cut the plank in half and glued the halves to make it thicker. These end tables are strong enough to function also as little benches for me and my daughter. :)

Estimated Cost
$5.00 each, but free using scrap wood
Estimated Time Investment
An Hour or Two (0-2 Hours)
Finish Used
Olympic Semi-Gloss white (straight off shelf) and water-thinned Royal Indigo Olympic Semi-Gloss to act as a "purple wash" or "purple stain" on the plywood.
Recommended Skill Level
Starter Project

Comments

yurra-bazain

Fri, 03/01/2013 - 00:24

Thank you! I actually hadn't seen the Ikea Besta Burs plan until after I built them. It just worked out that the scraps were about the size I needed to build them in that design. I don't think I can take credit for creativity when it was more like serendipity. :)