Bedside End Table
I actually used the “Bedside End Table” brag plans. This is my first project using plans from this site, I’m pretty happy with it:)
I am in love with this project. My husband built this for my birthday this afternoon. It was an easy project for his first time. We haven't finished it yet. I would like for him to put a 2x6 on the top to give it some visual weight. The only problem i am having is I don't know how to finish it. What would you suggest? We like the beachy distressed look so I am thinking whitewash. Anyway, I love it! I told my husband that he was in trouble now because now I am going to give hime tons of projects to build for me.
Sun, 10/30/2011 - 08:48
Looks great! I love the beachy look too. You could also do a yellowish stain (golden pine? it might be called) and then distress it and rub over with a darker stain for a different beach look.
You may remember my green stratton day beds that I built a long time ago- finally I have another project to post- I am soo happy I found Ana White's website. We just got back from a 2.5 week vacation in Israel and my dogs were staying with my sister. She told me they had been sleeping in the same kennel together instead of separately. Their kennels are too small so I decided to build them one using wood I already had. But since they are small dogs, I decided to size it down- but I wanted it end table height- so I built a smaller kennel- 20"H x 19"W x 28"D. but... I added a drawer to the top to bring it to the right height. You can read all about it on my blog- link below.
Not bad for my first project!! I decided to upholster the chairs so i used a solid piece of wood for the foundation of my seat and also decided I was going to use chalkboard paint I had left over
Sun, 04/21/2019 - 03:34
Turned out pretty good if I do say so myself
I love this even though I did not take the time to cut the dowels properly. I needed something for my sewing thread. Just a plain board and some dowels thin enough for the spools. Drill some holes in the board and glue in the dowels. I also made the picture holder for scrapbooking. I got the idea from the Ruler Clip Art Rails on this site. Thanks!
First time building furniture. This turned out much better than I thought. After this I probably could've build the farmhouse table myself instead of paying way too much for my wood dining table. Only if I have found Ana's site sooner. :)
Having a Kreg jig also made the whole process much easier.
We wanted to build a farm table with benches to accommodate a few more people in the same space. This plan was easy to use. We modified a couple of the supports to metal piping to change the look up. We also painted the table and used a stencil to create a old world feel to it. It was a very fun project!
Great project . Easy plan to read .
We built this dog kennel as a donation to a fundraiser for our favorite dog rescue. It was auctioned off at the silent auction and all the money went to the dogs! :)
We used cheap furring strips for the majority of the project. We also had some leftover beadboard so we used that for the sides & back panel. We painted the base antique white and made a nice top out of some scrap lumber & old hardwood plywood. It took about an afternoon to assemble but another few days to sand and paint. We finished it while all 4 sides were separate to make it easier and it was still a pain to paint. This would be a great project to have a paint sprayer because it is sooo hard to avoid drips with this design.
The whole piece cost us almost nothing to make and we love how it turned out. We need to make ourselves one for our dogs!
The best part of this project was seeing it go home to someone who loves it and all the profits go to the Basset Hound Rescue!
Thanks Ana for the plans we couldn't have done it without you!
Fri, 12/06/2013 - 03:51
I'm working on this project right now and this is my first time building anything. How did you attach the 4 walls together and how do you screw the top portion on? Please help me, I would so grateful!!! [email protected]
I found an old coffee table with stained legs for $10 on one of those app "for sale" sites. Sanded them down and with two pieces of 1 by 4 for the apron and 2 pieces of 1 by 6 for the top made this table. Apron is No2 whitewood and Top is select pine. Top was stained in a dark color (Varathane Kona) and then painted gray and sanded back to show some of grain and stain through. Total cost of new table about $60 (most expensive part was the select pine for the top at around $35)
Granddaughter wanted a Pink kitchen for Christmas, so what does Meemaw do ?? She goes to your website and does her research. I completed this kitchen in probably less than 2 weeks.
She abstained loved it, and no one in the family could believe Meemaw built this…
Many thanks..
Fri, 03/10/2023 - 13:27
This is adorable, you are an amazing Meemaw, thank you for sharing!
Kids toy box with personalization.
Starting to get colder here in SC. I know the northerners will scoff at me but I'm a wuss when it comes to the cold... and I want my warm garage spot back. That means cleaning up my scrap wood and finishing the big projects that won't fit in my little project/craft room. So the past few weekends I have done a few scrap projects that had been on my mind for a while.
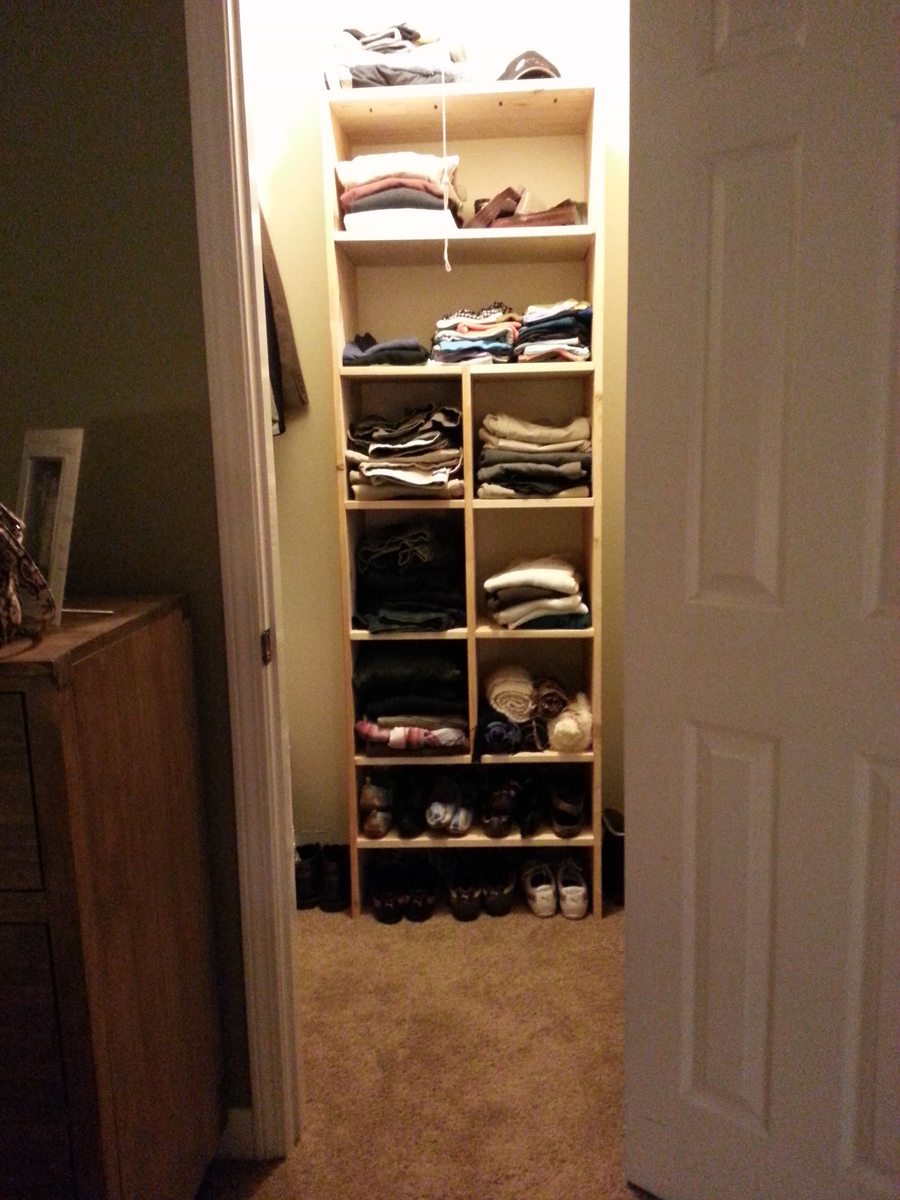
First was shelves for our oddly shaped walk-in-closet. Most of the wood was salvaged from my old dresser/armoir with a splash of scrap whitewood boards to finish it up. I love being able to see everything right when I walk in now.
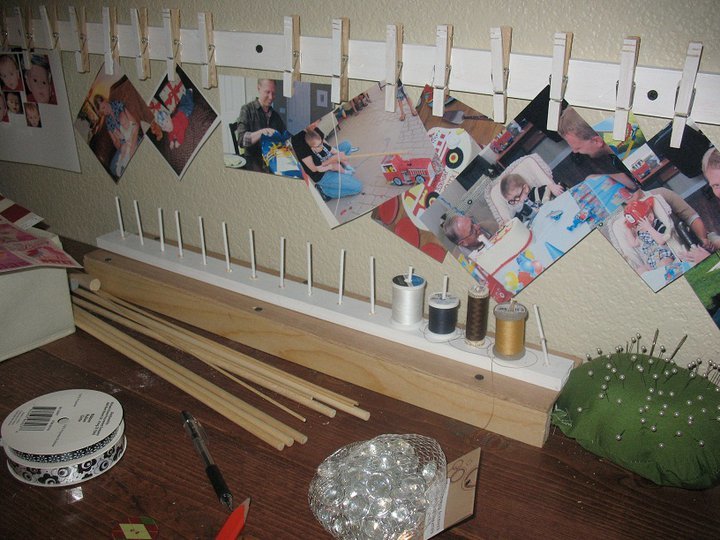
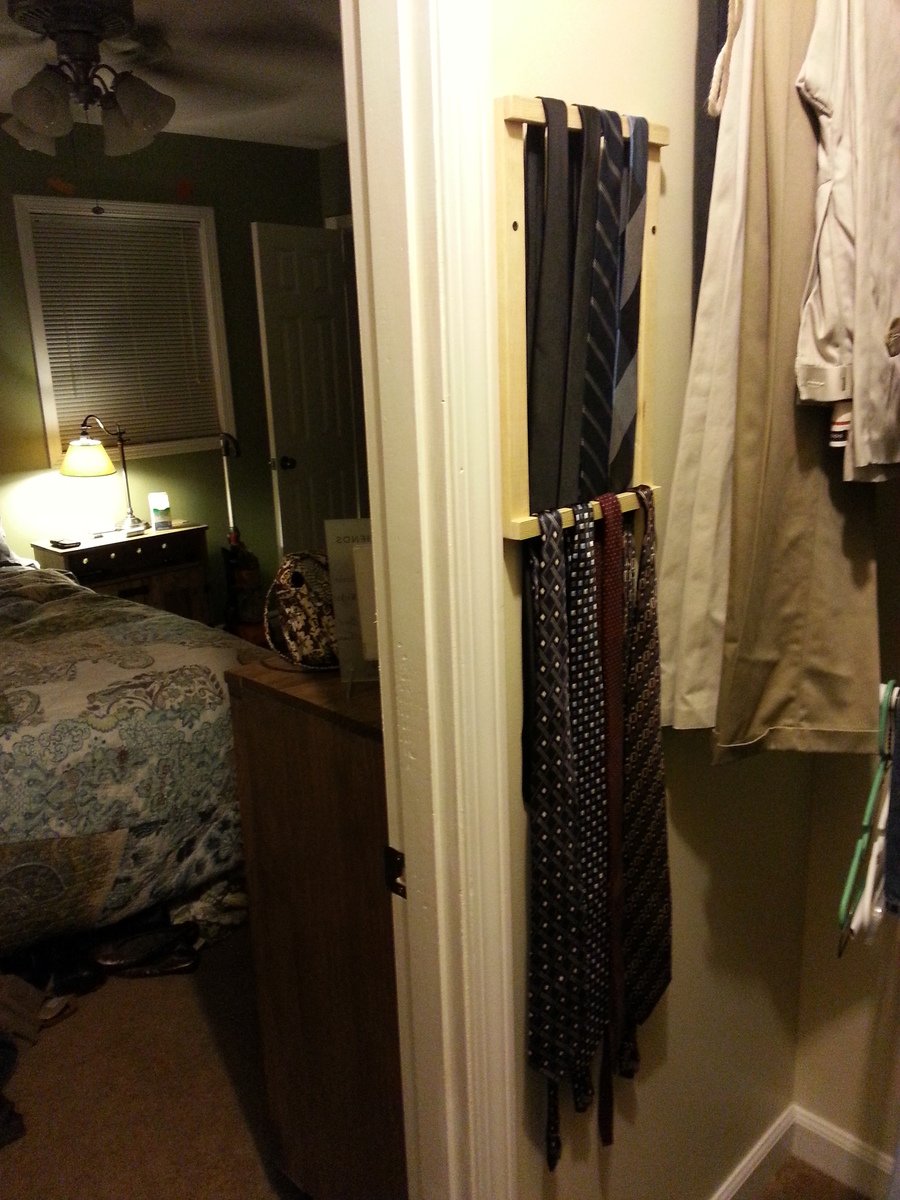
Second is a simple tie rack for Mr. Lodise so he doesn't have to put them on a coat hanger any more. One more step to getting everything in the closet more visible.
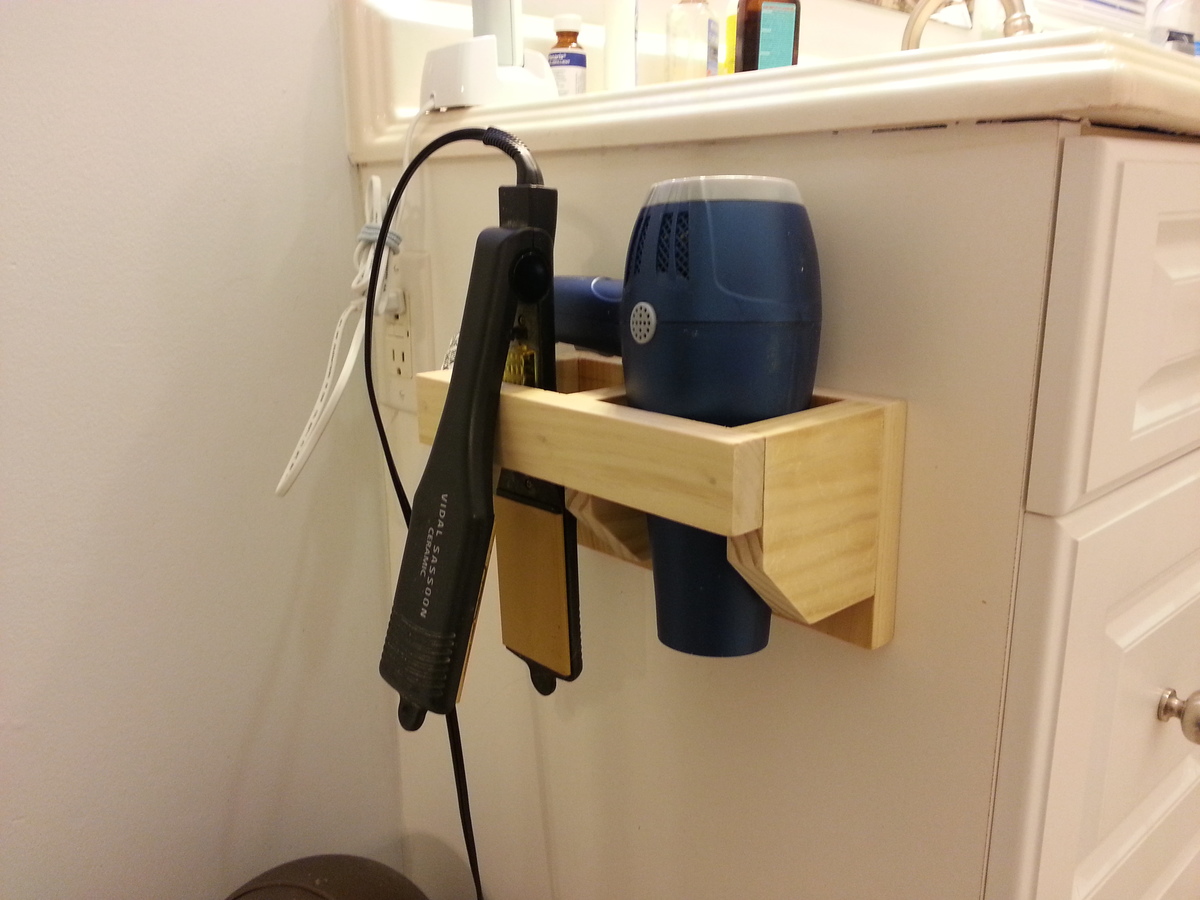
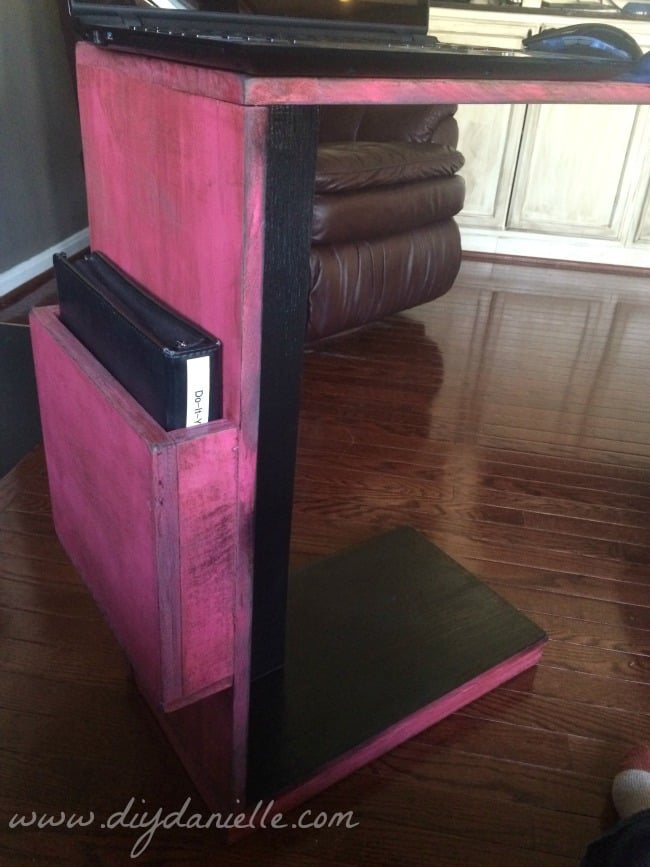
Third is a holder for my hair dryer and straightening iron so they don't have to take up counter space anymore.
Best of all my car now fits in the garage again :)
Instructions for the Ridge Media Console Table were easy enough to understand after one read-through.
I changed up the front-drawer face to go along with other decor in room fun, satisfying project.
NOTE -- Measure your electronics. The drawer is supposed to hide all wires and electronics for a clean look, however, the plans give a 13" drawer space. The dvd/tuner I own is approx 14.5", therefore I have to store it on the bottom shelf. I guess it's time to upgrade to blu-ray.
I saw these plans several months ago and finally got the time I wanted to make it. I chose oak because it’s the best and prettiest stained. I love the way it turned out!
Fri, 03/17/2023 - 19:49
Absolutely beautiful, love the finish! Thank you for sharing.
Tryde Coffee Table
Used: Pine wood, 2 coats Kona stain, 3 coats gloss poly, 2.5" silver screws.
Lessons Learned: Forgot to use wood glue on joints, use 10" circular saw or table saw for 4x4 posts (I used a 7.25" circular and had to cut all sides and then sand down uneven parts)
This is a heavy duty coffee table, and can easily support up to two people stacked on top of it... which was my main concern. :)
Thu, 02/09/2012 - 11:36
I was thinking about using the kona stain, how many layers did you use?
Followed the plans closely. Used a roman ogee bit to add a decorative edge to the top. Used strap style hinges instead as well.
Thu, 10/31/2013 - 18:46
I bought some Minwax Ebony stain a long time ago and have never used it, but I will now! It makes a beautiful finish!
Val
artsybuildinglady.blogspot.ca
This project took me about 3 weeks of my spare time. Maybe an hour or two a day. I was lucky that I bought the table legs and bench legs together to match. I’m really pleased with the results. Thank you Ana White!
This is the Shanty Chick Side Board and Hutch that some of my high school students chose to build. It is going to the Texas state contest in Corpus Christi next week.
Fri, 03/24/2023 - 10:06
This is amazing, love the finish! We just shared it to our Facebook page, it is quite popular :)Thank you for sharing and good luck!