Community Brag Posts

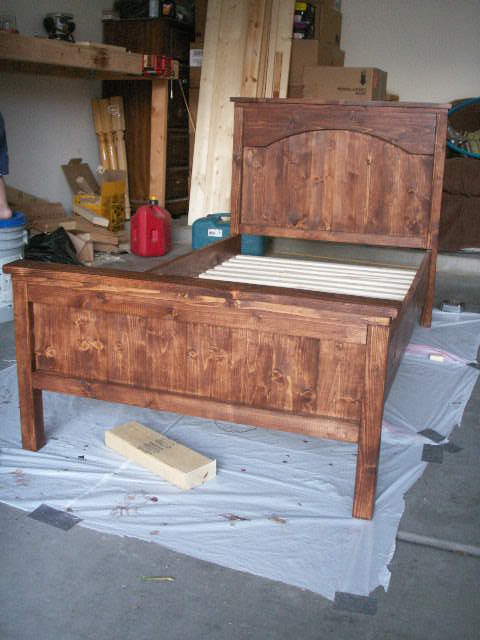
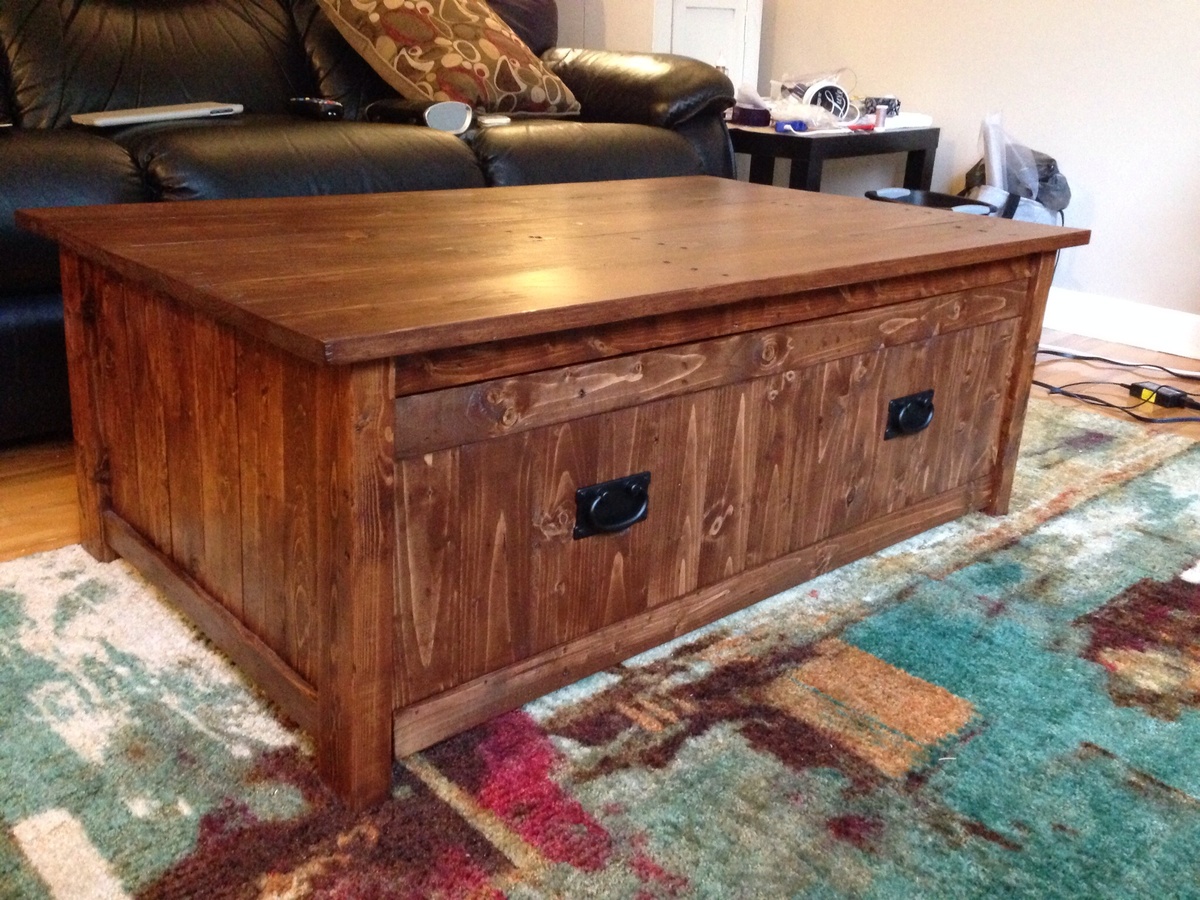
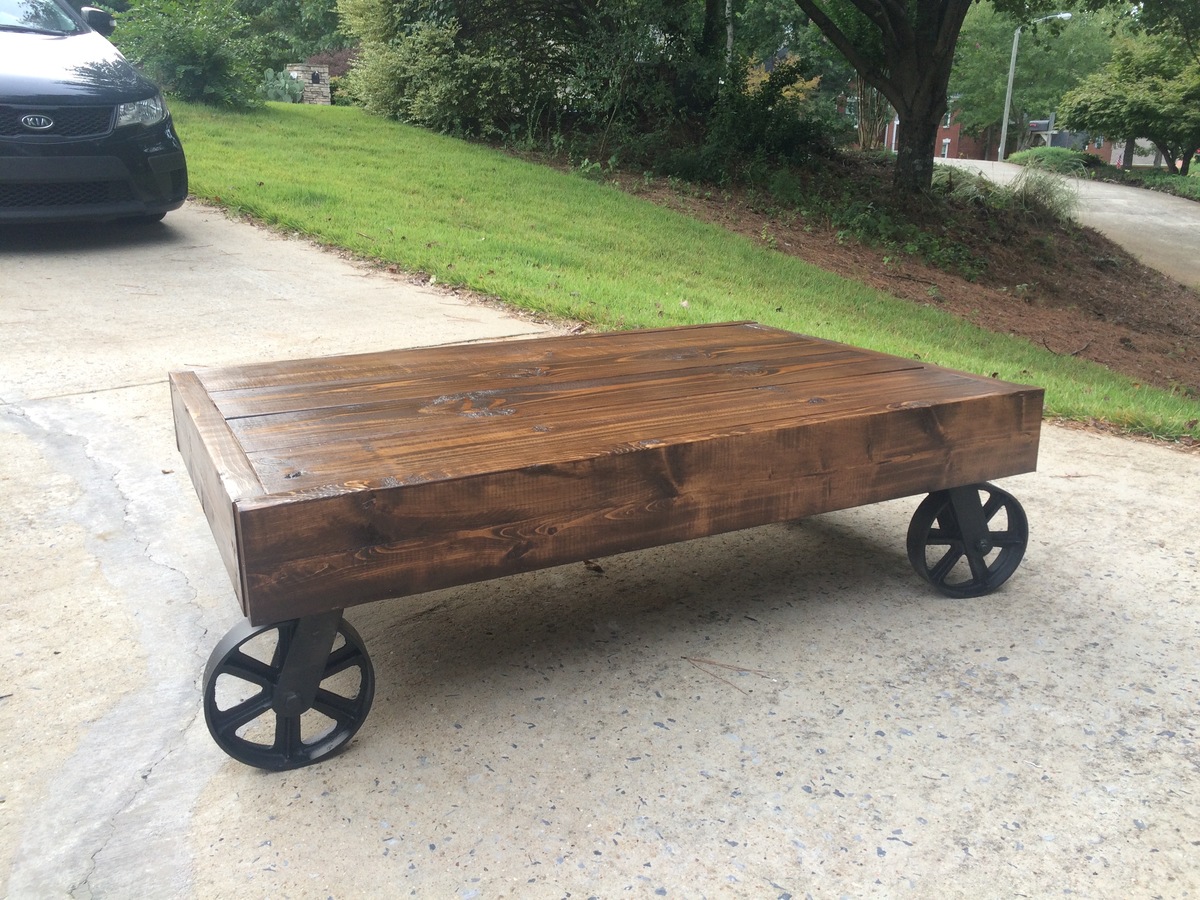
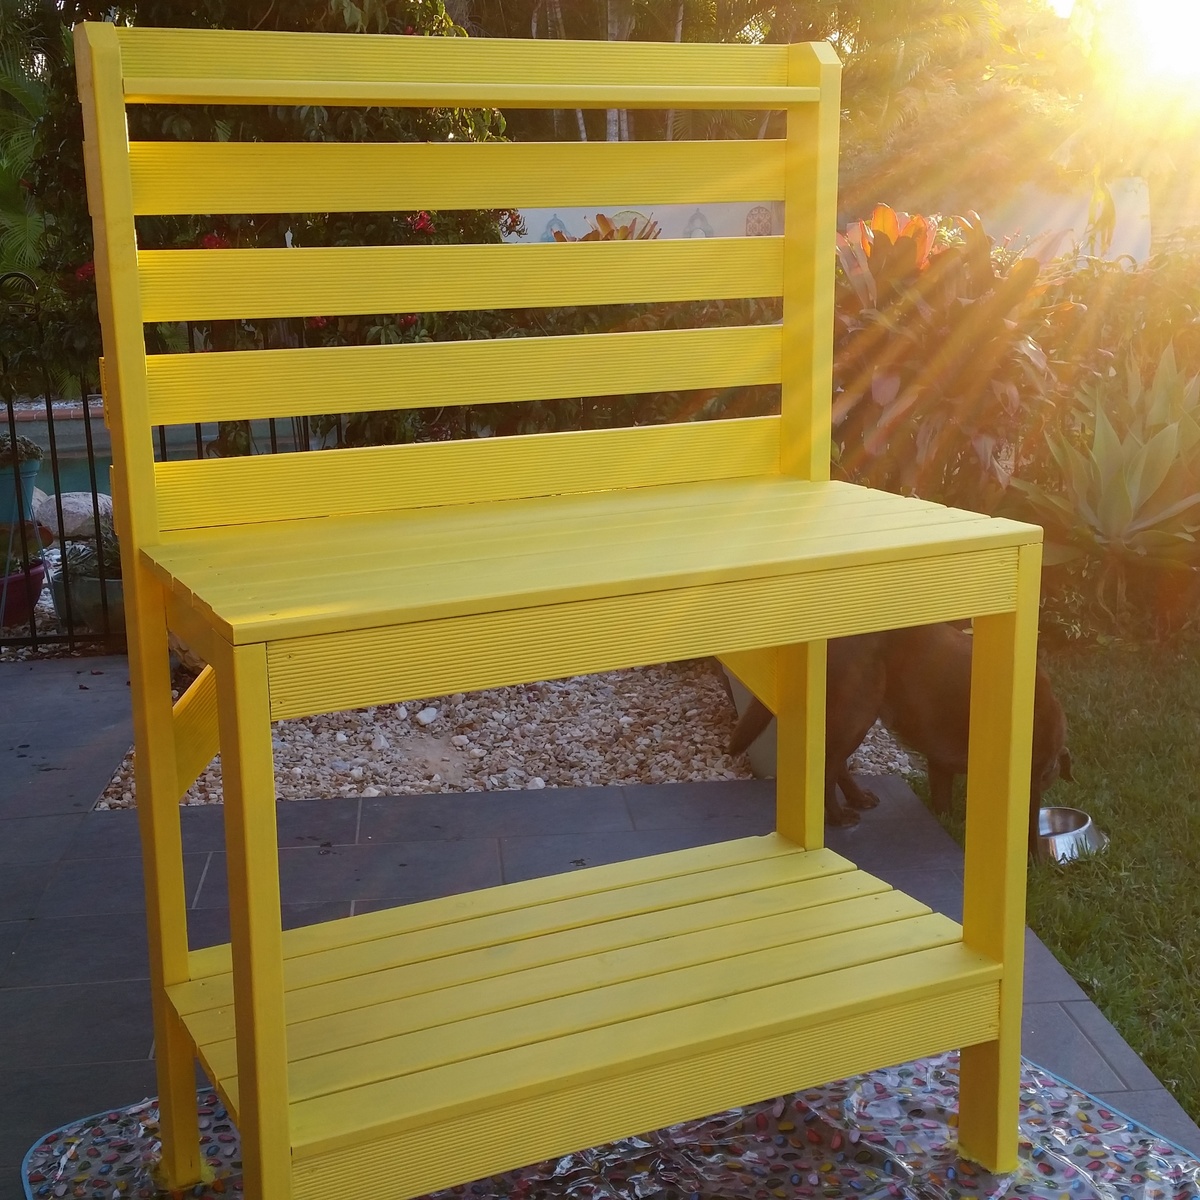
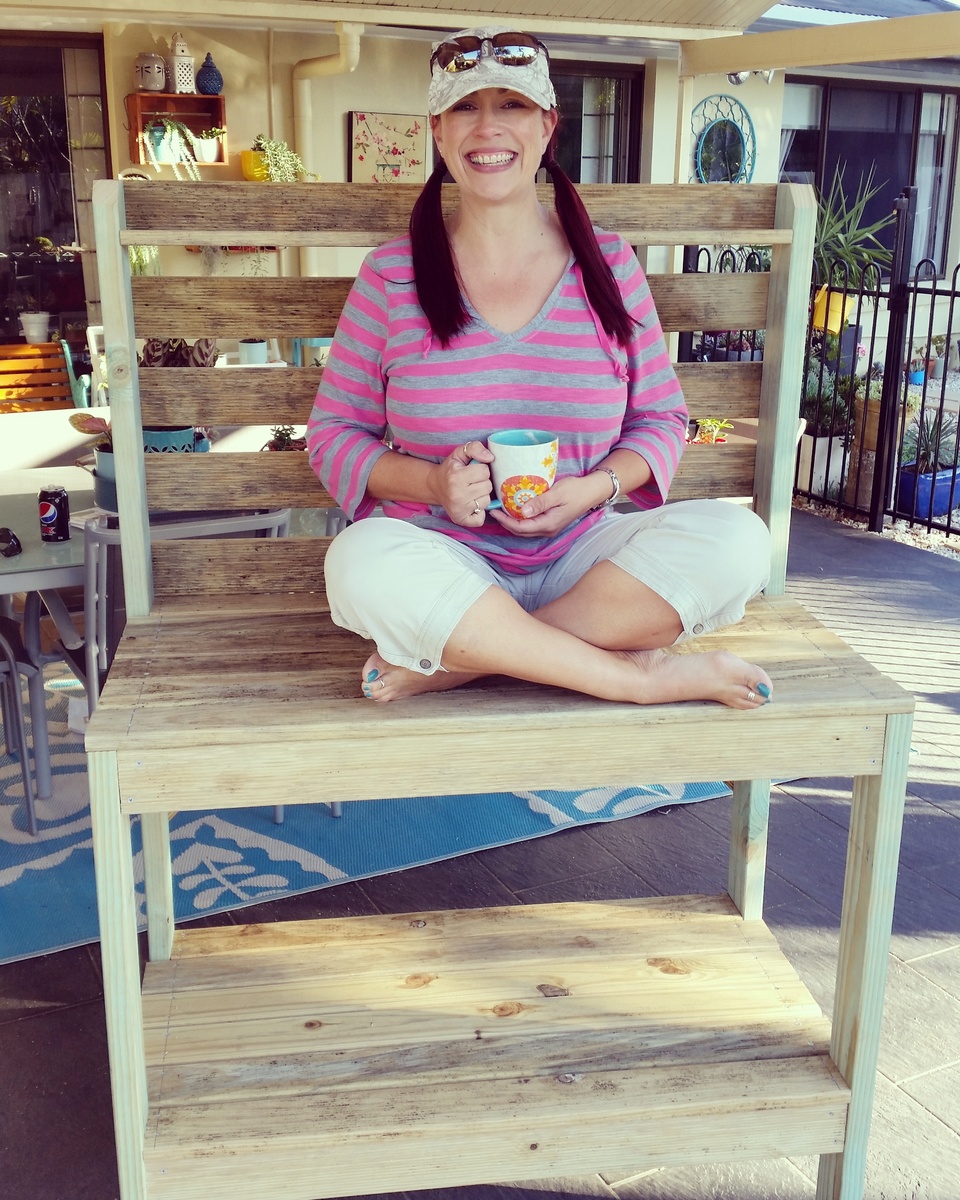
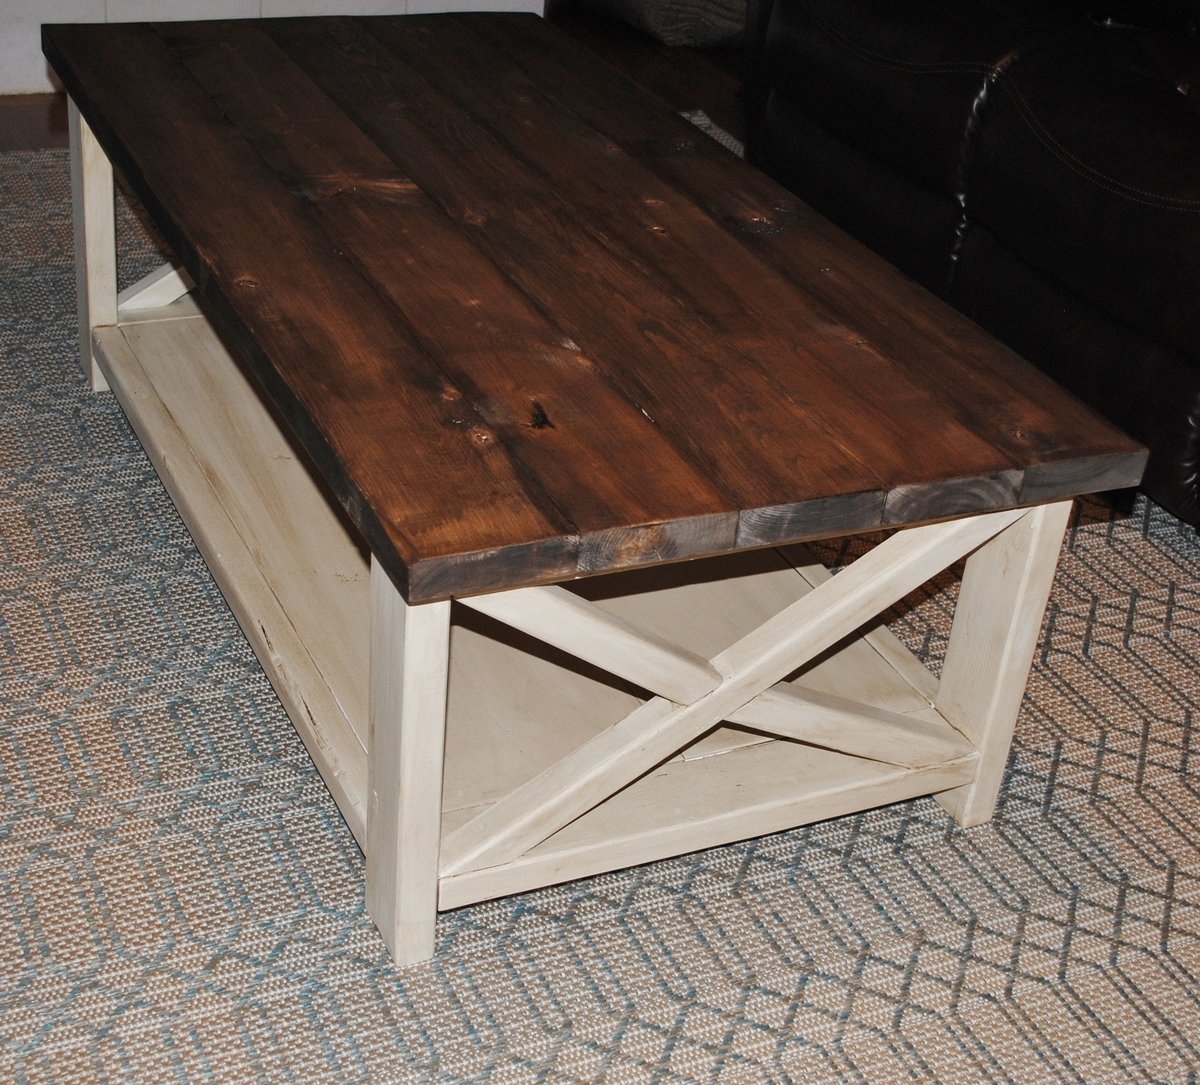
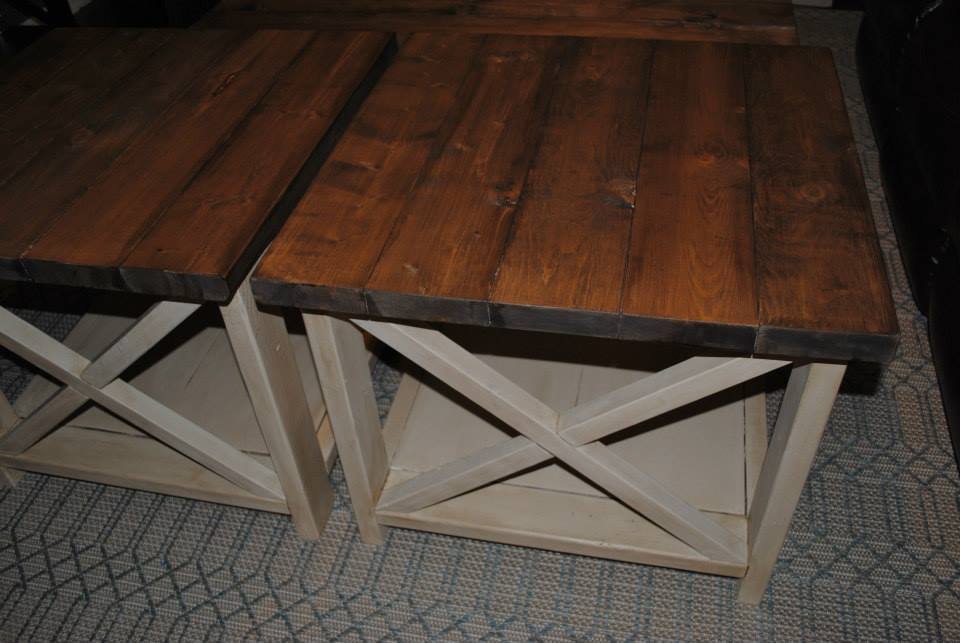
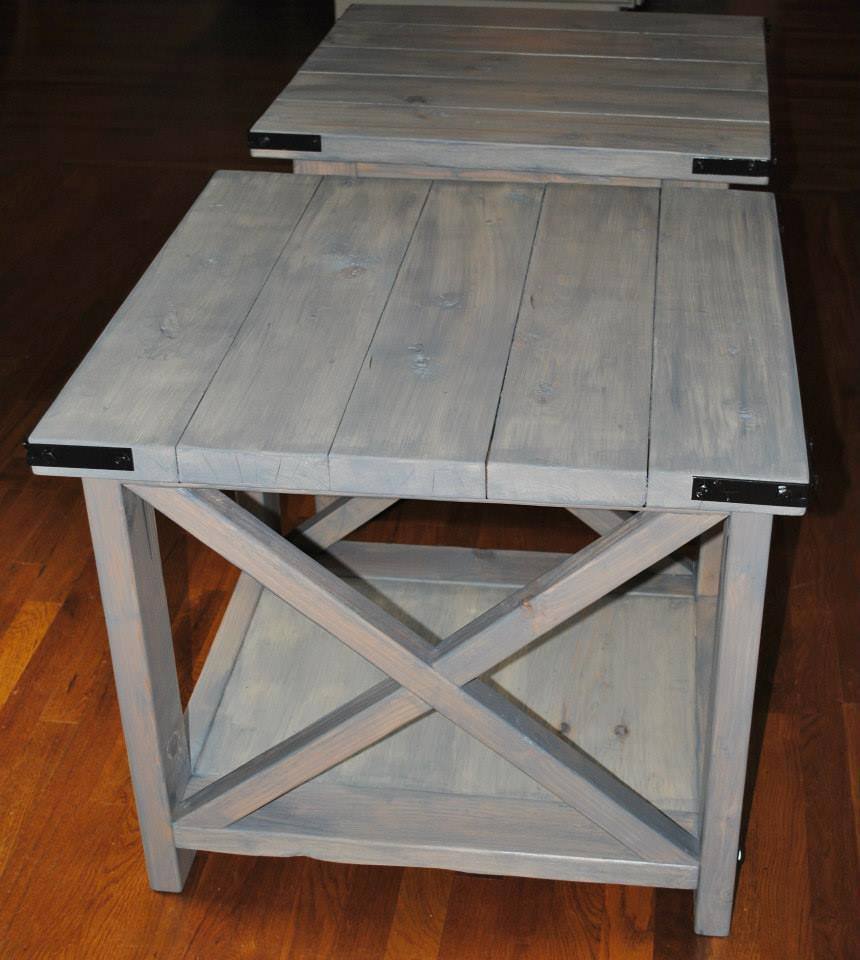
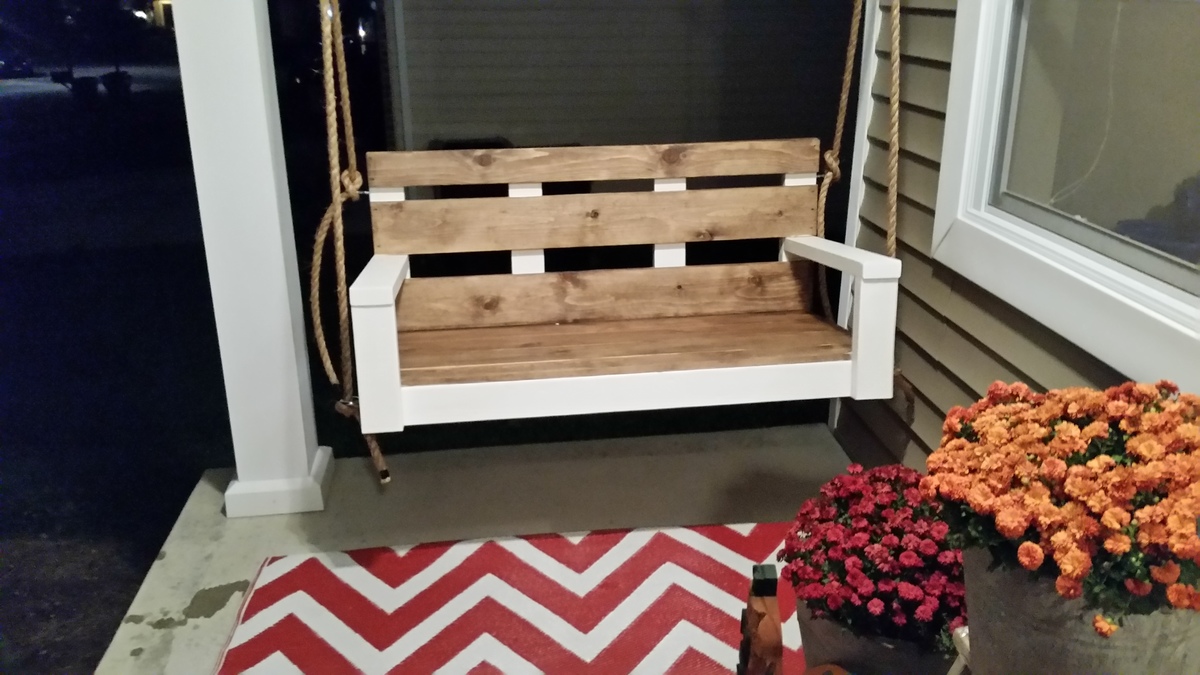
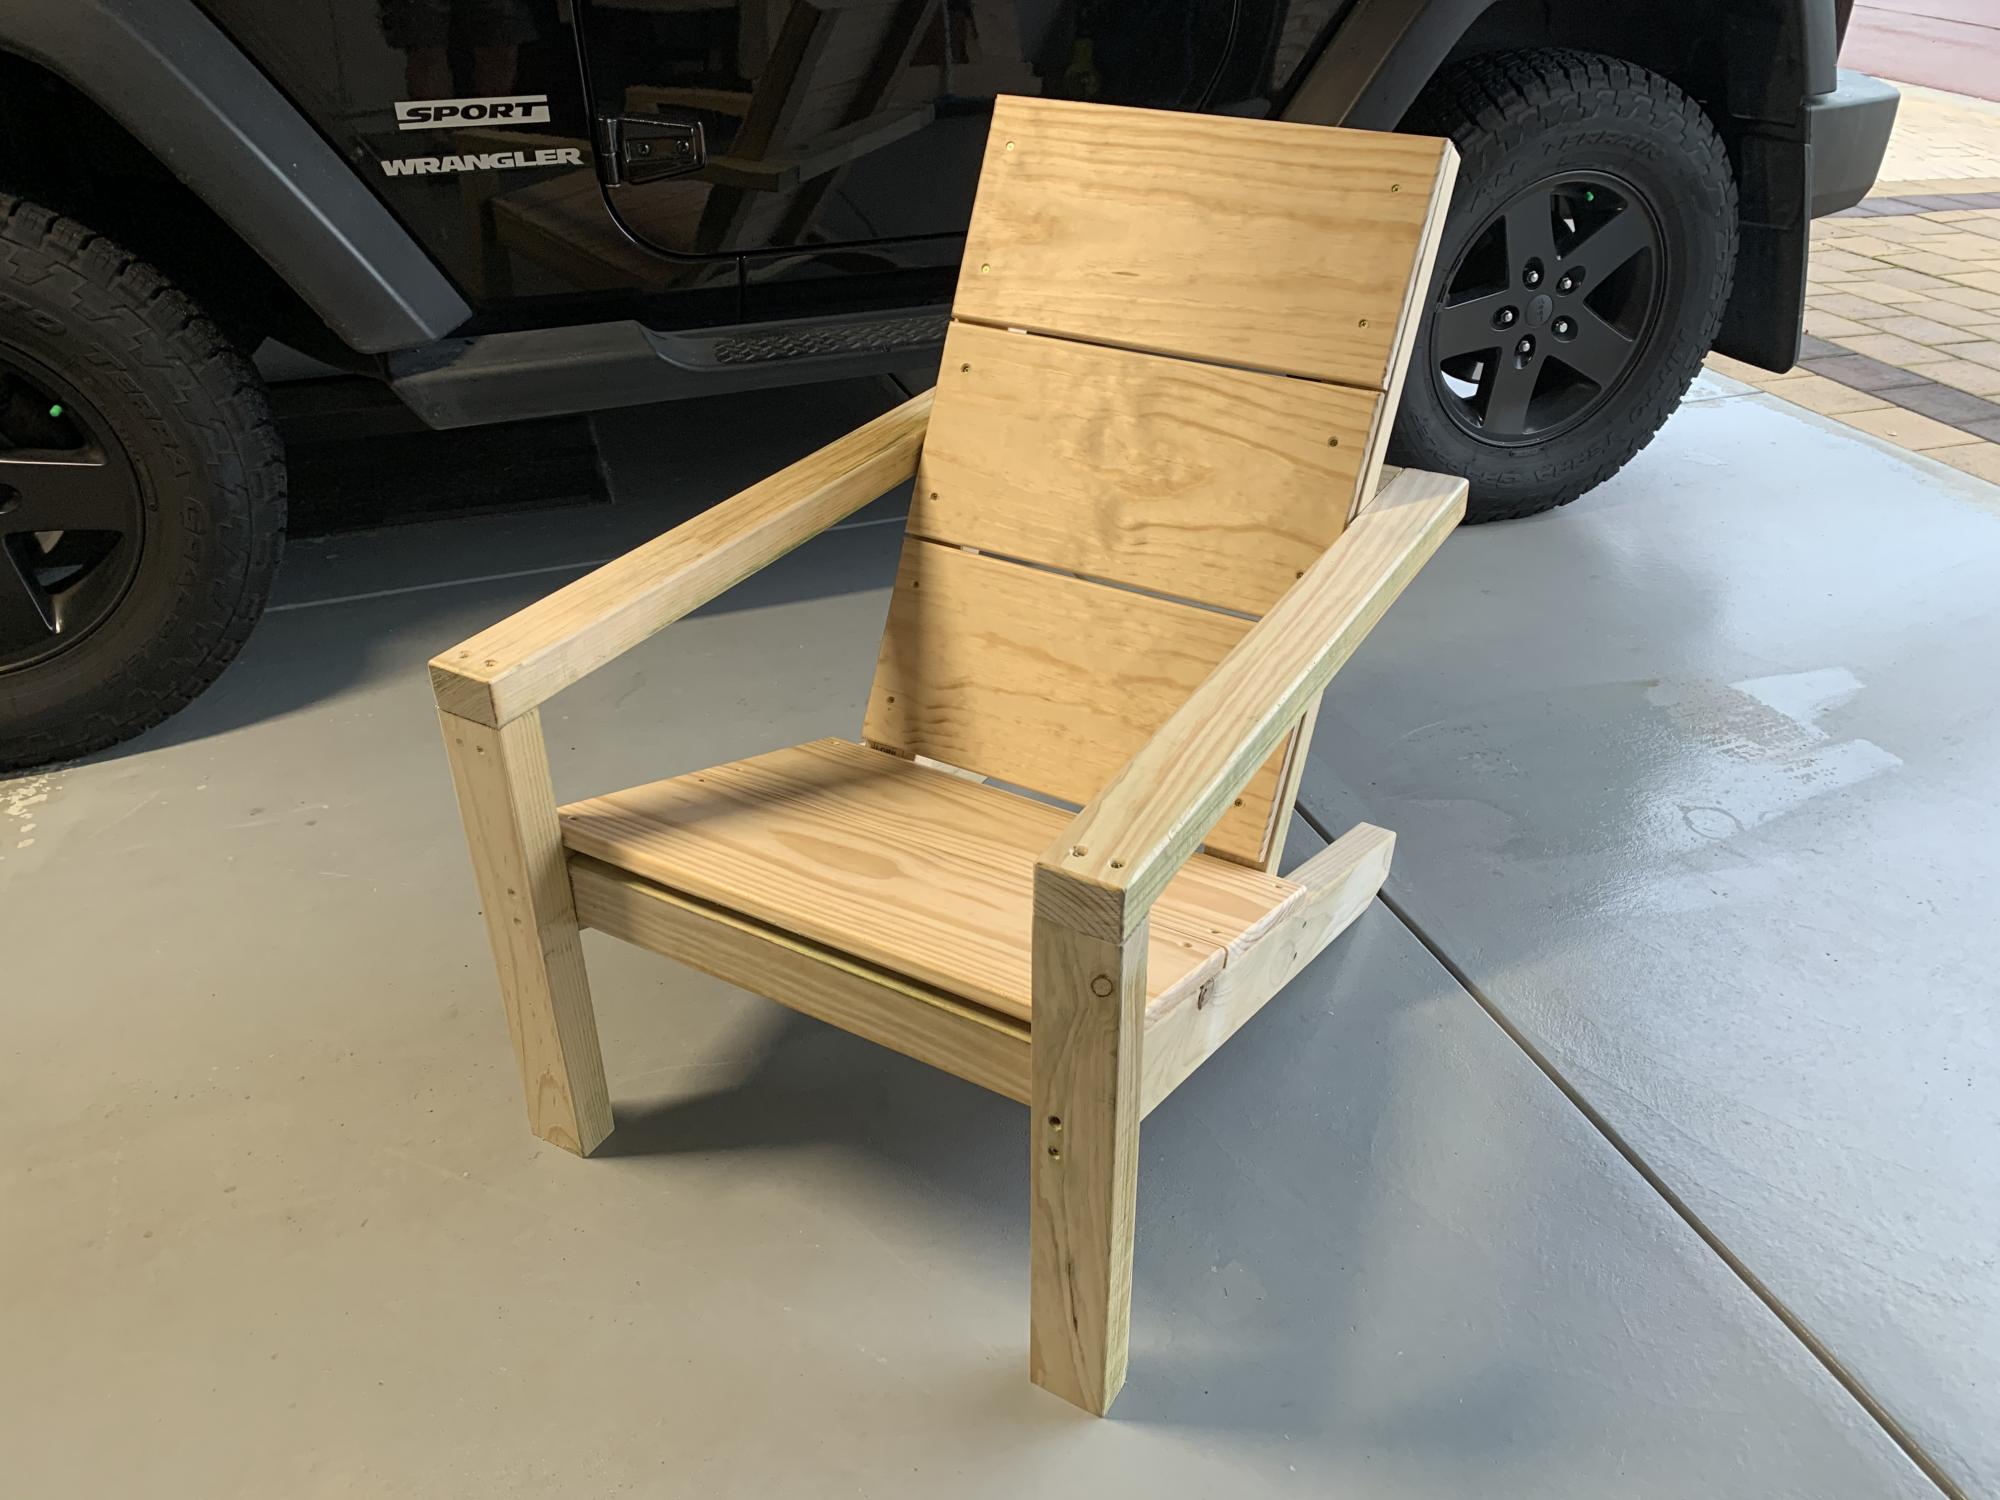
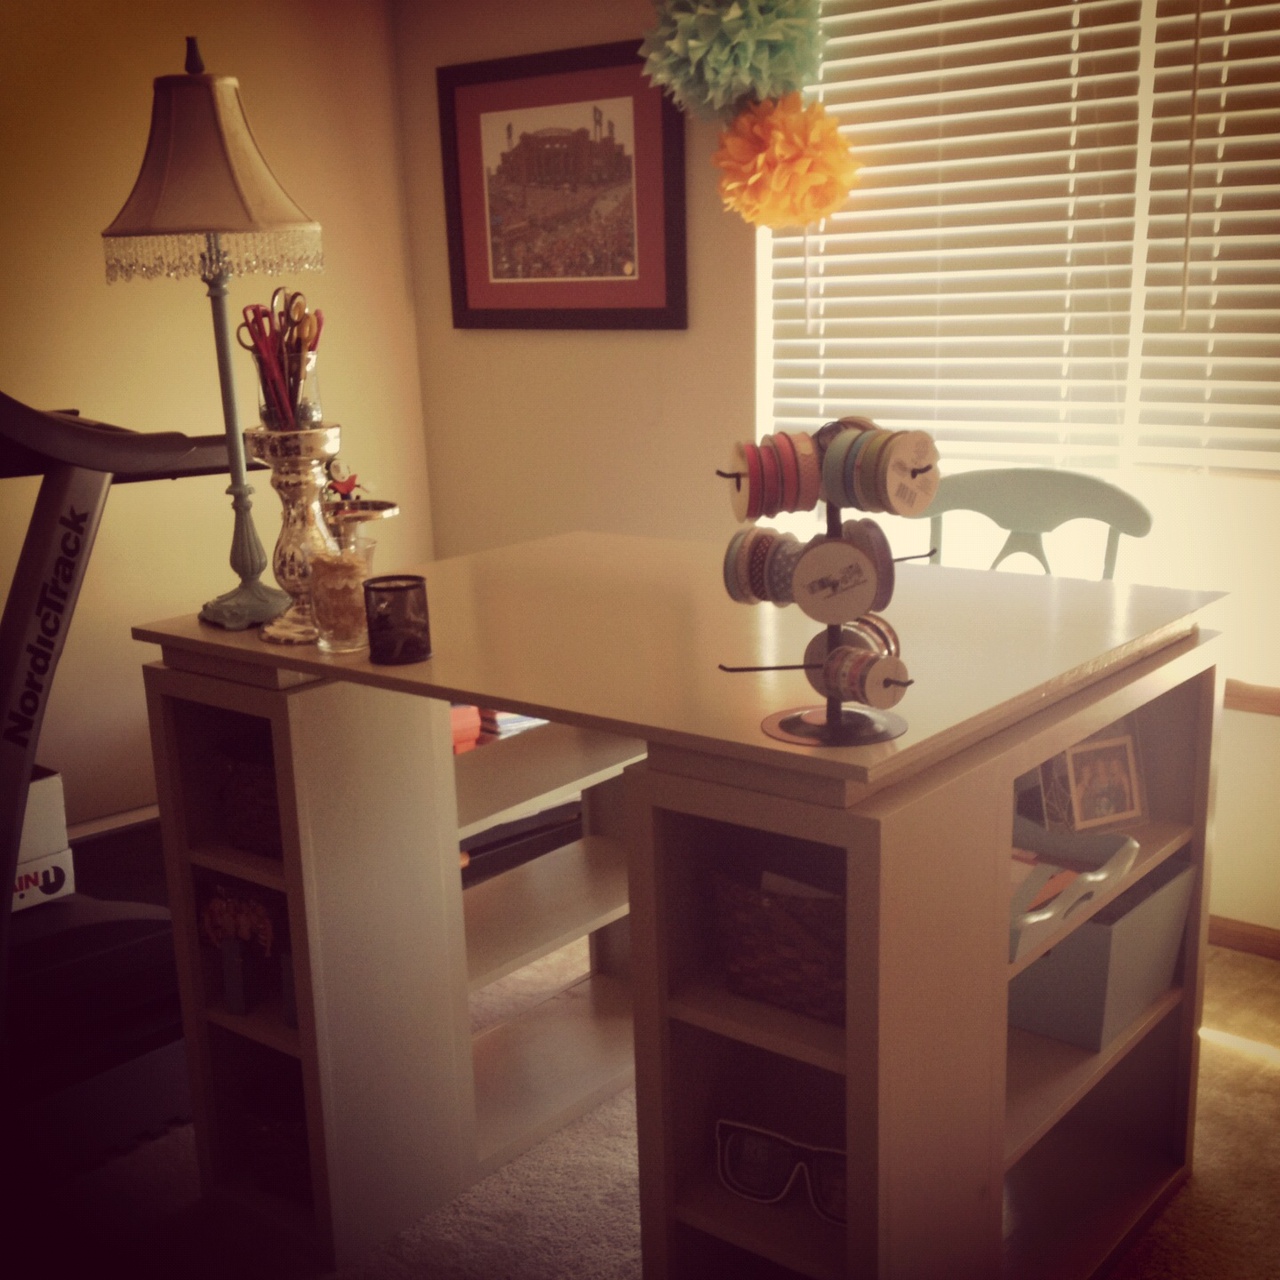
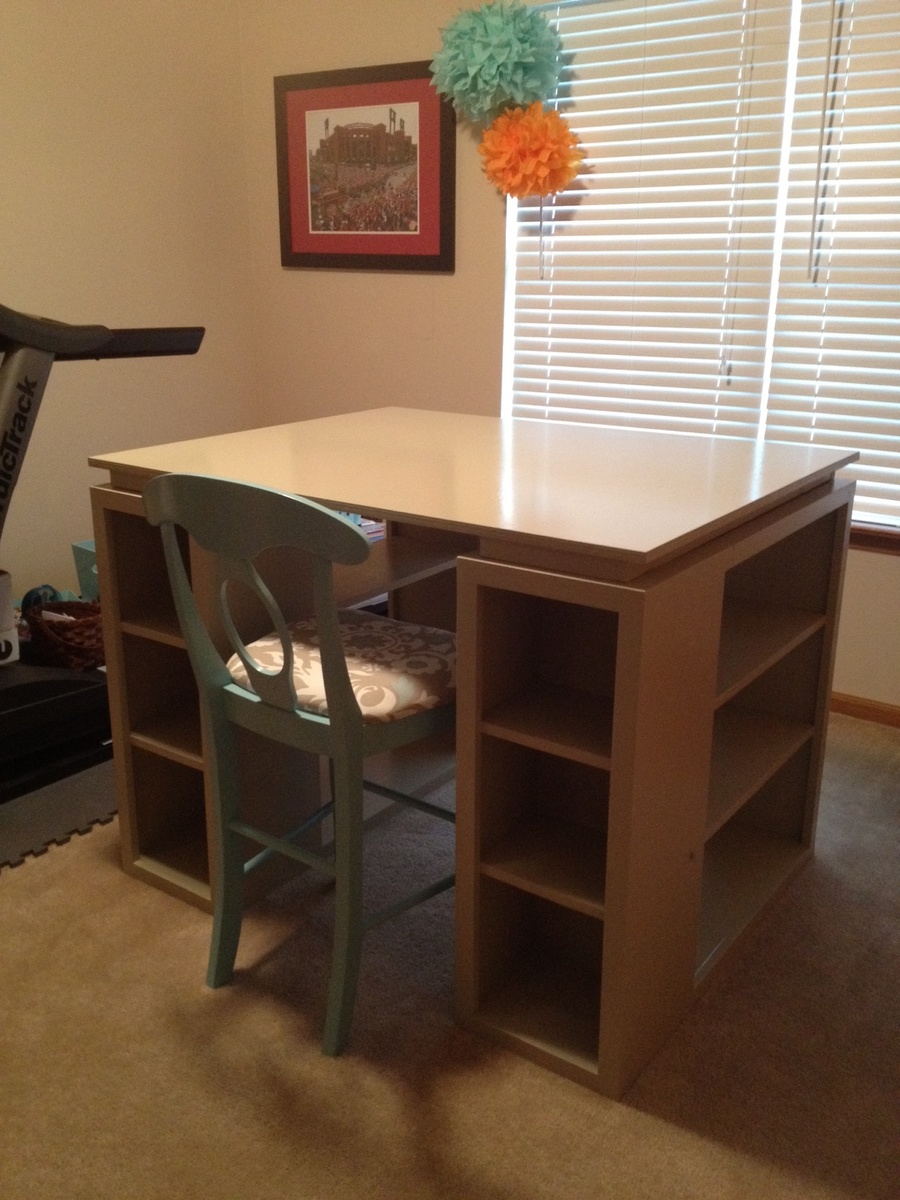
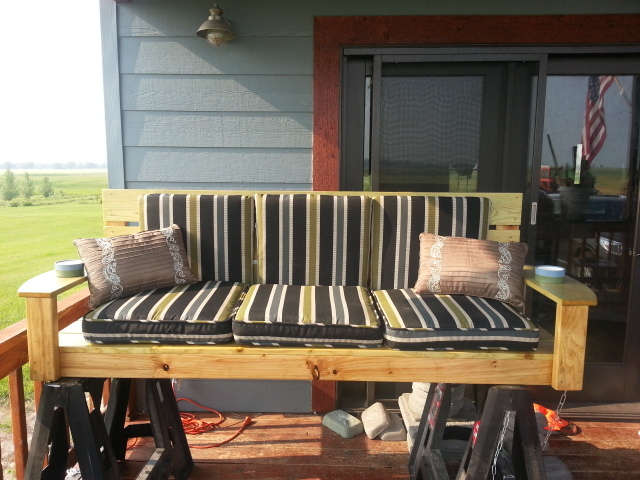
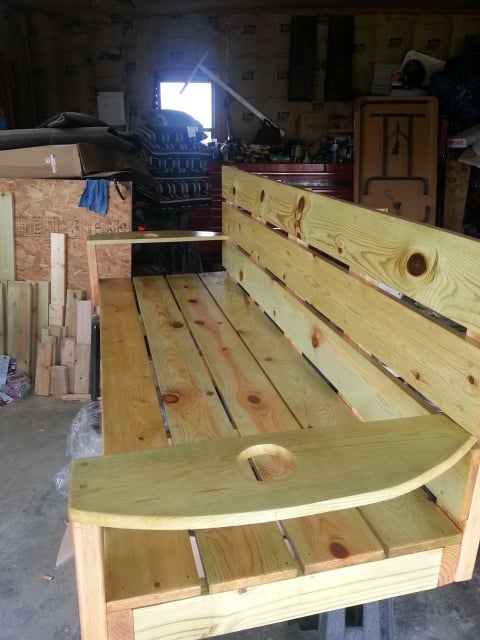
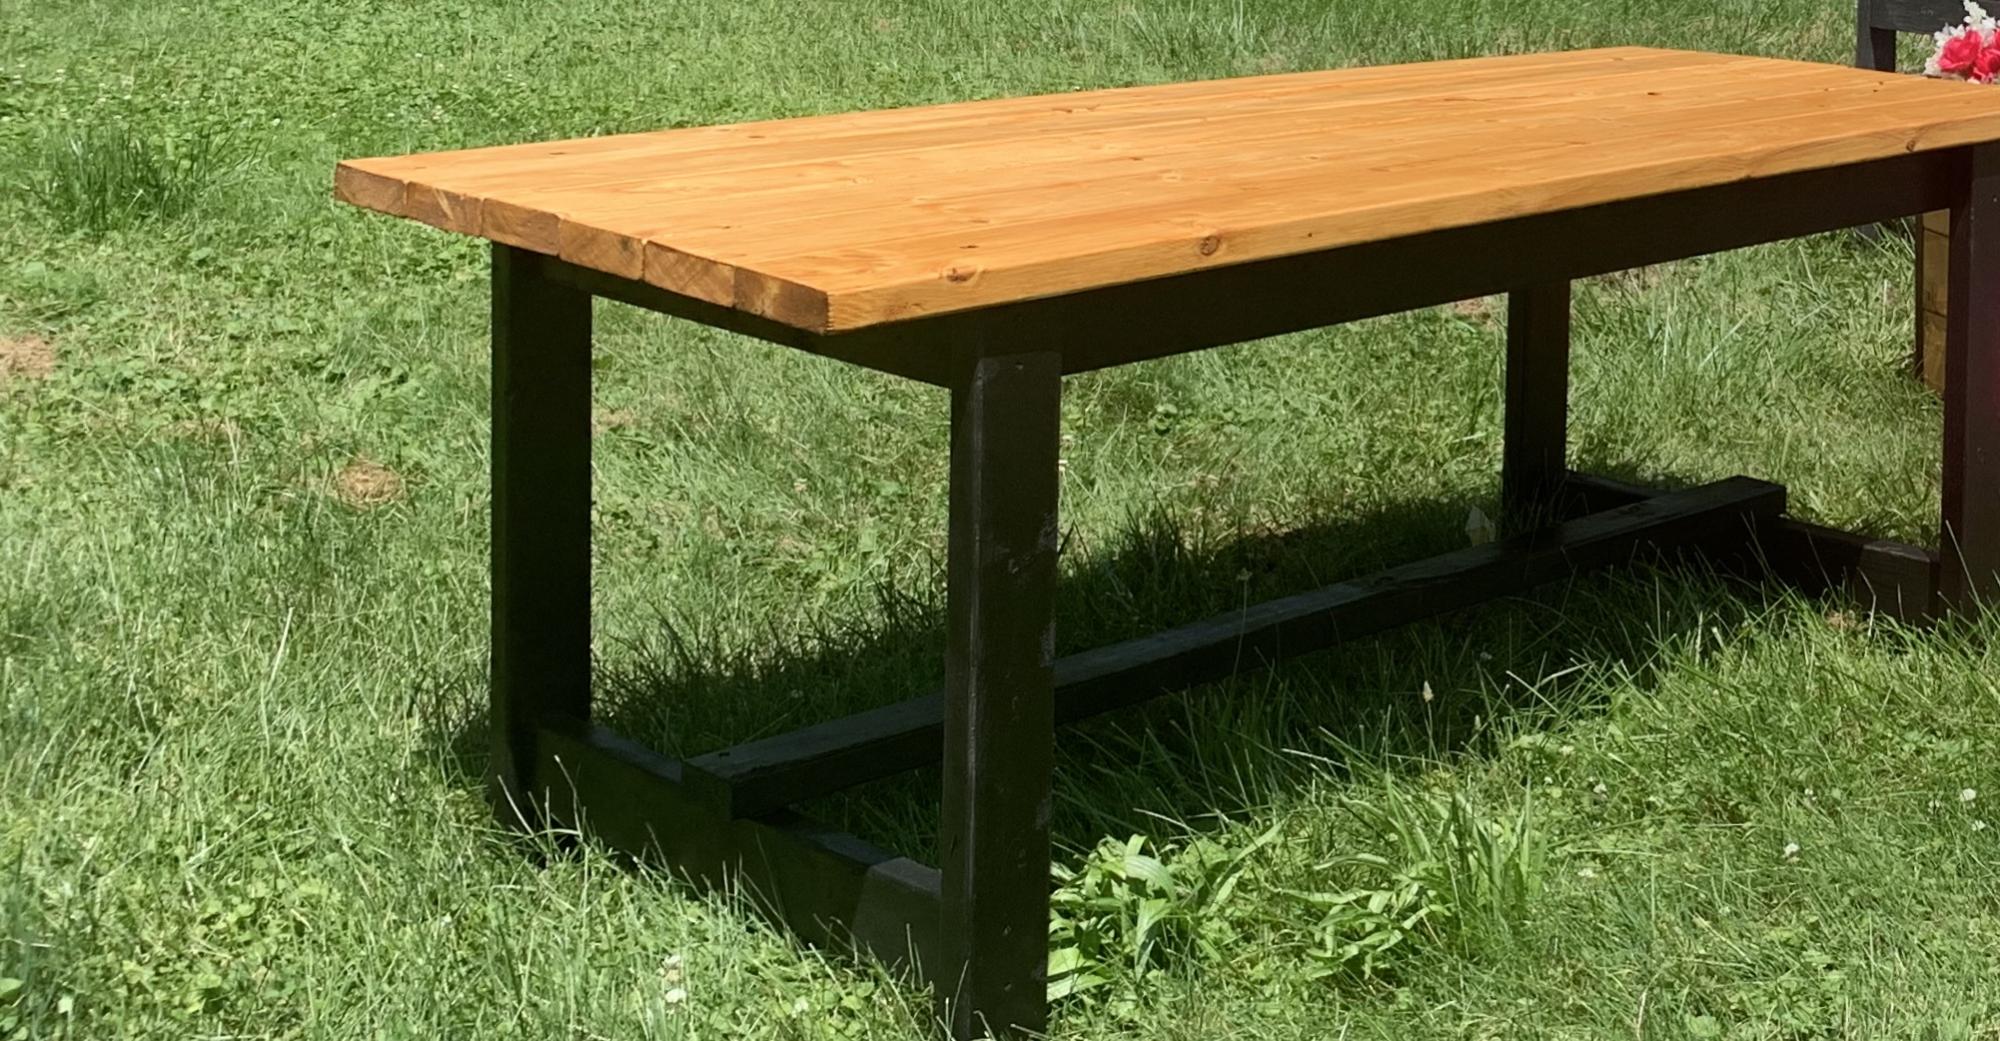
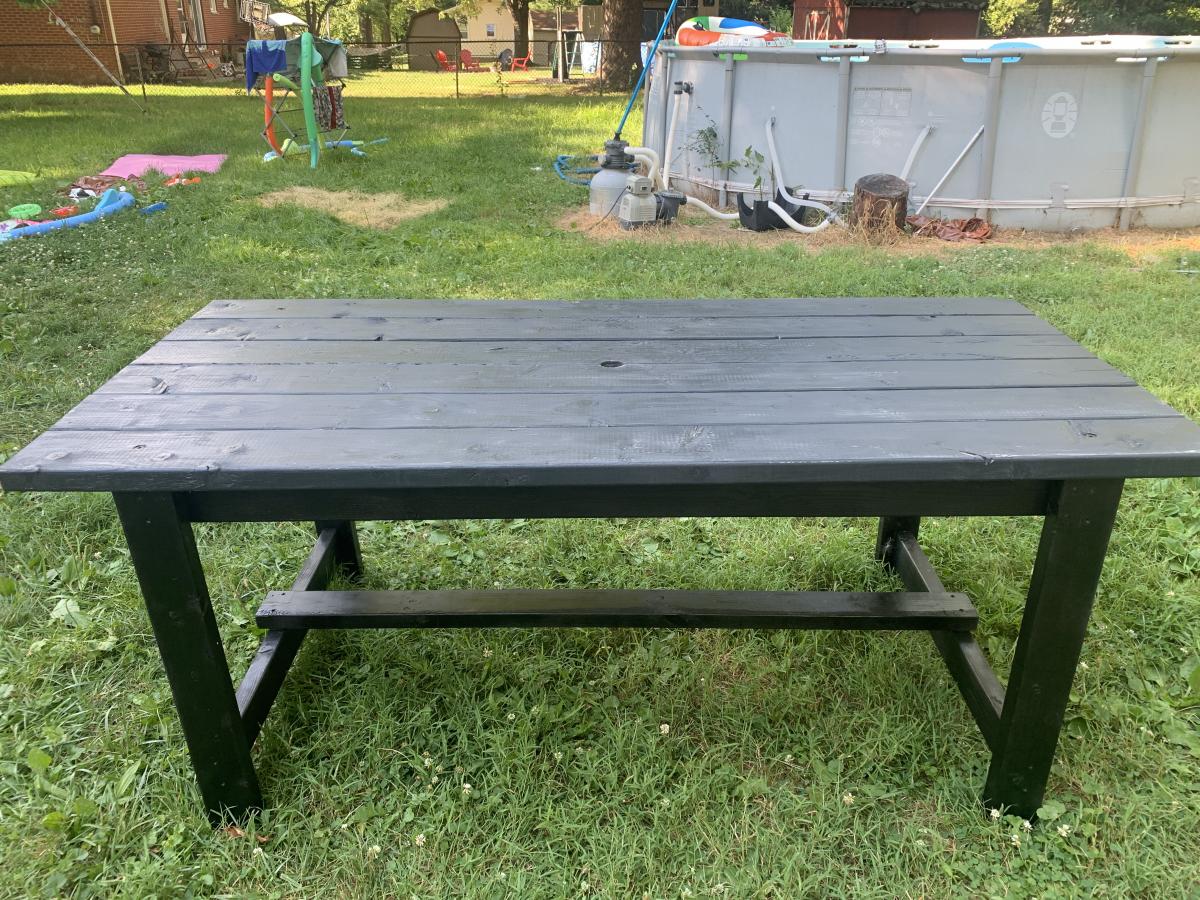
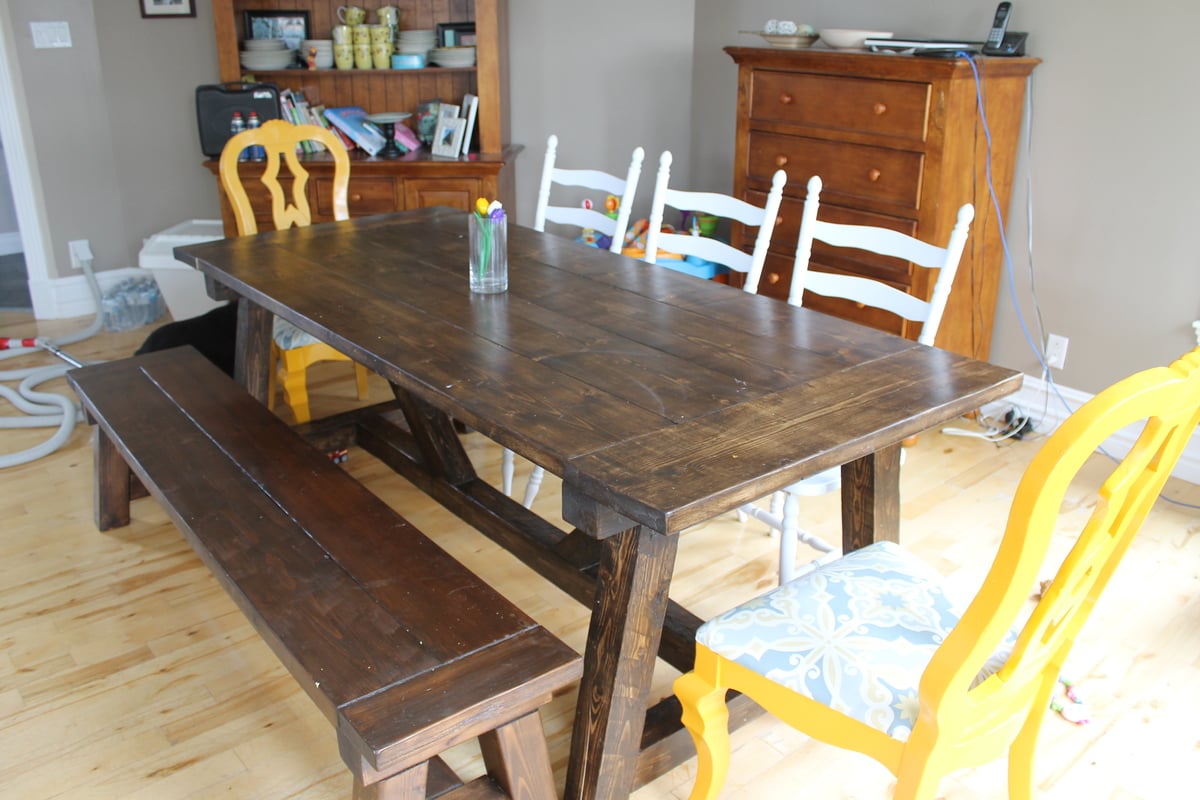
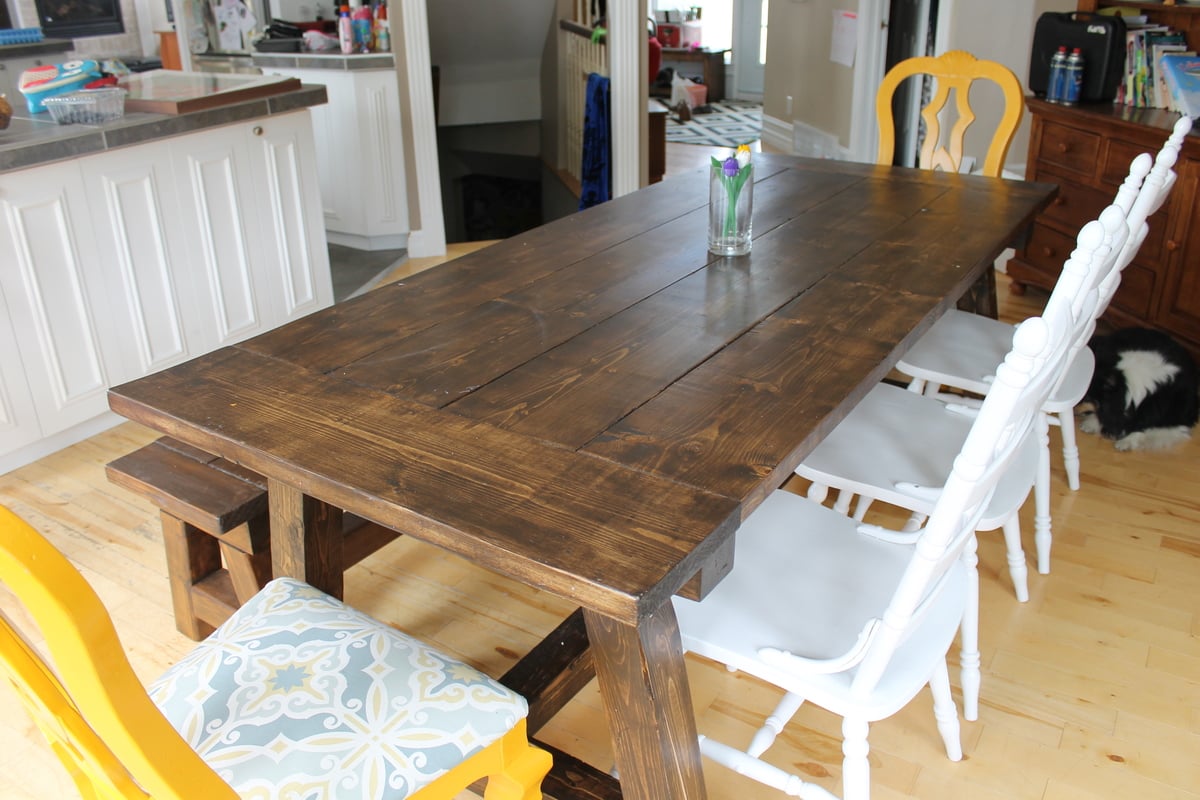
4x4 truss beam table and bench

Submitted by Joagirard on Fri, 07/04/2014 - 20:24

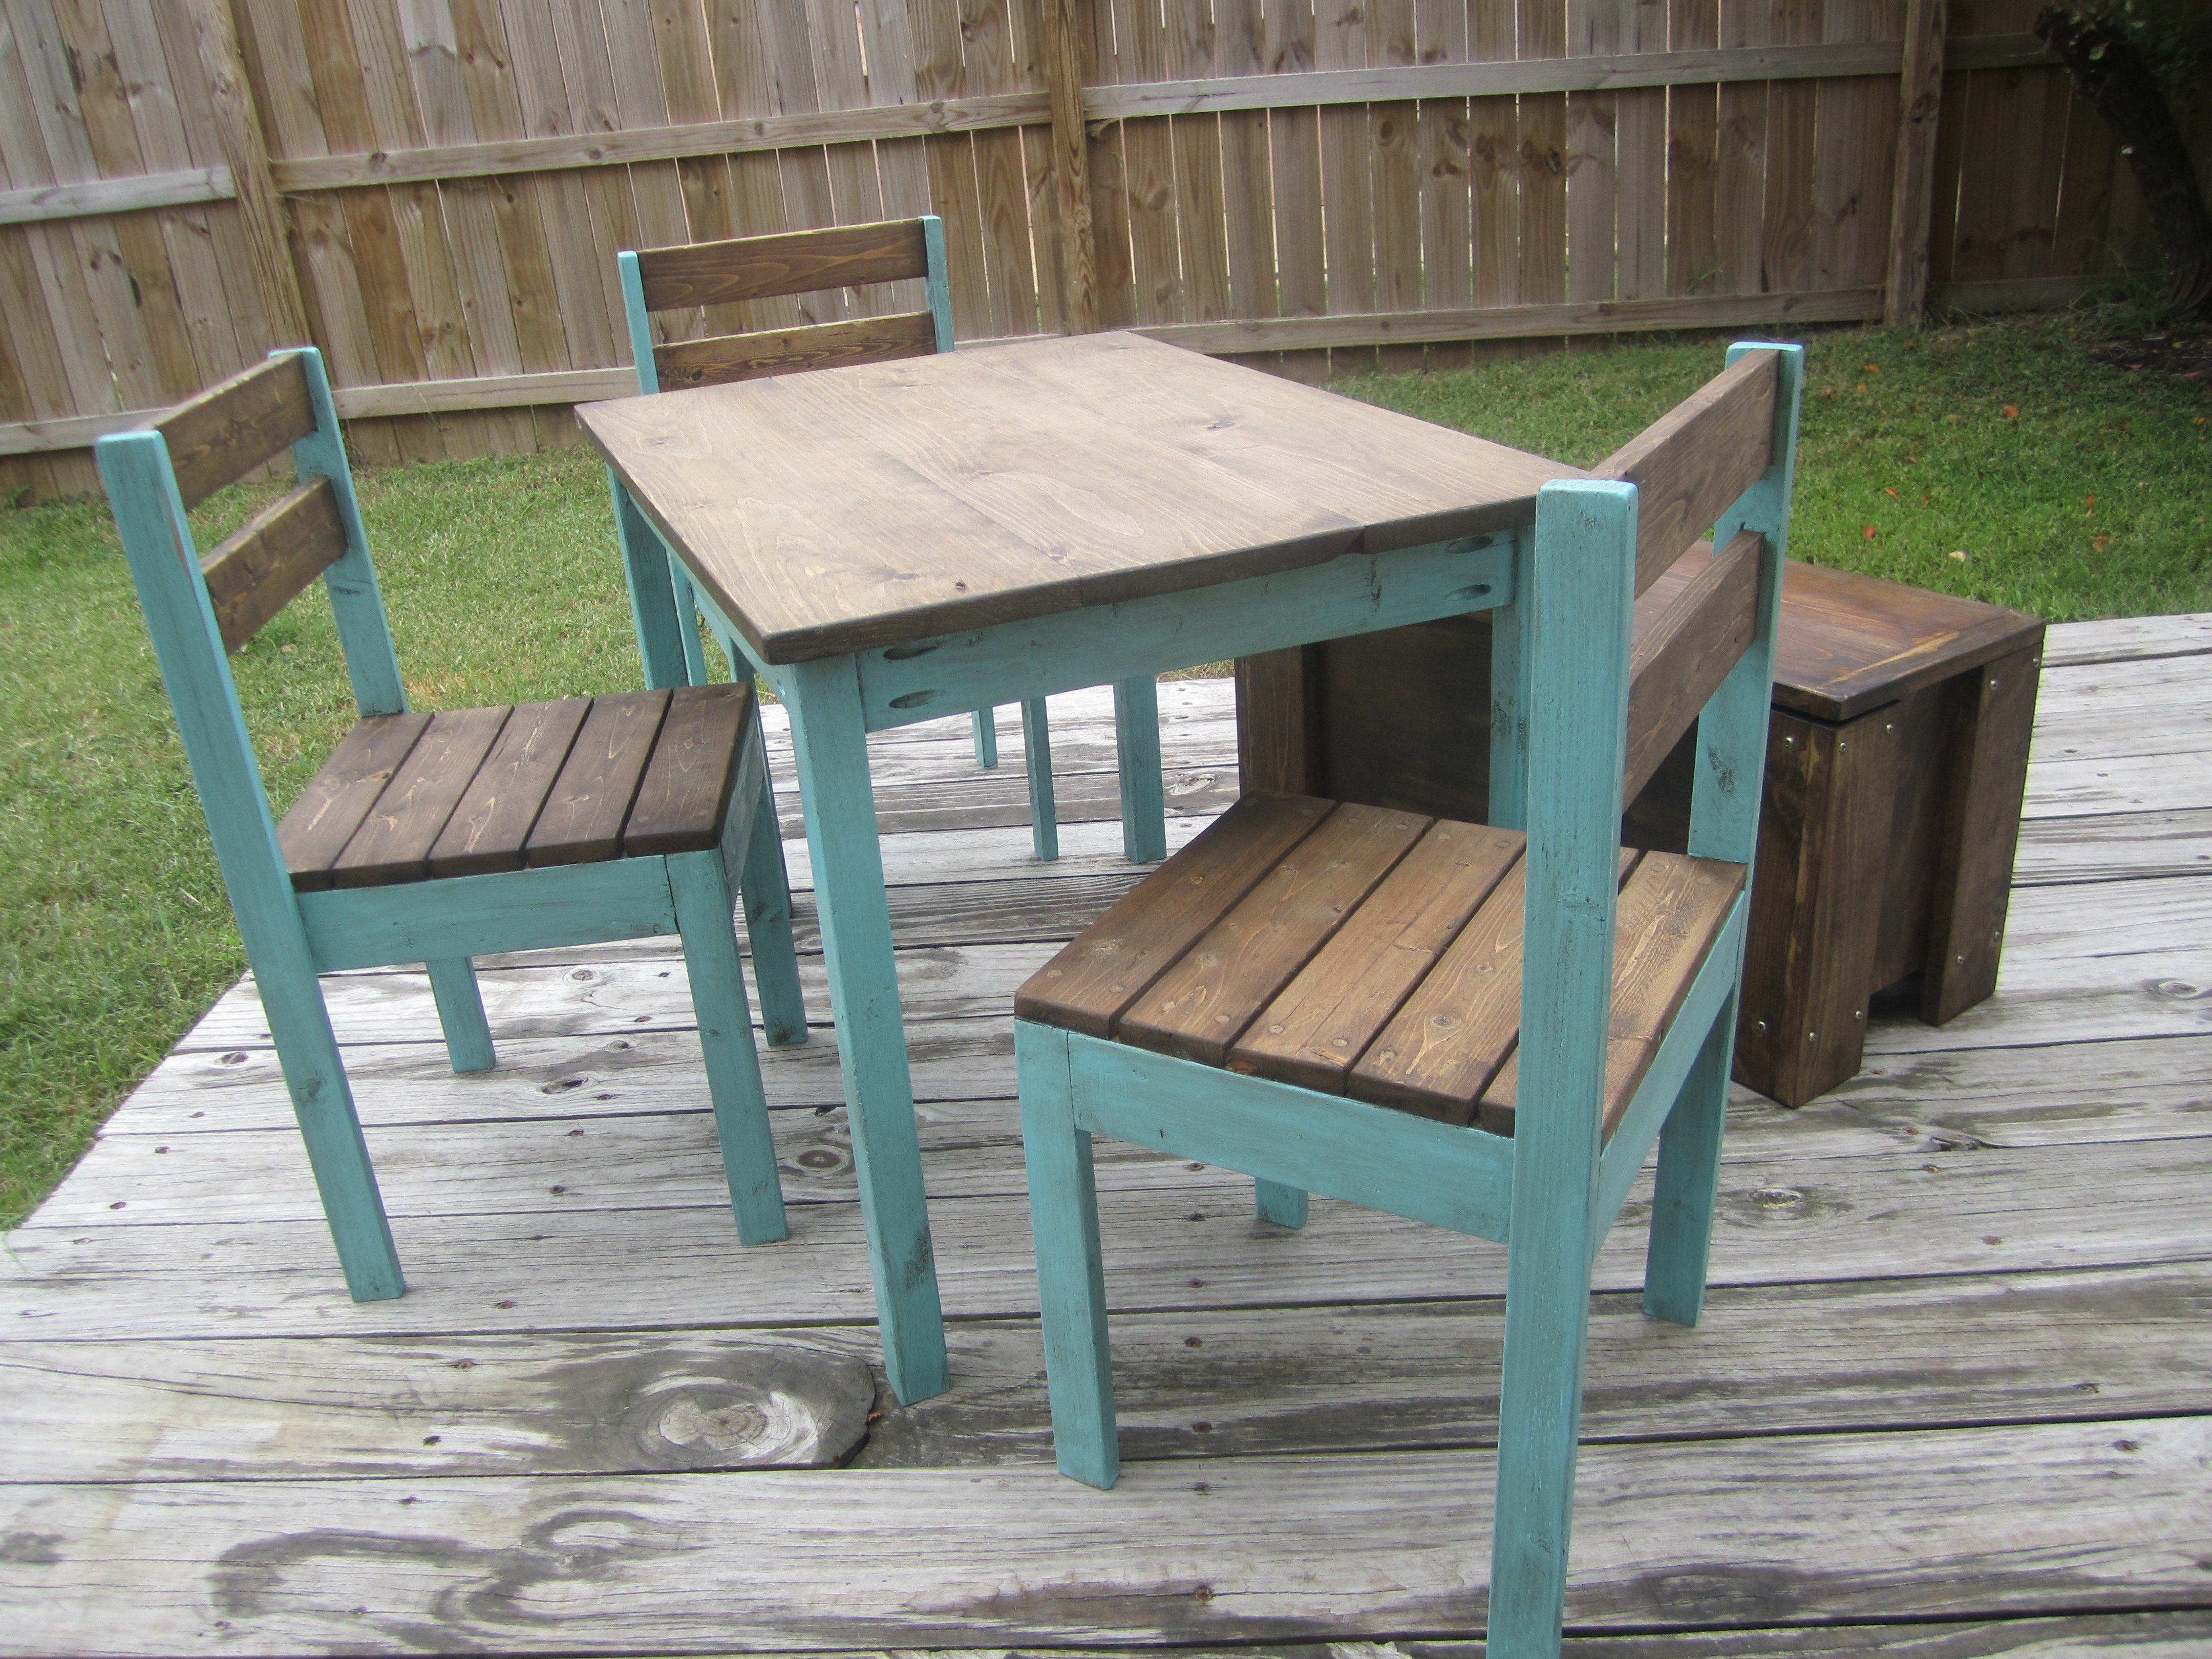
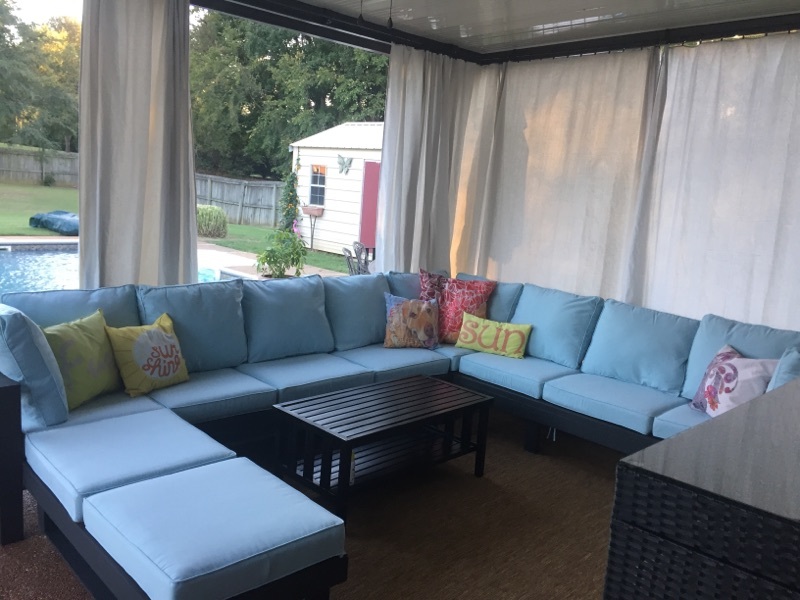
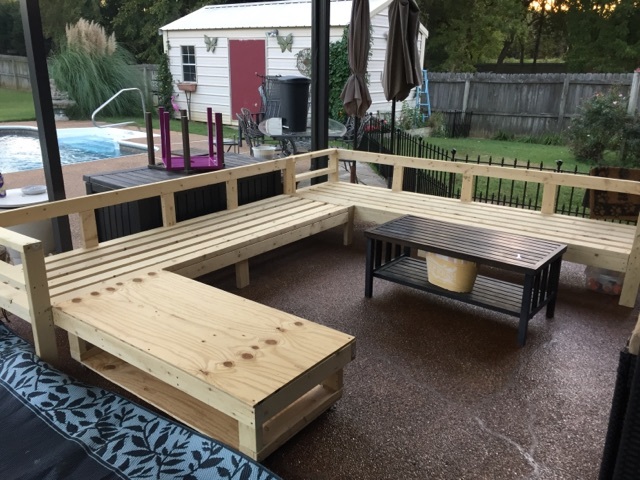
We needed a big sturdy table for 8-12 persons for our big dinning room but didn't want to pay 3000$ for it. Then i found Ana-white's site and thought "why not!". It's my first project, i started whit the bench and then made the table. All buy myself, my husby doesn't even know how to use a saw. He help me carry it inside thought ;) The plans were realy easy to follow. Somebody stop me, i'm refurnishing my hole house, i can't stop! In 2 months i'v made 2 dinning tables, 2 patio tables, 1 coffe table, 5 benches. So if i can do it, you can too!

Estimated Cost
300$
Estimated Time Investment
Weekend Project (10-20 Hours)
Finish Used
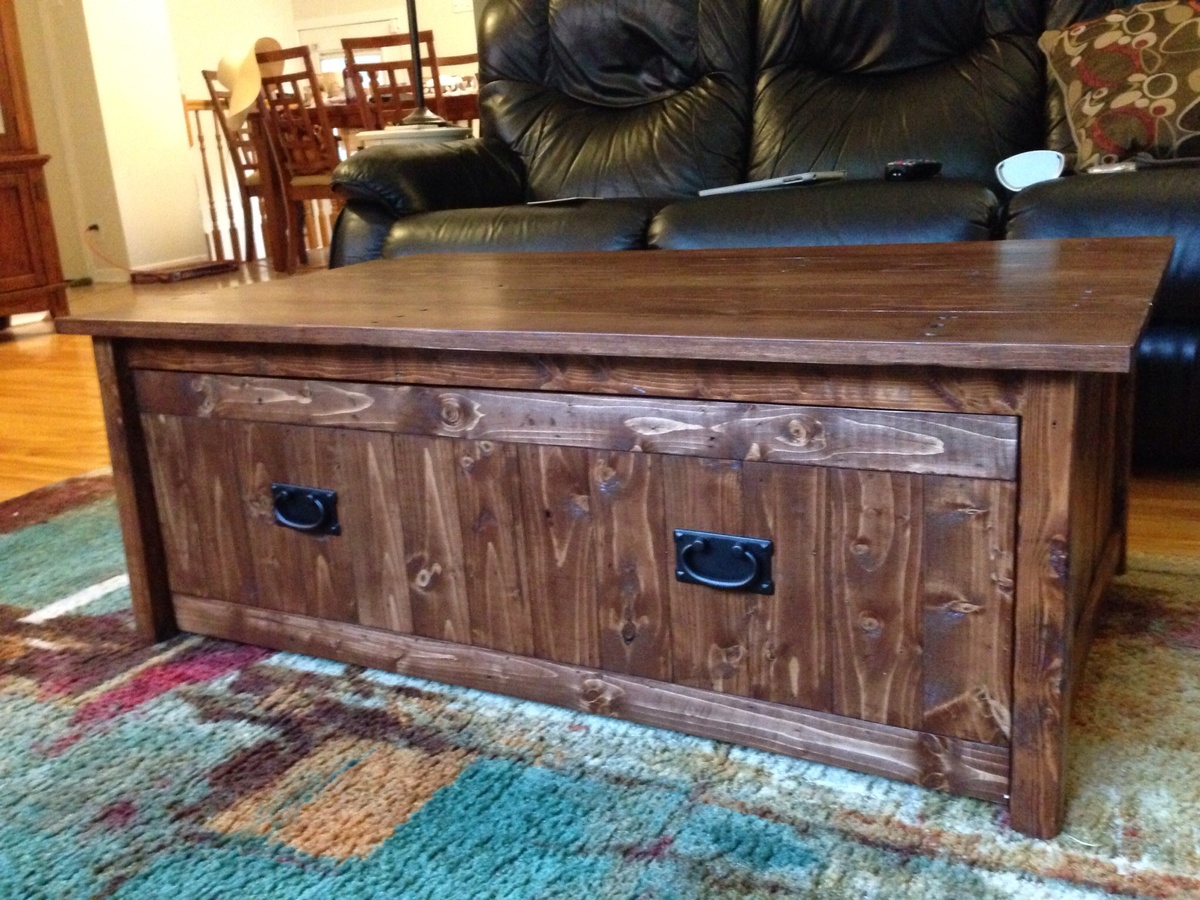
1 coat of dark walnut varathane in gel applied with an old t-shirt followed by 2 coats of varathane professional finish in satin applied with soft brush. I sanded between the 2 finished coats.
Recommended Skill Level
Starter Project

Diy fireplace reface and mantel

Submitted by Anonymous (not verified) on Sat, 10/08/2016 - 23:21

It's decorated now, but looks amazing without as well. The build plan was easy, definitely need to have some knowledge about woodworking. Just have fun and be creative.

Estimated Cost
$100.00
Estimated Time Investment
Weekend Project (10-20 Hours)
Finish Used
After a good sanding, I stained with a dark walnut followed by dry brushing with a true white. After it dried, sanded with steel wool.
Recommended Skill Level
Intermediate

Farmhouse Toddler Bed with Arch!

Submitted by jhepworth on Sun, 09/09/2012 - 20:37

My husband built this toddler bed for our 18-month old son, who decided very recently to become a proficient crib climber! He built it over the course of a about a month, just working on it on the weekends. He made a few changes to Ana White's plans. He followed the measurements on this blog as our toddler mattress was wider than her plans allowed for: http://janaebeth.blogspot.com/2010/05/pictures-of-bed-and-pictures-of-w….

Other changes to Ana White's plans? He bought 2x2's for the legs, and chiseled out spaces as large as what Ana had you attach a second smaller piece of wood to create. This made the legs more sturdy and attractive.

He also doweled all the headboard and footer vertical boards together to keep them from warping.

He used small nails, and made sure to tap them in with a nail setter, and then puttied them so you can't see any nails in his work. He puttied all other visible cracks and spaces in the wood, and then sanded it all down.

He sanded the corners of the footer down a bit so that they would be a bit more forgiving if our son ran into one of them.

My husband did make the arch for the bed. He did this marking dots on the highest and lowest points of the arch on the piece of wood we were going to cut. I held a piece of thin rope attached to a pencil a foot away, while my husband pulled it taught and drew an arch that followed his dots. He then just cut along the line very carefully, and sanded well.

He put all the slats that Ana recommended on the bed, contrary to some advice given in the comments section, as he wanted it to be as sturdy as possible. This was a good choice as they moment we brought the finished bed into our son's room, he started to jump on his new bed.

We are very happy with the finished product. We could have bought a cheap Wal-mart plastic ugly thing for the amount we spent on our beautiful solid wood toddler bed. So glad we went the DIY route. Thank you, Ana White!

Built from Plan(s)
Estimated Cost
$60
Estimated Time Investment
Week Long Project (20 Hours or More)
Finish Used
One coat of Minwax English Chestnut 233, and one coat of Deft Satin Lacquer.
Recommended Skill Level
Intermediate

Rustic Trundle Coffee Table

Submitted by Dedavies3 on Mon, 07/07/2014 - 17:42

I used reclaimed pallets for the top and sides of the table. I made a mistake though when making the trundle and ended up having to buy some tongue and groove pine. It ended up working out very well though. Inside the trundle I nailed a small rail and created a drawer for remotes and small items. This is only my second piece of furniture and I'm very happy with how it turned out!

Finish Used
Minwax English chestnut
Recommended Skill Level
Beginner

Factory Cart Coffee Table

Submitted by Anonymous (not verified) on Tue, 10/11/2016 - 18:31

My favorite build so far! This table is so unique and adds such a great touch to a chic space. This project is pretty inexpensive to build, as the biggest cost is the caster wheels on the bottom. They typically go on sale at Northern Tool though!


www.withlovefromgablog.blogspot.com

Built from Plan(s)
Estimated Cost
$100
Estimated Time Investment
Afternoon Project (3-6 Hours)
Recommended Skill Level
Beginner

Comments

Twin Farmhouse Princess Bed

Submitted by Doyle on Thu, 09/13/2012 - 05:57

It was time for my daughter to leave her toddler bed and get in to a real big girl bed... made with paint grade pine and finished in a white melamine finish. Likely the most solid piece of furniture in our entire house.

Built from Plan(s)
Estimated Cost
$350 in lumber + $75 primer & paint + $25 hardware = $450
Estimated Time Investment
Week Long Project (20 Hours or More)
Finish Used
White paint, melamine finish
Recommended Skill Level
Beginner

Helper Step

This was my first build. I obviously started small!
Please note due to the dimensions of the wood I used, I had to make slight changes.

The 1x2 measured 3/4"x1.5" so I had to add a 6th board on the stepping surface. Also, there is slightly more than 1/4" gap between the boards due to the width differences. Due to the dimensions of the boards, the height is only 3" instead of the original 3.75". The final dimensions are 17.5x 11x 3.

This step flexes when it is stepped on by an adult so if it is used by heavy people, adding a center support would be a good idea. Otherwise, it's perfect for kids or occasional adult use. The flexing may be due to the use of pine instead of a hard wood.

I don't like the look of the wood-filler filled holes, so next time I will try using wood plugs. I really wanted to stain this but it looked awful with all of the little wood filled patches glaring at me through the stain even though i sanded them and they took the stain okay.

All in all, it was fun and I learned a lot. I watched videos about how to perform different techniques such as using a circular saw and countersinking screws. I read our circular saw manual and used the saw successfully. I also turned a one hour project into an 8 hour project!

Built from Plan(s)
Estimated Cost
$11
Estimated Time Investment
Afternoon Project (3-6 Hours)
Finish Used
Paint Color: Iceberg from Sherwin Williams
Recommended Skill Level
Starter Project

Comments

booksnotbombs

Wed, 07/09/2014 - 20:57

I think it looks great. :) I like that crisp white even if you weren't able to stain. I just completed my first project, too, and I'm ashamed to admit how long it REALLY took me. lol

Potting Bench

Submitted by Anonymous (not verified) on Mon, 10/17/2016 - 02:37

Loved making this potting bench for myself.  My hubby guided me on using the power tools & I thoroughly enjoyed getting my hands on those!!  Such a sense of satisfaction & the beautiful pop of yellow brightens up that corner of my garden even when not in use.  Great plans Ana, Thank you!!

Recommended Skill Level
Intermediate

Rustic farmhouse buffet - my first project!

Submitted by Anonymous (not verified) on Tue, 07/14/2020 - 04:20

This was a modified version of the Rustic Farmhouse console table. I didn’t want something quite as long, but half the length would’ve been too short. Wanted to use it as a buffet. So I made it a little longer than half the original design and it came out perfect. If I were to do it all over again, I would make the top an inch longer for more of an overhang.

Dark walnut stain on top and the rest was painted with Magnolia paint in Shiplap. Finished with clear satin protective finish. Absolutely loved how it turned out and can’t wait to start on my next project!

Built from Plan(s)
Estimated Cost
$70
Estimated Time Investment
Weekend Project (10-20 Hours)
Finish Used
For top:
Minwax Pre-stain conditioner and minwax dark walnut stain

For the rest:
Kilz primer
Magnolia paint in Shiplap

All-over finish:
Minwax polyacrylic satin finish (water based)
Recommended Skill Level
Starter Project

Parker Dream Doll House

We painted the doll house with paint samples from Lowe's. For the stairs we cut 1 inch by 2 inch boards at a 45 degree angle. Then we glued and nailed each step on each side. The carpet was bath mats that we cut into shape. The chair rails are my favorite! We painted square dowel rods white and cut them to fit the rooms. We used scrap book paper for the wall paper. Thank you Ana for these amazing plans!!!

Estimated Time Investment
Week Long Project (20 Hours or More)
Finish Used
Wall paint samples.
Recommended Skill Level
Beginner

Rustic X in weathered grey and antique white.

My husband recently constructed a coffee table and 4 end tables using the rustic x plans. We think they turned out great!

I did a mixture of 2 stain colors to get the weathered grey finish on the one set of end tables.

I did a stained top and creamy white bottom with glaze for the base of the coffee table and additional set of end tables.

Estimated Cost
2 end table project: $85, Coffee table and 2 end tables: $175
Estimated Time Investment
Weekend Project (10-20 Hours)
Finish Used
Grey tables: I mixed a couple of stained colors to get the weathered grey finish. Poly over the top.

Stained the tops of the other set and did a creamy white with glaze and poly.
Recommended Skill Level
Beginner

Porch Swing

Submitted by jcole32010 on Tue, 10/18/2016 - 11:58

Loved building this one.

Estimated Cost
100
Estimated Time Investment
Afternoon Project (3-6 Hours)
Finish Used
Custom stain, dove white paint, general finishes flat out flat, and chunky rope.
Recommended Skill Level
Beginner

Thanks Ana - Adirondack chair done

Now just to fill and stain (or paint)

Estimated Cost
$100 australian
Estimated Time Investment
Day Project (6-9 Hours)
Finish Used
I will do a jarrah stain (I think) or white paint - thoughts anyone
Recommended Skill Level
Intermediate

Modern Craft Table

My Dad just recently retired and since he is very handy, I had him make this desk for me. He did an amazing job! He used very nice wood and took his time. This could have been a quick weekend project for anyone who isn't retired and has time on their hands :) He did need a little more wood than was called for so you may have to make a second trip to the hardware store, which wasn't a problem. Another note he would give you is to NOT pre-cut the trim pieces before you build the desk. Cut the trim pieces after it is made so you won't be off. (It was only off by 1/8 of a inch, but for a perfectionist that was 1/8 inch too much!)

After it was made we did two coats of paint on the desk followed by several coats of poly on the top. The final project looks amazing and all of my friends now want my Dad to make one for them :)

Built from Plan(s)
Estimated Cost
$350 with paint and poly
Estimated Time Investment
Weekend Project (10-20 Hours)
Recommended Skill Level
Intermediate

Comments

Awesome! Thank you for the plans!!!

Submitted by Sherice on Tue, 07/15/2014 - 07:41

This is the second project I attempted and it was a huge undertaking for me, but it was fun and went well! I had planned to sew a cushion for it, but by the time I completed the project, I was DONE! So I bought some for now.

The only modifications I made were larger arm rests so I could put cup holders in them. The cup holders I made out of PVC 3" Male end and a 3" drain, which I glued together. I then scuffed the entire thing and painted them with acrylic paint (trying to get them to match the blue and green in the cushions) before spraying them with gloss sealant.

My family LOVES the new "swing bed". It weighs ALOT so I had to make sure to get proper hanging gear. It's obviously not hung yet when I took the pics tho.

Thank you for another beautiful project!

Built from Plan(s)
Estimated Time Investment
Weekend Project (10-20 Hours)
Finish Used
About seven layers of spar urethane, natural/clear, with sanding in between the layers.
Recommended Skill Level
Beginner

Trash Can Unit

Submitted by djp33d on Fri, 10/21/2016 - 14:57

Double wide trash can unit, Fall of 2015. 

Estimated Time Investment
Weekend Project (10-20 Hours)
Recommended Skill Level
Intermediate

Comments

Farmhouse Table

Another super easy plan to follow! I was even able to make adjustments really easily! This table is 6ft by 33in, because I needed it a bit smaller for the space. The table went together in about half a day. My new paint sprayer and orbital sander made my life a little easier but the heat has been obnoxious so it took a couple of extra days to get the finishes done! I did end up changing my mind and decided to stain the table top to match the sofa & sectional which were done in Olympic Maximum stain and sealant semi transparent in cinder.

Estimated Cost
$50
Estimated Time Investment
Weekend Project (10-20 Hours)
Finish Used
The table base is painted in Rust-Oleum Painter's Touch Ultra Cover Gloss Black General Purpose Paint. The table top was stained with Varathane in Summer Oak Premium Fast Dry Interior Wood Stain. Two coats of spar urethane to protect the table from the elements was also used.
Recommended Skill Level
Starter Project

Kids Chairs

Submitted by ValBryant on Wed, 09/19/2012 - 13:30

So i made these chairs to go with the table i built. I actually built 7 of them at a time, three for me and four for a friend. I had a little over a hundred pieces of wood to put together which became a chore, so i don't recommend doing so many at once. I got burnt out quite a few times, hence why it took me a month to finish (couple hrs here every other day or so).
Anyways, the plans we very easy, the wood on the other hand was difficult. Using furring strips is inexpensive but i had more then i wanted split, and they wern't all the same thickness. Making the front legs stick out more (no biggy) and some screws went too far through even though they were the right size according to the plans. Two 1x3's furring strips sandwiched together ( side aprons) might not take a 1 1/4 inch screw. I had to cut off a few tips from the inside of the chairs.
All in all i am so happy with the end results, even happier that in total it only costed me less then $20 in wood! Would have been a little more because i got the wood for the chairs for free, in exchange to build my friend a table and chairs set like mine.
Link to the Chair Plans.

http://ana-white.com/2010/11/plans/four-dollar-stackable-children’s-chairs

Estimated Cost
Maybe $35 for wood
Finish Used
Minwax Dark Walnut for stain. Valspar Sea Exposure? And Tint-able glaze for the distressing over the paint. Same a Ana's finish process - DISTRESSED TURQUOISE WITH CHOCOLATE GLAZE.
Recommended Skill Level
Beginner

Comments

One Board Bench

Submitted by wabilinski on Fri, 07/18/2014 - 07:42

My wife was going to buy a resin bench from Lowes. I told her I would build a REAL bench out of wood myself. I found the One Board Bench plan and thought it was a classic looking bench that was not too busy and perfect for the spot under the pine tree she was wanting to fill.

I went with Cape Cod Grey Olympic Maximum Semi-Transparent Exterior Stain instead of the natural wood look using the Tung Oil originally in the plans.

This was my first venture into woodworking since middle school shop class. I've always wanted to get back into it and I thought this was a perfect project to get my feet wet and shake off the rust.

Thanks, Ana, for your amazing plans and the inspiration I needed to get back to a hobby I love after over 20yrs.

Built from Plan(s)
Estimated Cost
$40
Estimated Time Investment
Weekend Project (10-20 Hours)
Finish Used
Cape Cod Grey Olympic Maximum Semi-Transparent Exterior Stain
Recommended Skill Level
Beginner

Most fun project ever! The first thing we ever built!!! thank you so much!

Submitted by Anonymous (not verified) on Tue, 10/25/2016 - 07:03

Thank you Ana!  the directions were right up my alley!  We have never built anything and now we cant wait to build our next piece!  we used your insturctions and made minor modications to accomodate our cushions.  We got brave and designed our own ottoman and put it on casters :-) We also added a few back support and legs.


We used one coat of deck over paint

Cushions were on sale at ballard http://www.ballarddesigns.com/ballard-basic-seat-and-back-cushion-set-w…

Quality of cushions is amazing!  they were the most expensive part.  We spent $600.00 on cushions.

Wood, putty, paint and screws about 350.

Estimated Time Investment
Weekend Project (10-20 Hours)
Finish Used
deckover
cushions = ballard
Recommended Skill Level
Starter Project