Community Brag Posts

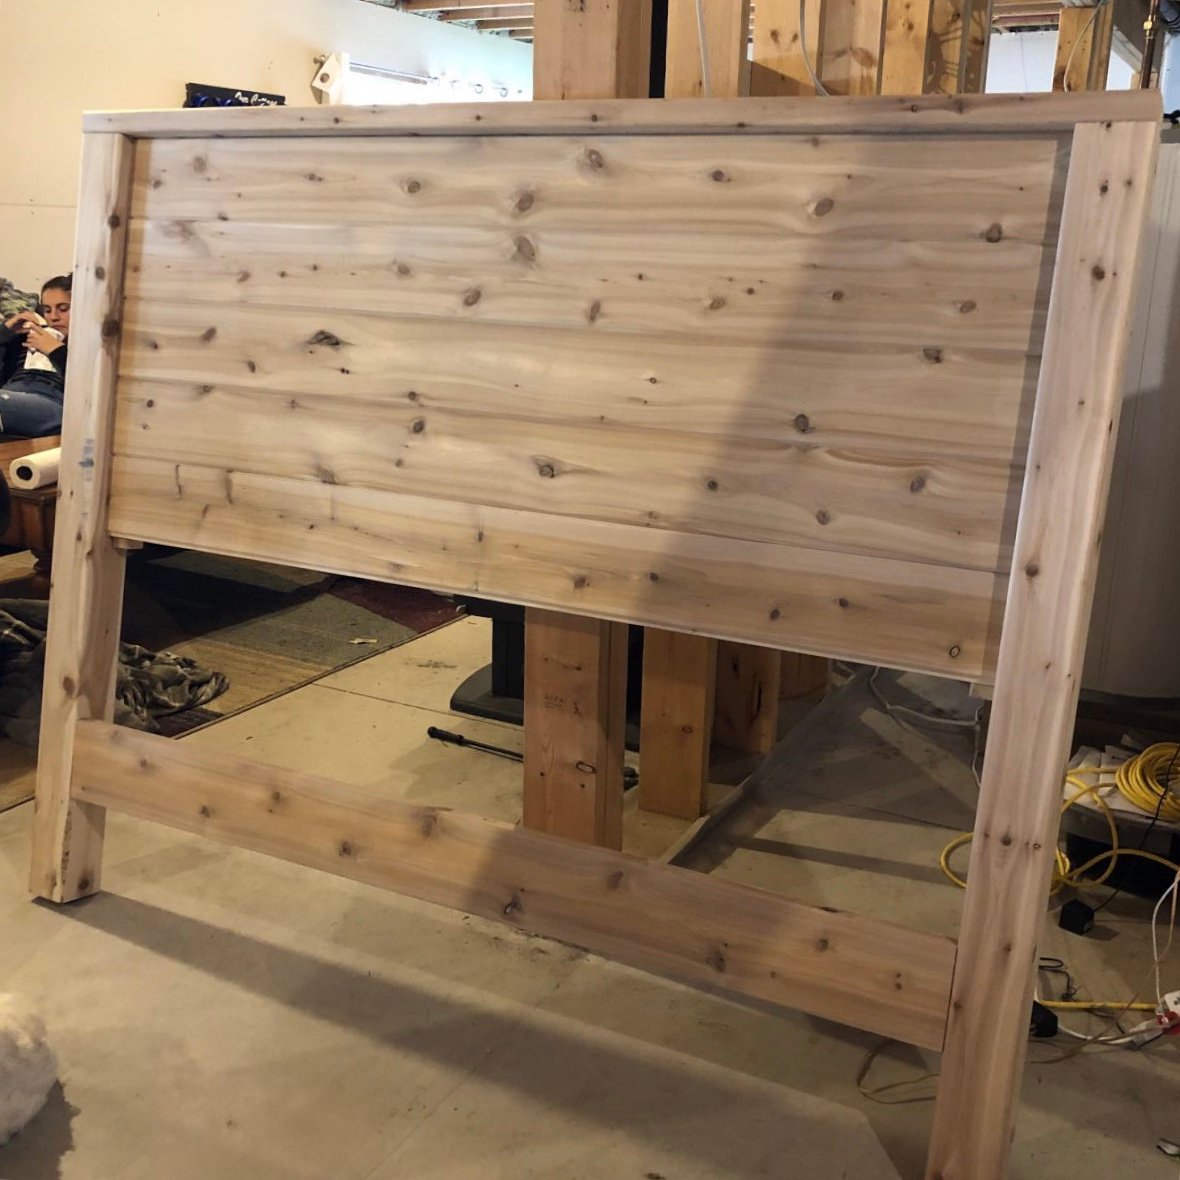
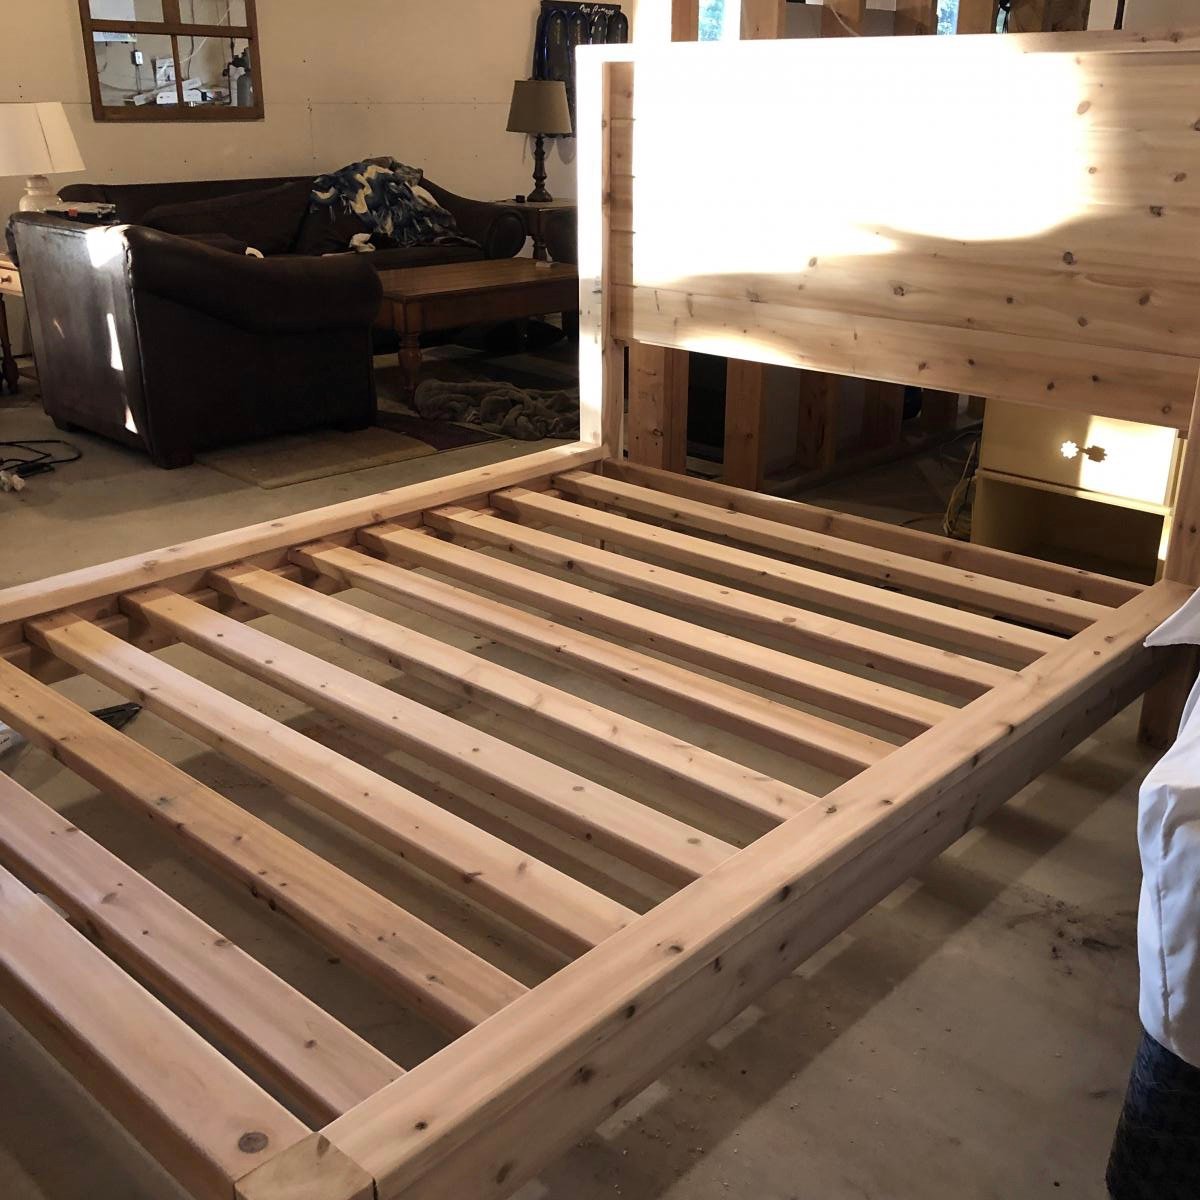
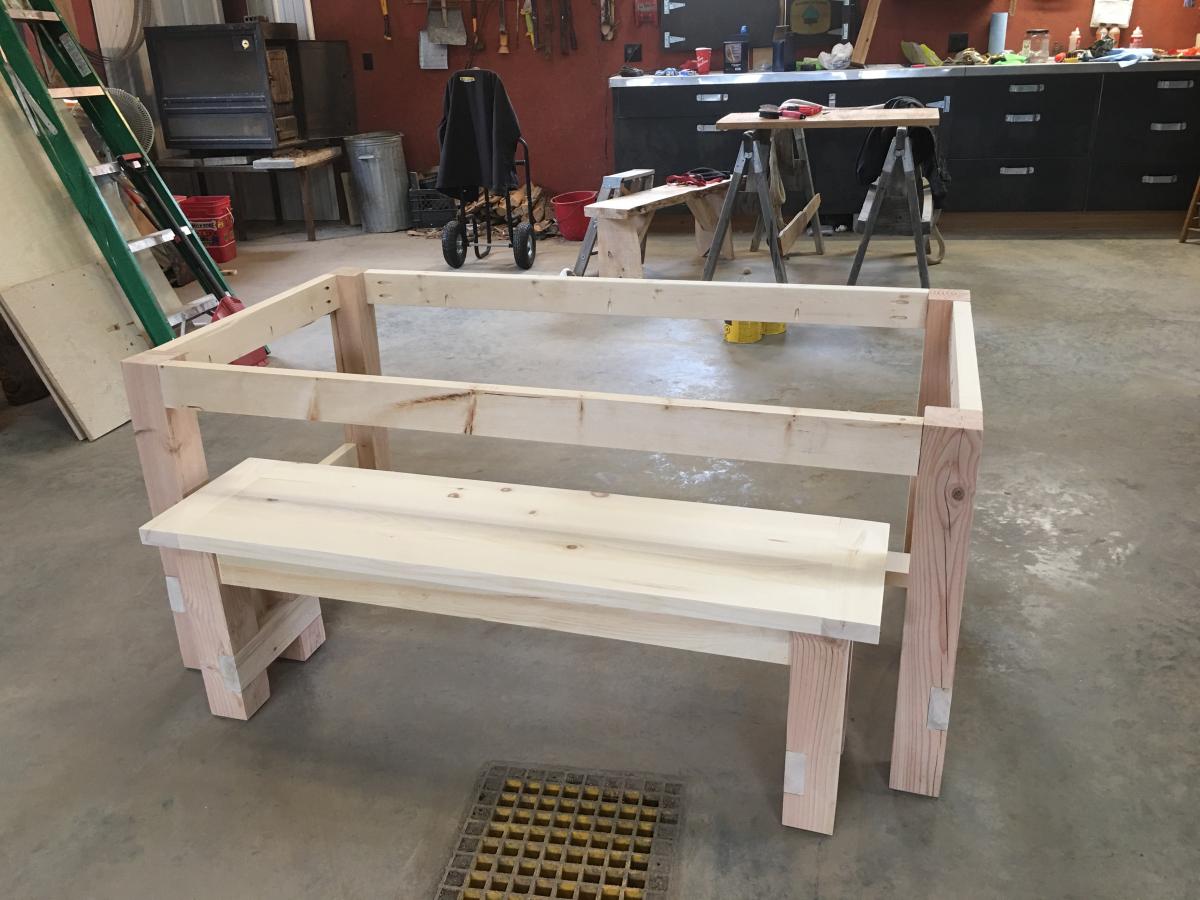
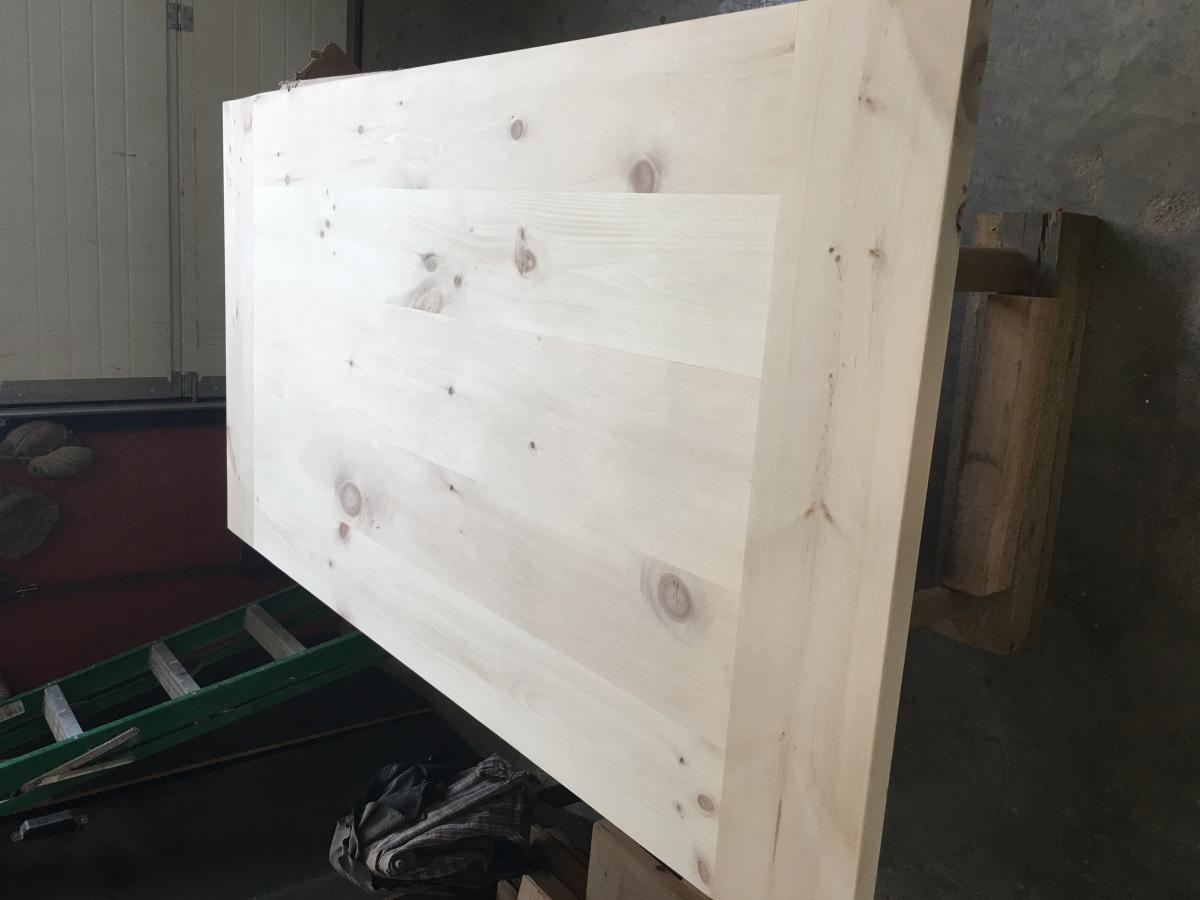
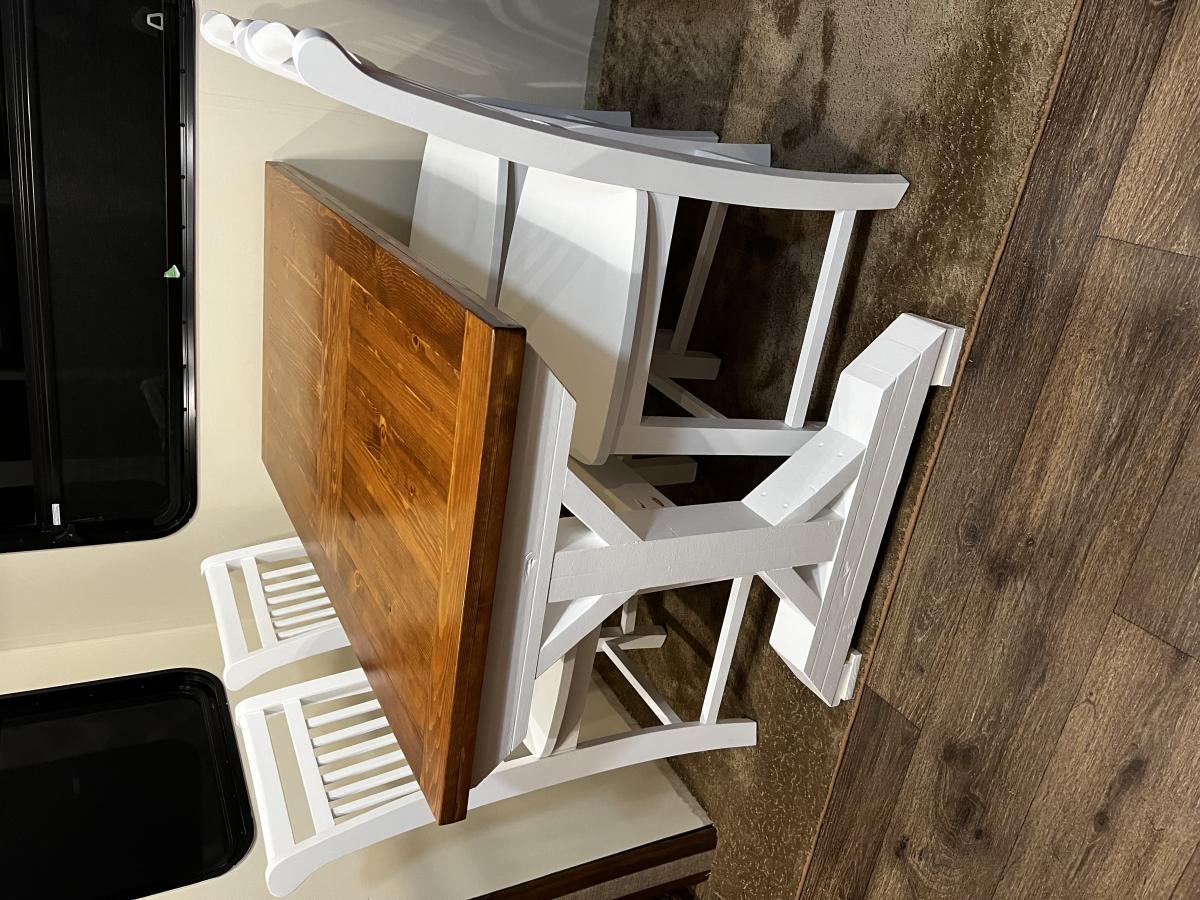
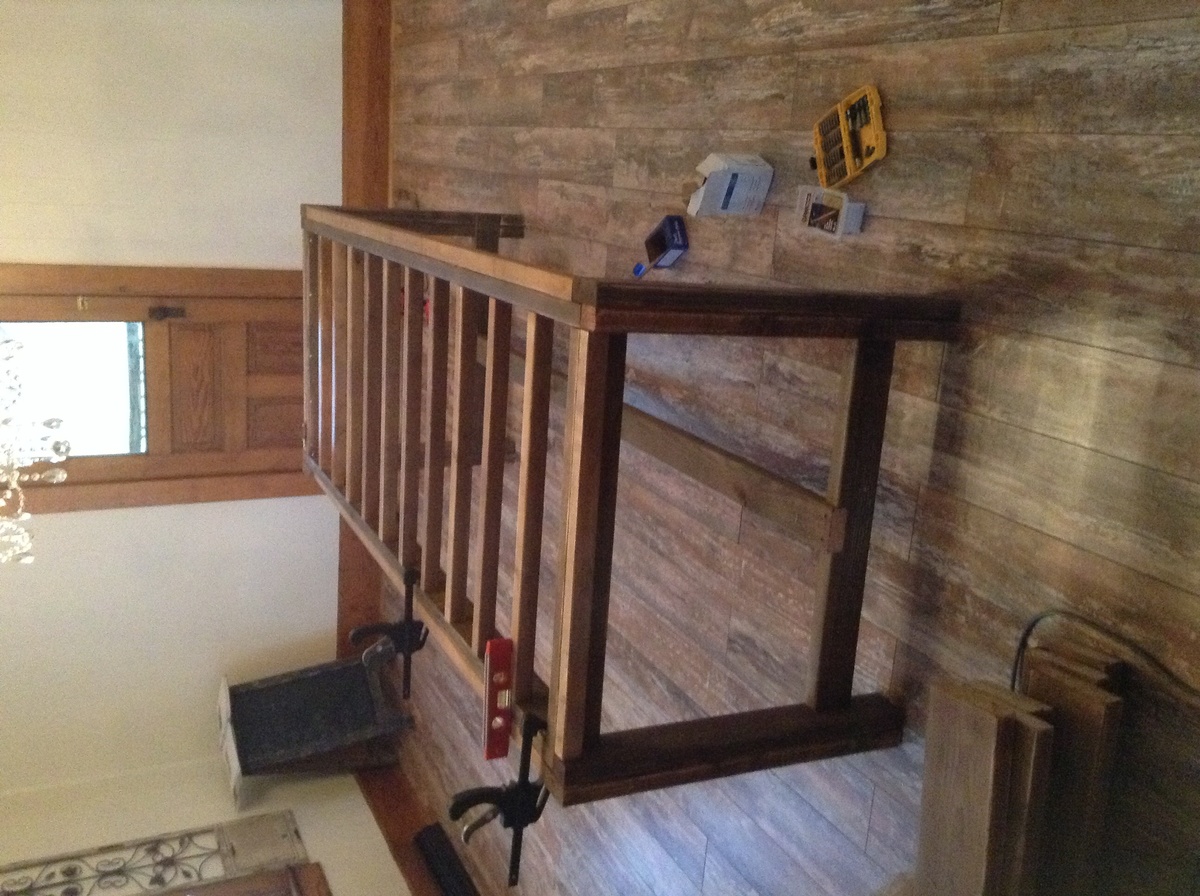
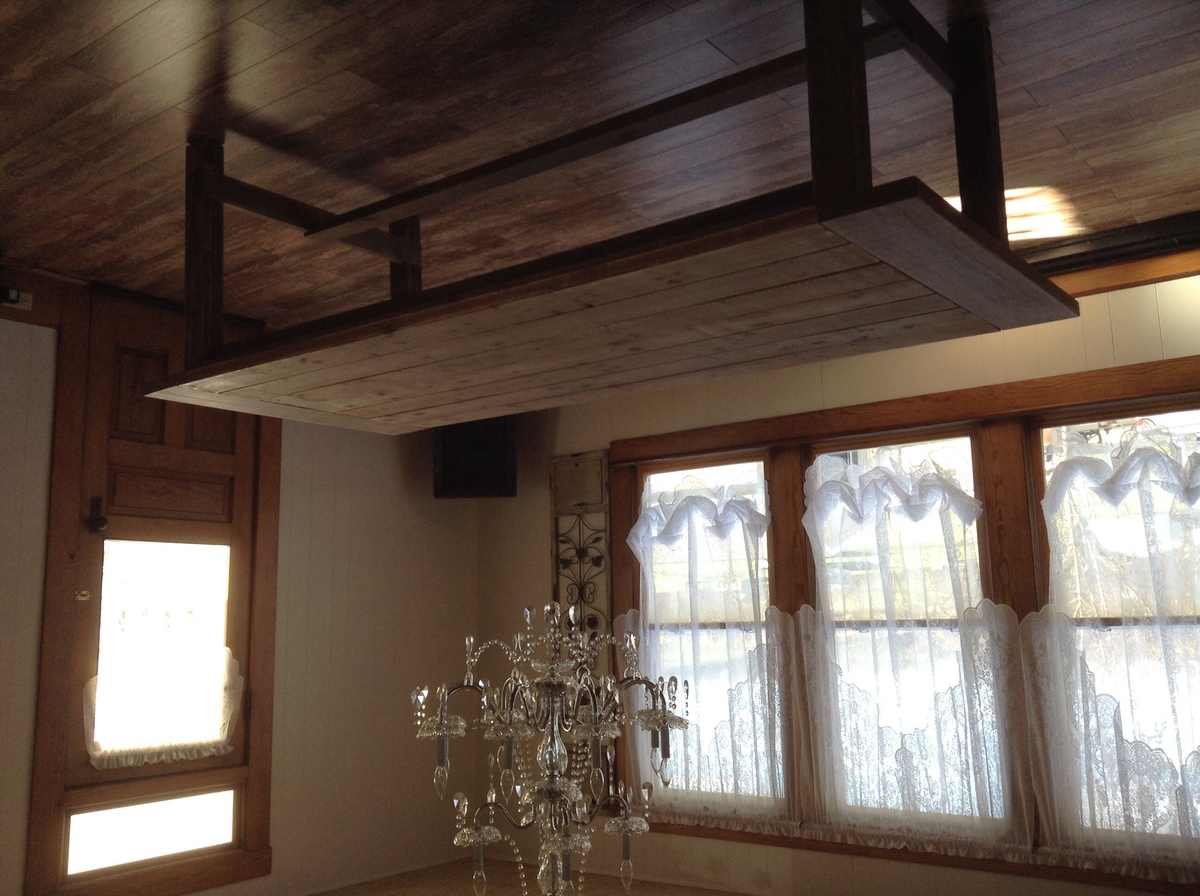
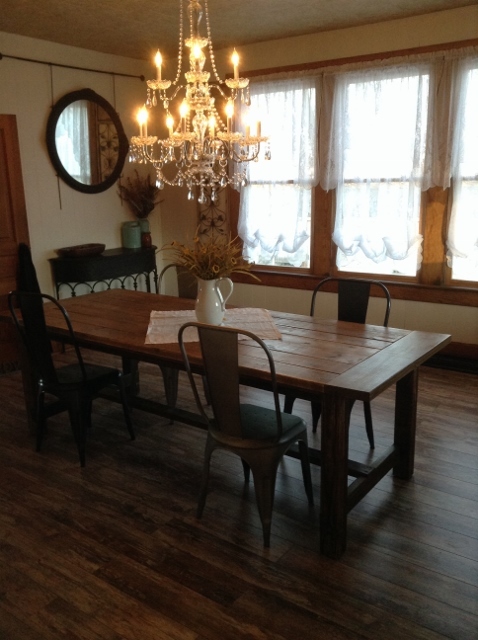
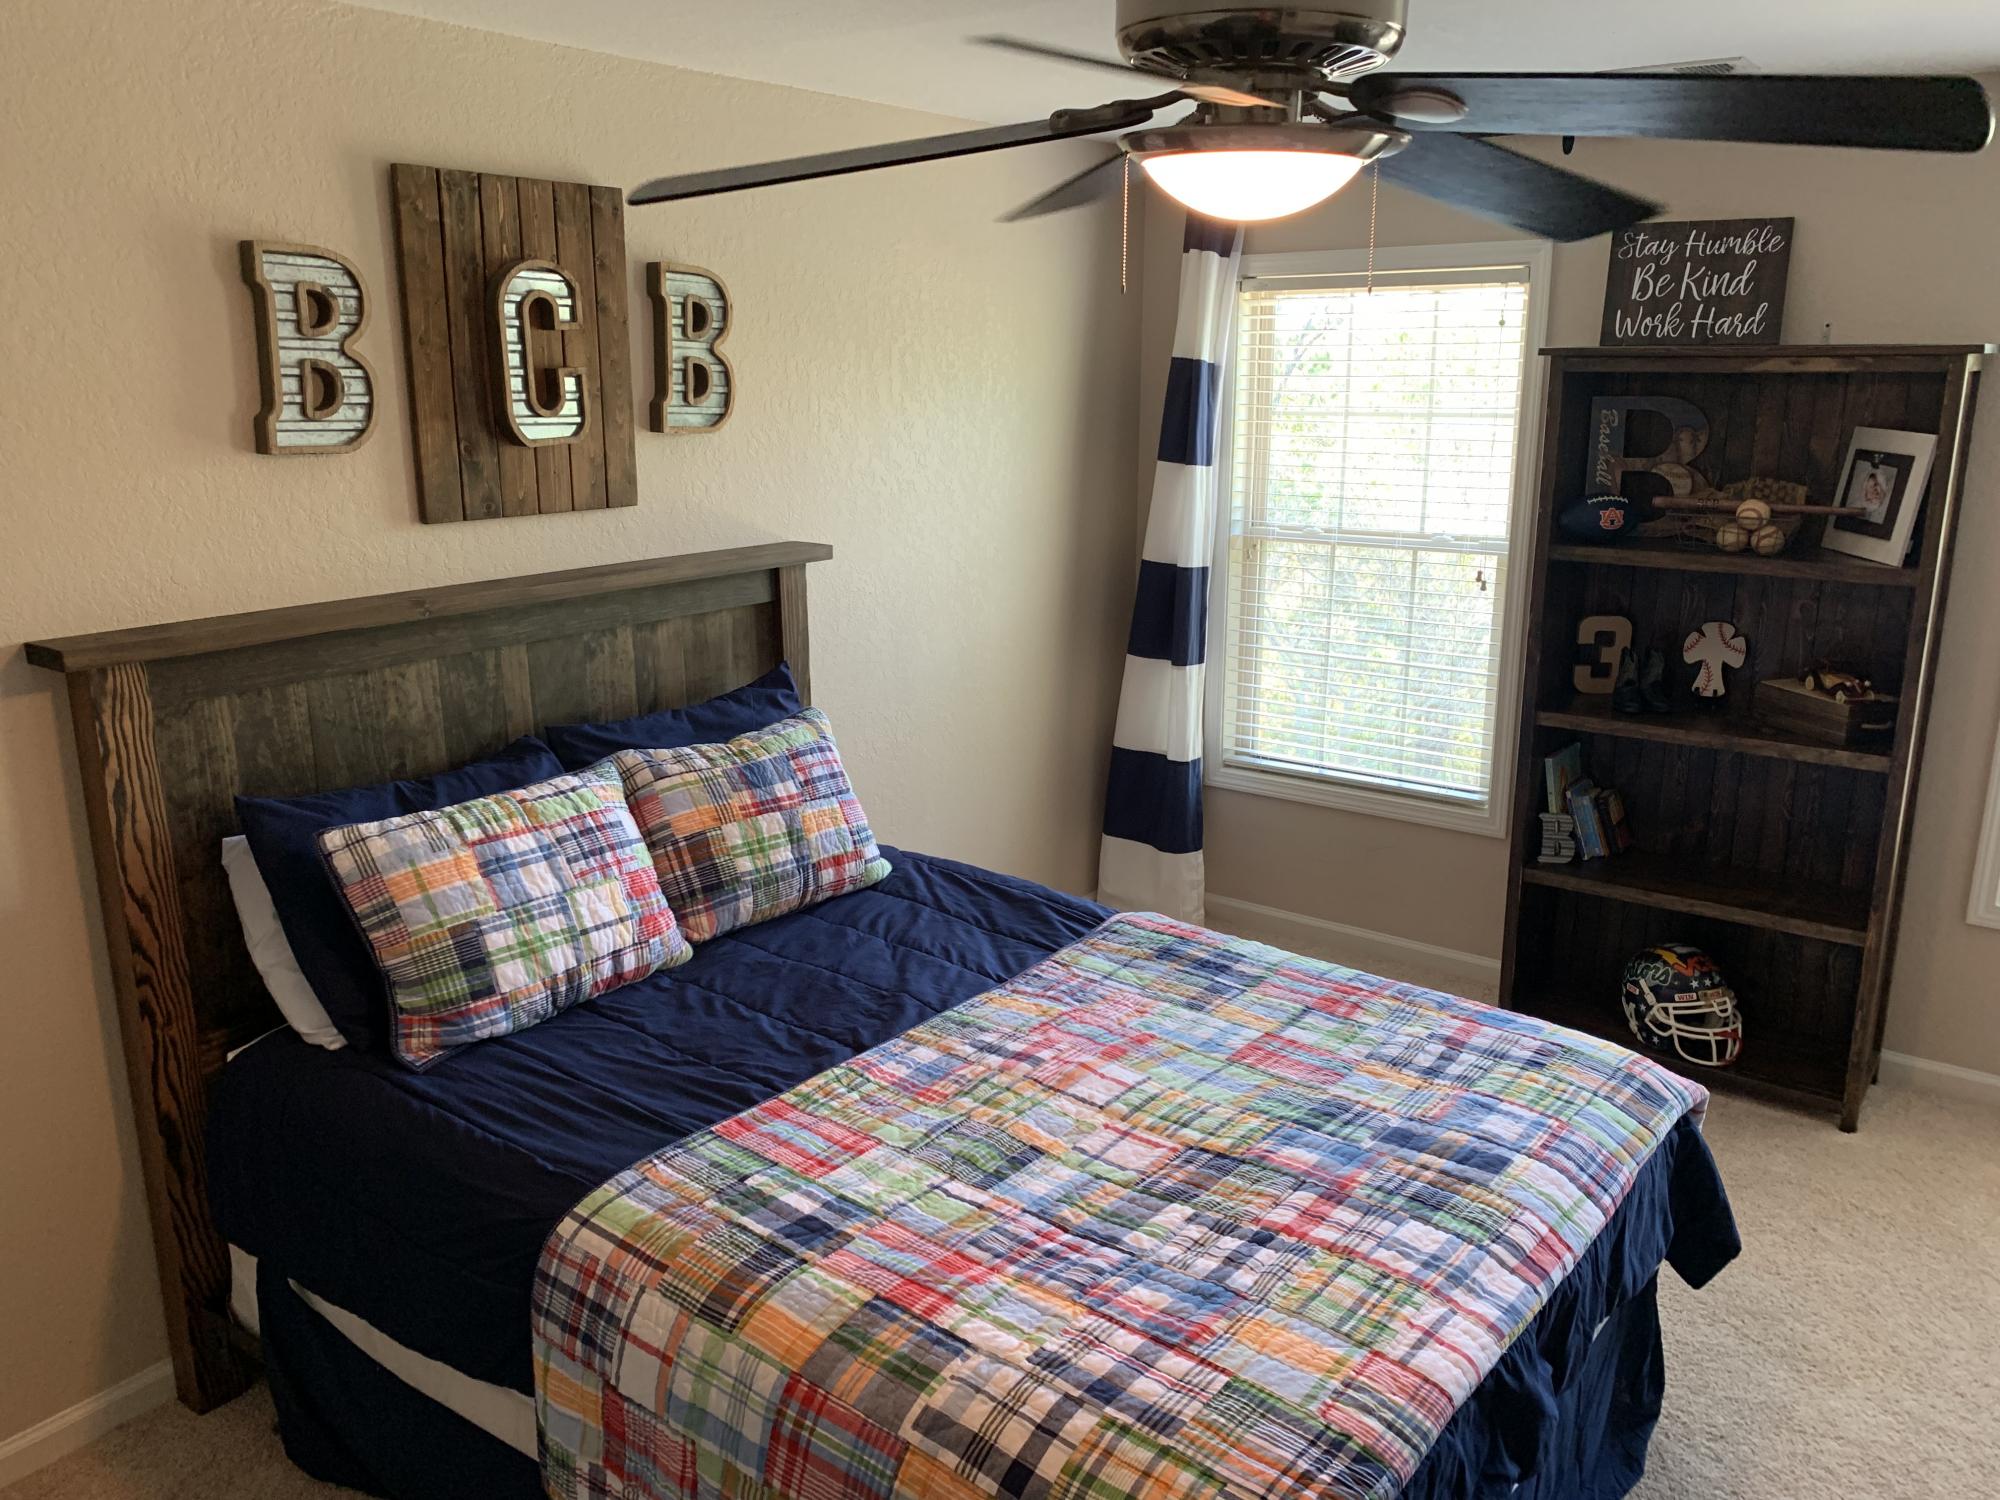
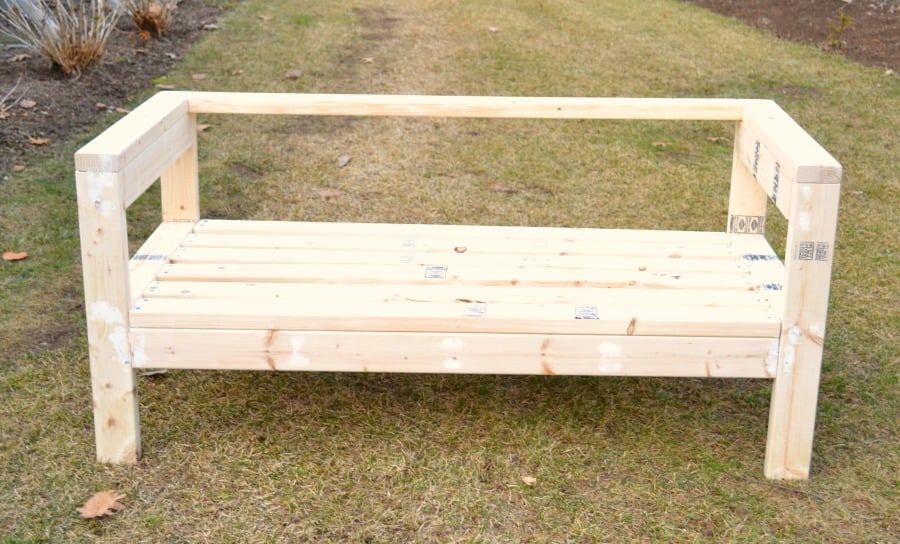
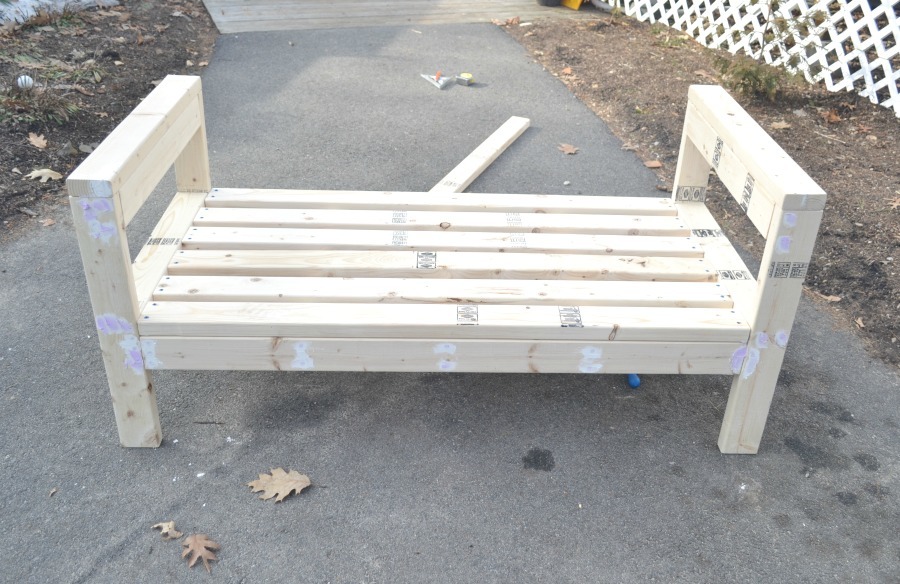
Modern Farmhouse Queen Bed

Submitted by Anonymous (not verified) on Wed, 10/02/2019 - 07:47

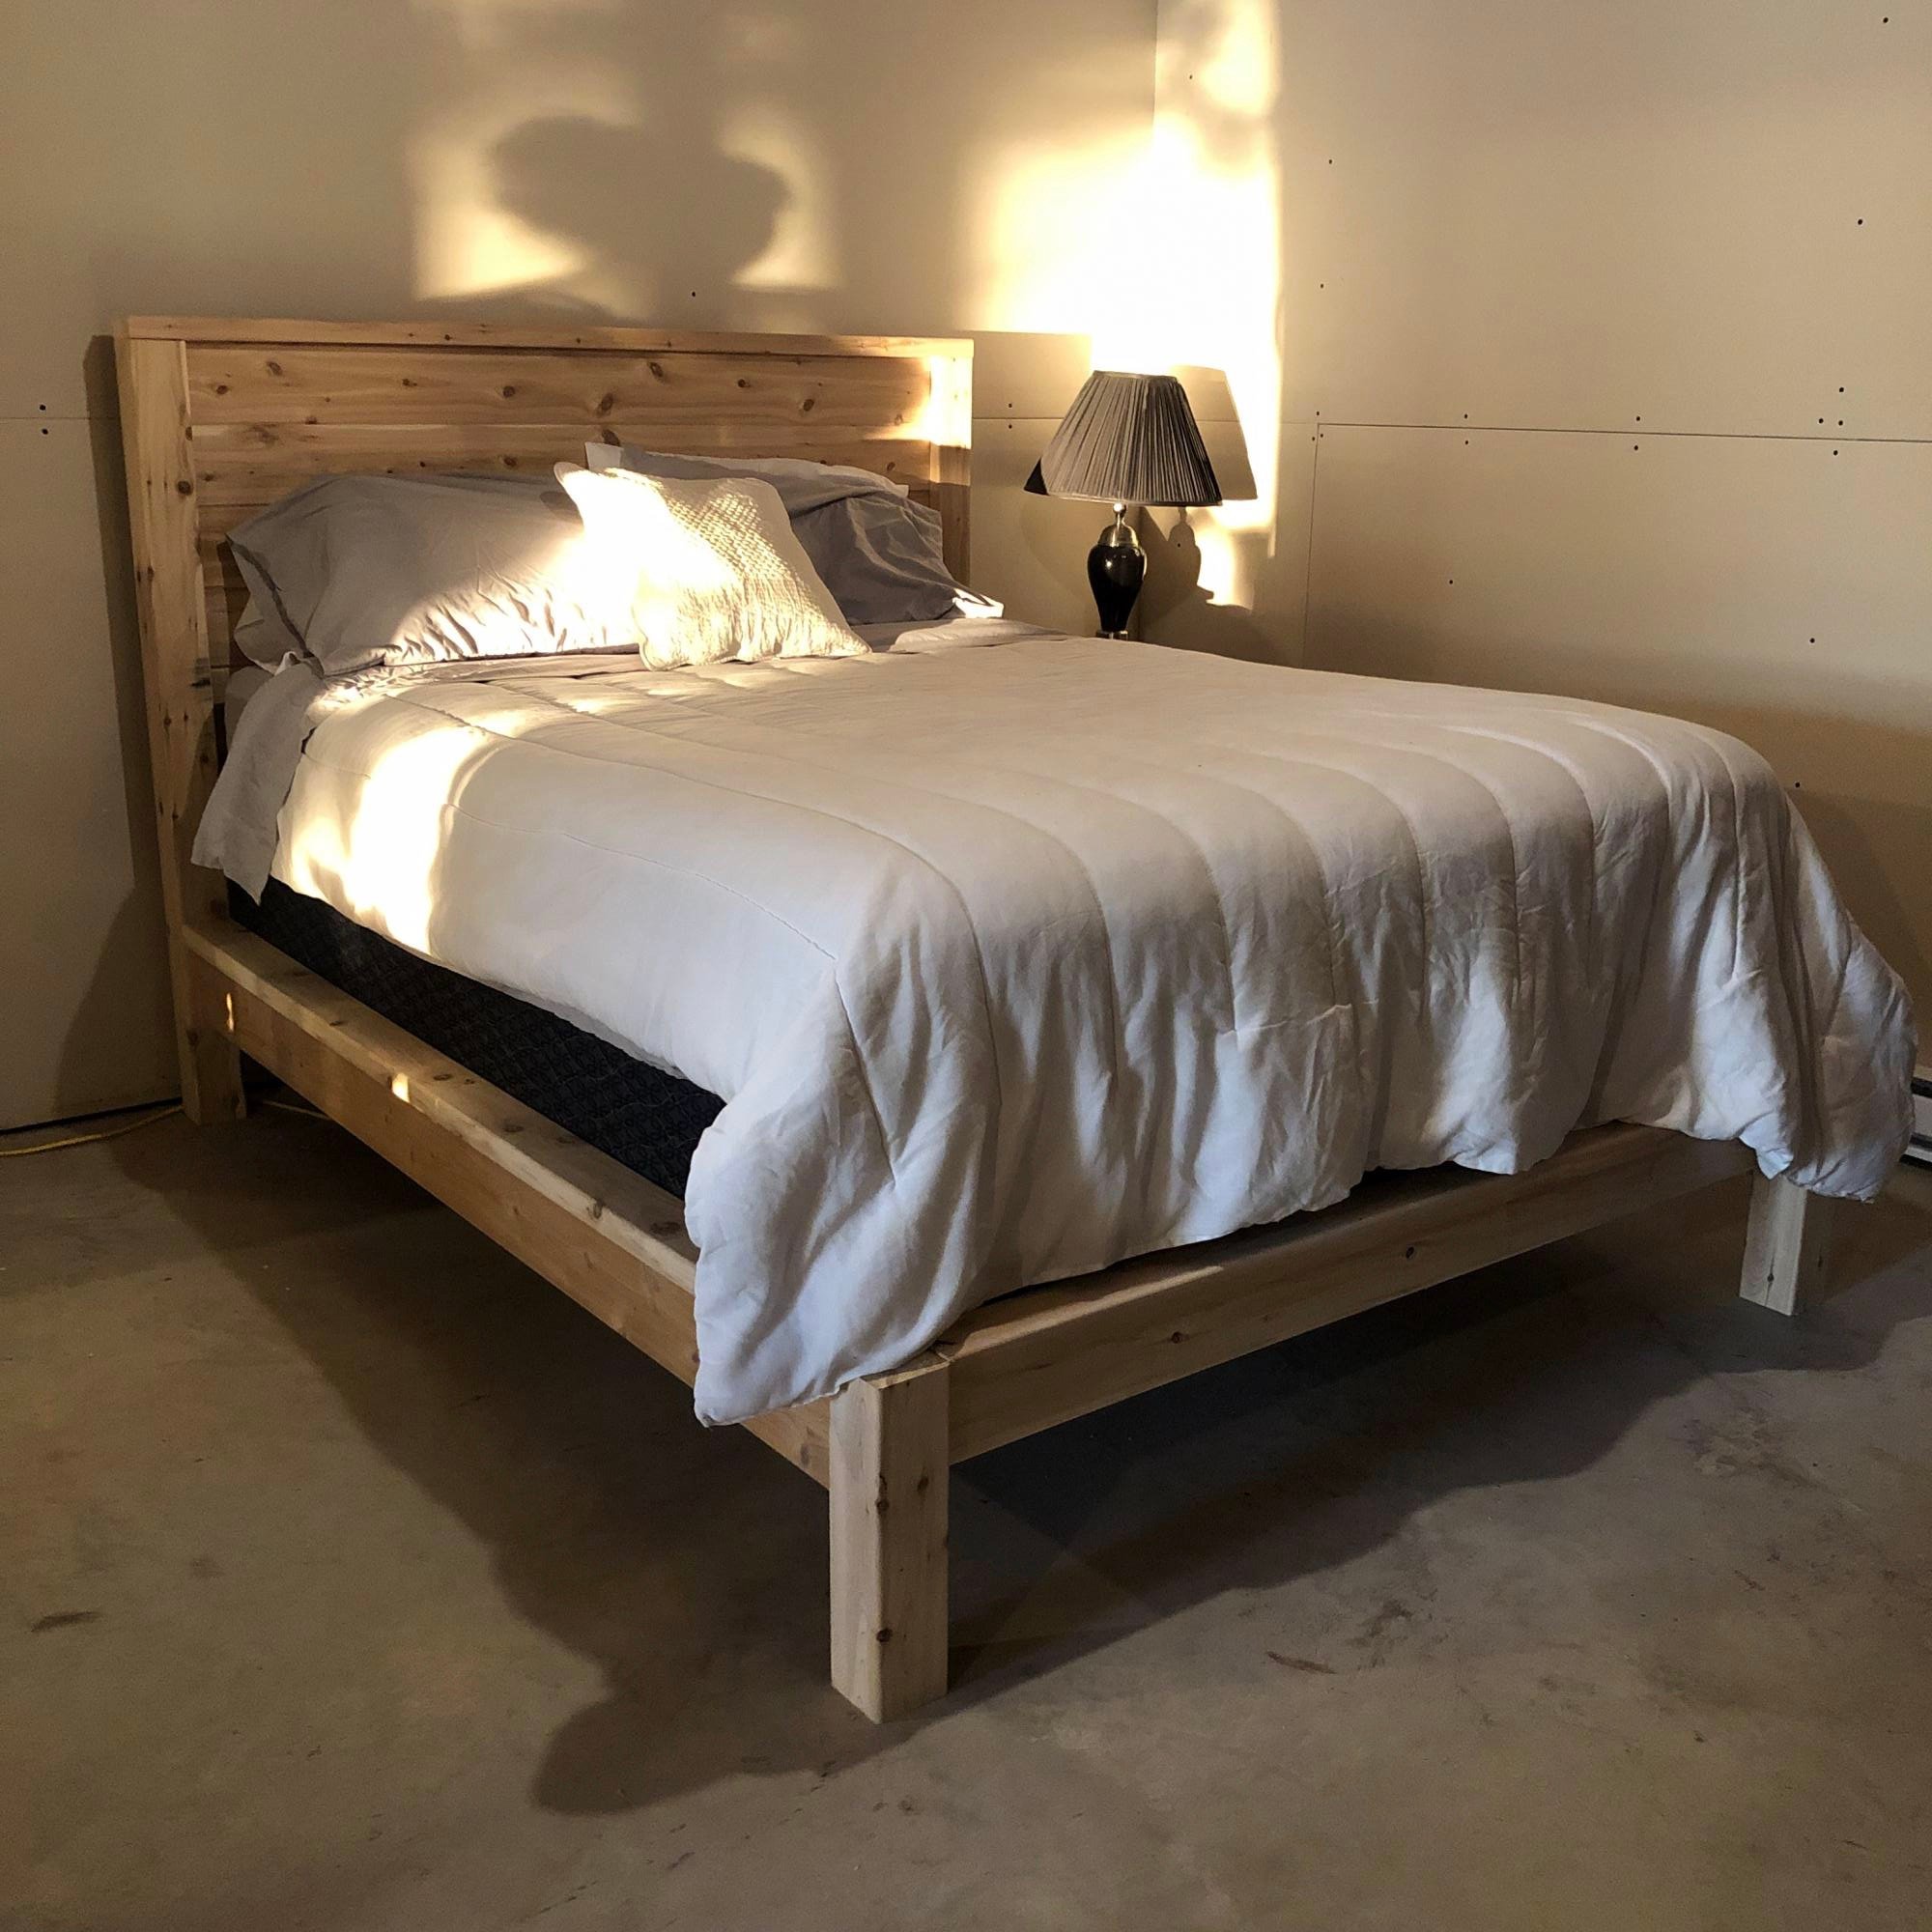
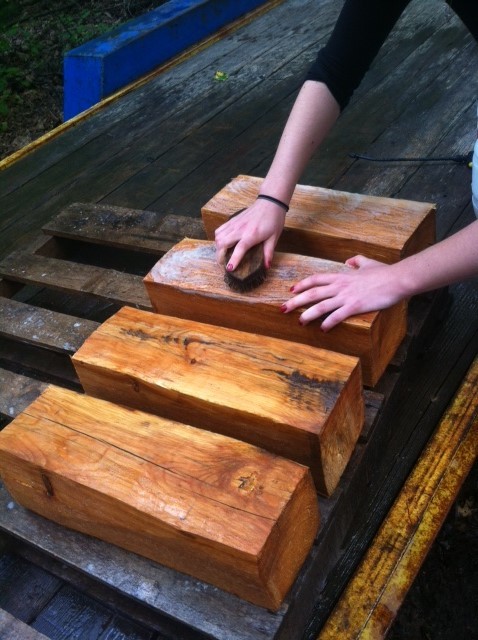
Love this bed so much, we plan to build another 3. Used local white cedar milled just down the road from our cottage.

http://www.ana-white.com/woodworking-projects/modern-farmhouse-bed-frame

Built from Plan(s)
Estimated Cost
$300
Estimated Time Investment
Afternoon Project (3-6 Hours)
Finish Used
Unfinished. Love the cedar smell.
Recommended Skill Level
Beginner

Comments

Faux beam

Submitted by vickyand on Sun, 01/22/2012 - 20:07

We took down a wall in our basement which left us with a gap in between the ceilings and two ceilings at different heights...the beam filled the gap perfectly!

Built from Plan(s)
Finish Used
we stained it with Minwax Special Walnut.
Recommended Skill Level
Beginner

Fancy Hall Tree Bench

Submitted by blmalloy on Thu, 12/05/2013 - 12:08

I saw the plans for this and had to have it! My husband had it assembled pretty easily (we've built several dining tables/benches, but this was our first piece that went out of that box, lol) and the whole project took maybe a day or two including staining. We left of the end pieces just because we were trying to get it done quickly for Thanksgiving; we intended to add them on later, but I kind of like it open. Everyone who has seen it loves it!

Built from Plan(s)
Estimated Cost
$75
Estimated Time Investment
Day Project (6-9 Hours)
Finish Used
Rustoleum Ultimate in Early American with two coats of poly. If I had to do it again, I would stain the pieces used for the bench before they were assembled; staining inside those cubes was a bit difficult.
Recommended Skill Level
Beginner

Comments

Val Manchuk

Sat, 12/07/2013 - 21:46

Your hall tree looks really good! (Early American is my favorite stain color!)

Val @ artsybuildinglady.blogspot.ca

Six cube shelf

Submitted by Anonymous (not verified) on Sat, 02/20/2016 - 12:06

Really fun project. My dividers were a little off, but for kiddo storage- it's not too shabby. Bins were on sale at target. Because I trimmed the whole case out in 1x2s- 11x11 was the size I needed. The labels were extra, but totally worth the cost in my opinion. Loved this project and love the organization it brings!

Built from Plan(s)
Estimated Time Investment
Day Project (6-9 Hours)
Recommended Skill Level
Beginner

My first build ever !

Submitted by Anonymous (not verified) on Sun, 10/02/2022 - 05:04

My daughter needing a dining room table. After discovering Ana White’s web site and building plans, I figured I could do this ! I have a background in quilting so I was thinking , cut the material , piece it together....simple !!!! It was definitely the plans and YouTube videos that made this achievable. I had never run a miter saw or table saw in my life ! I still can’t properly read a measuring tape !!! I had the basics down and away I went !!!
It turned out beautifully and best part of all is I could gift my daughter a table and bench made with love from mom !!

Estimated Cost
300
Estimated Time Investment
Week Long Project (20 Hours or More)
Finish Used
Minwax dark walnut stain and sealed with minwax polyurethane
Recommended Skill Level
Beginner

Comments

Camping life

Submitted by Anonymous (not verified) on Fri, 06/09/2023 - 14:21

This was a great project. Easy to do.. Had to down size the table to fit our trailer…

Comments

Combined Tryde Media hutch & Rustic Media Console

Submitted by lazyLiz on Sat, 01/28/2012 - 20:56

My very second furniture do-it-myself. This furniture was inspired by both the Tryde hutch and rustic media console built to suit my space and need. Whew! now I feel like I can build anything:-) Thanks Ana!

Estimated Cost
$250.00
Estimated Time Investment
Week Long Project (20 Hours or More)
Finish Used
glossy white paint
Recommended Skill Level
Intermediate

Comments

Moms train table in white

Submitted by Lsh108 on Tue, 12/10/2013 - 13:00

I used the basic plan but made a few changes. First I wanted a track layout that was screwed down. Easy to start playing for a two year old. And a reversible top that could be used for activities. The top therefor is one piece of ply. With a hole drilled in one end for inserting a finger to start the lift/flip. I used a little thinner ply than recommended to give a little lip around the trim to not allow the crayons and trains to roll on the floor. This also allows me to put two inserts on the plain side. I have a half chalkboard/ half whiteboard inserts. This gives it more flexibility. I also added a theater front to the mix that I store in the cavity of the box with the other top inserts. Finisher with white paint and minwax spray lacquer.

Built from Plan(s)
Estimated Cost
$200
Estimated Time Investment
Week Long Project (20 Hours or More)
Finish Used
White paint and minwax clear satin lacquer
Recommended Skill Level
Beginner

Handmade by Gary

Submitted by Anonymous (not verified) on Mon, 02/22/2016 - 18:35

This is a modified version of your plans.  I made it 4x8 and adjusted the roof and front according. For the back wall, I used T1-11 siding and the pickets everywhere else. I added a floor and ramp too.

Estimated Cost
$425
Estimated Time Investment
Weekend Project (10-20 Hours)
Finish Used
None yet.
Recommended Skill Level
Intermediate

Honey Do

Submitted by Anonymous (not verified) on Thu, 10/03/2019 - 11:45

After moving, my wife informed me that I would be building her a new TV console. This is the end result. Now we need a bigger TV!

Estimated Cost
$400
Estimated Time Investment
Weekend Project (10-20 Hours)
Finish Used
White paint and Minwax stain.
Recommended Skill Level
Intermediate

Comments

Farmhouse Potting Bench

Submitted by Anonymous (not verified) on Fri, 06/16/2023 - 11:27

Proud of this, my very first build. Thanks to Ana White for the detailed, easy to follow plan. Can hardly wait to start the next project!

Built from Plan(s)

Comments

Media Console

Submitted by Donnalu on Fri, 02/03/2012 - 17:54

Media Console--My first build! Read all about it at http://isthisloadbearing.com/2012/01/15/media-console/

Built from Plan(s)
Finish Used
Behr Swiss Coffee
Recommended Skill Level
Beginner

Comments

jfmiller17 (not verified)

Mon, 02/06/2012 - 13:31

The details really make the piece unique. The additions of the lattice panels and the legs look like simple additions, but they make a bigg difference. It looks great.

RandyE (not verified)

Mon, 04/09/2012 - 15:40

Did you follow Anna's plans for this? Some other comments on the plan had suggested the measurements were off. Did you find this was the case?

Thanks,
Randy

lizzlysamsinson

Mon, 05/06/2013 - 03:58

I like the idea you have in there. It is quite simple but it expresses such coolness and neatness to the place. Simplicity is beauty. It is better that you make your media console not occupied with a lot of stuff.

------------------------
dragon city hack

Farmhouse Table

We recently moved back to my hometown and bought a beautiful farmhouse that was built in 1908. We knew Ana's Farmhouse Table plan was perfect for our dining room! We followed Hillary, from The Friendly Home, advise and black tea stained the wood, then sanded it with an 80grit paper. The next step was to apply the oxidizing solution, made up of 000 steel wool dissolved in white vinegar. We will continue to use this finish technique on other builds so we now keep a massive mason jar in the basement. If you decide to do the same, remember not to tighten the lid. The mixture creates a gas expansion in the jar that could pop the top! Once this was applied we let it dry completely and started sanding again. This is the fun part. The love of my life, who had never attempted to build anything before, felt like an artist! It was so much fun to hear him exclaim he had created another masterpiece! Once we had all the pieces sanded , we put the whole thing together and applied 2 coats of min wax. Unlike Hillary, we did not add color to our wax, but decided we liked the color just as it was.

Estimated Cost
$85
Estimated Time Investment
Weekend Project (10-20 Hours)
Finish Used
Tutorial from The Friendly Home
Recommended Skill Level
Beginner

Comments

Modified Planked Wood Sideboard

Submitted by Anonymous (not verified) on Thu, 02/25/2016 - 08:41

Built this buffet/sideboard in about a week. Huge, and kind of a pain to move, but beautiful and extremely useful.

Built from Plan(s)
Estimated Cost
$175
Estimated Time Investment
Week Long Project (20 Hours or More)
Finish Used
Minwax Provincial stain with wax finish
Recommended Skill Level
Intermediate

Comments

In Drawer Knife Block Includes Steak Knife Storage

I watched your video and modified mine to take up less space by using 1 x material instead of 2X material, and I cut a notch in the top to allow steak knives to store on top.  Once a cut a notch, then I used my table saw to create the space where the steak knife blades fit. 


From there, lots of sanding and gluing. I made the plywood base about 1/4” shorter than the depth of my drawer so it could be easily placed inside my drawers that don’t fully extend out. 


I finished it with pre-stain conditioner, stain, and then an oil/beeswax blend (used for cuttting boards) applied with 0000 steel wool for a super smooth, satiny finish. 

Angie 

Built from Plan(s)

Modified Fiona Chair, we call it a Nintendo Chair

Submitted by angiemicn on Wed, 02/08/2012 - 01:36

Started out making the Fiona Adironback doll chair, and when my niece saw it in this state, she dramatically screamed, STOP! she's 8, lol. She brought it in to the house, sat her doll in it next to her game chair, gave her dolly the game controller, and began to play 2 player Nintendo, Wii, and xbox.
I've built 5 of these, all for friends of hers, who see her and Sarina (her Doll) playing video games together.

Built from Plan(s)
Estimated Cost
20
Estimated Time Investment
Afternoon Project (3-6 Hours)
Finish Used
sanded and sprayed with clear polyurethane to protect it in case dolly spills her drink
Recommended Skill Level
Beginner

Our rustic outdoor bench

Submitted by oasieggr on Wed, 12/18/2013 - 05:43

My younger brother, John, and I built this bench during the weekends during the first few months of "back-to-school" as a way to spend time with each other. This is a variation on the simple outdoor bench by Ana. Our mainframe was built of regular 2x4s and the slats with pine, while the legs and the exterior wood was of cedar that was leftover from when our parents built our log home 20 years ago. Since we used the cedar, we also had to wash the logs with special logwash, and wait for them to dry, so our project took a little longer than most. Due to the staining, which was the stain used on our house we ended up putting a light clear coat over top of the stain since we didn't want it to be rubbing off on our clothing during use (since it's not typically used as furniture stain). Our Dad did have to help us a bit with the log legs that needed to be cut with a chainsaw and he sandblasted (he's a stone engraver by trade) the wood to make it look a little more weathered and "rustic." Overall it was fairly simple and my brother and I are both very pleased with the outcome, and this project has driven me to start making my own simple bedroom furniture when I move out for graduate school!

Estimated Time Investment
Day Project (6-9 Hours)
Finish Used
A log house stain and wash. Would not recommend, since it requires some up keep and had to be reapplied several times, including a clear coat.
Recommended Skill Level
Beginner

Comments

My "almost" outdoor sofa

I have been looking for something to add extra seating to my deck while also filling an awkward corner that I have never been able to find prefab furniture to fit. This build reminded me a lot of the large X bench that Ana made for her cabin (that I also built for my front porch.) It is super simple and so sturdy. I can't wait to sew cushions for it and build the second half.

Estimated Cost
$30-$40
Estimated Time Investment
Afternoon Project (3-6 Hours)
Recommended Skill Level
Starter Project

Chunky leg table

Submitted by tonellieto on Sun, 10/06/2019 - 21:16

I made this table from the husky farmhouse table plan, I have loved this  table since I first saw the plan. I used 4” legs instead of 5” and 1x6’s for the top. It turned out beautifully. I did purchase the Osborne legs as recommended.

Estimated Cost
$300
Estimated Time Investment
Day Project (6-9 Hours)
Finish Used
Top: stained with “Early american satin stain.
Legs and base: sarin black spray paint.
Recommended Skill Level
Intermediate

Planters for Steps

Submitted by Anonymous (not verified) on Tue, 06/27/2023 - 12:10

Very happy with how these planters turned out. Beautiful with red Geraniums and ping wave petunias.

Built by Dave

Built from Plan(s)

Comments