Community Brag Posts

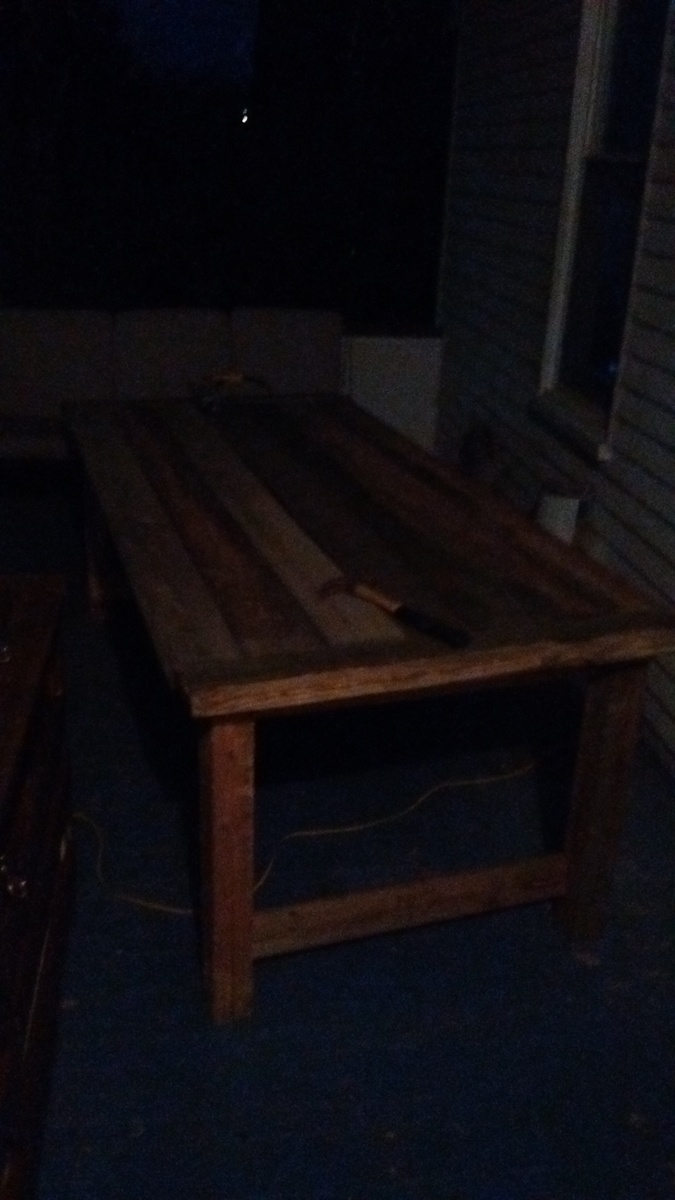
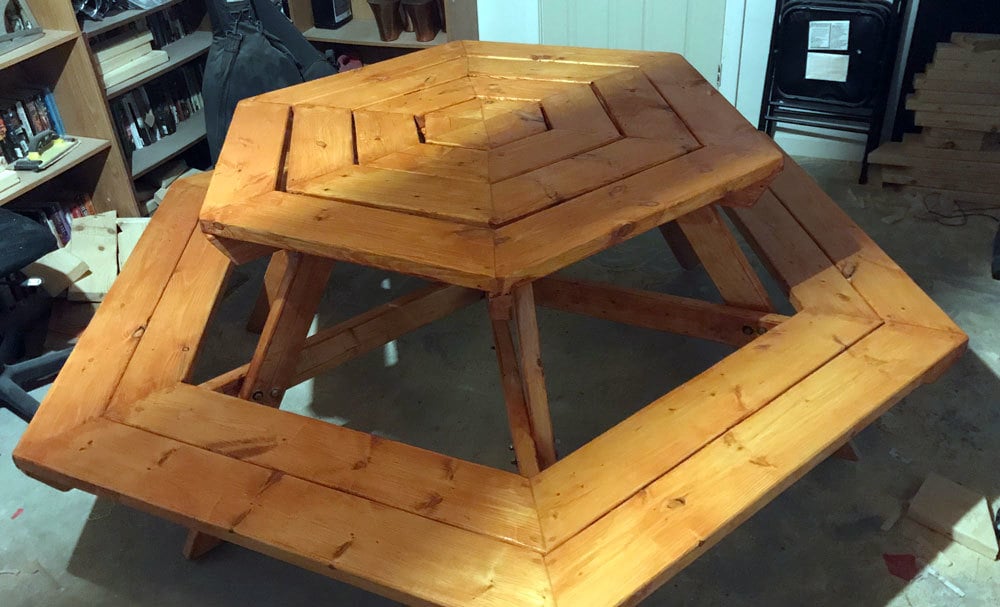
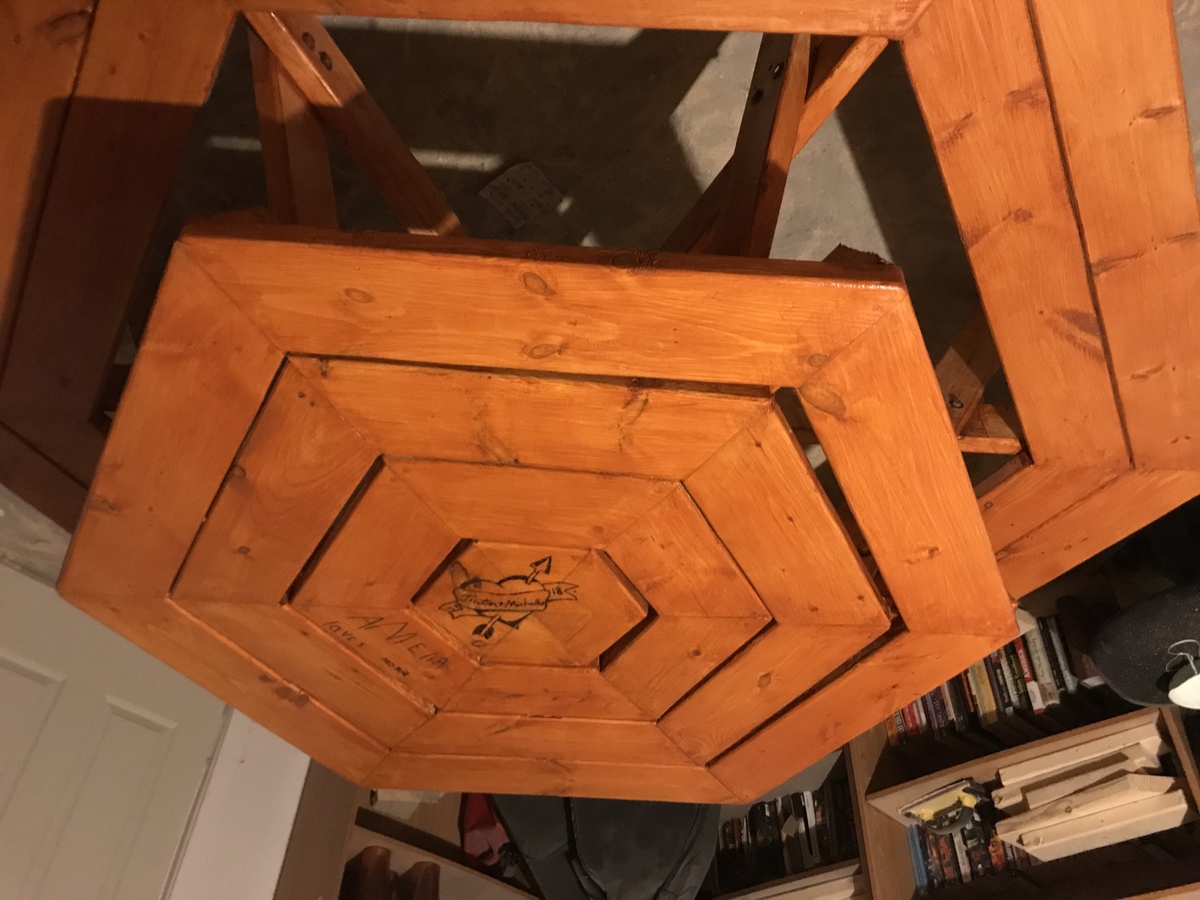
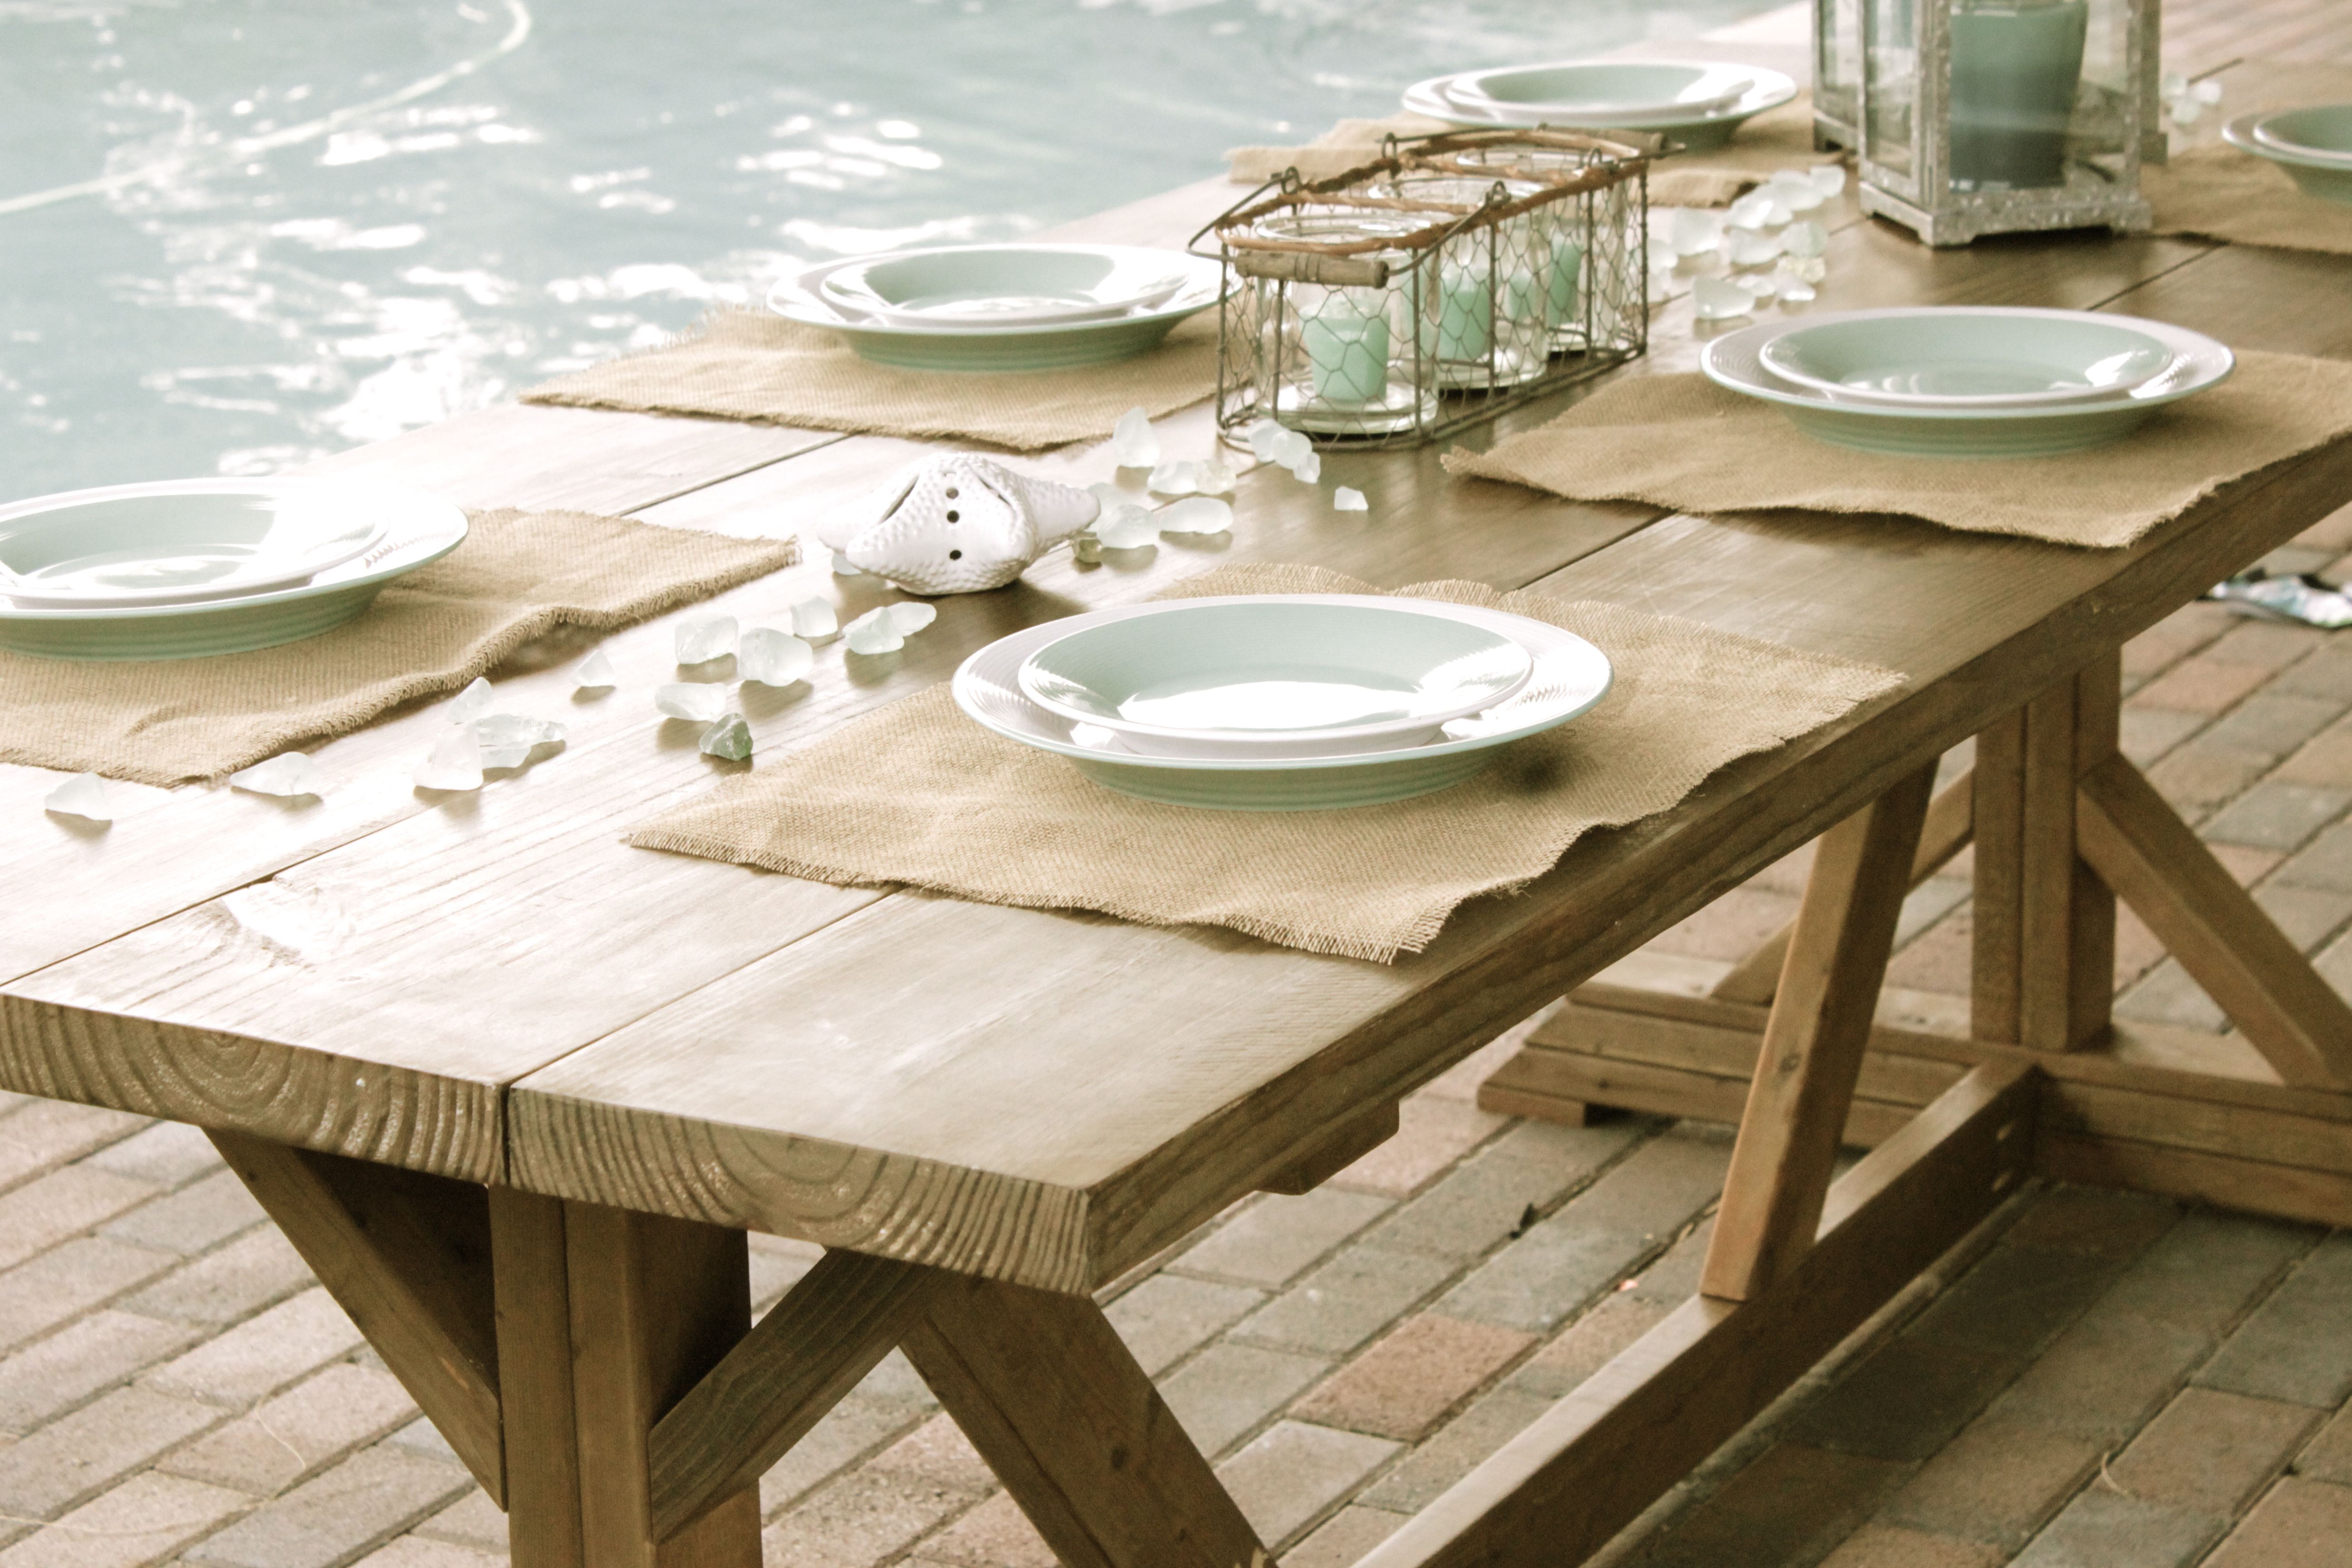
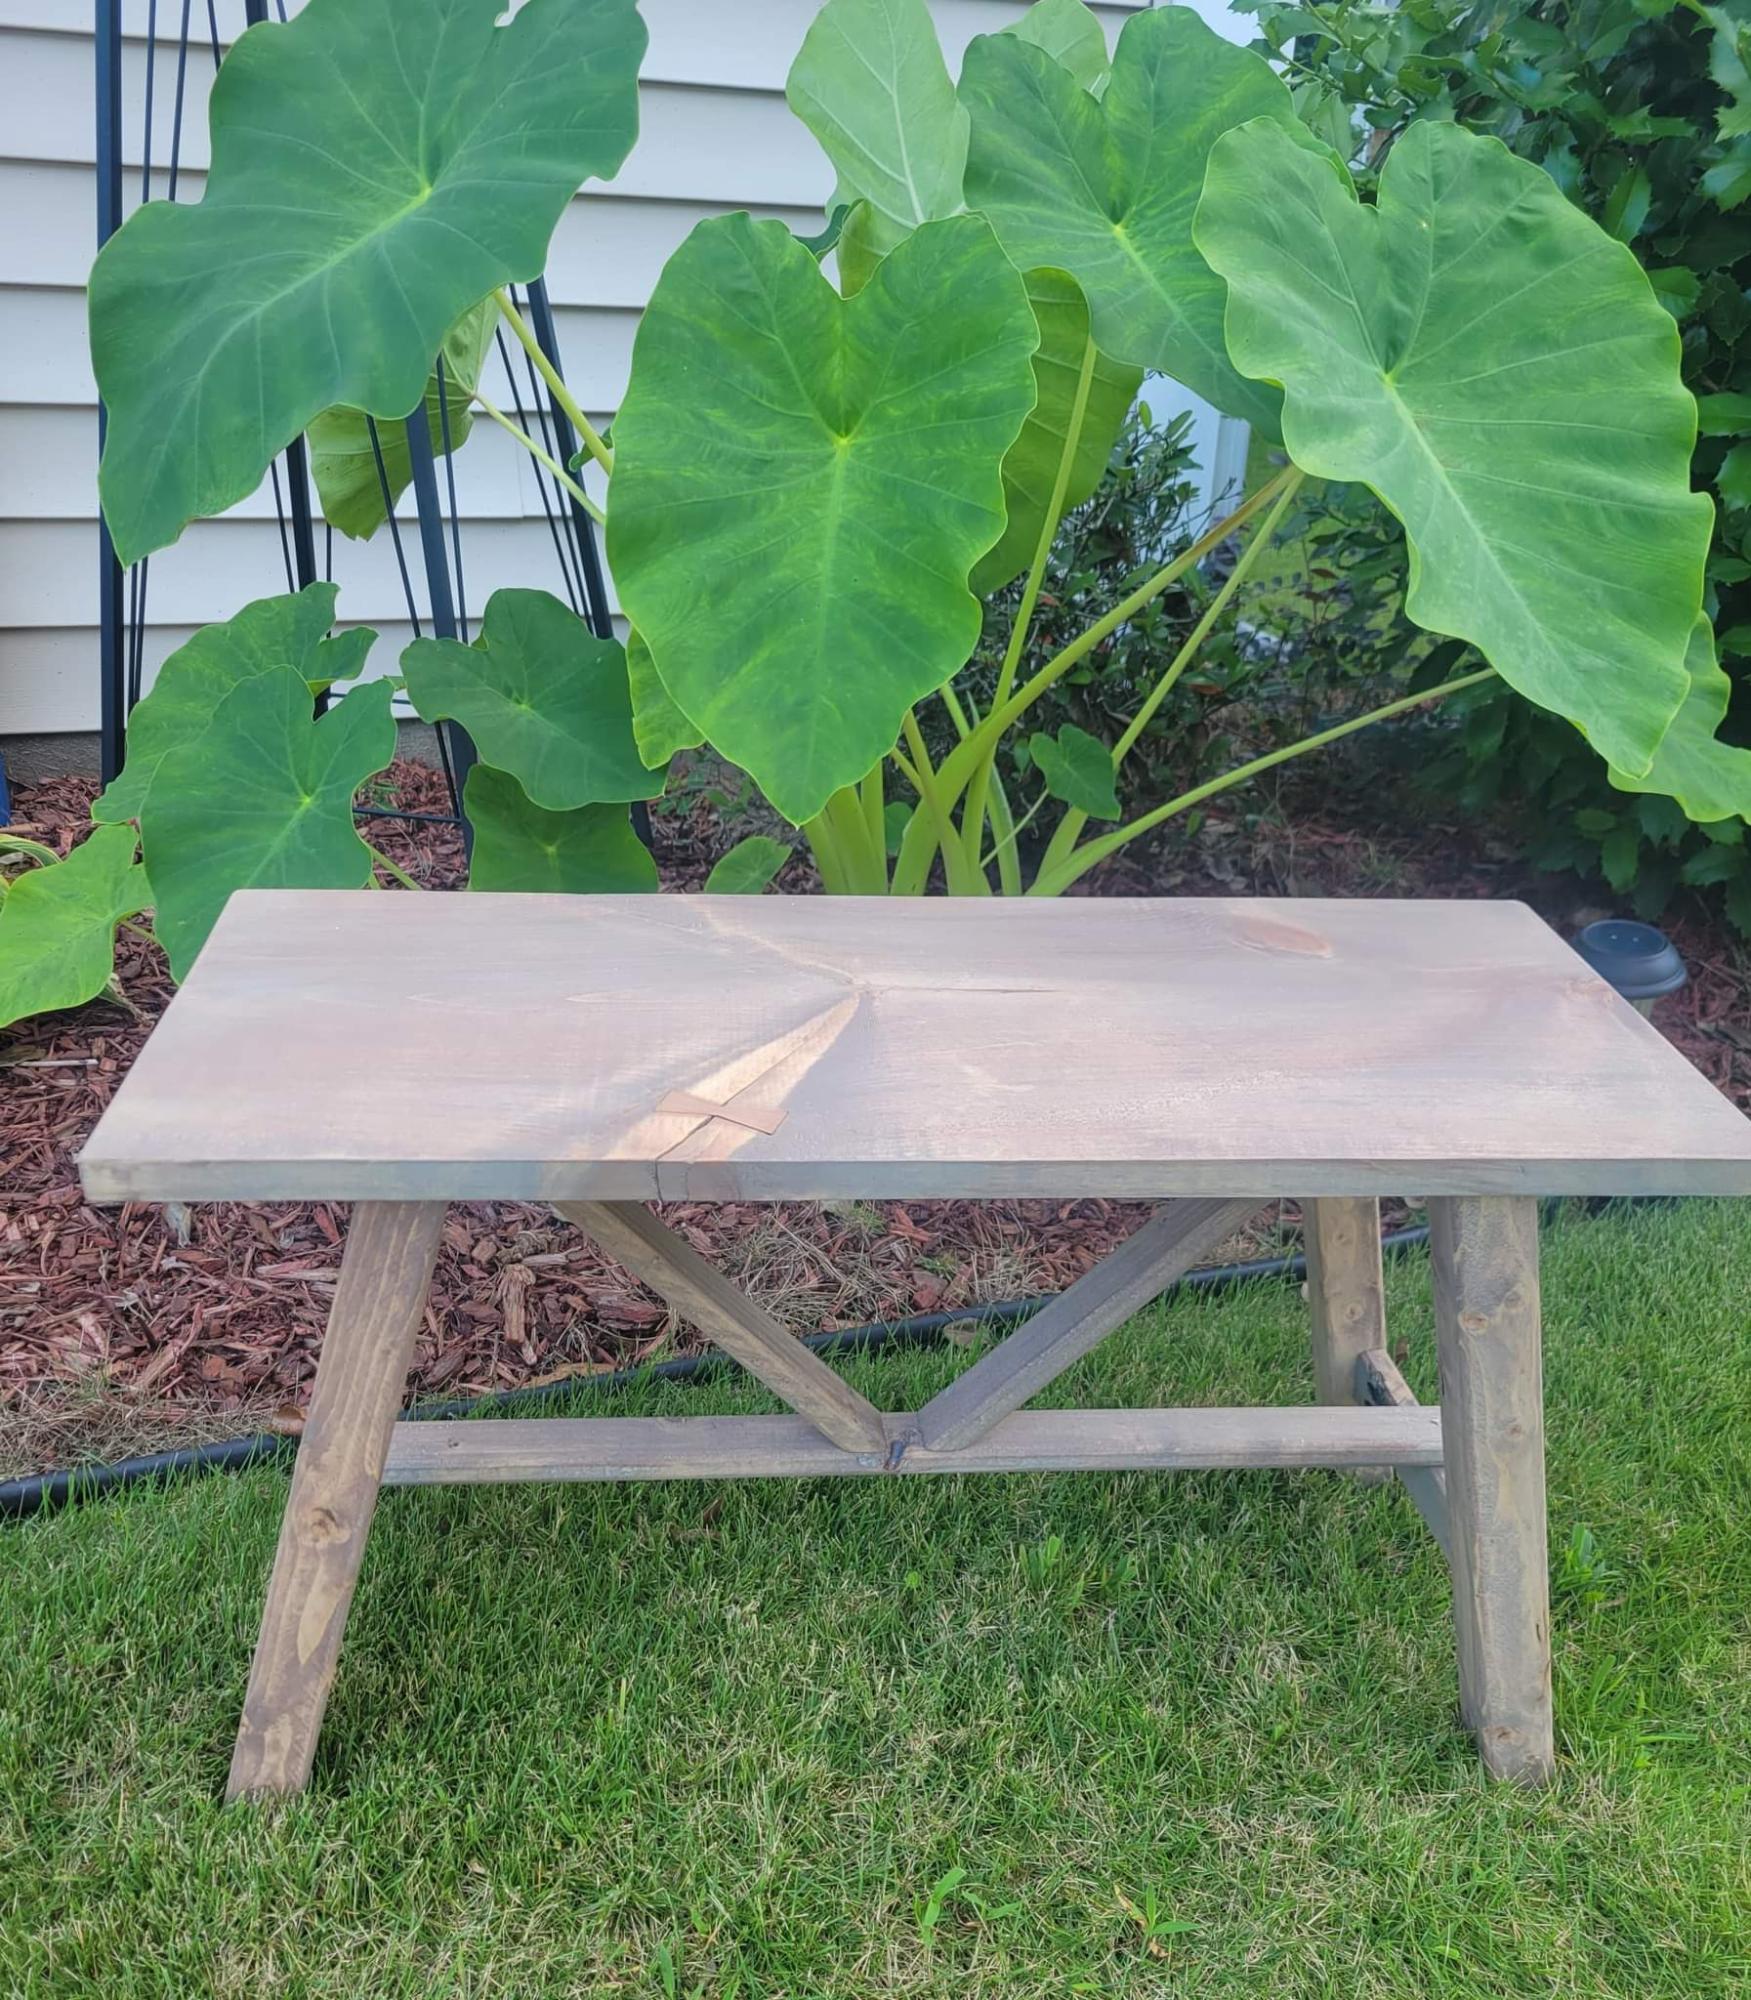
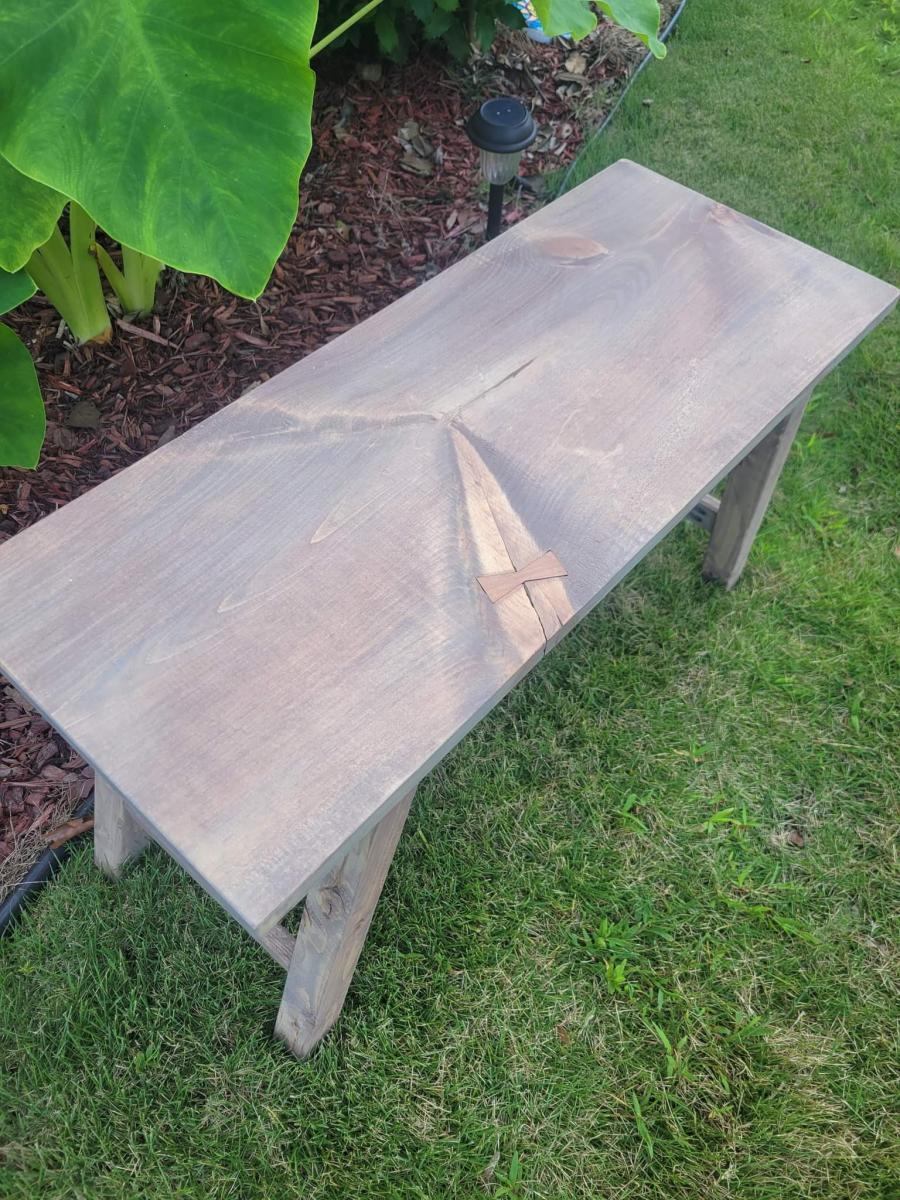
How to build a kid size picnic table out of old recycled pallets

I needed a place for my daycare kids to sit and eat at lunchtime. I stumbled upon the bigger kids picnic table on Ana White, so I just had to build this!

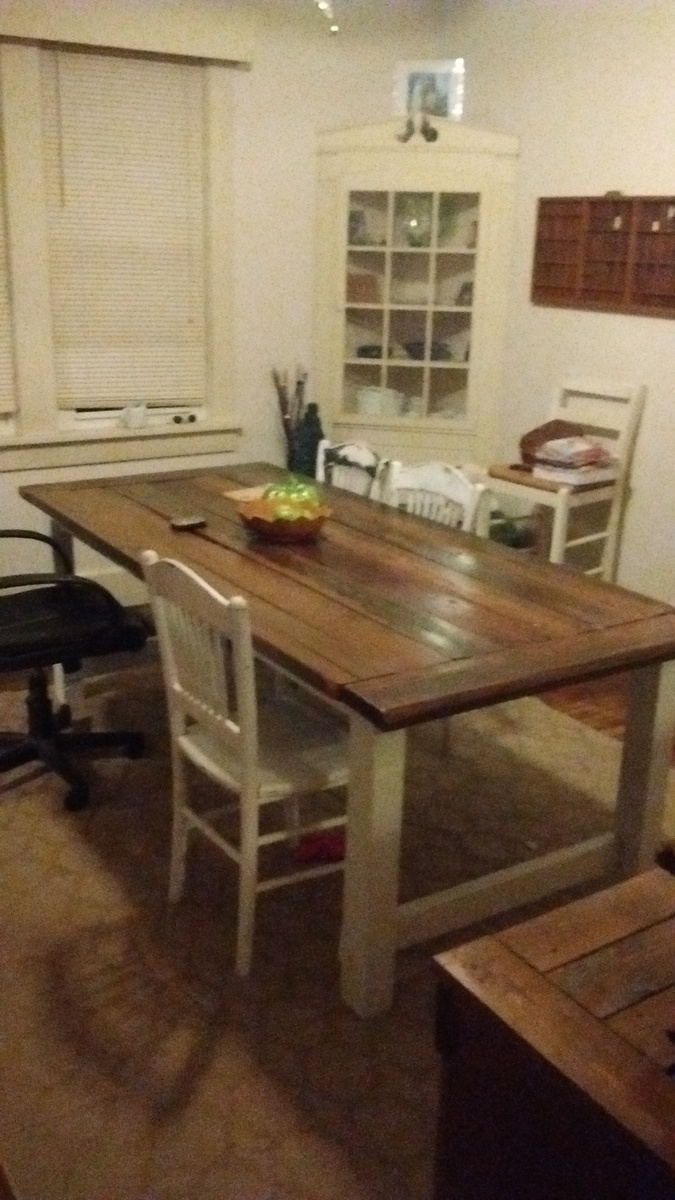
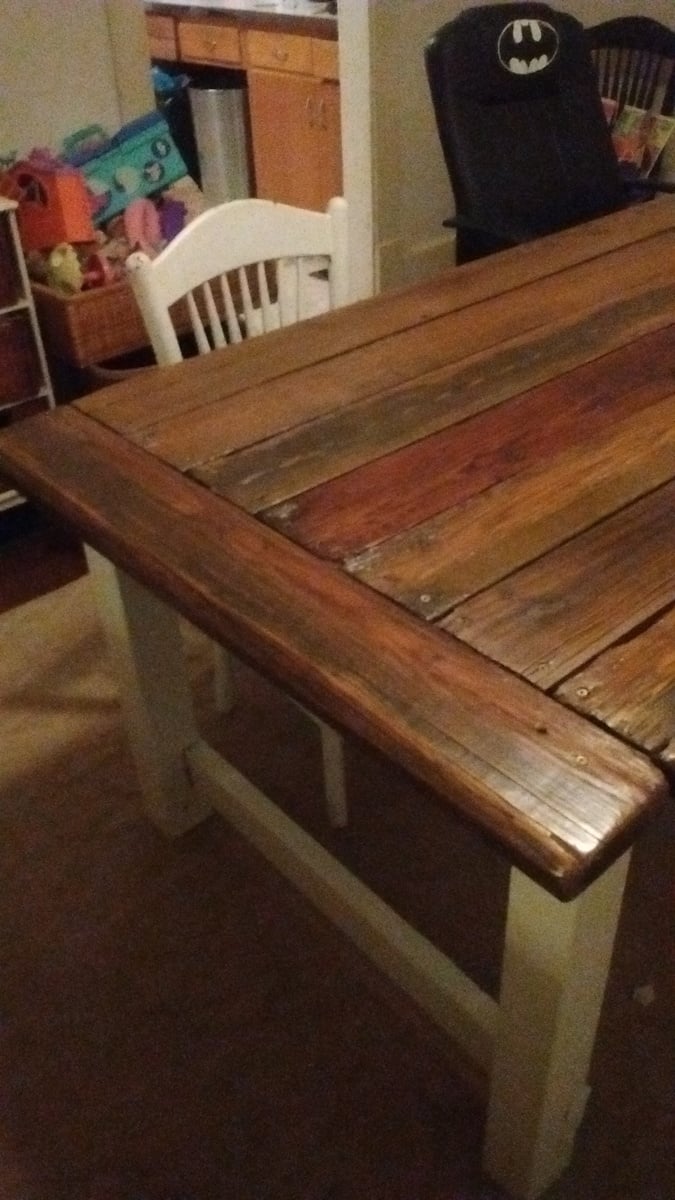
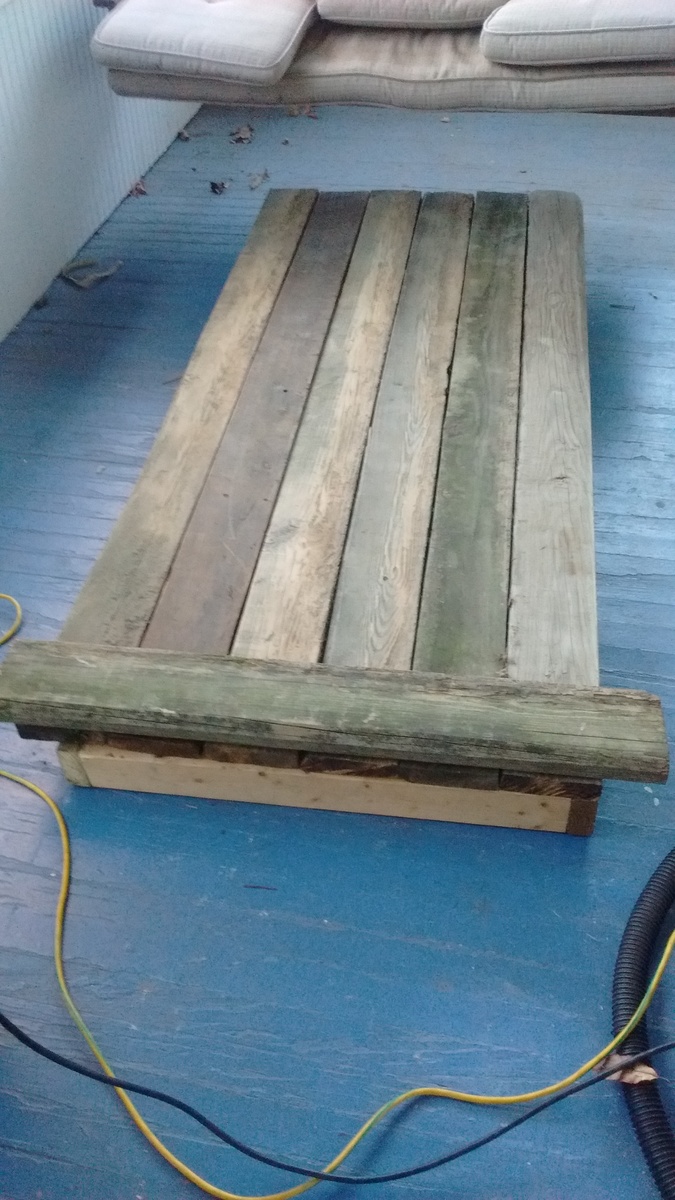
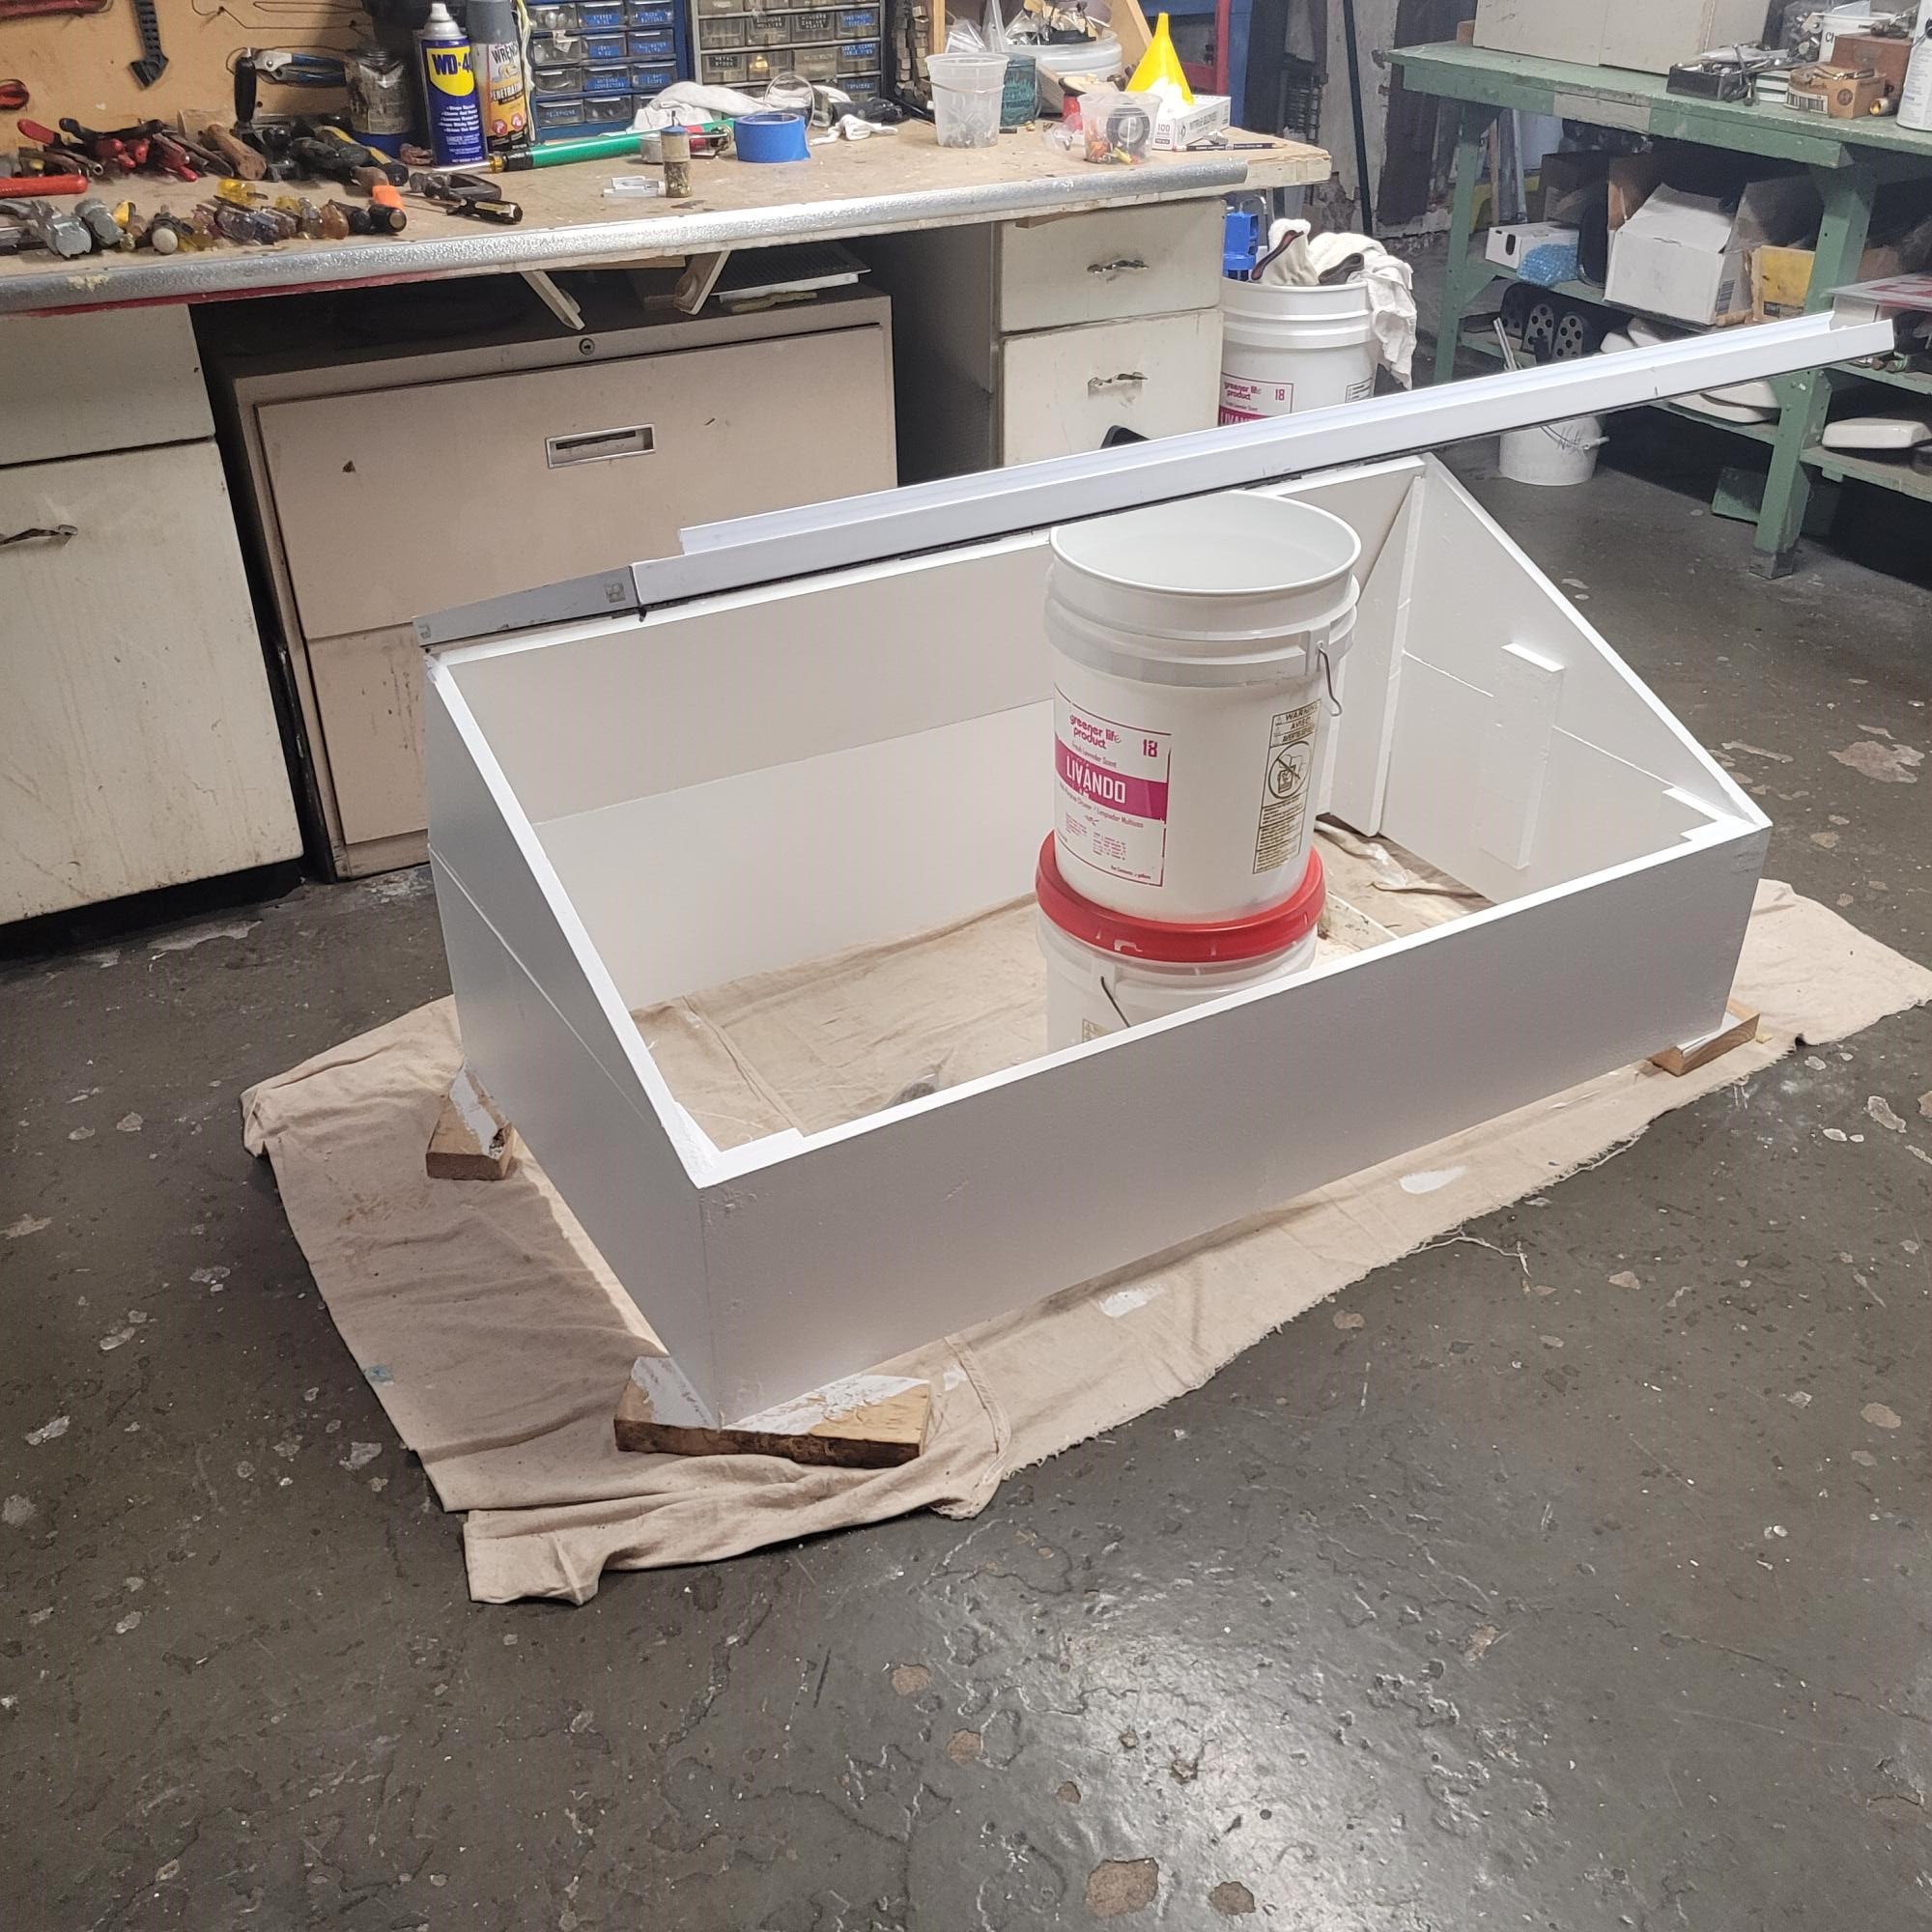
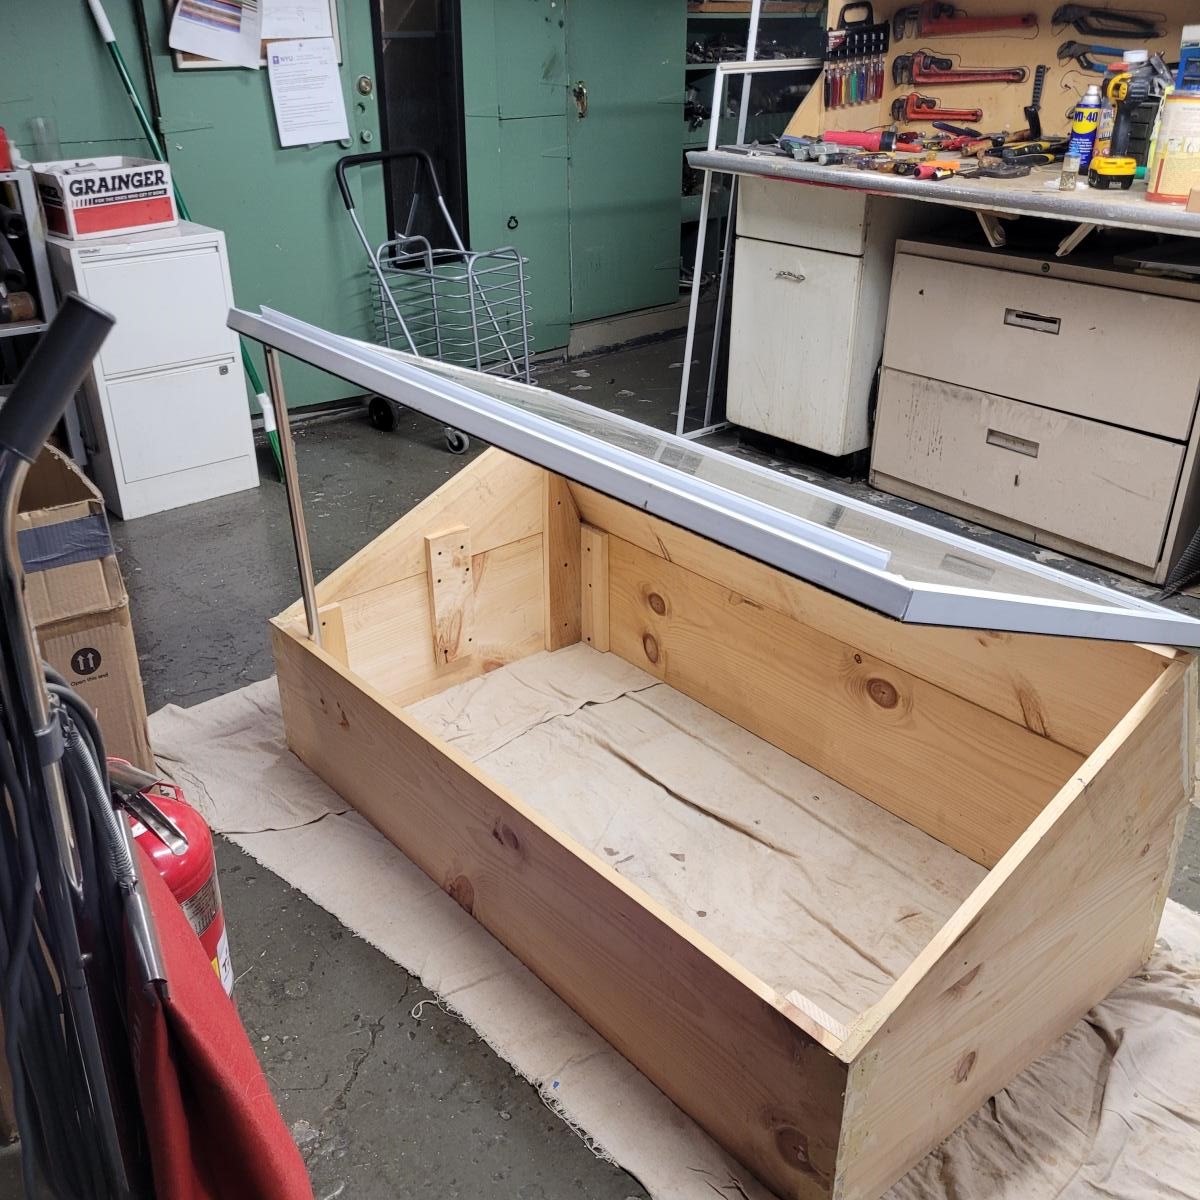
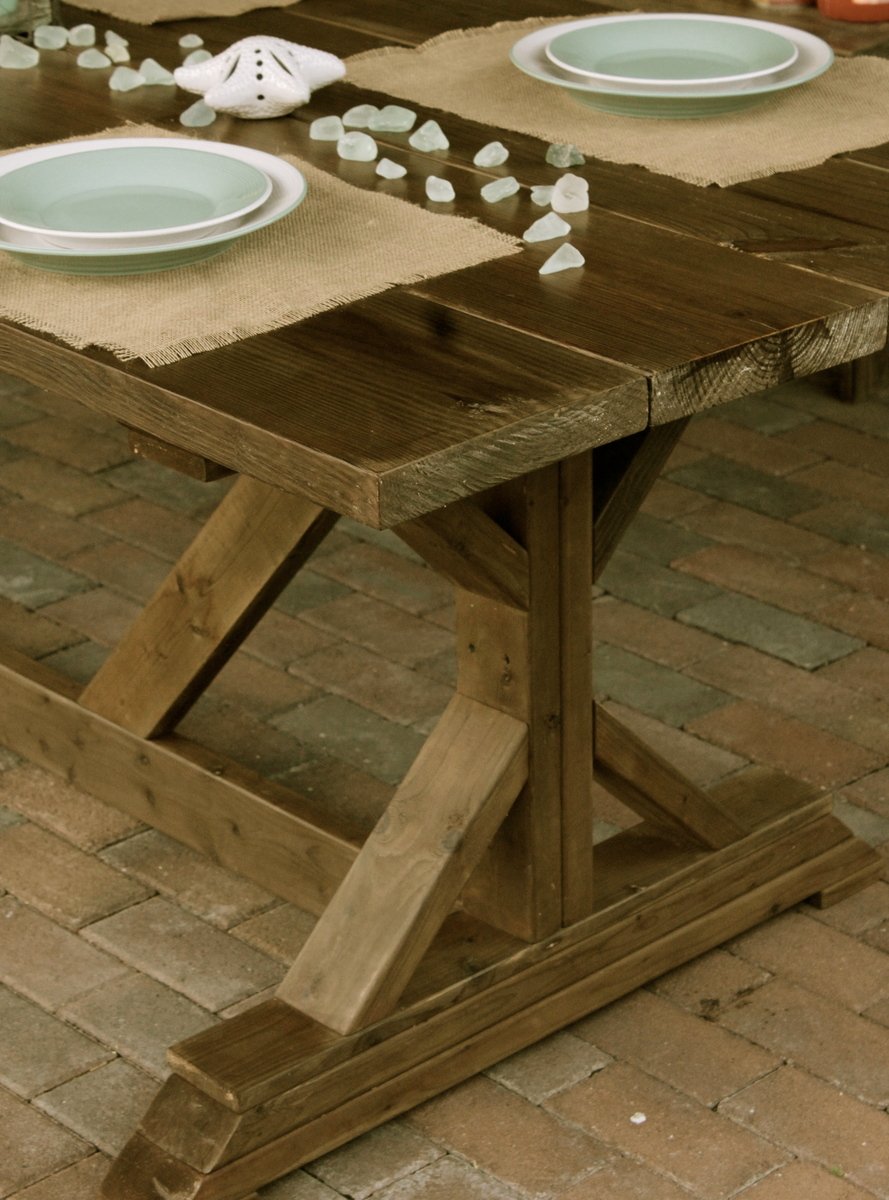
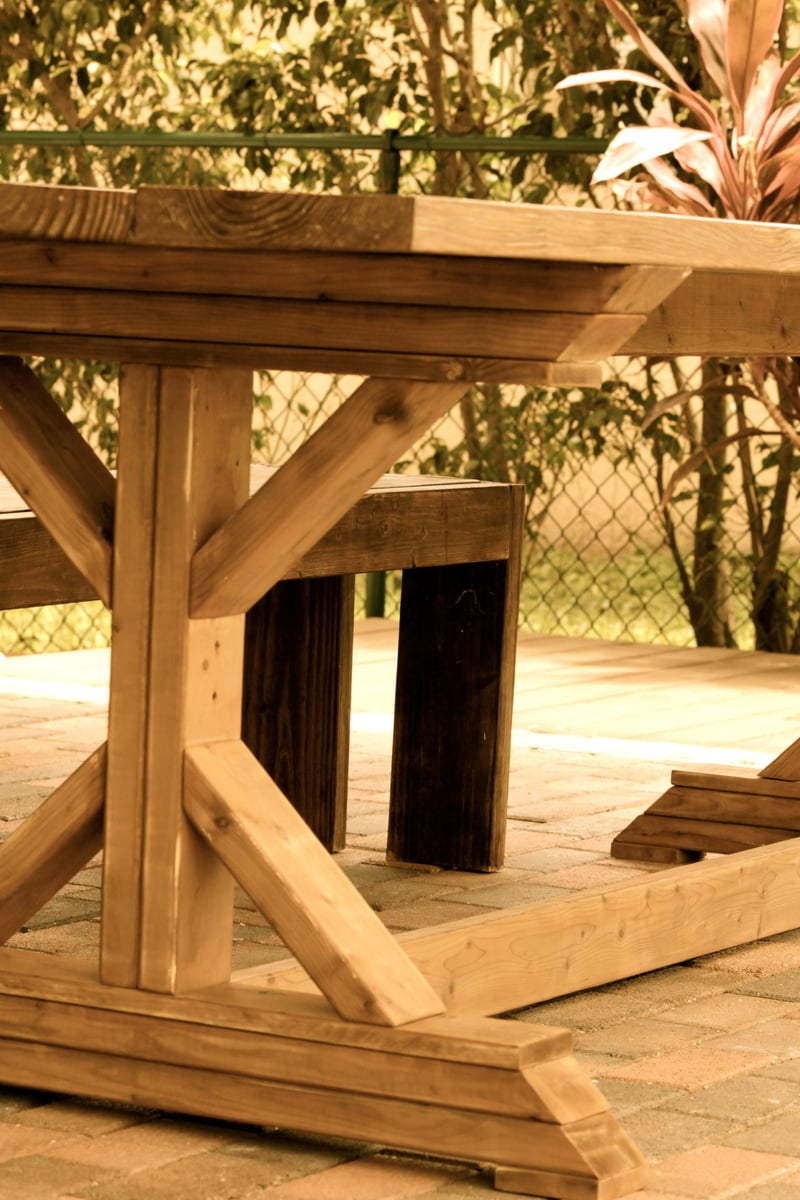
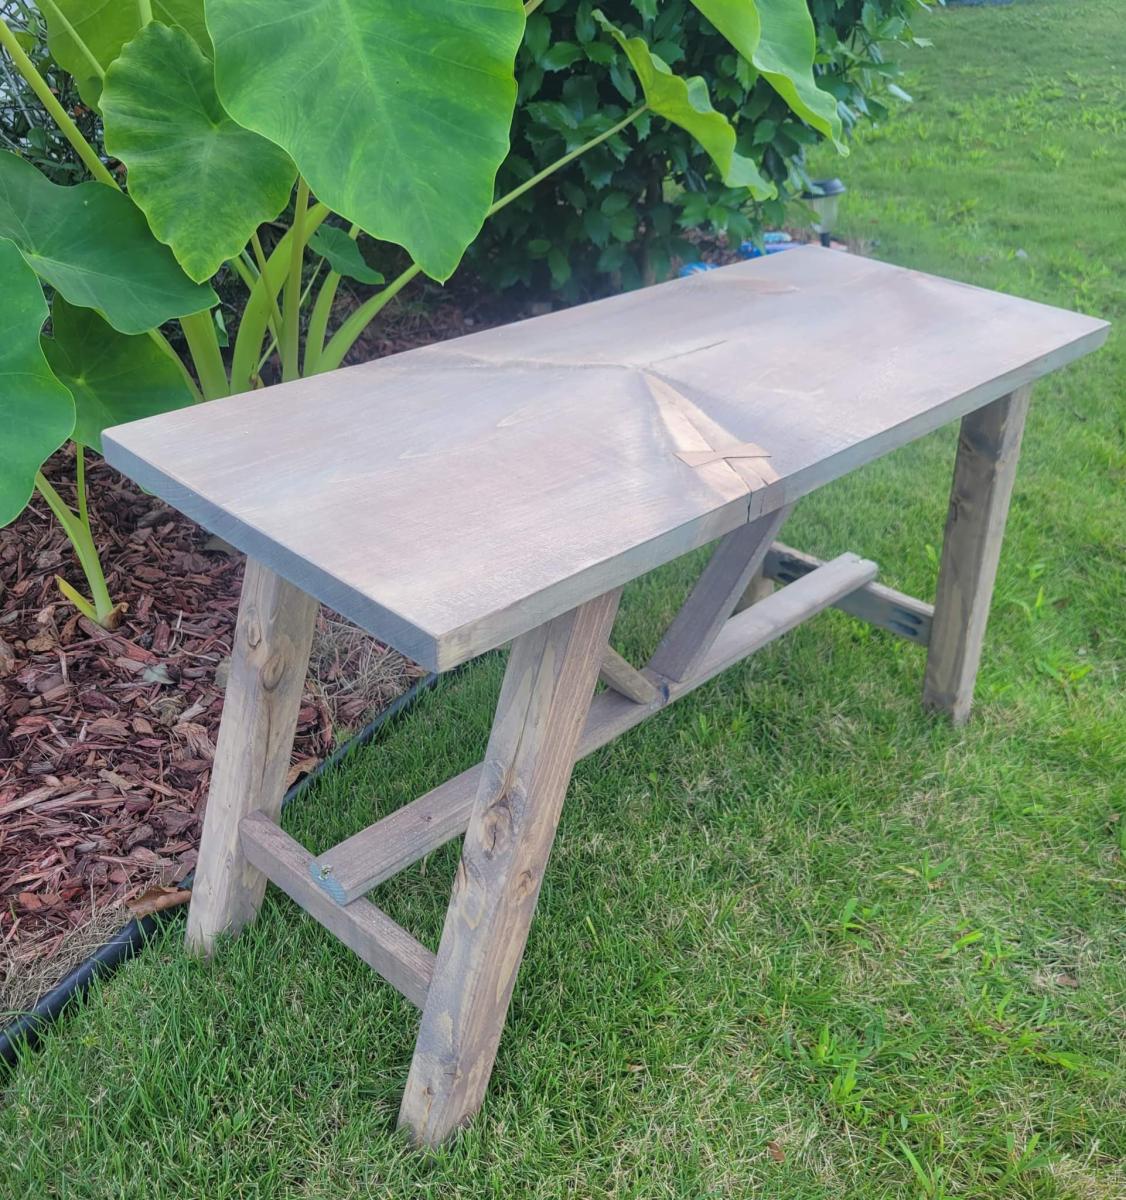
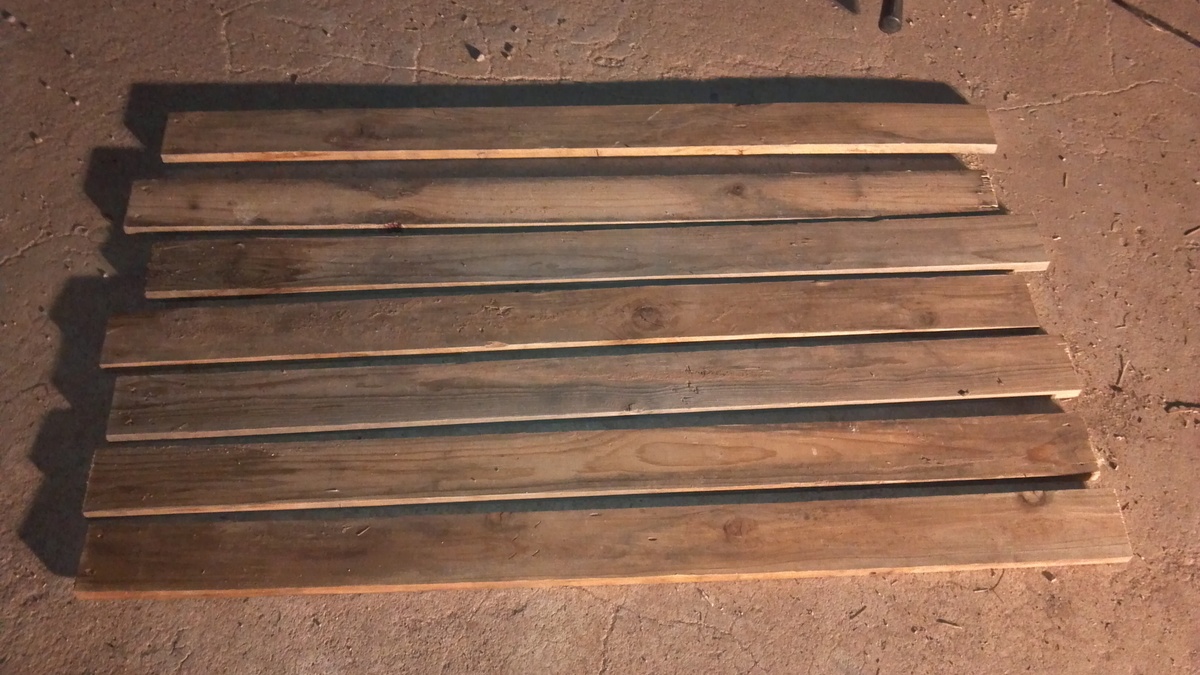
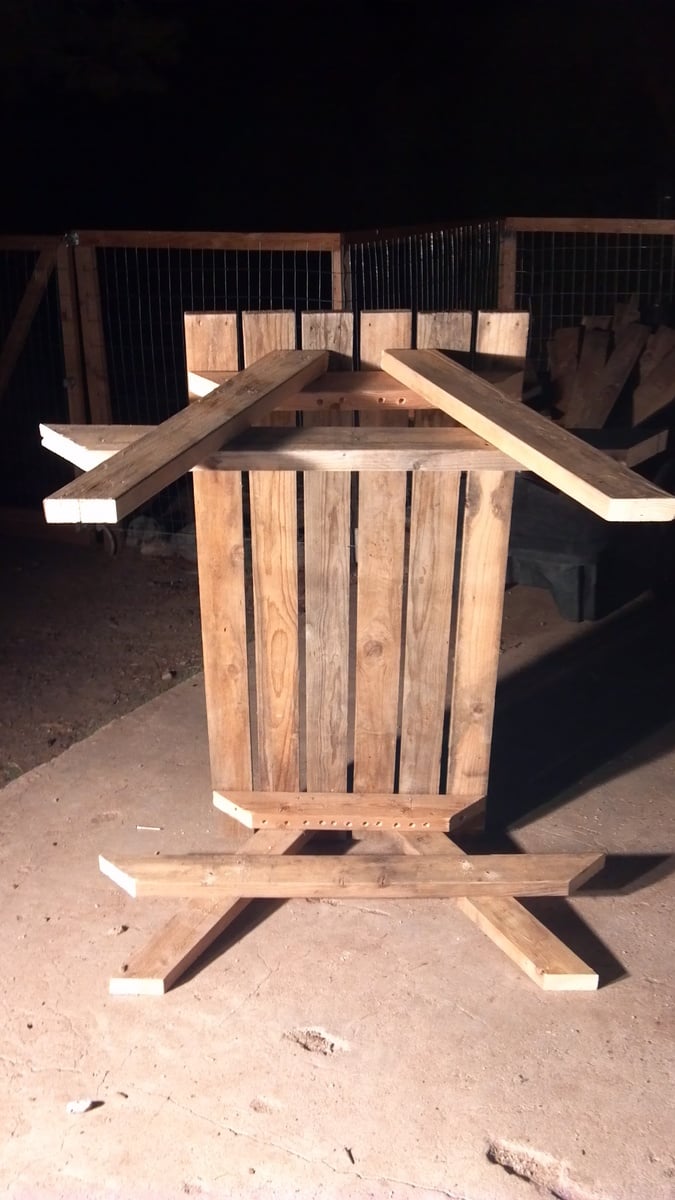
Since I am on a tight budget, I once again searched my ol’ pile of wood outside and found most everything I needed except the tabletop pieces in which I found an old pallet and used pallet planks instead for the top. Since the pallet planks are a lot thinner than 2x4s, I put a brace underneath the tabletop which made it very sturdy.

I have the whole tutorial with lots of pics at http://teediddlydee.com/how-to-build-kid-size-picnic-table-out-of-old-r….

Built from Plan(s)
Estimated Cost
$30
Estimated Time Investment
Afternoon Project (3-6 Hours)
Finish Used
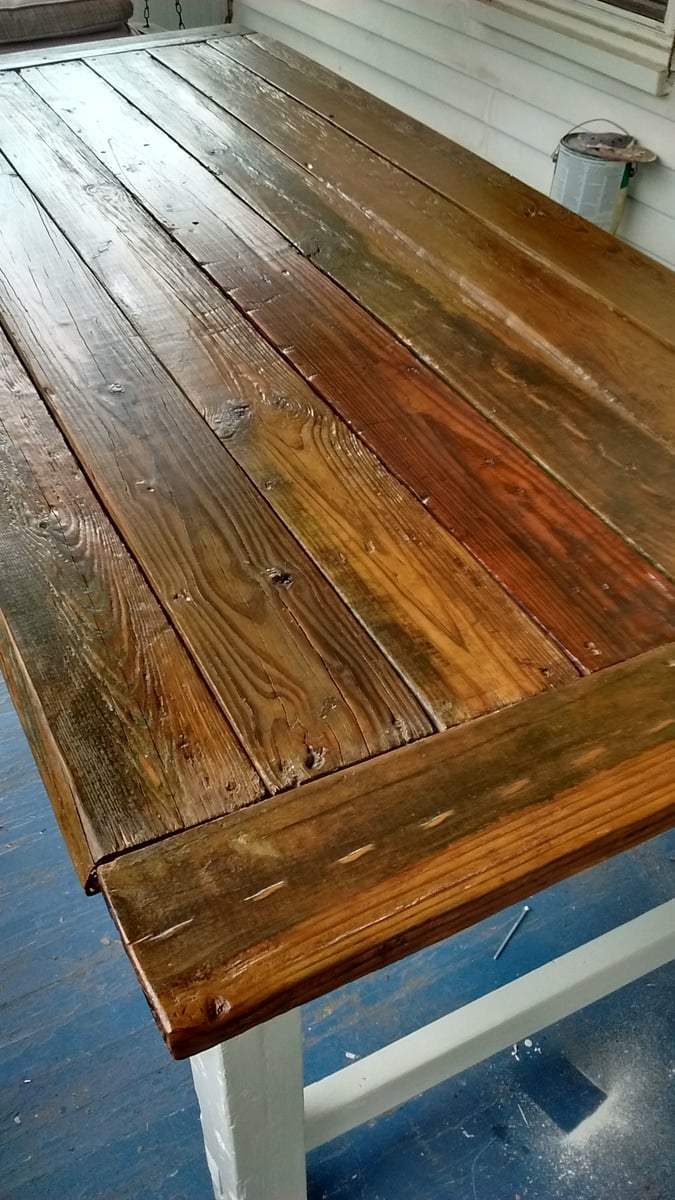
I just sanded the rough spots and finished with a clear, natural color.
Recommended Skill Level
Beginner

Reclaimed beauty

Submitted by mkrgolf on Fri, 10/23/2015 - 07:13

I started the project on a Monday and moved the table into the house on Thursday afternoon. All wood used was reclaimed. I shortened the length of the table by 9 inches due to the length of the reclaimed boards. The dimensions are 87 x 38.5 x 30. I used a colonial maple stain brushed on then rubbed in with a cloth. Then I applied several coats of Polycrylic clear satin. The stain was $1.50 from the Habitat store and the poly was found in the house we recently moved into. I spent about $15 on wood screws.


Estimated Cost
$20
Estimated Time Investment
Weekend Project (10-20 Hours)
Finish Used
Colonial maple and Polycrylic clear satin.
Recommended Skill Level
Beginner

Wooden Slat Closet

Submitted by Twrenn on Mon, 11/26/2018 - 21:54

This was my take on Ana’s great idea and plans. My wife and I were in need of closet space in our small master bedroom and this worked out perfectly, plus it looks great! To gain some additional storage (and because I thought it would look cool) I decided to build the unit around our wall mounted tv and added 3 additional shelves. Sanding and staining all the board was by far the most time consuming. Assembly was a breeze. For anyone looking to build a large unit like this I recommend having a decent sized working area in order to stain all the boards and set them out properly to dry. Thanks Ana for the awesome design!

Estimated Cost
$200-$250
Estimated Time Investment
Day Project (6-9 Hours)
Finish Used
Varathane BriarSmoke
Recommended Skill Level
Beginner

Modern Headboard w/ Sconces

Submitted by Anonymous (not verified) on Tue, 08/16/2022 - 08:22

Love the modern look of the headboard so I adjusted the dimensions a bit to add more height. I built this for my daughters first college apartment and wanted to capitalize on space know that her room would be small - so I added the sconces for extra lighting in her room. I turned out great and was so happy to find the inspiration on Ana's site!

Built from Plan(s)

Comments

Bathroom Shelf

Submitted by lizseburn on Wed, 08/10/2011 - 11:13

Another perfect shelf to decorate my little basement bathroom. Plans were so easy to follow! A little help from my hubby with this one... We had to drill into concrete to hang it. I love the end result!

Built from Plan(s)
Estimated Cost
$15
Estimated Time Investment
An Hour or Two (0-2 Hours)
Recommended Skill Level
Beginner

Folding Chalkboard

I bought two pre-cut 1/4 inch panels and adjusted the dimensions of the trim to fit the panels, using 1x2's and 1x3's. I painted before I assembled, which was where the most time was spent. Thanks Ana for another great project!

Estimated Cost
I'm guessing $15 including the hardware and chalkboard paint.
Estimated Time Investment
Afternoon Project (3-6 Hours)
Finish Used
left-over interior green paint and chalkboard spray paint (Rustoleum)
Recommended Skill Level
Starter Project

Granite Top Kitchen Island

Dued to my small kitchen, I used 3x4's instead of 4x4's for the legs. I did away with the drawers, and went with two shelves instead. I lower the first shelf to fit my microwave. This freed up my counter space, which was nice. I stopped by a local stone yard, and picked up a thickest piece of granite they had, and had them cut it 36" x 24". I used Minwax Polyshade White Oak for the stain, and picked up some cast iron hooks from Amazon. All together it came out fairly nice. The only regrets is the wood filler I used wasn't so great, and it didn't stain well.

Built from Plan(s)
Estimated Cost
$130 granite slab, $30 for lumber, $8 wood stain and $14 cast iron hooks = $182
Estimated Time Investment
Weekend Project (10-20 Hours)
Finish Used
Minwax Polyshade White Oak
Recommended Skill Level
Beginner

Corner storage beds

Submitted by Kguillotte on Tue, 12/18/2018 - 21:15

Our boys share a room and needed new beds. We wanted to keep as much floor open as possible, so these 2 plans came together perfectly!! They have large drawers that store all of their clothes so theres no need for dressers. We put a surge protector inside the hutch so they can easily plug up and charge their electronics. Best beds ever!!!

Estimated Cost
$700
Estimated Time Investment
Weekend Project (10-20 Hours)
Finish Used
Red mahogany
Recommended Skill Level
Beginner

My rendition of a "Cold Frame"

Submitted by Anonymous (not verified) on Mon, 08/29/2022 - 11:17

Hi, Ana.
I am loving your spot! I have not even delved into your recipes yet! I plan on making more than a few projects from your plans!

Comments

5 Cube Tower Bookshelf

Submitted by rhilborn on Thu, 08/11/2011 - 12:25

This narrow cube bookshelf is a very handy addition to my kitchen! I use this shelf to store cookbooks, our iPod speakers, and some other utilitarian odds and ends. I'm particularly a fan of how to facing on the front and back acts as a stopper to keep your items in the bookshelf. It did not specify in the plans but we chose to align the back facing piece flush with the bottom of the shelf and the front facing piece flush with the top of the shelf. You can see what I'm describing in the pictures.

This piece was fast and easy. I think there is a time when finish work is faster to be done once a piece is finished but this not one of those projects. This shelf would benefit from finish before assembly.

Built from Plan(s)
Estimated Cost
$30
Estimated Time Investment
Afternoon Project (3-6 Hours)
Finish Used
existing can of Behr Premium paint plus primer; Minwax Wipe on Polyurethane
Recommended Skill Level
Beginner

Simple white potting bench

Submitted by JW on Thu, 09/05/2013 - 05:59

Finally, a place to corral all of the stuff on the patio!

What we really needed was a wood rack and buffet/usable surface for the patio, but this potting bench fit the bill perfectly because:
1. It's sturdy enough to hold all that firewood
2. I had all of the supplies already (2x4 scraps, leftover paint, screws, etc)

Free and easy? Yes, please!

Only real change is that I added an apron to the front of the top shelf, and used well-sanded fence slats for the top shelf instead of a regular 1x6 (it's what was in the garage already).

The towel bar is from Ikea. That was also an extra that was already on hand.

Built from Plan(s)
Estimated Cost
$0 (made from all leftovers from other projects)
Estimated Time Investment
Afternoon Project (3-6 Hours)
Finish Used
Some exterior white paint that was already in the garage. Pretty sure it was Behr brand paint.
Recommended Skill Level
Starter Project

Club house bunk

Built for our 4 ur old son.. We all love it and had fun together!

Estimated Time Investment
Weekend Project (10-20 Hours)
Finish Used
Weathered Minwax
Recommended Skill Level
Intermediate

Comments

King Size Farmhouse bed

Submitted by Anonymous (not verified) on Sat, 09/03/2022 - 21:05

I love the plan for the King Farmhouse bed. I built it and made a couple of changes that just made it easier to move. I did not want to screw the middle support legs through the footboard and just happened to have six fence brackets in my fastener box, we just moved in a month before this build. I put the fence brackets on the front of the side rail cleats and added a 2x4 that went into those brackets. Then I added fence brackets to the front 2x4 and the back 2x4 that would receive the leg support boards. I also added supports made from two 3" cuts of the scrap 2x2 for the back of the side rails on the headboard legs. This modest support was just to help put it back together in the bedroom. We plan on moving again in a few years and I want the bed to last through many years so I thought this was a good idea. The bed is sturdy and I love it. Thank you for another fantastic plan Ana!

Comments

Bathroom storage tower

I just recently decided to try my hand at woodworking. This was my second project, first one from Ana, super easy instructions. I hadn't gotten the straightest 2x2s, since I had done my shopping with a two year old in tow, but I got it to work. After I completed it, my husband tells me it actually looked good--he seemed surprised. Anyway, I built this tower so that our new parakeet will have somewhere to live and I can conceal his food and other supplies in the baskets underneath. Without making any adjustments to Ana's plan with the exception that out 1x12s are only 11 1/4 it is the perfect size for our little bird cage. Thanks Ana for the design and inspiration to do it myself!

Built from Plan(s)
Estimated Cost
$15
Estimated Time Investment
Afternoon Project (3-6 Hours)
Finish Used
Cabot Golden oak stain
Recommended Skill Level
Beginner

X Dining Table

Submitted by raybotelho on Sat, 09/07/2013 - 06:57

I built this table a year ago just never got the chance to post pics. It was an easy build.

Built from Plan(s)
Estimated Time Investment
Weekend Project (10-20 Hours)
Finish Used
It's been so long I cant even remember exactly :/ but I believe I started with the vinegar steel wool mixture.
Recommended Skill Level
Beginner

Comments

JoanneS

Sat, 09/07/2013 - 17:16

Your table looks beautiful! Love the finish, and the way you arranged and photographed it is wonderful, great job!

Adirondack Chairs for our Fire pit

Submitted by Robert4588 on Fri, 11/06/2015 - 10:08

We had recenty been to Jasper National Park in the Canadian Rockies and saw beautiful red adirondack chairs out on many of the trails, so we built these to remind us of a great family vacation.

Built from Plan(s)
Estimated Cost
$100 Each
Estimated Time Investment
Afternoon Project (3-6 Hours)
Finish Used
Behr Outdoor paint
Recommended Skill Level
Intermediate

Small rustic bench

Submitted by Lukilla on Tue, 09/13/2022 - 15:28

Fun build. We've been going through the scrap bin trying to figure out some ser projects to build. Had a piece of 1x12 that was perfect for this project. It had a little split in it, so we added a cherry bowtie to it.

Minwax weathered oak finish.

Built from Plan(s)

Comments

First Finished Project!

Submitted by MrsD2008 on Tue, 08/16/2011 - 17:00

I decided to not paint it, but we sanded it REALLY well. I also decided to forgo the caster wheels just so it would fit under an entryway table. Right now I'm using it for dog toys!

Built from Plan(s)
Estimated Time Investment
Afternoon Project (3-6 Hours)
Recommended Skill Level
Starter Project

Wooden Star

Used a compass to make my star as I wanted the points to be a little taller. 10 pieces of 8" walnut was used. And I used a table saw sled to cut the pieces. 

Built from Plan(s)
Estimated Time Investment
Afternoon Project (3-6 Hours)
Finish Used
Pallmann Magic Oil
Recommended Skill Level
Intermediate