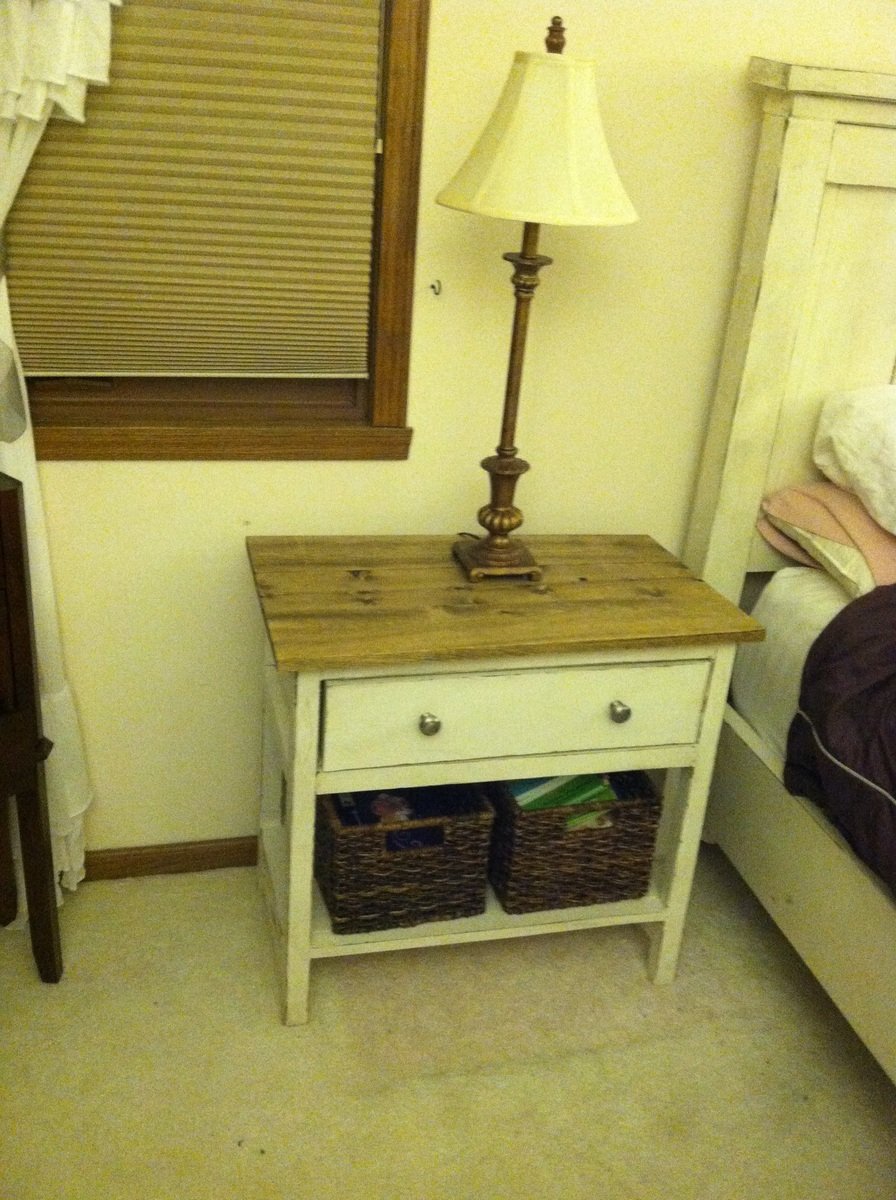
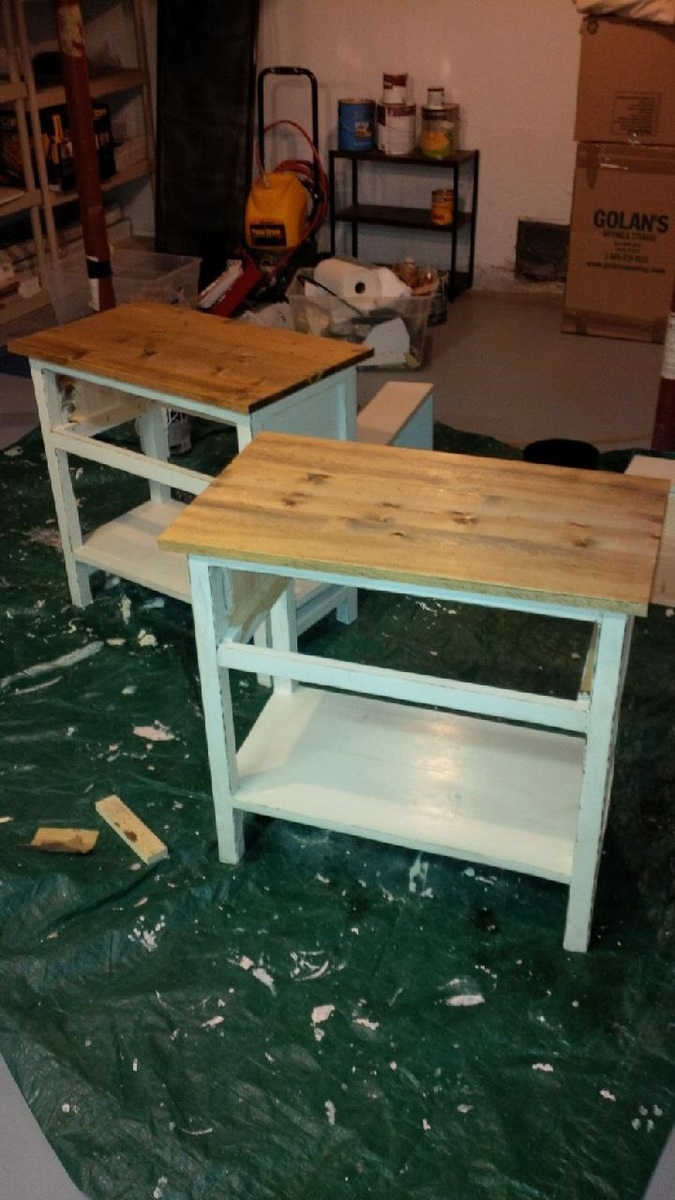
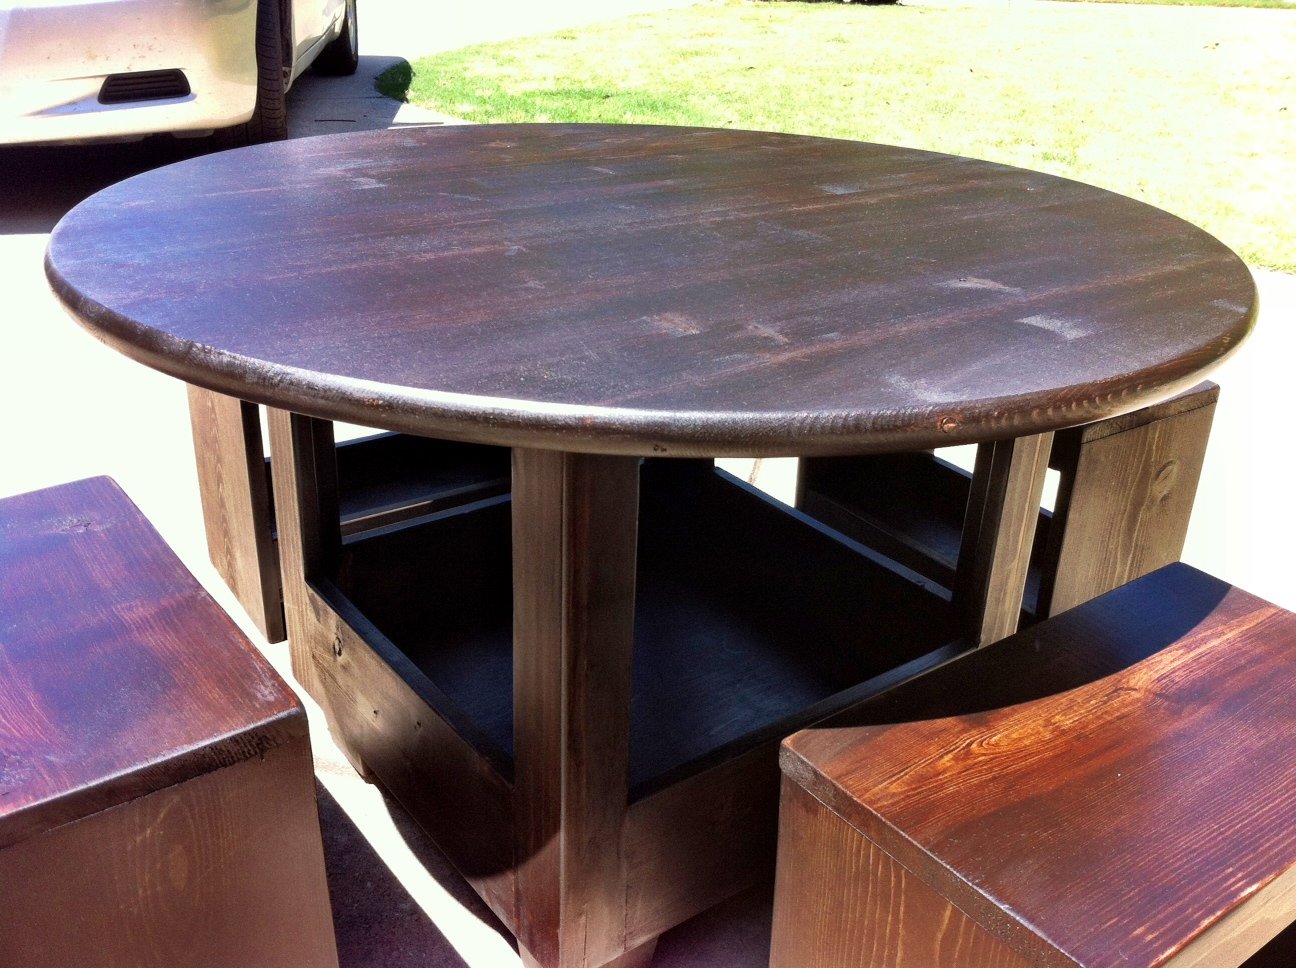
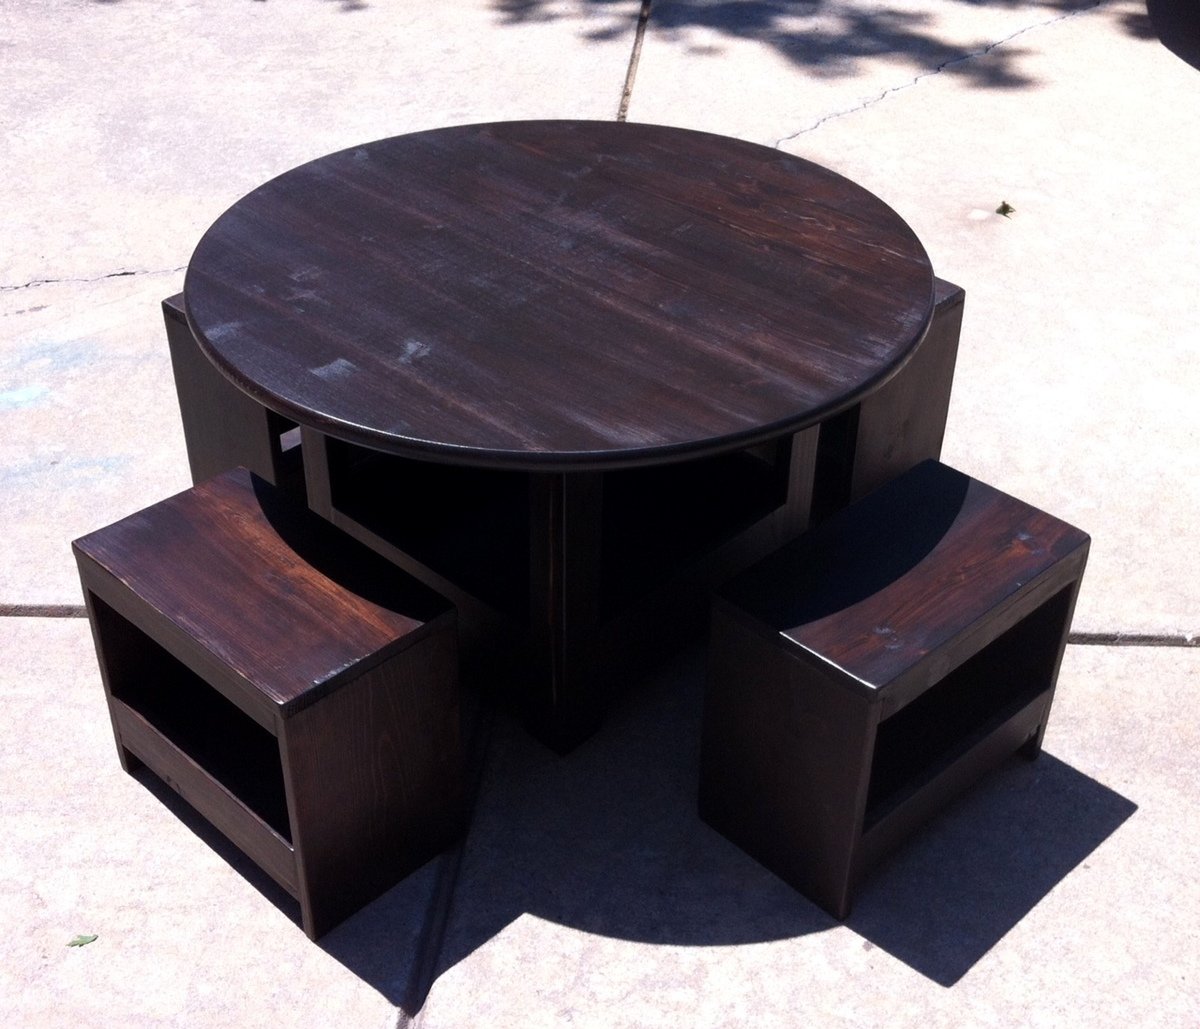
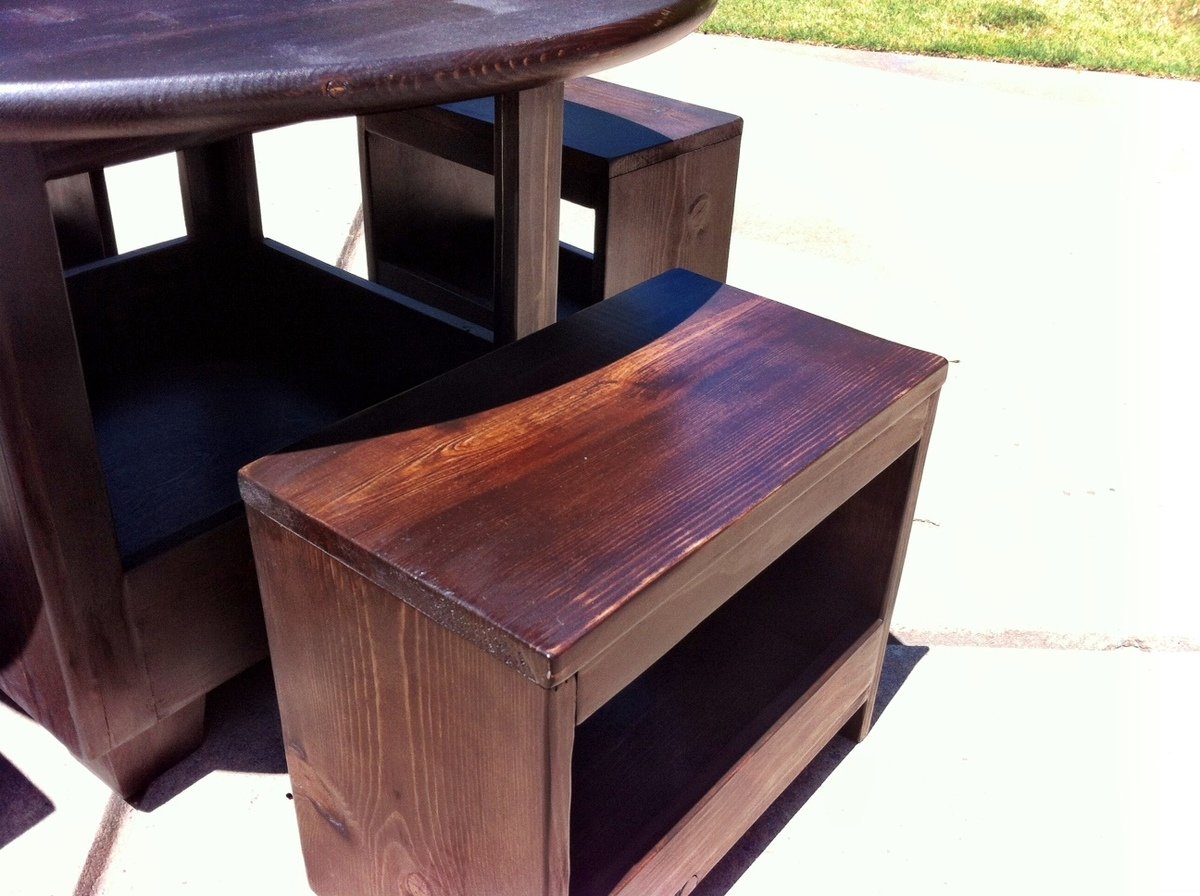
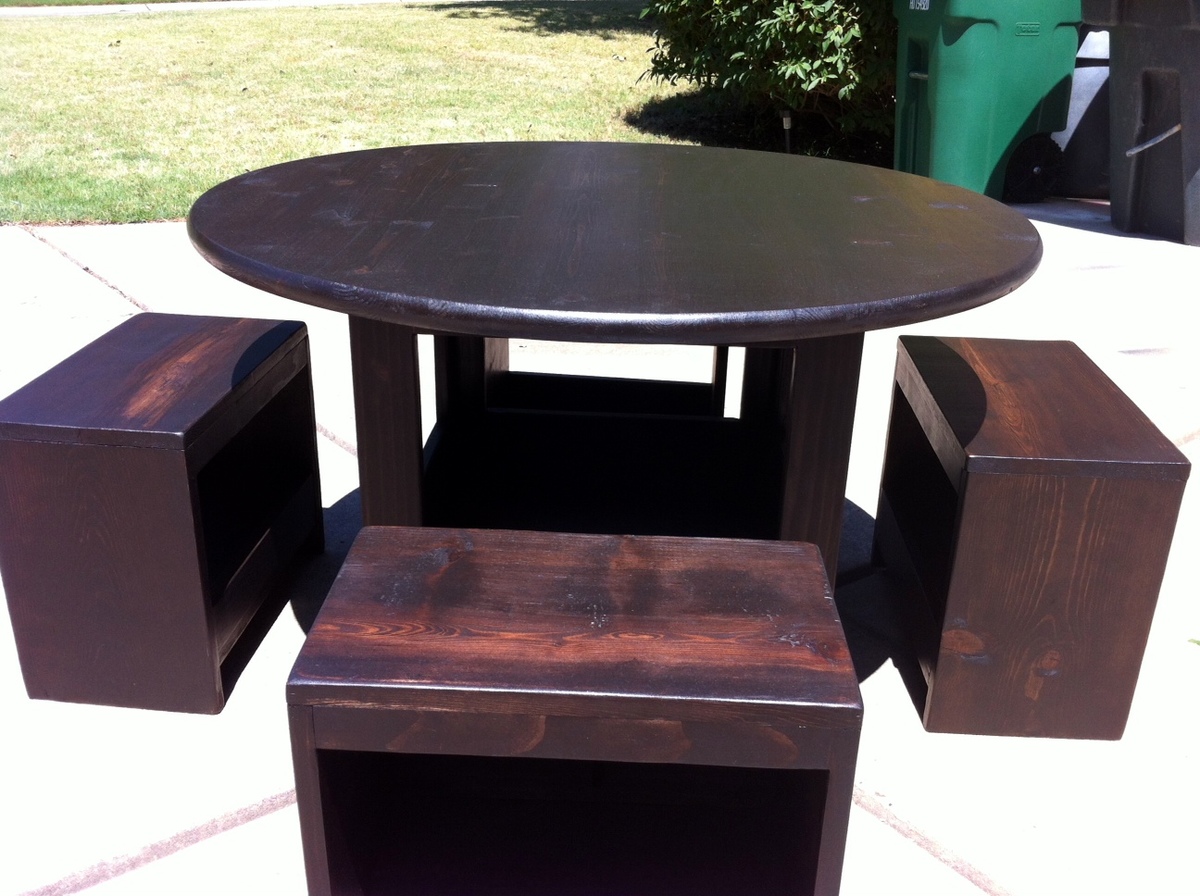
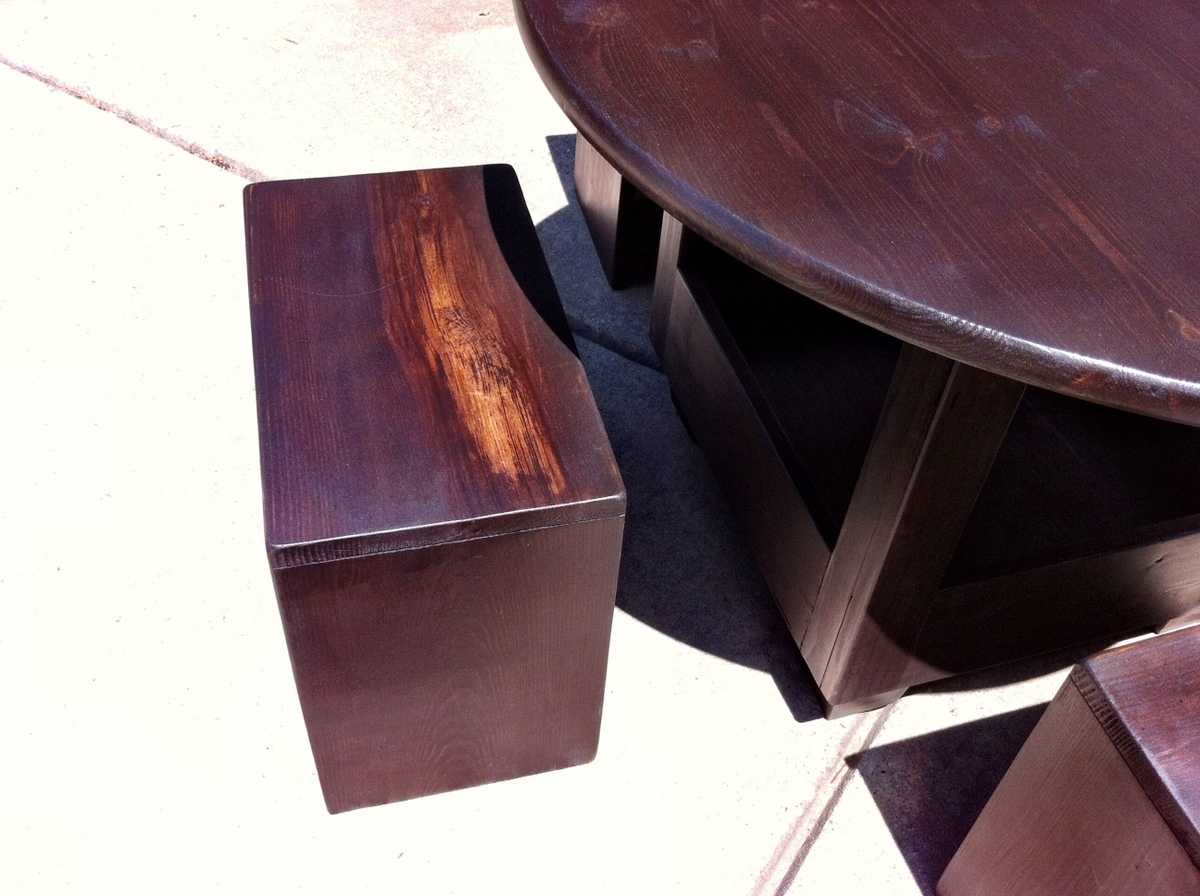
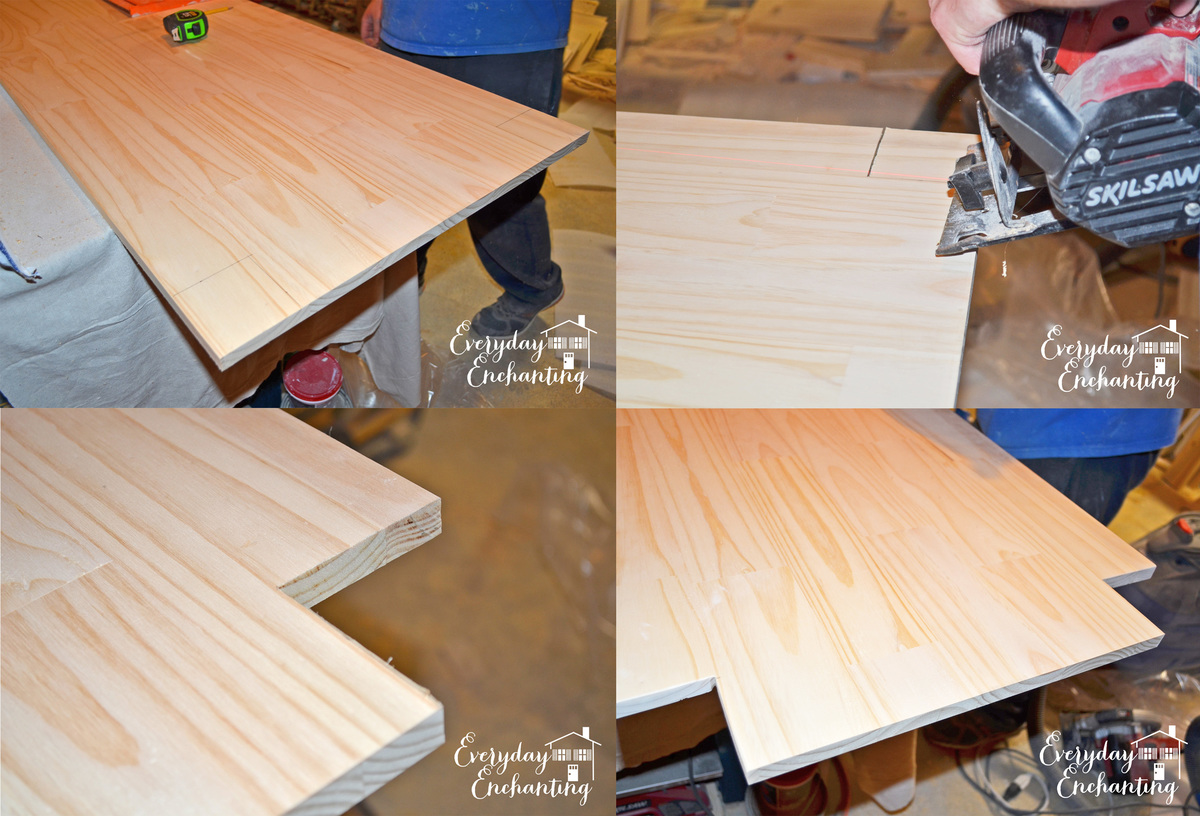
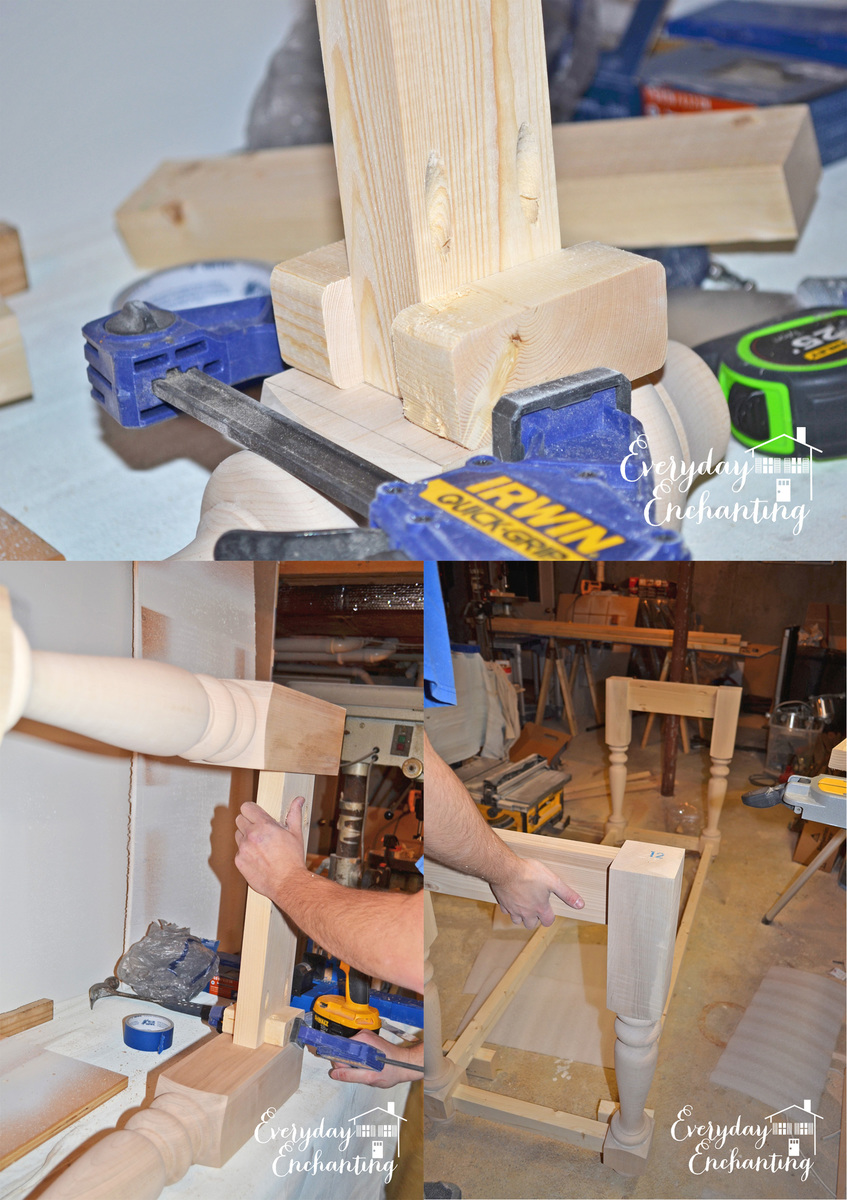
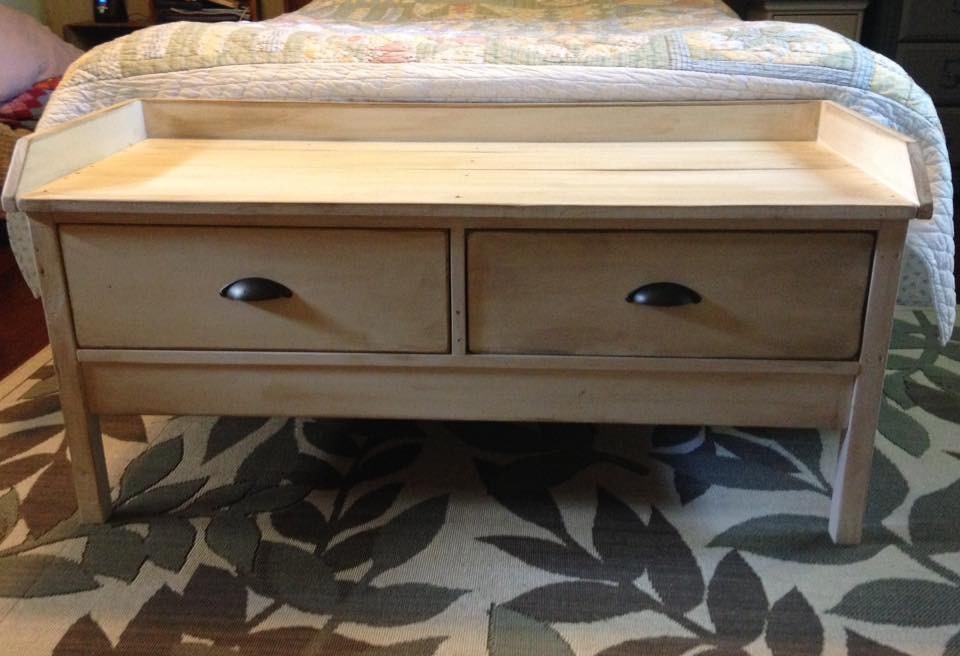
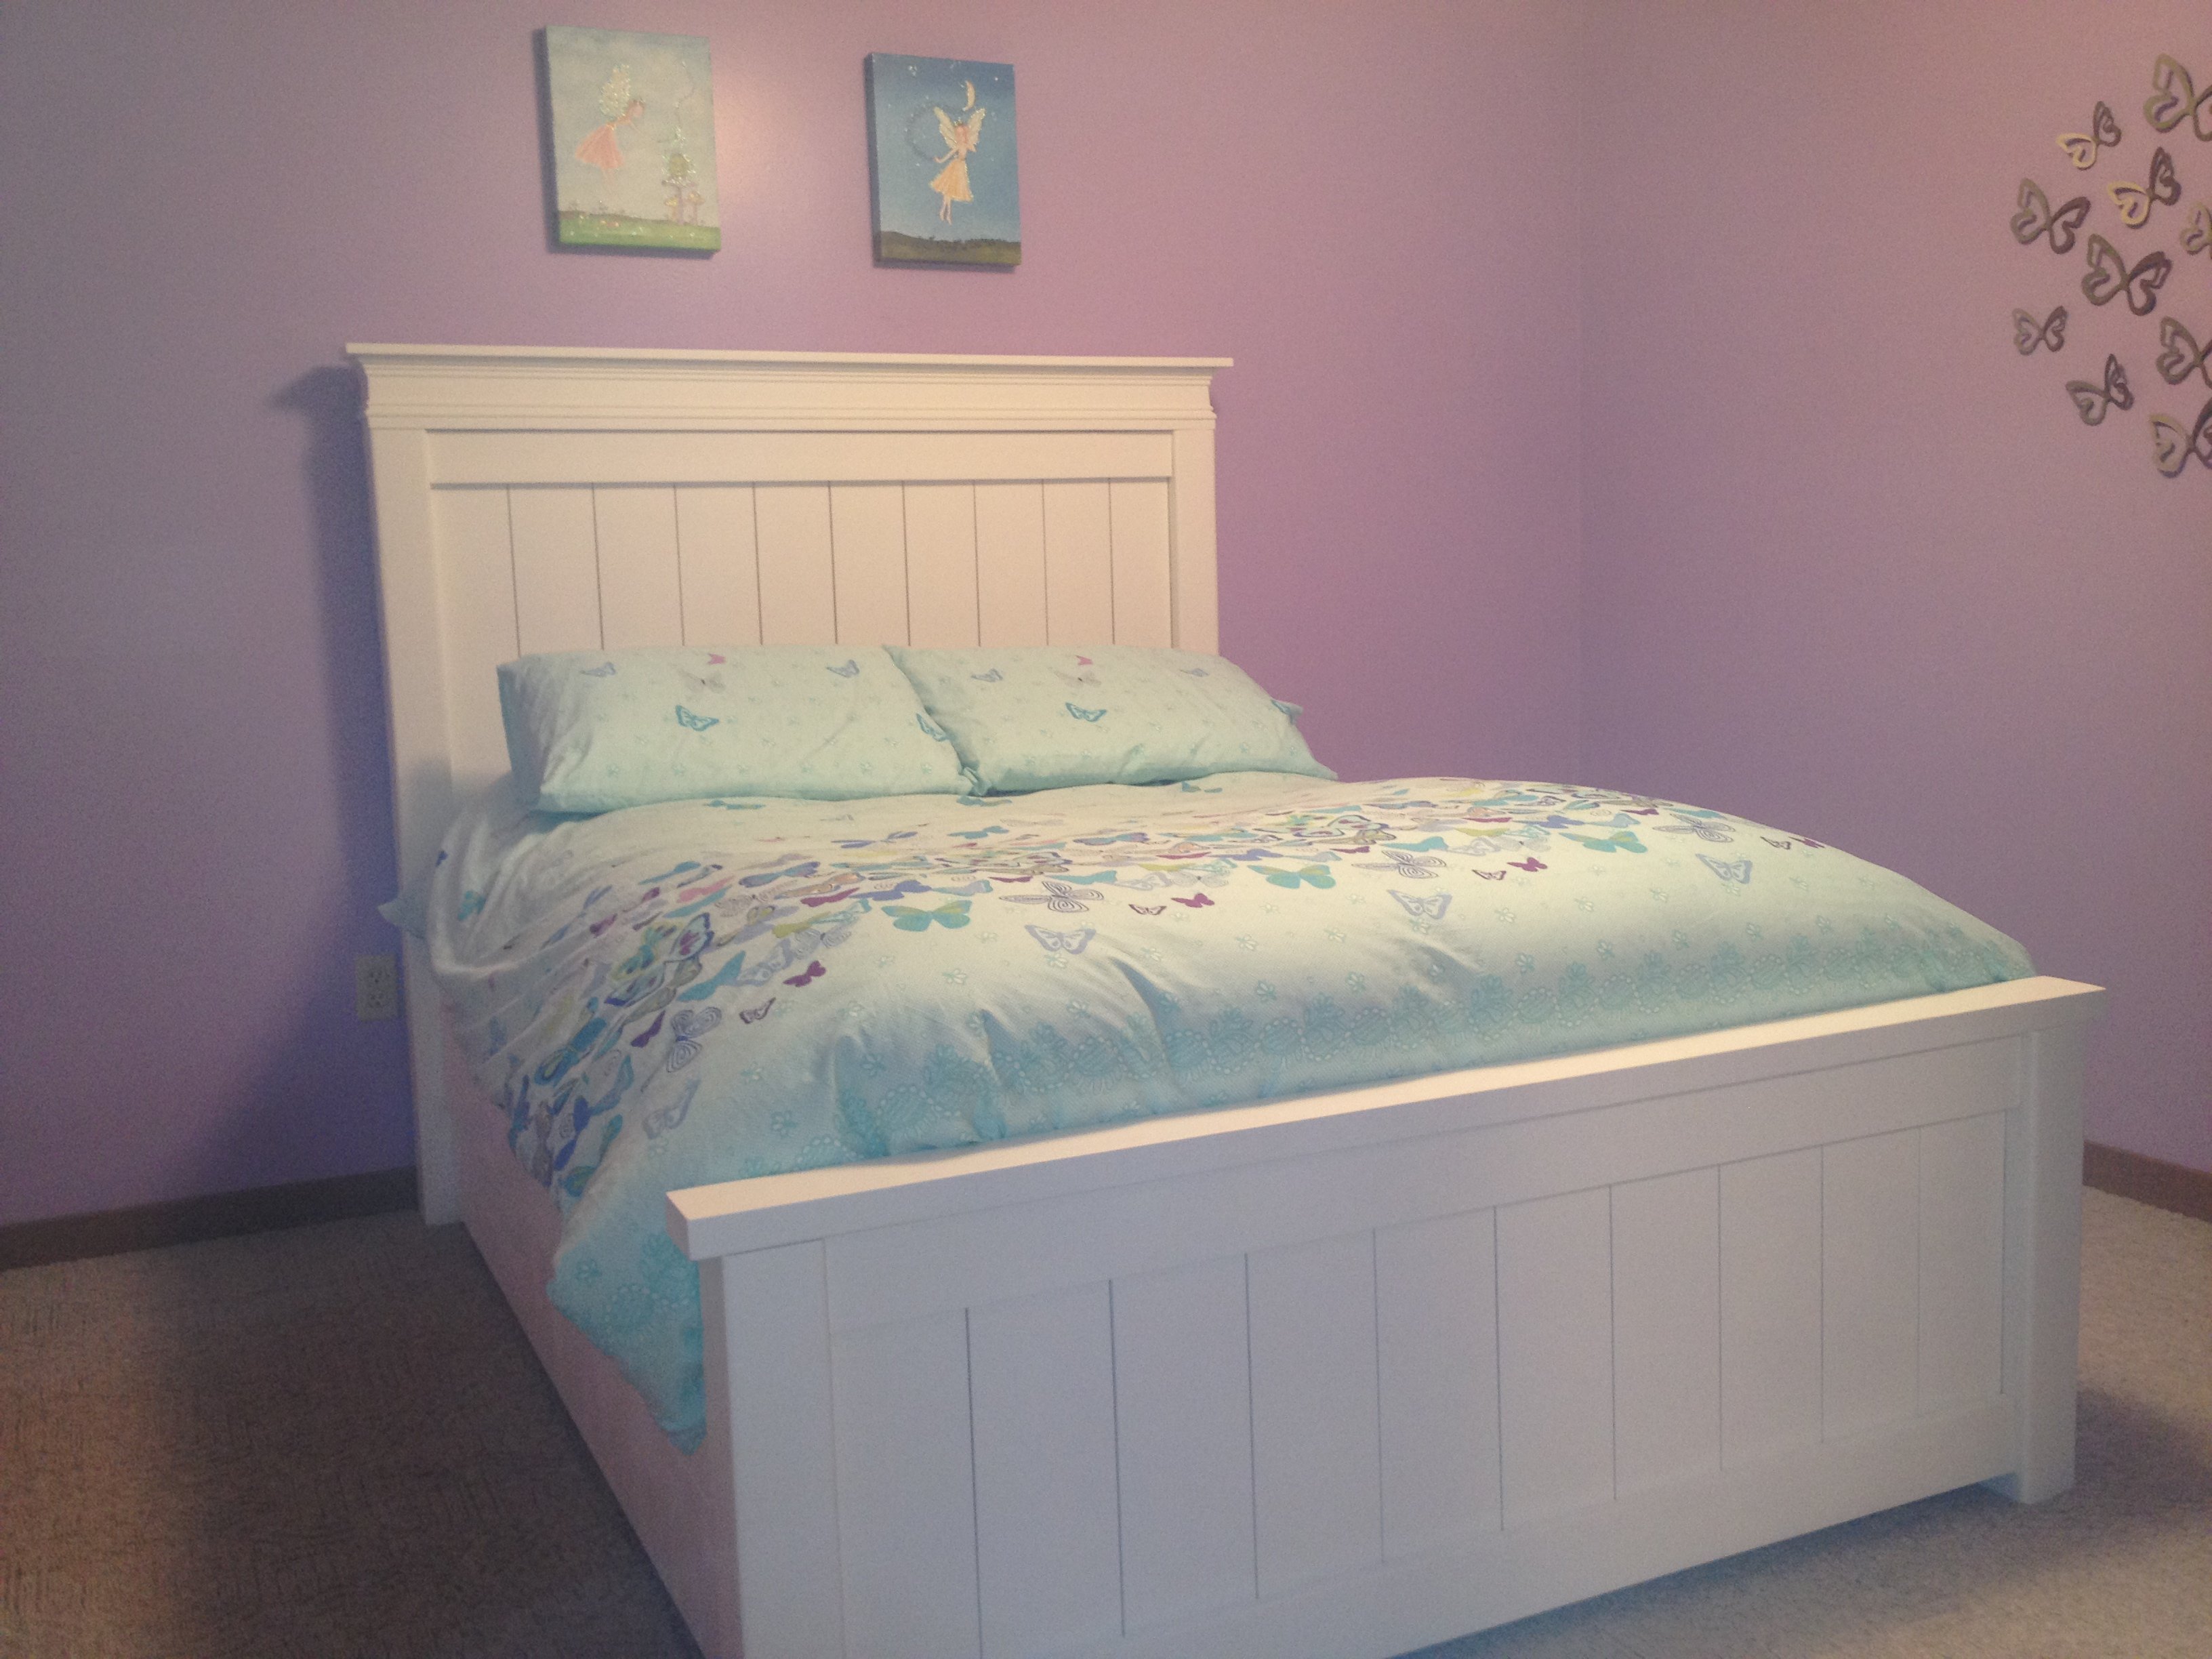
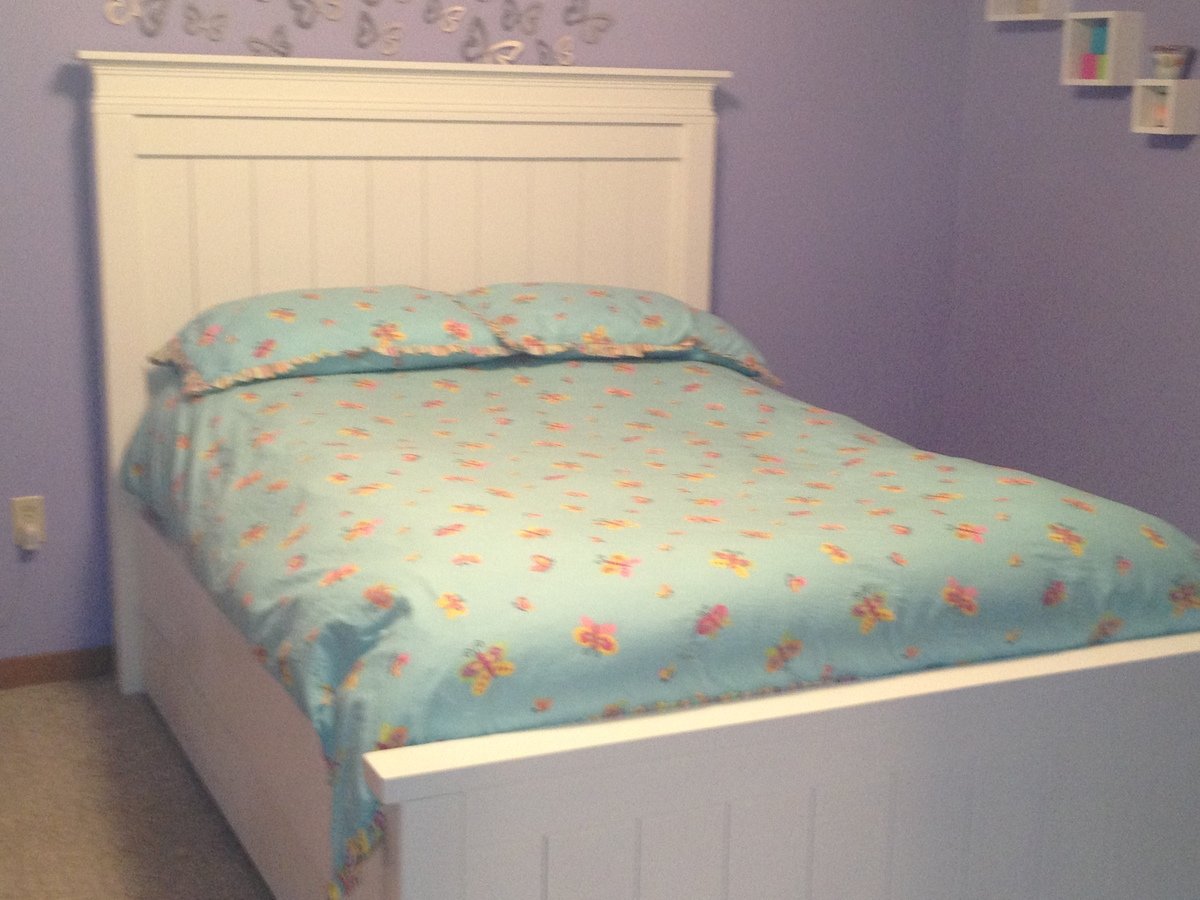
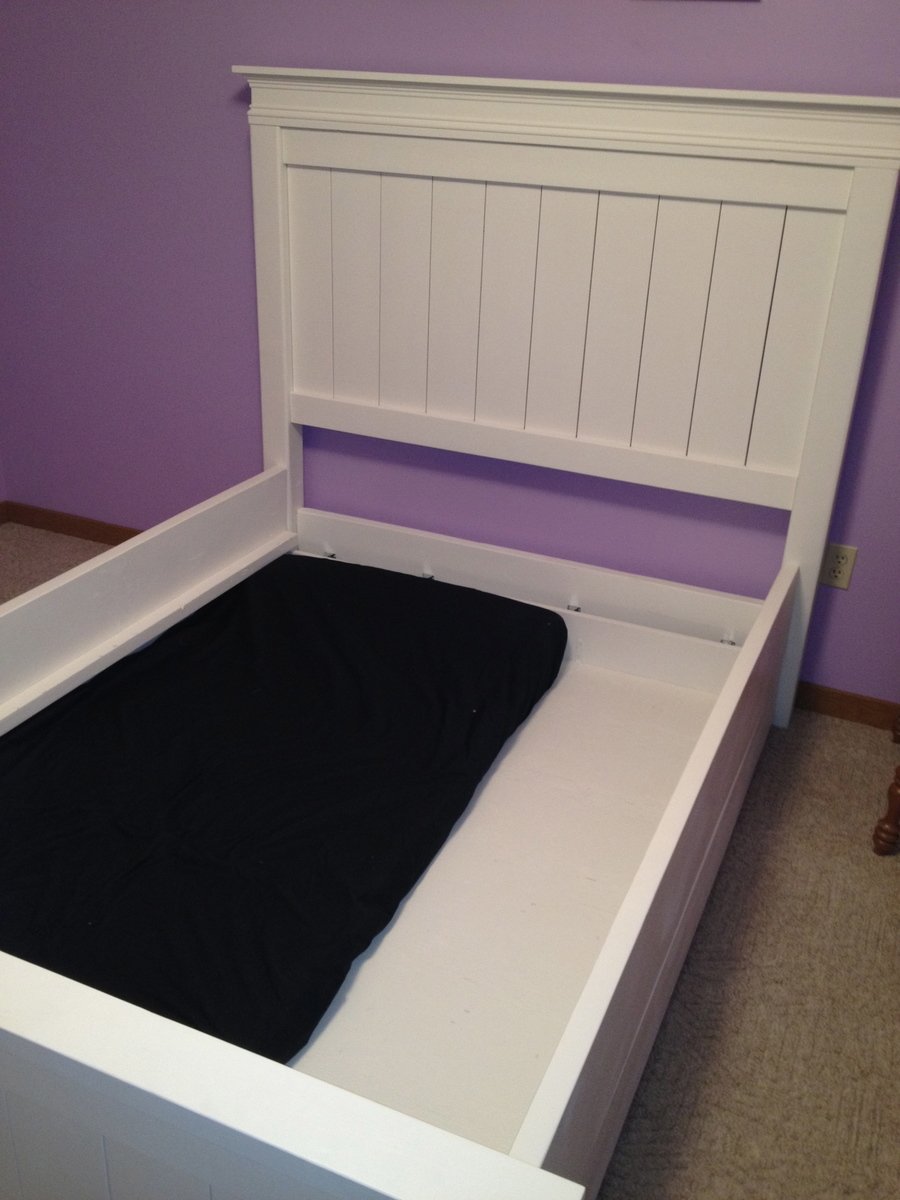
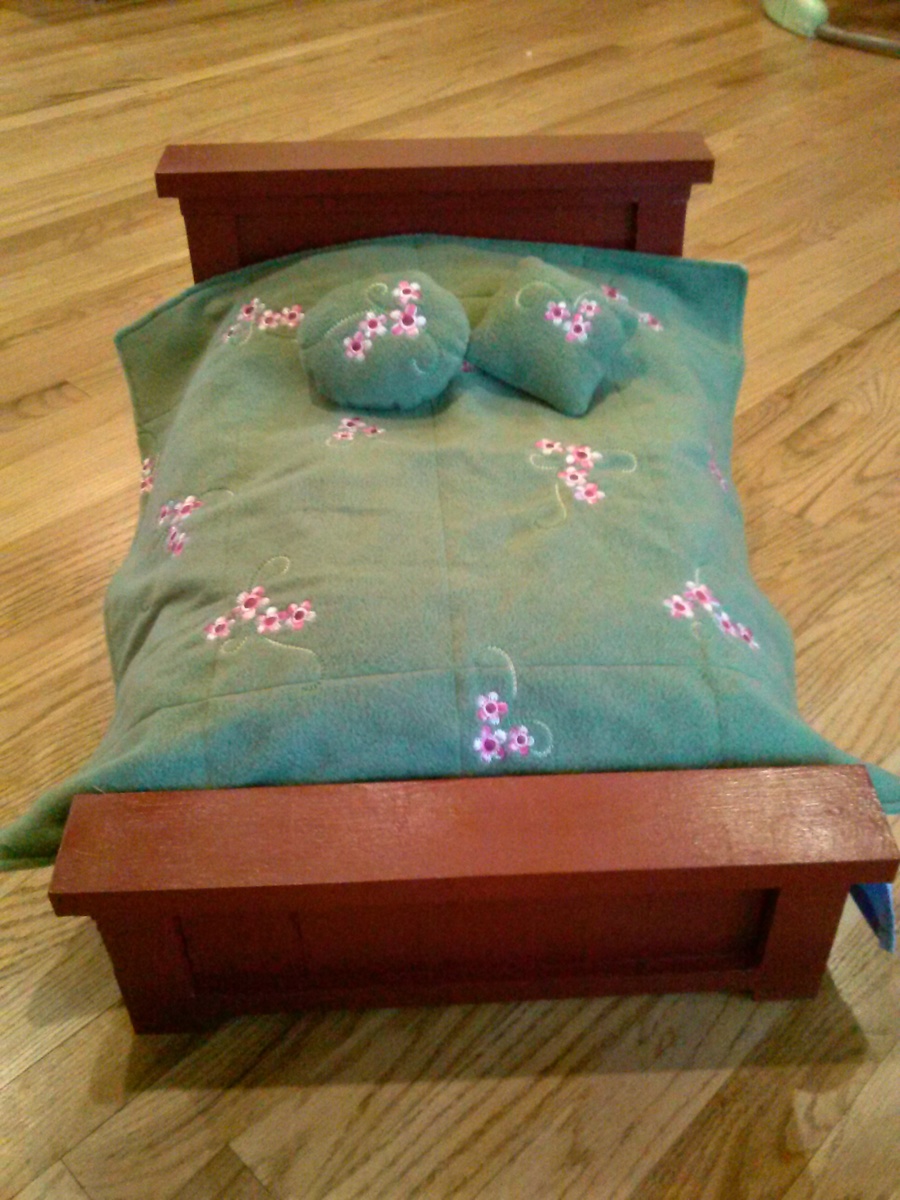
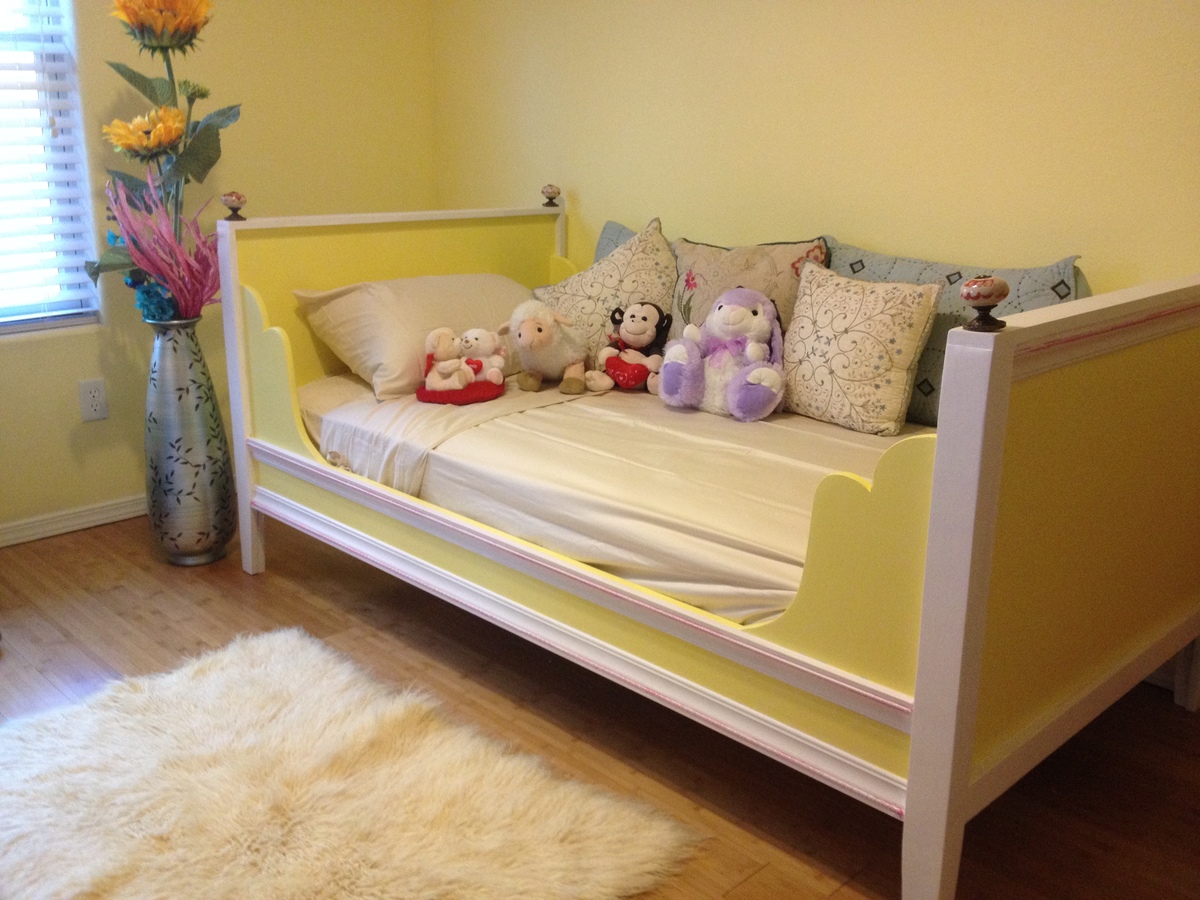
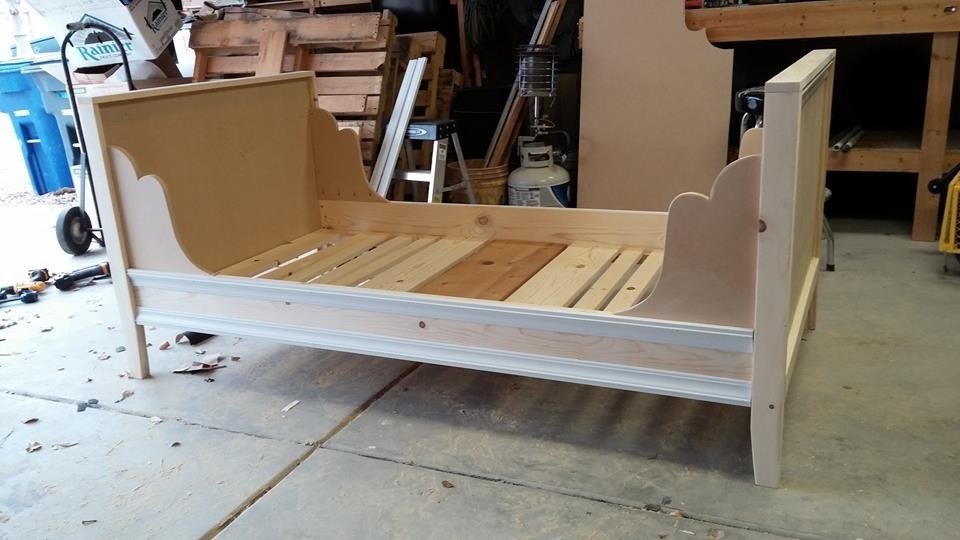
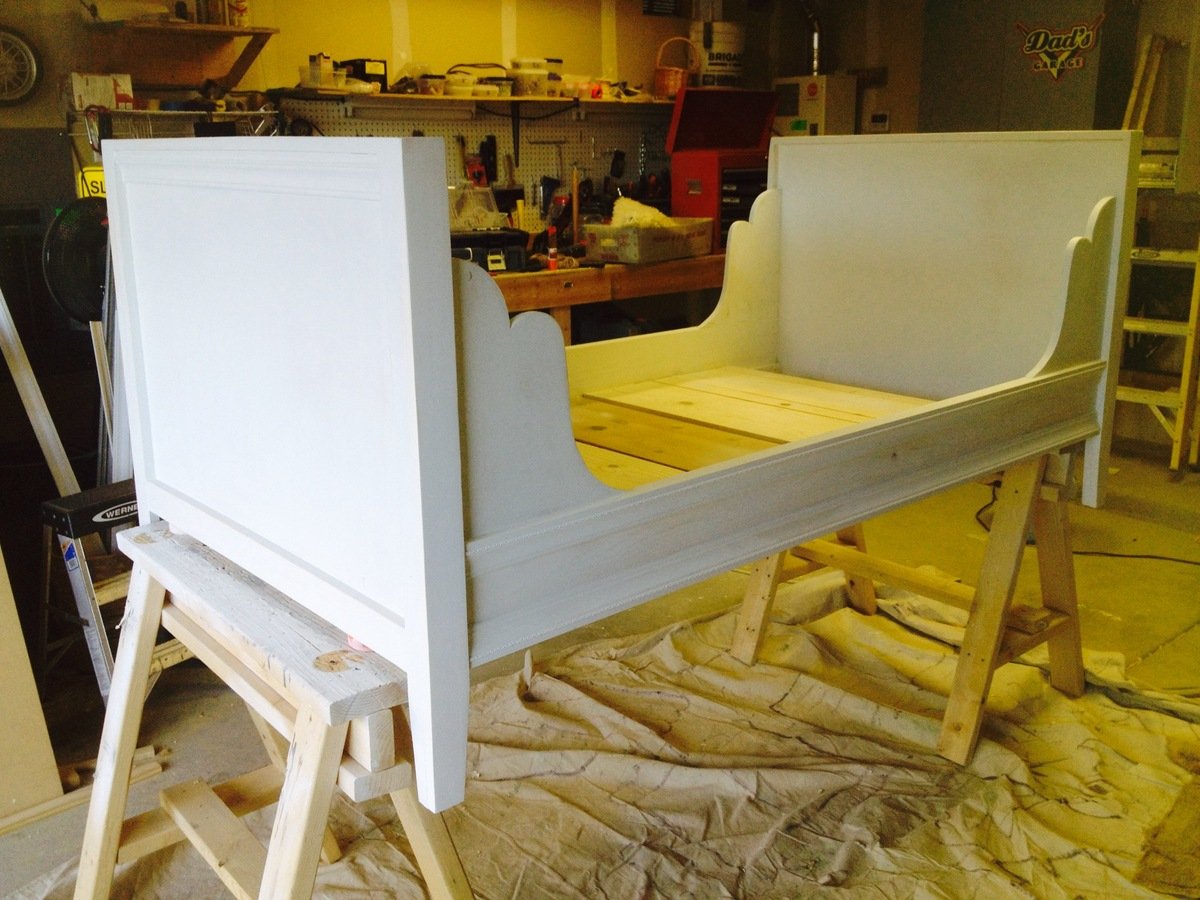
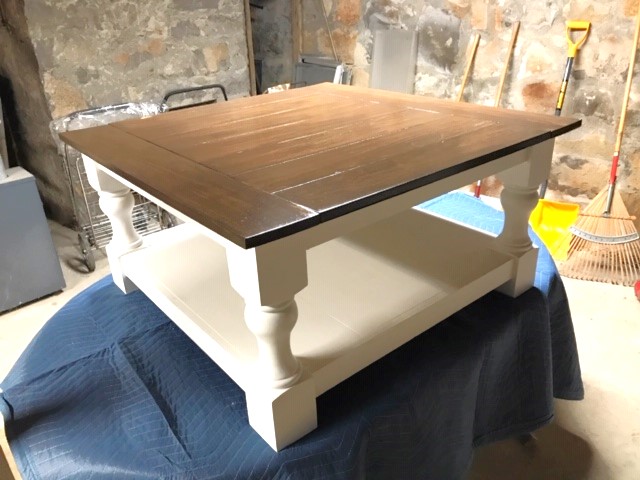
Farmhouse End Tables
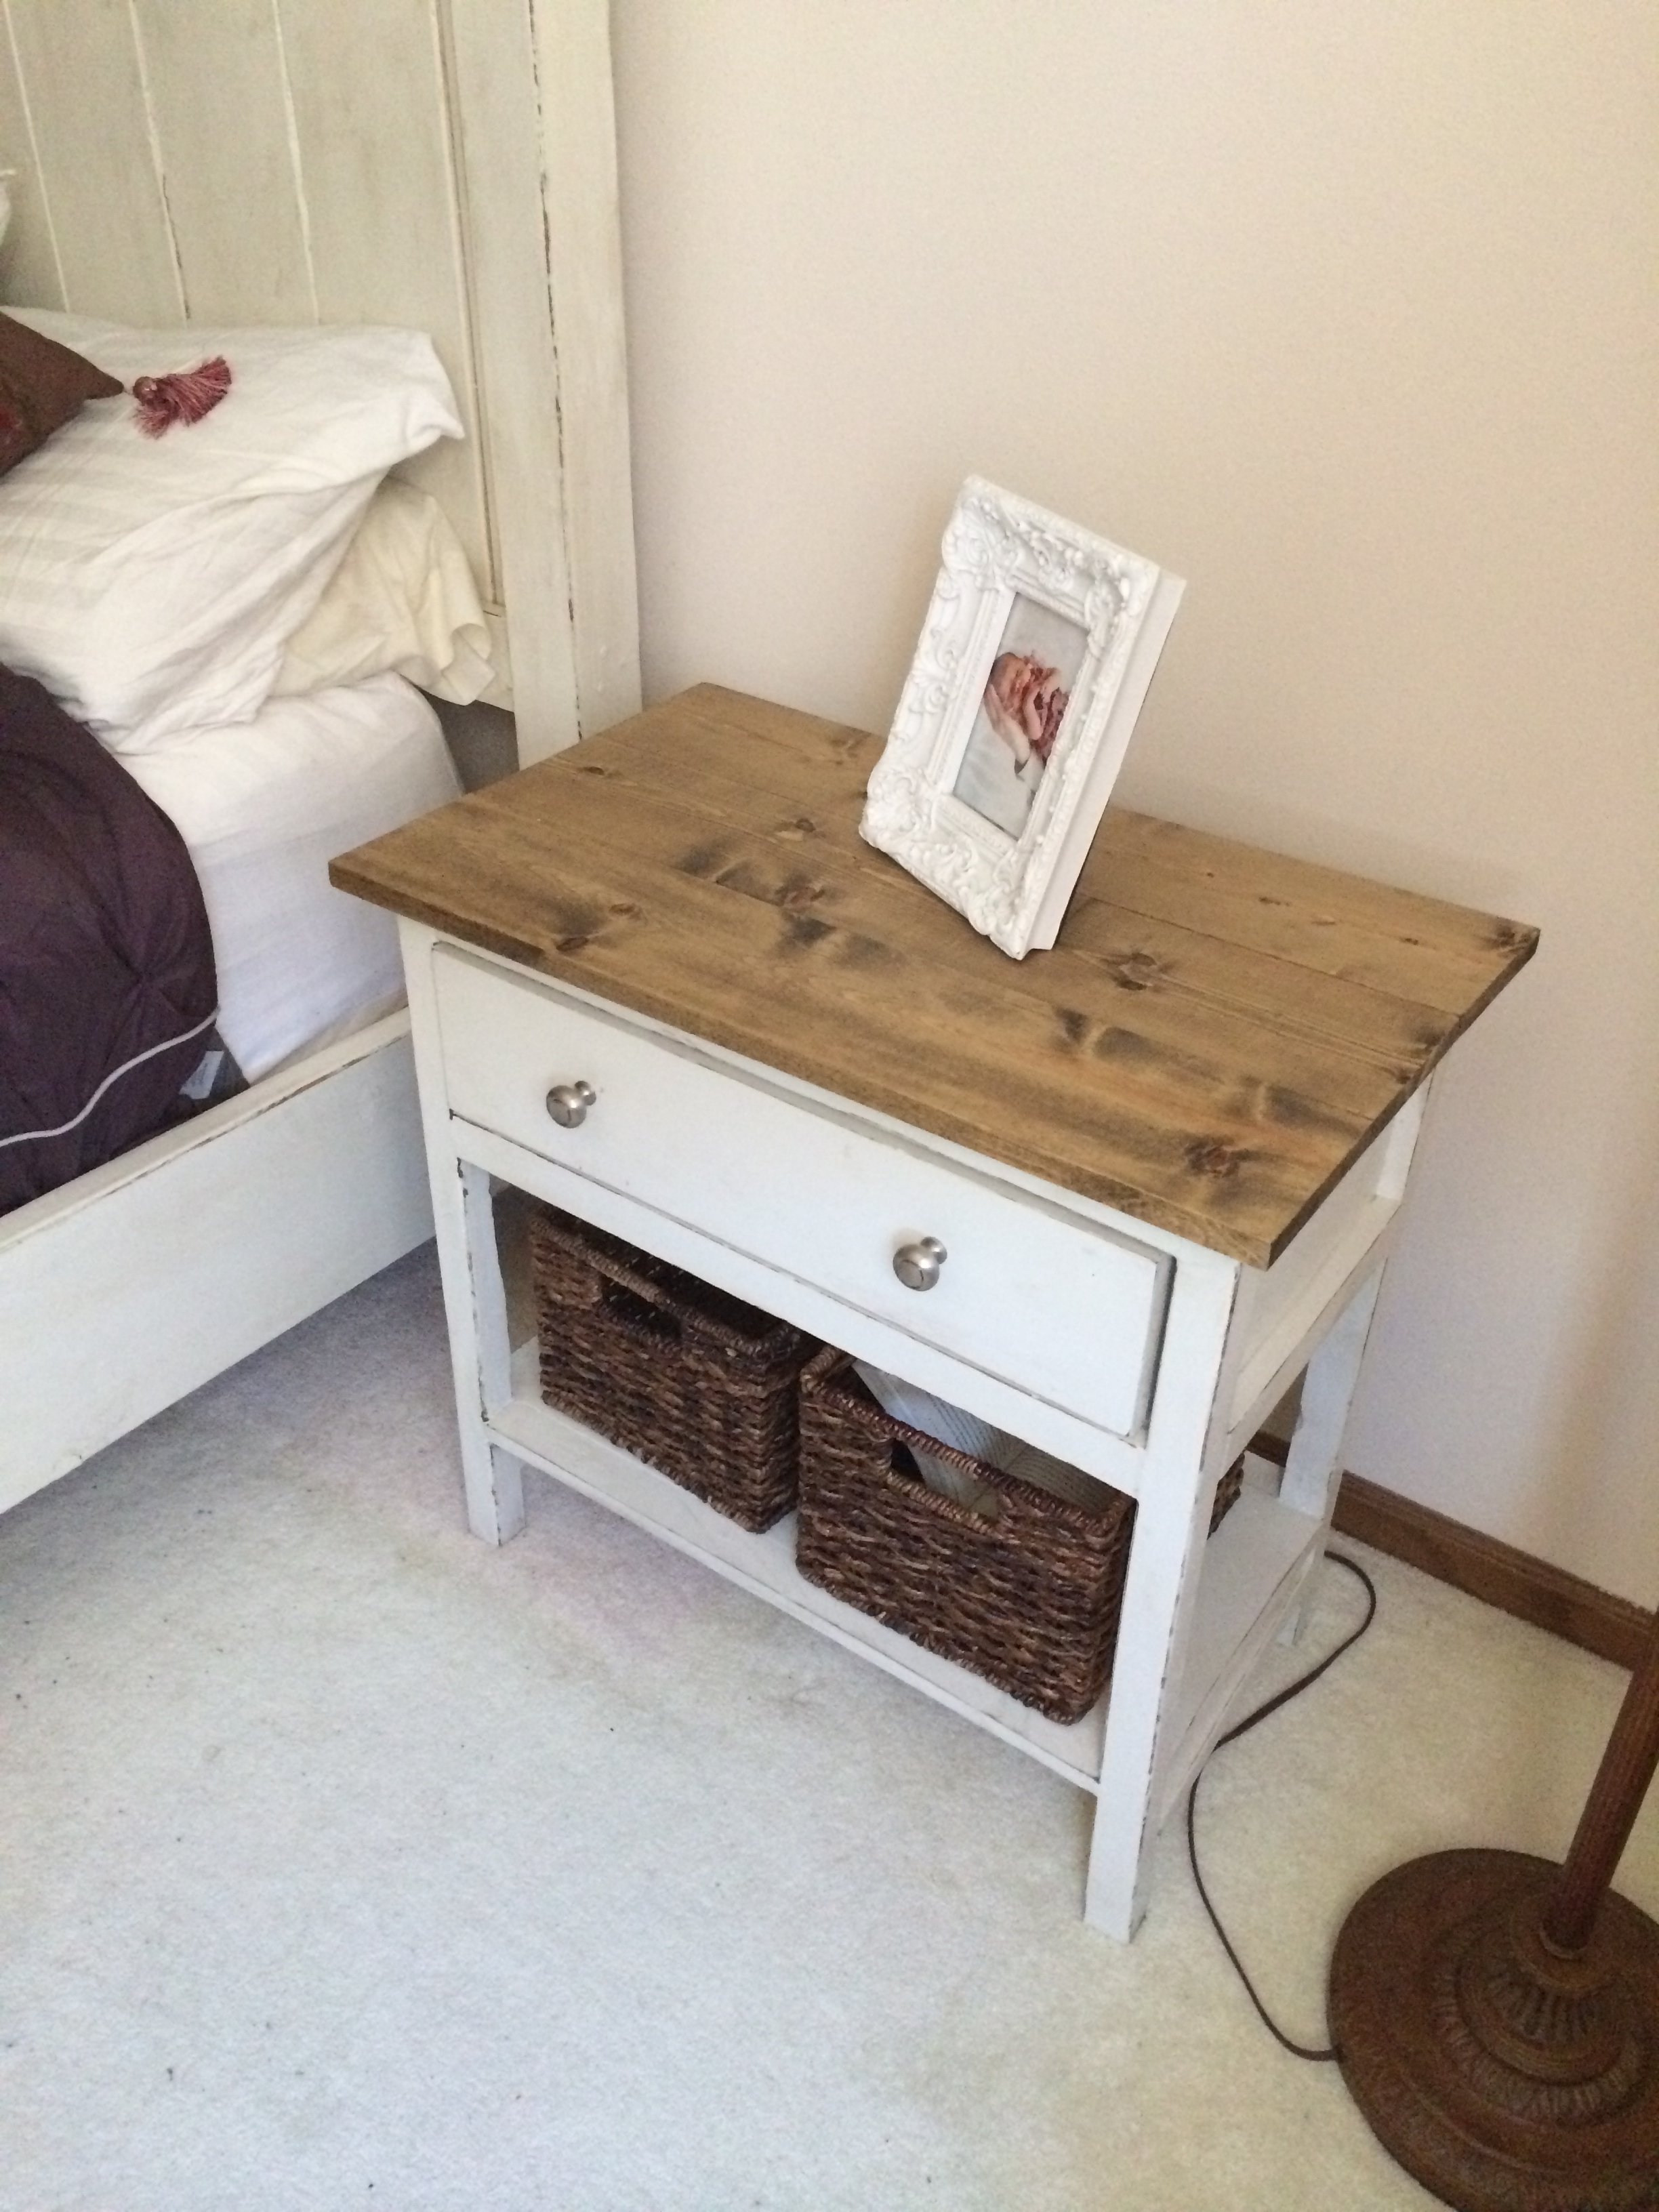
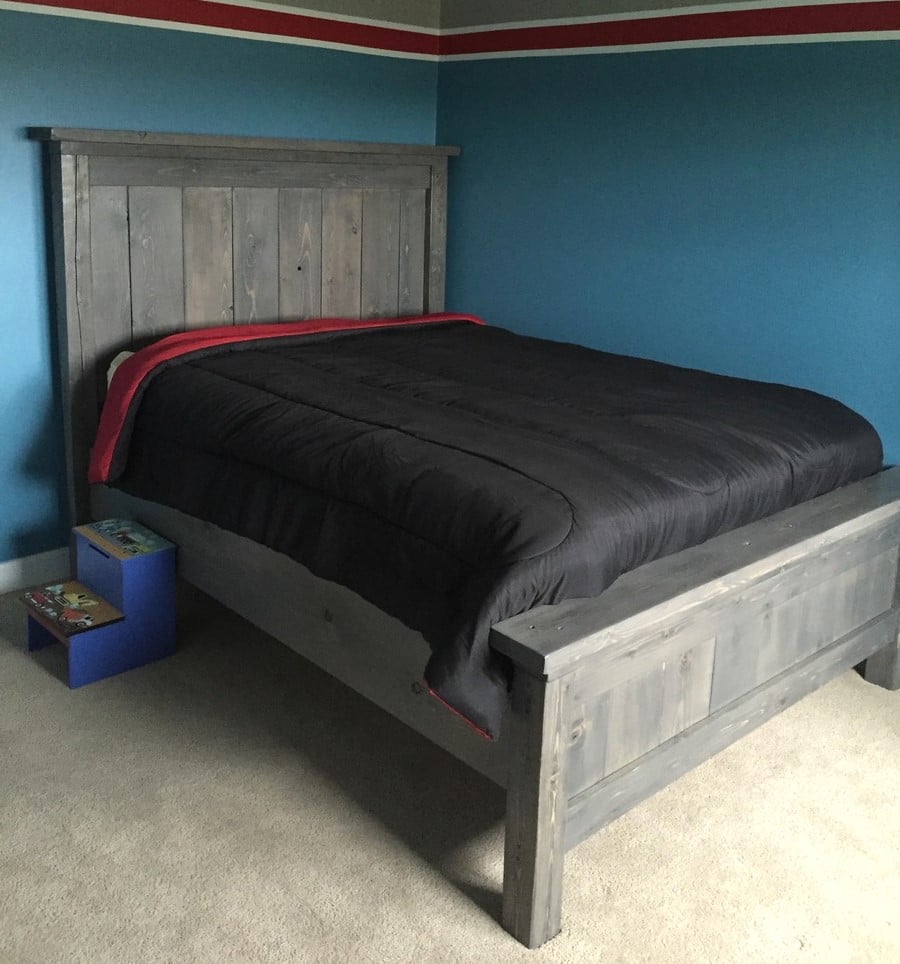
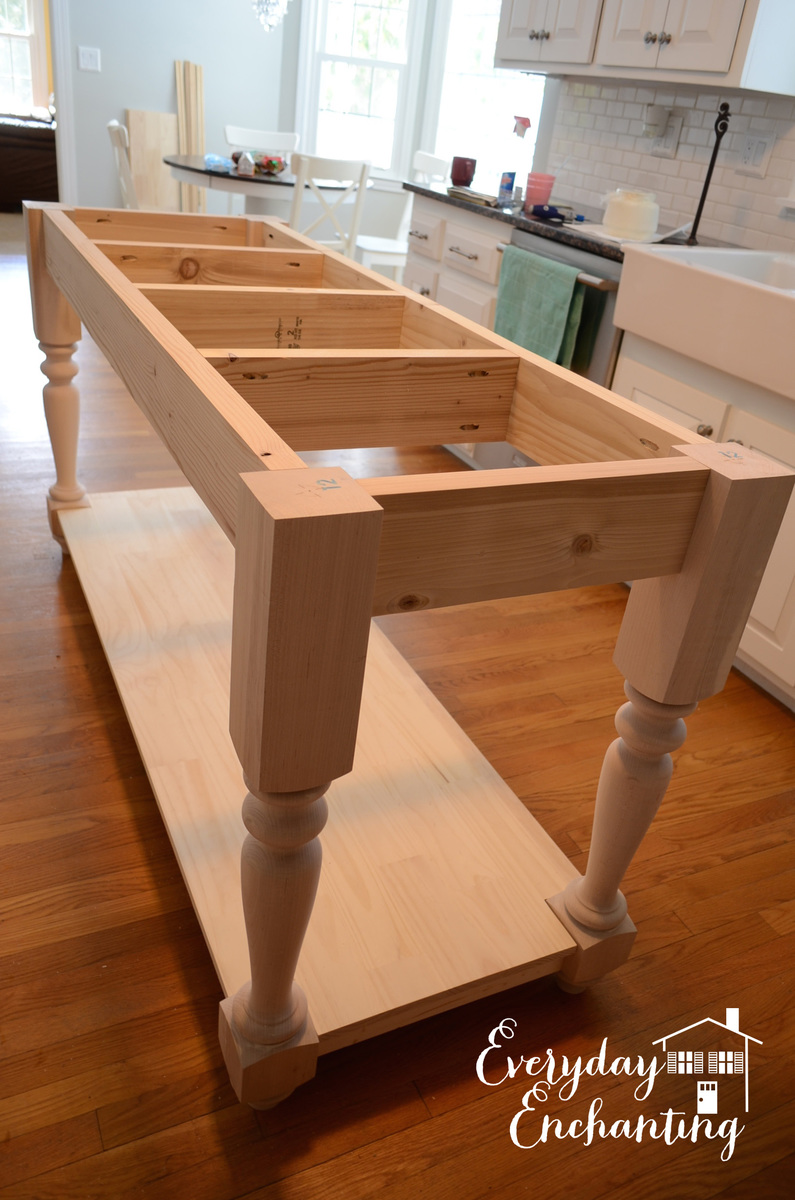
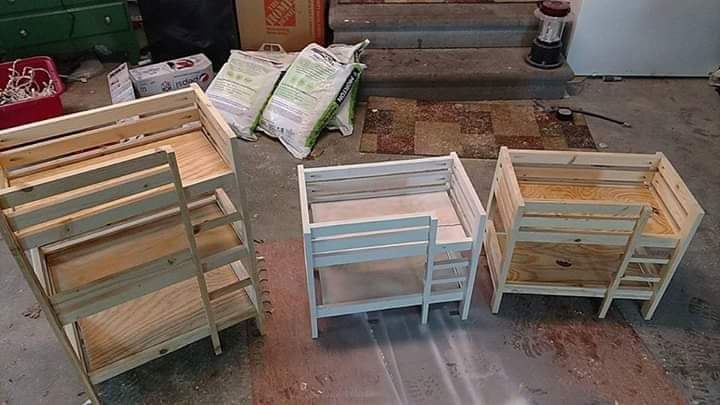
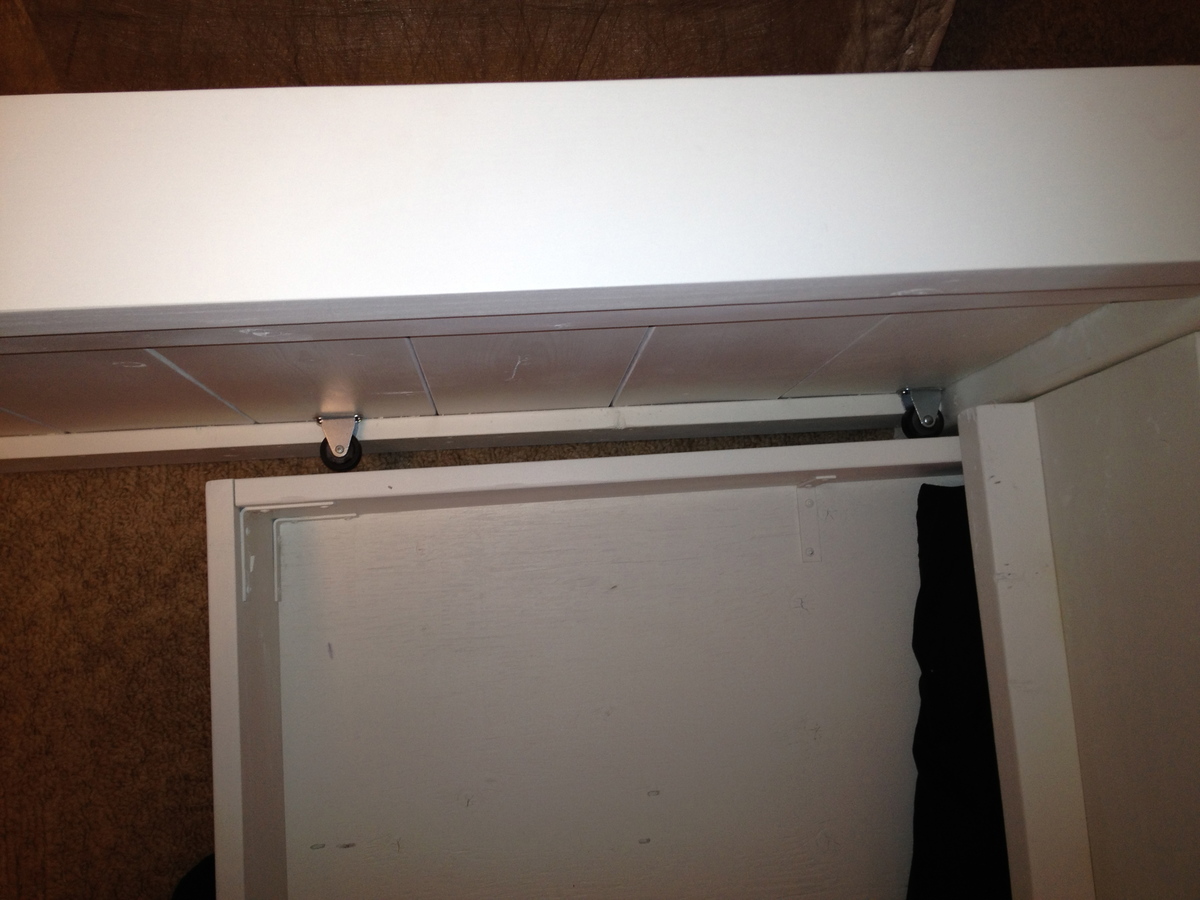
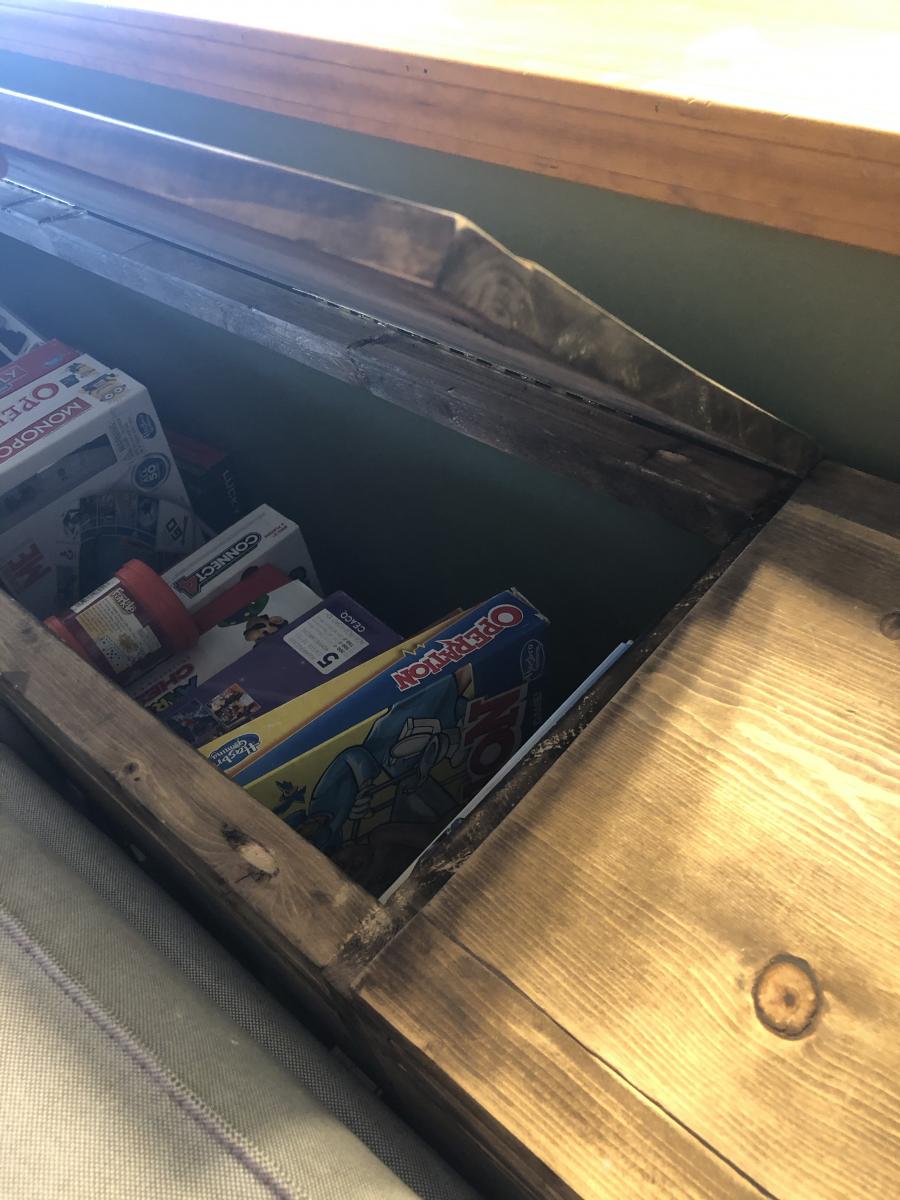
Of course, with our new king farmhouse bed, we needed matching his and her bedside tables. It was a pretty straightforward build. However, if I were to build it again, I would install slide hardware for the drawers. For whatever reason, our drawers, which use the wood on wood slides in the plans, are difficult to open/close. When I get a chance, I am going to sand everything down to try to prevent the drawers from sticking so much.
Built from Plan(s)
Estimated Cost
50
Estimated Time Investment
Day Project (6-9 Hours)
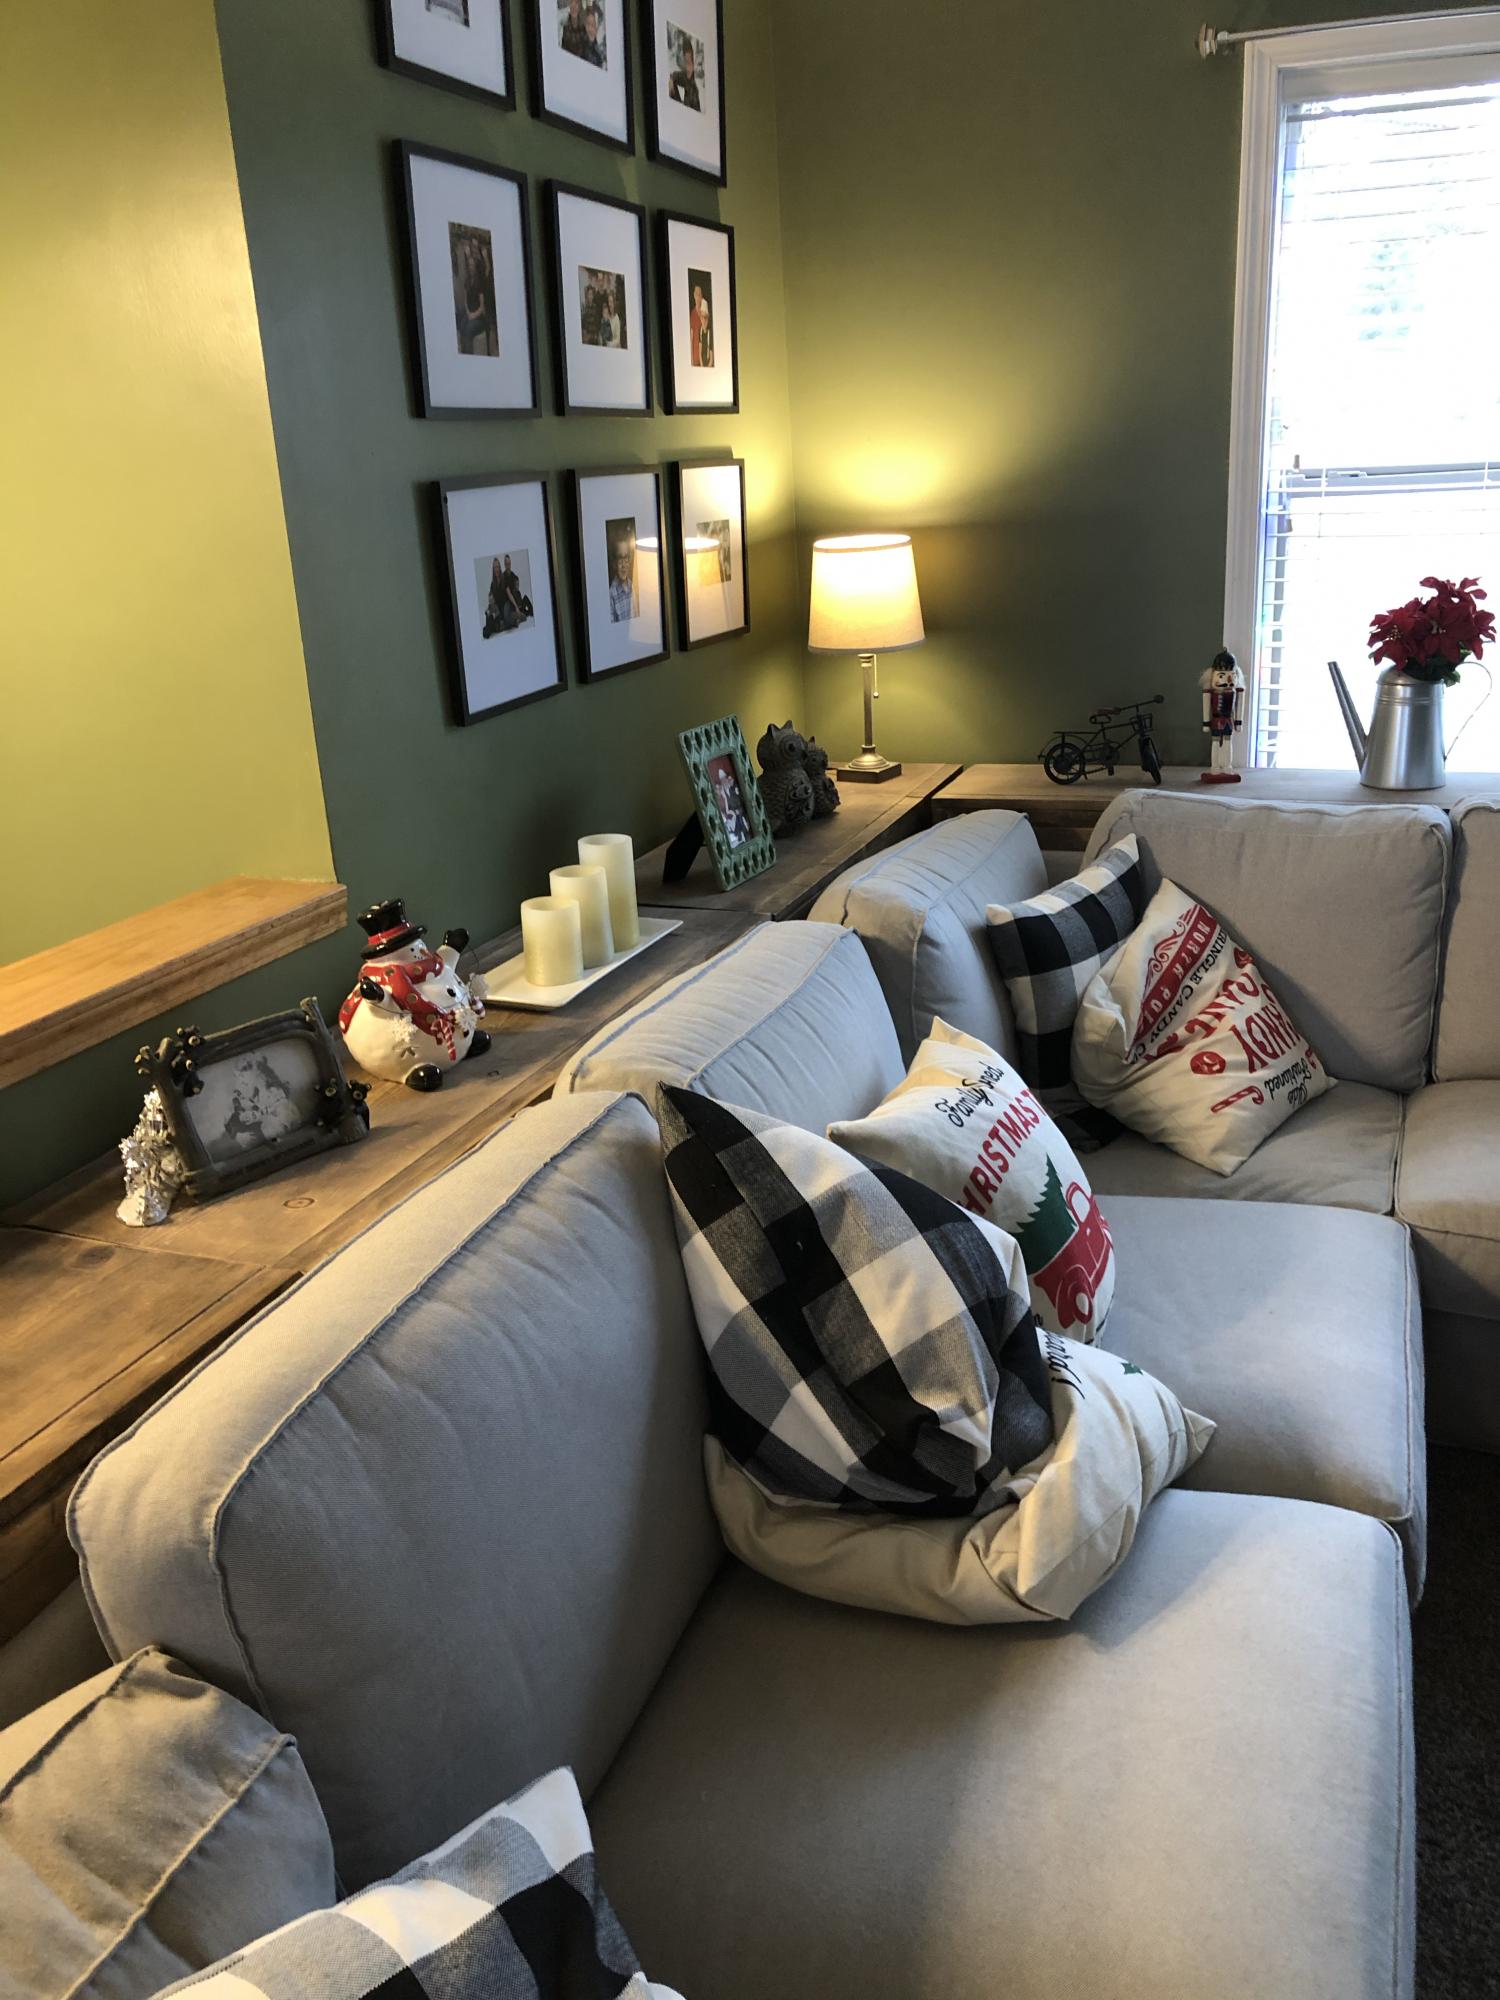
Finish Used
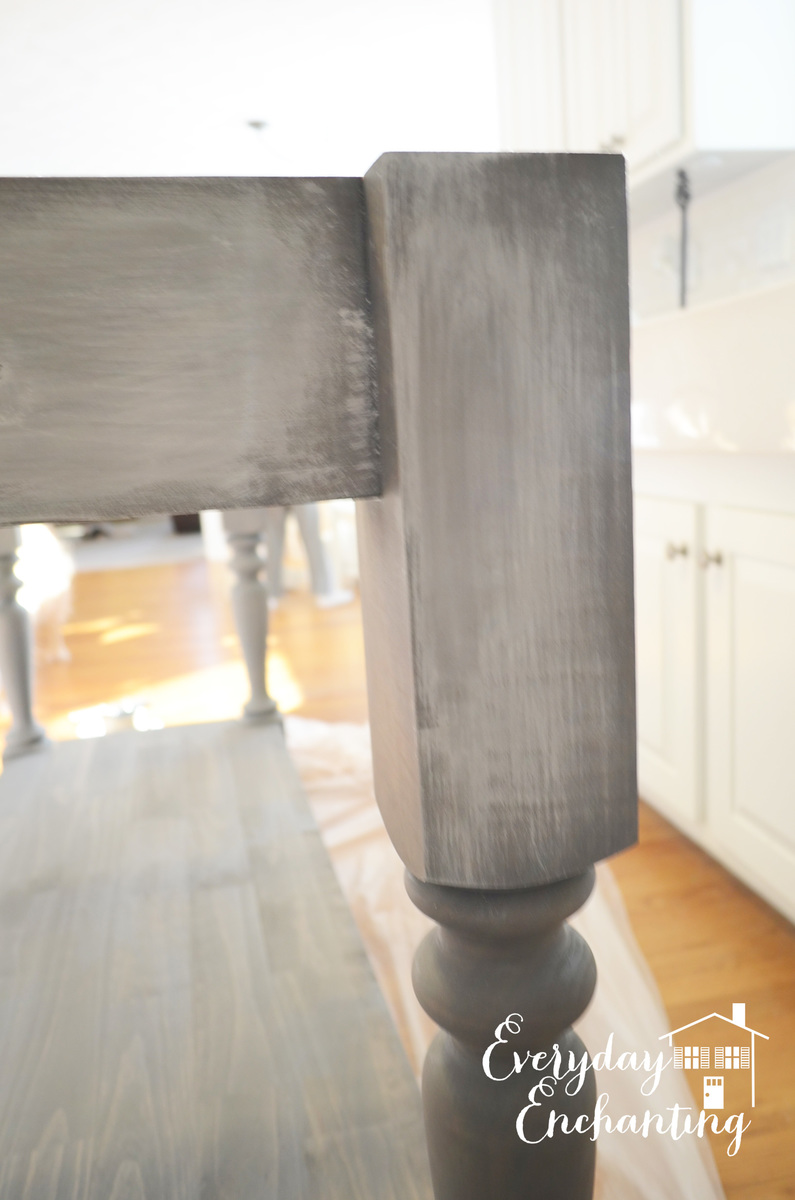
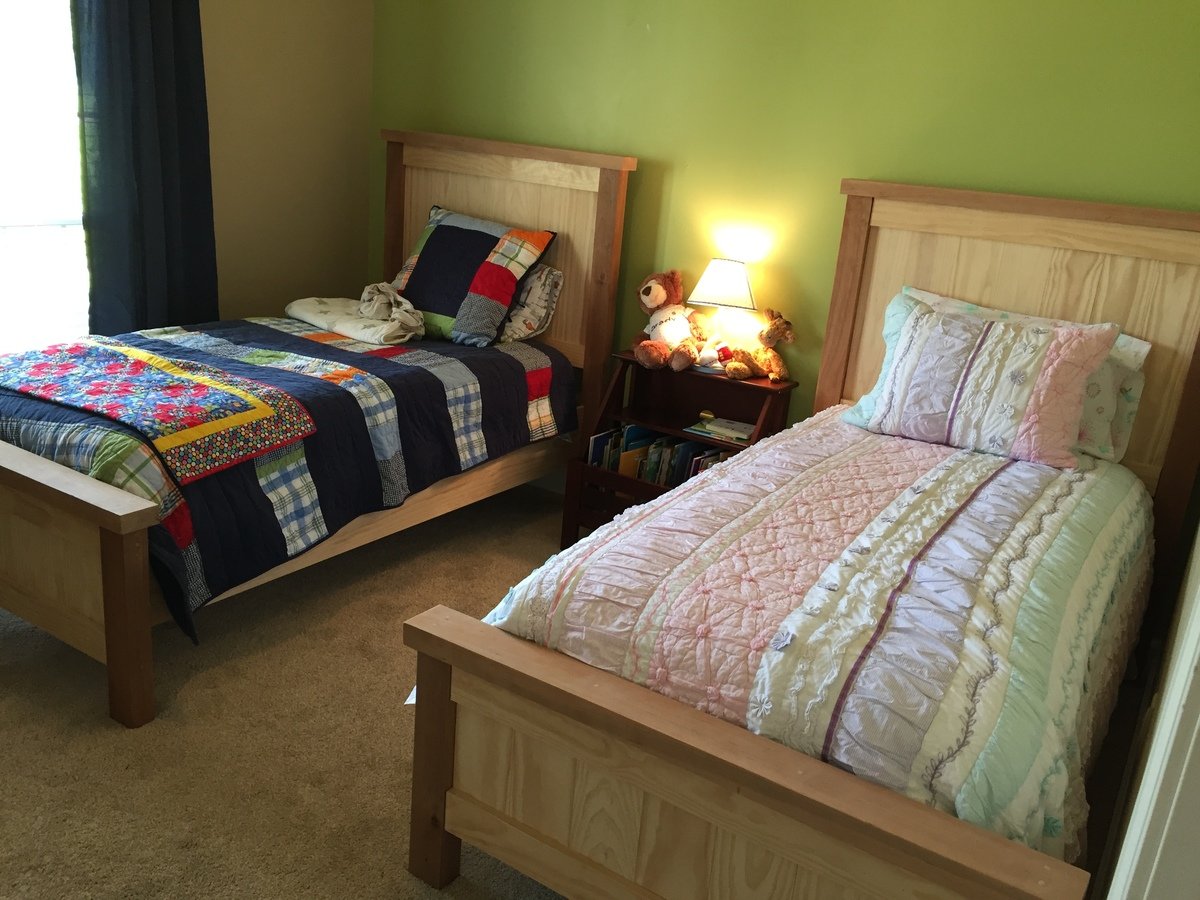
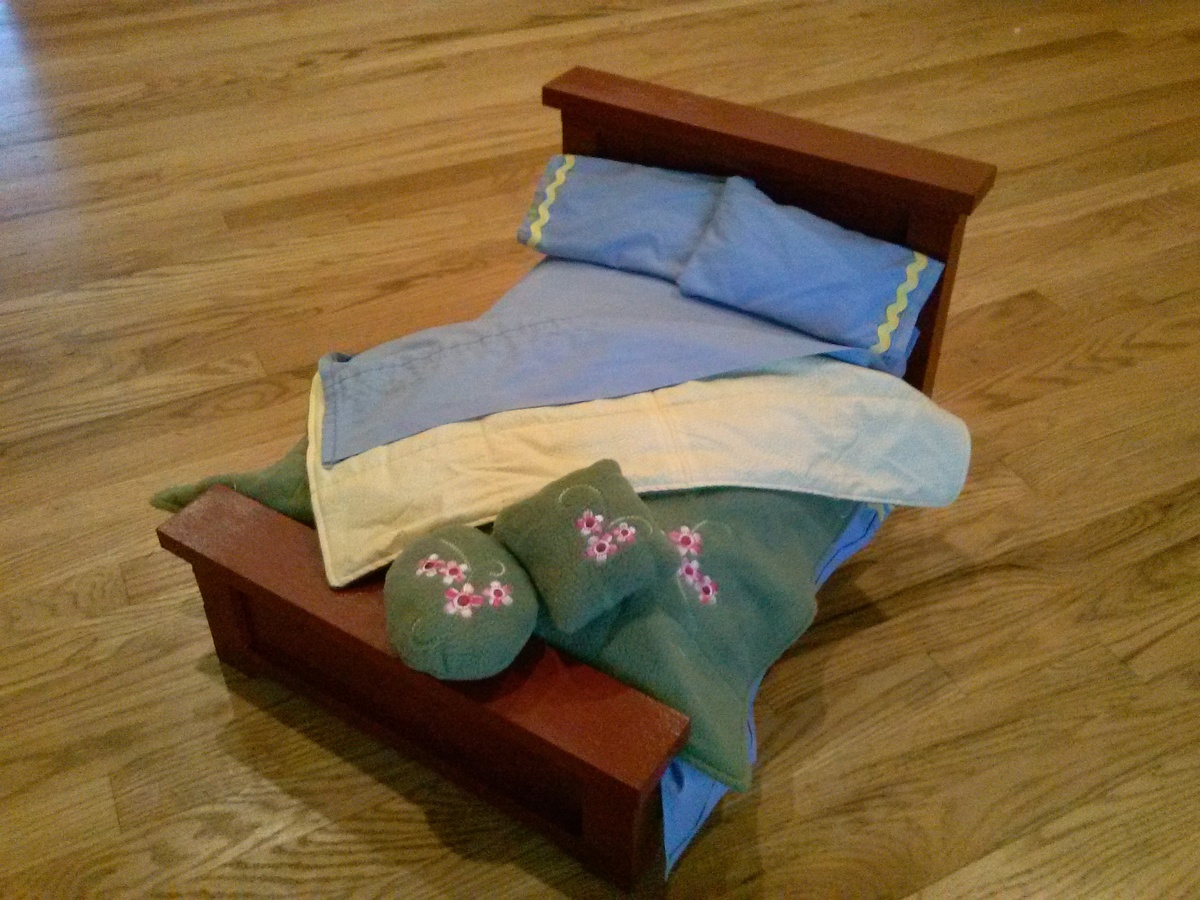
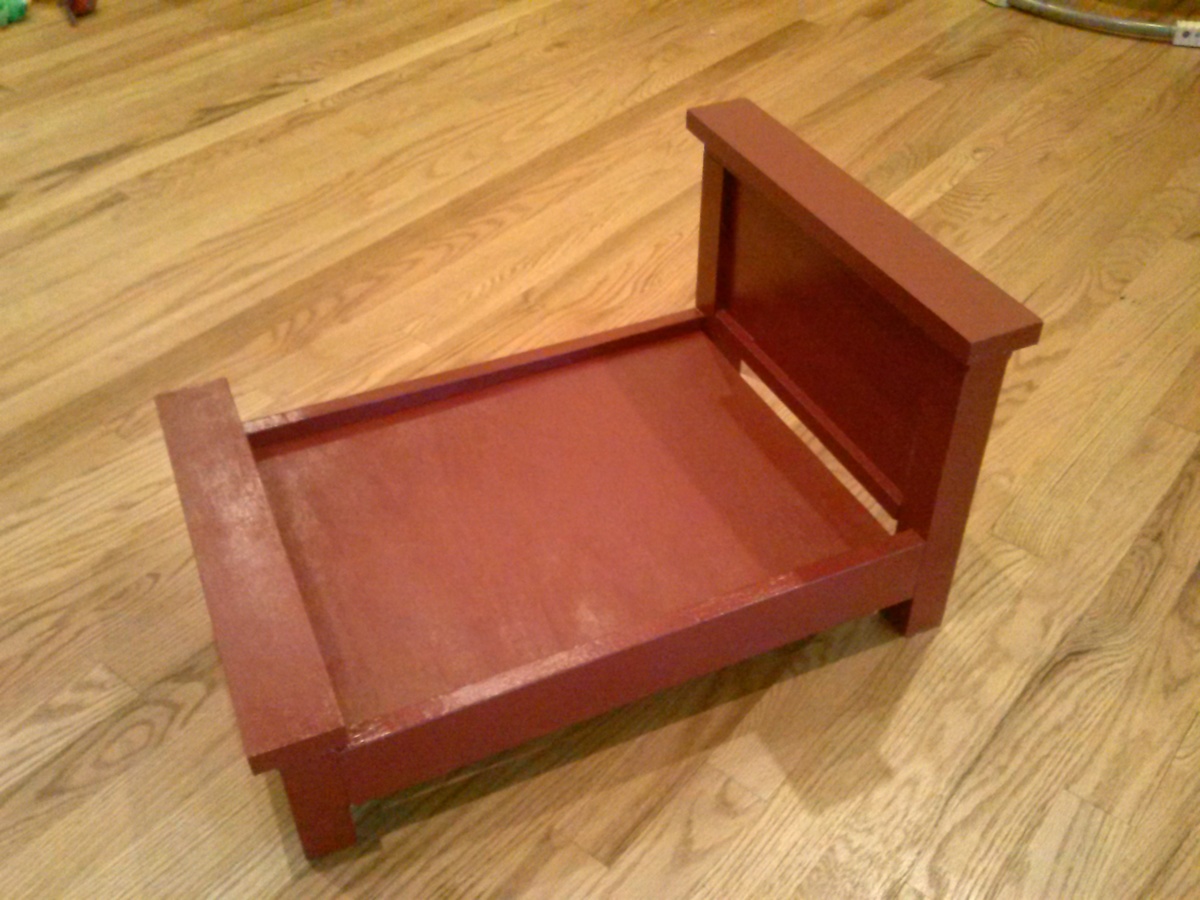
Behr off white #1873 paint distressed with Minwax special walnut stain
Recommended Skill Level
Beginner


Comments
ehays216
Wed, 02/26/2014 - 05:44
great job!
I love the stain you used on the tables and bed, thanks for giving the details! They all look great!
pde00311
Fri, 04/25/2014 - 07:05
Thanks!
Thanks so much for the compliment.
pde00311
Fri, 04/25/2014 - 07:05
Thanks!
Thanks so much for the compliment.