Three Cube Bench
My 2nd project!
My 2nd project!
My hubby is a pro carpenter and was annoyed that i printed out instructions for him... but I wanted it to look exactly like the ones on the blog! I LOVE my new bed so much
We built this set as a variation of the Platform Outdoor Sectional plan. I read that several individuals had a hard time finding the right size cushions, or inexpensive cushions, so I found some on clearance and built the seating customized to their size. The built-in cooler was a neat little addition we had an easy time with, and we used mainly scrap wood for the coffee table and corner piece. We decided to stain it a translucent grey, as I really loved the natural wood look, but needed to match the cushions a bit more. Still adding a few finishing touches, but already enjoying relaxing on it. It was a fun project, and I love how it came out. Bring on the sun!!
Thu, 01/28/2016 - 08:20
I would love to know how to build the coffee table with built in cooler. I would like to build this asap :)
Thank you for these plans Ana! Had to make mine 36" wide to accomodate the tree stand tripod. Added bonus: kitty cannot drink the tree water! YES! Still have to stain and going to add hinges to one side to access water bucket easily.
Thu, 12/14/2017 - 09:56
That was fast! Looks great, love that it keeps the cat away too!
My version of the Simple Outdoor Dining Table
- All Cedar
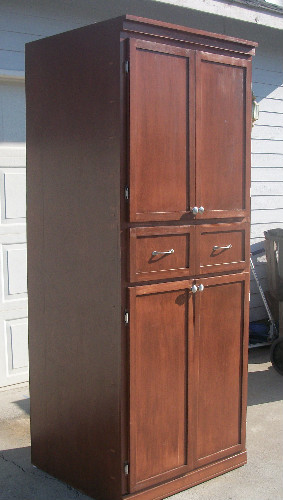
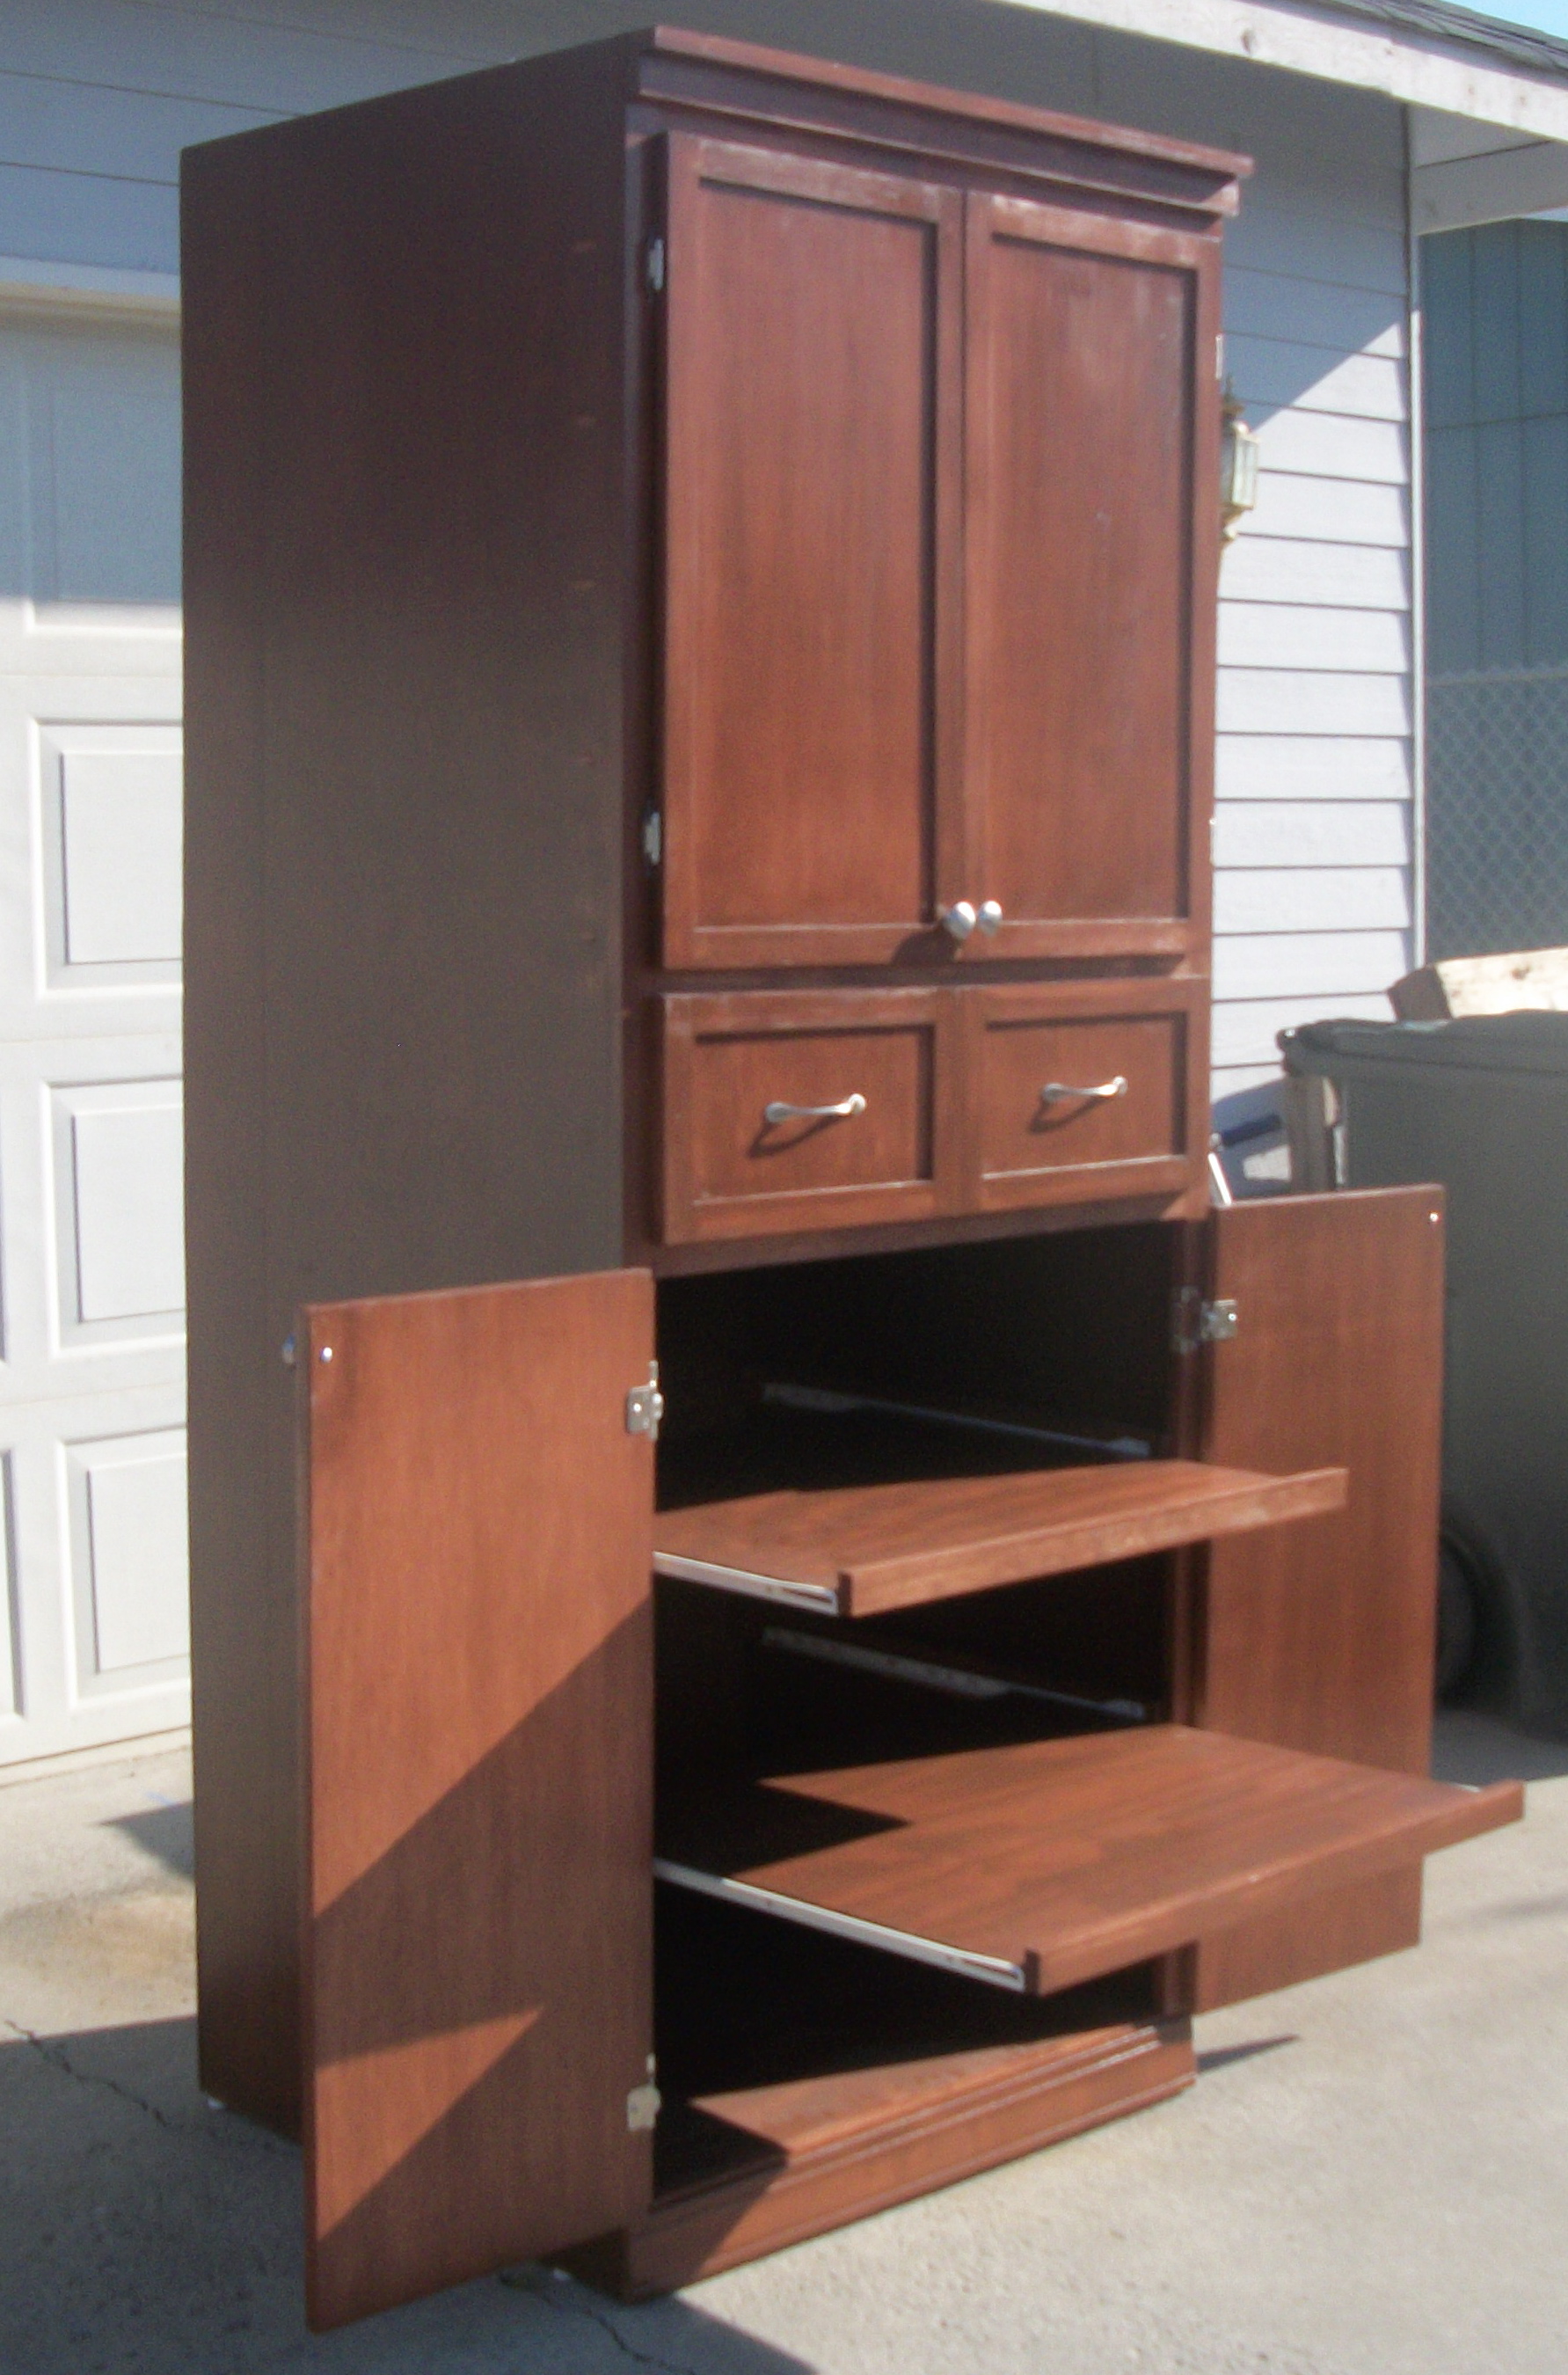
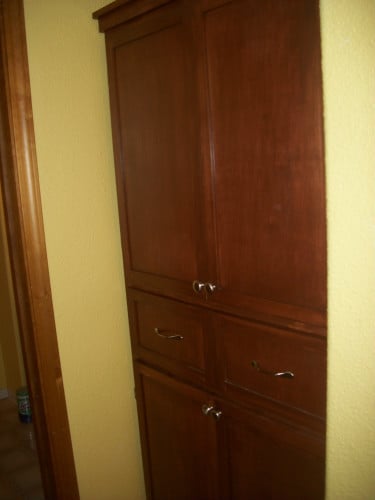
We built this armoire cabinet for a client of ours (this was a paying gig) who needed extra storage in her bathroom. I think it turned out beautifully if I do say so myself. So much so that I decided the build two of these to put in my laundry room for extra storage.
We used the modified king-size plans from the farmhouse bed to make this headboard. Instead of the planks, we used a vintage door that we cut to size, but the rest is according to the plans.
In each panel, we put a piece of painted, distressed ceiling tin, since this was our "tin" anniversary.
We used pocket holes to attach the door to the posts. My first time to use the jig!
Read more about the process in the blog post!
http://lassothemoon.typepad.com/lasso_the_moon/2013/06/diy-headboard-fr…
Fri, 07/05/2013 - 23:10
This is so cute. I love the Tin ceiling tiles. I've always walked past them at HD and wanted to use them for something but never knew what to use them for. I love the idea of u using them because of your Tin anniversary. Turned out beautiful
~Melody
Fri, 07/05/2013 - 23:10
This is so cute. I love the Tin ceiling tiles. I've always walked past them at HD and wanted to use them for something but never knew what to use them for. I love the idea of u using them because of your Tin anniversary. Turned out beautiful
~Melody
Sun, 07/07/2013 - 00:55
He thinks out side of the box. What a great cotton gift. I got my husband DKNY towels. haha. (he always complained that ours werent soft enough. I think we stopped at wood because it got too hard. I cant even think of a wool gift since we live in Southern CA. You sound like you have a good man.
~Melody
My second project from hungary!
First stab at this table turned out so well a friend bought it off me and I had to build a second.
Dear Ana White,
I was looking for an inexpensive shed to build and saw your lean to. I love it and get many complements. Thanks for your site and what you do.
James got a sweet retro kitchen set for Christmas from his grandma. CarpenterMama scored a kids kitchen table (pretty sure it's authentic retro) at Goodwill for $8. All that he needed was a chair to sit in, and Ana's Four Dollar Stackable Chair fit quite nicely!
This was CarpenterMama's very first building project, and she is as proud as punch that she made something with her own two hands, some wood & screws, and oops paint. James is ecstatic that it is blue and he can sit in it. :-)
sofa table made from console plan, I just changed the measurements.
We built this over the course of a couple of weekends. I think the key thing was making sure my 1x6's were the correct width before we began to cut all the other boards. There was a lot of trimming after the fact making the overall width 1/2" shorter than the plans. Some adjustments made to the original plans were...
1) Using decking brackets to support the plywood to the 1x8s on the trundle (super easy way to secure it)
2) Purchased side rail brackets exactly like the ones here from my local woodworking shop.
This makes the bed easy to disassemble because although I swear I'll never move again I'm not building the bed into the room.
3) Instead of casters on the bottom we used those plastic furniture sliders. They were way cheaper and so slim. With the weight of the trundle wood and mattress they move flawlessly.
4) Since my daughter has a memory foam bed I was worried about sagging. We used small 1x? ripped in half along the inside of the side rails for a little lip and then 4 1x6's the width of the mattress to make supports and then laid plywood on top of that. 5) Cut down the headboard by 6.5" so that the mattress butted up against it.
Me personally I hate when there is a gap there for pillows to fall down in the middle of the night.
This is a pretty easy project and makes a nice holiday gift. This version was made from a scrap piece of hardwood and a 5/8" dowel. As an extra touch, I added a compartment inside the board to store the pieces. The compartment panel is held on with magnets for a clean look.
The quick video shows how the compartment works.
I painted the outside with Benjamin Moore Balsam color paint (as another poster on here did) and stained the interior pine with walnut stain. I tried making it resemble a pine tree. I wanted to make it as sturdy as possible, so I used 1/4 inch plywood backing for the entire back, and secured it with 1 inch brad nails. I painted the edges of the plywood green and left the middle unfinished because I liked the look.
My husband made this chair in about 30 minutes. It was are first project from this sight. So easy and my niece loved it!! I painted he cut! what a team
This was my first Wood Project - EVER.
Working with this plan was quite easy. I just changed the design of the table top to my wife´s wish. I used "Golden Oak Stain" for the Legs and "Provincial Stain" for the Table top and Bench. The Legs are covered with Water seal and the Tops with 3 layers of Polyurethane. Chairs are Stained in Provincial also. Was a lot of fun for all of us. Learned a lot during this build.
Thanks
Mon, 07/01/2013 - 21:10
Thanks for the nice comments. I bought the Chairs at a local Mexican Furniture Shop, sanded them, Stained them to fit the Table Top and put 3 layers Polyurethane on it... Came Out nice.
Thanks Alain.
Jann
This has probably been done before but here it is for consideration by my fellow woodworkers. If you're anything like me I get pretty impatient waiting for wood glue to work its way out of the tube. So using some scrap wood, I drilled 1.5 inch holes in a small 1x4 board and elevated it about 3 inches. A small board under the glue tubes catches any unwanted drips. Makes a perfect caddy for my glue tubes and no more waiting for my glue. Its always ready to go!
Wed, 06/03/2015 - 06:25
Nice way to keep them collected AND ready to go.
Could do the same for condiments, maybe.
I sent these plans to my dad and said I wanted him to help me build it for Christmas. He came with everything cut and ready to be sanded and assembled! It was put together and stained in a day! I love my Christmas present, and love that my dad and I built it. It will be a family table, for sure!
This was a great project to build, easy directions and easy to make modifications to. I built this bedroom suit for my son and his bride with their brand routered in the middle and used black epoxy to fill. Used Miniwax Honey colored stain and finished it with two coats of Danish Oil to protect it.
This was my first project. My wife saw it and told me to make it :)