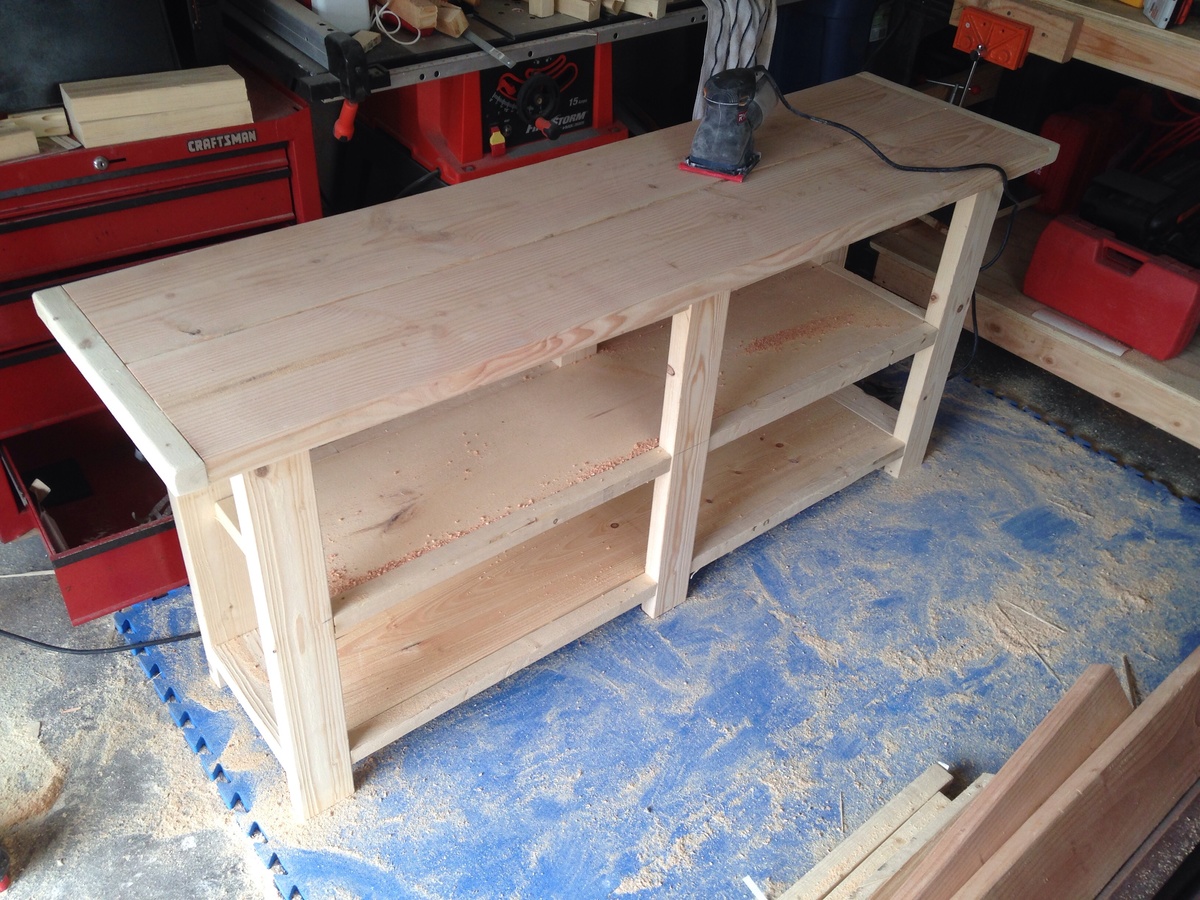
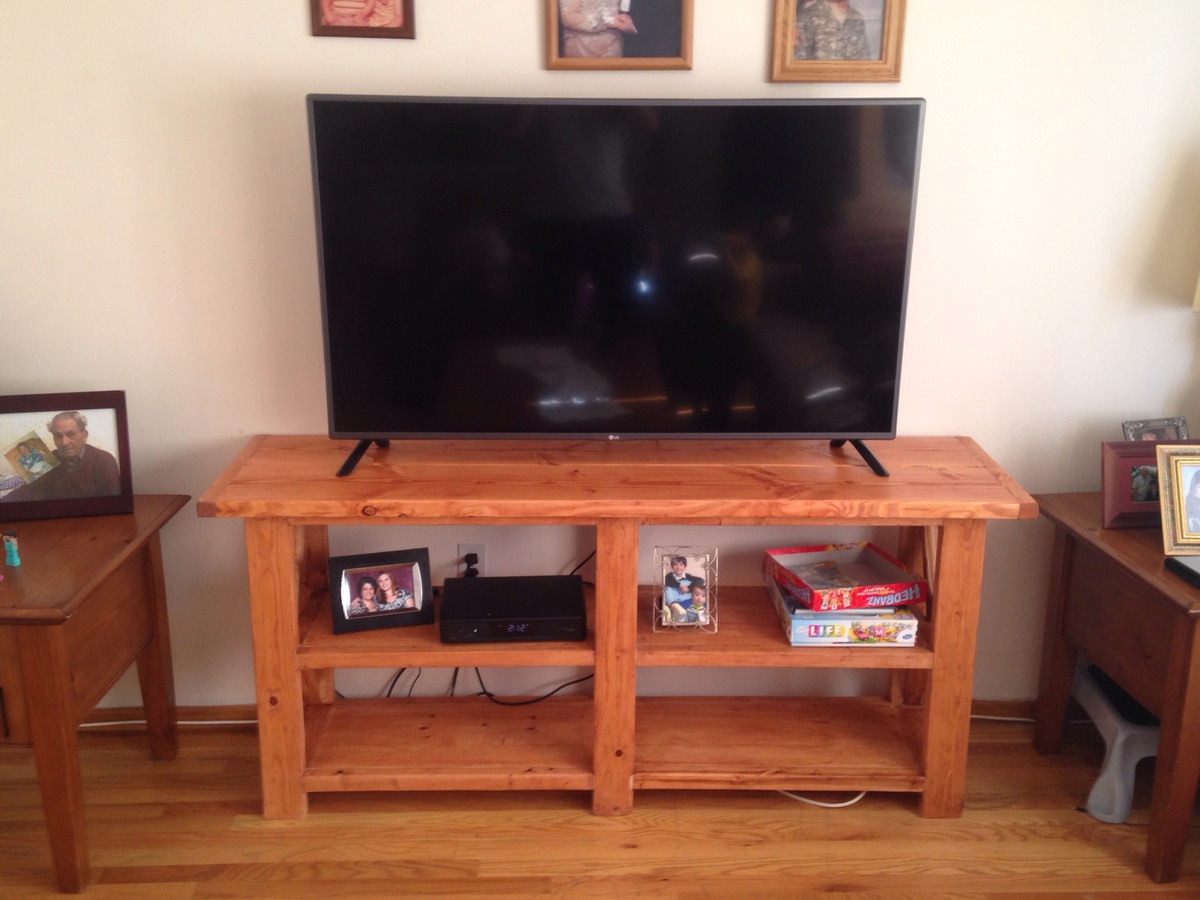
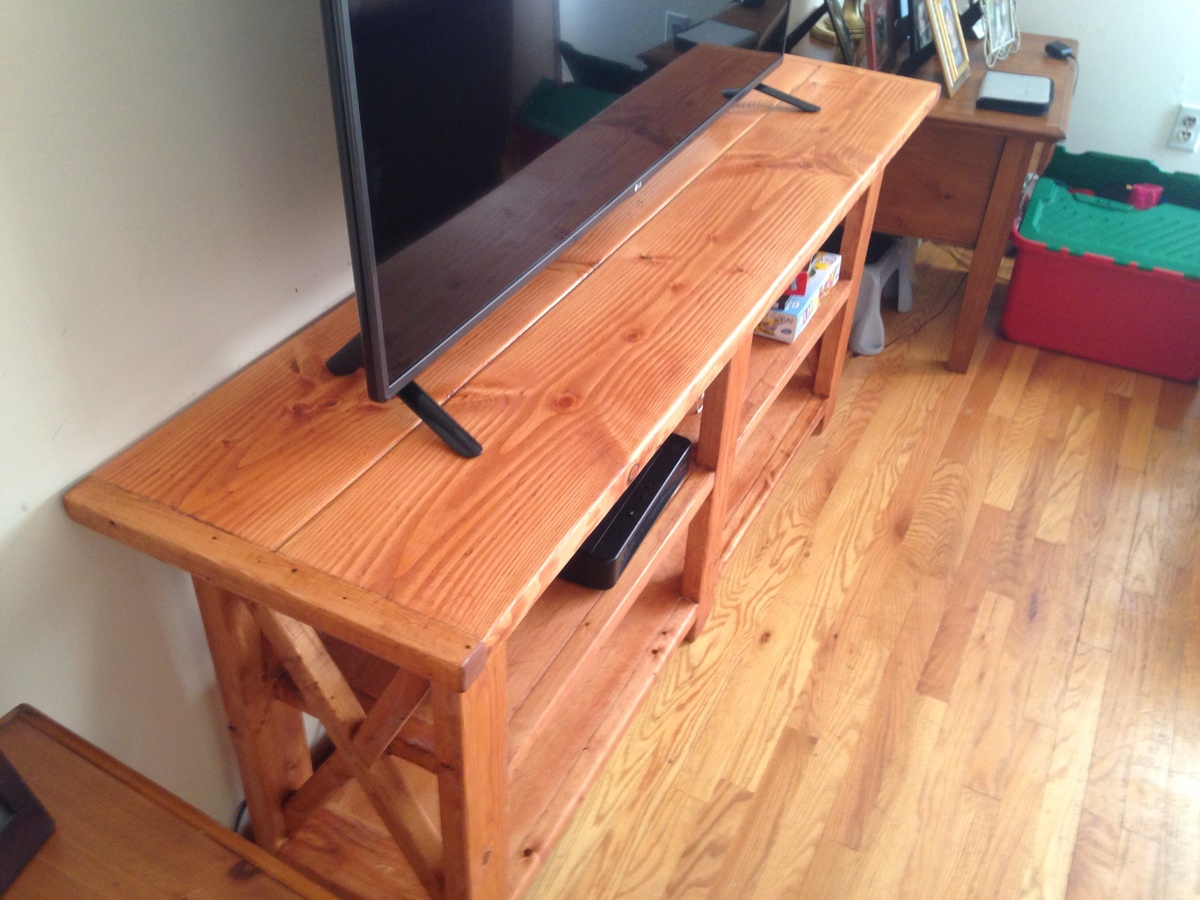
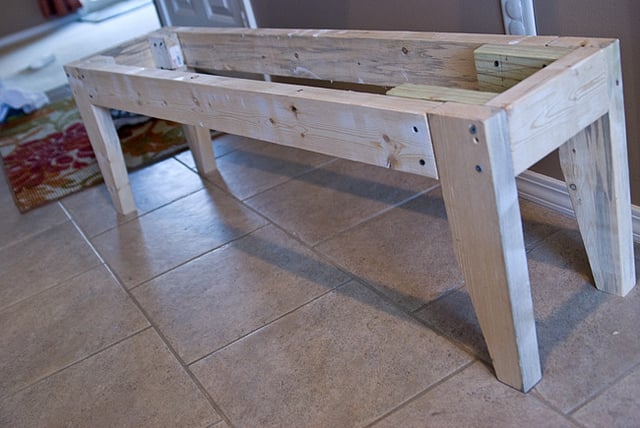
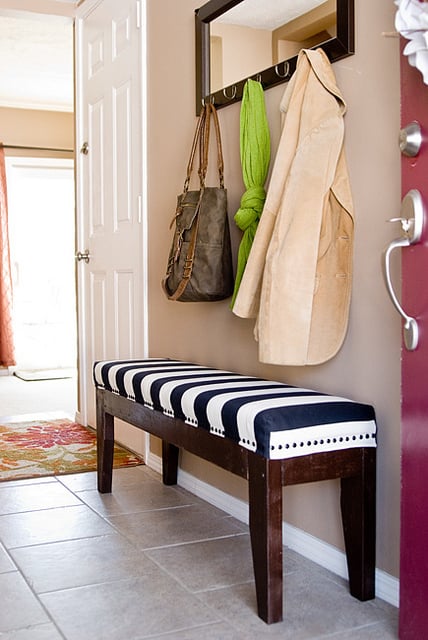
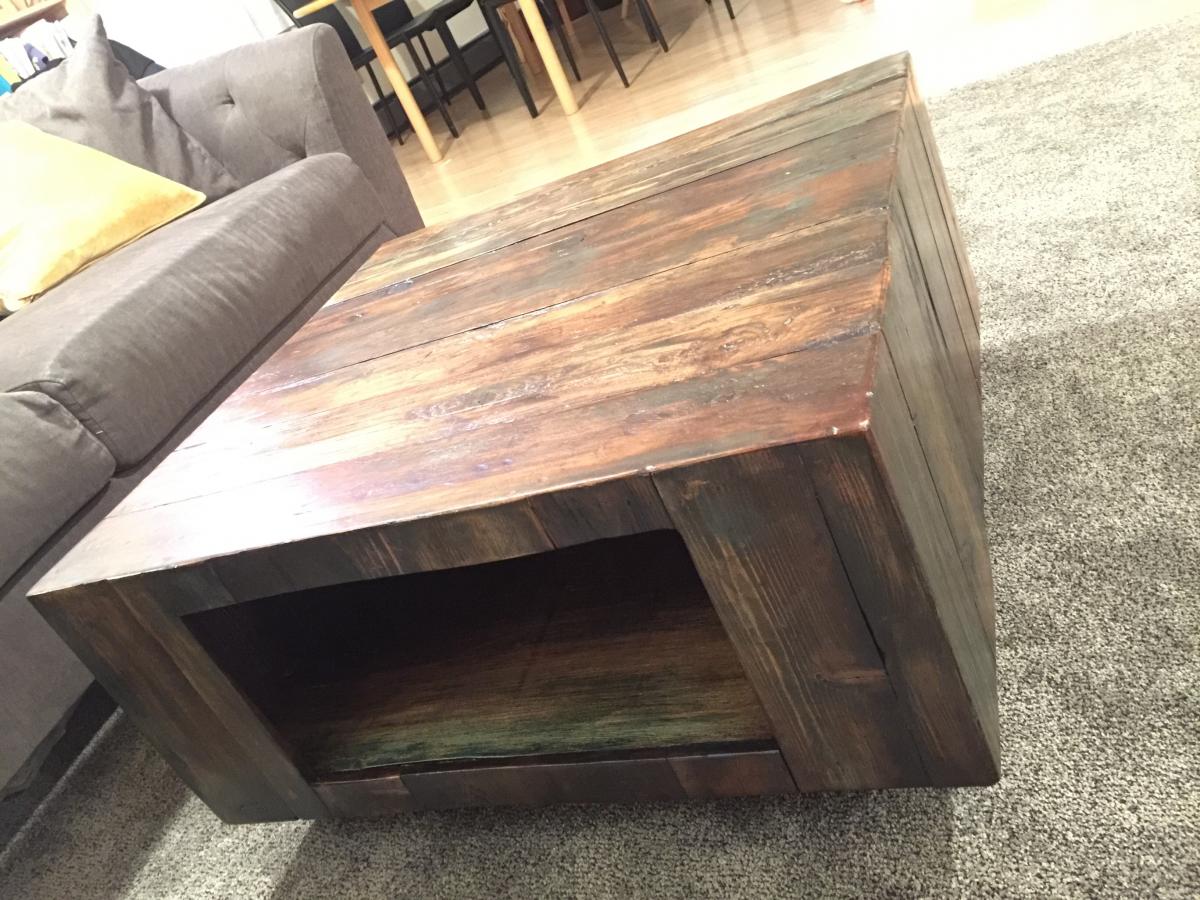
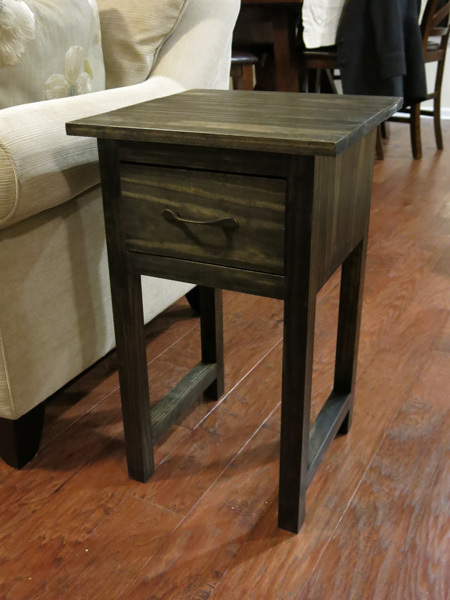
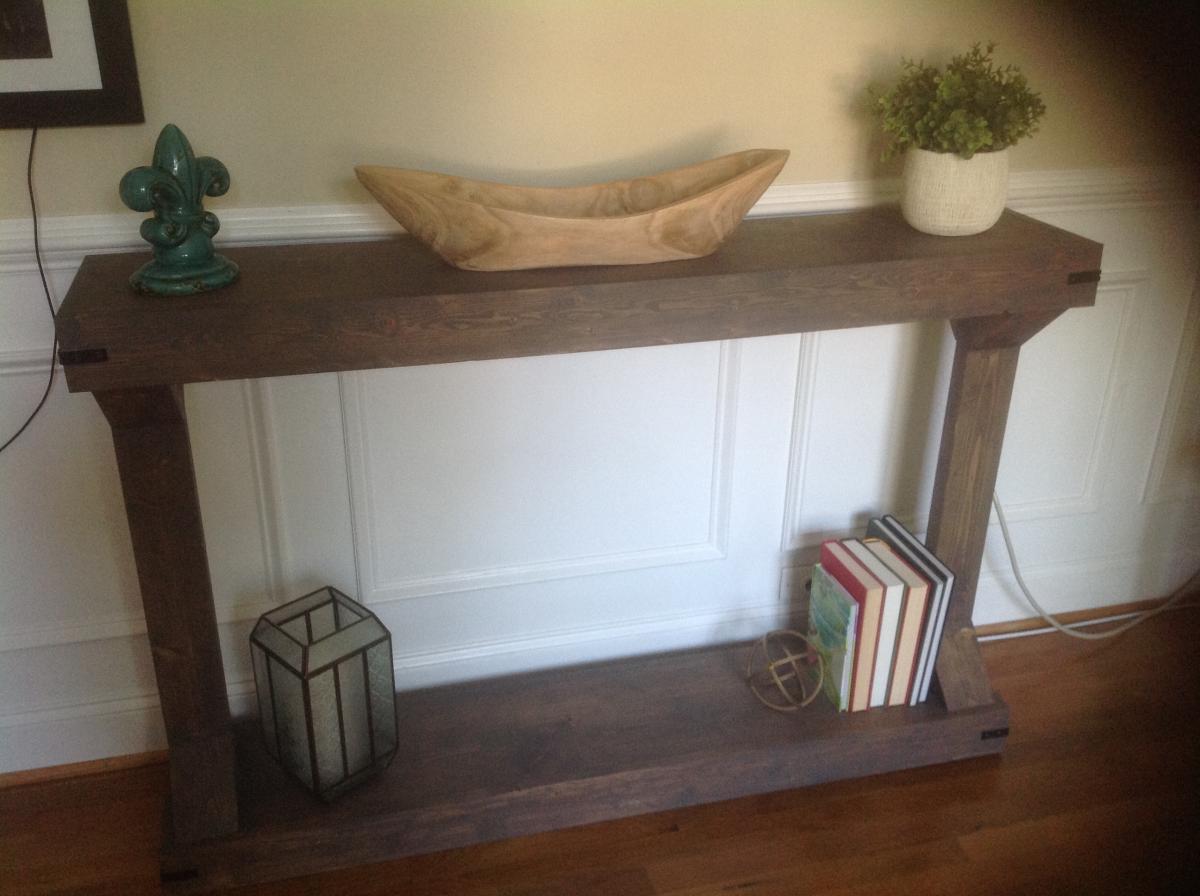
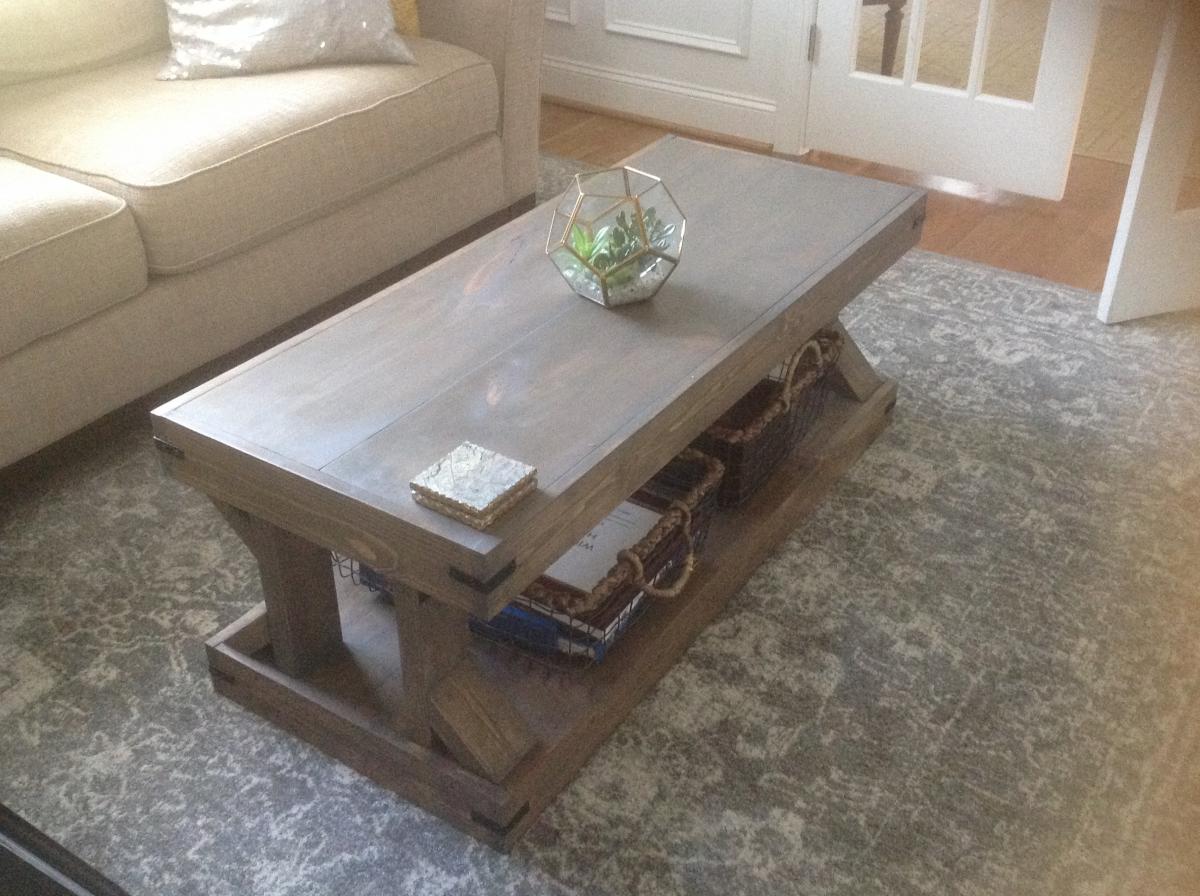
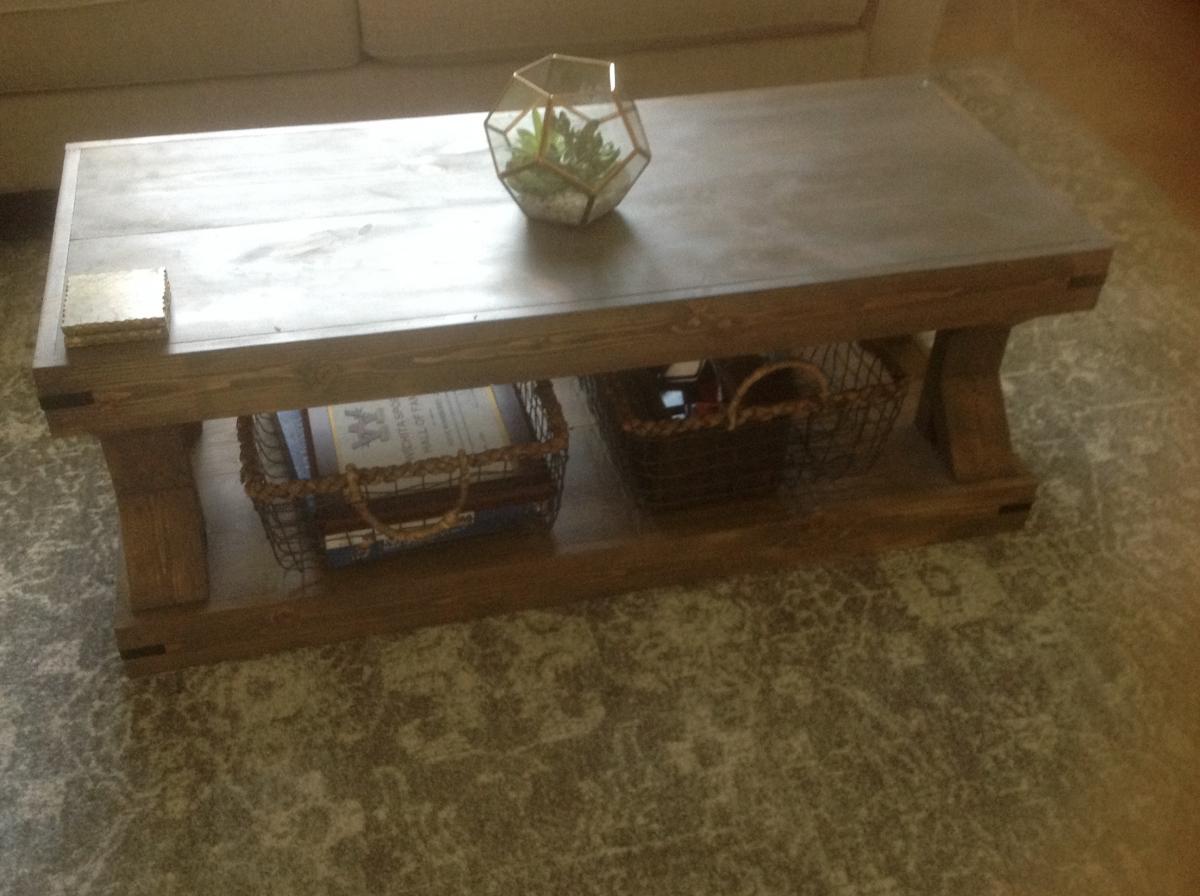
Coffee table and console table

Made for daughter from your plans,made console longer and a little higher.
Built from Plan(s)
Estimated Cost
$80 for coffee table,$60 for console table
Estimated Time Investment
Weekend Project (10-20 Hours)
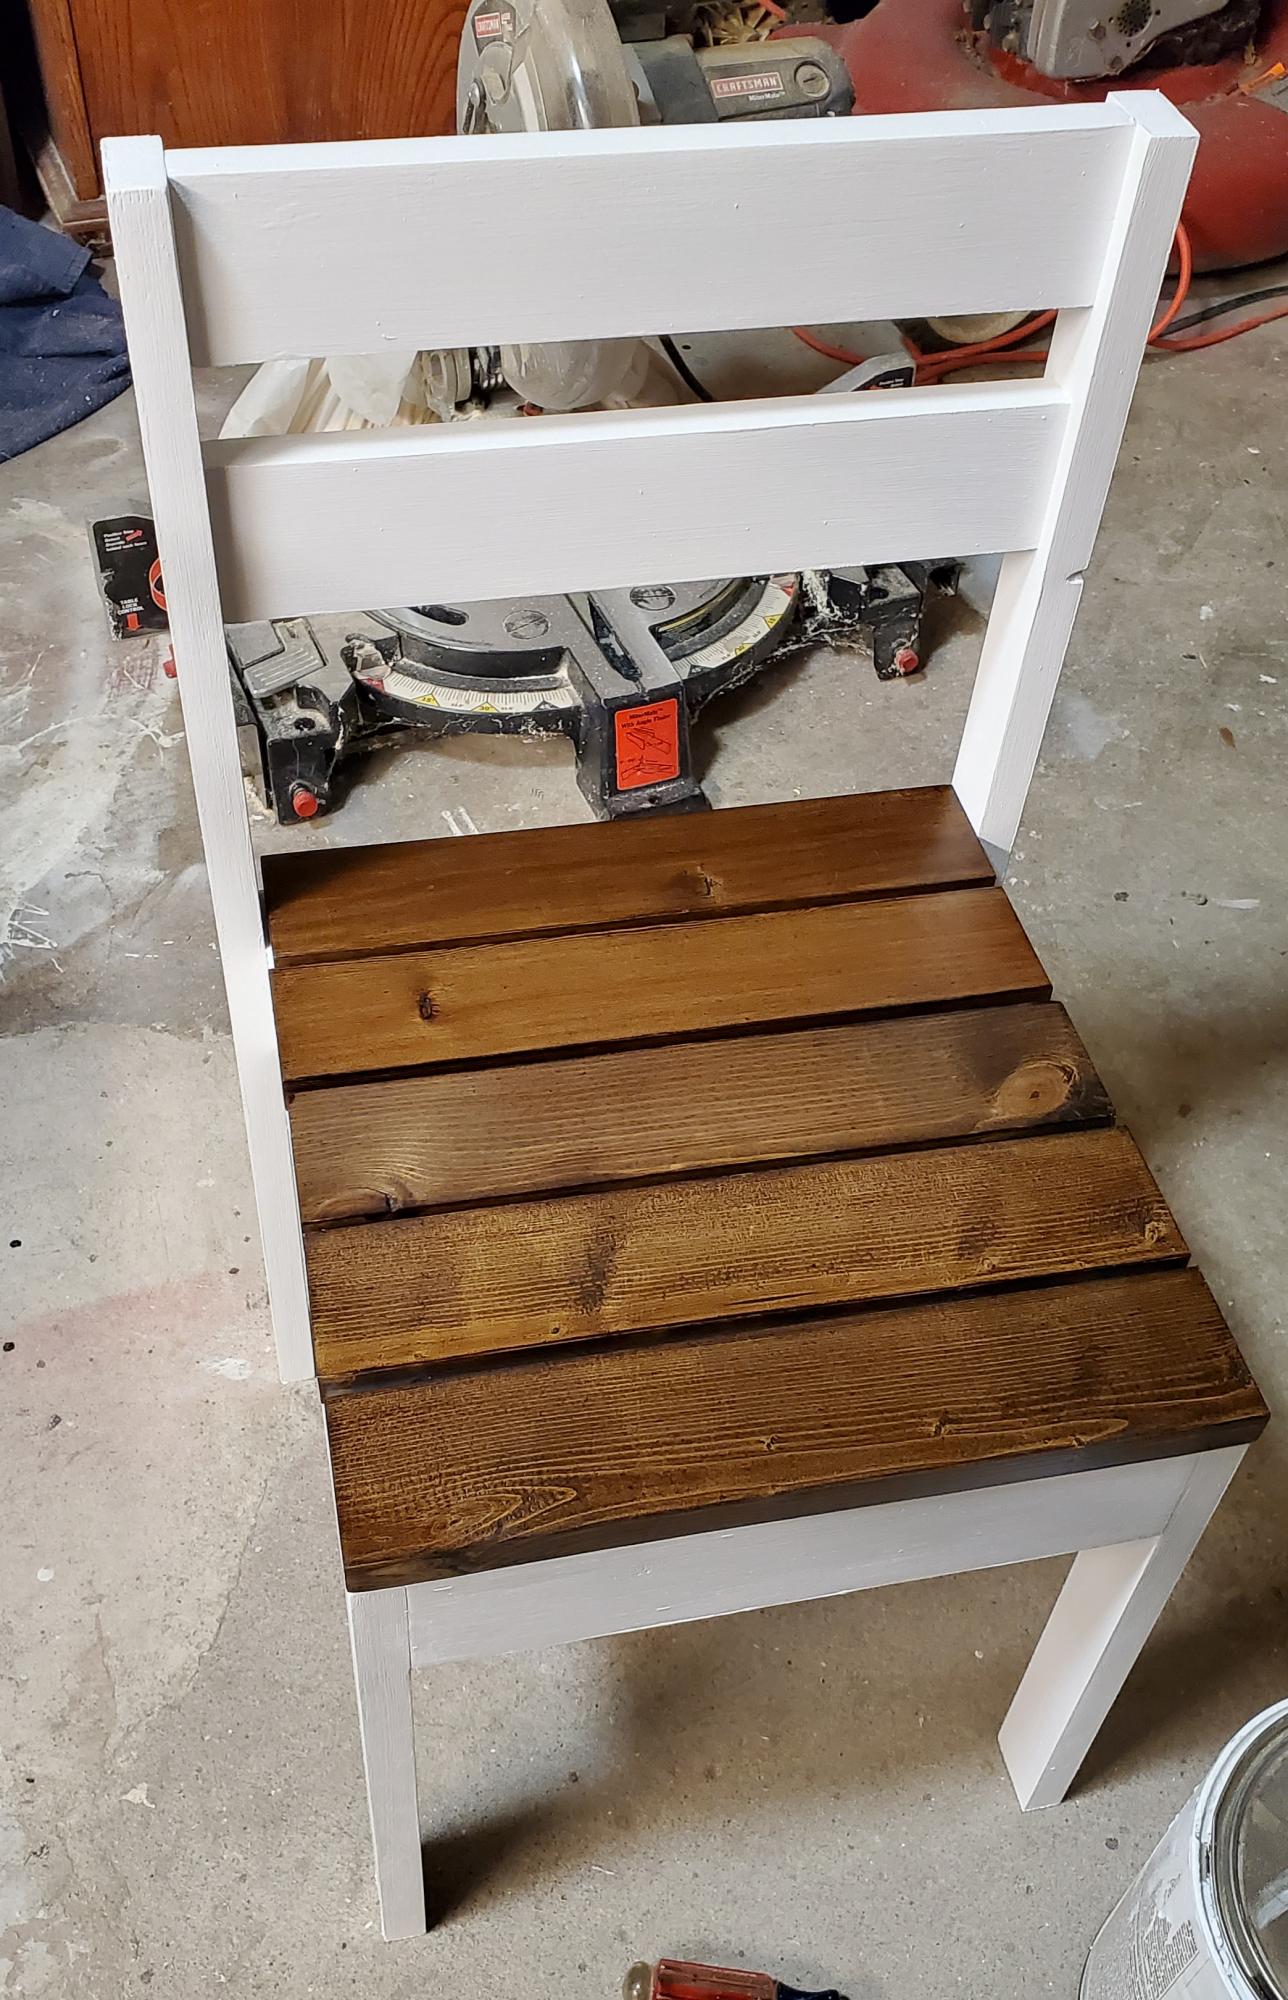
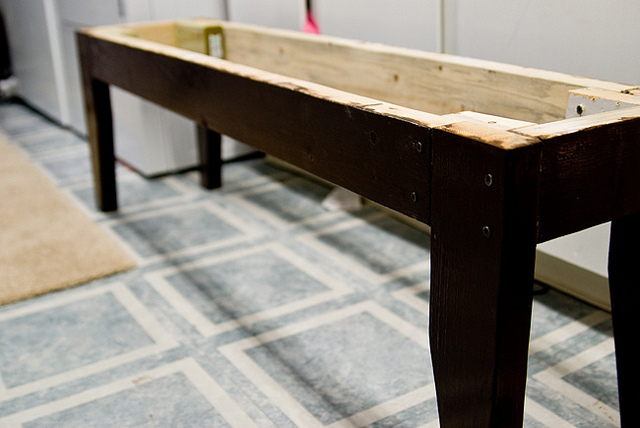
Finish Used
VarathaneBriarsmoke and wax Cloth application one coat then finishing wax
Recommended Skill Level
Beginner