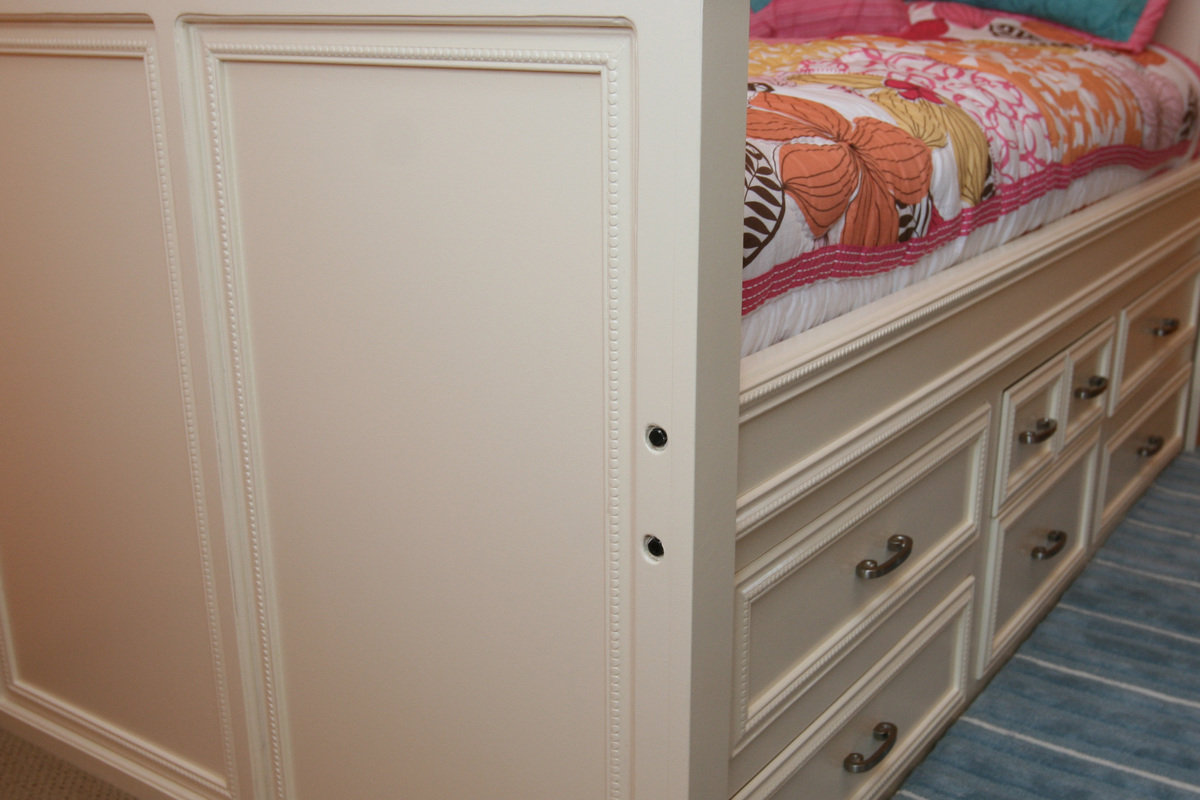
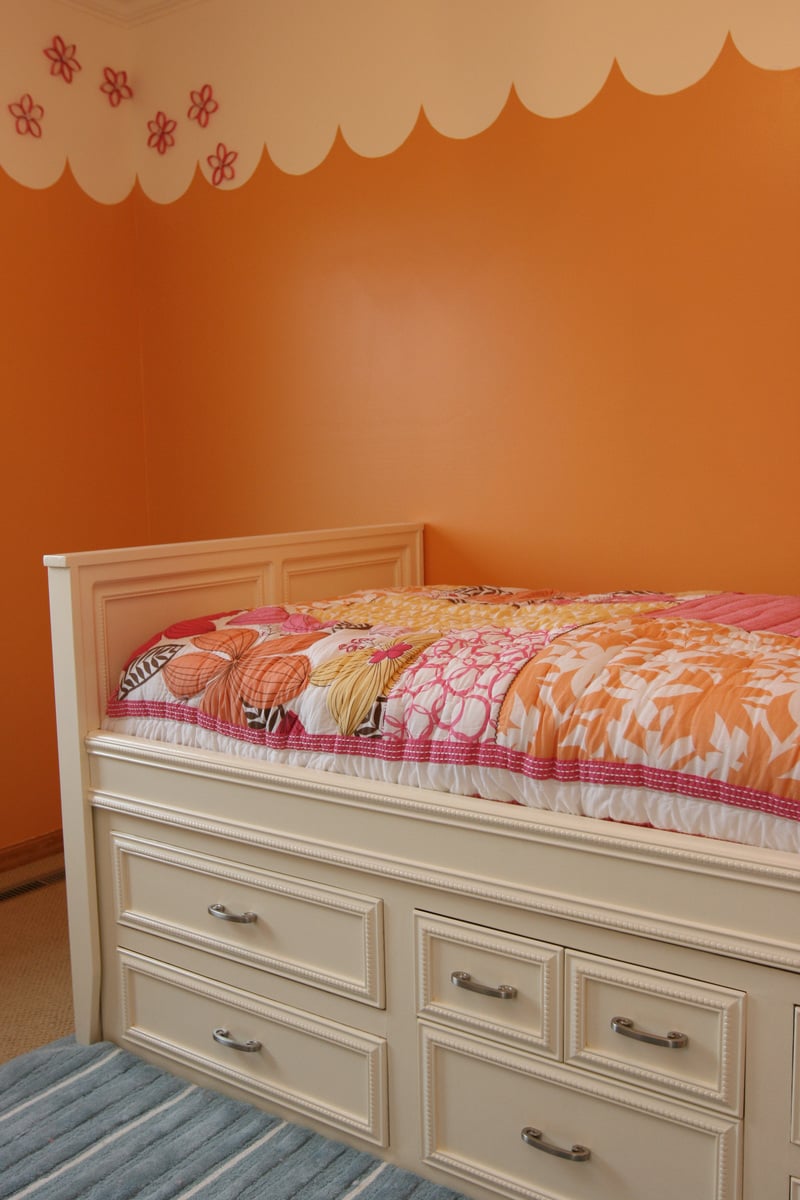
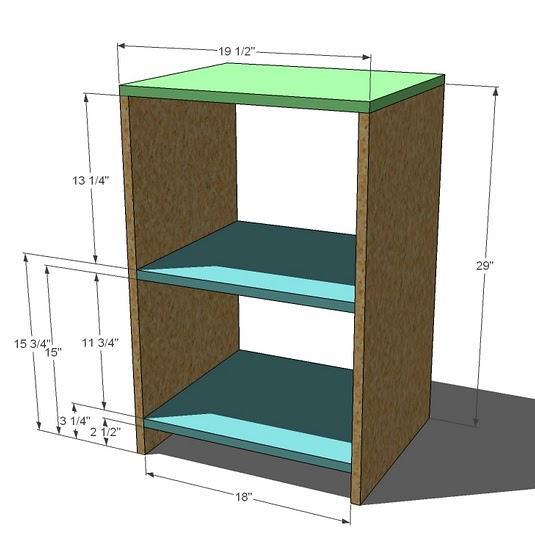
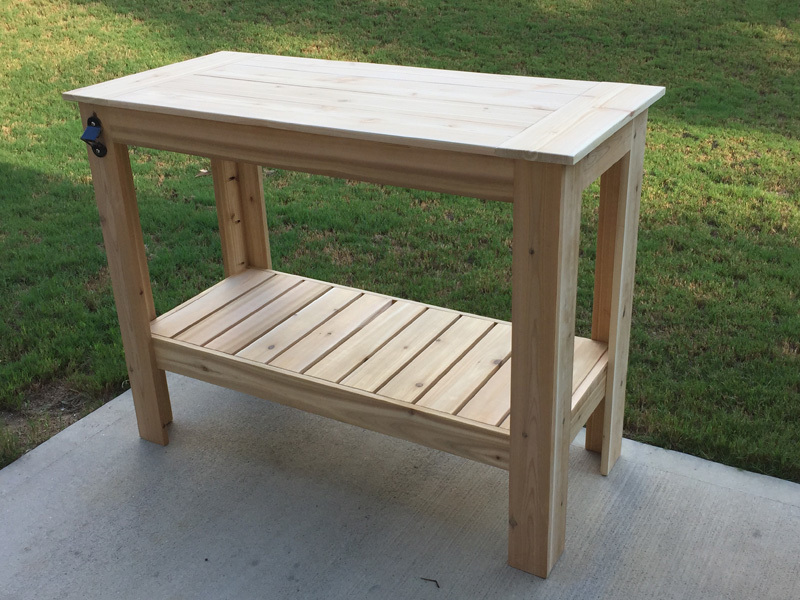
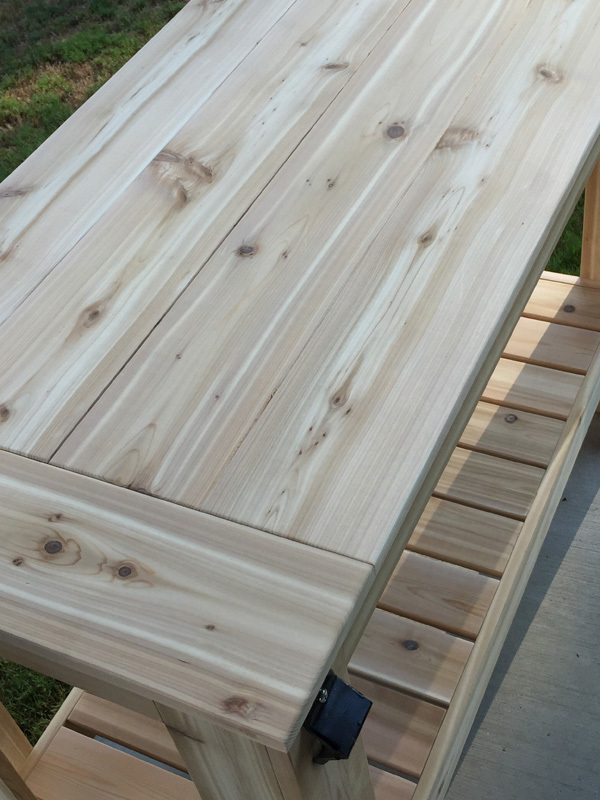
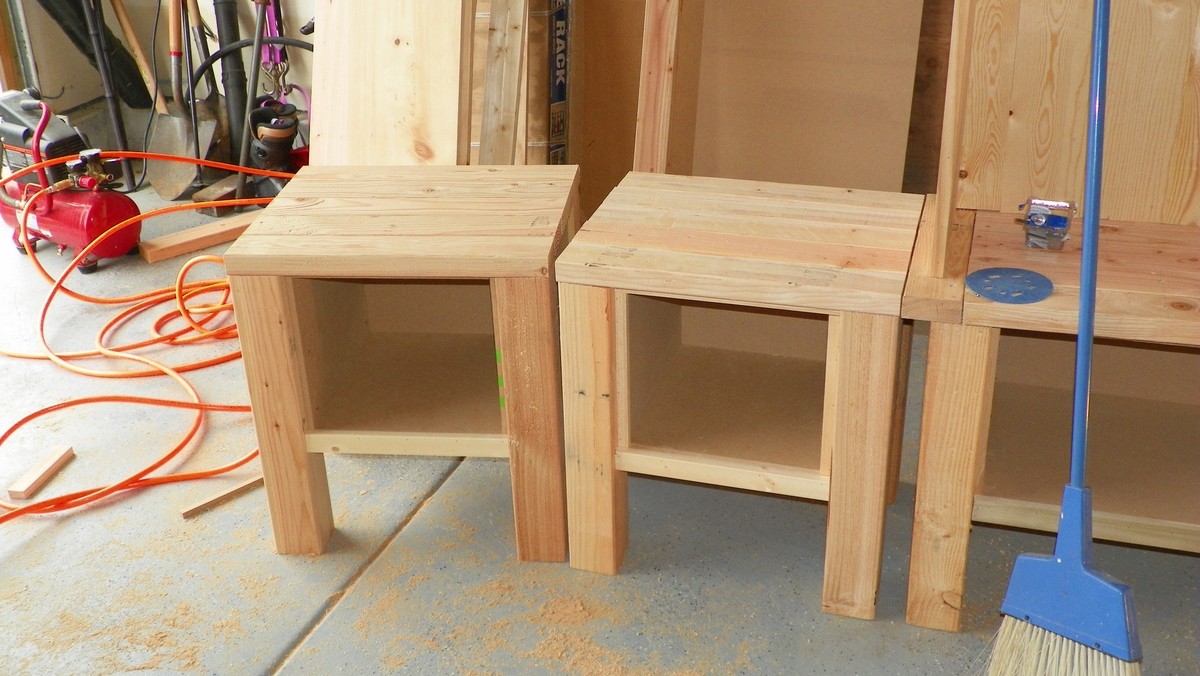
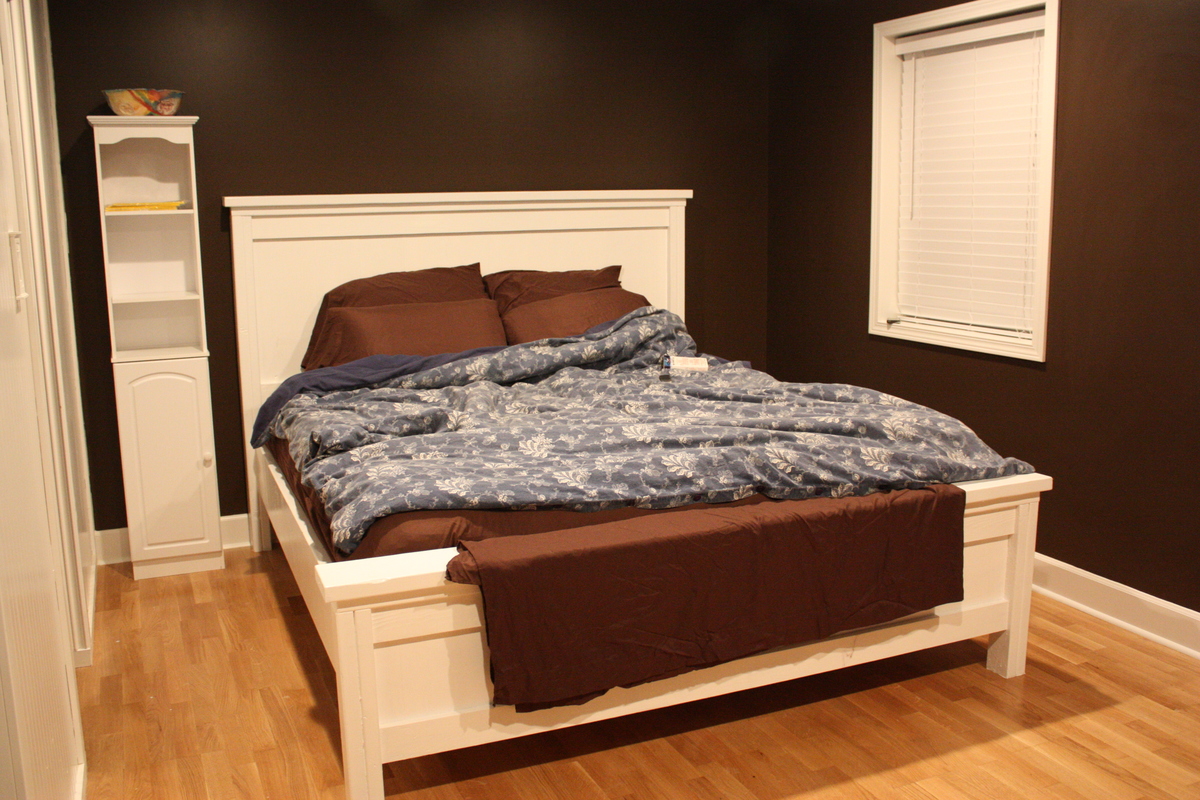
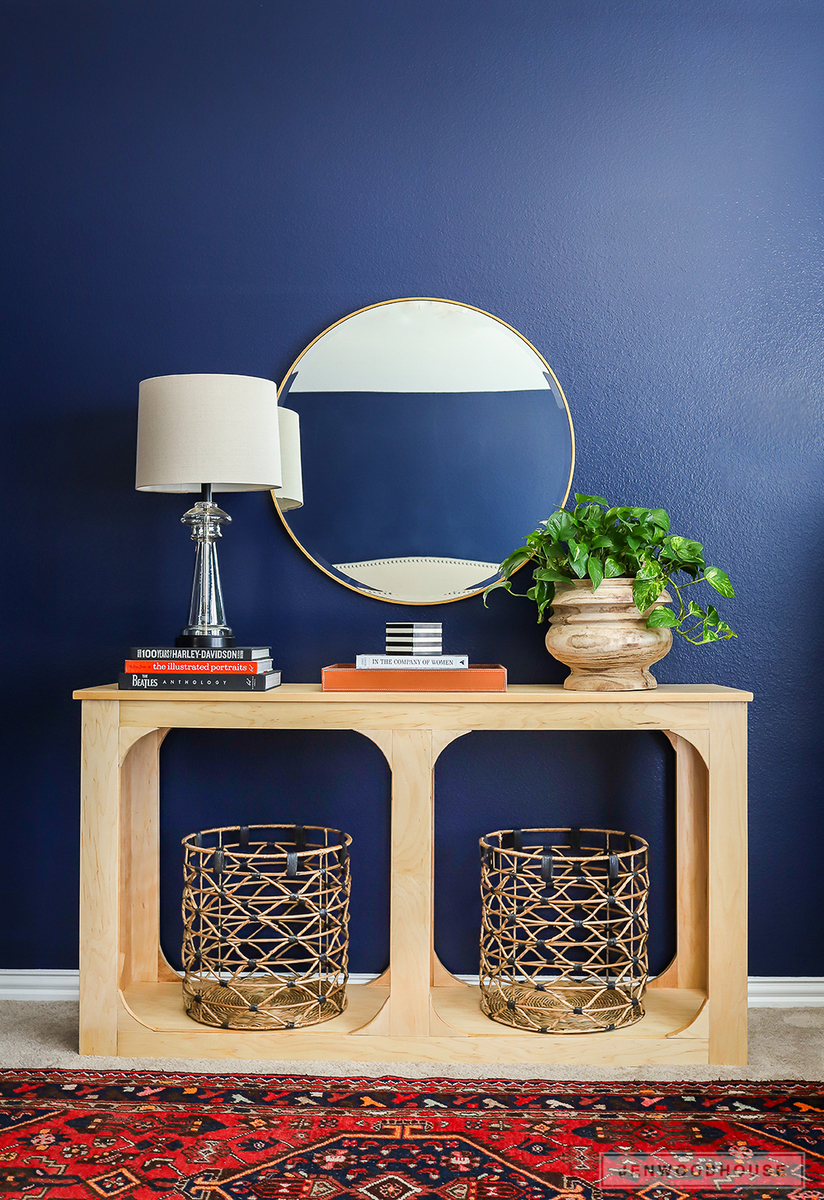
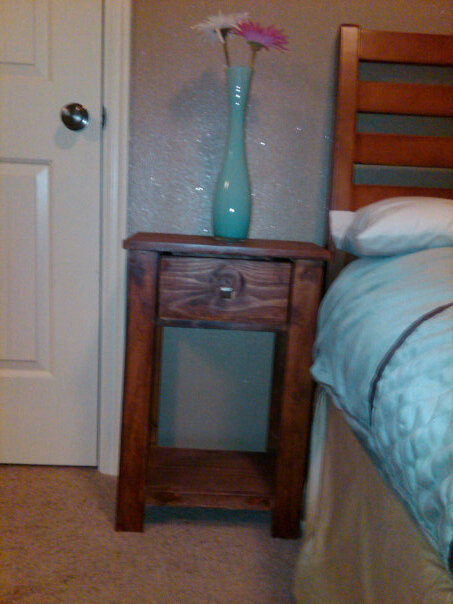
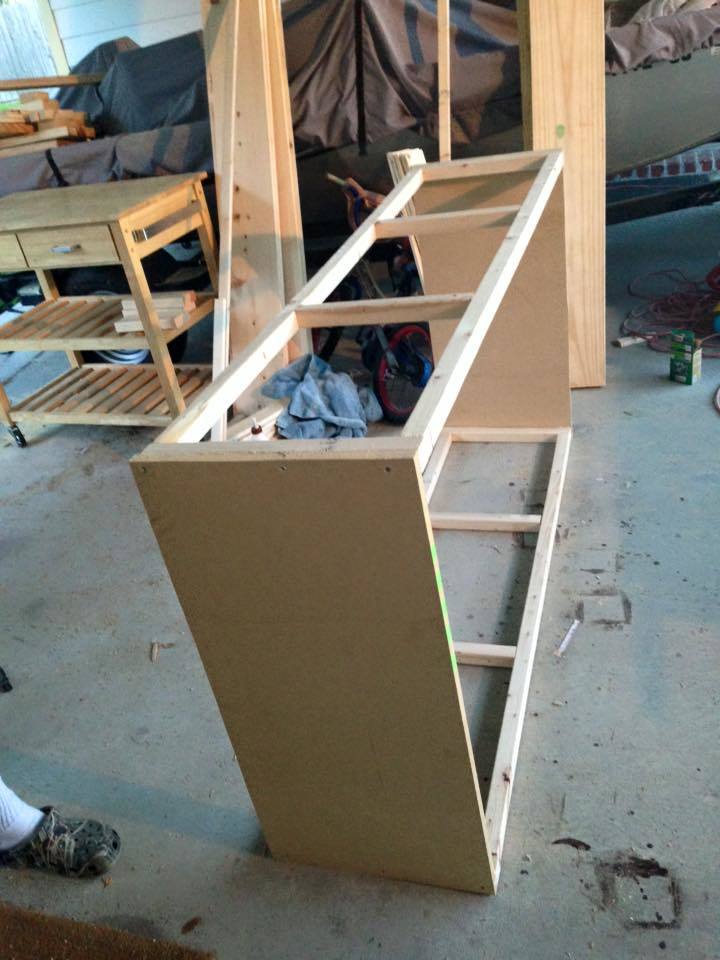
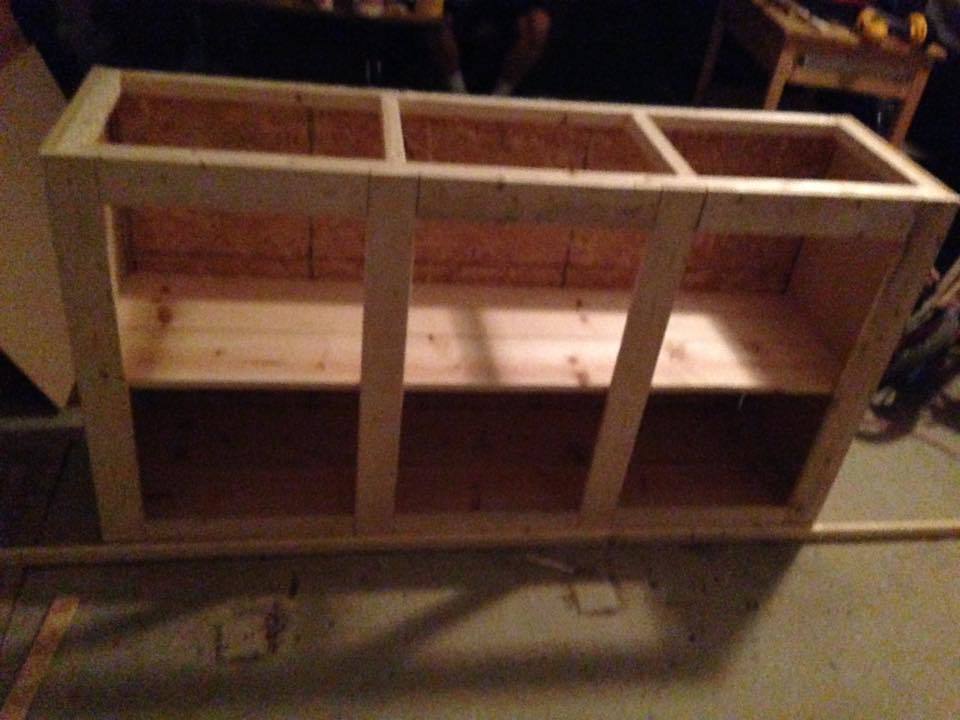
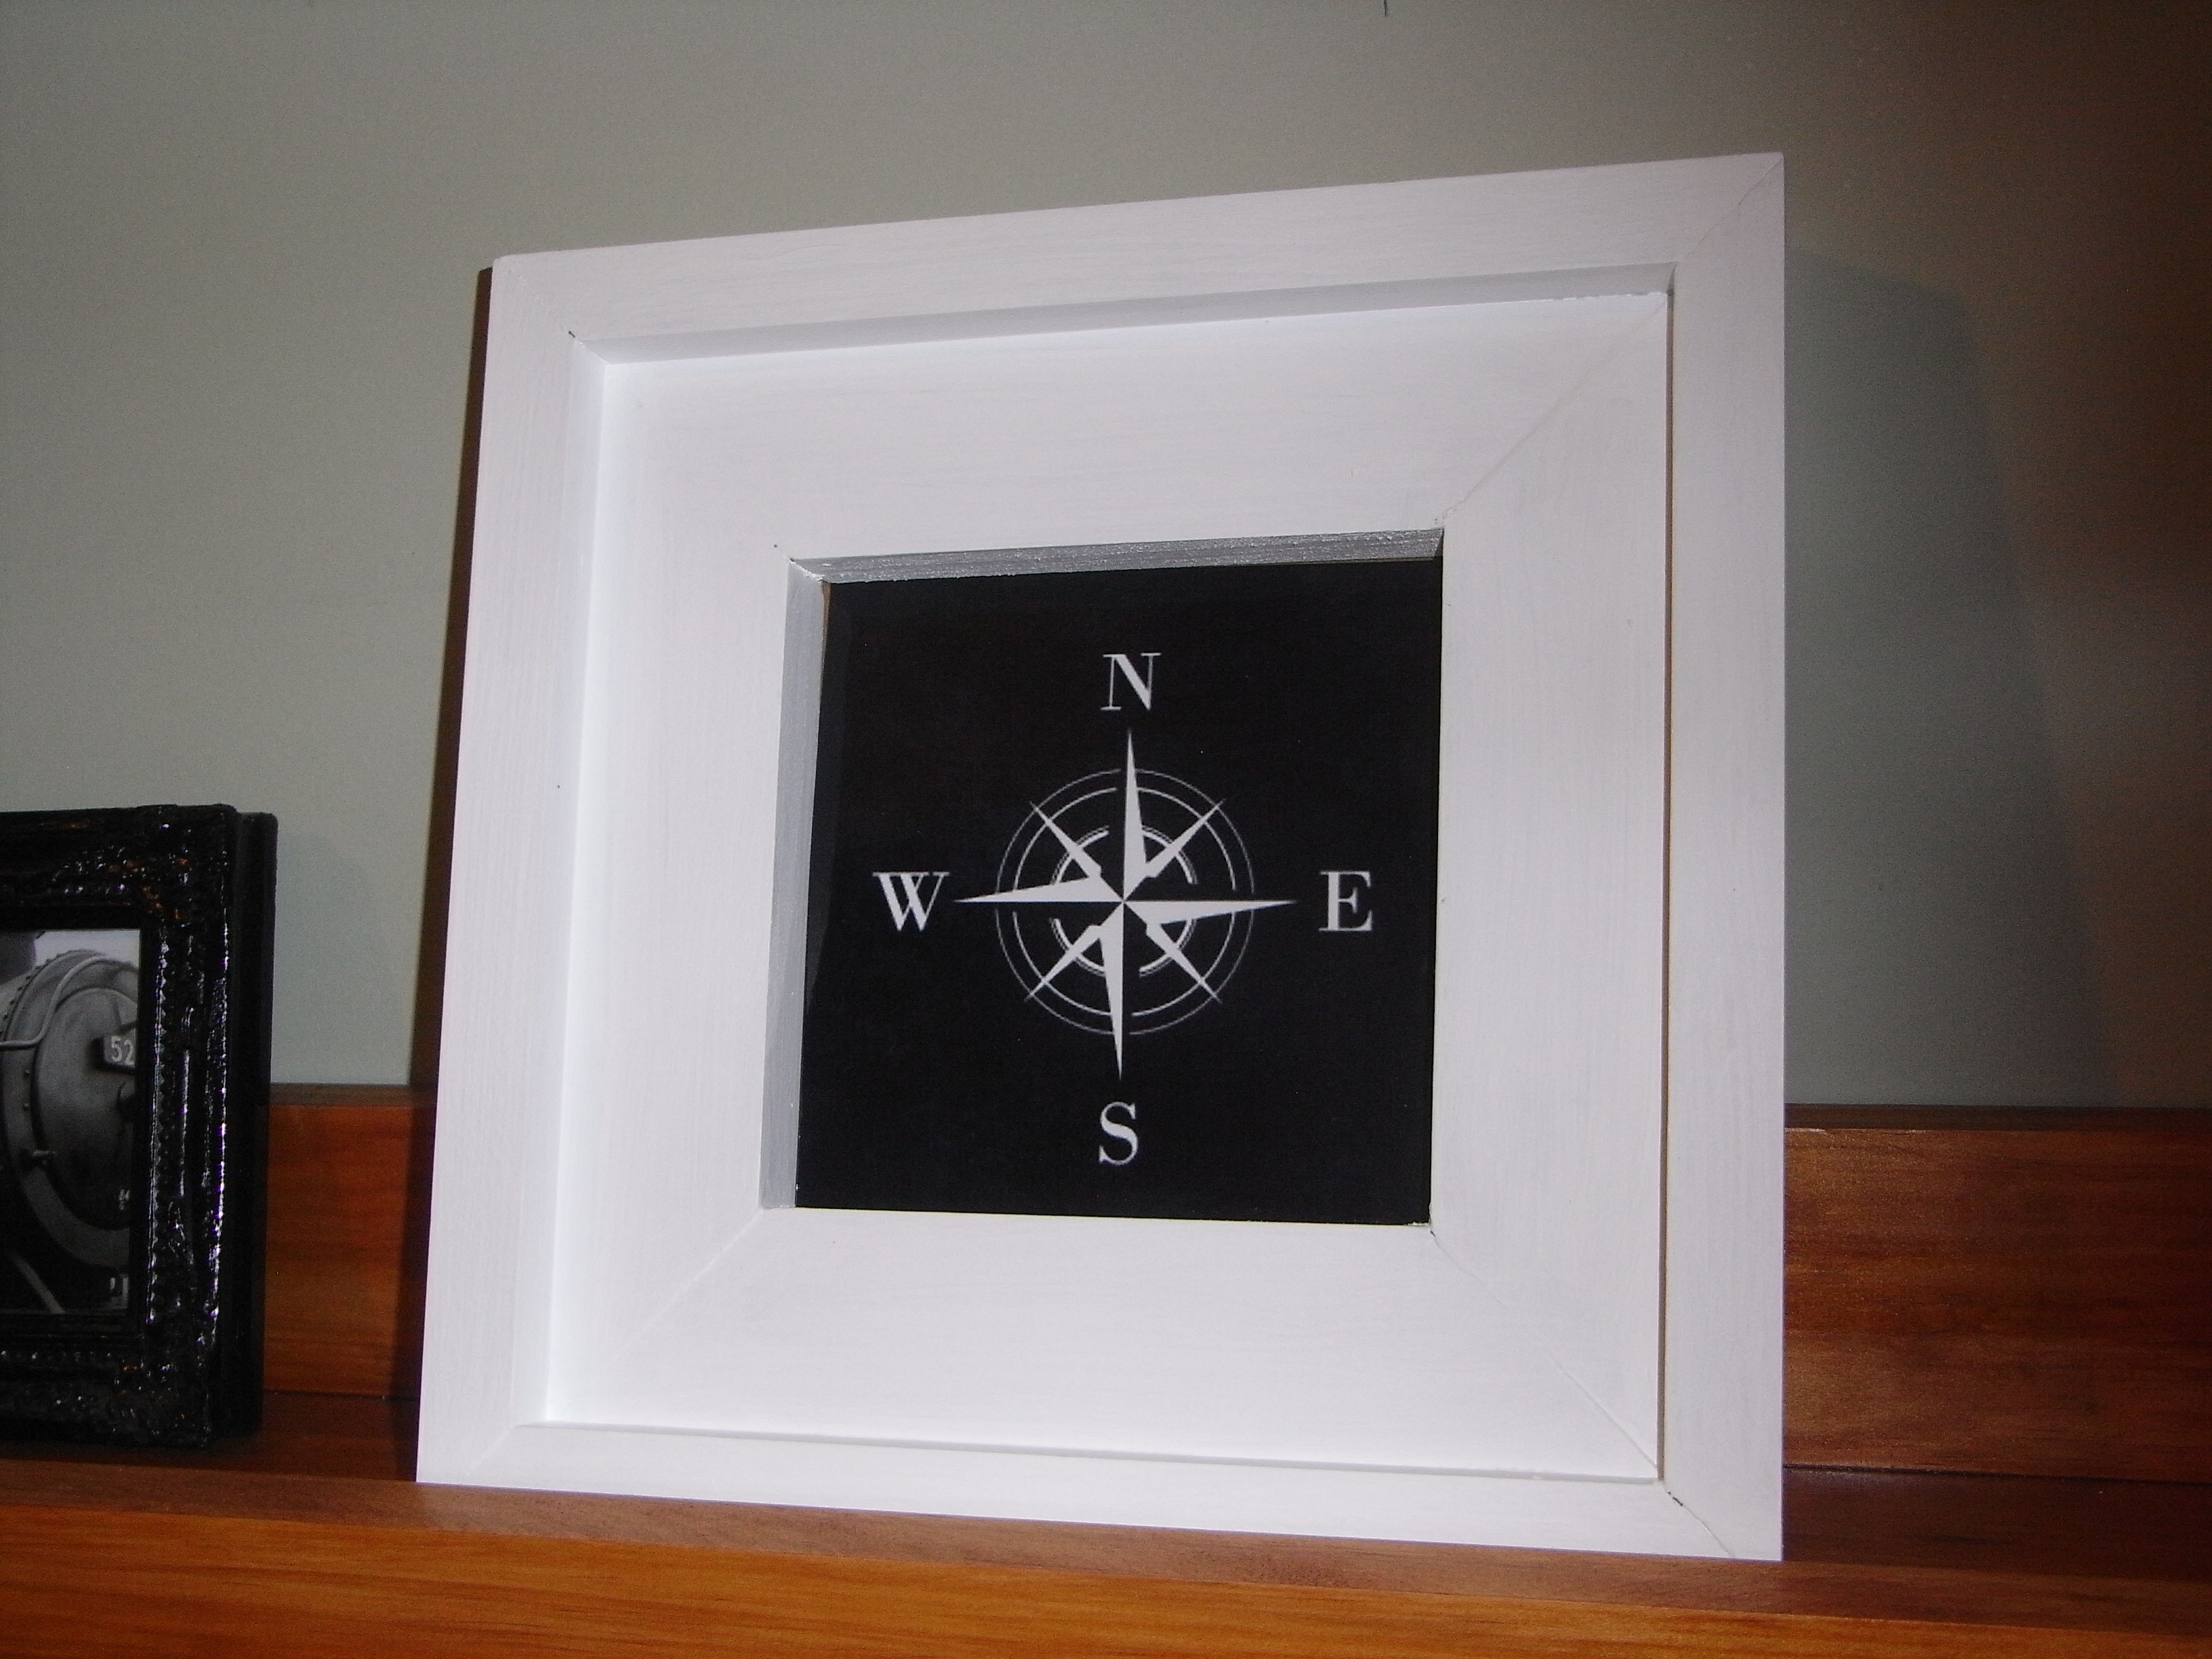
Parson's bookshelves in white
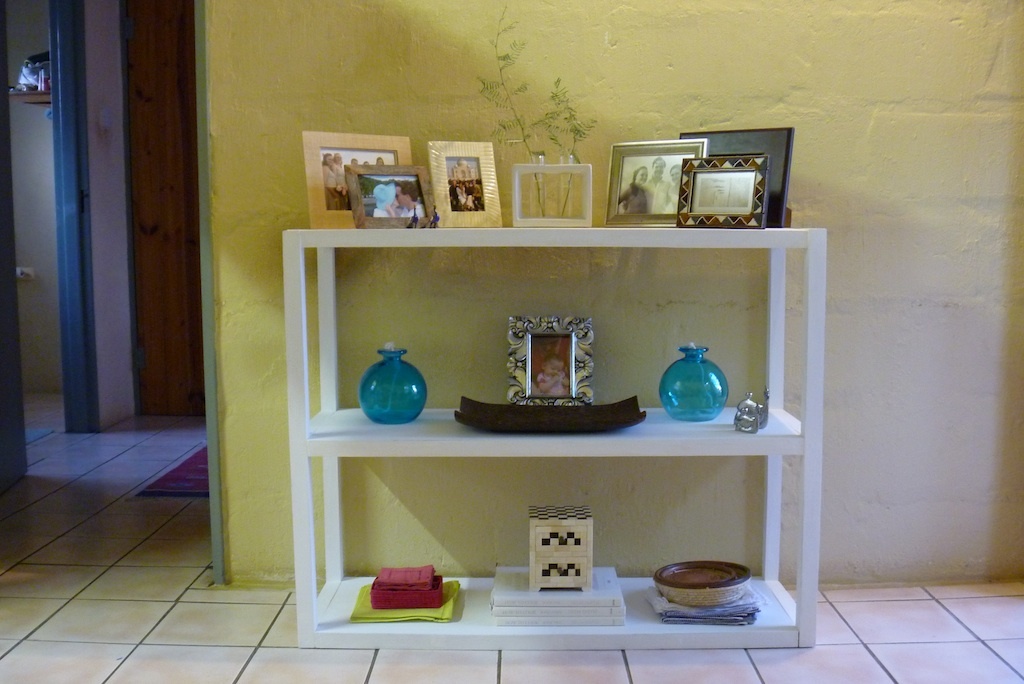
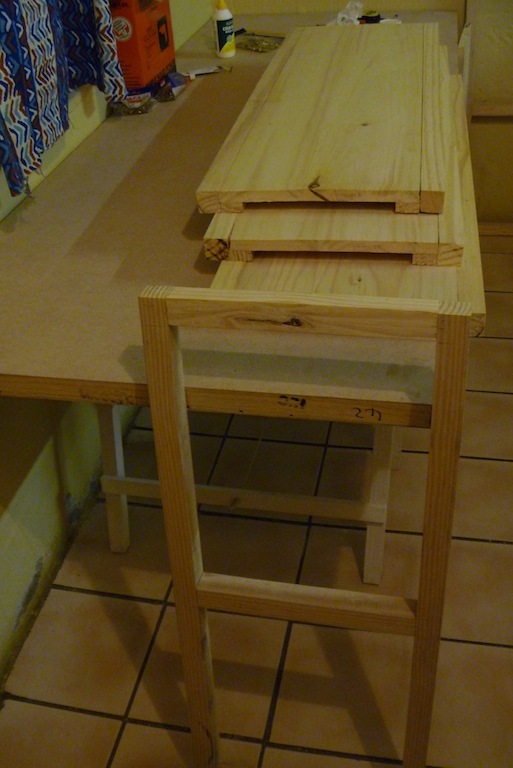
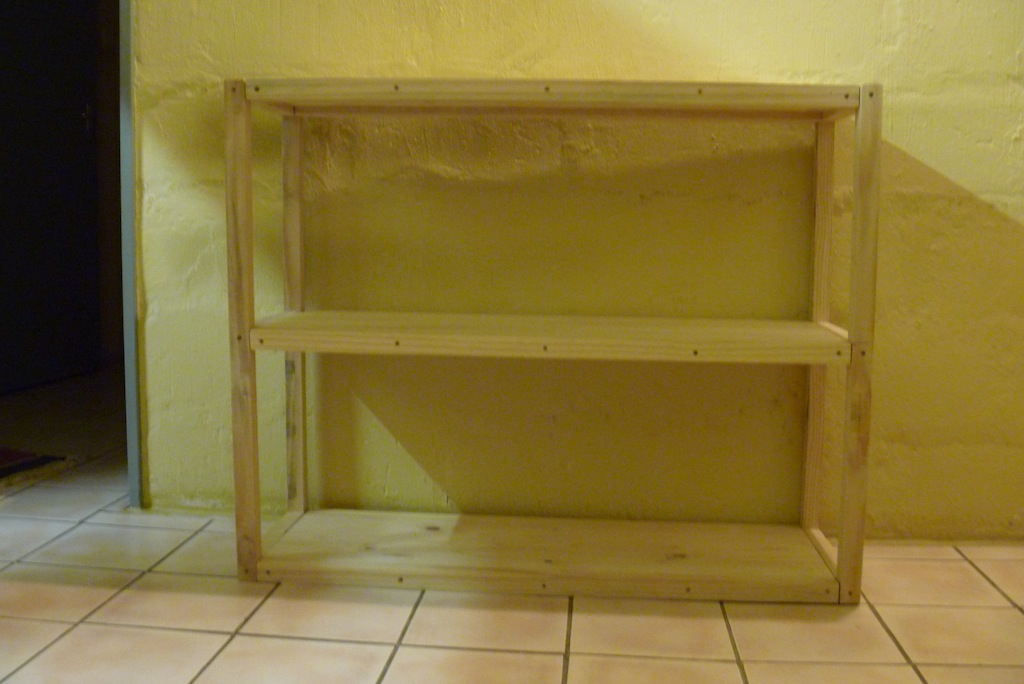
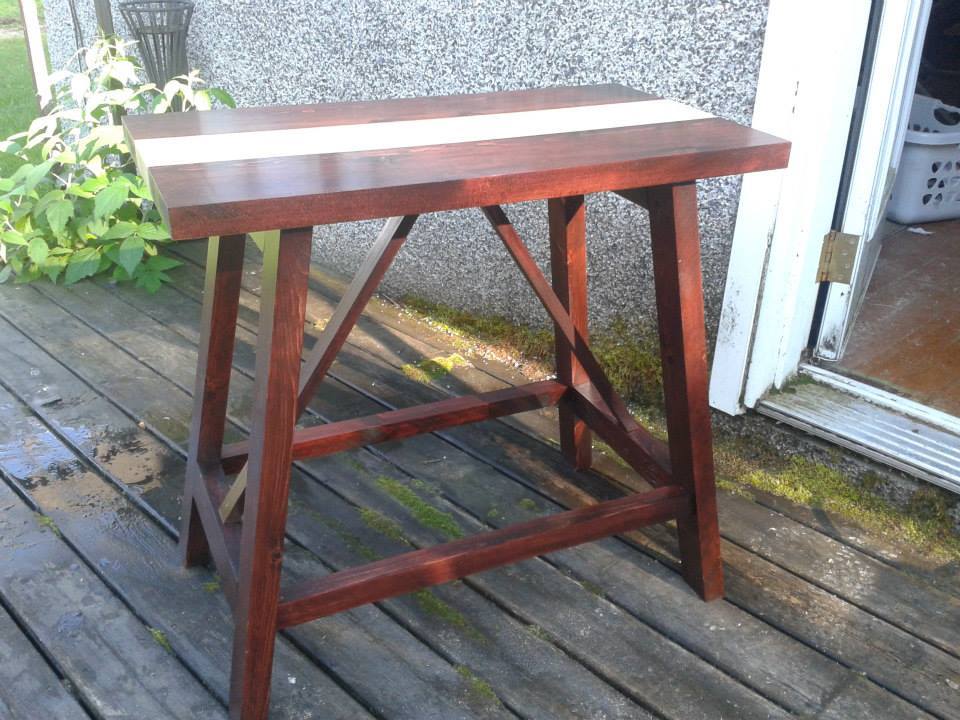
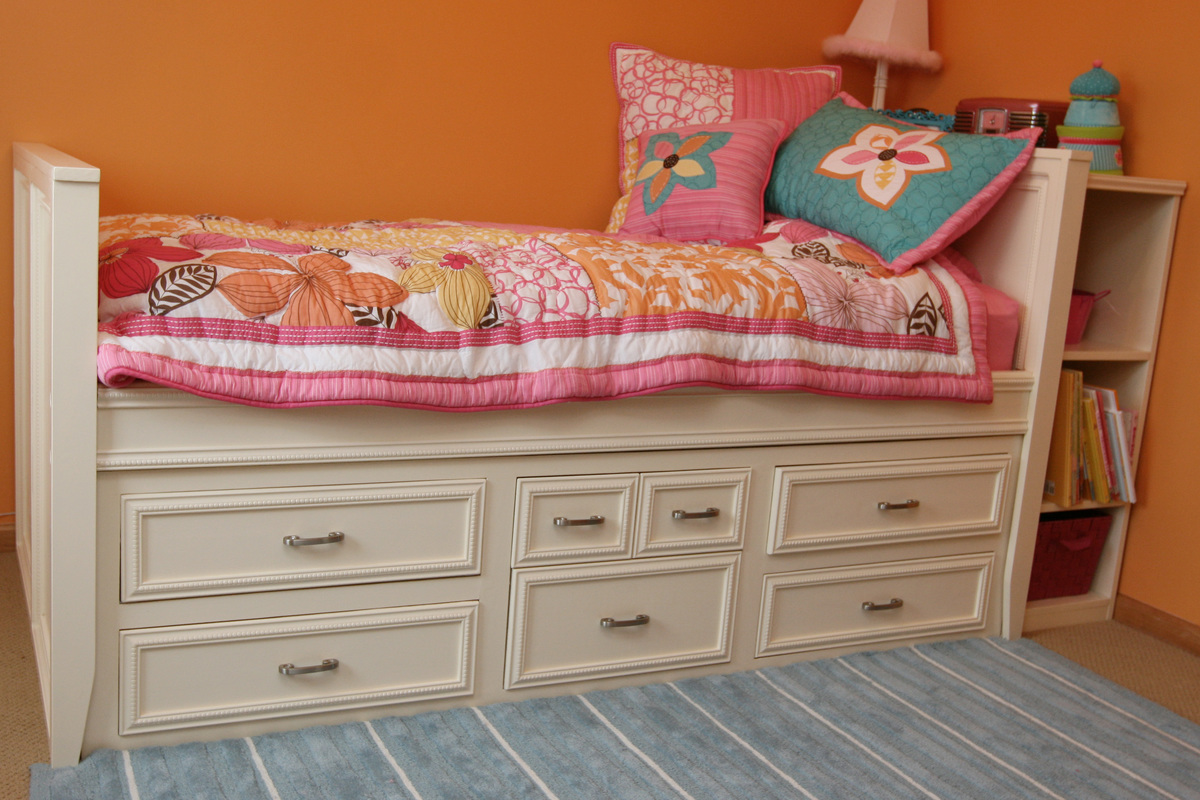
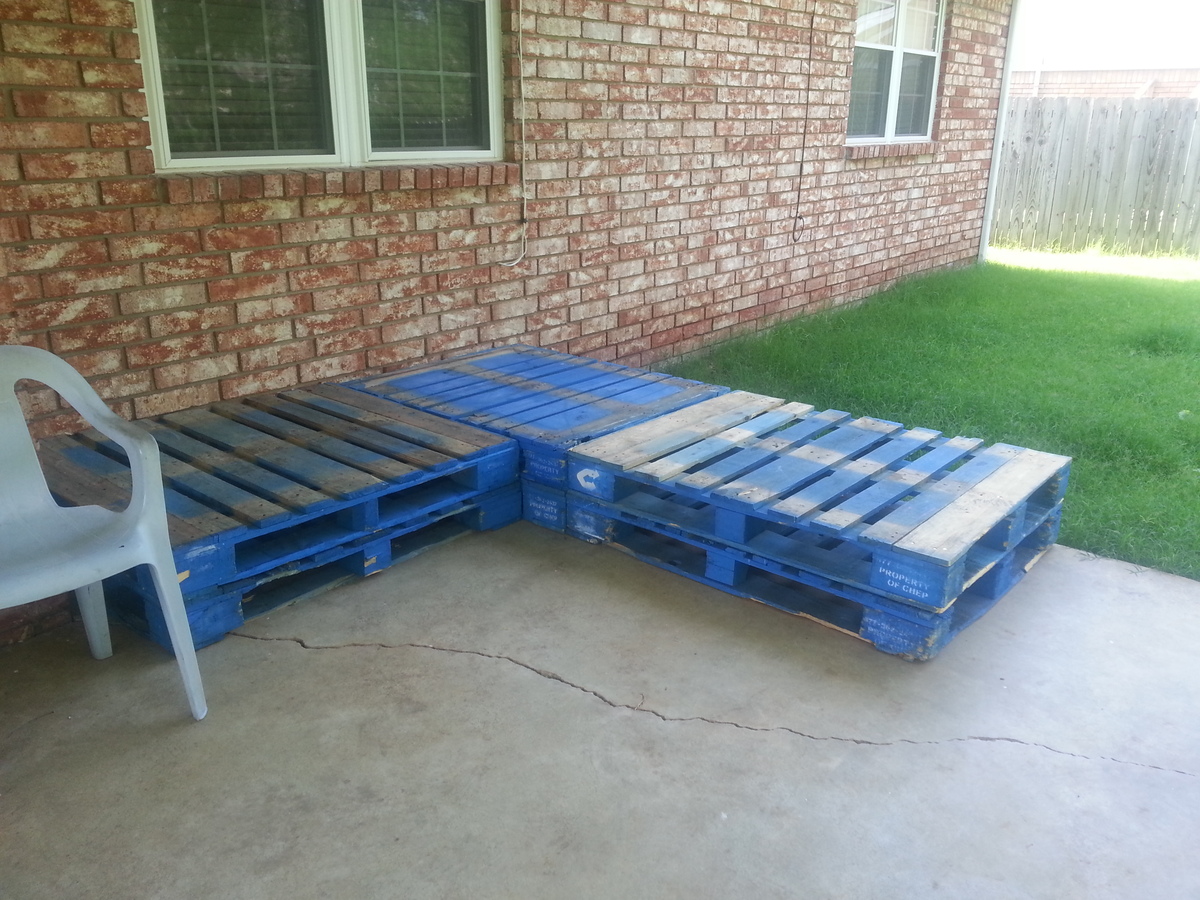
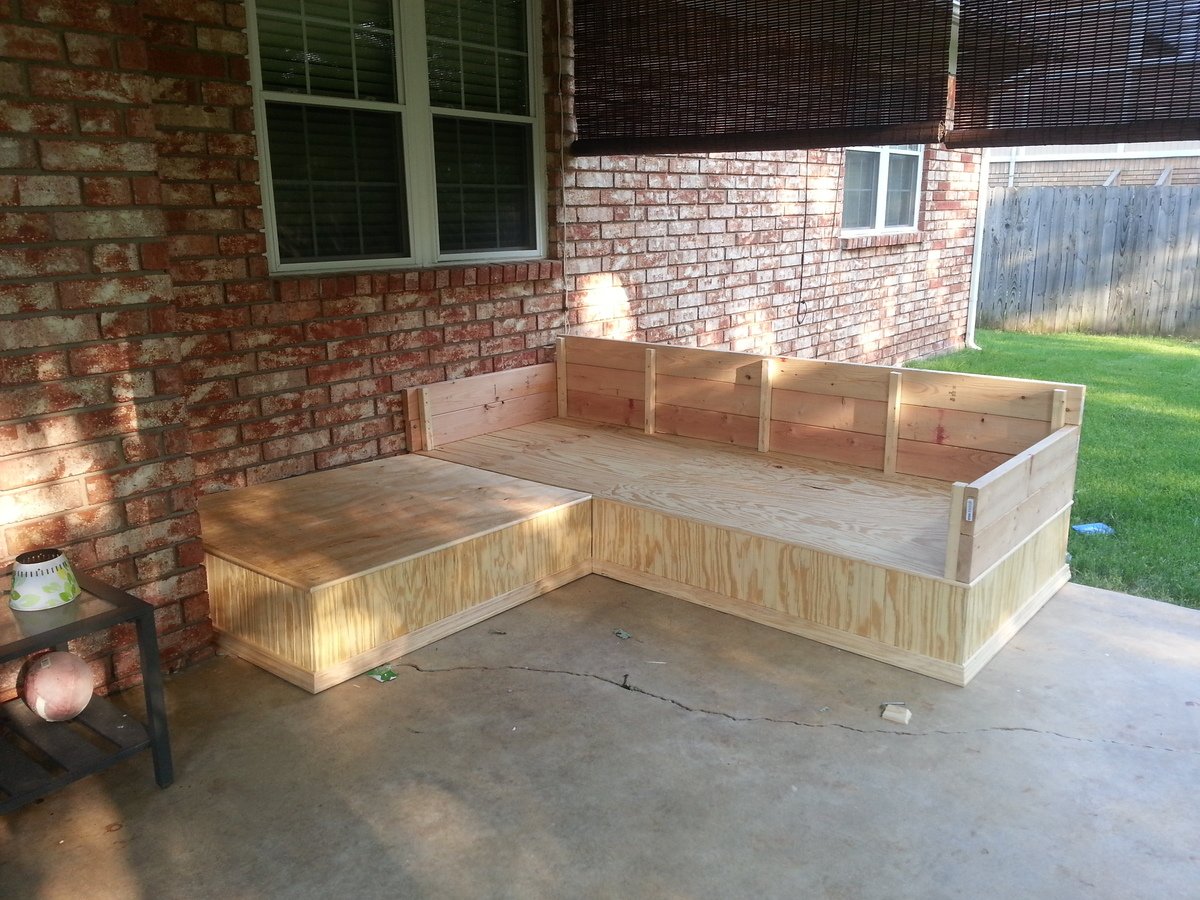
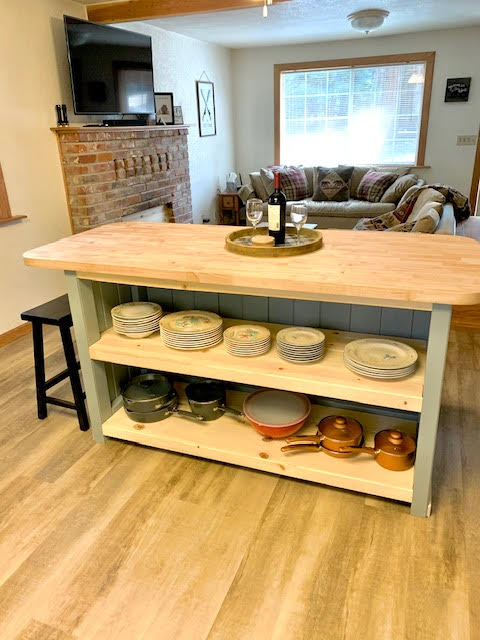
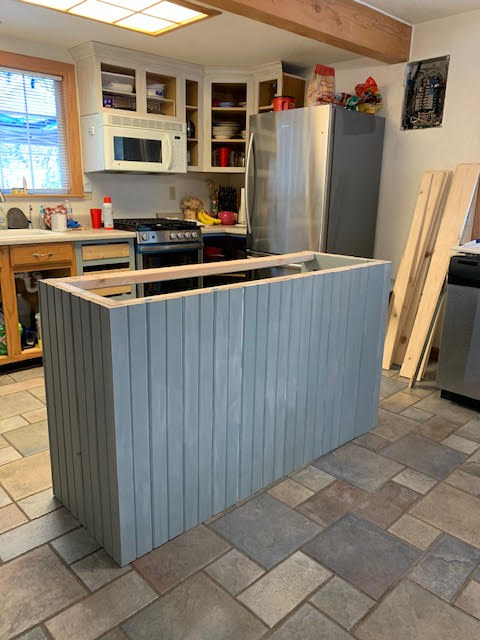
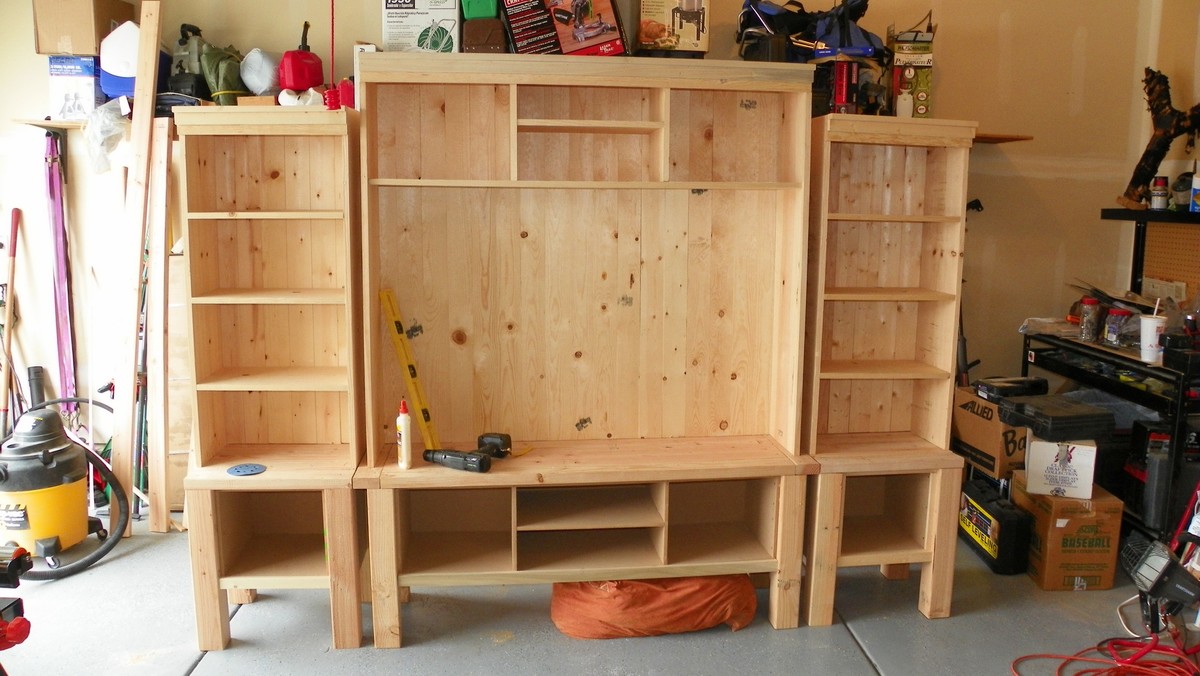
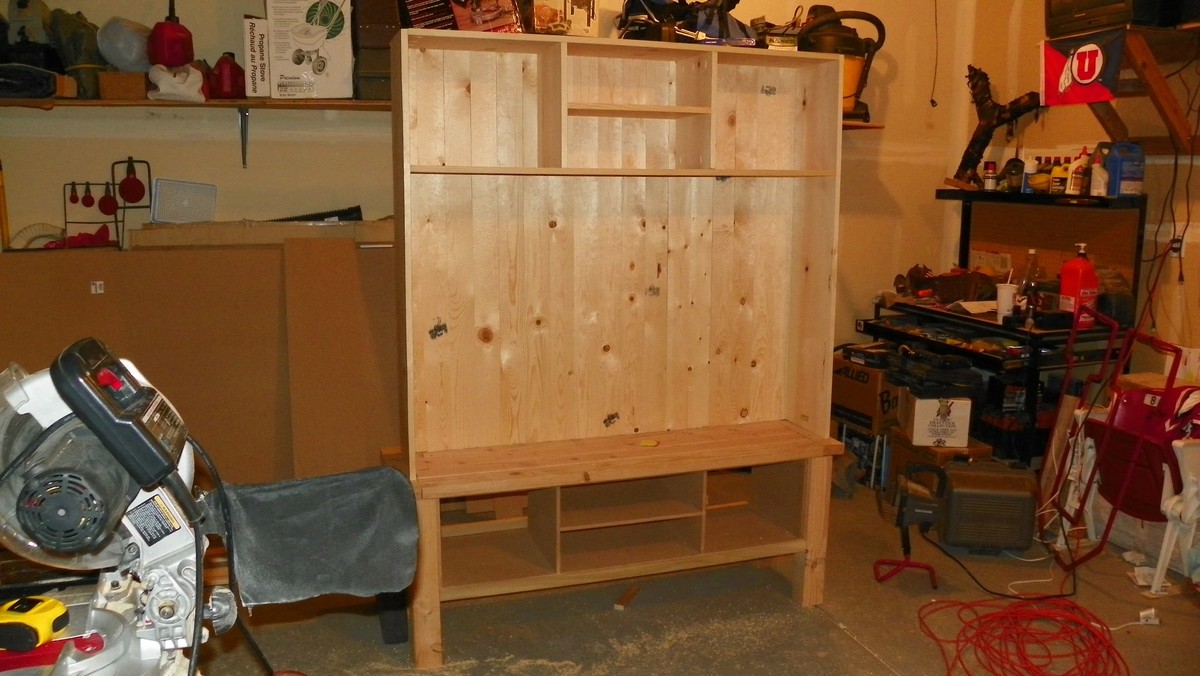
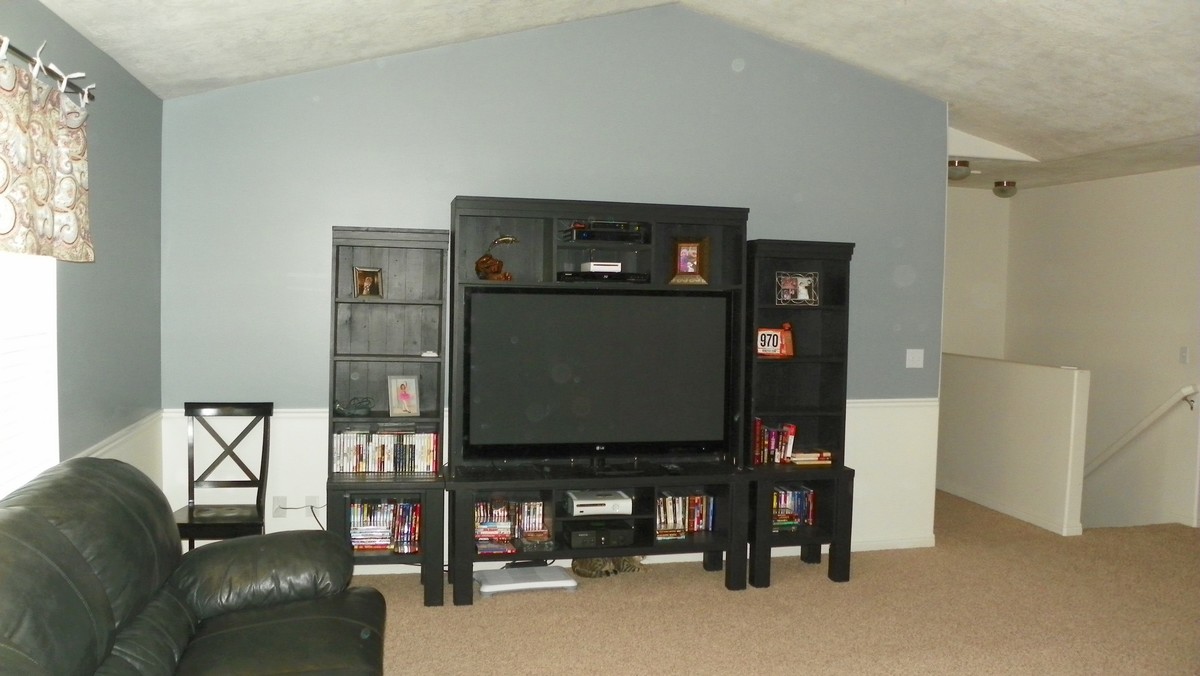
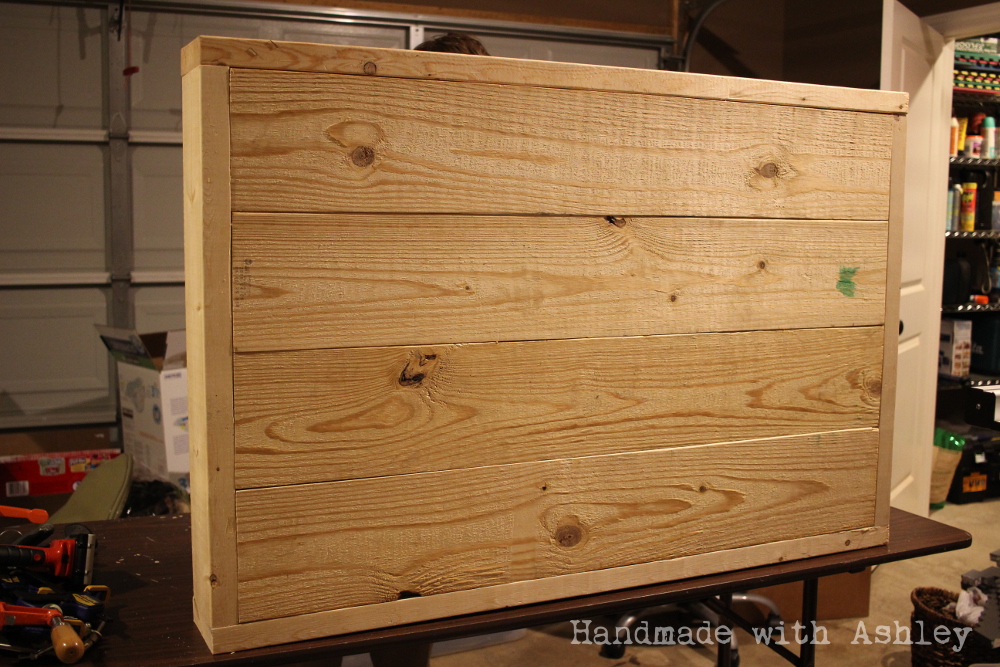
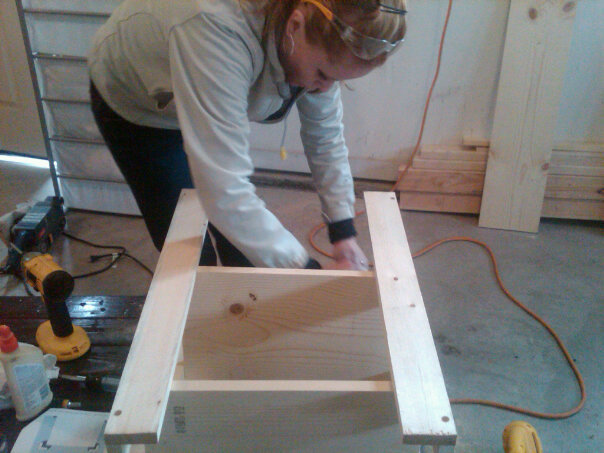
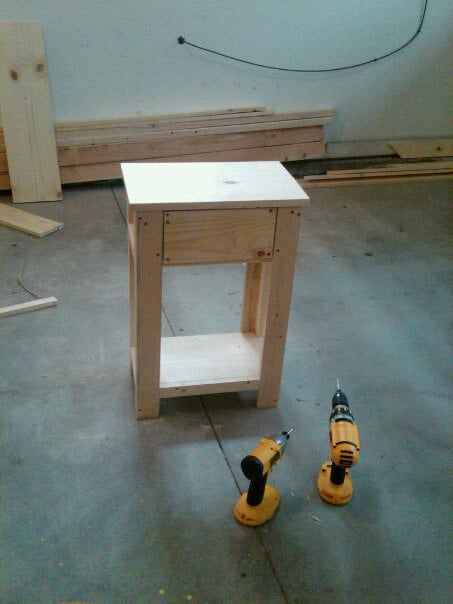
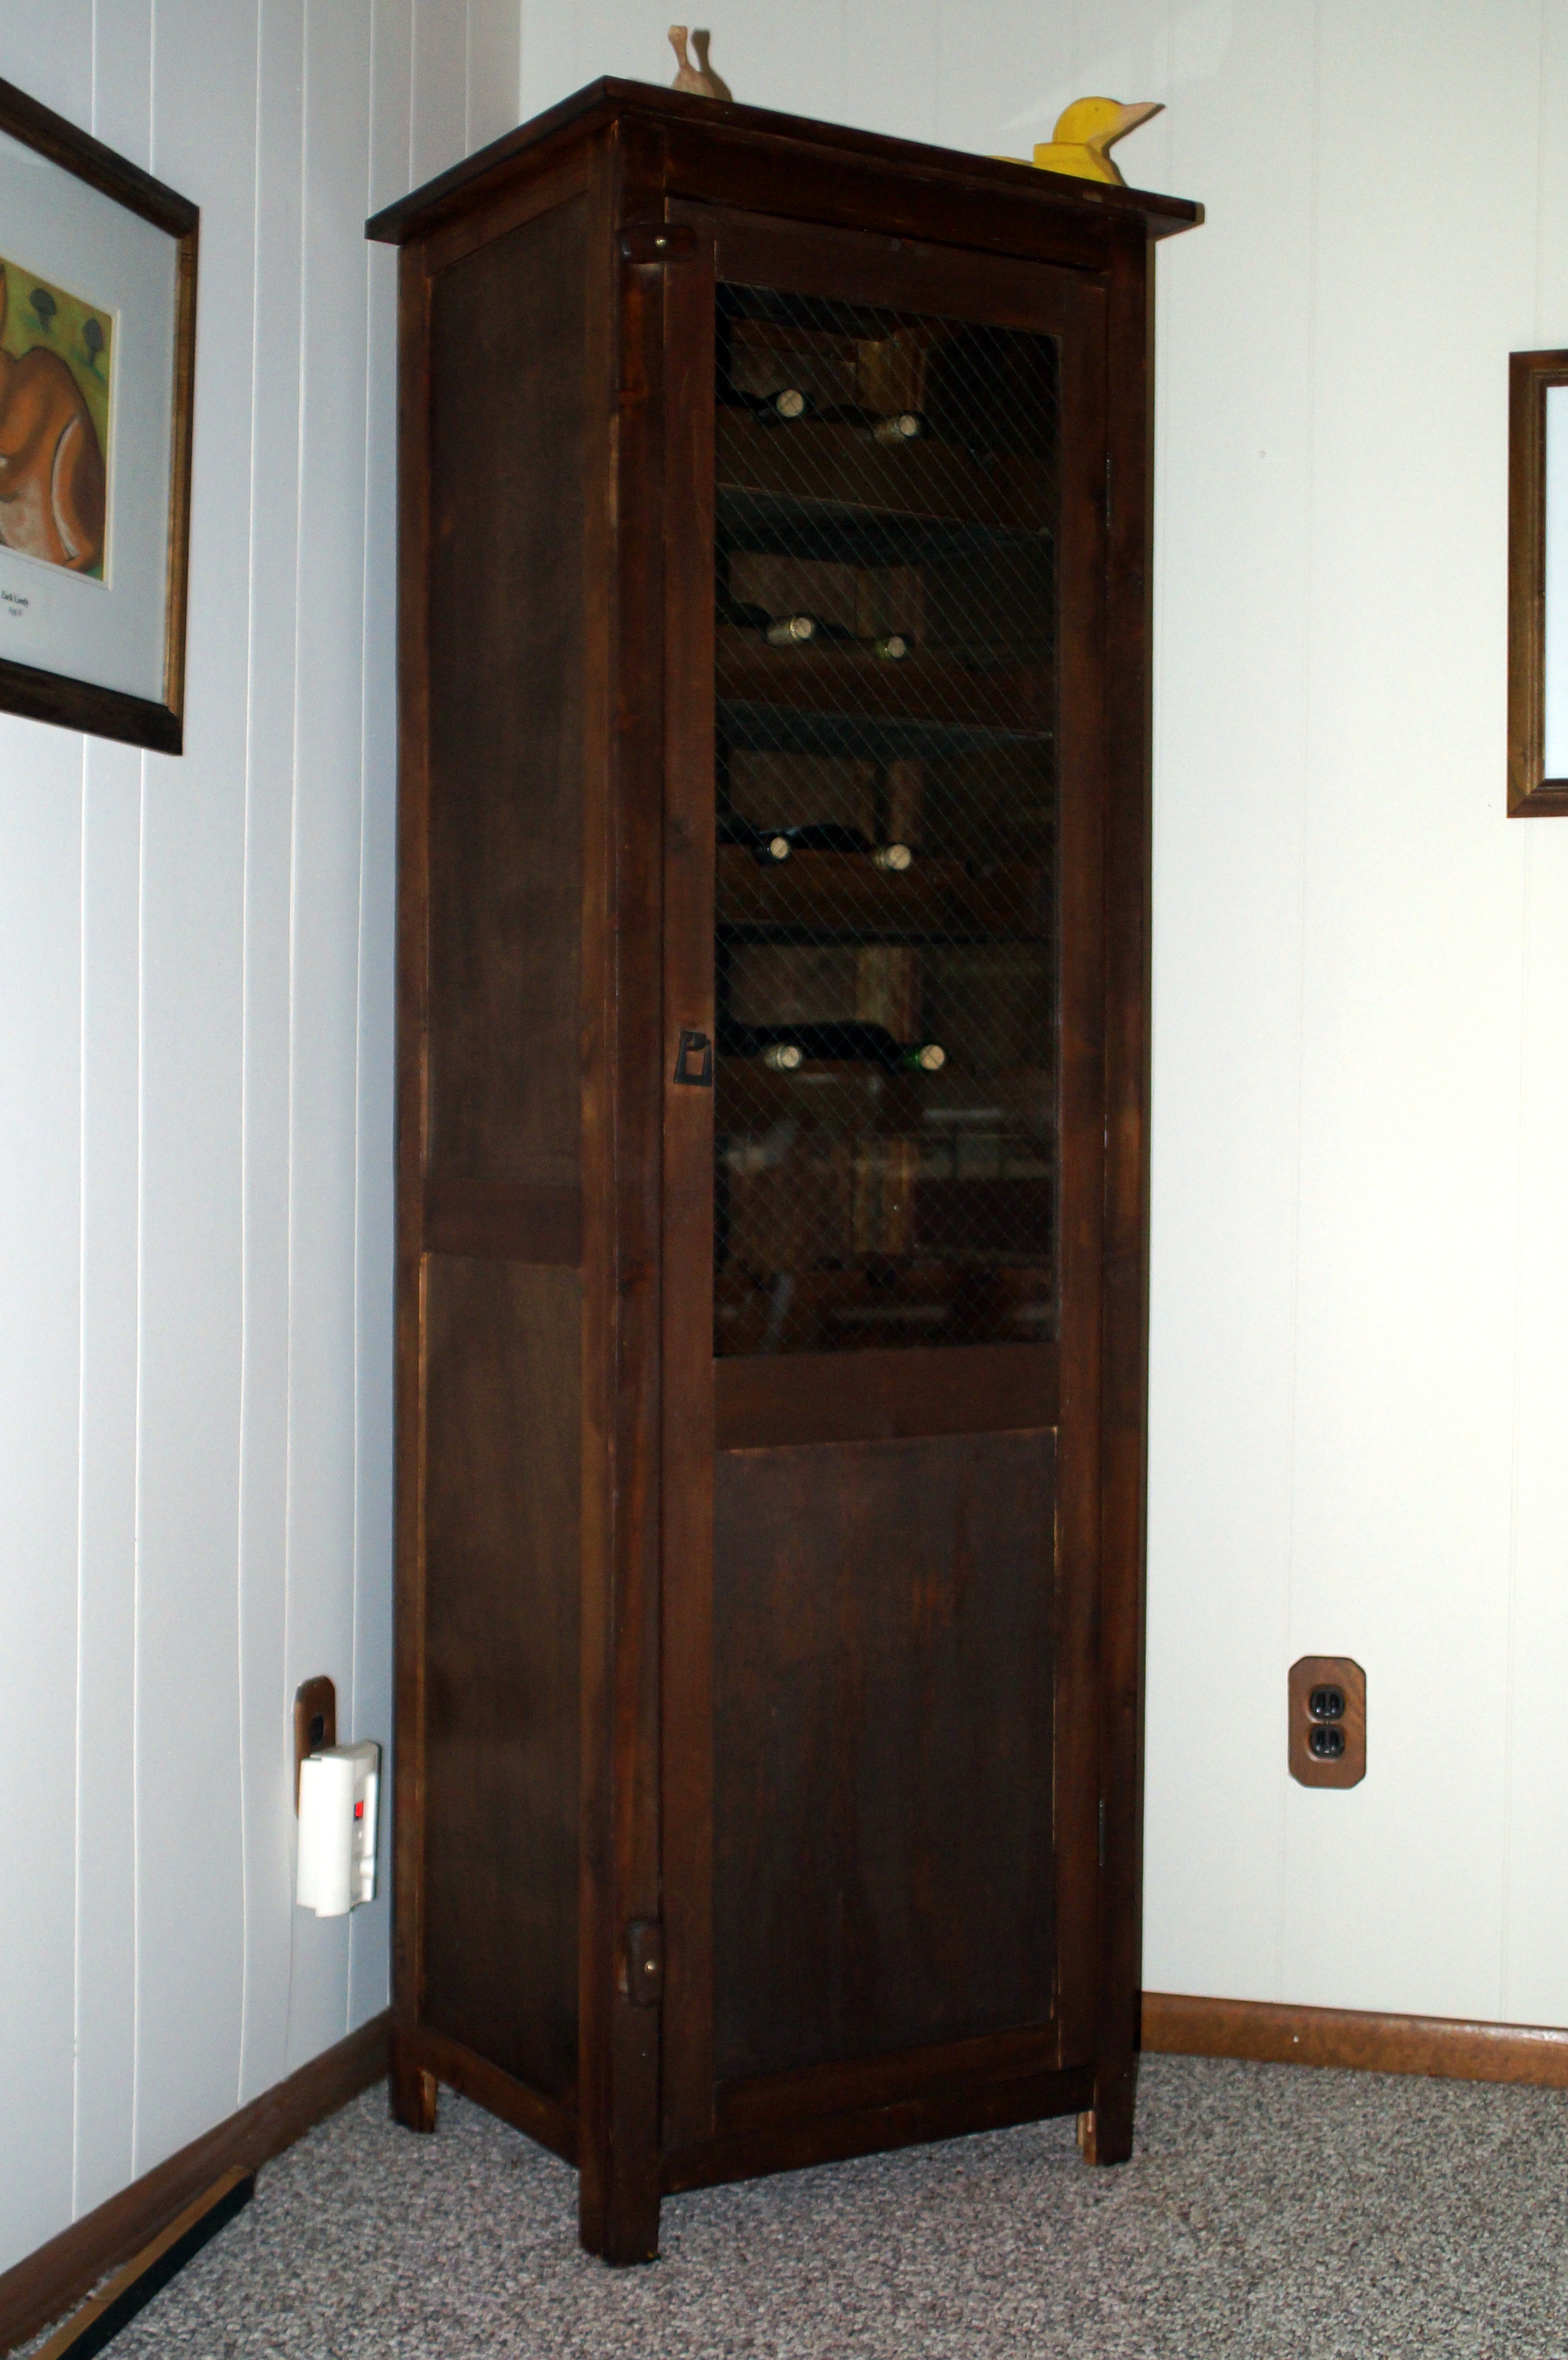
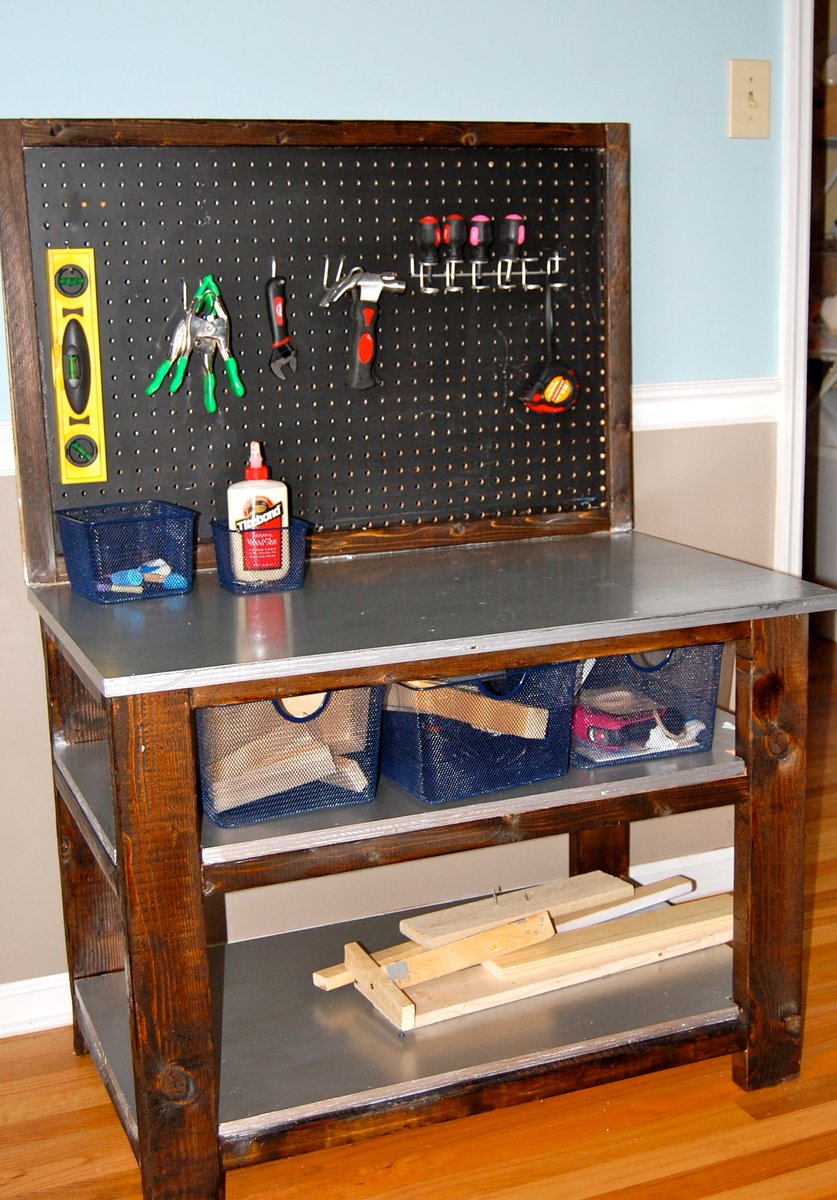
This is our first project! My Husband did most of the work but was a team effort in places. We wanted shelves that we could easily make with the very limited selection of cuts available in Botswana (really only construction lumber around). We modified the width of the shelves to what was available, increased the height a bit so more of a console and shortened it to get the best use of timber. I did not want it looking too modern so went with white and distressed edges to keep it comfortable. Construction did not take very long but finishing took a while due to 3 coats needed.


Built from Plan(s)
Estimated Cost
$60
Estimated Time Investment
Weekend Project (10-20 Hours)
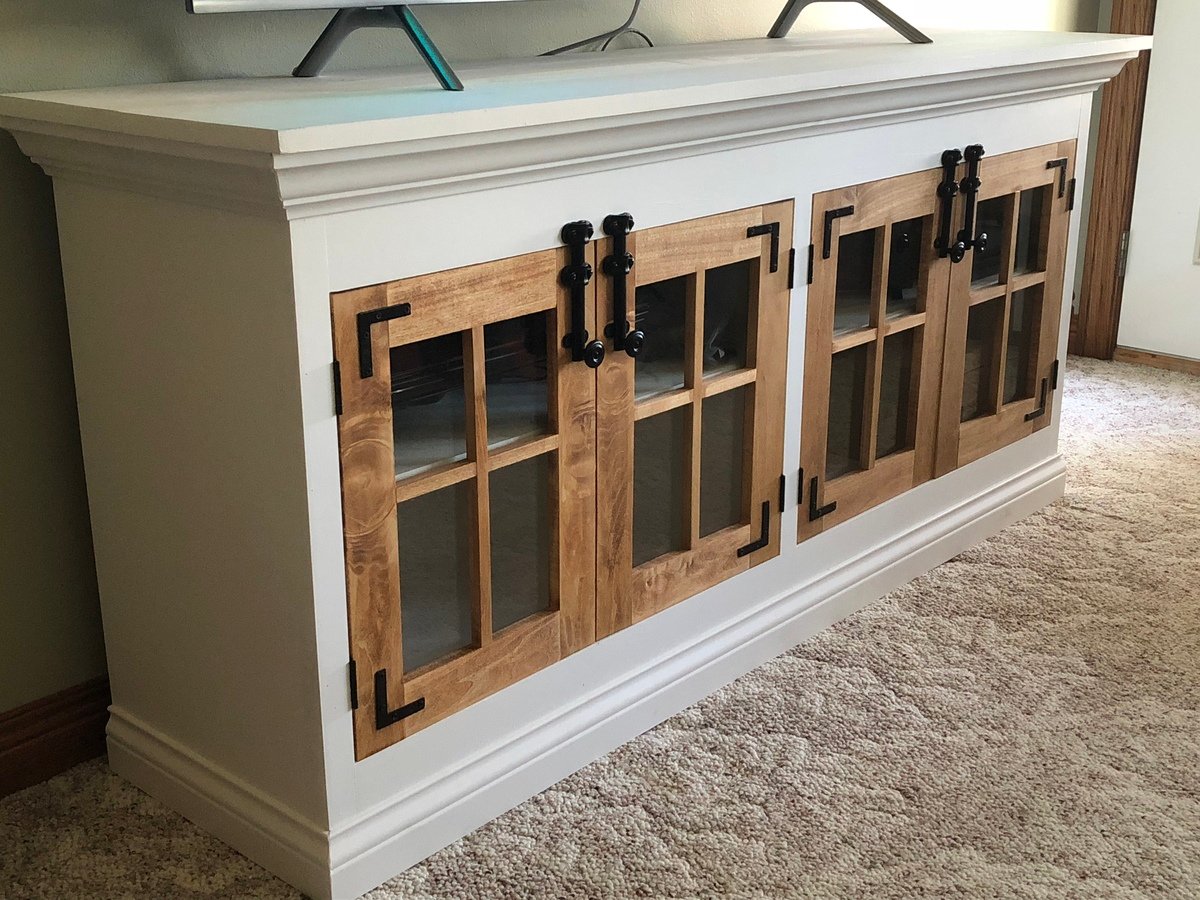
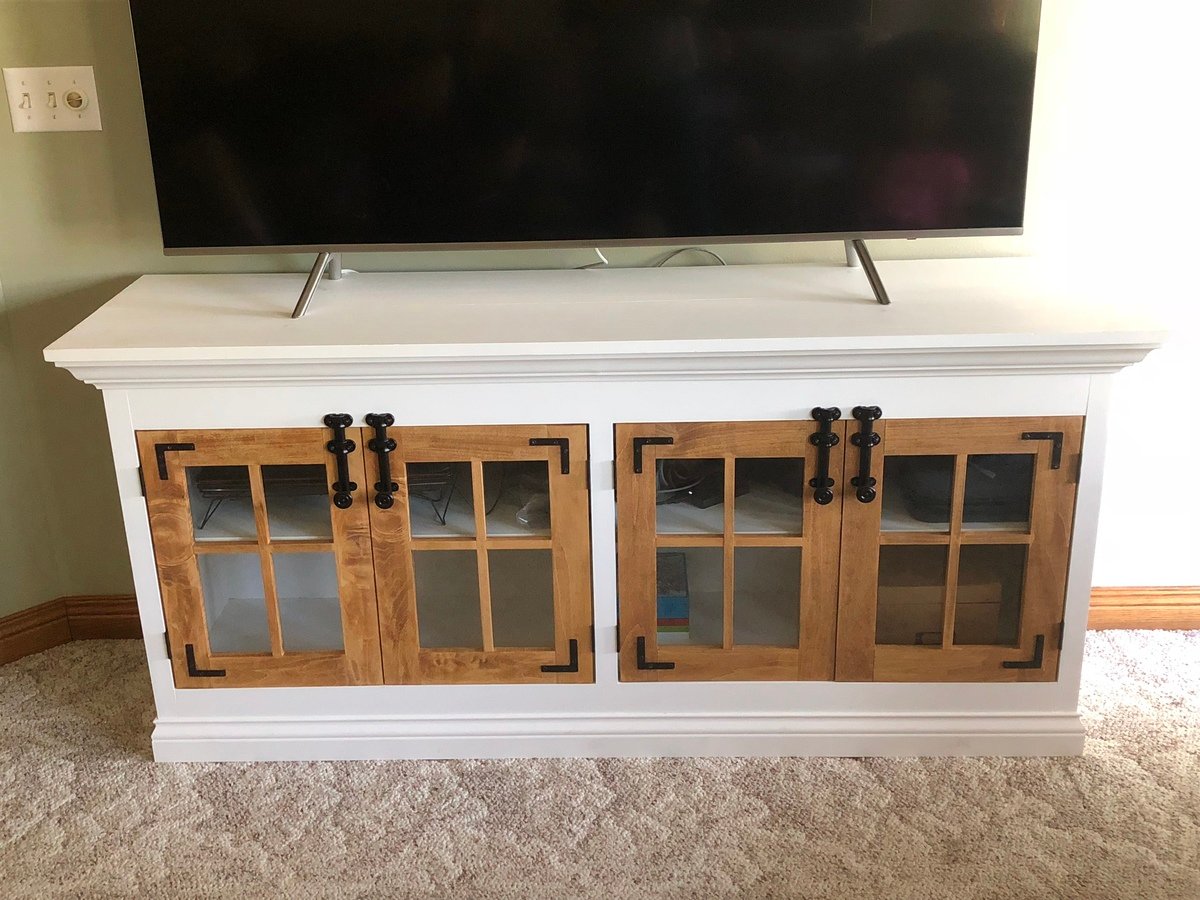
Finish Used
We started by staining whole shelves but then decided it coloured paint too much so applied stain to edges of shelves and legs only. Painted with pure white acrylic water based paint (3 coats) and then lightly sanded edges of legs and shelves to distress.
Recommended Skill Level
Starter Project


Comments
mamma_joy
Mon, 06/20/2011 - 10:56
Looks great!
I loved making these, too.