Reclaimed Wood Potting Bench
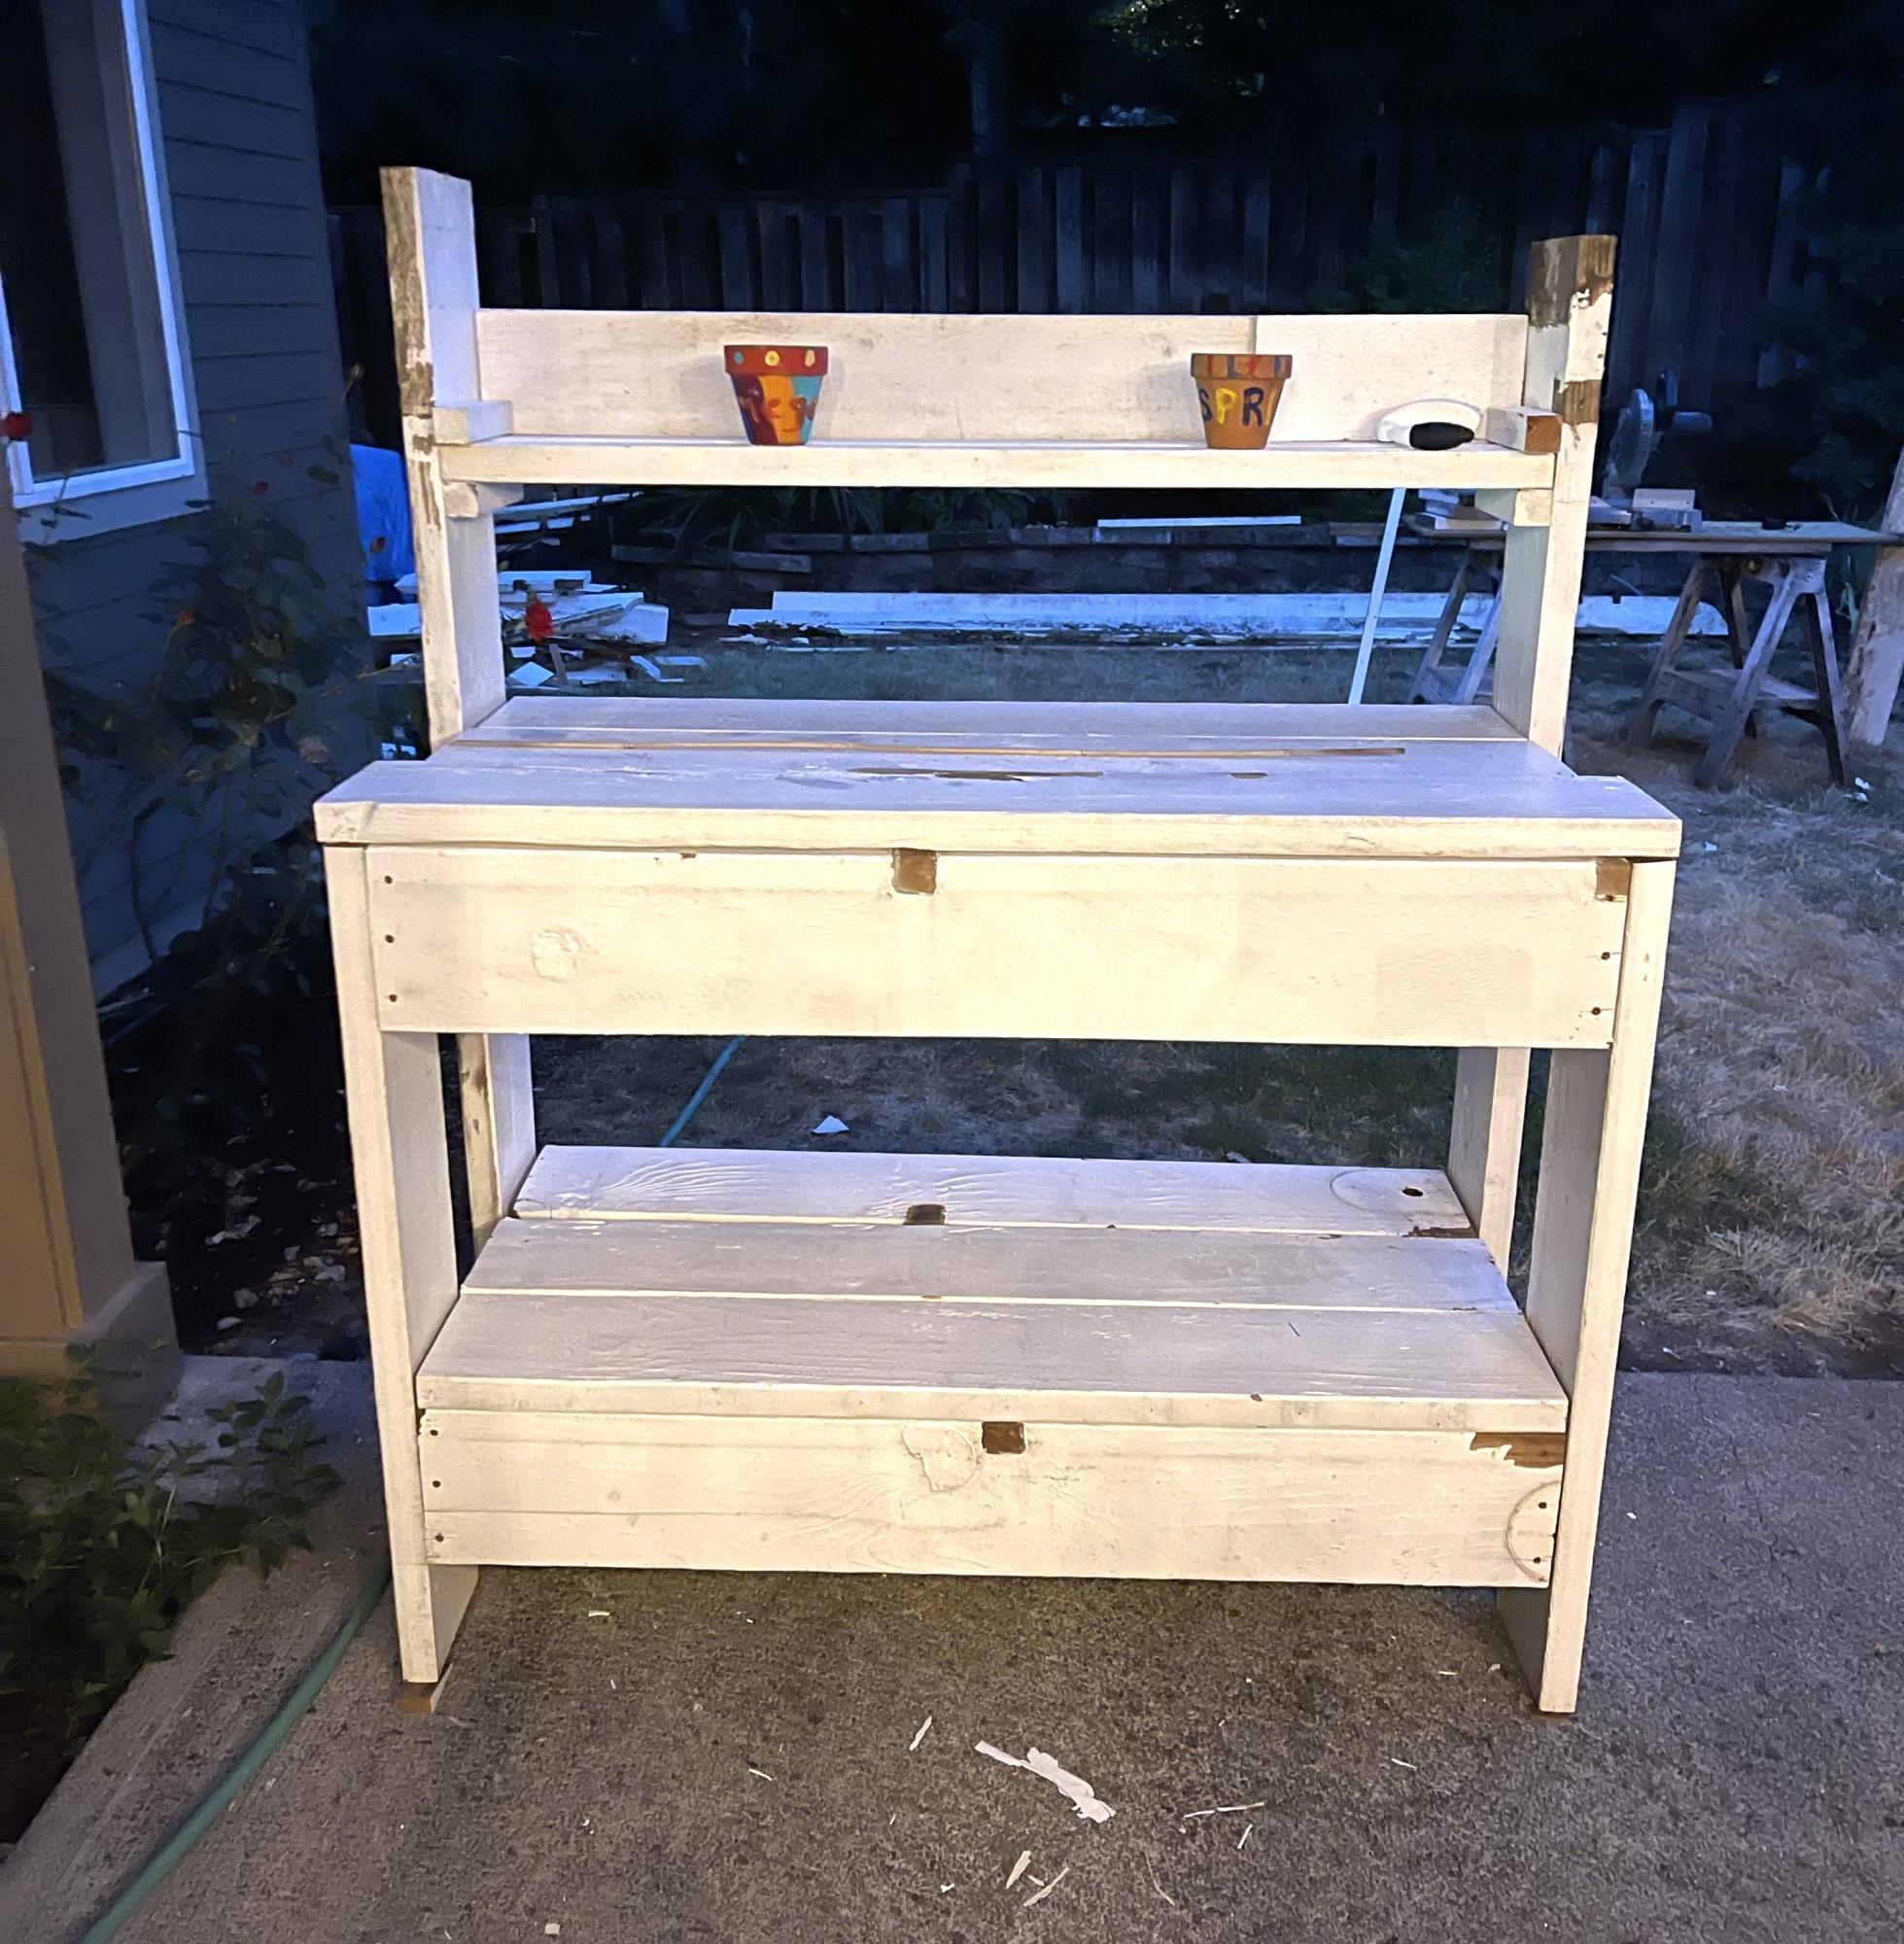
Loved your simple plan! I had 8x2 boards from our pergola we tore down and they worked great!! Thanks for sharing the plans.
Backyard Therapy
Built from Plan(s)
Loved your simple plan! I had 8x2 boards from our pergola we tore down and they worked great!! Thanks for sharing the plans.
Backyard Therapy
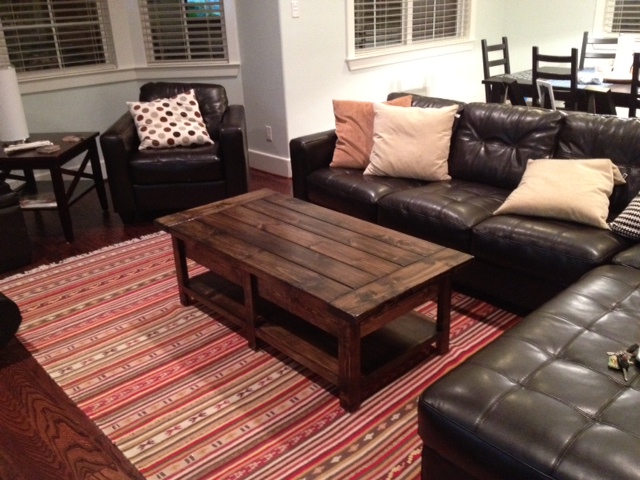
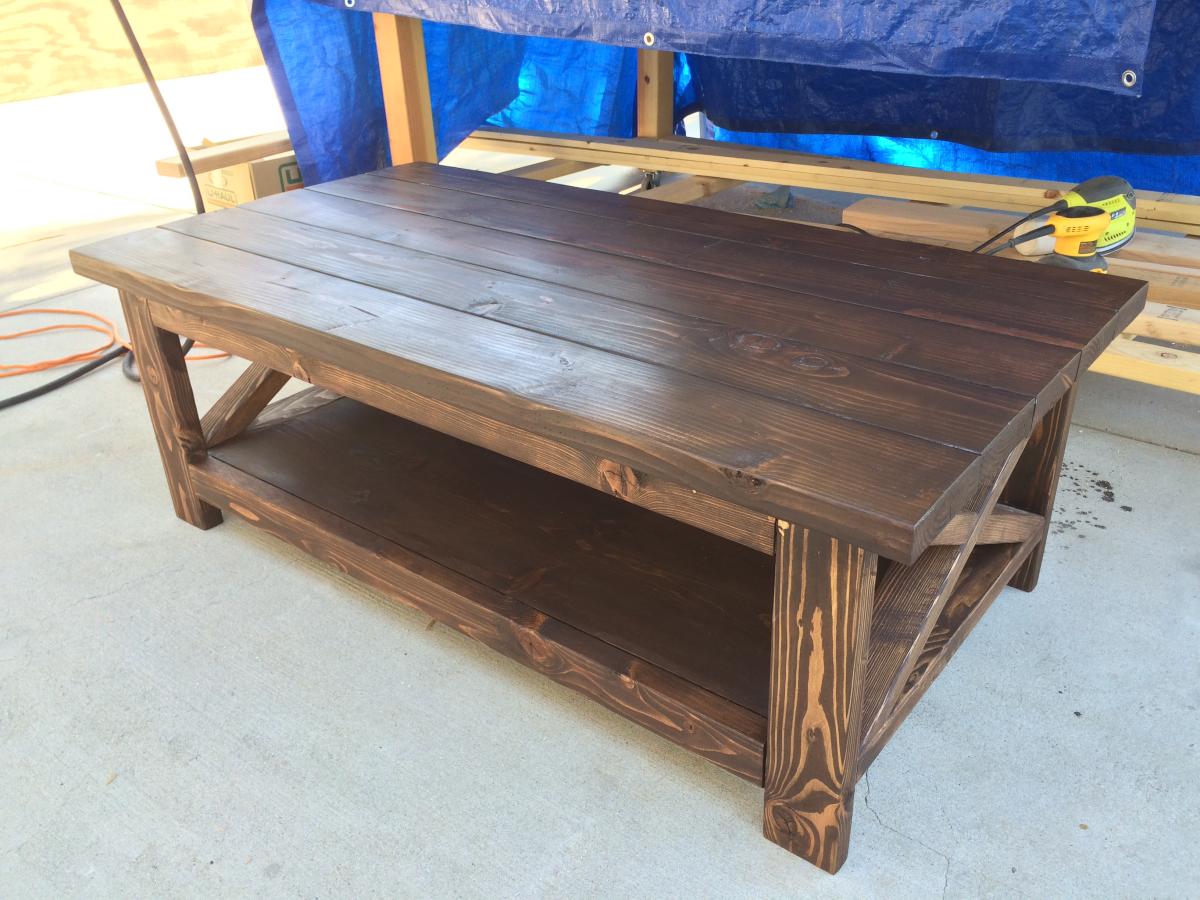
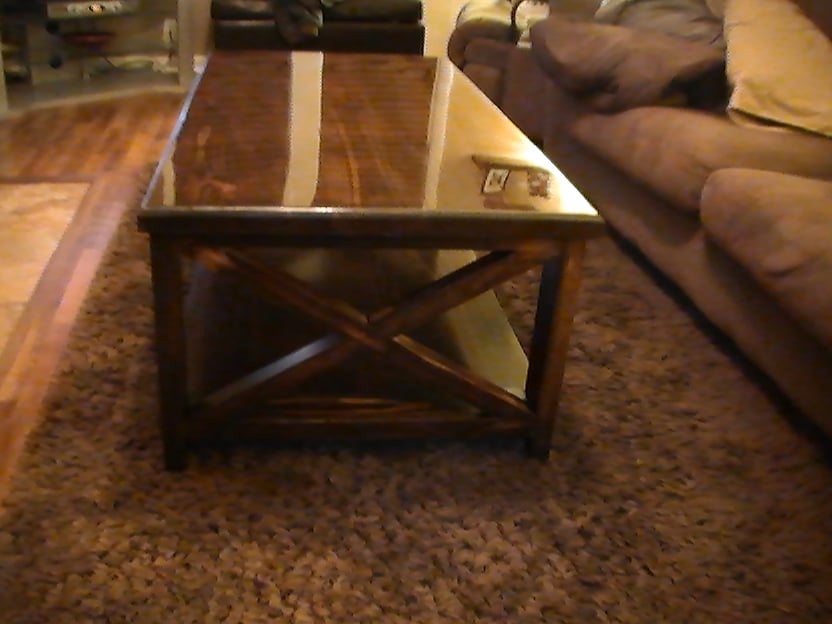
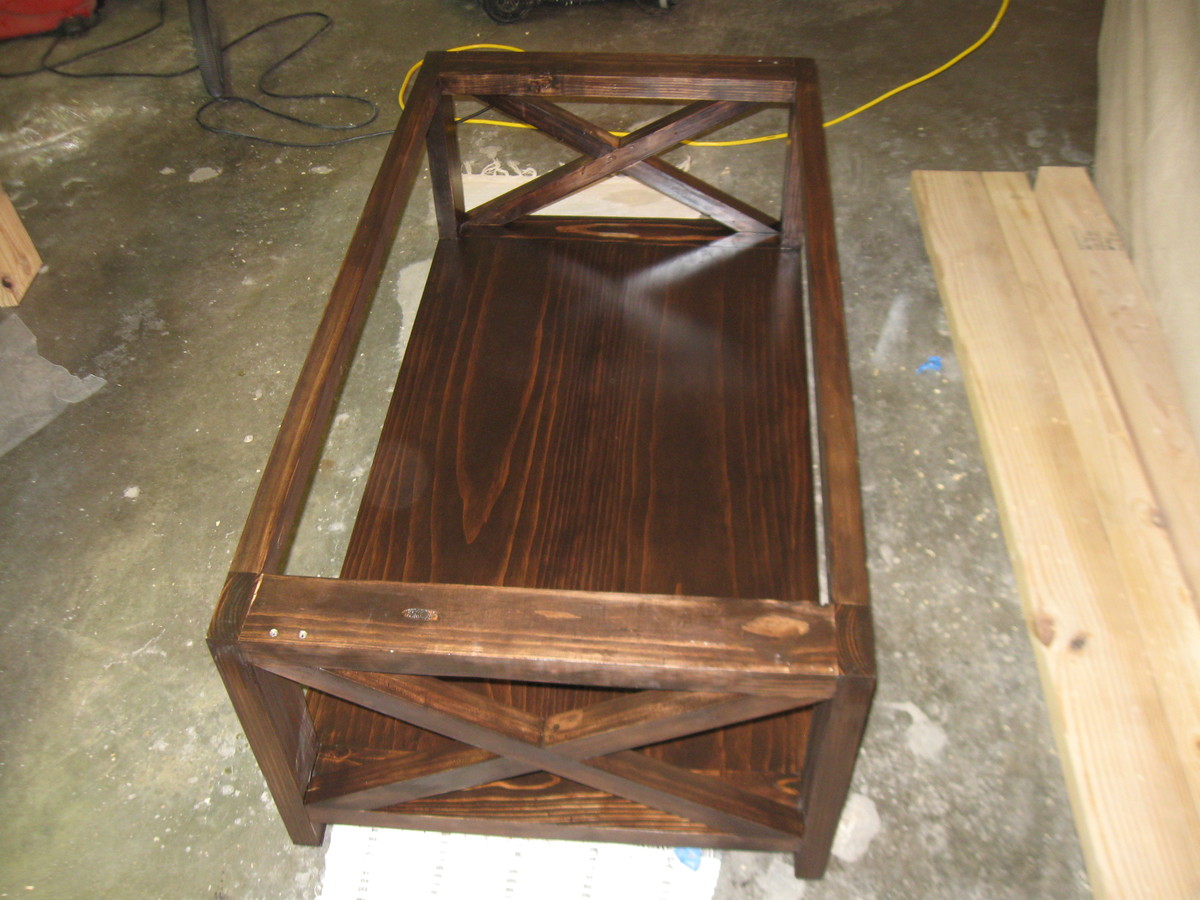
Made the Benchright Coffee table. Costs too much - time to make it myself.

Tue, 03/20/2012 - 19:30
hey nice job! really liking your finish choices, looks beautiful and fits well with your home.
Tue, 03/20/2012 - 20:07
Thanks Megan.
Couple of my next projects are going to be the matching TV stand and the buffet for which I drew up plans. It'll be probably another month or two before I can find time to do it.
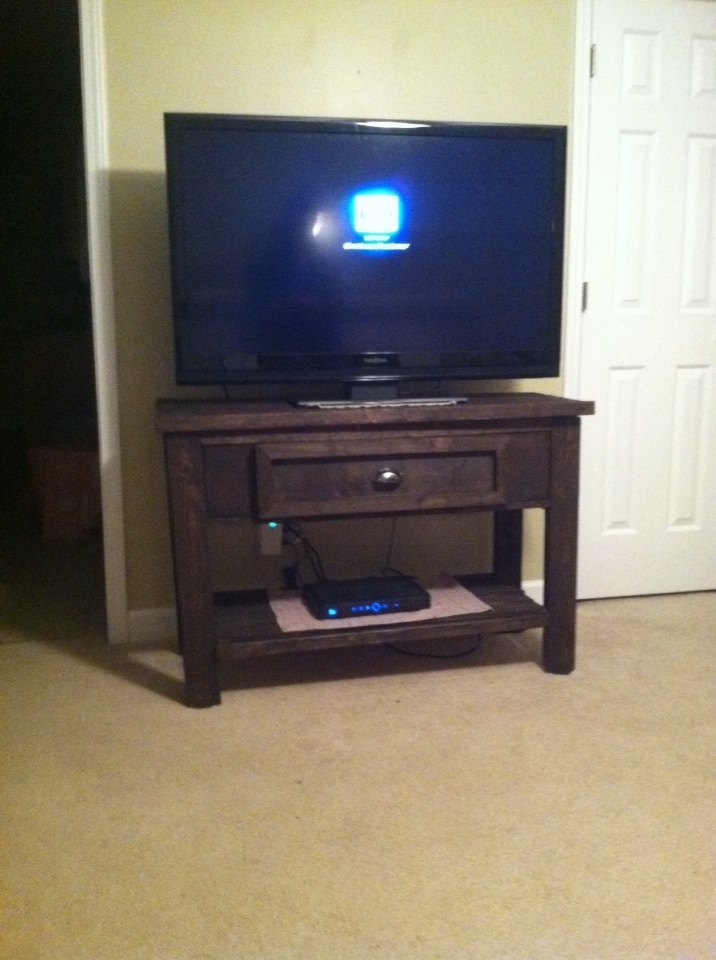
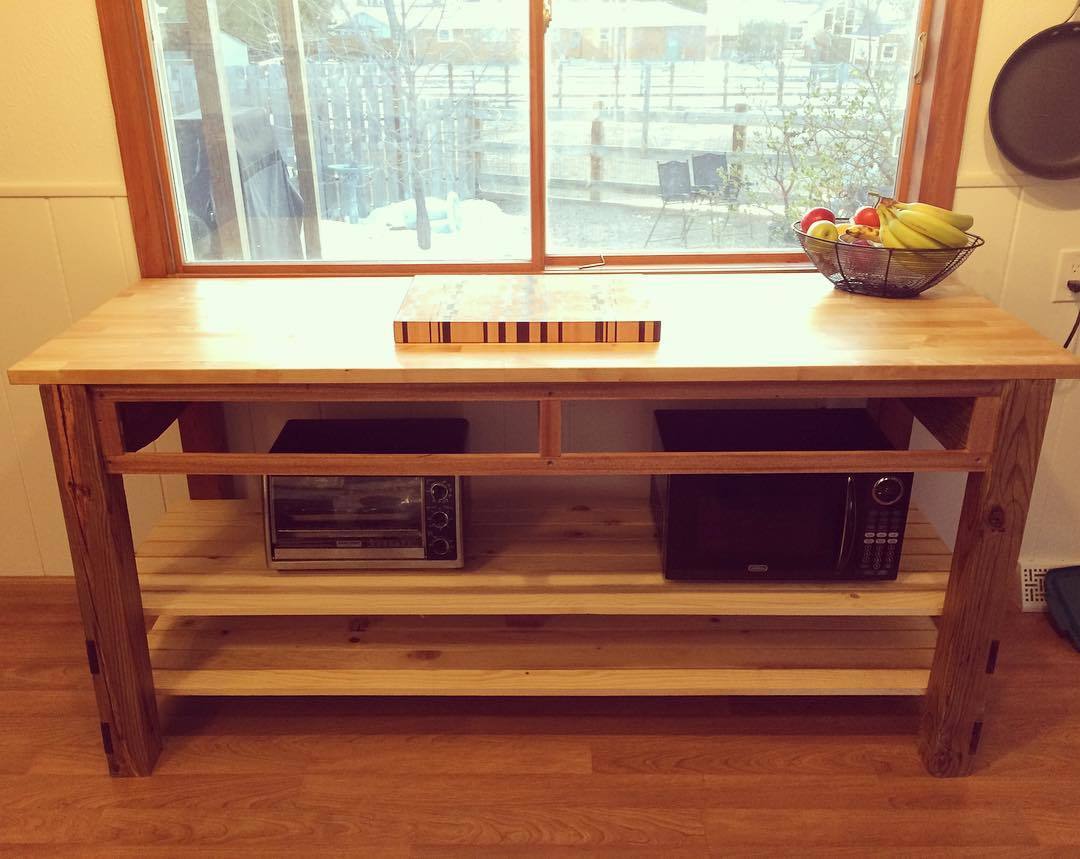
I used the plans from the Ridge Media Console, but modified it a tad. I adjusted the measurements for my space and used pallet wood for the lower shelf. I also decided to make a drawer instead of the flip down storage.
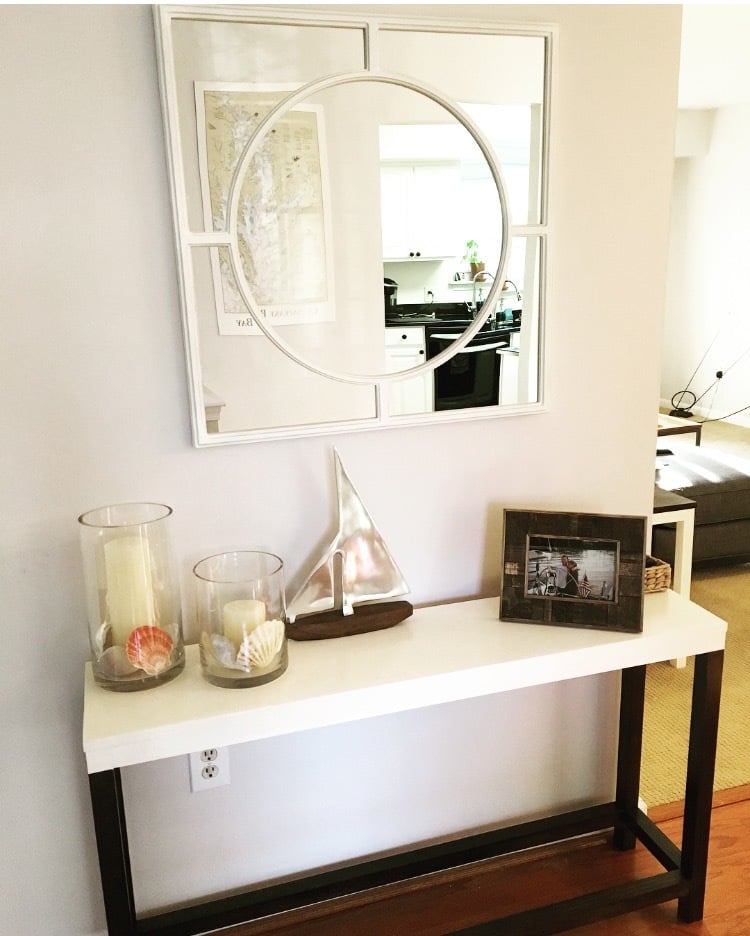
This table is the perfect size to fit our entry way, I just love the dark walnut bottom with the white top. It is just the right piece in its space, and was super simple to put together. We modified the plans a bit, instead of using liquid nails we used the kreg tool and screws to assemble. We also just used one board for the top of table and taped off more of the base and painted it white to give it the illusion of a thick top.
Built from plans on this website, with some modifications.
i used 8-ft x 16-in x 3/4-in edge-glued boards from Lowe’s for the shelves. Instead of cutting the boards to length, I widened the console slightly to accommodate.
I added an extra shelf to increase storage. I also added vertical dividers between the shelves to increase strength and prevent sagging.
The top is an 8-ft x 20-in edge-glued board with a piece of 1x4 board added on at each end. I then added strips of 1x2 underneath on all sides to create an overhang. The top is not fastened on with screws or any other fasteners. Its weight keeps it in place, and being removable will make it easier to move the console, if necessary, in the future.
I couldn’t find a commercial stain that had the “red barn” look I wanted, so I used latex paint thinned with an approximately equal amount of water.
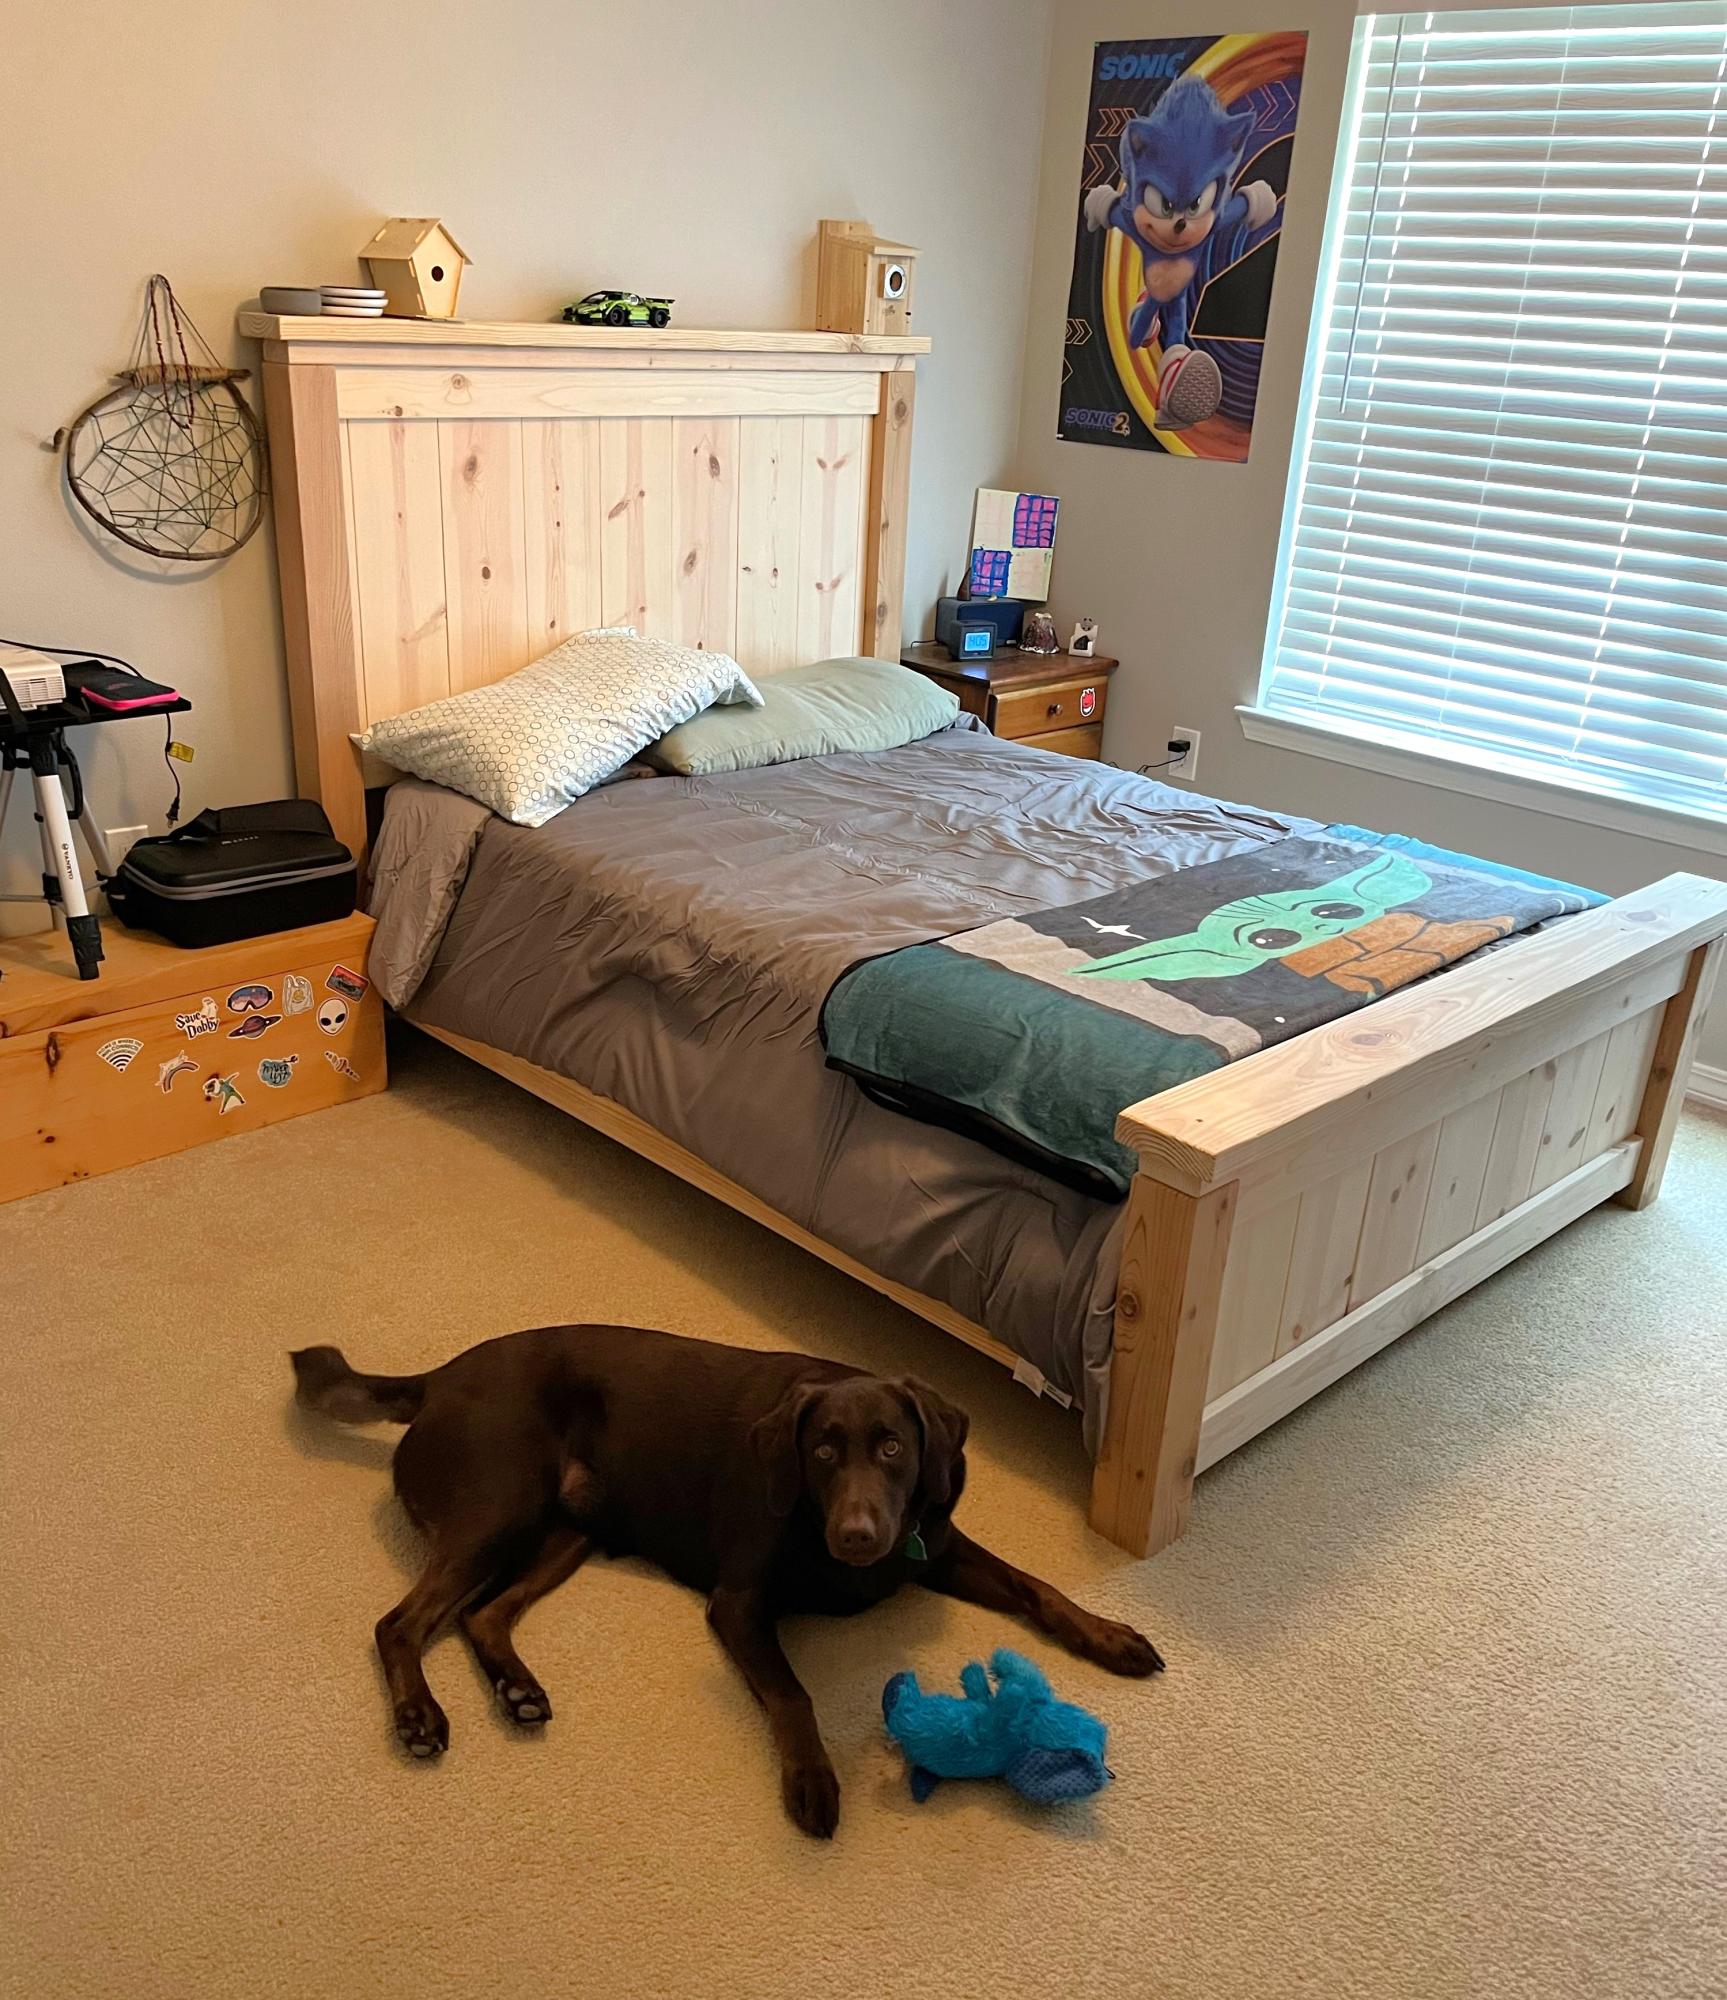
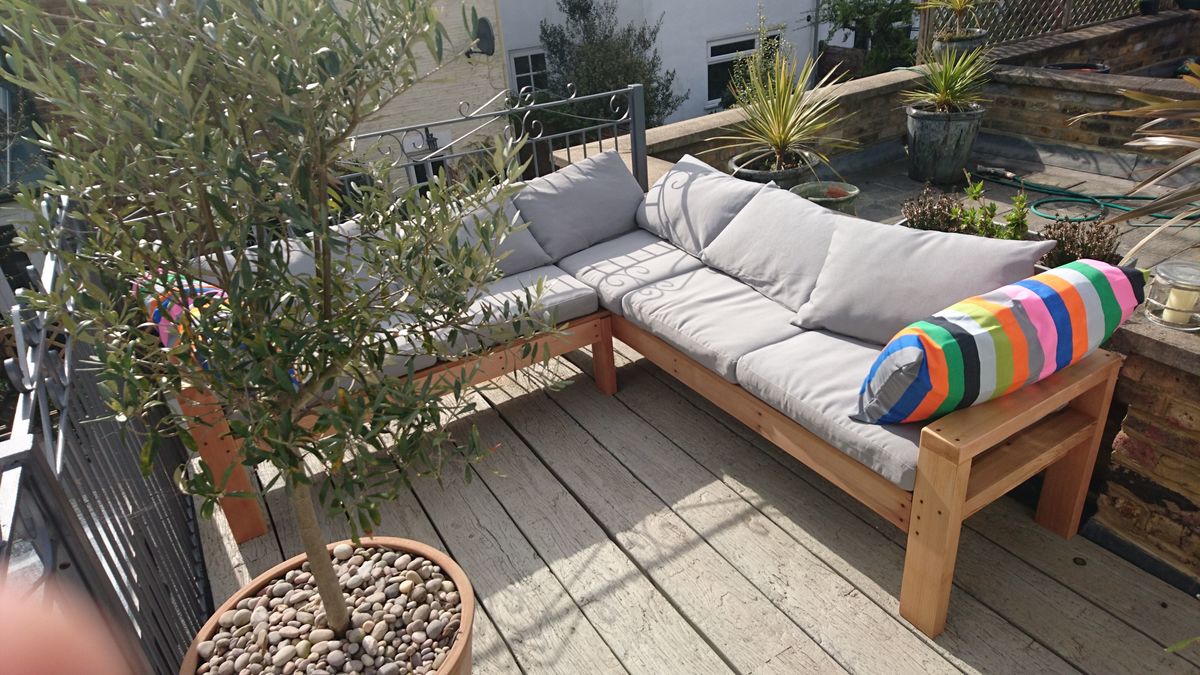
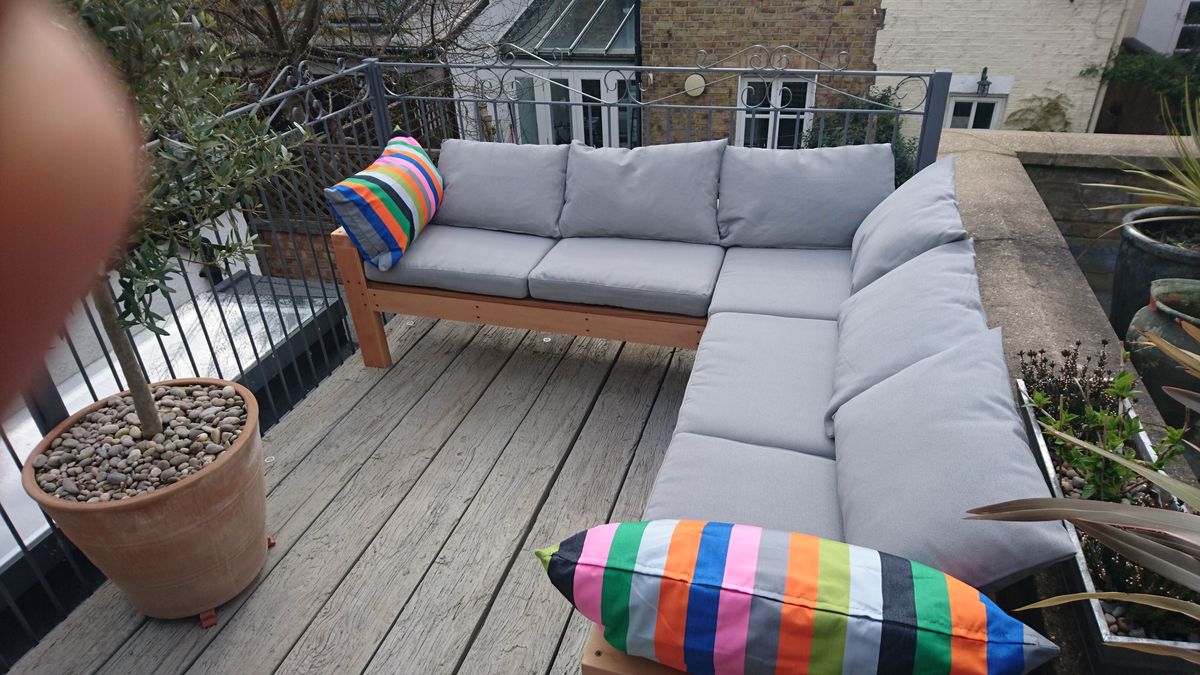
We made this as a surprise for our son. It turned out beautiful! We used cedar 4x4s for the corner posts and pine for the remainder. Thanks Ana!
Patty W.
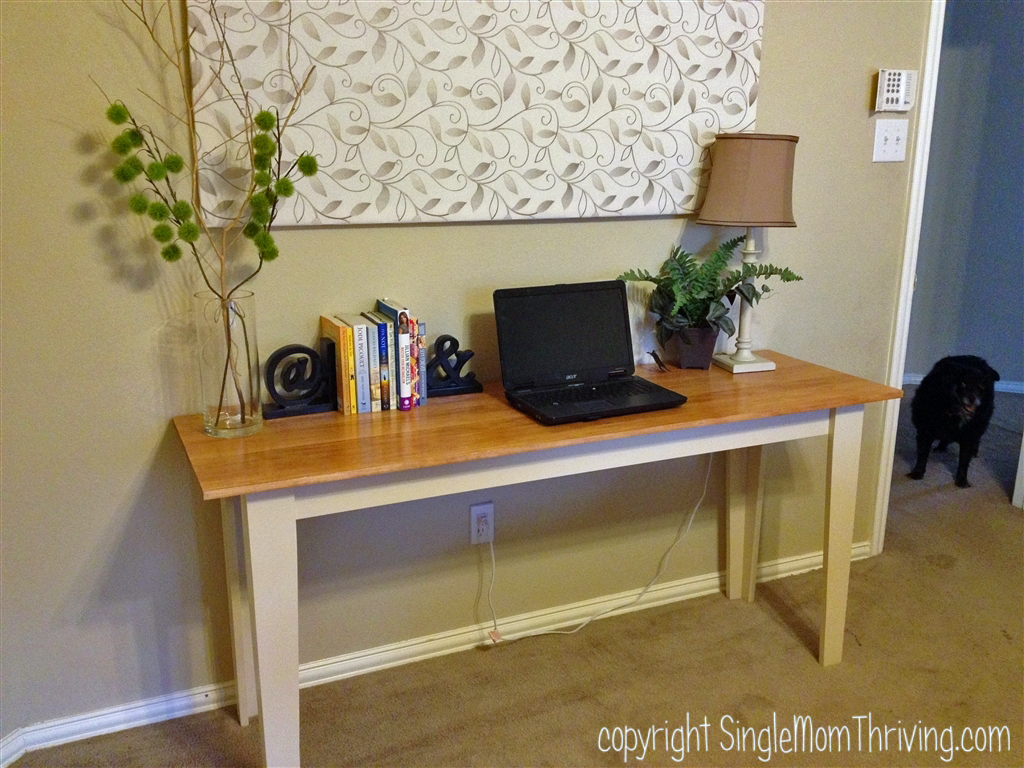
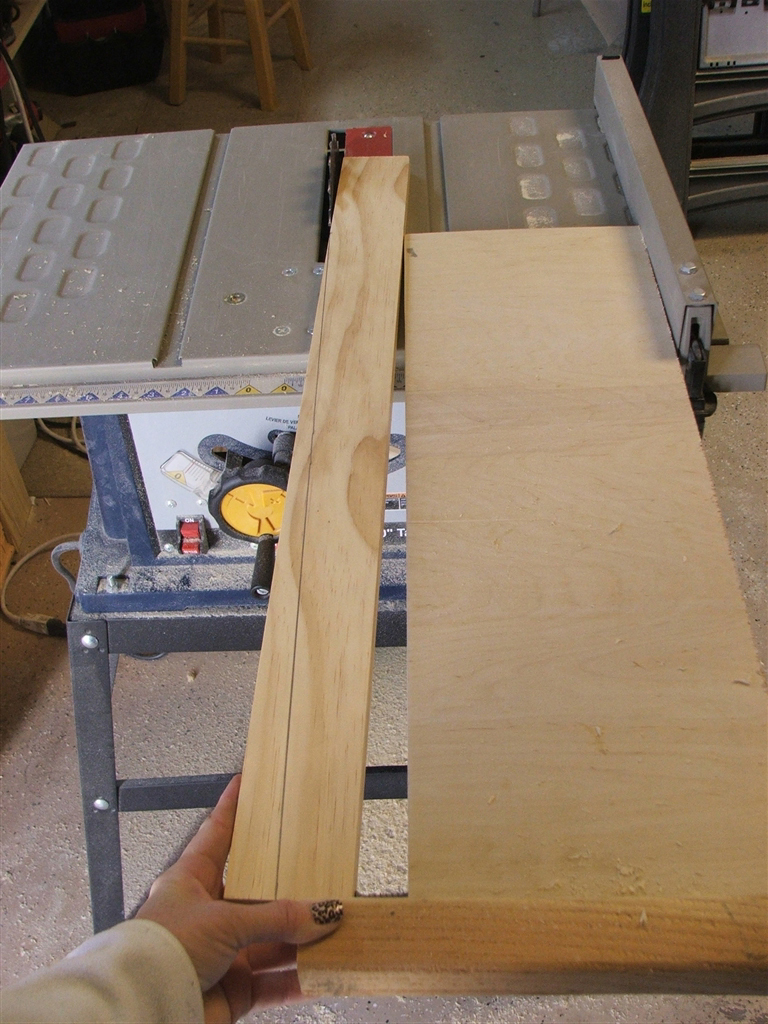
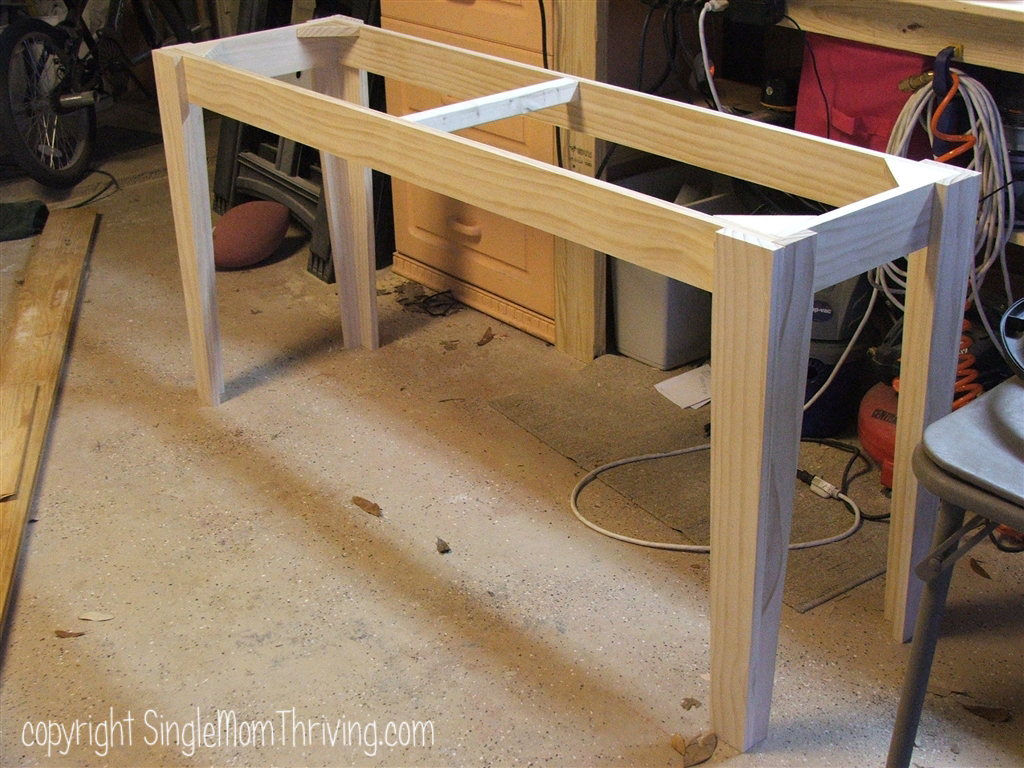
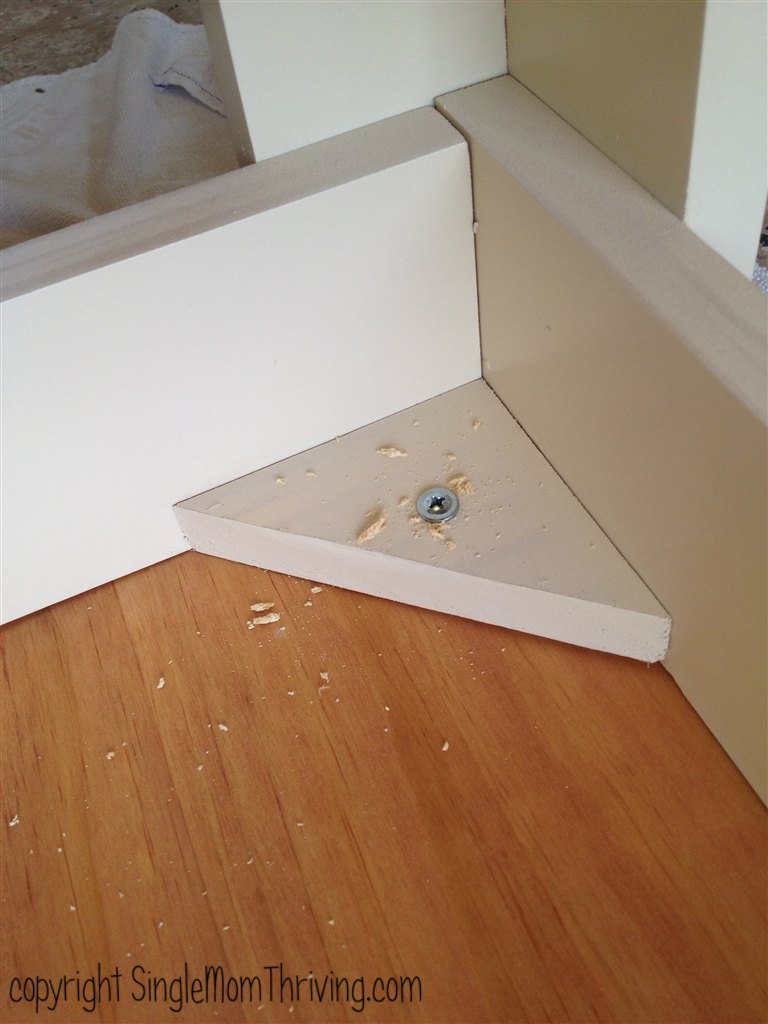
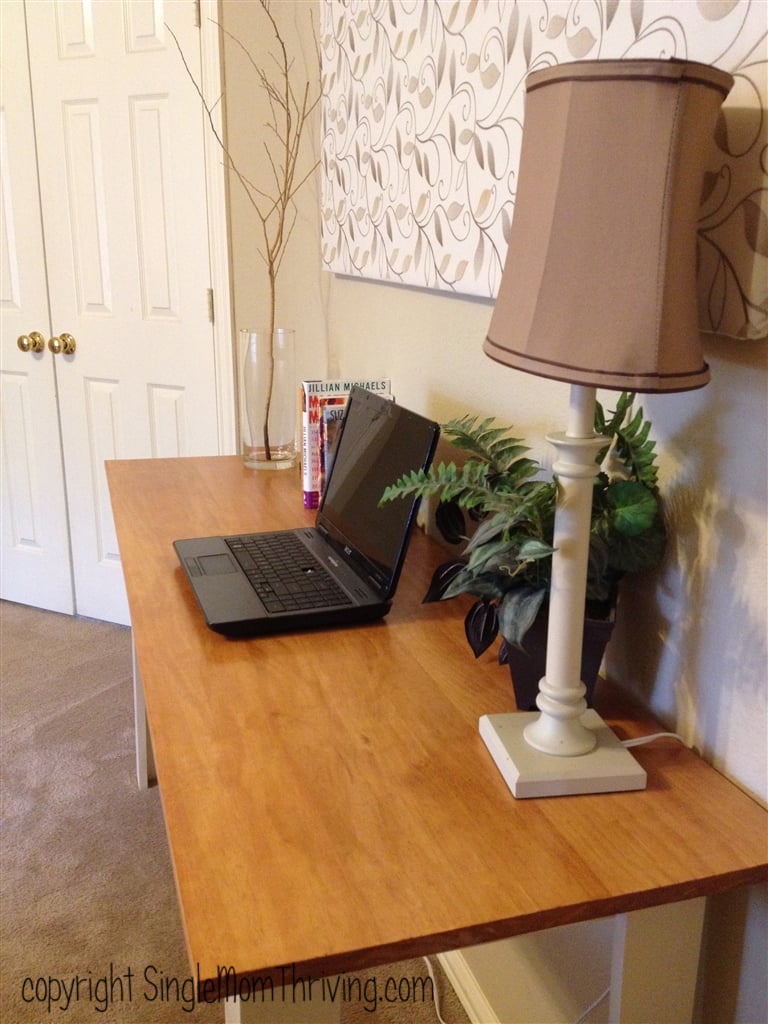
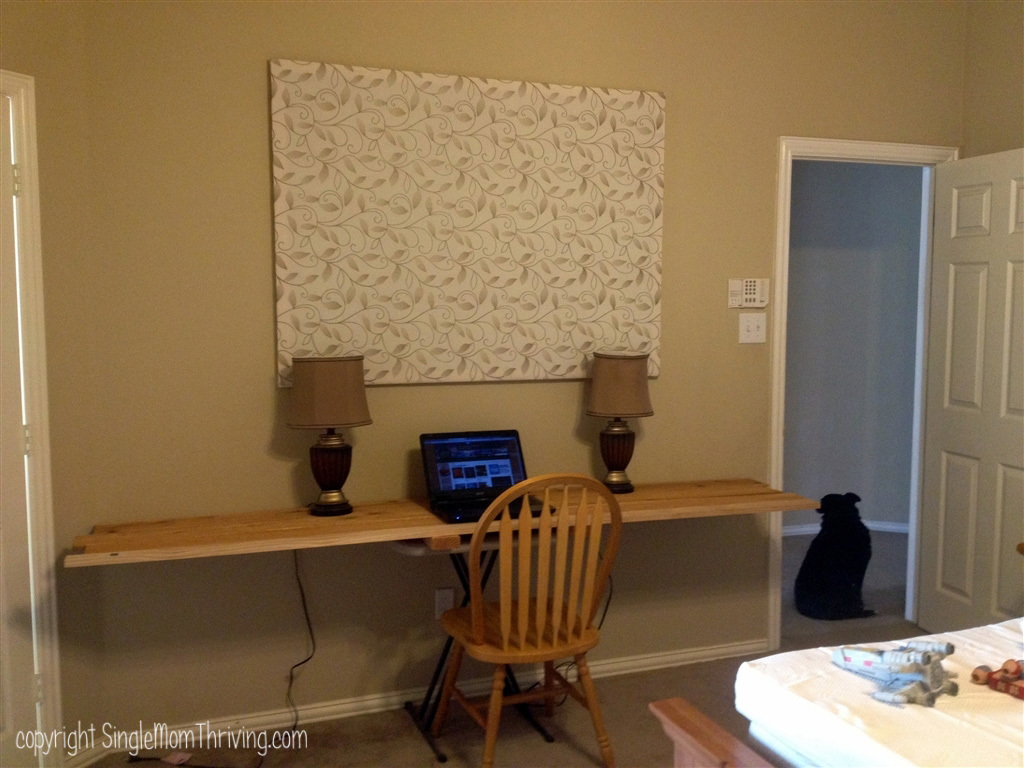
I was looking for a desk/table for a wall in my bedroom, especially after I created the wall art that was now free floating on a huge expanse of wall. I needed something to anchor it. I saw the Narrow Farmhouse Table and loved it. I knew I could modify for the space so I used some extra boards I had around the house and mocked it up so that I could take measurements and ensure the table did not block the traffic flow in my home.
I loved the way http://deuxmaison.blogspot.com/2010/07/knock-offwoodcom-narrow-farmhous… the table was done in this blog, so I used the new measurements and took a few tips from deuxmaison to make this desk/table.
I completed the table top and the base as separate projects. Check out my blog for details and a special link on "How to Make a Tapering Jig"
http://singlemomthriving.wordpress.com/2012/03/13/adventures-in-table-m…
http://singlemomthriving.wordpress.com/2012/03/19/adventures-in-table-m…
http://singlemomthriving.wordpress.com/2012/03/21/adventures-in-table-m…
I love how this table turned out. Thanks for great plans, Ana!
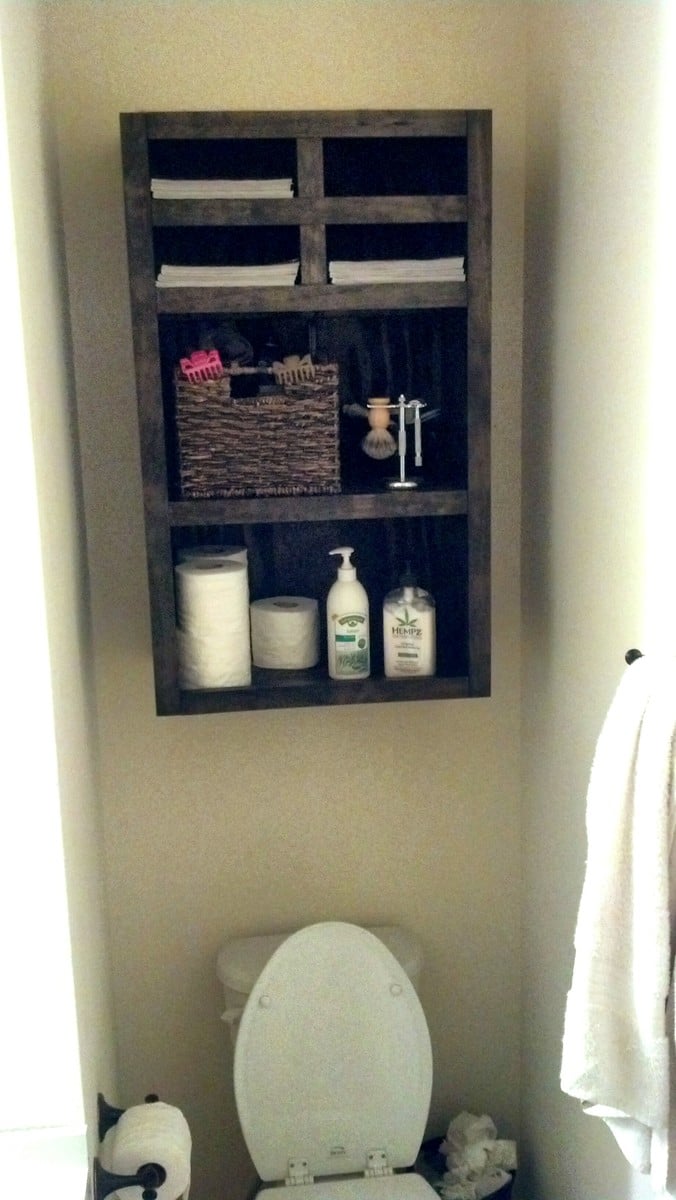
Modified to hang above the toilet for some added bathroom storage.
We were needing a new tv console for our boy's playroom and this was a lot of fun to work on. This was the first piece of furniture I have built and I was able to follow the plans pretty easily.
Tue, 04/05/2016 - 07:57
My doors are sticking out over 1 inch at the bottom. Any suggestions why?
Wed, 04/06/2016 - 07:05
Ana,
I was wondering how you were able to fabricate the door hardware? Your plans don't seem to include them in the overall plan area. Can you provide this information please?
Thank you.
Sat, 08/08/2020 - 09:46
What hardware did you use here? I have been having trouble finding hardware small enough to fit in the 3.5" space above the doors, and I do not have the tools to create my own hardware.
Thanks!
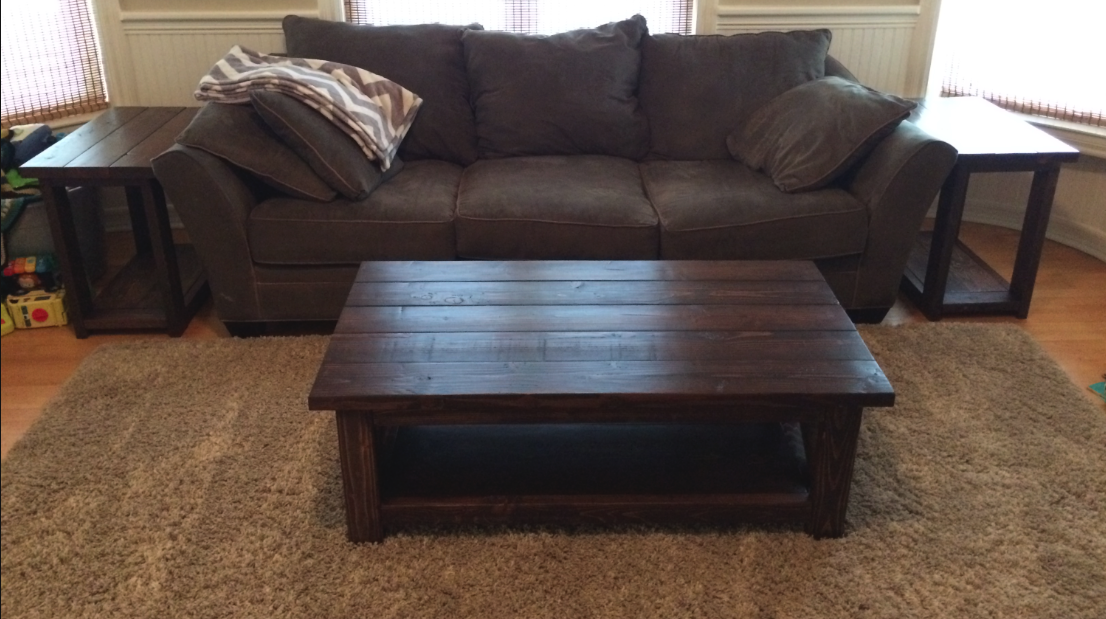
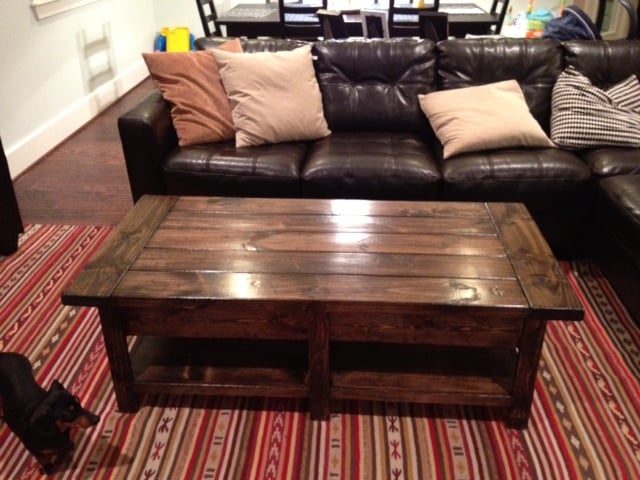
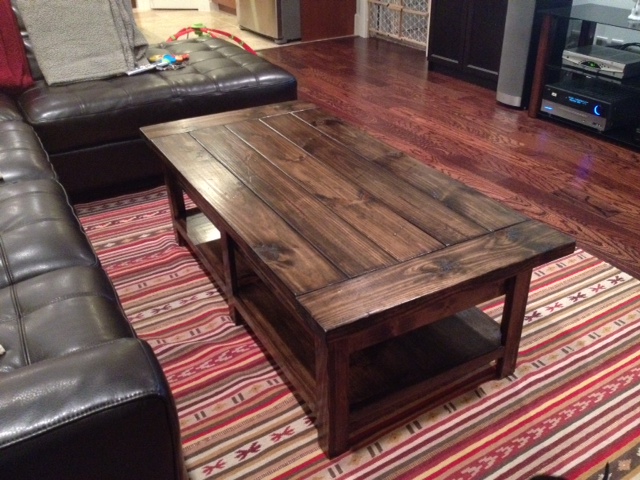
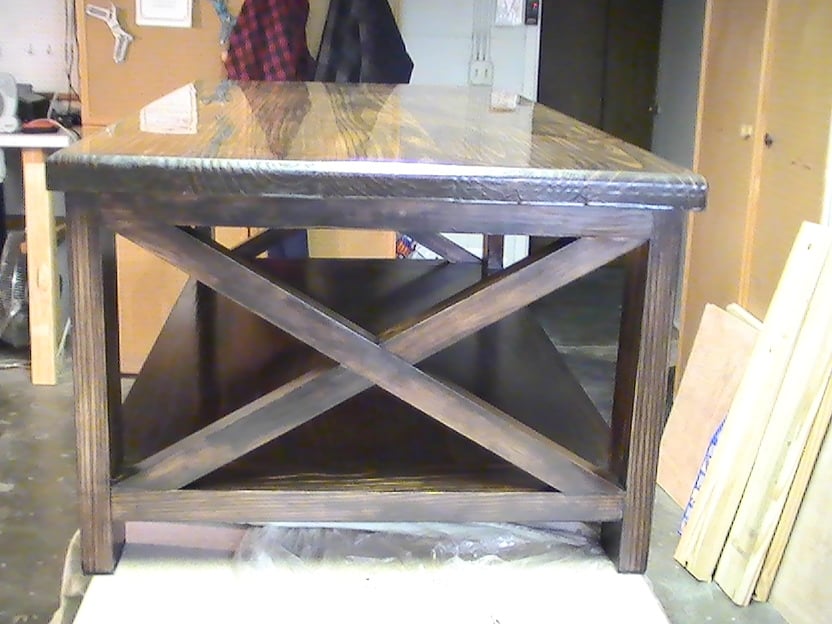
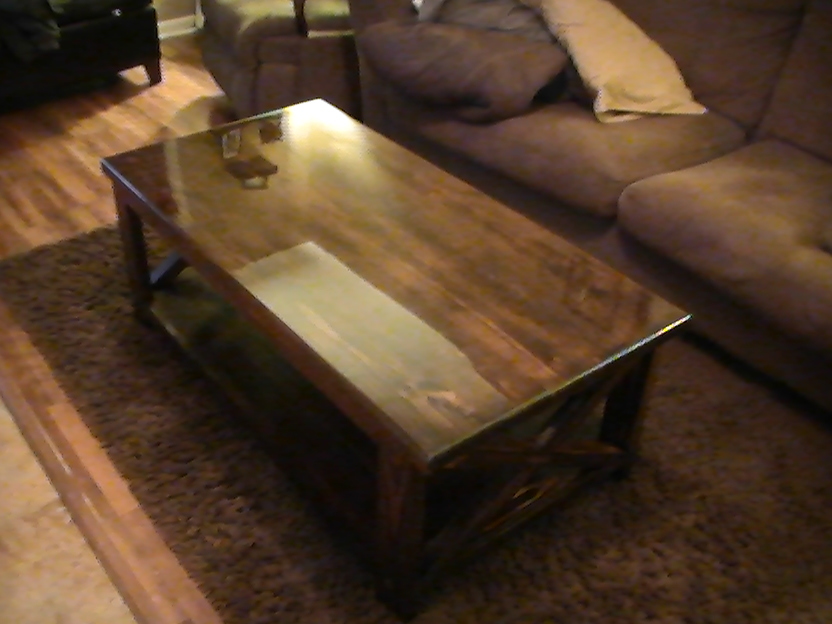
I made this one a while back, it looks similar to the new one you made, I don't remember if this was an earlier version you made or something else I saw online. This table came out amazing and very sturdy.
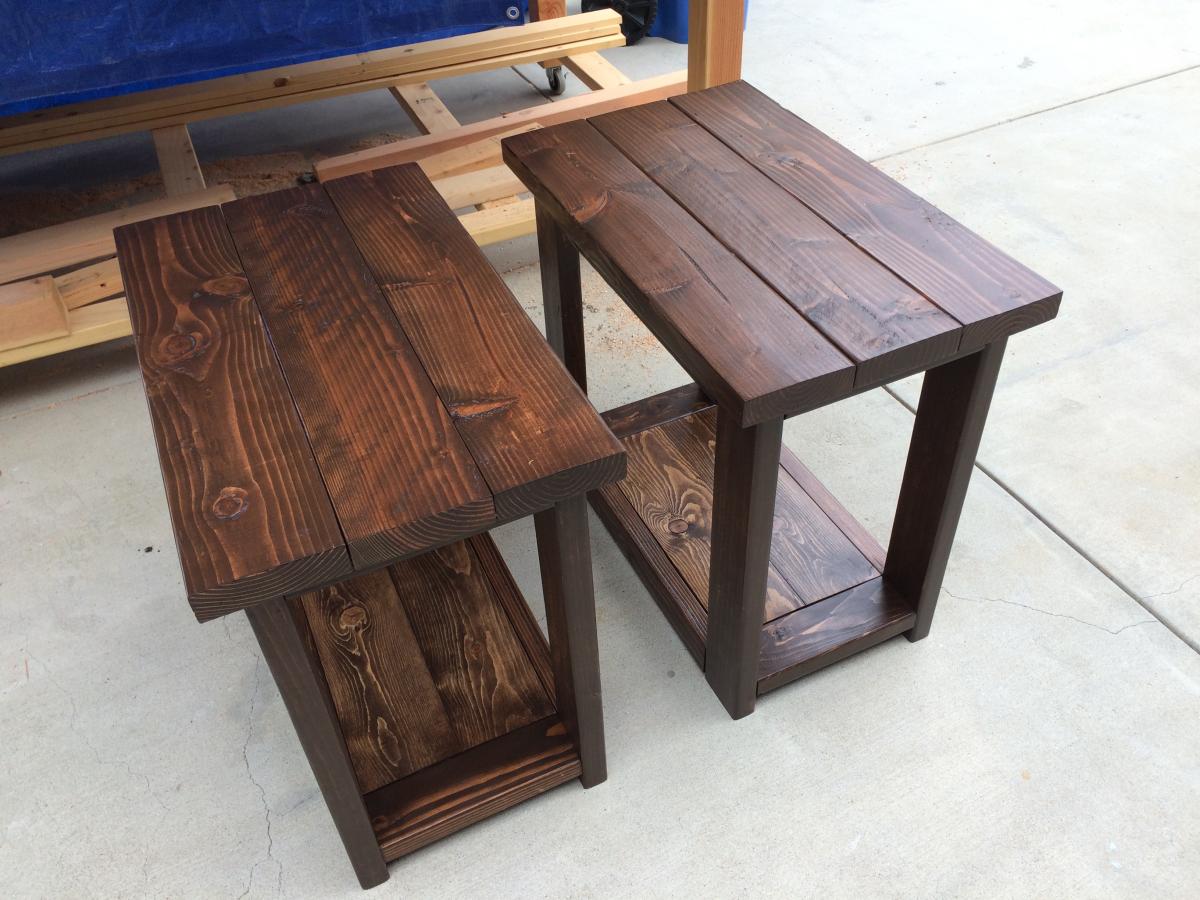
It took a few days to build. I like my projects to be smooth so I sanded all the boards from 80 - 220, then pre stained them all, put 3 coats of poly and then sanded with 400 and 600 for the finish. Once that was completed I assembled the table and I used extra screws where I could to ensure that it wouldn't become loose after moving it around so much. I was able to make 2 side tables with some of the left over wood.
Super easy but first time using any angles in a project so I had to figure my miter saw out before I was succesful at it.

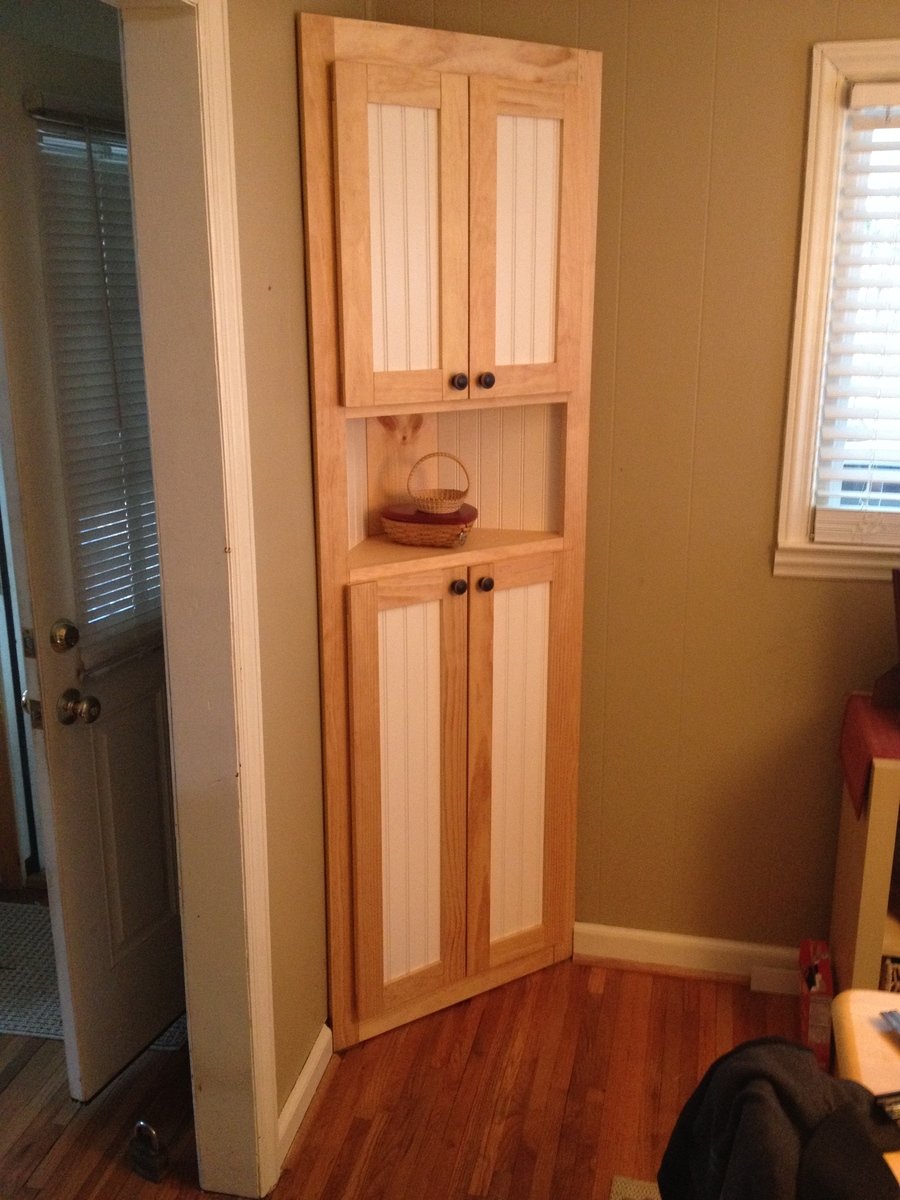
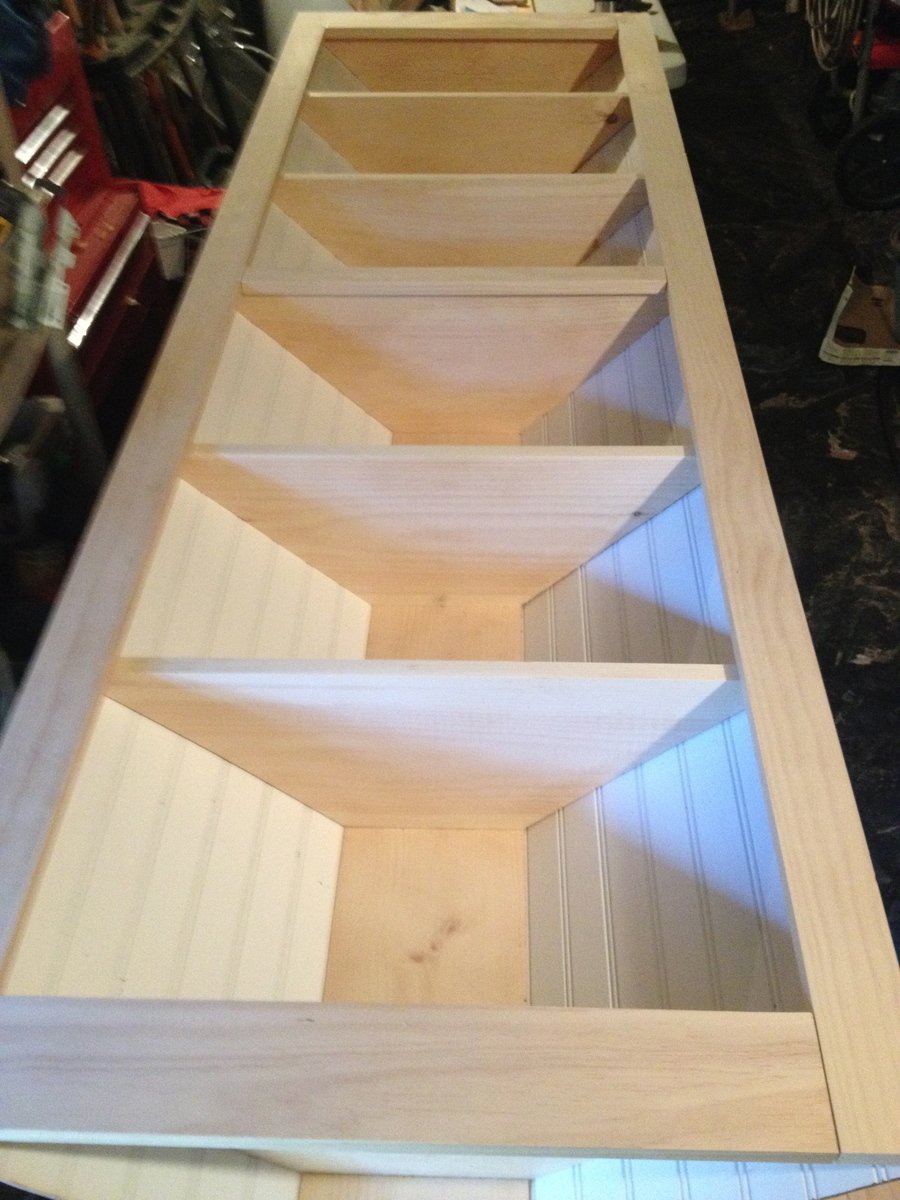
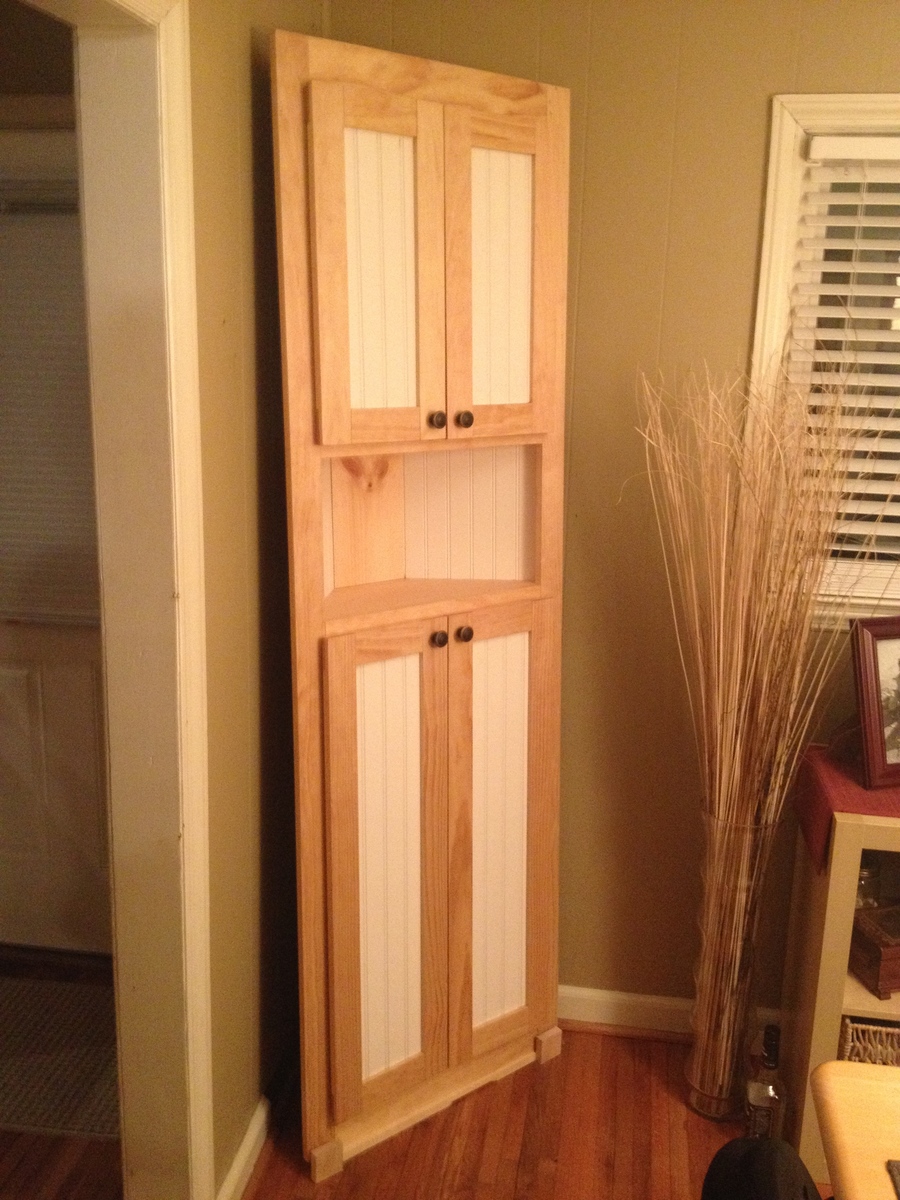
This was a corner cabinet I made. The purpose of this cabinet is to be used as a pantry. My kitchen is quite small, and in turn I was always having to sacrifice cabinet space for pantry items. Total man hours was about 20 give or take the occasional trip to HD or Lowes.
I found this project quite enjoyable. I don't have much of a workshop area so space was tight. I had to constantly move my tools around to make room for the cabinet while I built it.
The plans supplied by this website were simple and straight-forward. I didn't need any specialty tools or have to use any weird joinery. All in all I would give this project an 8 out of 10. There were a couple of areas I feel I can improve on.
After having posted this picture on several social media sites my friends took notice, Now I'm getting all kinds of requests. Not sure if I will entertain any. It's just nice to see a vision come to life.
Thanks for the taking a gander at my work.

Mon, 01/13/2014 - 15:50
I also built a corner cabinet from the same plans and yours is by far the best. You obviously have the patience it takes to get the best out of your project. Looking for more from you.
Tue, 04/08/2014 - 18:33
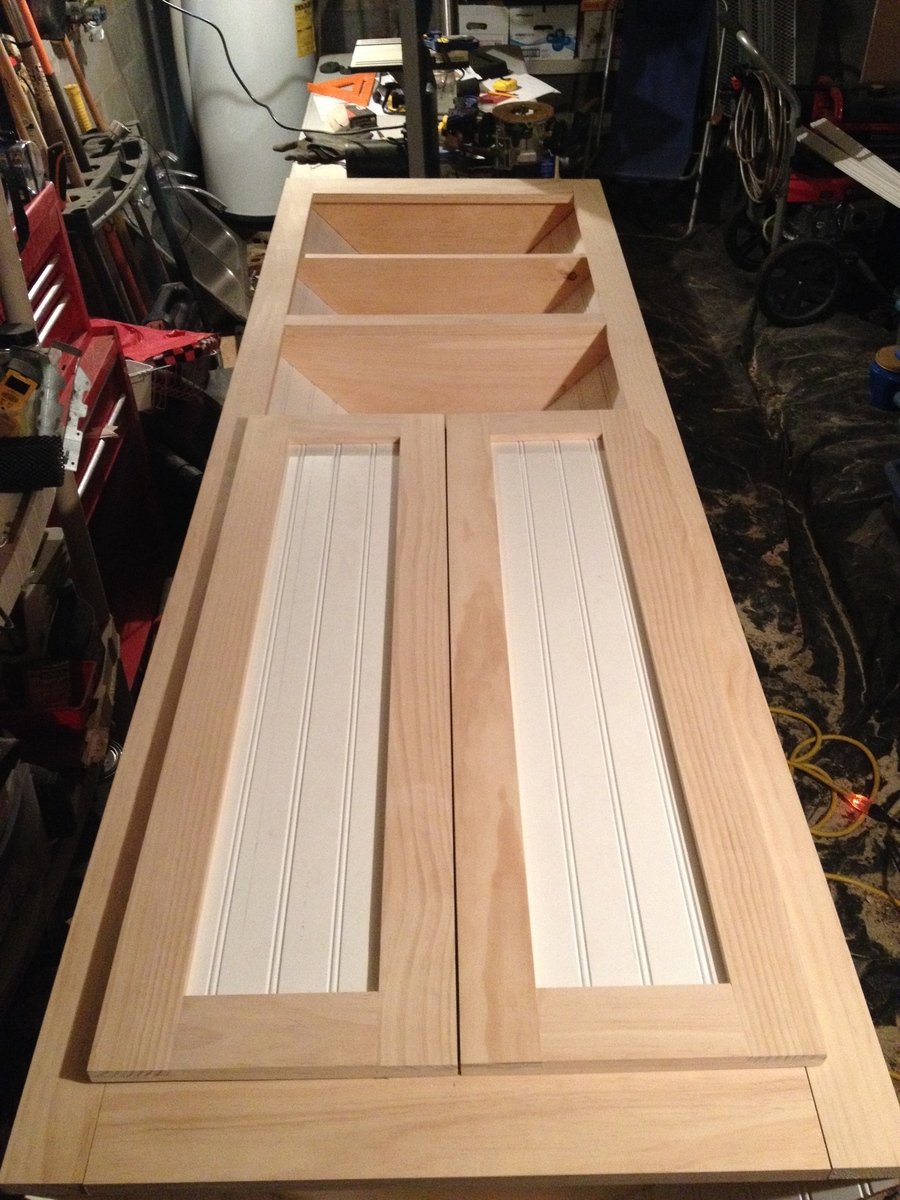
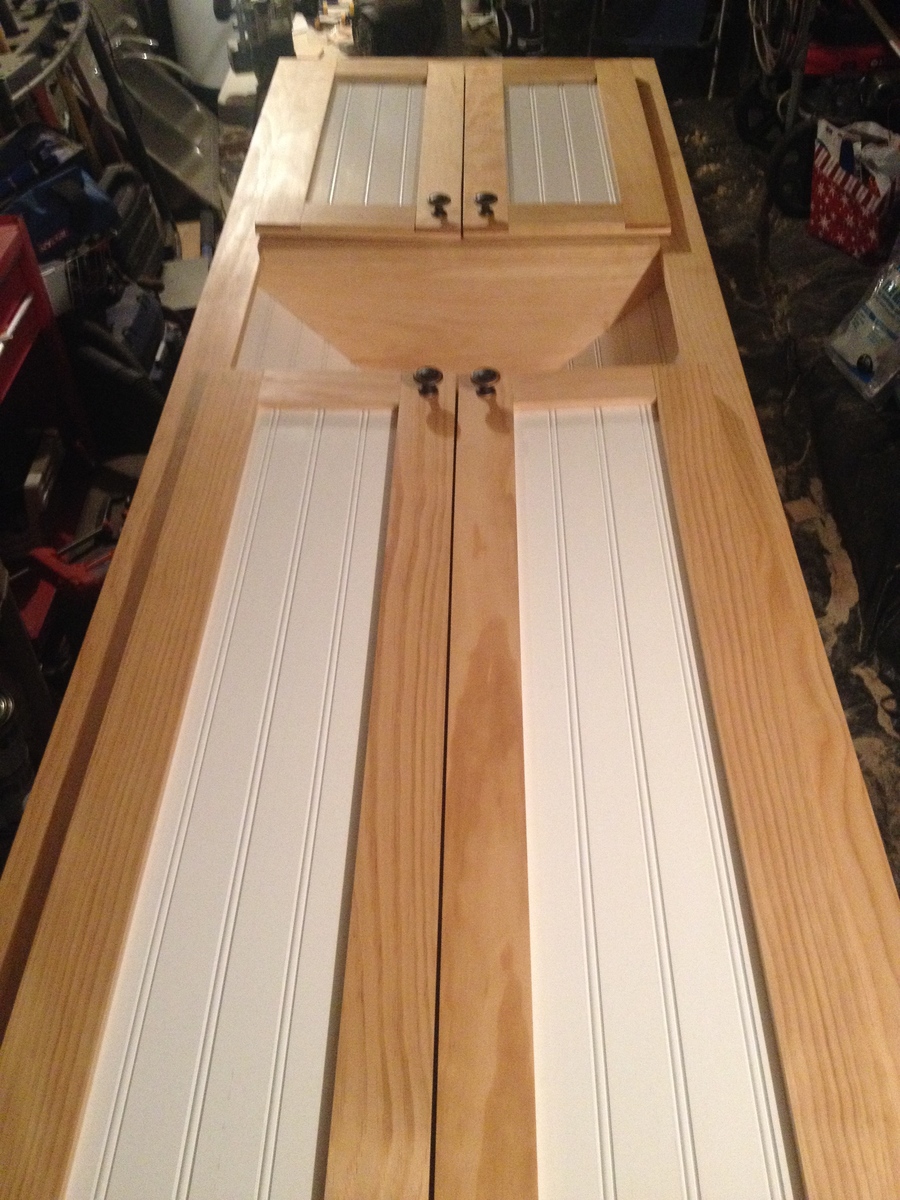
Thank you so much for your vision! I've been looking for the perfect corner cabinet for at least a year! All the other plans within these plans are ok and would've worked, but I just felt like I wanted something more. I am in love with your doors! They look great! I may make mine a bit larger, but will most definitely add doors the same way you did. Unfortunately, it's not on the top of my priority list, but it will be this summer!!! Great work!
Rachel
www.illjustpaintit.com
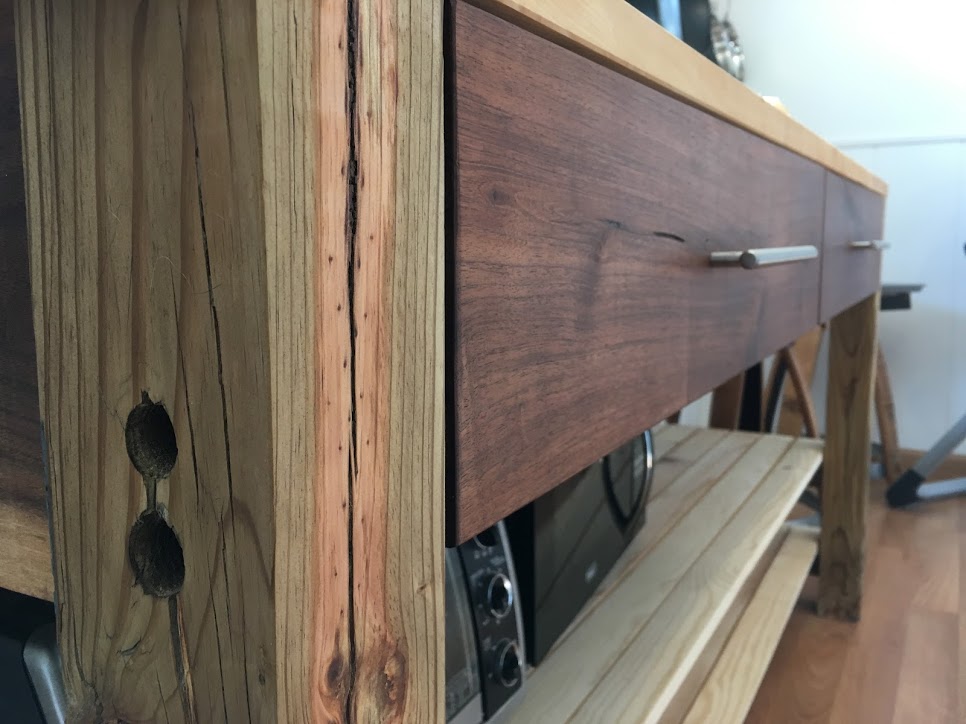
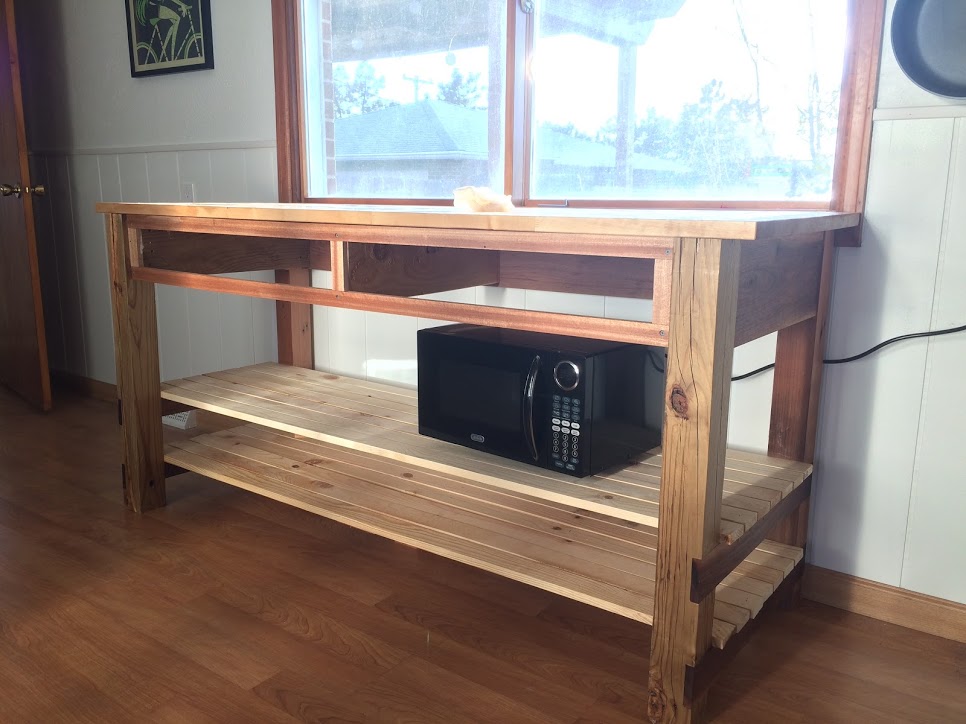
I found these plans and modified the dimensions to work in my space. The top is solid birch, and the legs are cedar 4x4s I found in a shed on my property. The side skirts rear skirt, shelf supports, and drawer fronts are solid walnut I have had laying around for years. The face frame was a door jam in my house made from solid mahogany. It came out nice, especially since it's my first time building anything like this! Thanks for the plans!
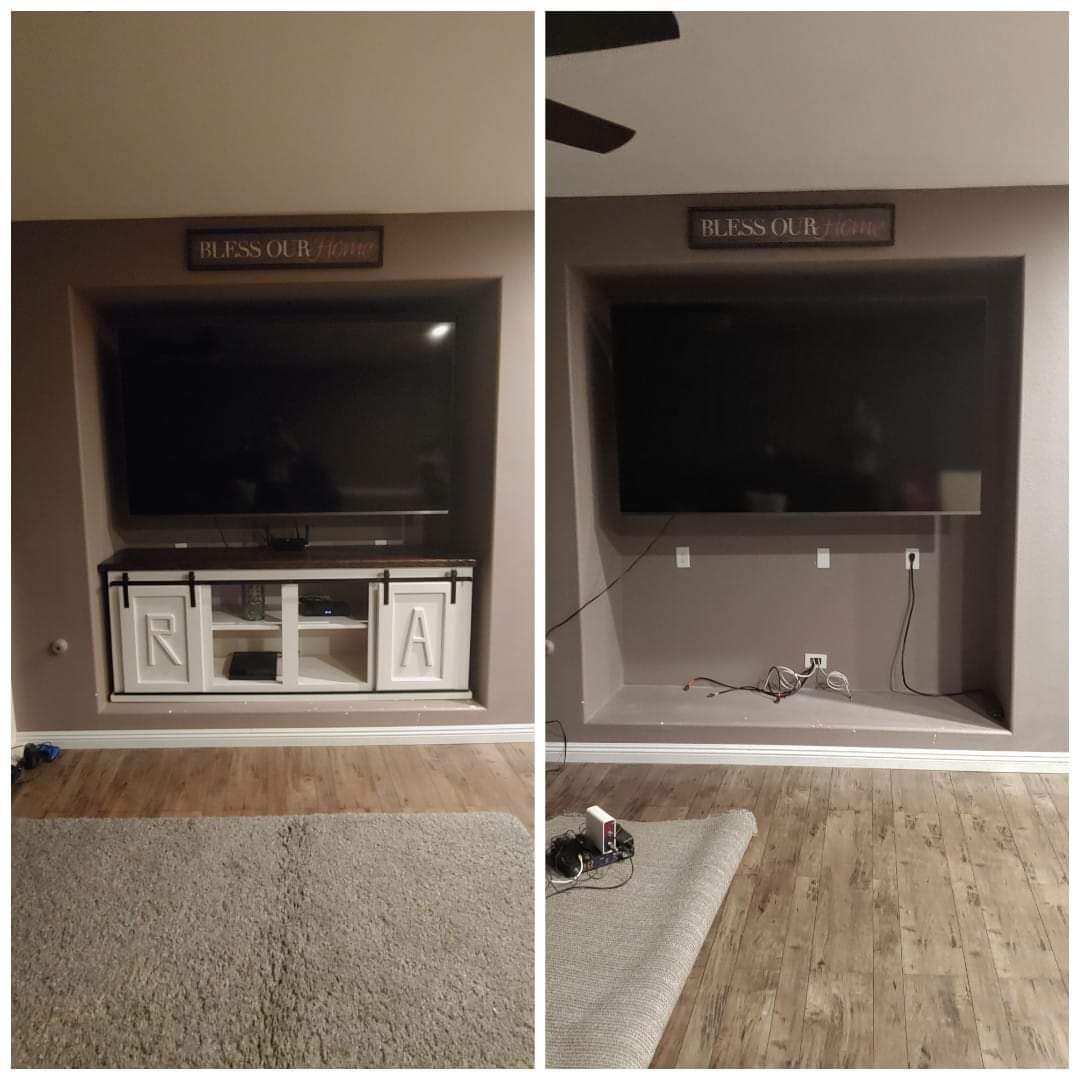
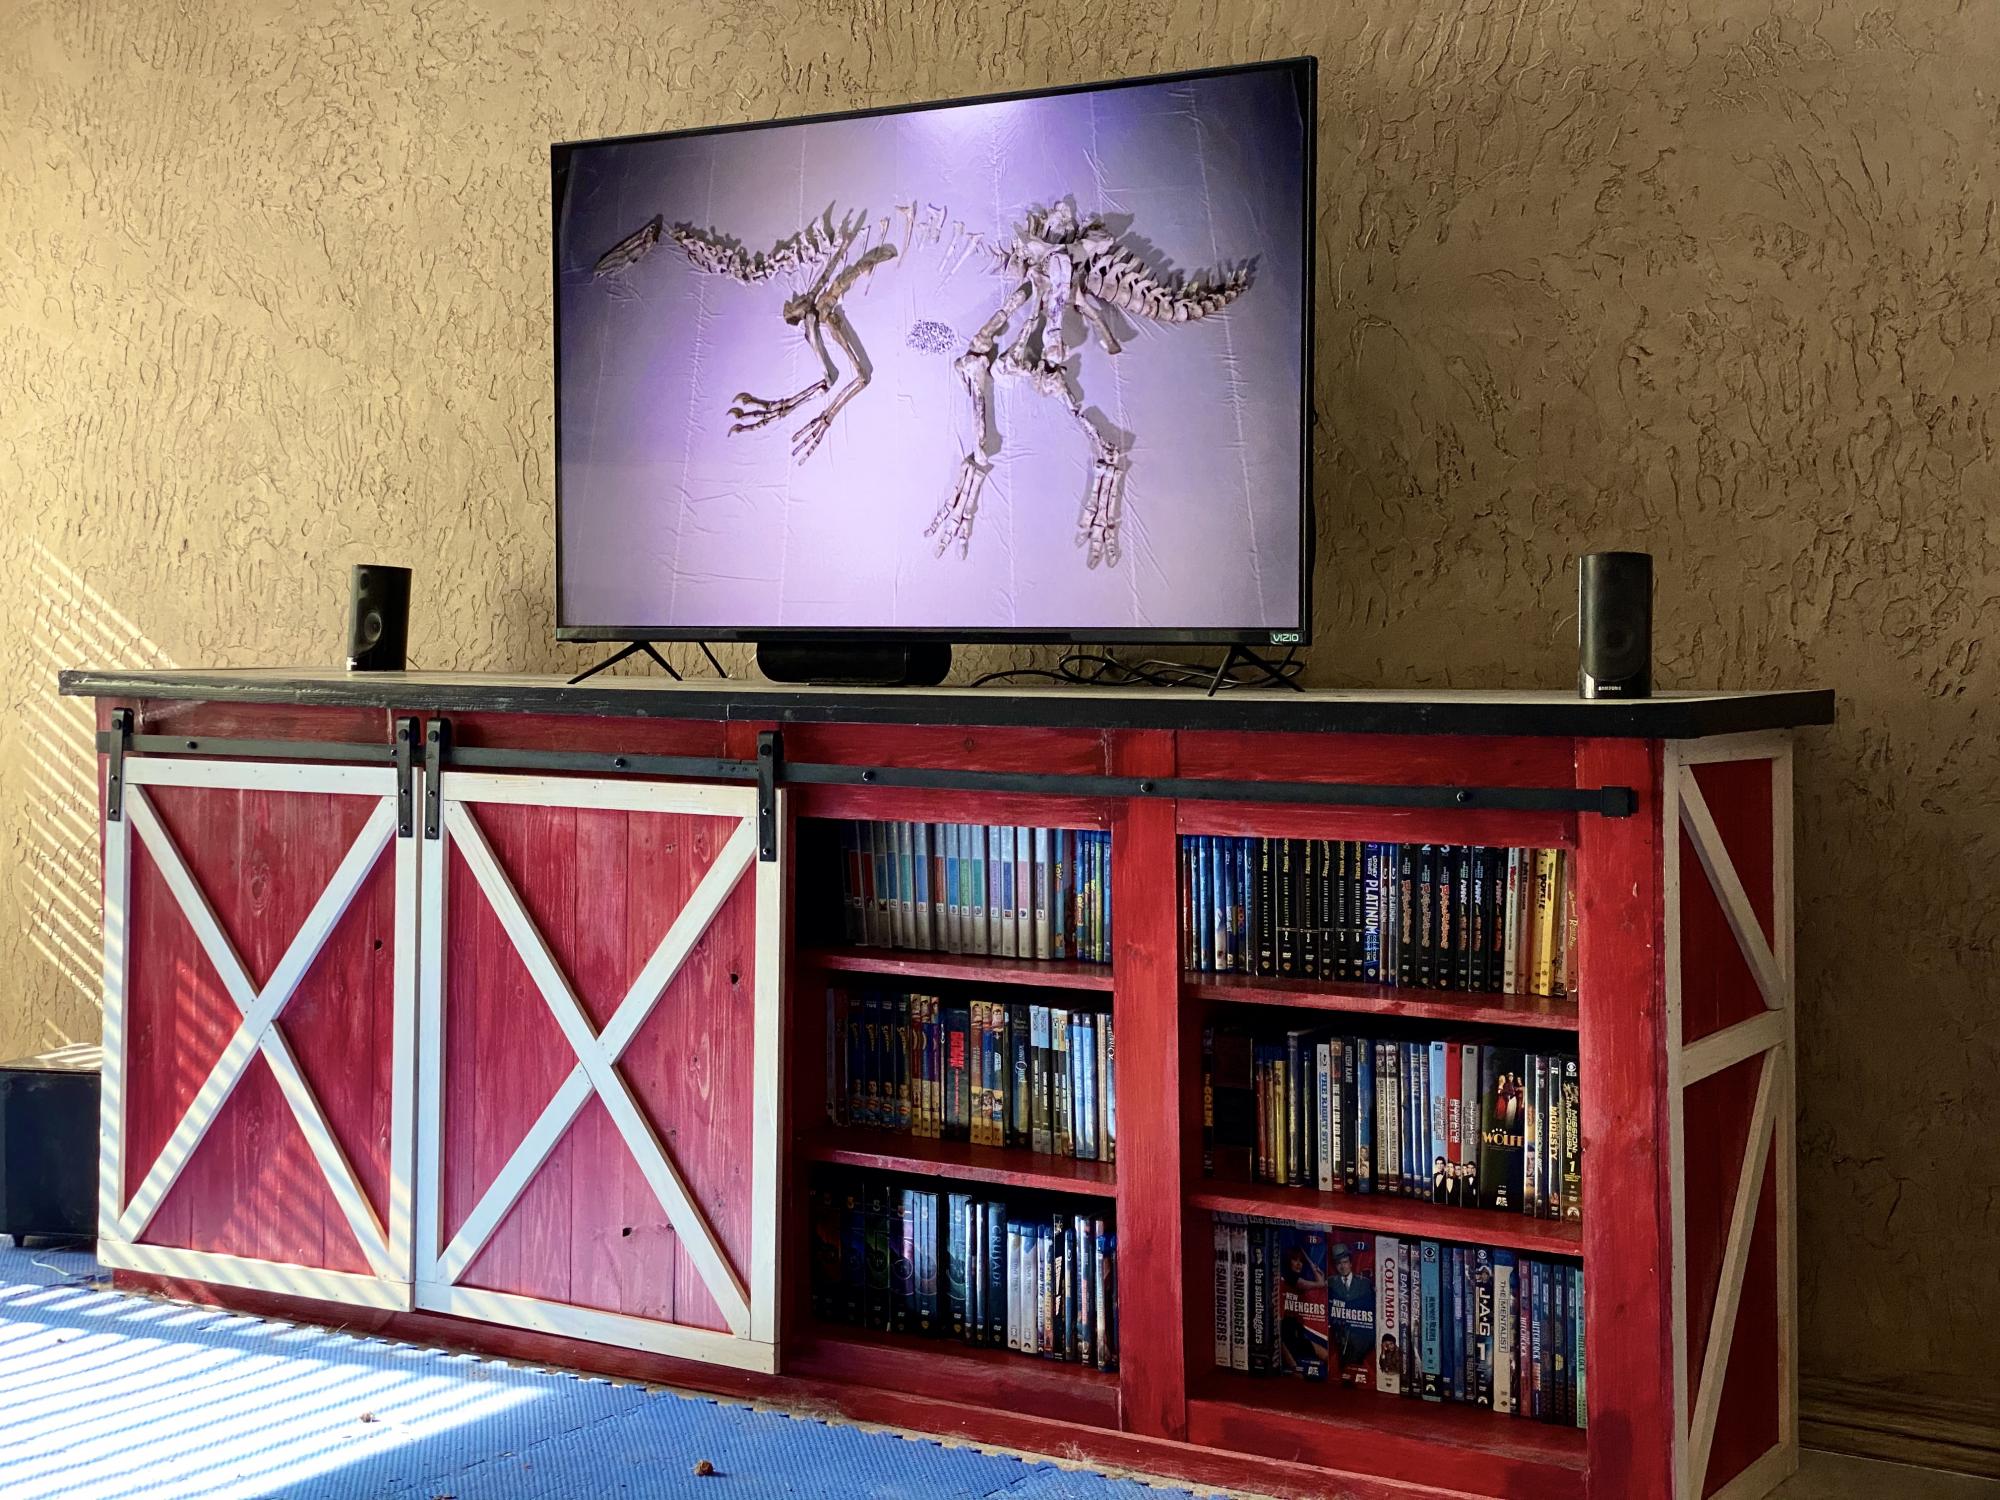
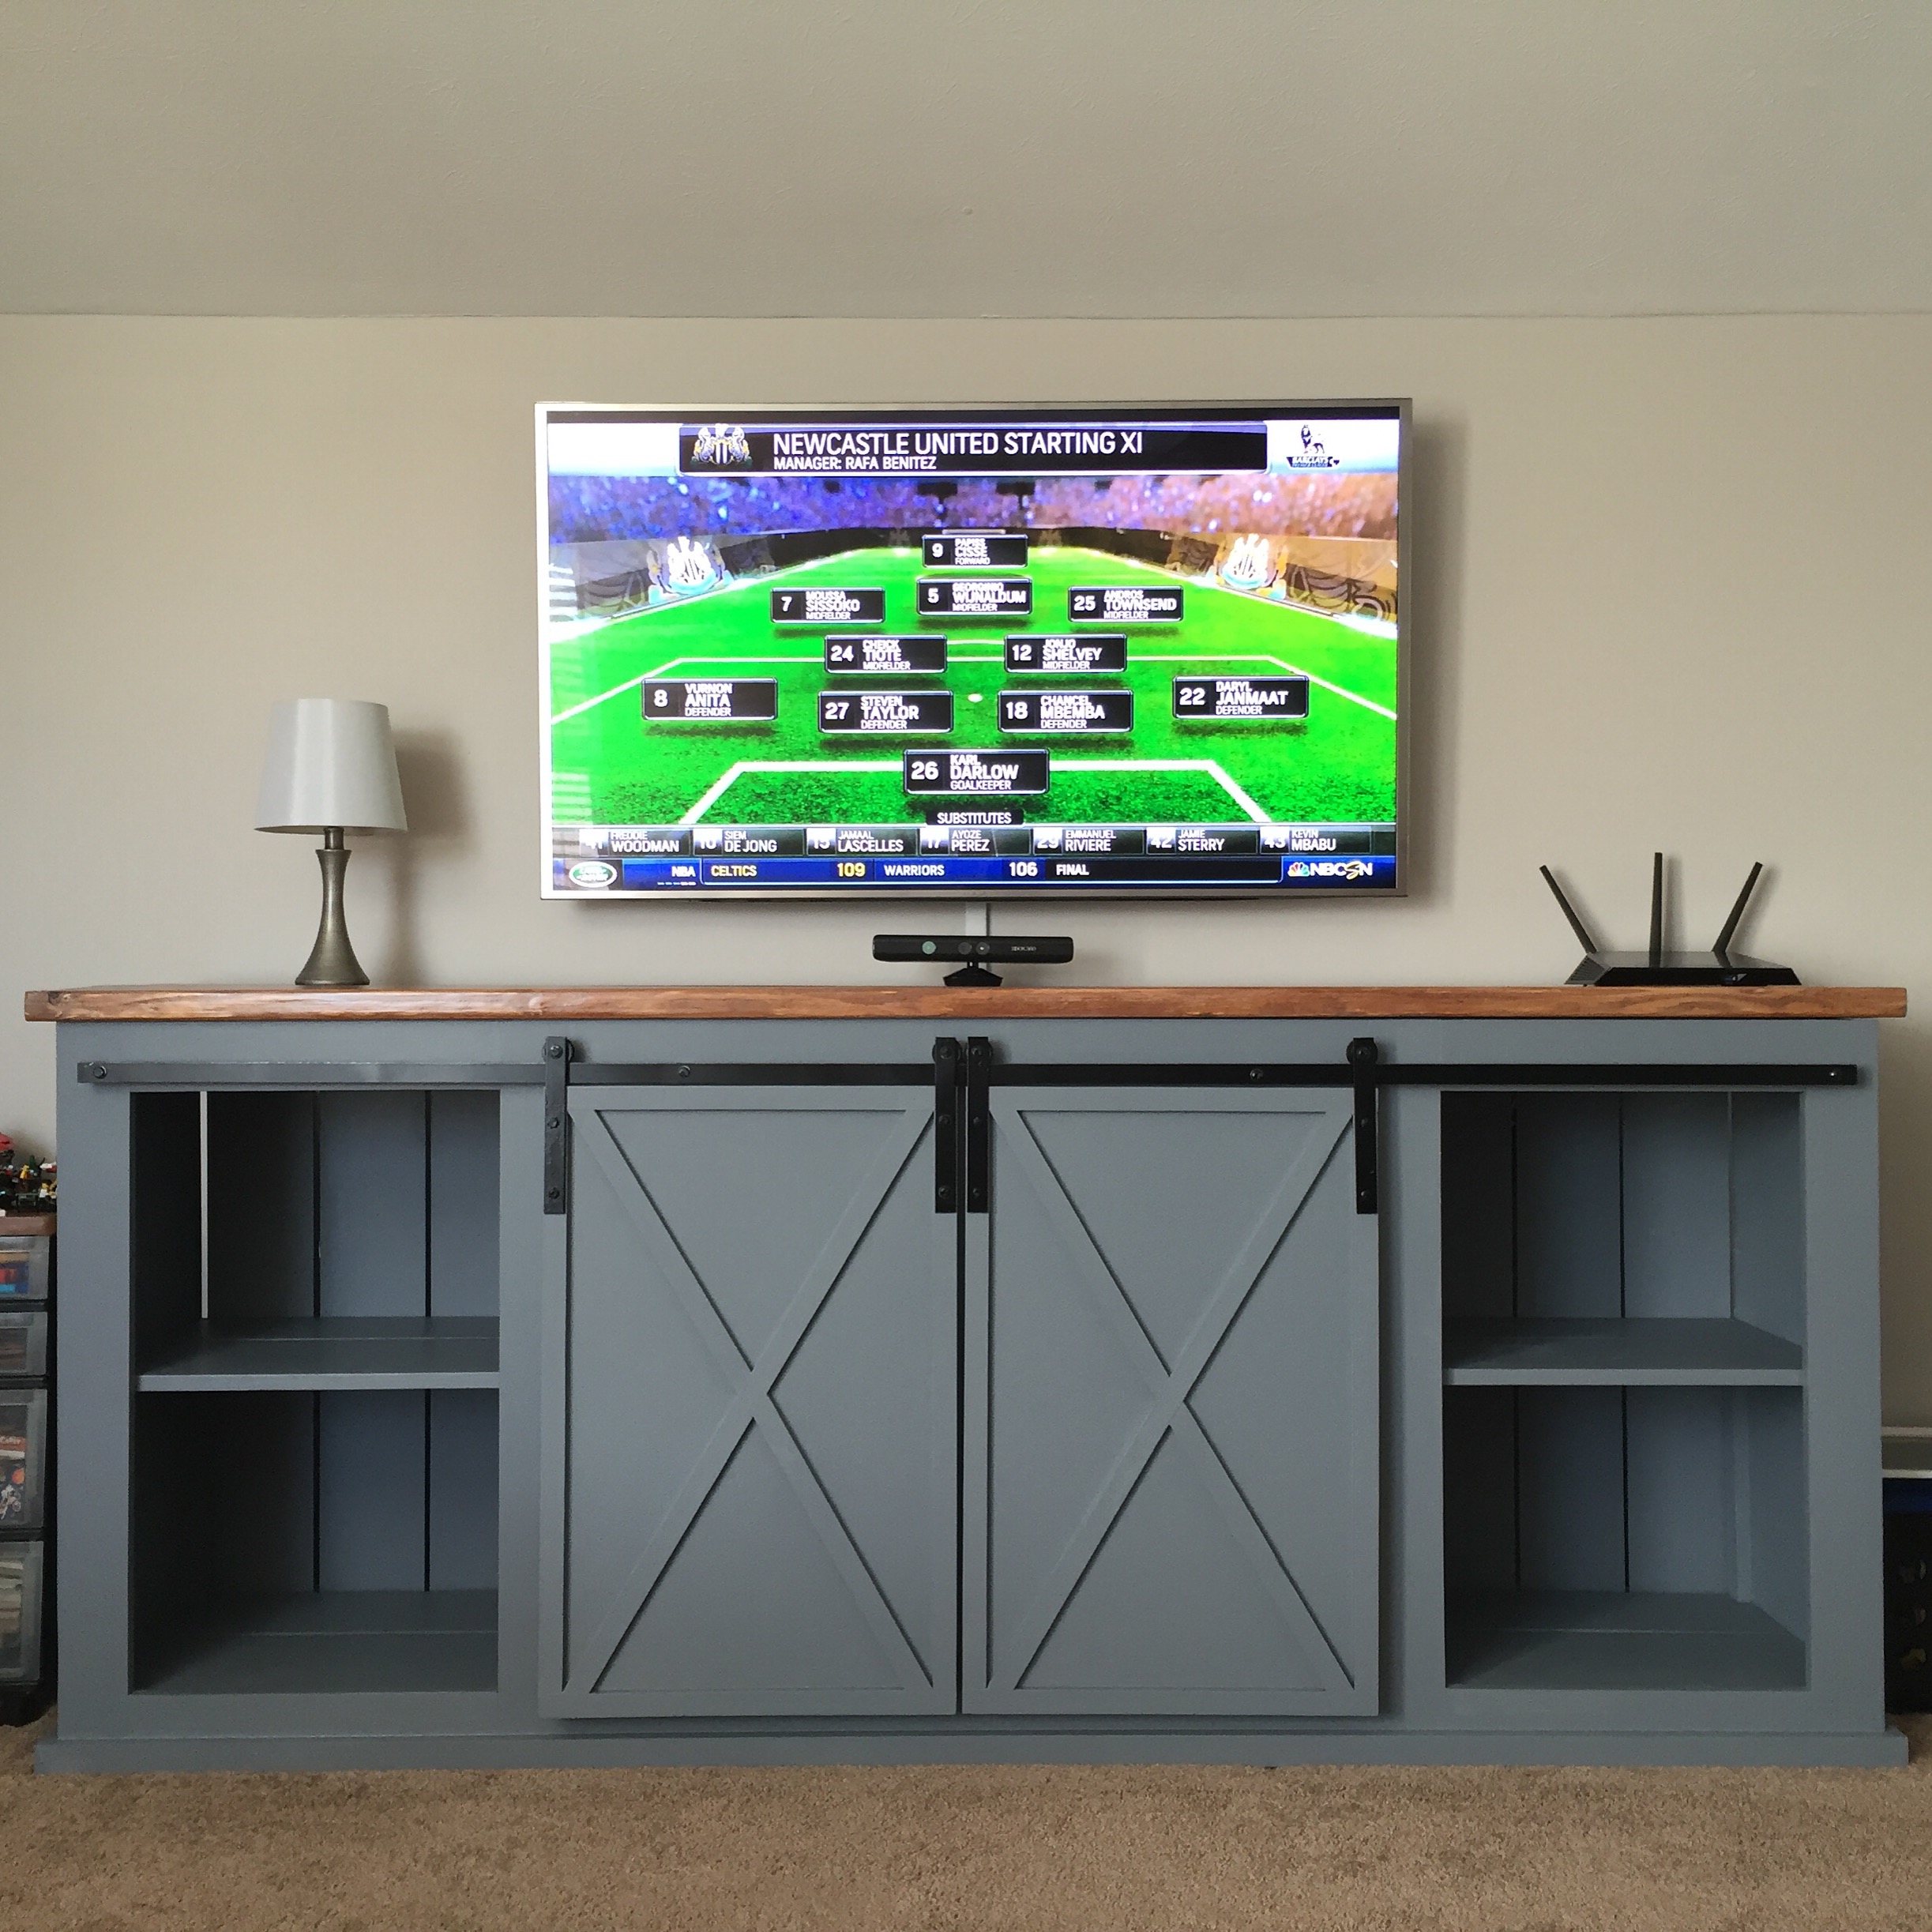
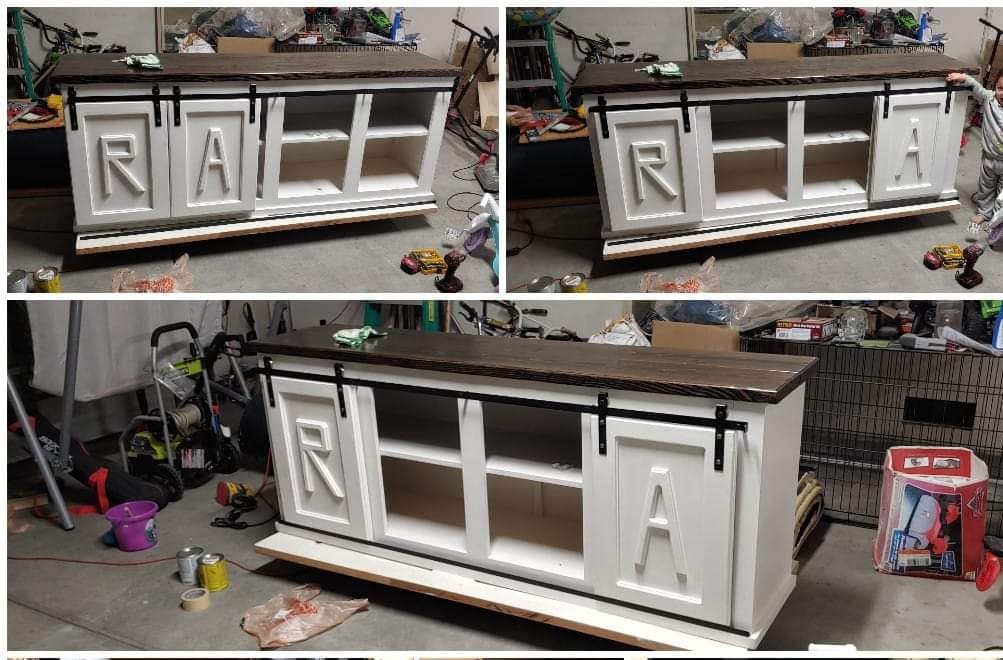
Needed a entertainment console to fit under my tv. Built this Barn Door Console project. Measured approximately 84" W and approximately 36" H.
Sanded, painted and stained the top piece.
Hardware I made from 1/8" thick flat uluminum bar and pulleys. Did a little research and helped a lot.
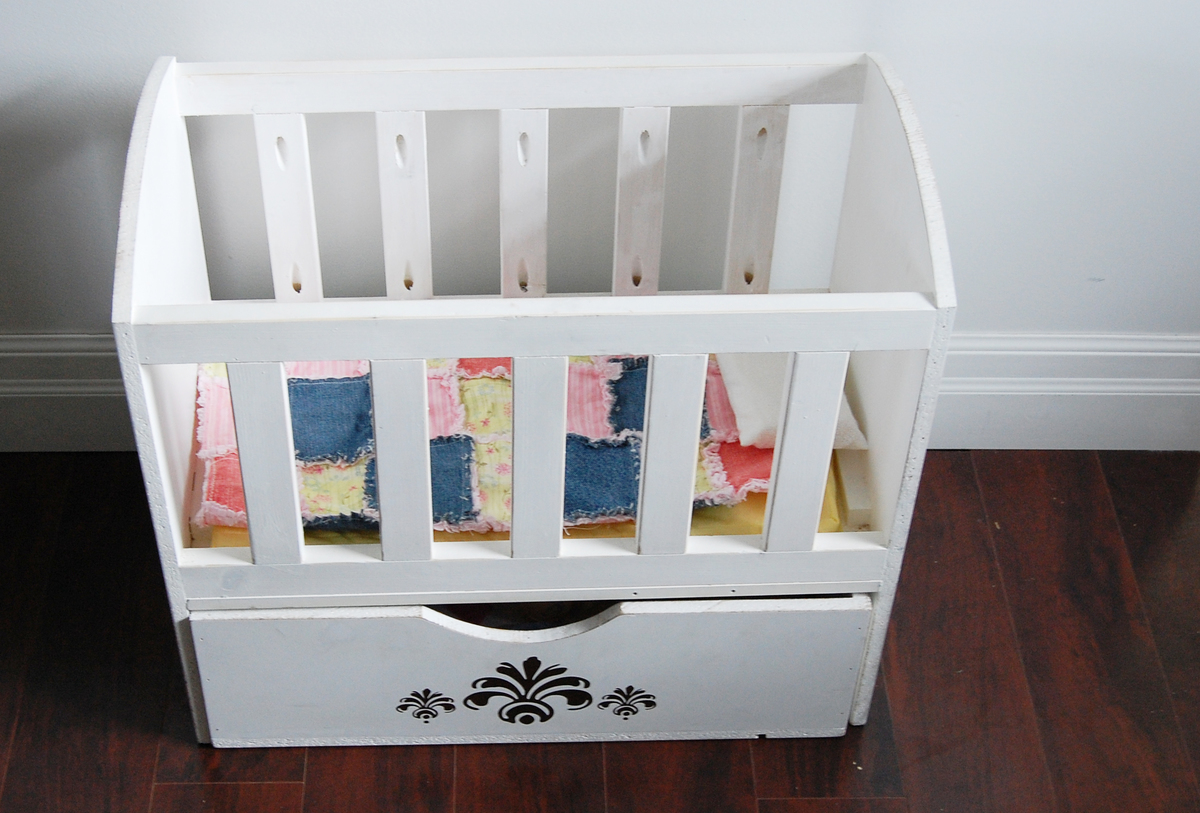
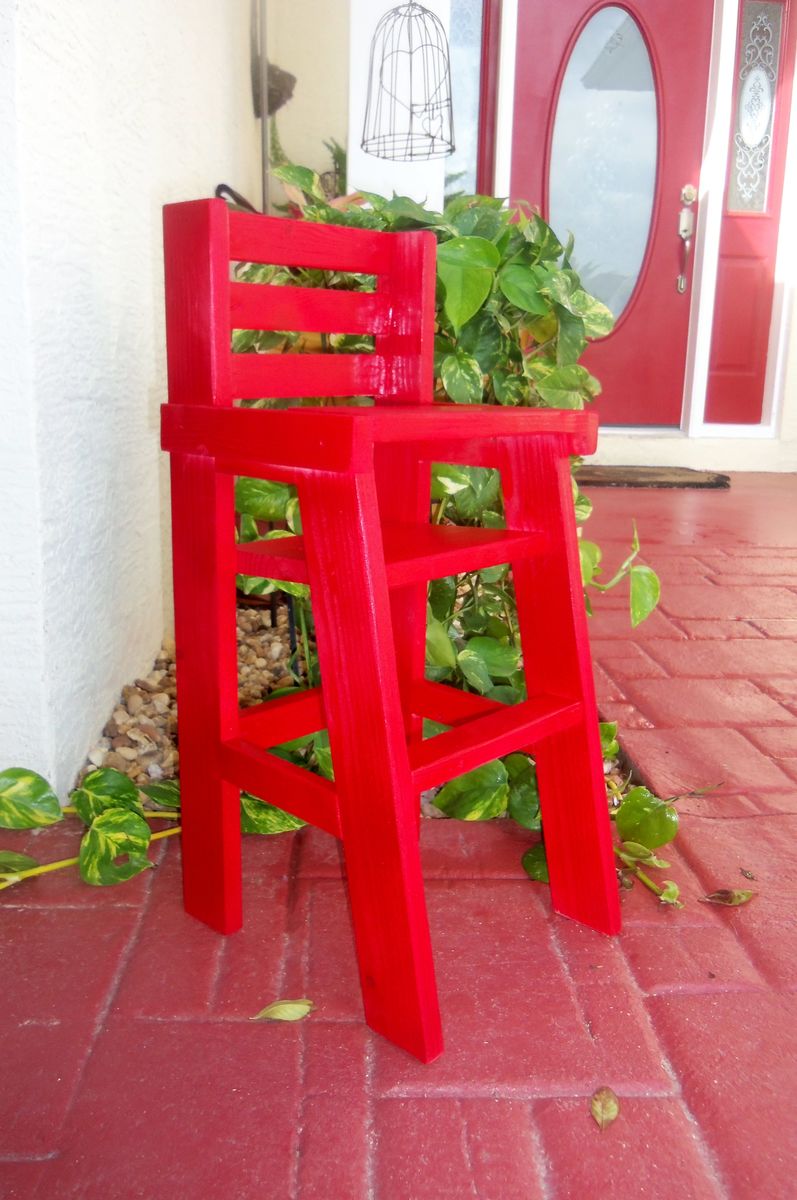
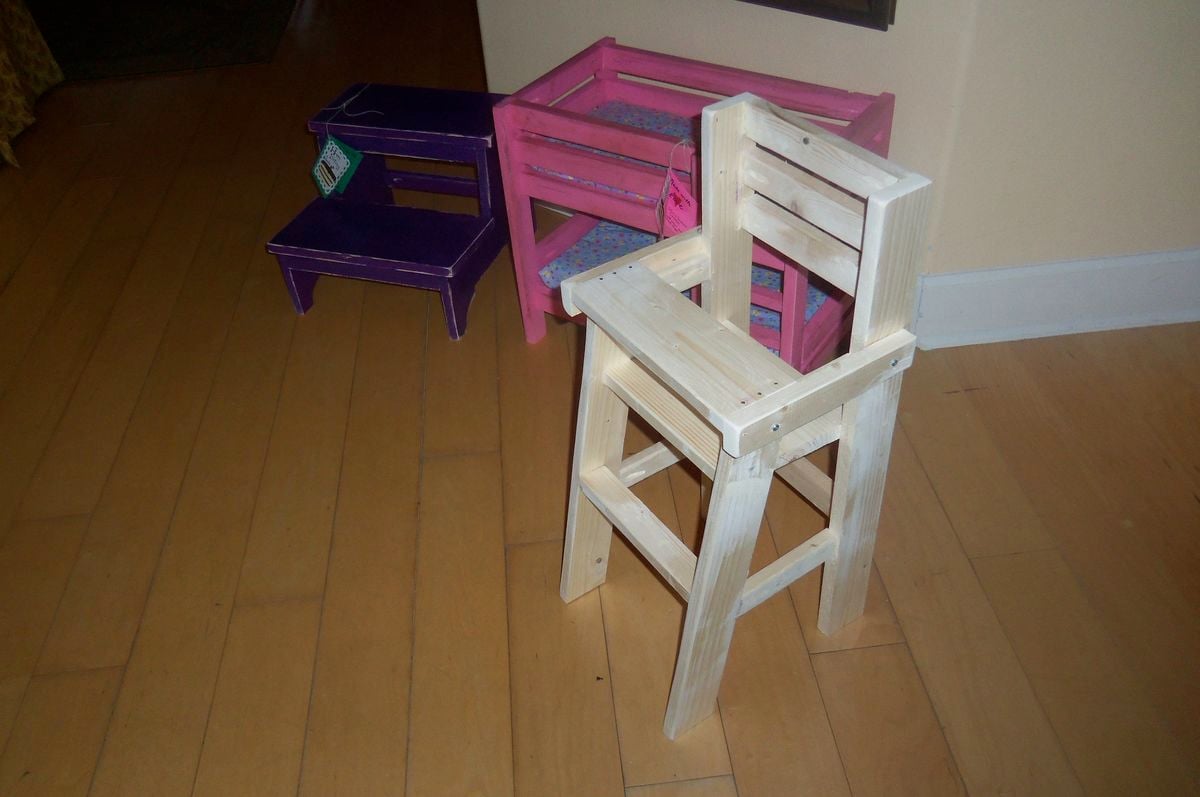
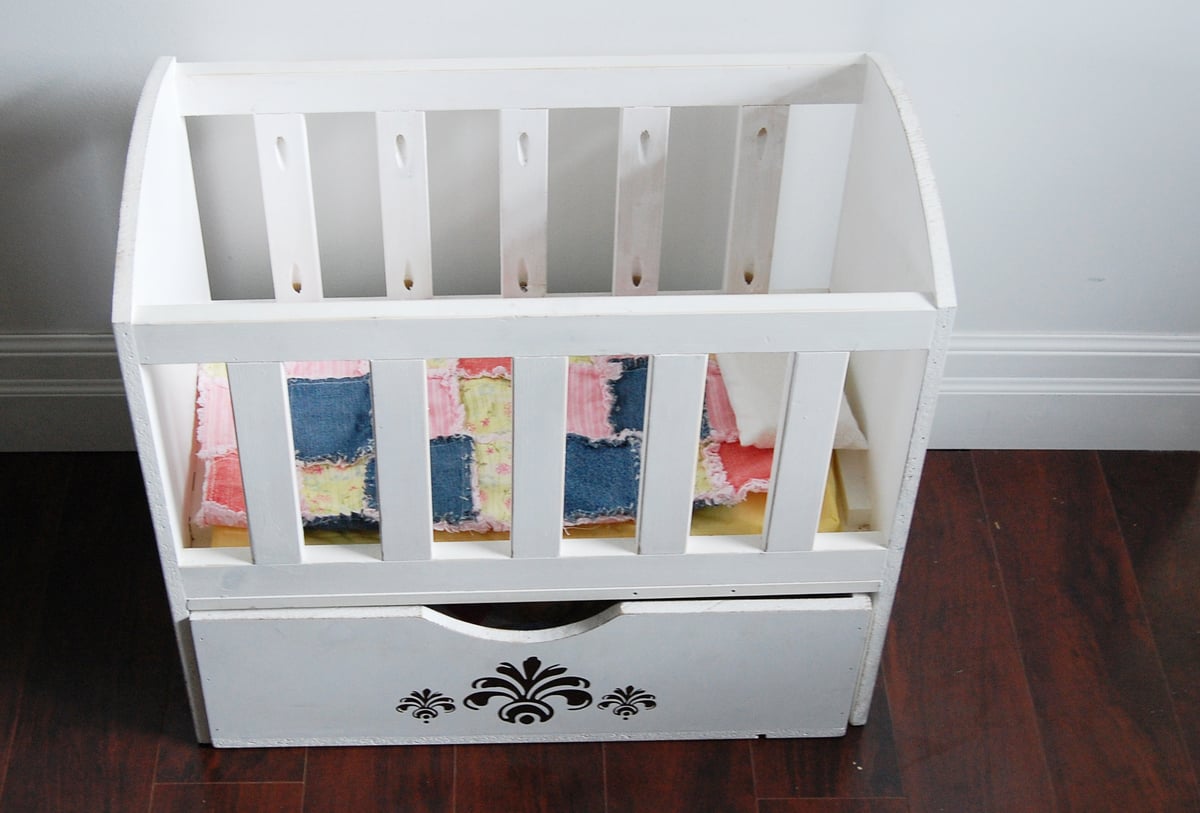
Made this for Christmas for our 2-year old last year. The plans were easy to follow, and it turned out great. She loves it!
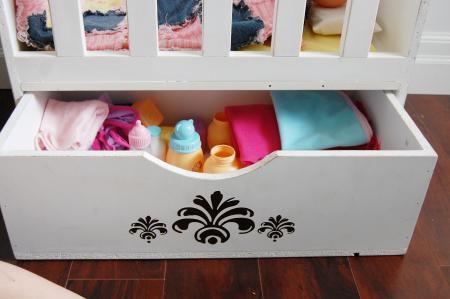
I chose the Southern Yellow Pine because of its strength for furniture. Also I have used the pour on finish before with good results. The wood was a special order thru Menards and took about a week to get.
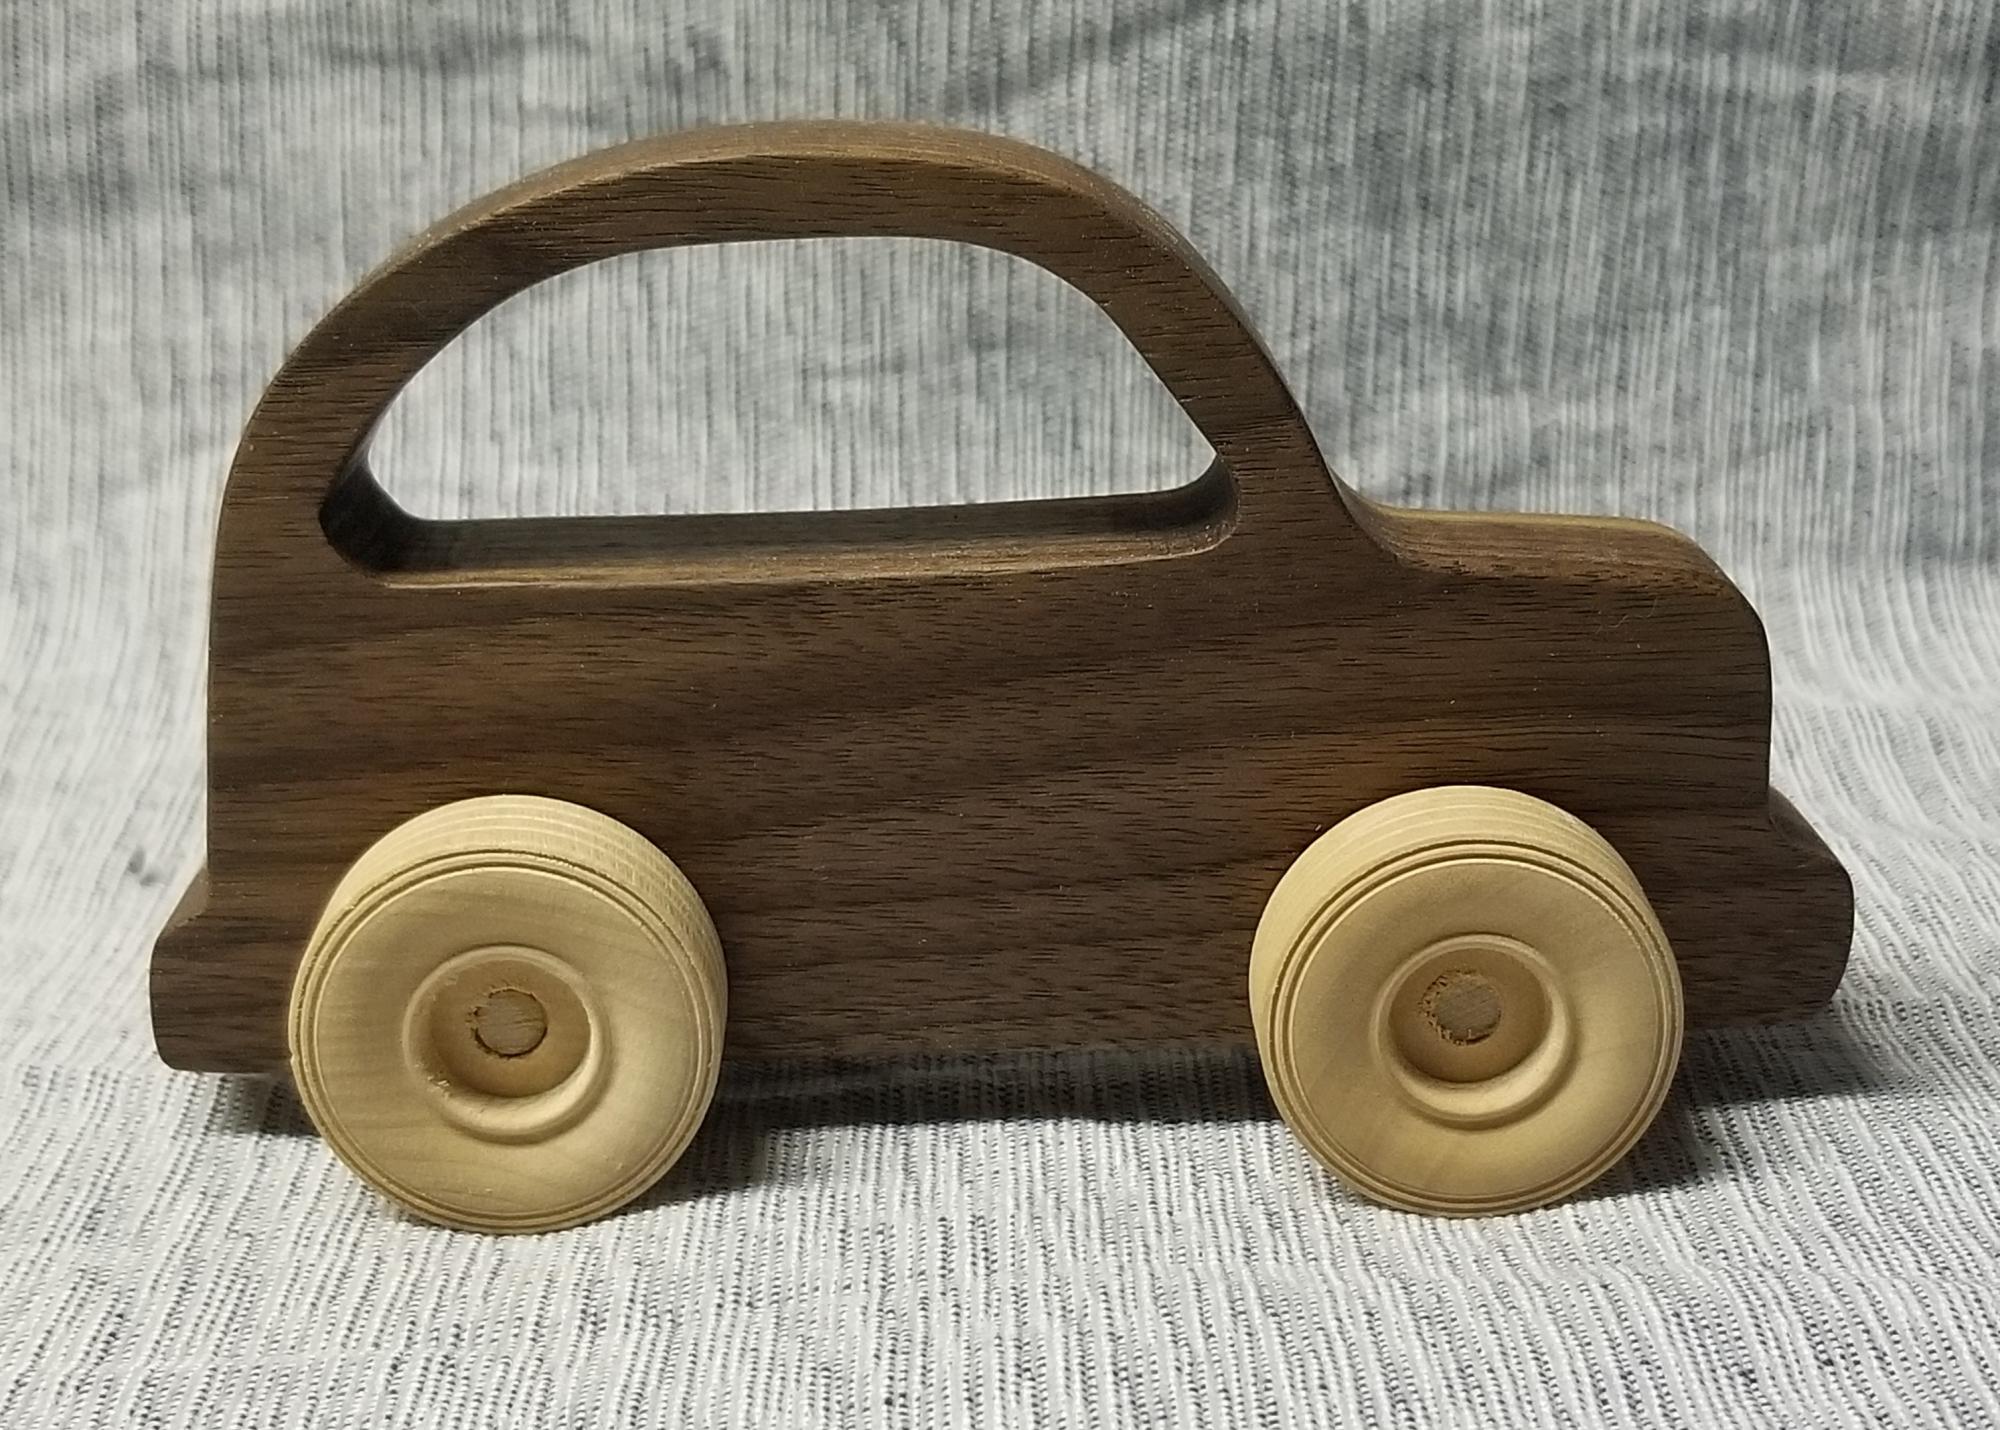
Instead of pine and paint, I used Walnut, finished with foodsafe Osmo Top Oil for a durable finish. I also made the truck out of Padauk for an orange color.

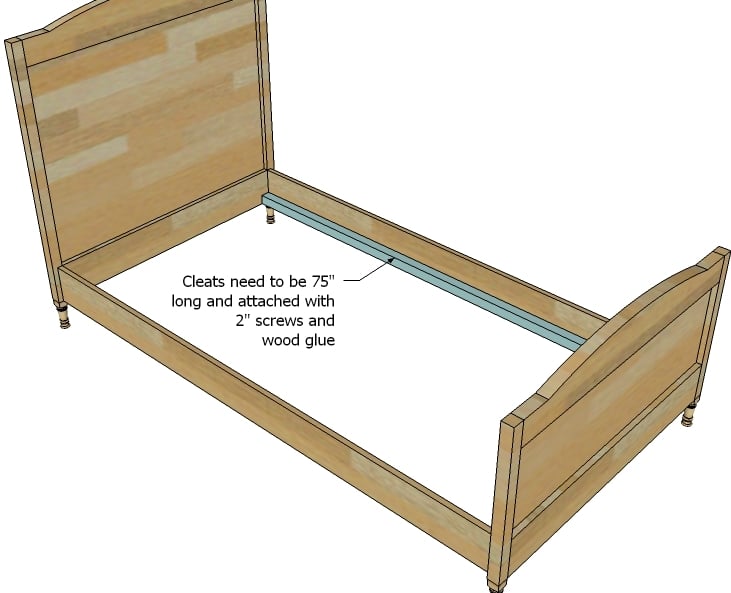
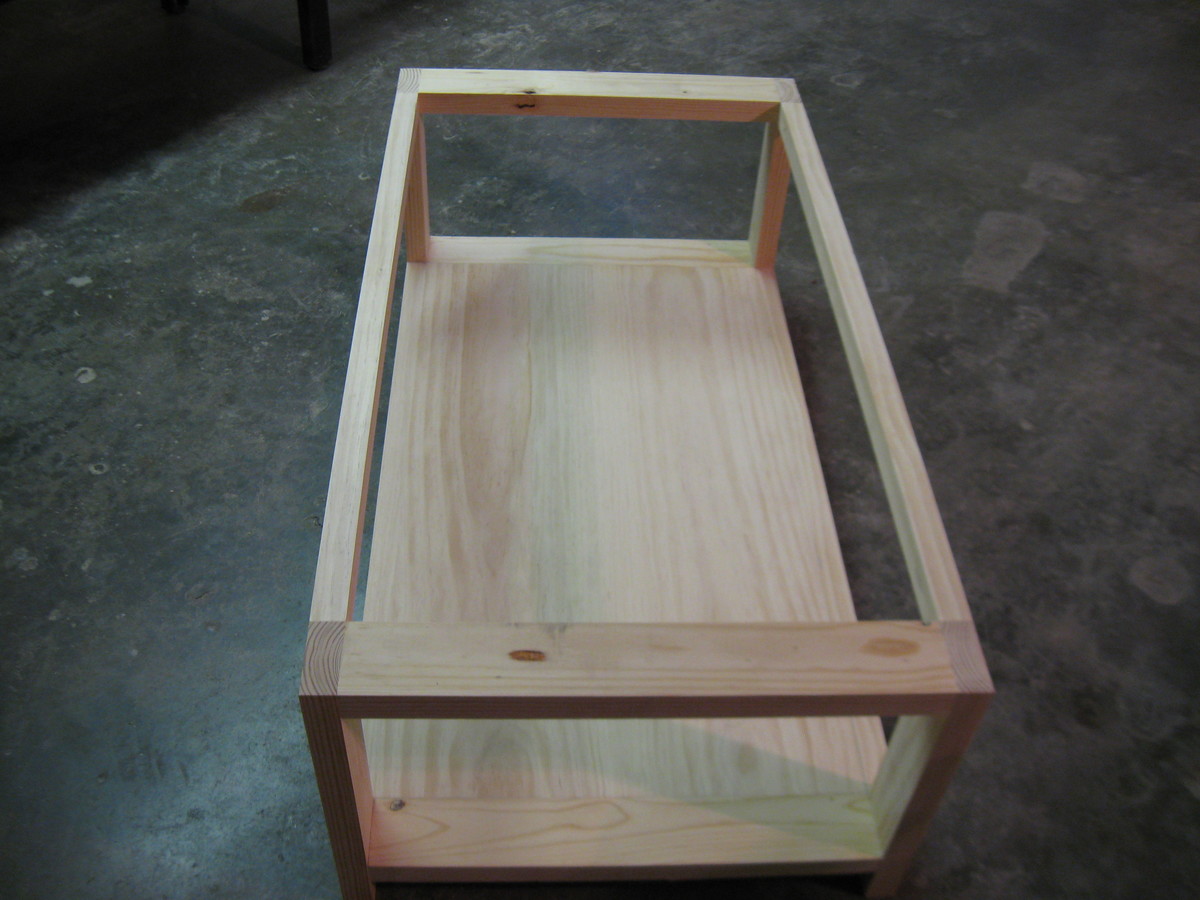
This project took me about 10 hours. I enjoyed every minute of it! I built this bed for my son. I looked at other plans but you had to pay for them and they weren't as good as these. It's good to no that there is people like Ana that is still willing to help people. Thanks for the plans


Tue, 07/05/2016 - 10:59
Hello,
I've been on this website trying to find the plans for the Simple Bed Plan. I have seen many beds made; however, I don't see the cutting list (supply list) of the materials needed. Can you please help me with the supply list? My hubby and I are going to attempt to make this over the winter for a 3rd birthday present for my son. I would really appreciate the list so that we know what materials to purchase. Thank you in advance for your help with this issue.
Sincere thanks,
The Maynors
Sat, 01/19/2019 - 12:38
I am trying to build the Twin over the full bunk beds that stack. When looking at the site it says to use the Simple Bed Plans. When I look at the simple bed plans I get 3 pictures and that is it. I don't get a supply list or any kind of dimensions for the bed. Could you please point me in the right direction. I need to build the twin over the full bunk bed for family coming to my home in early March.
Thanks
Gary Dalton

I needed a quick project that could easily be modified for my height needs and would make a good temporary base for my new water dispenser. This was perfect!
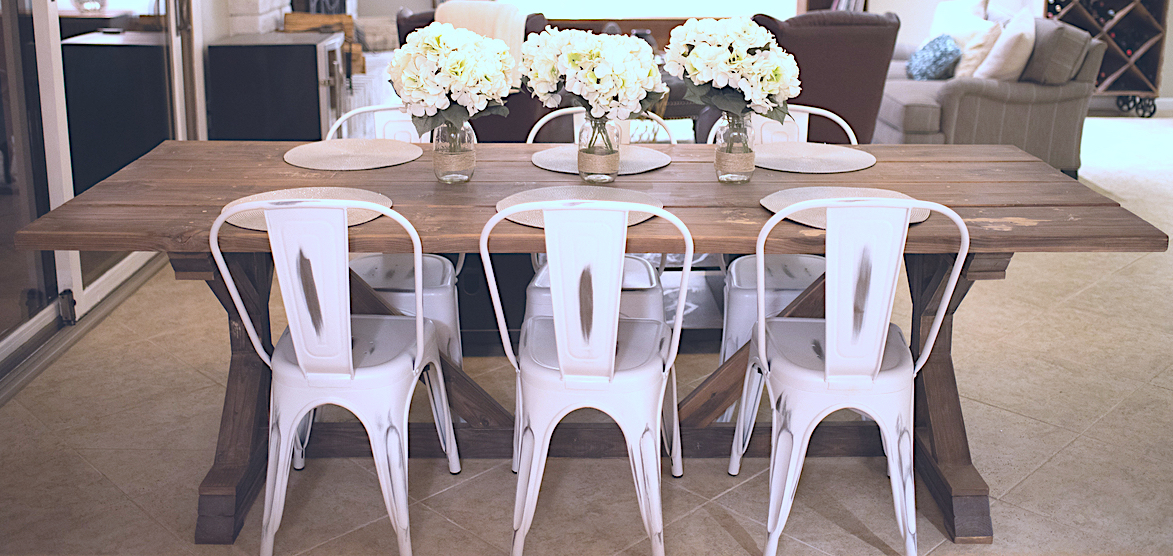
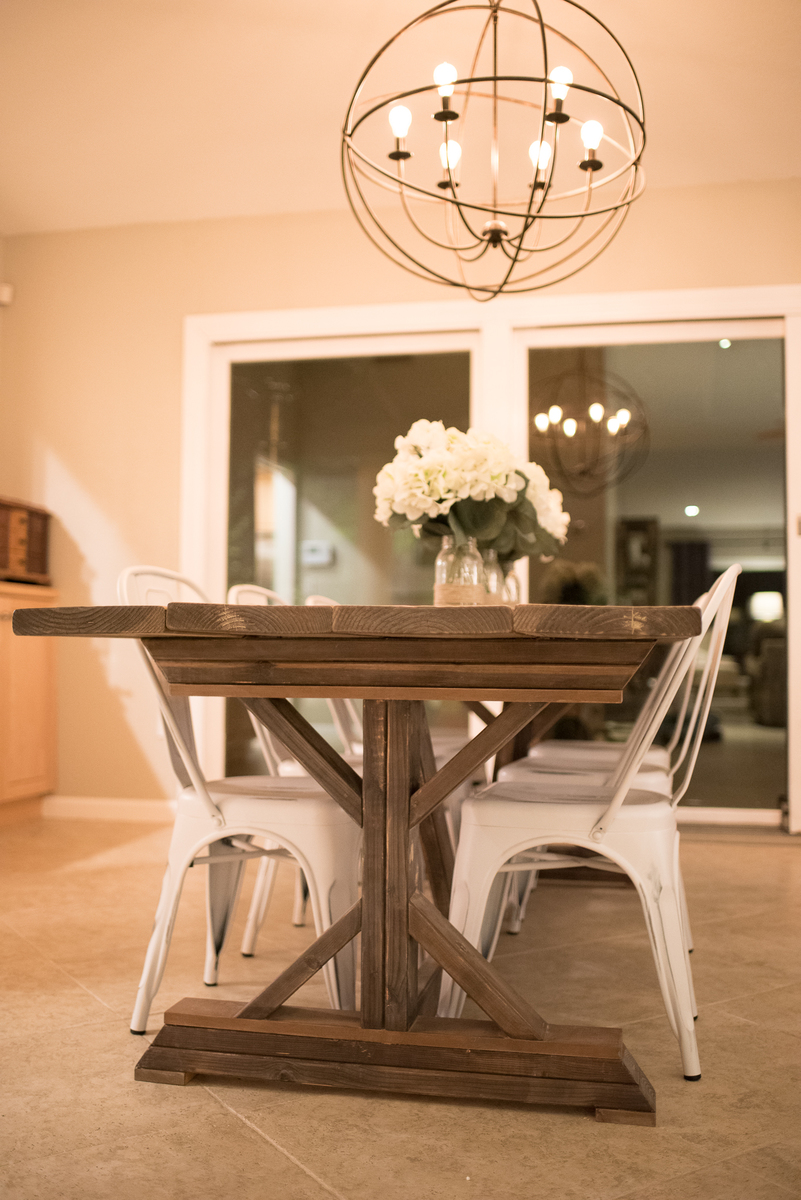
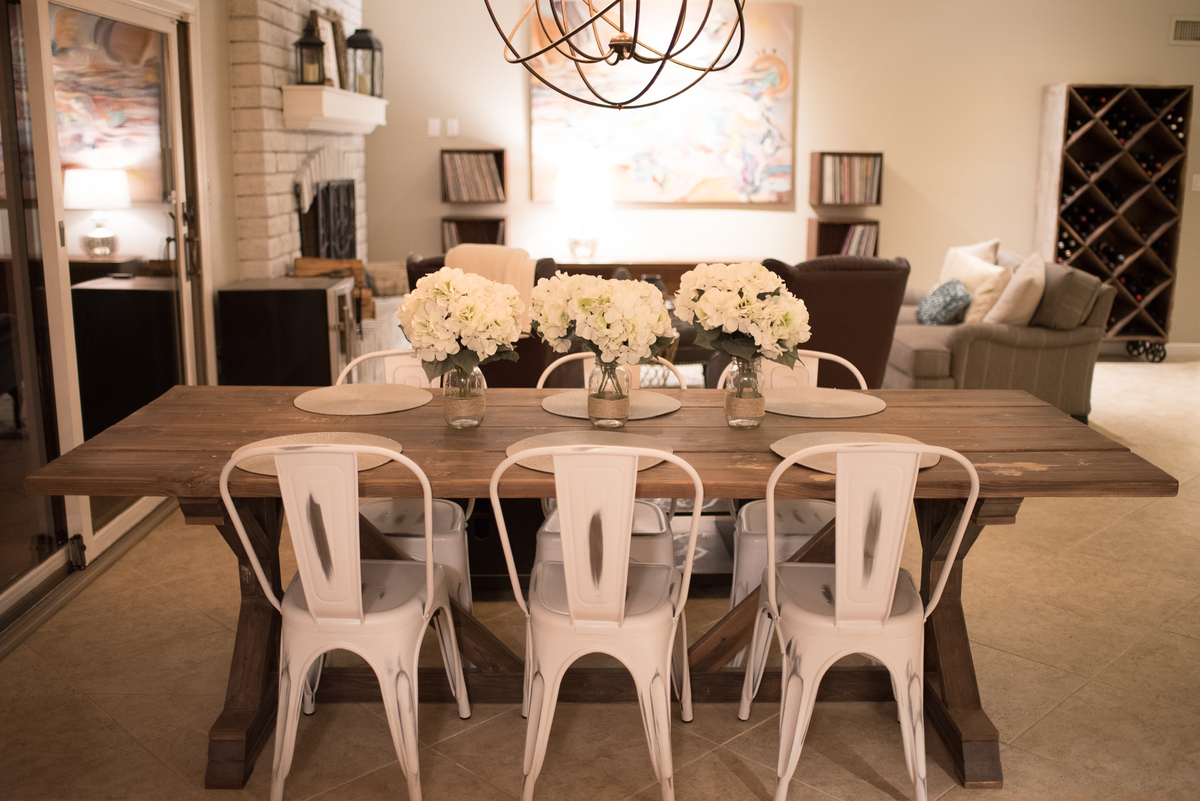
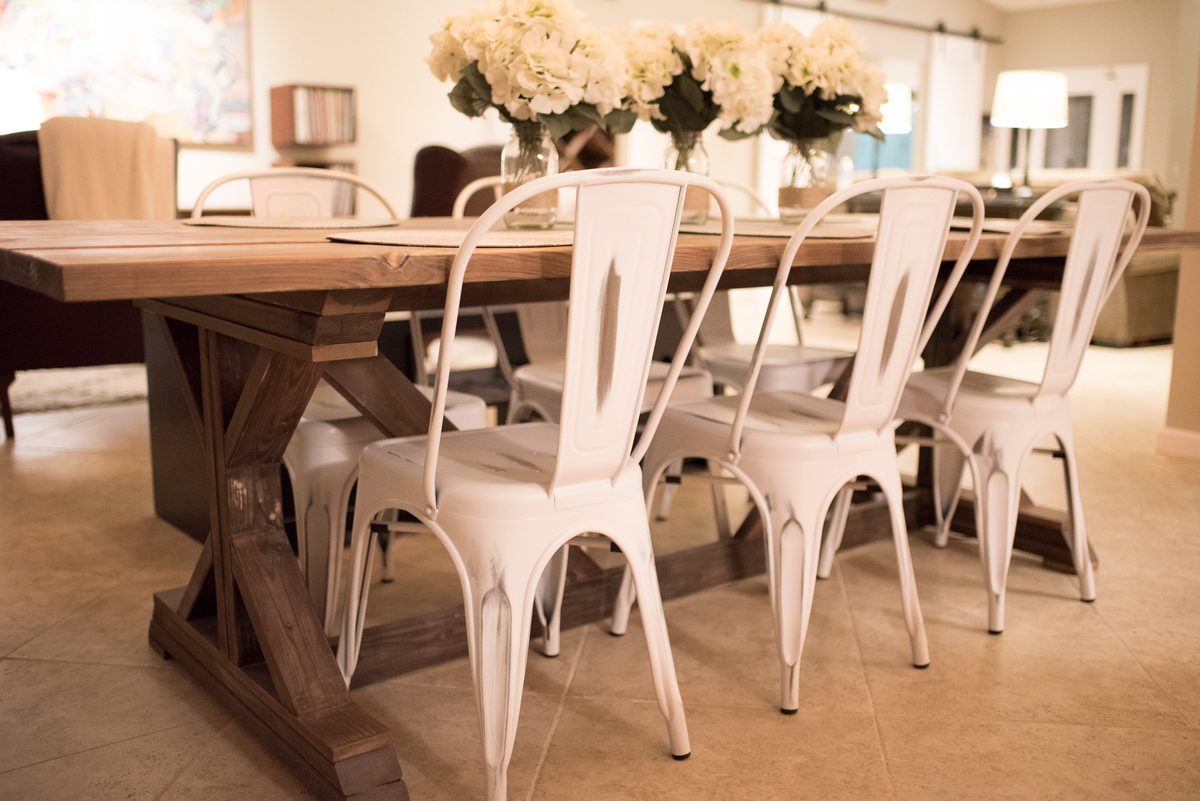
We were looking at buying this table at Restoration Hardware but couldn't get over the price. I love the look of the table but didn't want to take out a mortgage on it. Once I came across this plan, it was game over. Went out, got the supplies, and had it built before my wife knew what I was doing. It is built like a tank and even my kids can't hurt this! We get so many compliments on it , thanks!
Mon, 04/11/2016 - 07:56
Beautiful!! The chairs go perfectly with the style!
And BTW, what about that wine rack on wheels?!? Did you make it, too? Love that! :) Would love to see a plan for that!
Mon, 04/11/2016 - 12:48
Thanks! We found that wine rack at a store here in Phoenix. I thought about making one from scratch but I definitely was in over my head. We love it though
Tue, 04/12/2016 - 10:48
Thanks for the info on the wine rack! Maybe Ana can add it to her list to make and add a for us! Hint, hint, Ana! :)