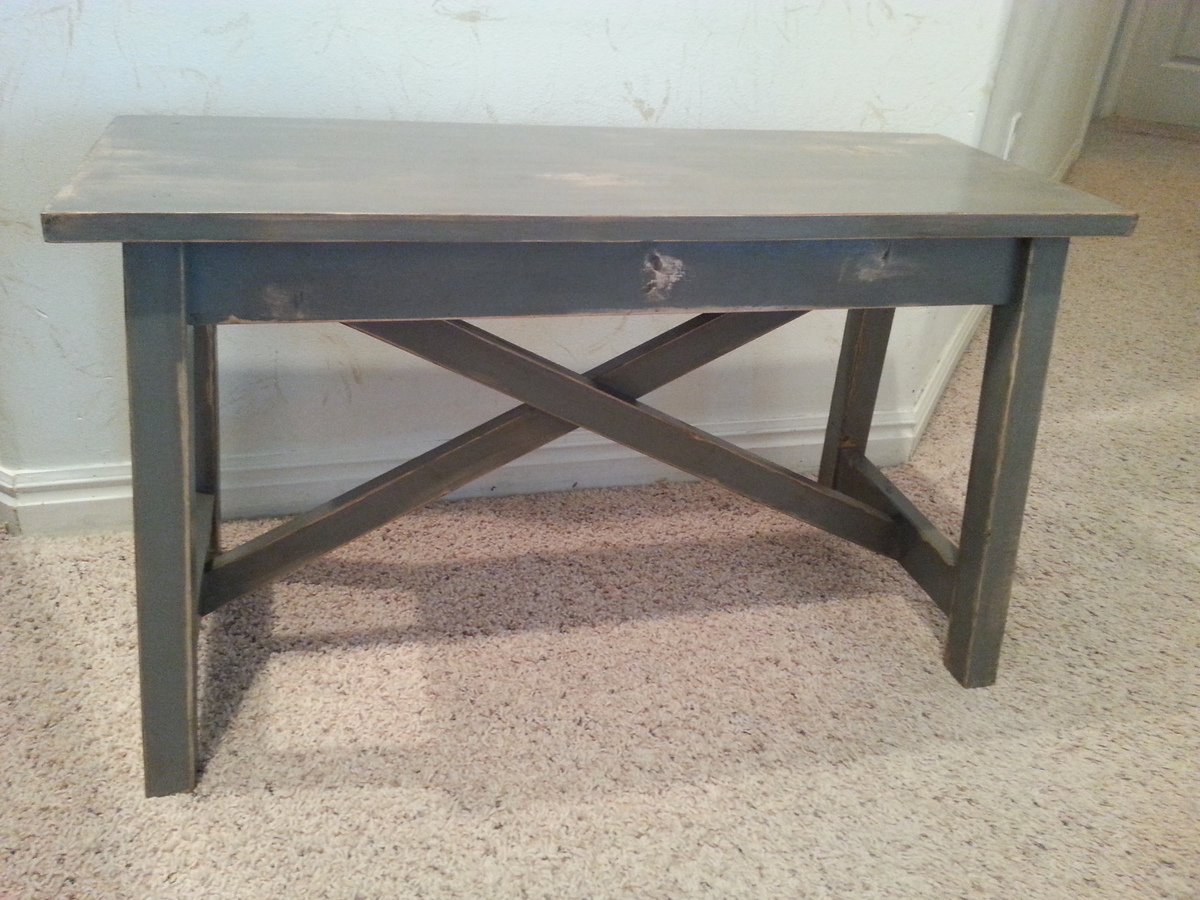
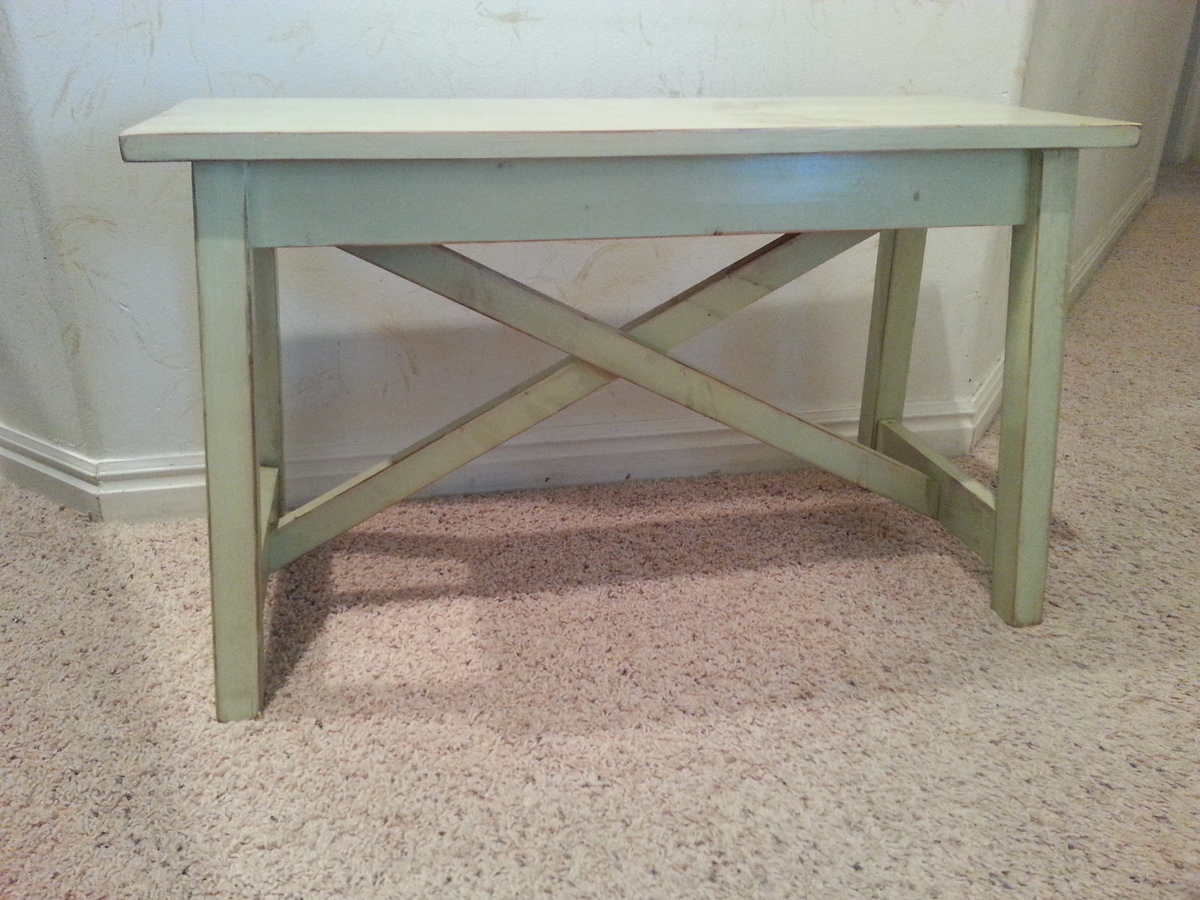
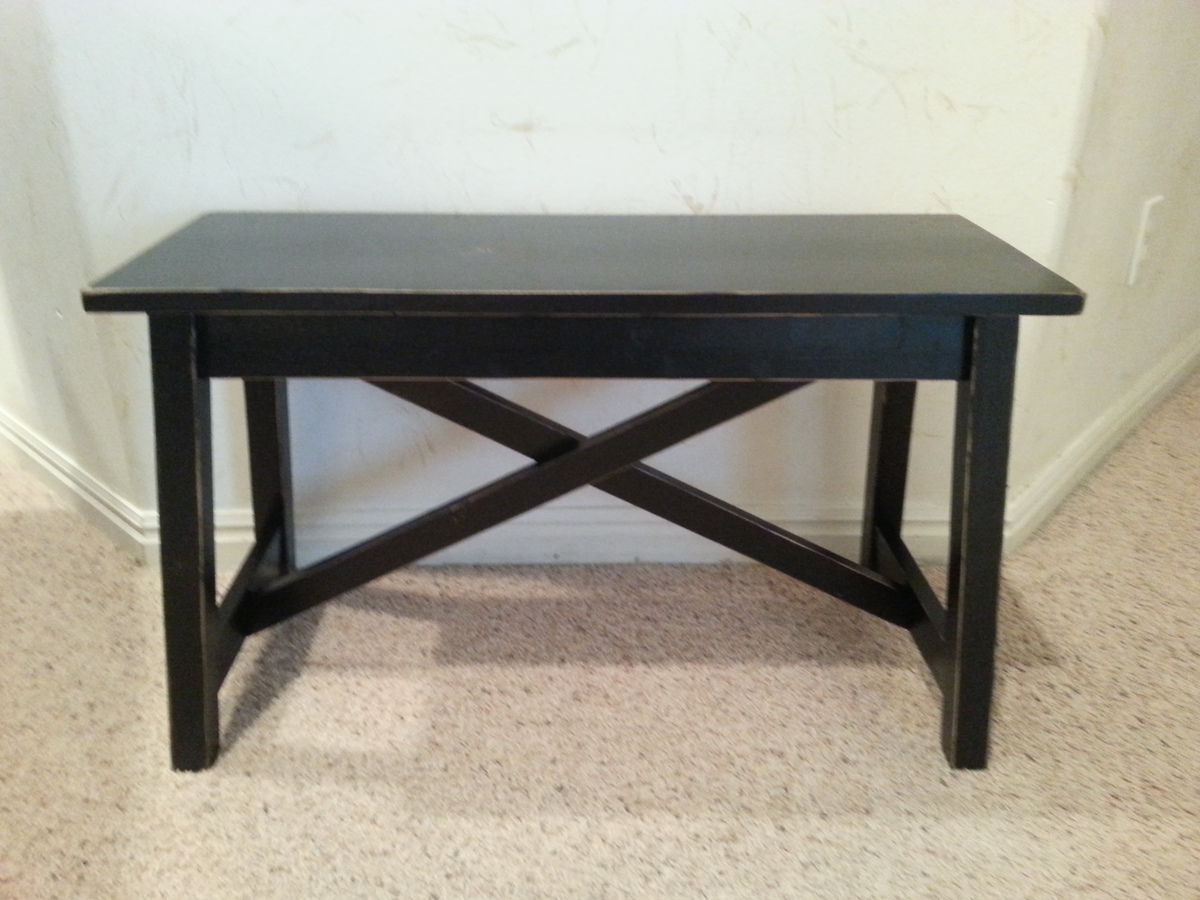
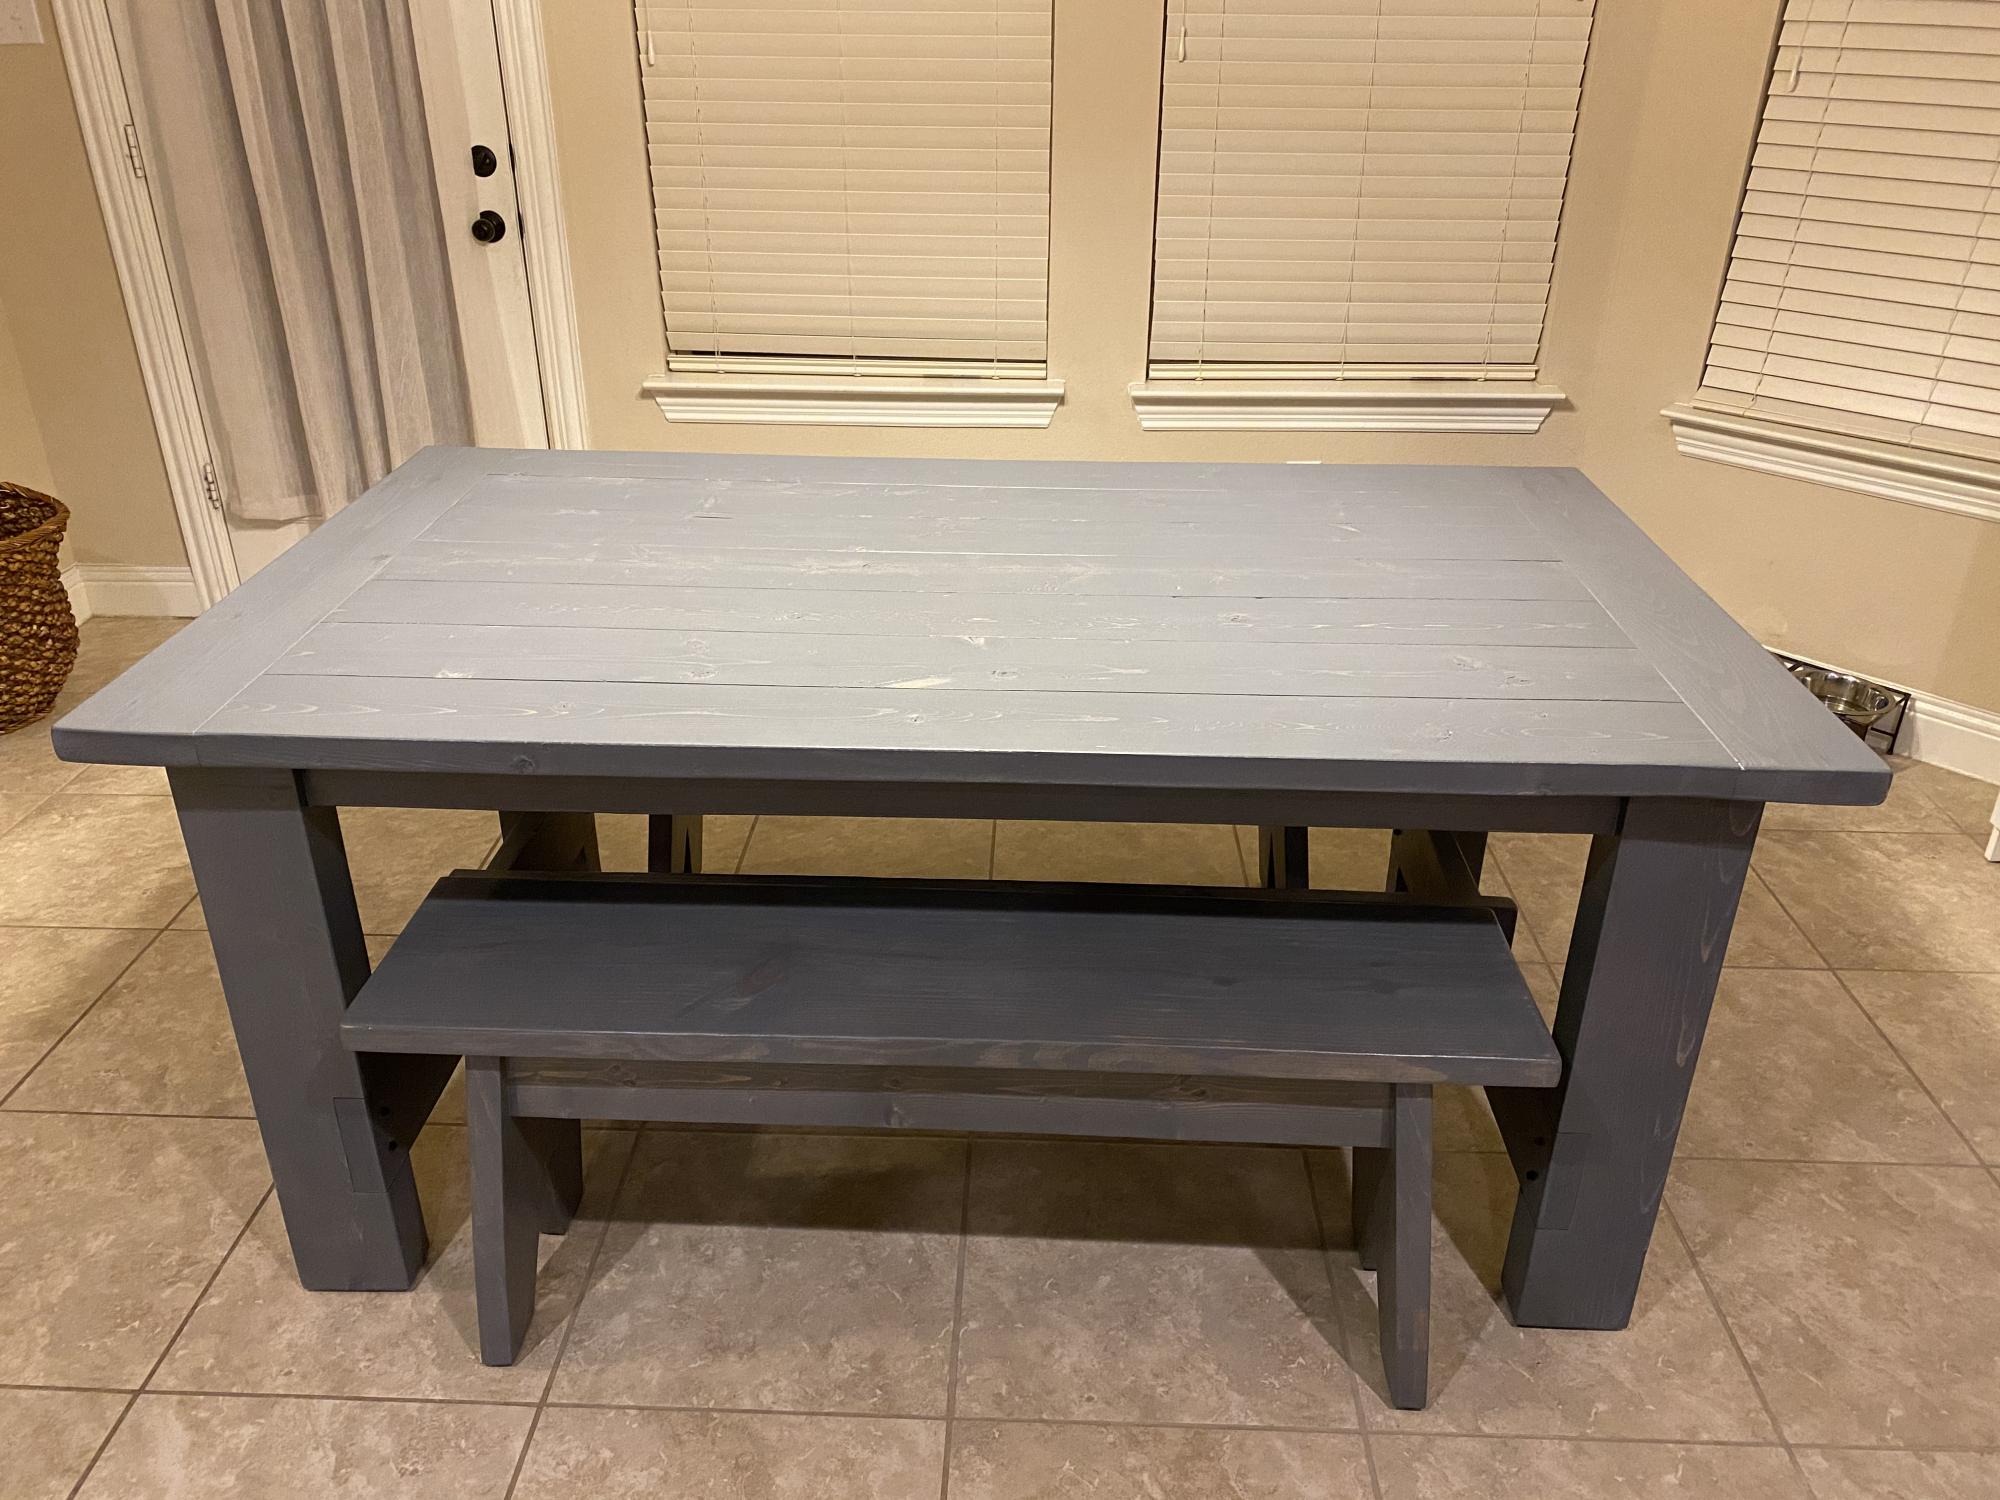
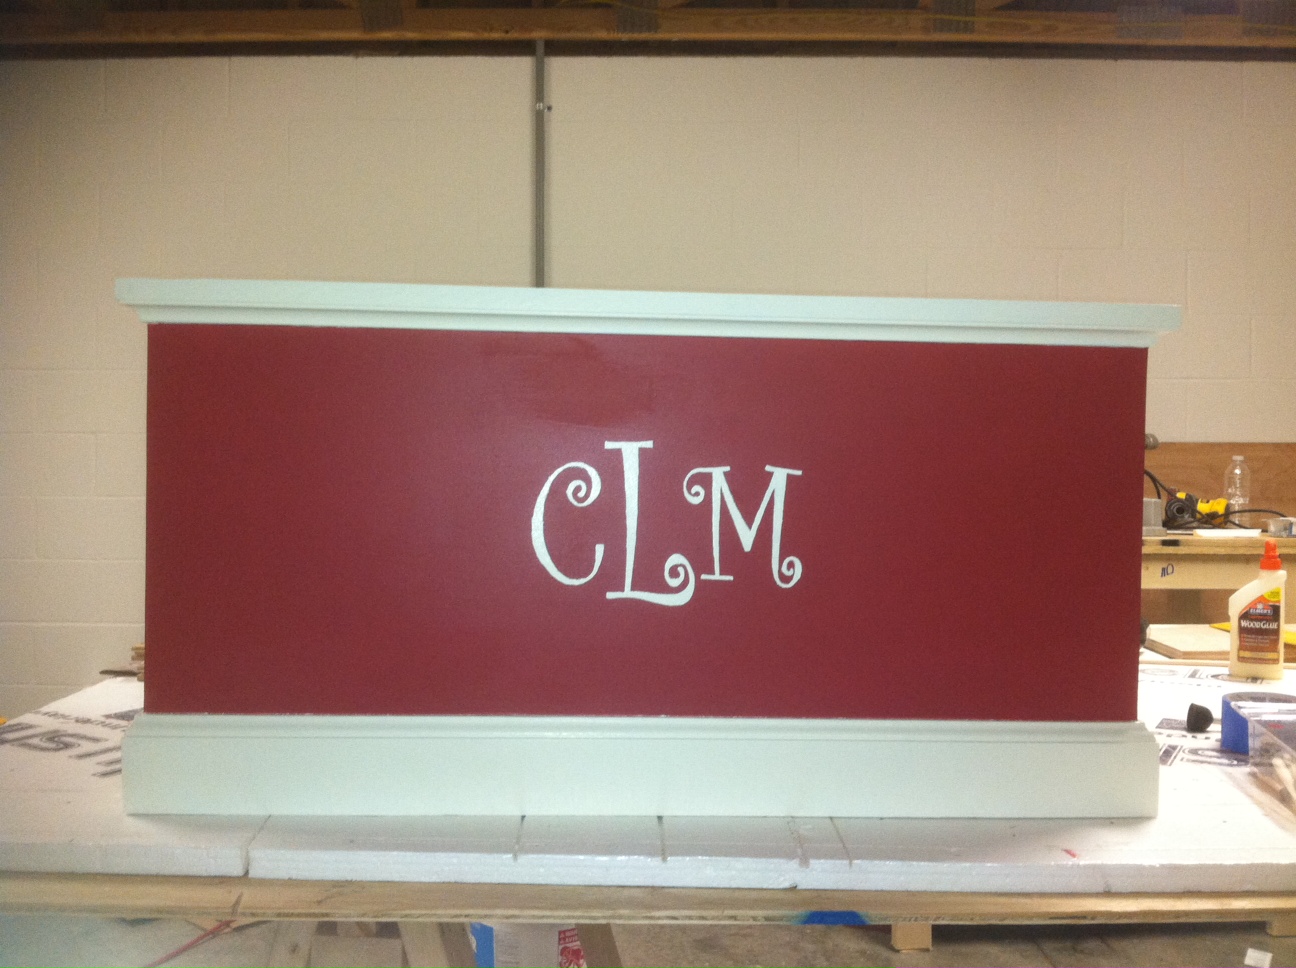
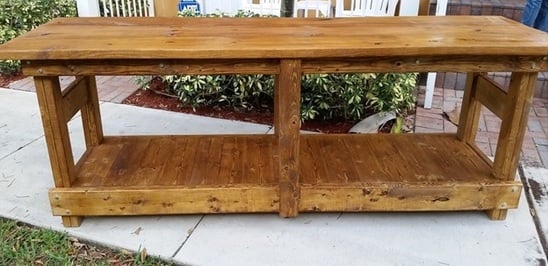
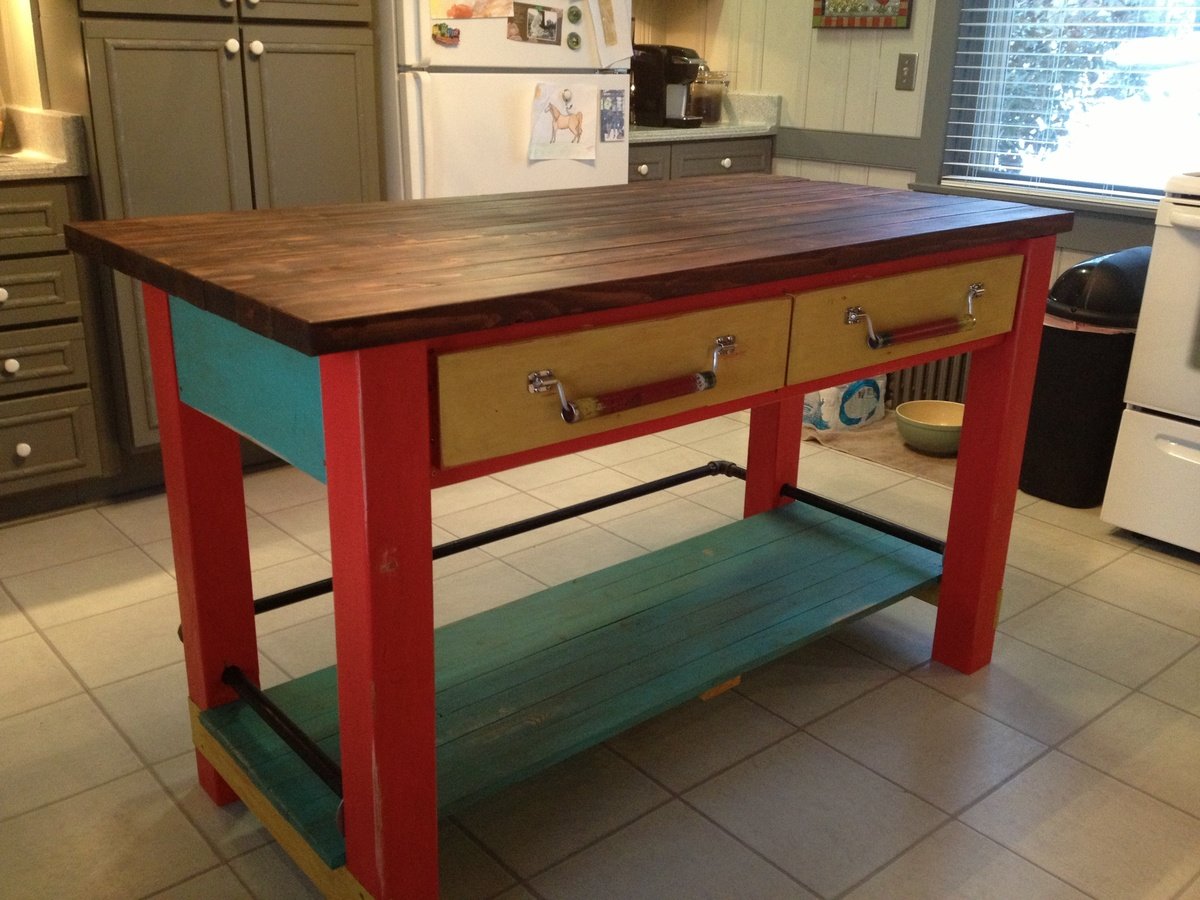
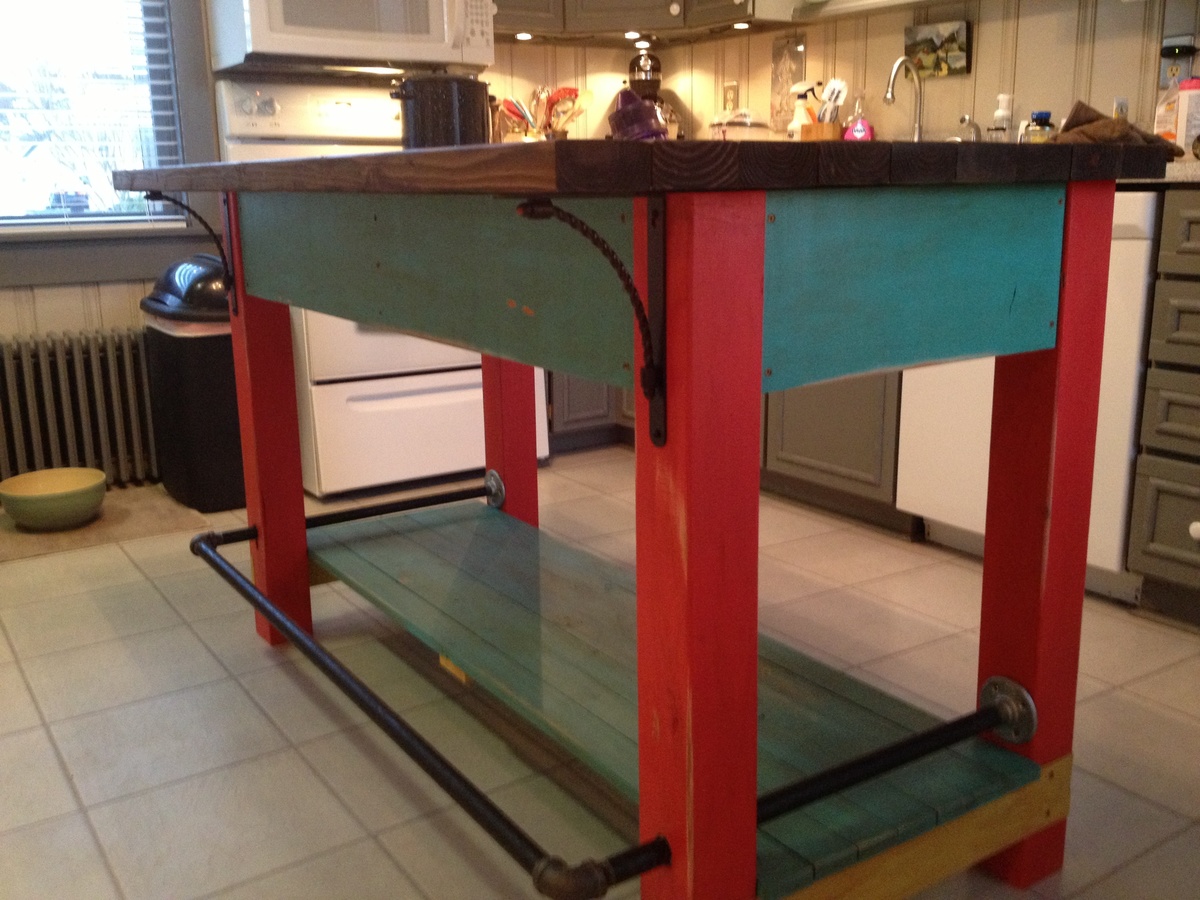
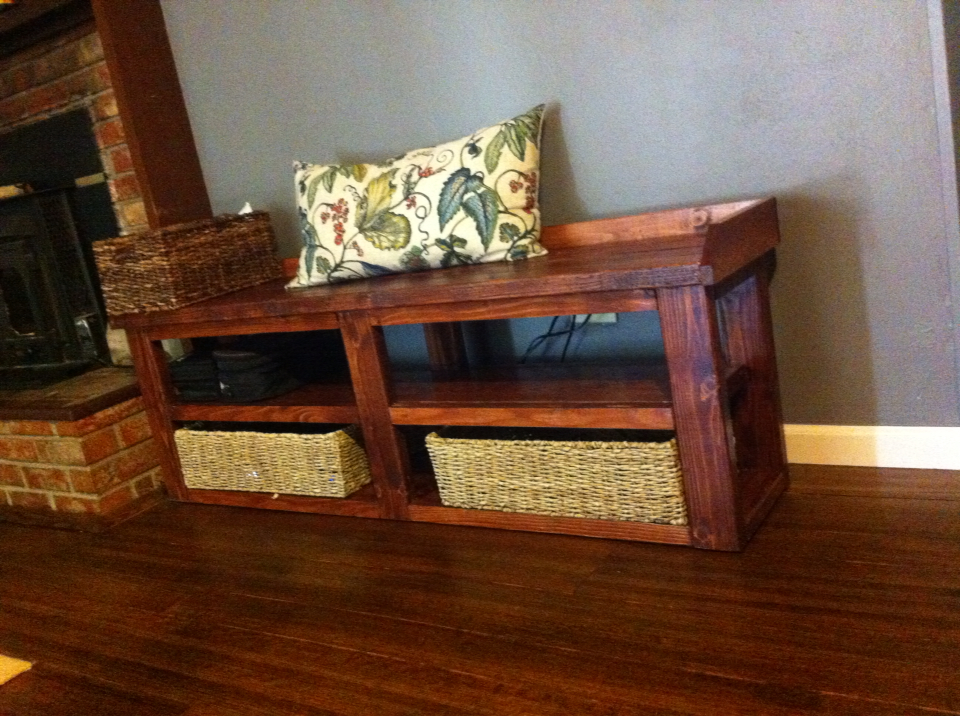
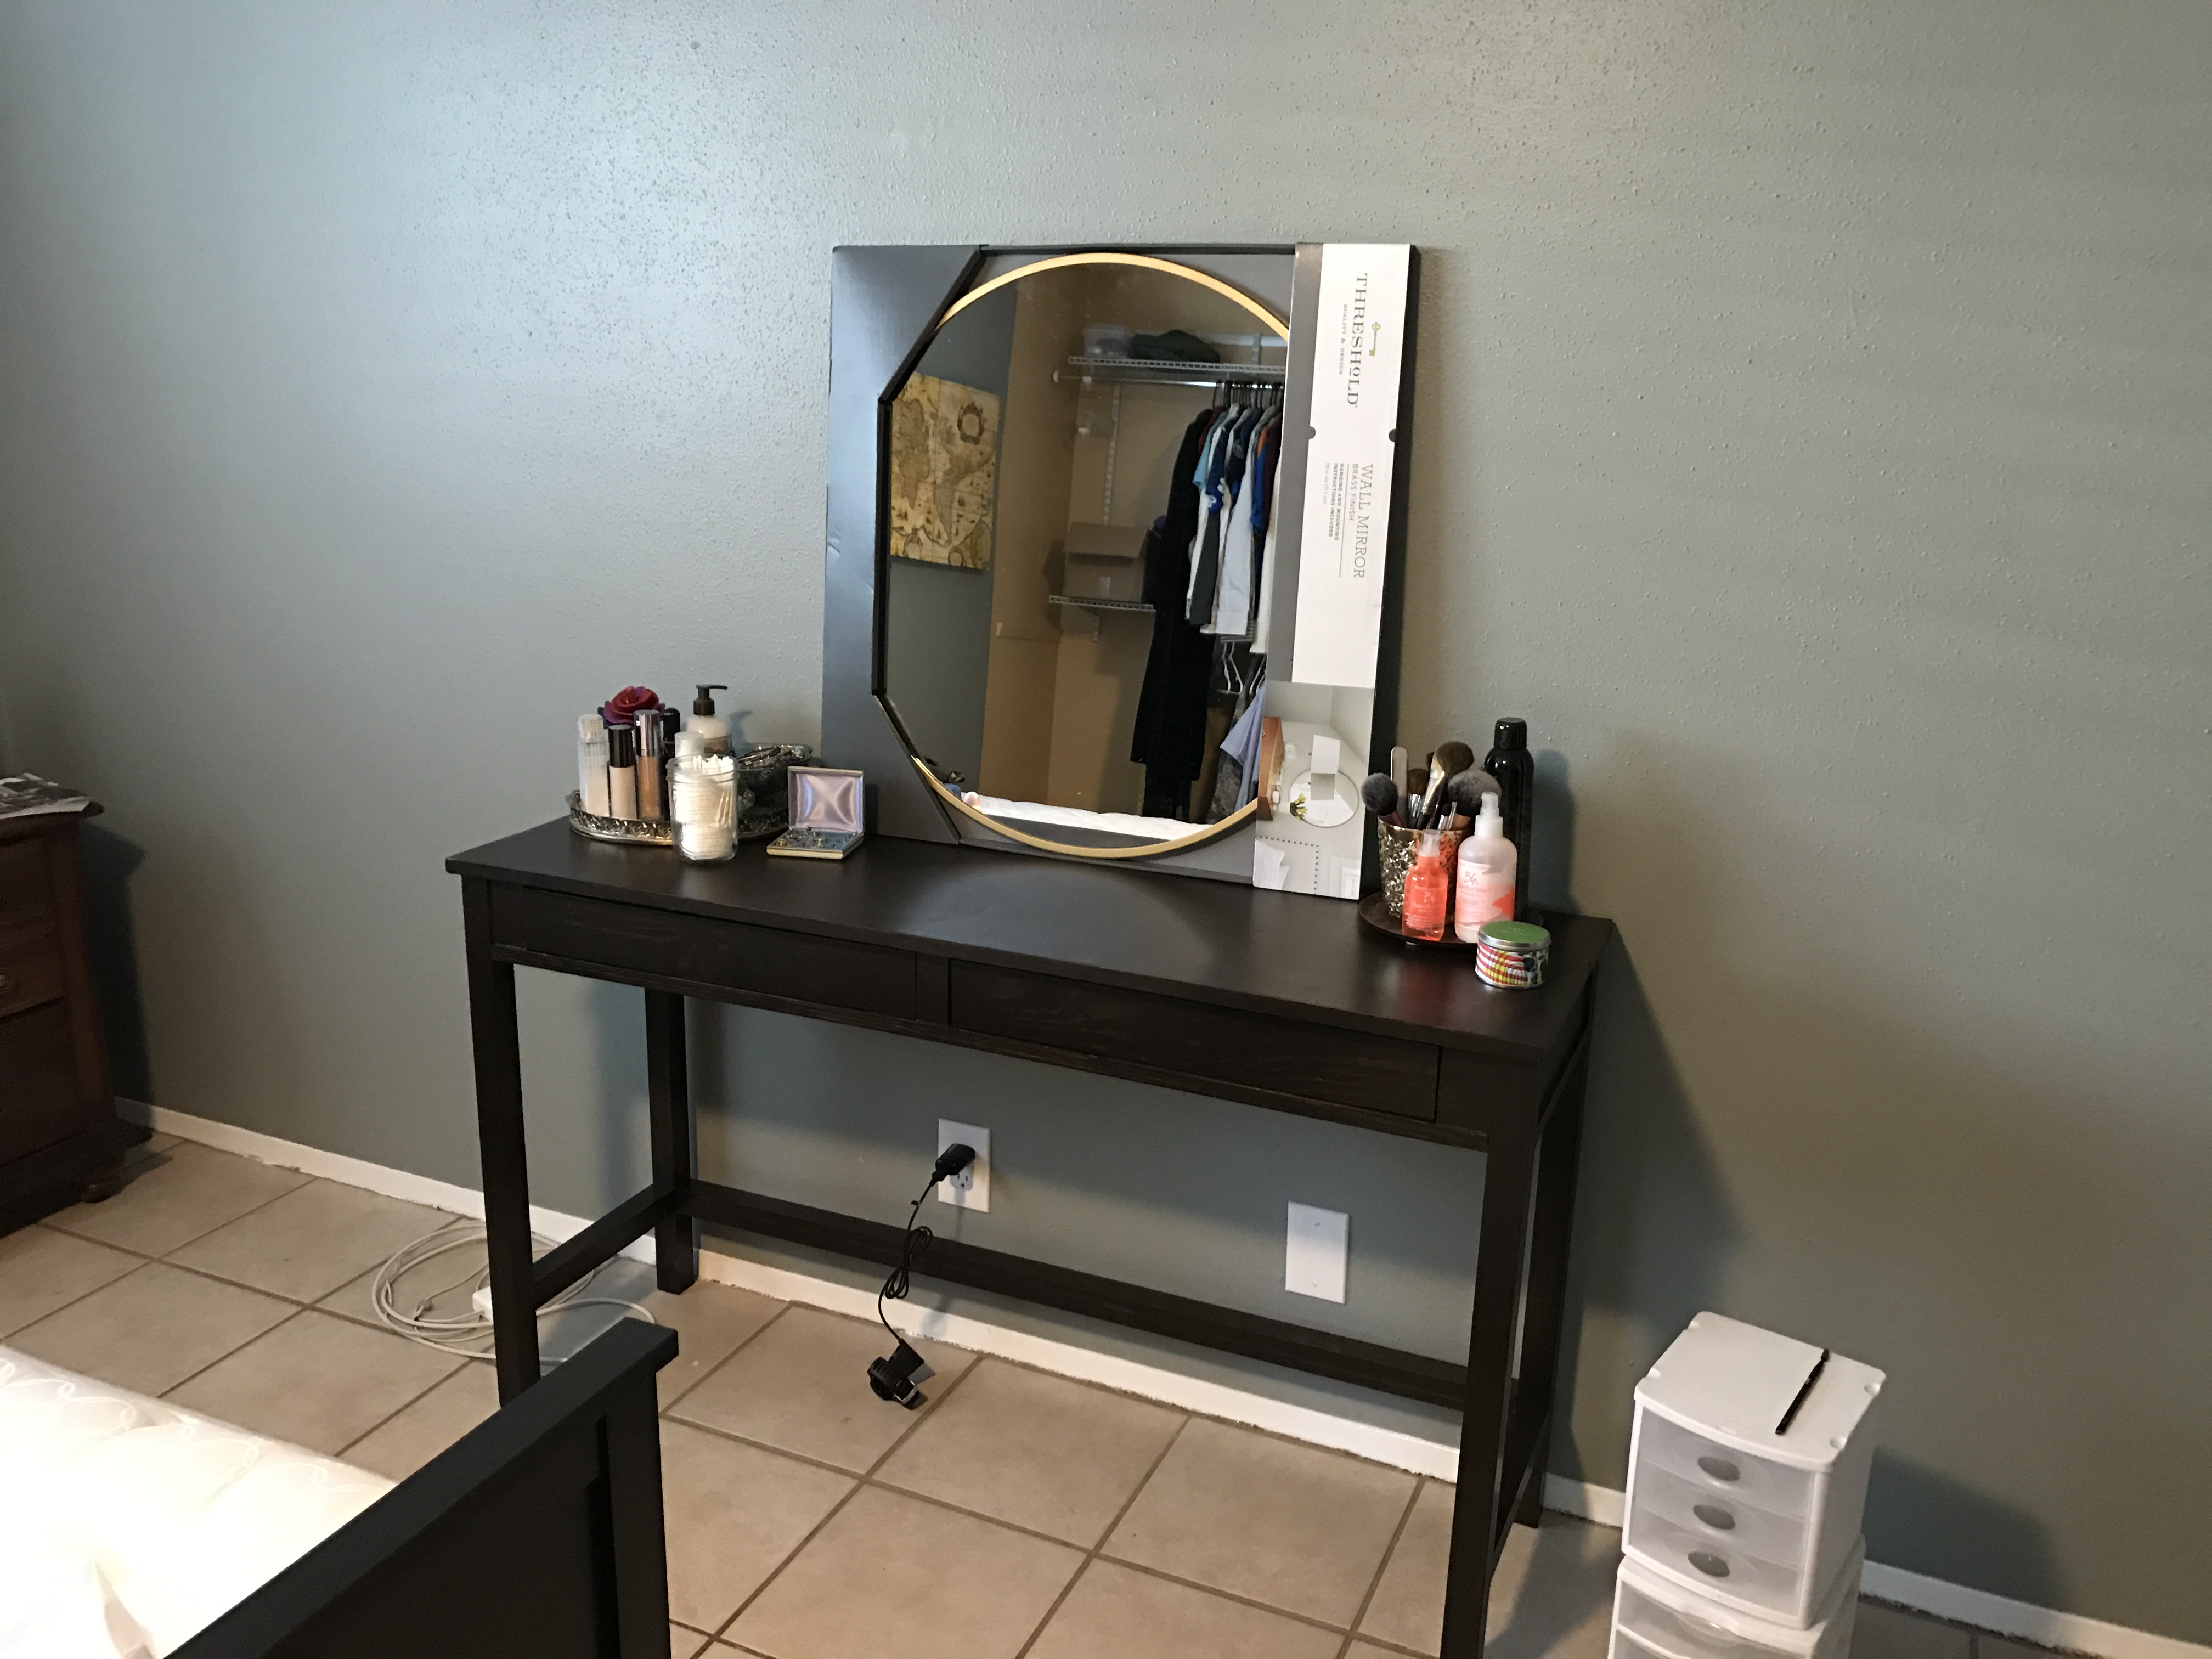
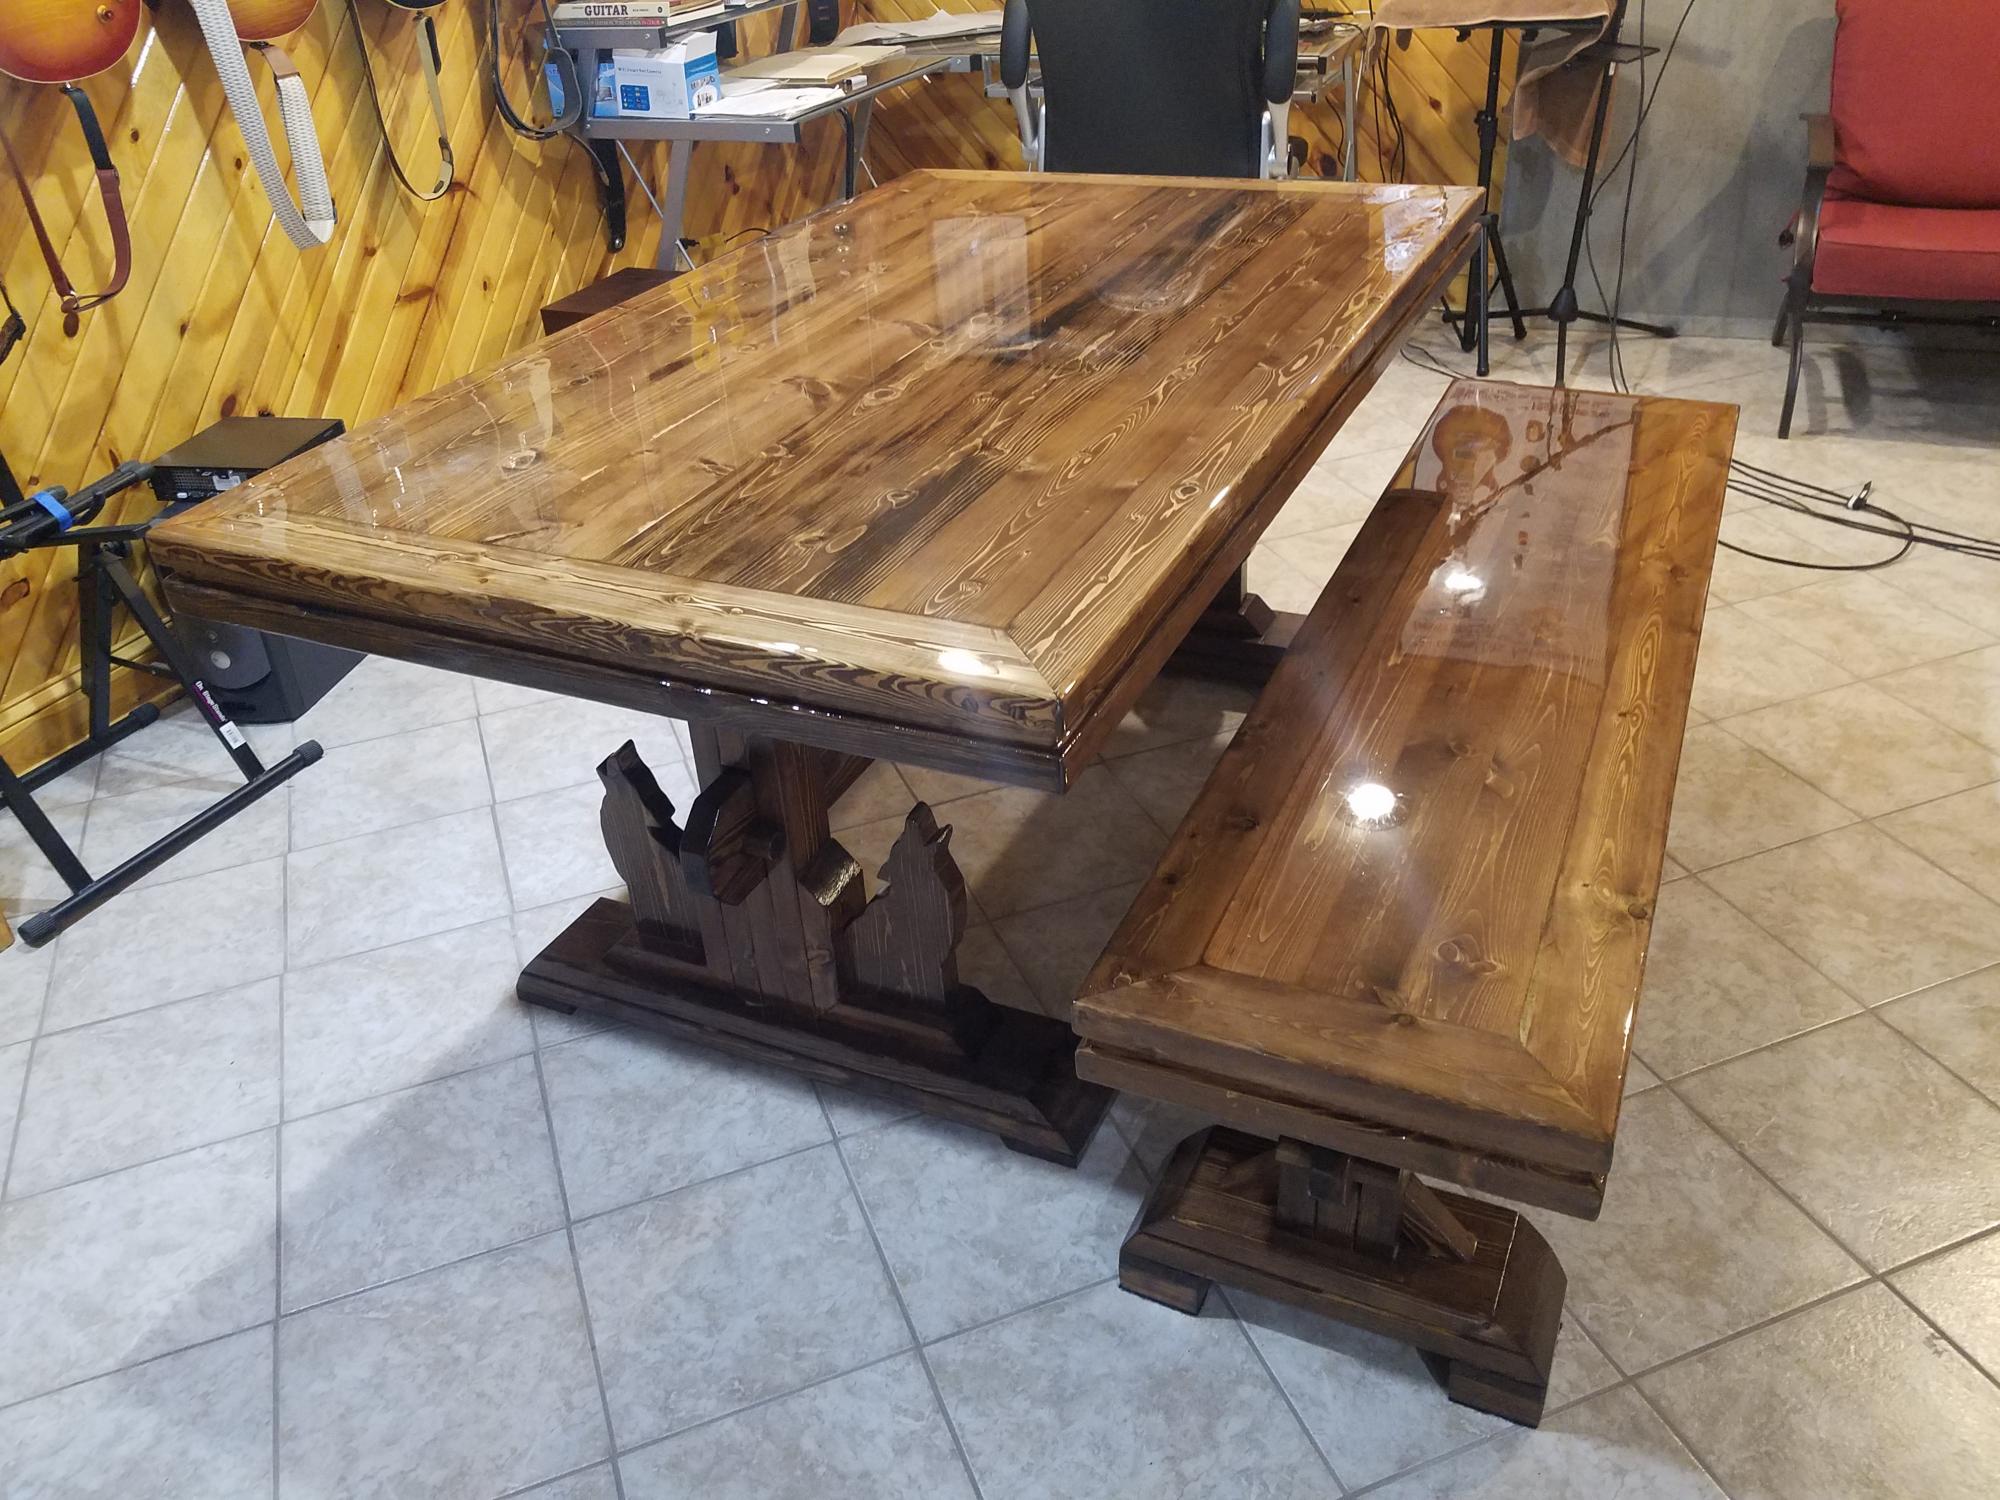
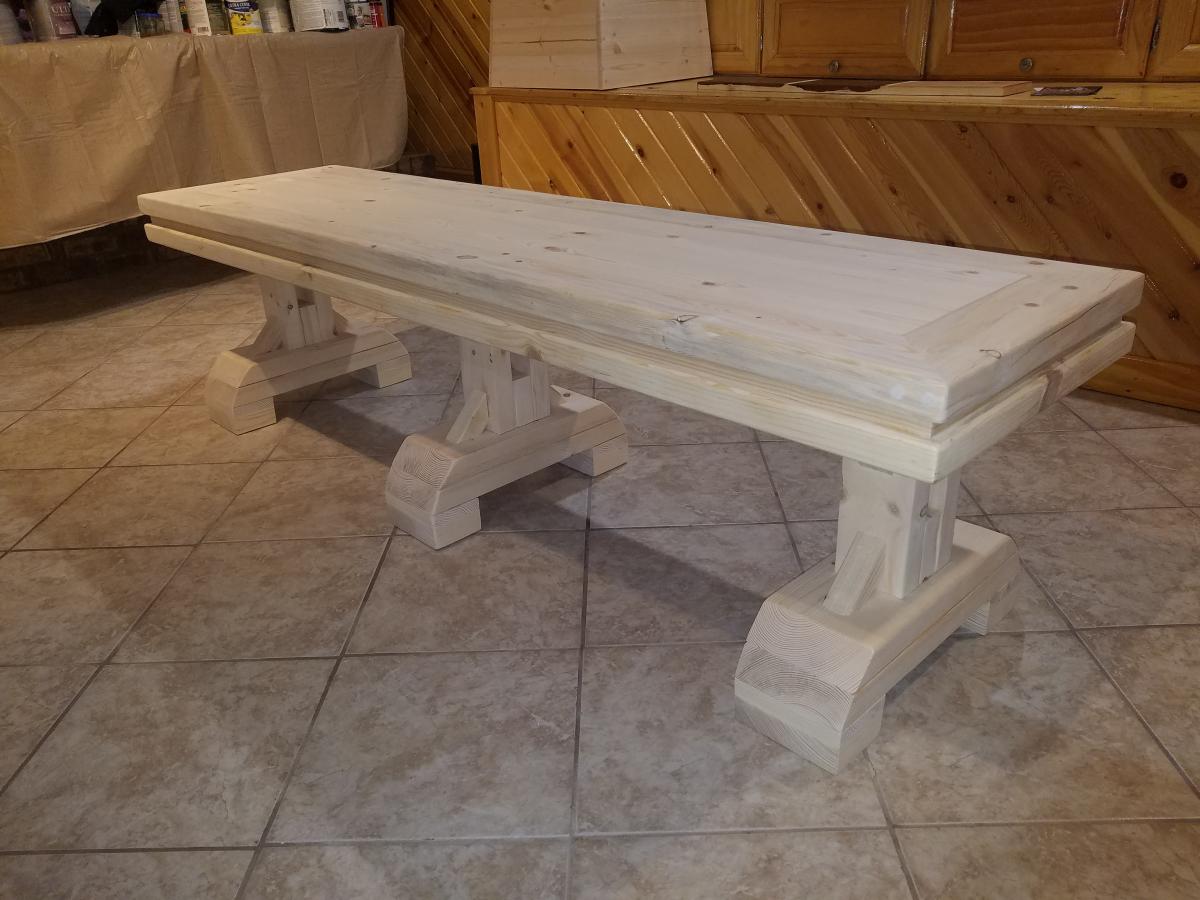
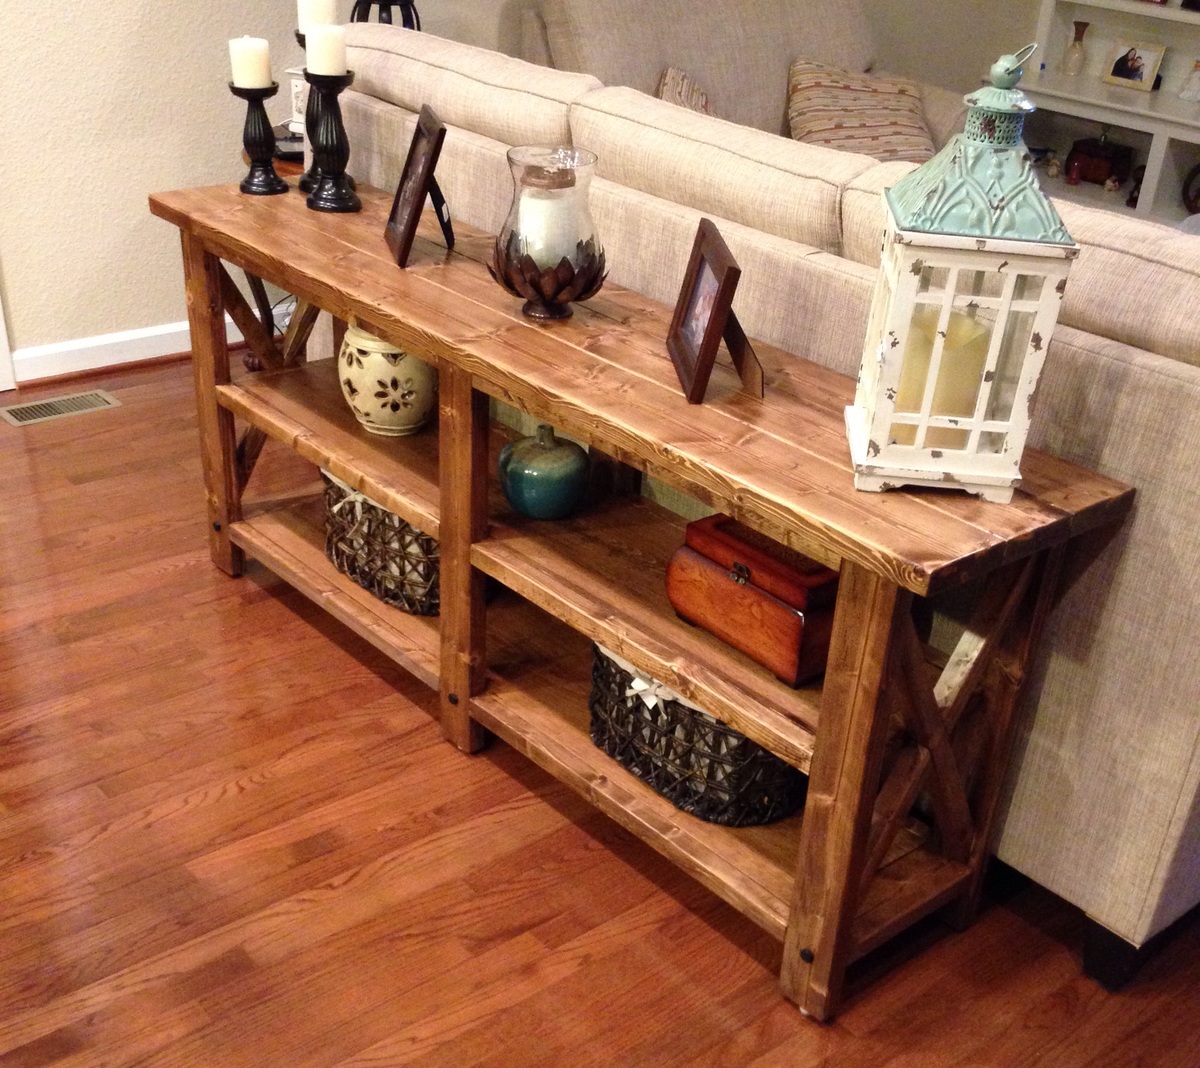
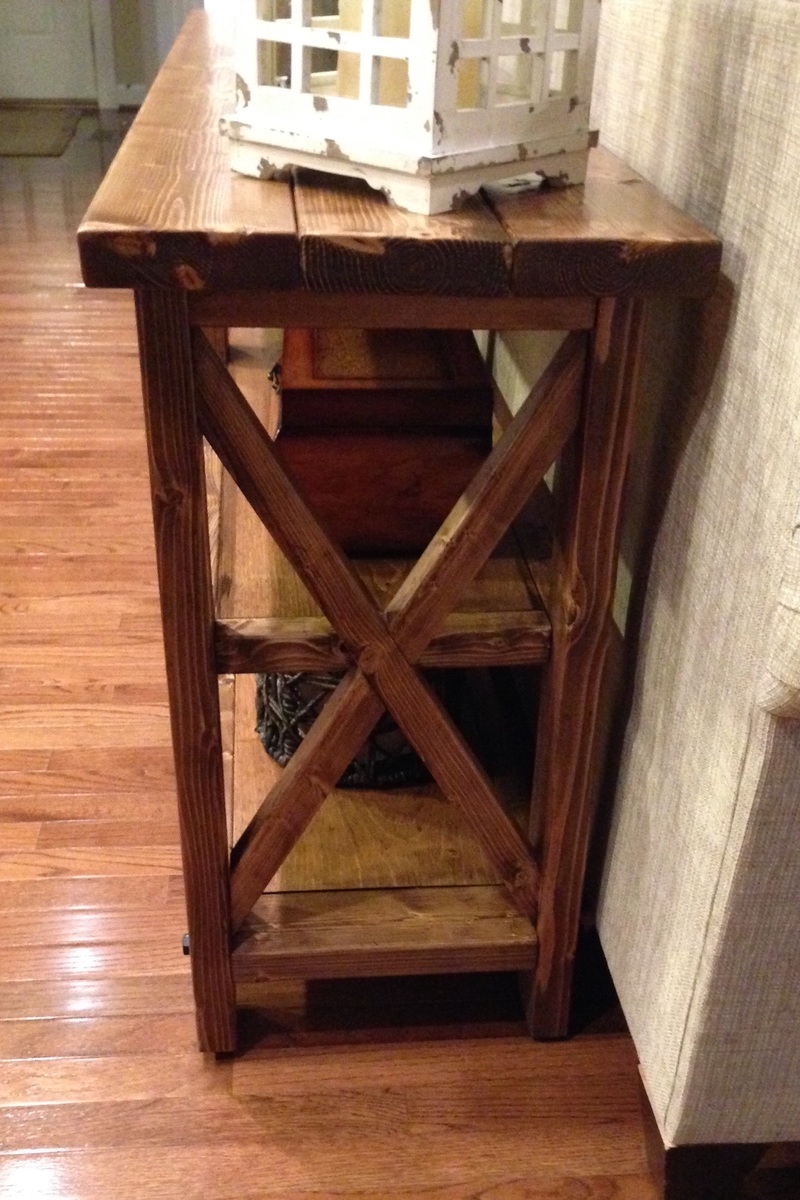
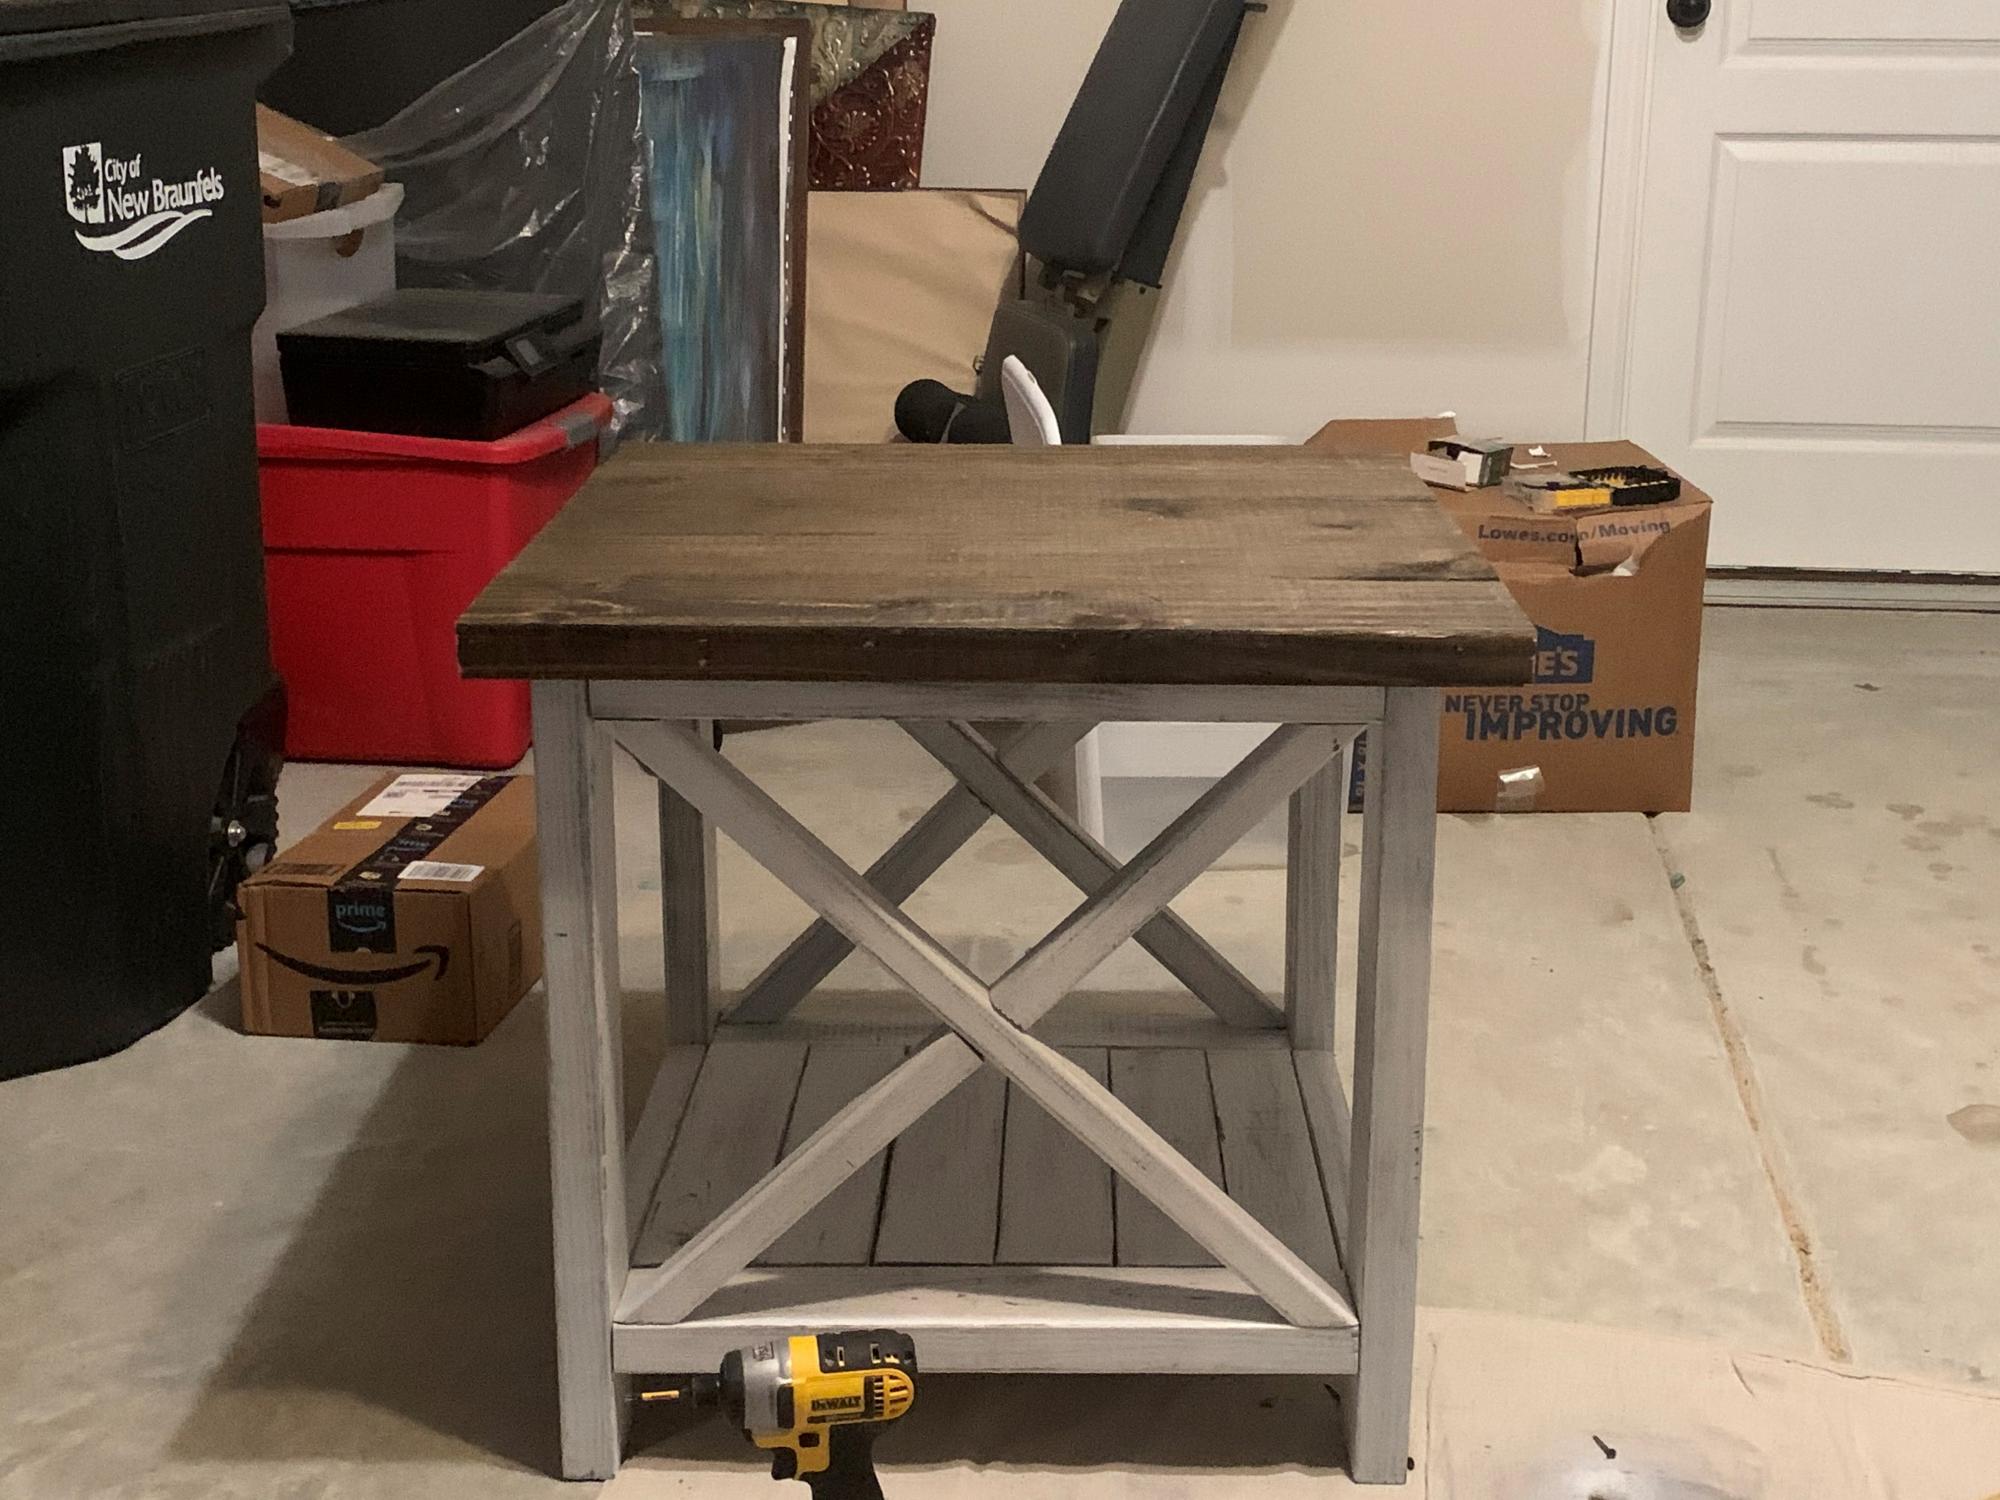
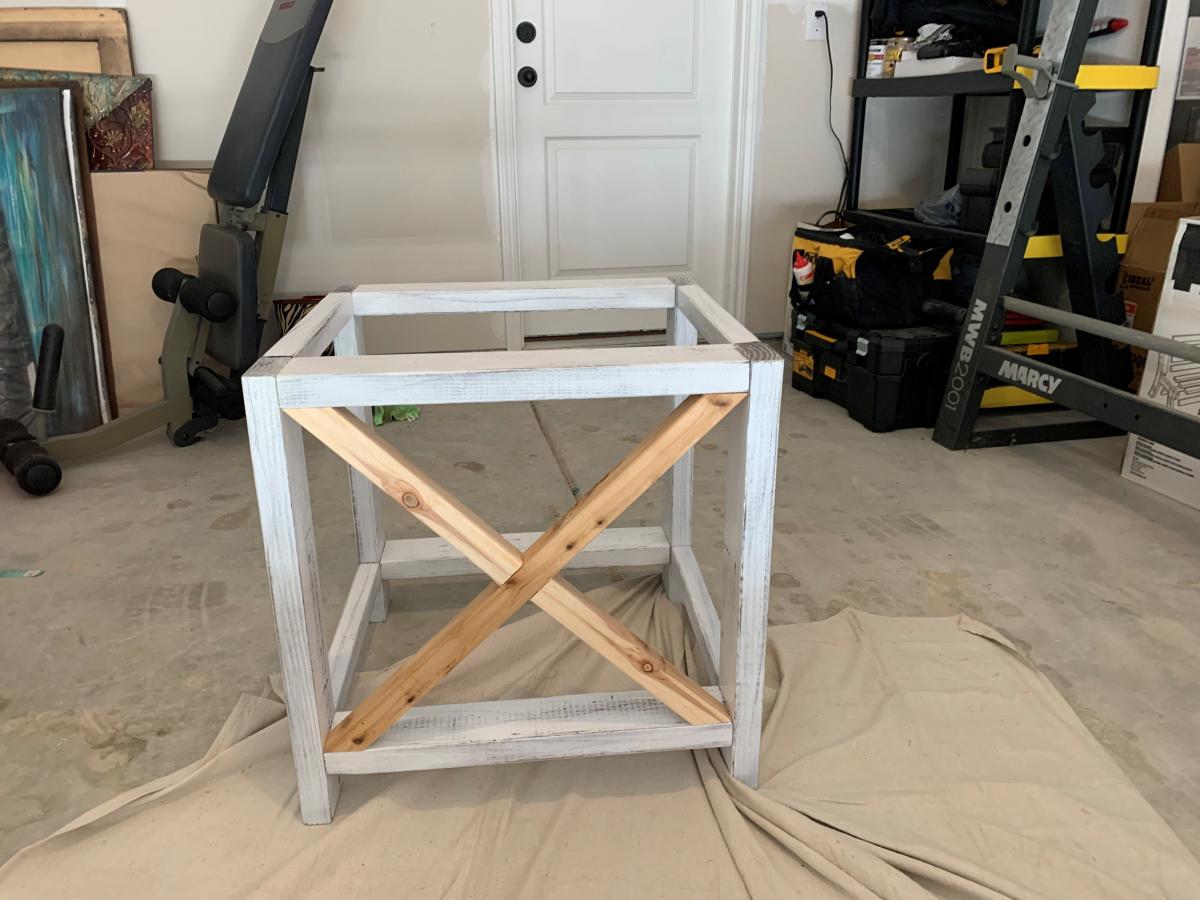
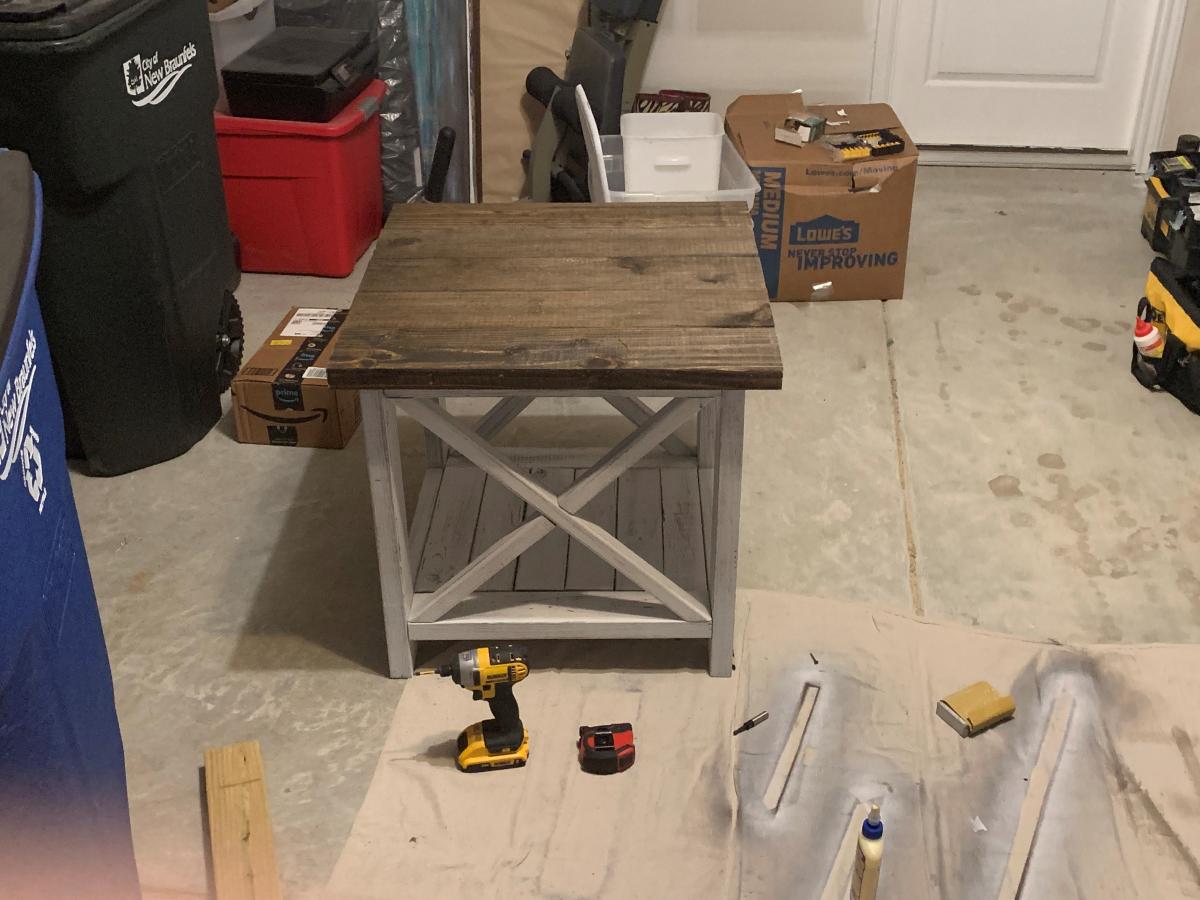
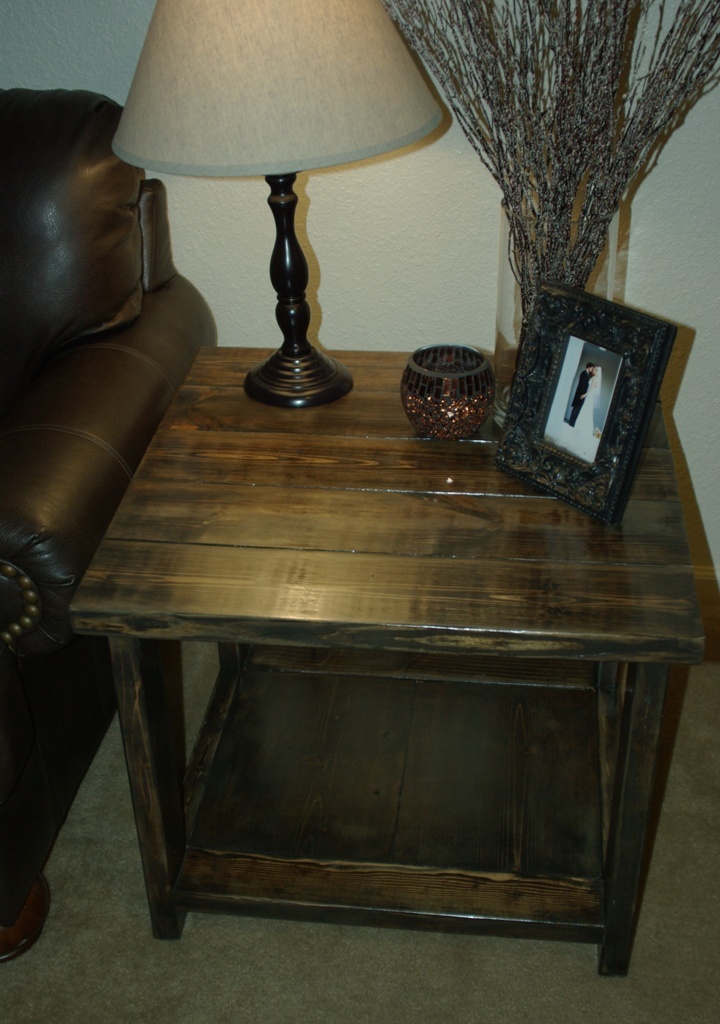
Small rustic x benches
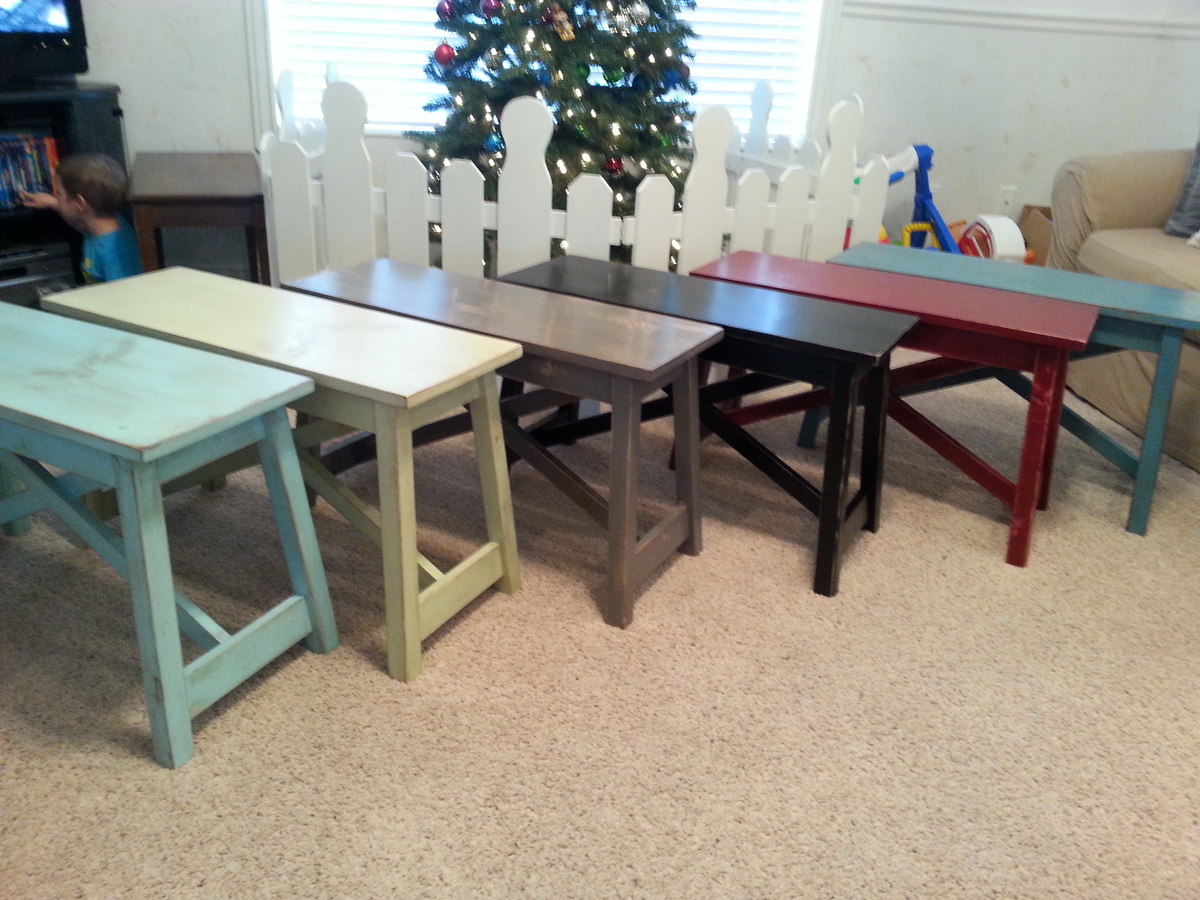
Built a bunch of benches for Christmas/wedding gifts. It was fun to have them all finished in different colors and line them up for pictures.


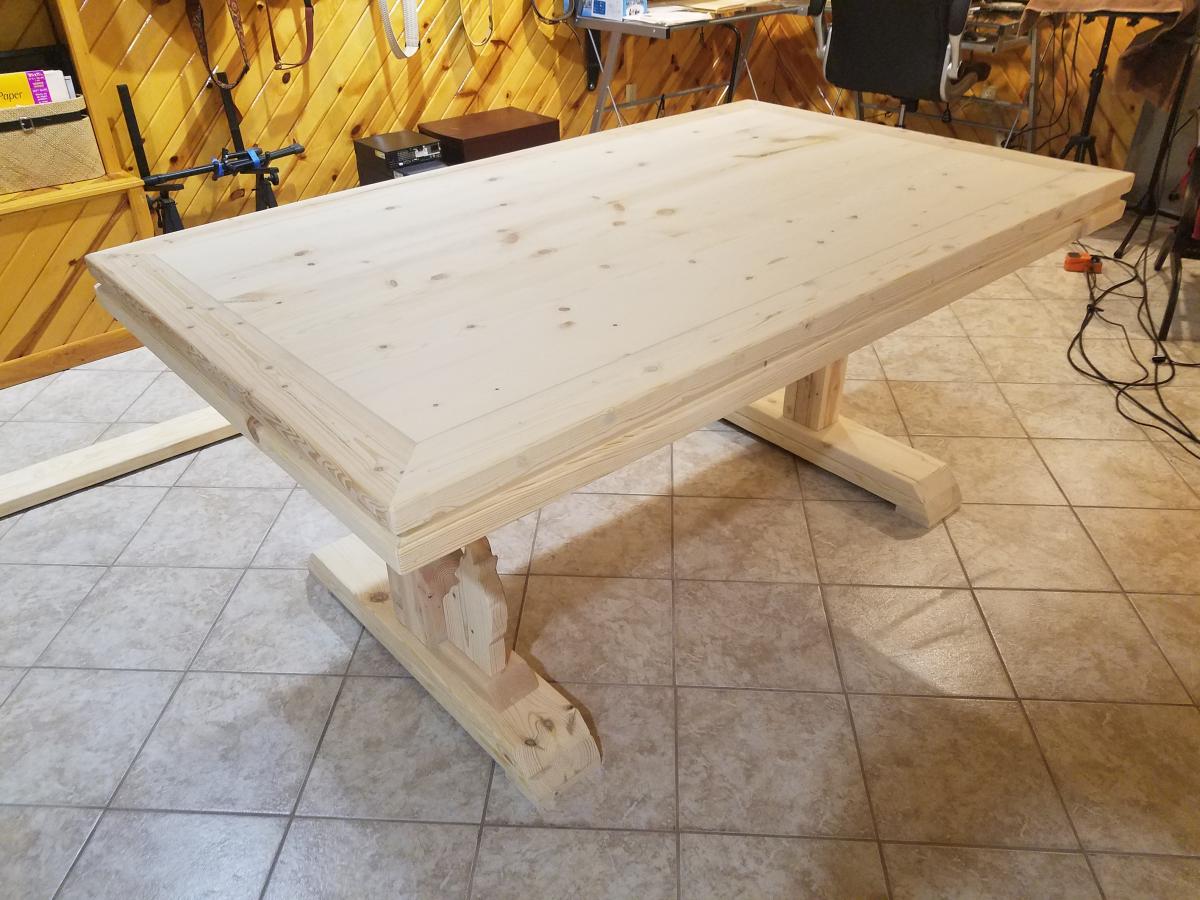
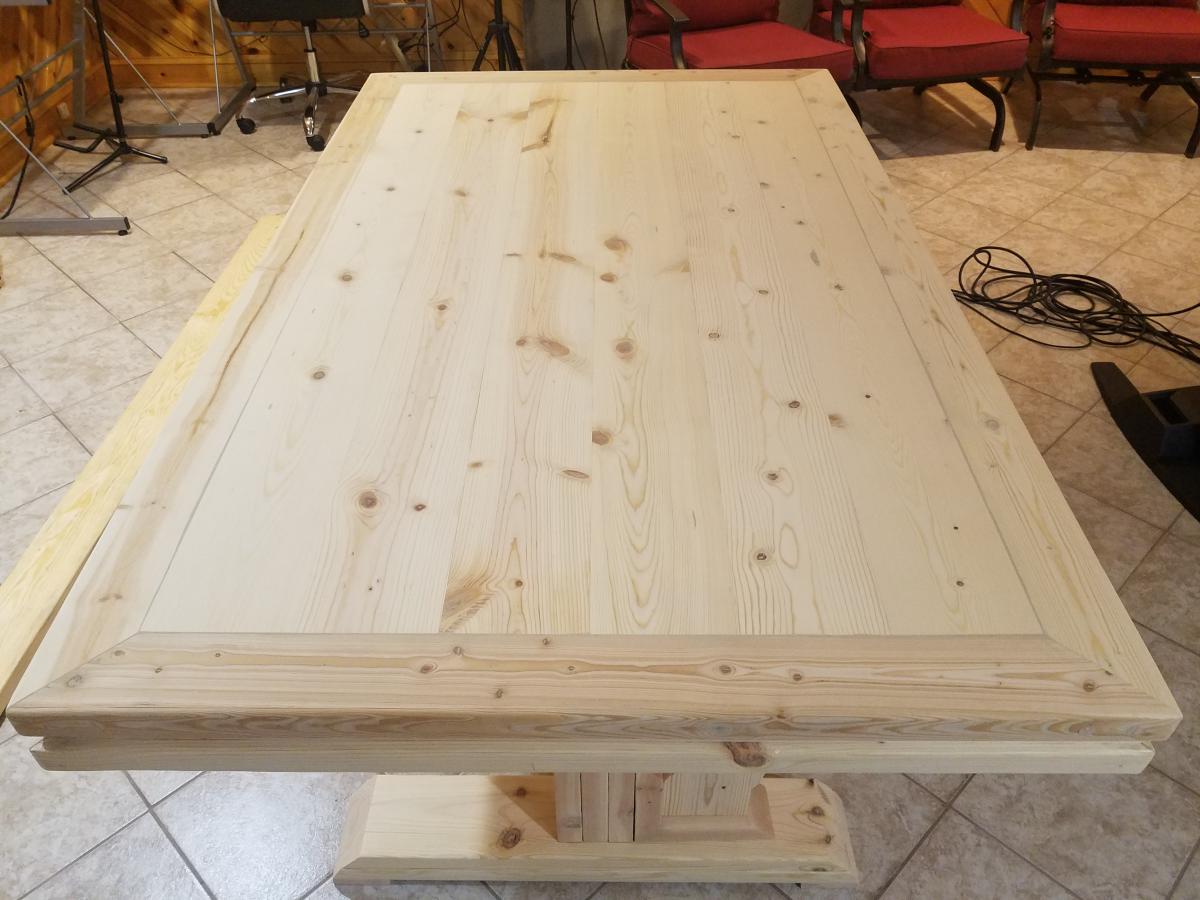
Built from Plan(s)
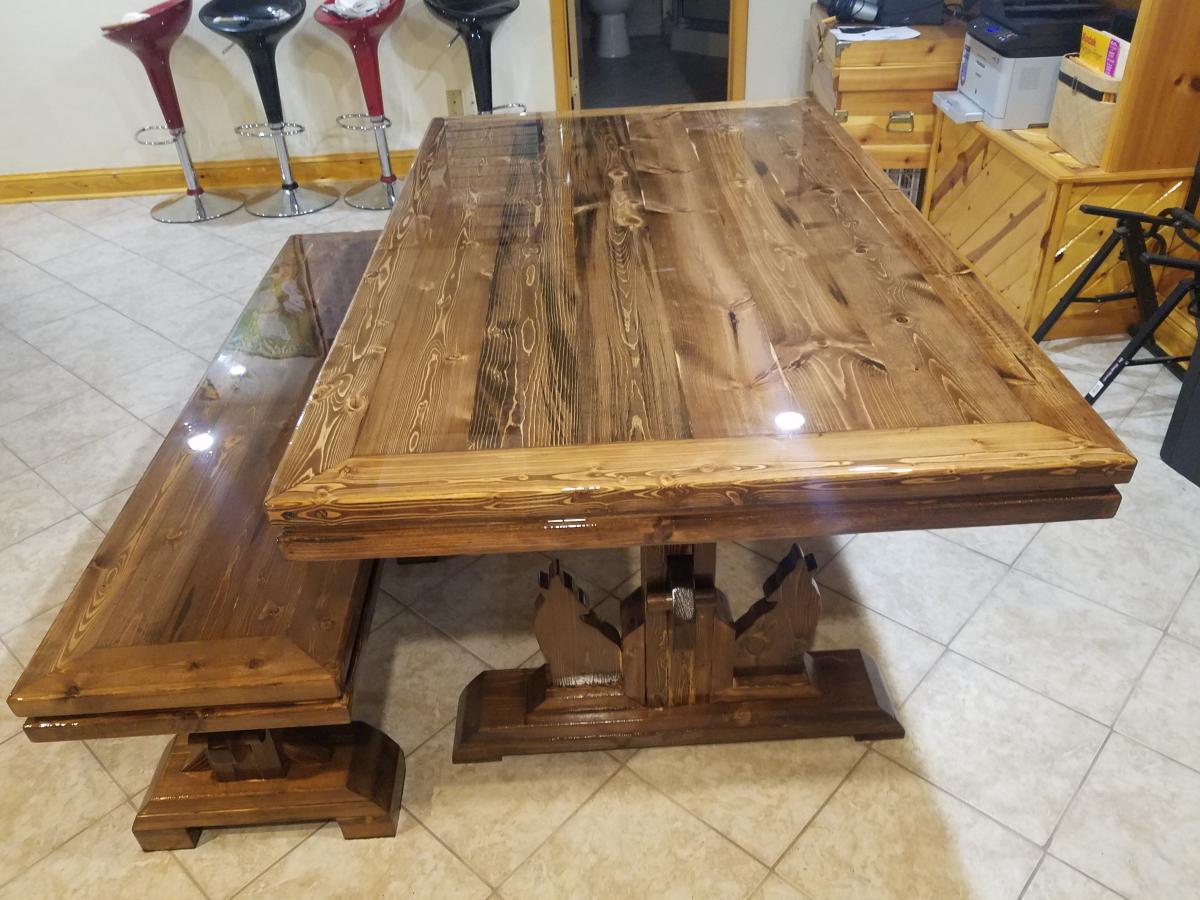
Finish Used
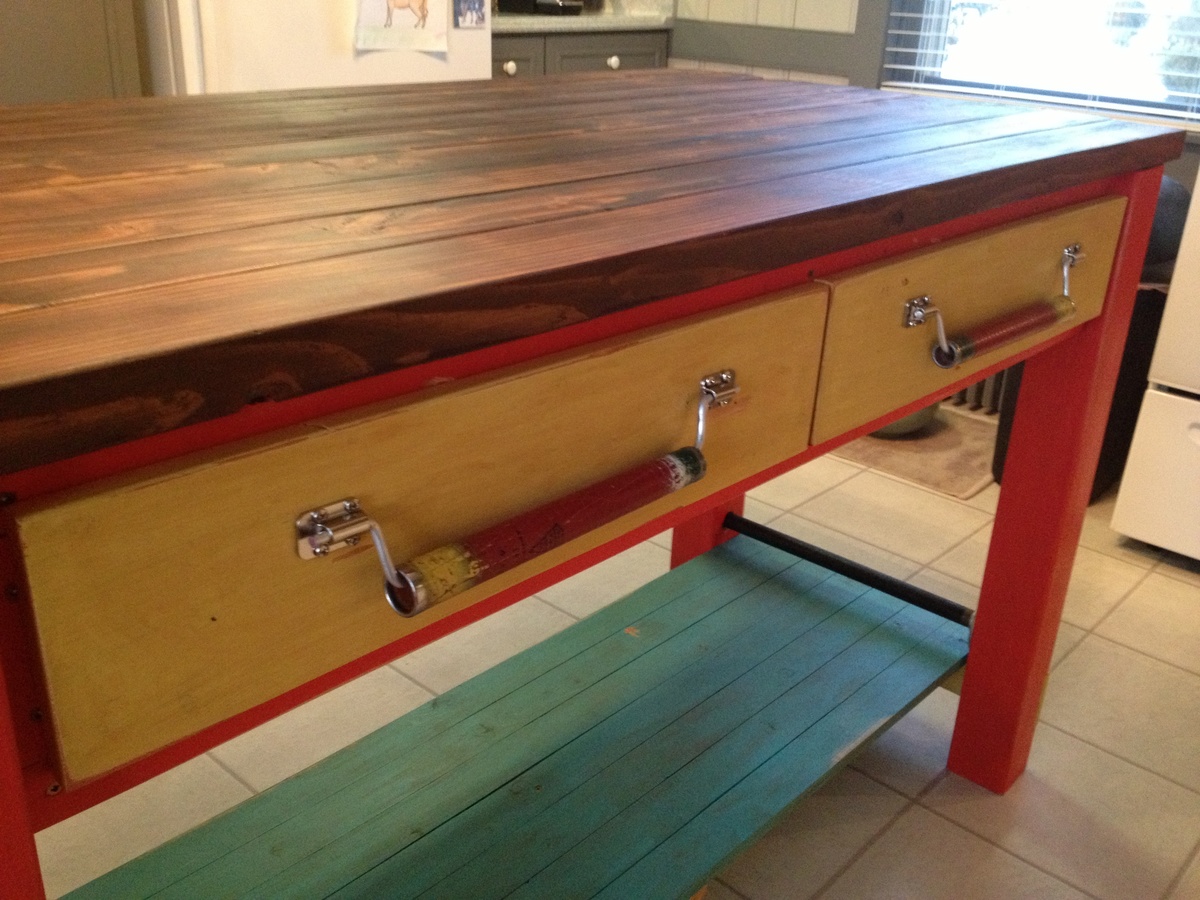
Spray paint, distressed and then stained over the top with minwax special walnut and a clear top coat.
Recommended Skill Level
Beginner


Comments
kristyzed
Fri, 02/17/2017 - 02:20
Awesome
These look awesome! What a great idea for Christmas gifts.
Ana White
Mon, 09/09/2019 - 10:39
How fun! These are such…
How fun! These are such great colors!