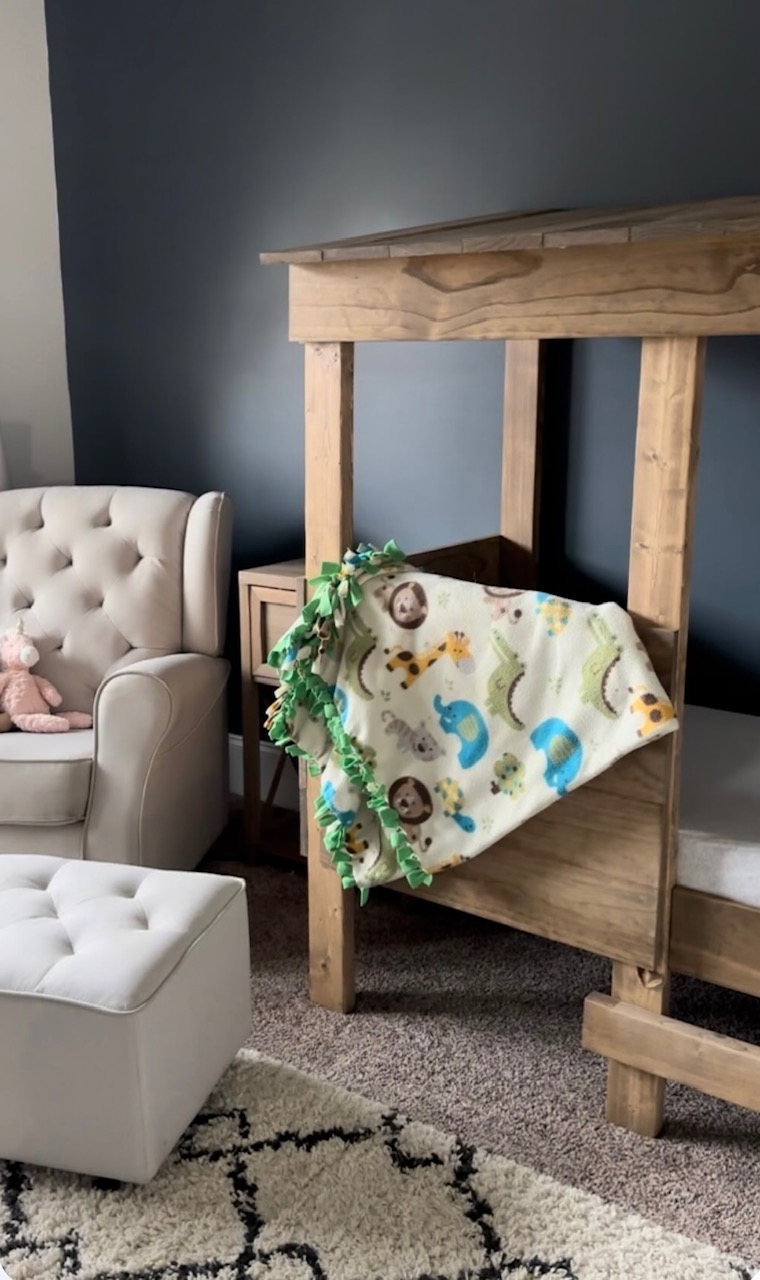
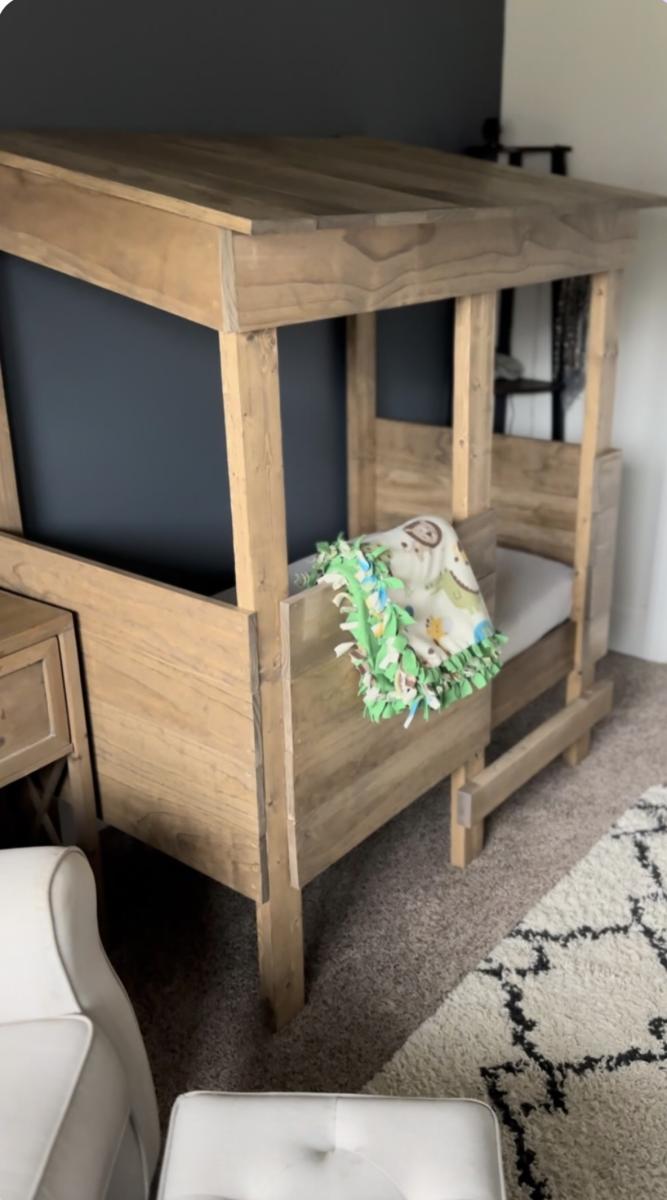
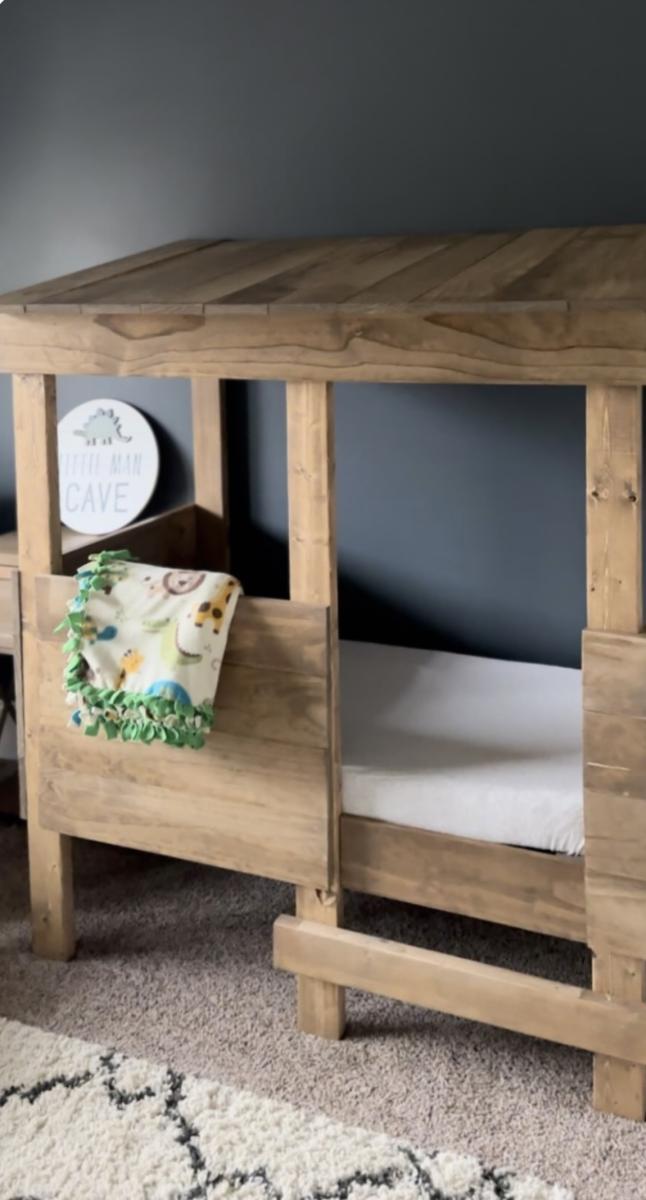
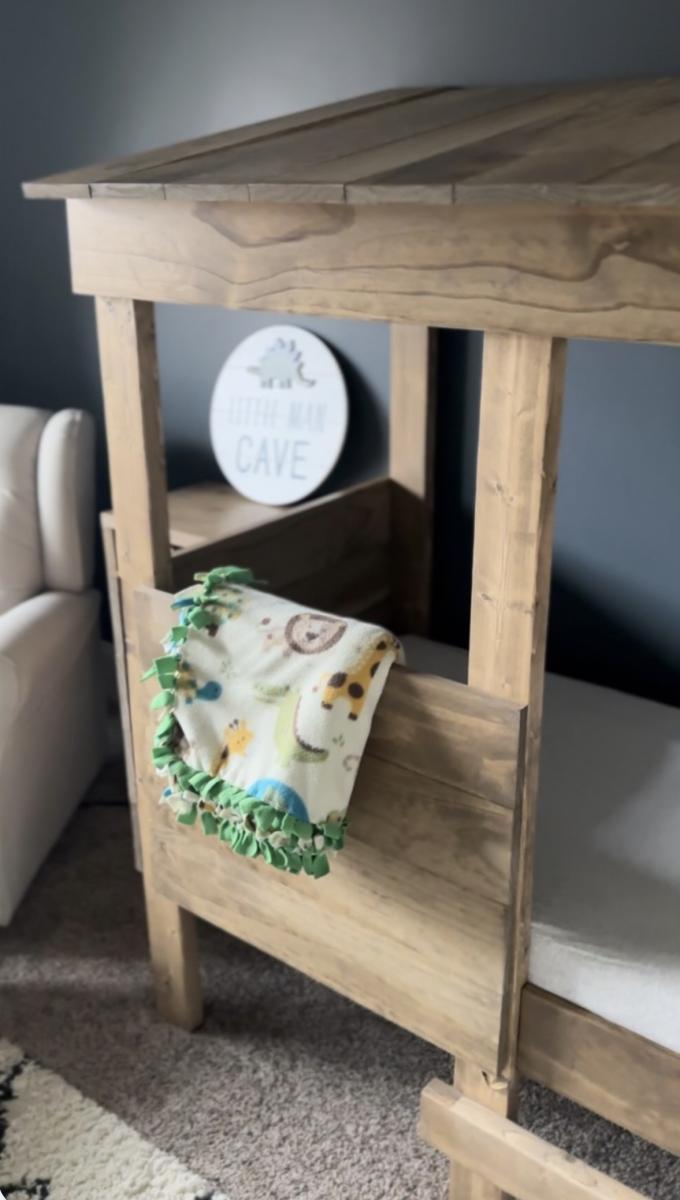
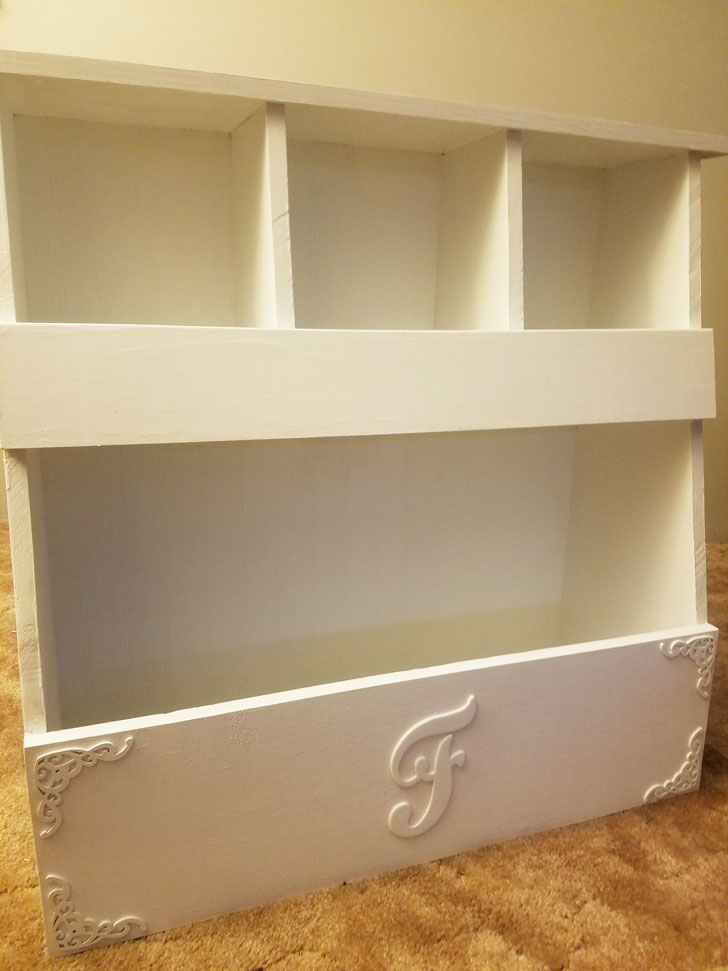
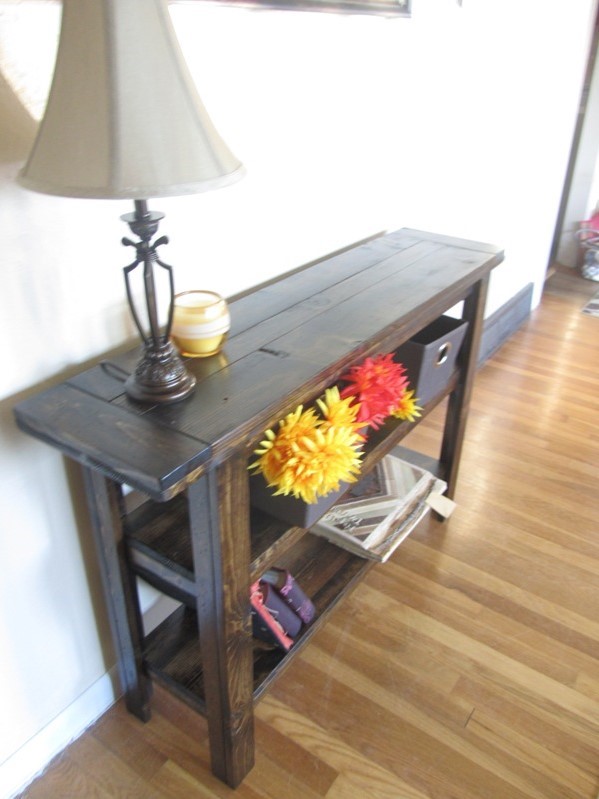
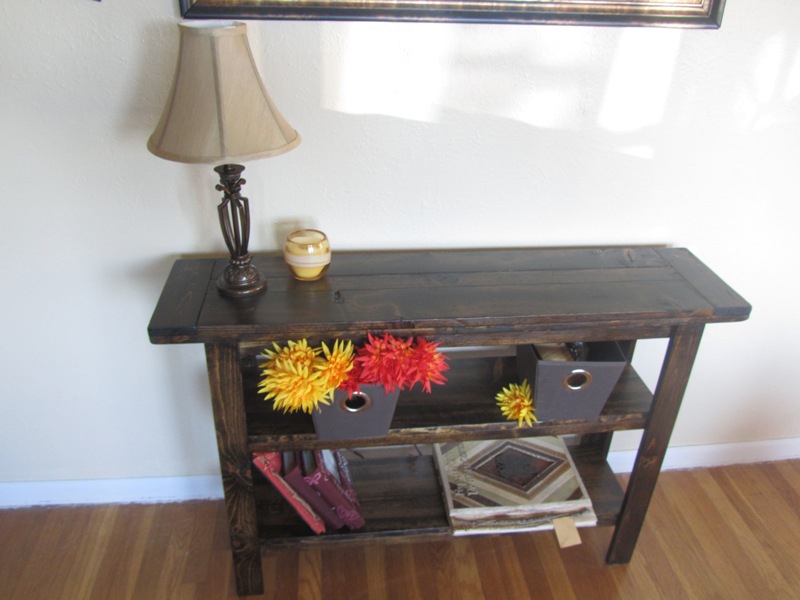
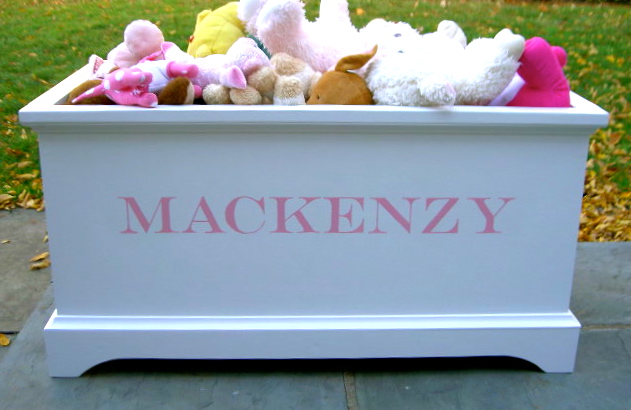
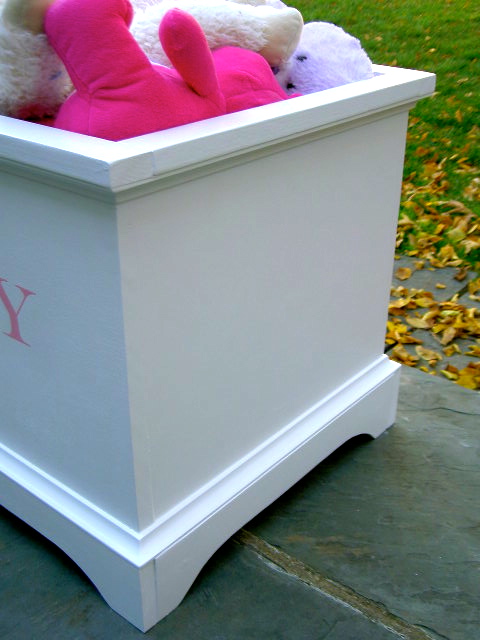
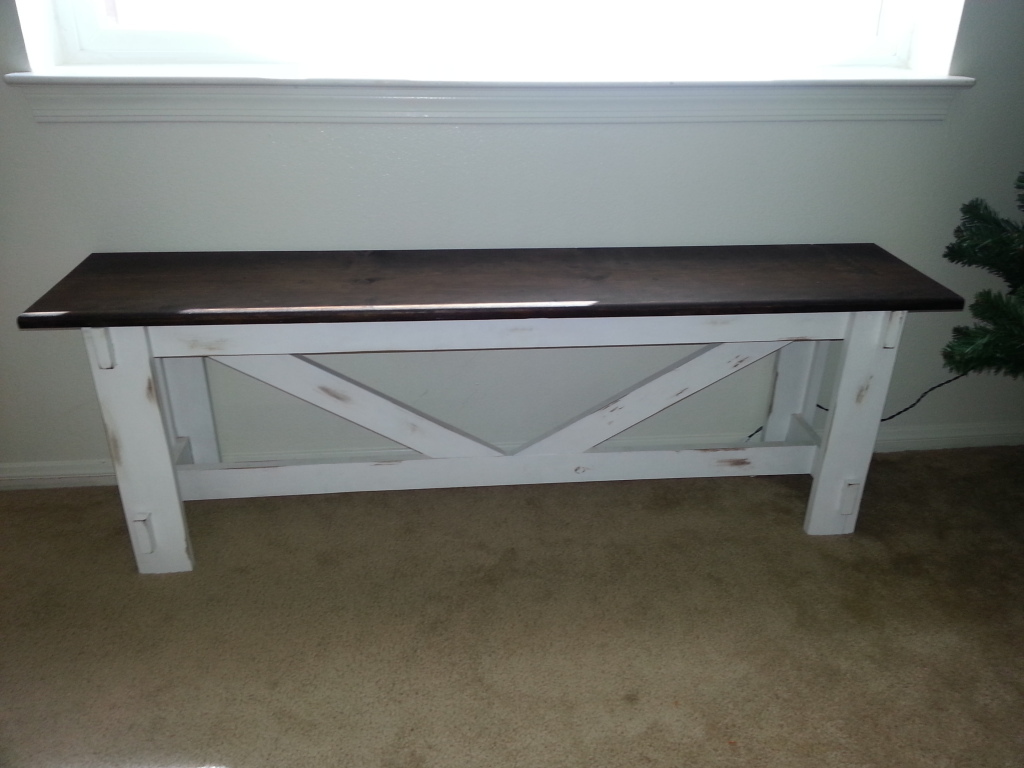
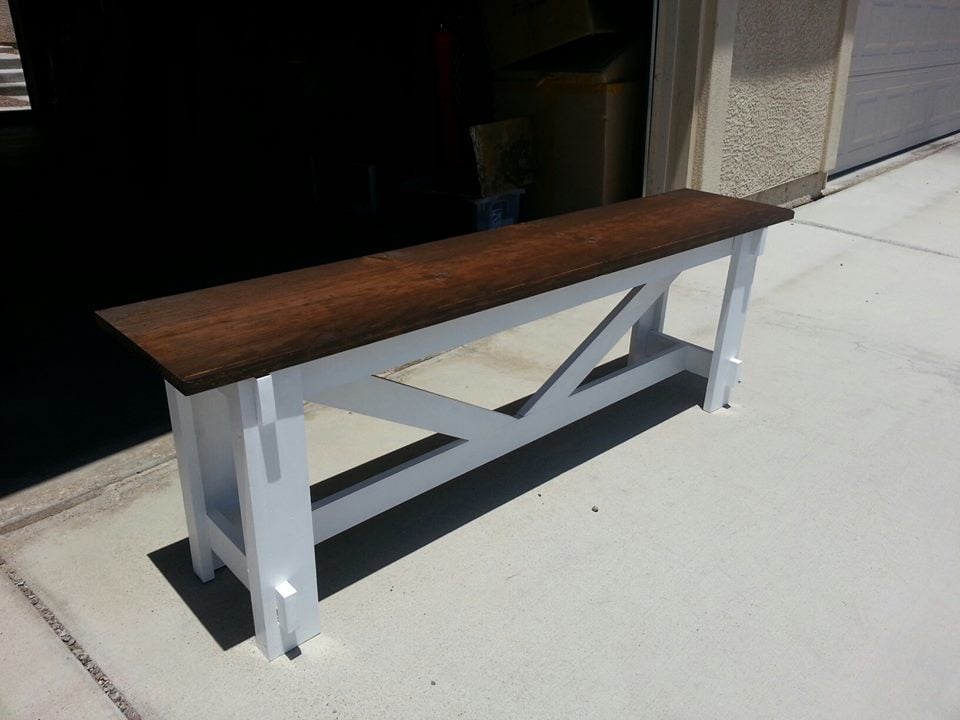
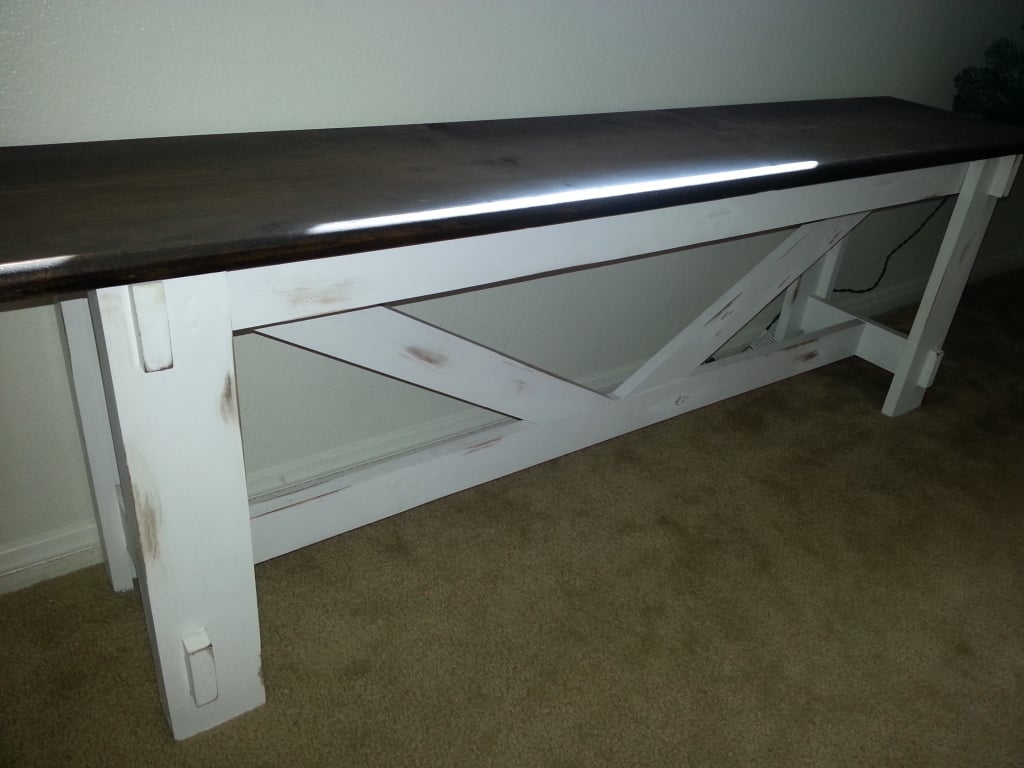
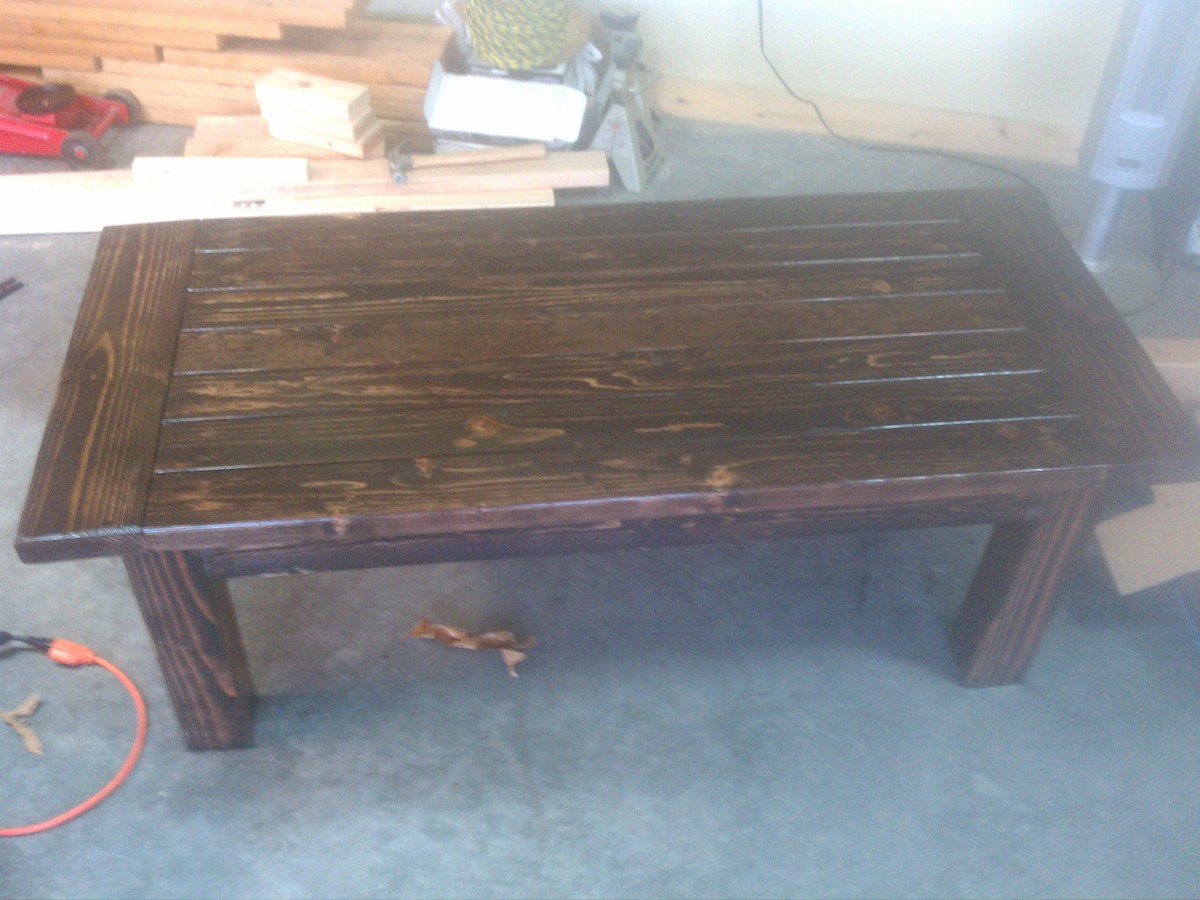
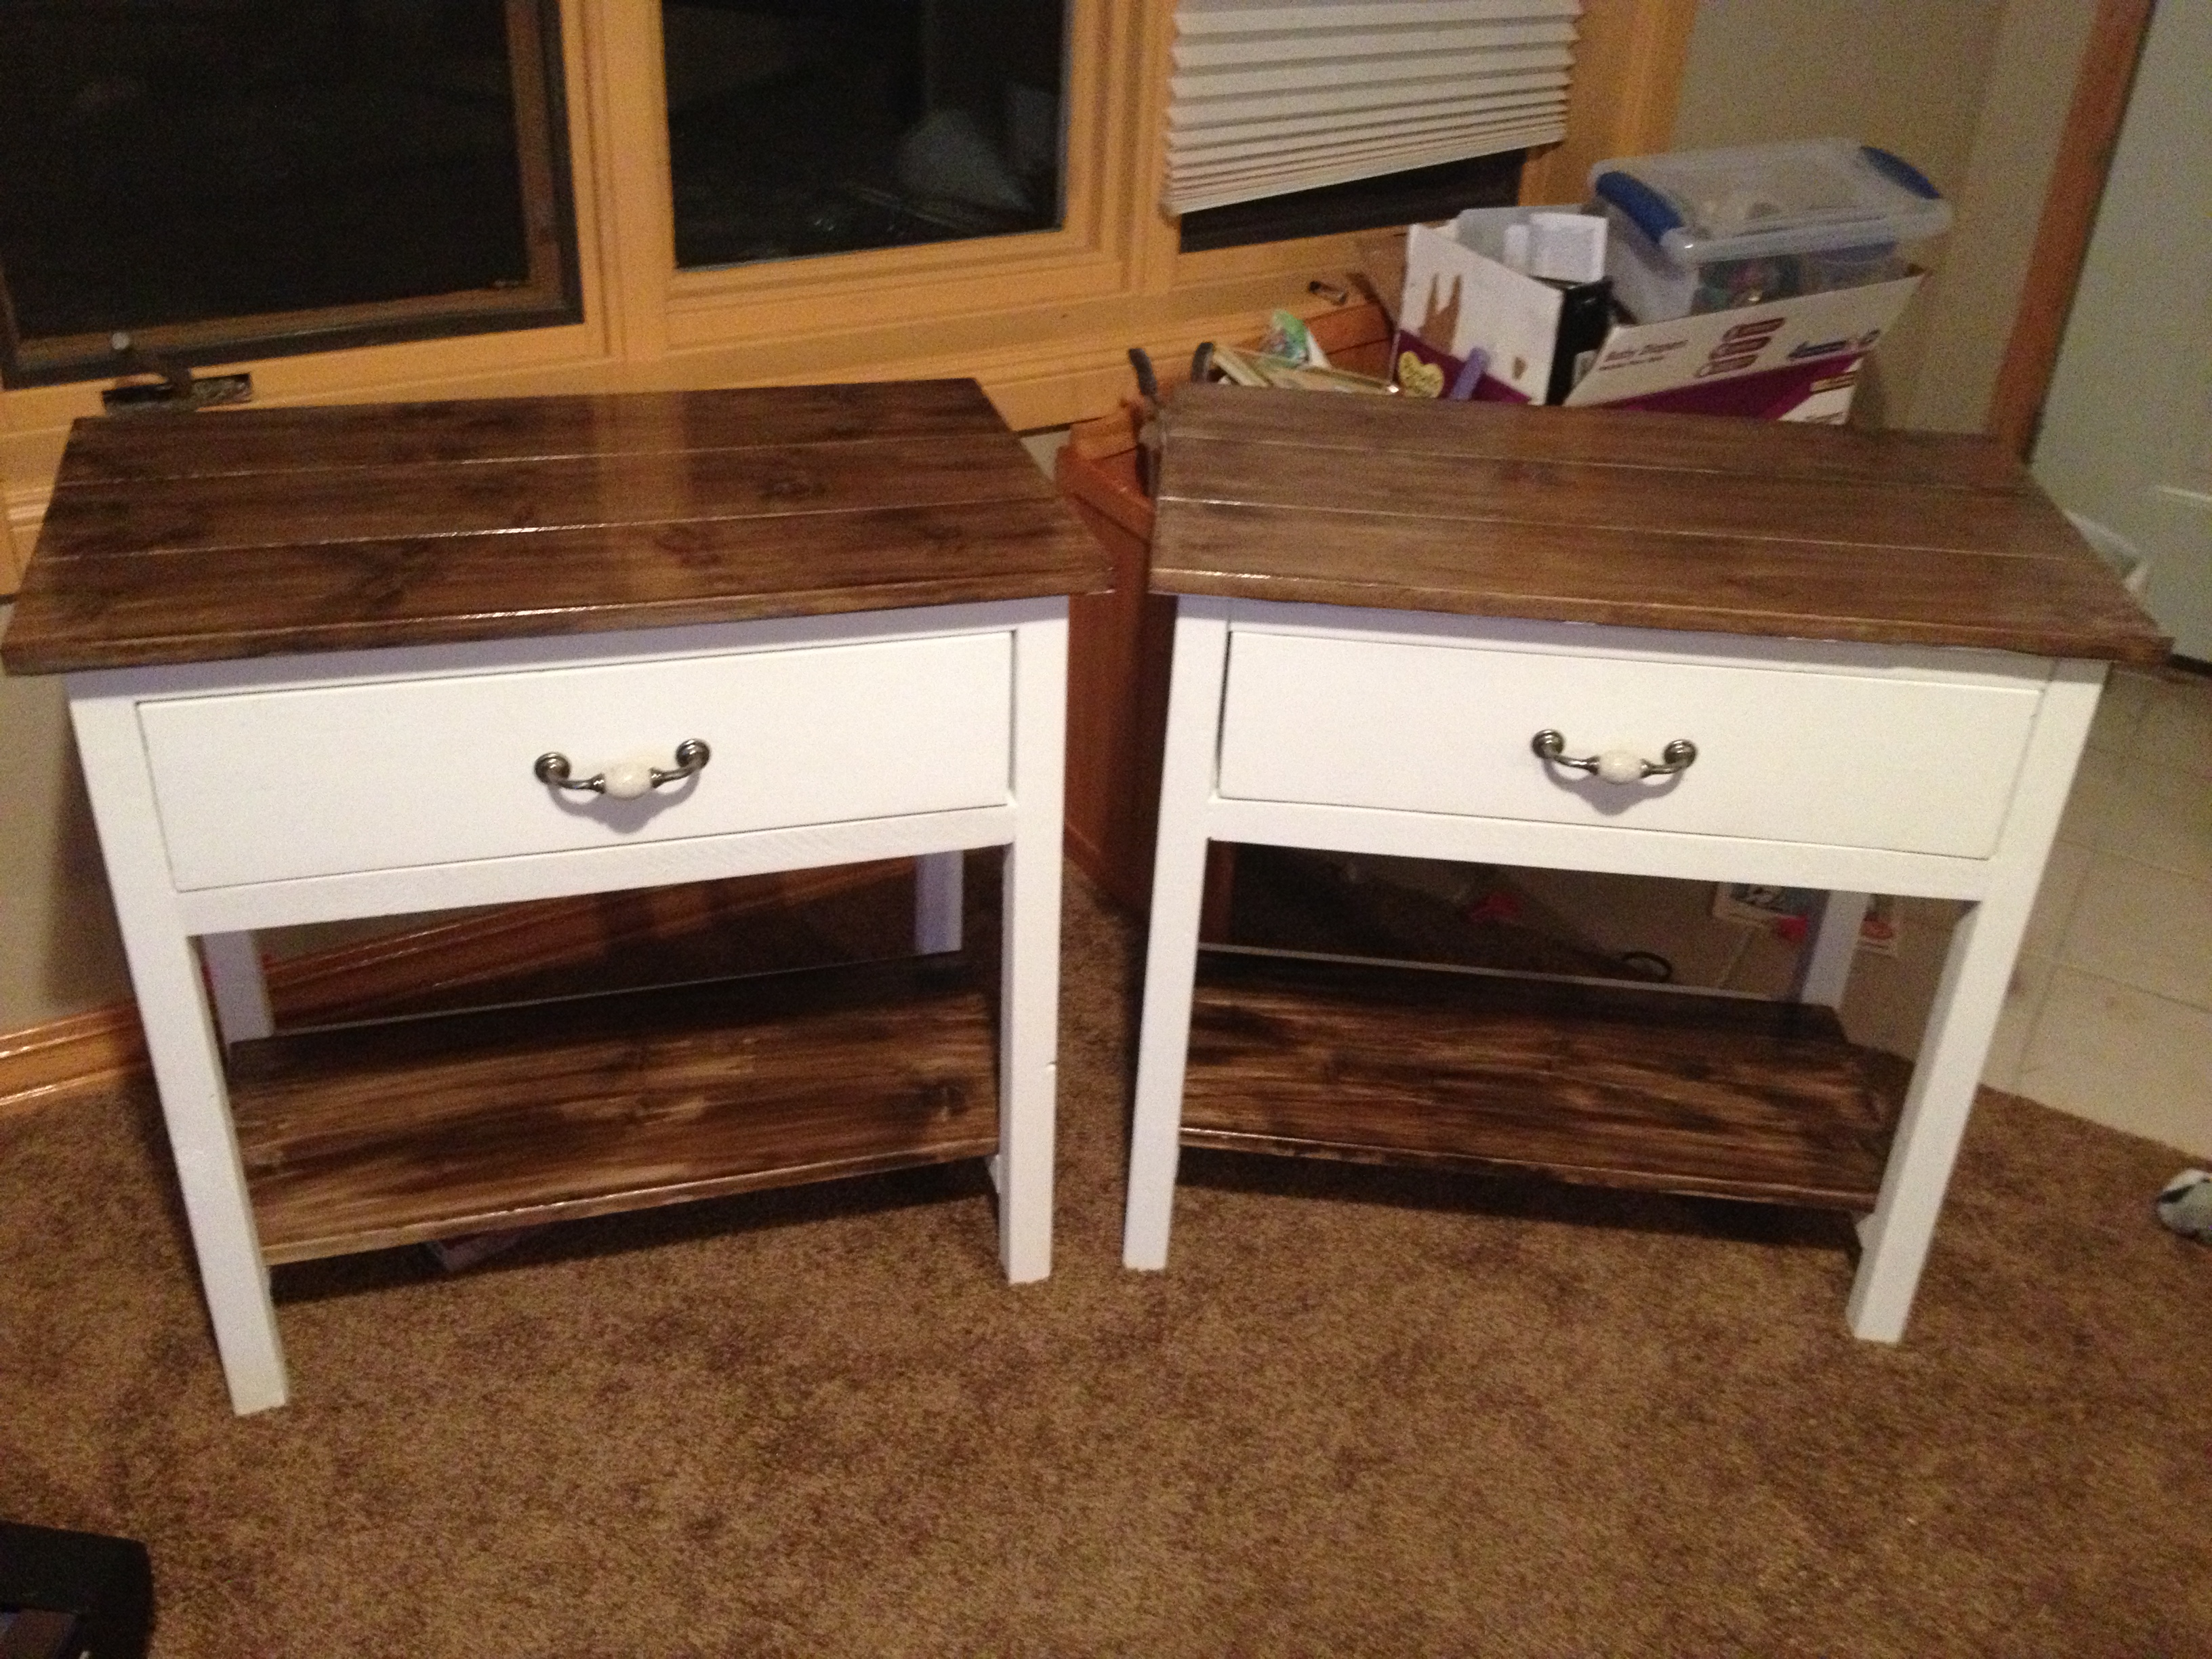
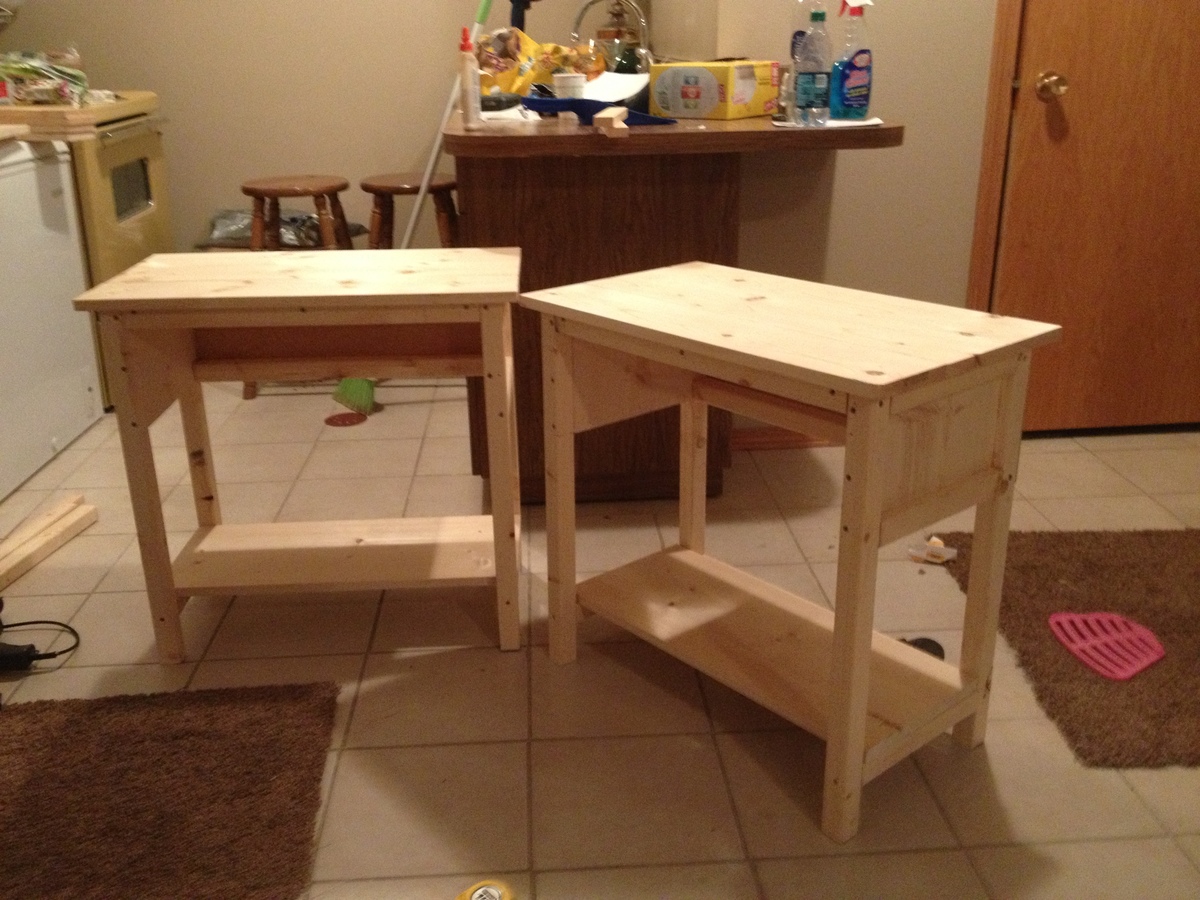
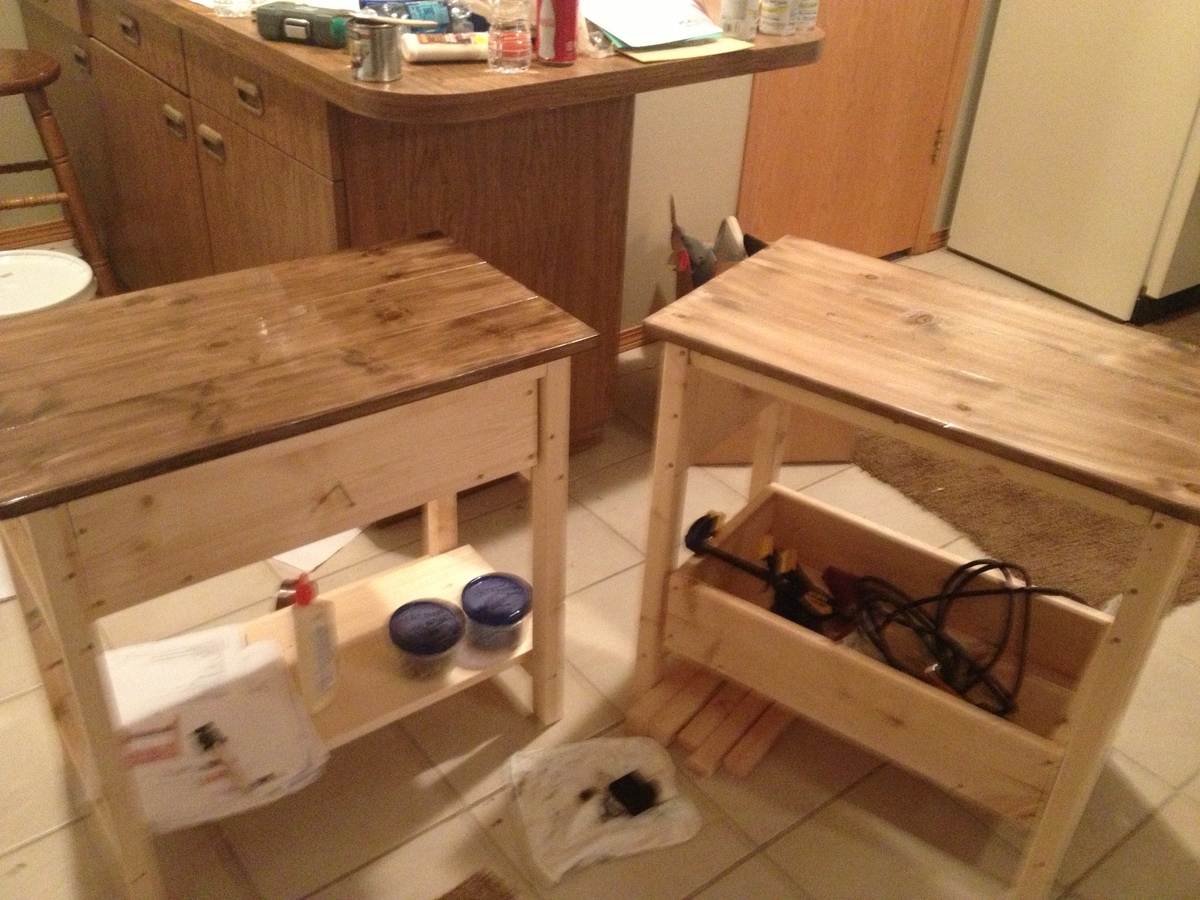
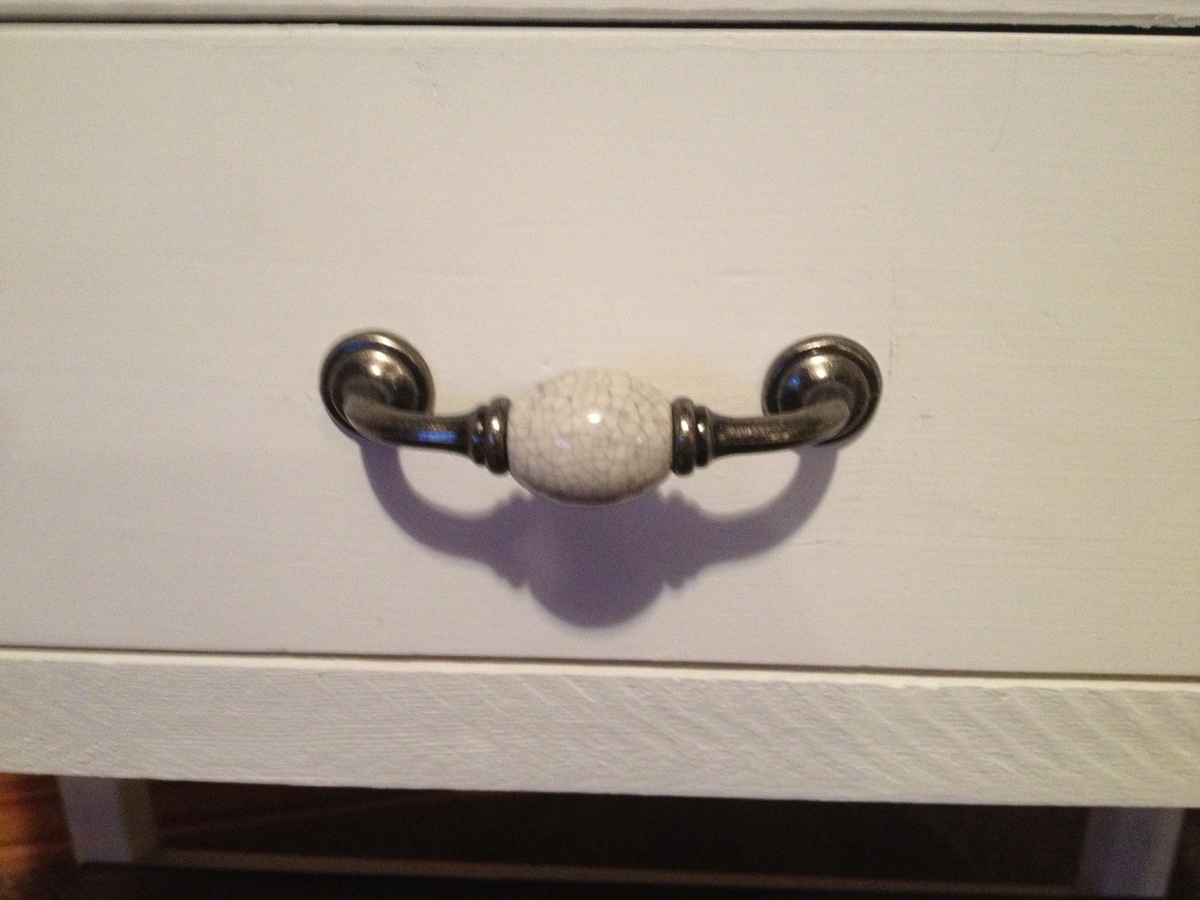
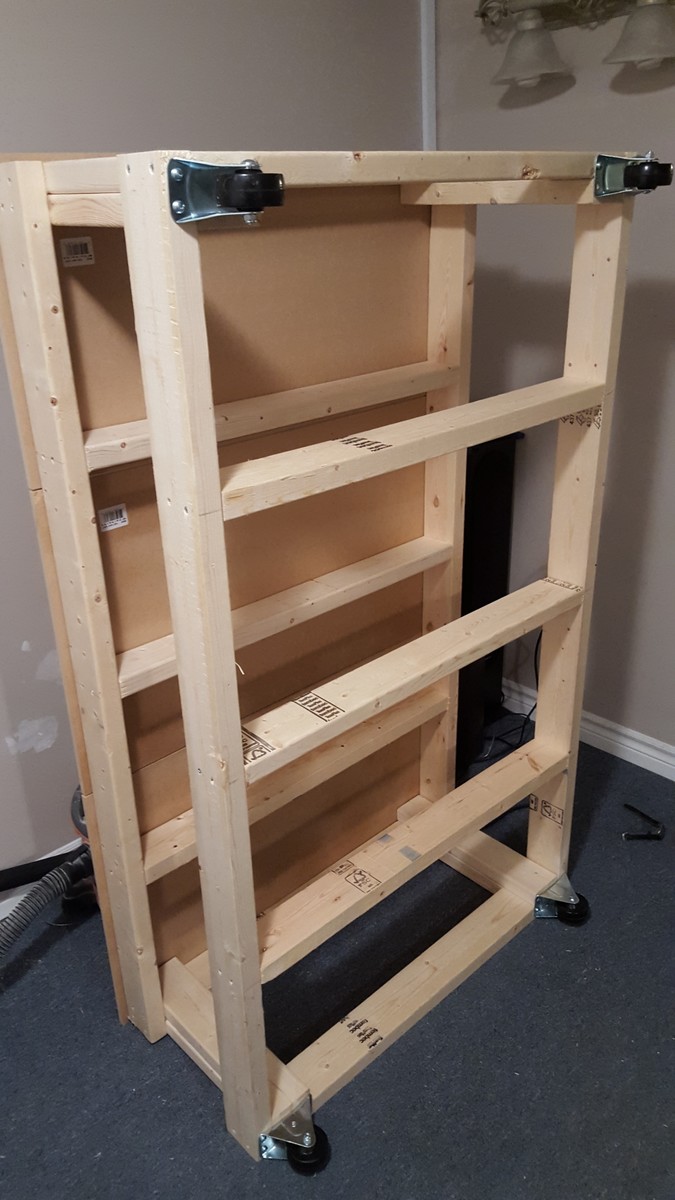
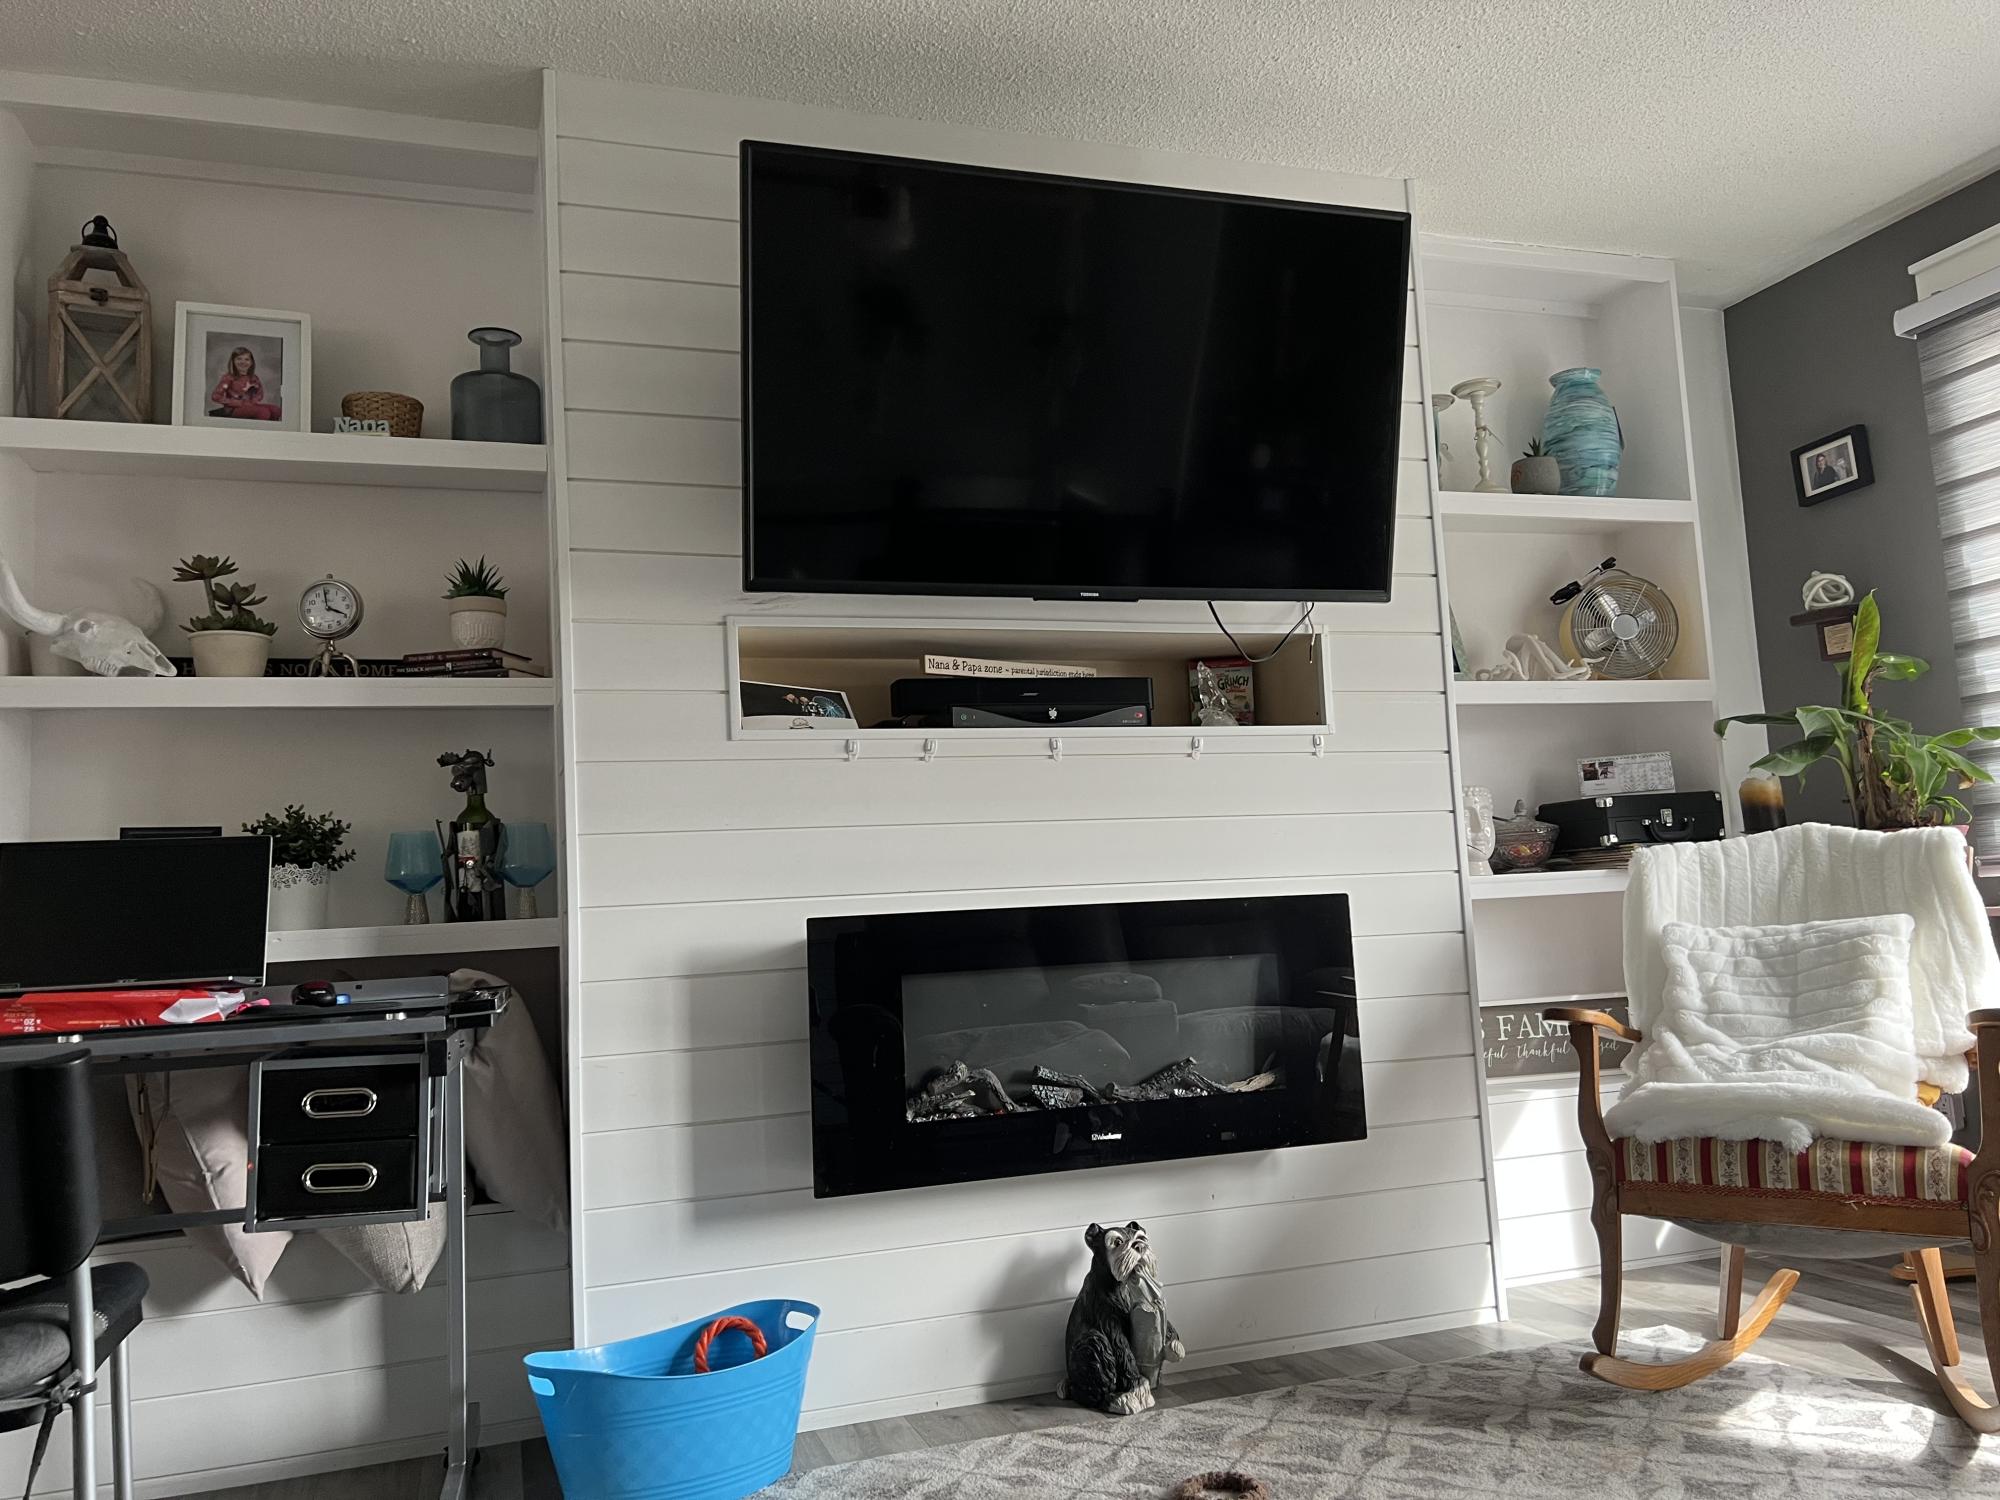
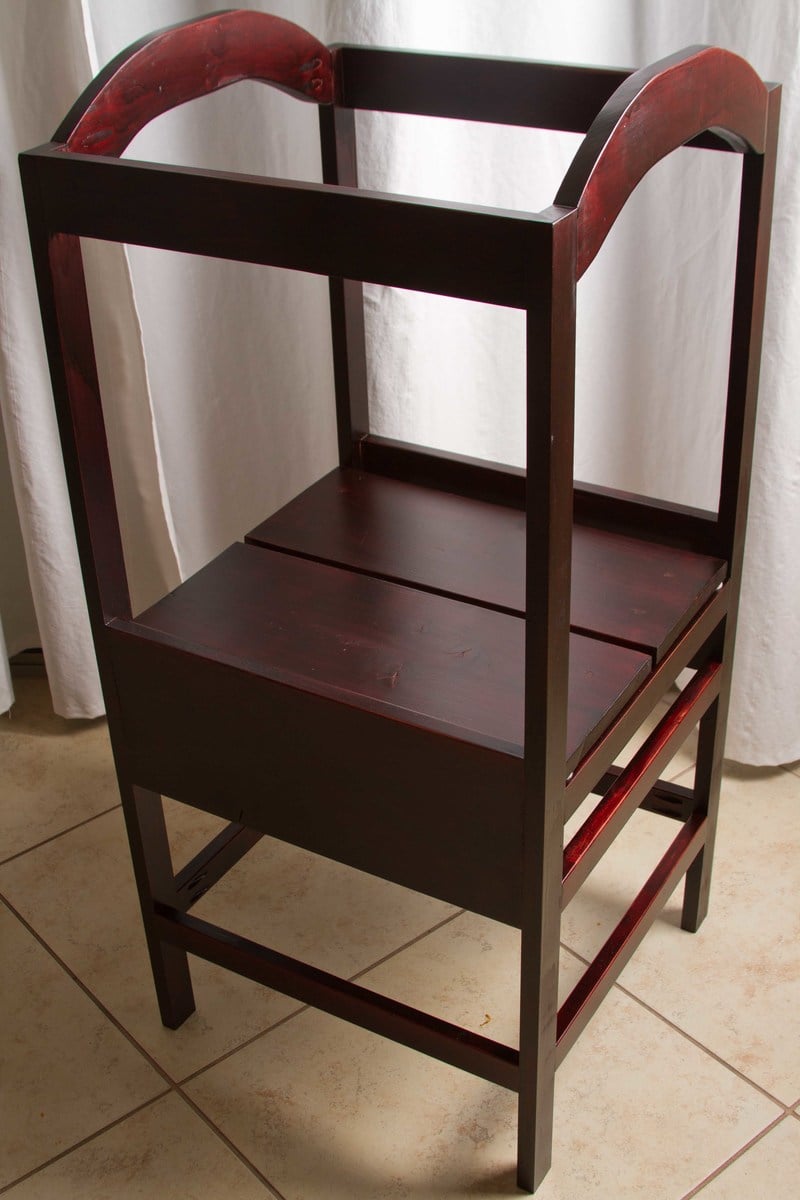
Kentwood bookcase
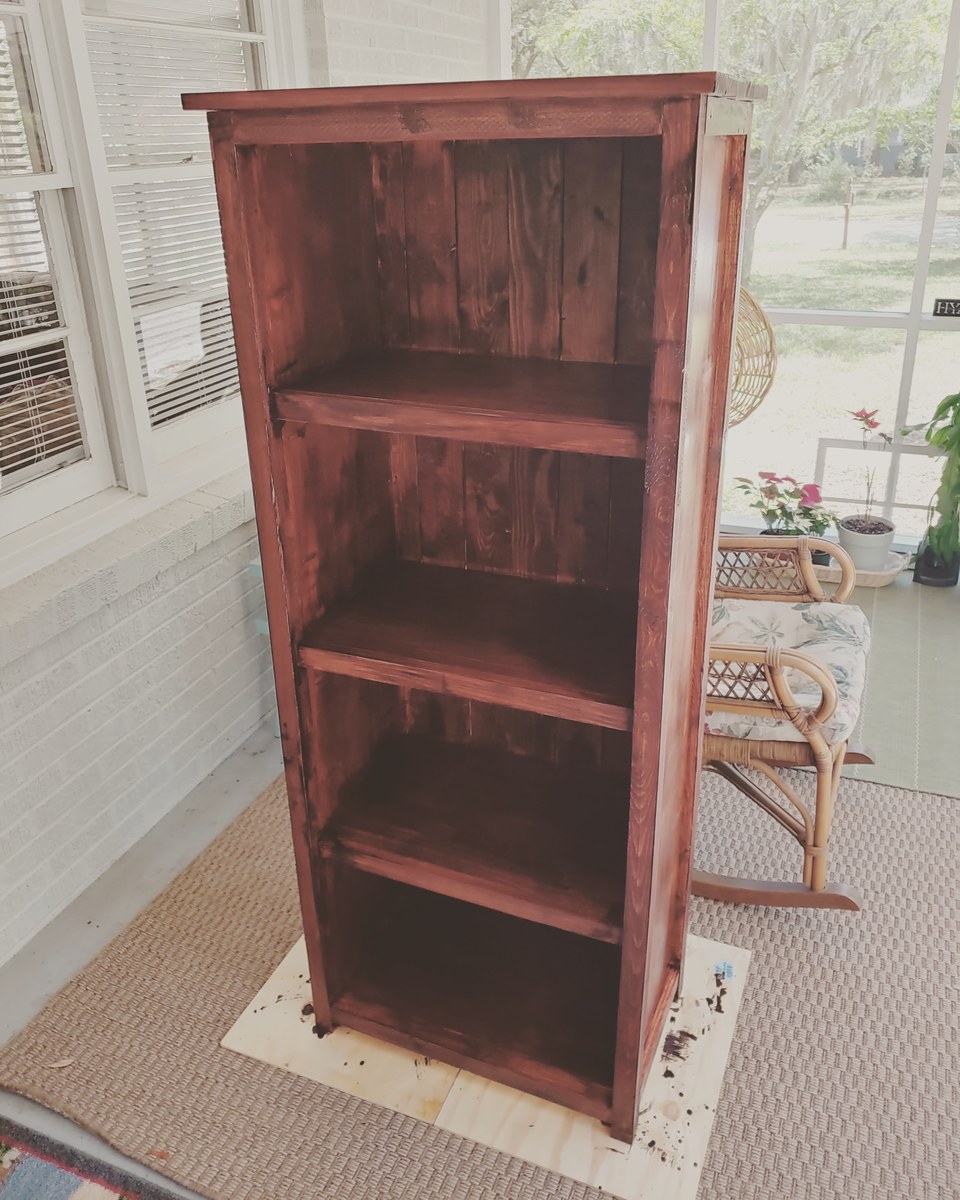
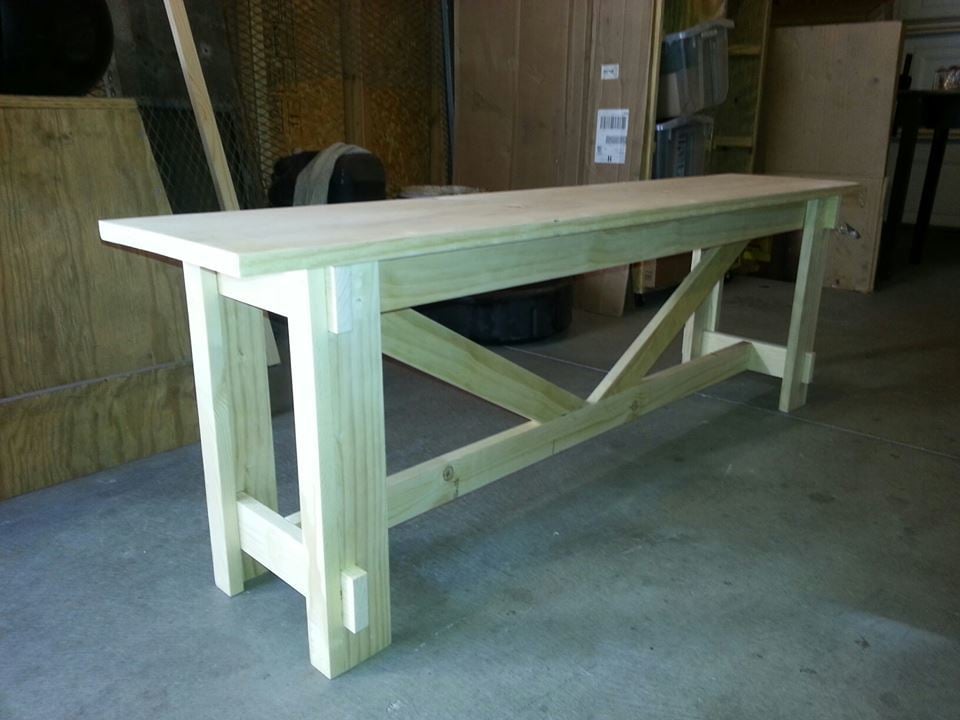
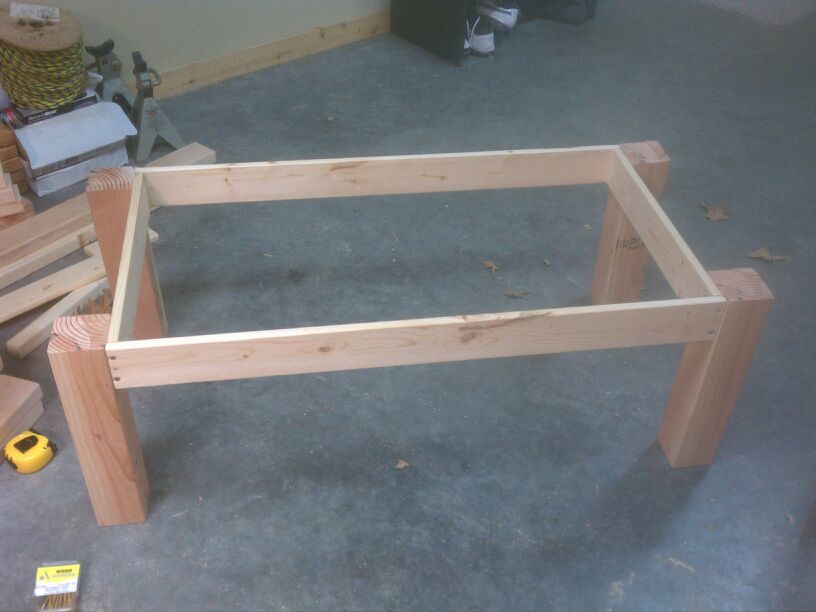
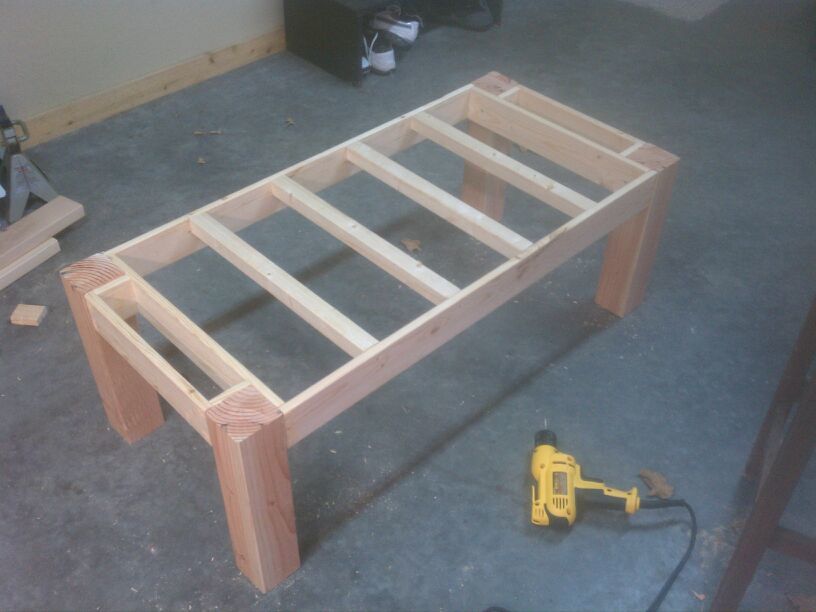
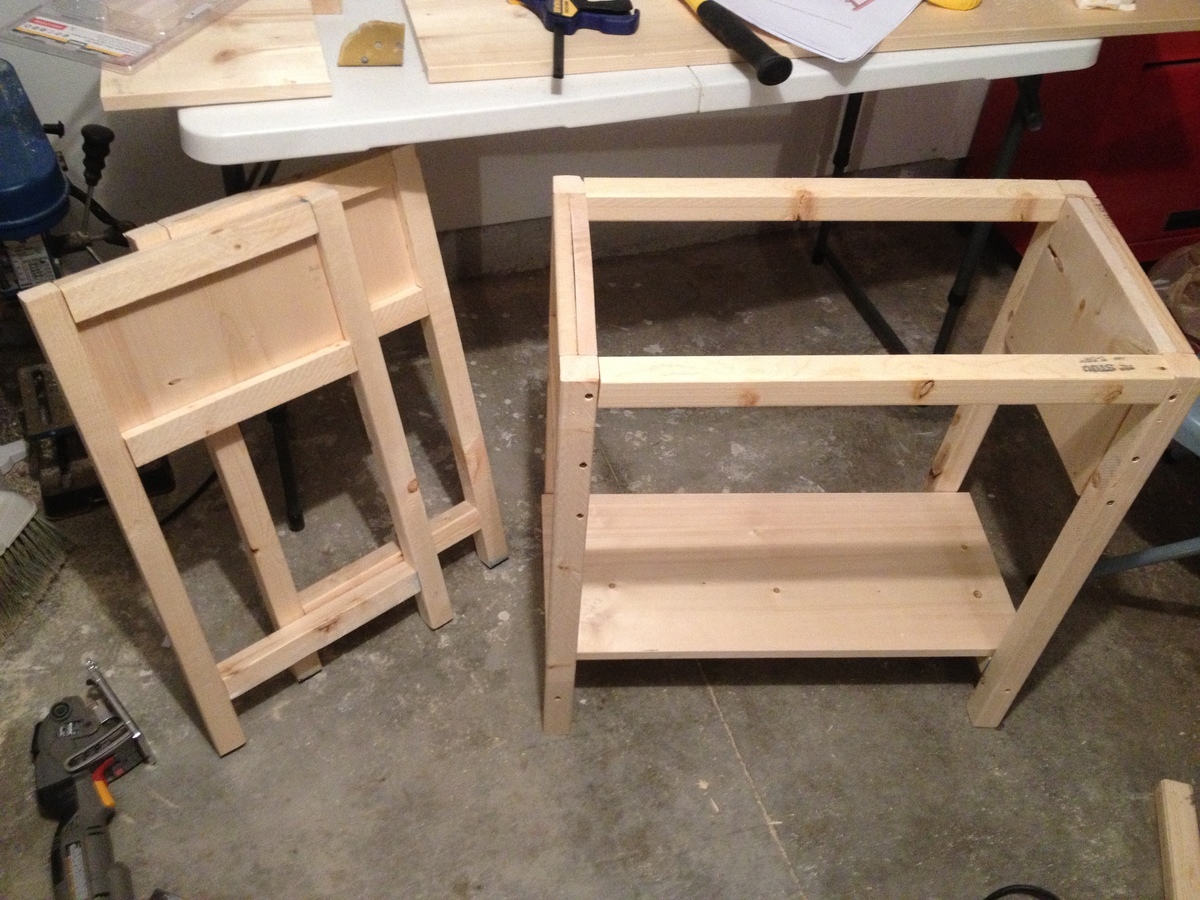
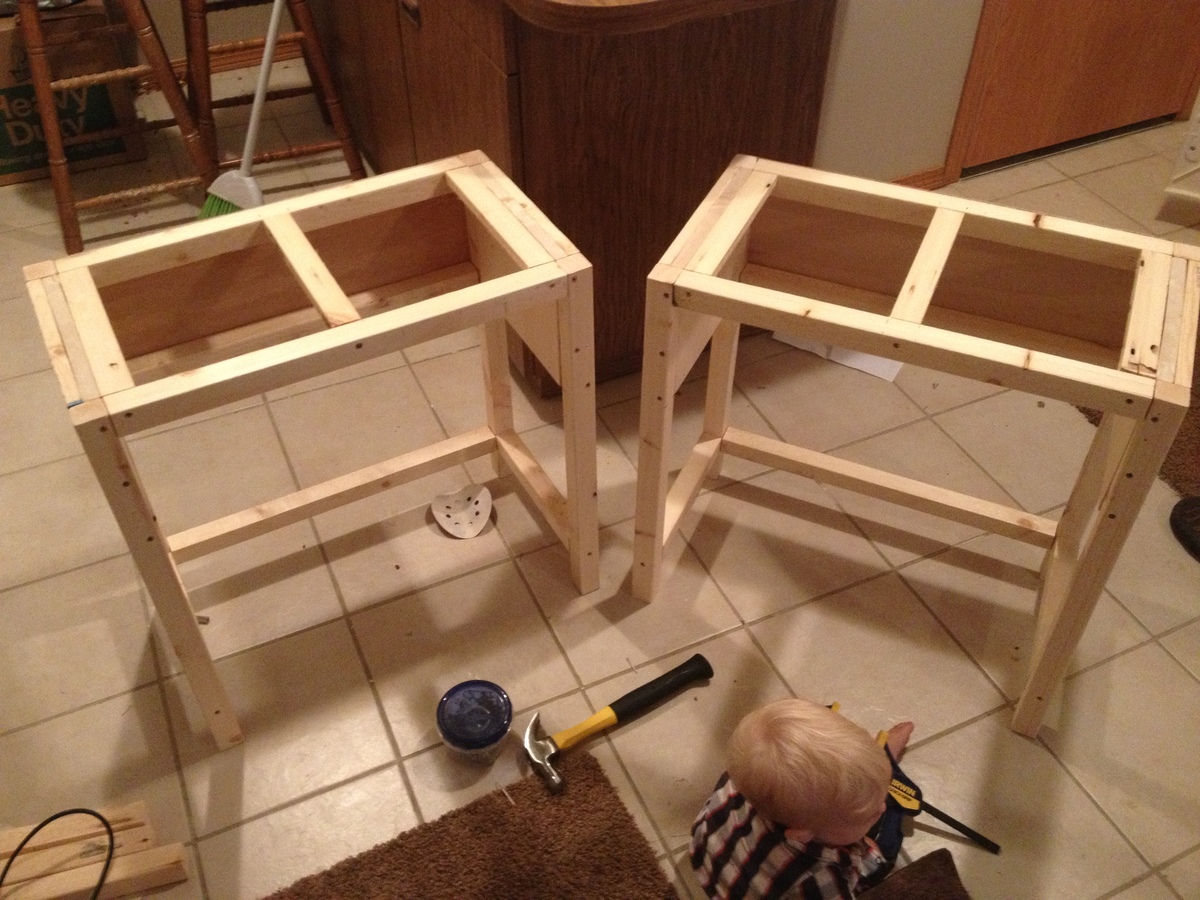
My first build! Yay! Easy for a newbie!
Built from Plan(s)
Estimated Cost
175.00
Estimated Time Investment
Weekend Project (10-20 Hours)
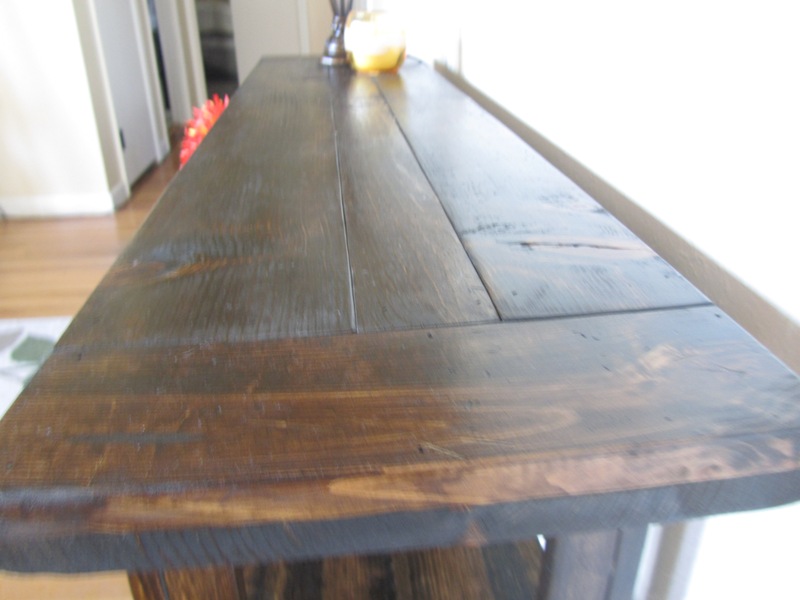
Finish Used
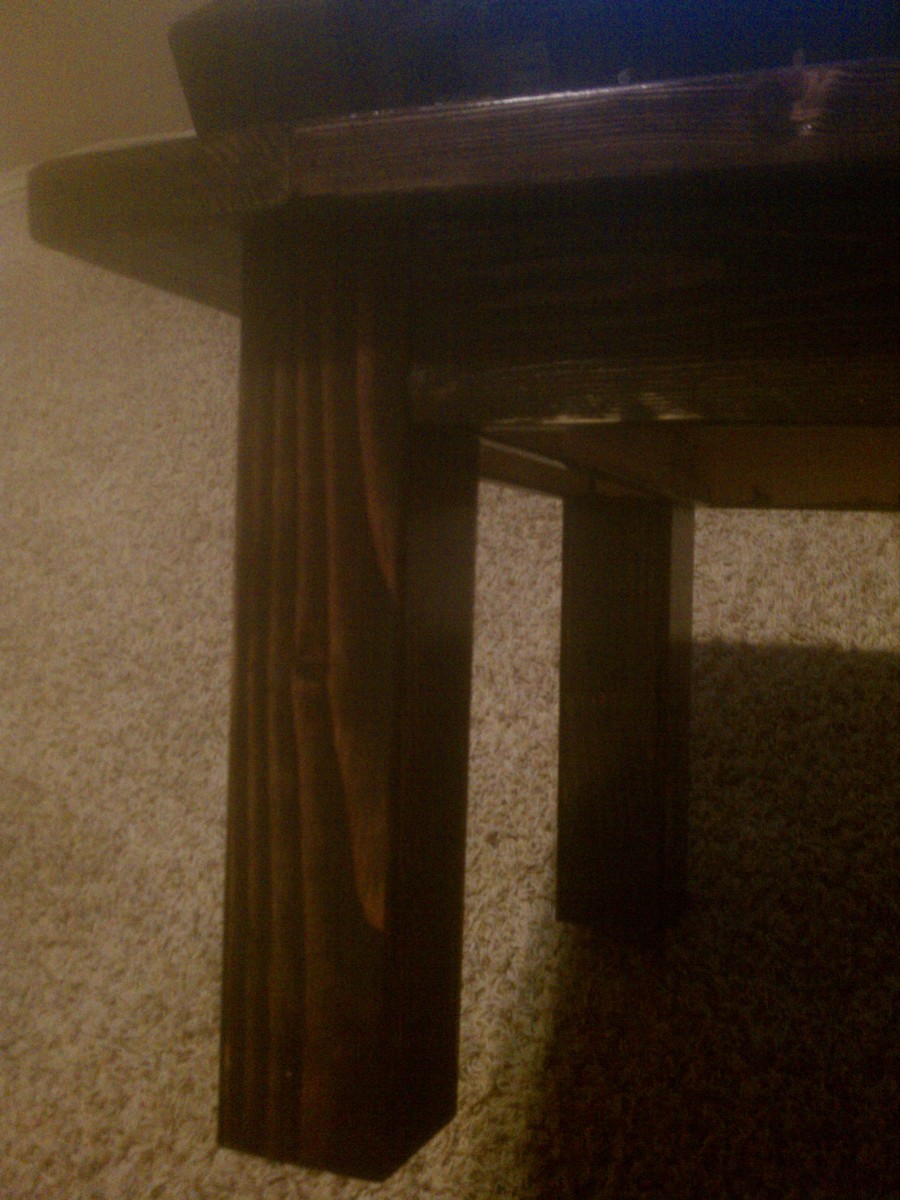
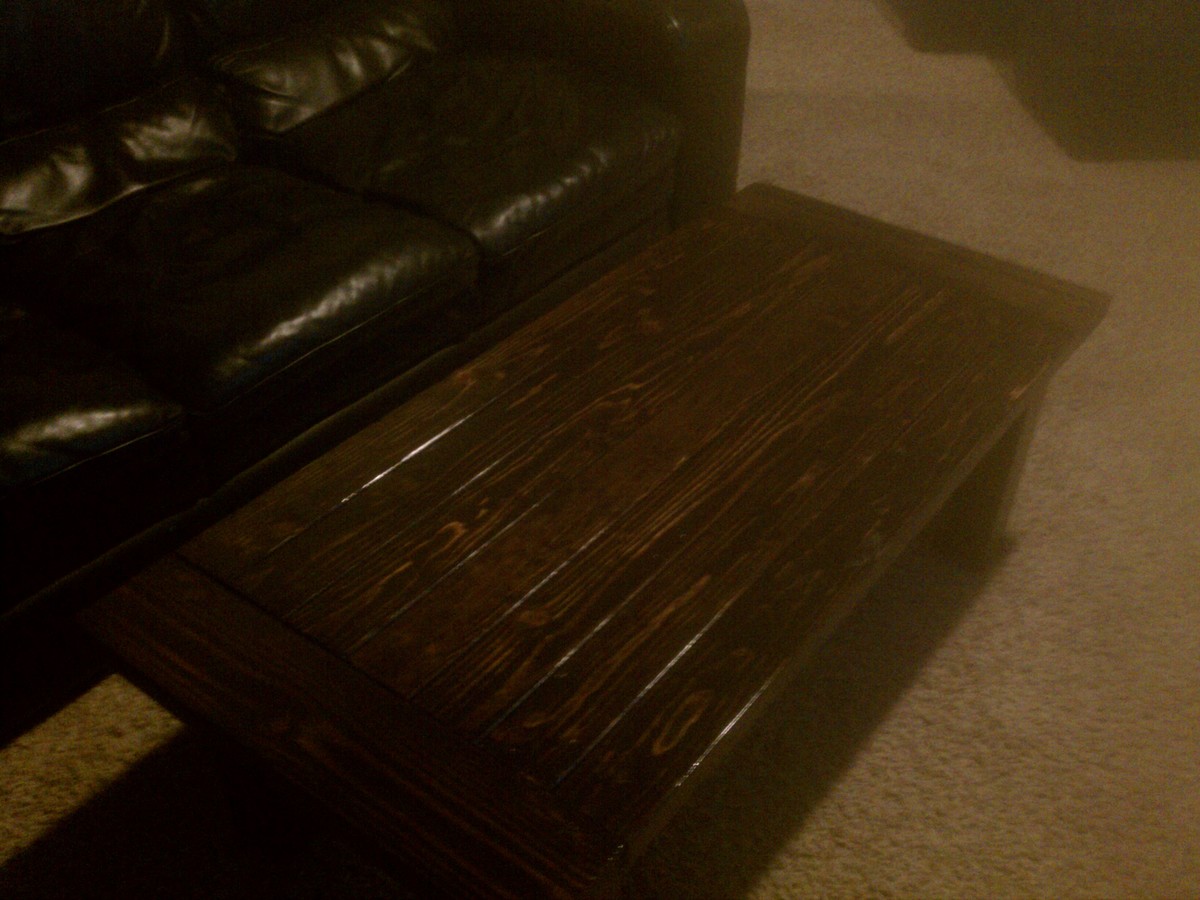
Minwax polyshades, mission oak
Recommended Skill Level
Beginner