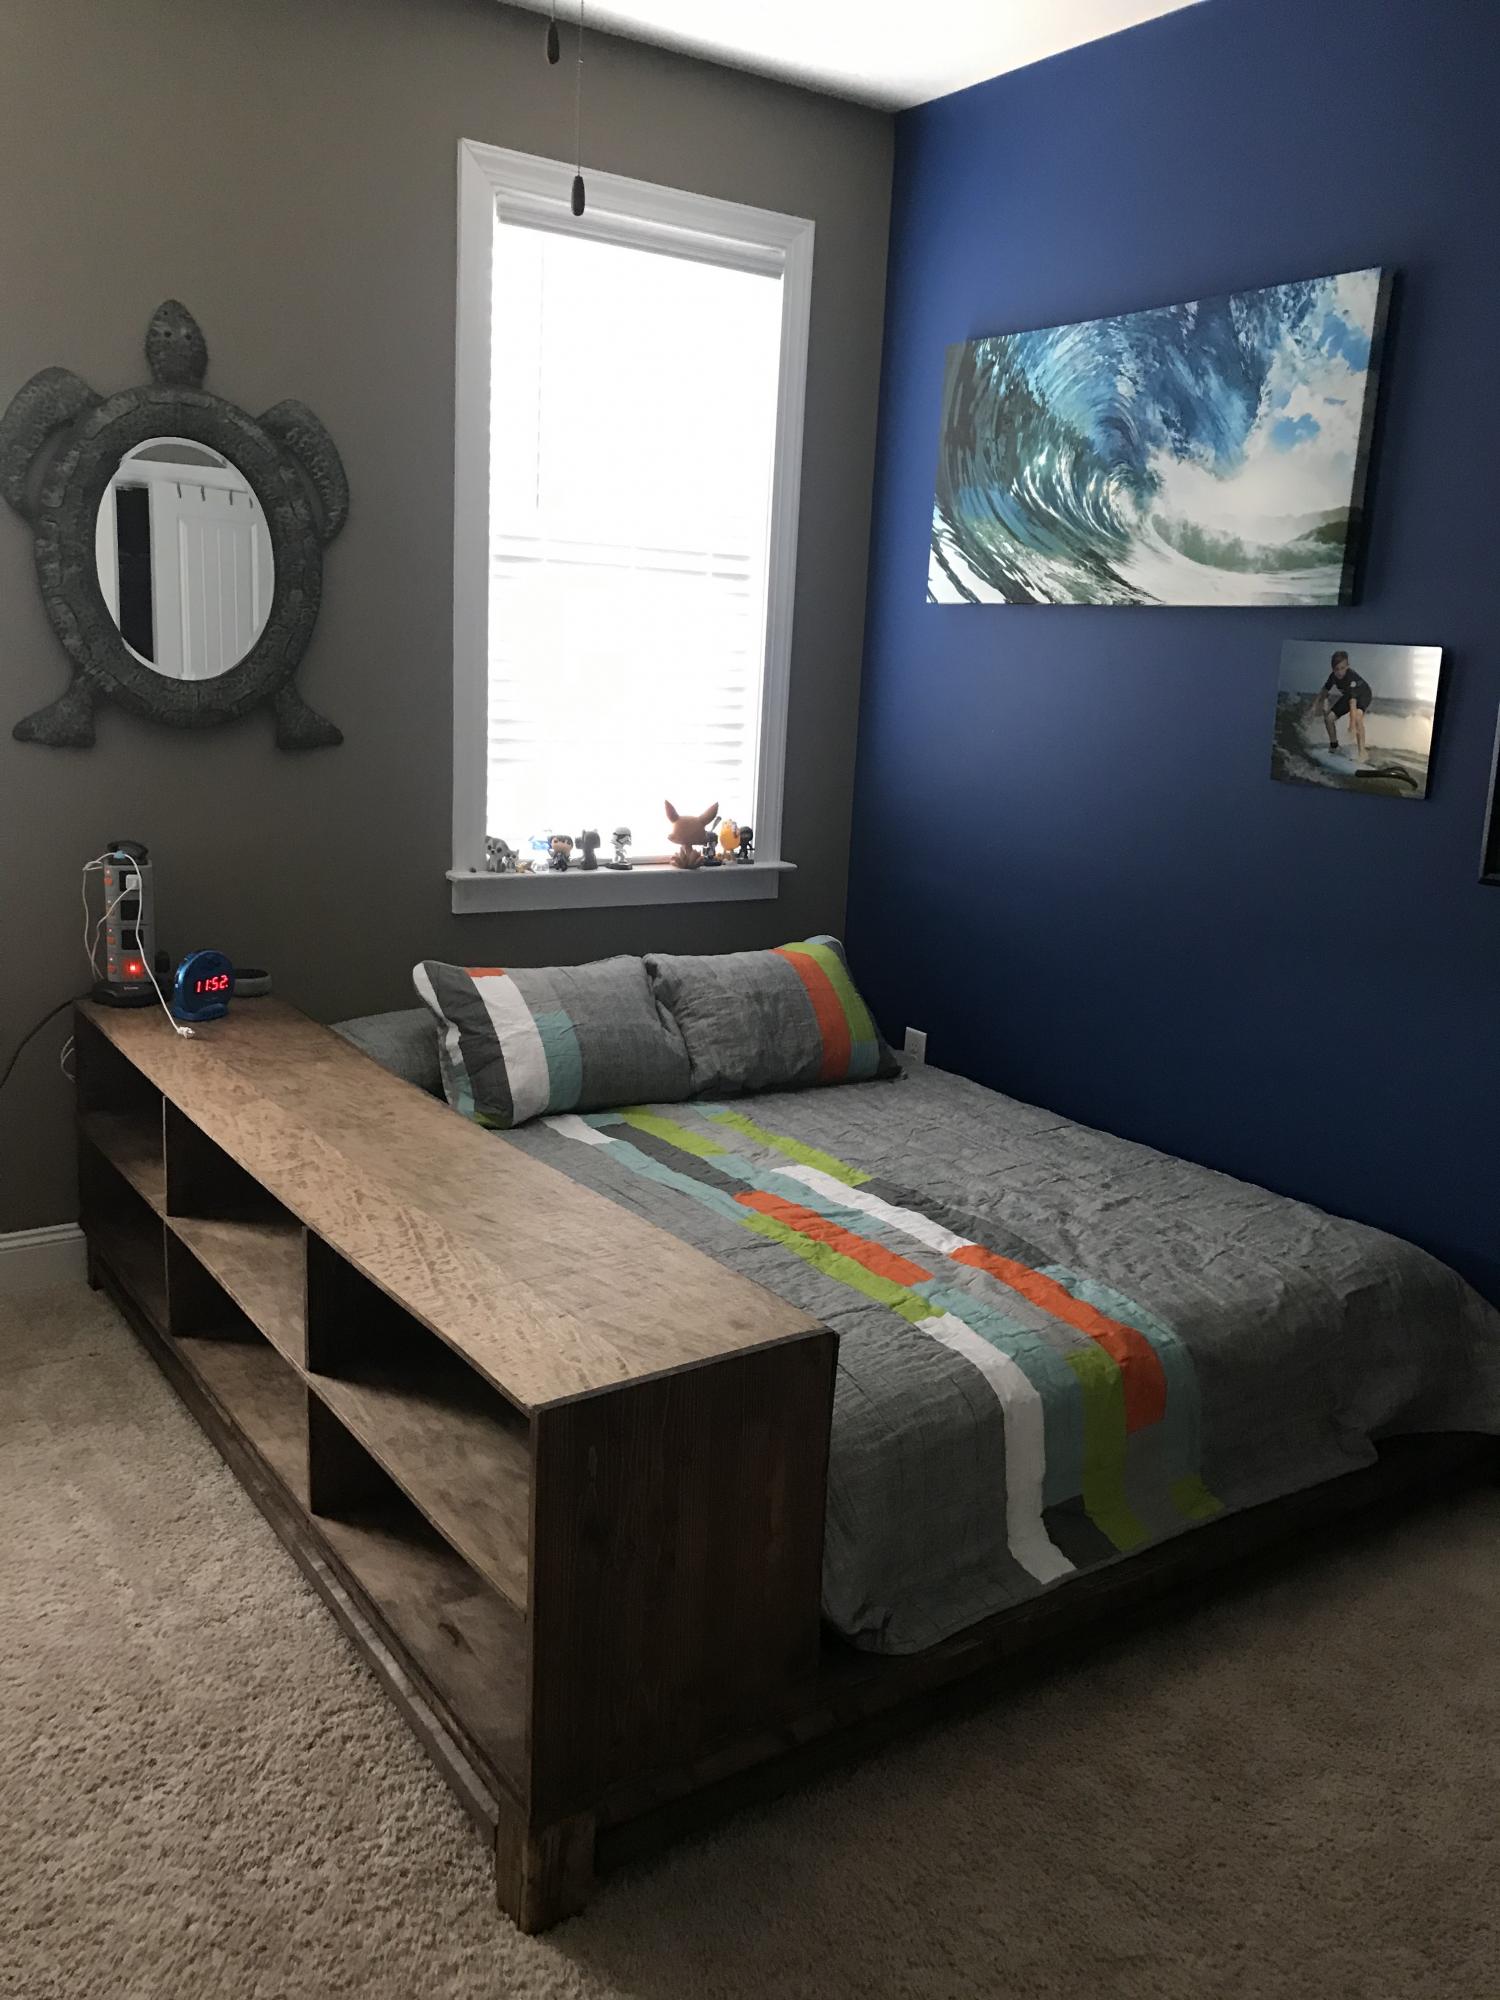
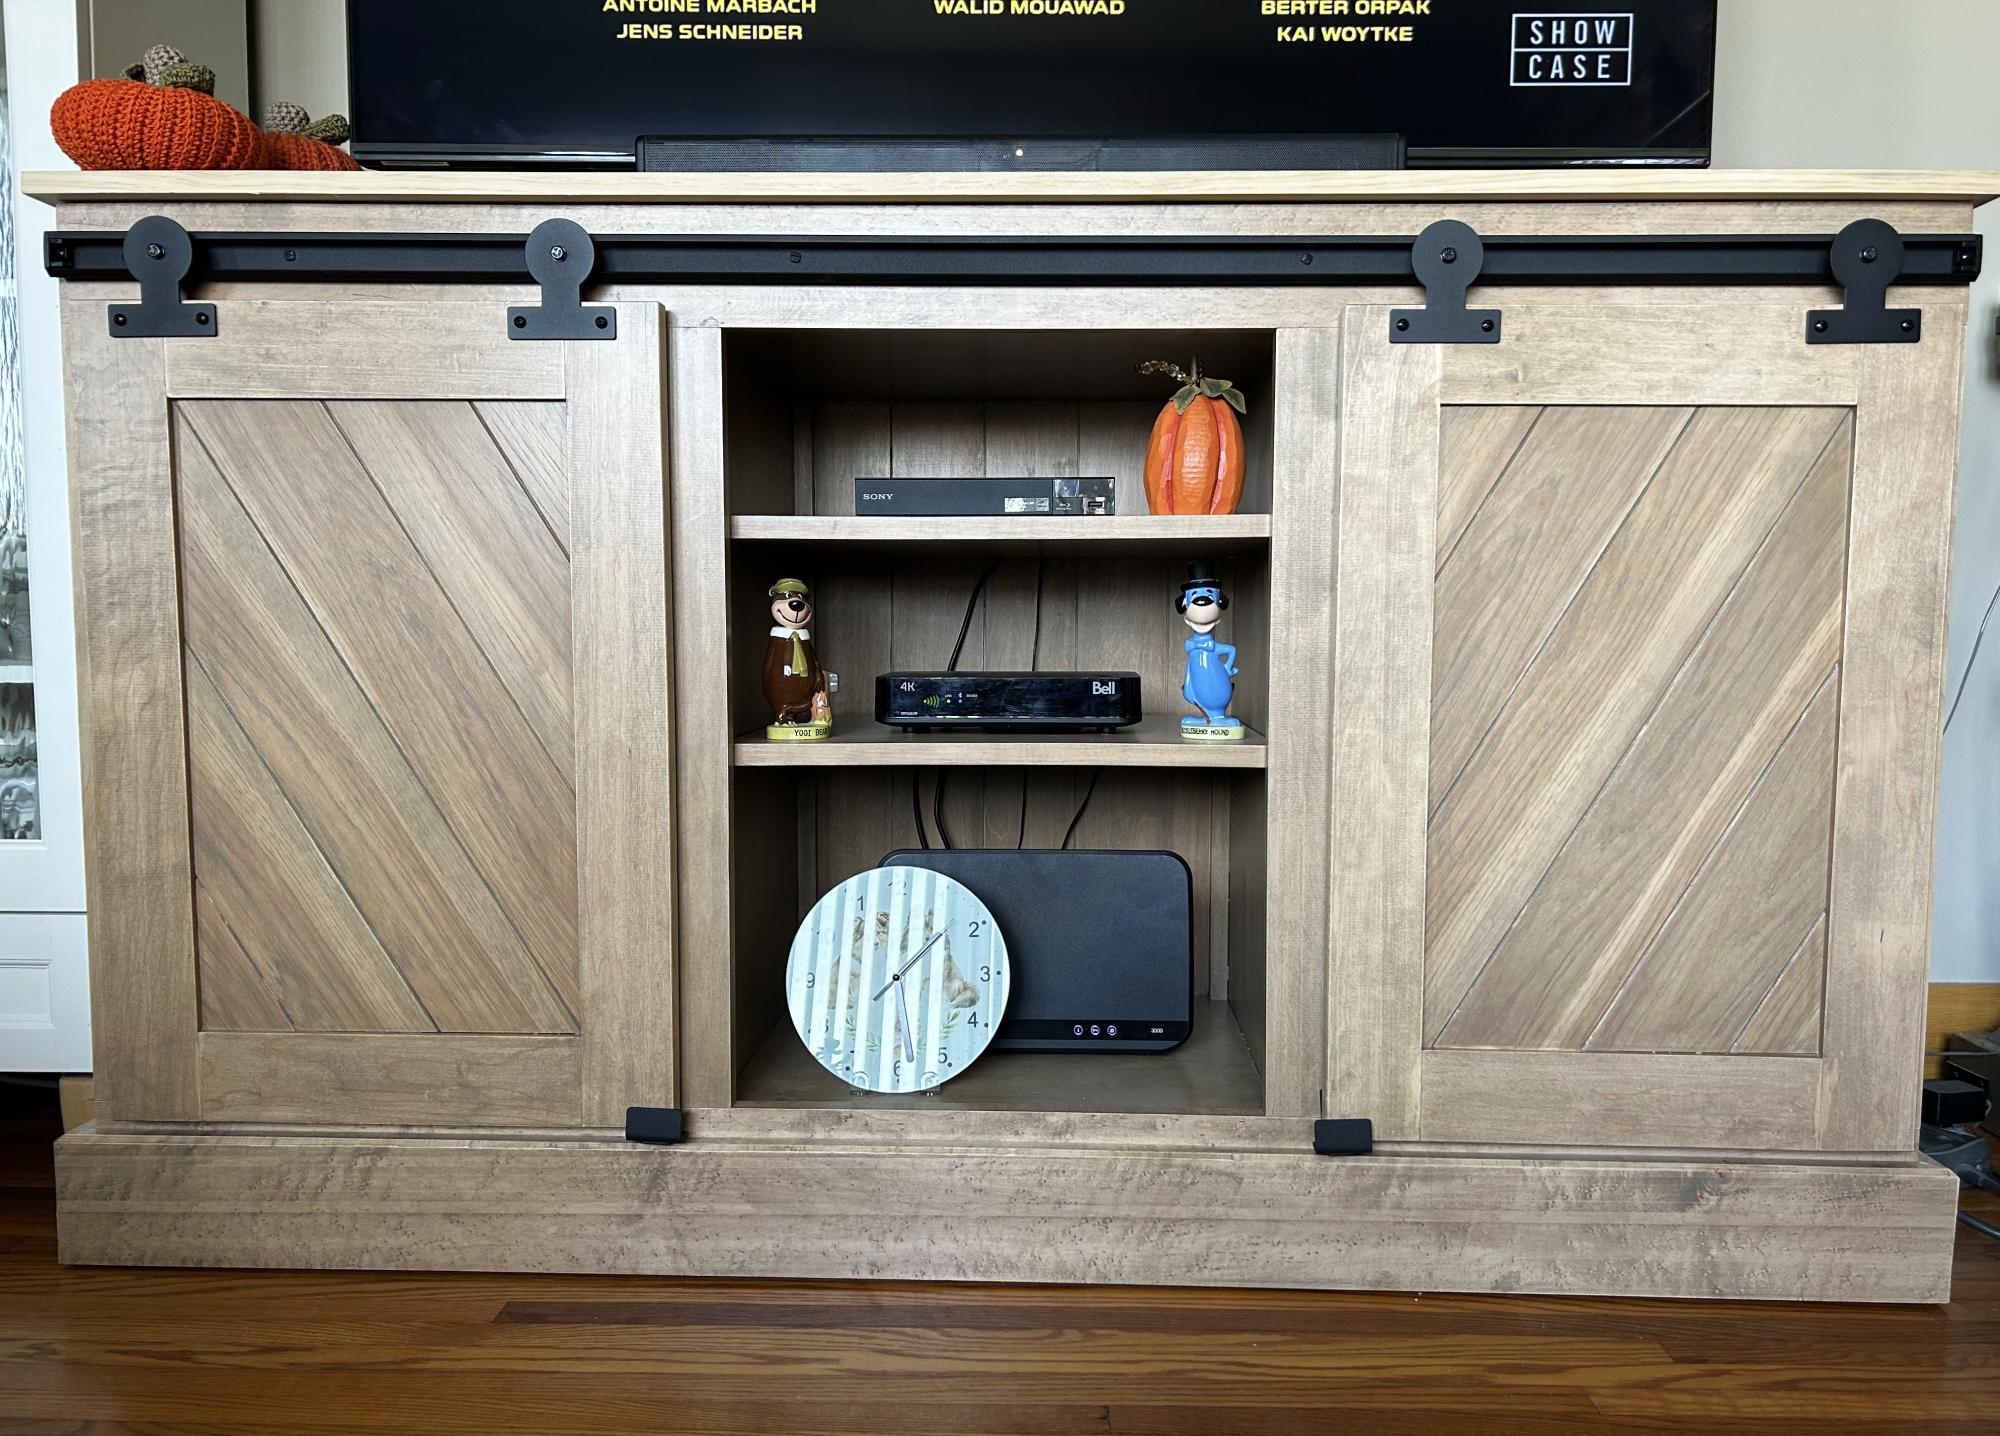
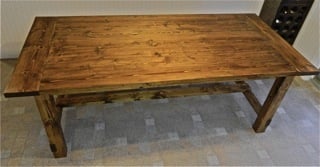
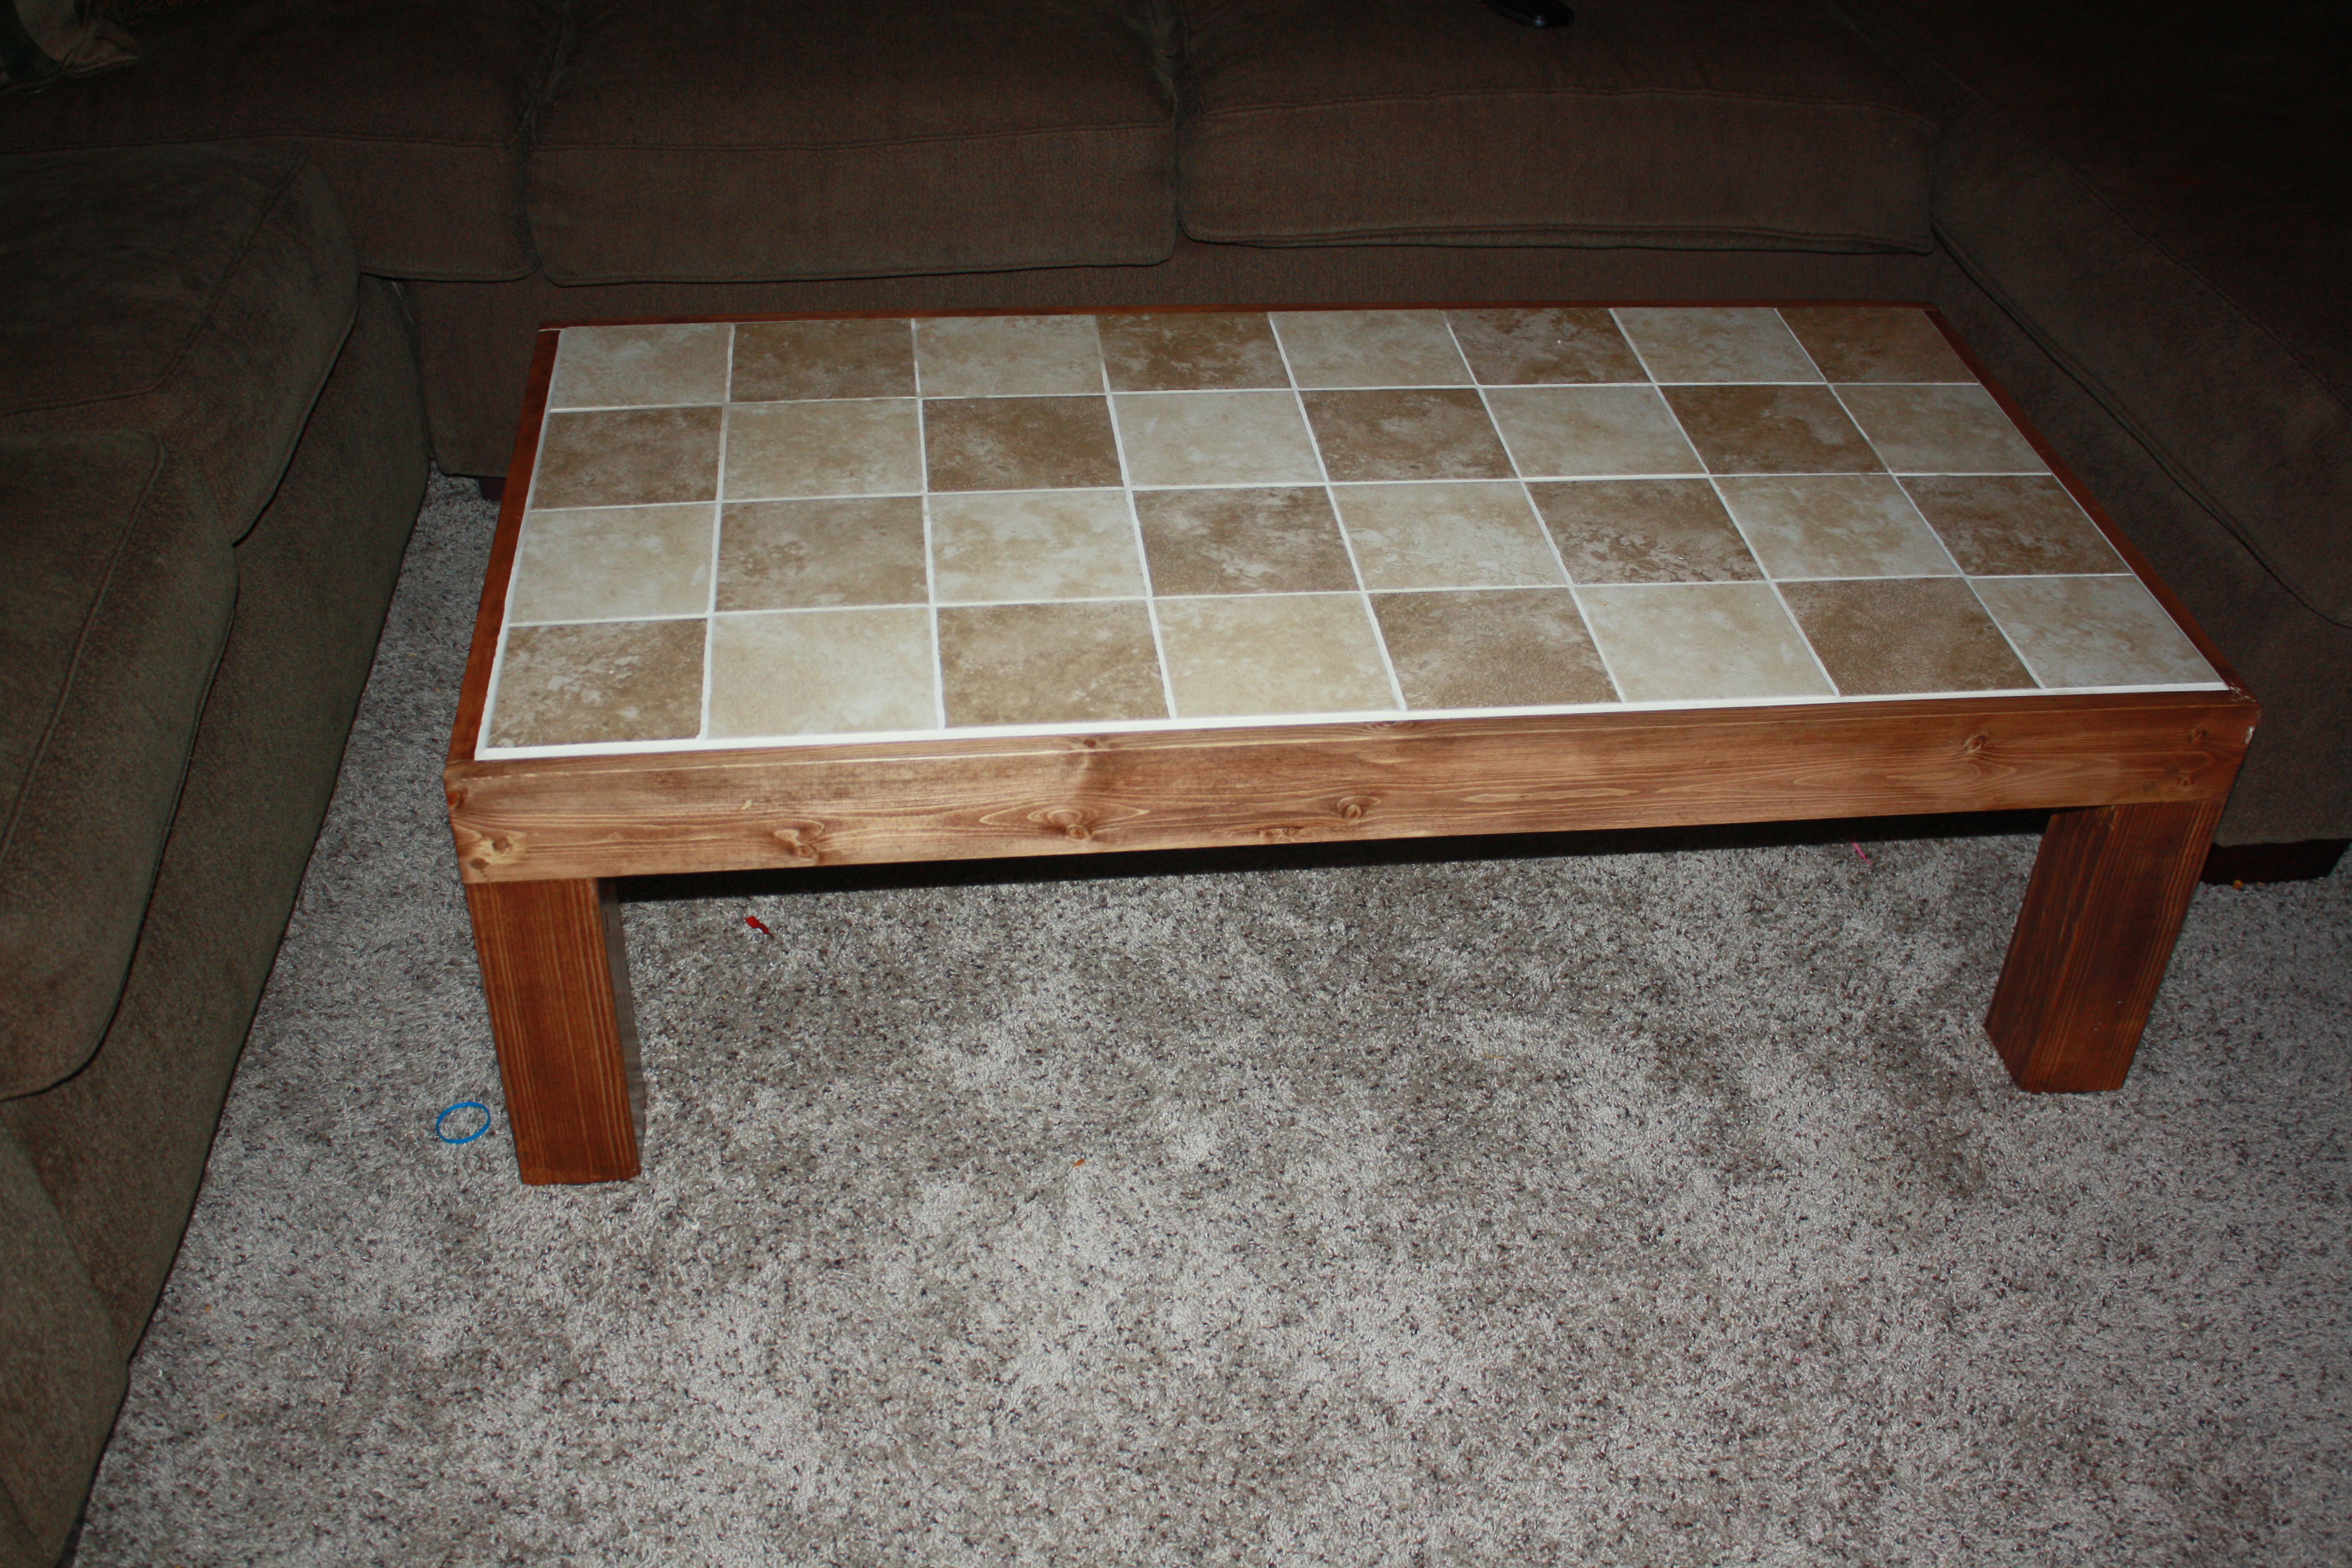
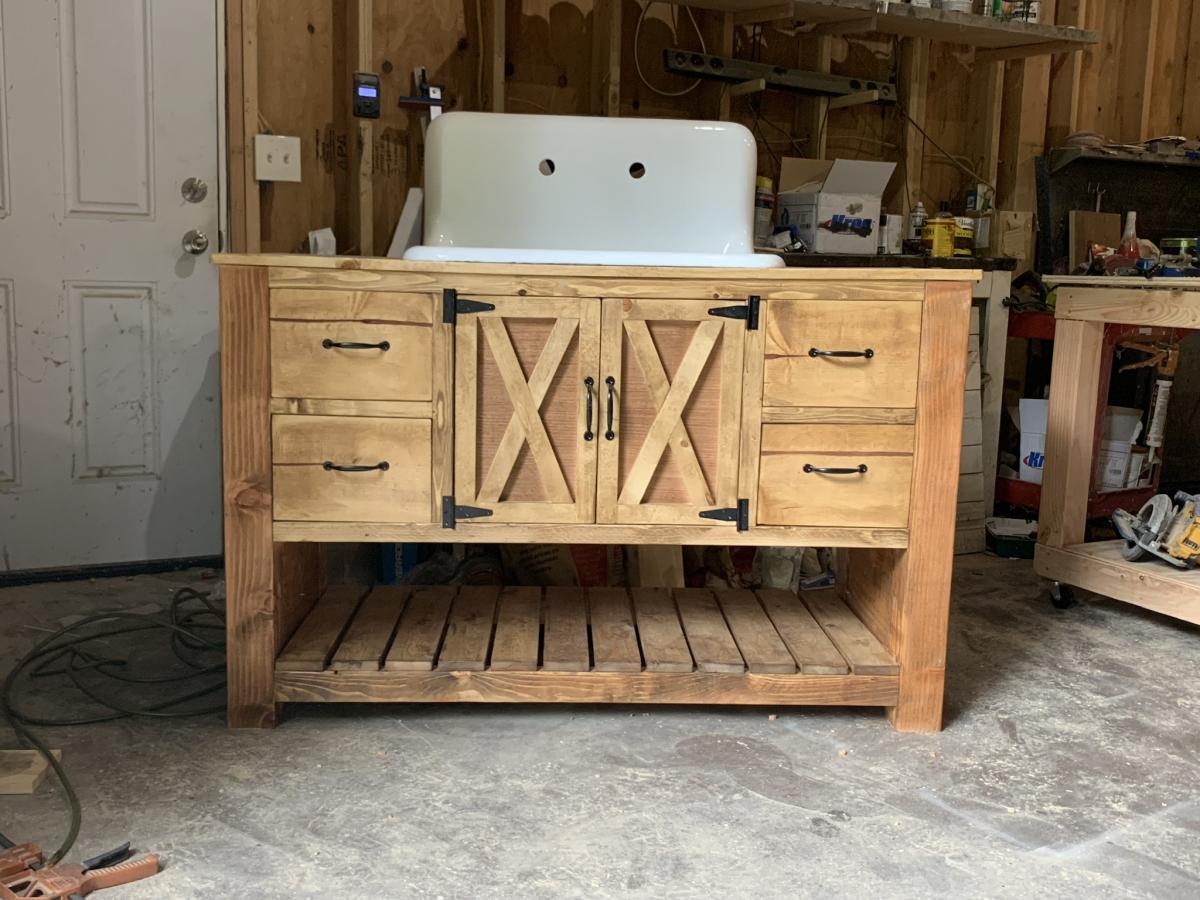
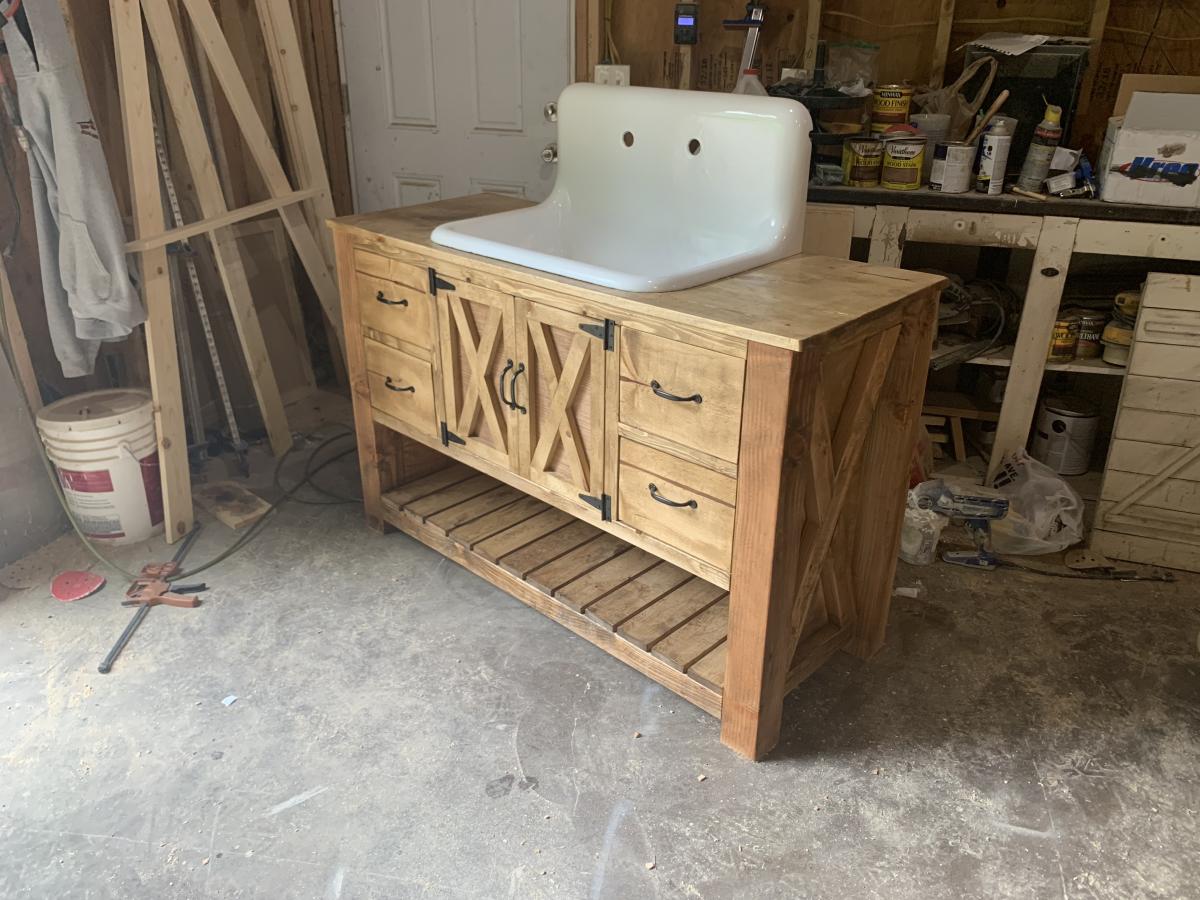
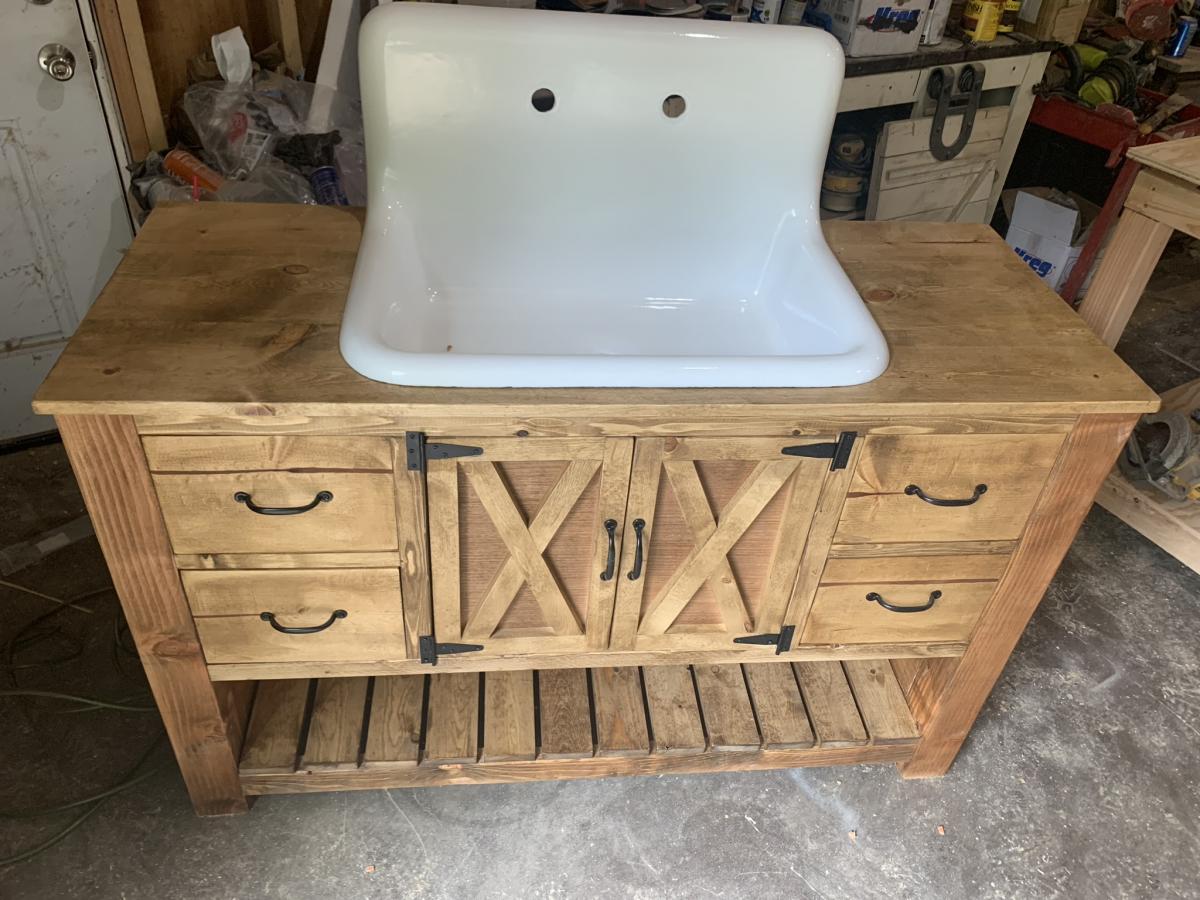
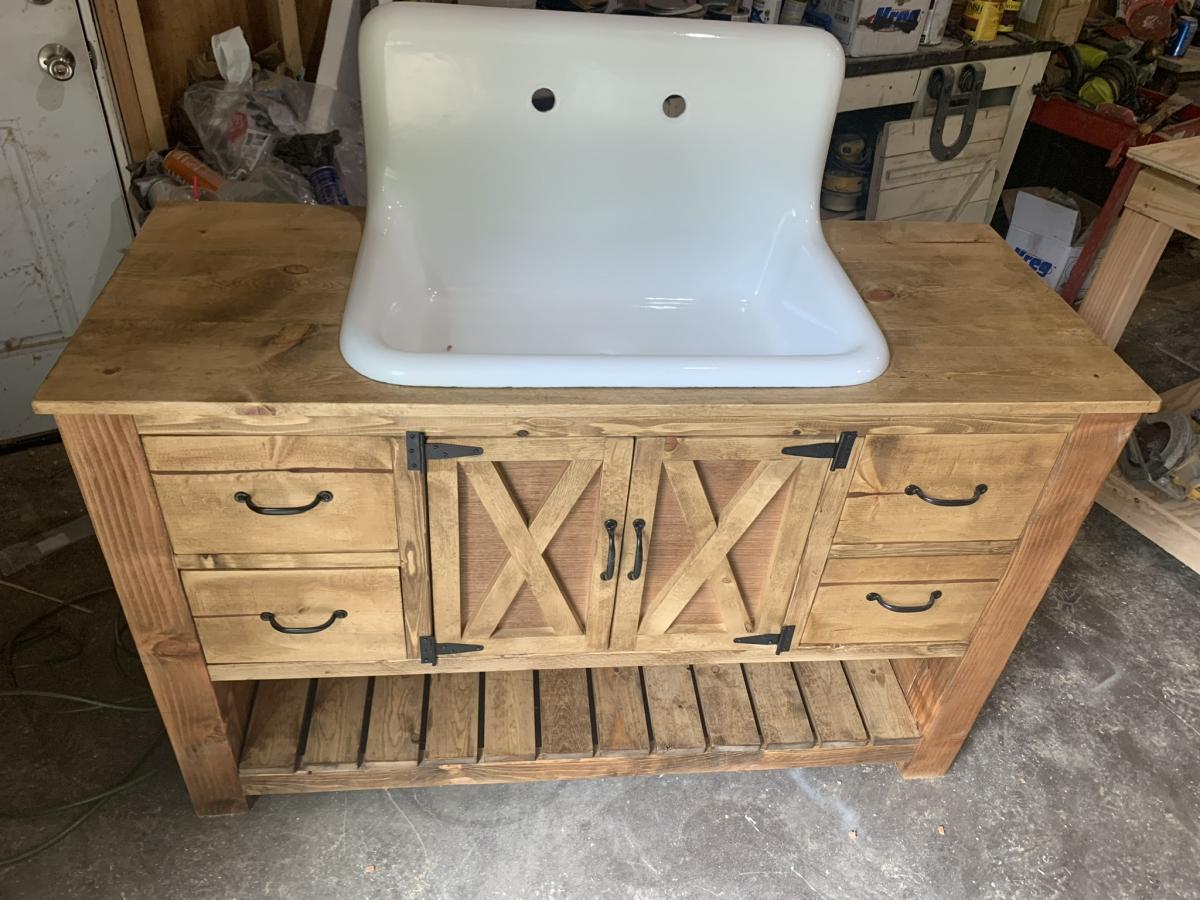
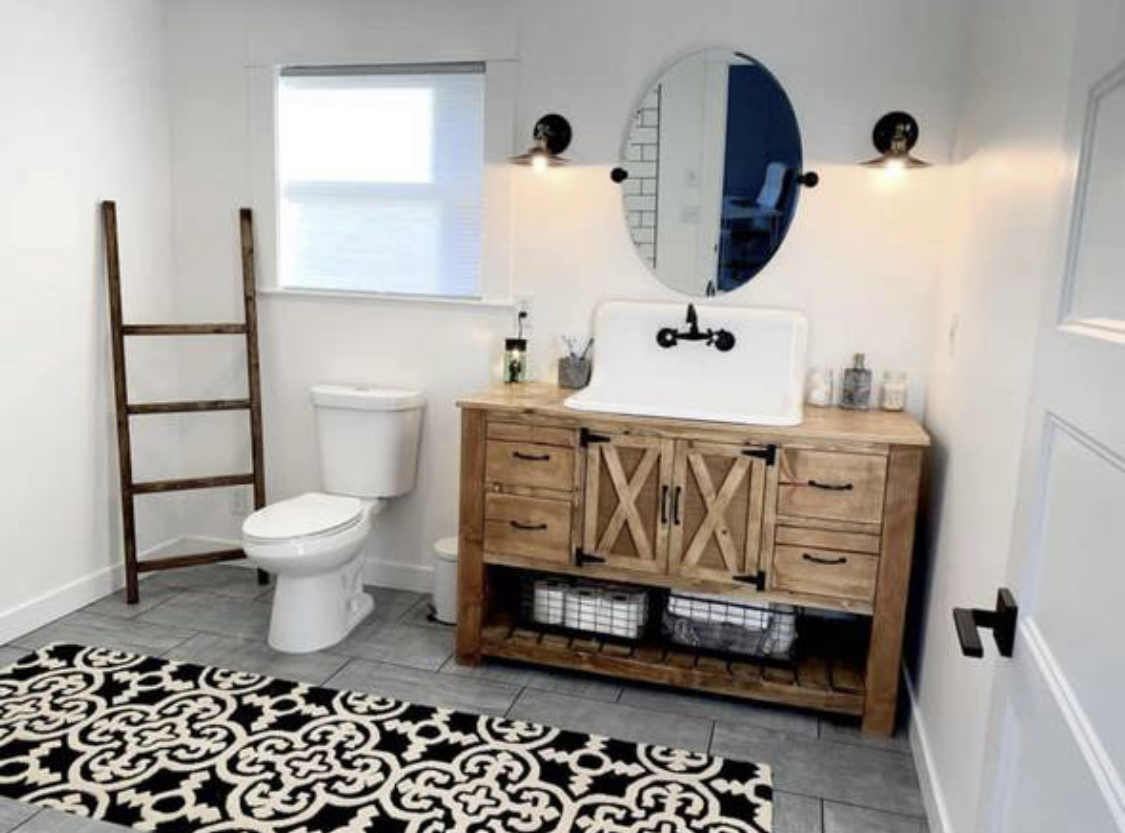
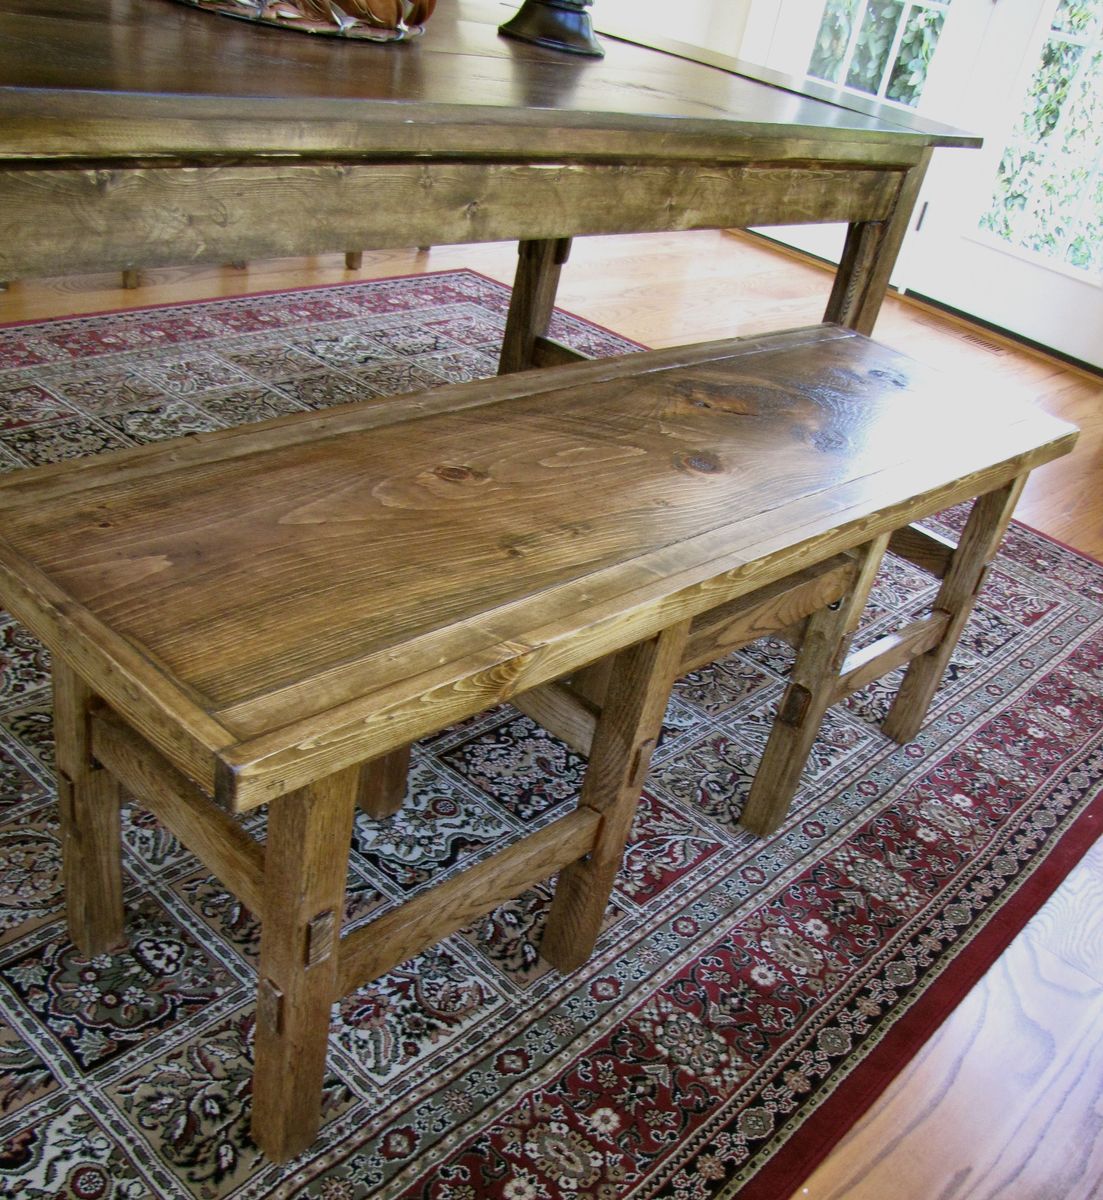
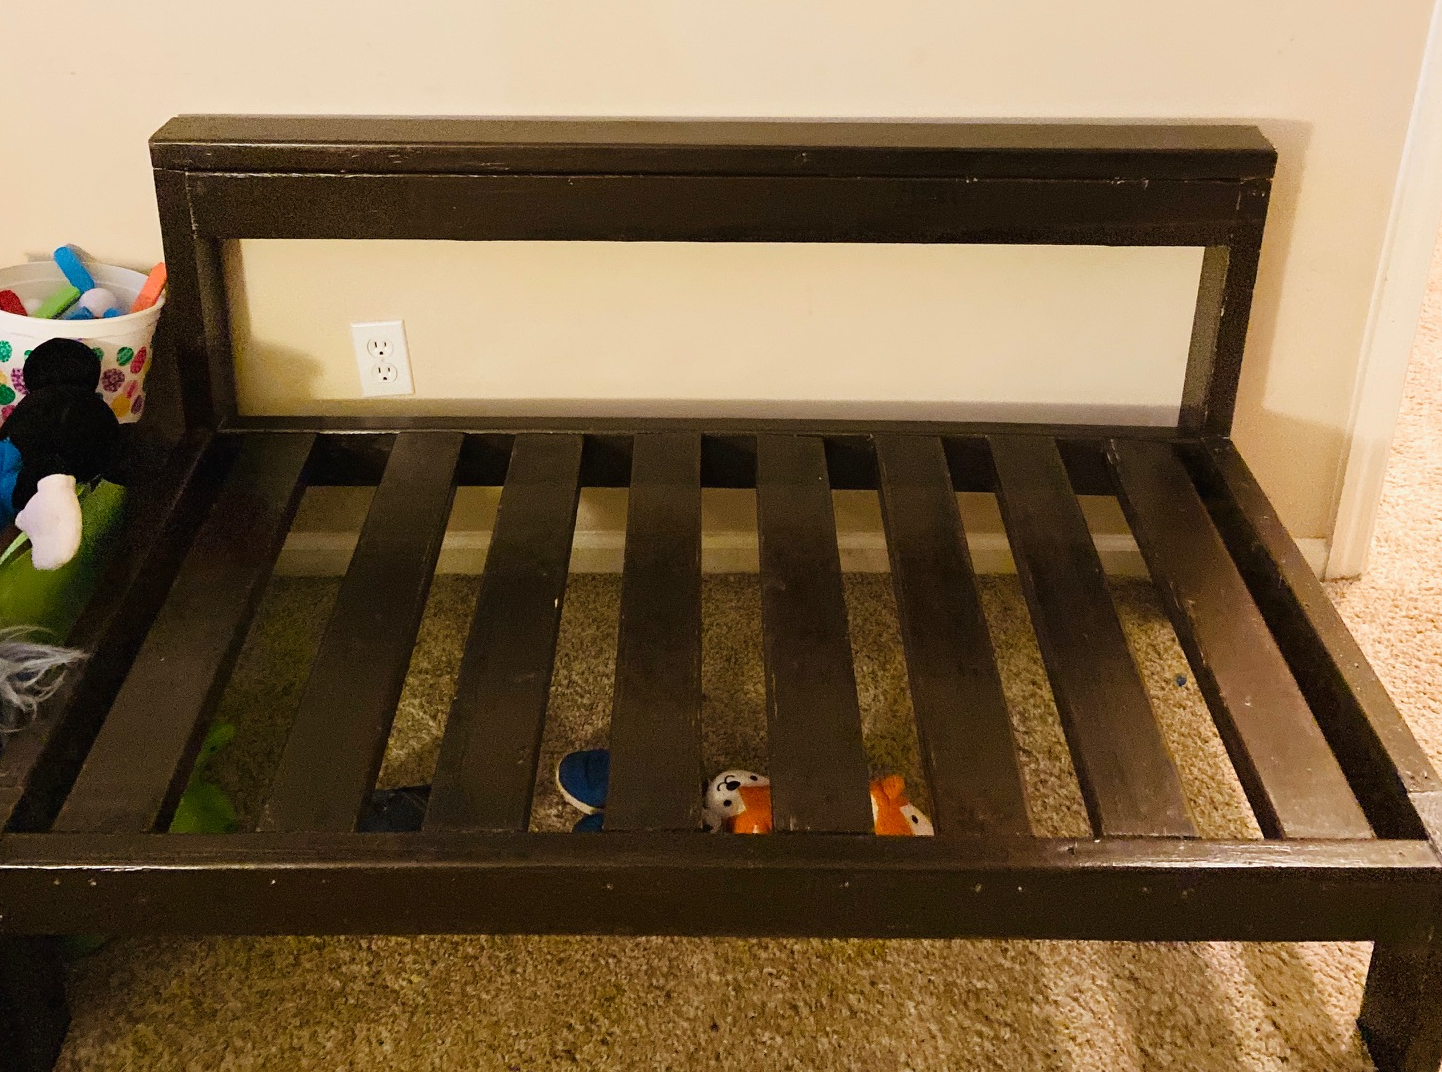
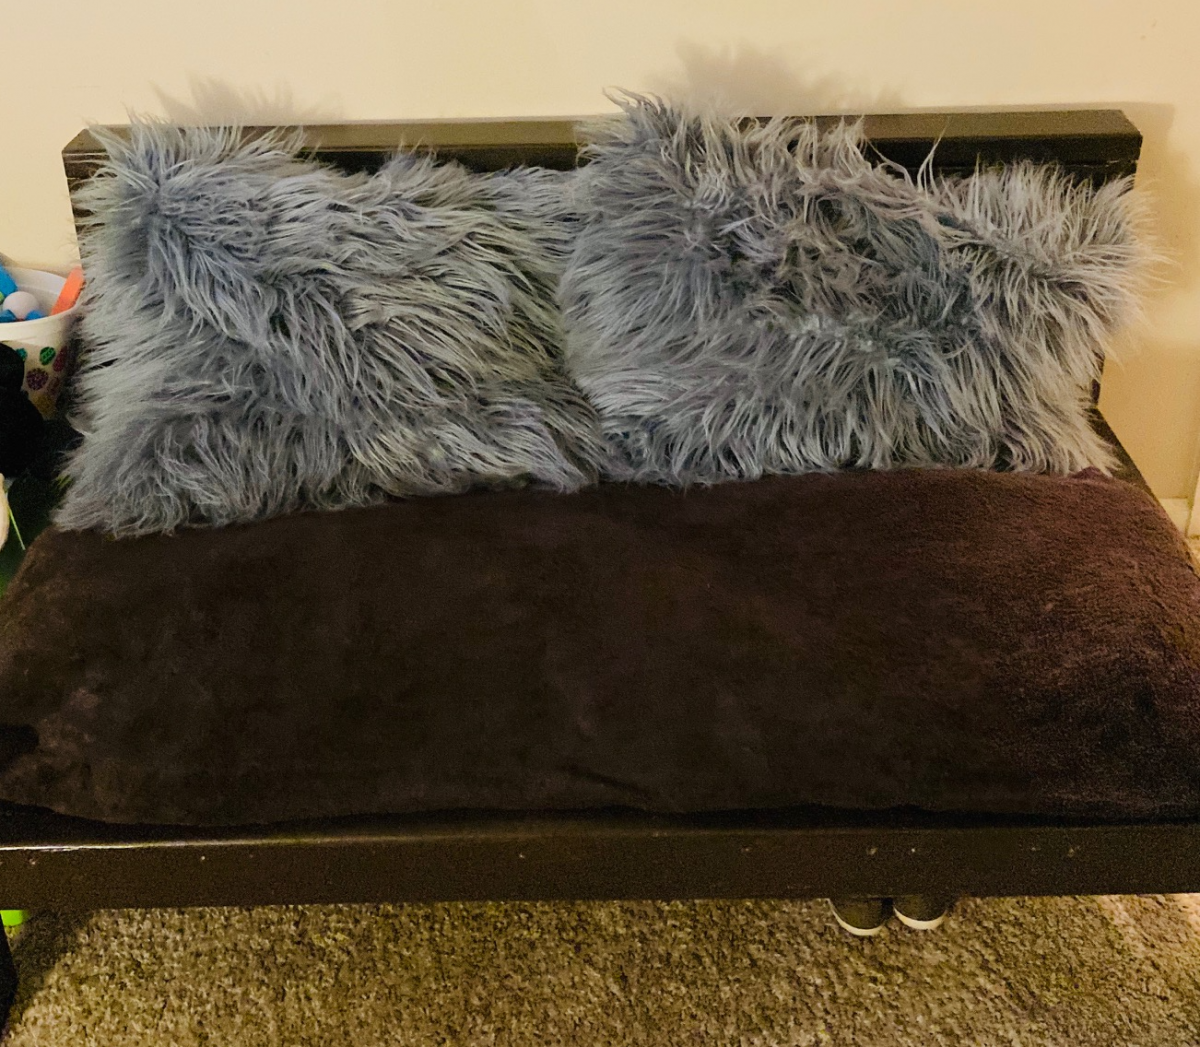
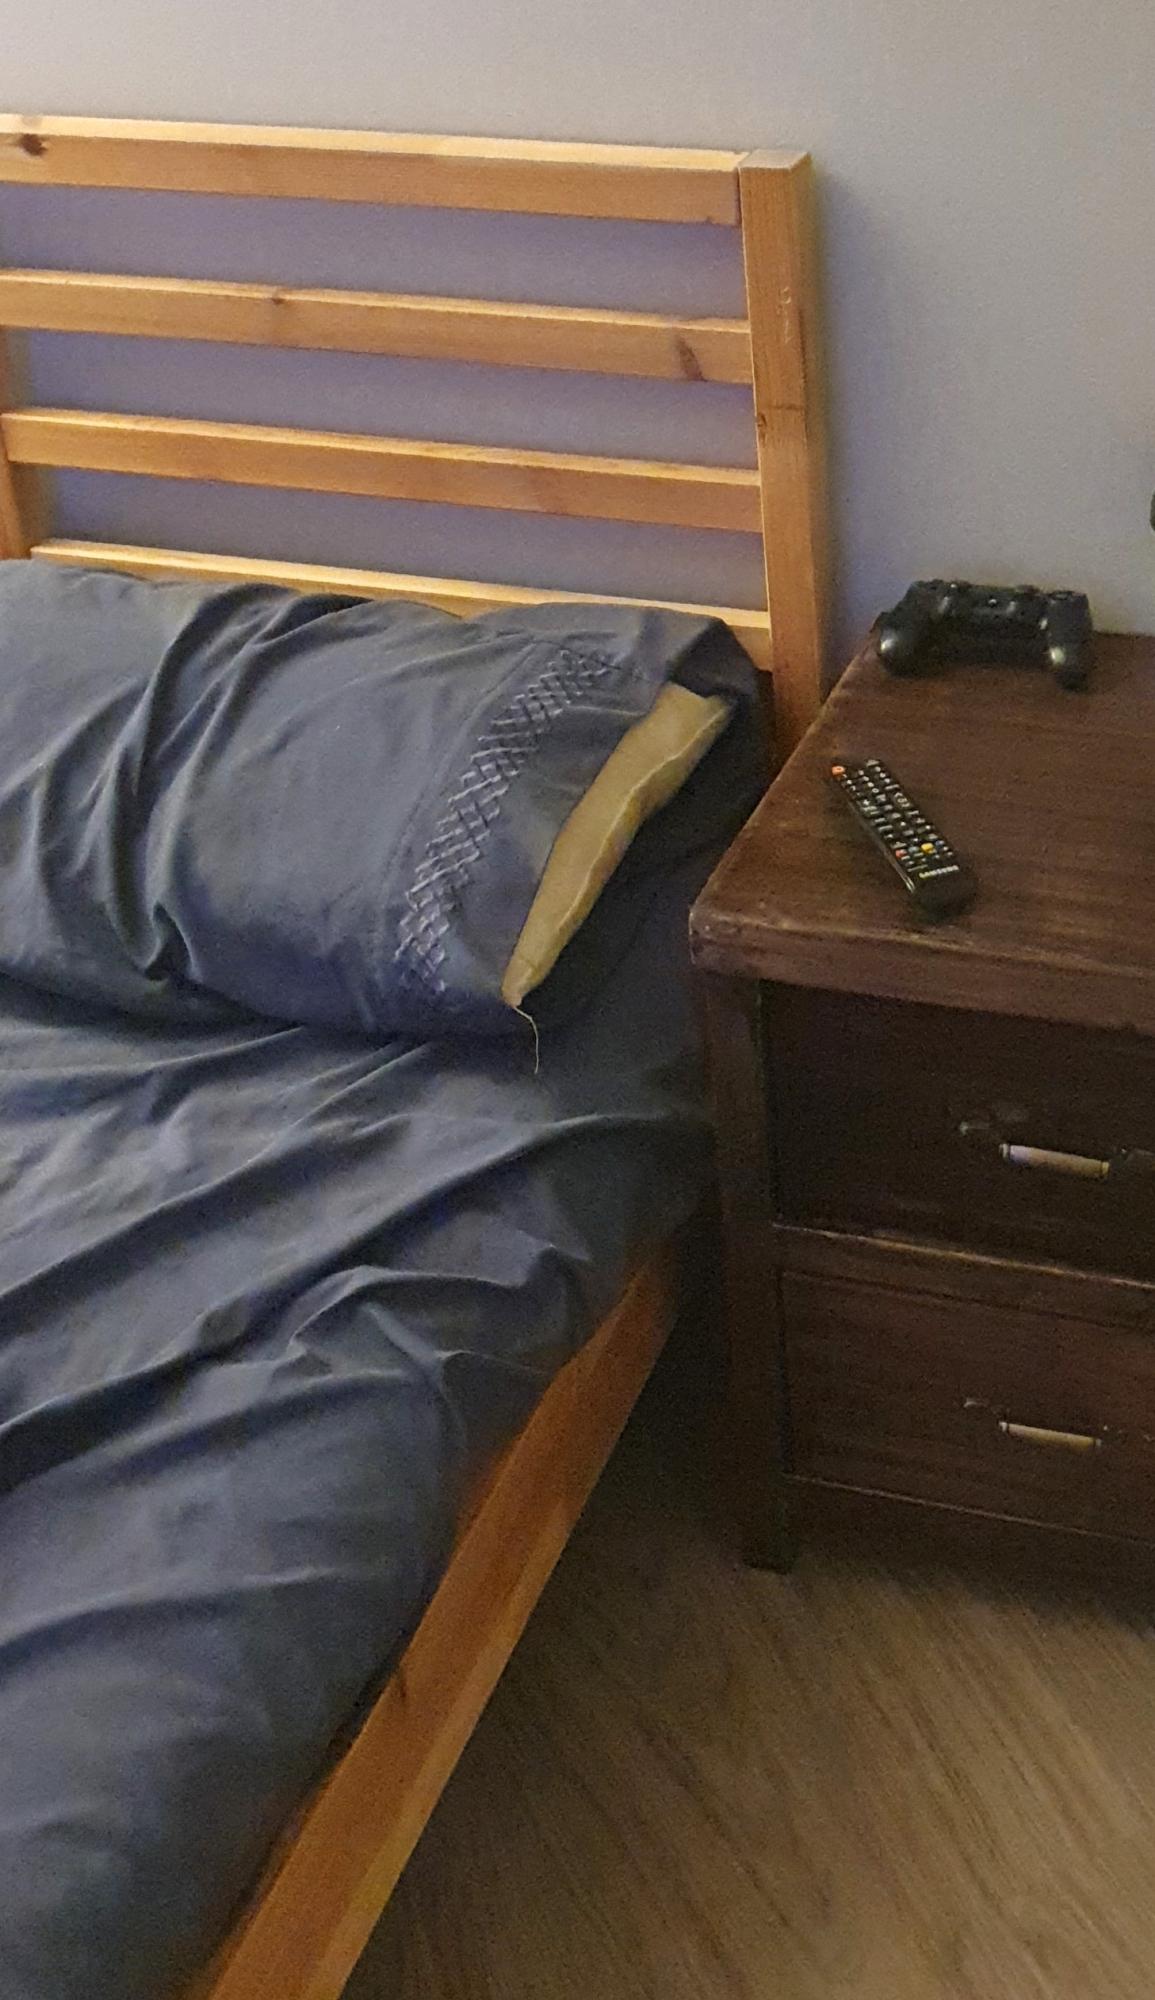
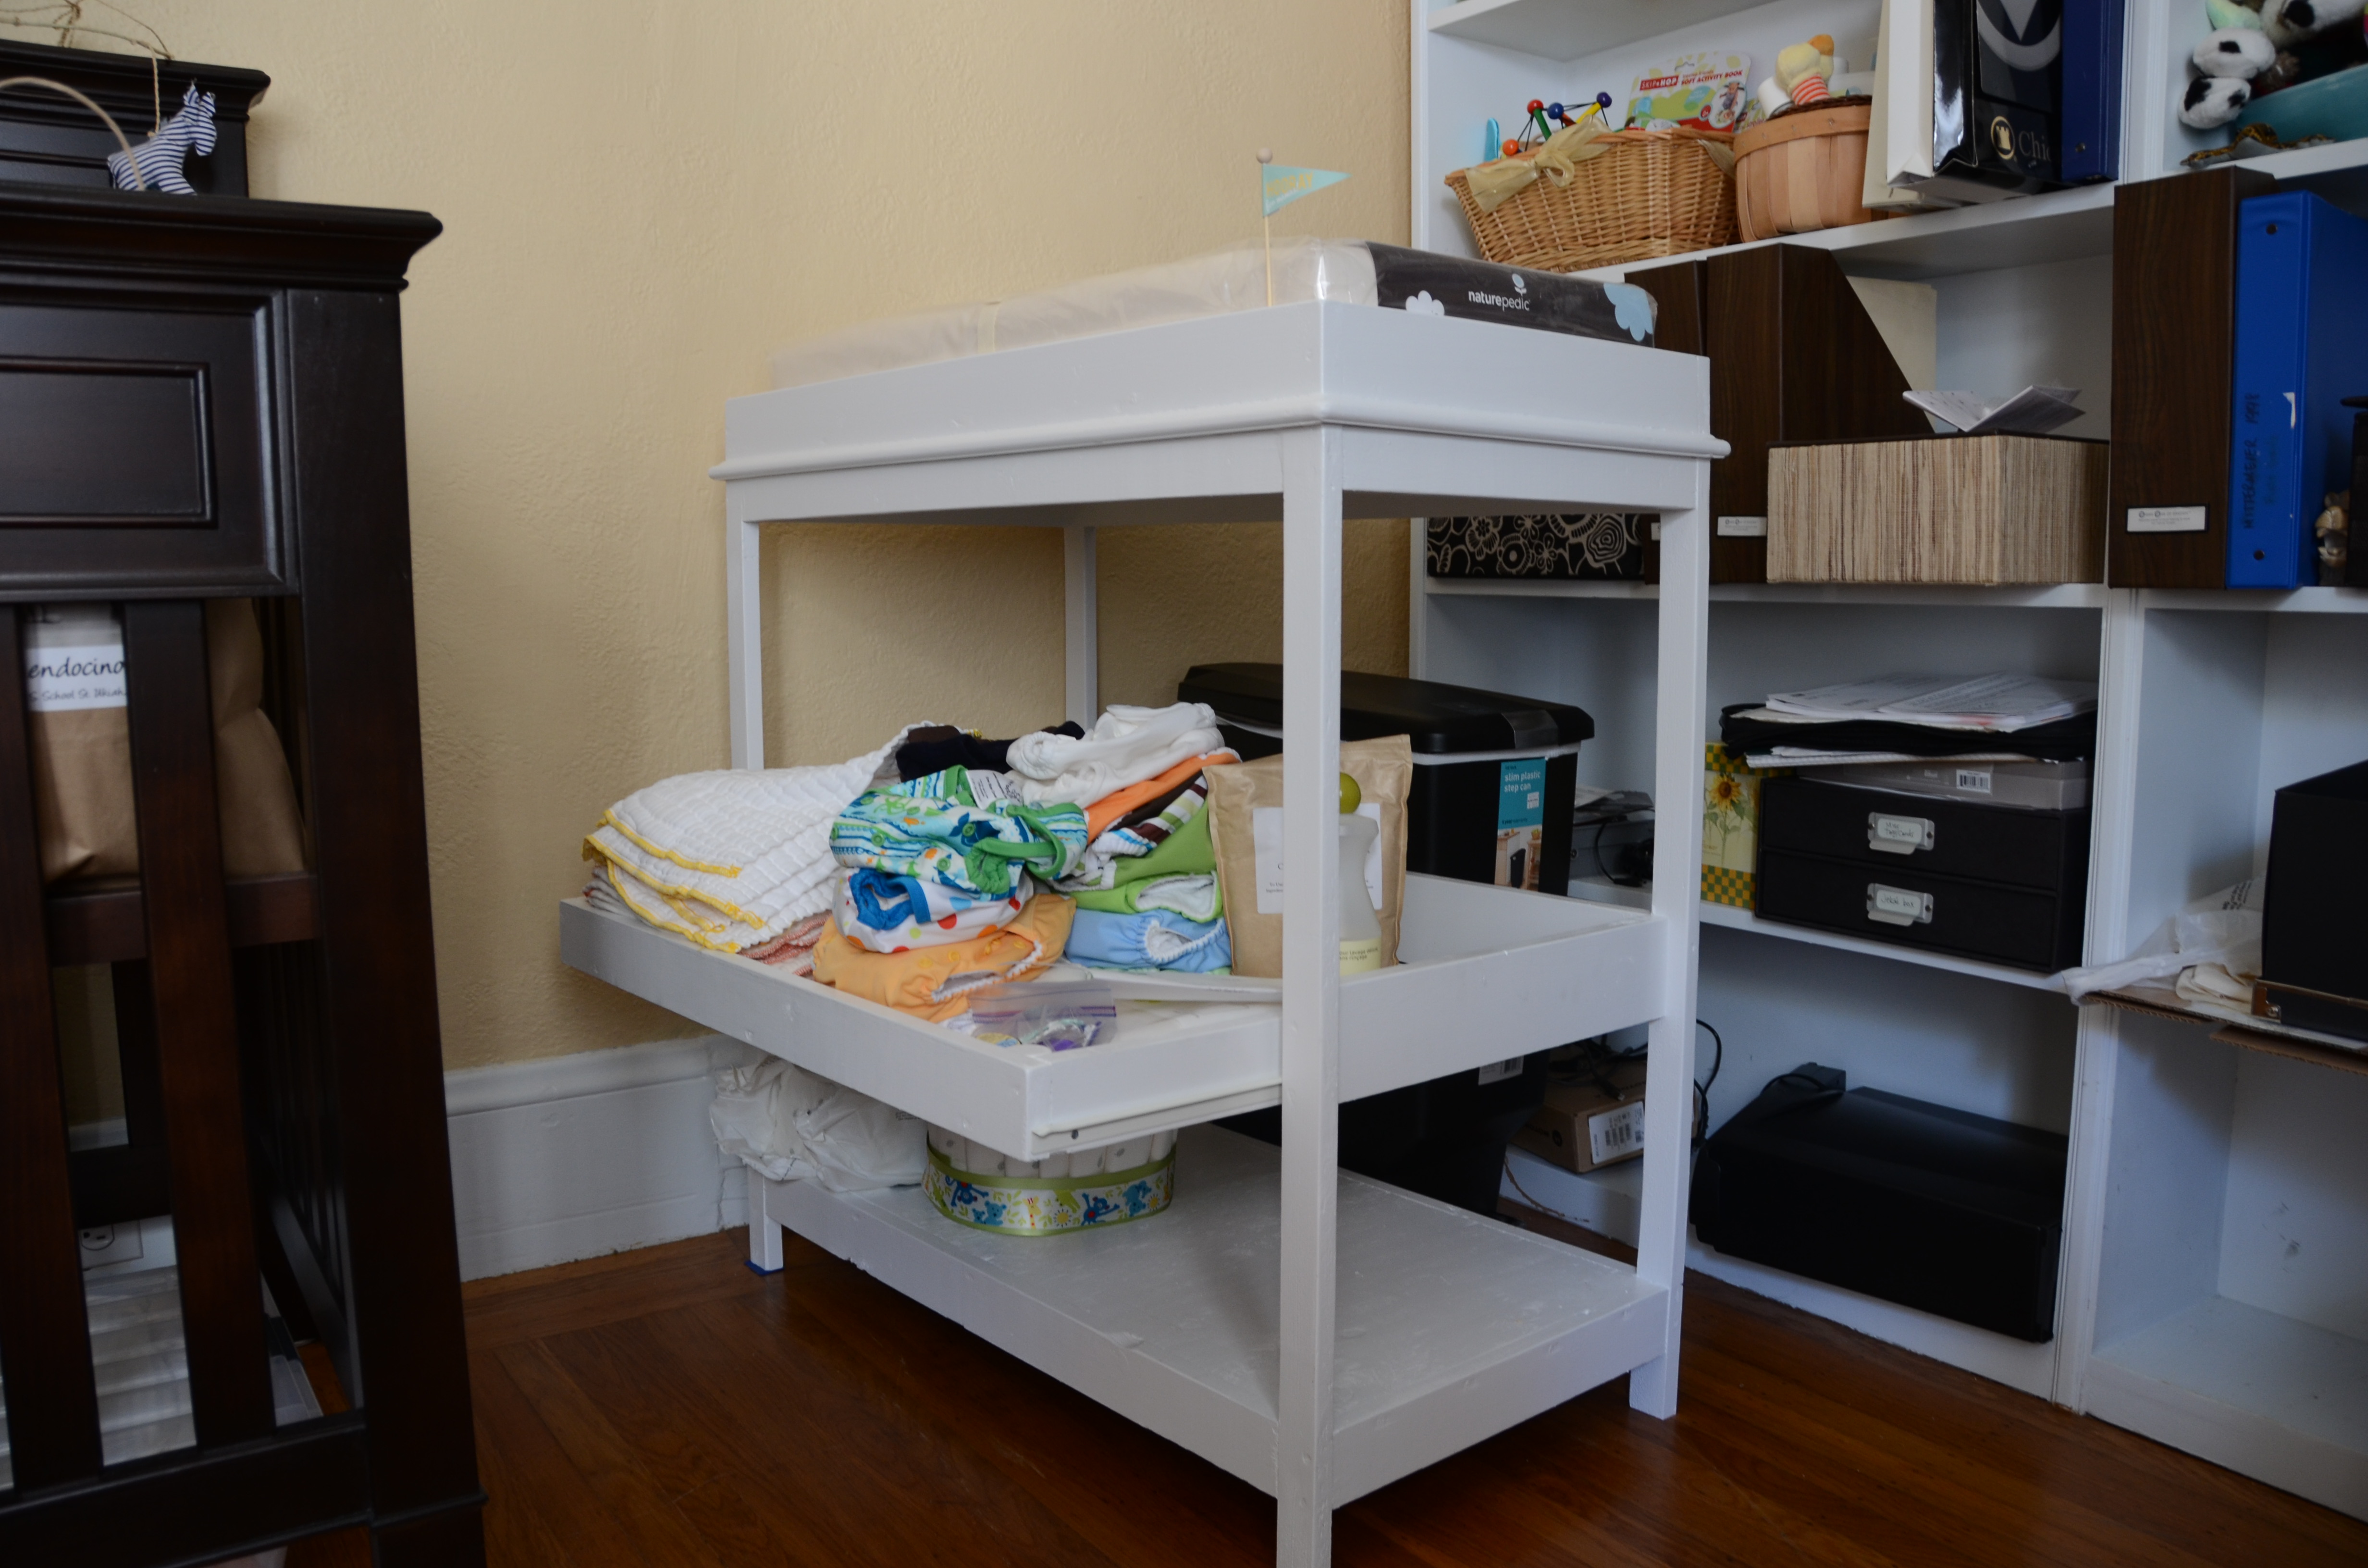
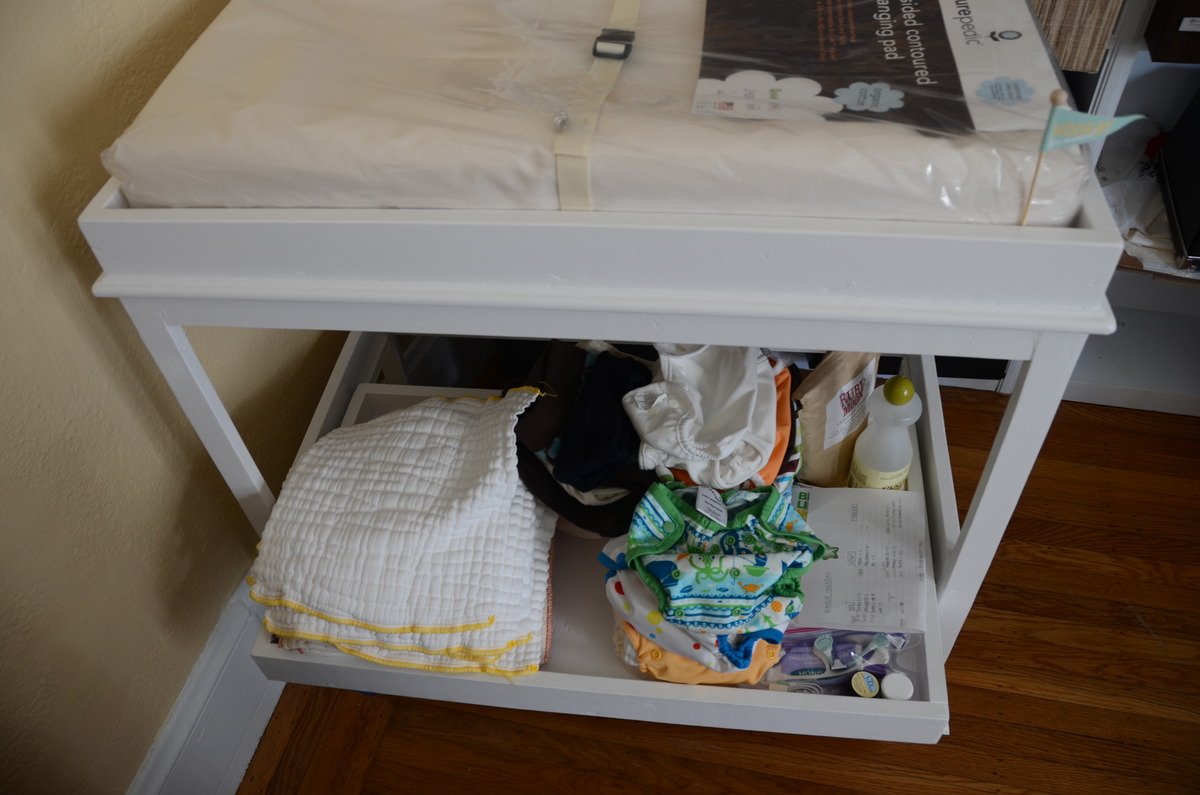
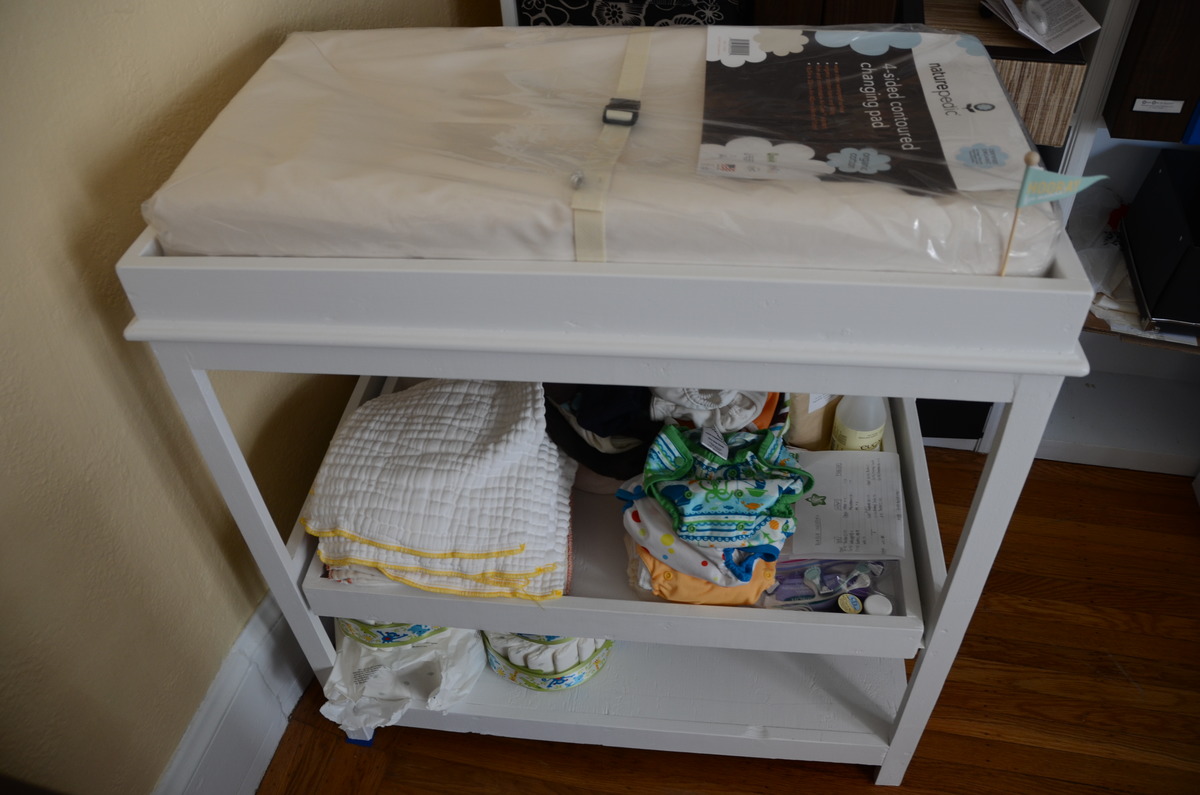
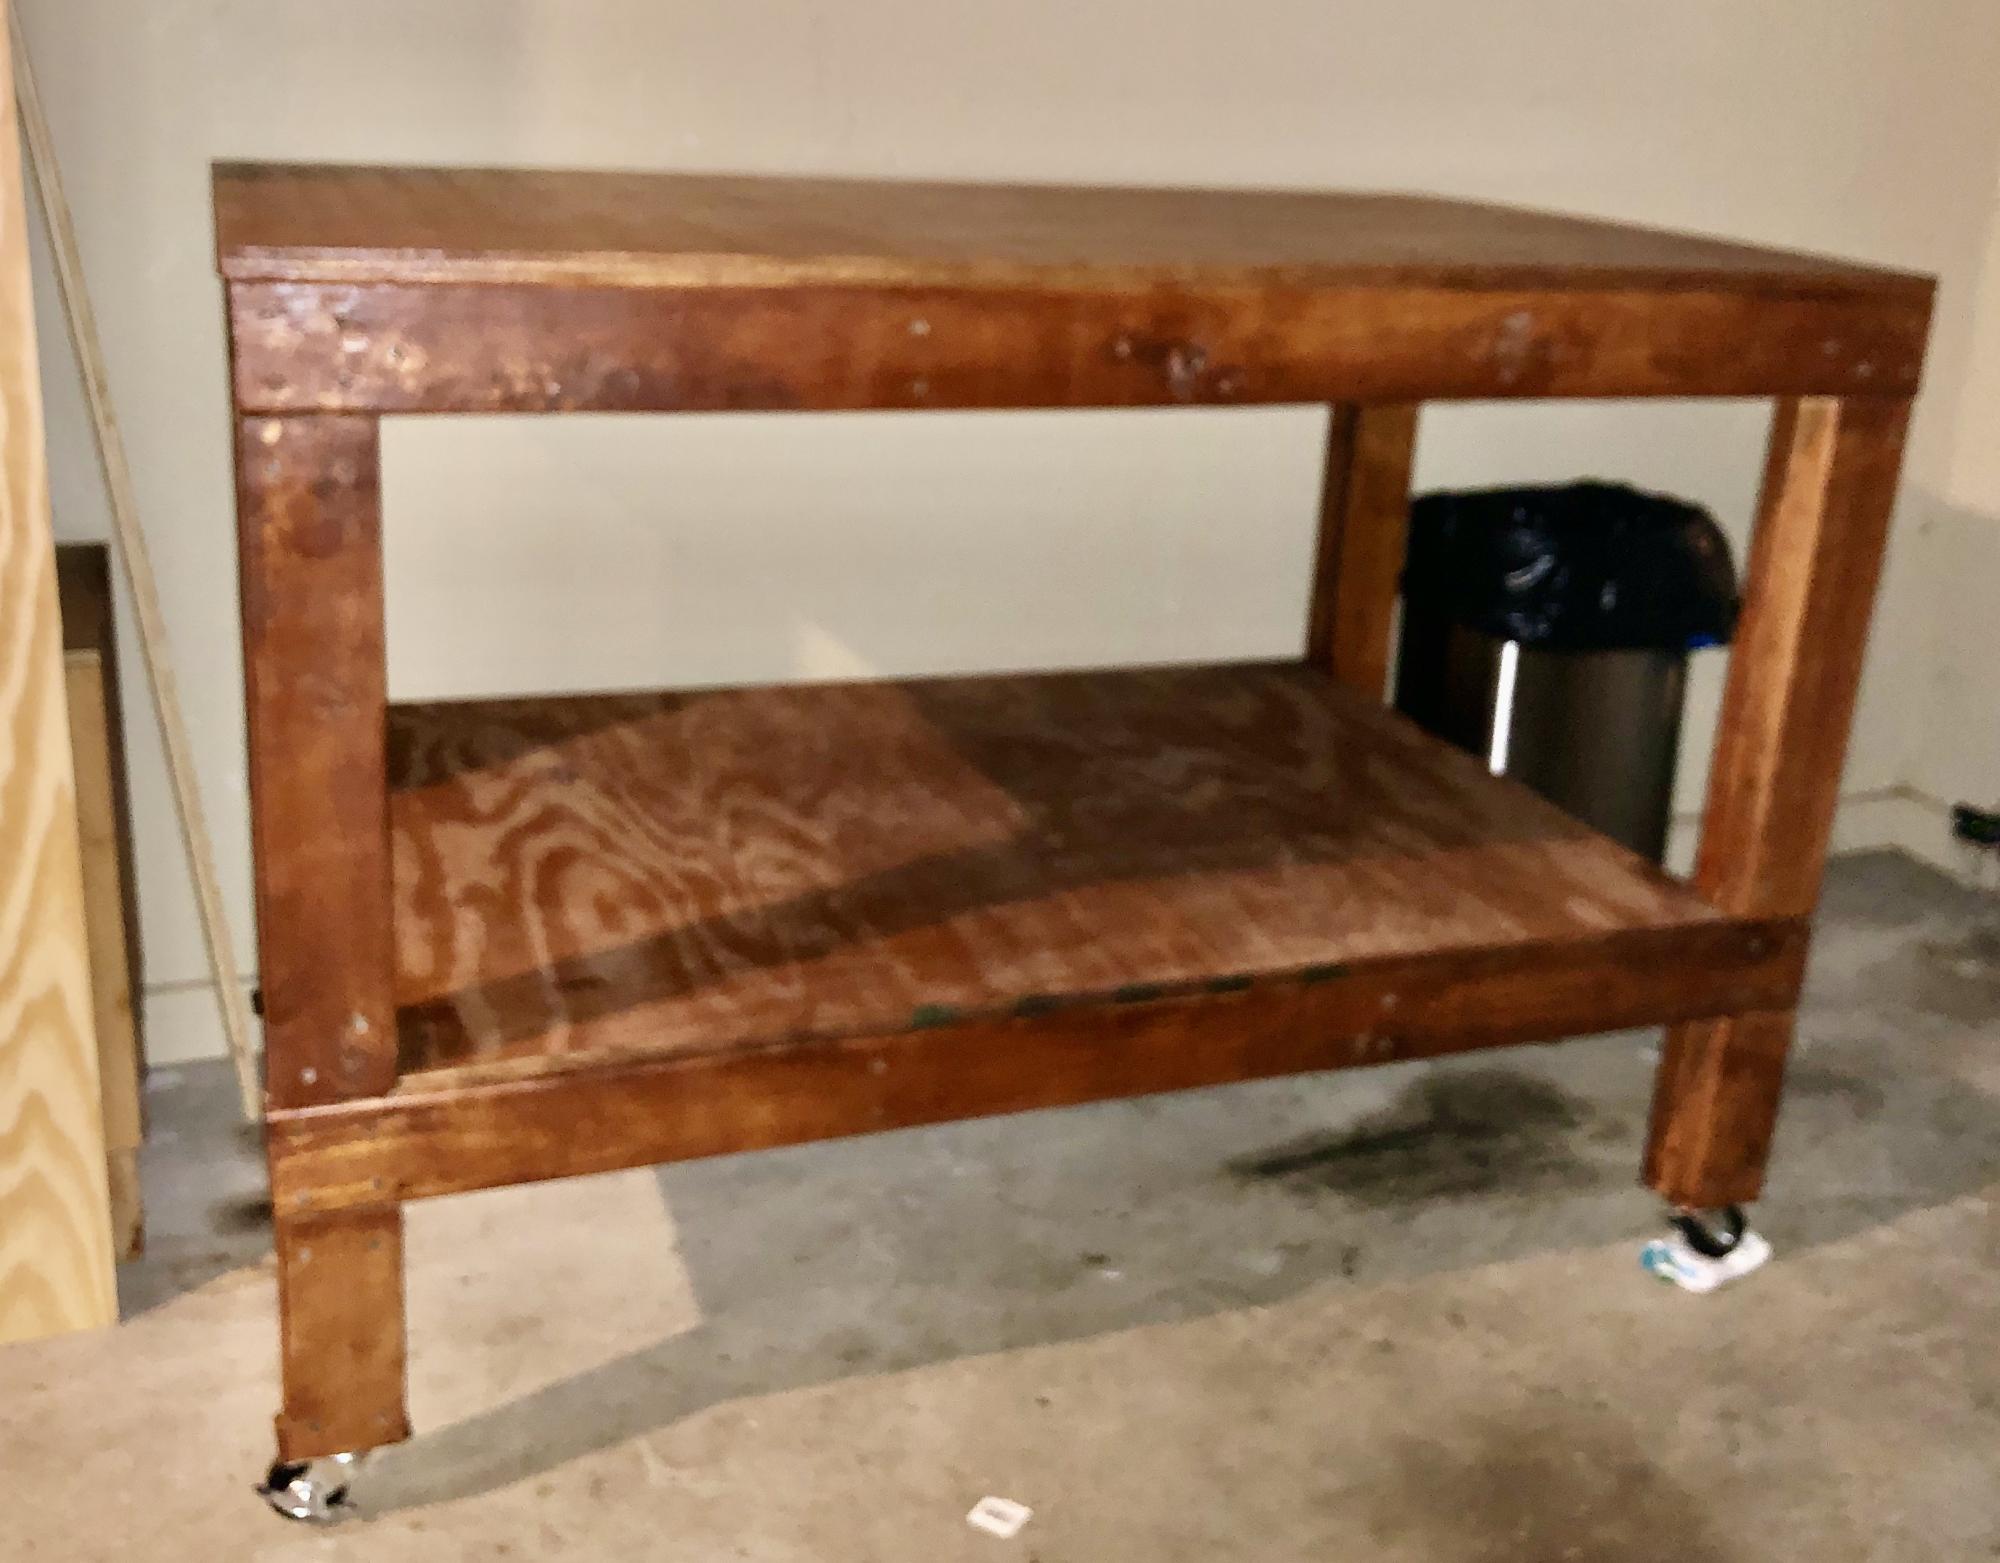
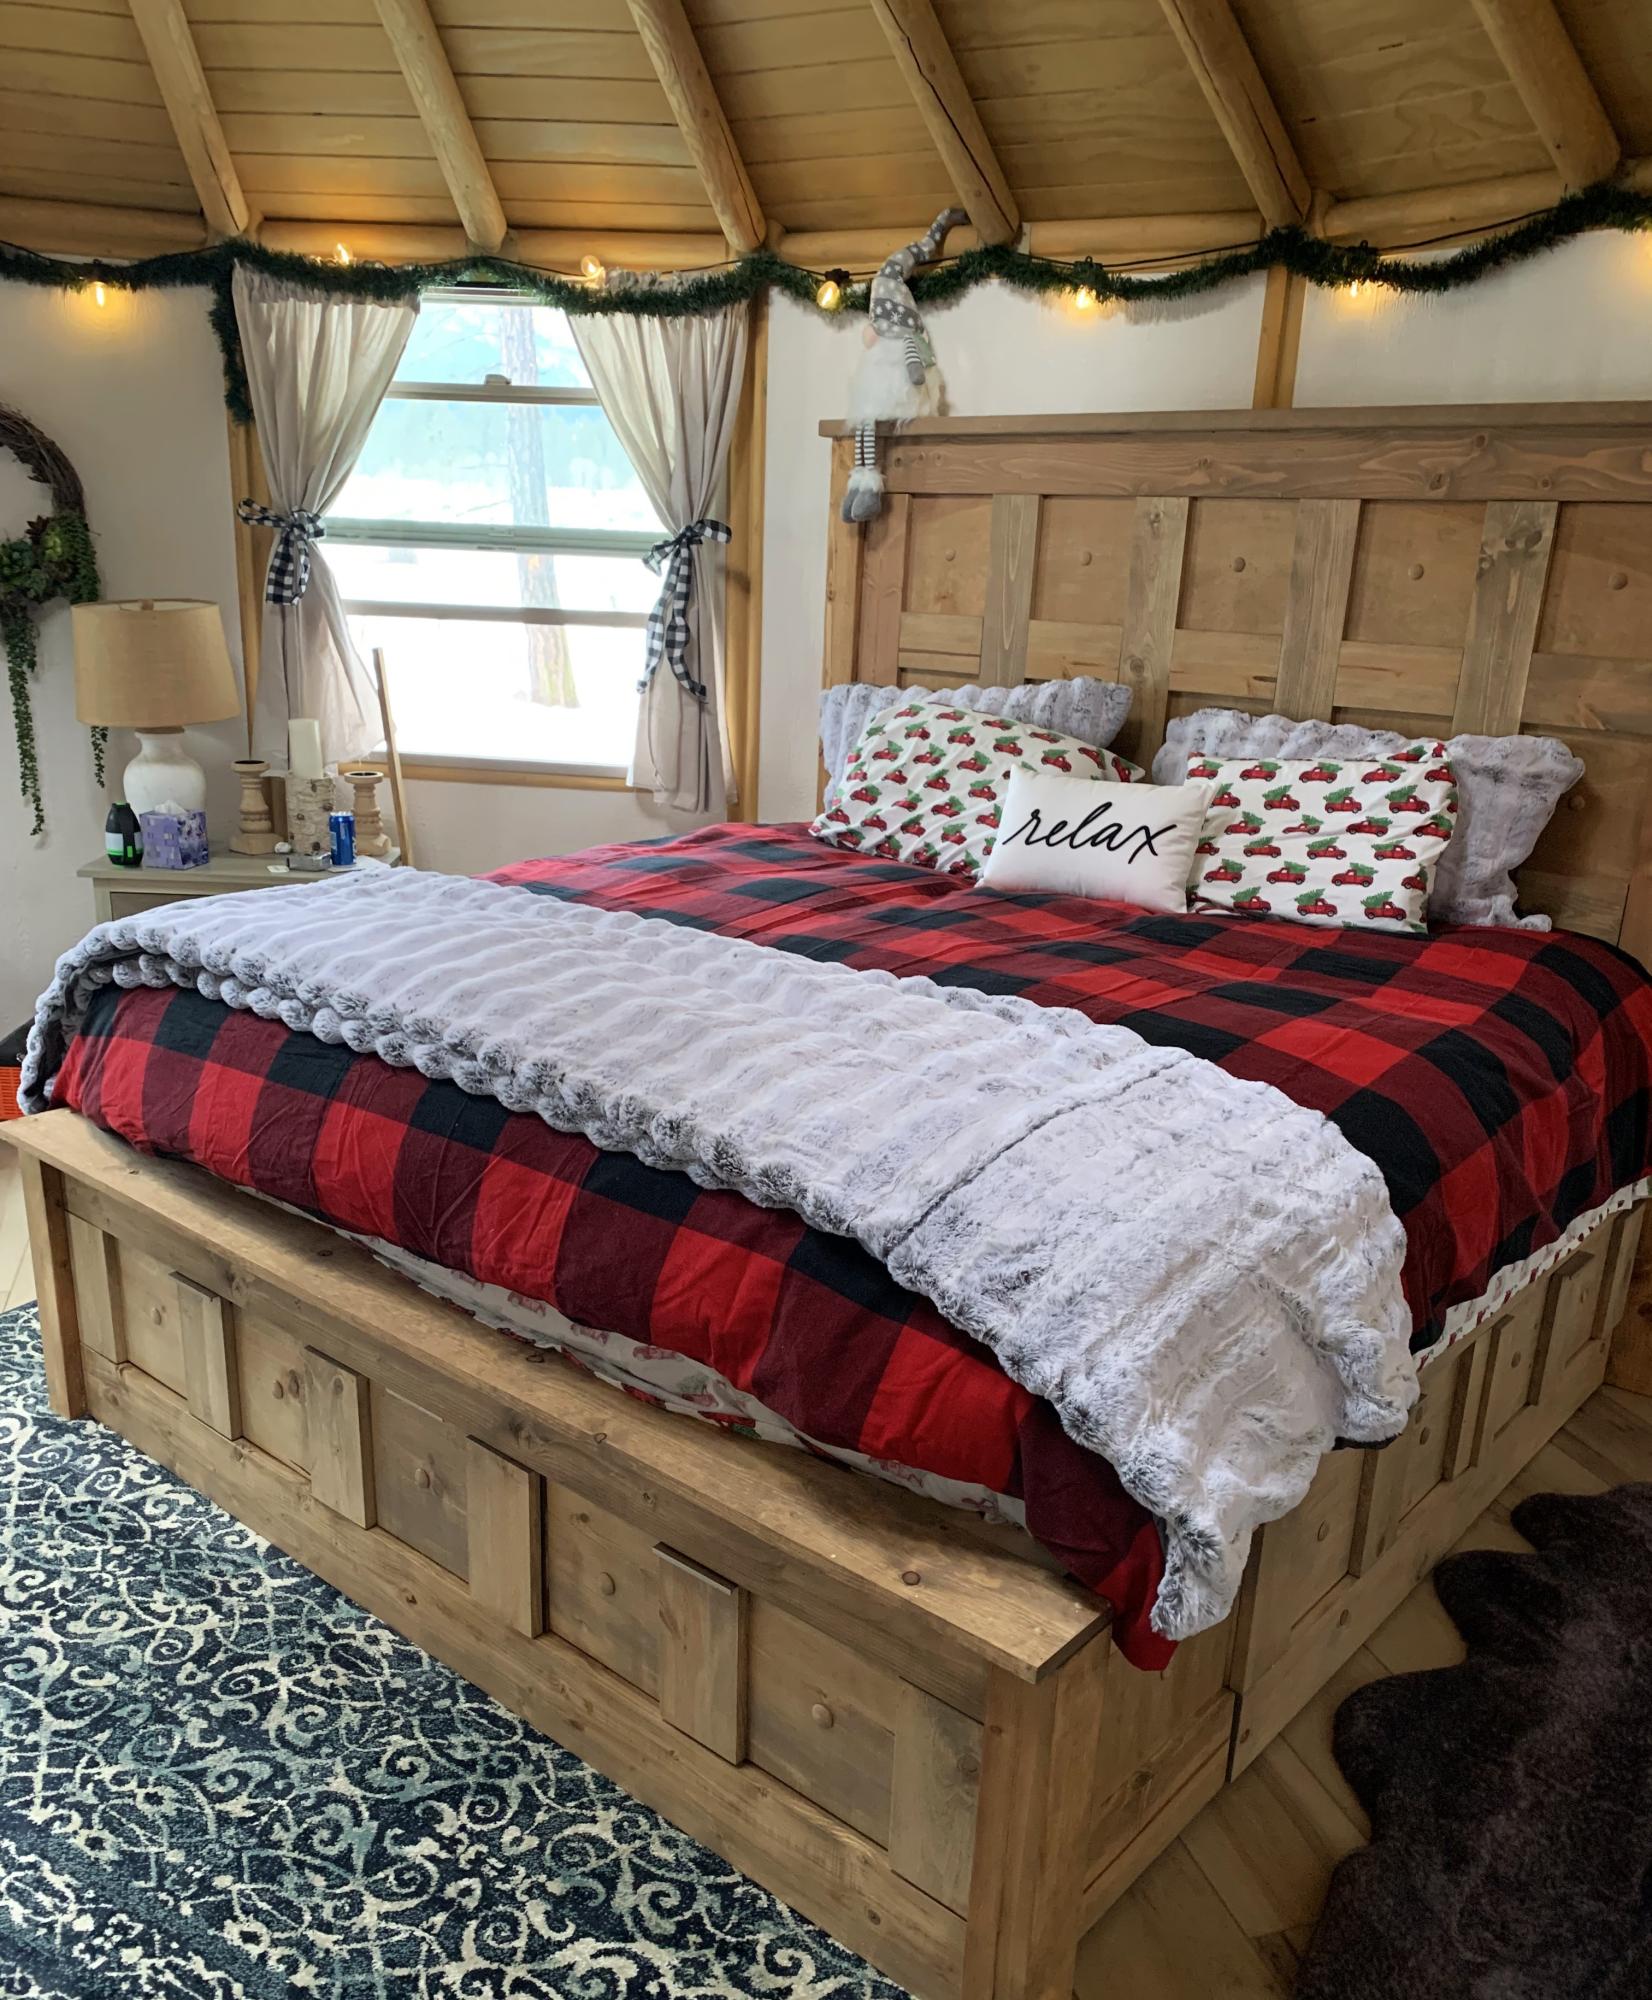
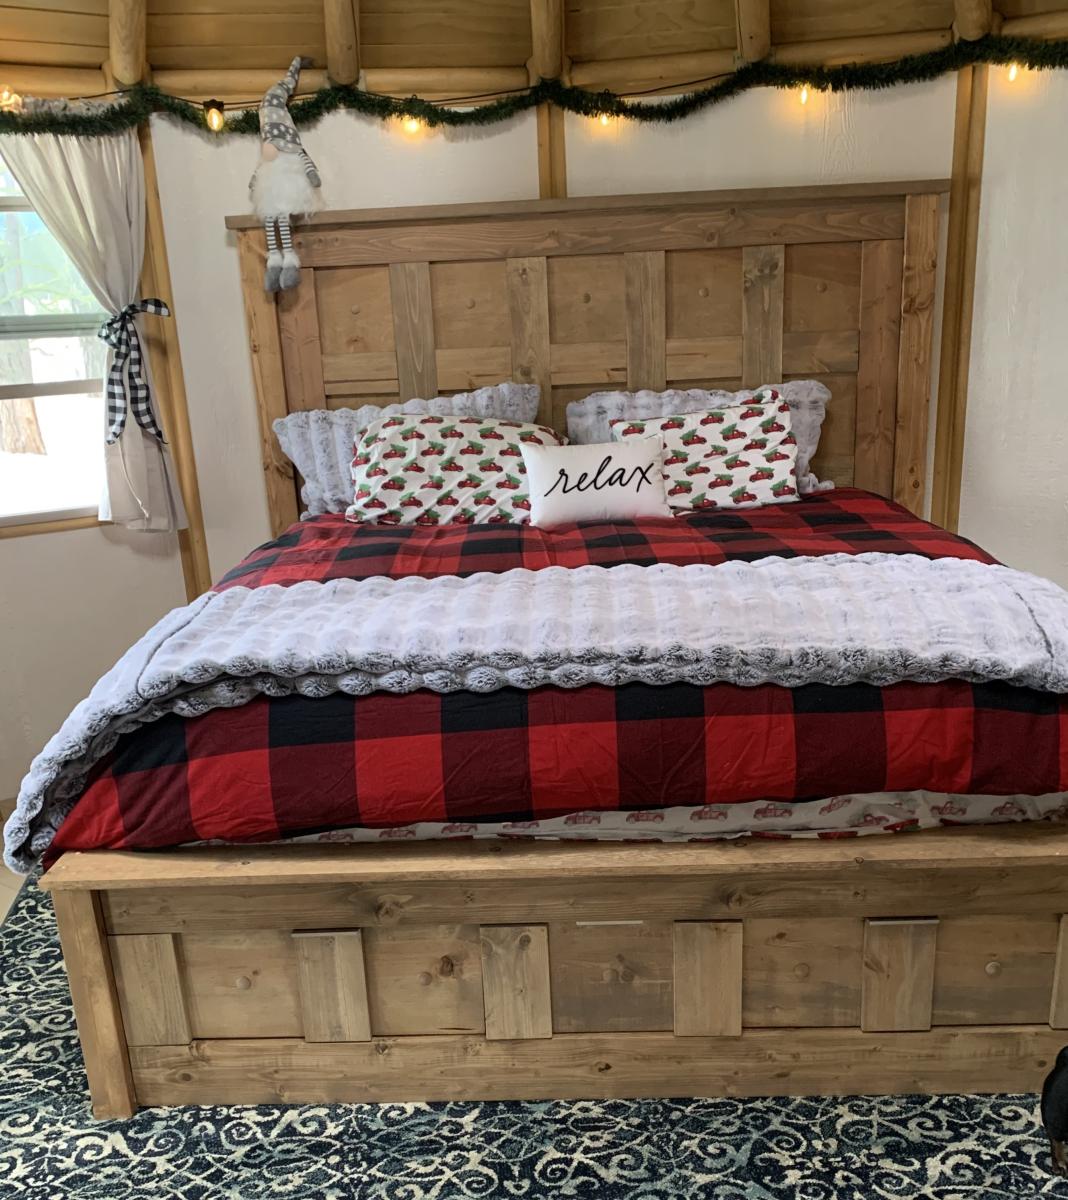
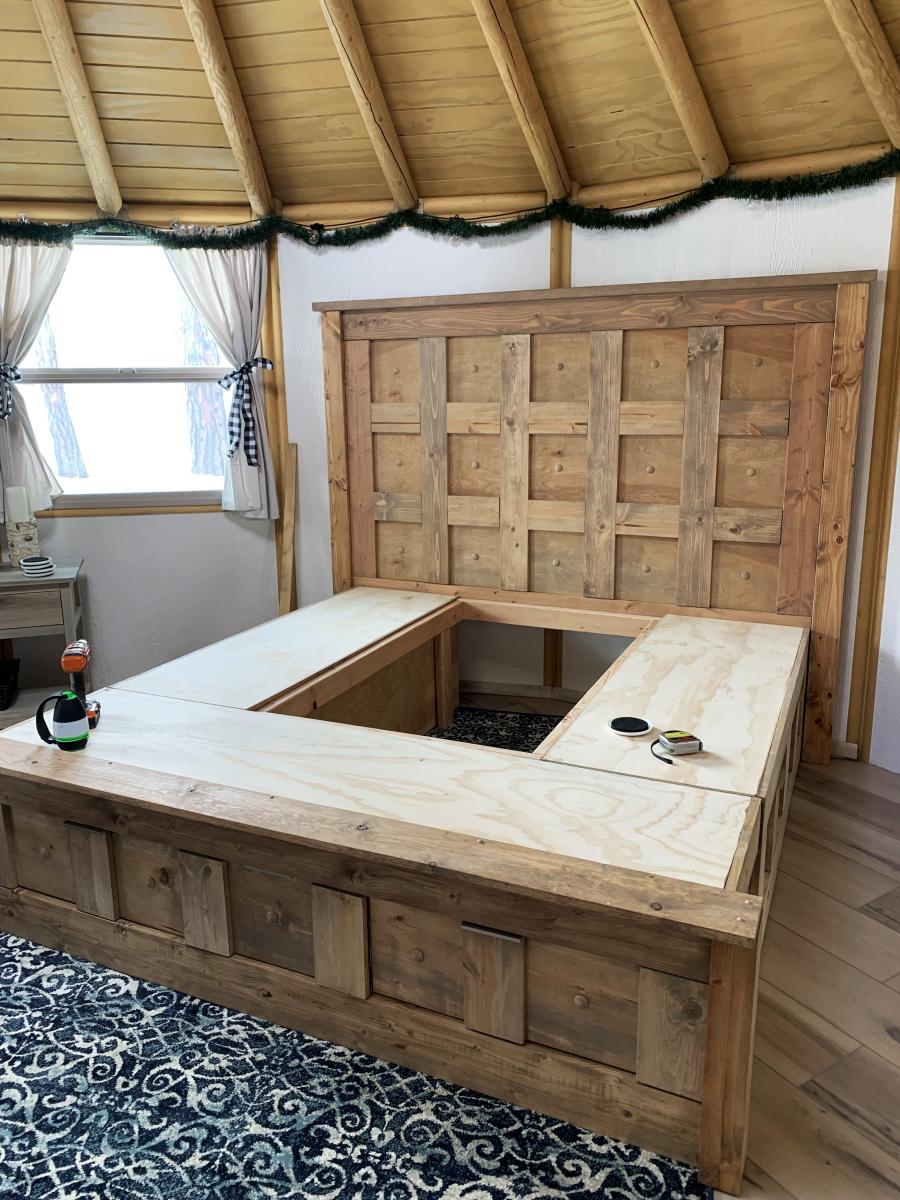
I followed the plans exactly, except I didn't put the trim pieces on the lower shelves sides. I really like the way it turned out, and my wife painted it with Annie Sloan Chalk Paint, color "Paris Grey" and then used Annie Sloan finishing wax (both clear and dark wax) to protect the piece and age it. I think it turned out great! Thanks for the plans!
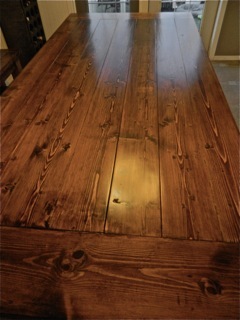
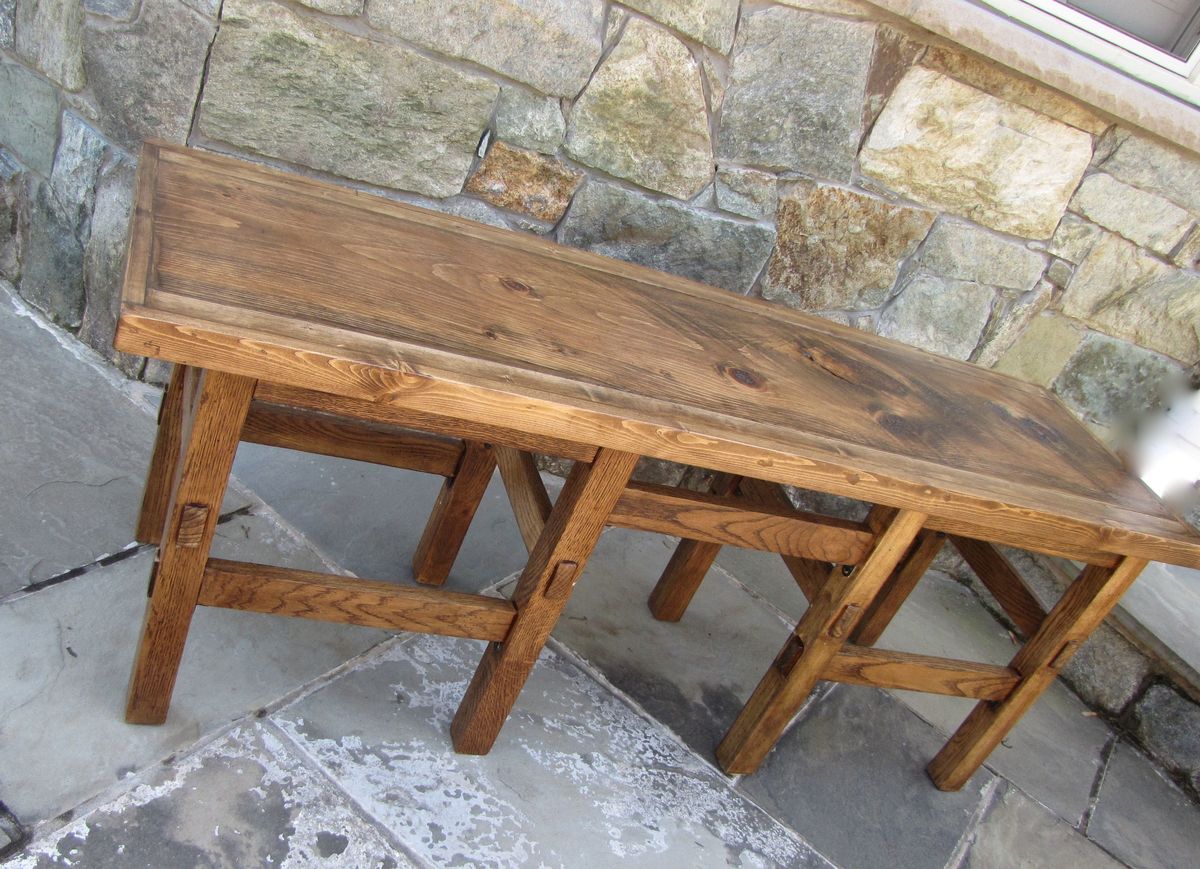
Nothing was to difficult with these plans, at least not if you have a Kreg Jig. I would add that I used pocket screws on the top pieces not only to join them to the breadboard end pieces, but also to each other. That made it really strong!
Estimated Time Investment
Weekend Project (10-20 Hours)
Finish Used
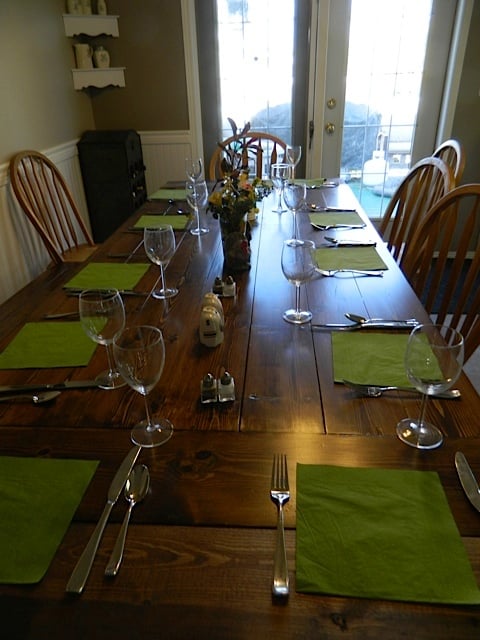
Annie Sloan Chalk Paint. Yes, its called chalk paint, but not neccessarily chalk BOARD paint. its just a really flat paint that has way more color pigments per oz than most latex interior paints. In other words, less coats, and rich colors. You can paint it on raw wood (no primer needed) and you can paint it over old finished pieces too, and it has great coverage and bonding strength! Also used Annie Sloan clear and dark waxes for the finish. Just apply with a stipple brush and then buff. And don't forget fun drawer pulls to top it off!
Recommended Skill Level
Intermediate


Comments
Ana White
Wed, 02/05/2020 - 15:58
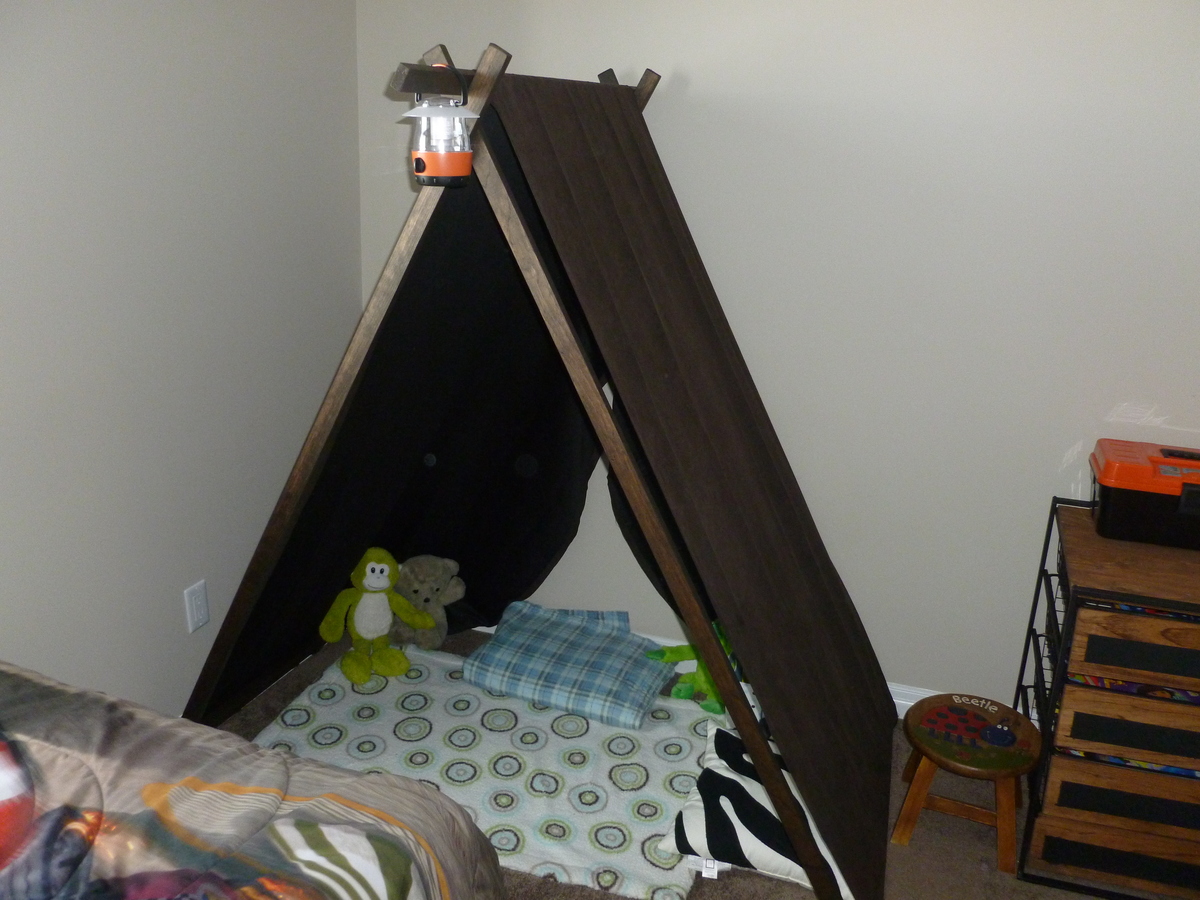
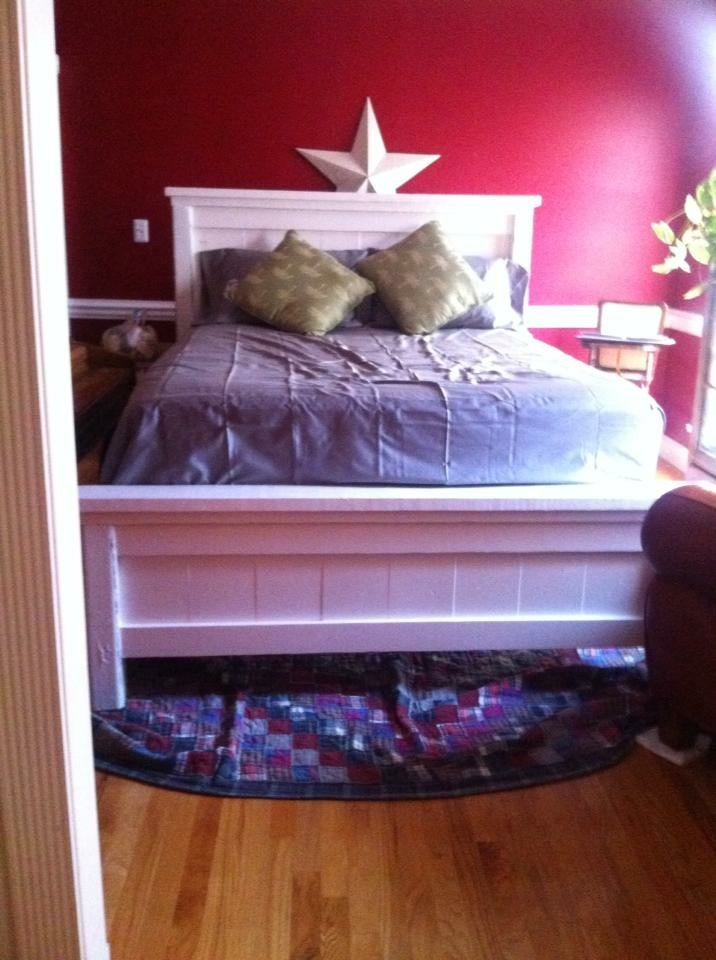
Love this bed!
Thanks for sharing!