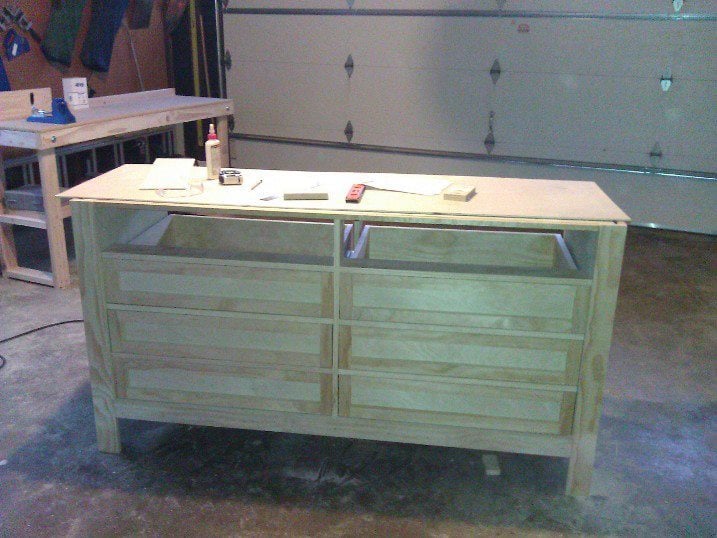
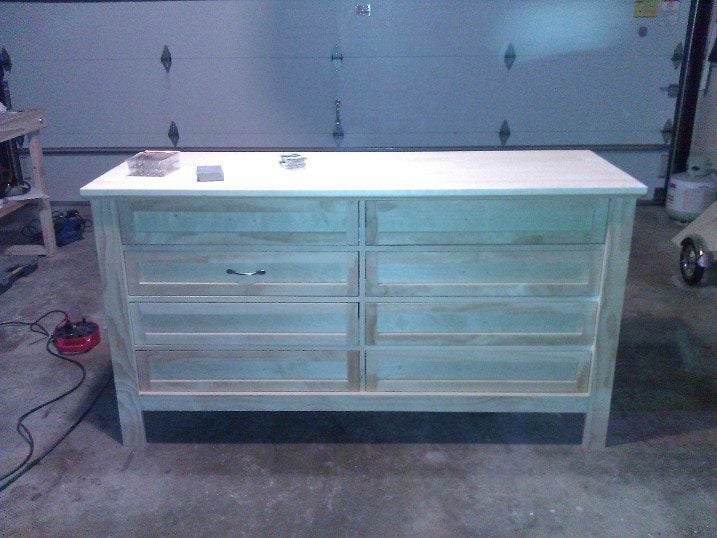
Community Brag Posts

Handmade by Gary

Submitted by Anonymous (not verified) on Mon, 02/22/2016 - 18:35

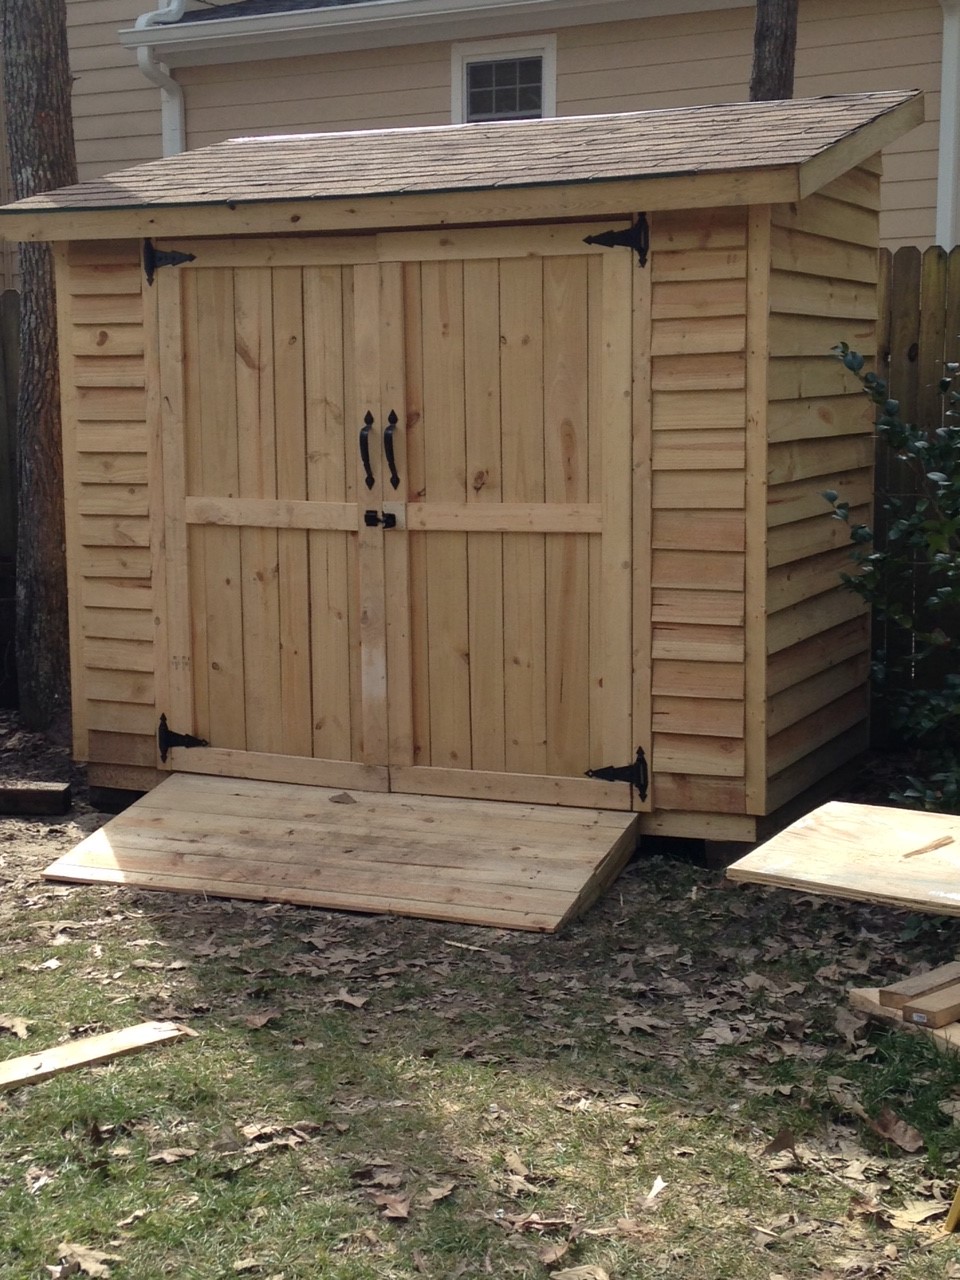
This is a modified version of your plans.  I made it 4x8 and adjusted the roof and front according. For the back wall, I used T1-11 siding and the pickets everywhere else. I added a floor and ramp too.

Estimated Cost
$425
Estimated Time Investment
Weekend Project (10-20 Hours)
Finish Used
None yet.
Recommended Skill Level
Intermediate

Honey Do

Submitted by Anonymous (not verified) on Thu, 10/03/2019 - 11:45

After moving, my wife informed me that I would be building her a new TV console. This is the end result. Now we need a bigger TV!

Estimated Cost
$400
Estimated Time Investment
Weekend Project (10-20 Hours)
Finish Used
White paint and Minwax stain.
Recommended Skill Level
Intermediate

Comments

Farmhouse Potting Bench

Submitted by Anonymous (not verified) on Fri, 06/16/2023 - 11:27

Proud of this, my very first build. Thanks to Ana White for the detailed, easy to follow plan. Can hardly wait to start the next project!

Built from Plan(s)

Comments

Media Console

Submitted by Donnalu on Fri, 02/03/2012 - 17:54

Media Console--My first build! Read all about it at http://isthisloadbearing.com/2012/01/15/media-console/

Built from Plan(s)
Finish Used
Behr Swiss Coffee
Recommended Skill Level
Beginner

Comments

jfmiller17 (not verified)

Mon, 02/06/2012 - 13:31

The details really make the piece unique. The additions of the lattice panels and the legs look like simple additions, but they make a bigg difference. It looks great.

RandyE (not verified)

Mon, 04/09/2012 - 15:40

Did you follow Anna's plans for this? Some other comments on the plan had suggested the measurements were off. Did you find this was the case?

Thanks,
Randy

lizzlysamsinson

Mon, 05/06/2013 - 03:58

I like the idea you have in there. It is quite simple but it expresses such coolness and neatness to the place. Simplicity is beauty. It is better that you make your media console not occupied with a lot of stuff.

------------------------
dragon city hack

Farmhouse Table

We recently moved back to my hometown and bought a beautiful farmhouse that was built in 1908. We knew Ana's Farmhouse Table plan was perfect for our dining room! We followed Hillary, from The Friendly Home, advise and black tea stained the wood, then sanded it with an 80grit paper. The next step was to apply the oxidizing solution, made up of 000 steel wool dissolved in white vinegar. We will continue to use this finish technique on other builds so we now keep a massive mason jar in the basement. If you decide to do the same, remember not to tighten the lid. The mixture creates a gas expansion in the jar that could pop the top! Once this was applied we let it dry completely and started sanding again. This is the fun part. The love of my life, who had never attempted to build anything before, felt like an artist! It was so much fun to hear him exclaim he had created another masterpiece! Once we had all the pieces sanded , we put the whole thing together and applied 2 coats of min wax. Unlike Hillary, we did not add color to our wax, but decided we liked the color just as it was.

Estimated Cost
$85
Estimated Time Investment
Weekend Project (10-20 Hours)
Finish Used
Tutorial from The Friendly Home
Recommended Skill Level
Beginner

Comments

Modified Planked Wood Sideboard

Submitted by Anonymous (not verified) on Thu, 02/25/2016 - 08:41

Built this buffet/sideboard in about a week. Huge, and kind of a pain to move, but beautiful and extremely useful.

Built from Plan(s)
Estimated Cost
$175
Estimated Time Investment
Week Long Project (20 Hours or More)
Finish Used
Minwax Provincial stain with wax finish
Recommended Skill Level
Intermediate

Comments

In Drawer Knife Block Includes Steak Knife Storage

I watched your video and modified mine to take up less space by using 1 x material instead of 2X material, and I cut a notch in the top to allow steak knives to store on top.  Once a cut a notch, then I used my table saw to create the space where the steak knife blades fit. 


From there, lots of sanding and gluing. I made the plywood base about 1/4” shorter than the depth of my drawer so it could be easily placed inside my drawers that don’t fully extend out. 


I finished it with pre-stain conditioner, stain, and then an oil/beeswax blend (used for cuttting boards) applied with 0000 steel wool for a super smooth, satiny finish. 

Angie 

Built from Plan(s)

Modified Fiona Chair, we call it a Nintendo Chair

Submitted by angiemicn on Wed, 02/08/2012 - 01:36

Started out making the Fiona Adironback doll chair, and when my niece saw it in this state, she dramatically screamed, STOP! she's 8, lol. She brought it in to the house, sat her doll in it next to her game chair, gave her dolly the game controller, and began to play 2 player Nintendo, Wii, and xbox.
I've built 5 of these, all for friends of hers, who see her and Sarina (her Doll) playing video games together.

Built from Plan(s)
Estimated Cost
20
Estimated Time Investment
Afternoon Project (3-6 Hours)
Finish Used
sanded and sprayed with clear polyurethane to protect it in case dolly spills her drink
Recommended Skill Level
Beginner

Our rustic outdoor bench

Submitted by oasieggr on Wed, 12/18/2013 - 05:43

My younger brother, John, and I built this bench during the weekends during the first few months of "back-to-school" as a way to spend time with each other. This is a variation on the simple outdoor bench by Ana. Our mainframe was built of regular 2x4s and the slats with pine, while the legs and the exterior wood was of cedar that was leftover from when our parents built our log home 20 years ago. Since we used the cedar, we also had to wash the logs with special logwash, and wait for them to dry, so our project took a little longer than most. Due to the staining, which was the stain used on our house we ended up putting a light clear coat over top of the stain since we didn't want it to be rubbing off on our clothing during use (since it's not typically used as furniture stain). Our Dad did have to help us a bit with the log legs that needed to be cut with a chainsaw and he sandblasted (he's a stone engraver by trade) the wood to make it look a little more weathered and "rustic." Overall it was fairly simple and my brother and I are both very pleased with the outcome, and this project has driven me to start making my own simple bedroom furniture when I move out for graduate school!

Estimated Time Investment
Day Project (6-9 Hours)
Finish Used
A log house stain and wash. Would not recommend, since it requires some up keep and had to be reapplied several times, including a clear coat.
Recommended Skill Level
Beginner

Comments

Chunky leg table

Submitted by tonellieto on Sun, 10/06/2019 - 21:16

I made this table from the husky farmhouse table plan, I have loved this  table since I first saw the plan. I used 4” legs instead of 5” and 1x6’s for the top. It turned out beautifully. I did purchase the Osborne legs as recommended.

Estimated Cost
$300
Estimated Time Investment
Day Project (6-9 Hours)
Finish Used
Top: stained with “Early american satin stain.
Legs and base: sarin black spray paint.
Recommended Skill Level
Intermediate

Planters for Steps

Submitted by Anonymous (not verified) on Tue, 06/27/2023 - 12:10

Very happy with how these planters turned out. Beautiful with red Geraniums and ping wave petunias.

Built by Dave

Built from Plan(s)

Comments

Repurposed Demolition Trunk

I had an old chest I had gotten from the Army many years ago that was used to pack explosives. I had been using it to store some tools until I built a new tool shed. I went ahead and power washed it and then stripped it. I gave it a good sanding and then applied 2 coats of Minwax Antique Maple gel stain. I then top coated it with 2 coats of Minwax fast drying polyurethane. It turned out better than I expected. One of my sons uses it to store his book bags from school.

Estimated Cost
$30
Estimated Time Investment
Weekend Project (10-20 Hours)
Finish Used
2 coats of Minwax Antique Maple stain. 2 coats of Minwax fast drying polyurethane. I applied the stain with a brush. After 15 minutes I wiped it with a cotton cloth. The poly was applied with a brush. I used 320 grit sandpaper between coats. I stripped the old paint off with a cheap paint and varnish remover I purchased at Walmart. I did have to power wash it first because it had quite a bit of oil/grease that was in the wood. I dried the trunk by placing an electric heater next to it over night.
Recommended Skill Level
Starter Project

Comments

missinfwb

Thu, 03/01/2012 - 02:28

Just wondering, I always use 3 coats of Minwax fast drying polyurethane on my furniture builds or refinishes. The trouble that I have is the lingering odor. I recently built my son a bed and then finished it and he cant stand the smell and refuses to sleep in it and it has been about 2 weeks or more. Any ideas on how to get rid of the smell quicker. Everything that I have read says it just takes time but surely there has to be a quicker way!! Any suggestions from anyone would be greatly appreciated.

claydowling

Thu, 03/01/2012 - 06:39

At least, that would be my suggestion for him. The smell will dissipate when the smell dissipates, and that's all you can do. You can speed that if the bed is stored in a very well ventilated space for a while, but it's just a matter of the urethane needing to fully cure. That manufacturer estimates four weeks for full cure.

Urethane has a distinctive smell. You can avoid it by using an acrylic finish instead (the water-borne finishes), but acrylic has its own smell that's probably equally offensive.

windjamer812

Sat, 03/10/2012 - 02:27

It does take a little time to cure and eliminate the odor. Any oil based finish; poly, paint, etc. does have a little stronger smell than water based. Try an open box of baking soda. An open window also works wonders. Ever notice how wonderful sheets smell whenever you dry them outside?

Lego toy box

I built one for my kids and one for a nephew. I ordered the 10" x 10" Lego plates from Amazon. The sides and top are made from 3/4" plywood and the bottom is 1/4" plywood. The overall dimensions are 26 1/4" x 13 5/8" x 11 7/8" (not counting the top circles). I used a 4" hole saw to cut the circles then glued/nailed two together and used wood filler to fill the hole created in the center of the circles by the hole saw.

Other than changing the dimensions, I followed the original plans closely. The images in the original plans have 2 plates that are 15" x 15".

When cutting the circles, I clamped/screwed a scrap piece of wood under the plywood to produce much cleaner cuts.

I did paint the inside bottom white to make it easier to see the bottom and small pieces. I also drilled a pair of holes on each side to add rope handles.

Built from Plan(s)
Estimated Time Investment
Afternoon Project (3-6 Hours)
Finish Used
Valspar paint sample from Lowes
Recommended Skill Level
Beginner

My Potting Table

Submitted by Anonymous (not verified) on Mon, 02/29/2016 - 19:29

Loved making this.  Took less than 2 hours, not including painting, which I haven't done yet.  Plans were easy to follow but I couldn't find a cut list which would have made the trip to the lumber yard a little easier. I used some scrap wood and some new so very reasonable to make.

Estimated Cost
$40
Estimated Time Investment
An Hour or Two (0-2 Hours)
Finish Used
Haven't decided yet
Recommended Skill Level
Beginner

Clara Table

Submitted by WolffA on Fri, 10/11/2019 - 07:51

I stained the top with Dark Walnut stain and used perfect white paint. 

Built from Plan(s)
Estimated Cost
50
Estimated Time Investment
Day Project (6-9 Hours)
Finish Used
Dark Walnut Stain. Ultra White Paint
Recommended Skill Level
Starter Project

Comments

Our awesome new table.

Submitted by bigkampe on Tue, 12/24/2013 - 04:59

This was a fun and easy project to do. We really like how it turned out and how it compliments the room. For the bottom shelf I used four 1x6 boards instead of a single 21" wide plywood board. For that worn look, I took a drywall rasp and chewed up the corners and edges. Staining was a two part job. The first coat was called weathered gray. After it dried I lightly sanded it with 180 grit and applied a second coat of dark walnut. The gray subtly shows through the walnut. If I had it to do it over, I may have applied a coat of ebony stain to the corners and edges to make the color less even. I did very little sanding on this piece because I wanted a rough texture, but I did enough to make it sliver-free. The project cost about $80.

Estimated Time Investment
Weekend Project (10-20 Hours)
Finish Used
Varethane Weathered Gray water based with polyurethane.
Varethane Dark Walnut water based with polyurethane.
Recommended Skill Level
Beginner

Big girl bed

Submitted by Anonymous (not verified) on Fri, 03/04/2016 - 18:33

Farm house two toned, rustic twin size bed. 

Estimated Cost
$70-$80
Estimated Time Investment
Day Project (6-9 Hours)
Finish Used
Stain with a top coat of white simi gloss
Recommended Skill Level
Intermediate

American Girl Doll Bed

Submitted by Anonymous (not verified) on Sun, 10/13/2019 - 13:08

My daughter wanted a bed for her dolls. American Girl Doll Bed beds are outrageous, soI decided to make one out of some scrap wood we had laying around. I modified it a bit and added a trundle bed below.

Estimated Cost
0
Estimated Time Investment
Afternoon Project (3-6 Hours)
Finish Used
Stained
Recommended Skill Level
Intermediate

Hudson Dresser

Submitted by ktrinity on Mon, 02/20/2012 - 15:04

Took us about three weeks mostly working on weekends. We could only work when our child was sleeping. A worth while project if you have the time, space and tools needed. It weighs a ton when done. Our higher cost is due to using a higher wood quality and $125 for the eight ball bearing drawer slides. All the plywood is birch, the top is an Aspen panel and the rest is select pine.

Built from Plan(s)
Estimated Cost
$500
Estimated Time Investment
Week Long Project (20 Hours or More)
Finish Used
Latex Paint
Recommended Skill Level
Advanced

Comments

KyleV (not verified)

Thu, 10/25/2012 - 11:44

I'm about to start building this and I was wondering how you installed the drawer slides.

Thanks!

Sewing Table

Submitted by cjlaw on Mon, 03/07/2016 - 06:30

Sewing tables are quite expensive, the cheapest I've seen was about $160. I decided to make one myself. I spent about $30 for all the wood, bolts, and nuts that I used to make it.

Estimated Cost
About 30 dollars for all supplies.
Estimated Time Investment
Afternoon Project (3-6 Hours)
Recommended Skill Level
Beginner