Rustic X Console Table With Twigging
Followed the original plan but substituted branches from an oak tree for the X brace to give it a more "Adirondack" look. Geneously sprayed the branches with a clear polyurethane coating to seal the bark.
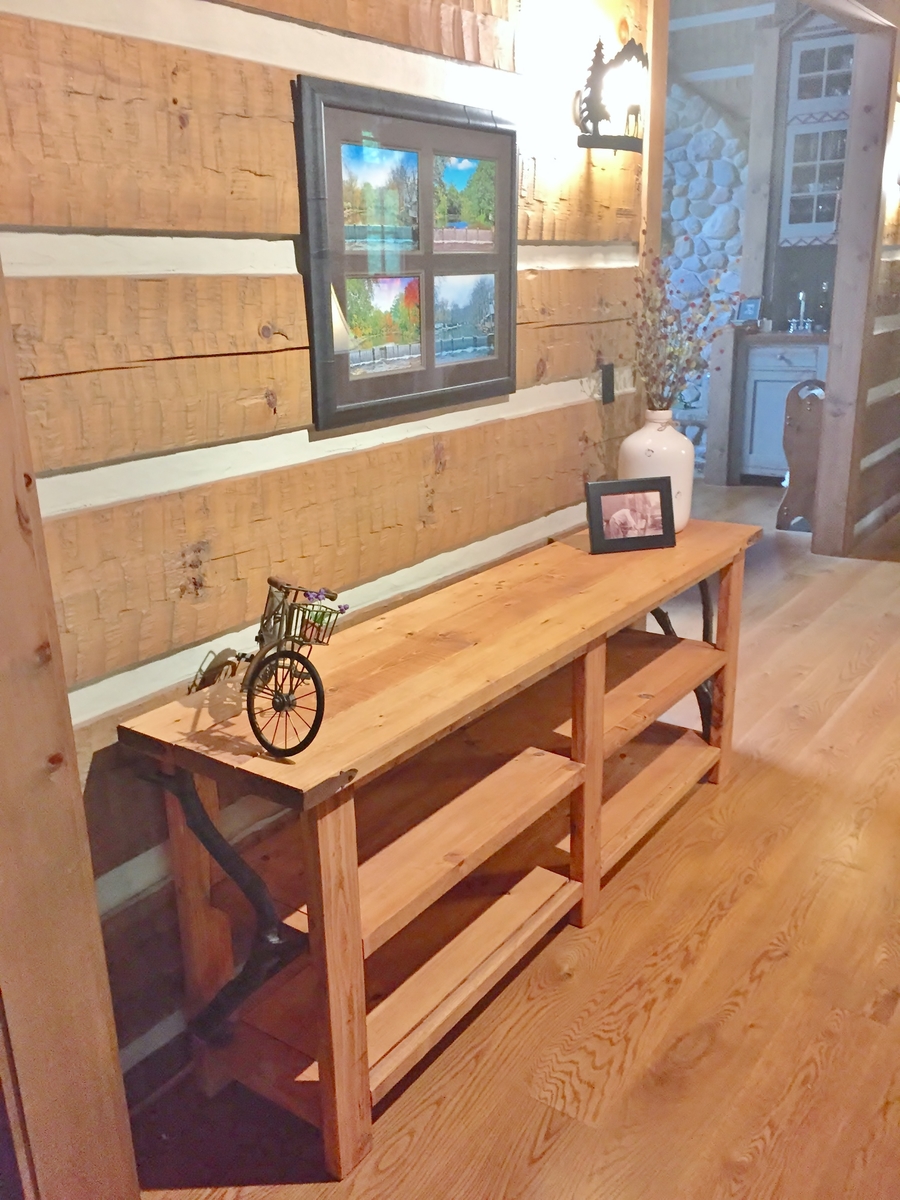
Followed the original plan but substituted branches from an oak tree for the X brace to give it a more "Adirondack" look. Geneously sprayed the branches with a clear polyurethane coating to seal the bark.

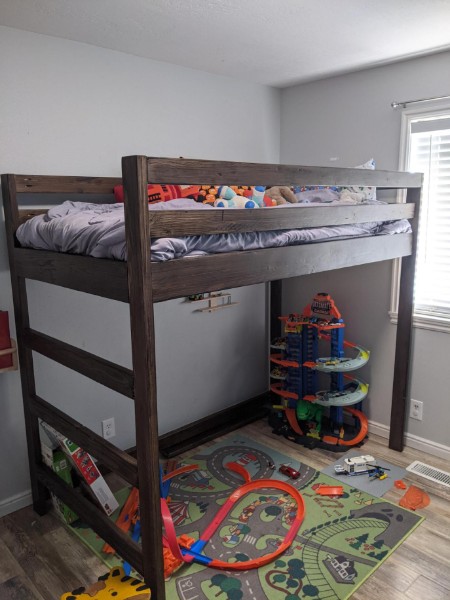
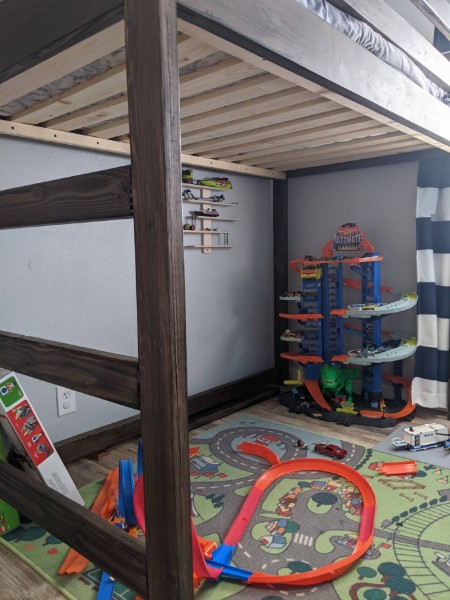
Pretty straightforward project. I didn't end up making the base due to lack of space and time. The hardest part for me was staining as depending on the medium semi-transparent etc... and how you apply it brush or gun etc... can change how it turns out. I used dark walnut i believe and only 1 coat and to me it was plenty rich. pretty sure it was semi transparent. I like how it's a loft bed and gives kid more sqft for their room. it is somewhat shaky but not horrible probably due to lack of base. I will probably add some cross members for support.
I've now made two Simple Outdoor Lounge Chairs and can't get over how sturdy they are! I also modified mine to have a 1x6 arm rest, but I ripped the back part of the arm rest so it tapered down to the 4" on the back side. I also made the chairs an inch taller on the legs since my family and I are tall.
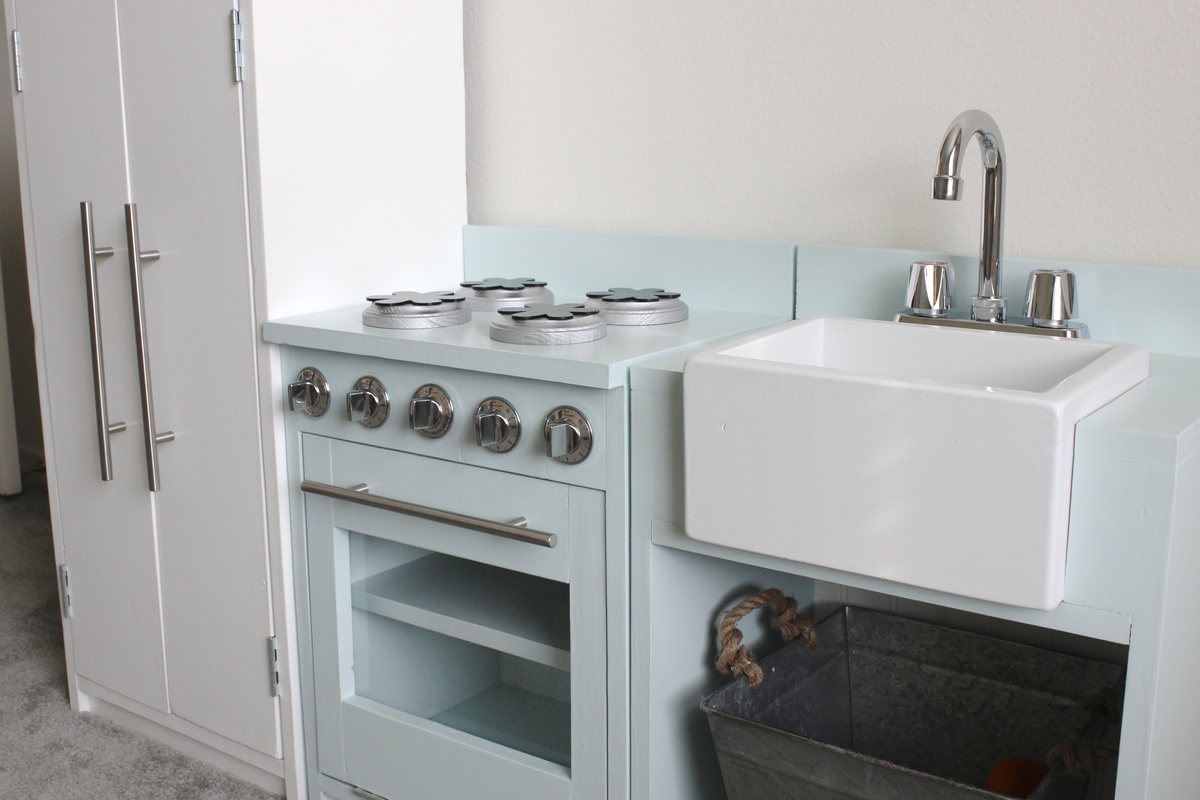
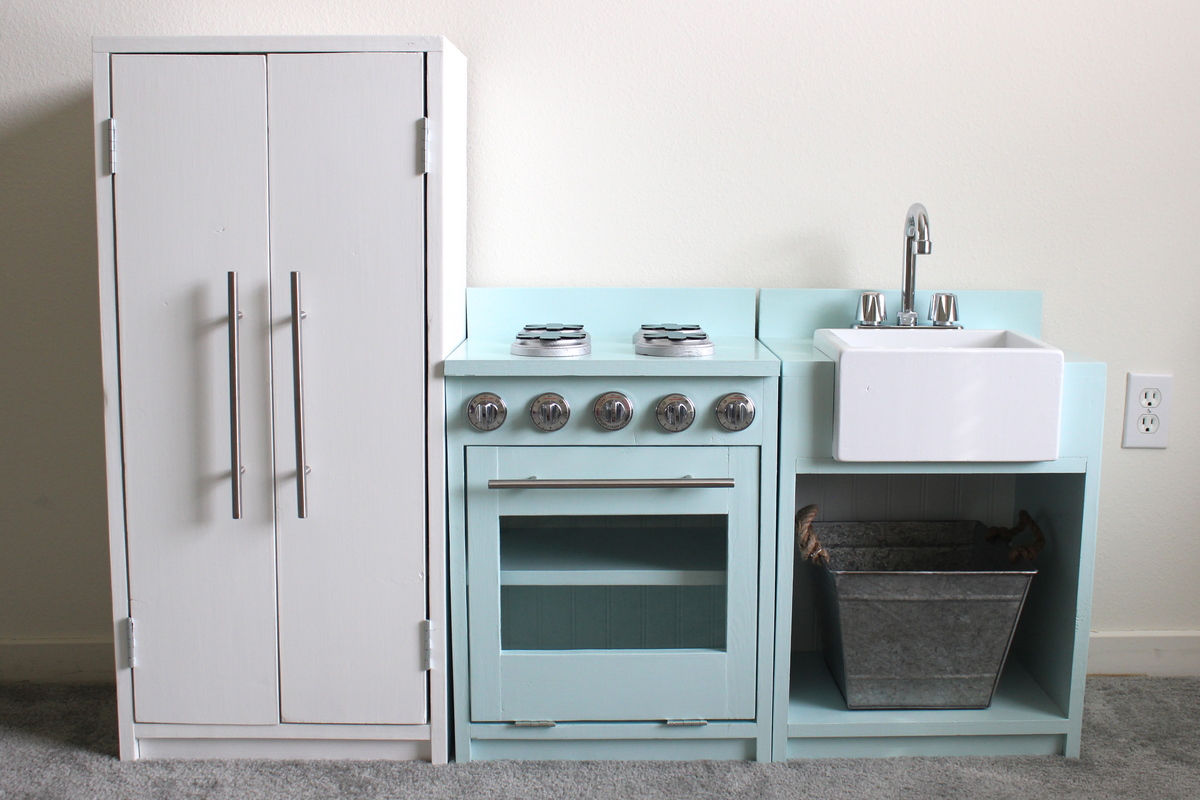
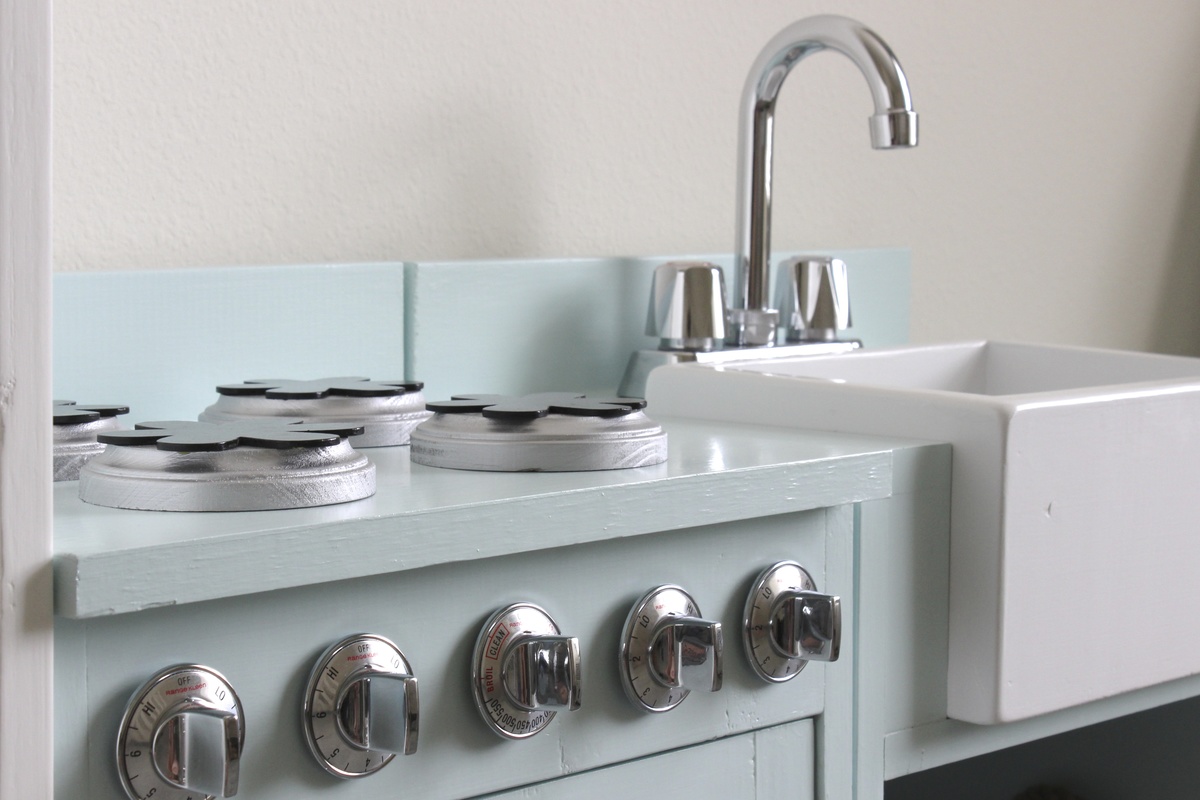
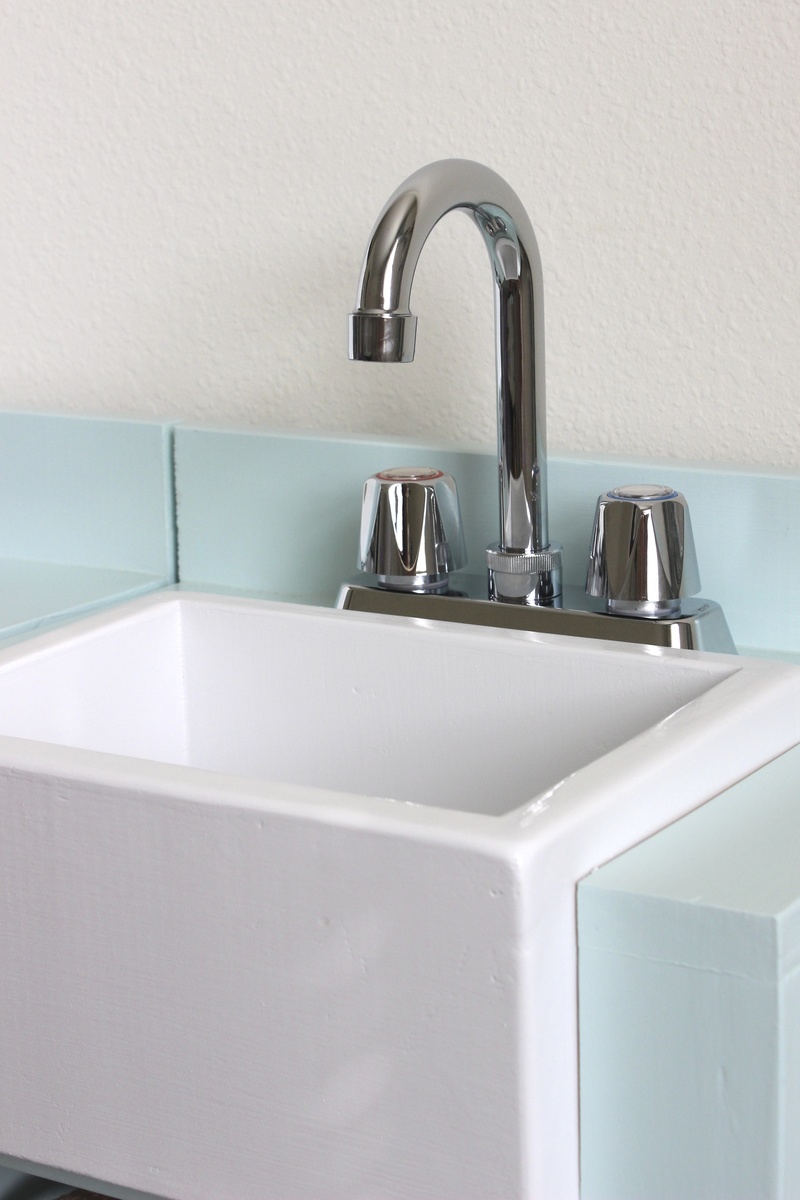
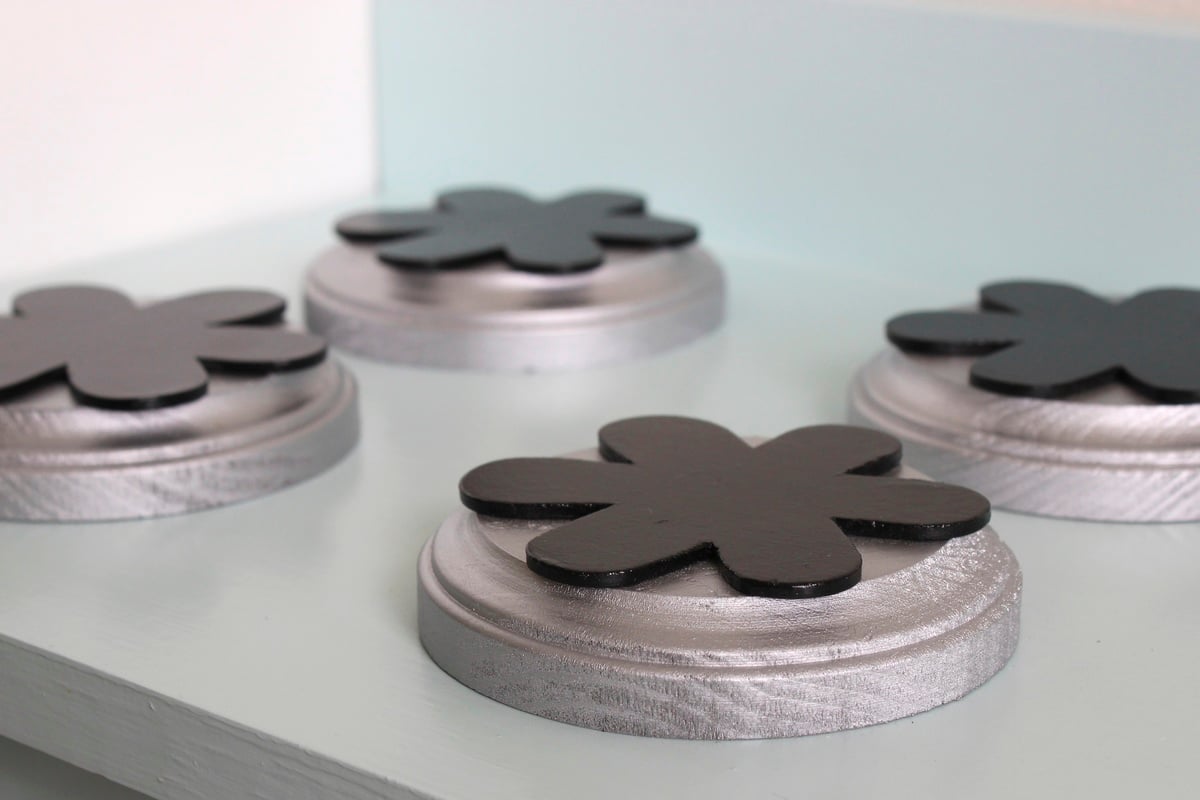
This was so fun. My little girl loves it and we have another on the way, so I am thrilled with how it turned out. The assembly wasn't hard, but it took FOUR coats of paint and three coats of finish. That was the most tedious part. I made a box for the apron sink, rounded off the edges, sprayed it with a white lacquer, and modified the countertop so it fit in nice and snug. It's my favorite part. I love that it tied in the white fridge. It ended up costing me 130 bucks. 50 in wood, 35 in paint/supplies, 45 in handles, knobs, faucet, hinges, stovetop etc.
COUNTERTOP AND SINK MODIFICATION:
I hope this isn't too confusing. It's hard when you can't see it, so don't hesitate to email for clarifications.
Countertop
(2) 1x3 @ 10 ½” (these boards go on either side of the sink when looking from above)
(1) 1x4 @ 11“ (this is the board the faucet sits on)
Put the backsplash on the same way the original plans say.
Sink box
11” wide, 8” deep, 5.5“ high (Using all 1x6 boards)
(2) 1x6 @ 11” (front and back)
(2) 1x6 @ 6.5” (left and right sides, on the inside of the 11" boards)
6.5x9.5 inside bottom (cut down whatever board you need to to get this size. This should fit snuggly inside the walls of the box)
Because a 1x6 is really 5.5 inches wide, and the countertop is 3/4" thick, and 3/4" of the sink sits above the countertop, that means 4” of the sink will be under the countertop. So looking at the sink from the front, you need (2) 1 ¾” wide x 4” long blocks of wood on either side of the front part of the sink. Then I just put a 1x12x14 1/2" shelf under the whole thing to hold it up. I built the sink box first and spray-painted it with a white lacquer, then I built the entire sink countertop and base, and then shoved the sink in last. It was a very tight squeeze so I didn't have to nail or glue it in or anything. About an inch of the sink should be sticking out of the front, and 3/4" should be sticking out the top.
Good luck!
Email me for questions!
[email protected]
Or visit my blog for details where I got all the accessories
carlyandjordan.blogspot.com/2013/08/play-kitchen.html
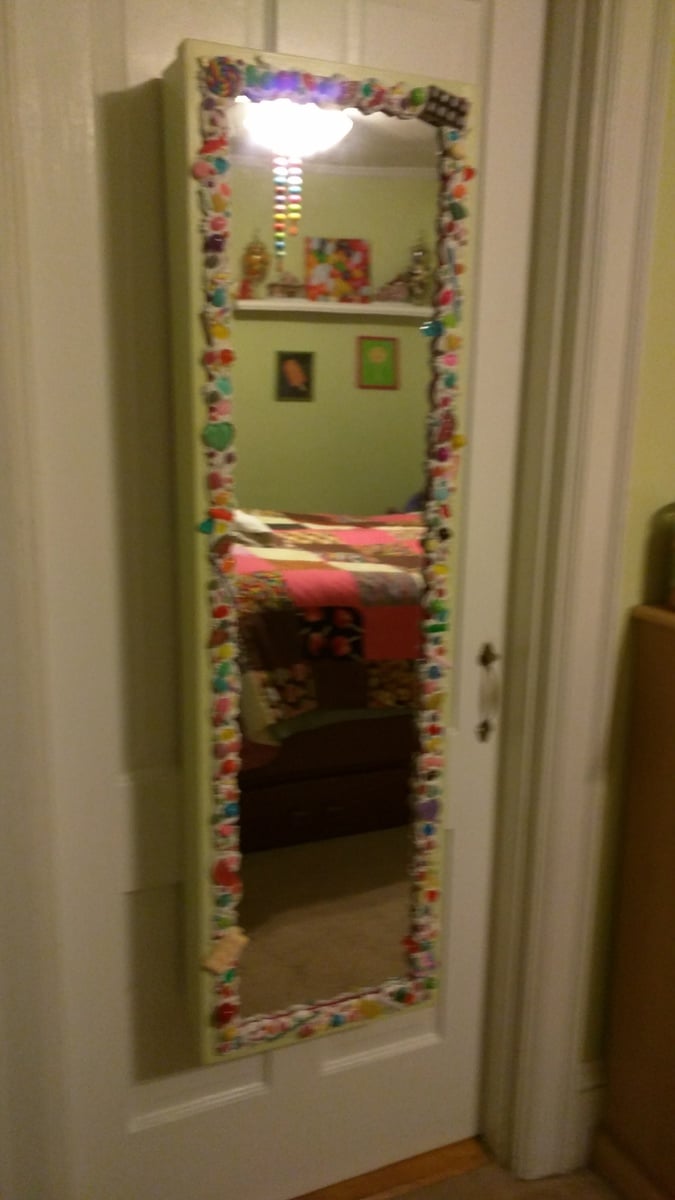
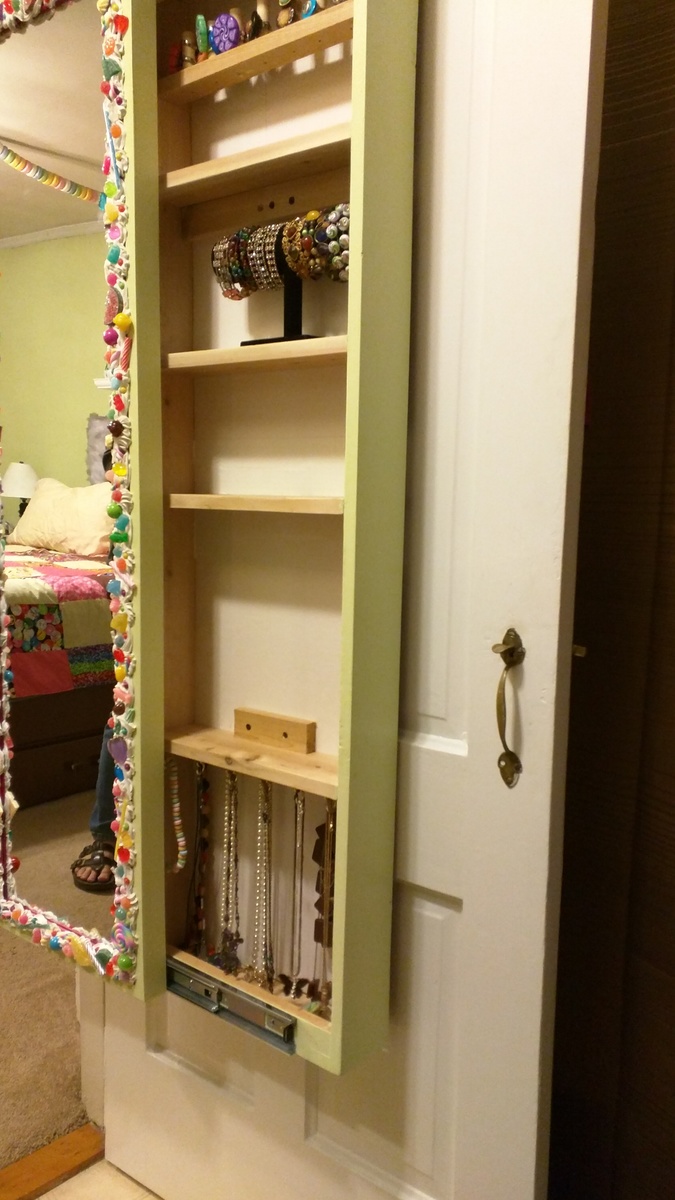
Hi Anna, I really had fun making our version of your sliding mirror project! Thought you might enjoy the photos! I made it into a jewelry cabinet.
Sun, 09/17/2017 - 20:48
How did you attach rails? I still cannot figure out the best way to do it...
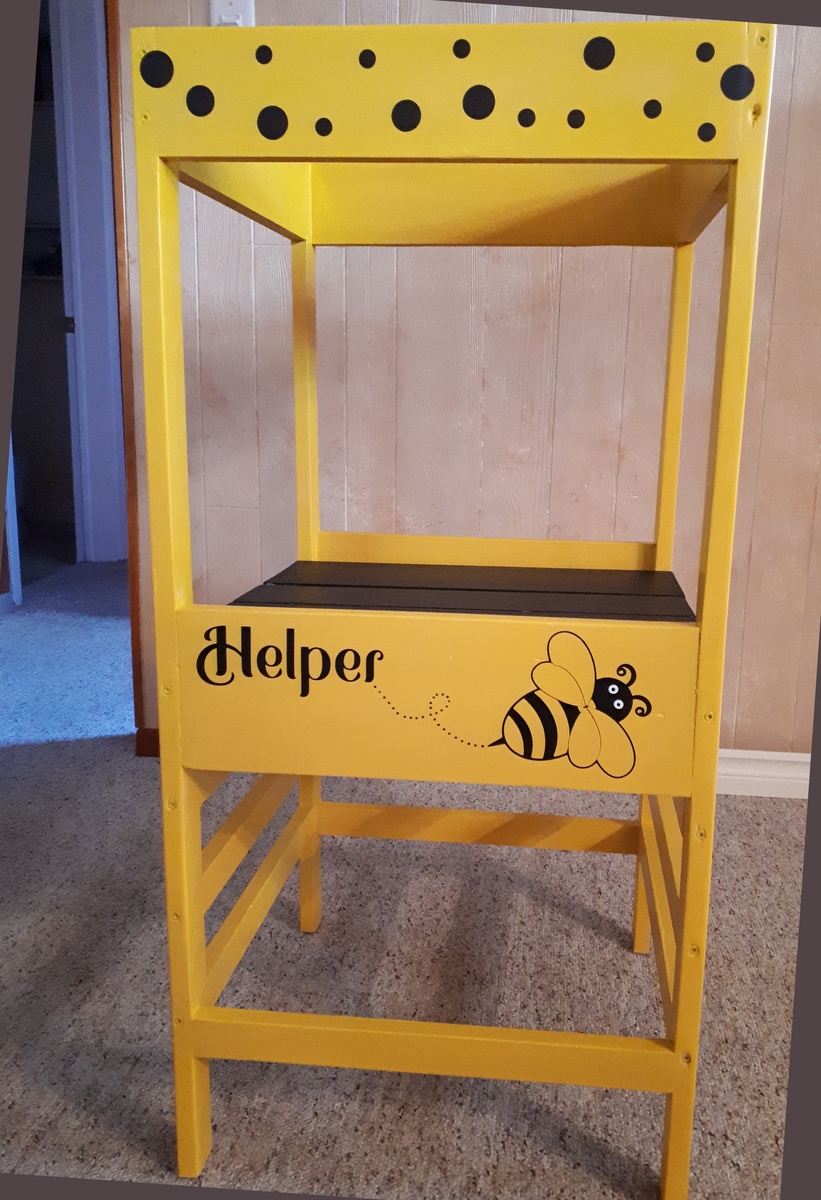
Thanks so much for the plans Ana. Made this for our grandaughter. Right now all colors are yellow and all bugs are bees so I decorated it as such. Chose not to use pocket screws as I figured if you had issues with the wood splitting I wasn't going to push my luck. Plans were very easy to follow and took us about 4 hours in total. Can't wait for her to start using it.
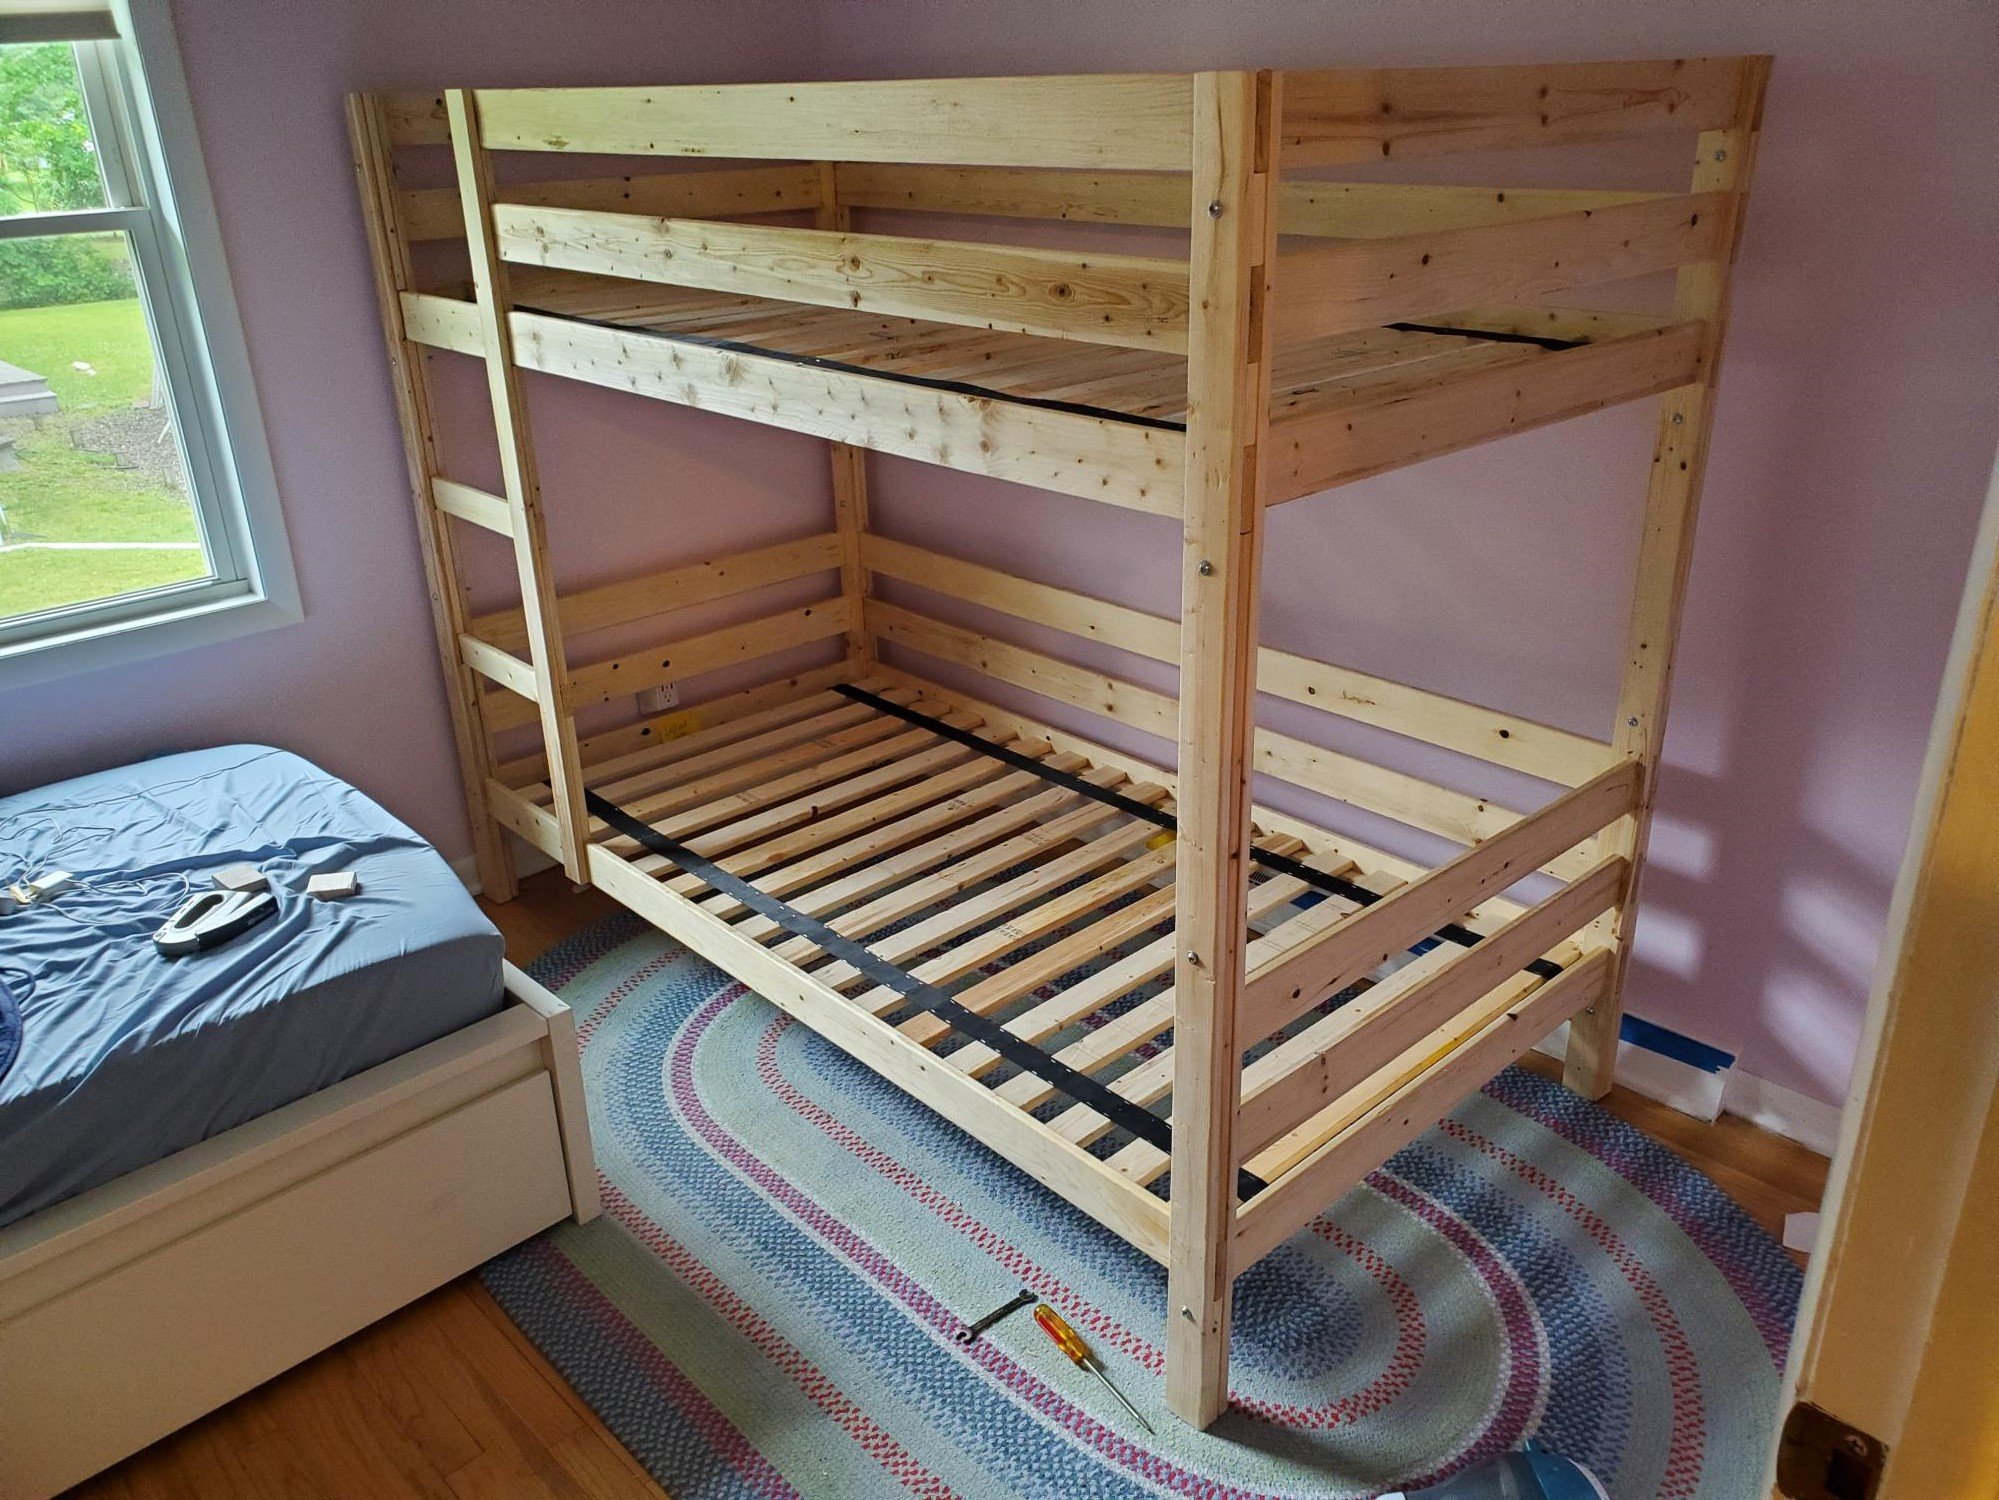
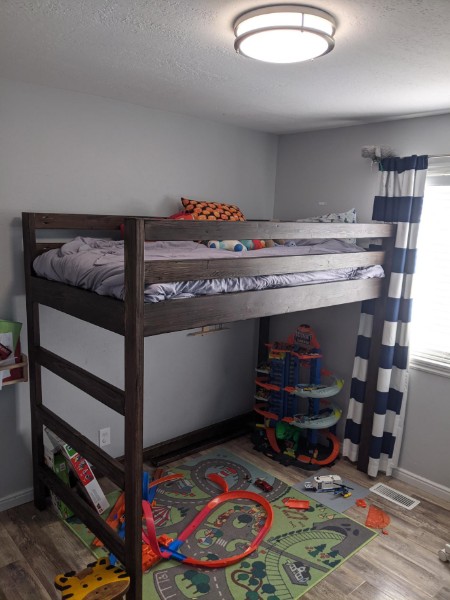
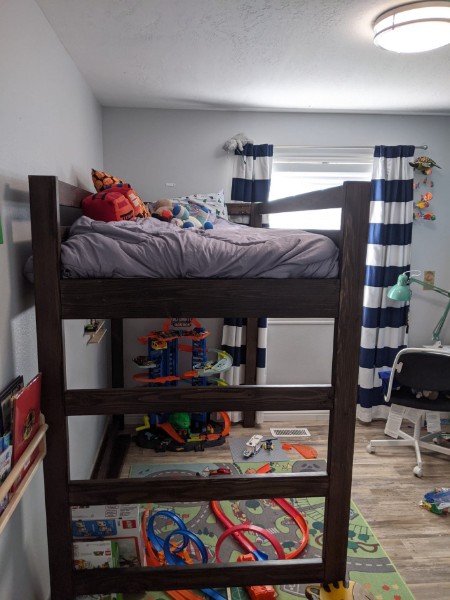
I followed Classic Bunk Beds instructions with the ladder to the left end instead of the right. I think this by accident though it works out fine in the room either way. It's finished with Danish Oil rubbed on.
I so wish I had taken a before picture! Last summer we did a lot to make over this bathroom. Previously the cabinets were a birch color with a white door (gross). The faucet was one that came with the house, cheapo builder's grade, a tacky medicine cabinet, and that oh so attractive Hollywood lighting. So we painted the cabinet black, replaced the medicine cabinet with a nicer black mirror, replaced the faucet and lights. That had it looking pretty decent, but the wall above the toilet had 3 small pictures hung rather oddly to hide some poor patch jobs from a busted towel bar. So when I saw the plan for the bathroom shelf I was thrilled! I made a few adjustments to the size to meet what I wanted and got started. I also had an extra 30 minutes before a birthday party we were leaving for and had some scraps already the right size for a simple step stool.
Thu, 03/07/2013 - 23:28
Oh! Your bathroom re-do projects sounds cool and abrupt. Myself being a bathroom lover usually spend times in Bathrooms. Besides always avid to observe the interiors. As you have done up with the black fixtures and cabinet, I guess it looks pretty stunning. Your ideas and the layout looks good to me and for sure I'm going to utilize my next afternoon.
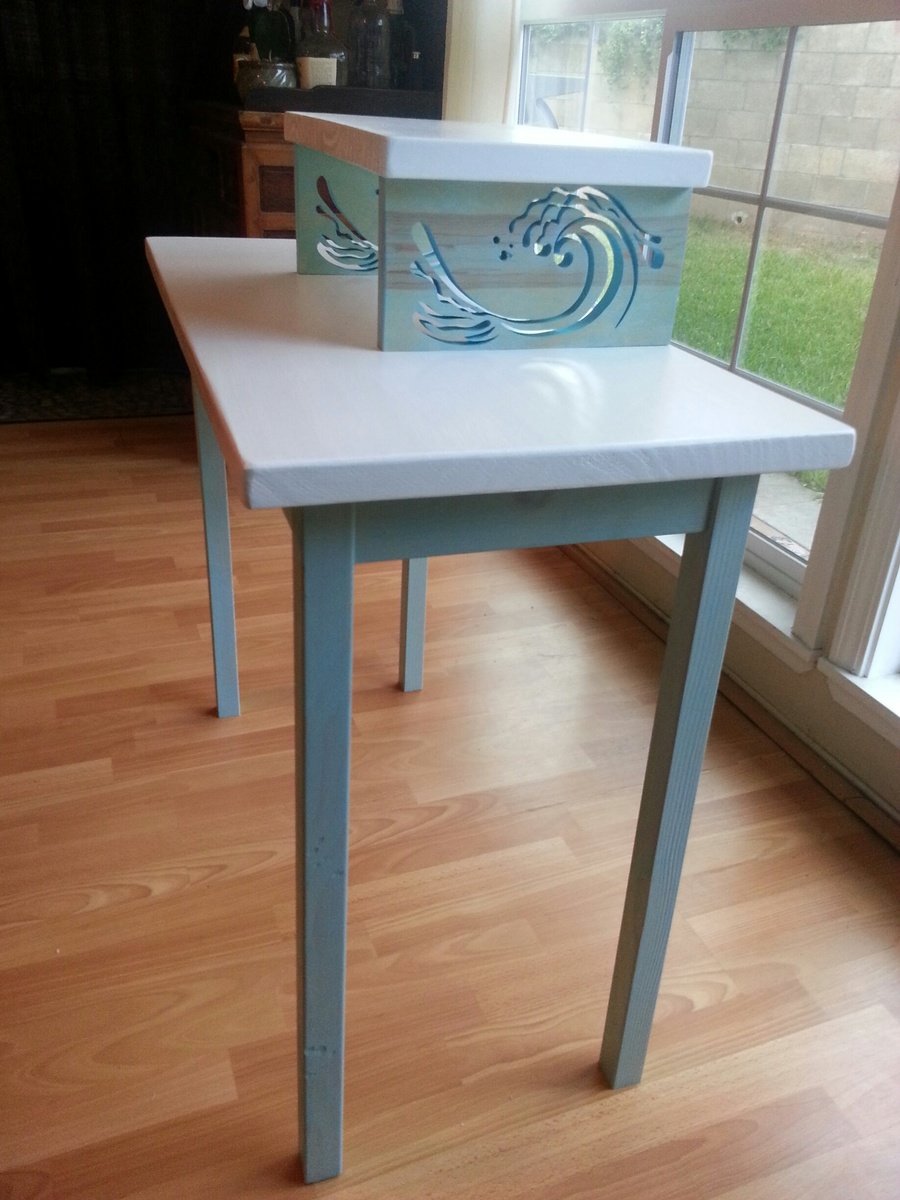
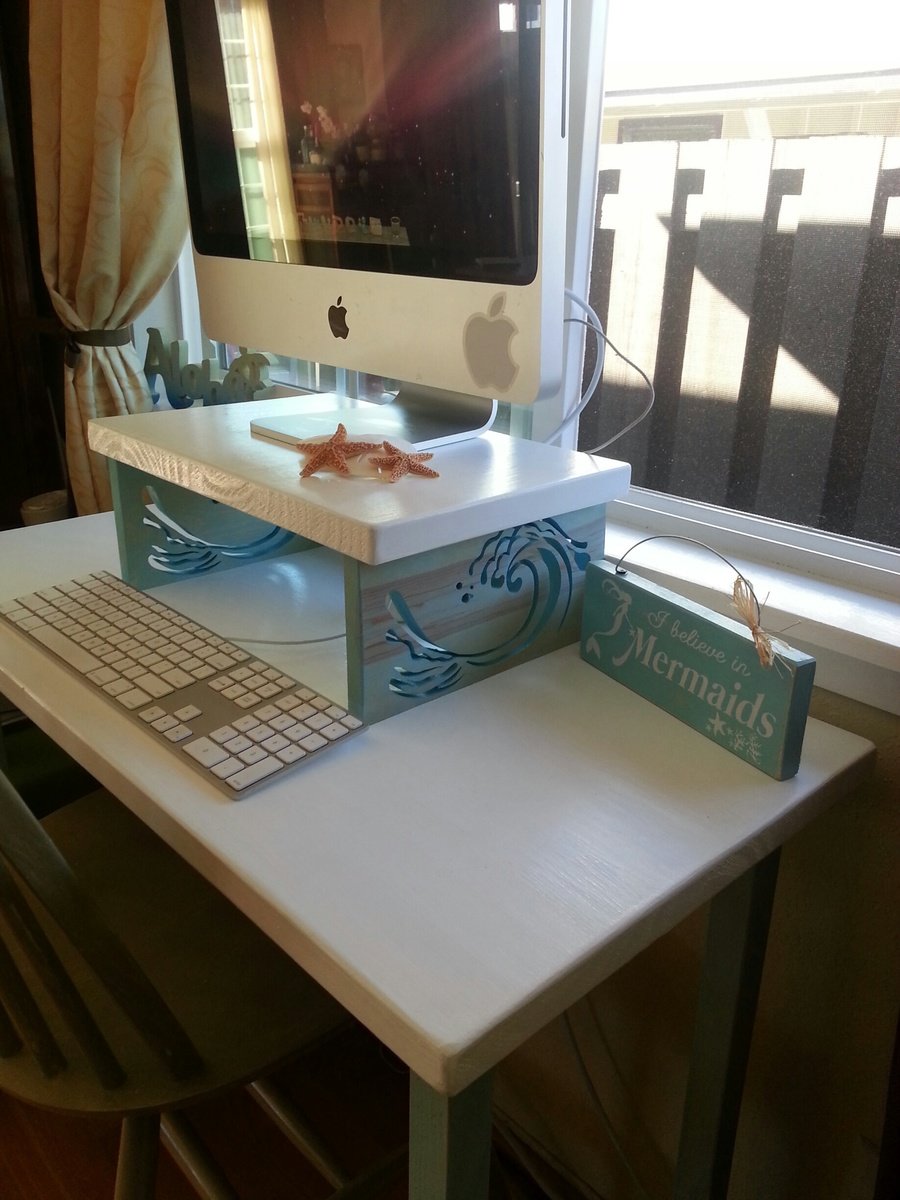
We needed a desk for my kid's computer. Something simple and functional but with a little customization.
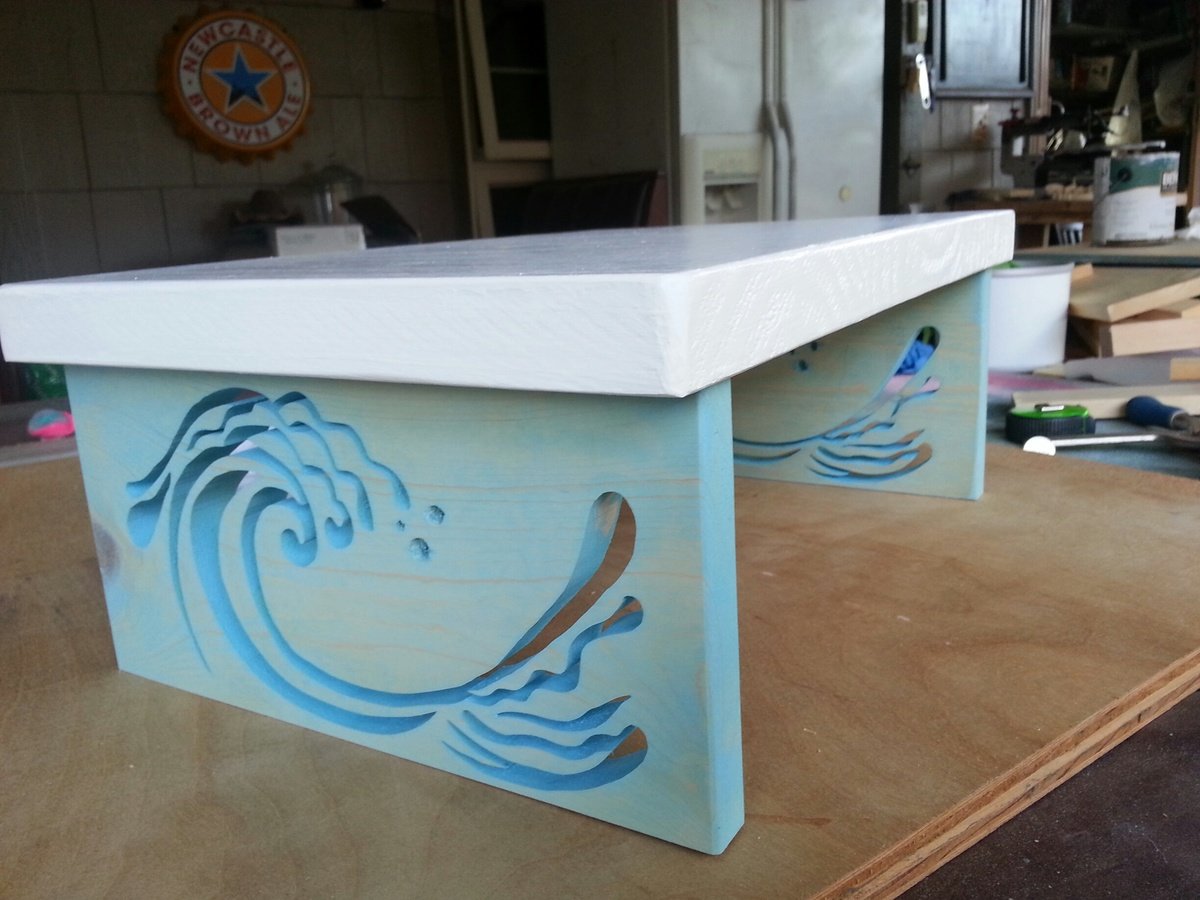
Since we live in Hawaii ocean themes are everywhere in our home. I scrolled out the waves to make the shelf supports original and let light into the little cubby below.
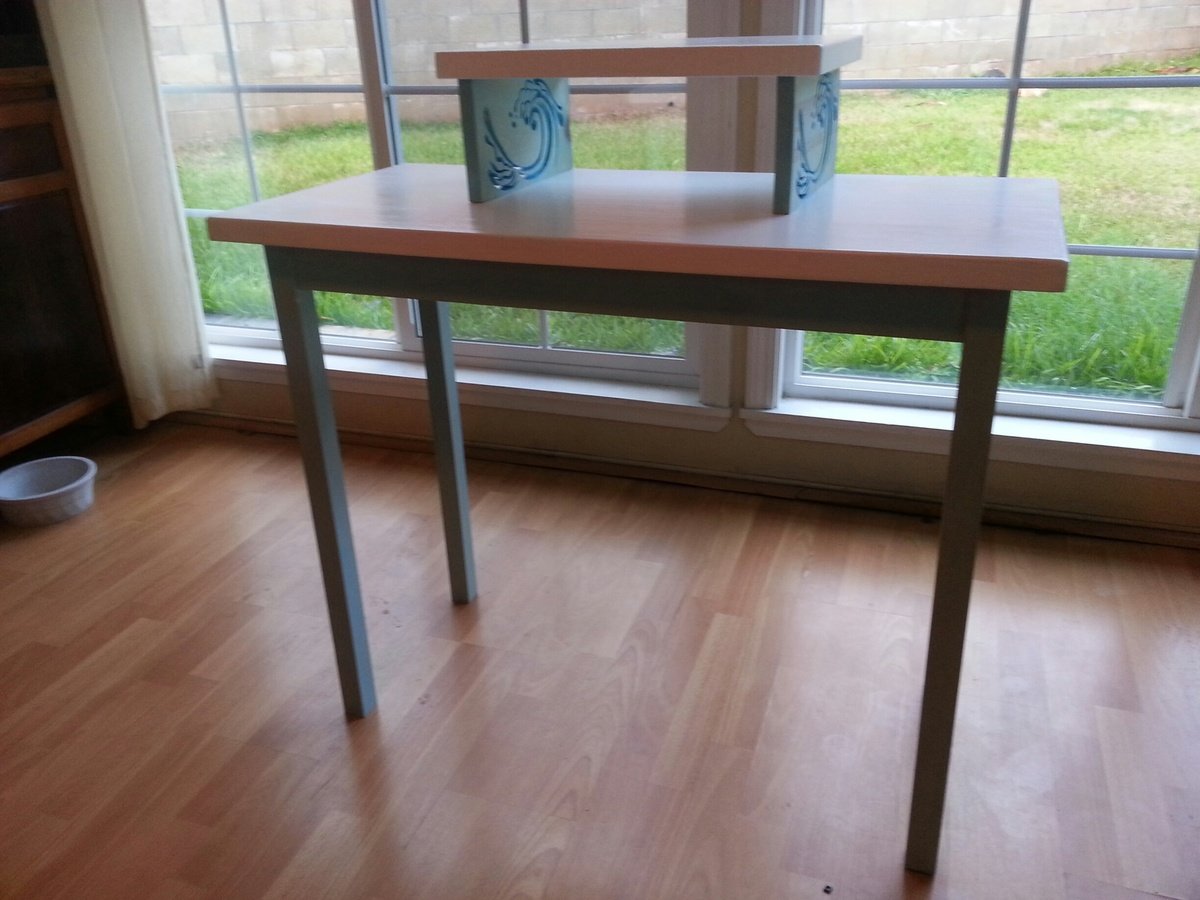
24" across and 18" deep I built this off the rough plans for the Clara desk and customized it to be at a normal table height of 29" so my elementary school children will be able to use this all the way through high school.
Stained with a blue minwax wood stain on the legs and shelf support. Arctic white latex paint for the table and shelf tops.
Thu, 08/22/2013 - 15:48
You did an awesome job on this desk! The colors are perfect, and the scrolled wave decorations are unique and beautiful!
In reply to Awesome job! by JoanneS
Fri, 08/23/2013 - 12:21
Thank you JoanneS! It brightens the room and my daughter likes computer homework now. Haha !
Fri, 08/23/2013 - 12:24
Great blog you've got going! I'm really impressed with your builds, beautiful home!
The waves were done on a scroll saw. It's one of most favorite tools.
Keep building!
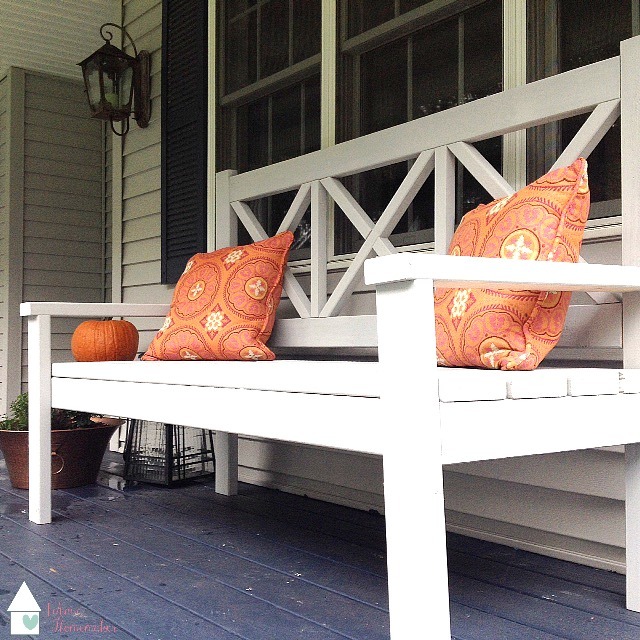
This was my first Ana White project and I can't wait to start another. I love the bench and it was easy to follow the plans. You can find the entire story of this build on my website.
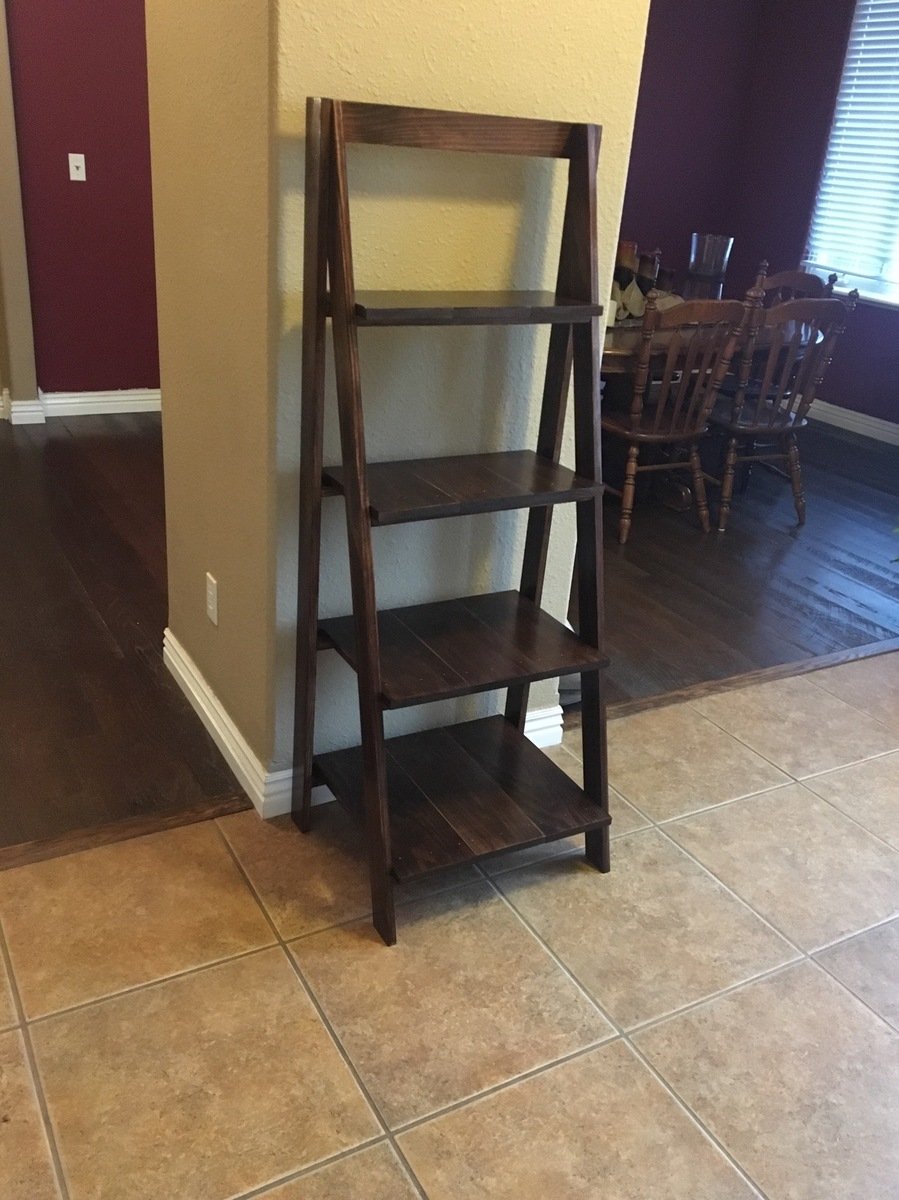
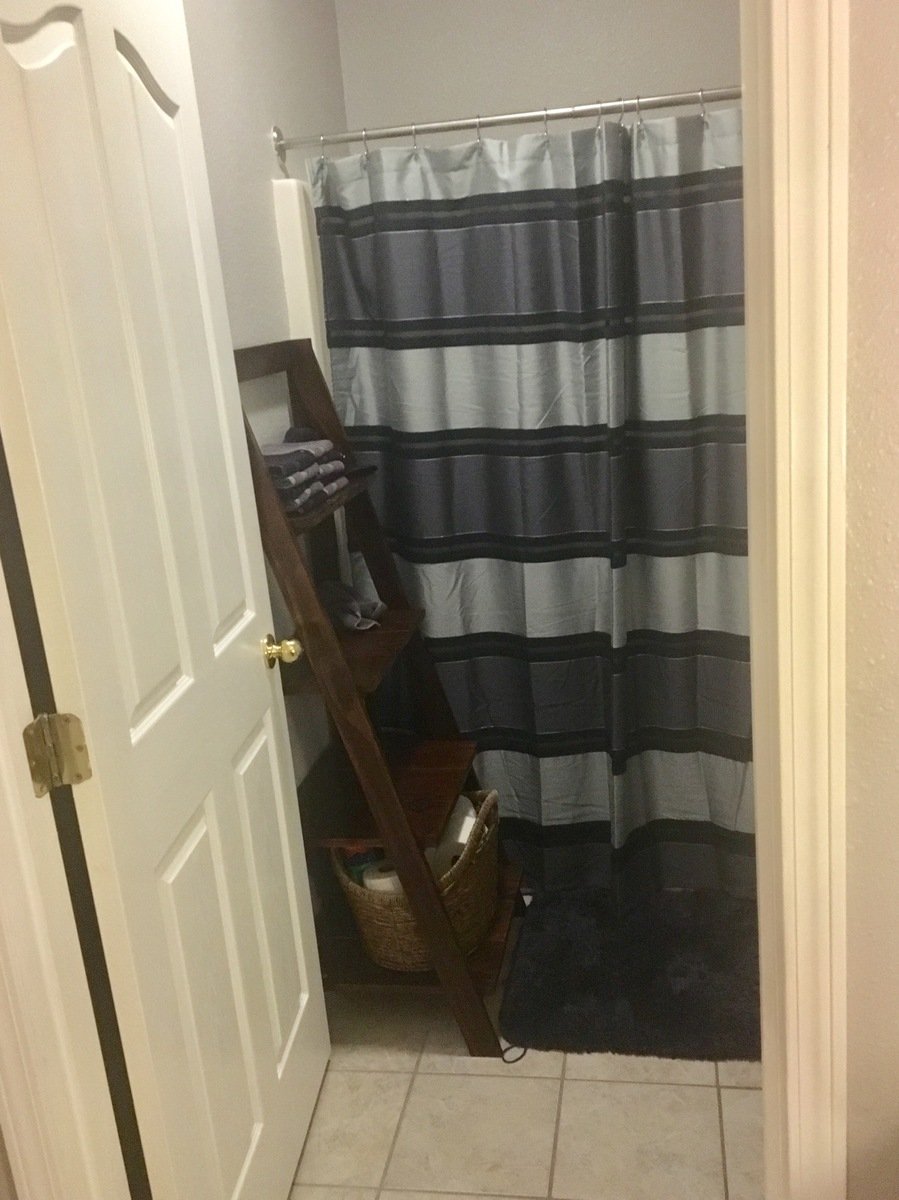
My kids desperately needed storage for their bathroom. The vanity is separate from their toilet and tub/shower. They were always forgetting to grab a towel before bath time. When I saw the wooden ladder shelf I thought it was perfect for the space. The only problem I had was figuring out the angle and height to place the supports on the front legs. With the help of my husband and a level it was a breeze. Once again it took longer for me to apply the finish than it did to build.
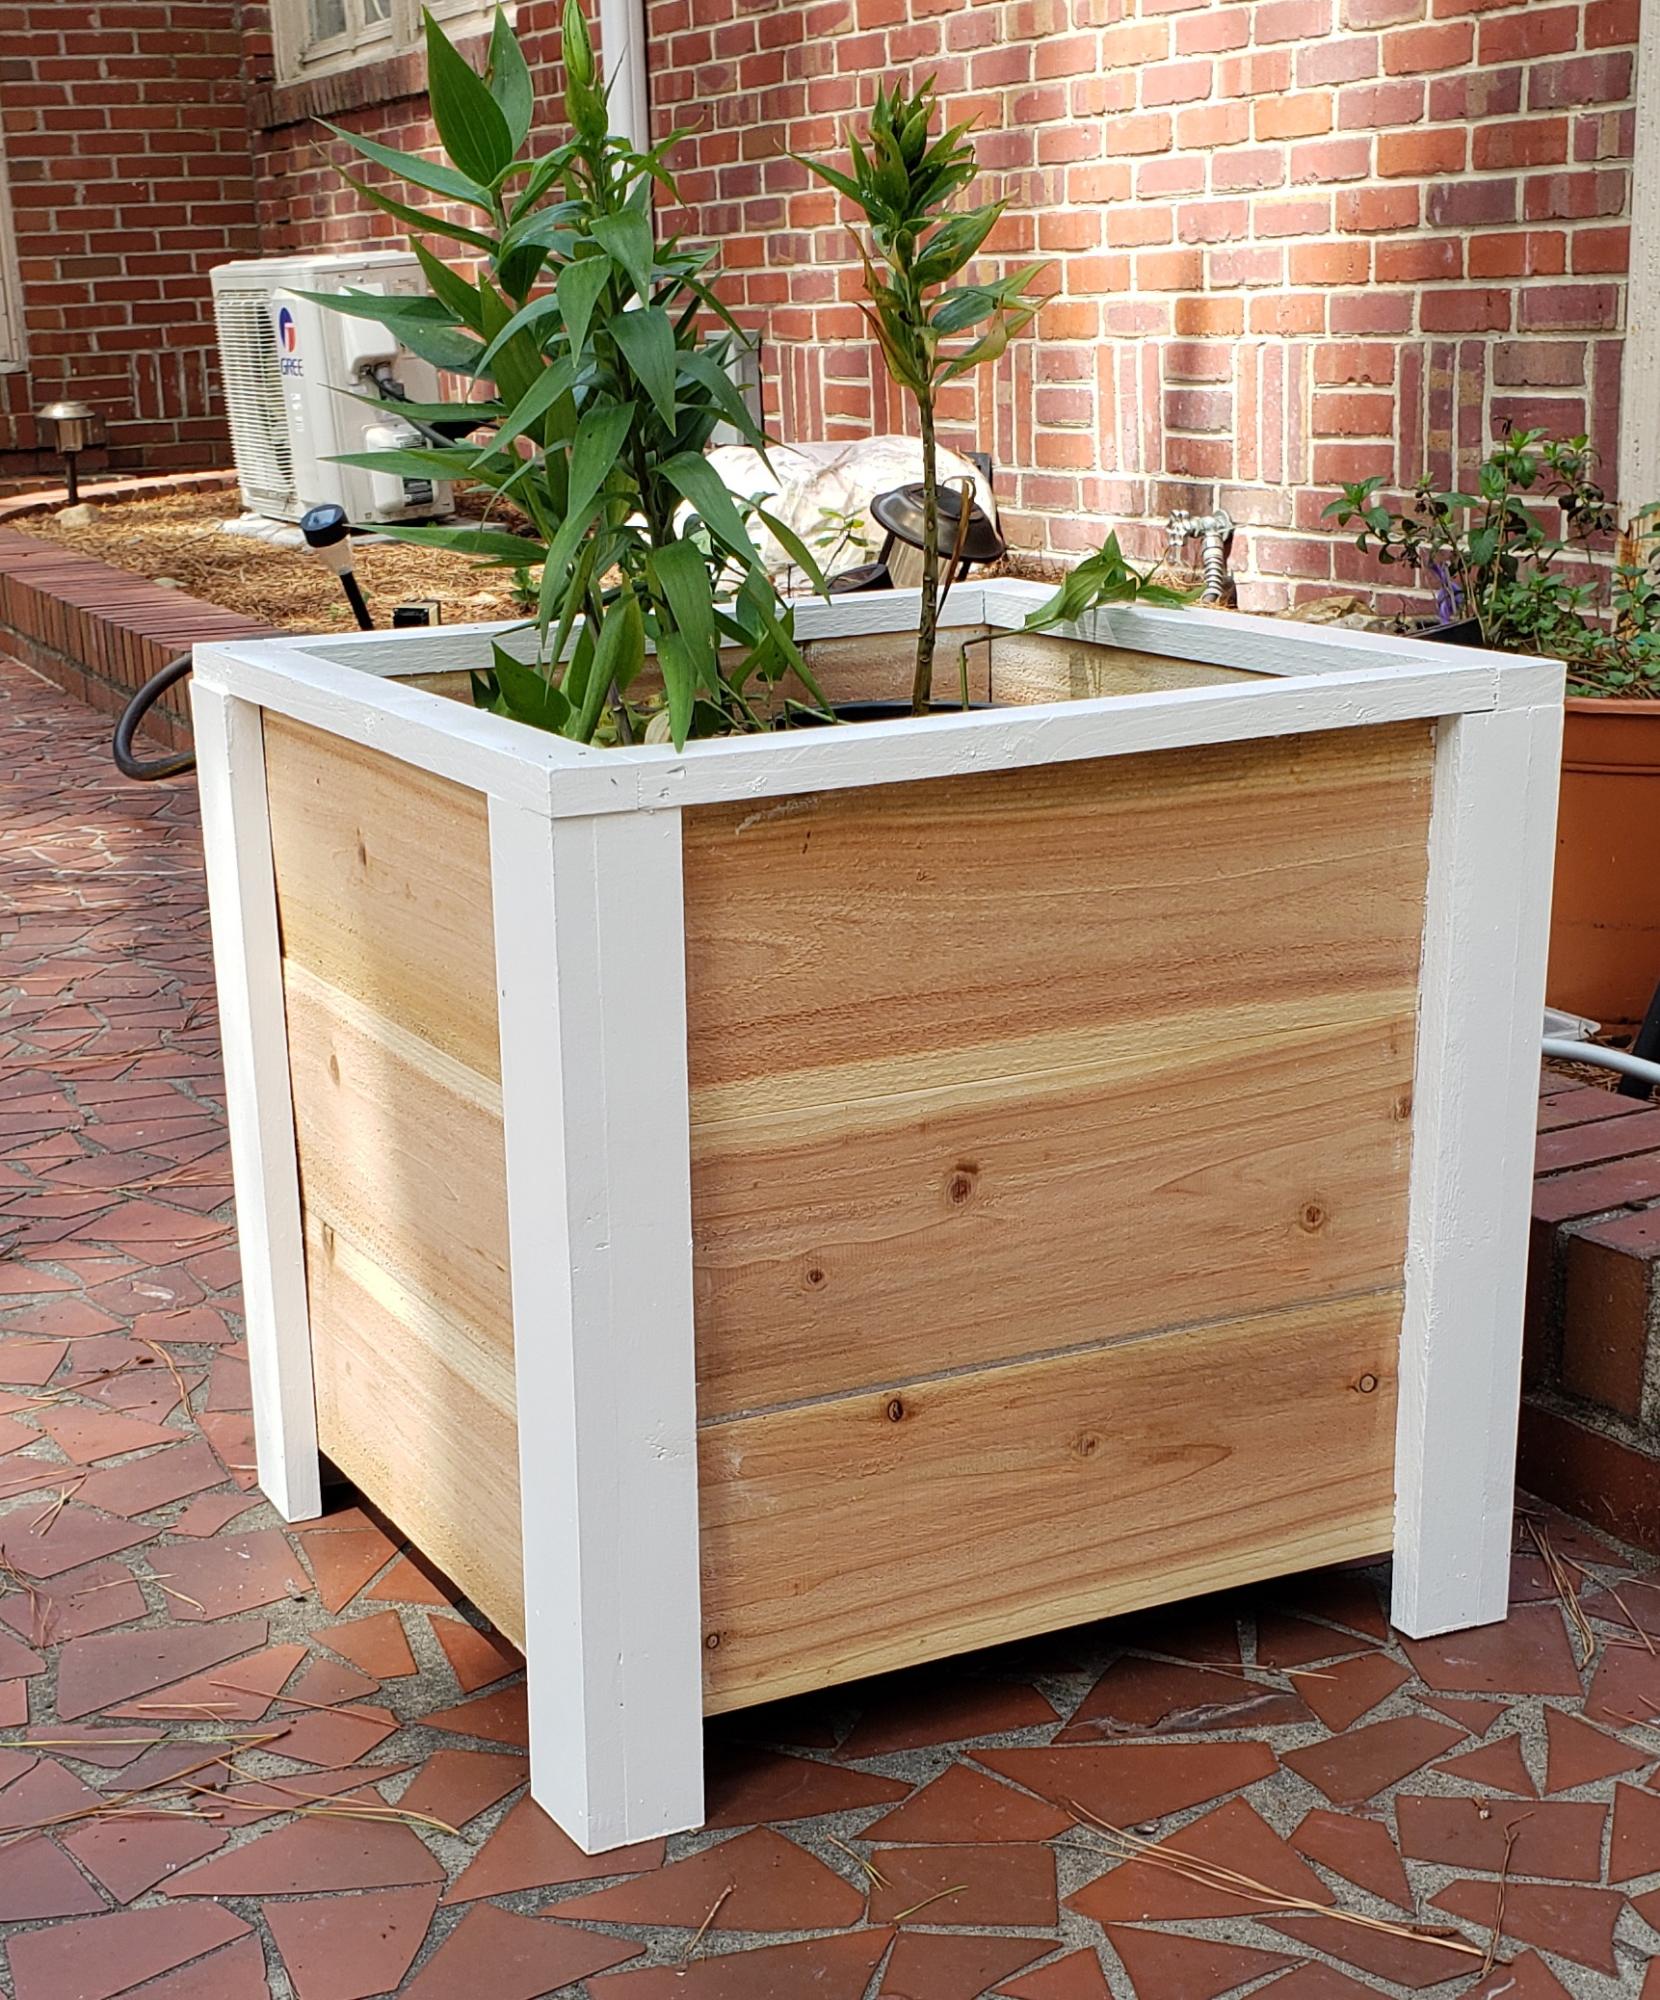
This is the 1st planter I have ever made! Thanks Ana, plans were easy to follow! I shared with my brother, and he said "I'm impressed!", I said "Me too!"
It isn't perfect but I love it! Started 2 more, just 1 inch smaller on both sides. Thanks again, great project to help with fears and confidence!
Sat, 07/02/2022 - 12:33
WOW, this is gorgeous, love the two tone finish! Thanks for sharing.
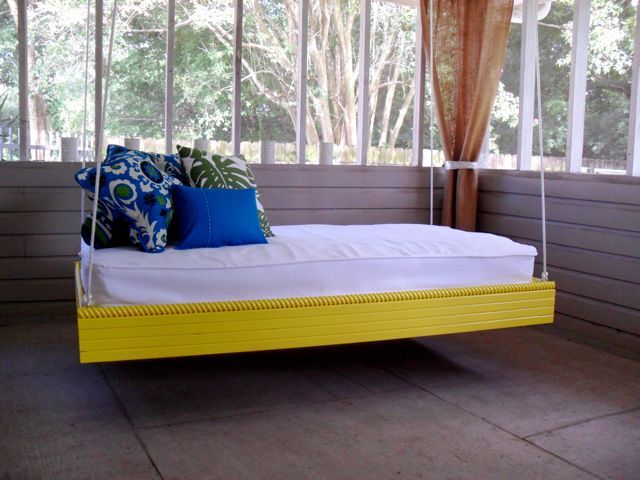
I made this hanging outdoor bed for our screened in porch using Ana's plans. This was one of the first things I've built, and the plans were very easy to follow. I wanted all of the outside trim to be decorative but it was much more expensive, so I settled for just the top piece. I love this web site and am about to tackle the Board and Batten project. Thanks Ana!!
Sun, 04/15/2012 - 19:58
I love this plan! One question, does anyone have any suggestions for how to add arms or a back to it to lean against? Or what types of arms/back would look best? I can't figure out where to put them so that the ropes/chains wouldn't rub against them.
Sun, 07/29/2012 - 00:25
I really like this as it is so great as a relaxation element for a tranquil space.
This was my first major DIY build and I LOVED the way it turned out! I have wanted a large office desk for quite awhile, but never could find anything in a store that fit my needs and/or style. I modified the plans to fit what I wanted and it turned out great! The top is just a hollow-core door from Lowes ($19) that I stained with a Dark Walnut color. I added a file drawer to the right and just a hinged pull-down door on the left for more hidden storage. Purchased the baskets at Michael's for 50% off.
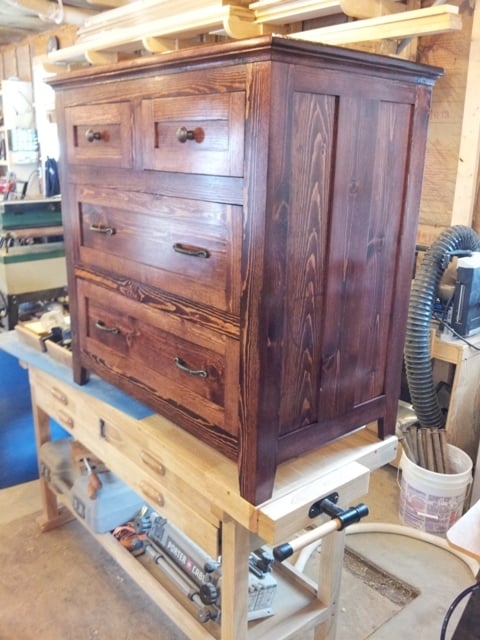
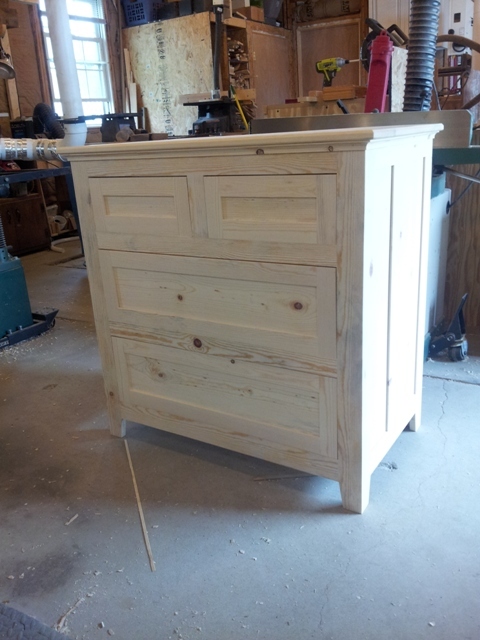
My son needed a dresser to fit in a specific space. I had a truckload of 1x6 sitting in the shop. I designed this to use all 1x6's. The sides were created by making rails and stiles using tongue and groove joinery. the panels were planed down to fit into the grooves. The panels are not glued in they are floating. I made a front frame that was pocket screwed together and attached it to the sides using biscuits. I glued up the top and made a simple cove molding with my router table. The drawers fronts were made like the sides using tongue and groove and a floating panel.
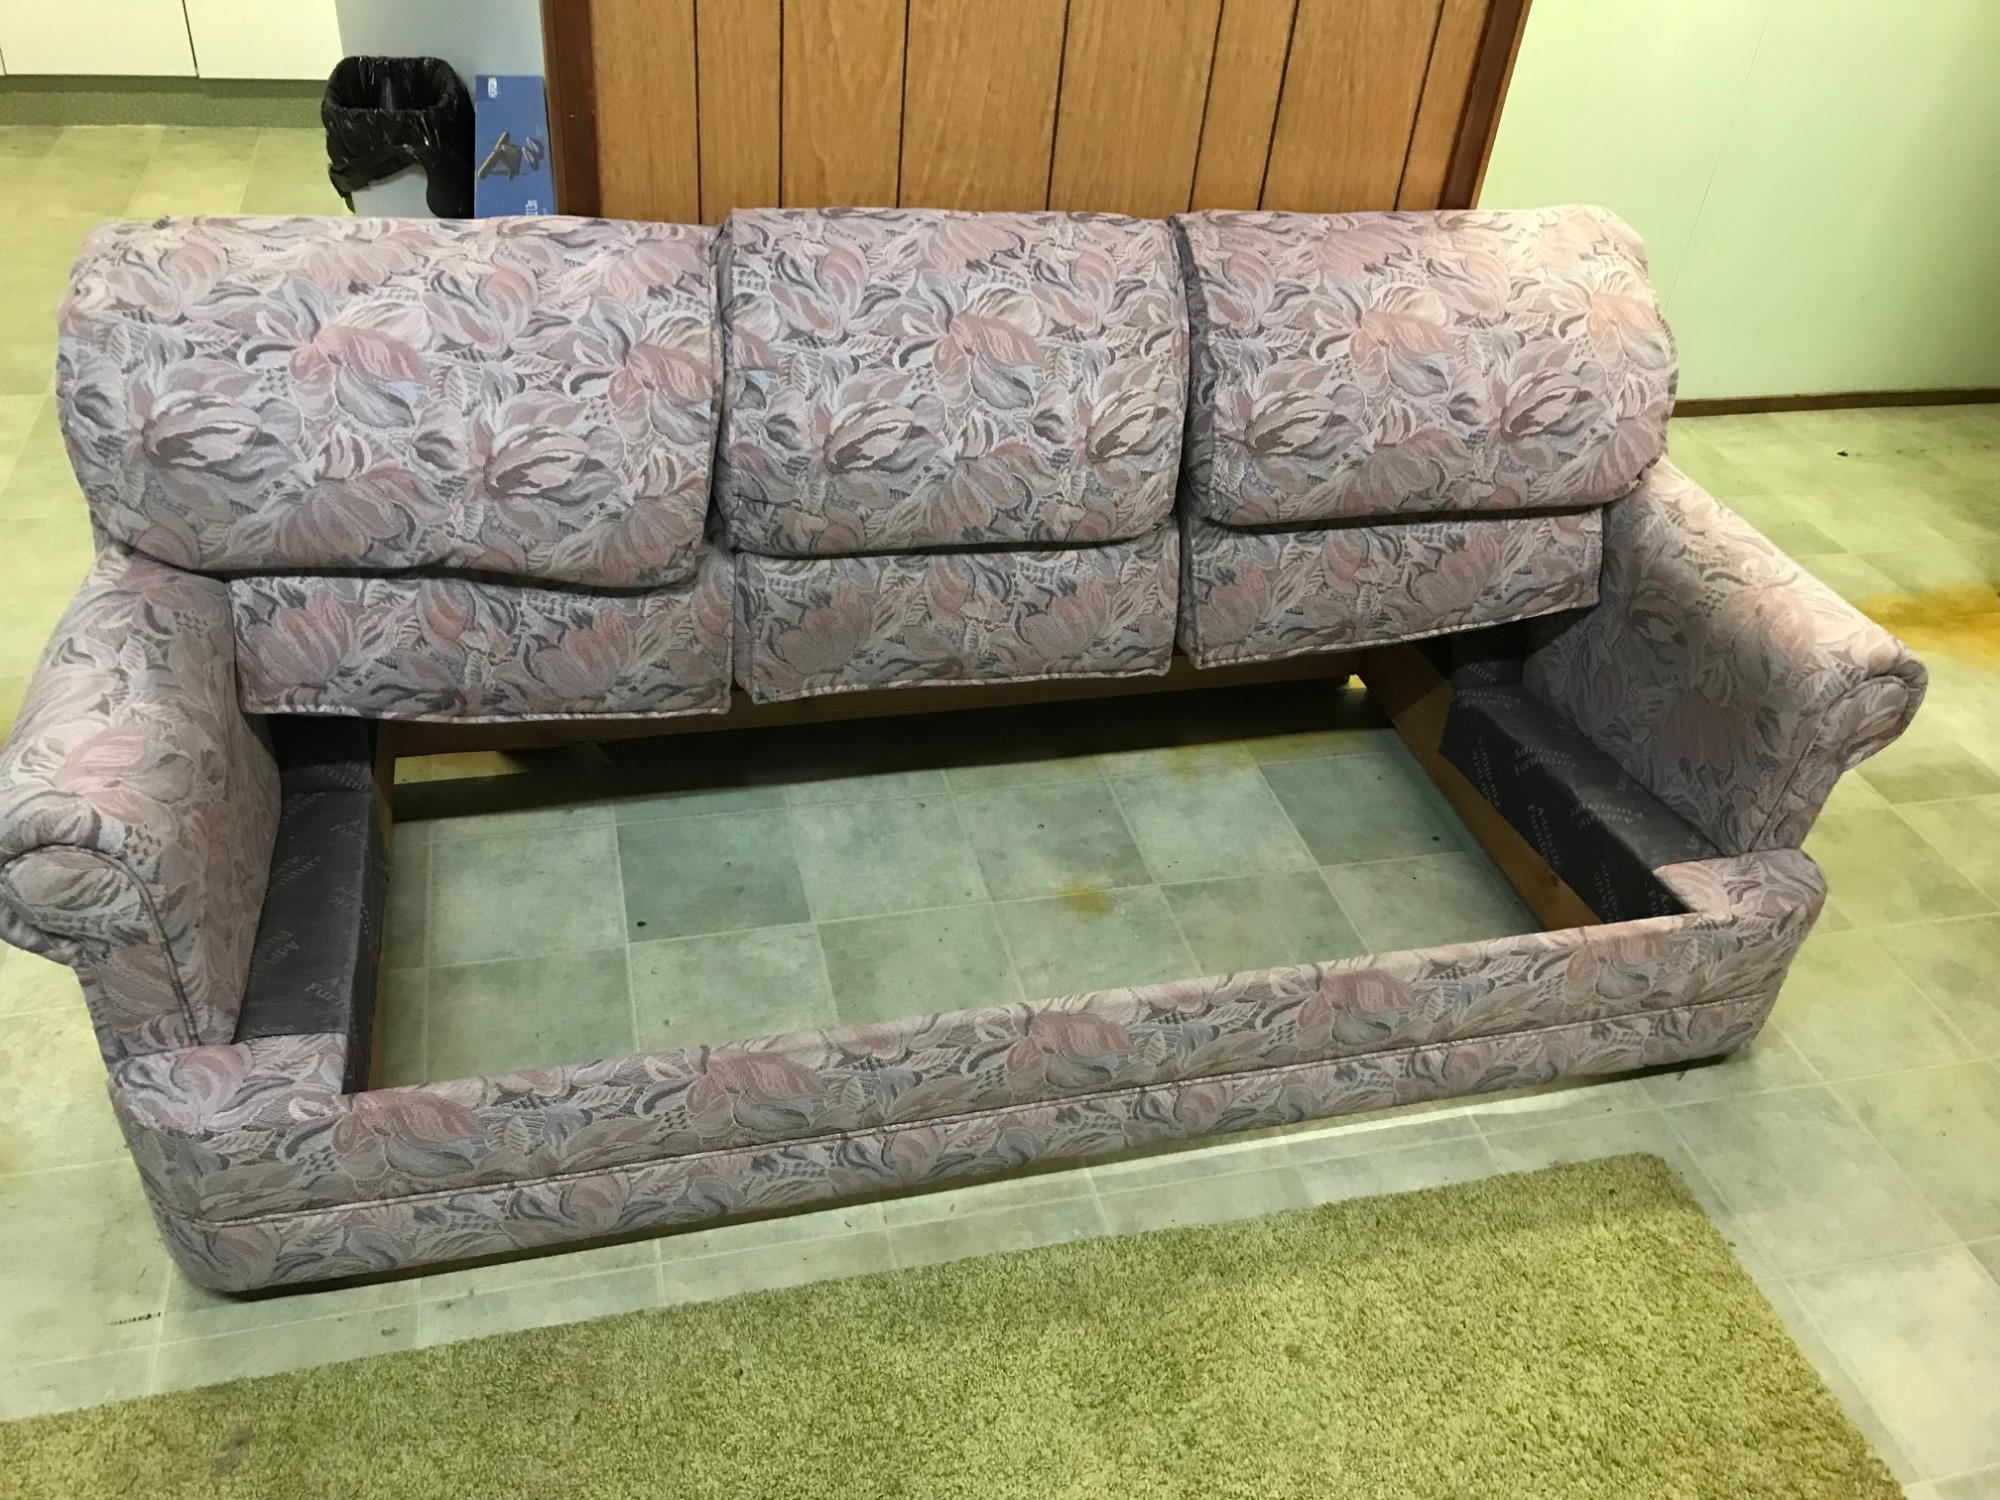
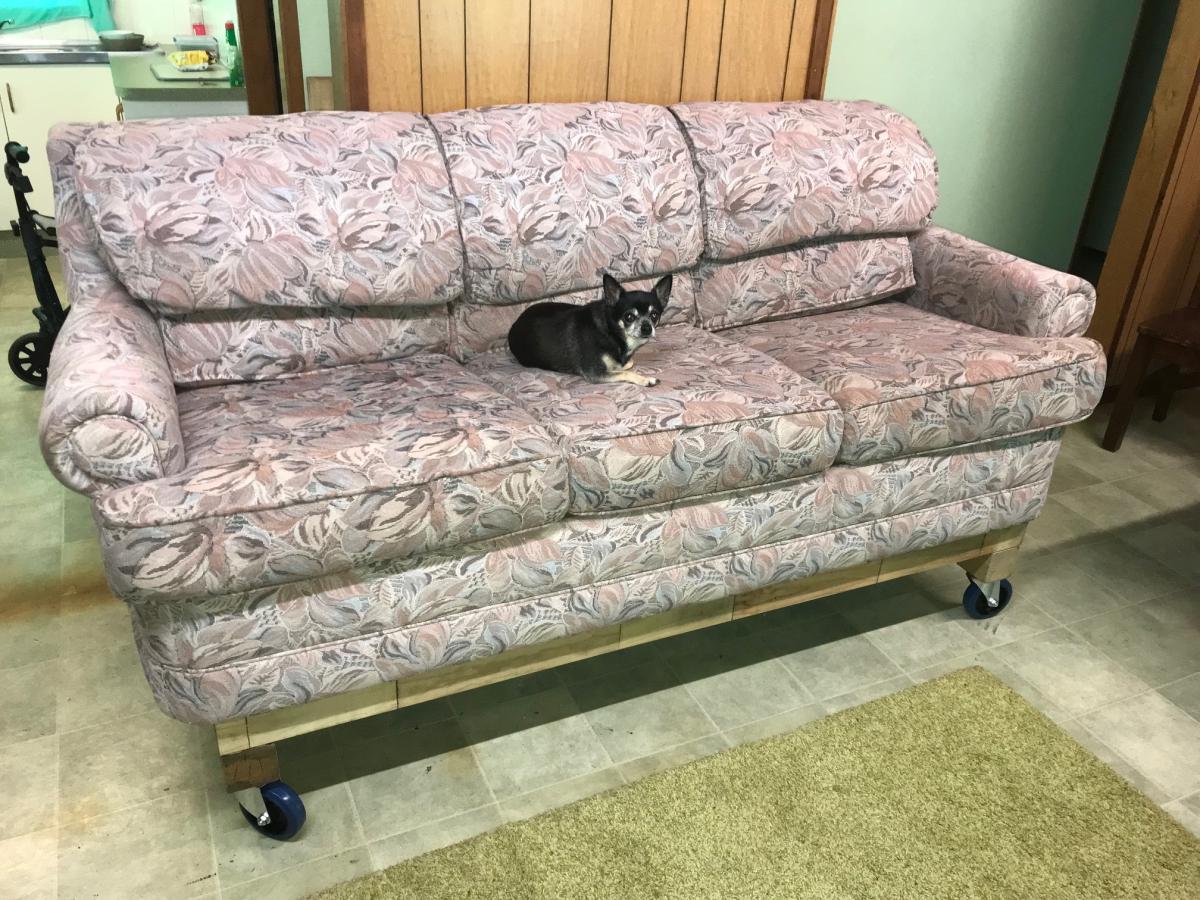
I'm about to have bilateral knee replacement so I'm going about raising everything by at least 30cms.
This is the 30 year old lounge chair, once was a sofa bed, first up I removed pull out sofa bed and frame then made a heavy duty base using 75 x 75mm sleepers and whacked on a set of 150kg rated castors. I then made a inner support frame for the cushions to sit on.
I needed new bedside tables to replace mine that were falling apart. I love the whole Stratton line at PB. I wanted to make something similar, but a bit more sturdy.
So, I made this table with a much more solid bottom shelf and a deep drawer with a full face to mimic the sides and the back panels.
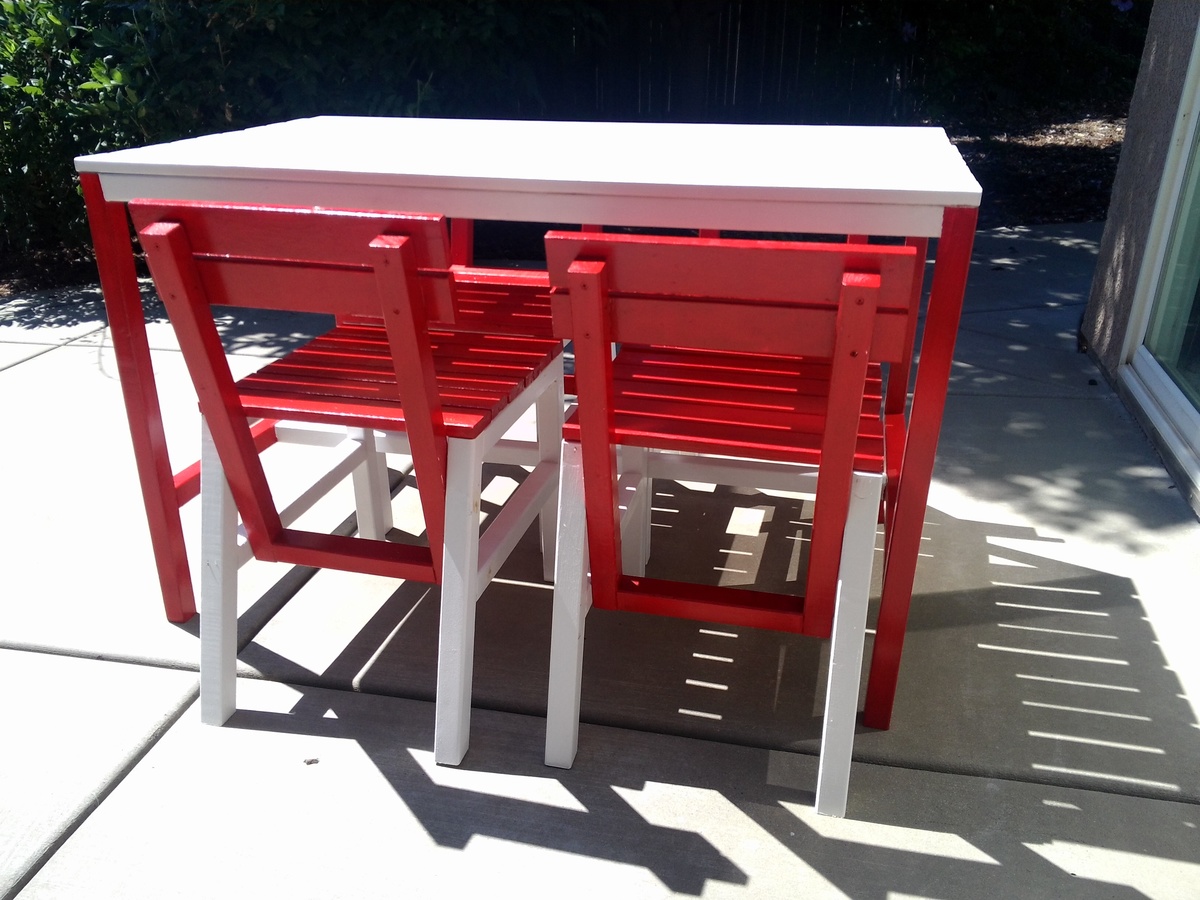
It took me a long time to finish the chairs, although the table was a snap. The time consuming thing was my desire for two paint colors. Painting is not my strong suit. But I got it done, just in time for our annual Labor Day house party.
I cut the lumber using our radial arm saw. I sanded with an random orbital sander, and used really great cordless drill and driver. My husband likes to buy good tools, but hardly ever uses them.
I had never used pocket screws before: I love them and found it very necessary to use the face clamp and right angle clamp Kreg sells to prevent splitting. My assortment of speedclamps were not getting the job done.
For the table, I tried masking off the white when I painted the red on the legs, which did not go so well as there was annoying paint-creep under the tape. I also decided that the red paint needed two coats to look good (it actually seemed to do better on bare wood then on primed wood.) So that took more time.
I finally bought a really good paint brush and that made a huge and positive difference.
I had intended to paint the chairs' slats red, but the back frame white, and the side supports red. To do this I intended to paint individual pieces and assemble the painted pieces, but the splitting (before I invested in the specialized clamps) was heartbreaking after all the sanding and painting. So I took a month off from the project, ordered clamps, recut a few pieces, and simplified my paint scheme. Much better!
I'm looking forward to starting my next project (NO paint!)
Tue, 08/27/2013 - 16:27
Awesome! Definitely dressed to impress! Love the colors and your chairs & table look beautiful! Great job!
Tue, 08/27/2013 - 17:32
Love it! That color combo is one of my favorites!
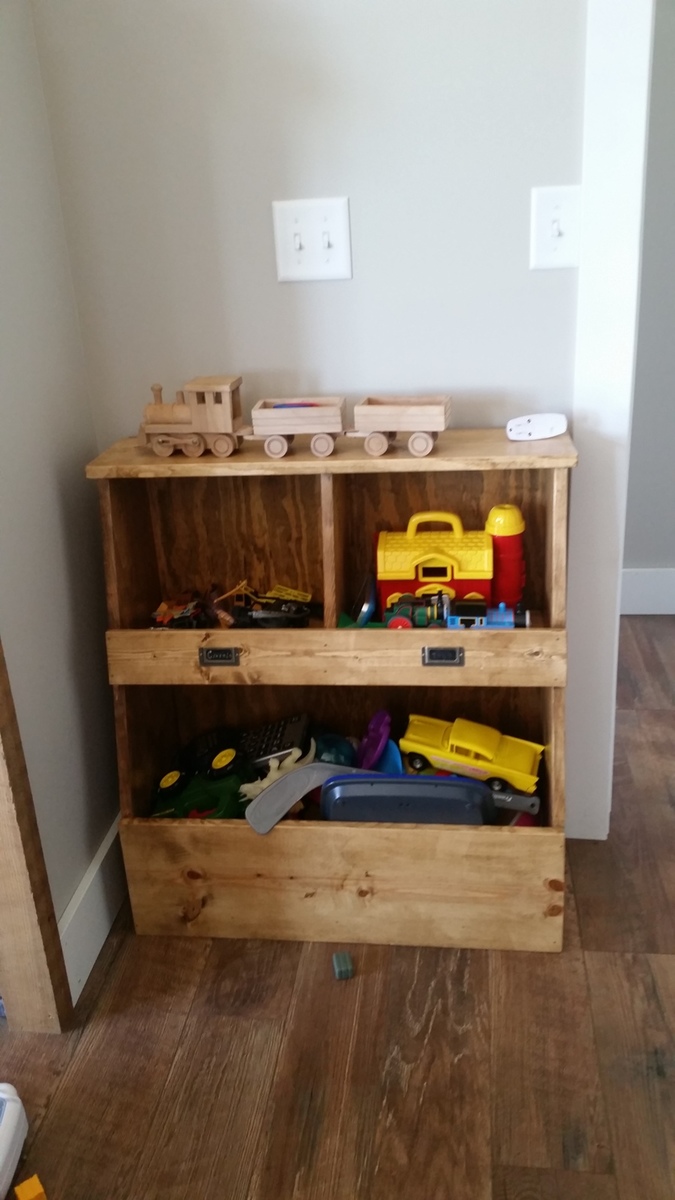
I needed some quick and easy toy storage for the living room to catch the toys that inevitably end up there. I had a basket in the corner, but then the toys made marks on the wall. This cubby storage keeps them away from the wall and adds some more veritical space. I made this project quick and easy with just my nailer (I didn't use pocket holes) and a simple stain finish. I shortened the width to fit the space between my fireplace and the door, and as a result I did 2 cubbies instead of 3.
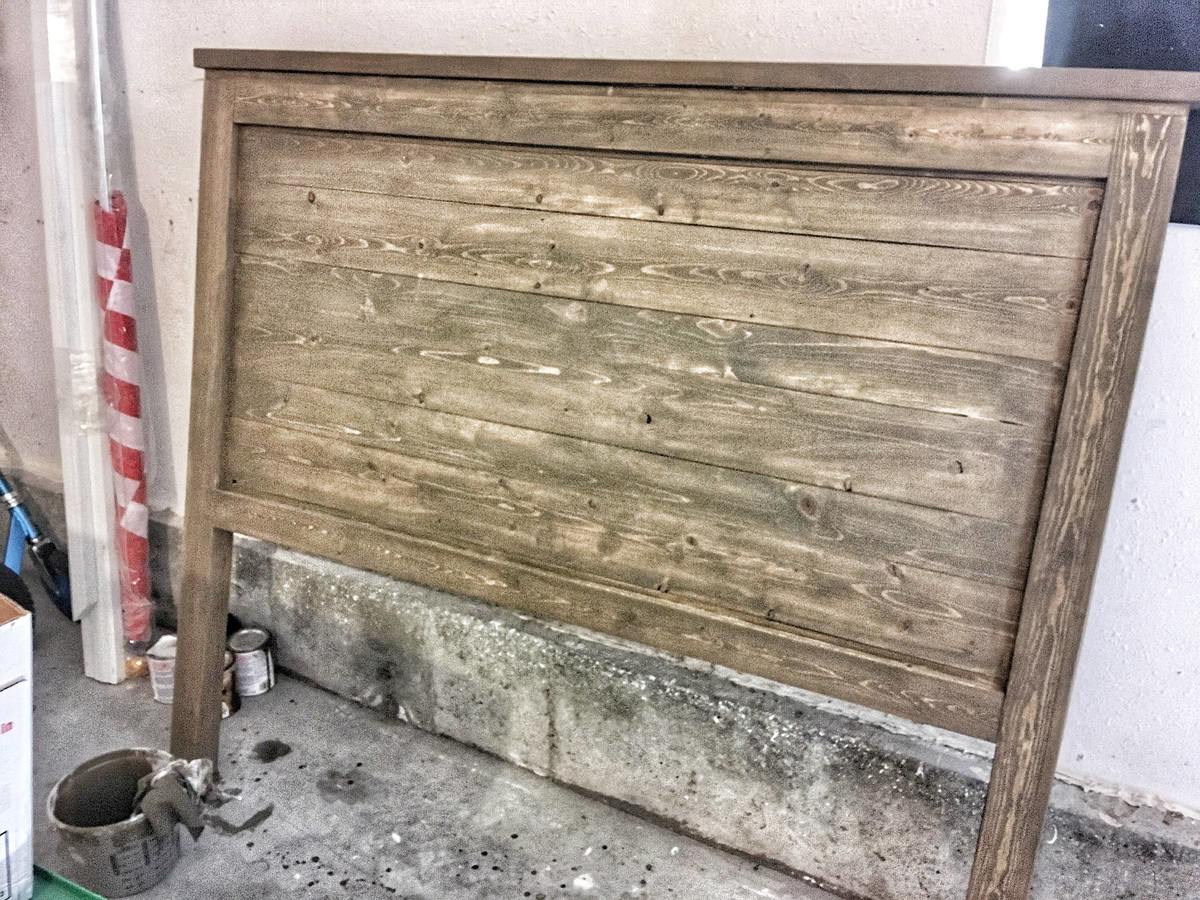
Made for a friend's son