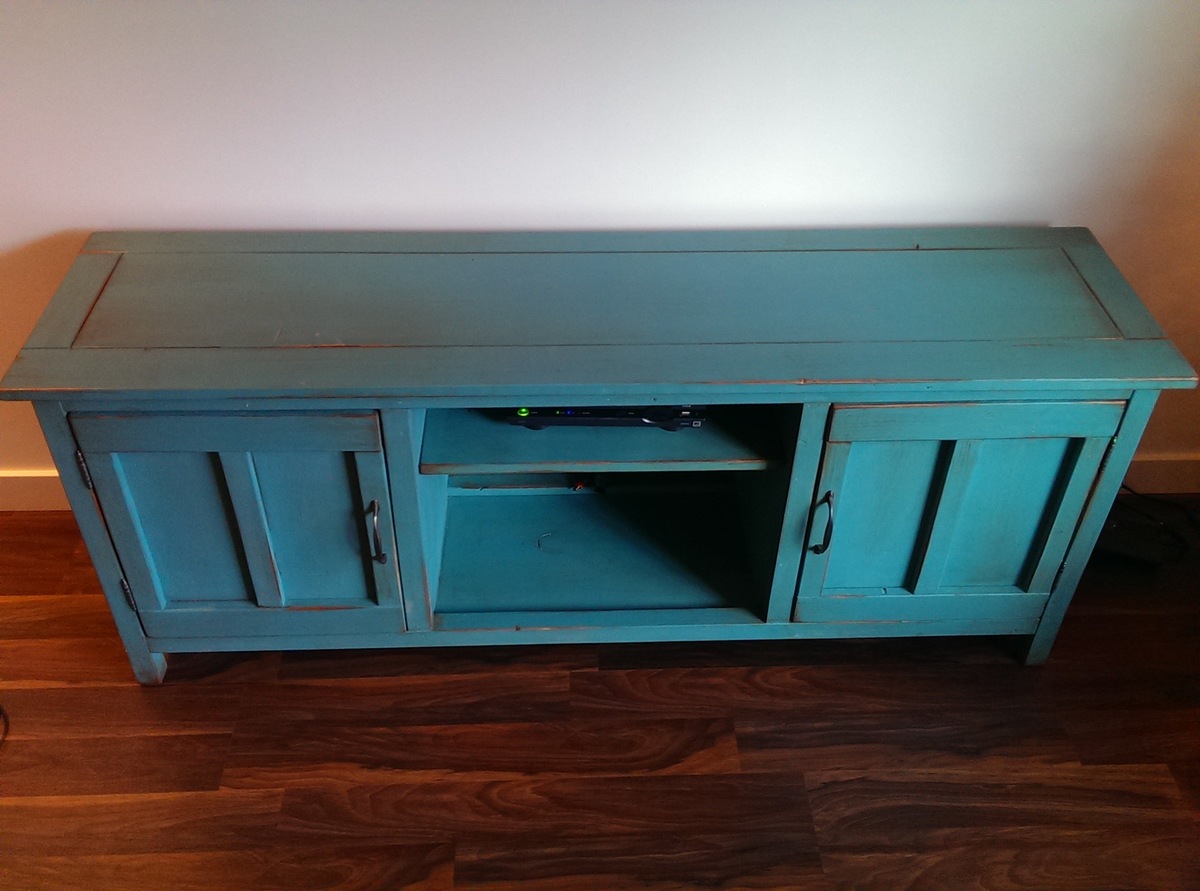
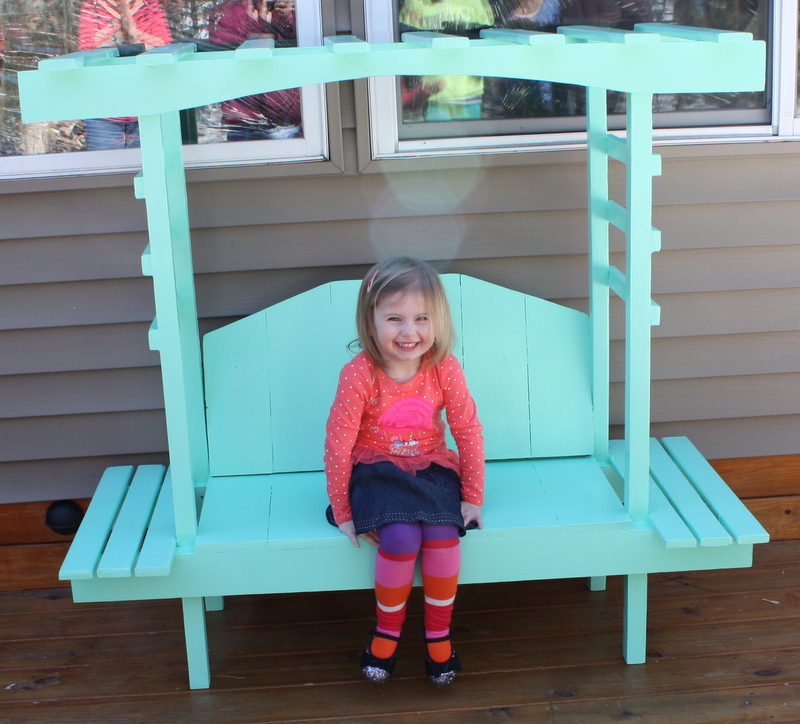
Elise's Daybed
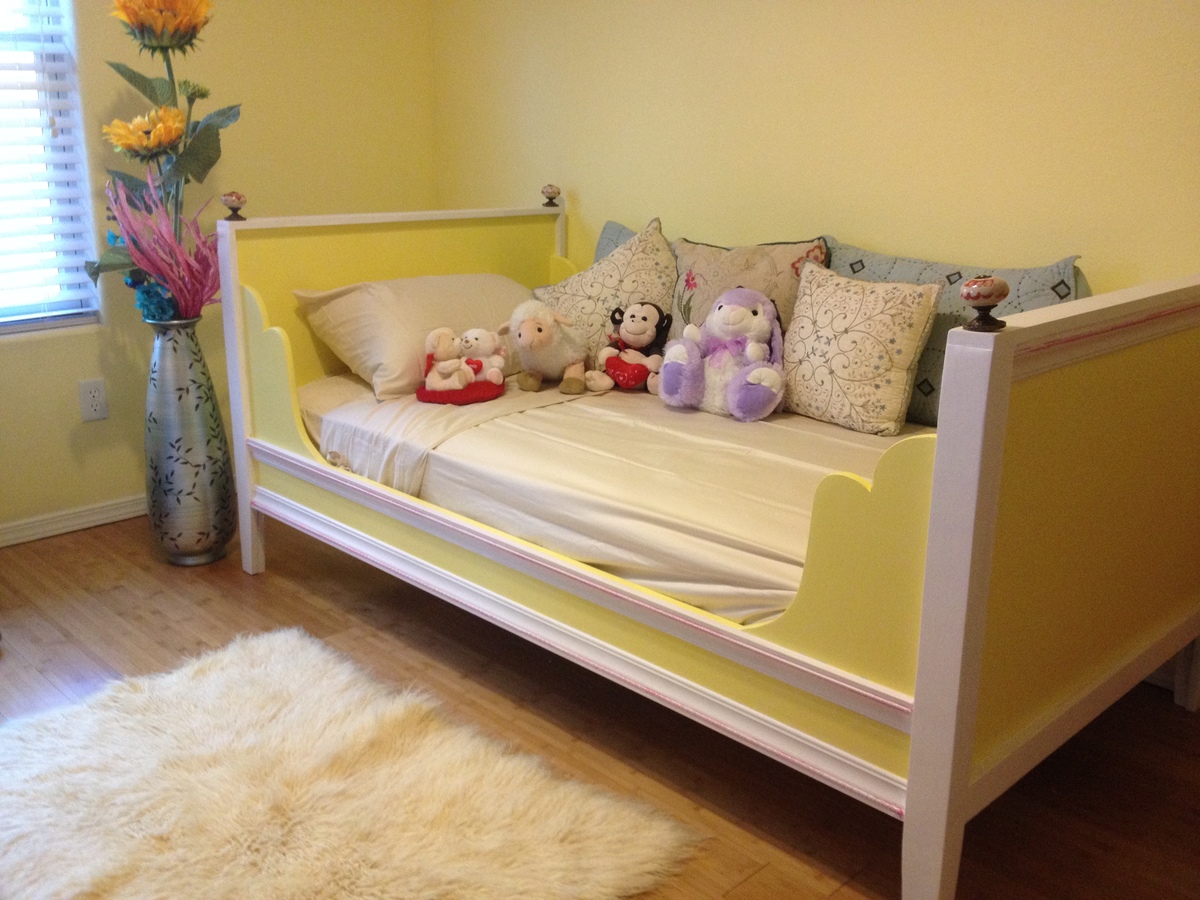
We needed to convert our exercise room to a bedroom for our granddaughter visiting from England.
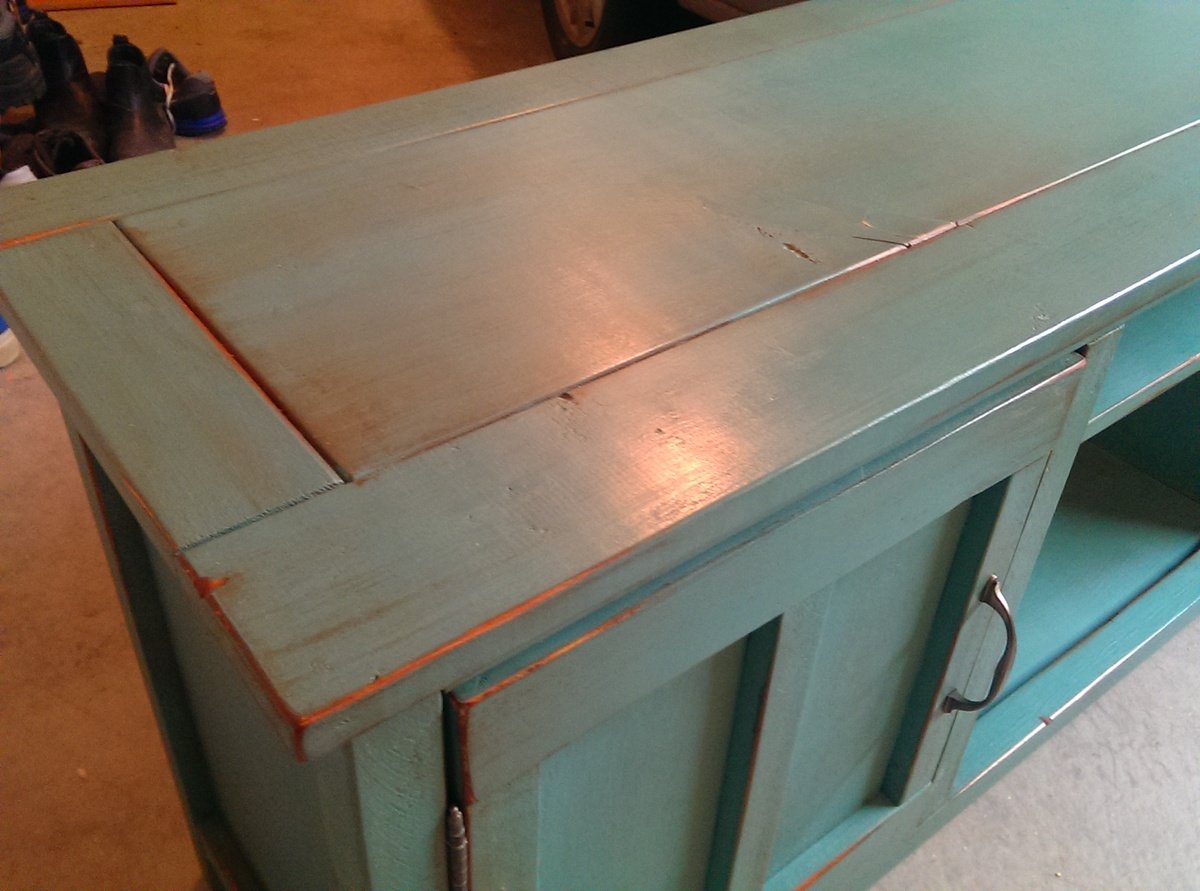
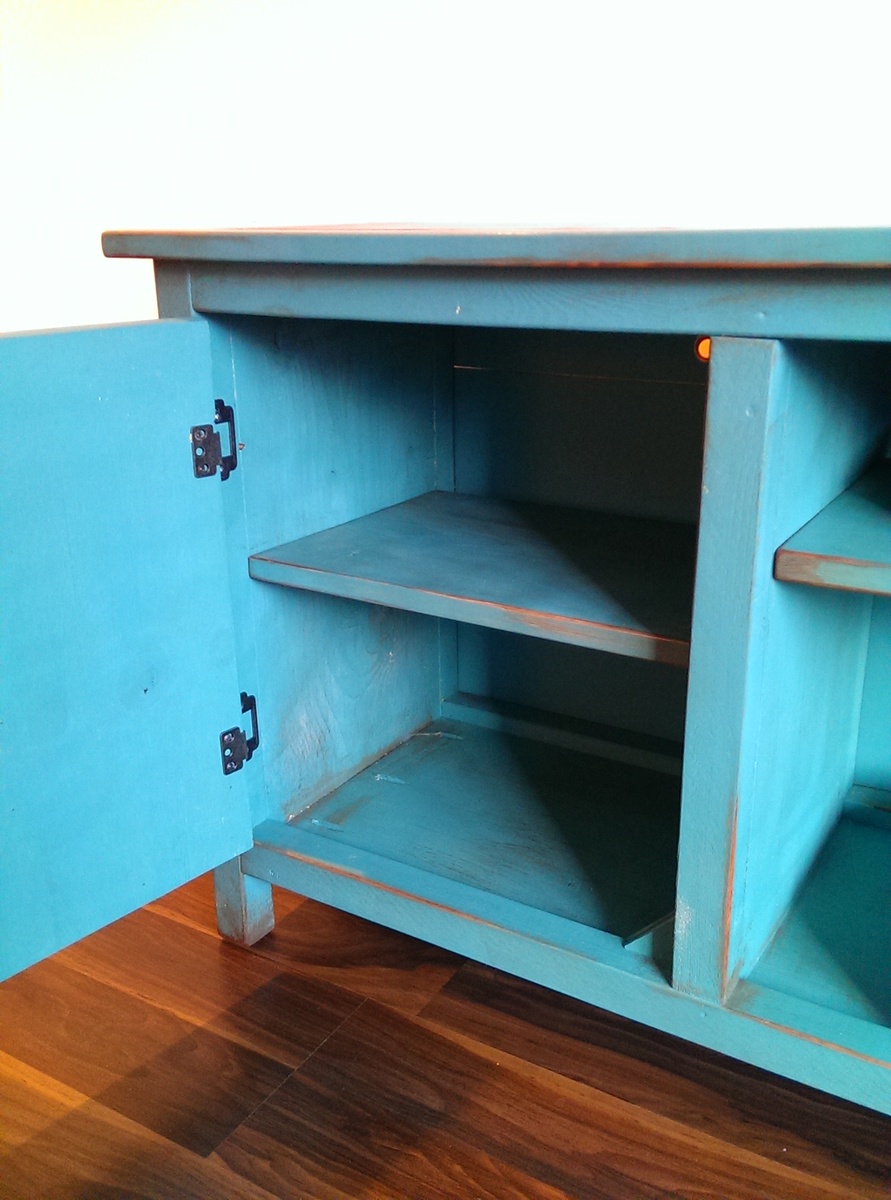
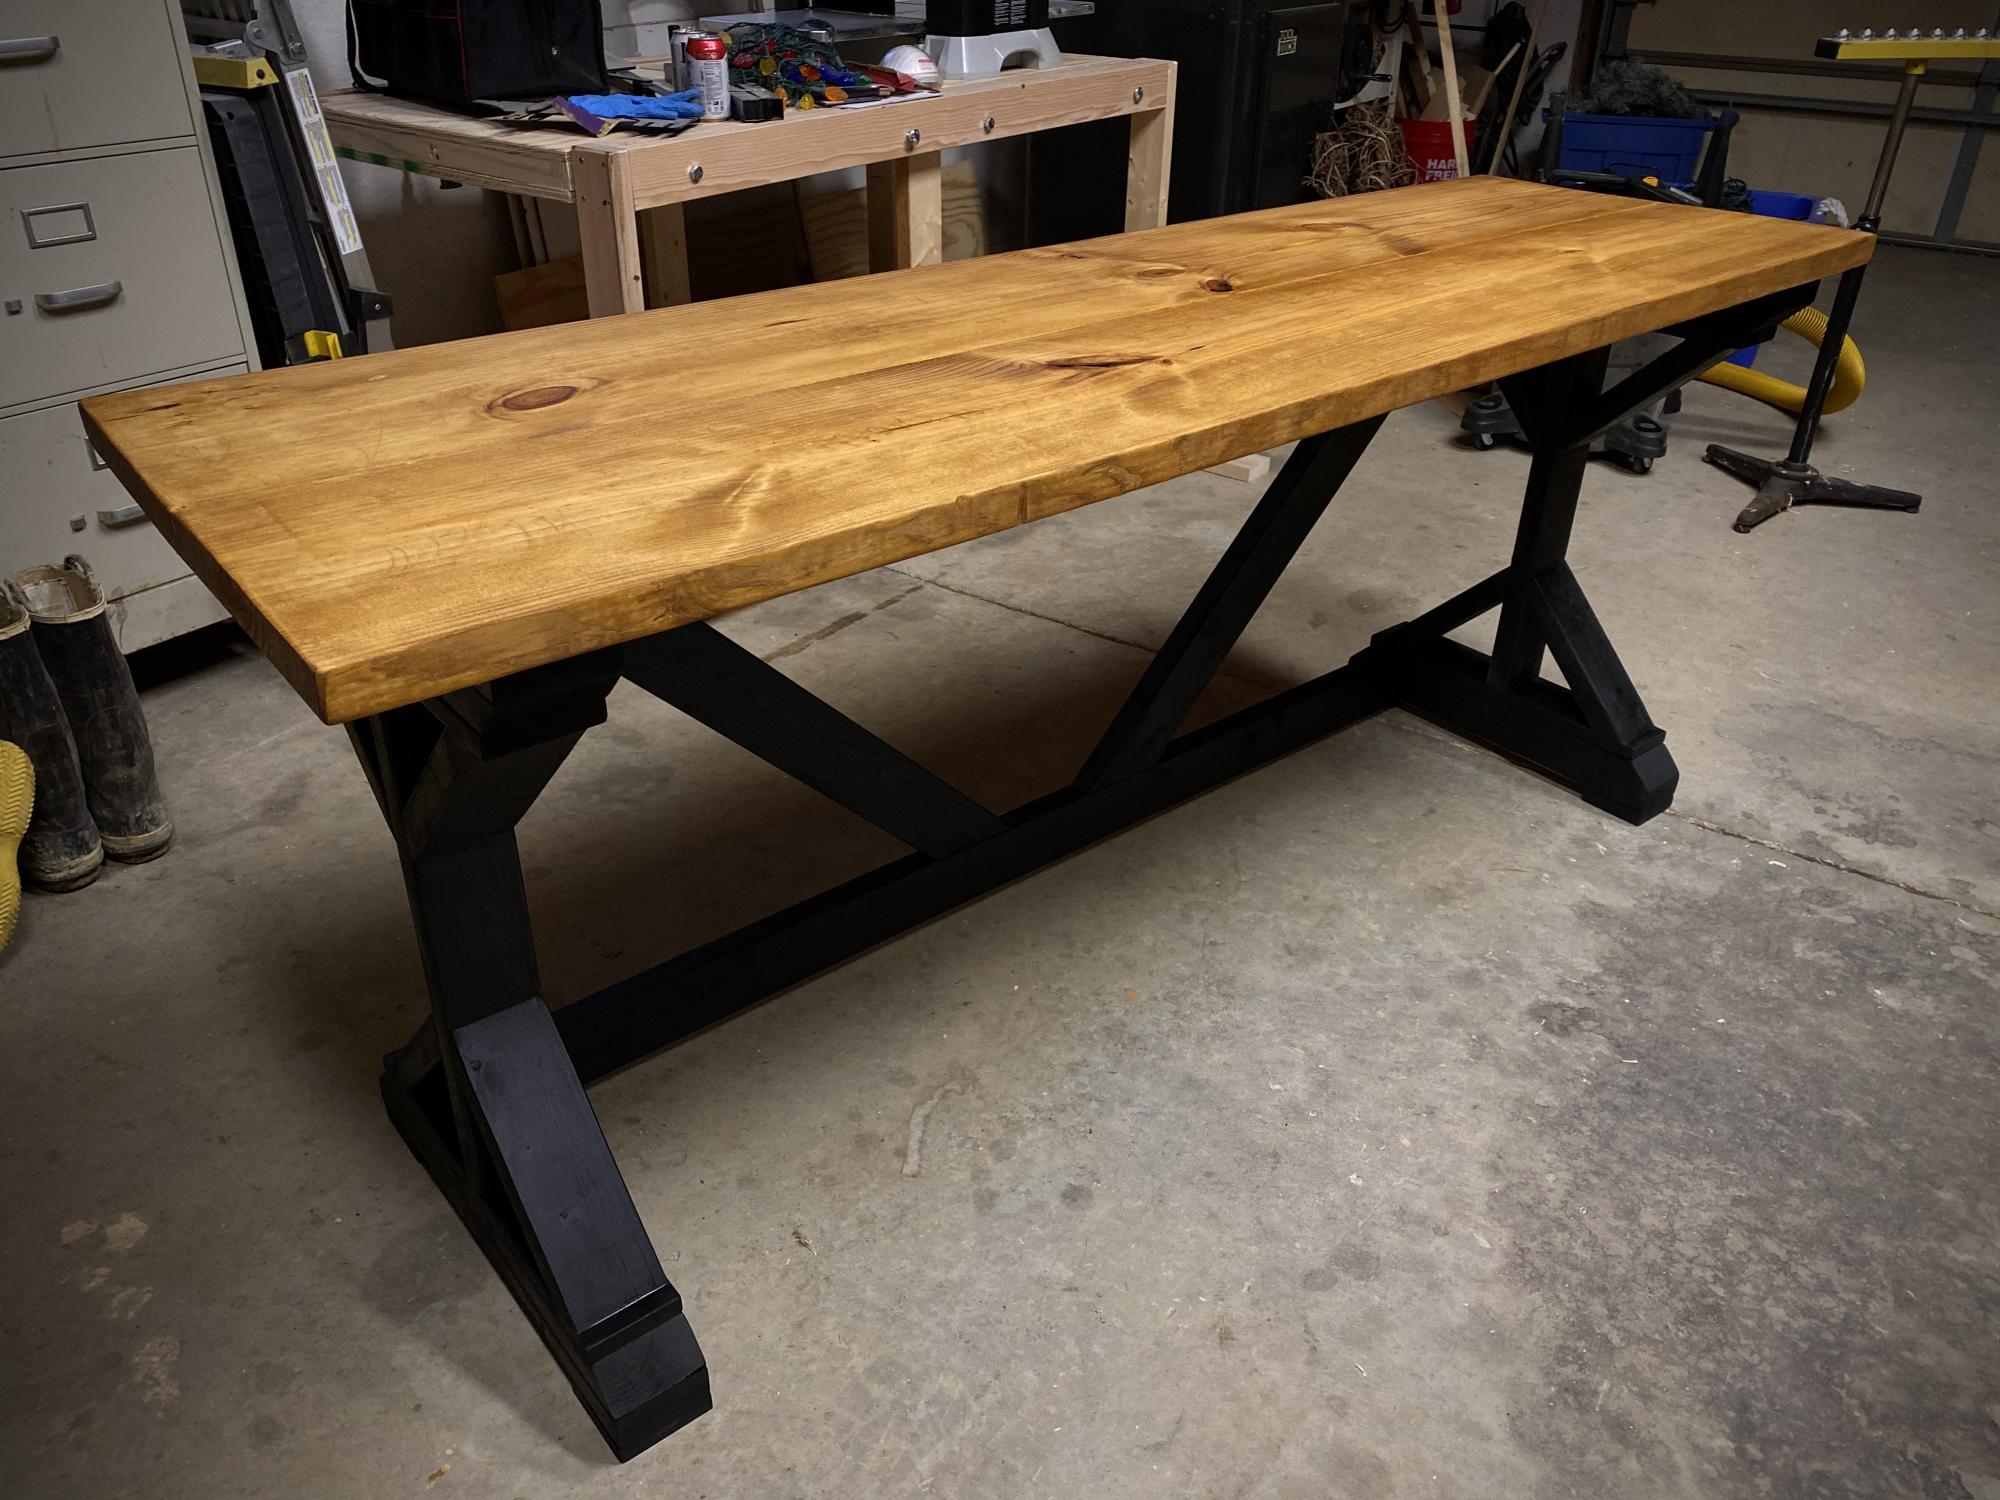
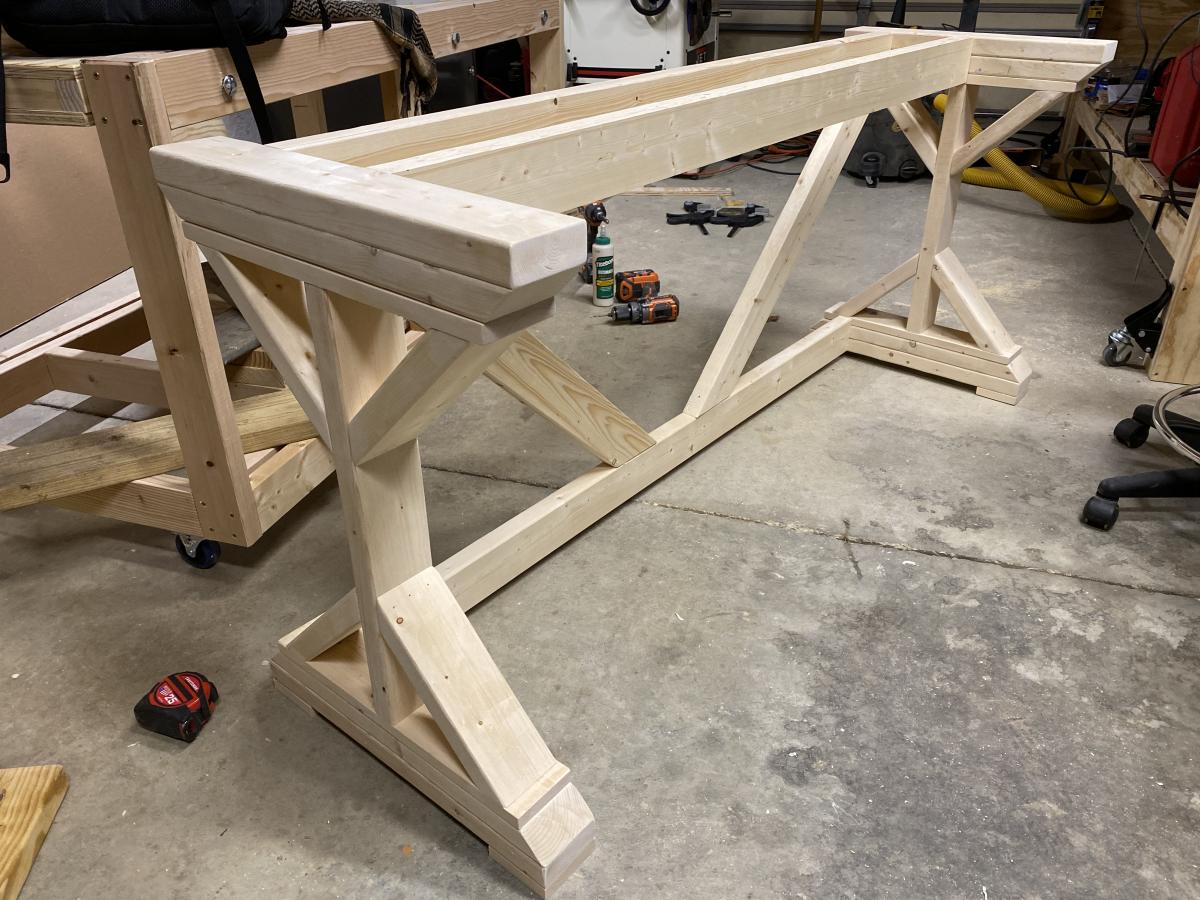
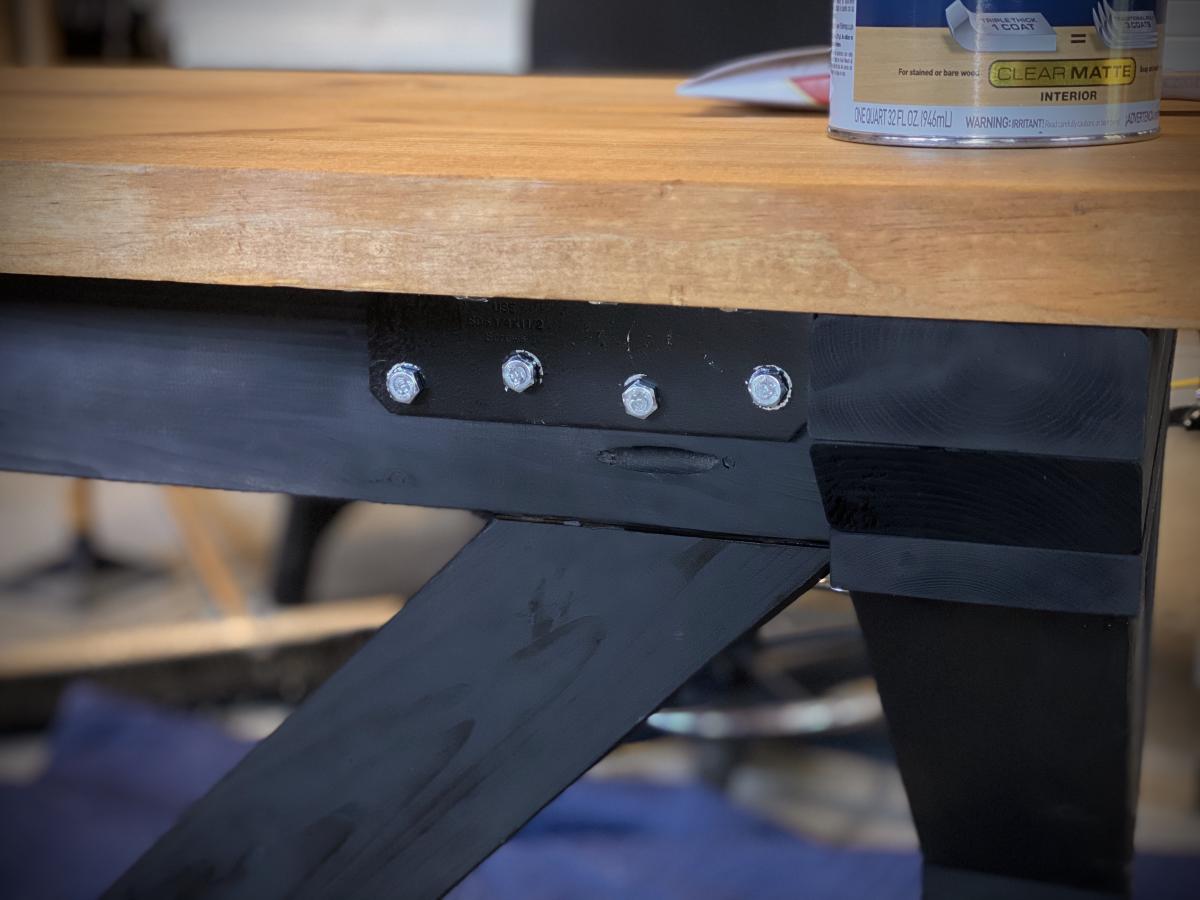
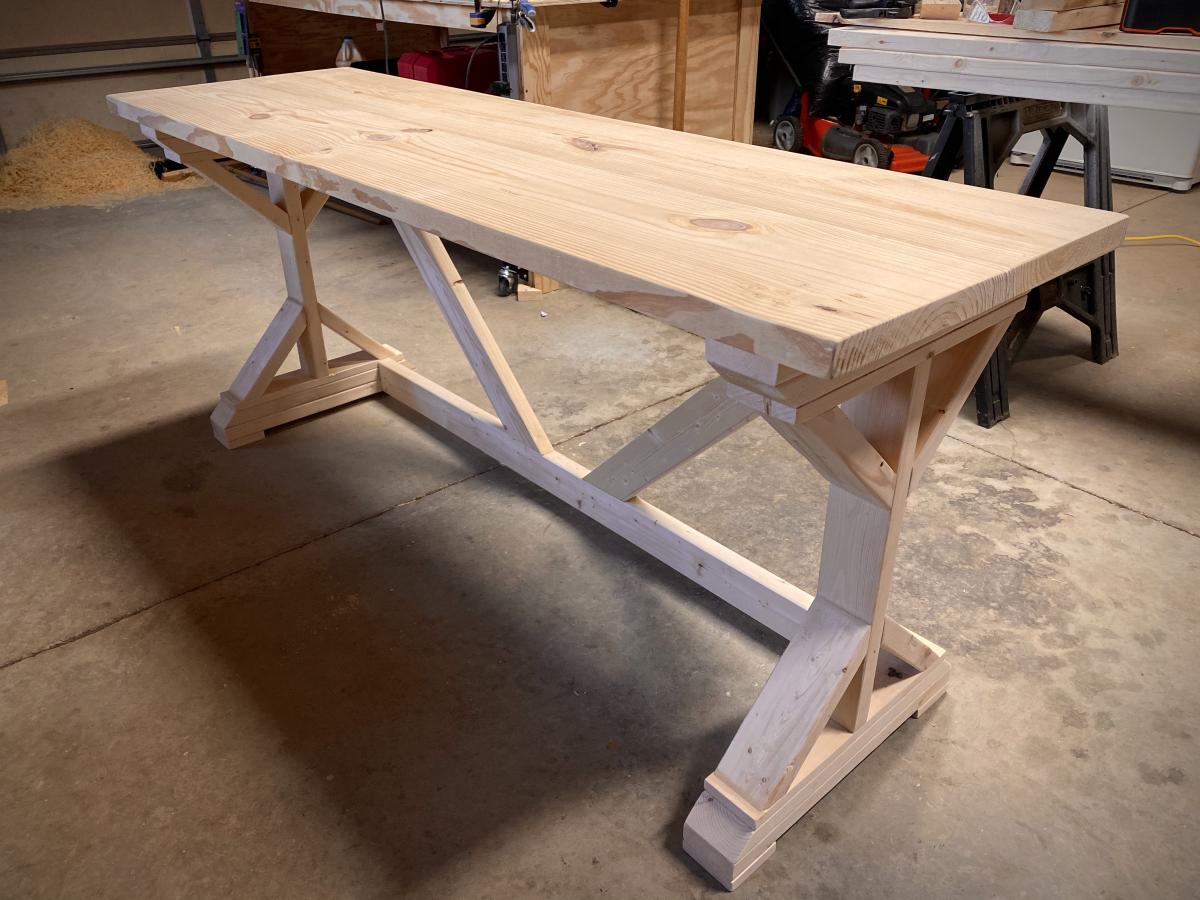
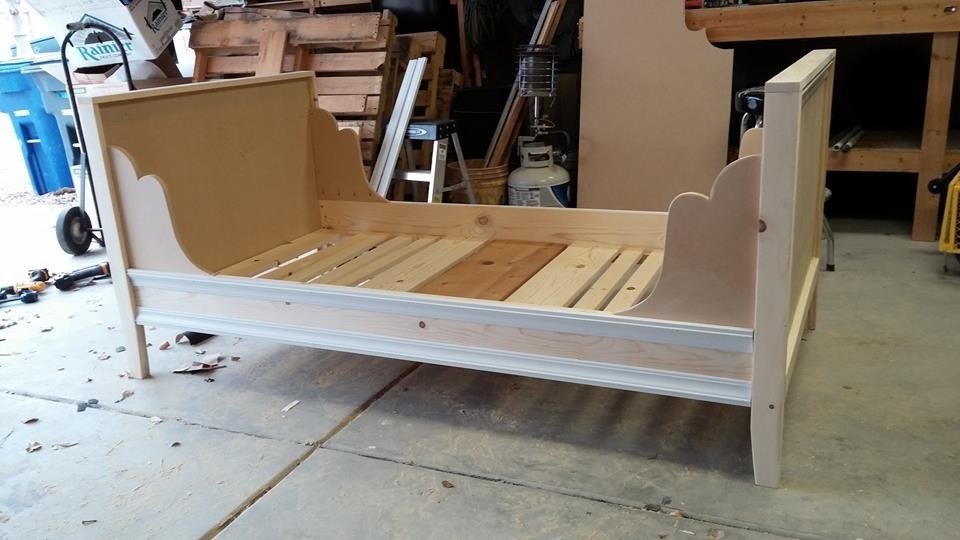
I added additional support inside the legs as I wasn't keen on supporting the rails simply with glue/ screws. This allowed the weight to transfer to the floor directly from the rails. Of course, it was all glued and screwed or nailed. Otherwise I followed the plans found here.
The fenial treatments are antique "looking" door knobs from a national hobby store. To secure them to the uprights, I drilled a whole that was just under the width of threaded rod couplers which were the thread size for bolt from the knob. I tapped with a hammer so the coupler would wedge into and down the whole. The couplers were purchase from a hardware store.

Built from Plan(s)
Estimated Cost
$250
Estimated Time Investment
Weekend Project (10-20 Hours)
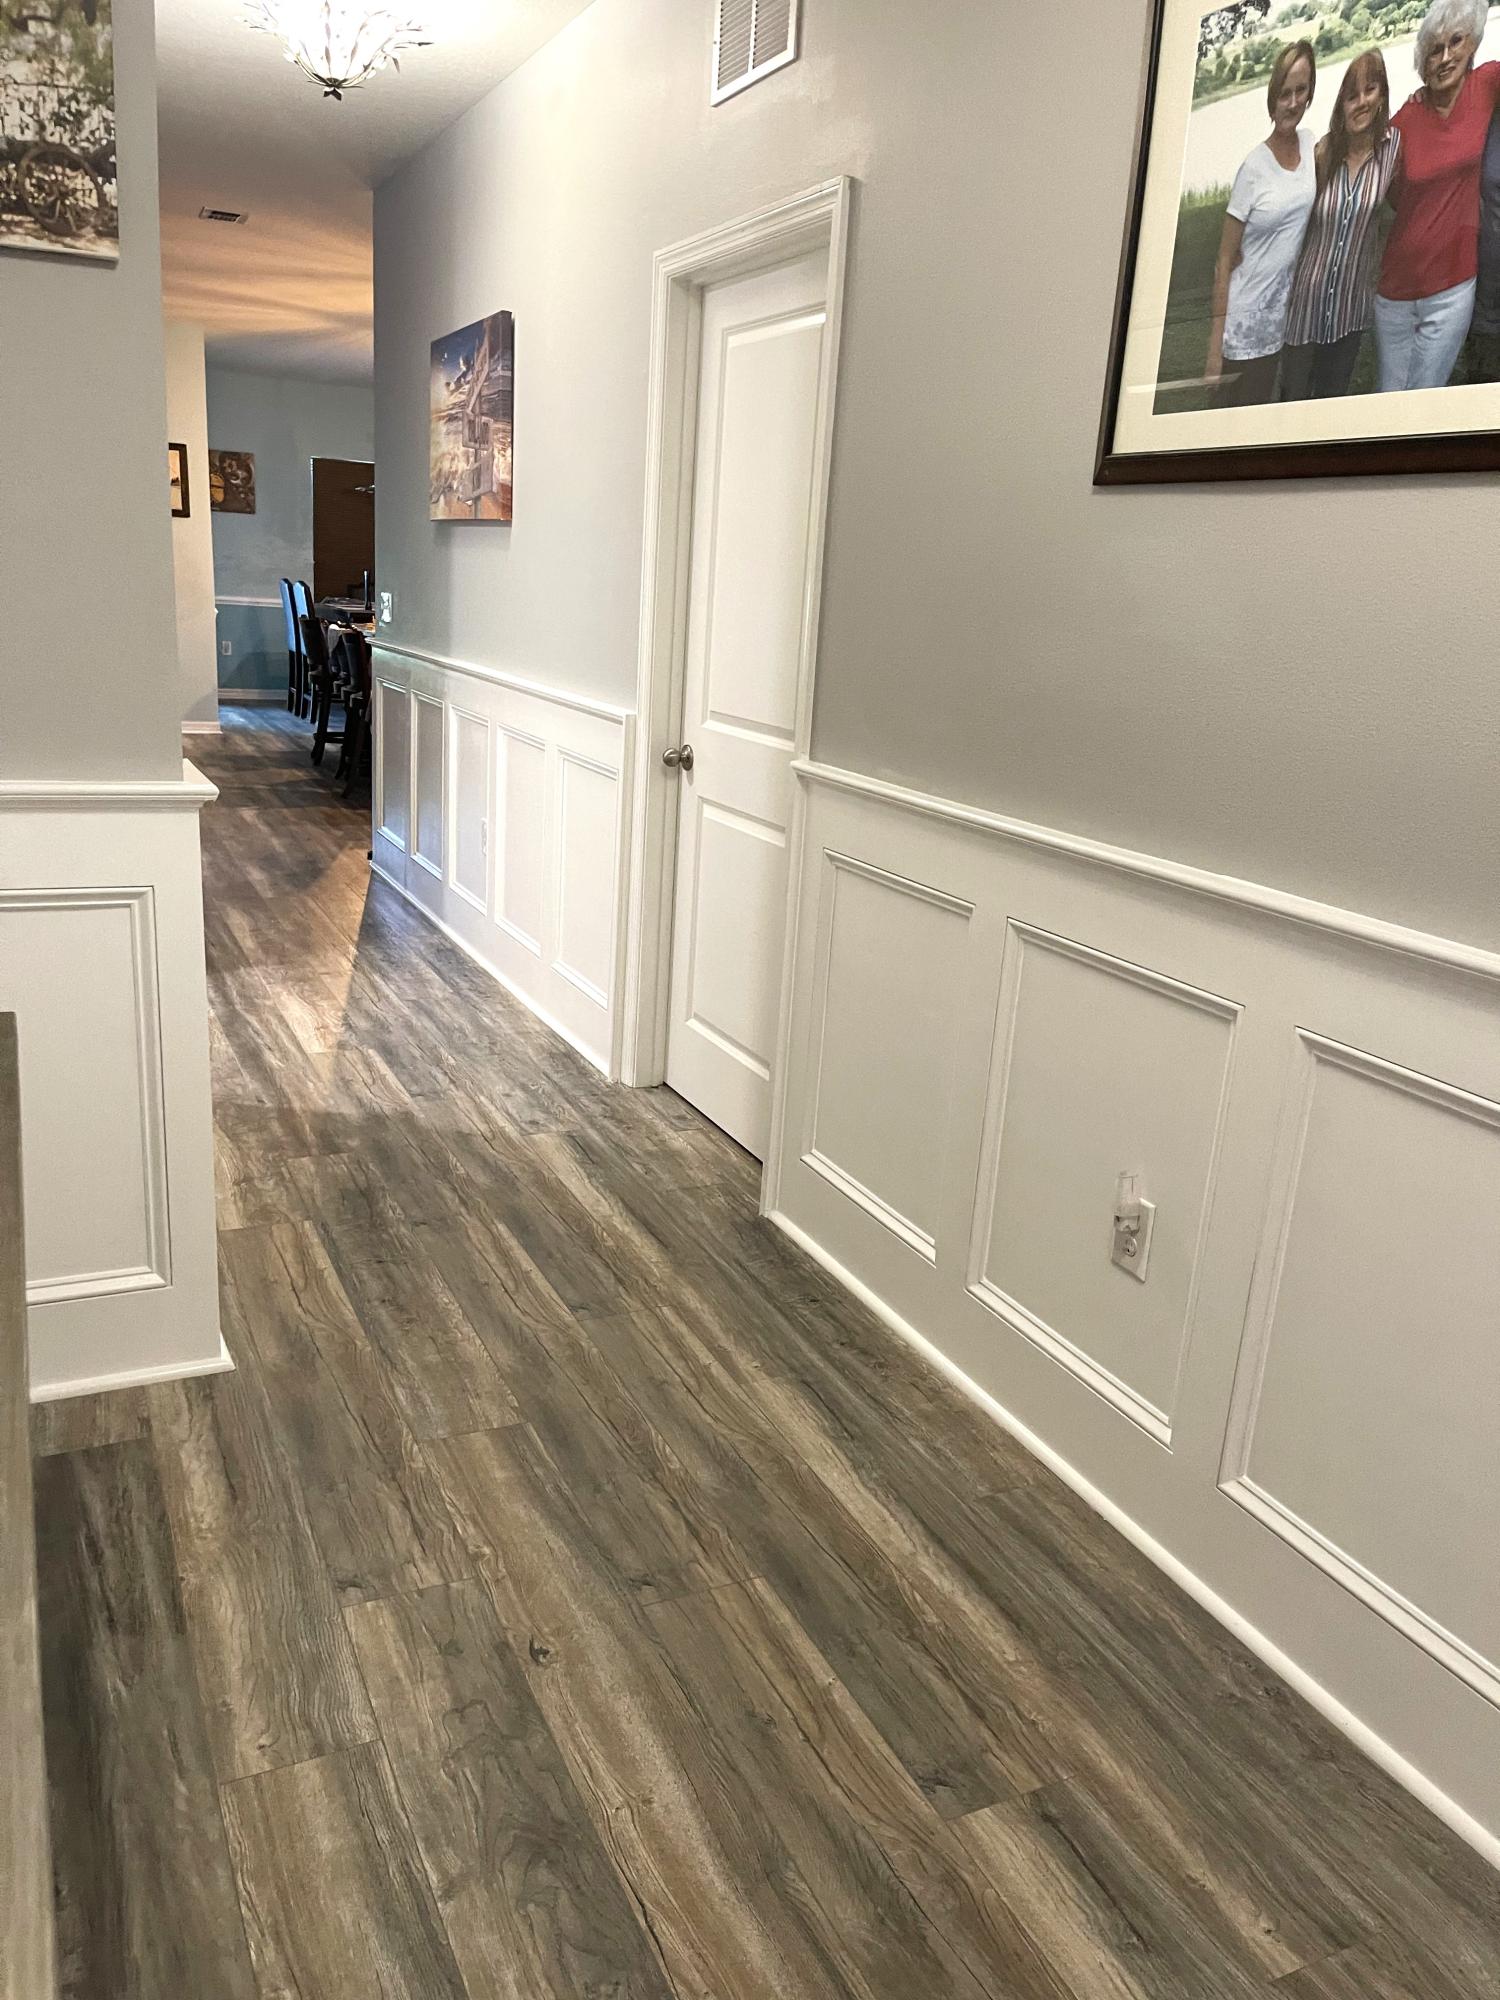
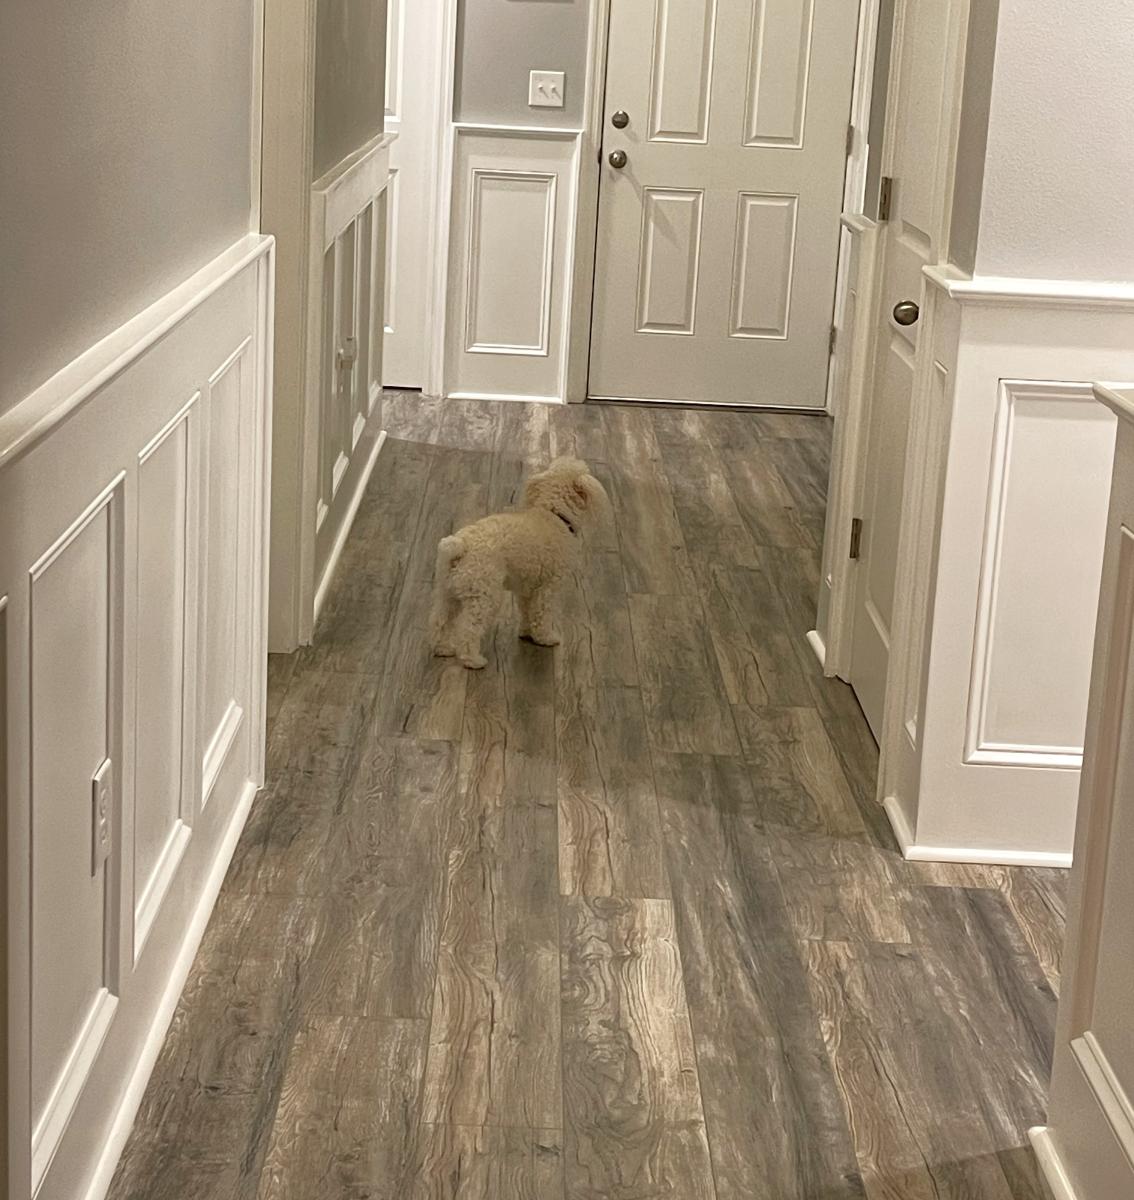
Finish Used
Paint from Big Box store. Color names: Quart of White Primer, Quart of Bicycle Yellow, Quart of Bright White, and Sample size of Tutti Fruiti for the pink accent on the moulding feature.
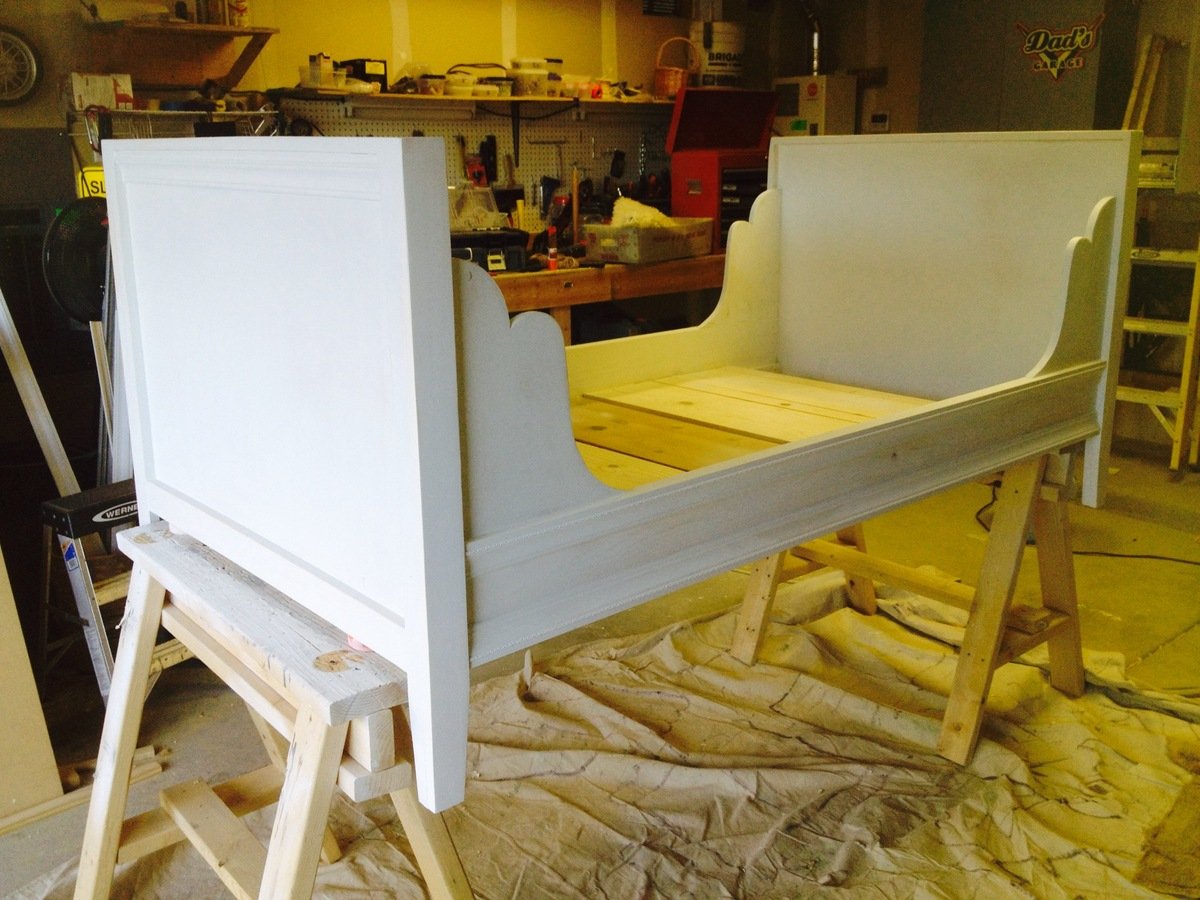
The moulding I used was PVC composite, which I did not prime as I wanted it white anyway and any excess pink highlight would wipe easily. As I applied the pink accents, I had a damp cloth ready to wipe away any excess, drips or smudges on the moulding in areas I did not want. The paint comes off easily if wiped immediately.
The moulding I used was PVC composite, which I did not prime as I wanted it white anyway and any excess pink highlight would wipe easily. As I applied the pink accents, I had a damp cloth ready to wipe away any excess, drips or smudges on the moulding in areas I did not want. The paint comes off easily if wiped immediately.
Recommended Skill Level
Beginner