Community Brag Posts

Just My Size Closet

Just My Size Closet!

Built this from Ana's plans with a few modifications.

Started with a big empty box after ripping the old stuff out and finished with this look.

Adjustable shelves and all !

Built from Plan(s)
Estimated Time Investment
Weekend Project (10-20 Hours)
Finish Used
Whatever white paint my wife bought !!
Recommended Skill Level
Beginner

Wine Rack

Submitted by bkis1969 on Fri, 02/10/2017 - 09:14

For our 5th (Wood) Anniversary I built this A-Frame Wine Rack out of Eastern Red Cedar and Birch. I found the plans on an Australian Websiite so had to convert metric to sae (hardest part of the entire project). It was easy to do and took two days with drying time. If you would like the plans let me know.


Thanks for looking!

Estimated Cost
Less than 100.00.
Estimated Time Investment
Weekend Project (10-20 Hours)
Finish Used
Water based Polyurethane.
Recommended Skill Level
Beginner

Comments

54" Bench with Cross Bracing

Submitted by Johno1826 on Fri, 11/06/2020 - 11:50

54" Bench with Cross Bracing, used the plans on this site, plans were great, easy to follow. I used a 2 x 12 for the bench top to give it more heft. I think it looks better than a 1 x 12.
On to the next plan.

Estimated Cost
$50
Finish Used
3 to 1 mixture of Early American & Espresso stain with a touch of Barn Red stain.
Put 3 coats of General Finishes Arm-R-Seal Satin
Recommended Skill Level
Intermediate

Comments

Planter bench

I built this bench for a Christmas present. She loves to work in her garden and I thought this would be the perfect touch. The plans were easy to follow. I made a few minor adjustments to fit the lumber I had on hand. The center bench is only 4 foot wide so I could conserve on the amount of 2x4 I had to buy. I thought the bench turned out great!

Estimated Cost
$130
Estimated Time Investment
Weekend Project (10-20 Hours)
Finish Used
Golden oak stain
Recommended Skill Level
Beginner

Comments

Mini farmhouse bedside table

Submitted by DogDoc25 on Wed, 11/05/2014 - 11:40

This is a fun project and made a great gift for my mom for Christmas last year. Inexpensive and didn't take long to complete. The pull is from Anthropologie (they have some of the cutest pulls!). Thanks Ana!

Built from Plan(s)
Estimated Cost
$30
Estimated Time Investment
Afternoon Project (3-6 Hours)
Finish Used
Minwax Golden Oak and Poly
Recommended Skill Level
Beginner

Comments

Console table

Submitted by Anonymous (not verified) on Sun, 02/12/2017 - 07:33

Loved this table! Didn't want to spend a ton so I asked my husband to make it for me.....I love it. He did an awesome job. We traveled about 3 and a half hours to pick up the live edge top. 

Estimated Cost
250.00
Estimated Time Investment
Weekend Project (10-20 Hours)
Finish Used
Paint on the base and satin poly on the top
Recommended Skill Level
Intermediate

Large Porch Bench with X Backs to highlight feature wall

Submitted by Anonymous (not verified) on Mon, 11/09/2020 - 16:29

Using the Ana White plans of Large porch Bench with X backs I was able to create this amazing area in the entrance way of our home. The bench was part of a larger project where I added the modeling and shelves to the wall. The plans were great, I just made the bench a bit smaller, as the original size was a bit overwhelming inside the home.

Estimated Time Investment
Weekend Project (10-20 Hours)
Recommended Skill Level
Intermediate

Comments

Clubhouse bed build

Submitted by donberry on Fri, 01/11/2013 - 18:56

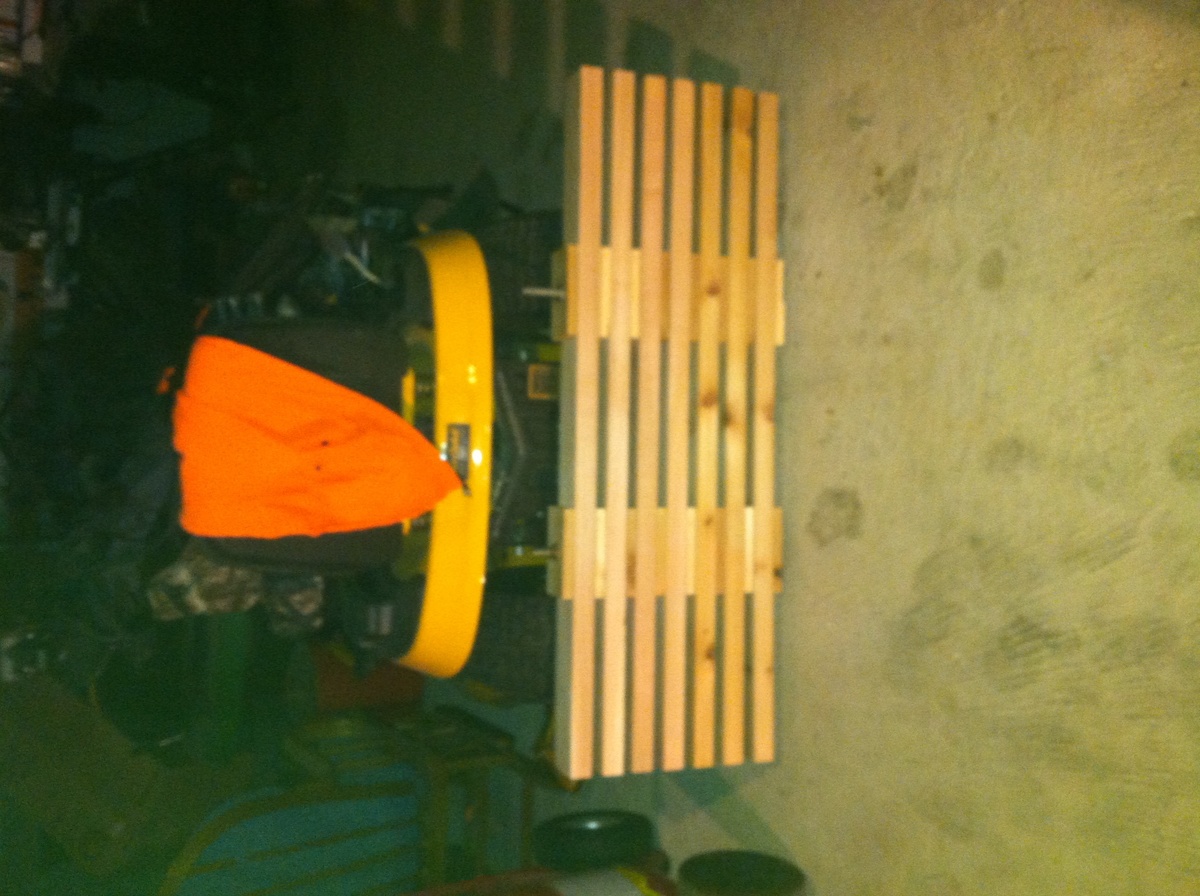
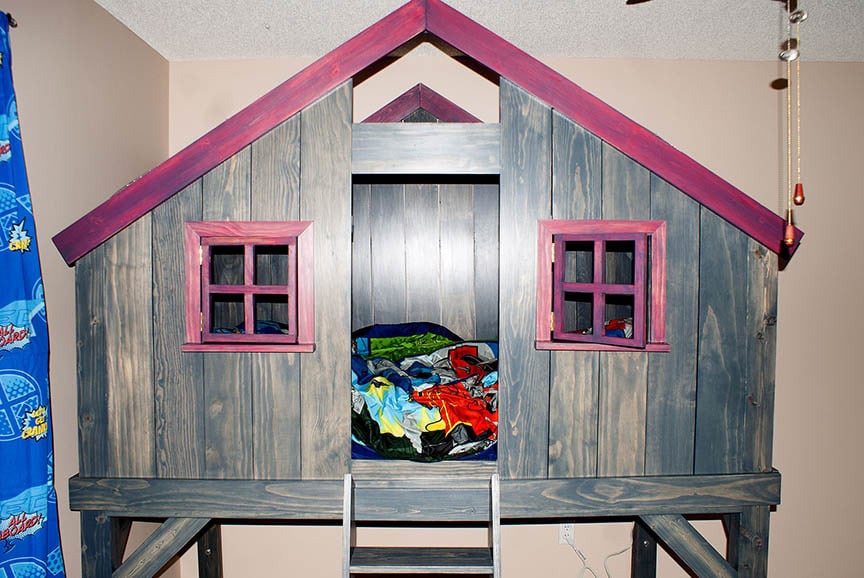
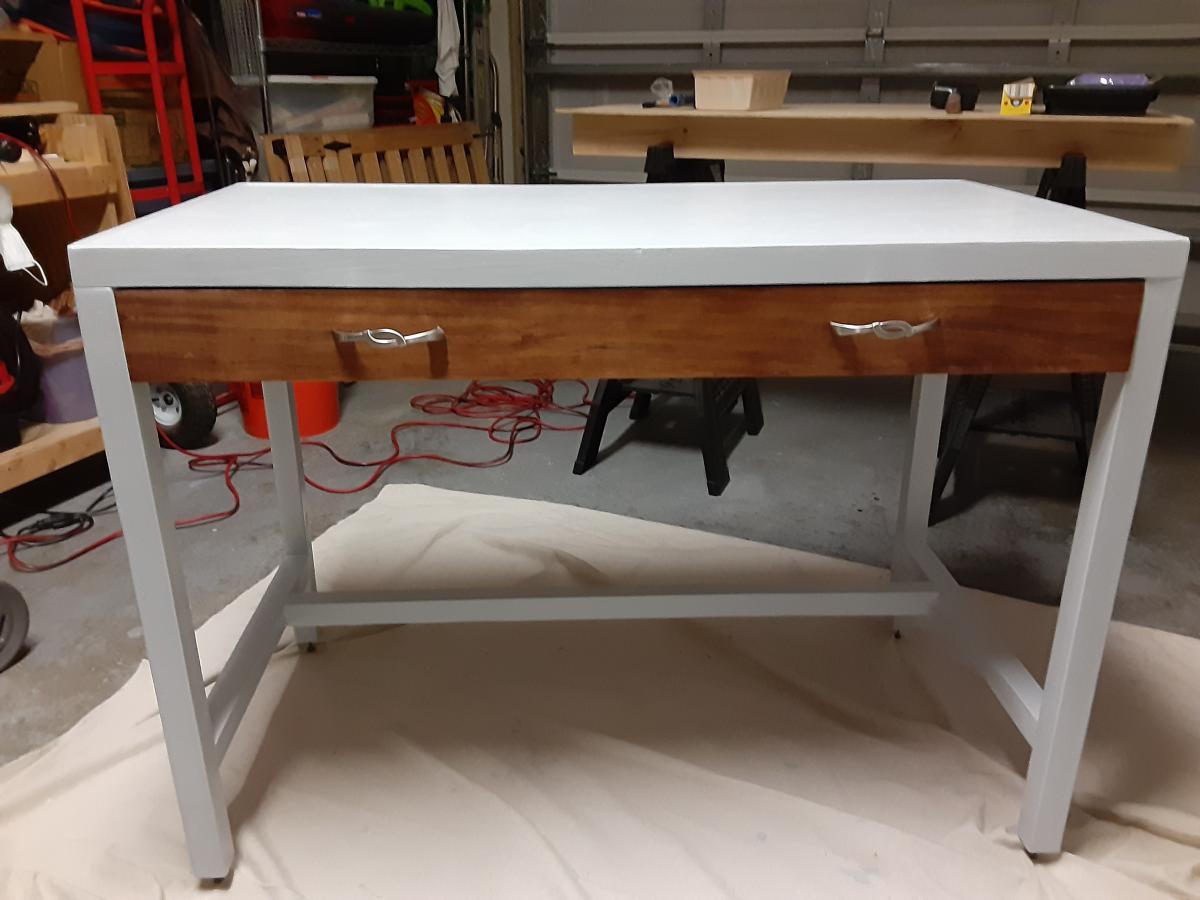
This is the first wood project I have made in years. Just got my wood shop built and this was the first project - thank you Ana. It ended up taking me way longer than expected. It was the first time I have ever used the Minwax custom color stain and quickly discovered after trying to stain one side why many say it is best for smaller projects. I quickly learned for a large project like this, it is best to do the boards before they are assembled.
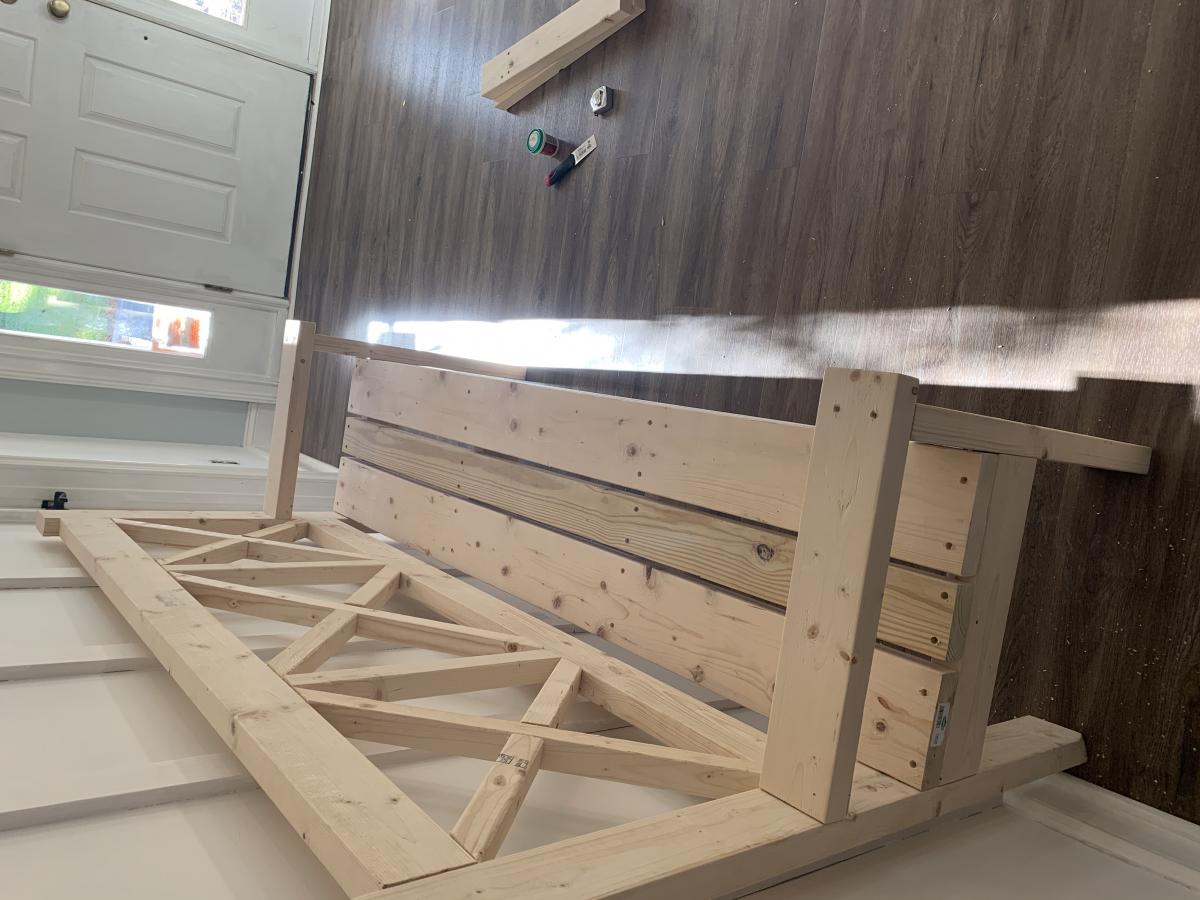
It is pretty much the stock build, tho I did deviate some and added a couple of things. First, as i was doing this project by myself, I discovered that just flipping a wall over to add the trim is not as easy as it sounds. At that point in the build, the only thing holding the walls together is the bottom trim piece so it is very flimsy. To make it easier to flip over myself, plus maybe add some extra stability, I ran a 1x4 along the entire back wall about half way up. I believe it really helped with the stability and still can't be seen.
I also added 1x4's on the inside of the front walls from the edge by the 2x4 leg to the doorway - one above the windows and one below the windows, on each side. I just wanted to make it as stable as possible as I built it for my 3 year old grandson and I knew his 5 year old sister would be jumping around in there with him. It didn;t take any room away from the inside and really helped make it sturdy.
One other thing i sort of changed was the ladder. I do not know why as the trim piece was right at spec according to the plans, but the 38" ladder came up about 3 1/2" too short, so I ended up having to cut another one at 41 1/2". Also, especially as it was for a 3 year old, I thought it was a really big drop to the first rung when they were getting out of bed, so I added a 4th step. With 3, my grandson would have had to climb into the bed and when he was getting out, would have had to hang over and find the rung, this way he just walks right up. Keeping it at the 8" apart, the 4th step fit perfectly.
You can't really see the legs in the picture, but on the front legs, instead of using bolts going thru both legs, I put in threaded inserts on the front wall legs, that way you do not see any bolts on those legs. I also used the threaded inserts to mount the ladder.
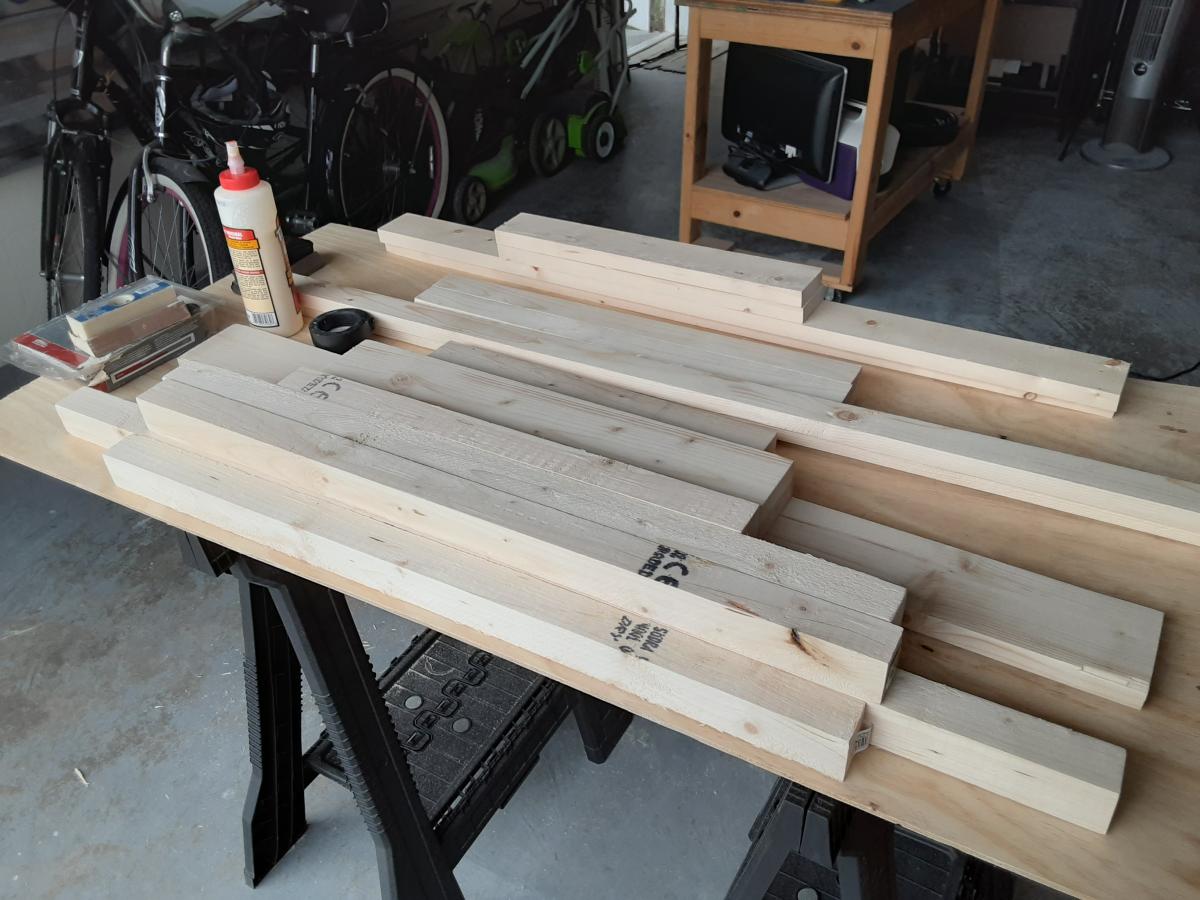
It ended up costing a small fortune as I used #1 grade wood. I was originally going to stain it something along the lines of early american, but after spending hours trying to find decent wood at both of the big box lumber yards, even buying #1 grade I could not find enough good wood where the grain patterns were similar. I tried 4 various stains on some test pieces, was not happy with any of them, so then went with the Minwax Custom color charcoal gray, and I am glad I did. It has a bluish tint to it and looks just about right for a little boy.
Also, instead of adding the top trim piece to the back of the back wall, I put it on the front where it could be seen, plus it made it easier to hide the boards not lining up perfectly.
After it was all complete, I then applied 3 coats of brush on poly, sanding between each coat. I really wanted to finish it off by then wet sanding it and rubbing it out, but I did not think my grandson really wanted to wait any longer while I waited for the poly to cure, so instead I sanded it down one more time with 220 grit and then applied the wipe on poly.
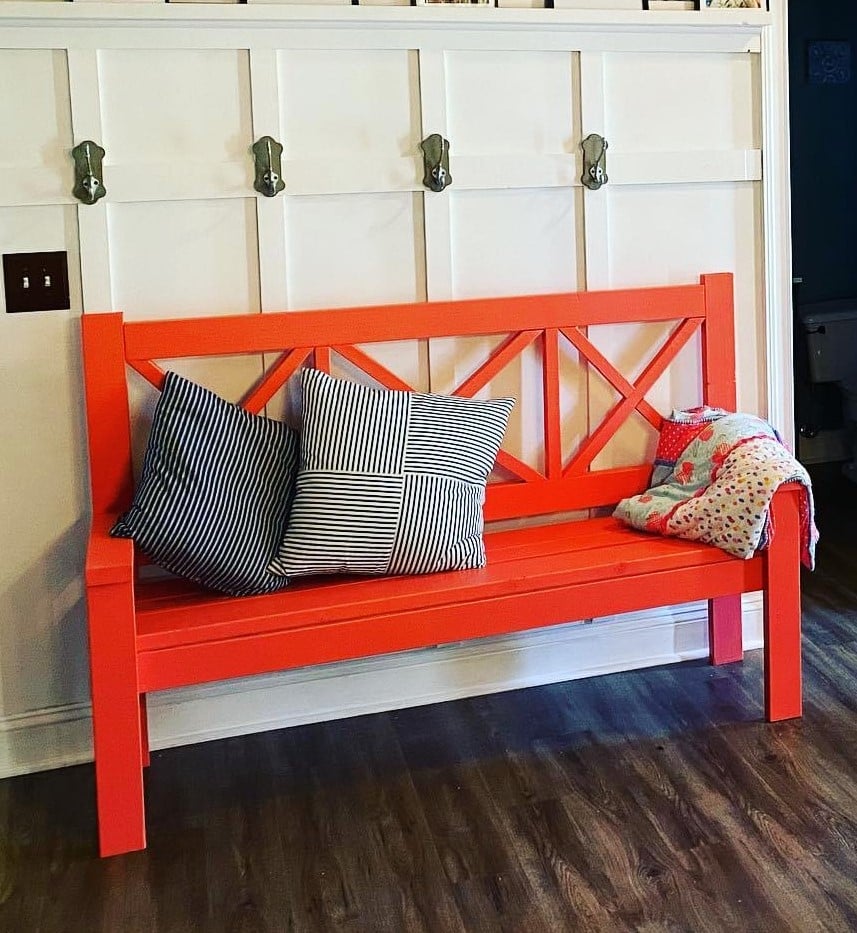
In my opinion, it was Jaime from That's My Letter idea of the window frames that really sets it off. It looked kind of plain until I added the windows. For framing the windows, I just went ahead and sort of did it like a real window. The only difference was I was a little worried about my grandson maybe hitting his head on the window sill, so I turned them around and the window sill is on the outside. I didn't think it thru as i was thinking he could set some stuff on them, like his thomas train or something, but that obviously wouldn't work as everything would fall off when he opened the window.
For the red, I just used latex paint, apple red, then stained over it with the charcoal gray.
And then to finish it all off, the last thing I added was a 16' LED rope light. I just ran it along both sides and the entire front. I do need to put a switch on it so he can turn it on and off and not have to have his dad plug it in. I will just add it to the back of the wall where you can't see it, that way he can just flip the switch.
Biggest thing is I can't thank Ana (and jaime) enough. The grandkids love it. It isn't as nice as many would have done, but I am very happy with it and I forgot how much I like doing projects like this, tho this particular one took me a looooooooong time.
I still need to make him a sign and we are thinking about putting up a bell in the space in the top of the wall.

Built from Plan(s)
Estimated Cost
$500 + - but I used #1 wood. Mucgh cheaper if you can find decent #2
Estimated Time Investment
Week Long Project (20 Hours or More)
Finish Used
Minwax custom color, minwax brush on poly, minwax wipe on poly, apple red latex paint
Recommended Skill Level
Intermediate

Comments

My First Bunkbeds

Submitted by Mike B on Sat, 11/08/2014 - 14:48

This was the first piece of furniture that I ever built!  Plans were very helpful and easy to follow.  If I had it to do overagain, I would have painted instead of staining (less sanding required).

Built from Plan(s)
Finish Used
Stain, polyeurethane
Recommended Skill Level
Beginner

Armoire

Submitted by Anonymous (not verified) on Tue, 02/14/2017 - 13:03

Use white maple and maple ply with cedar for the sides and back of the drawers.

Built from Plan(s)
Estimated Cost
Wood = $500; mirror $125. Time investment 40+ hours over 8 weeks.
Estimated Time Investment
Week Long Project (20 Hours or More)
Recommended Skill Level
Intermediate

Simple Writing Desk with Drawer for my Office

Submitted by HandySandy on Sat, 11/14/2020 - 10:31

I needed an additional desk at work to organize all my paperwork and files. I couldn't find anything that I liked on Office Depot and Amazon in my budget range, then decided to search Ana's site for plans to make my own and at the same time, get to try out my new Kreg Rip-Cut Circular Saw Edge Guide. I purchased lumber from the local big box (note: disappointed to only find 2x2's out of furring strip wood). Anyhow, I followed Ana's plans and couldn't be more happier with the end result! I love the fact that I'll now have a nice big drawer at work!

Built from Plan(s)
Estimated Cost
$107
Estimated Time Investment
Week Long Project (20 Hours or More)
Finish Used
Drawer front - Dark Walnut (Rustoleum Stain + Polyurethane); Frame - Icicles (blue-grey) by Behr Ultra Stain-blocking Paint & Primer in One
Recommended Skill Level
Intermediate

Entertainment Center

Submitted by Millerx4 on Tue, 01/15/2013 - 13:37

We used kristenlotz plans and AZCA33 style.

Estimated Cost
$1,000
Estimated Time Investment
Week Long Project (20 Hours or More)
Finish Used
Creamy white with a stain distress
Recommended Skill Level
Advanced

Comments

kristenlotz

Fri, 01/18/2013 - 15:58

I love looking at the brag posts and seeing similar entertainment centers to the one we built! I am so glad people like our plans. It looks way good in white. I think we are going to re-do our doors and add the rope trim. I love how it looks. Just wondering, do you use the plans we posted at our woodworking blog at http://www.jrlwoodworking.com/2012/12/furniture-plans-custom-entertainm… ? I am so glad you built this. We love ours!

Millerx4

Sat, 01/19/2013 - 21:41

Yes! We used your plans. You did such a good job with them...my husband is a beginner and I think he did an amazing job by following your plans. Thank you!!

Griffen pottery barn inspired Media Console Table

Liked the Griffen Reclaimed look Media console, but not the $1099 price tag that came with it!  LOL

So with $100 and 3 hours of work, BAM! 

70L x 15W x 30H


Built from Plan(s)
Estimated Cost
$100
Estimated Time Investment
Afternoon Project (3-6 Hours)
Finish Used
Classic Black Polyshades by minwax for the base
Provincial by By minwax for shelfs
Recommended Skill Level
Beginner

Comments

jpujdak

Tue, 03/24/2015 - 06:21

Hi! I love your Media Console table! Do you have plans to go along with this? I'd love to create this for my apartment. Thanks!

Fancy X farmhouse with extension

Submitted by Anonymous (not verified) on Thu, 02/16/2017 - 18:02

This was the first furniture my husband built. He also did amatching  sideboard table using Ana white plans.

Built from Plan(s)
Estimated Time Investment
Weekend Project (10-20 Hours)
Finish Used
I used wood conditioner and then dark walnut stain. My husband built me a sideboard table to match this table.
Recommended Skill Level
Intermediate

Corner Cupboard

Submitted by strez4prez on Fri, 11/20/2020 - 19:08

Thanks for the plans. had fun building this. I made it a little higher and added an additional shelf. I wanted it to be rustic, so I beat it with a chain, hammer, and some screws. Used Early American stain. Used Rustoleum Triple Thick Poly satin finish. Not all straight and perfect, but it works. It matches the farmhouse table I built last year.

Estimated Time Investment
Weekend Project (10-20 Hours)

Comments

Daybed with Storage

Submitted by Bemof13 on Sun, 01/20/2013 - 17:54

This is my first Ana White project. It was so fun to do and turned out really well. Thanks so much Ana for your great plans and help with building them. the Kreg jig is great!

Estimated Cost
$125 +/-
Estimated Time Investment
Weekend Project (10-20 Hours)
Finish Used
Minwax Polyshades Bombay Mahoganey
Recommended Skill Level
Beginner

End Table

Submitted by JoeP on Thu, 11/13/2014 - 16:48

Quick and easy endtable made from scraps I had on hand.

Estimated Time Investment
Afternoon Project (3-6 Hours)
Finish Used
Antique nickel paint and 3 coats of gloss polyurethane, I sanded between each coat of poly.
Recommended Skill Level
Beginner

X-DESK

Submitted by Jasonhash on Sun, 02/19/2017 - 07:39

Made from your Fancy X-desk plans. Dark Walnut & clear gloss polyacrylic Miniwax finishes.

Built from Plan(s)
Estimated Cost
Lumber $18
Plywood $13
Glue, nails, & screws $3
Stain $8
Poly $6.50
$50+/- all day
Estimated Time Investment
Weekend Project (10-20 Hours)
Finish Used
Miniwax Dark Walnut
Mini wax polyacrylic gloss
Recommended Skill Level
Beginner

Shoe and storage bench

Submitted by Anonymous (not verified) on Fri, 11/27/2020 - 07:21

I love your designs and could spend hours browsing here! But that doesn't get things built! ;)

I used your general plan to build this cute bench as my first project for my new Handywoman Business

I was easily able to adjust and customize it to my customers specifications and it is very sturdy. Also my first adventure in pocket holes and I am in love!

Built from Plan(s)
Estimated Cost
$140.00
Estimated Time Investment
Weekend Project (10-20 Hours)
Finish Used
Minwax Dark Oak
Minwax satin varnish
Beauti-tone interior Latex, Semigloss in Cloud White
Recommended Skill Level
Intermediate

Comments

Drawer Organizer

Submitted by mseely02 on Tue, 01/22/2013 - 13:19

Organization is a constant struggle in our house and our junk drawer became more of a place to stick things when you didn't want them on the countertop than an actual funtional part of the kitchen. That won't change with the addition of the organizer, but it was nice to have it cleaned out.

In total, this only cost about $12 (for 3 drawers) and that was only because I used the S4S wood. My HD didn't carry 1x3 in anything else. May have been for the best because now I didn't have to sand anything.

The lesson learned from this project was that I should have cut everything to size instead of relying on the measurements of the drawer. The silverware drawer wasn't perfect and I will likely redo a little of it because the junk drawer turned out great.

Estimated Time Investment
An Hour or Two (0-2 Hours)
Finish Used
None
Recommended Skill Level
Starter Project

Children's Adirondack Chair

Submitted by JamieLynn on Mon, 11/17/2014 - 12:40

Made the super cute Adirondack Chair for my nephew Brady.  He loves it. Now i'm making 2 more for my two nieces as well.  

Estimated Cost
<$20
Estimated Time Investment
An Hour or Two (0-2 Hours)
Recommended Skill Level
Beginner