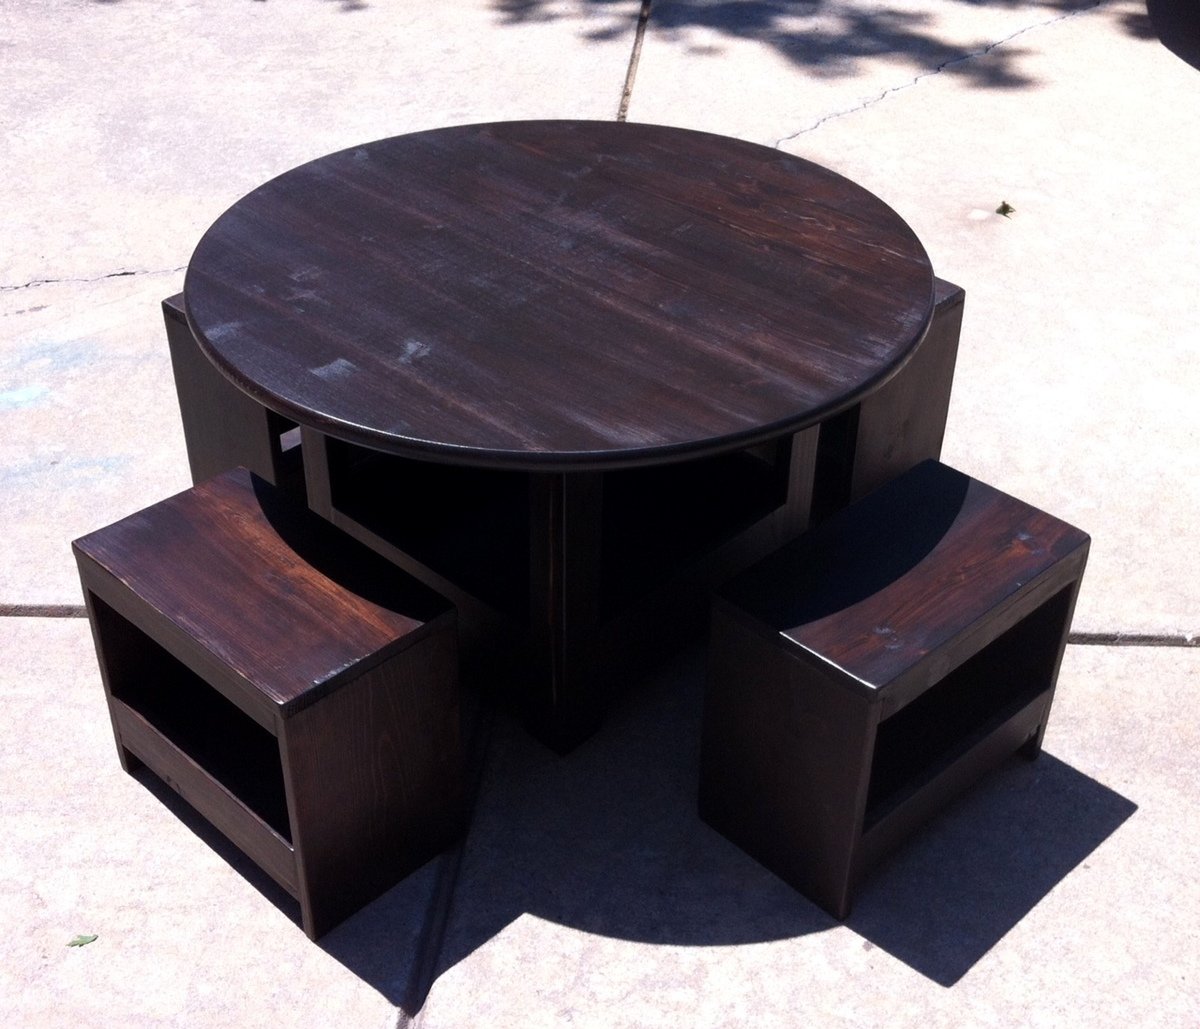
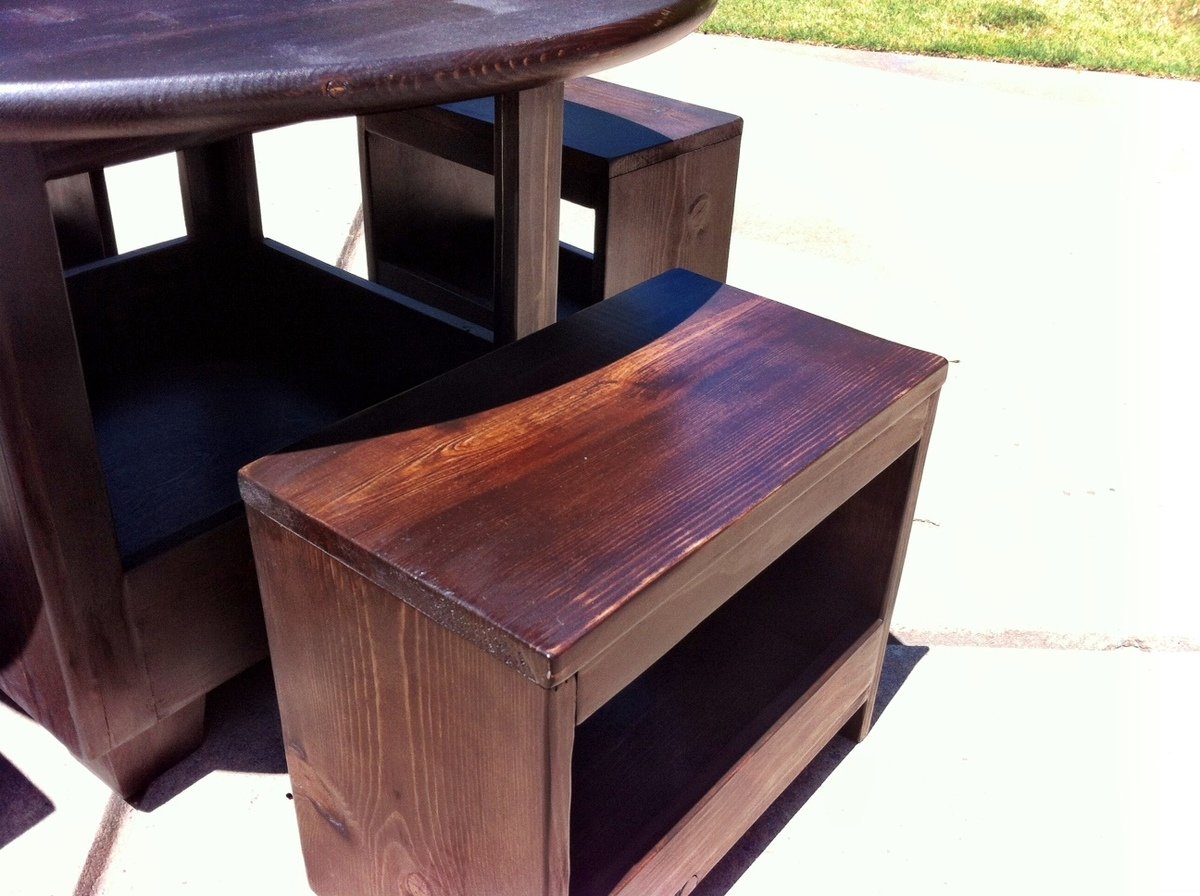
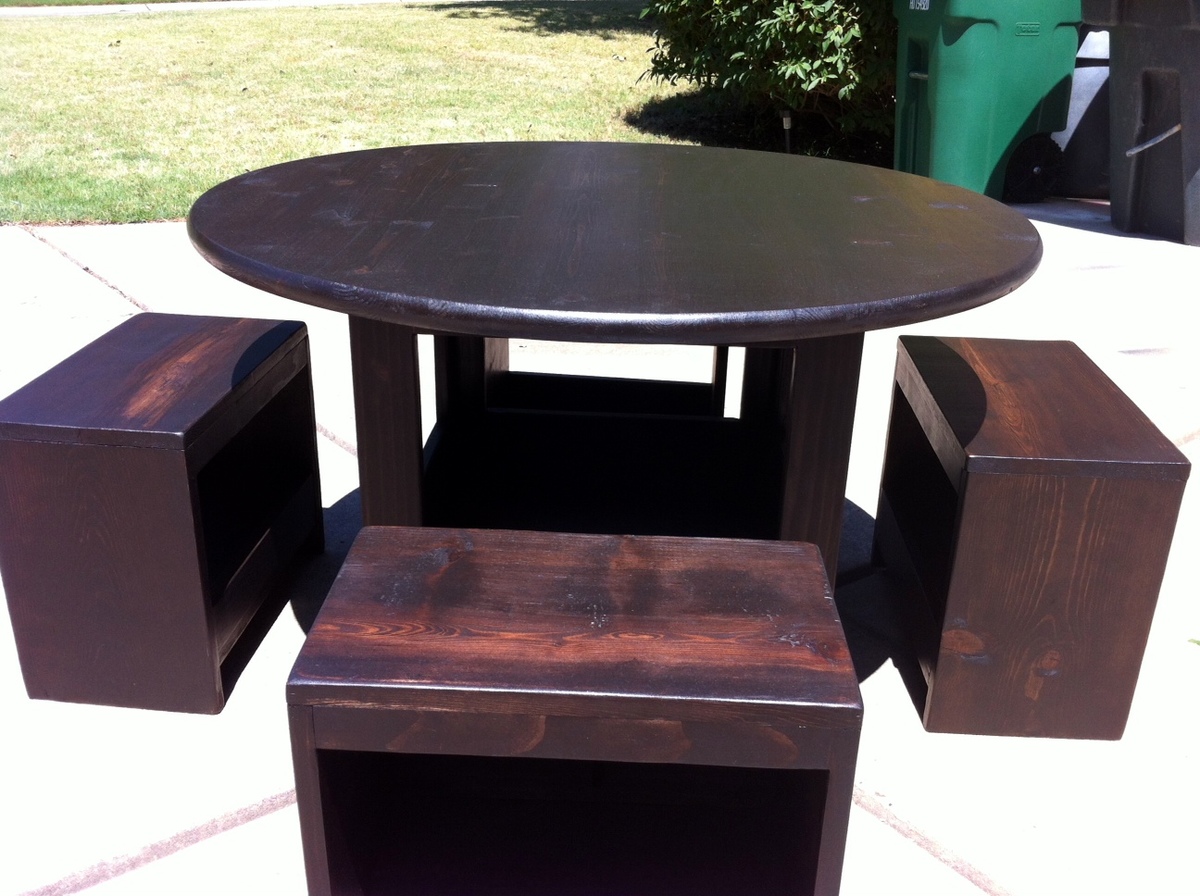
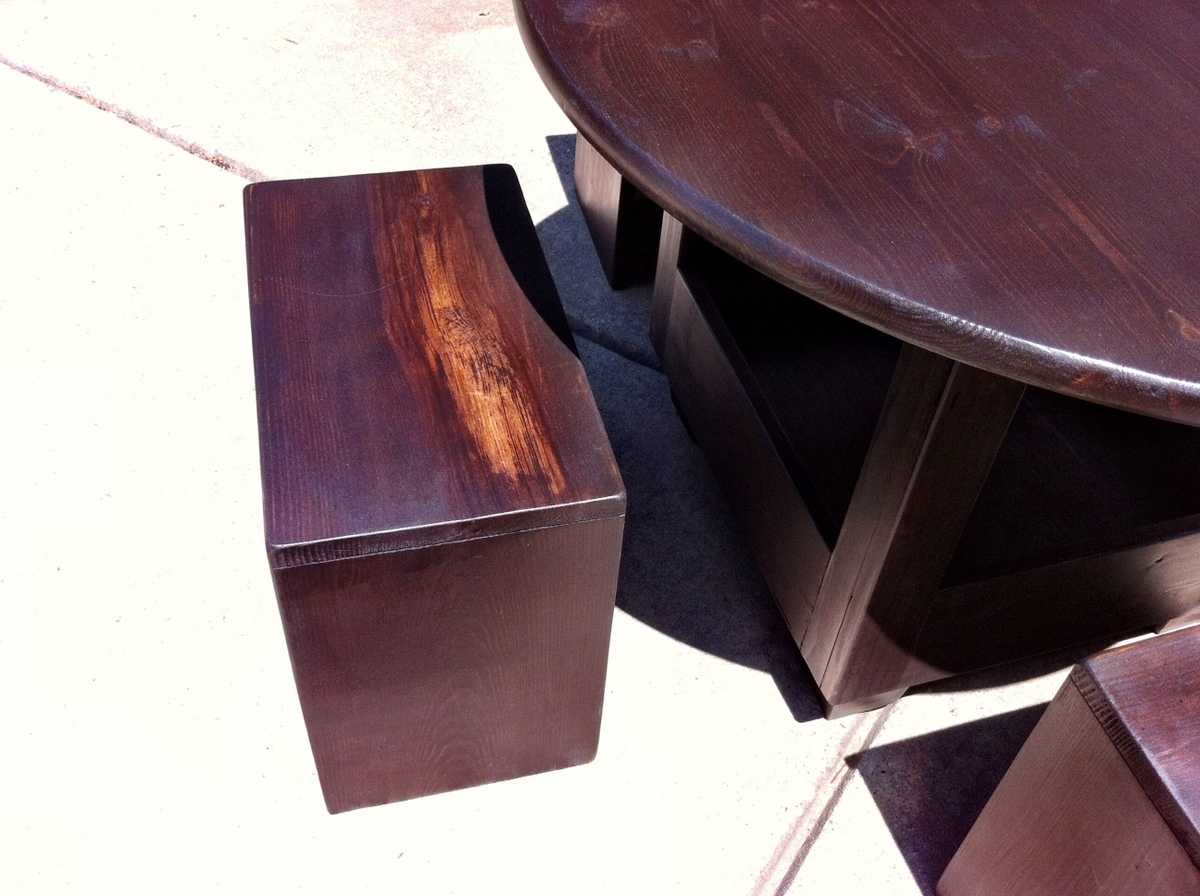
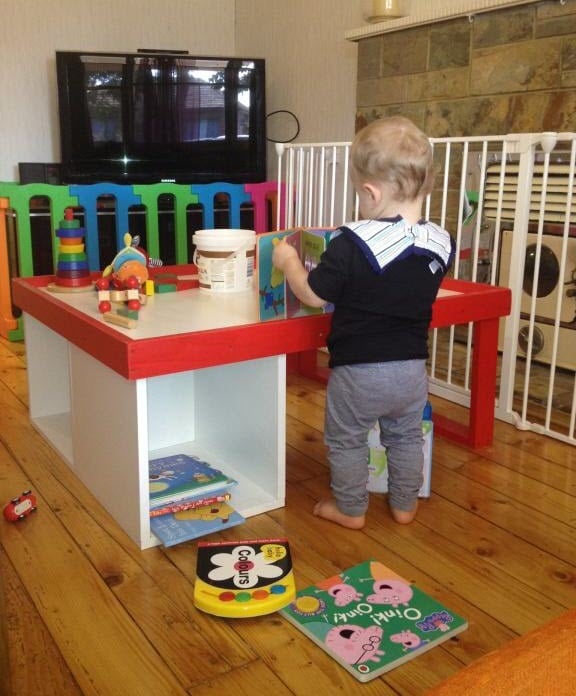
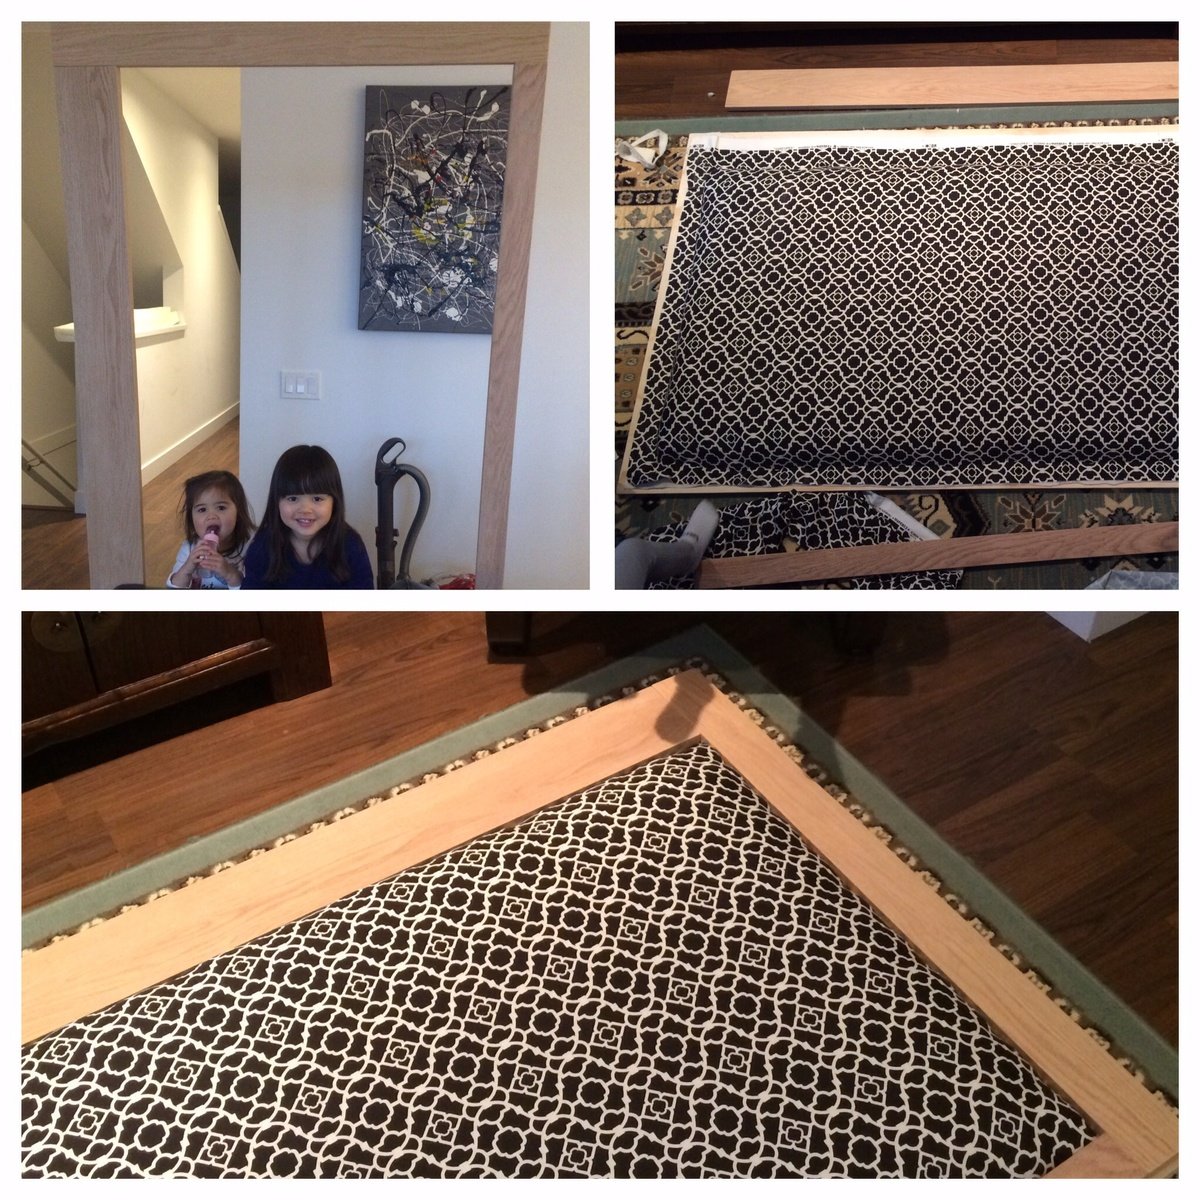
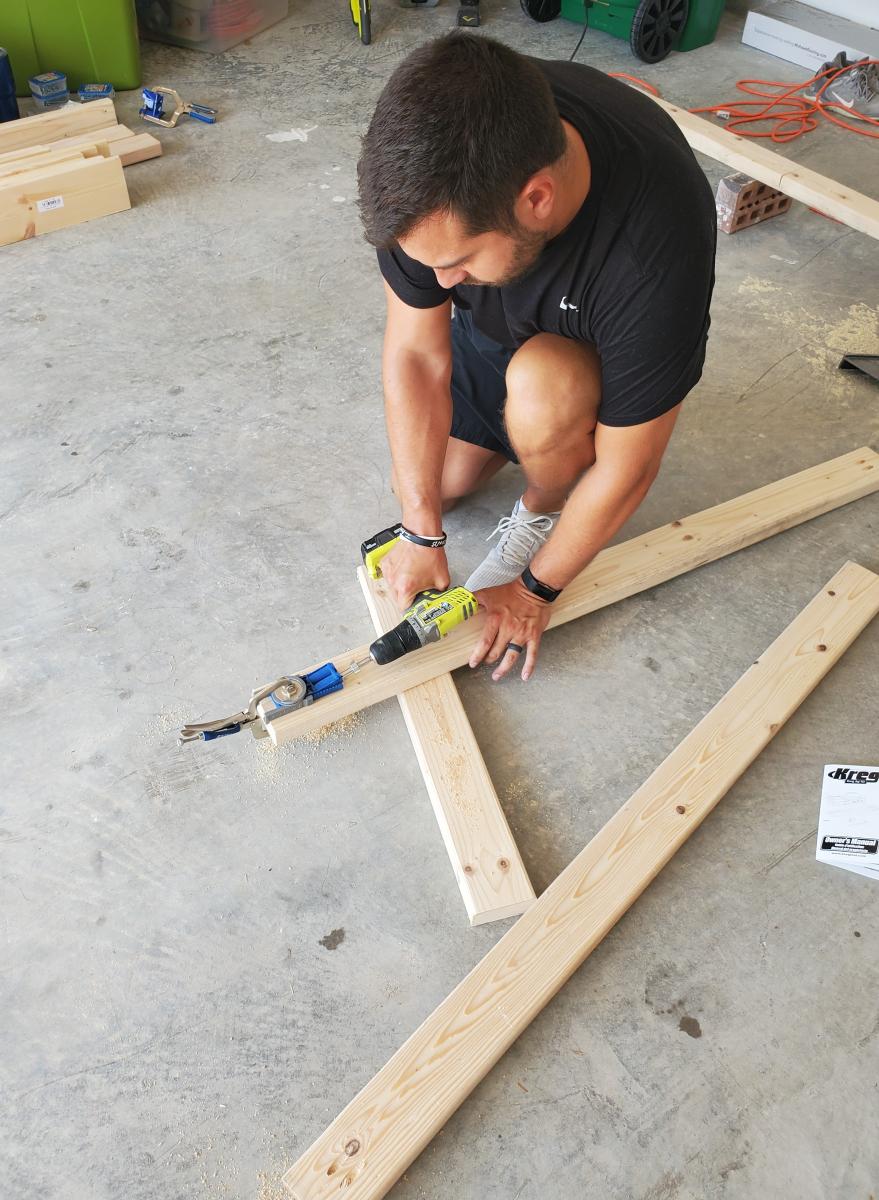
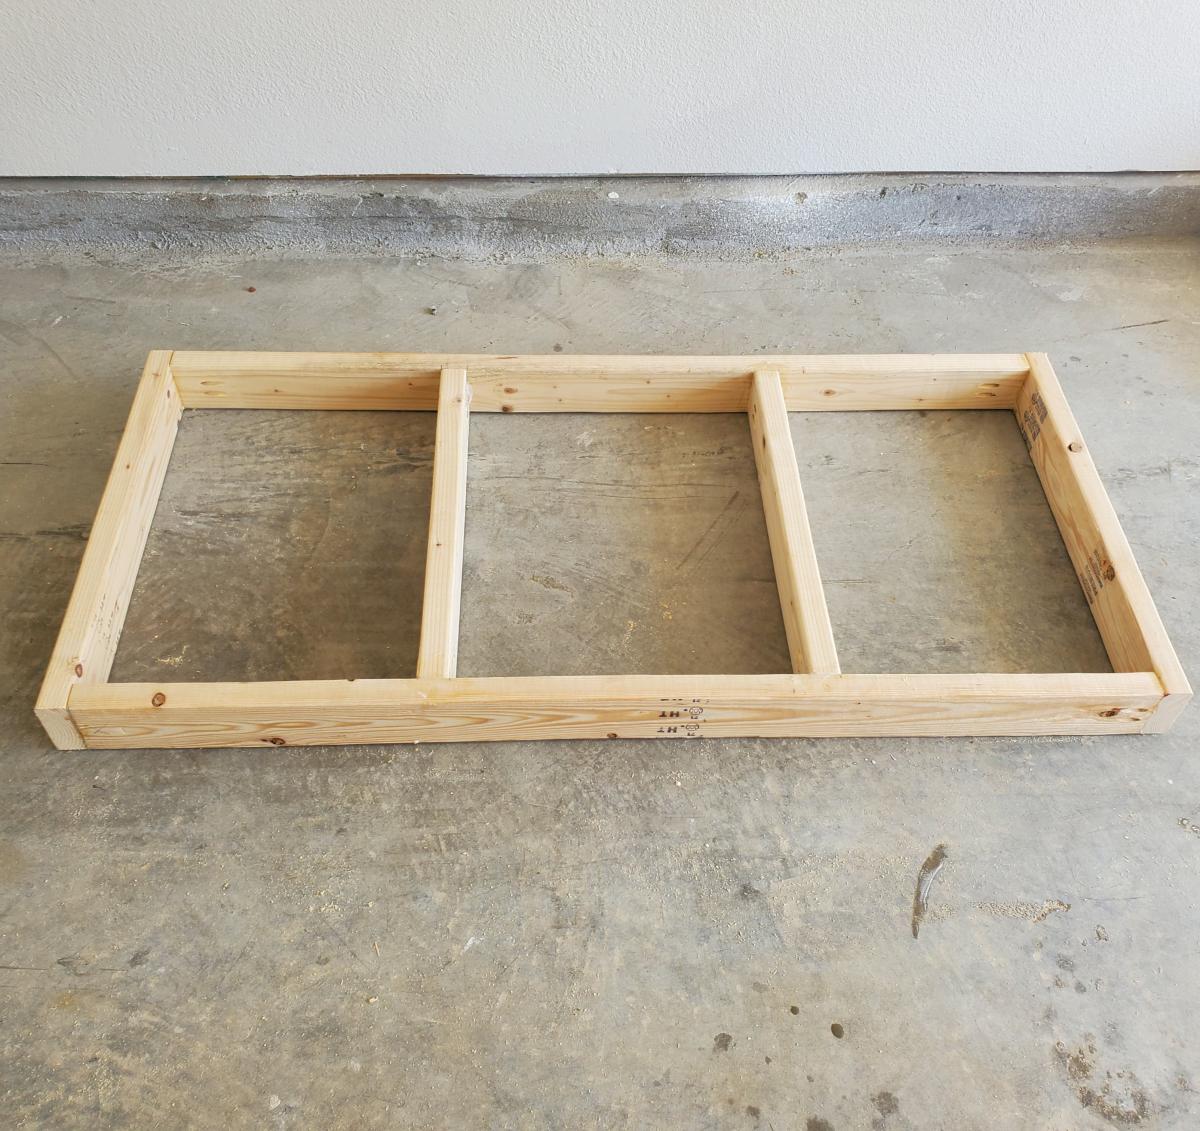
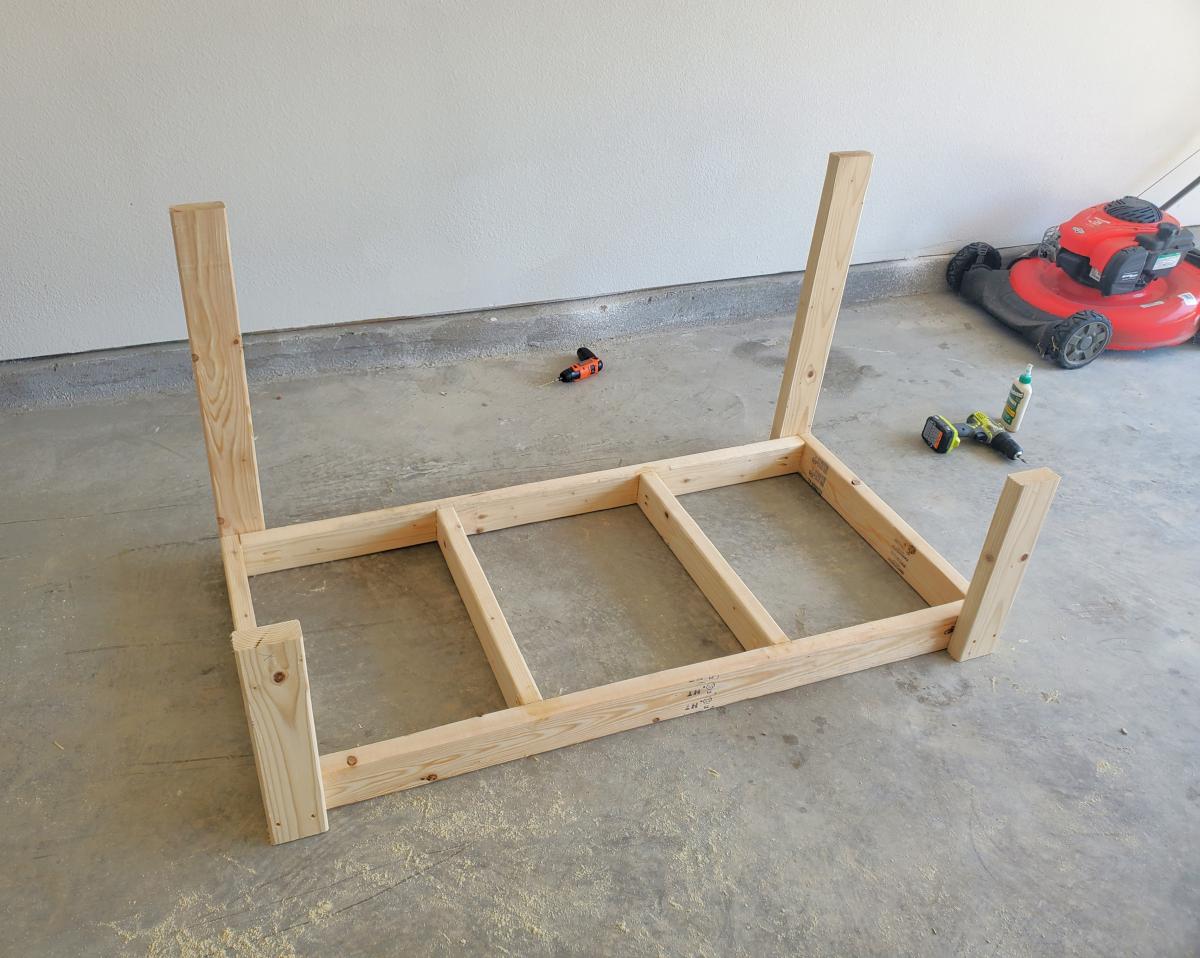
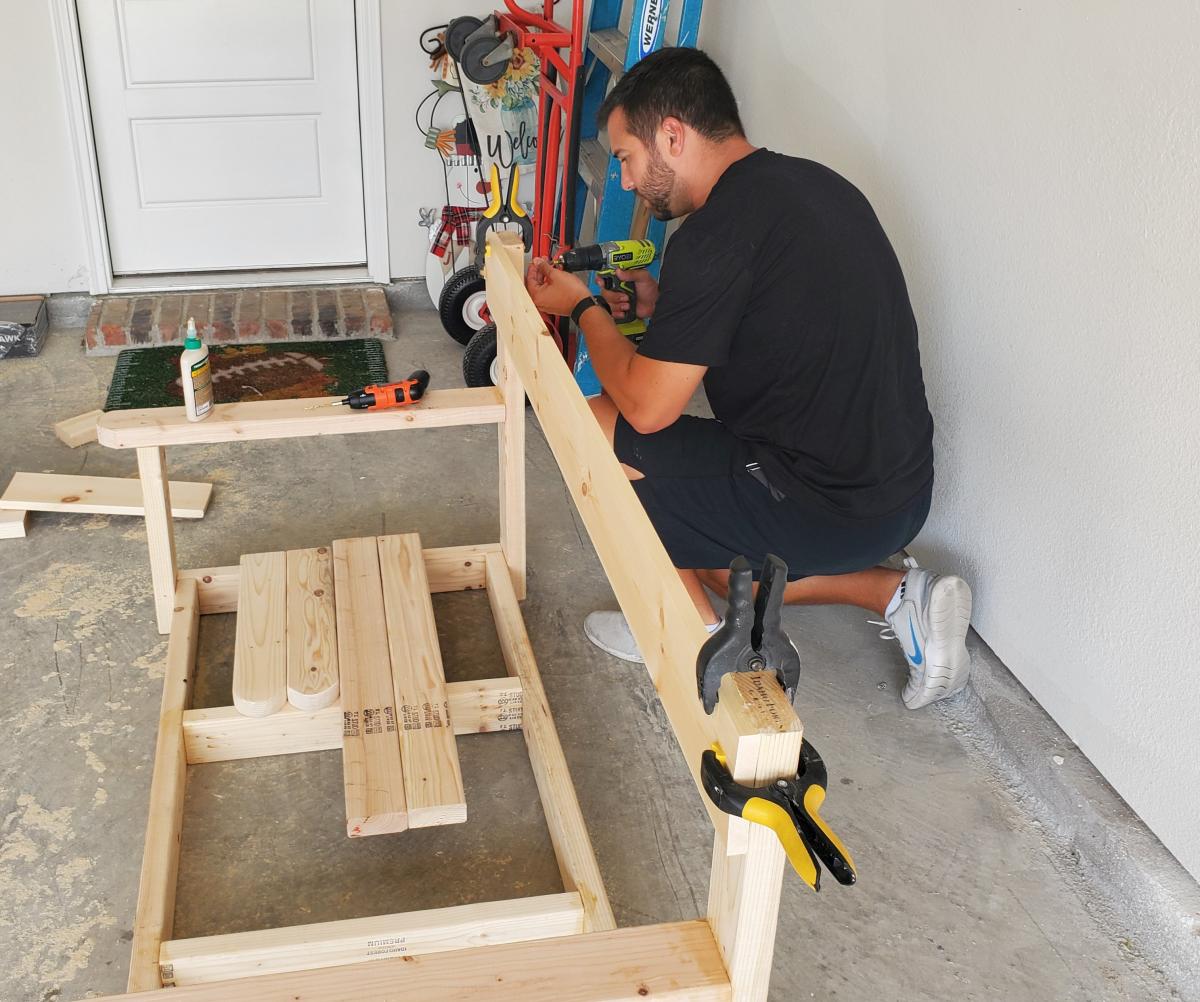
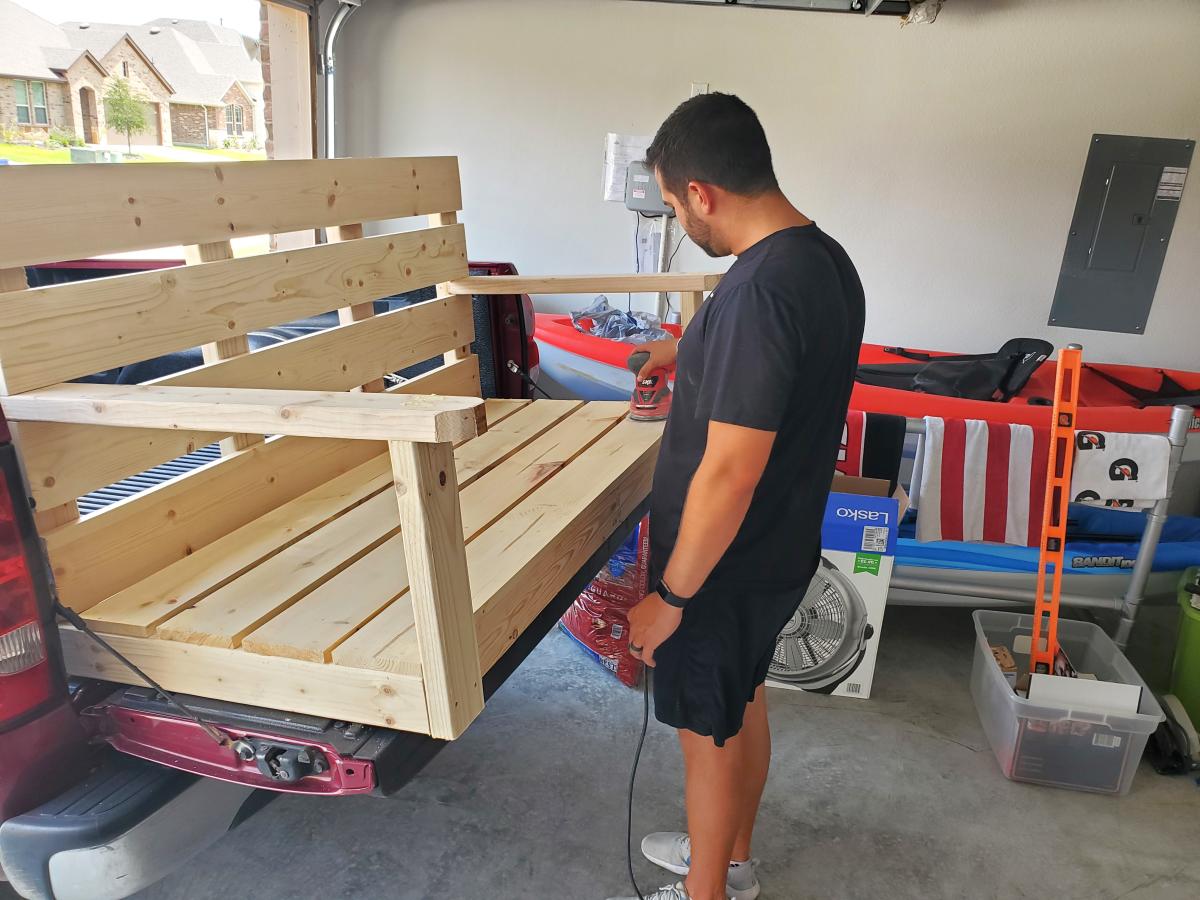
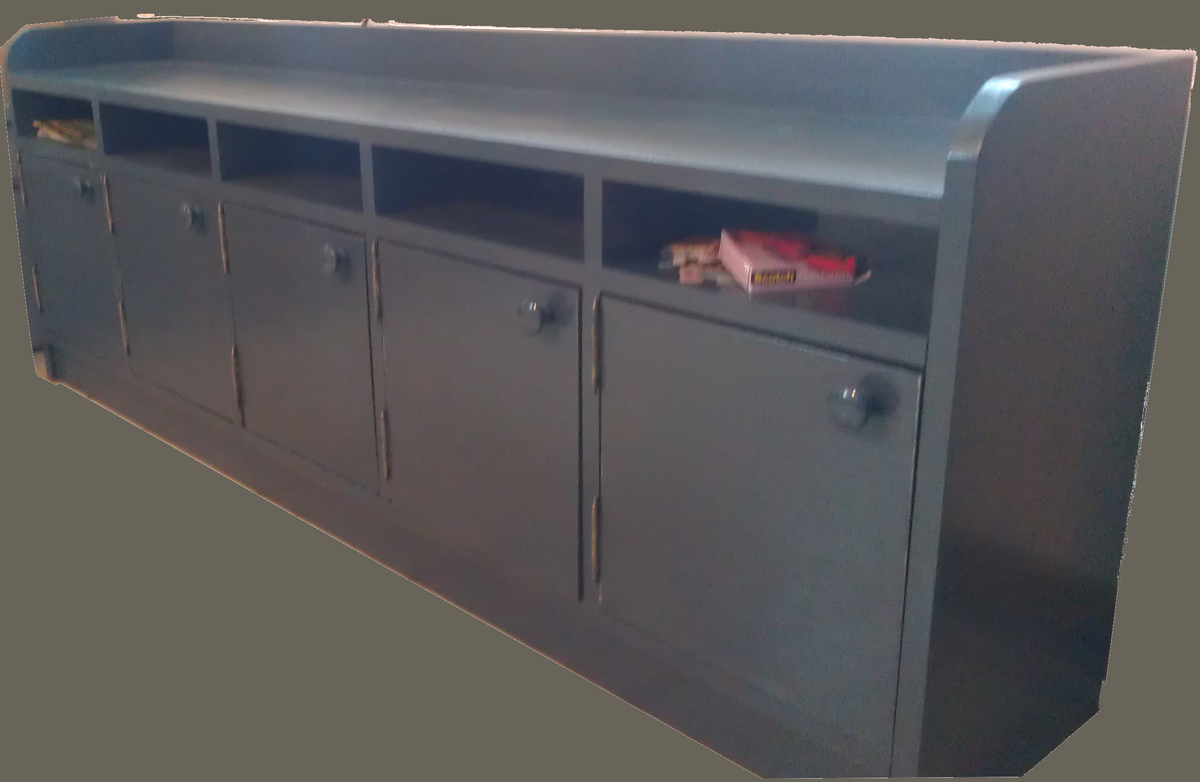
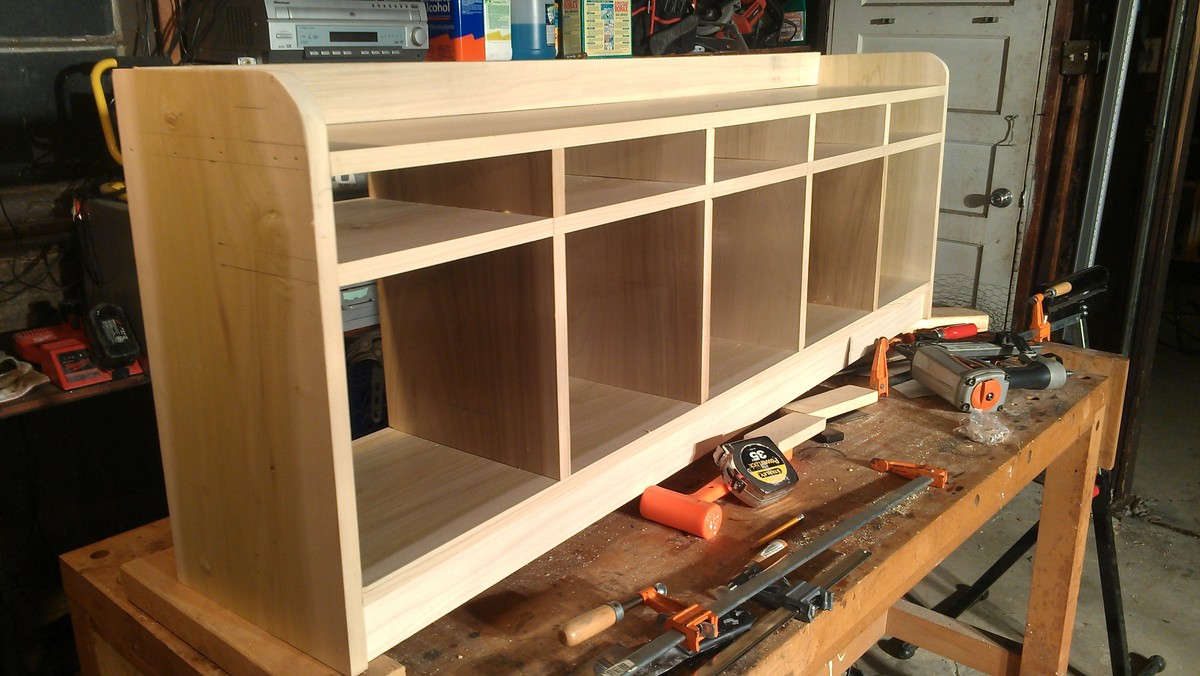
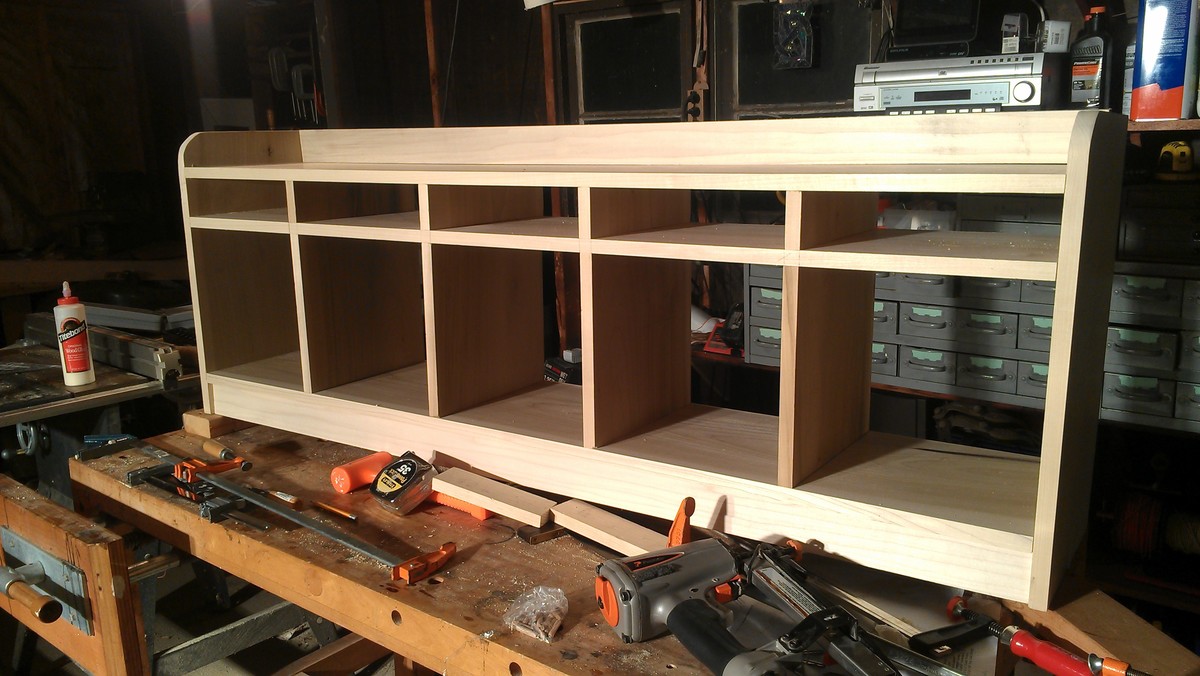
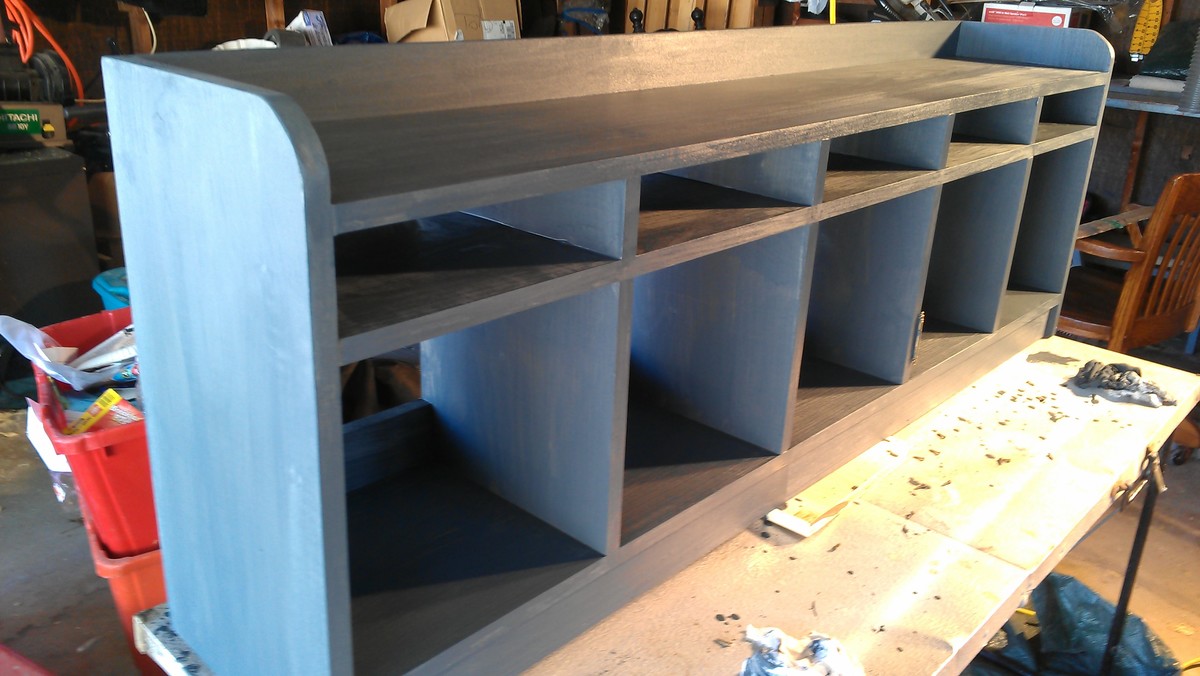
Kids Storage Table & Stools
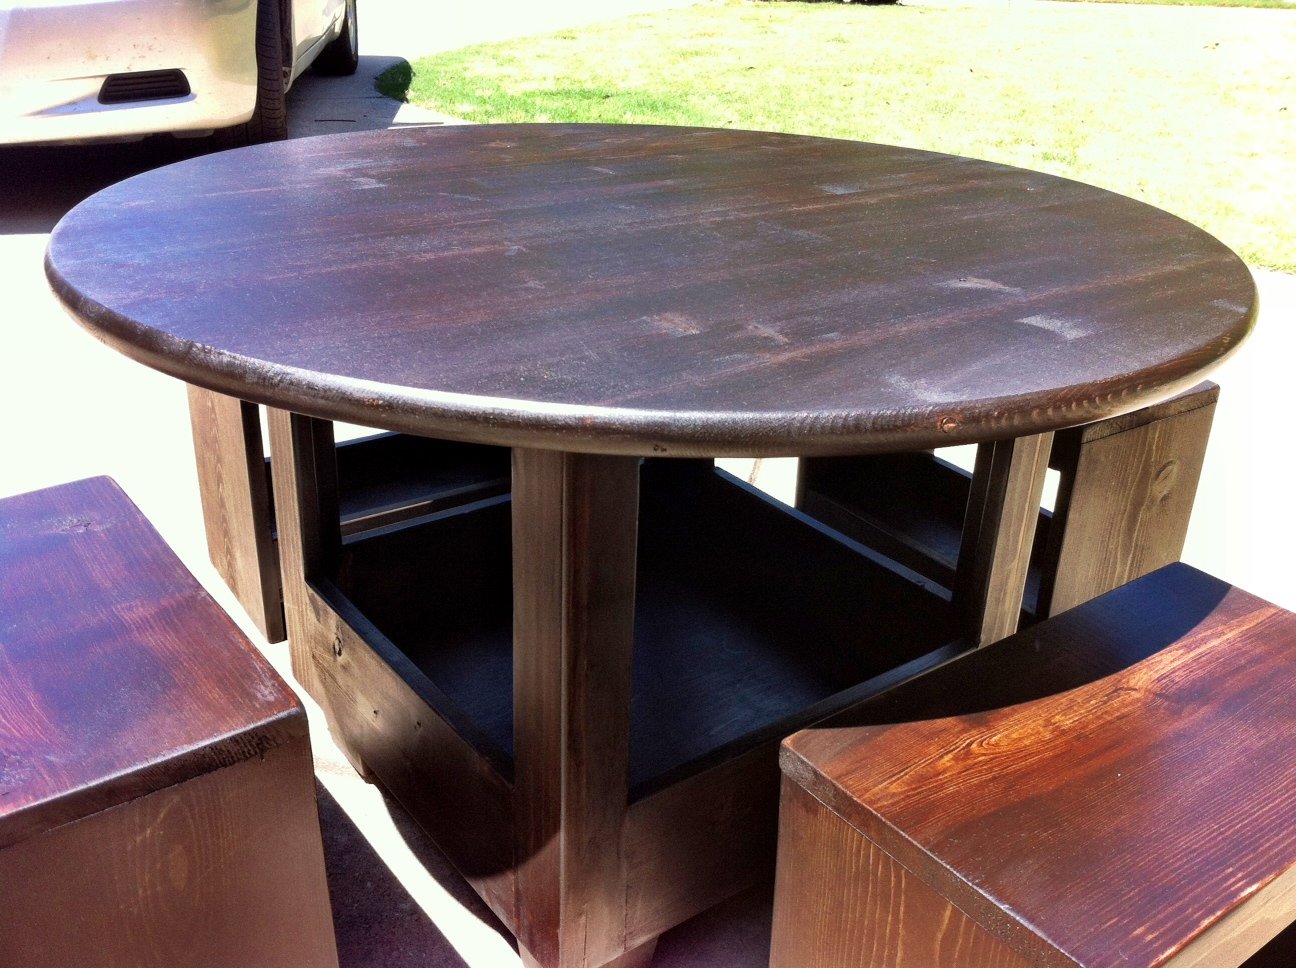
I built a storage table and stools for my son's school class project and my wife wanted a set for her mom to give to her on Mother's Day.
This was a really easy and inexpensive project. As I don't have a table saw and I'm scared to death of my circular saw, I had the laminated MDF cut to size and edged. Assembly and painting was really quick. This little man will road test it for me!
Built mainly from the Modern Media Console plan, modified in a few ways. Aside from the obvious part being the walnut slab on top, I modified the doors to be inset hinges for looks, and it’s slightly longer than the original plans. The other main modification was using the base from the Emersen Console or Buffet plan with the addition of the adjustable height leveling legs.
I am a mathematics teacher in Central IL. I teach a class called Geometry in Construction. I had my math students build this wood shed in pieces at the school, then I brought it home and put it together with a few of my son's friends. The students enjoy a math class that gets to go to the wood shop to apply their math skills to a wood working project. I am proud of my students hard work and dedication.
Shari Bruyn (I'm old, so I do not have Instagram or a blog page. lol)
Our 2 year old granddaughter loves seesaws, so my husband built this one for her. We had just been to Disney World and decided to make the seat Mickey shaped for a little extra fun. He used his bandsaw to cut the seat.
The seesaw is plenty stable enough for us to go on it with her and has been a BIG hit with the neighborhood kids.
More pictures on our blog: http://yearoflivingdisney.wordpress.com/2014/03/03/disney-ride-at-home/
Thank you, Ana, for these plans!
Started this project out of boredom. I had some time and some extra wood laying around. Some was from pallets I took apart, some from a salvage house, and some from an old barn. I built the table in a few hours and worked through any misshaped boards as best as possible. It was a relativley easy project and fun to see the legs turn out with each step. I plan to use cables and turnbuckles for the cross braces on the back and will update the pic when I do. I just need to find a home for it now.
I built the shoe cabinet but added card catalog handles. Also used deck railing toppers for the feet
We made the captain’s bed for our two grandchildren, and they love it. We have made several things from Ana’s plans. They are so easy to follow! Thanks so much!
Dena
We recently created a Dr. Seuss themed reading nook on our upper level. We have one large book shelf near it, but have also wanted a way to display children's books. These ledge shelves make the books easy to access while also creating a beautiful piece artwork at the top of our stairs. Now, instead of have a long blank wall in the hallway between doors on the little landing we have a beautiful library. I have loved how they have turned out and wanted to share with others!
Wed, 03/05/2014 - 20:18
My children love these bookshelves and reach for the books easier and more often. Come see some of the other things we've made at http://myhomedonemyway.blogspot.com/
My husband and I built a house doing all the work that we could. When we started the project, I told the men in my life they were going to build the kitchen cabinets. They were pretty adamant they weren't. I started visiting with experienced cabinet makers. One kept repeating, "It's just a box. It's not that hard to build a box." With that encouragement, I found Ana's website and set about learning woodworking. First I built a step stool for my grandson, next I built some shelves for the shop, then I built this vanity. After I finally got it finished, I called an experienced woodworker to build my kitchen cabinets. Ha! I will say though, when the appraiser came out, he commented on what a nice vanity it was! Thank you, Ana, for opening up a new world to me!!
I converted the plans to king size and used oak for the headboard and the platform edge on the bed. The oak added to the cost as it is almost 10x the cost as construction lumber.
I made the headboard frame with pocket holes and attached it to the plywood with screws from behind. I also used pocket screws to assemble the bed frame.
Chairs for grandkids. They picked it their colors.
My family was all coming over for Christmas and we were going to have about 30 people at my house. I only had my mudroom hooks but no other place to store people's keys, coats, etc. When I saw these plans they looked quick enough to build in one night (the night before the party lol). So I did! And man did it get use. I wish I would've taken a picture with all the coats and purses and keys on it.
Made the large porch swing and changed length to fit into porch space. Used rope to hang for more rustic look.
Note - next time will possibly used 2x6 for arm rest to allow for drink holder hole and possibly on framing instead of 2x4s. DIL and new grandson love it.
I did this project 99.97% alone (if you call "alone" with a 1-year old and 3-year old nearby). This was a challenging project that took longer than expected (one full week, working well into the night after the kids went to sleep). I used furring strips for the 1x3s and 1x4s. They cost about $2 less per board! Total cost of this project includes paint, screws, etc.
Tue, 05/29/2012 - 03:00
What a beautiful room. The bed looks just perfect in there. I love everything from the bed, to the bedding, to the wall color!
Mon, 10/22/2012 - 20:40
I have been looking for something similar to this but with a futon in the bottom. Anyone seen plans for such a critter?
Thu, 06/20/2019 - 11:46
AMAZING! I can't believe you tackled this with toddlers!
I enjoy making birdhouses and log cabin style is my favorite. I make the logs by setting my saw to rip 3/4 pine at 3/4 so I have 3/4 square strips. I then decide the size of my birdhouse and cut the logs accordingly. I also "wittle" on them a little to make it look more authentic. I simply then just stack, glue and nail one row at a time. You can use 1/4 poplar for the roof but I ripped pine at 1/16 and cut shakes with my utility knife and glue them on one at a time (there are 104 on this roof).
Came across your shiplap fireplace and tweaked it a little, not bad for a 64 year old female right? Didn't take a weekend though more like a month but worth it. Thanks for the inspiration.
Sat, 11/18/2023 - 12:53
Love the mods for the open display shelf! Thank you for sharing:)
We saw this cubby bench and thought it could work for us... but there's 5 of us.
So we redrew the plans to add two more cubbies.
I also like the idea of being able to hide everything, so we put doors on.
The issue I had was cutting 1x12 material with the chop saw. Cutting with the circular saw (even with a guide) can sometimes leave you with an "almost" square edge. Even with a 12" saw you can not make the cuts on a 1x12. You need a sliding saw for that.
One option is to cut the boards over sized by 1/4 in and then use the table saw to get a square edge with the miter gauge or rip fence.
I only worried about this due to putting doors on the cubbies. It's your using baskets you don't have to be so exact.
I had my seed starters sitting on a TV stand by my sunny window, which was as ugly as it gets (see before photo...). So, I built this little console for my gardening stuff to sit on while my seedlings are growing. It turned out being the perfect size for what I'm using it for. I only modified it slightly, by adding end pieces to the top (just subtracted 6'' from the length of the top pieces and measured the width of the top to decide the length of the end pieces. I also used pocket holes to attach my bottom shelf pieces and the top shelf pieces, instead of nails. I've never done a 2 tone piece (I love the look of stained wood) so I was nervous about painting over the wood...but I'm really really happy with how it turned out! It was easy to make, and mine was done in an afternoon. Thanks Ana!!
My kitchen drawer wasn't as deep as the one in the tutorial, so I had to use 1x2 hobby poplar instead of 1x3's. I can't wait to do more drawers! It's been more than 6 months, and the drawer is still neat and organized.
Comments
spiceylg
Sat, 10/20/2012 - 10:25
Top
Beautiful build. Is that the 36" round project panel? I don't the 32" size she refers to in any store.