Adirondack Chair
Made an adirondack chair from ana's plan. I am from the UK, but i still made it the plan as much as I could without resorting to mm's
I followed a killer bee plan for a rustic cooler that I found on your site. tweaked it a little and I'm still adding to the décor on the outside
We made these beds for the kids as their Christmas present. They’re full size and we plan to add shelves later. We had to cut them 12 inches because the kids were hitting their heads on the ceiling. I added white Christmas lights under them. I LOVE how they turned out!
When we became accidental chicken owners, we had to build a coop fast. I found the plans for Ana’s replica of the Williams Sonoma chicken coop and got to work. They were very easy to follow and easy to modify to fit our own needs and aesthetic. We decided to enlarge the coop and remove the planter in the original plans to accommodate more chickens while keeping the original footprint. Instead of plywood, we used cedar reclaimed from an old fence we had recently replaced. We also enlarged the rear door to make clean-out as easy as possible. I cut pieces of polycarbonate to fit inside the door and windows to winterize the coop when temps drop below freezing. The run is designed to follow the shape of the coop and is large enough to give our 5 chickens plenty of space to roam when they aren’t free ranging in the yard. The planter box runs the length of the chicken run, providing plants to munch on inside and shady vines that will eventually cover the outside.
Sat, 01/01/2022 - 12:14
This is so awesome, I love the raised beds and chicken run too!
Saw this bar in the PB catalog and loved it! SO excited when I found it on Ana's site... This project was a little more time-consuming than the others I've done. A ton of 2x4's are used, and we bought stud grade 2x4's...definitely got our money's worth out of our palm sander. The table top gets pretty heavy so I couldn't have done it without a hand from the hubbs. We built four separate pieces - the table top, the lower shelf/box, and the legs. We stained everything, then assembled the pieces. Finished assembling this the morning of my work Christmas party, which we were hosting. The perfect drink station!
I started on the Farmhouse bed and as I got further into it I decided it needed a bit of 'extra' attention, hence the dentil moulding across the top and the panels to cover the 1x6's used for the headboard and the foot board, they are finished off with some cove moulding.
I used Spax bolts on the side supports and used a Forstner bit to drill down far enough to hide the bolts and made some wooden plugs to cover the holes. Minwax Special Walnut in the finish.
Hope you like it
Inspired by the Vintage Bench plan we created this Little Bench for our Daughters Shoes and other stuff! Added Trim work and layered Paint to create a Vintage look.
while this is a great design I only needed the extra storage and work space so I just made one of the storage roll away from this plan. I had to alter slightly making them a bit smaller as the space I was making this to occupy had a width of 44 inches but it is an amazing amount of space provided. I will put a clear coat on but sanded, edged and its wokring great. the clearance all around is about .5 inch t fits in beautifully and decluttered my overly cluttered workspace. thanks so much for your Ideas Ana, they are always amazing.
I had been wanting a trestle table for months but couldn't swallow the outrageous pricetags that came along with the tables. I was also dealing with a small space, so the table had to be just the right size.
Thu, 09/29/2022 - 13:55
Love the two tone finish and it looks perfect in your space! Thanks for sharing.
This planter was easy to make. The only thing I would have done differently is to have stained and applied the weather coating before I assembled it so that the weather coating got into the cracks better. But overall, I love how it turned out! I think it would've taken only an afternoon to do if it hadn't been so hot outside which slowed me down.
One of my first pieces of furniture I built.
After nearly two years of working from home I started searching for an actual desk and did not really find what I was looking for. Then I found the Farmhouse X Plans and knew that's what I wanted to do.
I found a birch butcher block top, 27" x 60" on sale for less than the cost of building my own top. I had to carefully adjust the measurements of the plans and also doublechecked before every cut. Measure twice cut once was definitely a good idea for me this time.
I used Z Clips to hold the top to the 2x4 frame and used my biscuit jointer to cut the groove. Took several test cuts to get the right height. I finished the top with Helmsman Spar urethane and five coats of poly. The frame used a primer and some Behr paint (I decided the color "Coffee Bean" was perfect for my long days at the office).
I plan on making slideout drawers soon, with bottom mounted drawer slides. Some baskets would work too.
So far I'm quite happy with how it all came out.
Sun, 01/16/2022 - 15:40
That is a gorgeous desk, thank you for sharing, wonderful build!
Fri, 01/28/2022 - 08:45
Thank you! Haven't decided whether to build drawers or not, it's definitely sturdy and heavy!
I built this for my sister for her 30th Birthday. She loved it!! It took me 4 days to make this. I took my time and put 3 coats of paint on it before assembling it. I am very pleased with the outcome...Thanks Ana for the plans!! :-)
I did this table in 8 hours and I am ready to do some other projects. The final goal is to do the all house.
Needed a table under the TV, and this was perfect. I had to adjust the dimensions to decrease the length 6 inches to make it fit. Used the black tea, vinegar and steel wool combo for stain. Turned out great!
Built this for my two boys, ages 3 and 1.5. They are in heaven! I found the plans extremely helpful and allowed for simple modifications along the way (ie 7’ ceilings).
cube bookshelves modified to have one open shelf and 3 cube slots
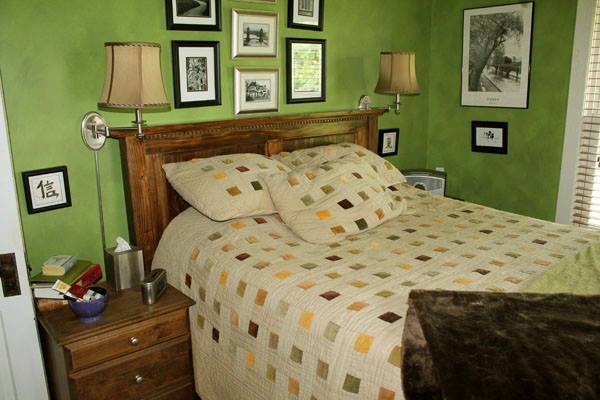
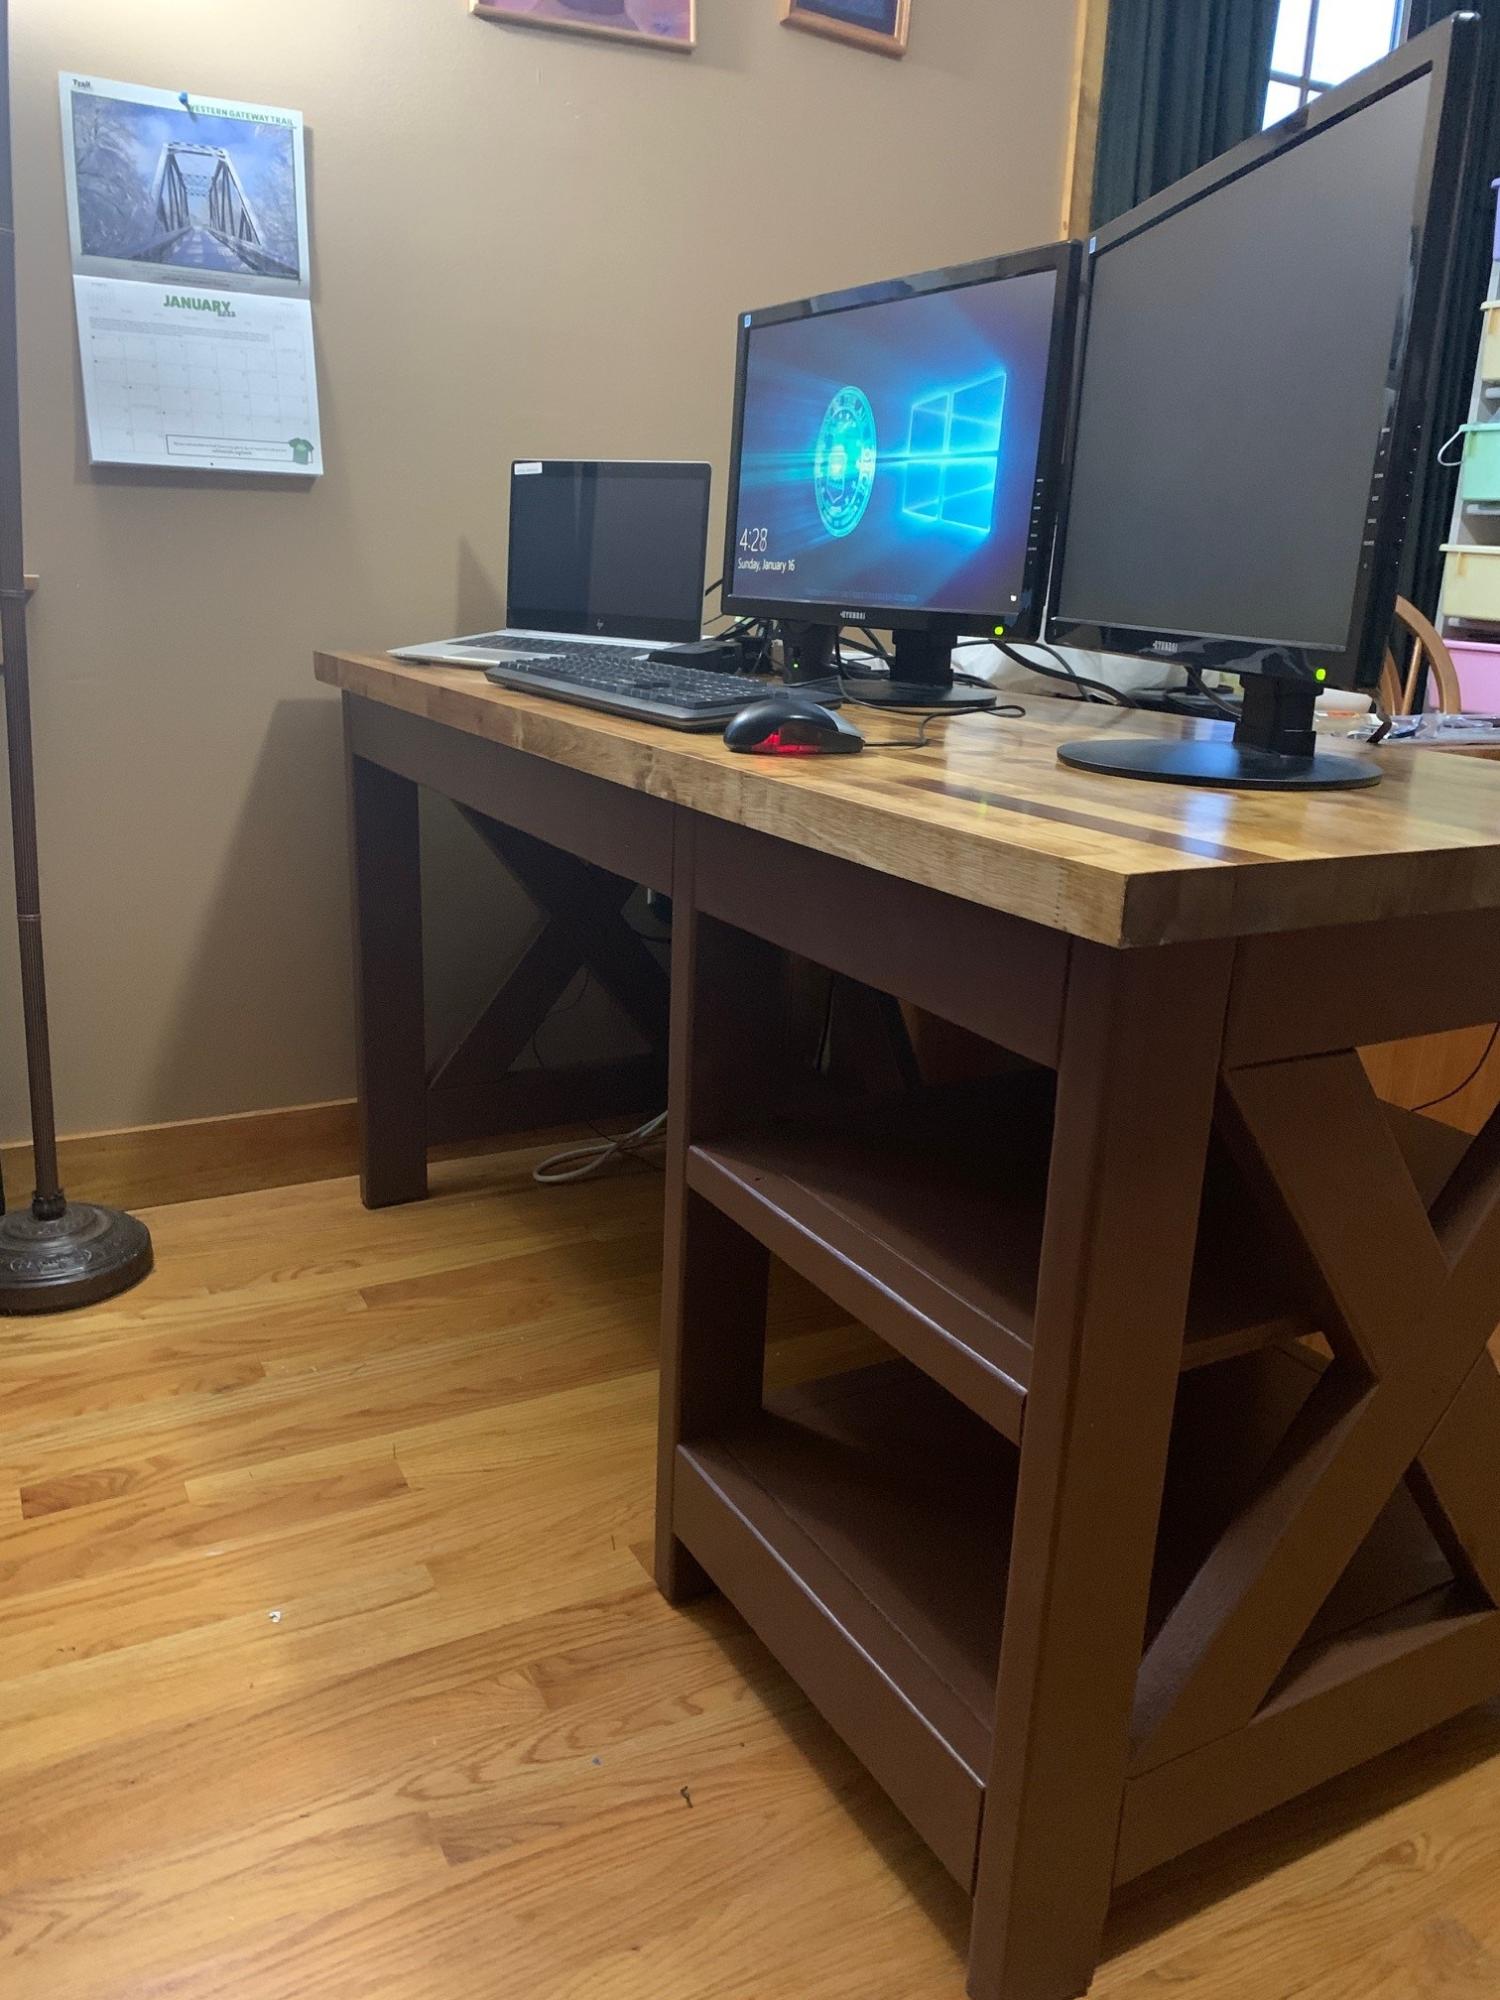
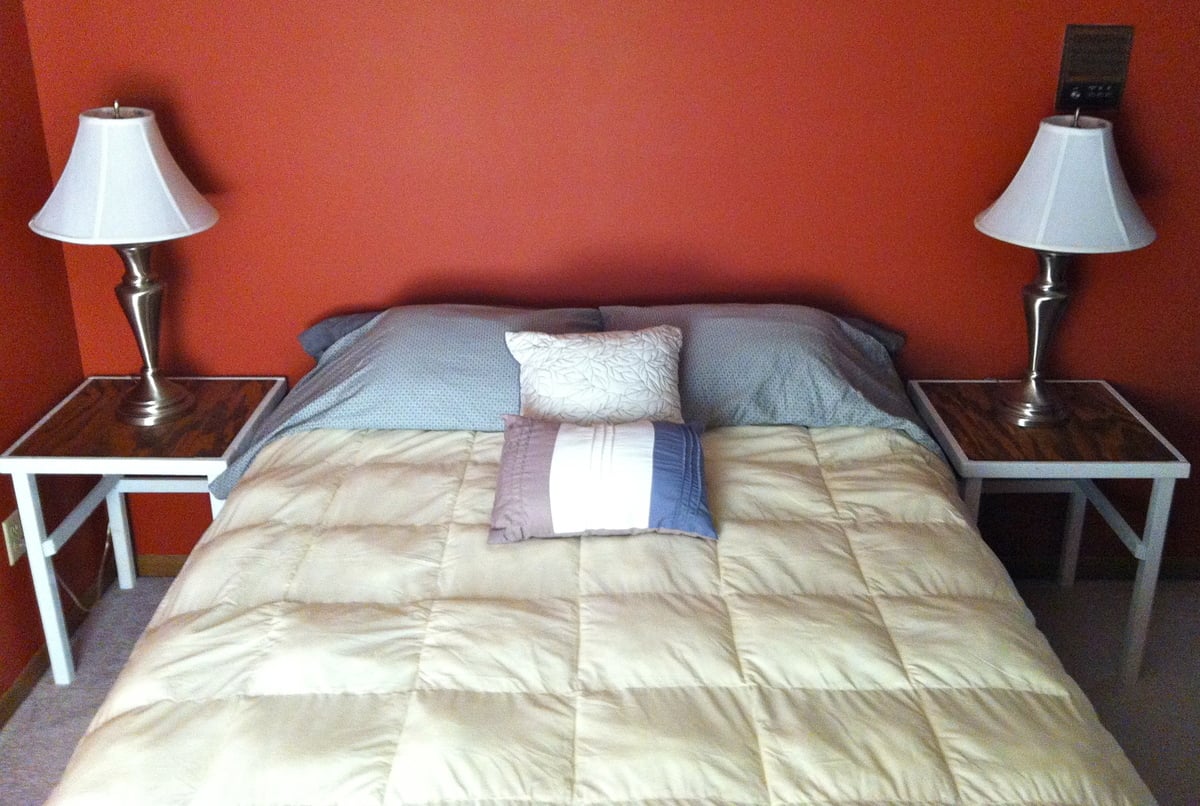
Our guest bedroom has been utterly neglected and stark. When I found a pair of lamps at Goodwill recently, I knew it was time to make bedside tables.
These were created on the fly, without even a sketch or a trip to the lumber yard, though I had to select a plan title for this post.
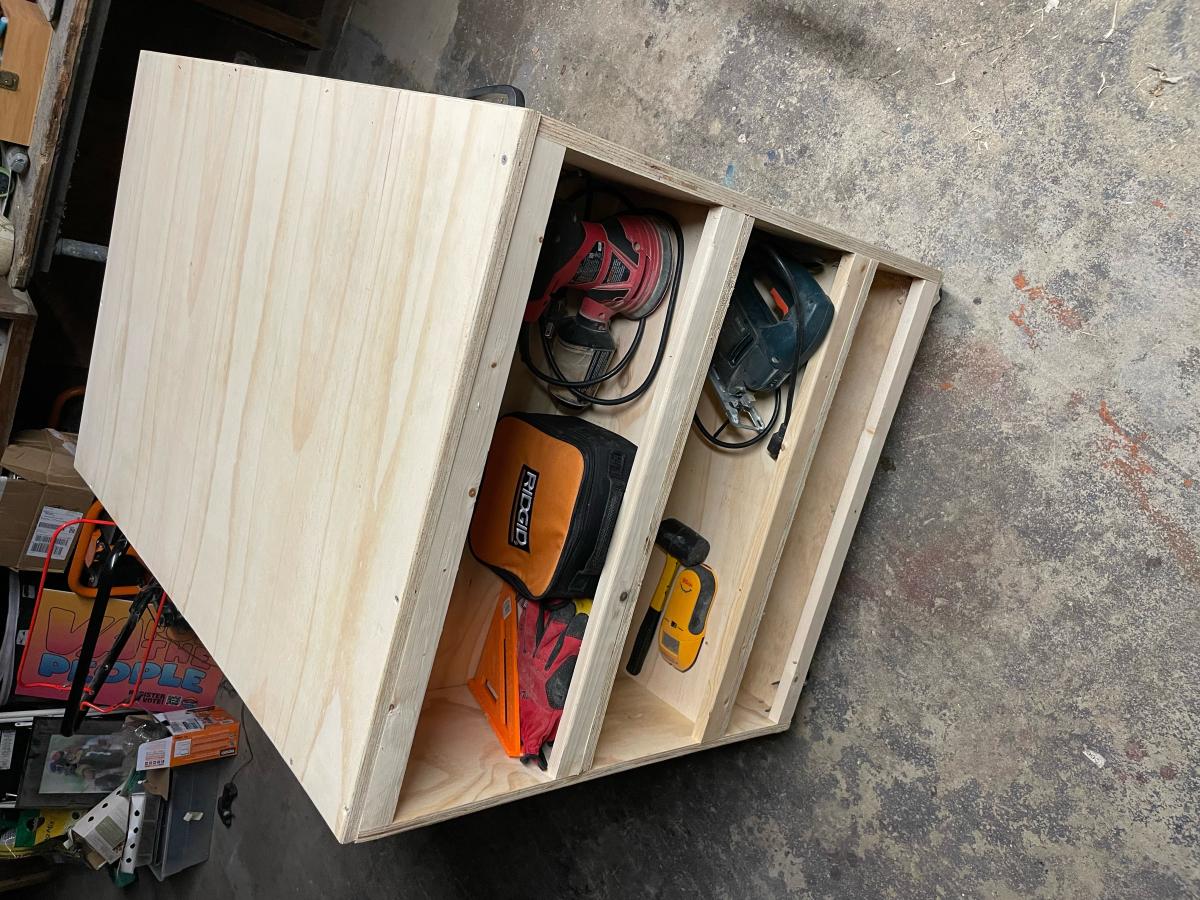
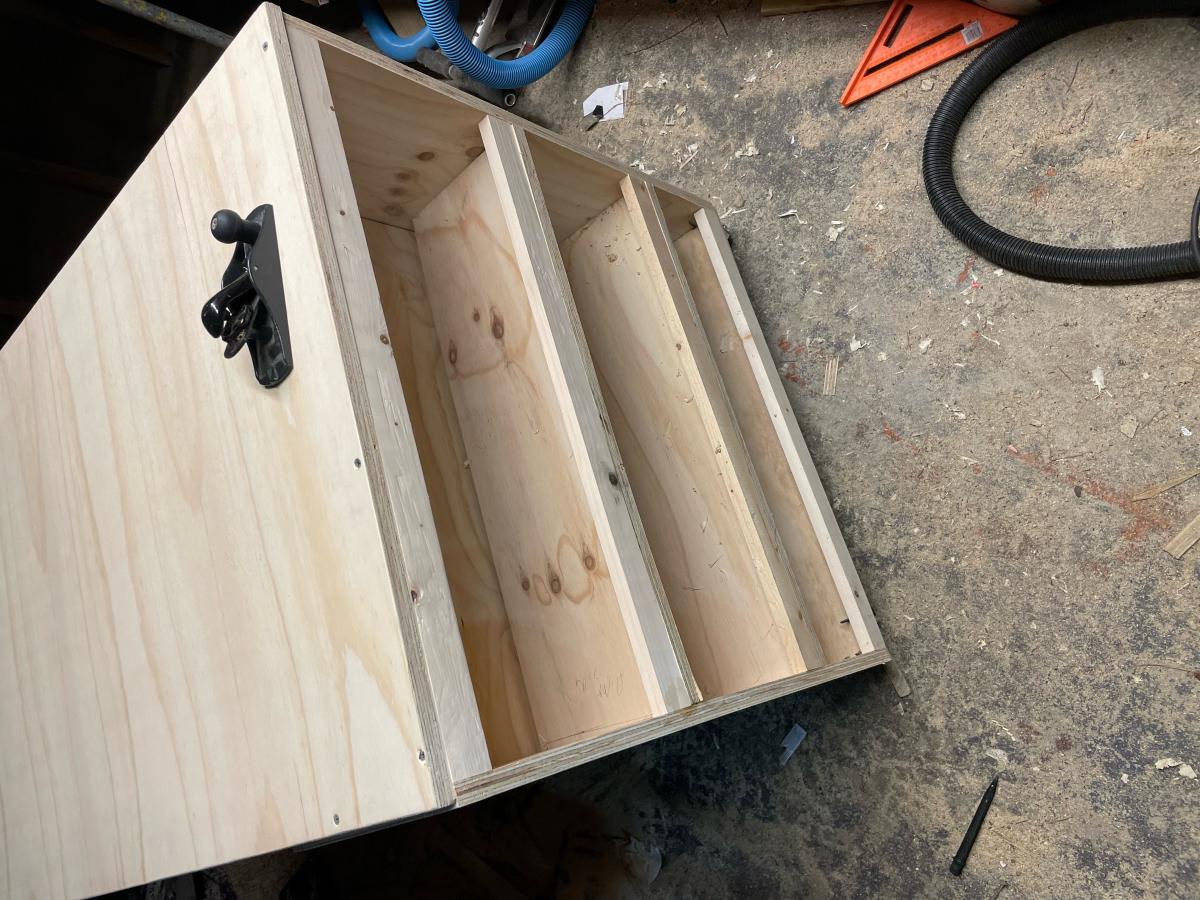
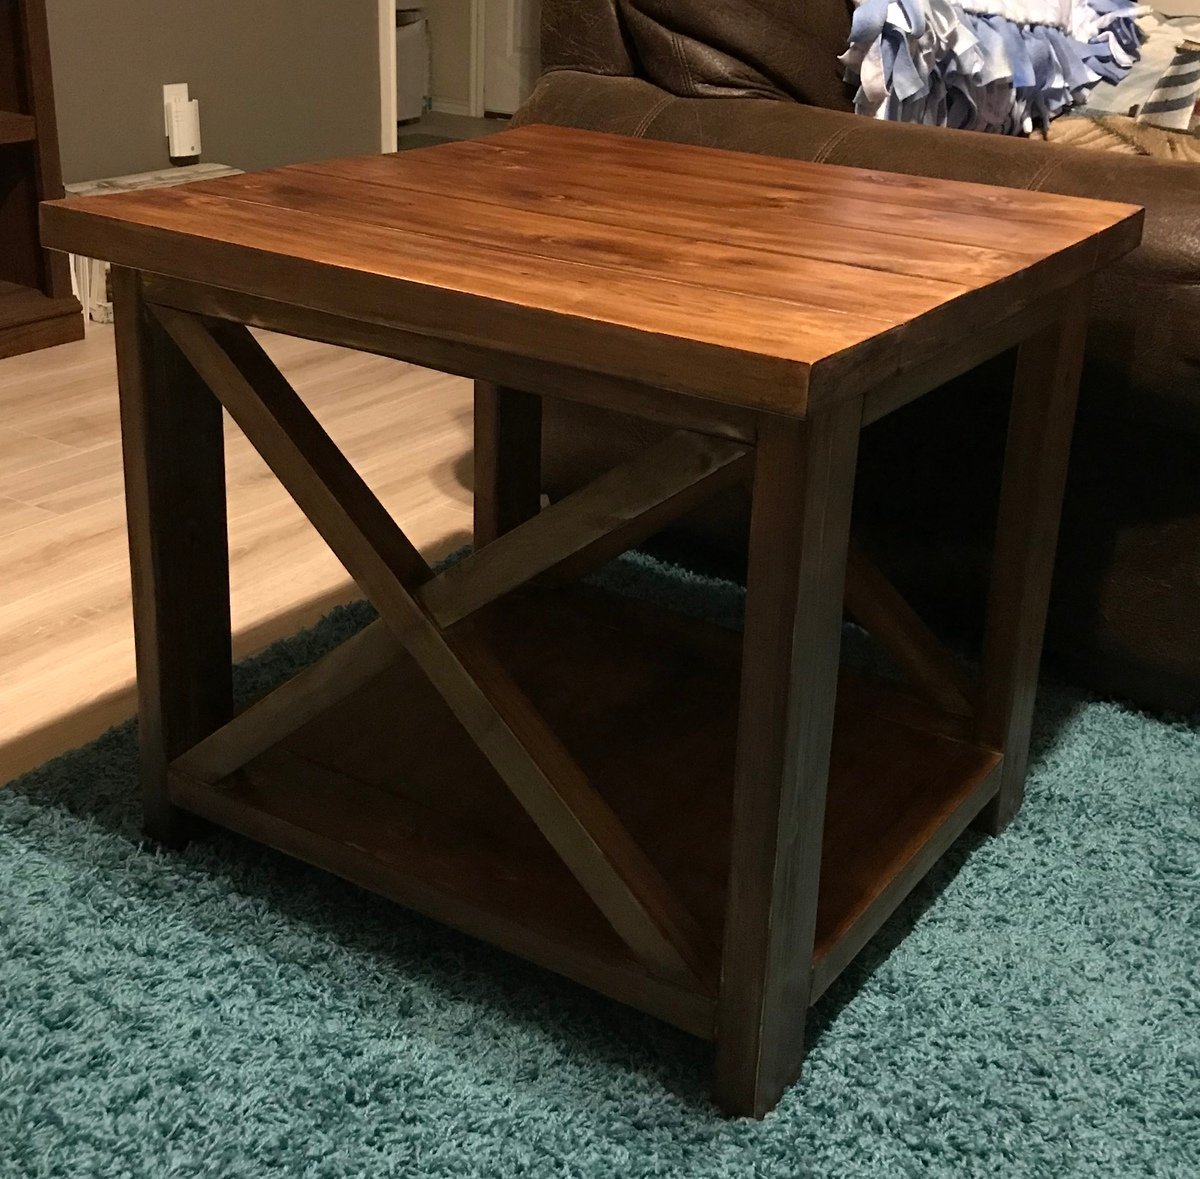
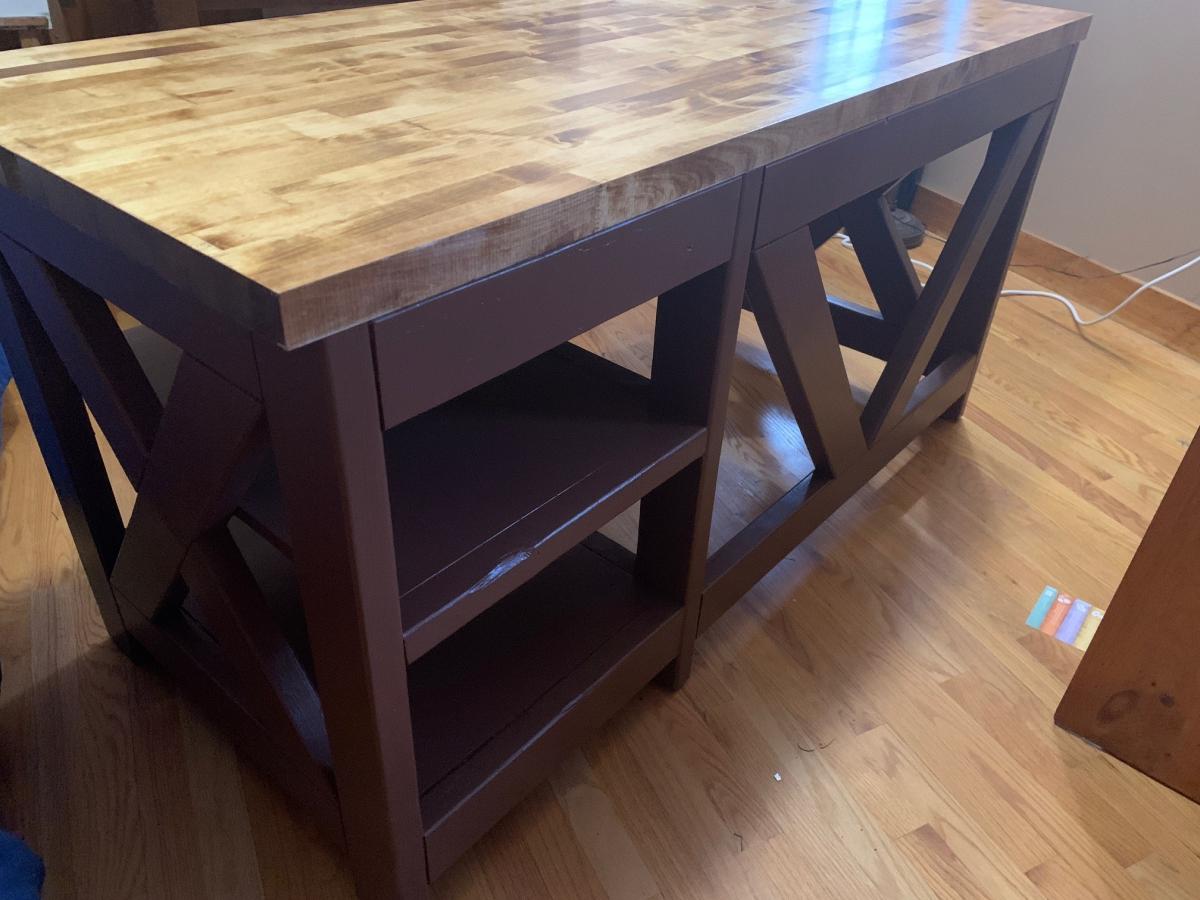
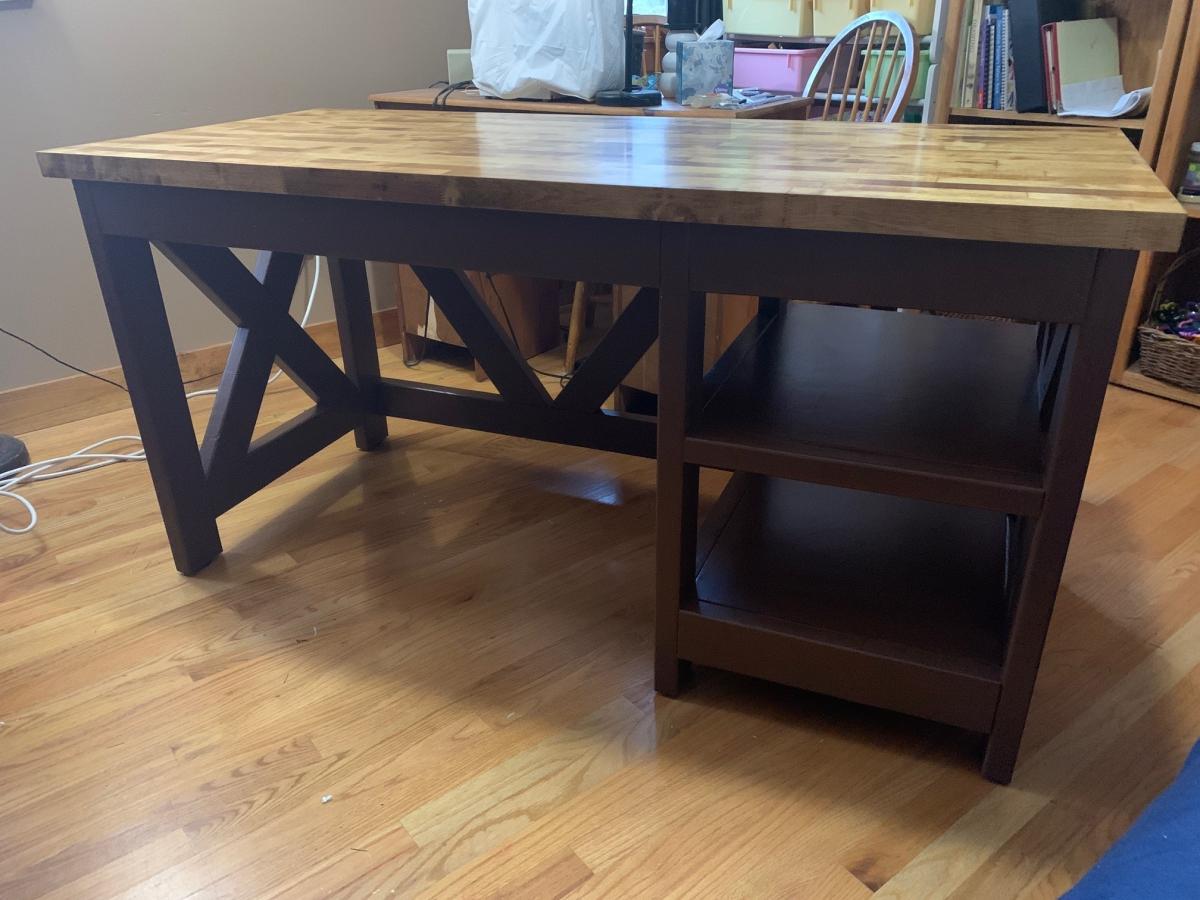
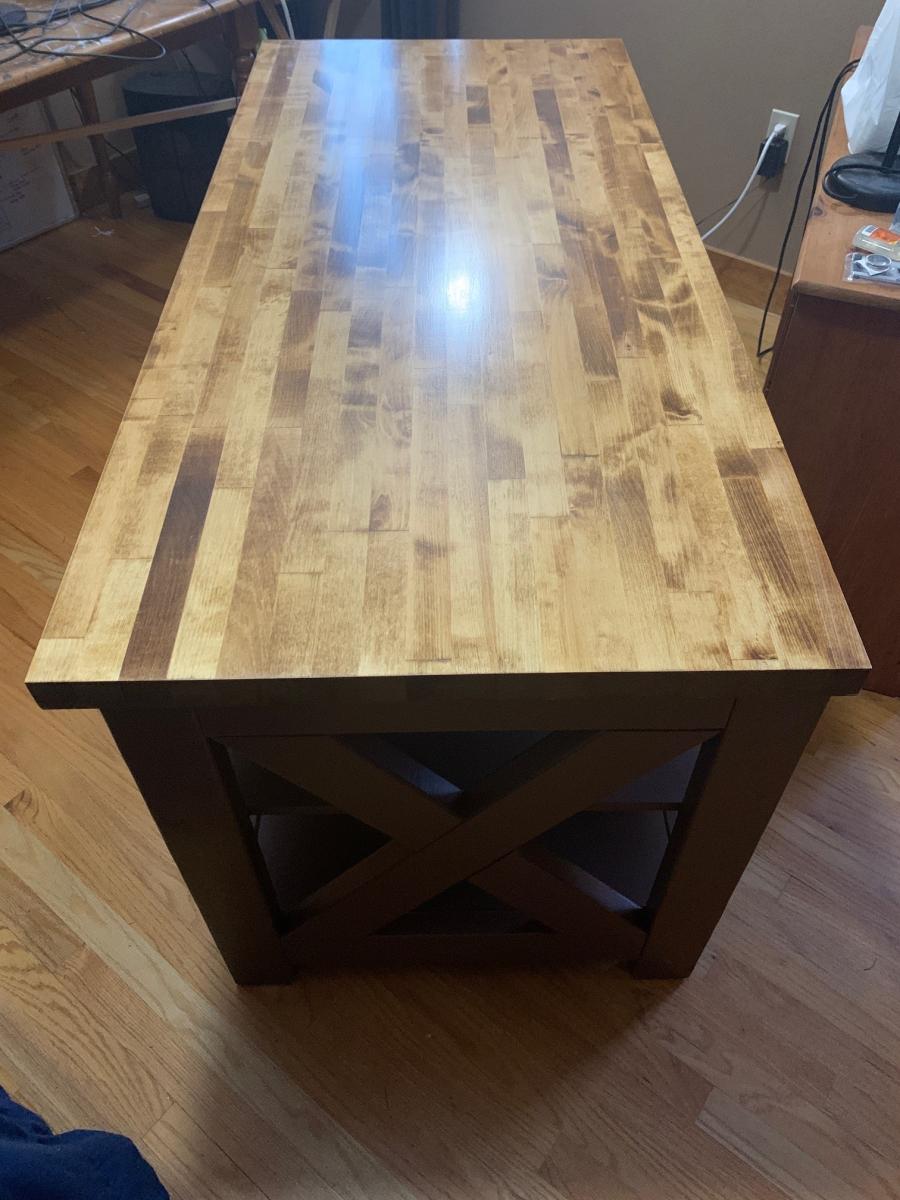
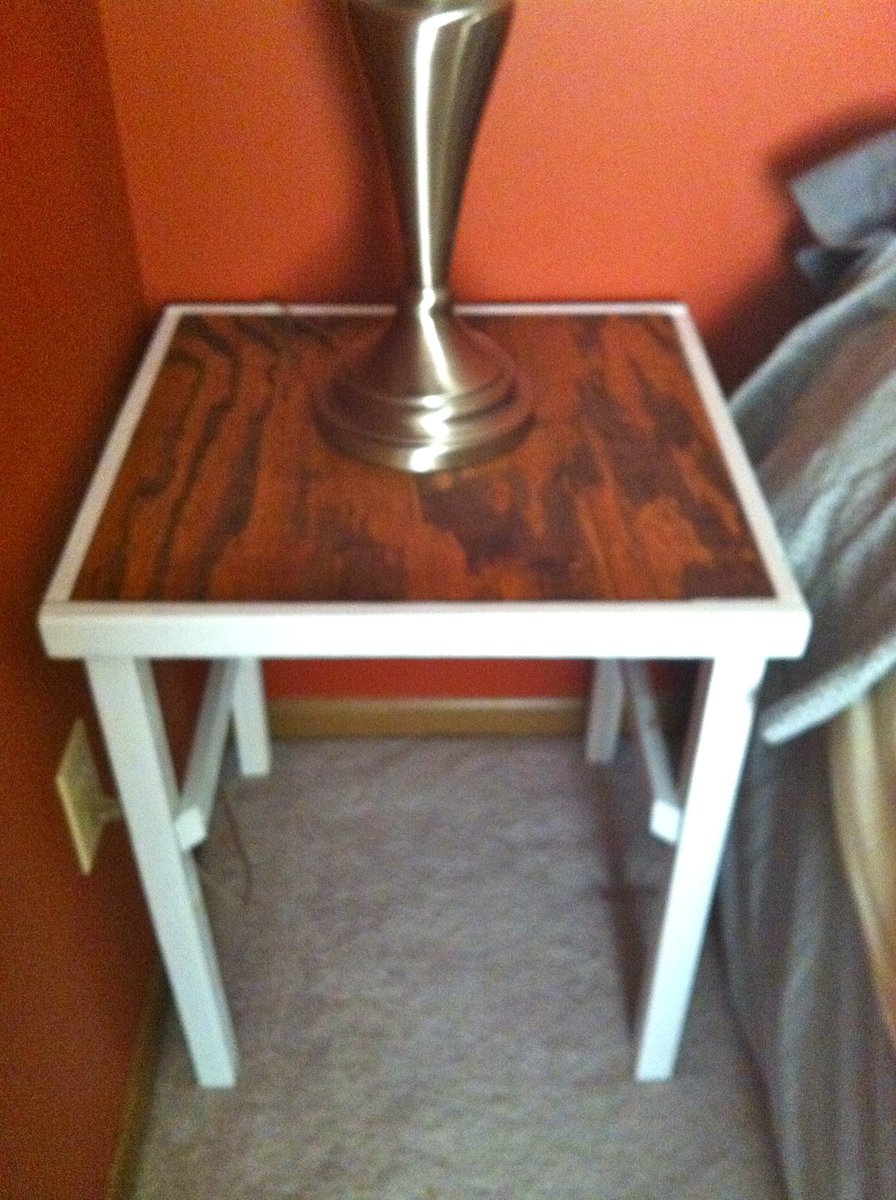
I took a plywood scrap, cut it in half, framed it with 1x2 furring strips, added 2x2 legs, and then used more furring strips to stabilize the legs.
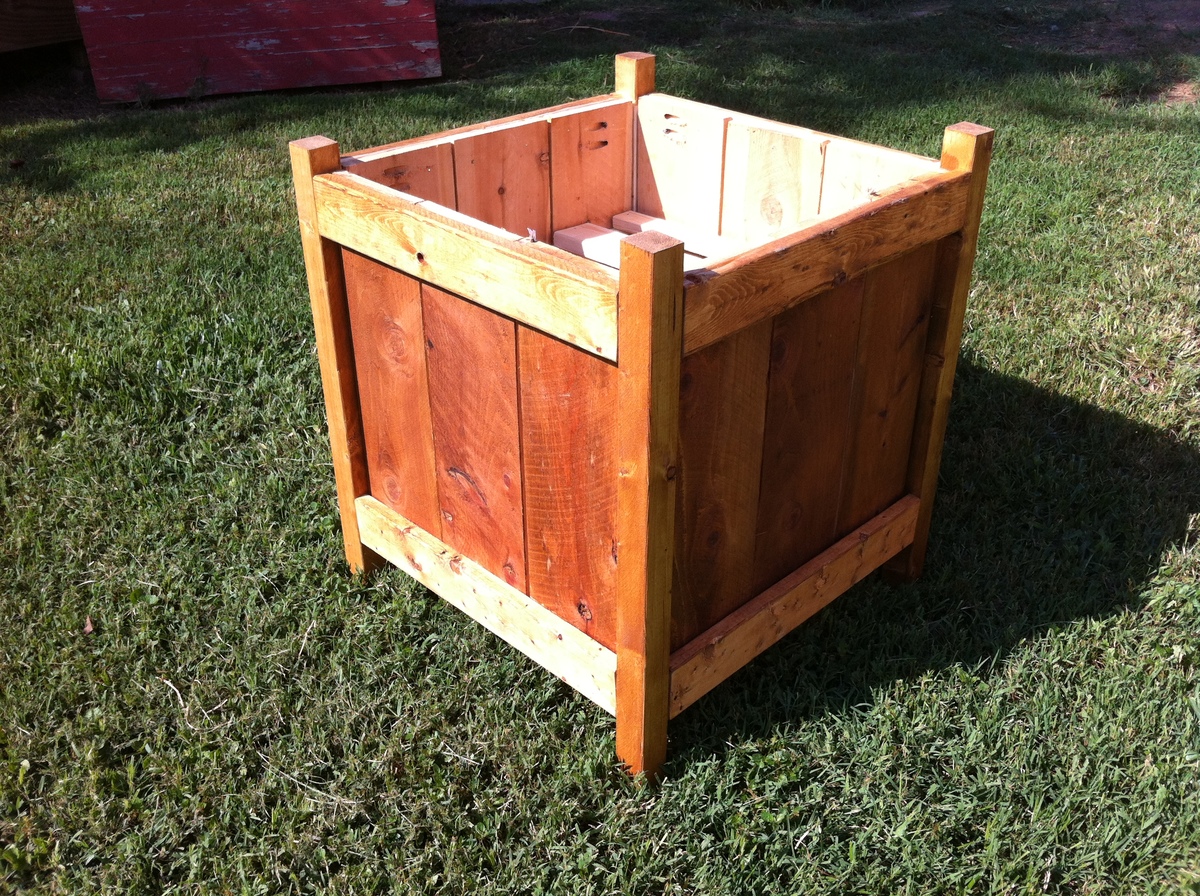
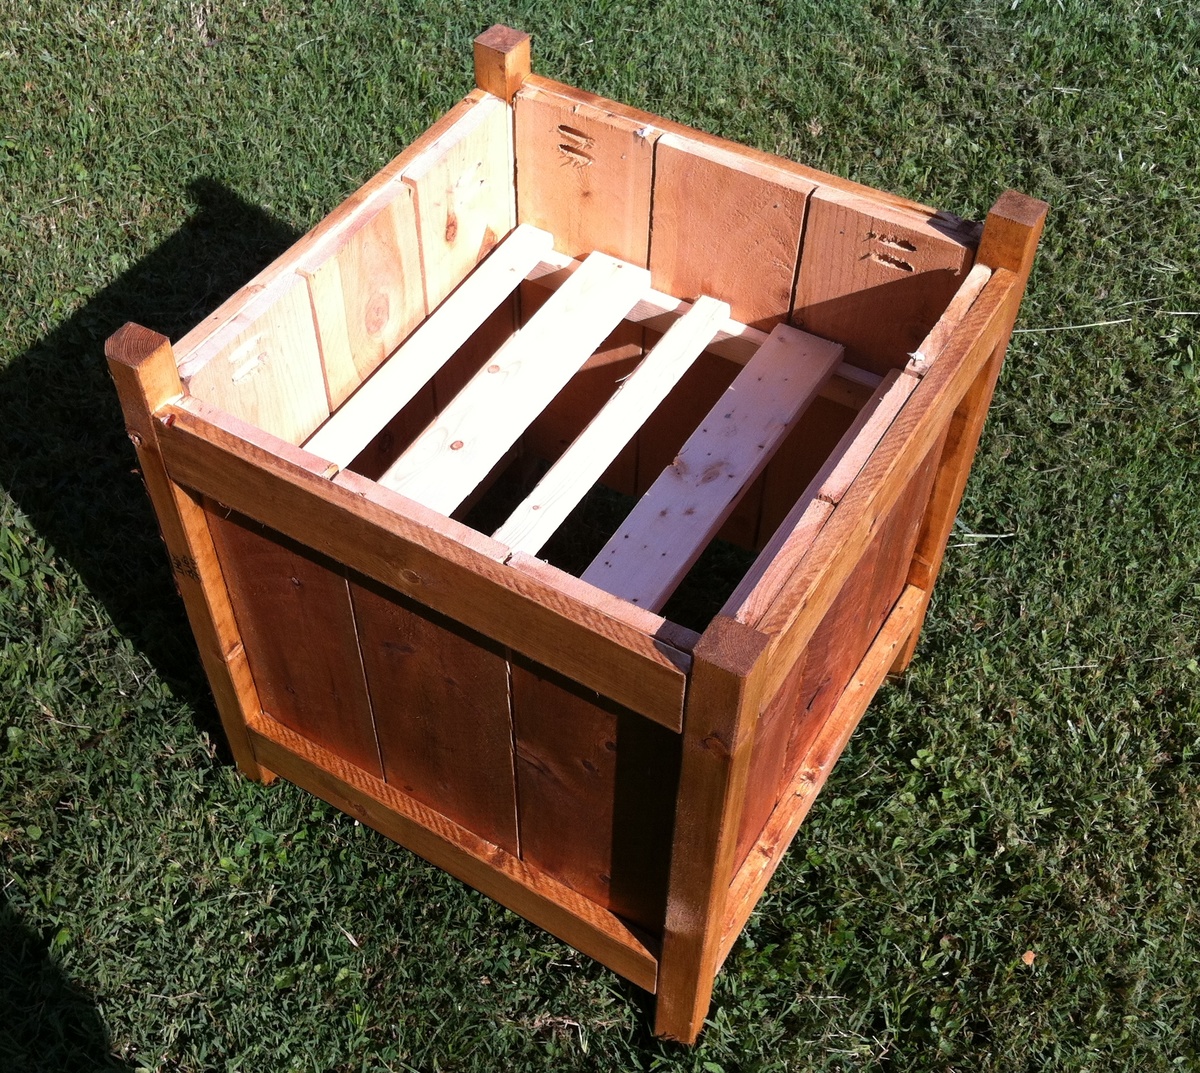
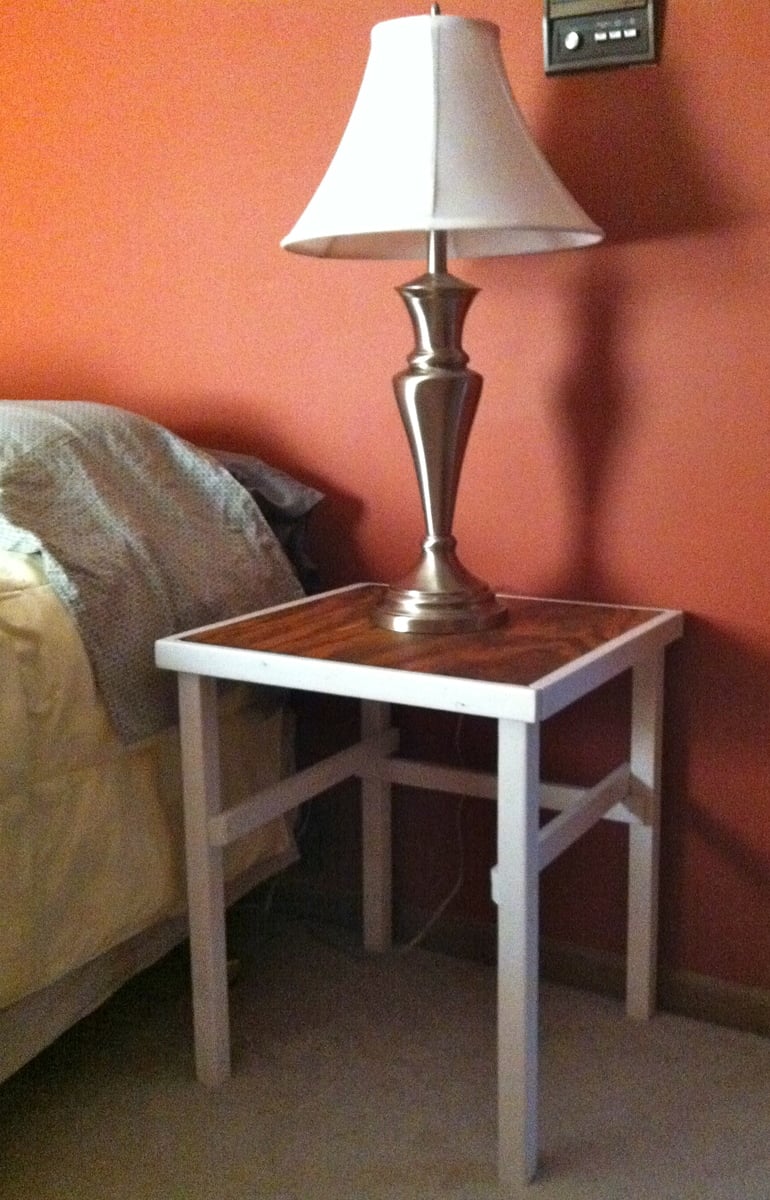
They were assembled quickly, and then I faced choices about how to finish them. I ended up using Minwax Provincial for the tops, then taping them off with trash bags and spray painting the rest.
They're plain, but versatile enough for whatever I end up doing to decorate the guest room in the future. I plan to stick baskets underneath them, when I find a good deal.
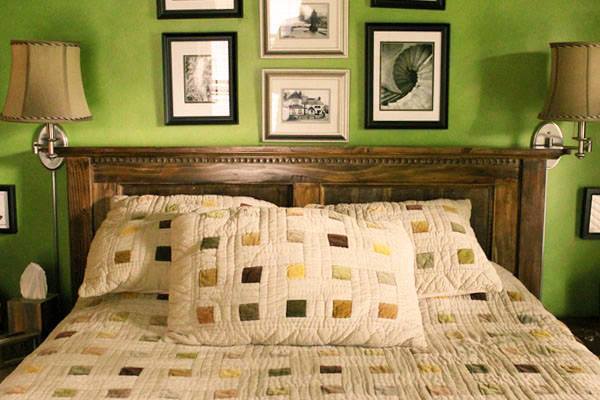
Next up will be a headboard for the bed.
My dad and I built this toybox for my son on a weekend afternoon. We were able to use some tongue and groove boards that my dad had pulled off a job site. We glued them together to get the width we needed then cut them to size according to the directions. Its not perfect, and I think I might paint it this spring, but my dad and I made it for my son and I think that is pretty awesome!
Using a couple of the Ana White Plans and YouTube videos, converted a run-down, Carpenter Bee infested chicken coop into a functional greenhouse with running water and electricity.