Community Brag Posts
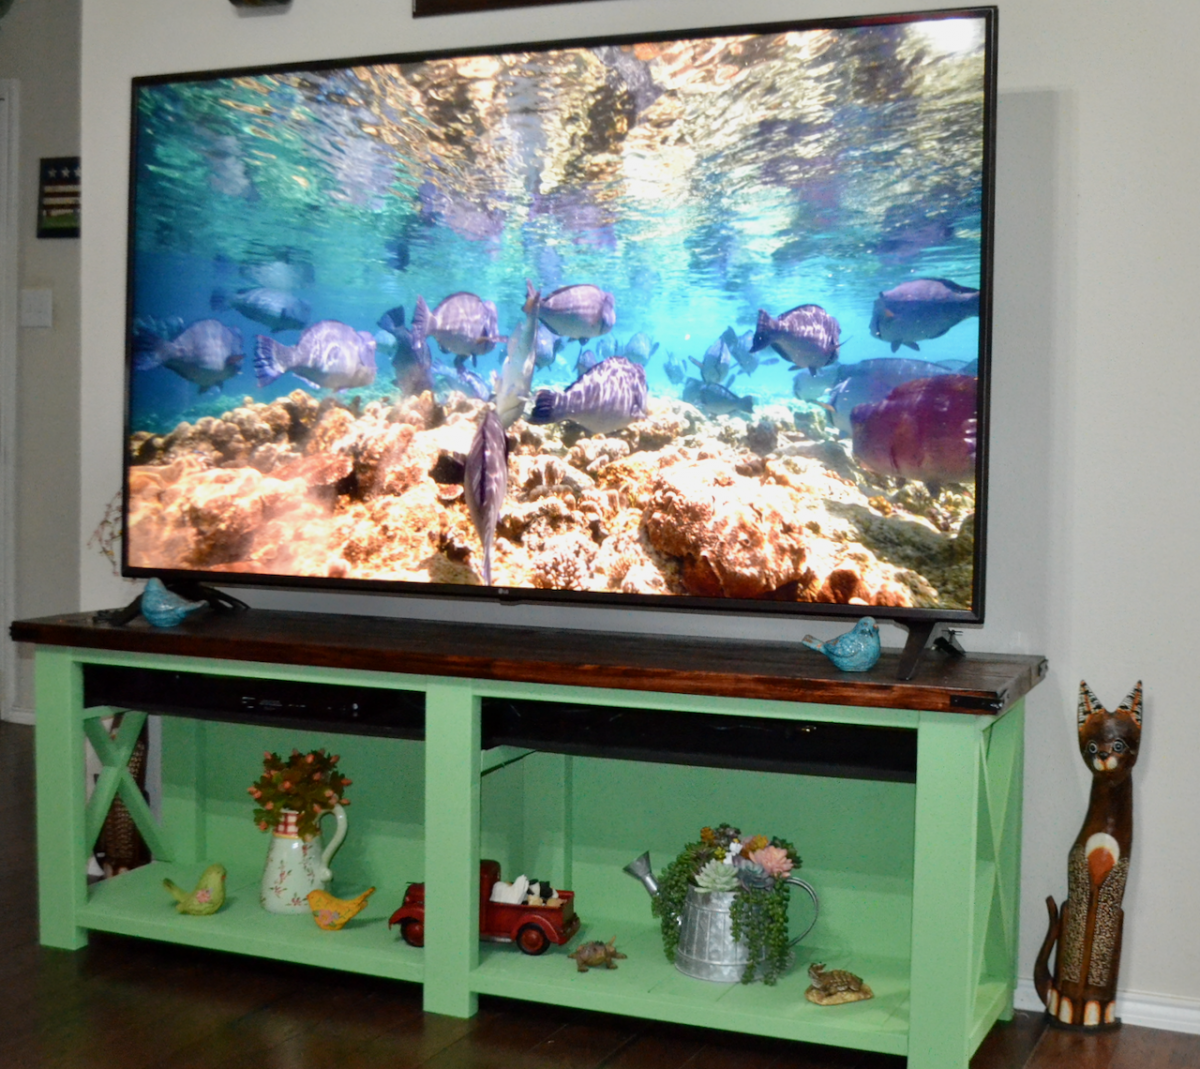
Modified Farmhouse table

I modified the Farmhouse Console Table to serve as a entertainment center for our new 75" television. I removed the center shelf so that we could place our taller knick knacks there. I also put a 'hidden' shelf at the top and painted it flat black to hide the cable box, power strip etc. I also added a back to hide the wires. It turned out nice.
Built from Plan(s)
Estimated Cost
$150
Estimated Time Investment
Day Project (6-9 Hours)
Finish Used
Green = Beir Premium Plus paint - picked color chart and mixed.
Top is Varathane stain - I mixed part Espresso and Red Oak.
Top is Varathane stain - I mixed part Espresso and Red Oak.
Train Table
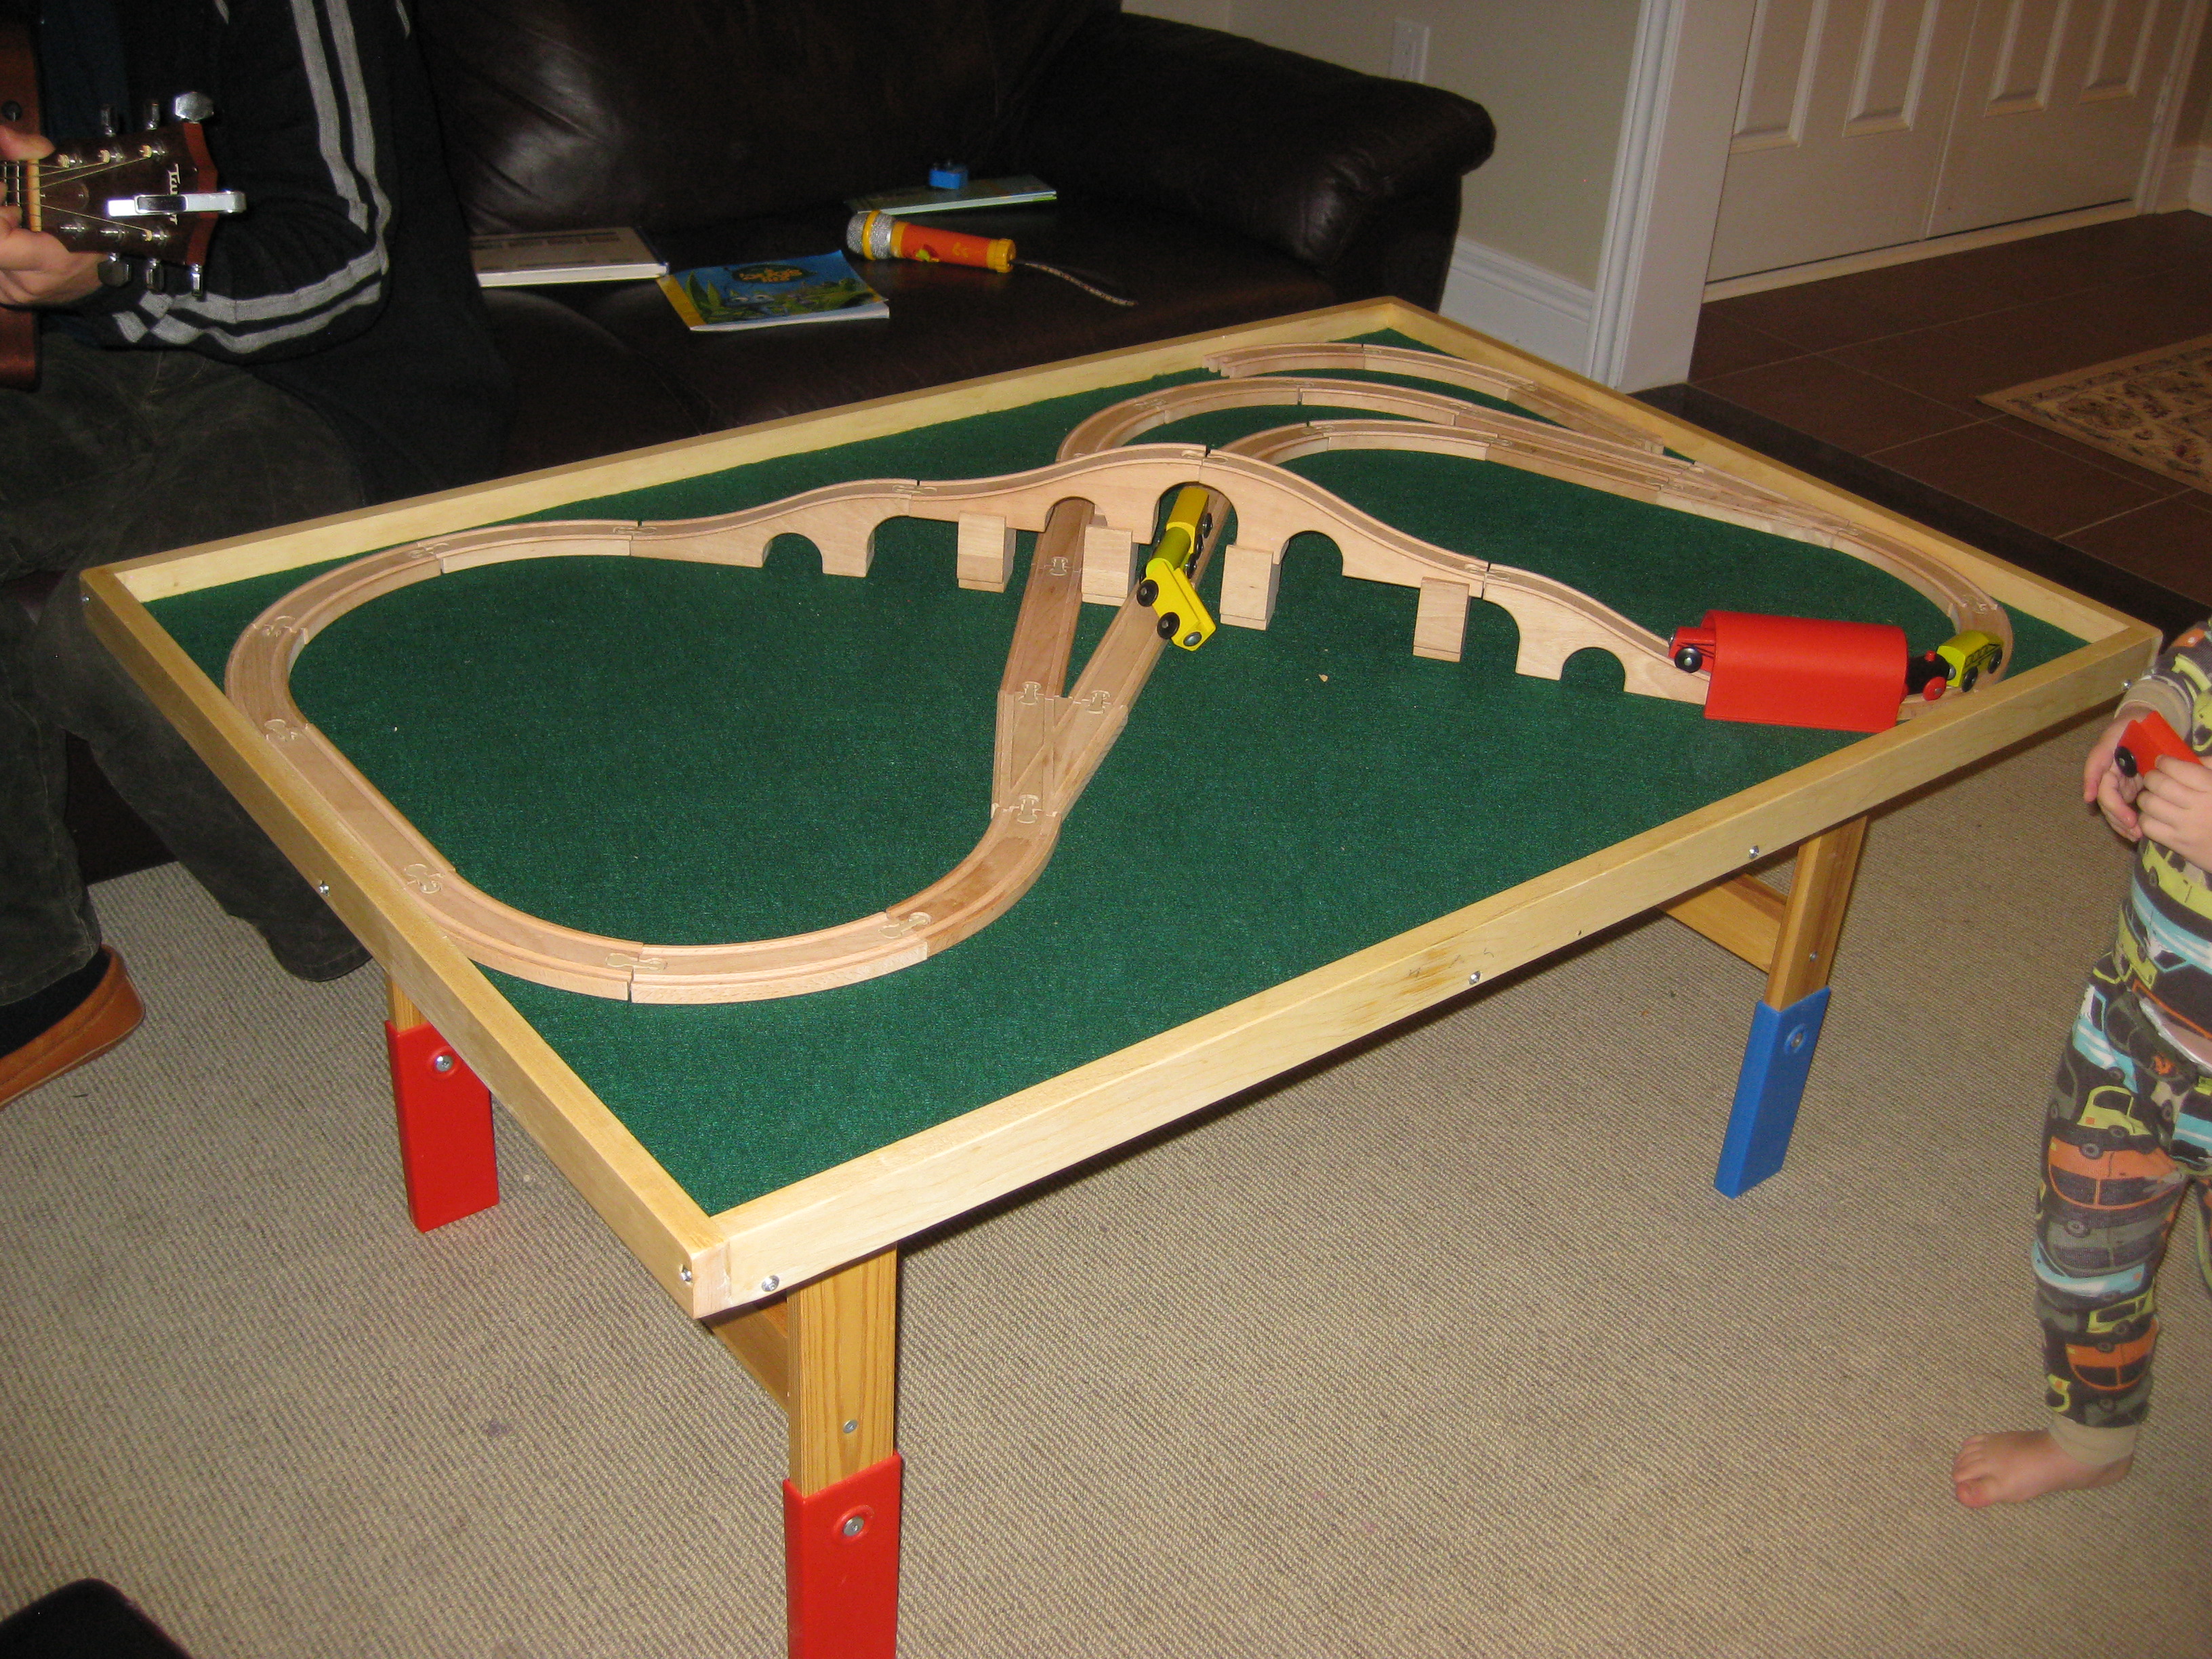
We started with a play table from Ikea, added a 1X3 lip around that and then built a train table top to the same dimensions as Thomas the Train tables, trimmed it with 1X2 and glue thin felt on the base. I built cleats uner the top to fit snuggley over the base table. The train top can be lifted off and the under table is perfect as a leggo table when my grandson is old enough for leggo.
Estimated Cost
$40
Estimated Time Investment
Afternoon Project (3-6 Hours)
Finish Used
clear polycoat
Recommended Skill Level
Starter Project
Dining Room Table - Dual Trestle and Extension Slides
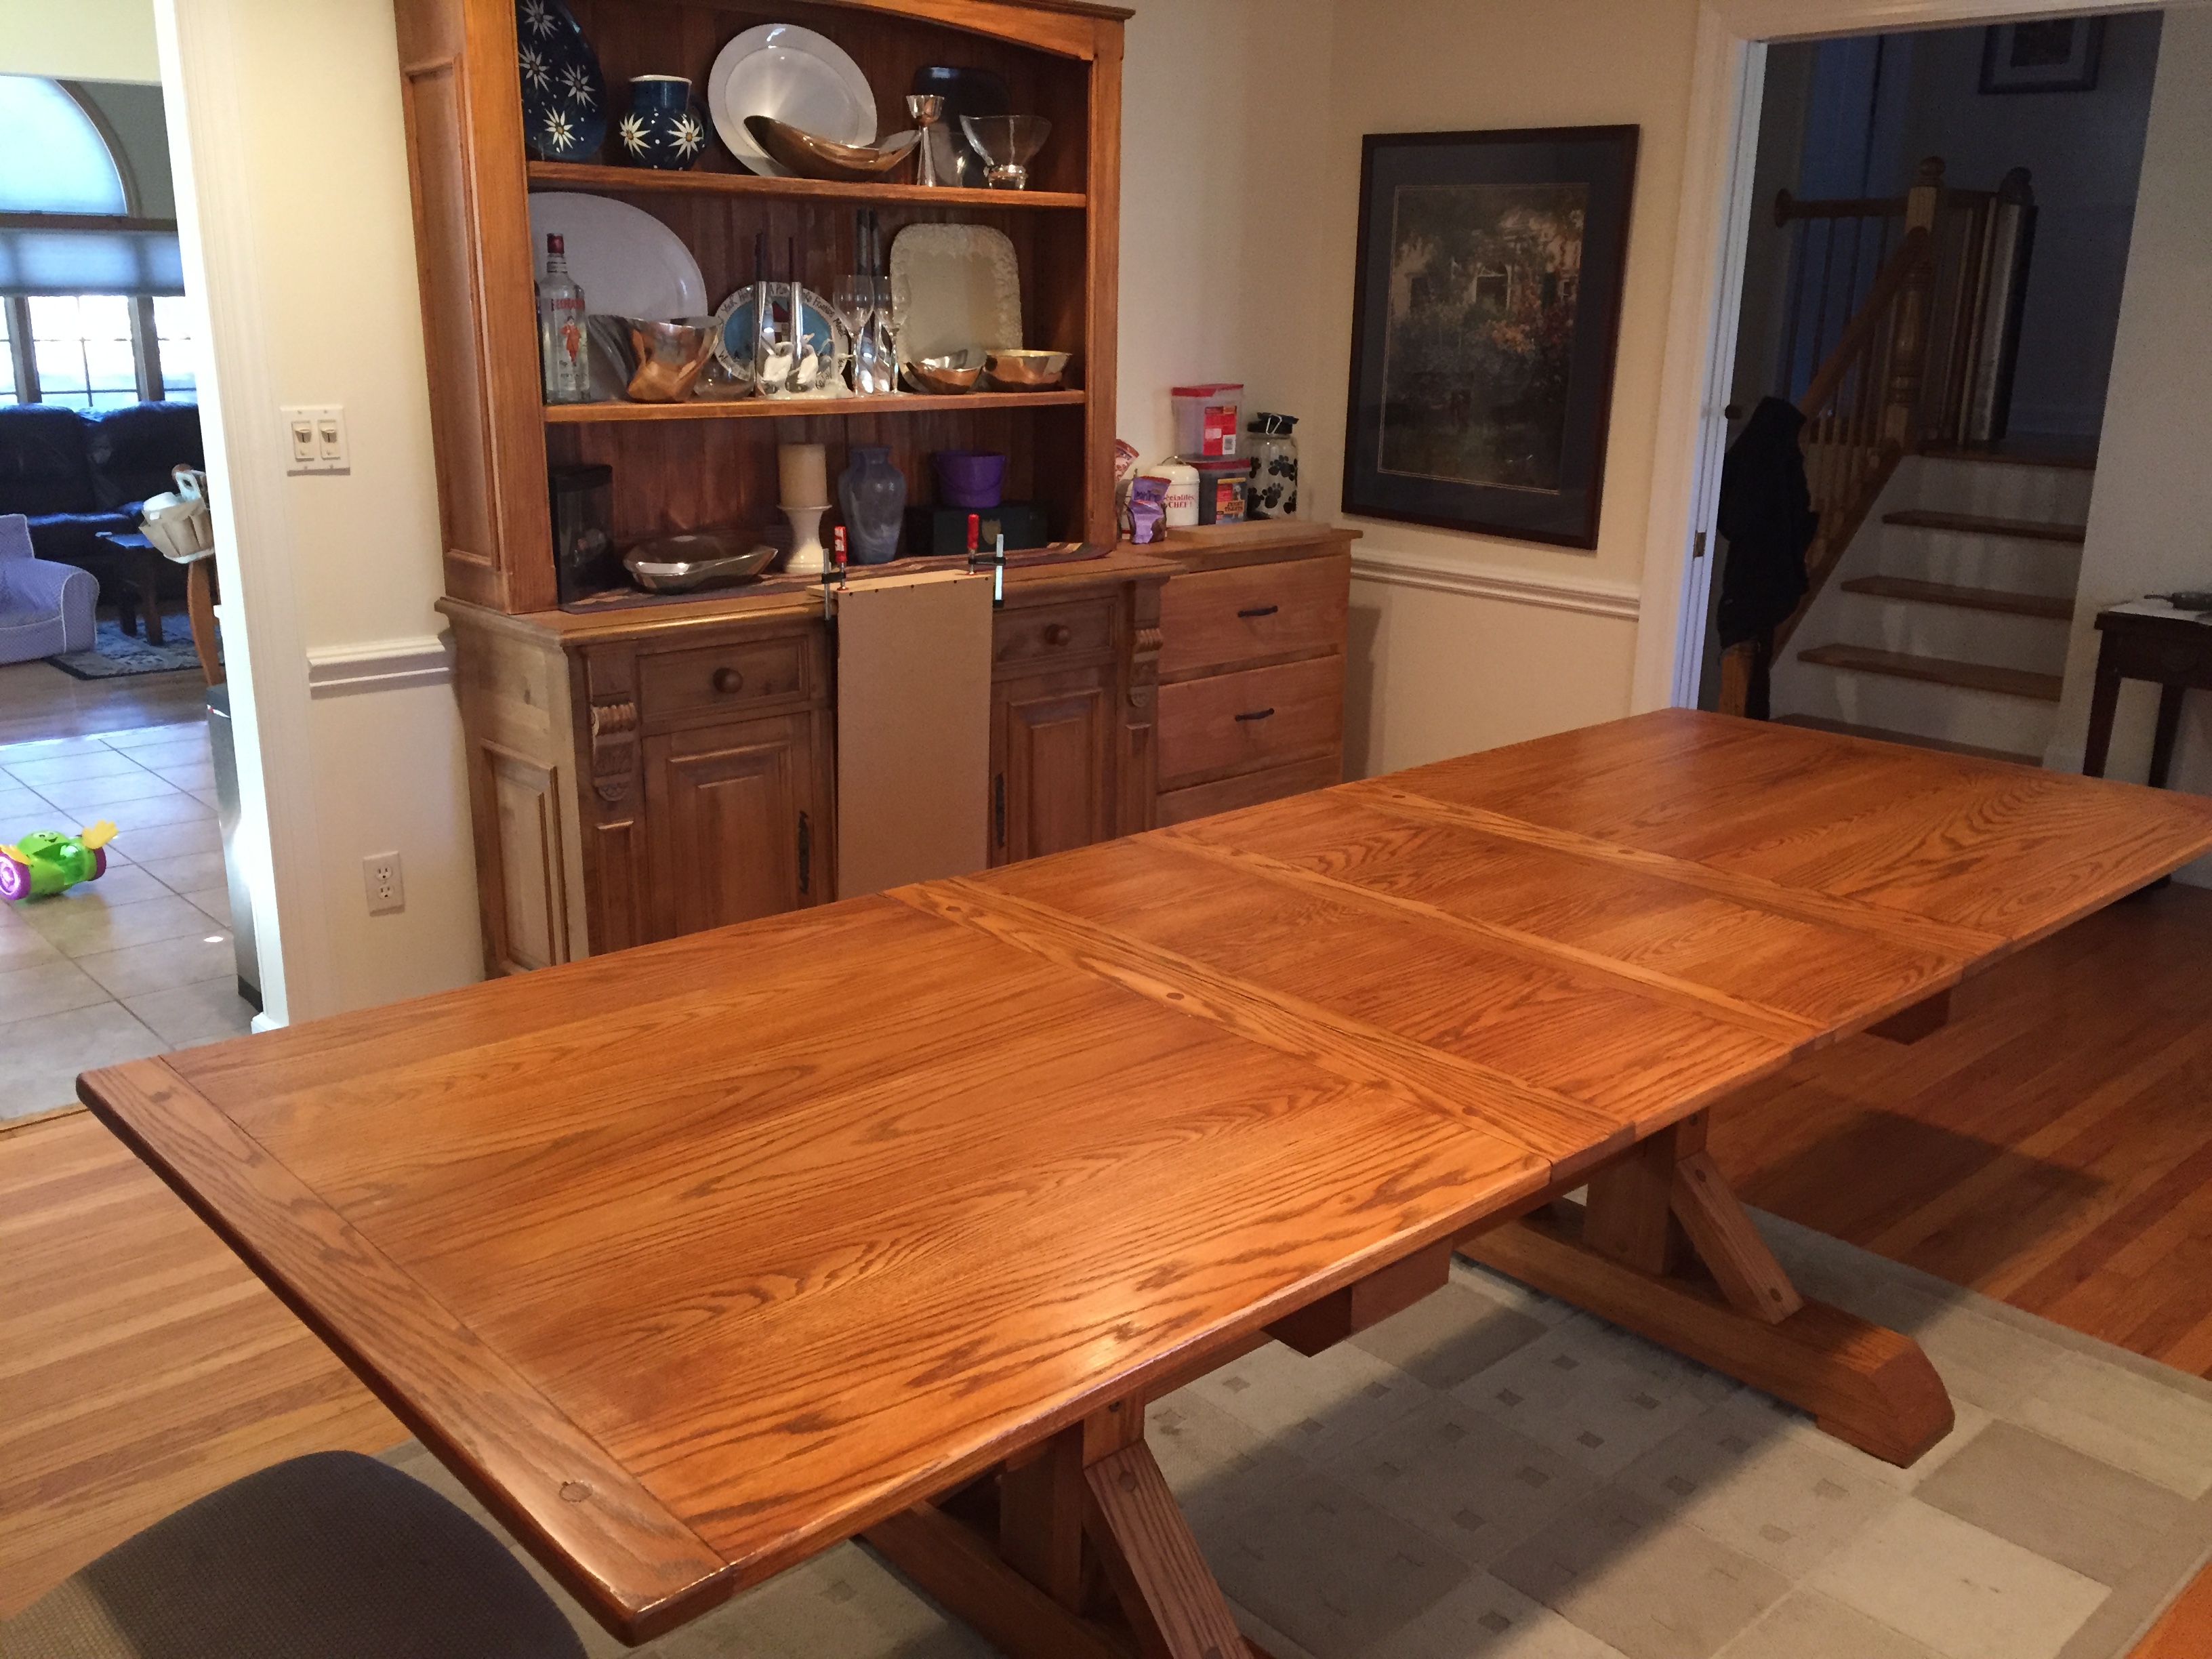
My 40”x80” dining room table with equalizer extension slides that bring it to 110” when both leaves are installed. This was initially inspired by the Farm Hose trestle table. I've got details in some blog posts on my build. It’s not exactly the most complete blog with every detail, but it has a bunch of pictures along the way.
Estimated Cost
$1,200 for wood. Probably around $1,500 total if you add in some tools / supplies I didn't have.
Estimated Time Investment
Week Long Project (20 Hours or More)
Finish Used
Aqua Coat grain sealer. General Finishes Prairie Wheat Gel Stain, General Finishes Arm-R-Seal poly seal coat.
Recommended Skill Level
Intermediate
Comments

Sun, 11/08/2020 - 09:01
This is amazing and exactly…
This is amazing and exactly what I'm looking for.. do you have plans for this table?
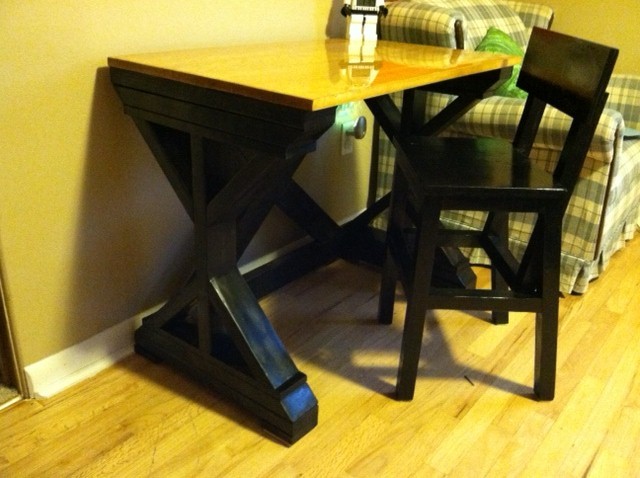
Smaller Fancy "X" Desk
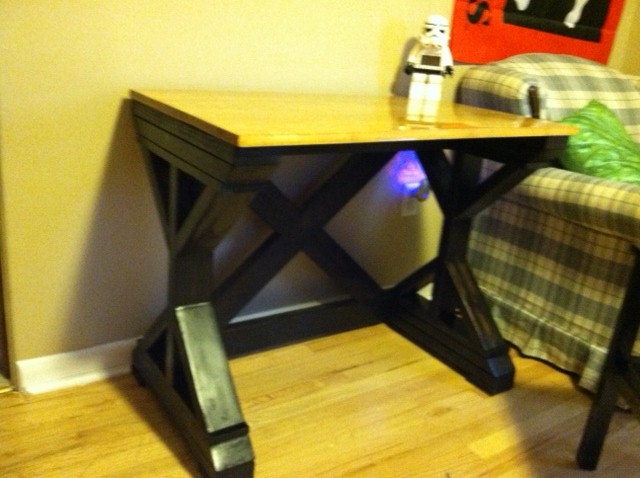
this is a much smaller version of the $55 Fancy "x" Desk. We did not have the space for the larger version and my son liked that one best, so this is as close as I could come. I also made him the Higher Chair. He is six and very tall with it, but a standard height table and chair still make him sit low enough that writing and working on projects can be troublesome. He loves this, and we had fun working on it together.
Estimated Cost
Under $50
Estimated Time Investment
Weekend Project (10-20 Hours)
Finish Used
Minwax Ebony on bottom and English Oak (don't remember the brand) on desk top. the Ebony took several applications to get the darkness I wanted, if I did it again, I would probably just paint the bottom. The desk top got 2 applications plus a coating of Parks Super Glaze Ultra Crystal Pour On Epoxy Finish Kit, Clear Gloss. The epoxy was the most expensive part of the project, but the easiest.
Recommended Skill Level
Beginner
Comments
Mon, 11/12/2012 - 12:31
Sorry for the yellow and
Sorry for the yellow and blurry photo, had to take with my phone!
Fri, 11/16/2012 - 14:10
I have this in my to do list
I have this in my to do list and like you I want a shorter version. I was wonder how long you built yours?
Oak Easy Vintage Step Stool
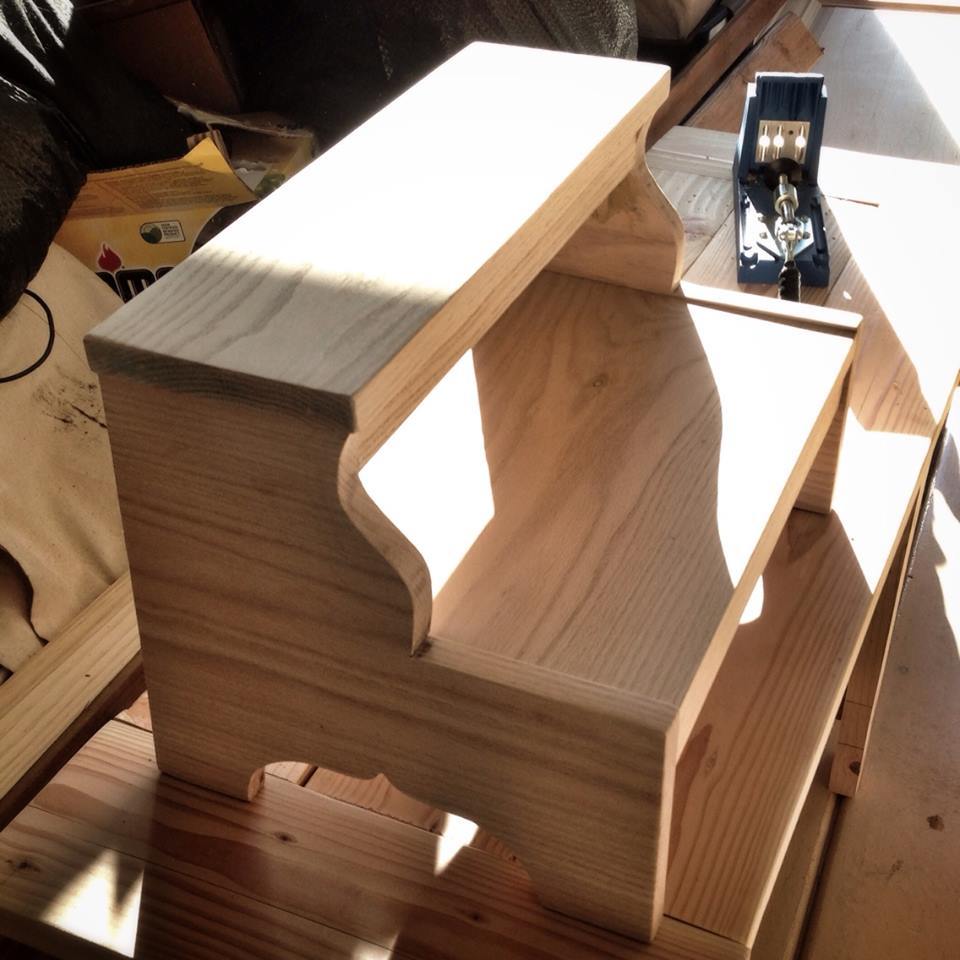
I bought a box of oak scraps from a local lumber store - sold a firewood for $6.00 and I was able to get enough big pieces to make this step stool for my granddaughter.
Built from Plan(s)
Estimated Cost
$6.00
Estimated Time Investment
Afternoon Project (3-6 Hours)
Recommended Skill Level
Intermediate
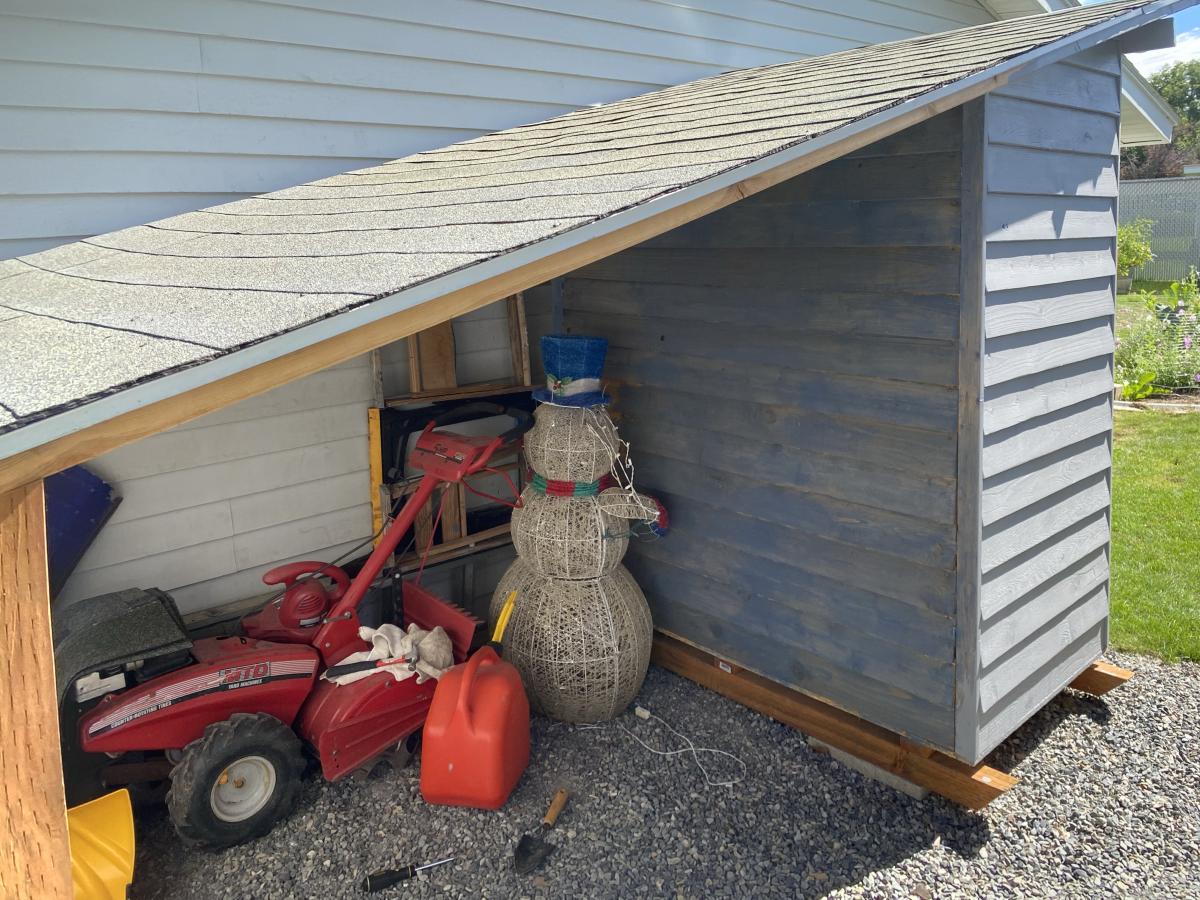
Small cedar shed part- re deux
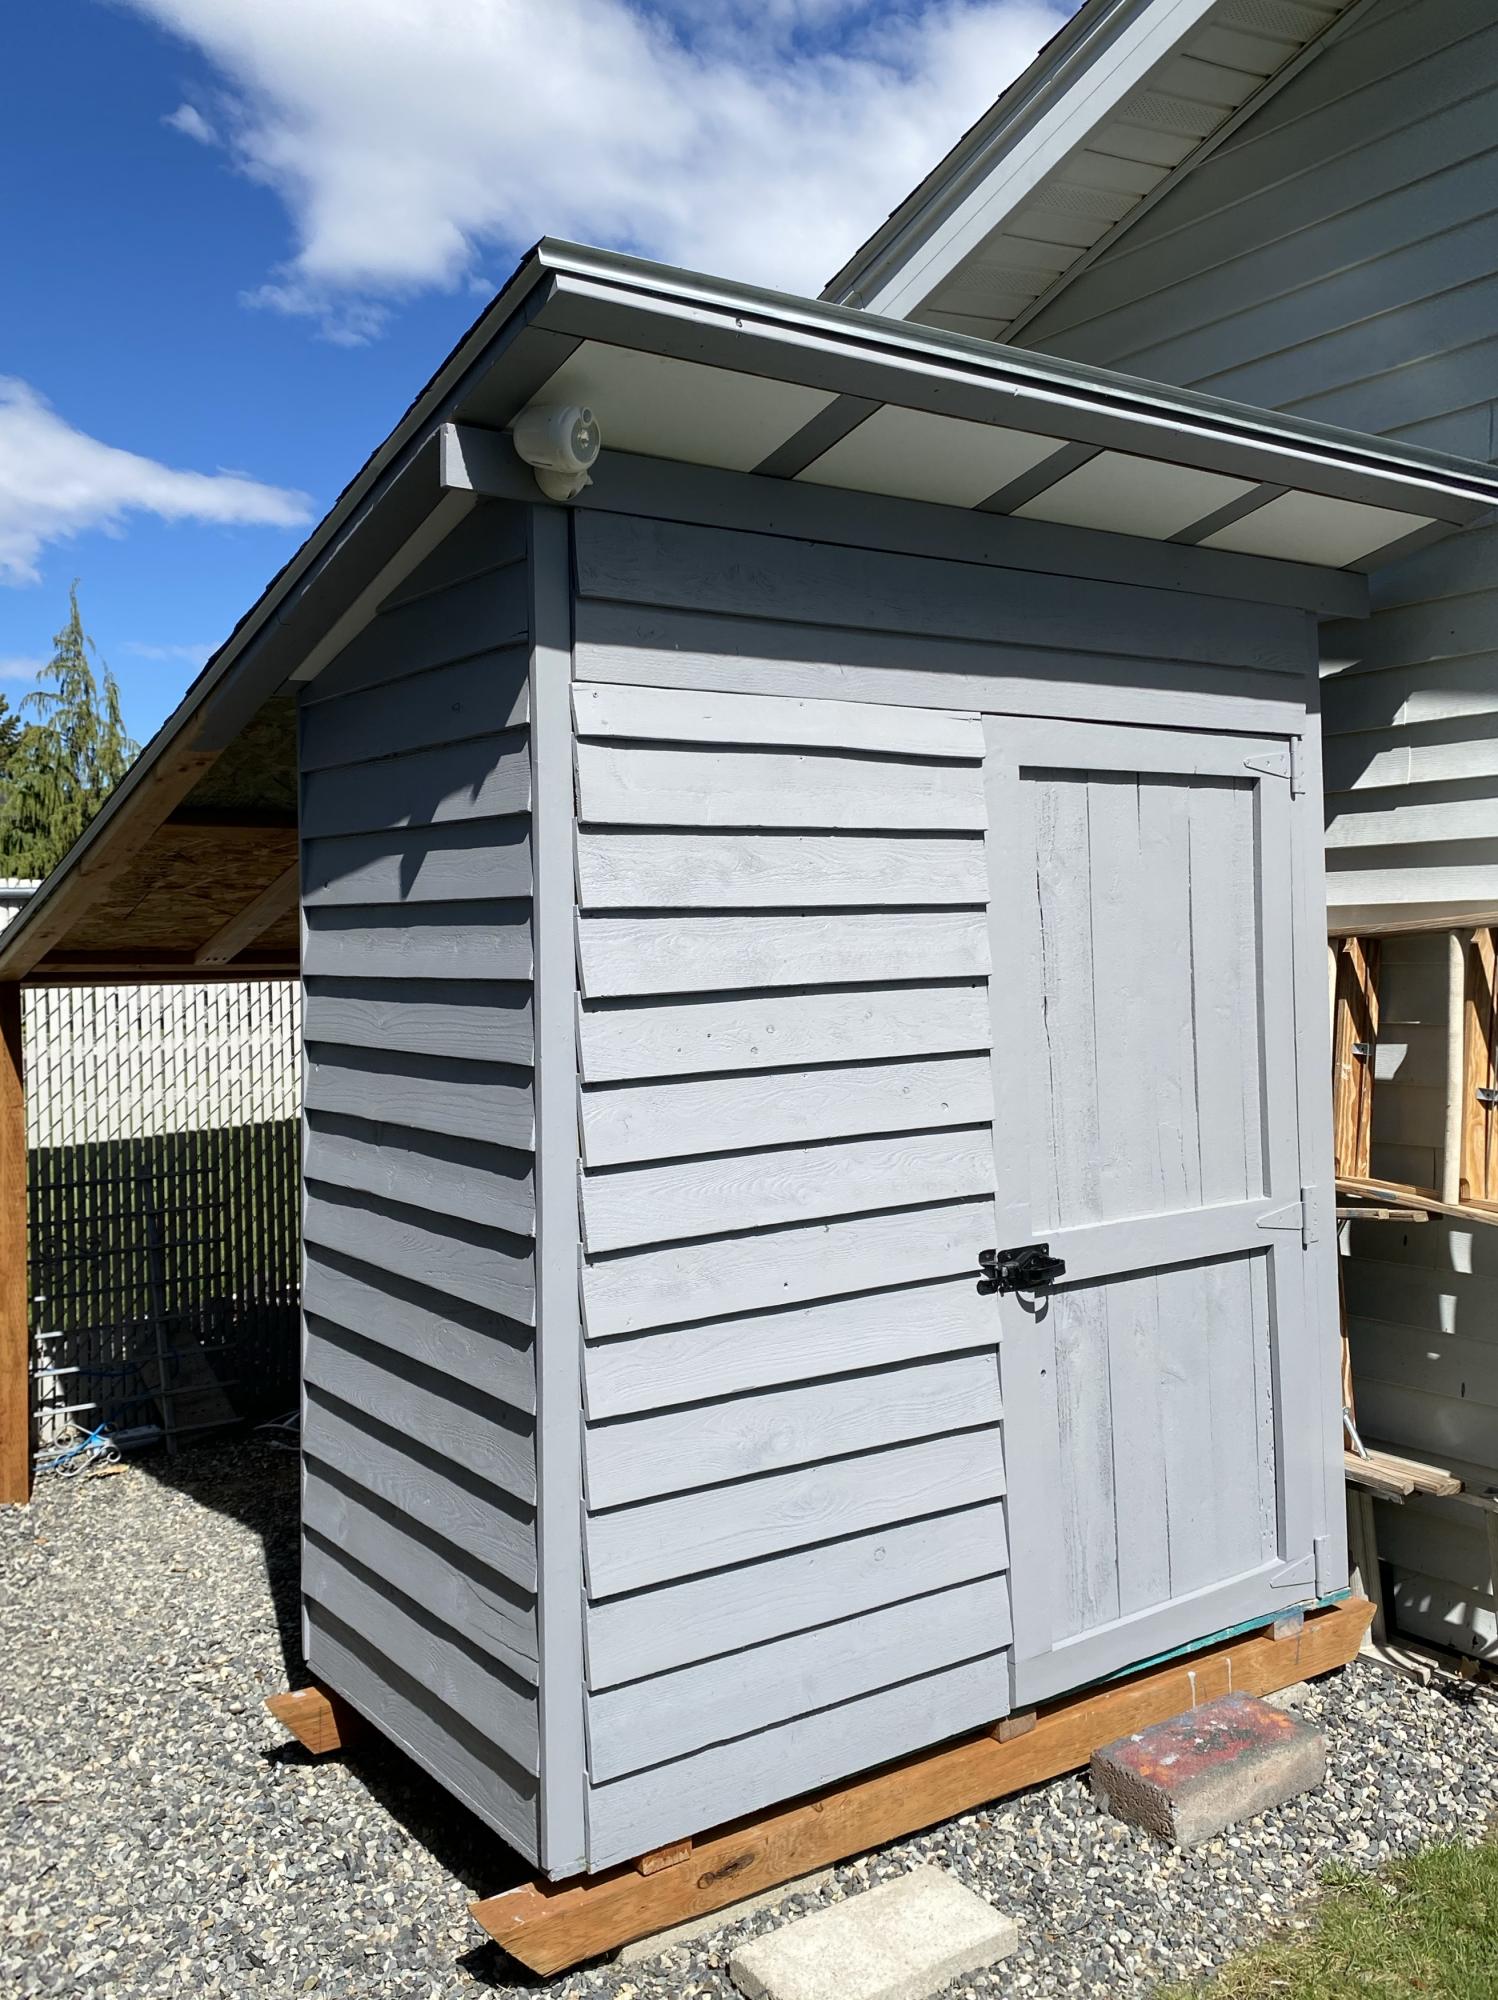
I really needed somewhere to park my rototiller and mower during the summer and ended up modifying the plans to include a lean-too/over hang area. This required flipping the shed to extend the roof line. I continued the 15• roofline and also then had to create and cover the soffits. I also reduced it to one door and placed it on a skid foundation so that technically it would be considered a temporary structure, no permits needed. I first used a semi transparent stain that looked much darker and grayer in the store but looked very blue and terribly streaky on the shed, see back wall area. I then restrained it with a solid stain, which I think looks much better and covered the streaky stain. Because I extended the roof and stained it twice, this really increased the cost, but I think it was well worth it. I can store all my yard and garden tools underneath and inside.
Built from Plan(s)
Estimated Cost
$430
Estimated Time Investment
Week Long Project (20 Hours or More)
Finish Used
Behr premium solid stain
Recommended Skill Level
Beginner
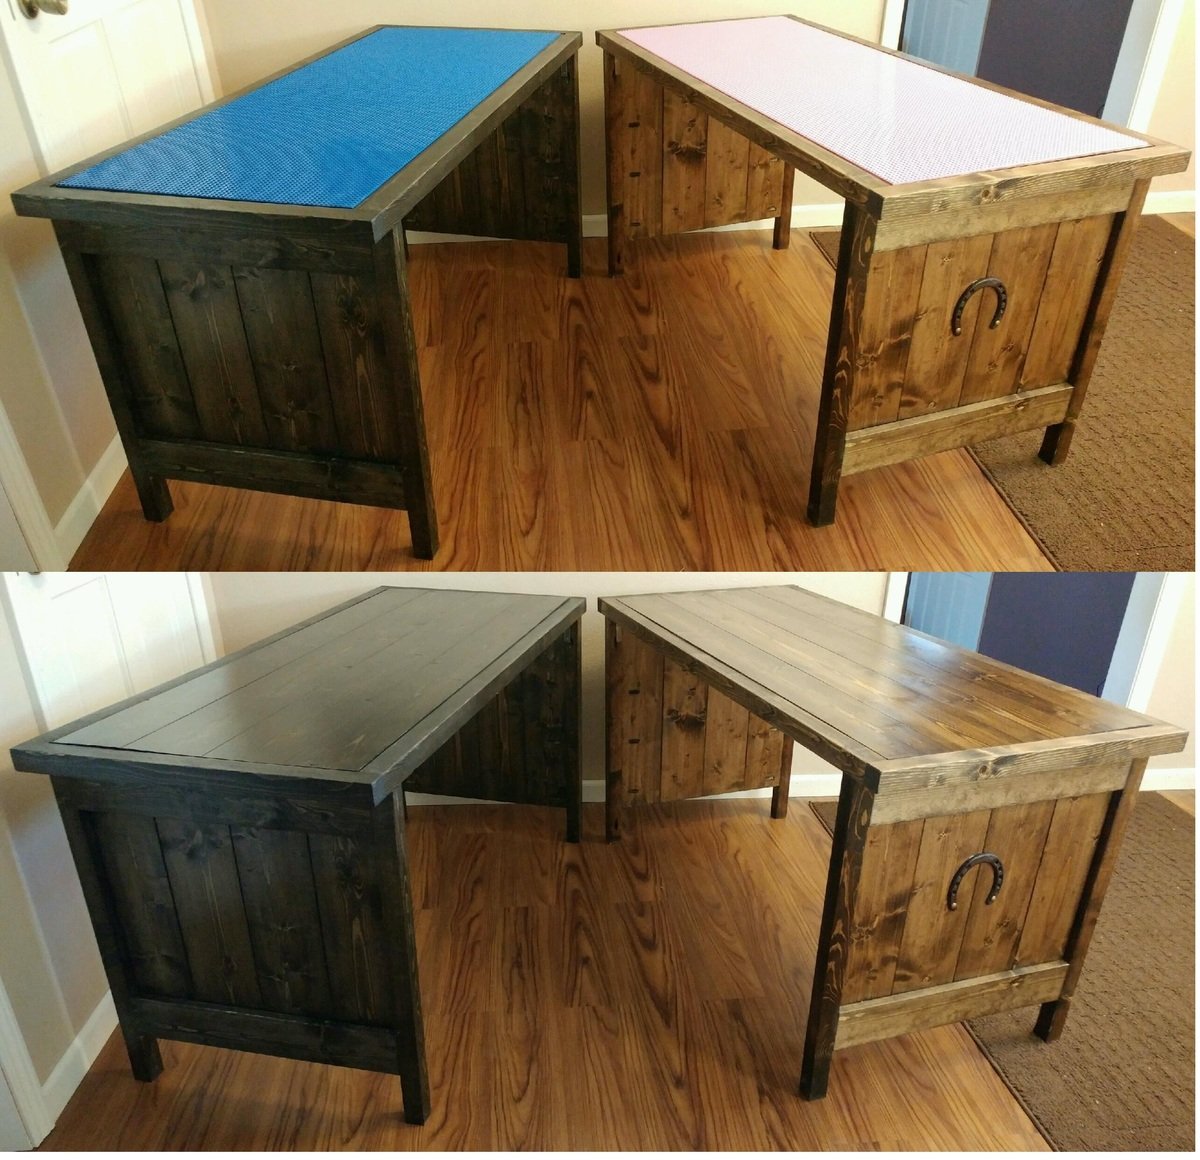
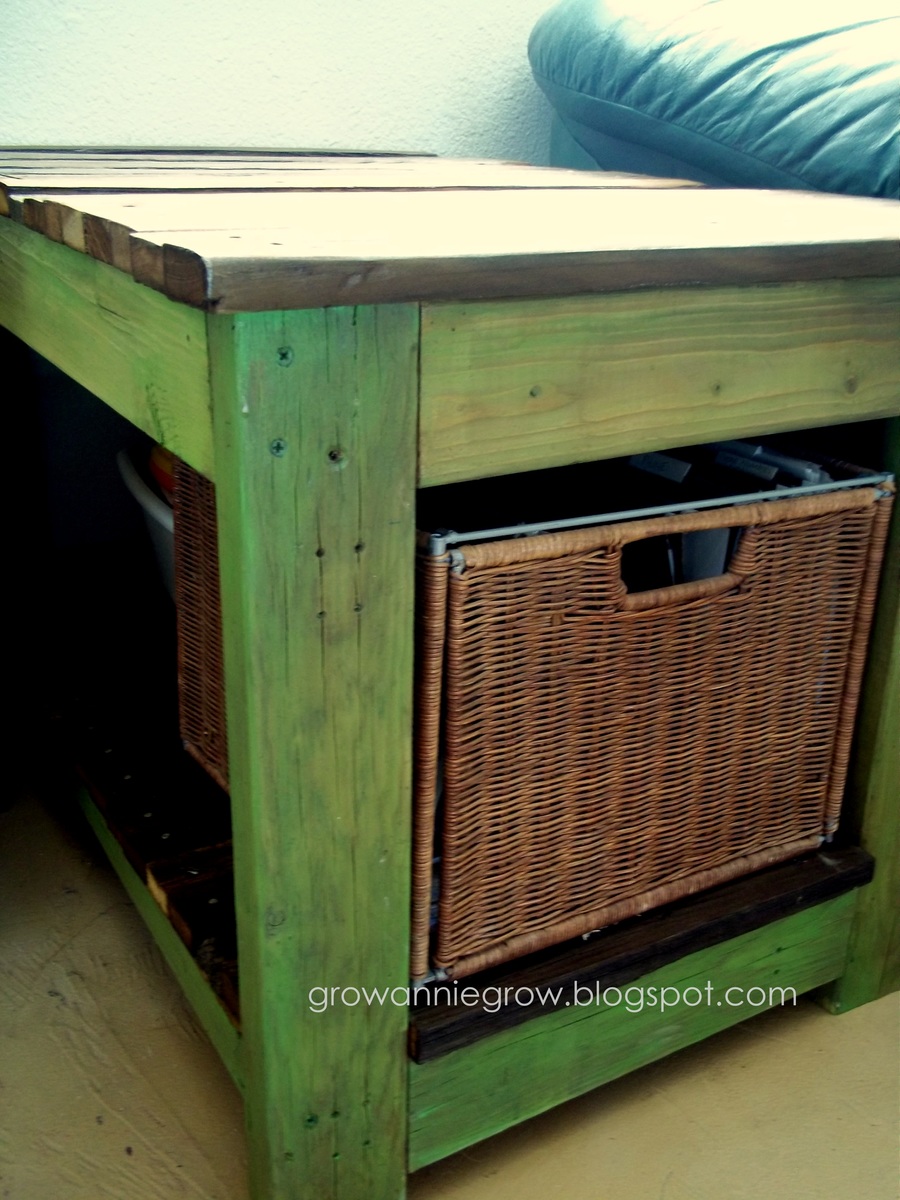
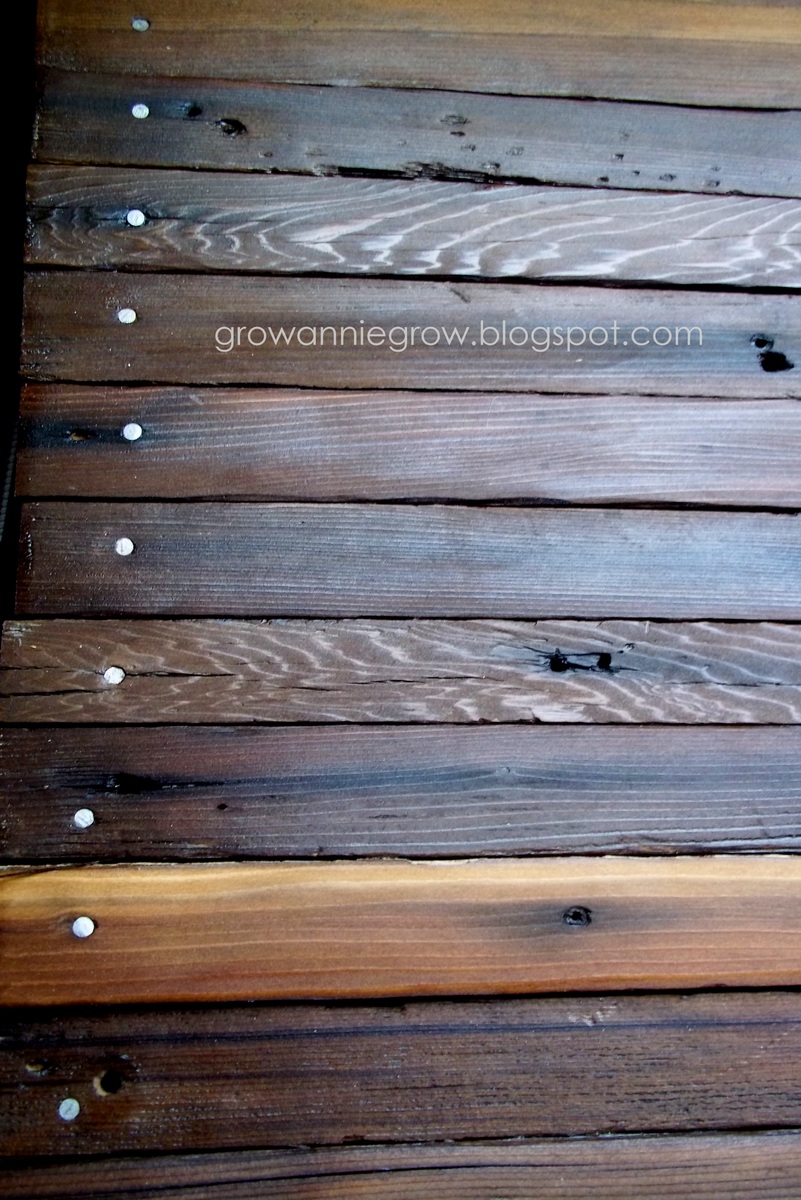
Picket fence topped end table
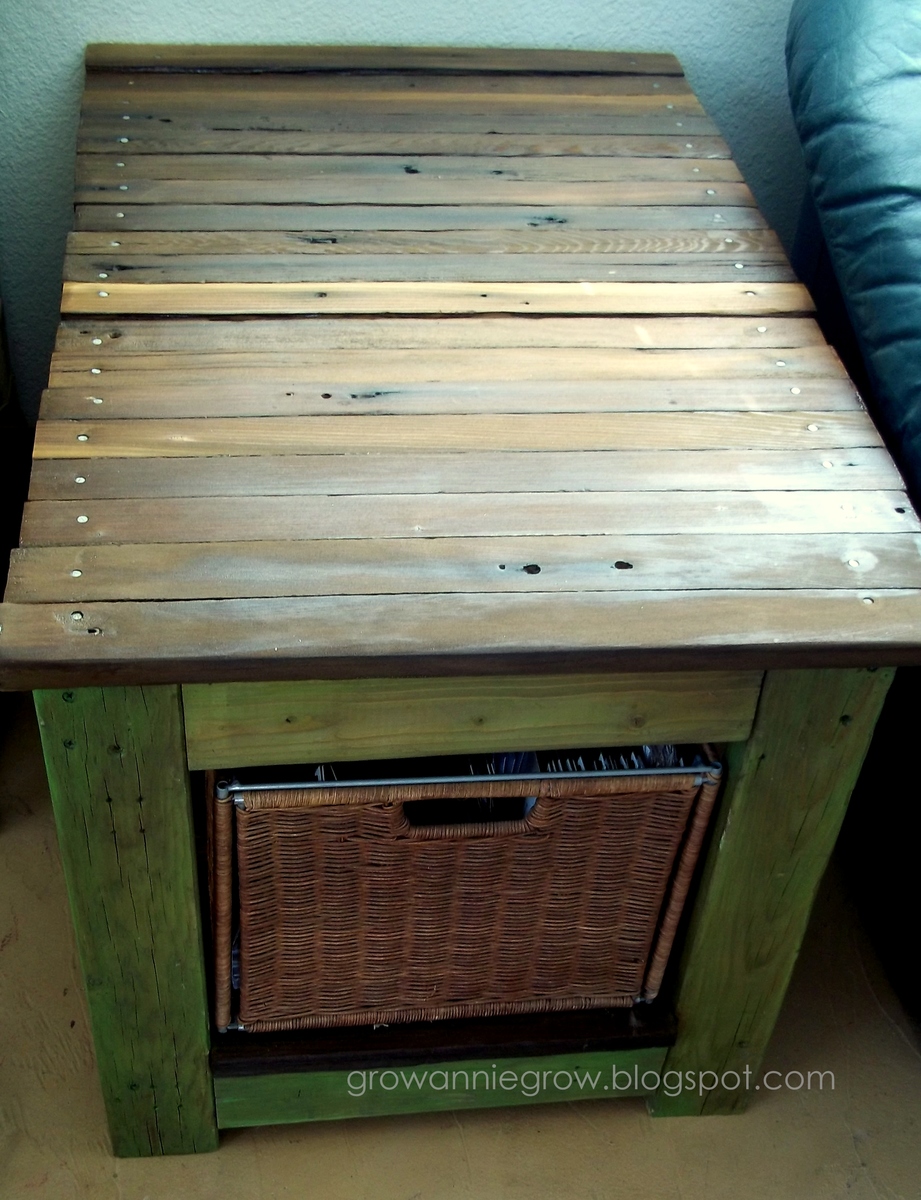
I wanted a table that would double as a file cabinet of sorts - so I made this end table with an opening big enough for my file box and the right height for my couch.
The top of the table and the lower shelf and made from pickets from a picket fence that was taken down and the rest was from leftover 2 x 4 s from other projects around our fixer-upper.
Estimated Cost
Free to Me
Estimated Time Investment
An Hour or Two (0-2 Hours)
Finish Used
semi-gloss poly and house paint
Recommended Skill Level
Beginner
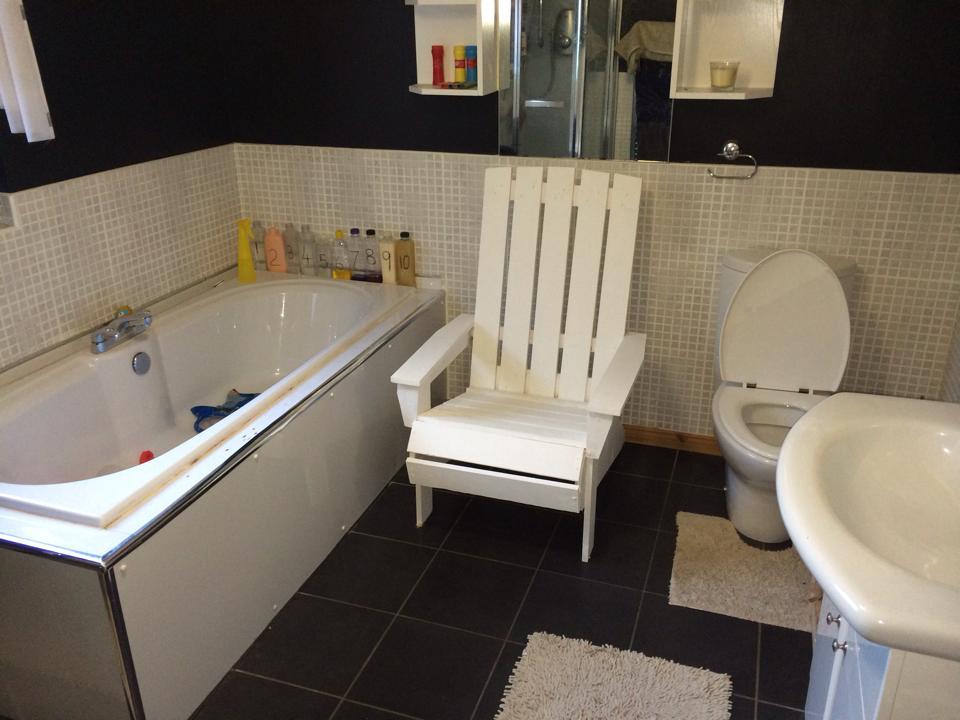
Adirondack Chair
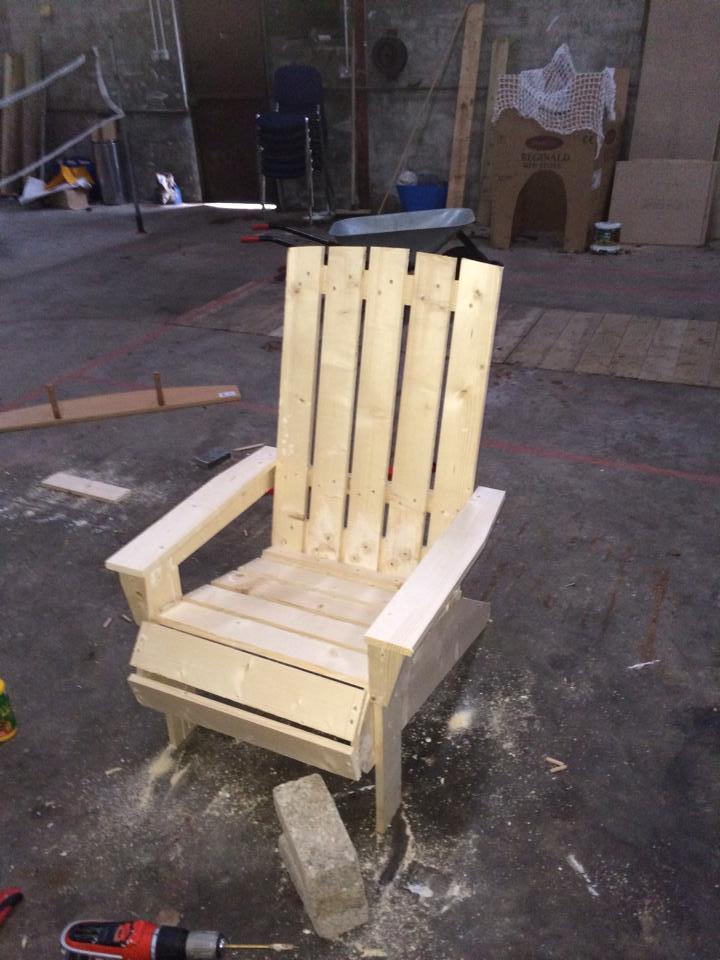
Adirondack Chair
Built from Plan(s)
Estimated Time Investment
Weekend Project (10-20 Hours)
Finish Used
Paint
Recommended Skill Level
Beginner
Media center
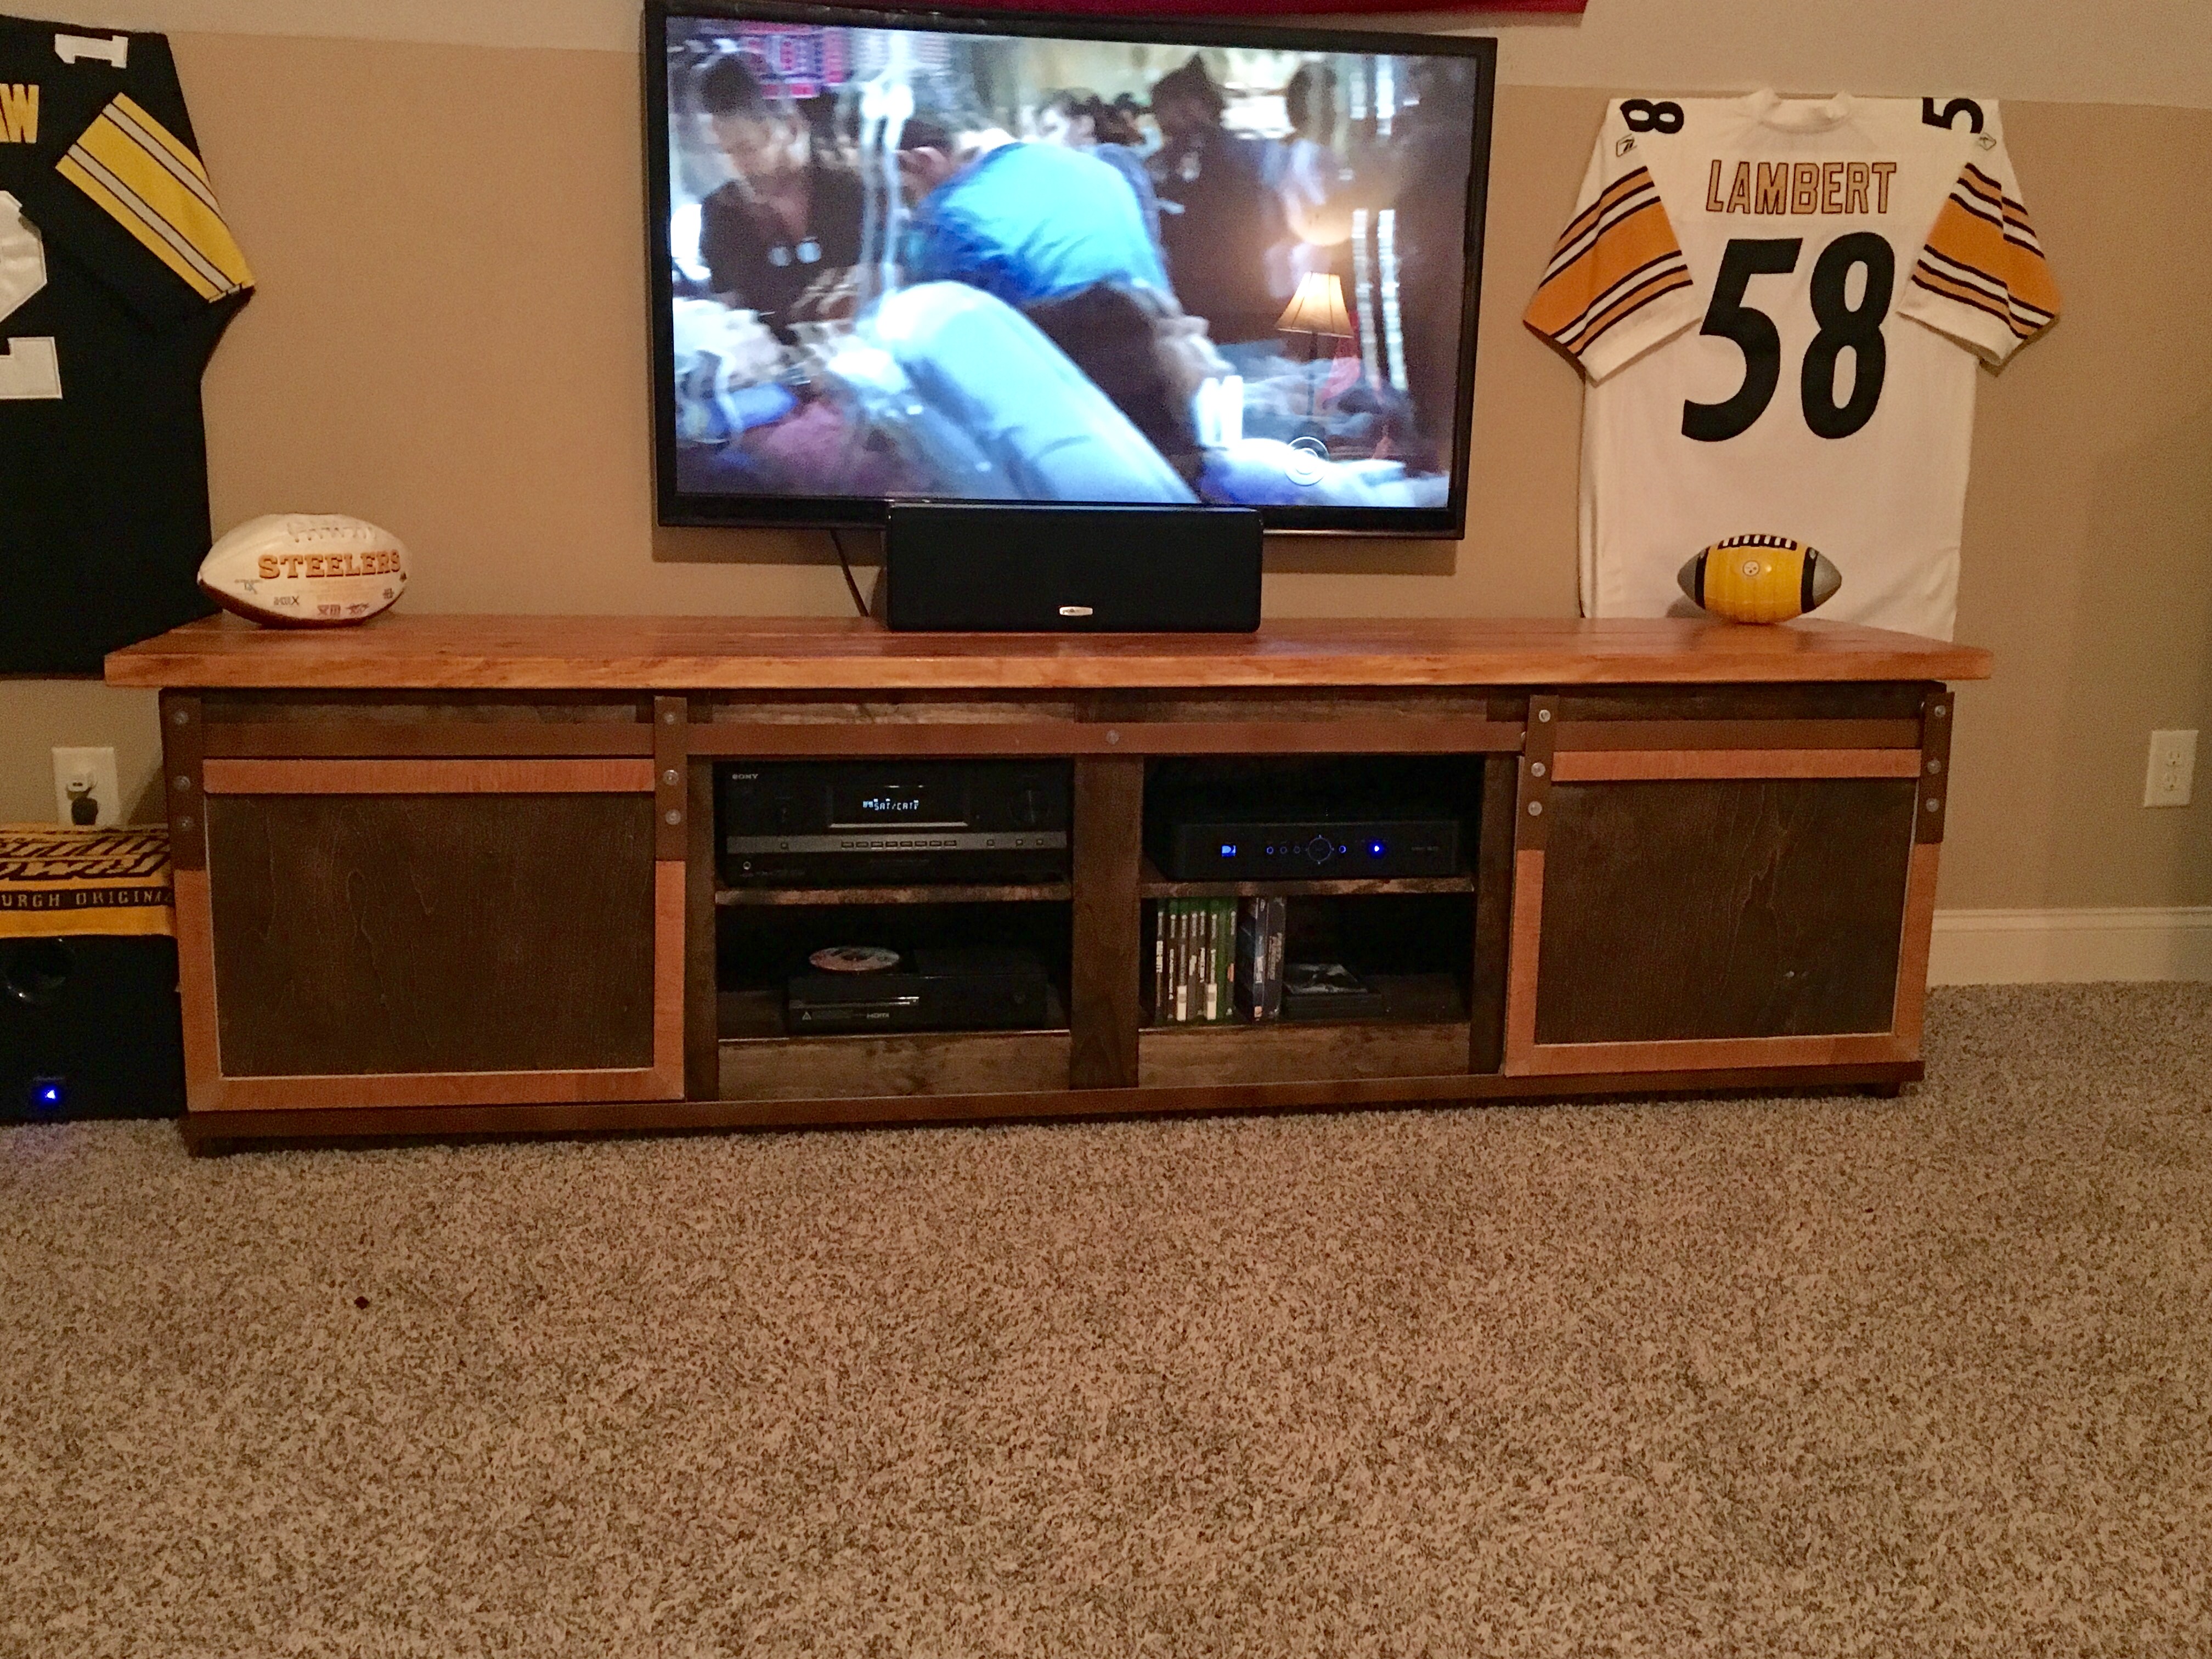
I needed to replace my particle board entertainment center. So here is my final project
Built from Plan(s)
Estimated Cost
$200
Estimated Time Investment
Weekend Project (10-20 Hours)
Finish Used
Mini wax Jacobean for the hutch and Miniwax Ipswich Pine for top and trims
Recommended Skill Level
Intermediate
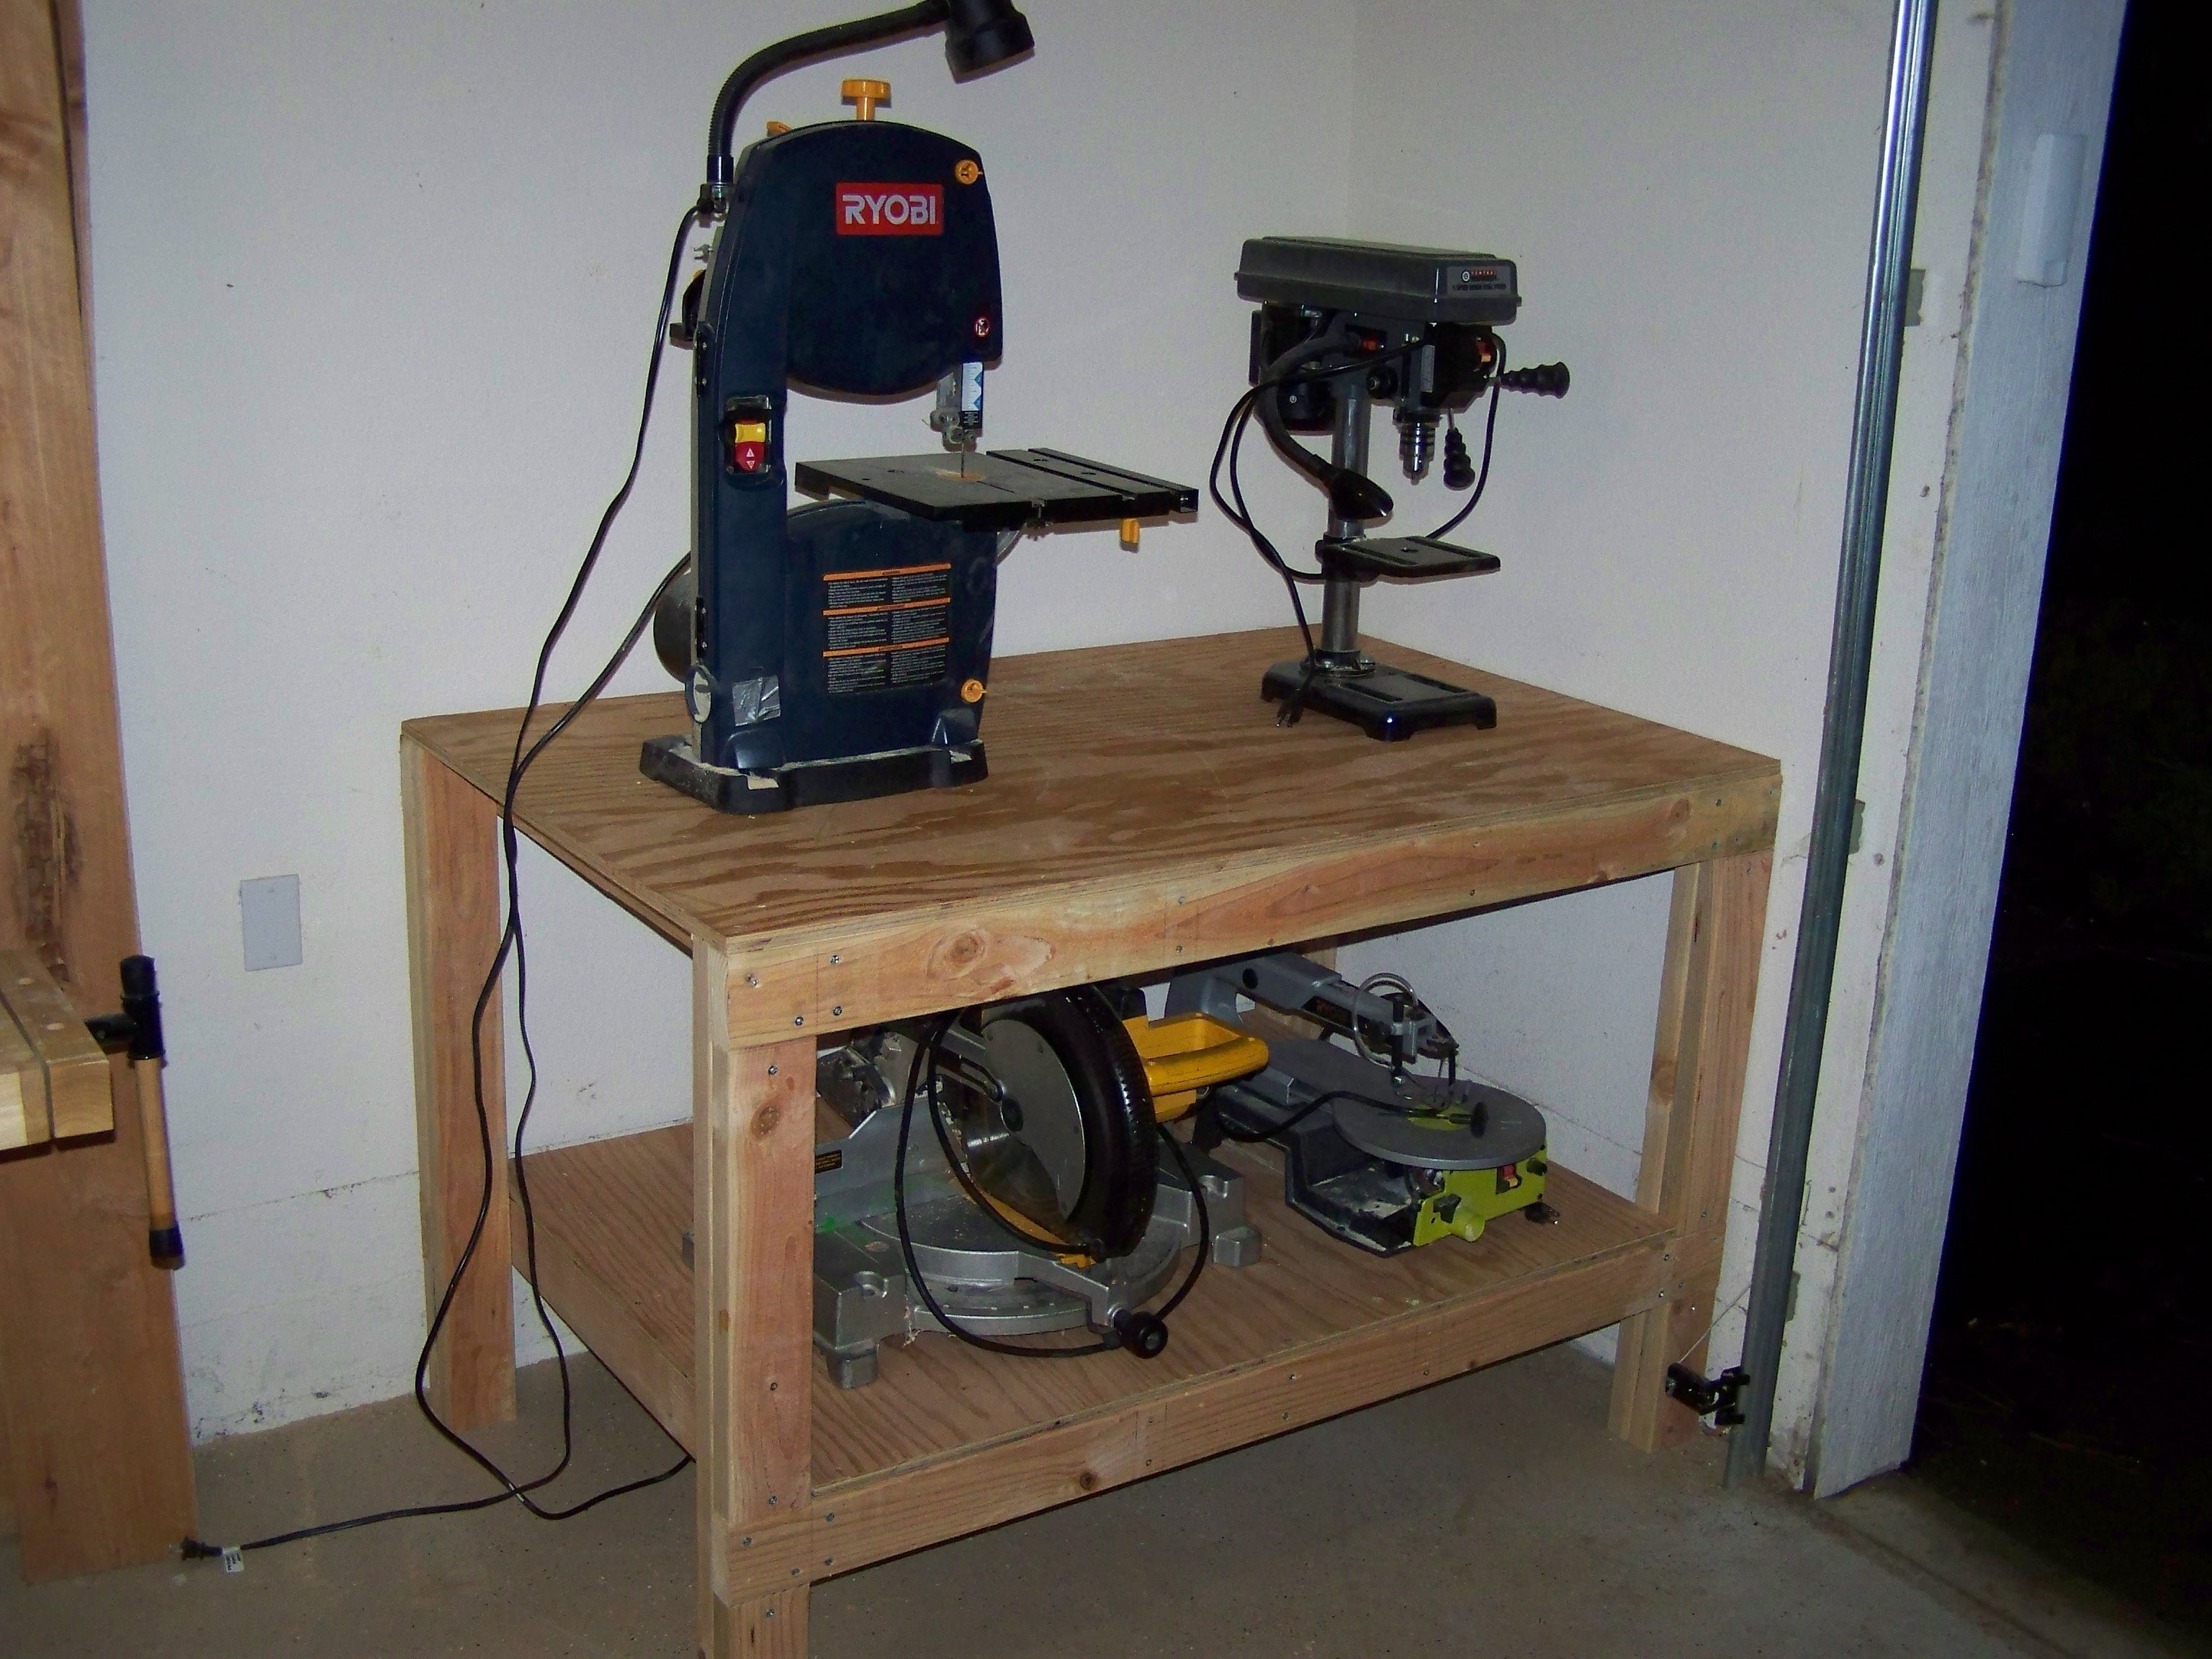
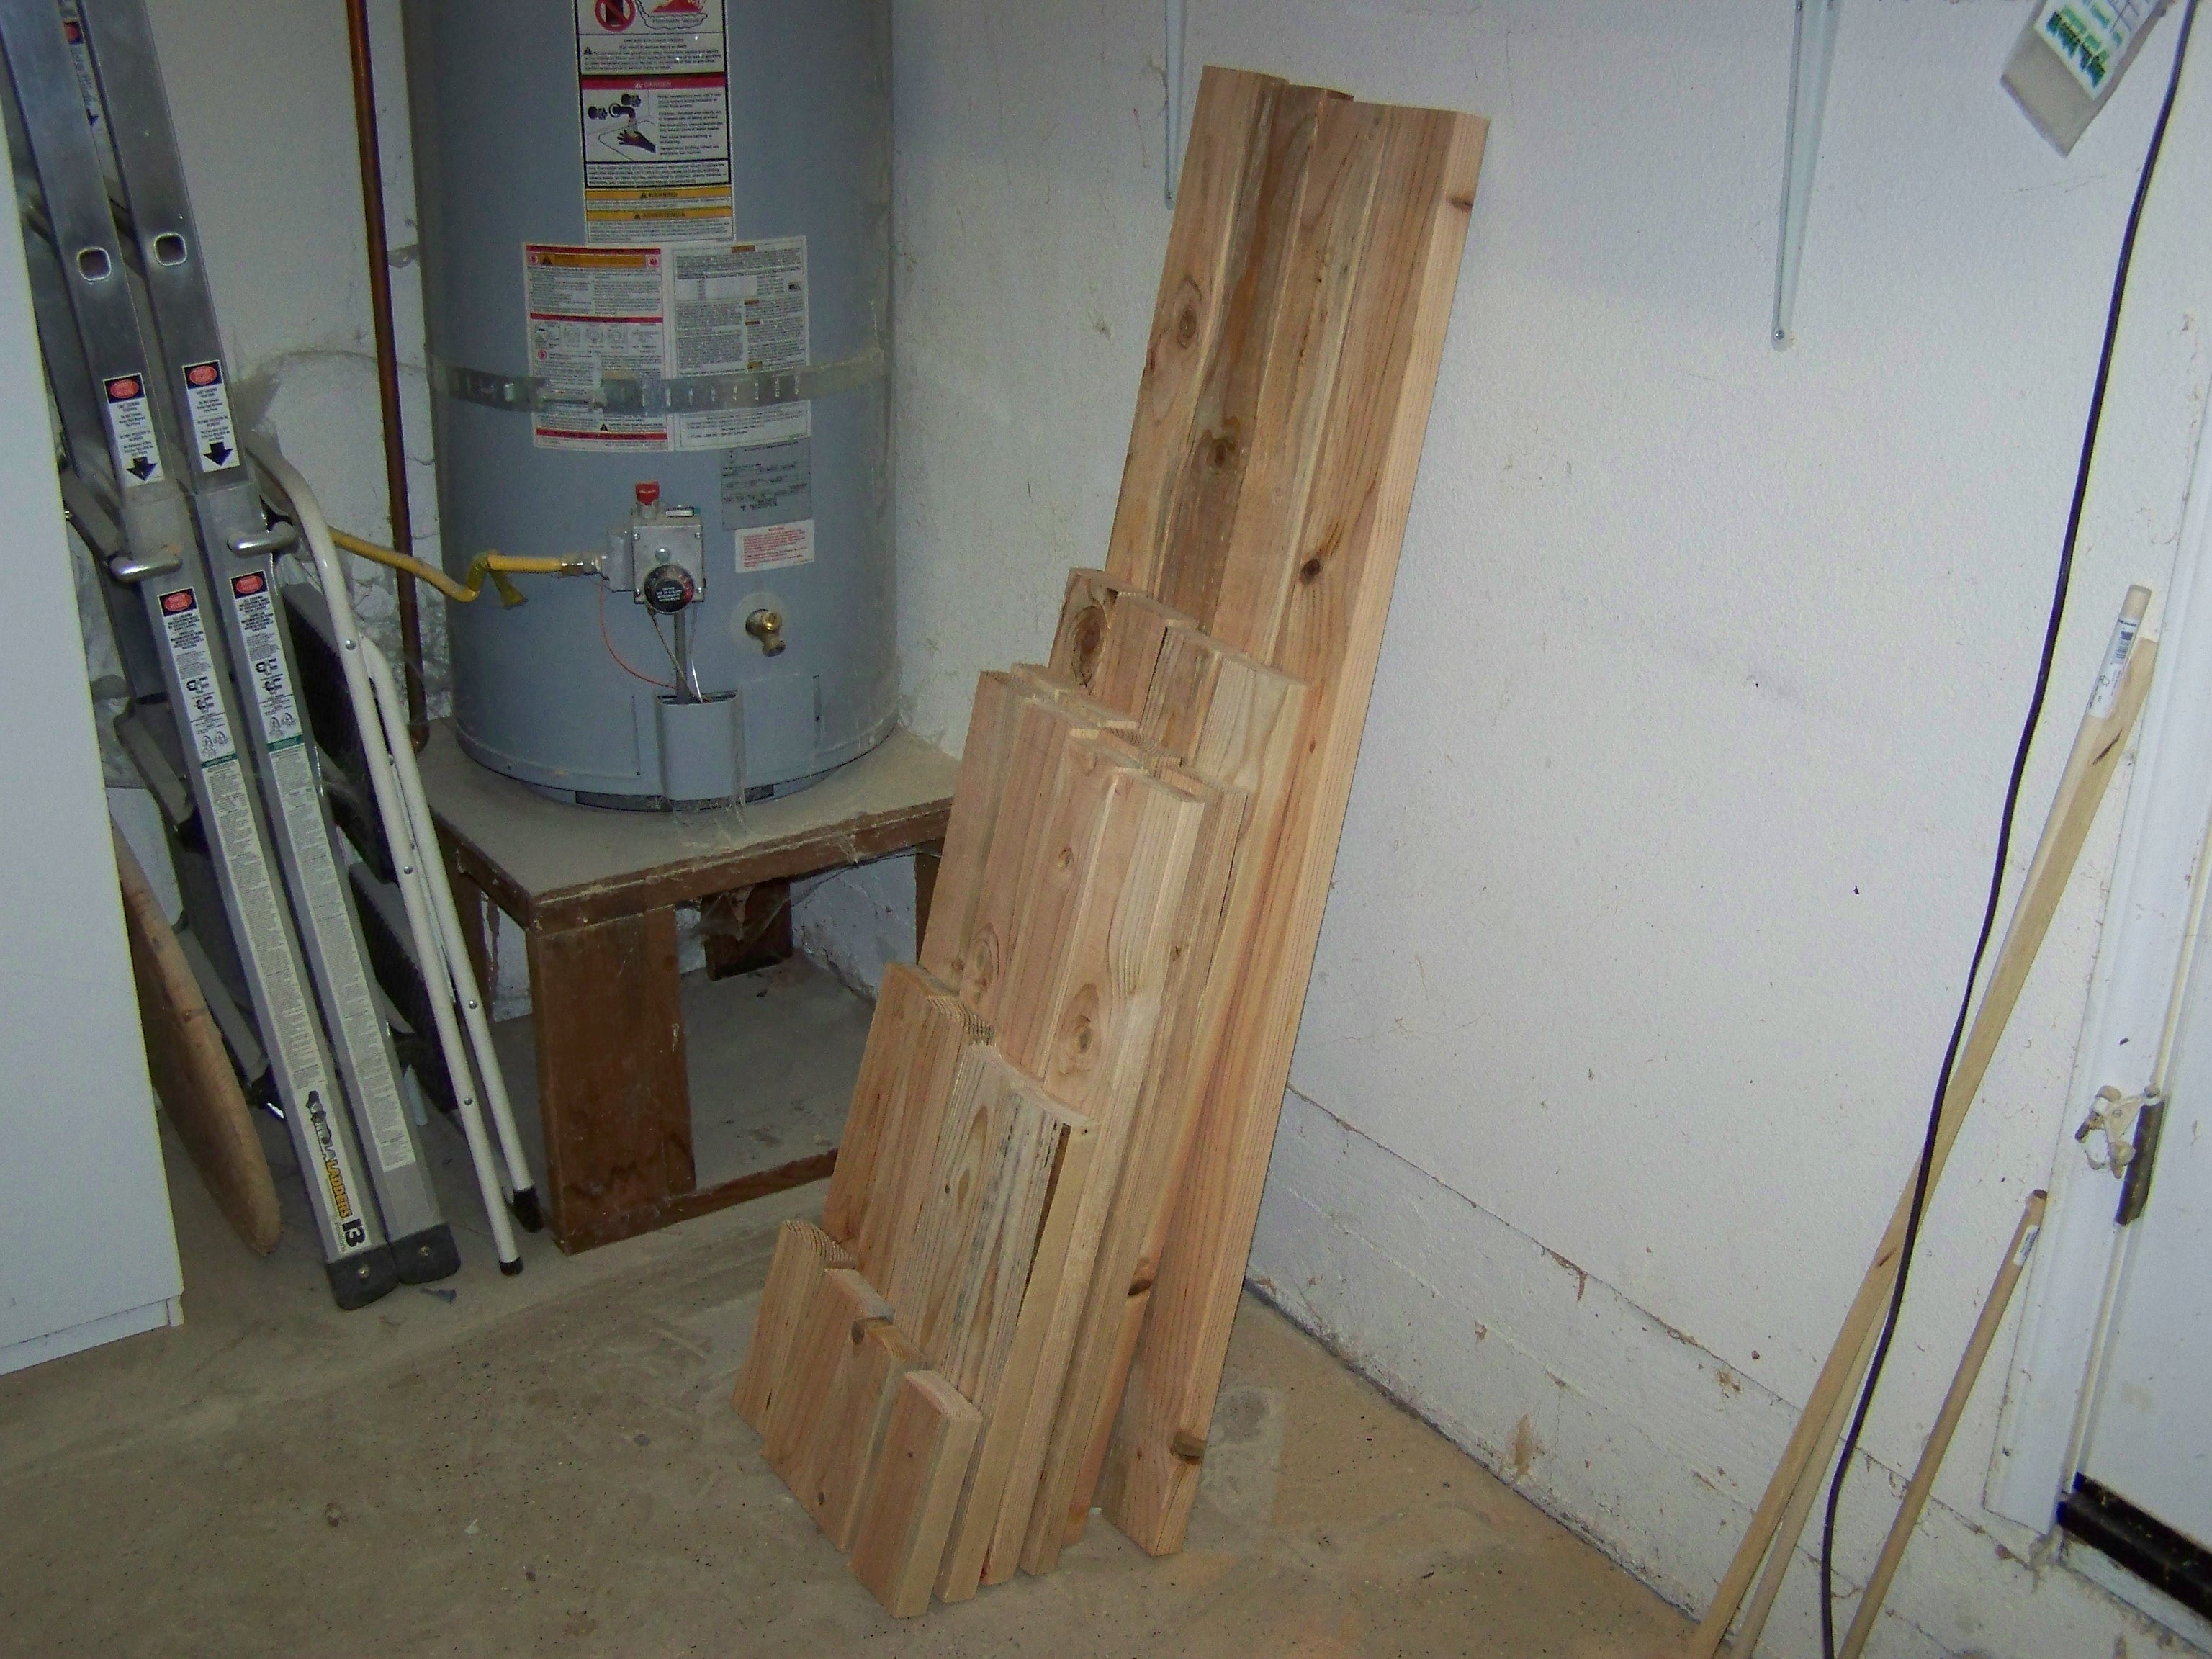
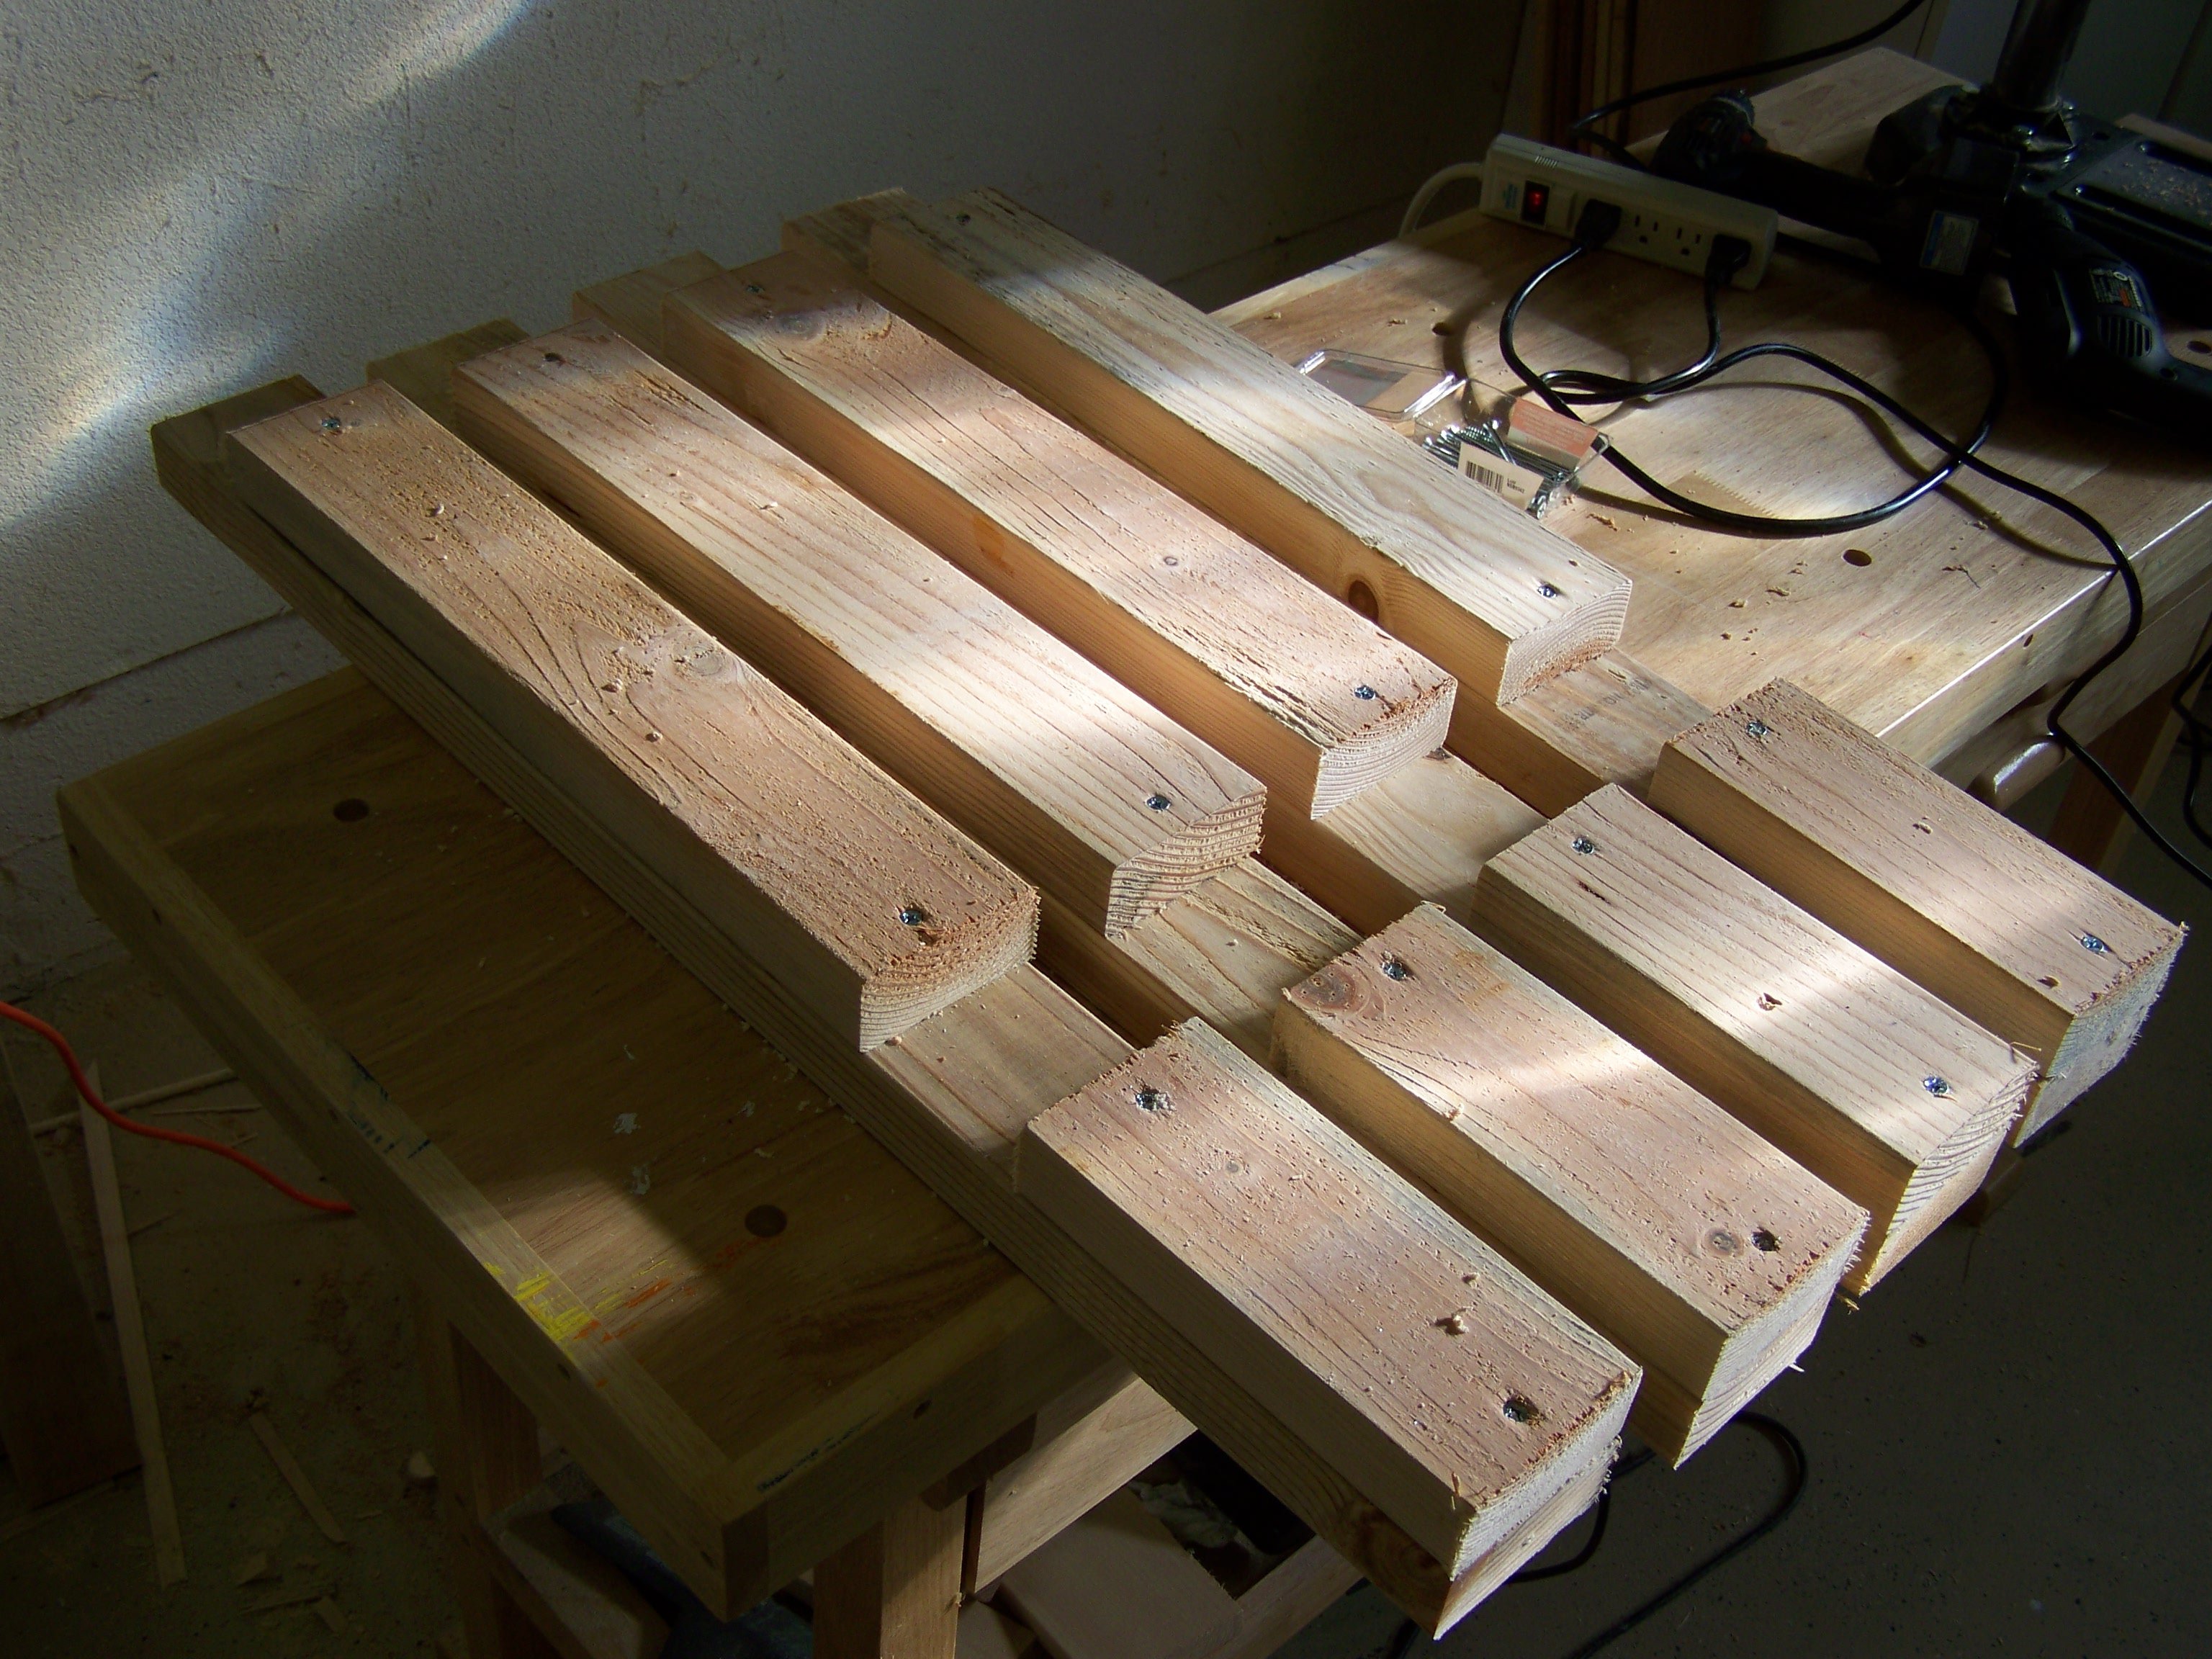
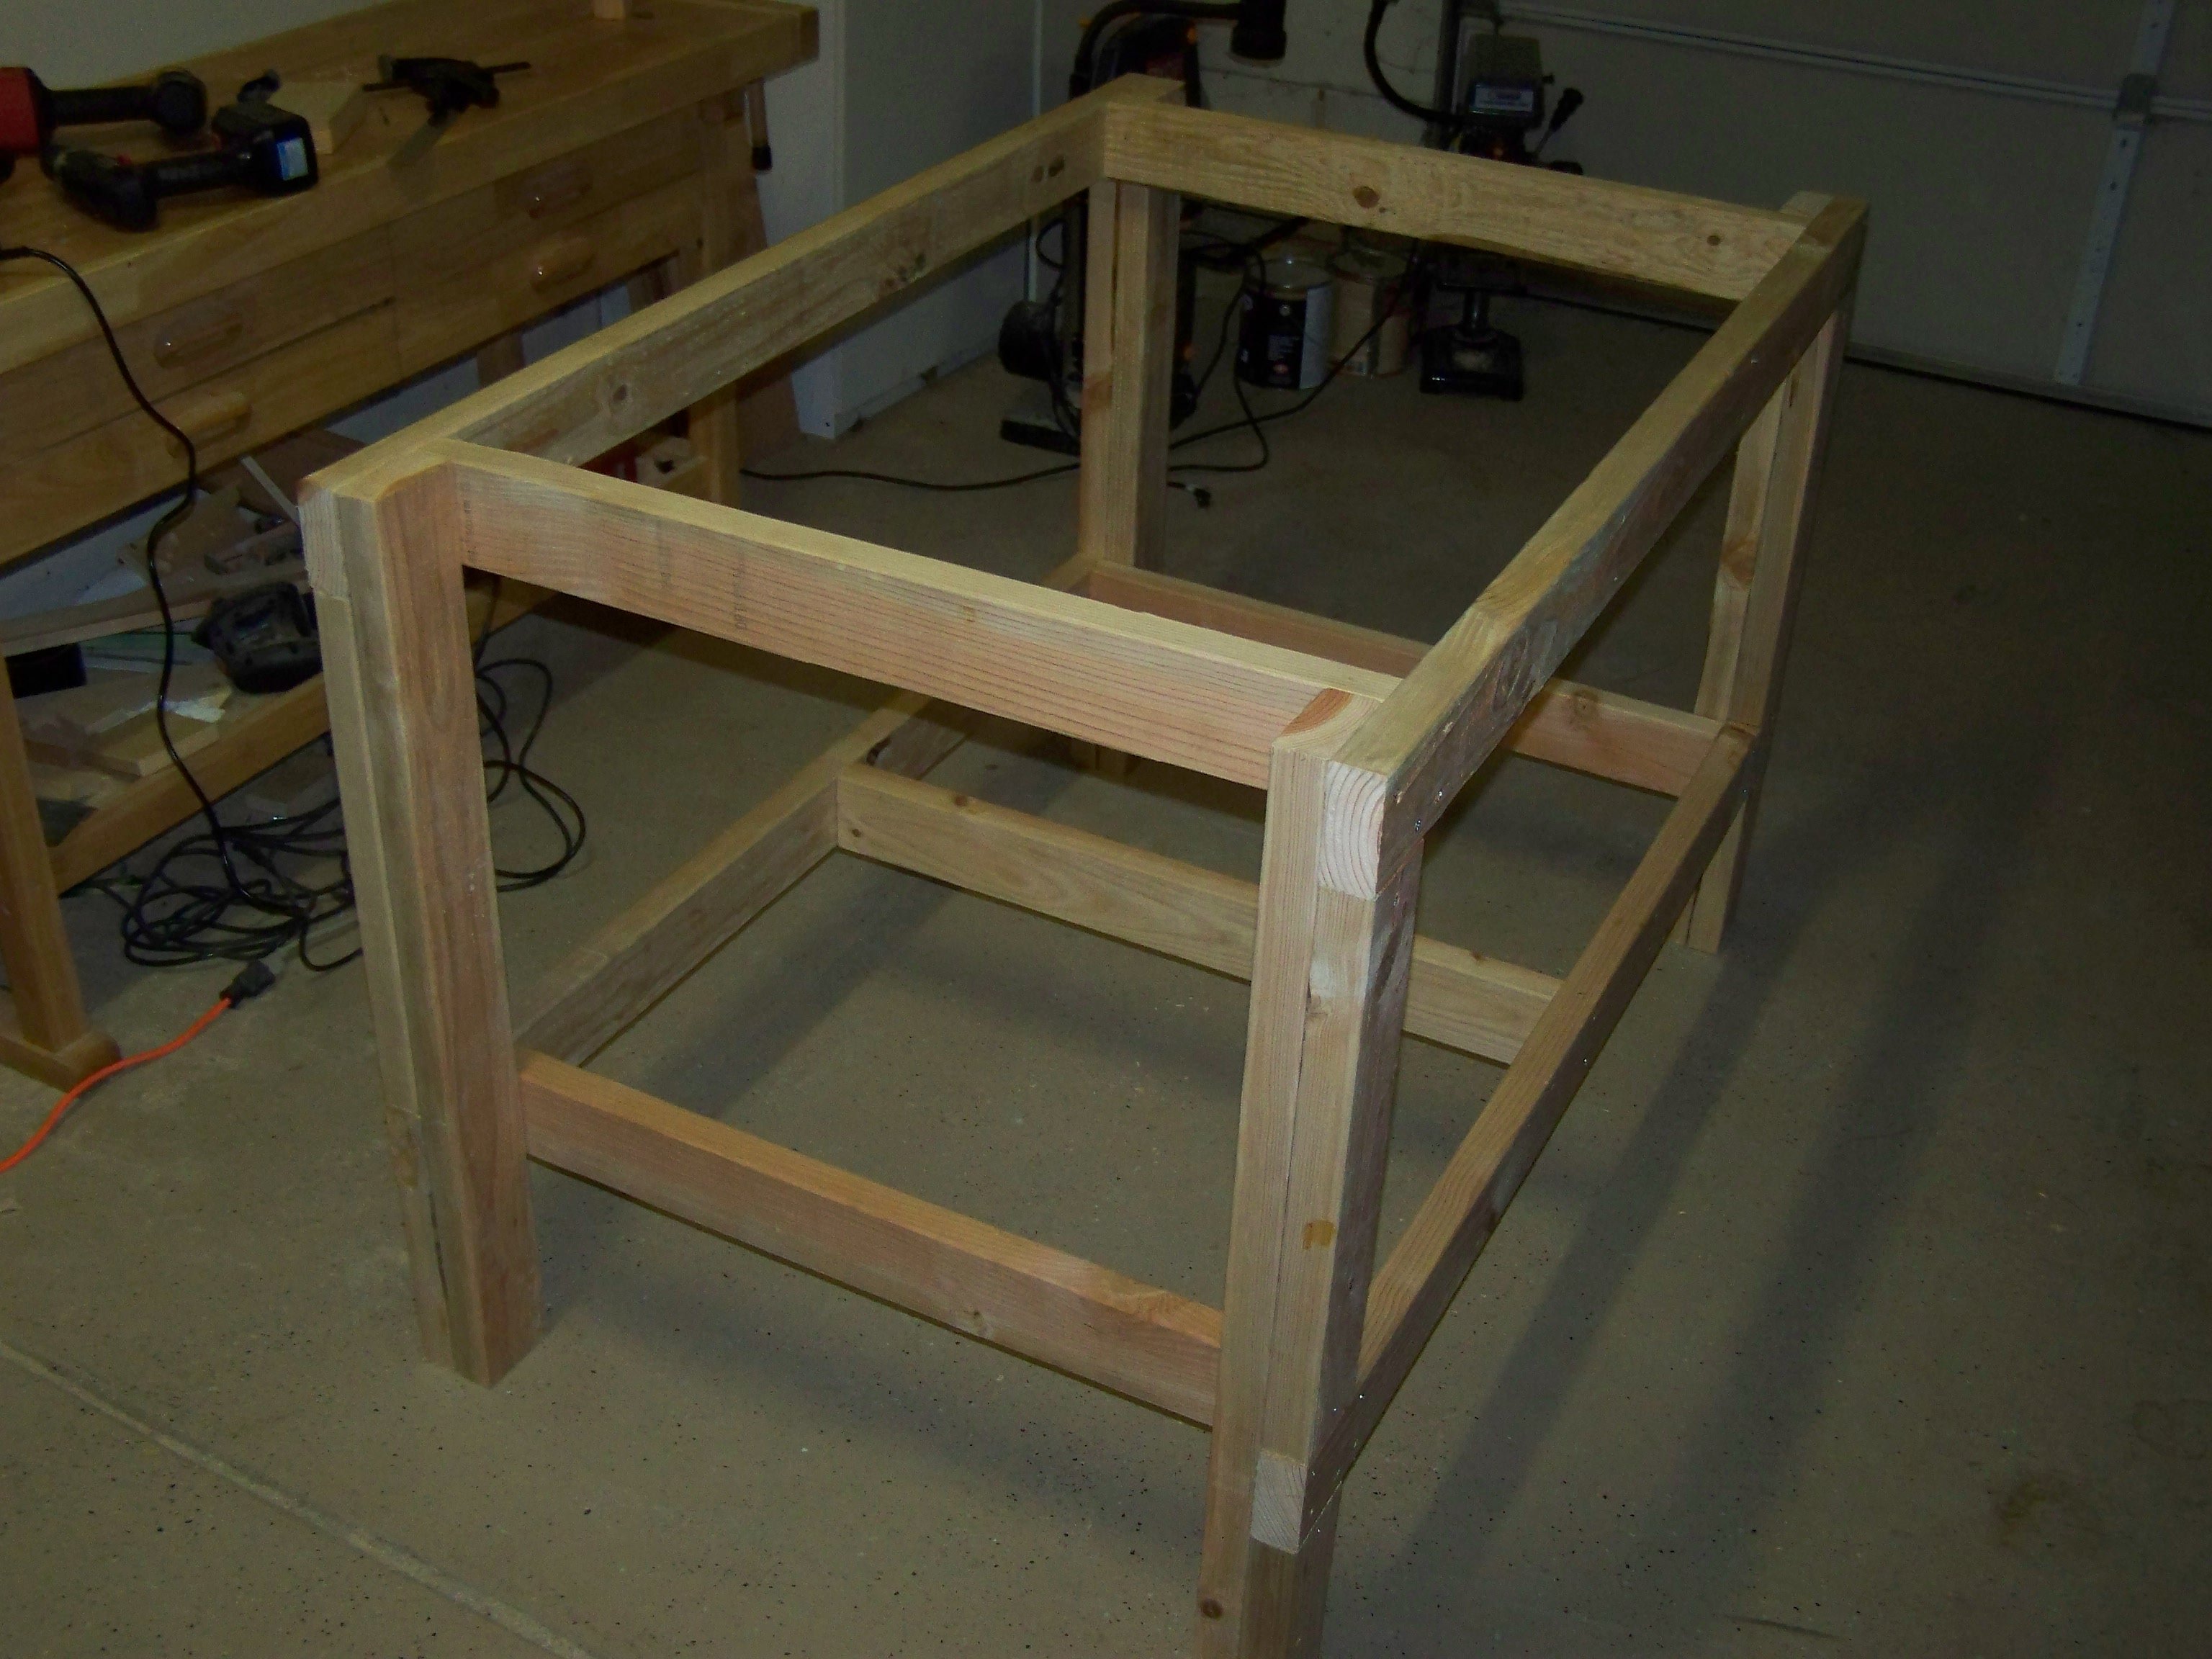
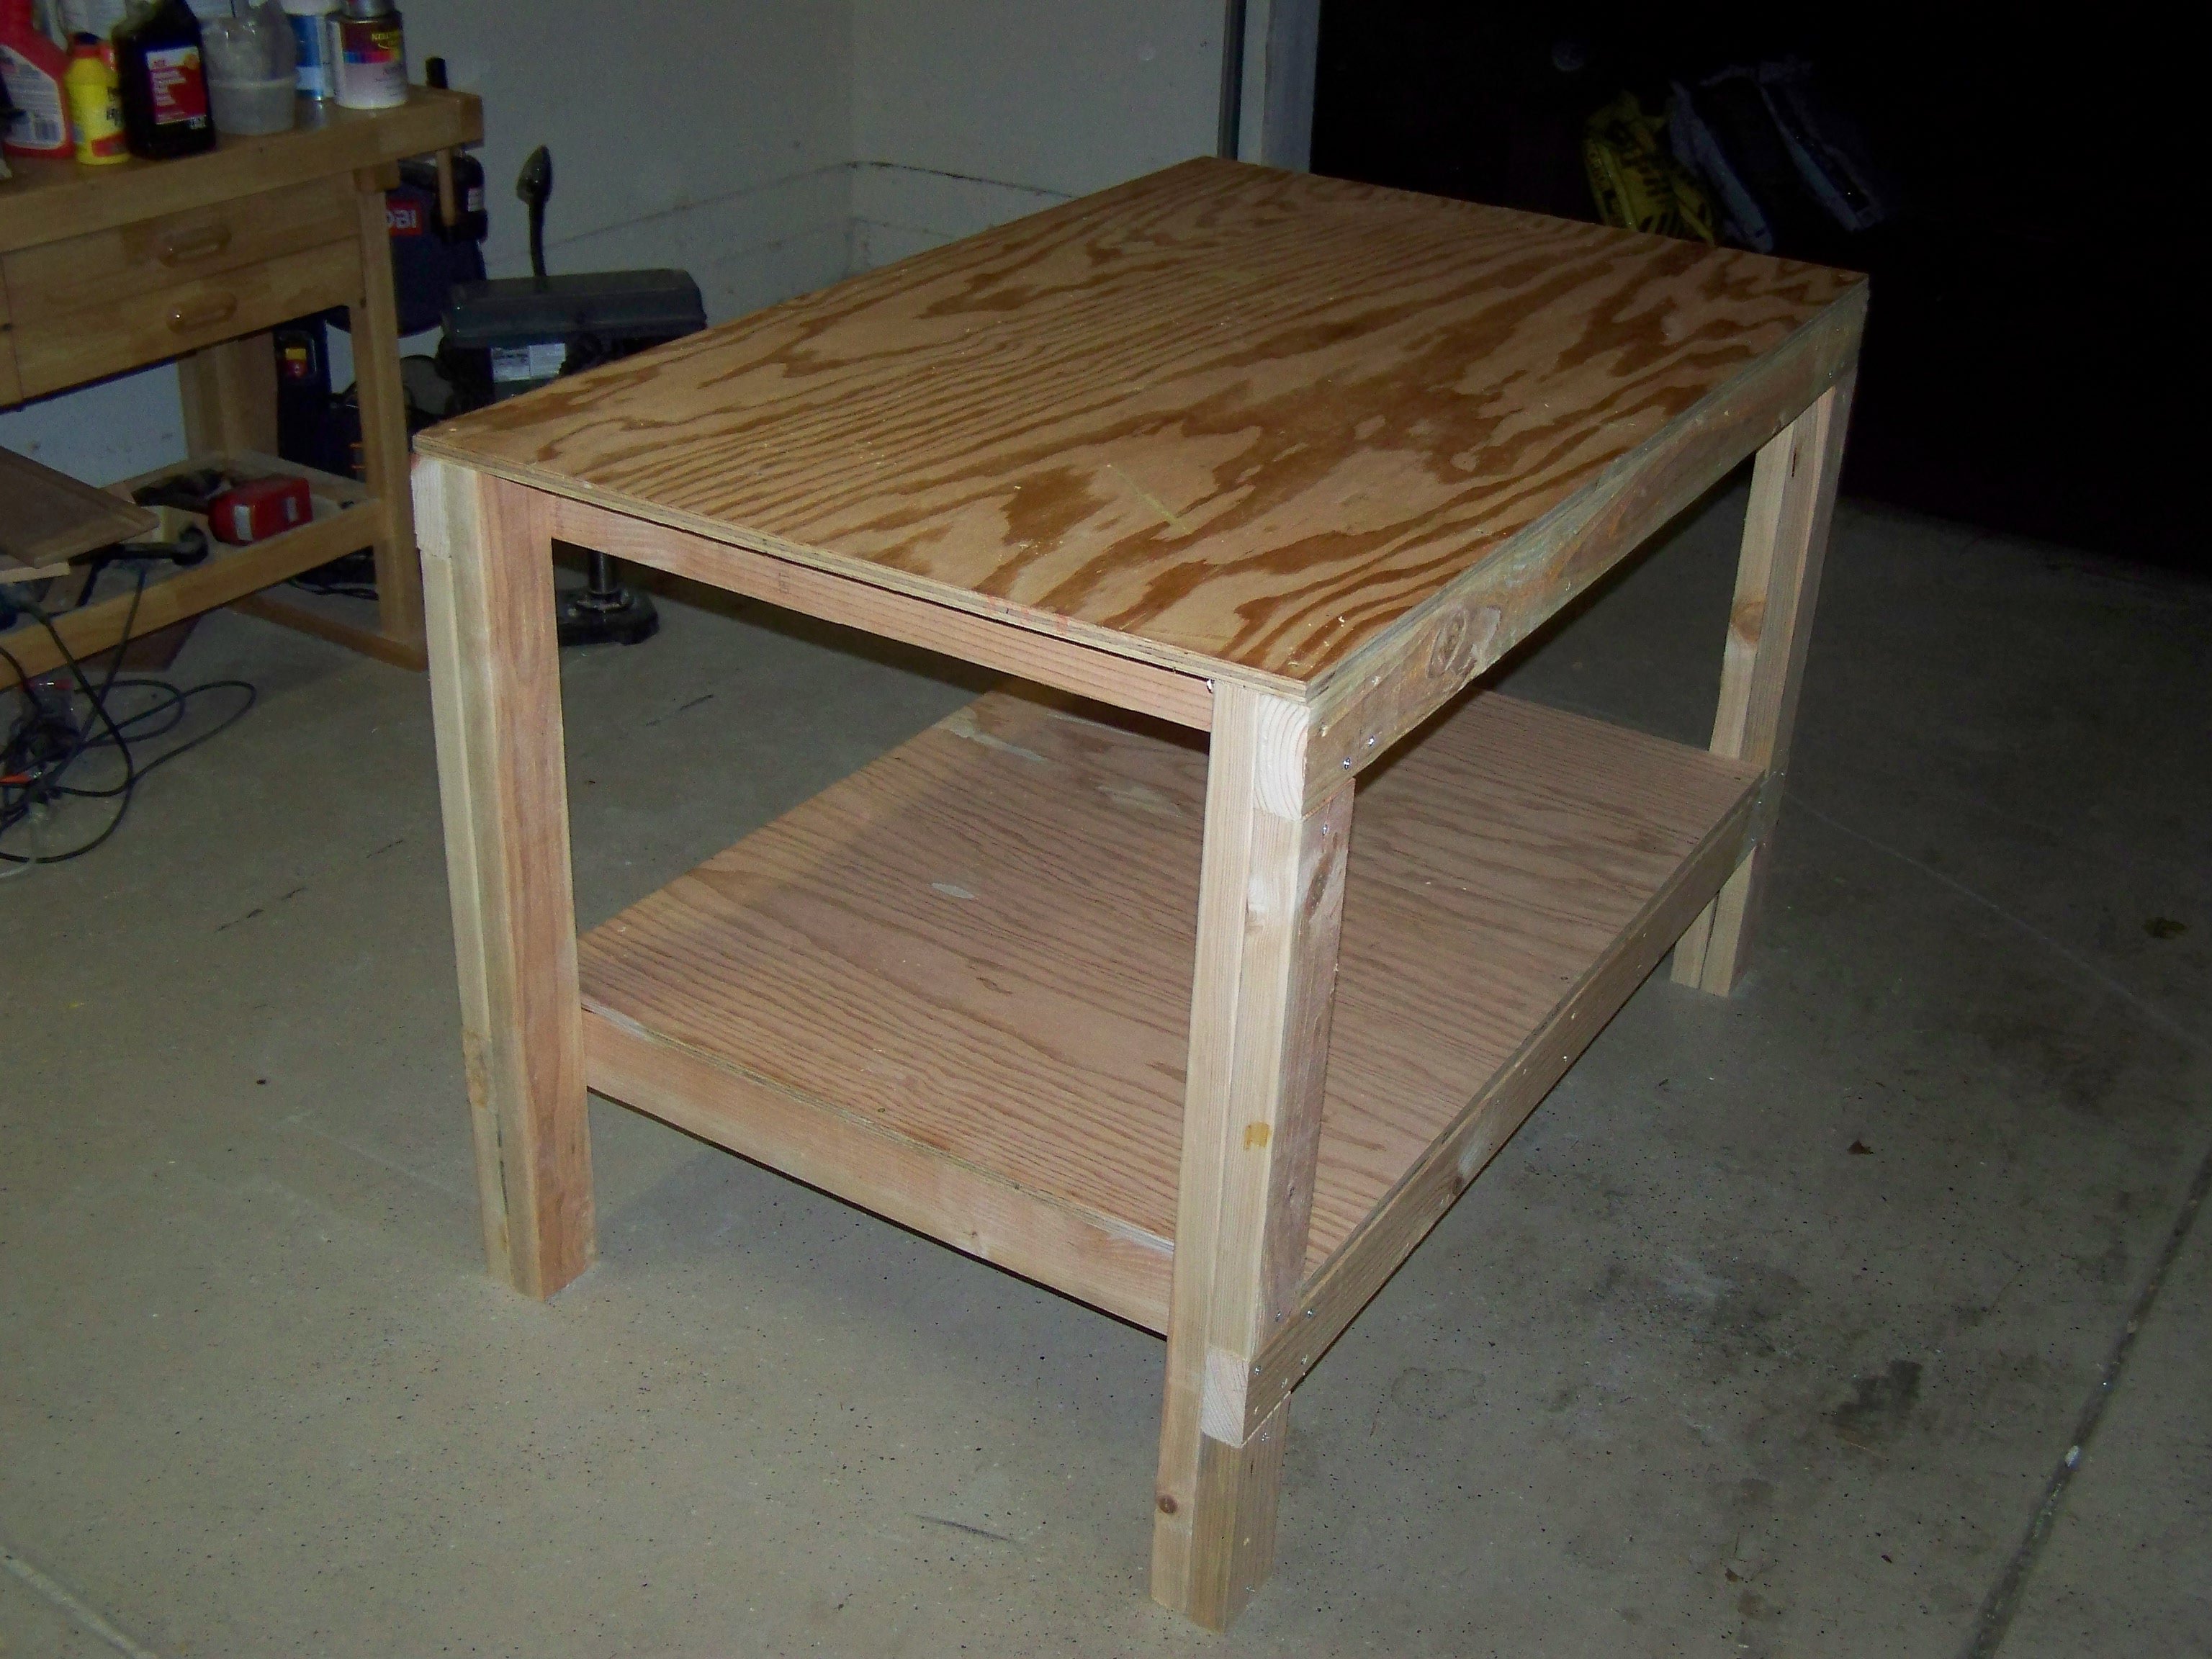
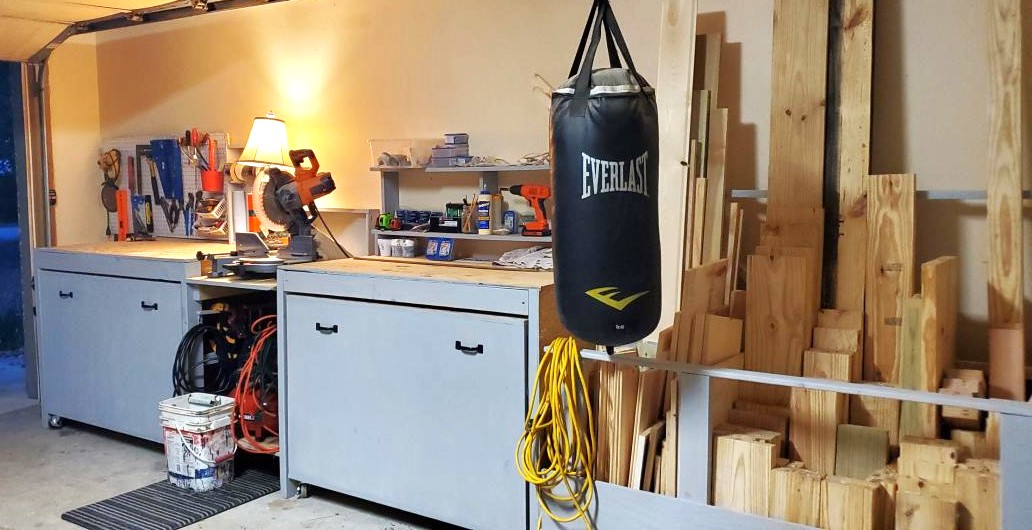
Work Bench and Carts
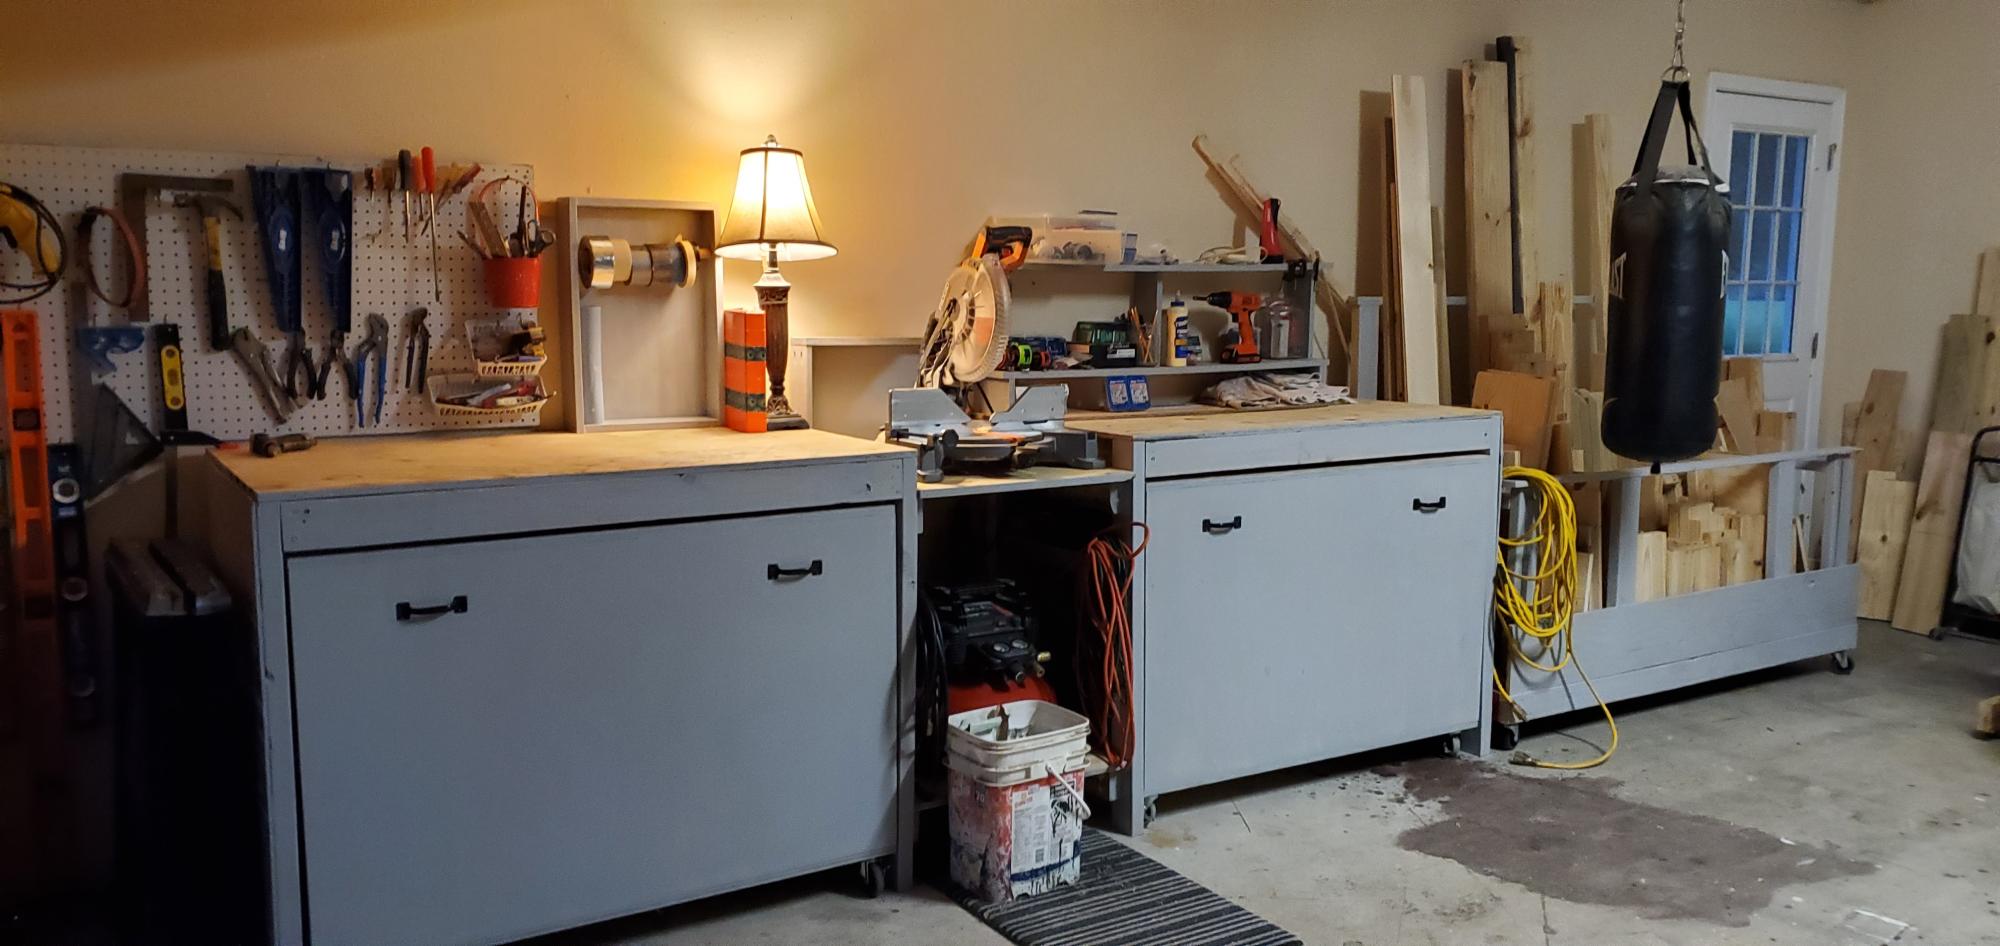
I finally finished my workbench this summer. I started the bench 2 years ago for my miter saw. Got busy with other builds, things for family, clients, etc. I still had most of the wood cut for the carts. Here it is in all its glory!!! Finally organization and I can actually park my car in my garage. Thanks Ana for all of your plans.
Built from Plan(s)
Estimated Time Investment
Week Long Project (20 Hours or More)
Finish Used
primer

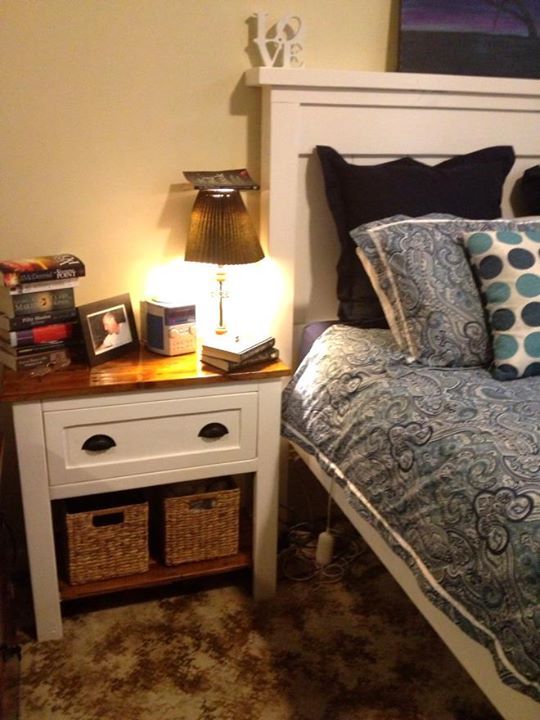
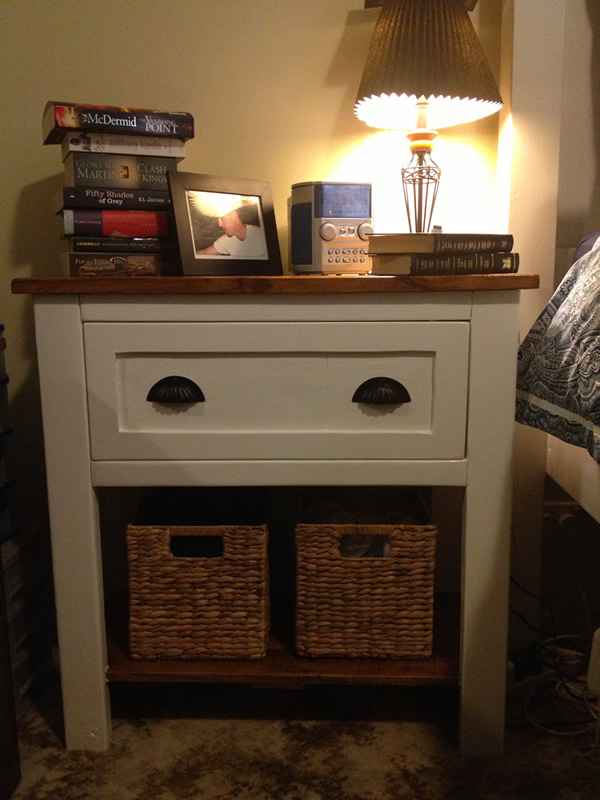
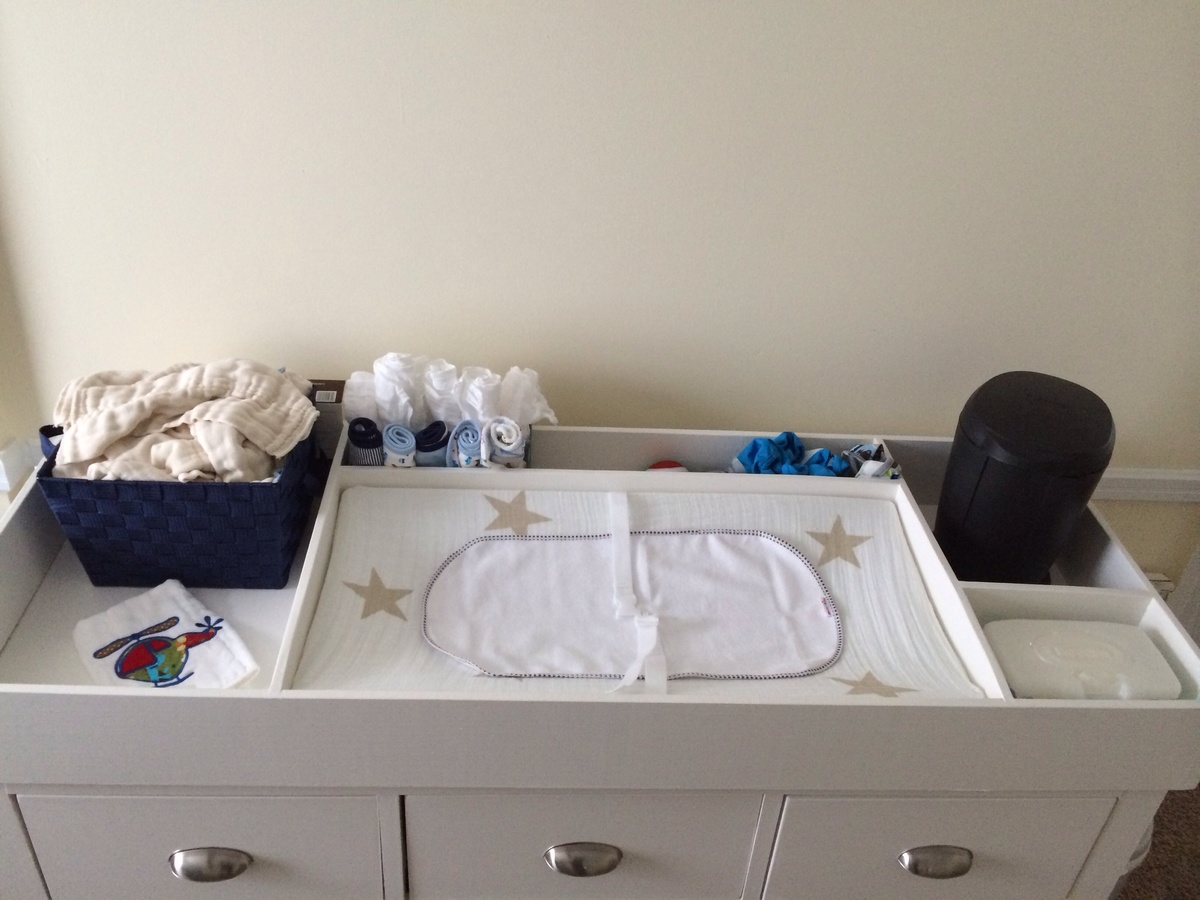
Changing table - dresser
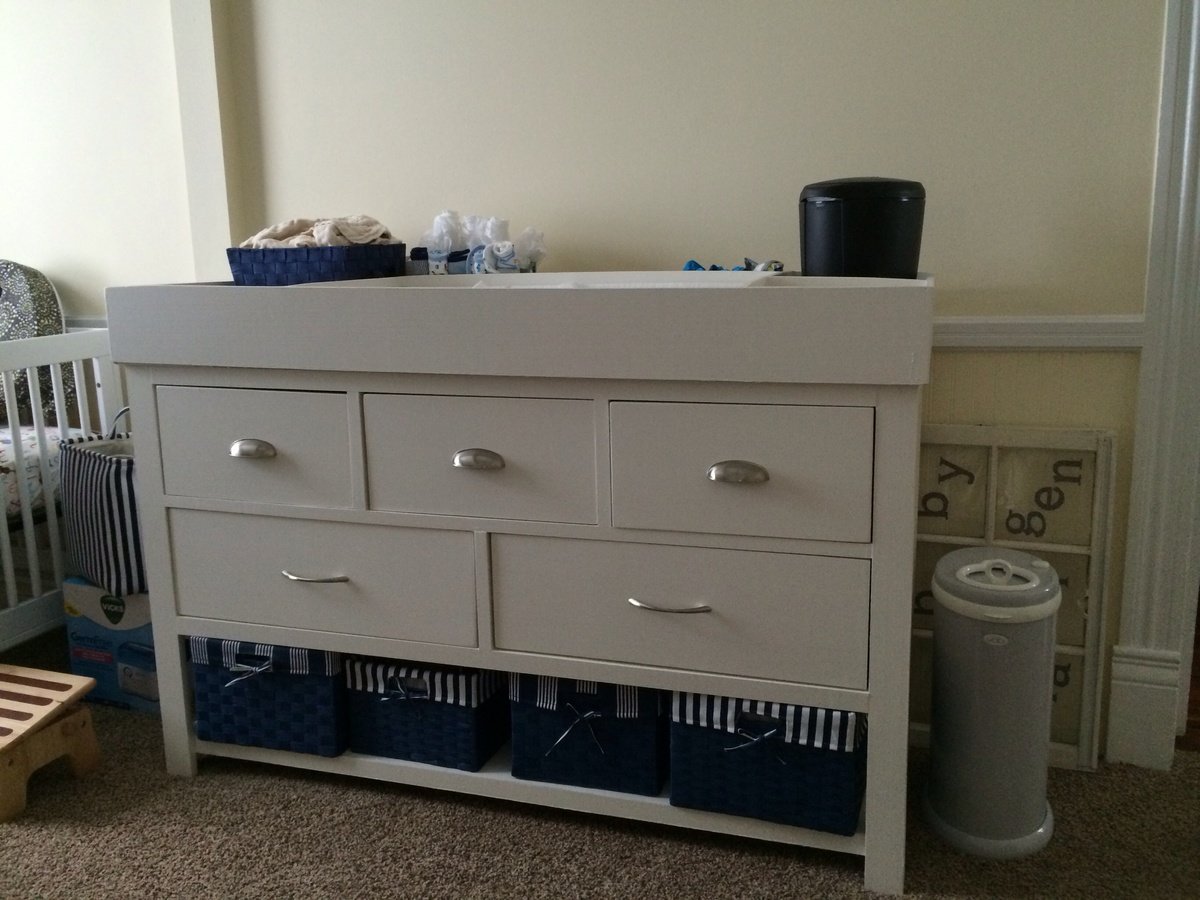
The storage on the dresser is great! I added a changing table top with routed dividers for changing pad and other accessories. I attached the top from above into the dresser frame with recessed screws so it can later be removed and a plain top added (I added a cross bar in both directions to the dresser frame under the top to support the additional weight). I used rough cut poplar from a local lumber yard except for the drawer boxes which are plywood. The legs on my version are made from 2 1x2½" boards cut on a 45° bevel on the table saw. I used full extension side mount metal slides. It was somewhat difficult to attach the drawer slides with a very pregnant belly - my husband helped out with that, not to mention lugging around lumber and painting. It helps to have an extra set of hands on assembly with a big piece like this. Thanks for great plans.
Built from Plan(s)
Estimated Cost
~ $250-275
Estimated Time Investment
Week Long Project (20 Hours or More)
Finish Used
Behr low VOC ivory mist
Recommended Skill Level
Intermediate
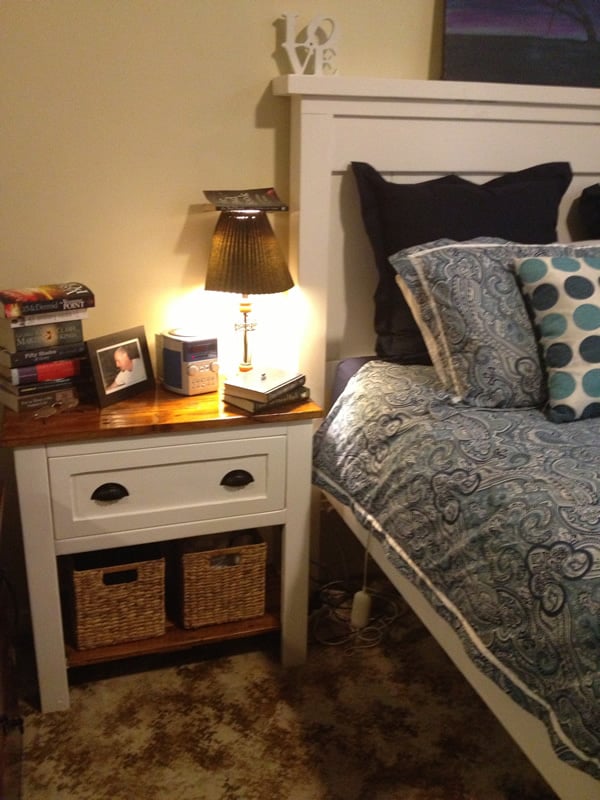
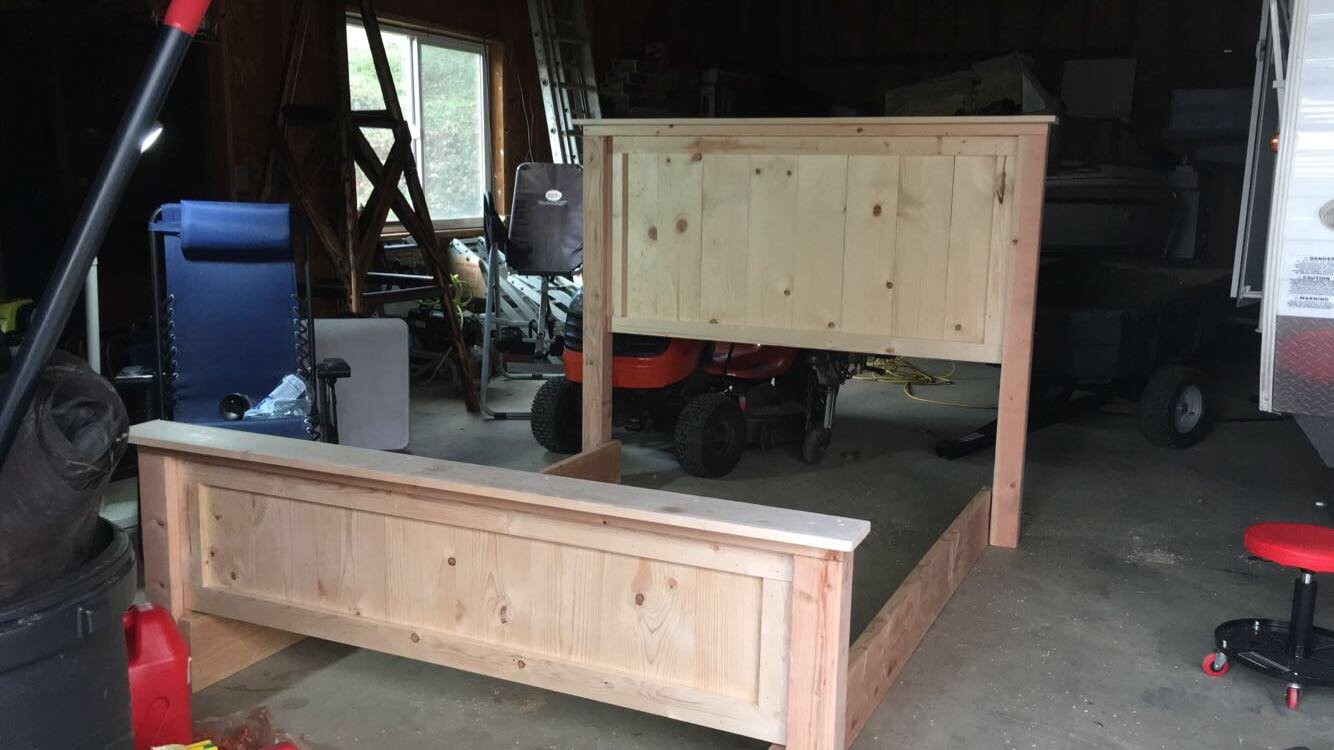
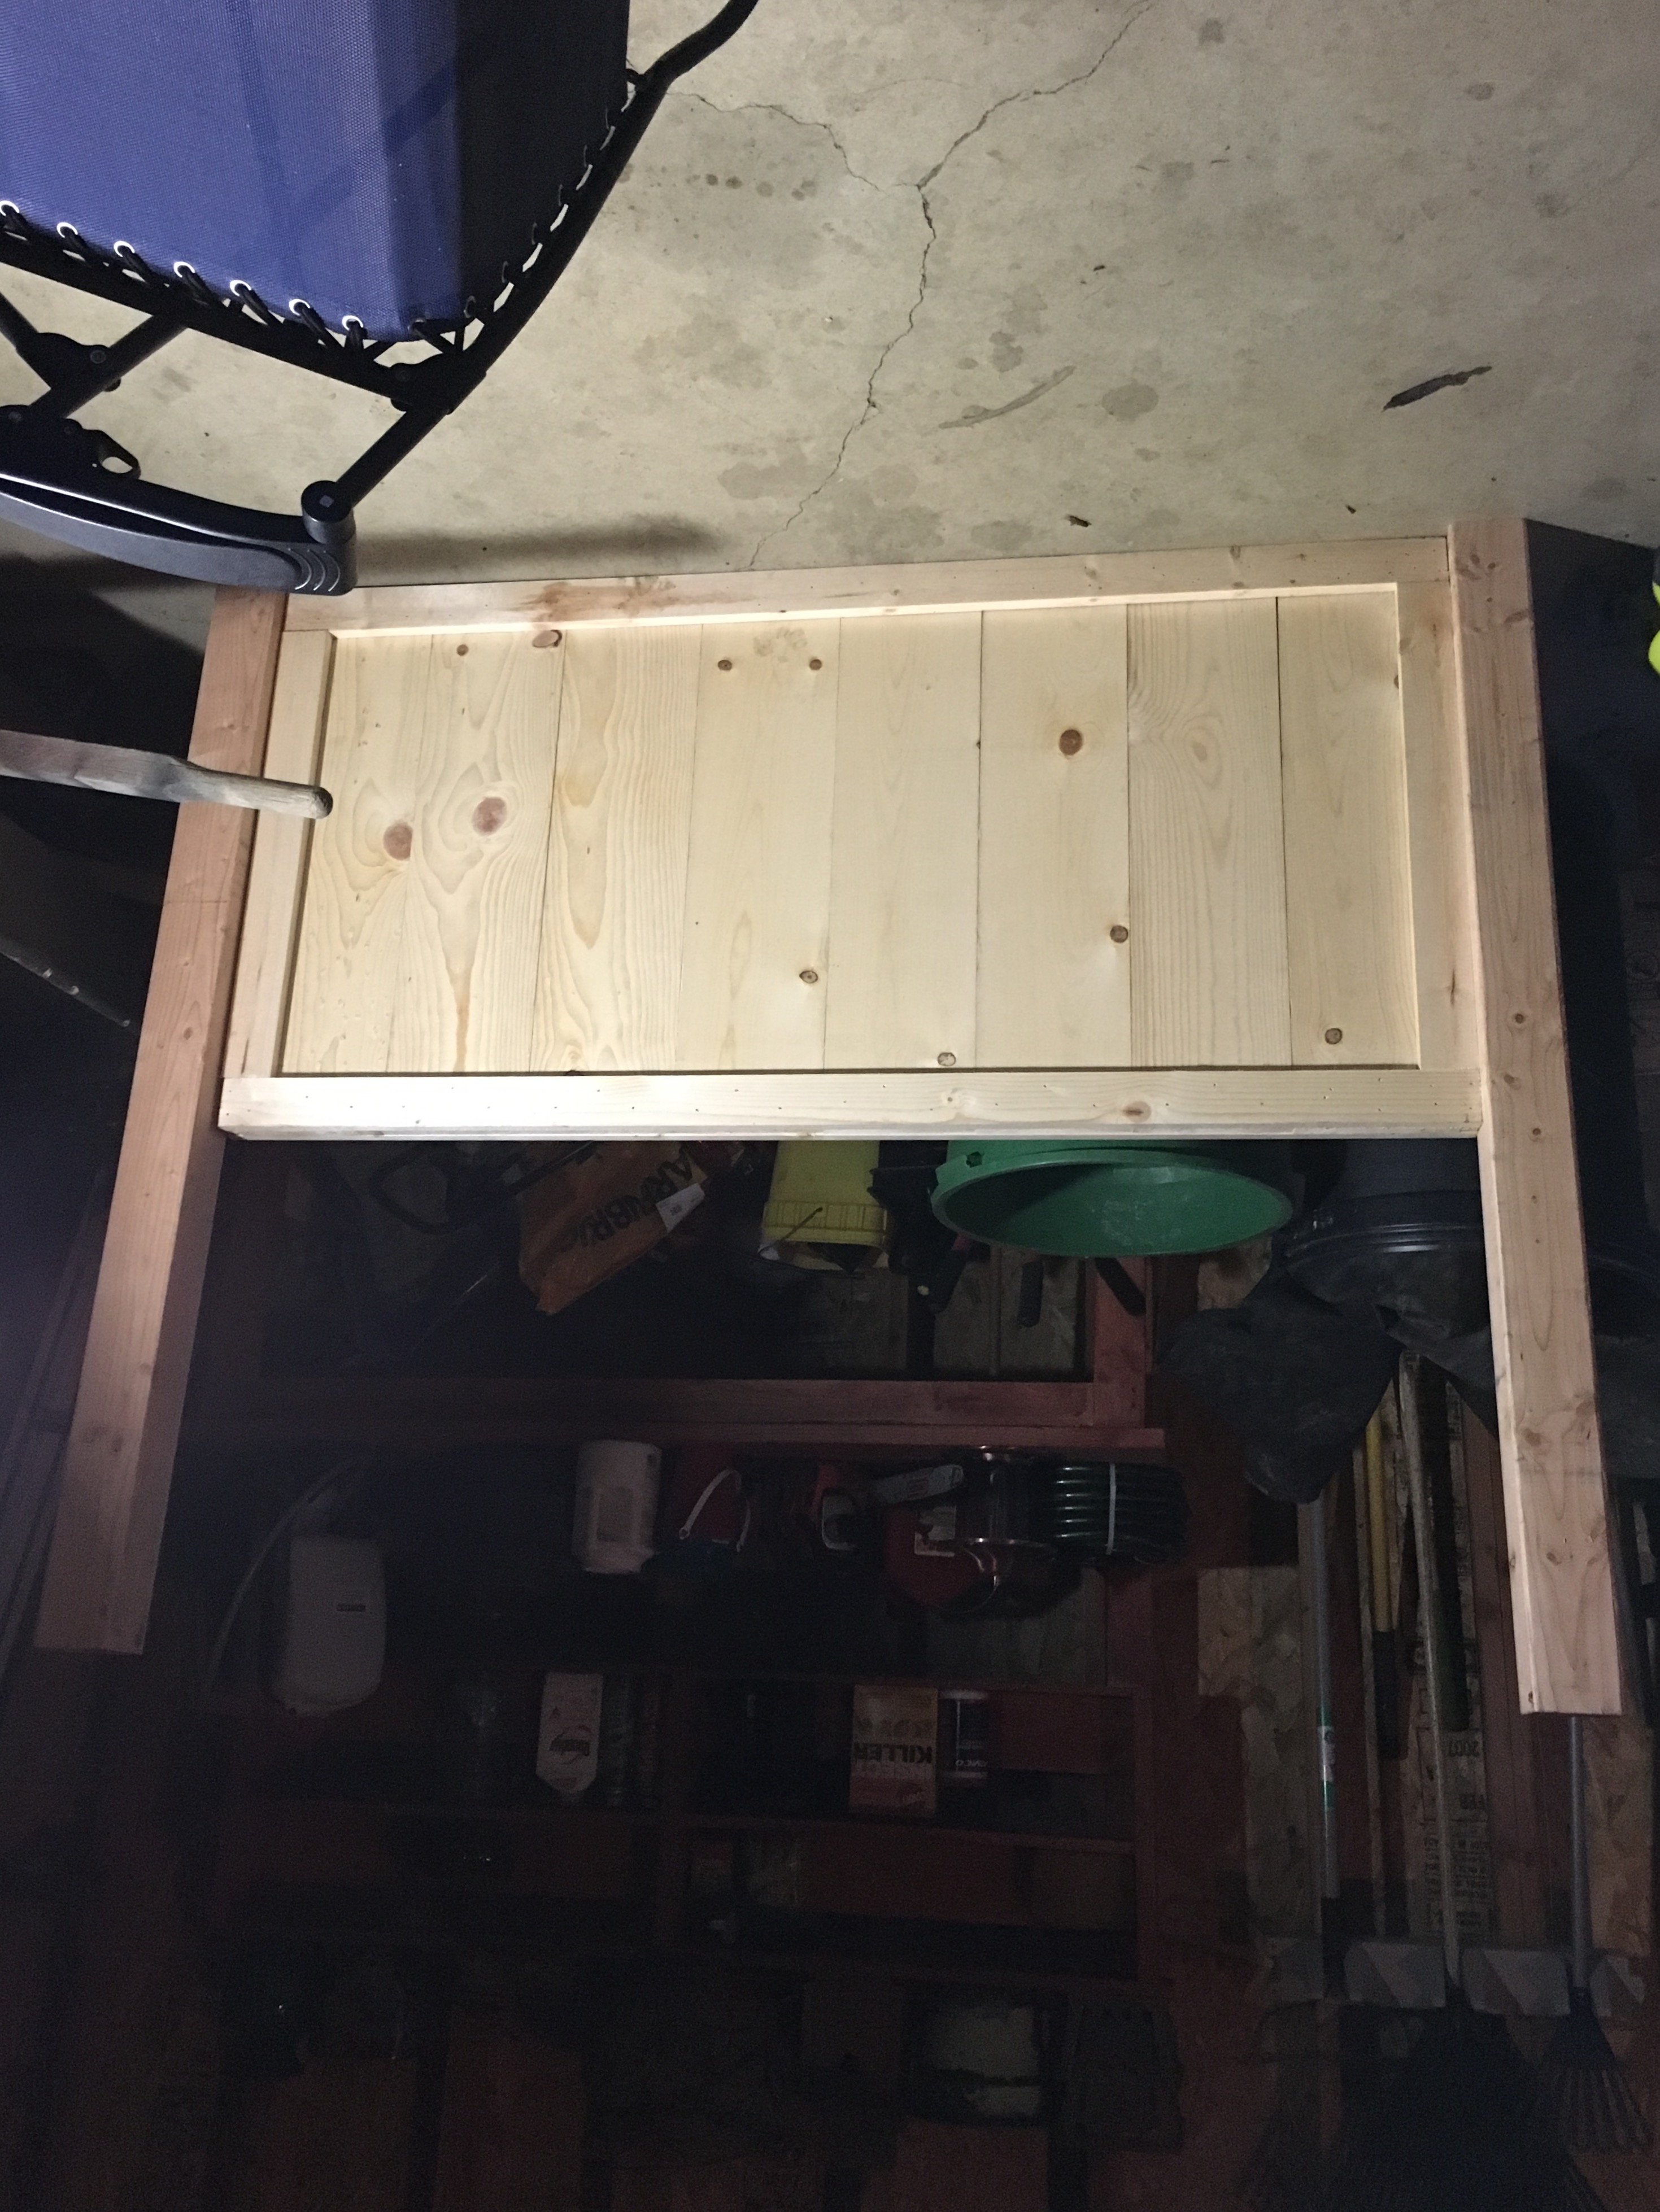
Farmhouse bed

I followed the plans provided by Ana and boy am I delighted. I changed up the color scheme based off a whim. All the stained pieces or cordavan brown semi transparent from Home Depot and the wood is pine. All the white is Douglas fir, (4x4, 2x4, 2x10) and I used a chalked white also from Home Depot. It was fairly easy, I just tweaked the dimension due to our bed height. Great weekend project. Beginner project to certain extent, turned into a intermediate based on tools used and certain finishes.
Measurements were for a queen bed frame and tempurpedic adjustable bed frame (had to adjust post height to be taller, adjust 2" shorter for standard Hollywood frame)
Built from Plan(s)
Estimated Cost
$225 based on more expensive finishes.
$120 ish in wood, paint and stain was about $60. Hardware cost the rest.
$120 ish in wood, paint and stain was about $60. Hardware cost the rest.
Estimated Time Investment
Weekend Project (10-20 Hours)
Finish Used
Cordavan brown stain, chalked white paint
From Home Depot. Poly coat on top
From Home Depot. Poly coat on top
Recommended Skill Level
Intermediate
Comments
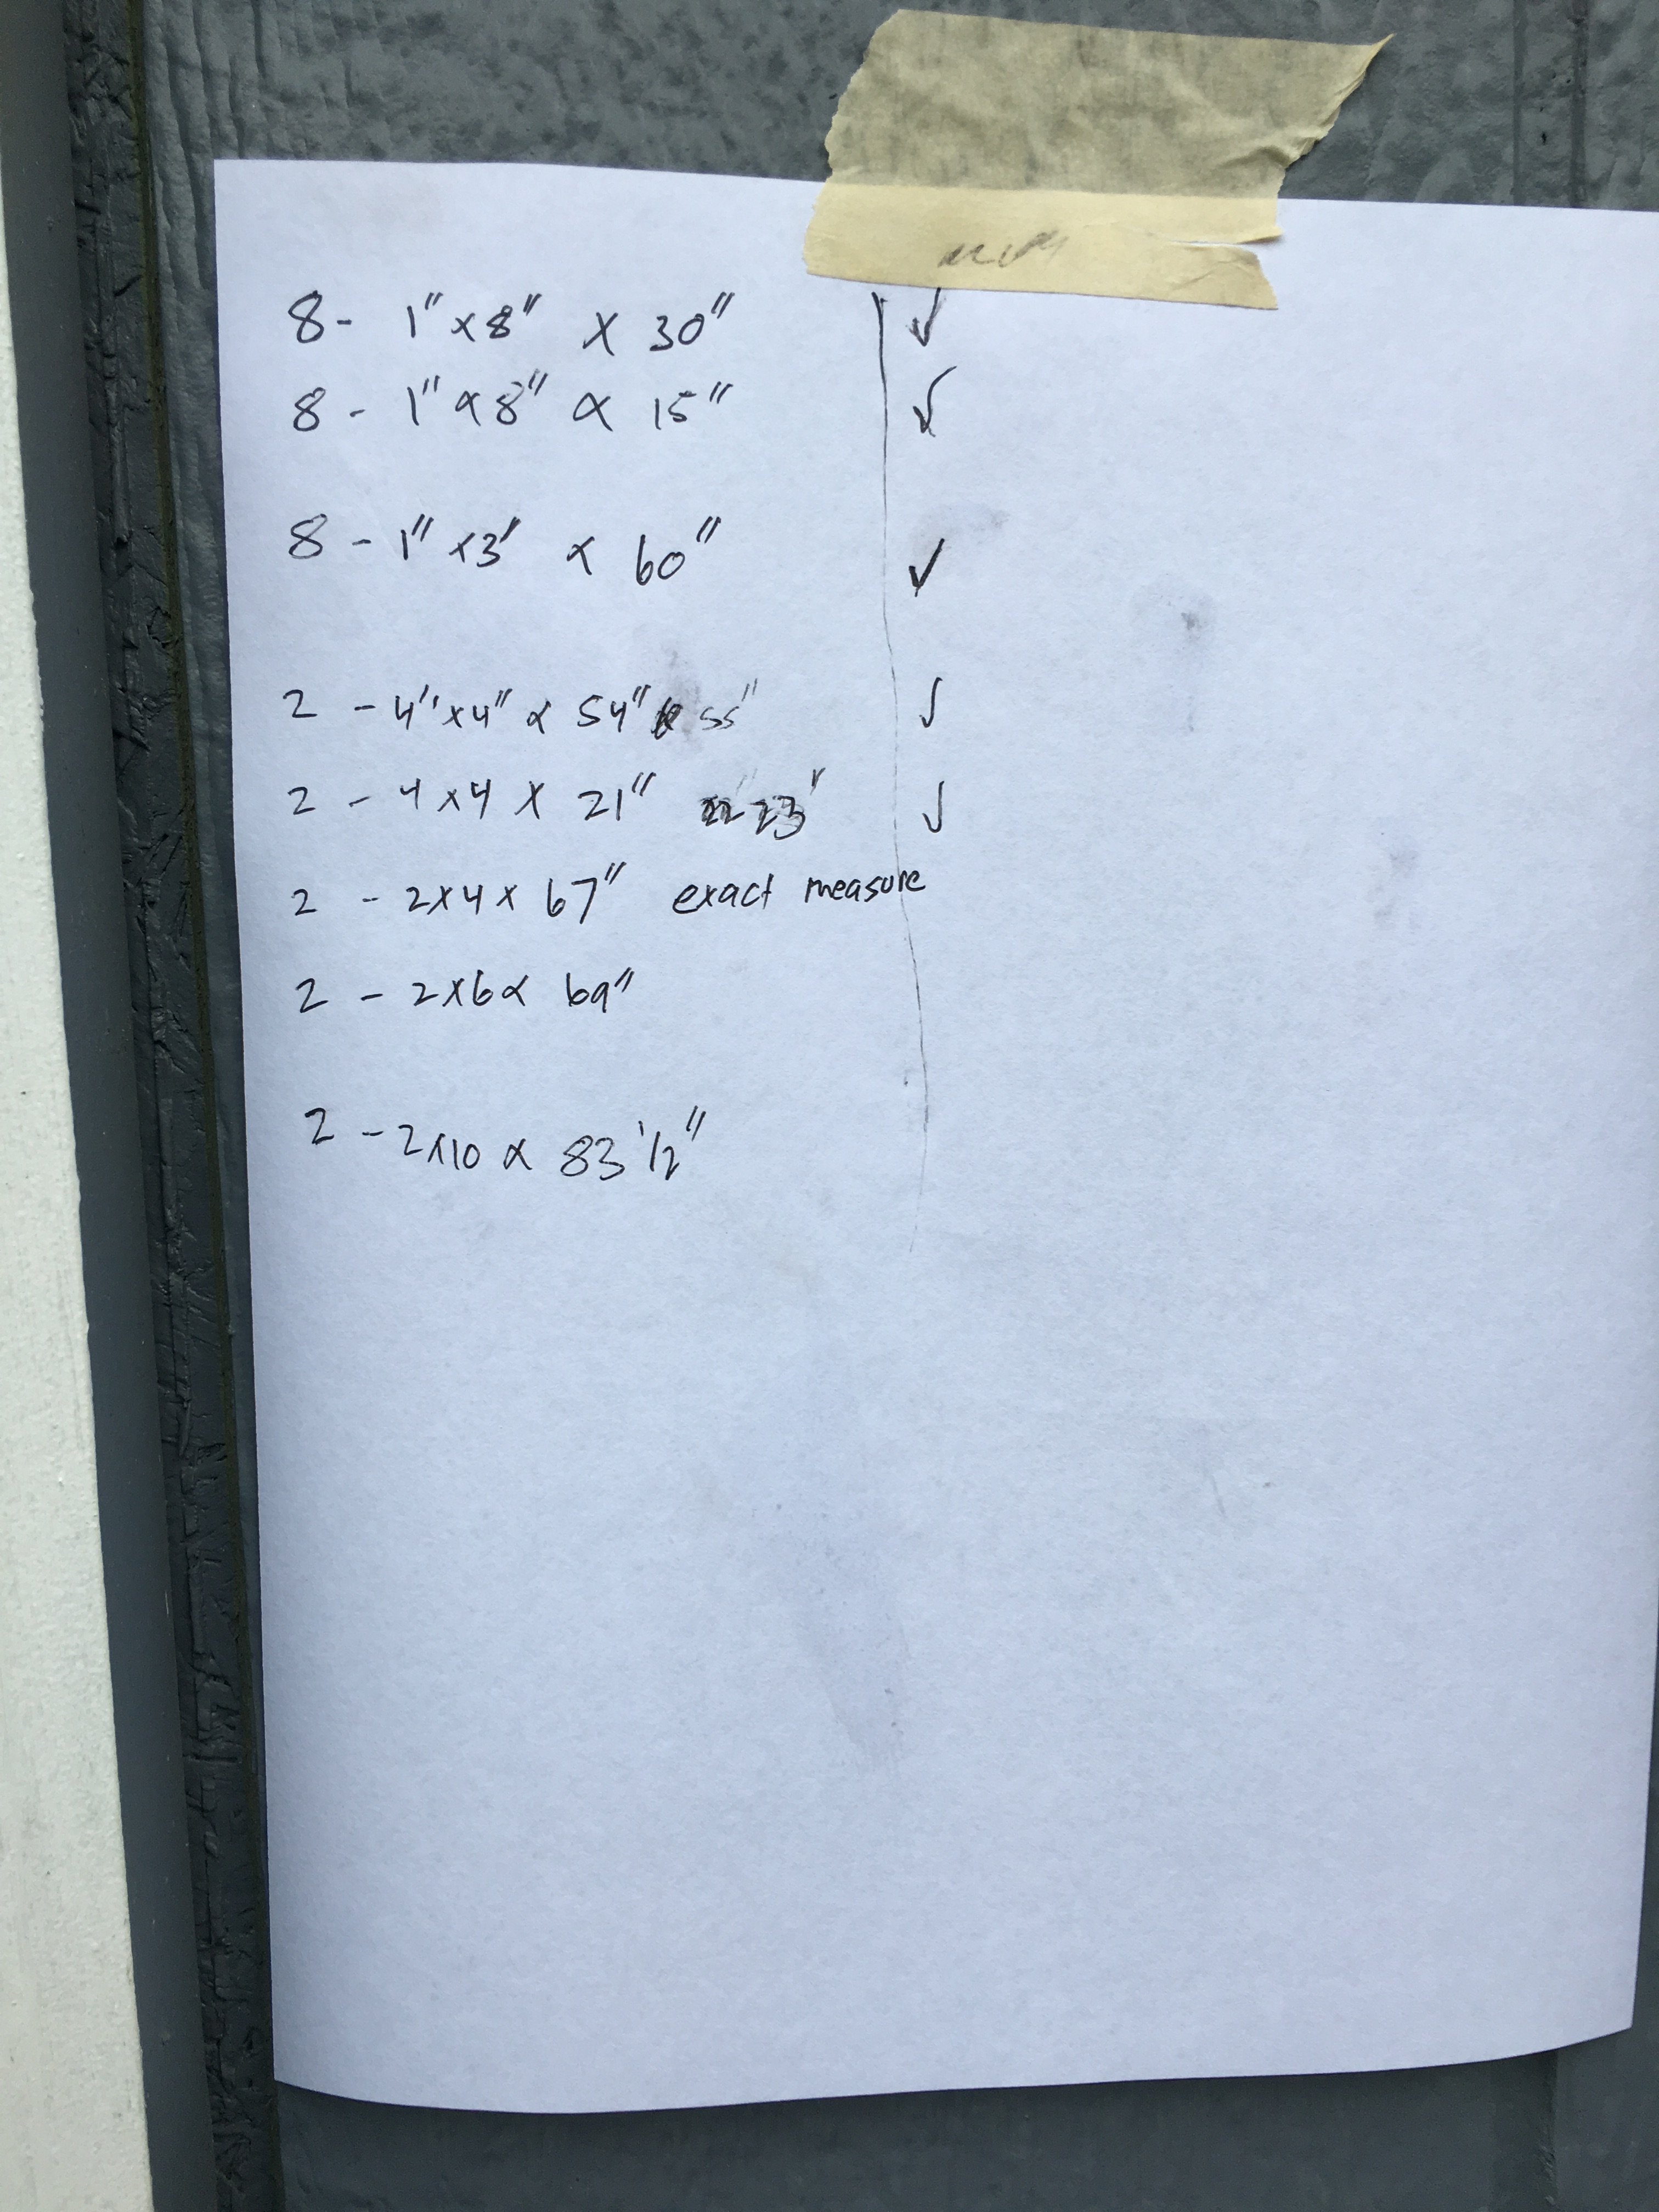
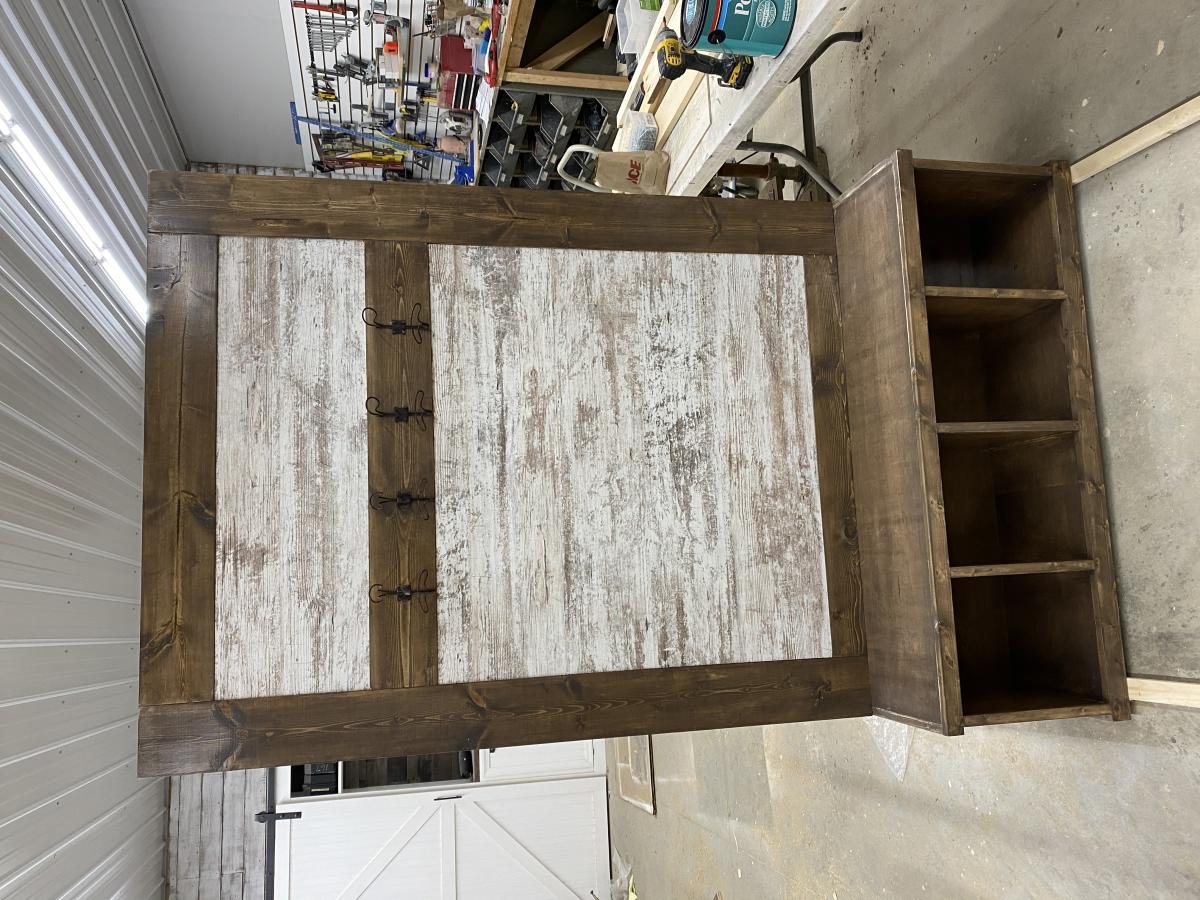
Farmhouse hall tree
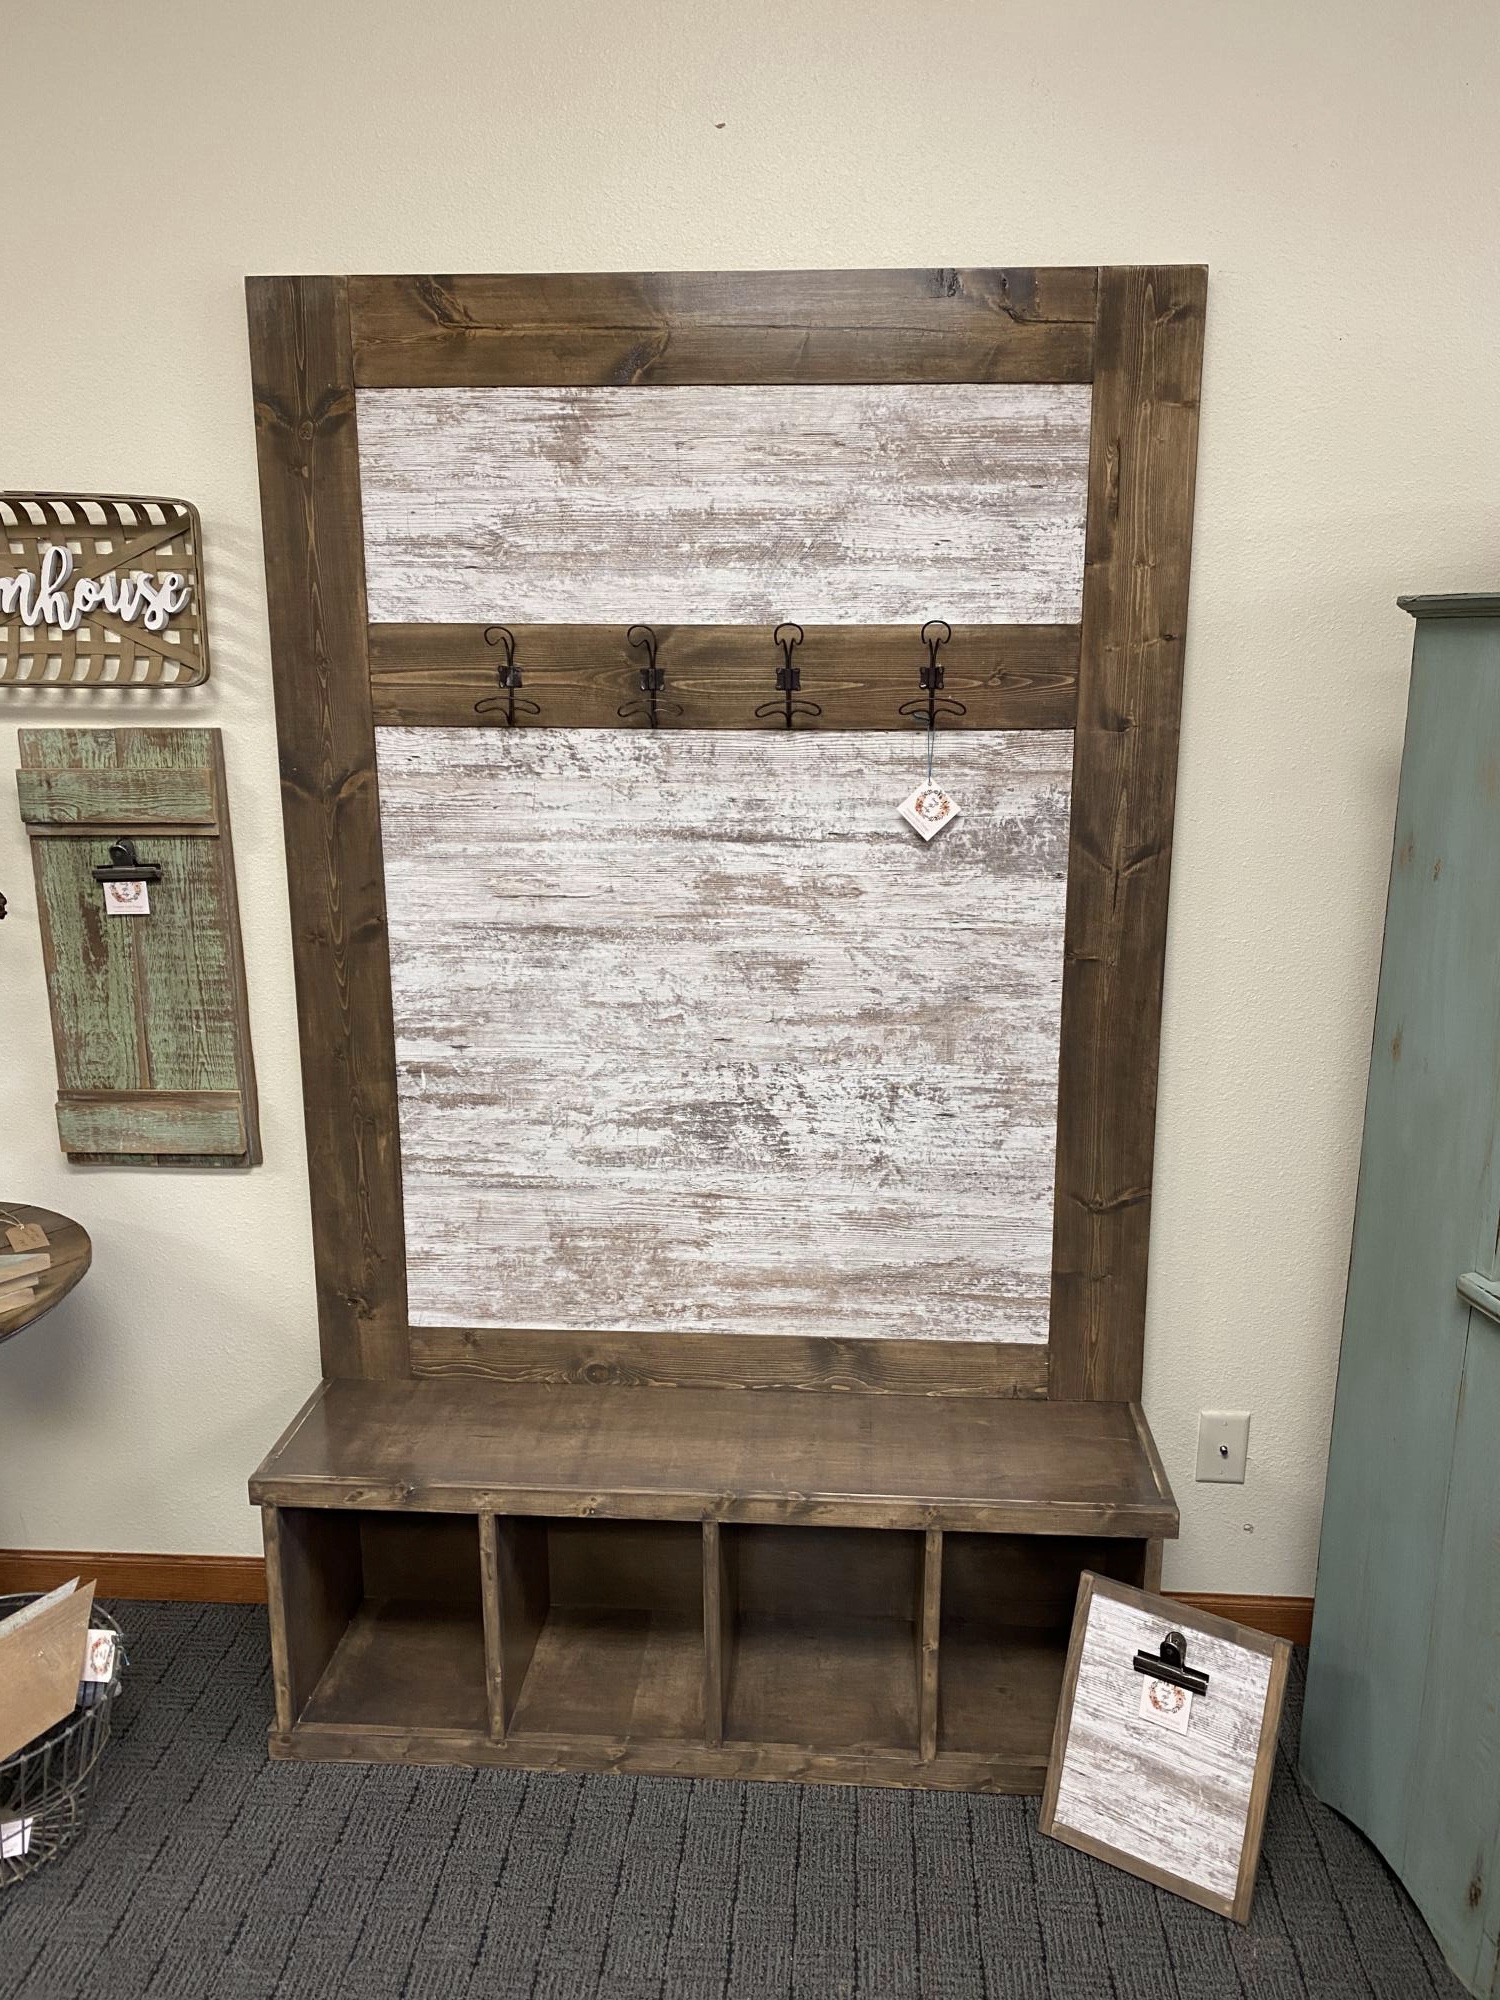
I put my own twist on the Ana White “farmhouse hall tree”. I used 1- sheet of 1/2” project panel (4’x4’), 2 1x6x10’ boards and 3. 1x4x8’ boards. The bench was 3/4” hardwood plywood, trimmed out with scraps. I stained with a mix of briarsmoke and Kona.
The project panel was so easy to use. I bought this one at Menards.
Built from Plan(s)
Estimated Cost
100
Estimated Time Investment
Day Project (6-9 Hours)
Finish Used
Briarsmoke stain mixed with a third Kona. Polycrylic in satin
Recommended Skill Level
Intermediate
Kitchen Utility Cart
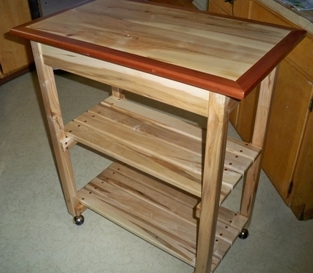
The cost was very low as I had recently purchased a pick-up truck load of maple (around 1300 bdft) at a local Northeastern Woodworkers Association auction for $1/bdft. This was the first furniture type item I had done and I was tickled to death with the results. The design was based on a number of "Big Box" examples of disposable furniture that looked very nice but would never last. I added the mahogany trim because I like the contrast (and I have a ton of it in the shop) and the sort of copper color it exhibits.
Estimated Cost
$50
Estimated Time Investment
Week Long Project (20 Hours or More)
Finish Used
Wiped polyurethane
Recommended Skill Level
Intermediate
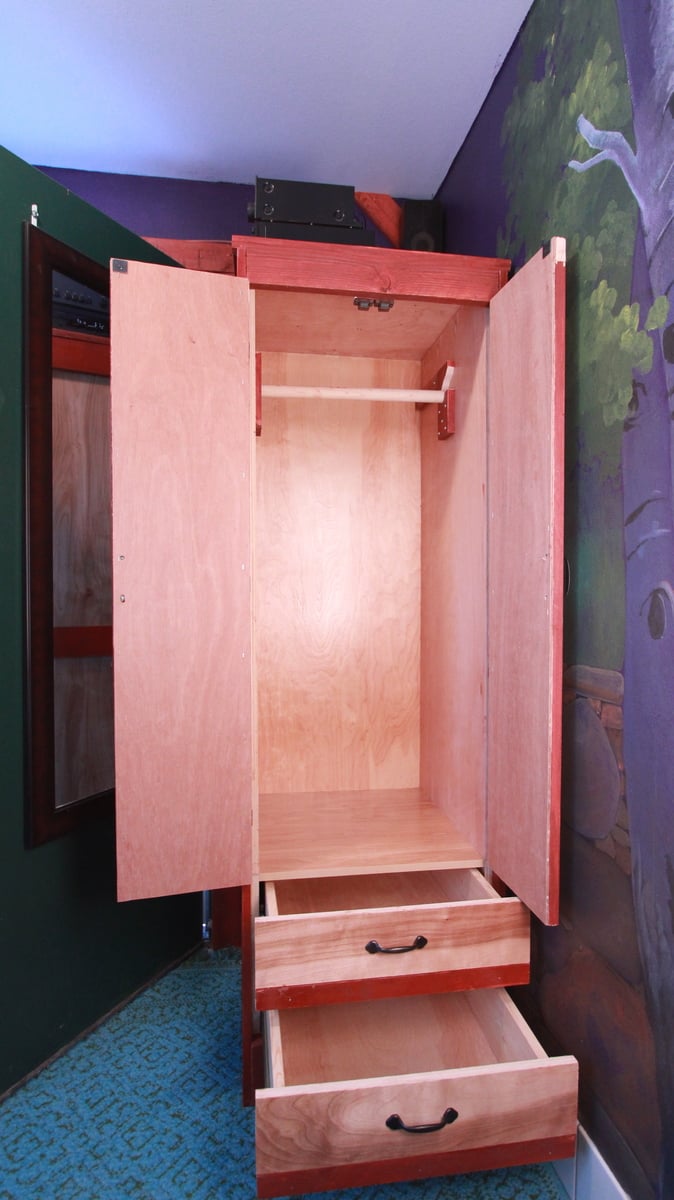
Tall Narrow Wardrobe for Tiny House
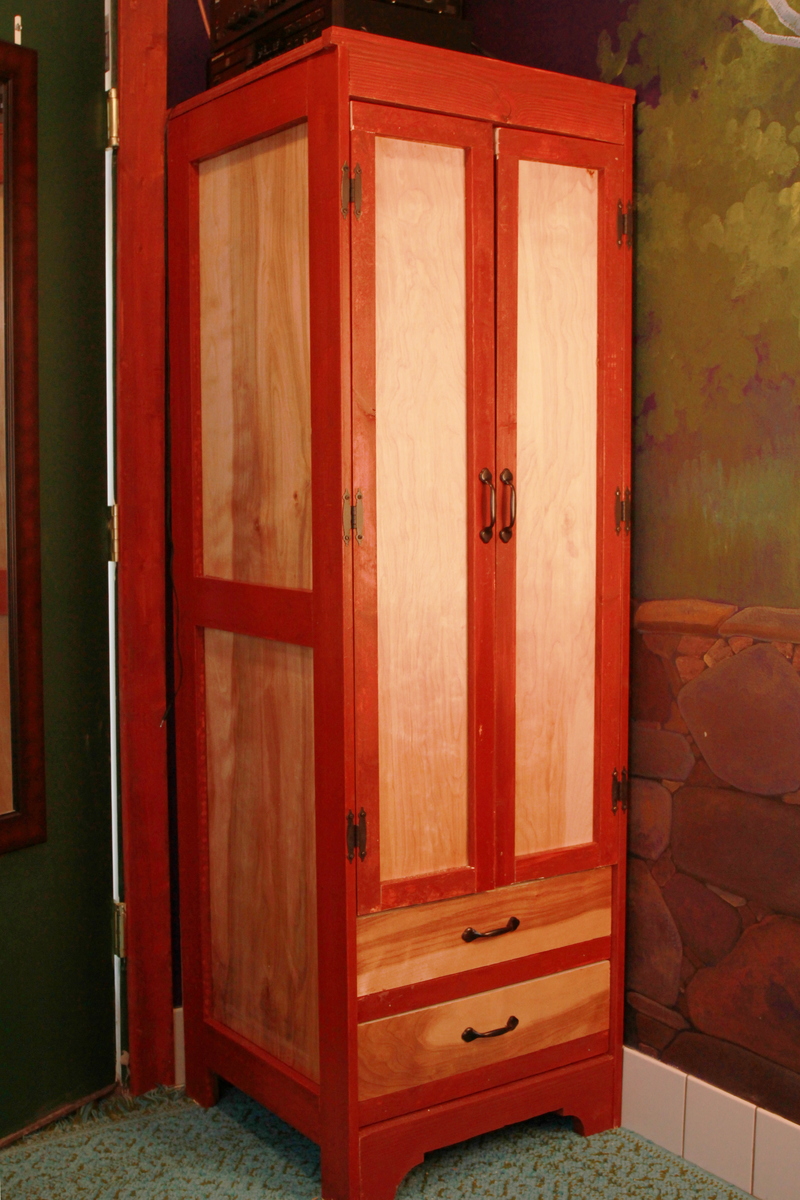
Needed a wardrobe for a 24-inch wide space. Not sure you could buy such a thing -- certainly not in the small town where we live. Glancing at Ana's "Toy or TV Armoire" plans gave me an idea how to proceed.
Didn't plan for drawers, initially, but turned out I hadn't pre-stained enough trim for full-height doors, so decided to add drawers. Glanced at the insert plans, and it didn't look too bad. Decided to build the drawers right in with 22-inch 75lbs sliders, since again, not enough trim for full doors. Also, I think it might be tedious to first open a door or in my case doors just to get to the drawes. Miraculously, cabinet turned out to be square enough (+/- 1/16th inch) for the sliders. Here's to $99 table saws and pocket hole screws!
Thank you, Ana, for this and the other plans I built (craft table). Also, I admire your webmasters Drupal-craft!
Built from Plan(s)
Estimated Cost
$40 for the stain, $10 for varnish
$24 for hardware
$120 for plywood
$50 for trim
$30 for drawer sliders
$5 for pocket hole screws
Total: $279
Oh wait... $20 more for the two 2 x 6s used for the drawers, $8 worth of Tite Bond, and? Call it $310 or so.
$24 for hardware
$120 for plywood
$50 for trim
$30 for drawer sliders
$5 for pocket hole screws
Total: $279
Oh wait... $20 more for the two 2 x 6s used for the drawers, $8 worth of Tite Bond, and? Call it $310 or so.
Estimated Time Investment
Week Long Project (20 Hours or More)
Finish Used
Trim has two coats of Pratt & Lambert oil-based "Toy Wagon" color semi-transparent redwood stain, which takes two weeks to dry. The ply has water-based MinWax polyurathane. Finished most everything before assembling. Was too lazy to varnish over the trim, though that would certainly make it less "rustic." Oh well. It's not a piano.
Recommended Skill Level
Advanced
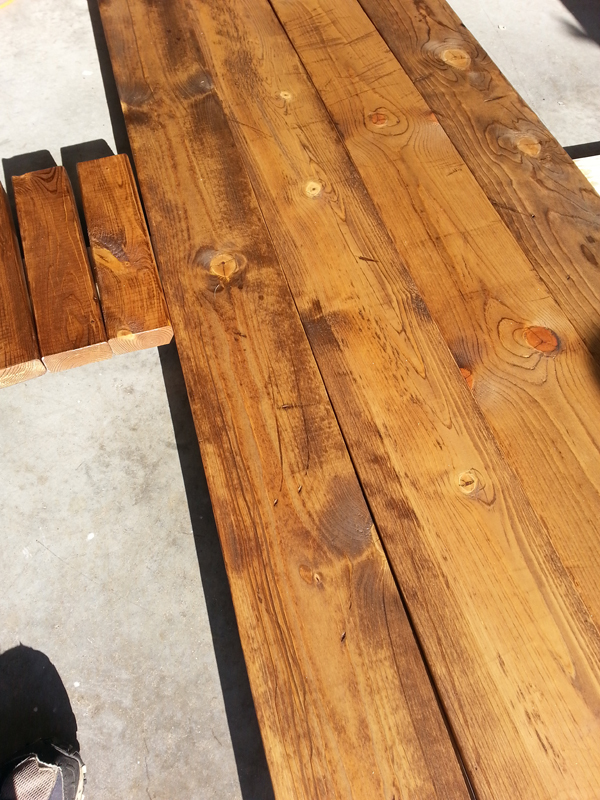
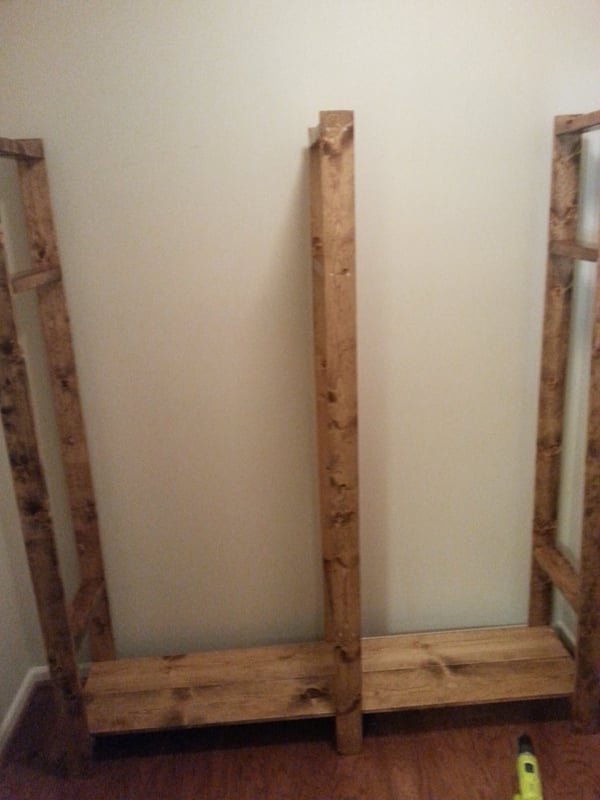
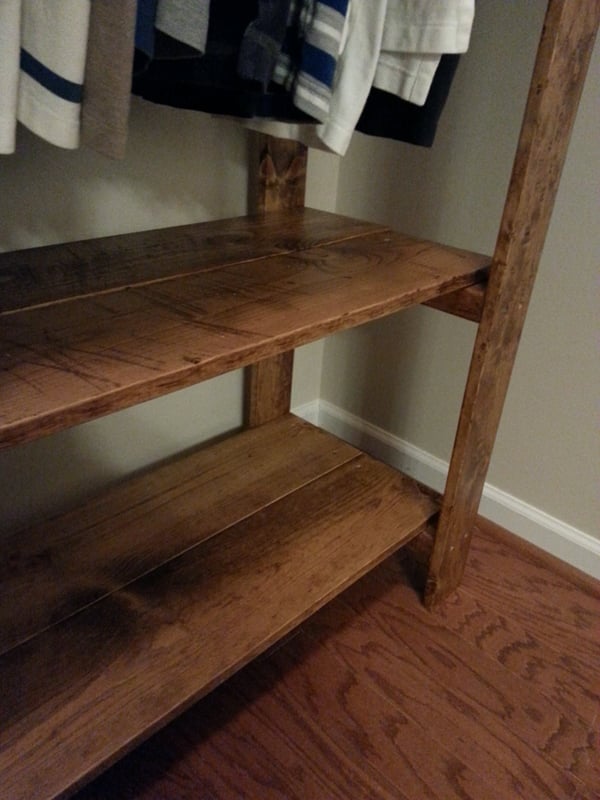
New Closet
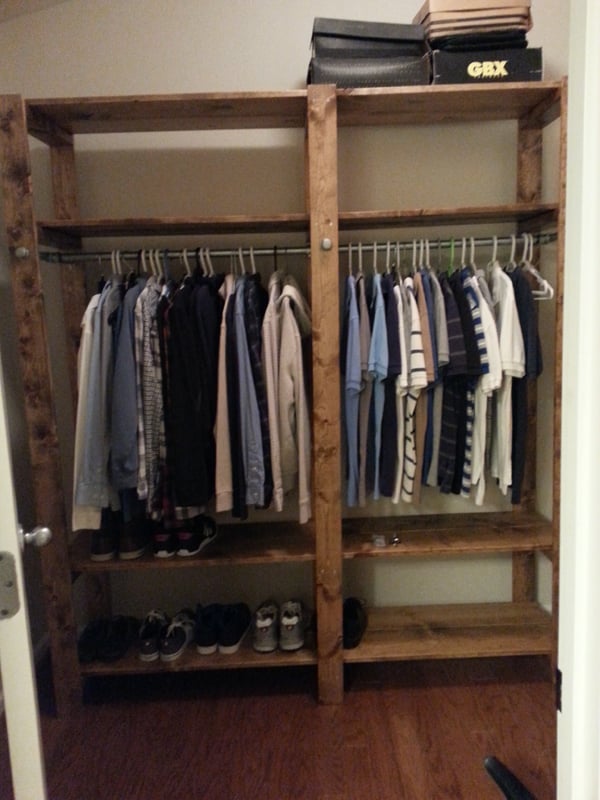
This is my first carpentry project. Bought my house recently and it had the white wire organizers on the wall but I wanted to do something different. Only had 6' width to work with so had to shorten it a bit and lose the middle shelves. Lowes didn't have enough 1x4's for the shelves so I used 1x8's and just left a gap in the front which in my opinion looks good.
Built from Plan(s)
Estimated Cost
$200-$300
Estimated Time Investment
Weekend Project (10-20 Hours)
Finish Used
1 coat of Early American stain followed by a light sand and 1 coat of Minwax Polycrylic Clear Matte
Recommended Skill Level
Beginner
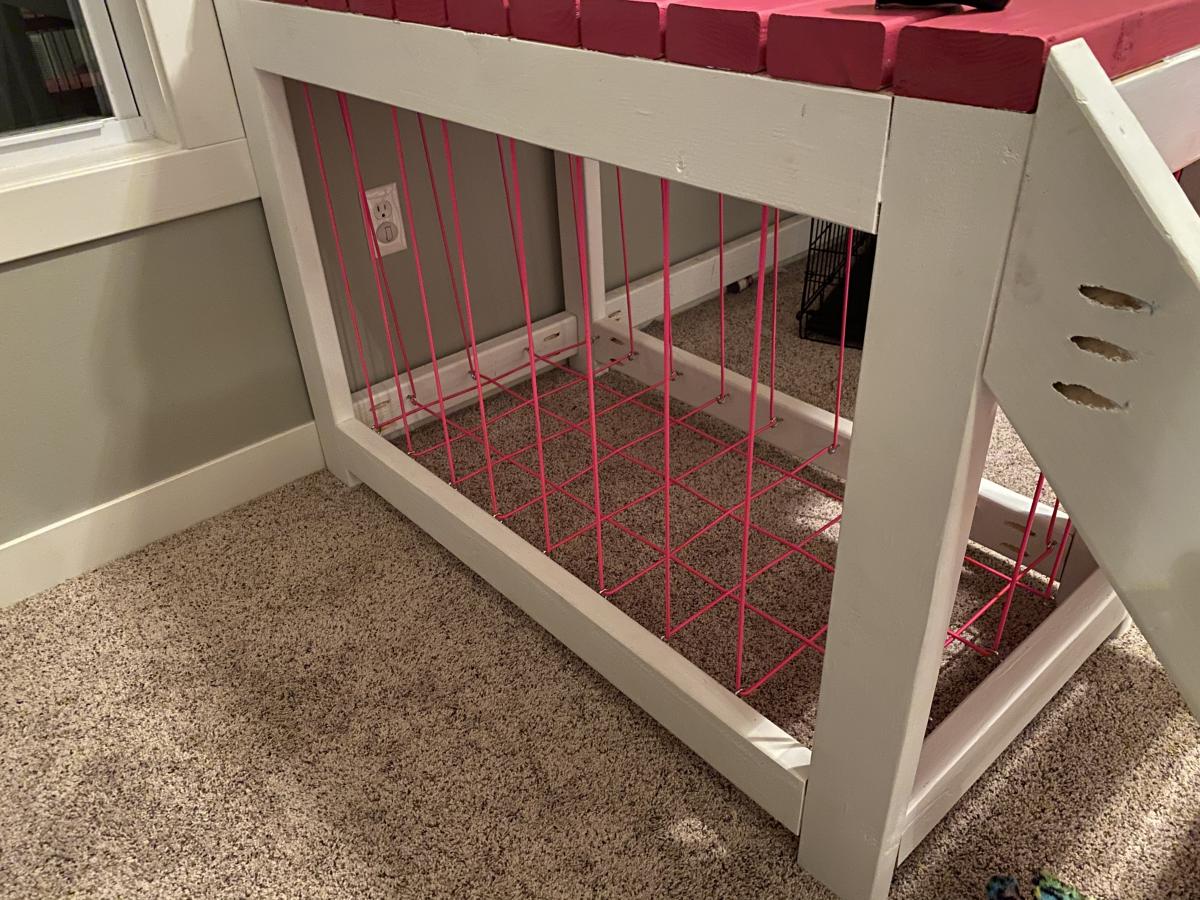
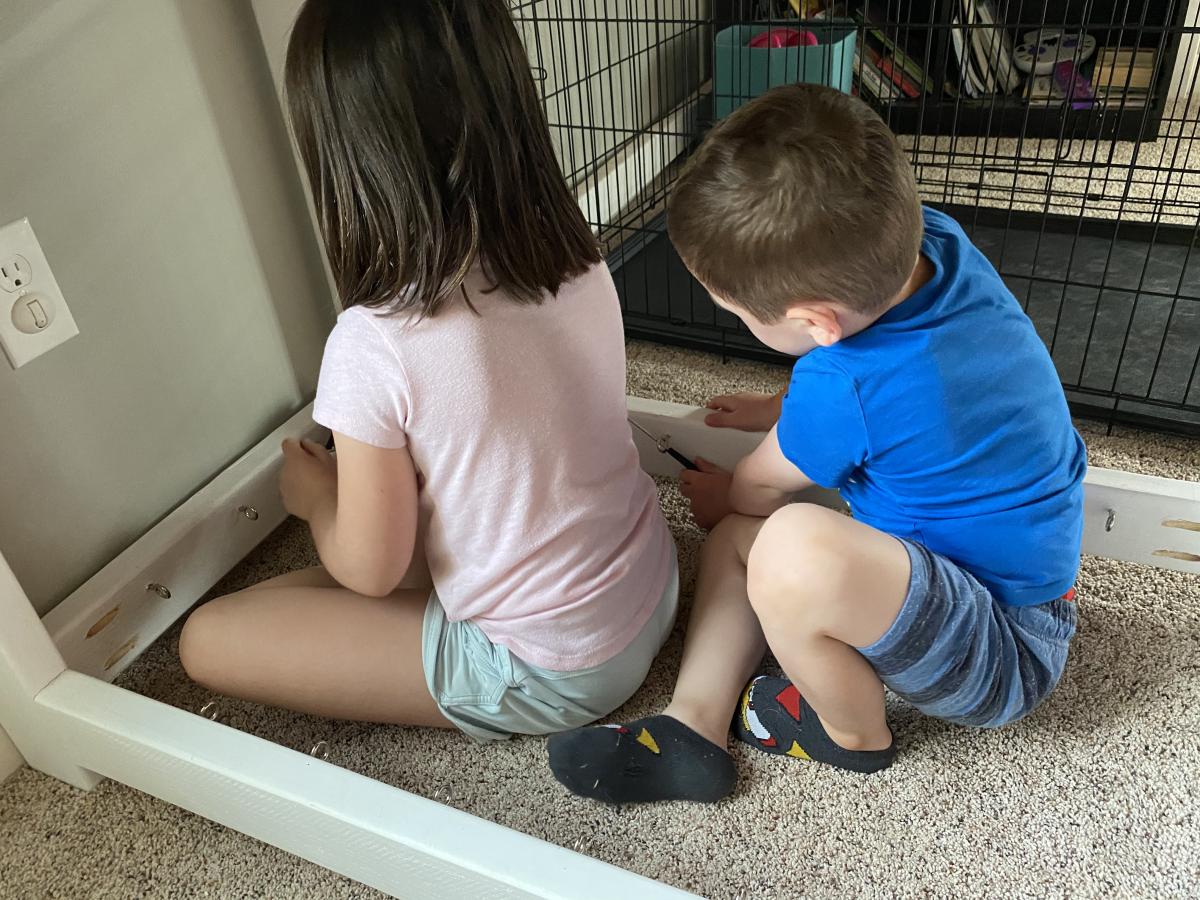
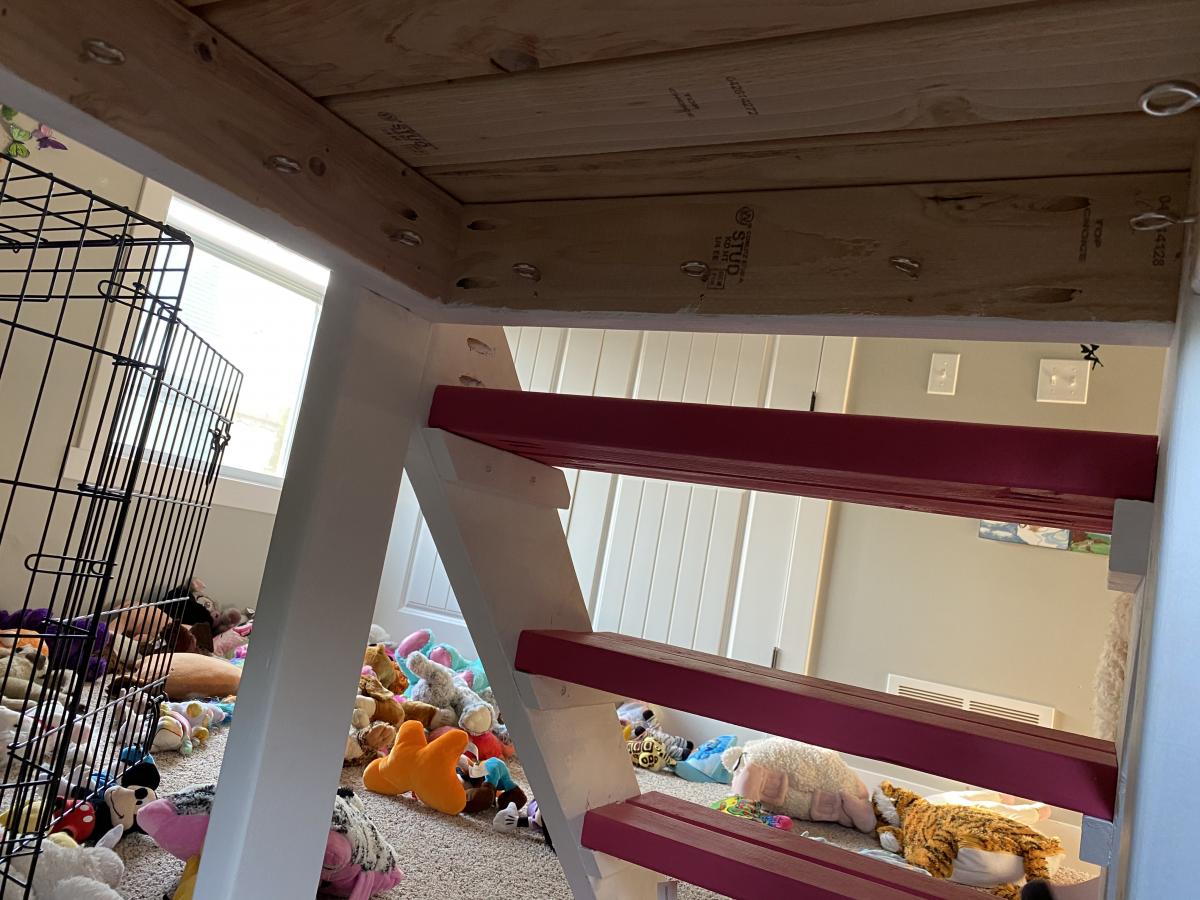
Camp loft bed with animal zoo storage
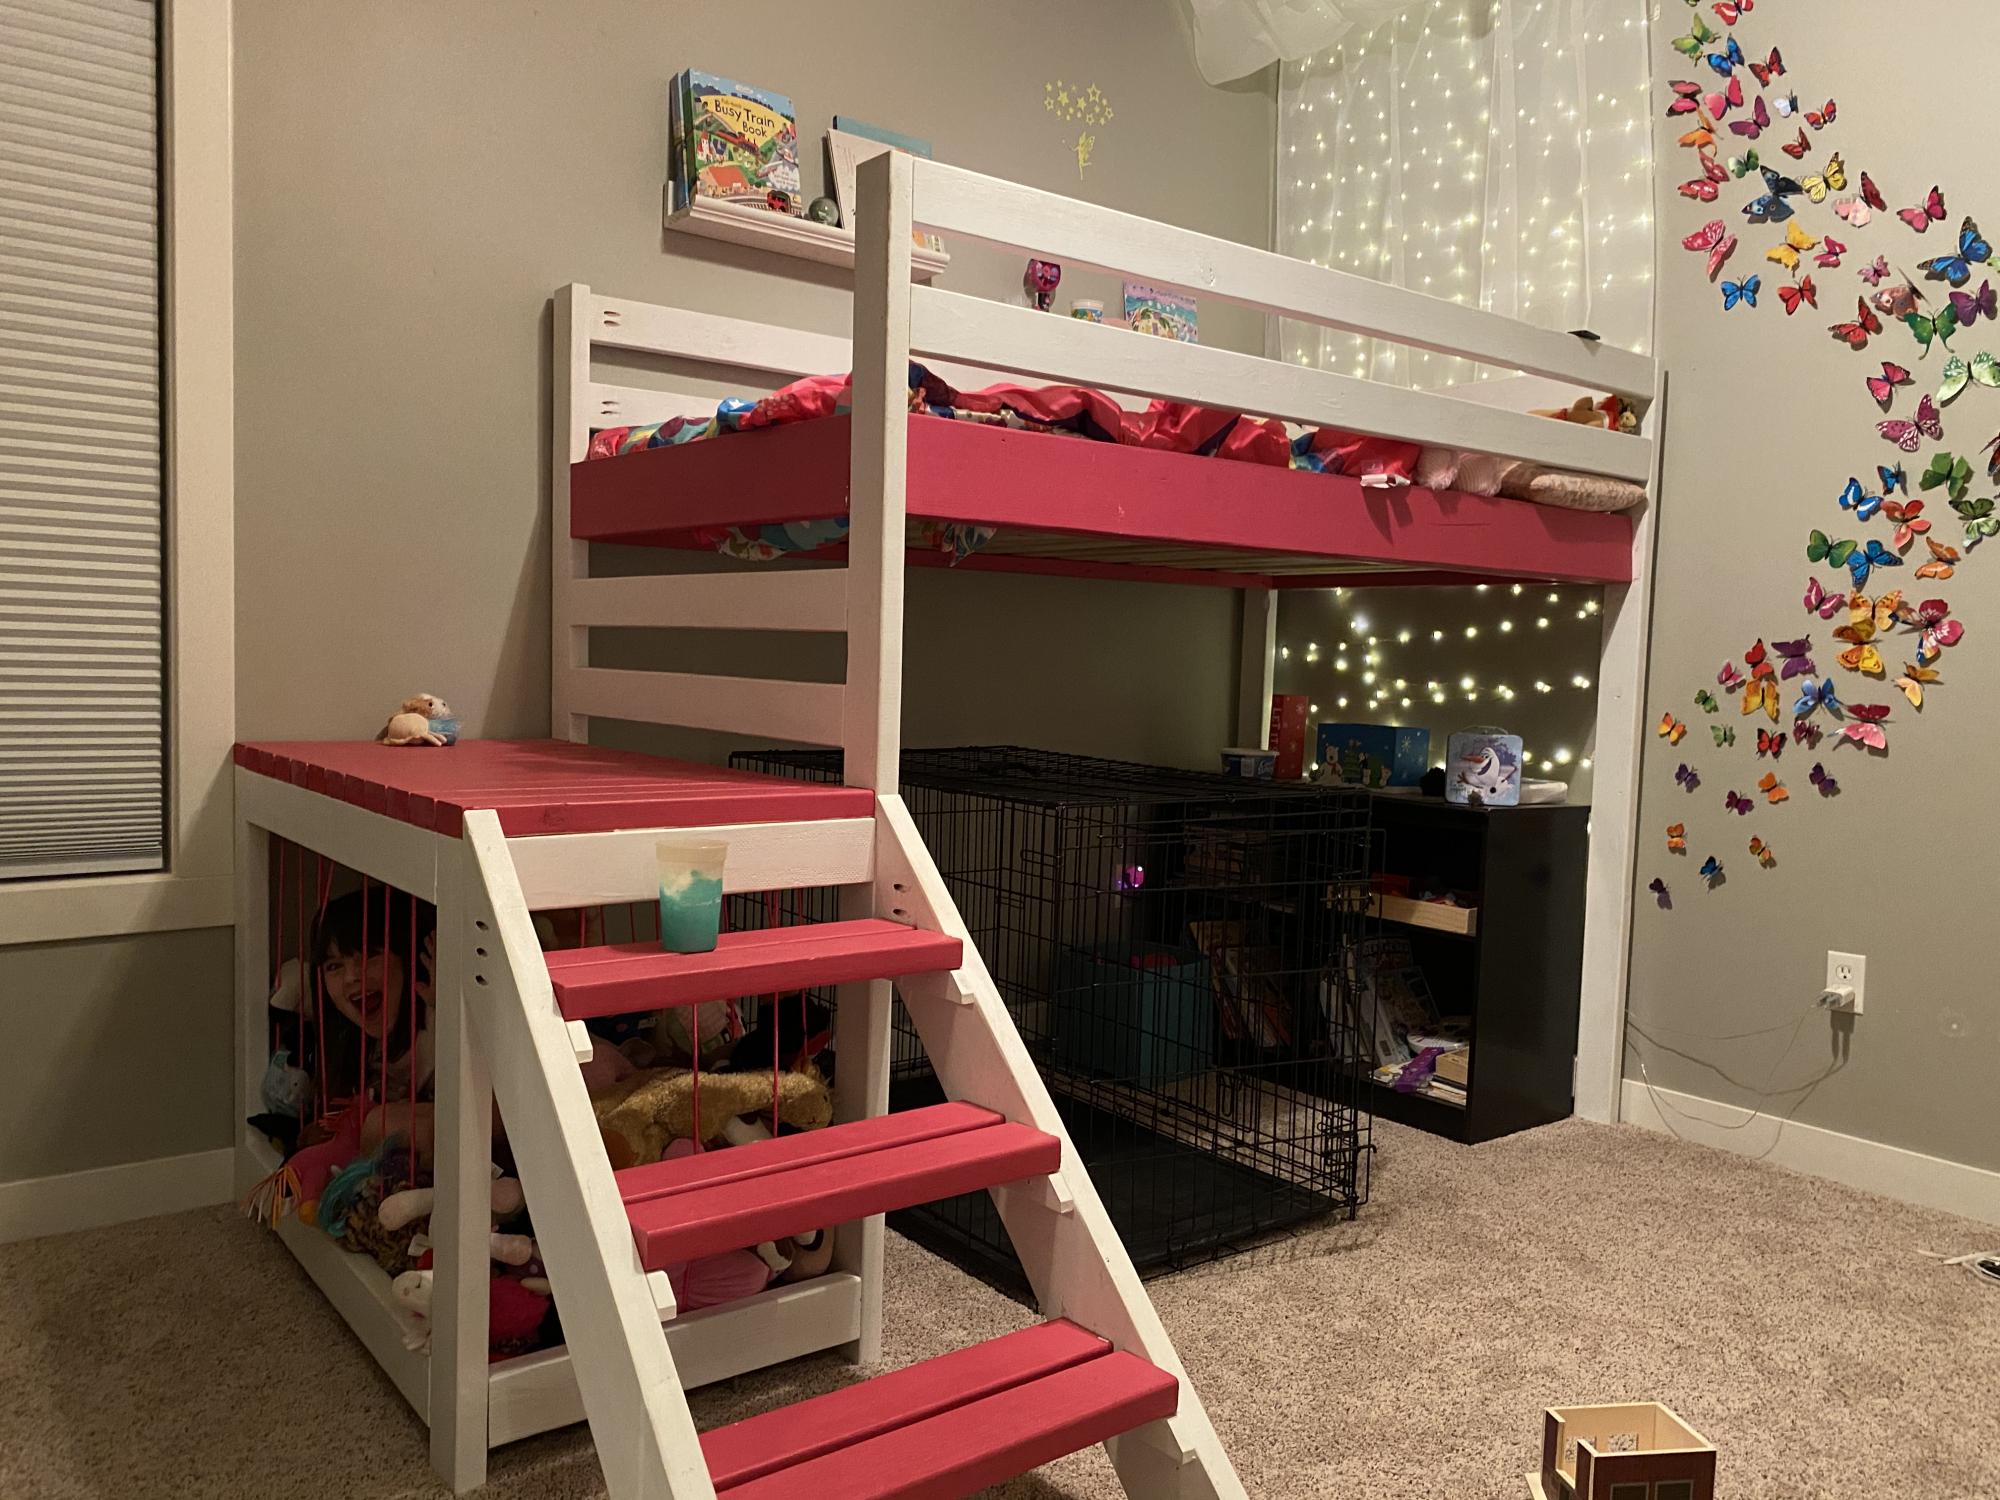
I made the loft bed for my 6yr old back in March. This weekend we took care of another issue, stuffed animal storage. So I added 3/16 bungee cord I found on Amazon. I bought 100 foot spool and it was plenty. Also found on Amazon 50 count of the 1.6 inch eye screws and had 2 leftover. I had to add 3 boards to the existing bed to complete this project.
It took some practice to get the cord threaded the way I liked it. I wasn’t overly concerned with the cord going straight up and down but I knew I didn’t like the diagonal look. I also wanted the stuffed animals off the ground to prevent a spider haven.
We used a drill to start pilot holes for the eyelet screws 1 inch from the edge of the board at 4.5 inches apart. Then the kids used small screwdrivers to twist the screws in. It was a real hand saver.
I hope this motivated someone to take care of that stuffed animal storage for good!
Built from Plan(s)
Estimated Cost
$40
Estimated Time Investment
Afternoon Project (3-6 Hours)
Recommended Skill Level
Starter Project