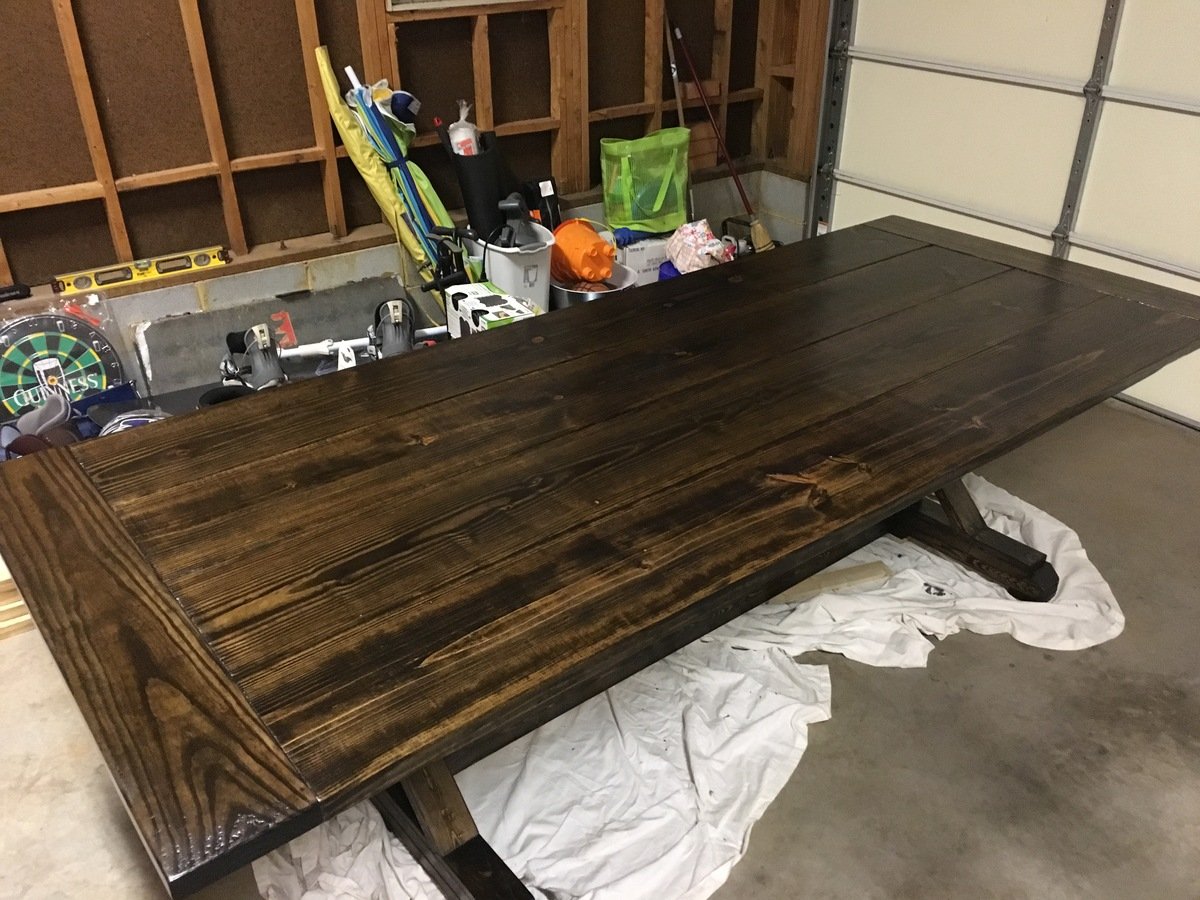
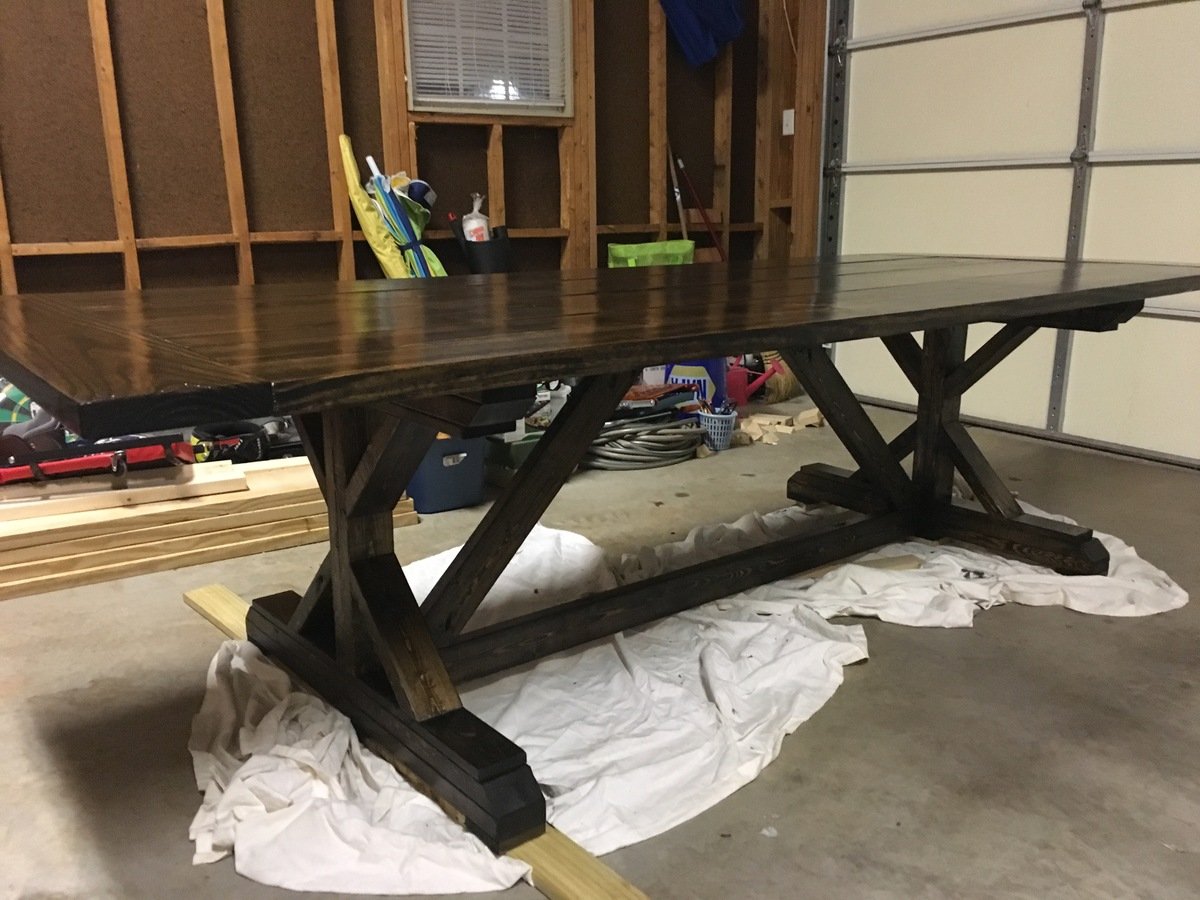
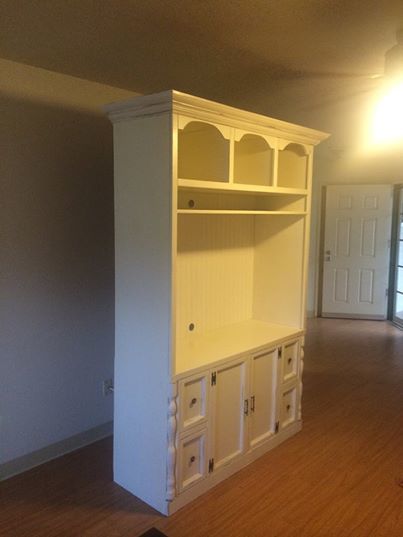
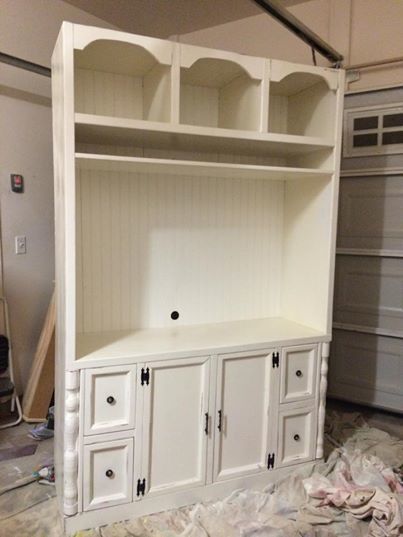
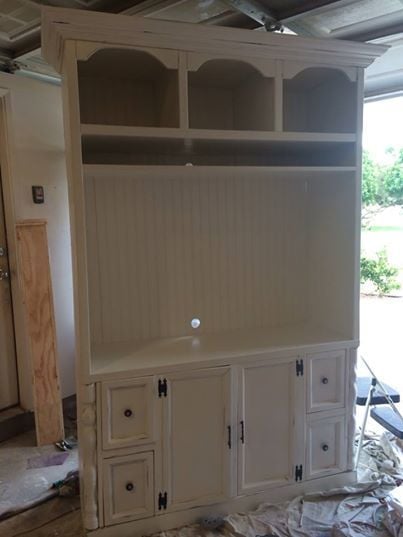
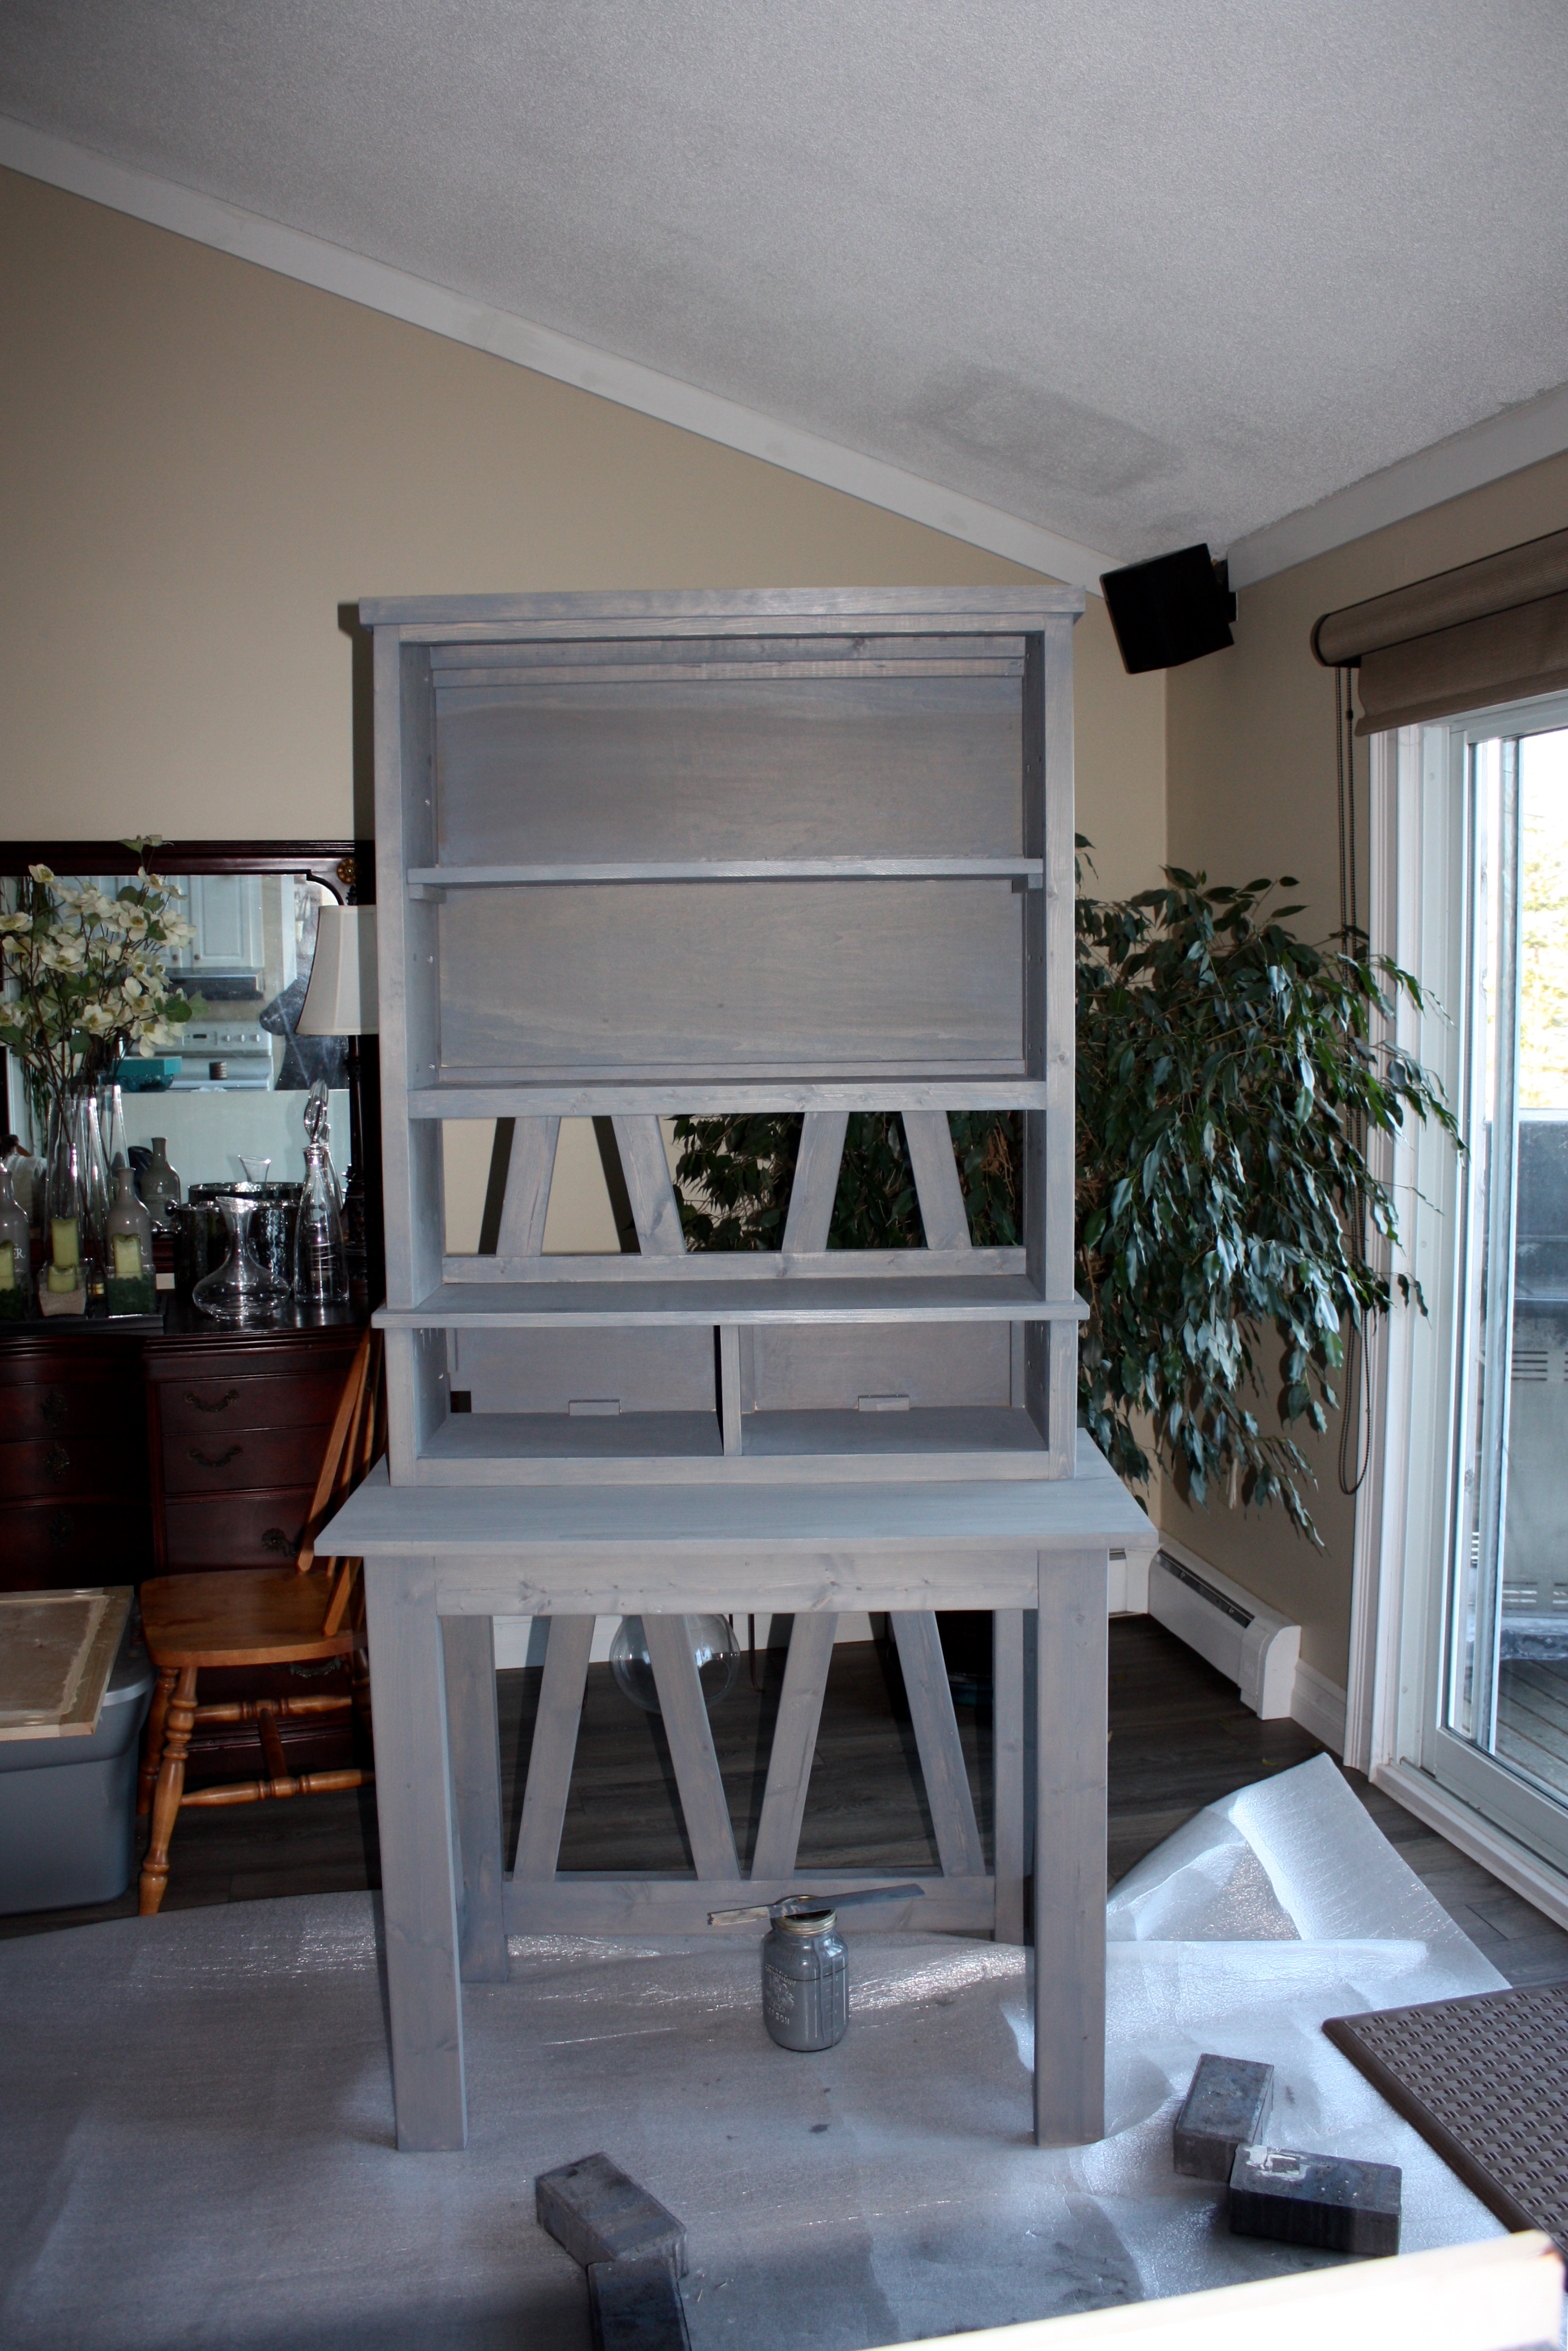
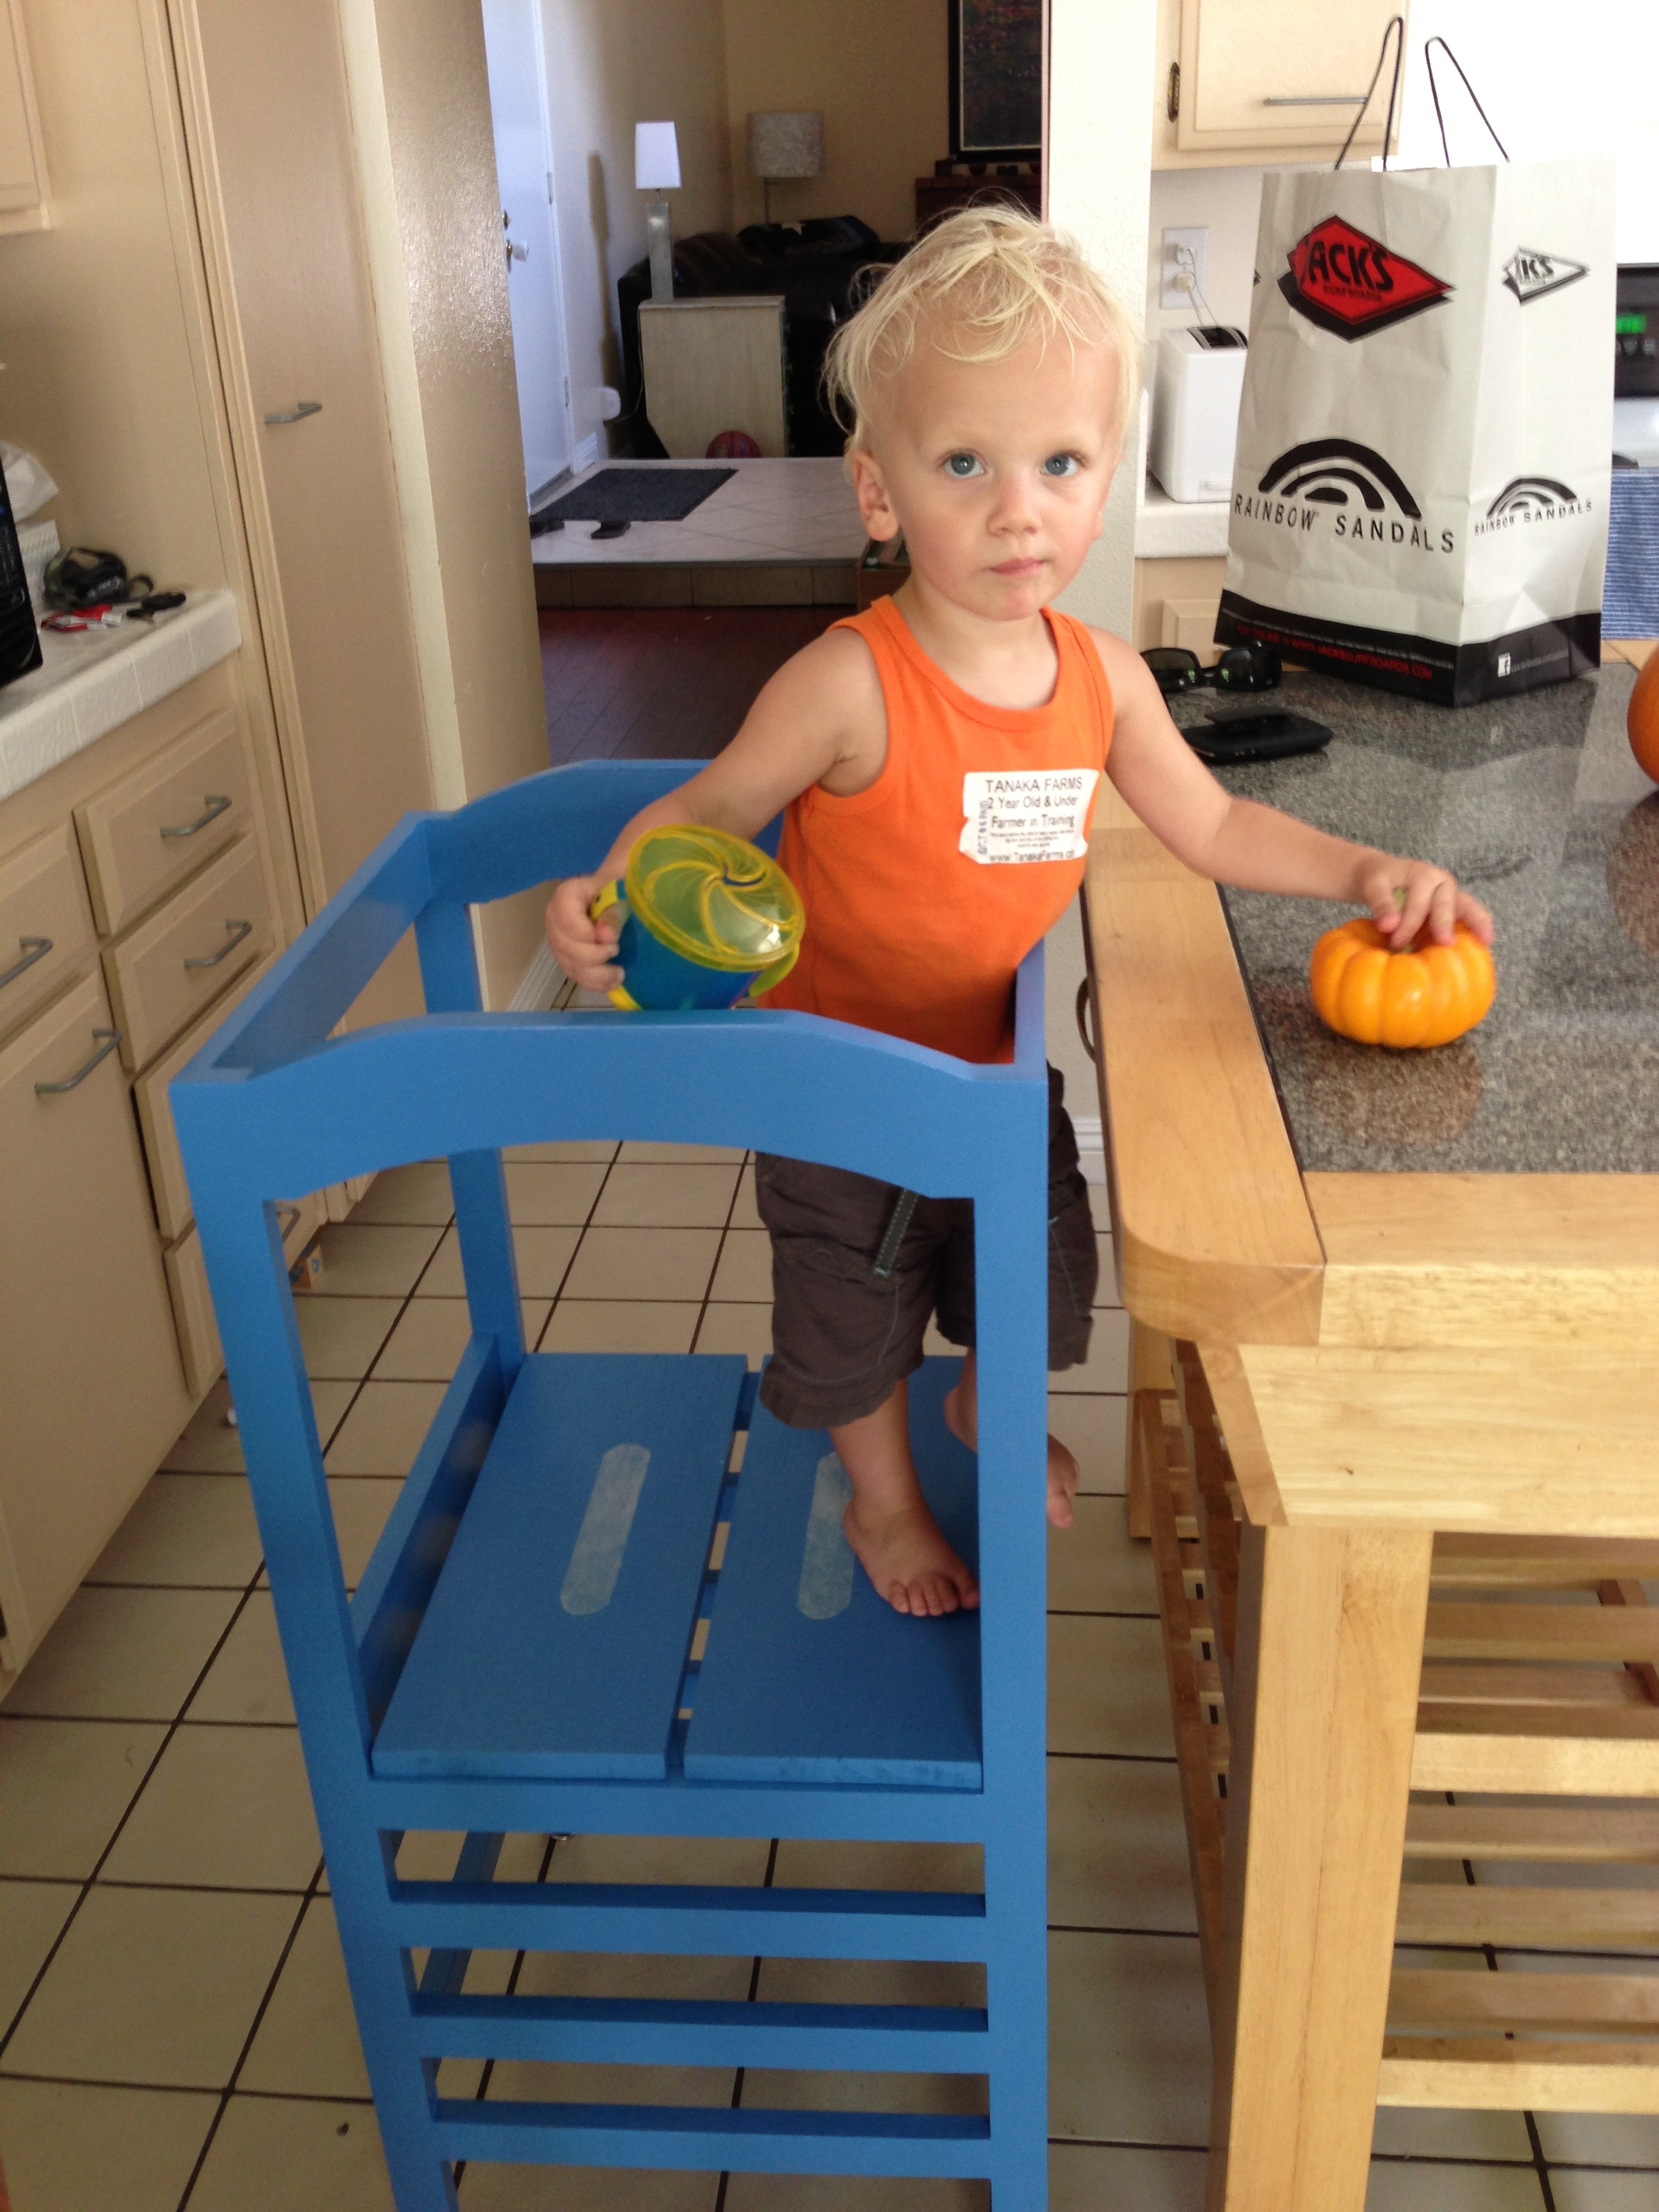
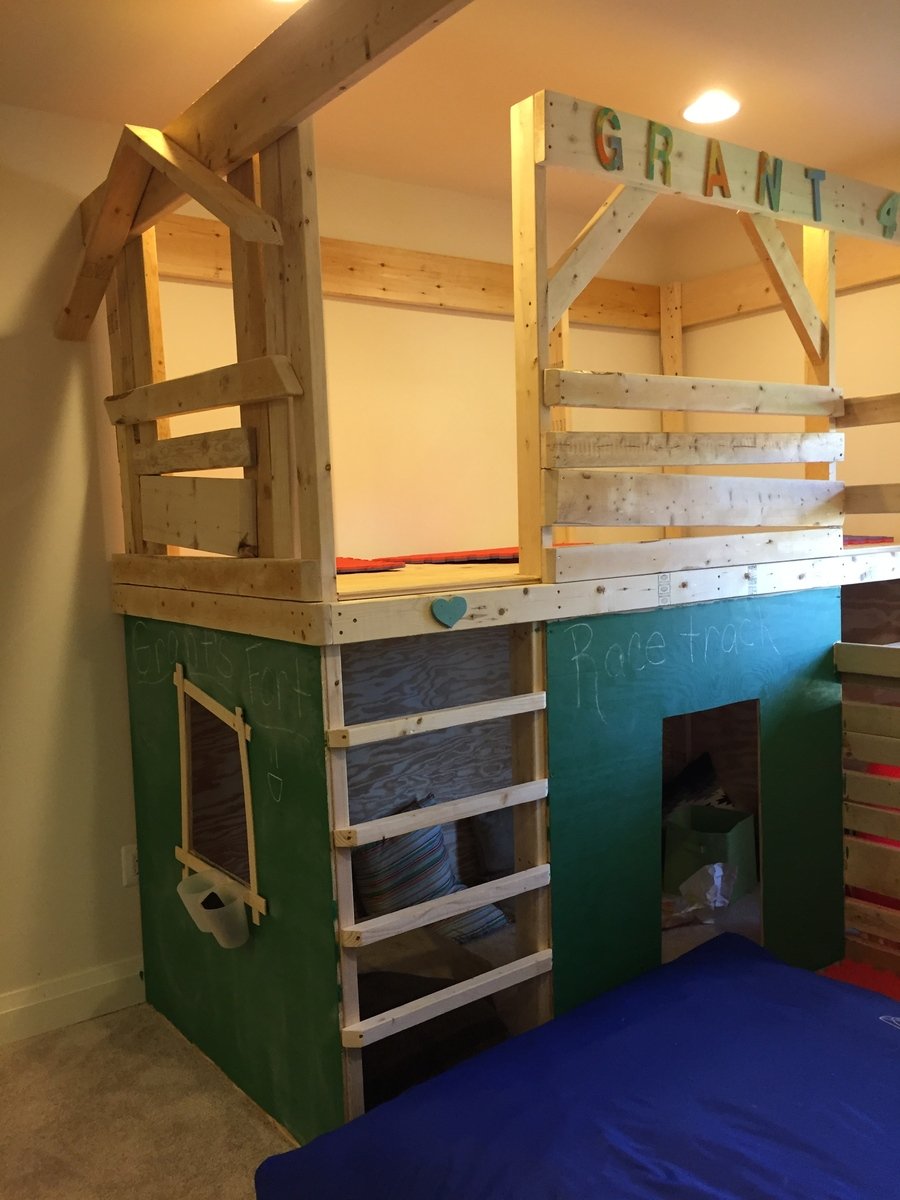
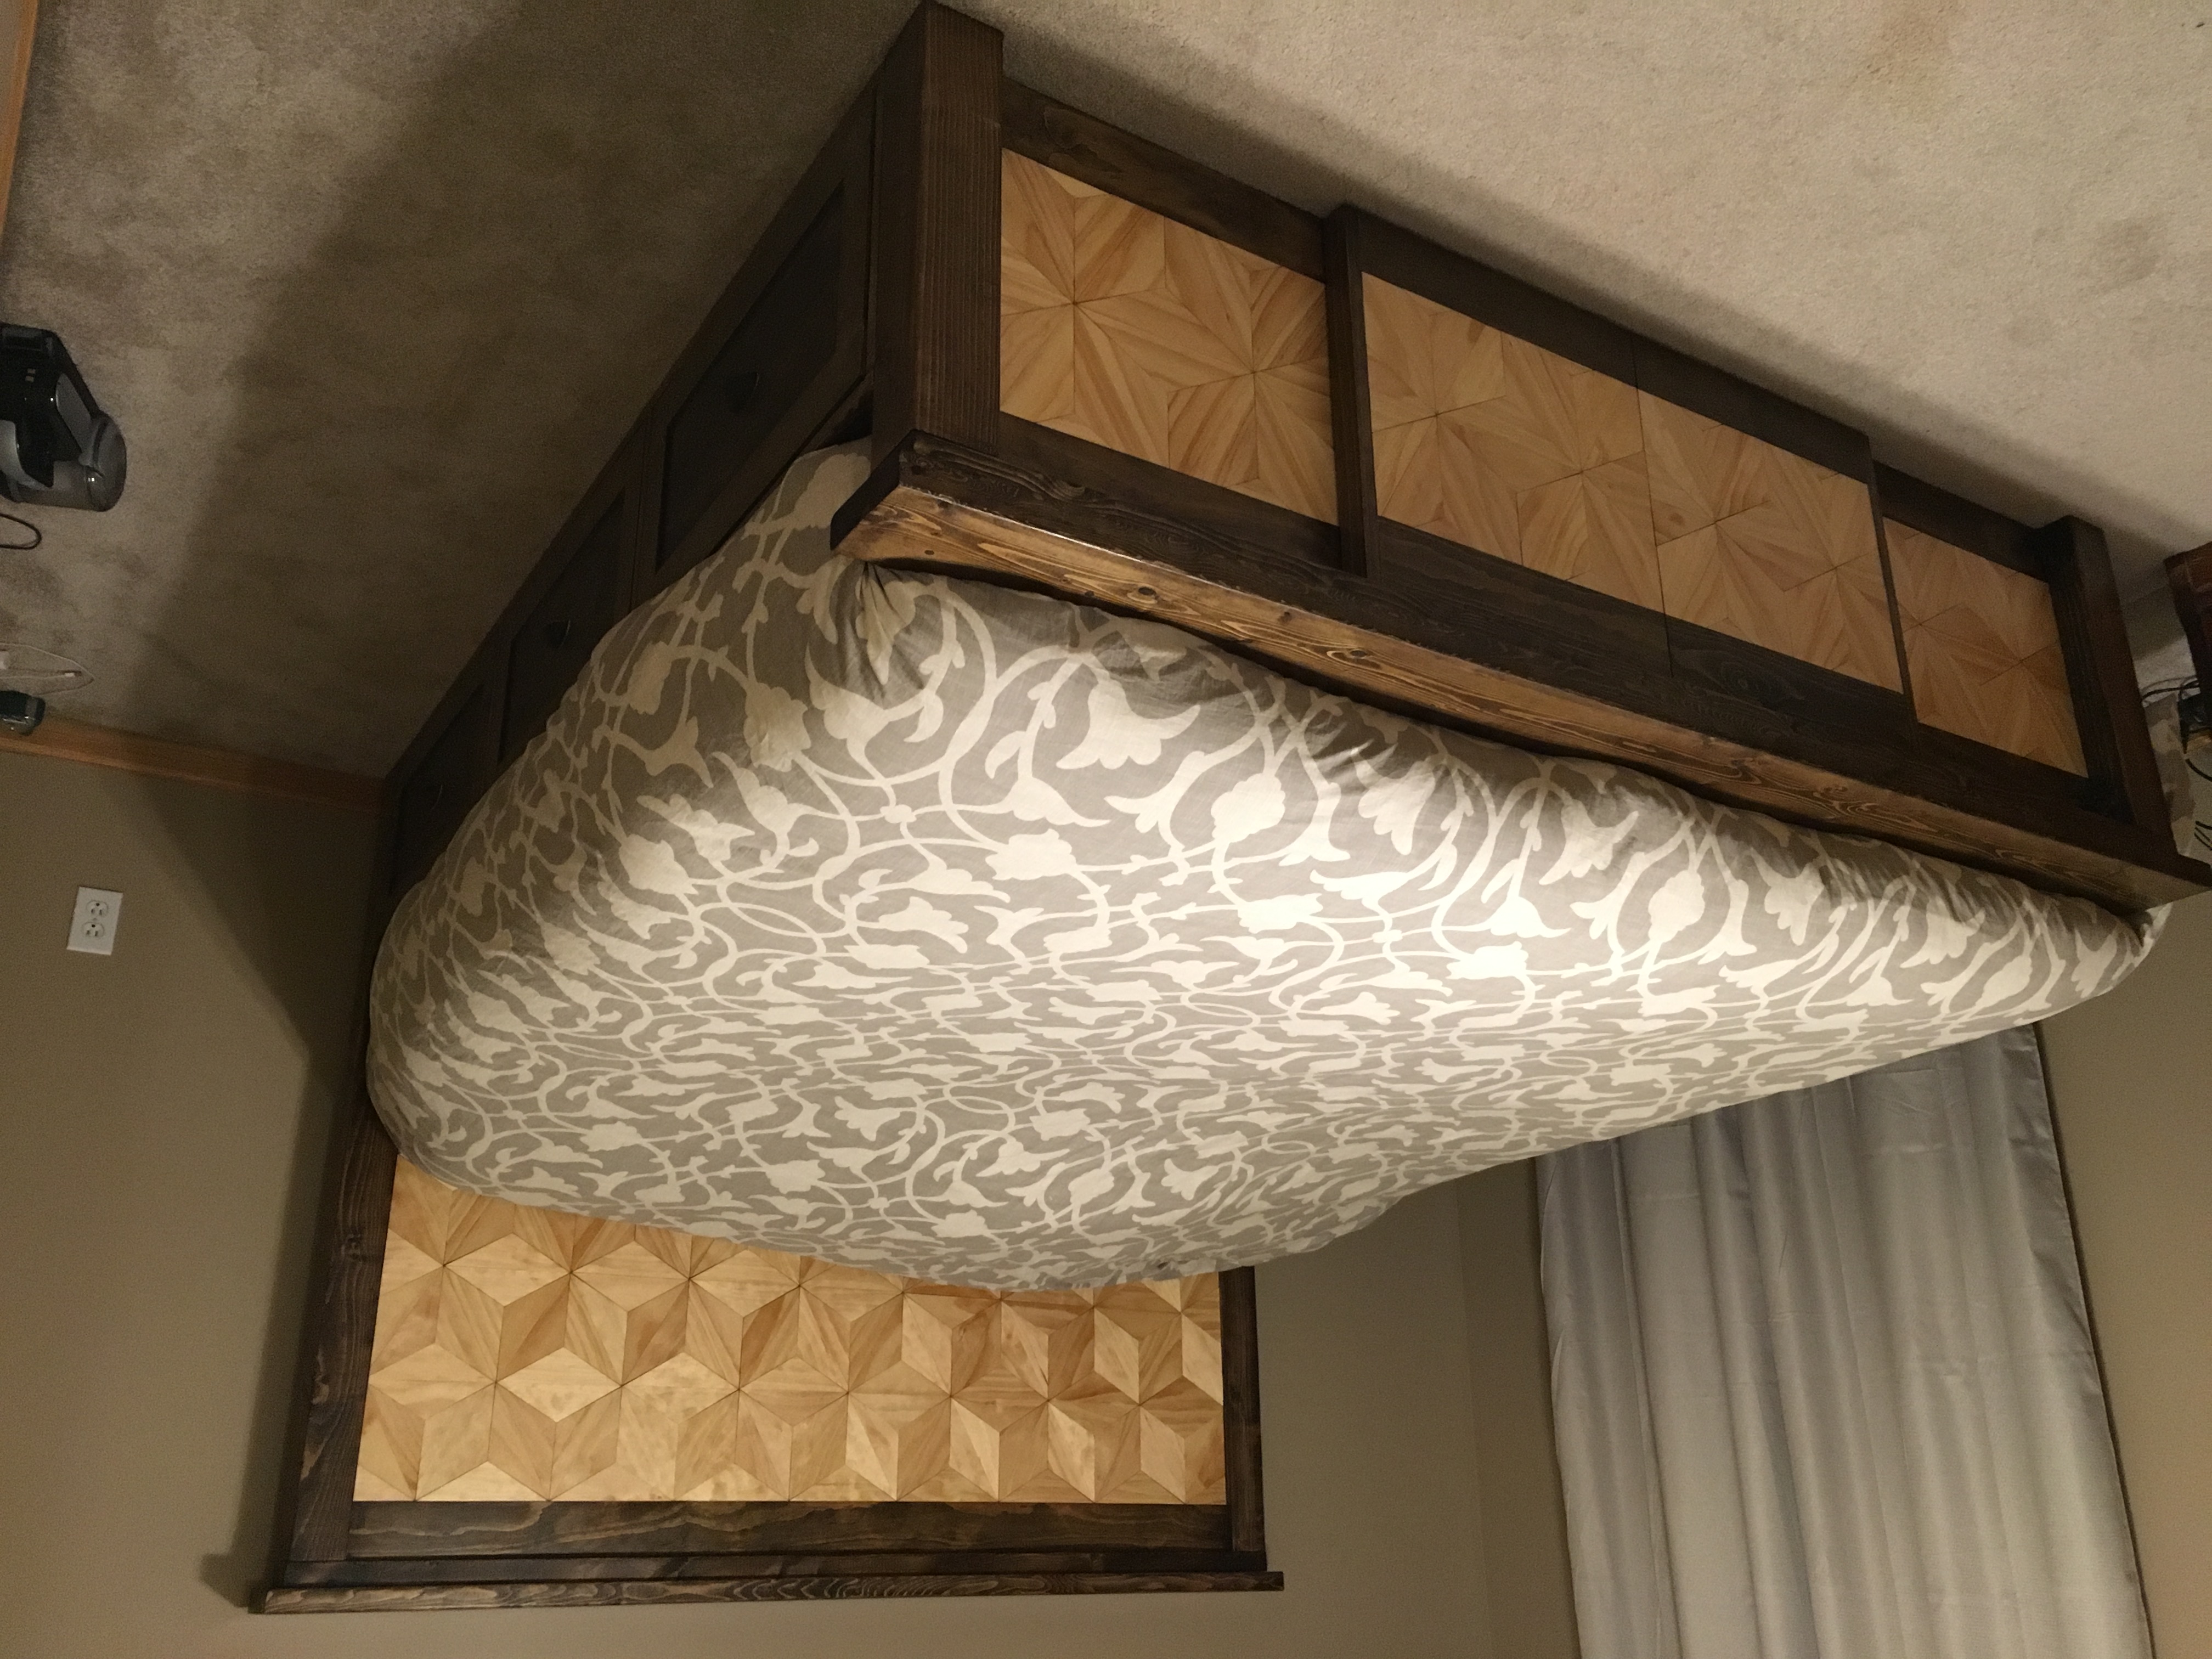
Actually building this tower was considerably easier than finishing it (primer, paint, wood filler sanding). 4 hours to build 16+hours to finish!
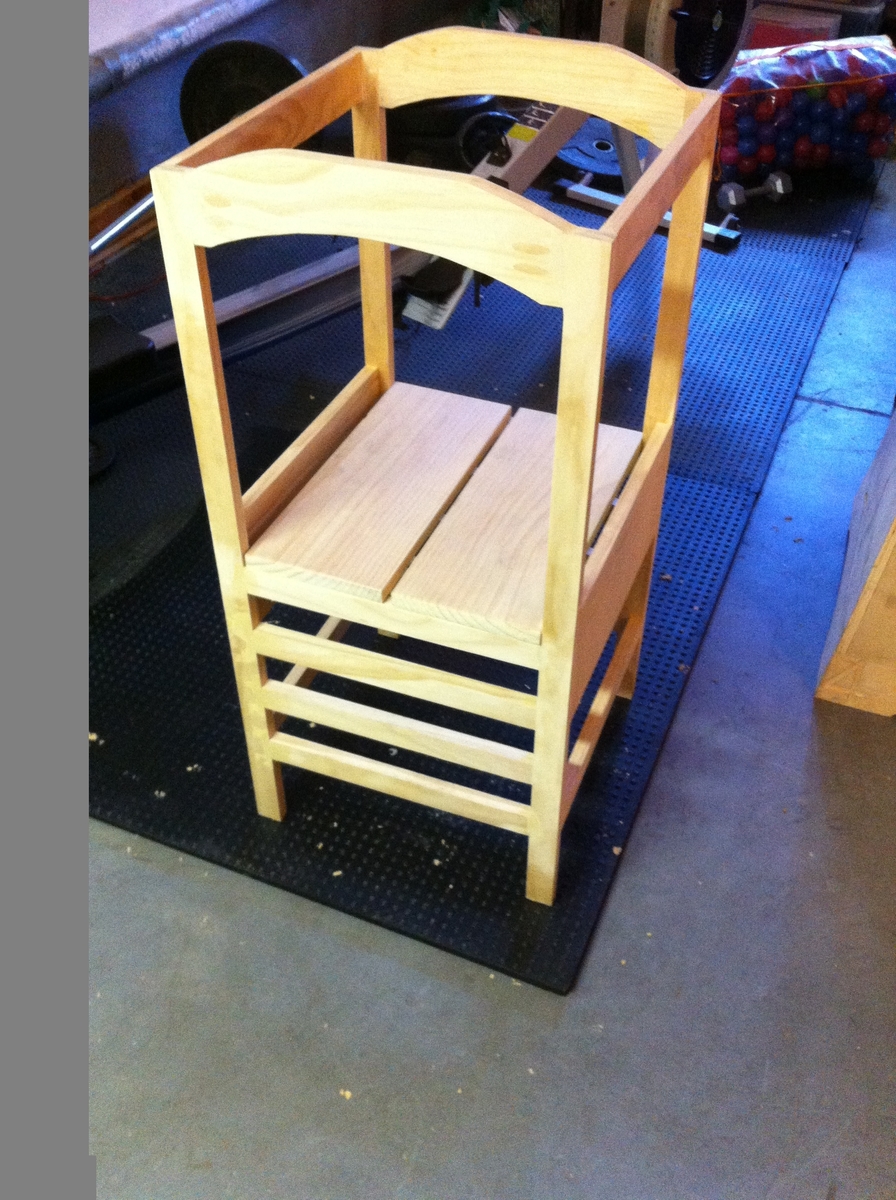
Once I had the tower built, I used the pre-made Kregs pocket-hole wooden fillers to fill the pockets. I glued them in place with wood glue, and then used a chisel and orbital sander to get them flush. In a few areas, I had a small 1/64" discrepancy in surfaces, so used the wood filler and then sanded it smooth. I deviated from plans by making my arches a little different with flattened tops; it was easier with my jig-saw this way.
I took my cut-list to Home Depot and had them make all my cuts with their laser sight radial saw (super clean cuts) Achieving clean-cuts requires a nice saw, I almost bought the Bosch table saw to build this little guy. Considering that I never built anything before, I quickly found out that furniture, especially small furniture requires a lot of patience to look good. Spending a few extra hours making sure everything is square, flush etc. will prevent a ton of finishing work later on.
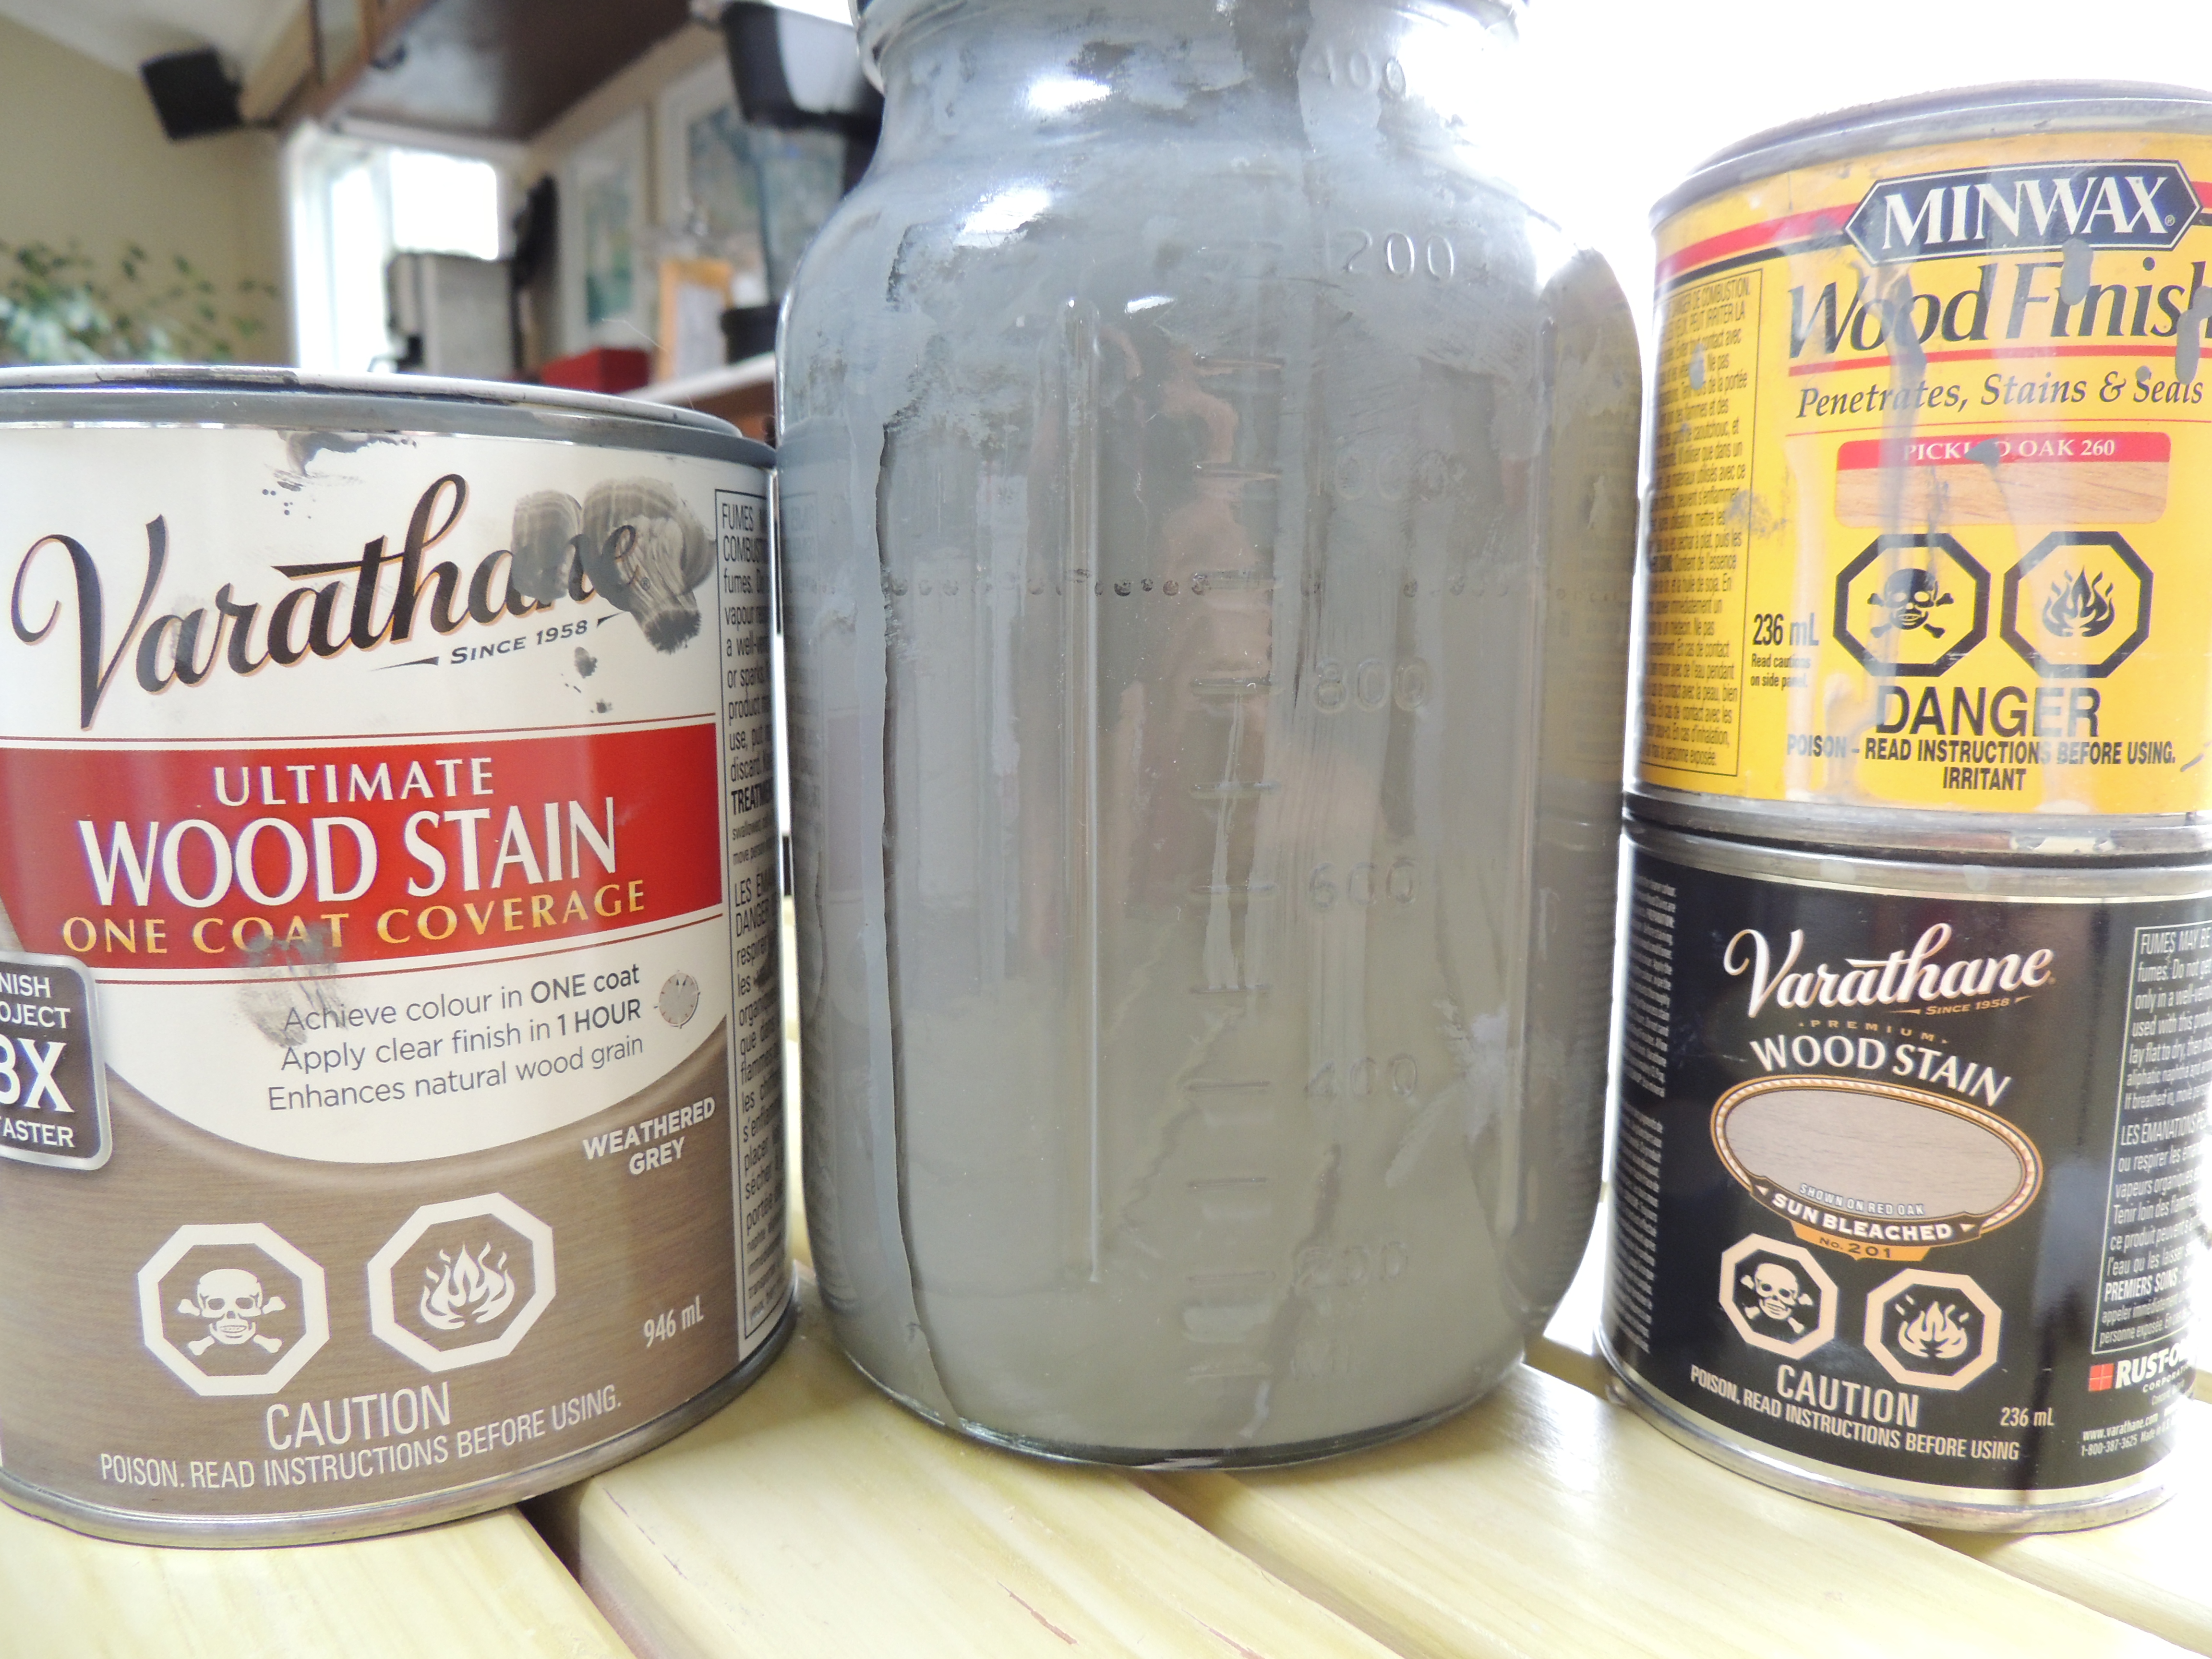
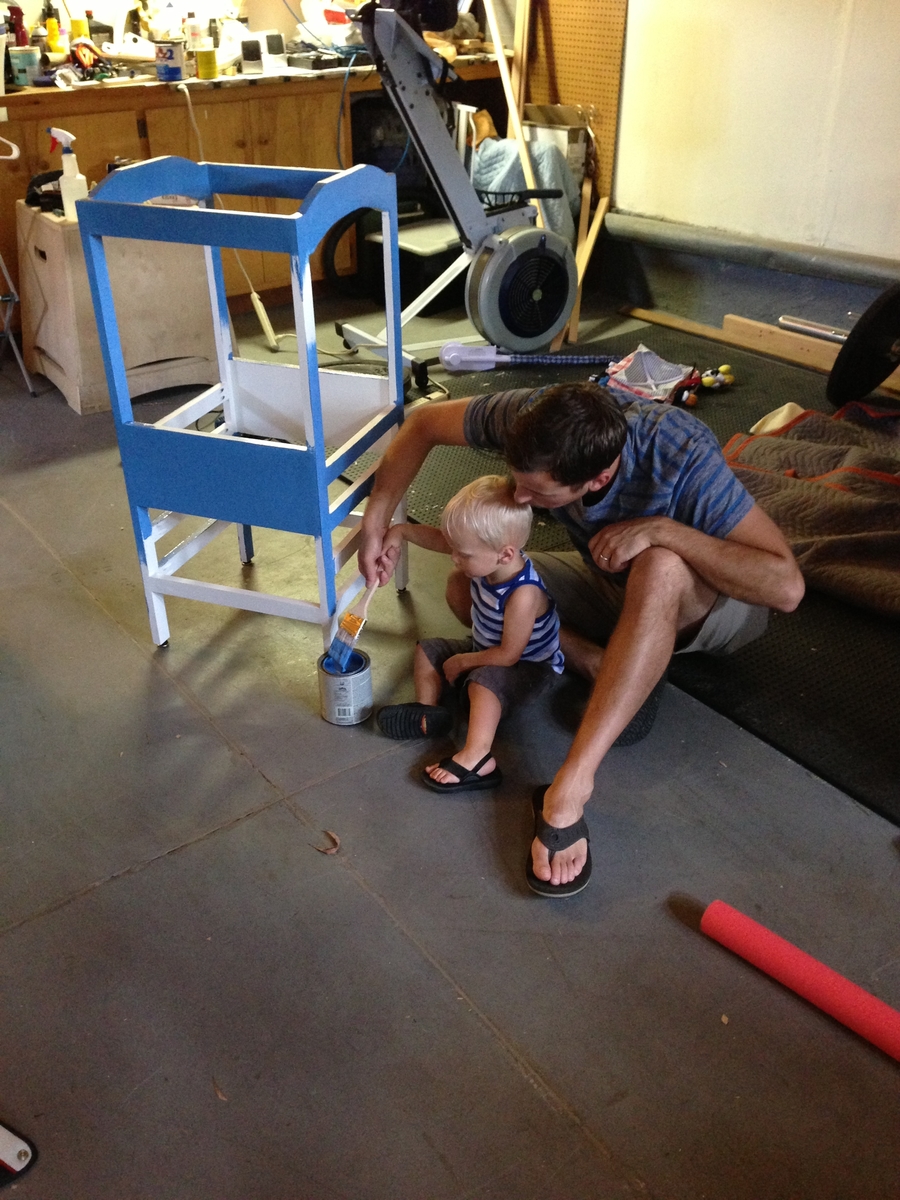
Once I had the tower built and all my pocket-holes filled and sanded, I primed twice with Kilz II. I waited about 2 hours between the coats and made a few wood filler adjustments in between coats. I then used Olympic Latex and painted (2) coats with about 8-10 hours in between.
Extras
•I religiously put (2) Kregs pocket holes on every joint, the stability is incredible!
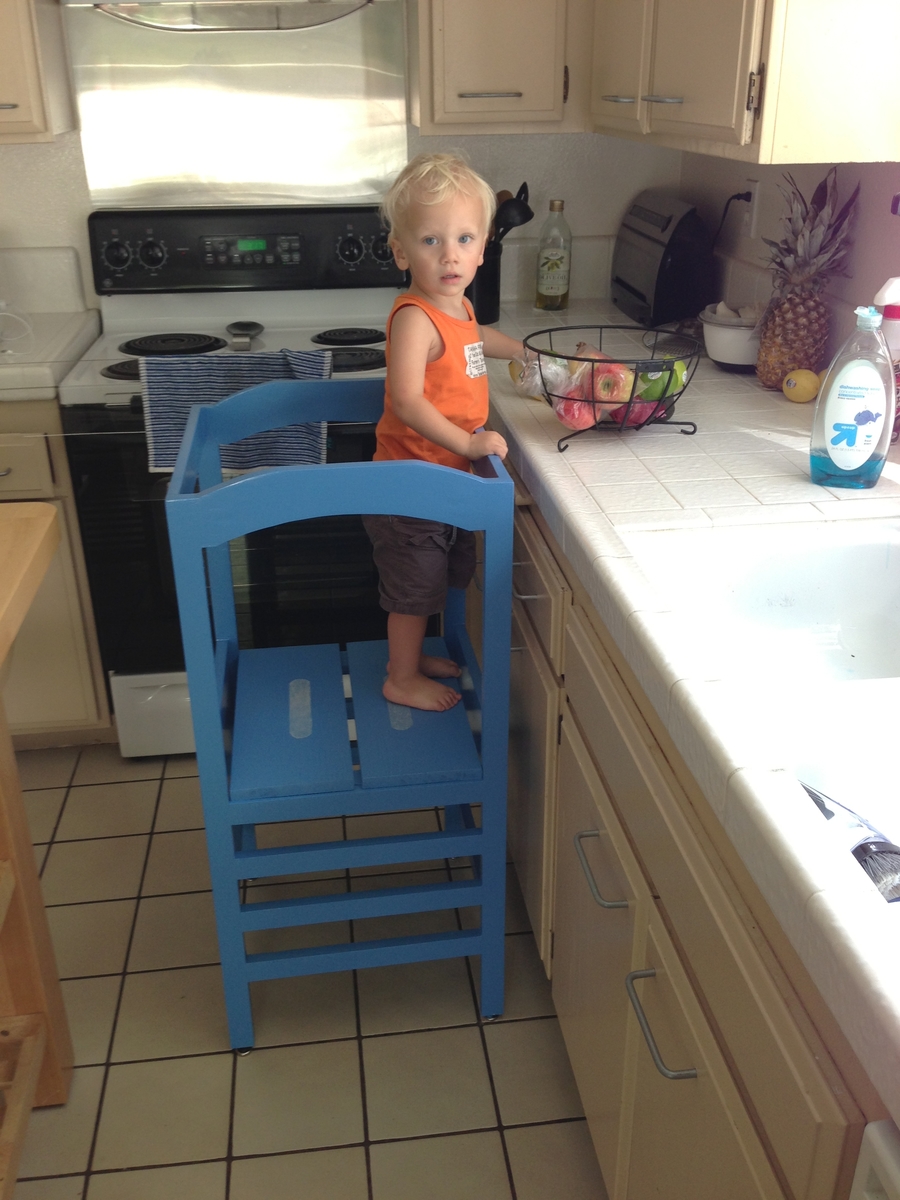
•I went to the local skateboard shop and purchased some clear grip tape to add a little extra grip to the footboard.
Recommendations:
•A nice saw or a mediocre saw with a good blade OR someone else with a nice saw make the cuts for you.
•A few extra bucks on the “Select” pine wood. The nicer wood probably only cost an extra 20 bucks.