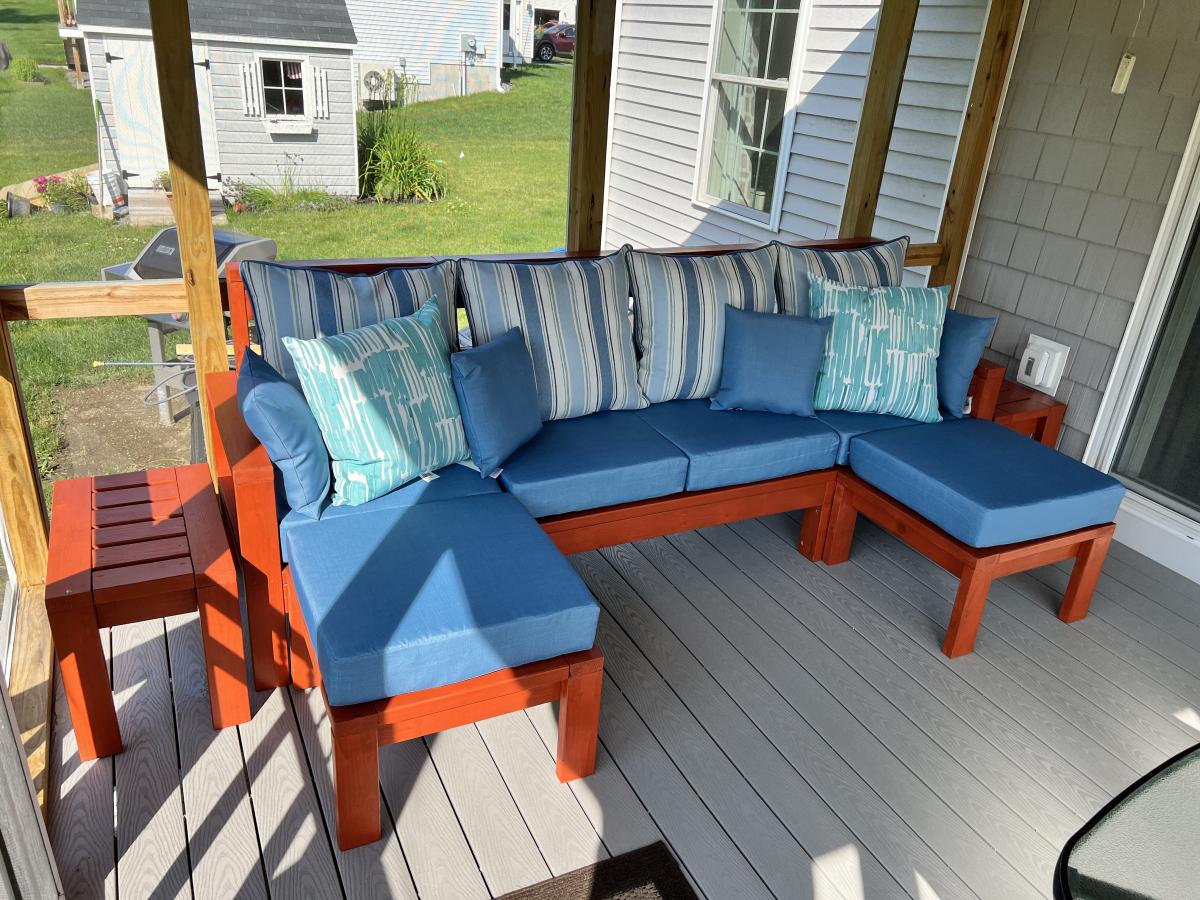
Outdoor Sofa and Table Set
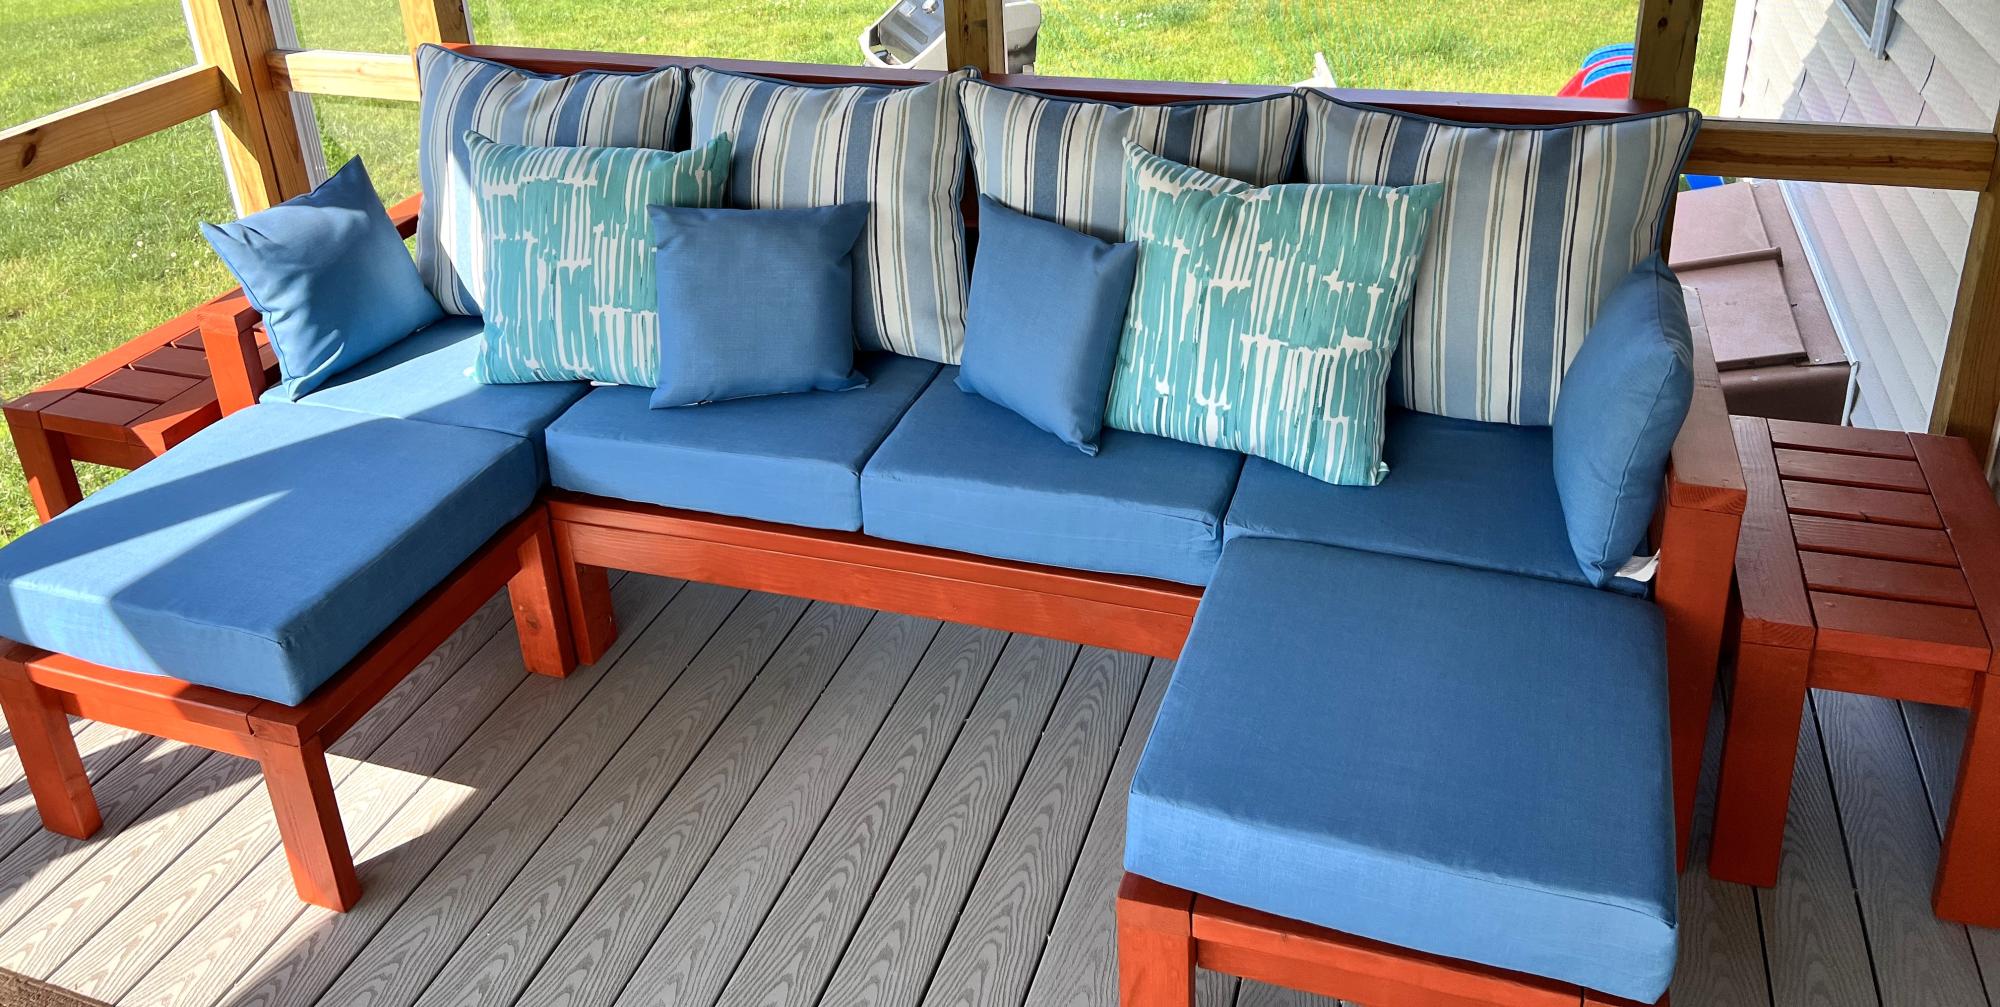
Sofa with 2 ottomans and 2 side tables.
Vinny M
Built from Plan(s)
Sofa with 2 ottomans and 2 side tables.
Vinny M
Built this over a couple of week nights. I used the basic bookshelf plans available on this site.
It was fun!
I do have a couple of observations though:
1- Sand all pieces of wood BEFORE you cut them, to the desired lengths! Make sure the wood is nice an smooth. So much easier to do with big pieces, that can be balanced on a good support! Especially important when using the cheapest pine available!
2- Take your time, double check measurements, and follow the assembly directions. (Yes.. I made a mistake on the assembly part... at least it's on the back, and no one can see it)
I did change the width to fit my wall space, and I did add adjustable shelves (1 fixed shelf, to help hold the whole thing square). (I used a piece of peg board to place the holes for the shelf supports). Pretty neat! I also added a couple of extra shelves. (I still needs some paint) I needed the extra storage for organizing the stuff we need in the family eating area.
I also changed up the top finishing details. I mitered the corners, and layed the 1x2's flat, offset by .75 of an inch. It gives a nice look.

We decided this year to make gifts for our family's Secret Santa!
Thanks again for the plans!

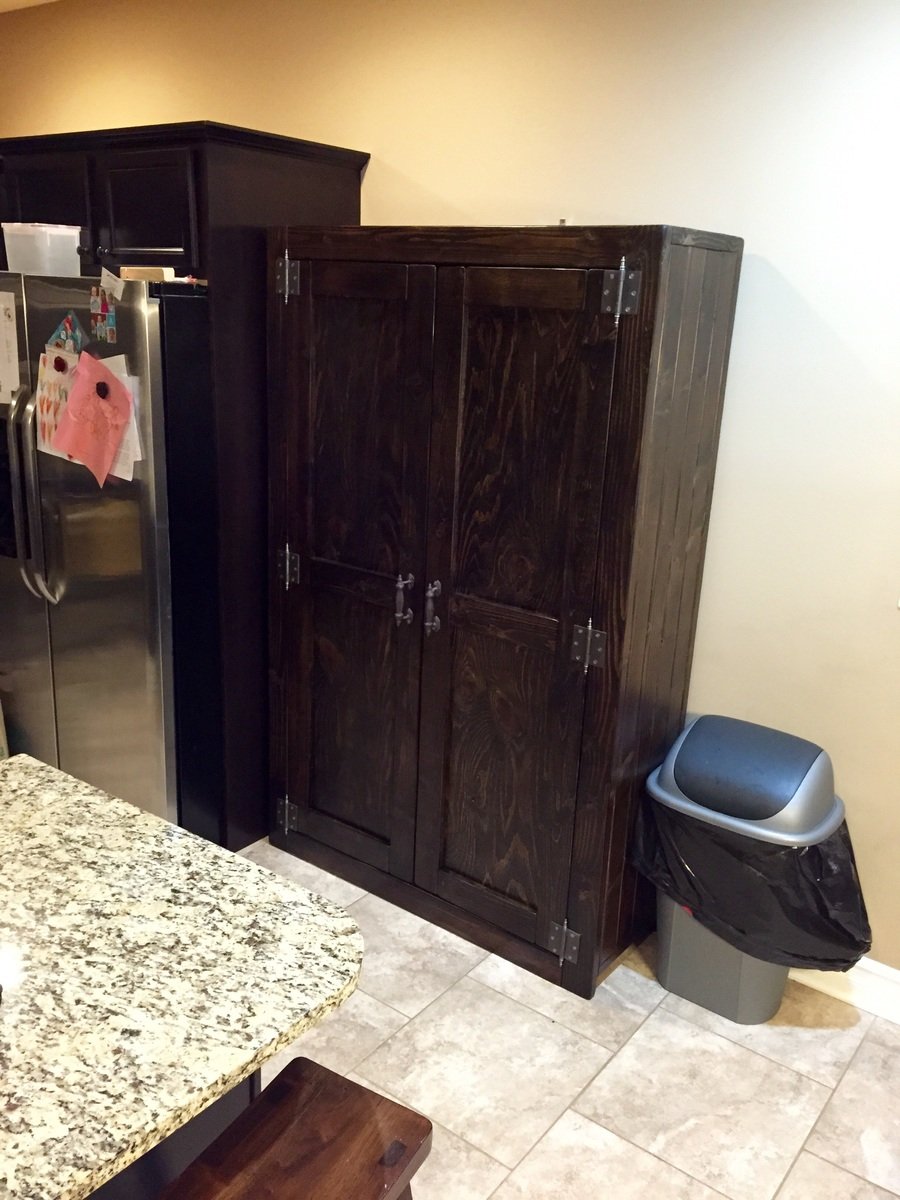
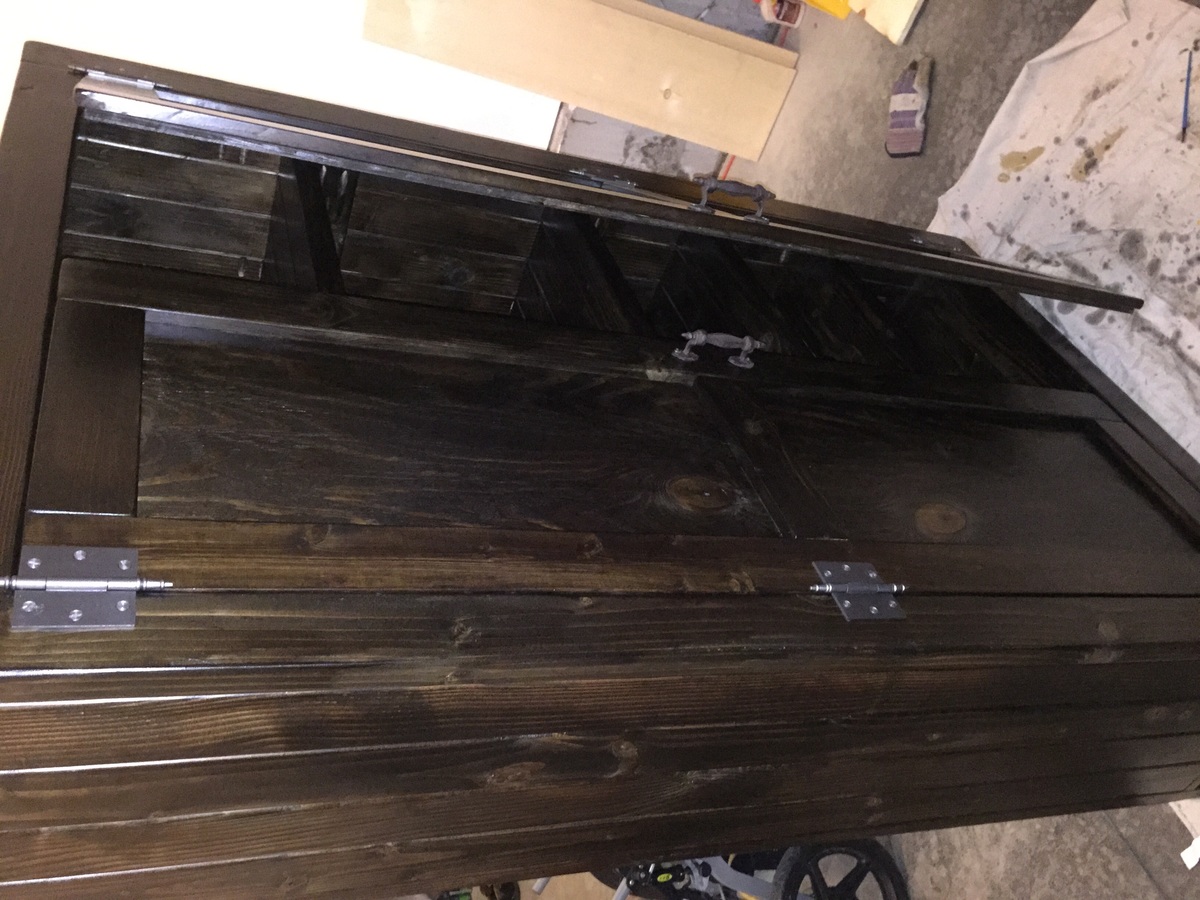
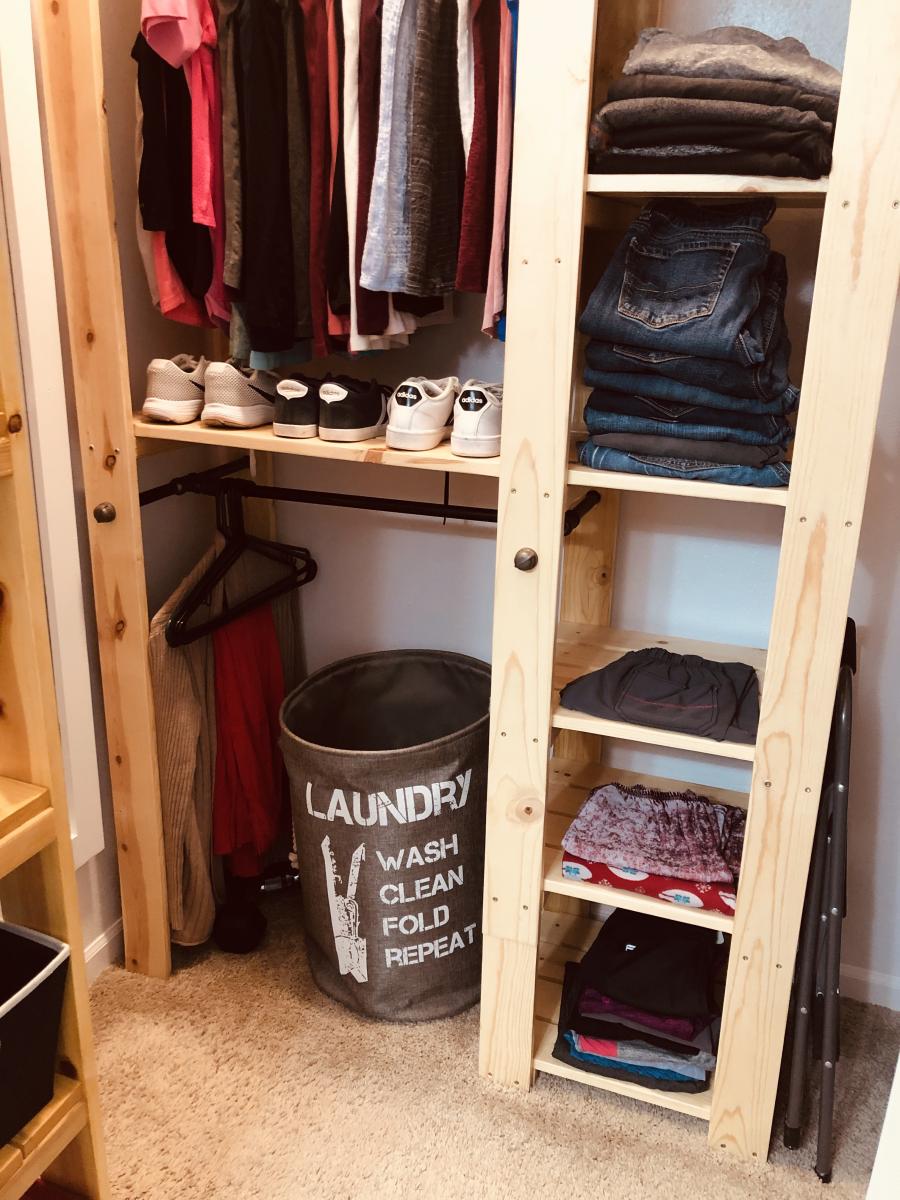
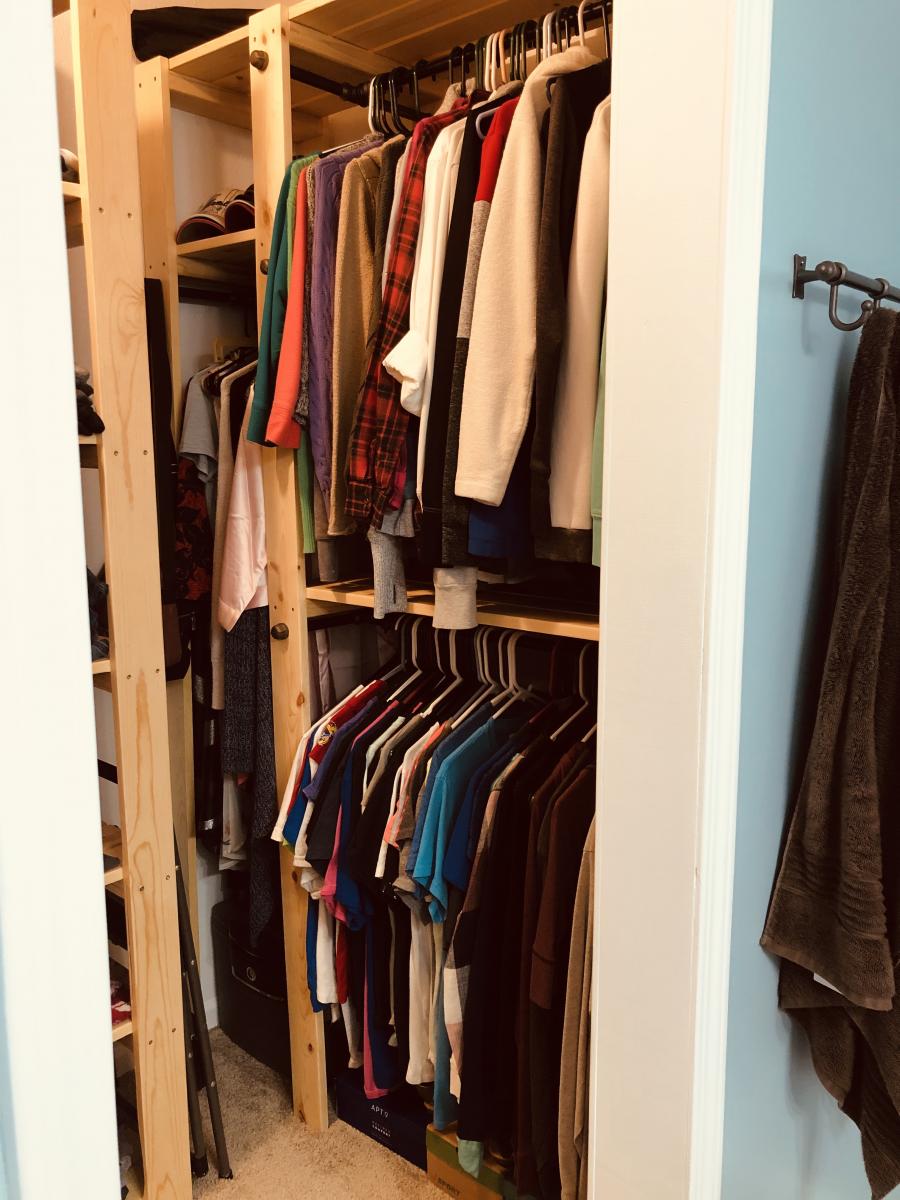
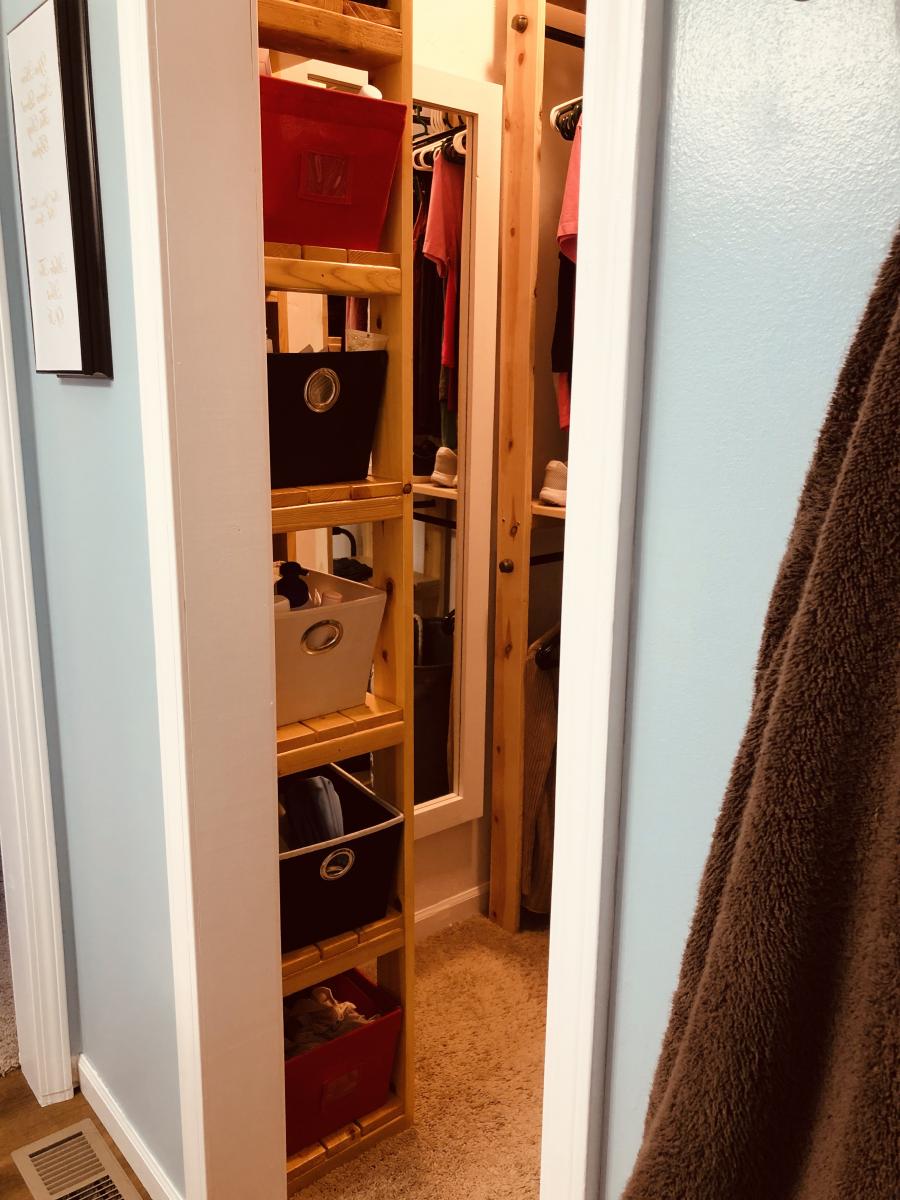
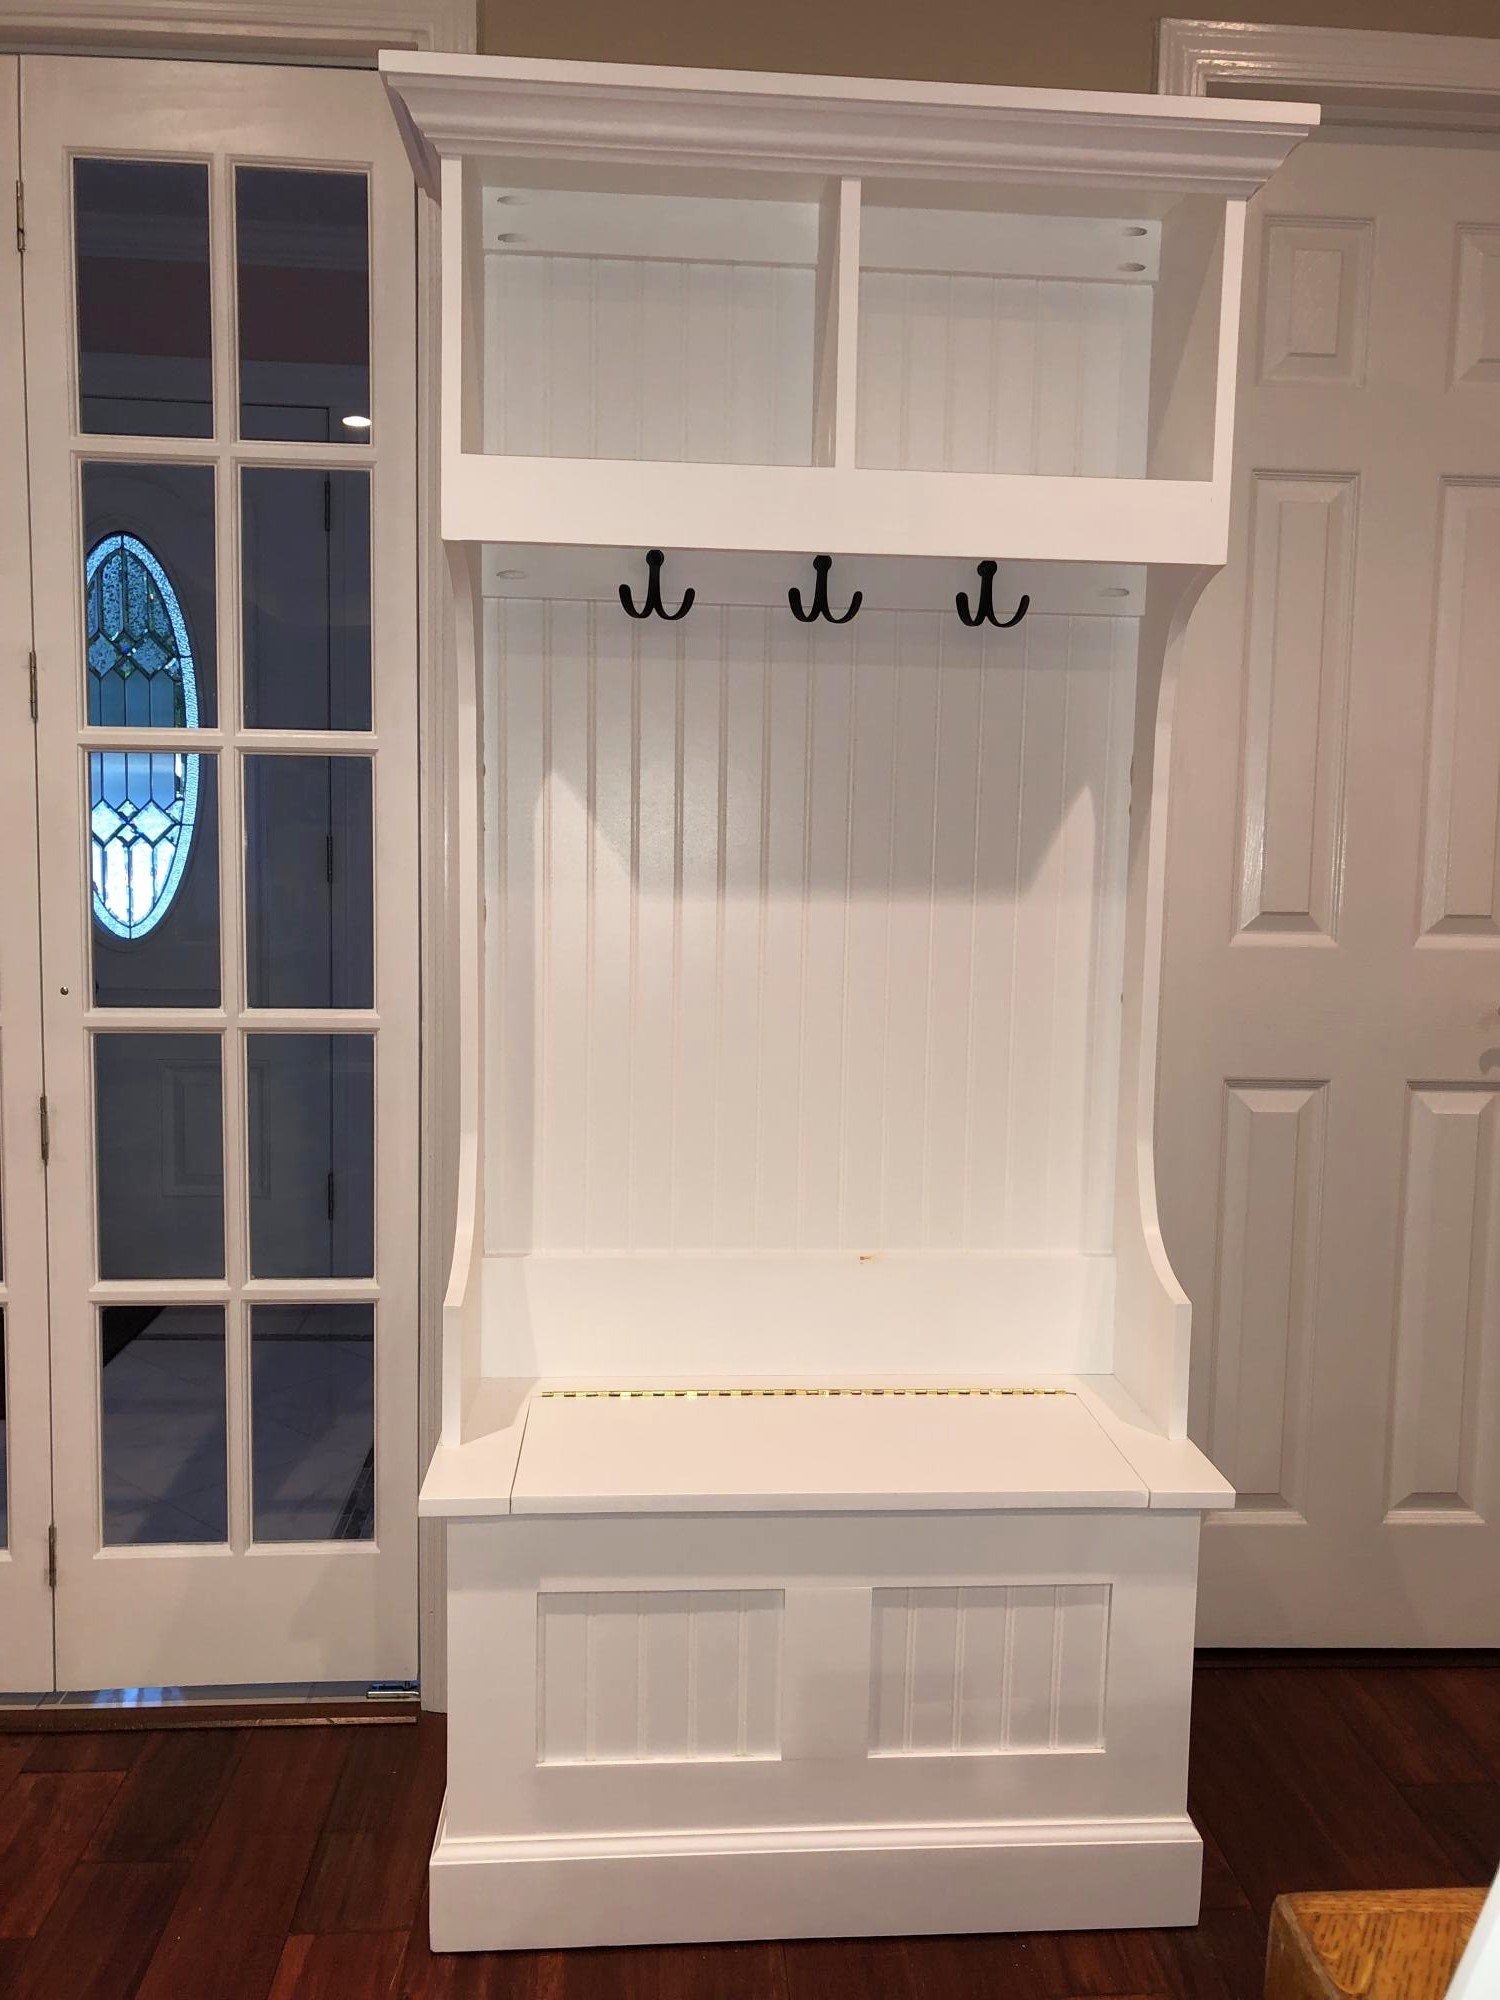
My master closet was a mess when I moved in and something needed to be done. I moved the doorway to create more space in my bedroom and closet. I found this lan and modified it try needs. It works great!!
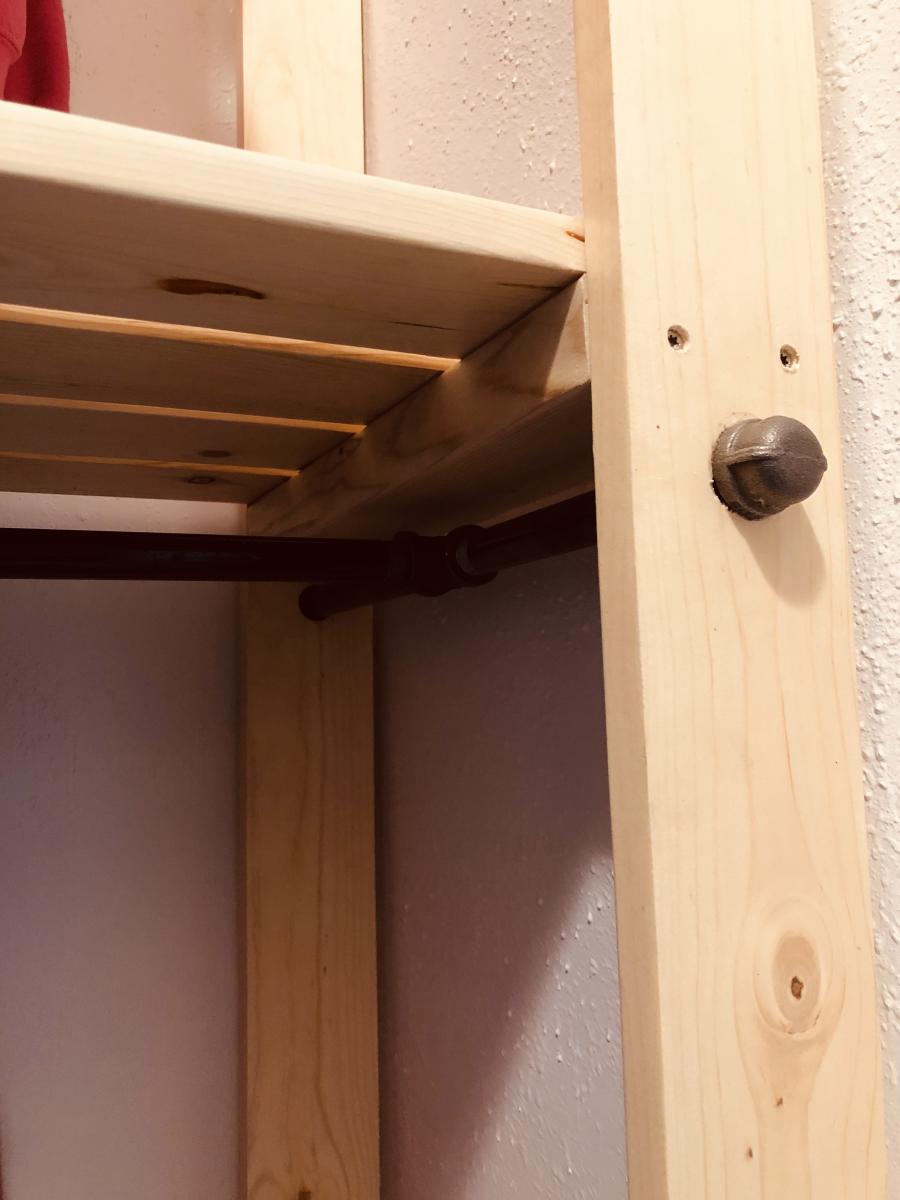
Note: It is much cheaper to purchase the long pipes and have Home Depot cut them down to the right length.
This was a two week project. The width was modified smaller than the plans. The panels on the bench were fitted into dado joints rather than inserting an entire panel on the inside. Also used pocket hole joints where some nails were suggested.
This was my first attempt at a project like this and turned out amazing. My wife loves it too.
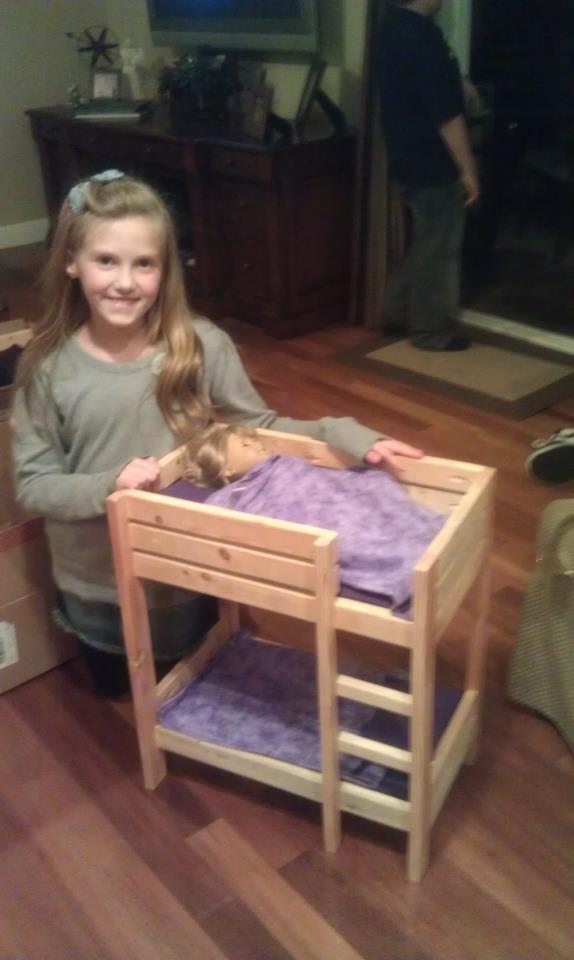
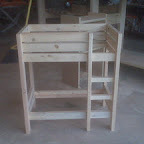
I fell in love with the darling bunk bed built by so many of Ana's readers. Since seeing it I've made several for my granddaughter, neighbors, and friends. What I've learned is that although they're cute, they take almost as much time as a full sized bed!


Mon, 02/20/2012 - 18:54
I love the beds. My child wants one so badly. I like yours better then the one American Girl makes.
Fri, 02/24/2012 - 20:48
That's a sweet thing to say. Evidently, others feel the same; I can't make enough of them! They're really pretty easy to make, I hope you try your hand at it!
Mon, 05/28/2012 - 17:27
Hi, I see you've made the Ana-White doll cradle from this post. The link to the pattern for the doll cradle appears to be missing as it is a dead link now. Do you know how I might obtain the pattern? Thanks so much
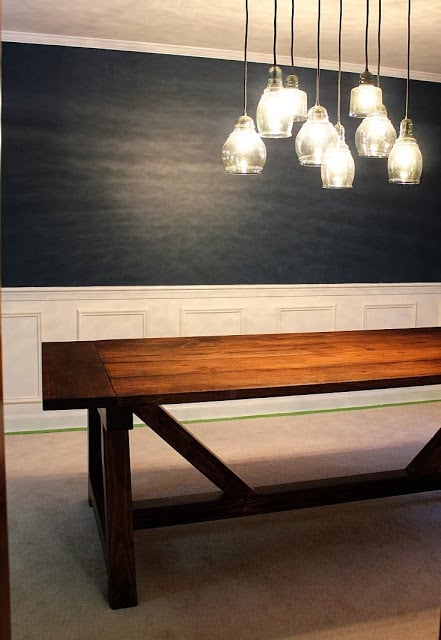
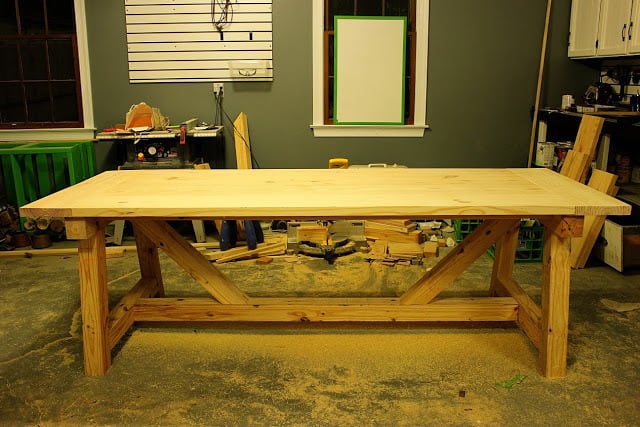
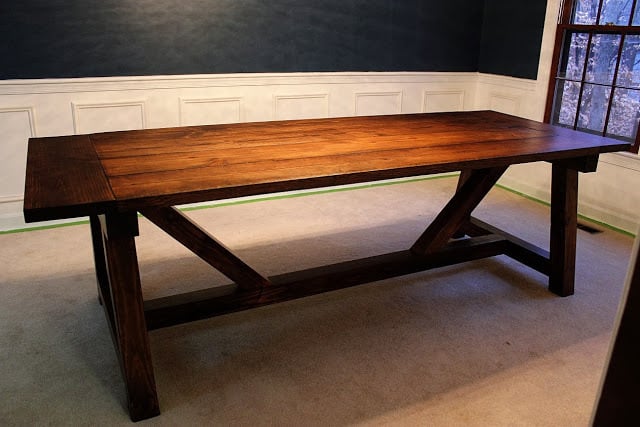
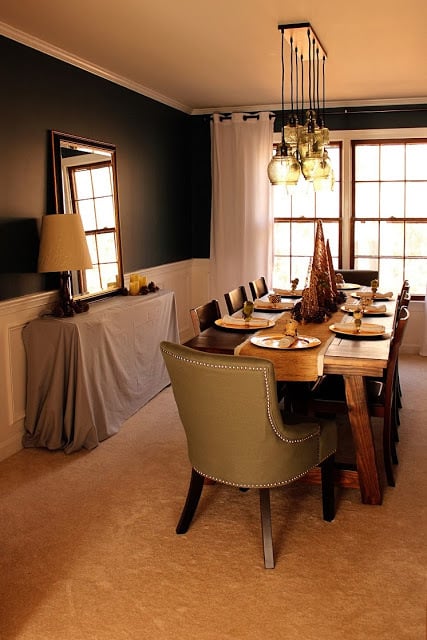
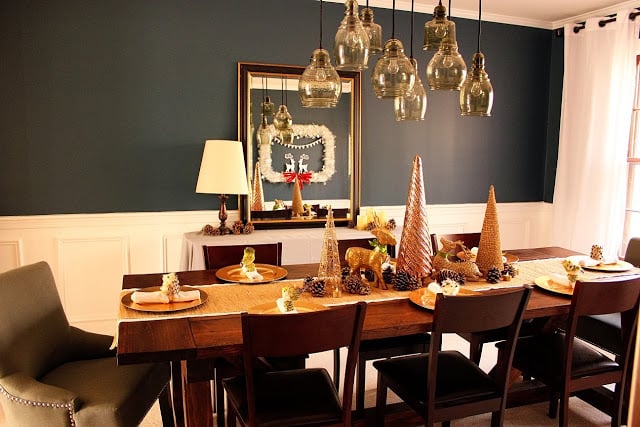
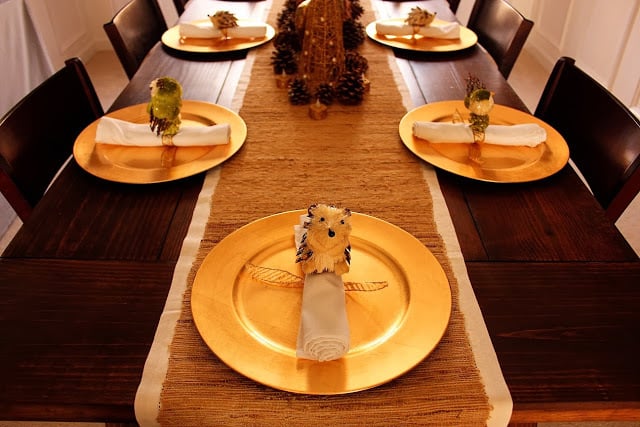
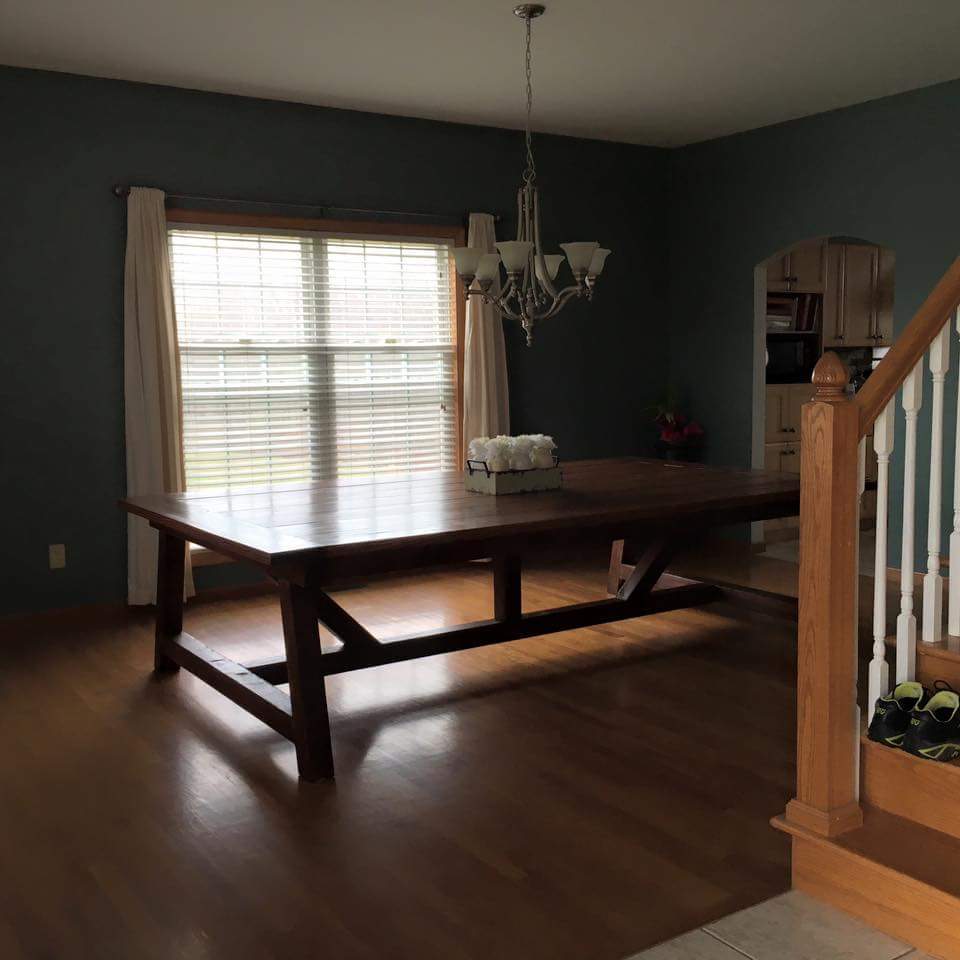
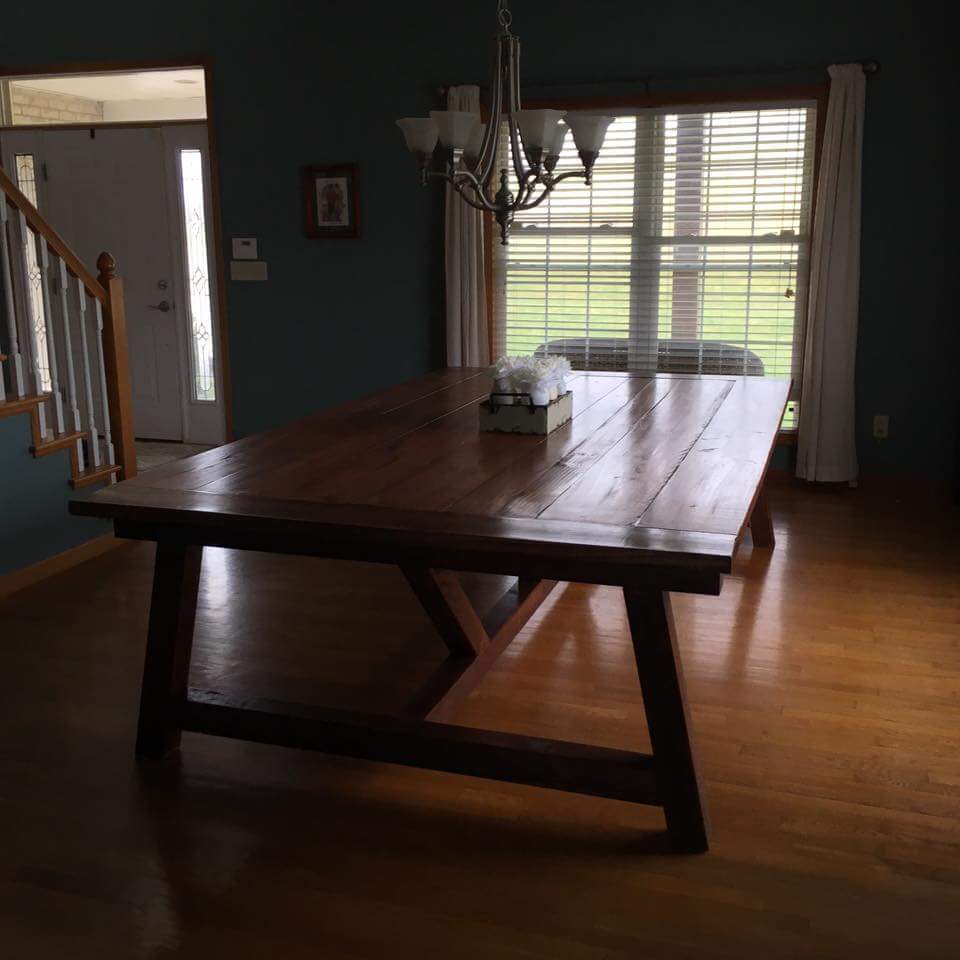
Eight foot Truss Beam Table built out of pine, for about $250 for all of the lumber, pocket screws, stain and poly.
This was my second project, and I found it easier than the Benchright Coffee Table, except for the lifting of the wood. It was so heavy that I needed my husband's help to move the table top after it was pocket screwed together, and we waited until we brought the table inside to attach the base and the table top, due to weight and size.
More photos of the build process: http://thehandcraftedlife.blogspot.com/2013/11/dining-room-progress-diy…

Sun, 01/25/2015 - 16:26
Gorgeous table, and it's now on my to-do list for this summer, but I also love the light fixture! Was this a DIY project as well? I've seen plenty of similar projects using mason jars but I much prefer the variety and shape of the glass covers used in this piece, are they upcycled? Any details I can get would be appreciated!
Mon, 01/26/2015 - 12:22
I have the same lights in my breakfast area, it's the Paxton Chandelier from Pottery Barn.
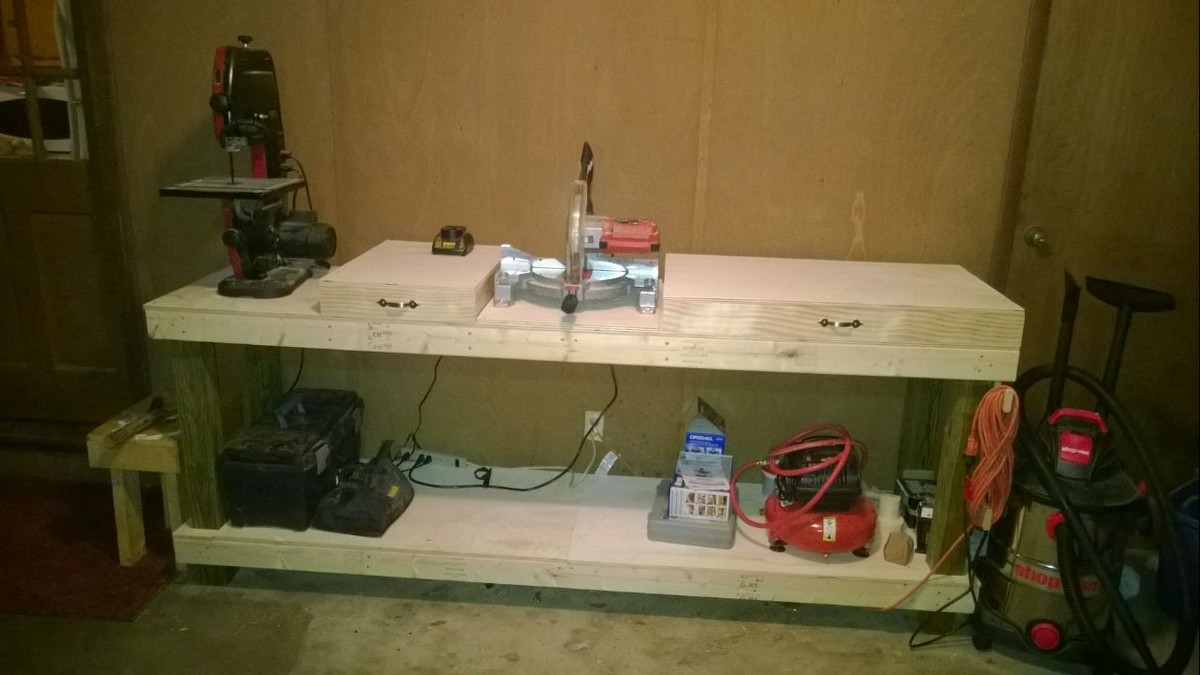
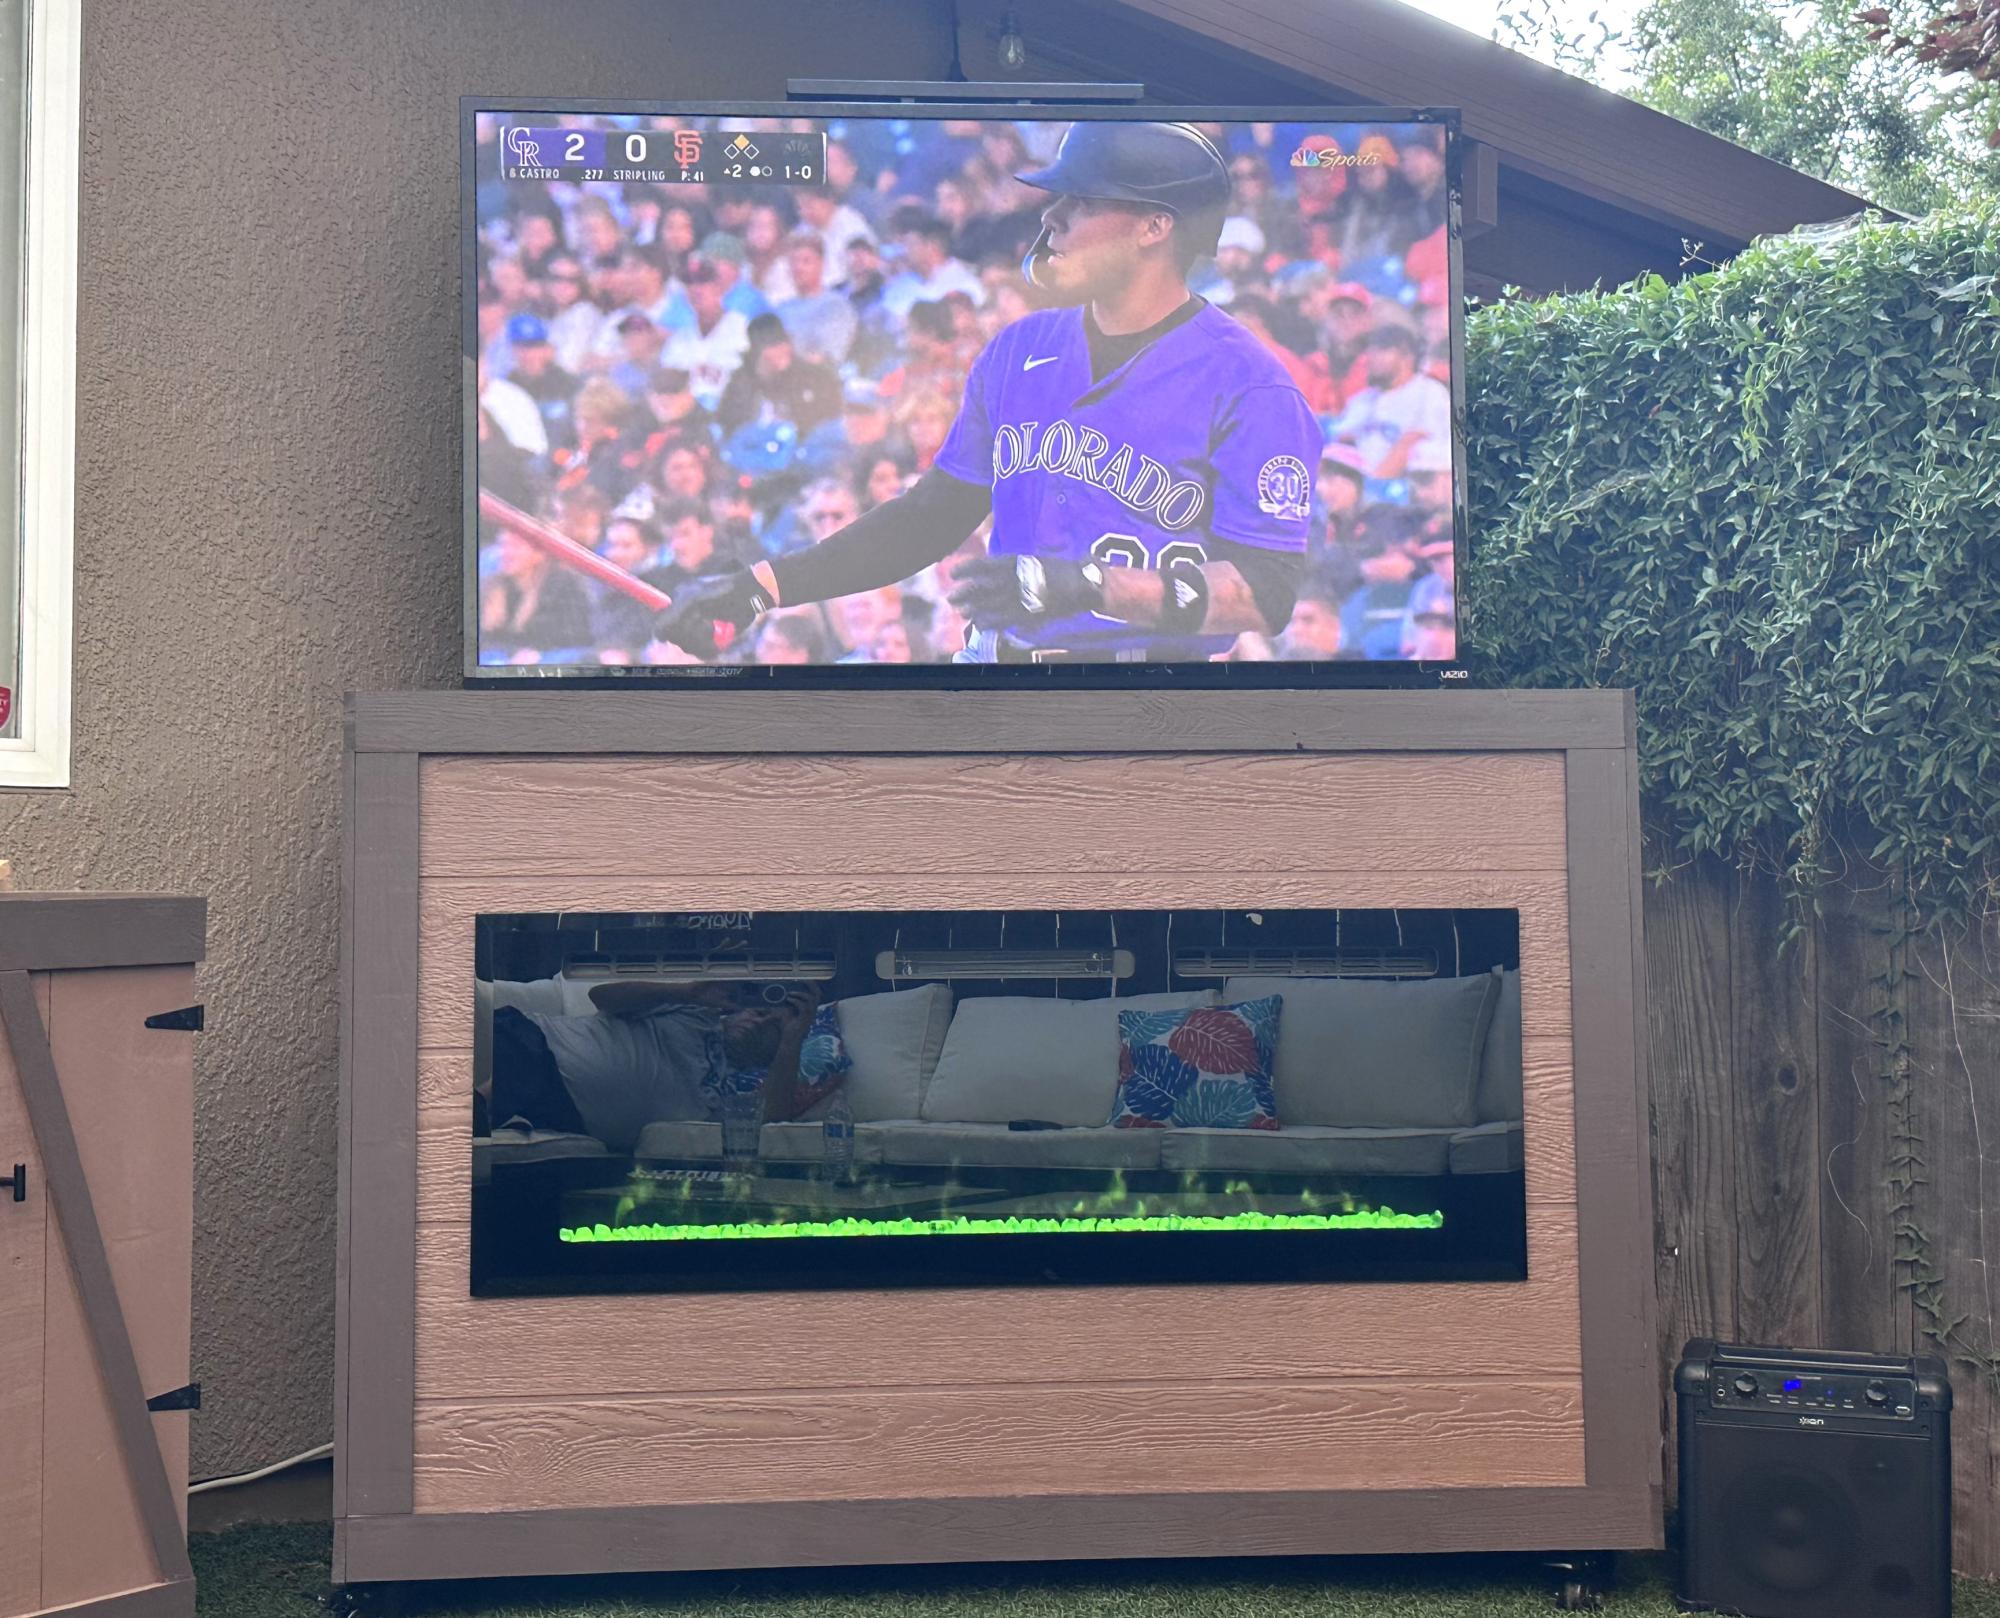
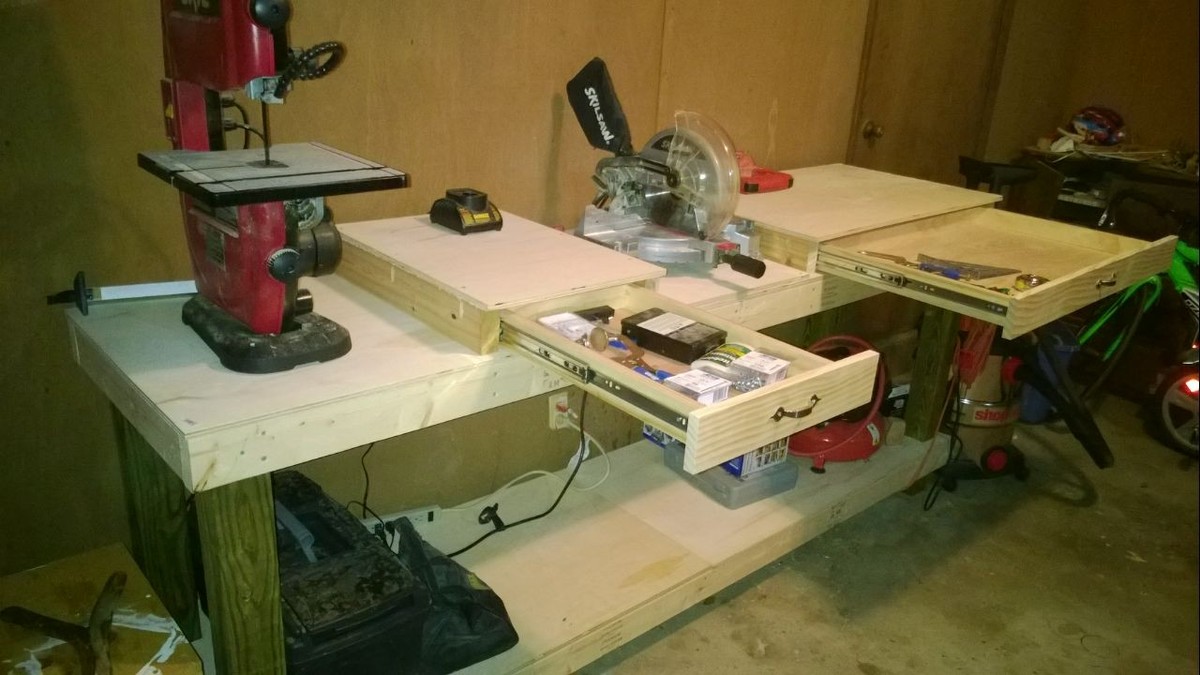
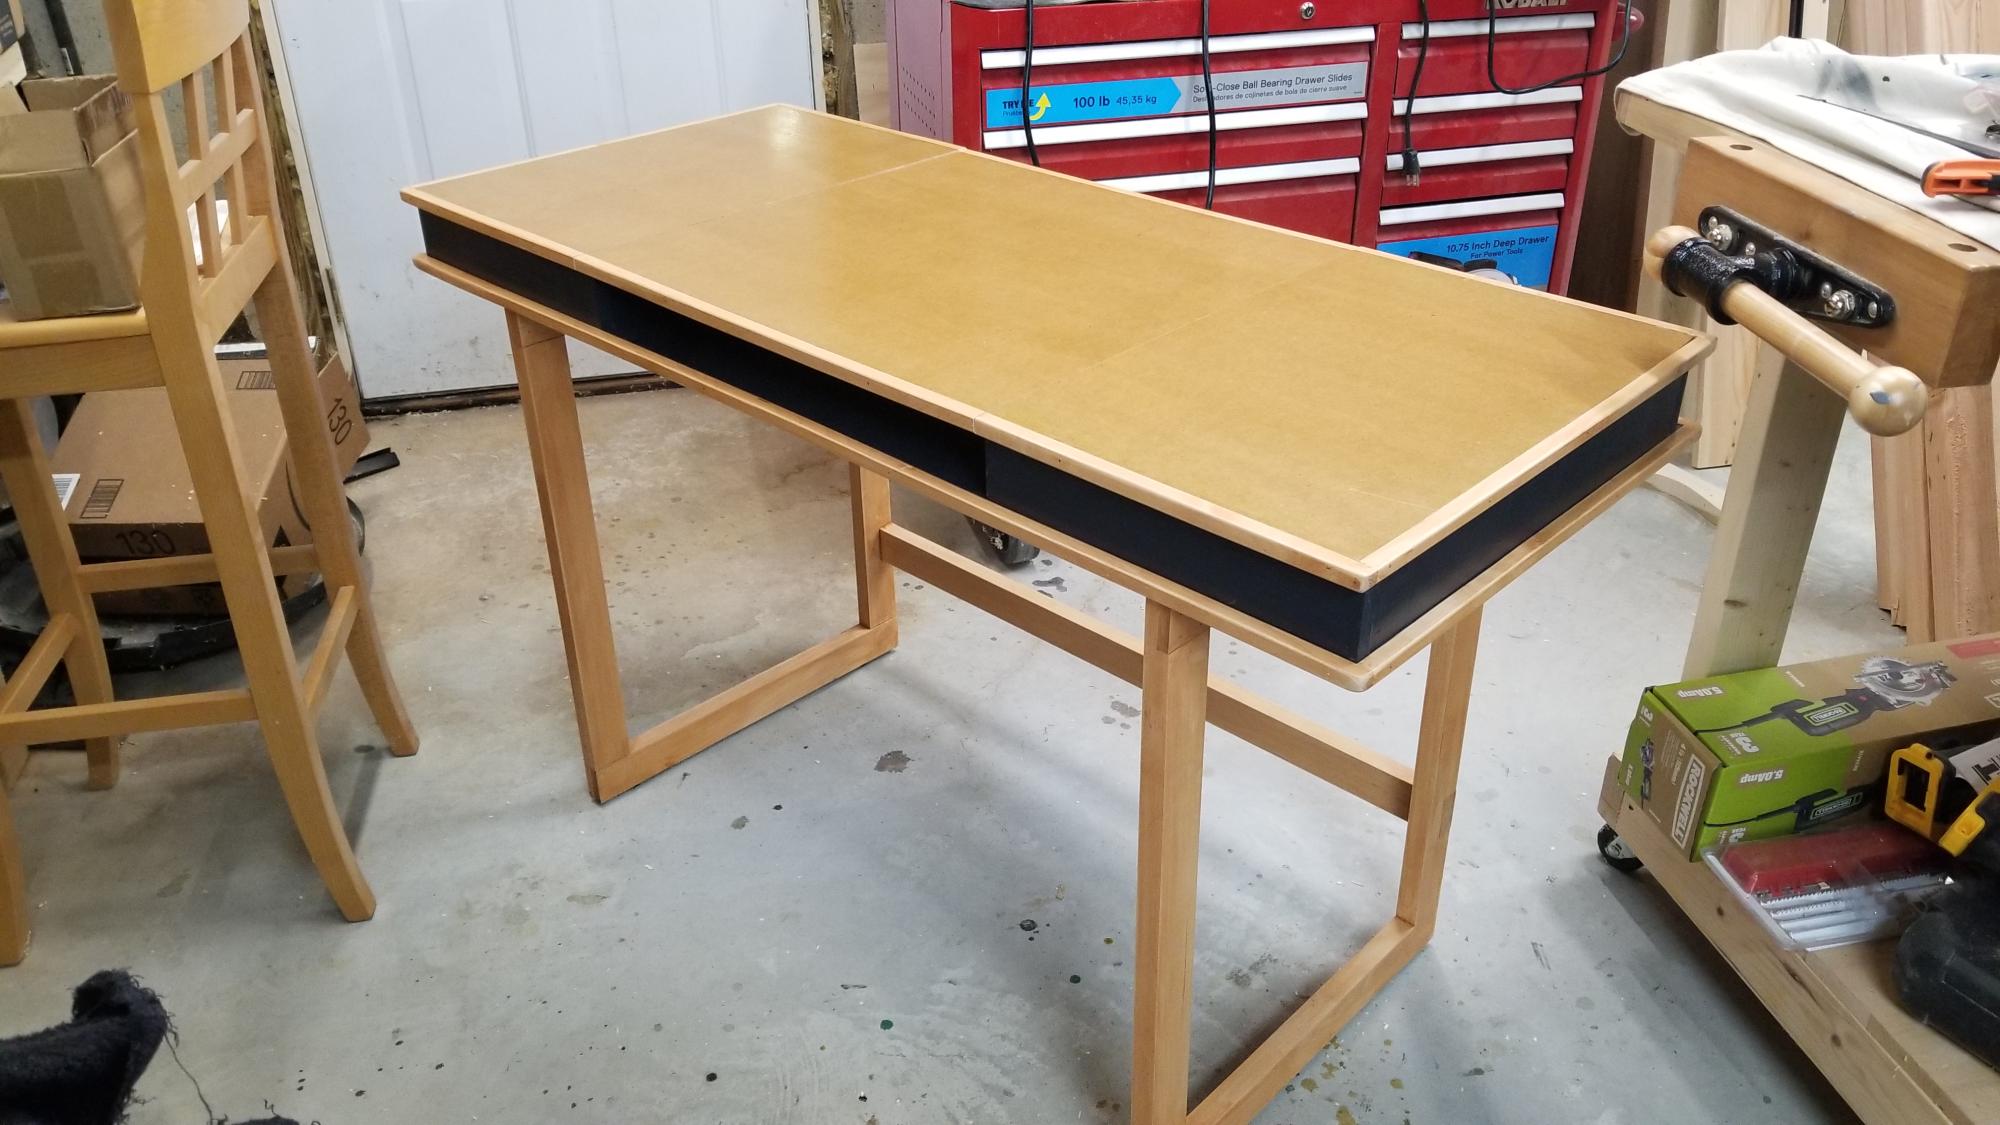
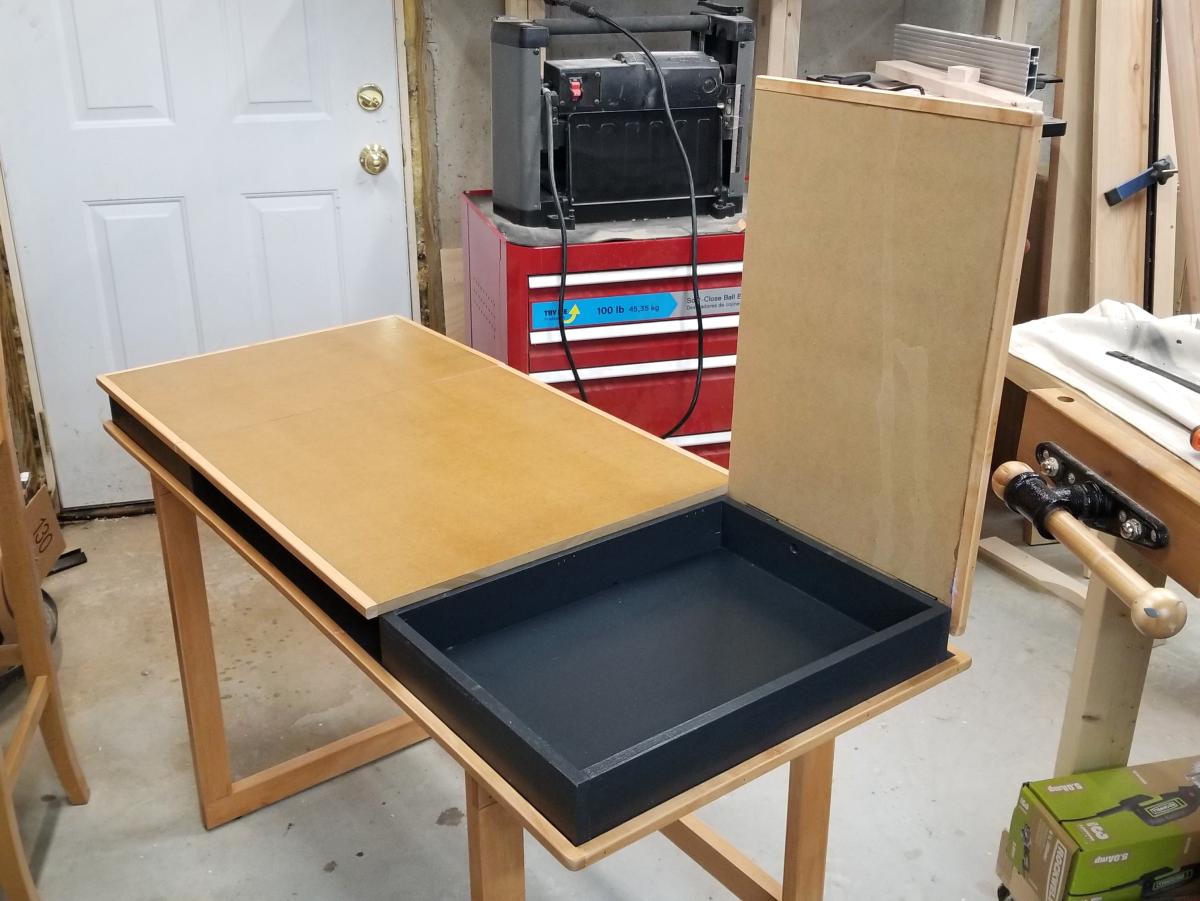
I built this to accommodate my miter saw but I also wanted a place for my band saw. I added drawers to make the table level with the miter saw and they add some extra storage space.
Mon, 03/07/2016 - 14:14
I can see a lot of work getting done there, great job and thanks for sharing!
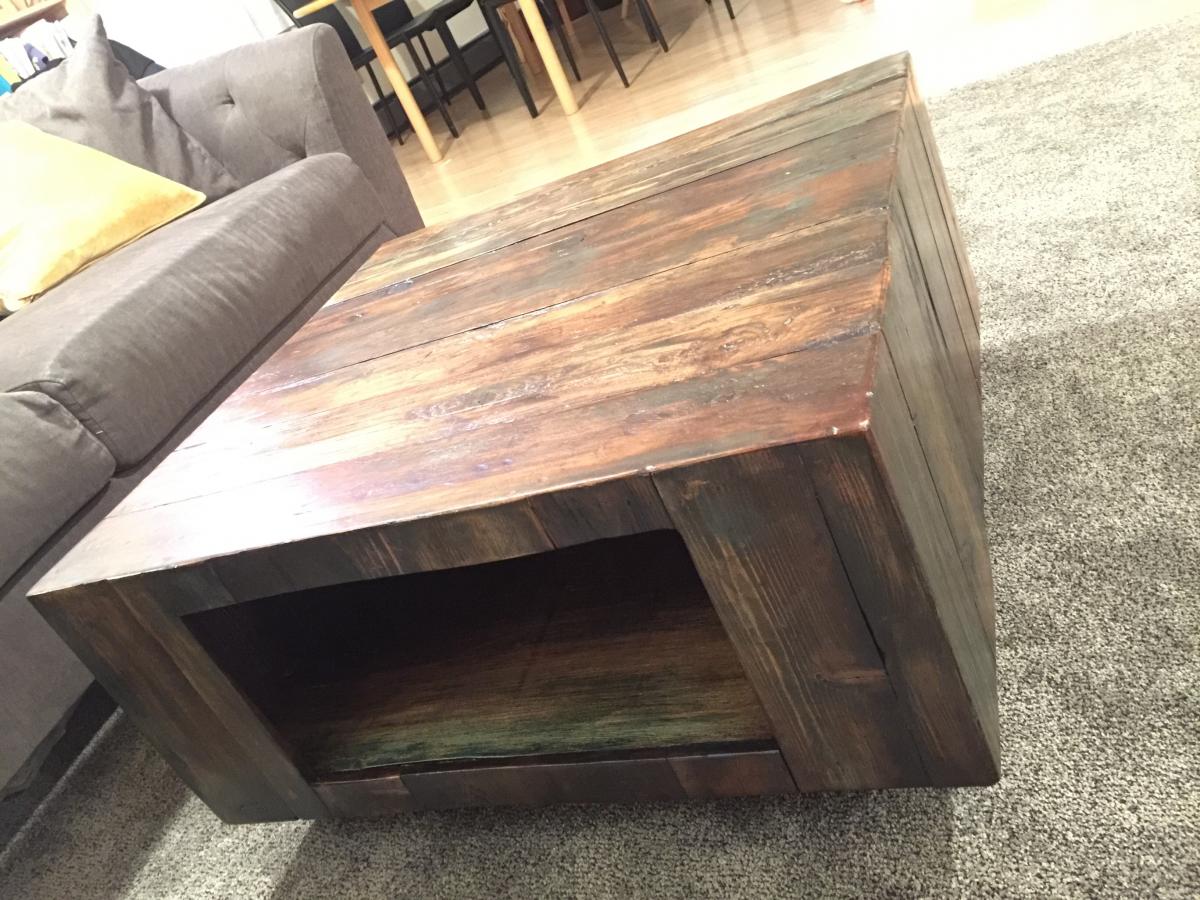
This is the first piece of furniture I have built that I want to put in our house. I used a lot of our tools for the first time. It was really fun and definitely took me a long time but learned a lot in the process. I used all scrap wood from old fencing & old projects. And I had to make an opening for storage on one side! What do you think? :)
I used these plans as inspiration and made some changes per my son's request. I made the base out of maple and changed the board dimensions to 1x2" I also used half lap joints instead of pocket hole screws (personal preference). The top is MDF and I edged plywood and MDF in Maple. Fun Project
Zen
This project took us about a day. We made 15. Other then an incident where my boyfriend almost shot my father in the foot with a nail gun (accidently of course lol) it went pretty well. Way better then the paper and mismatched ones that I had before!!
First of your plans I followed and already have two more projects on the go for different tables. Great plans and ideas!!!

Had a blast building this project. from printing the plan to first coatings of stain was roughly 10 -14 hours including 2 trips to HomeDepot. I opted to use the PineShop Laminated Pine Shelving / Project Wood It has a really great look when done, and as Im in Canada some prices where a little higher than i had hoped. when purchasing the laminated pine panels, i got 3 panels at 48 inch long by 16 wide (for the top bottom and shelf and 2 panels at 36 inch long by 16 inch wide for the sides. these are actually 16 inch wide so if you need to make them narrower run them through your table saw or have the home depot team trim them to the width you prefer or buy the narrower 12 inch panel . Again it was a blast to build, between the kreg screws needed and the panels and lumber and 1/4 plywood back panel and 3 centre mount drawer slides this project came in at $245 Canadian the Stain i used i have plenty of on hand, but if you don't have any on hand add $10 or $20 to your price
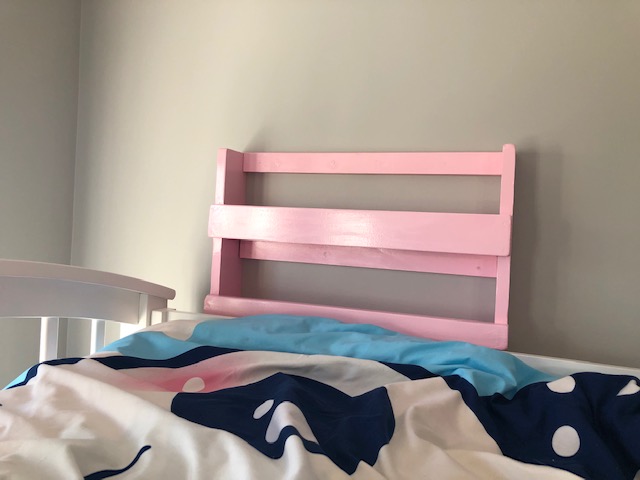
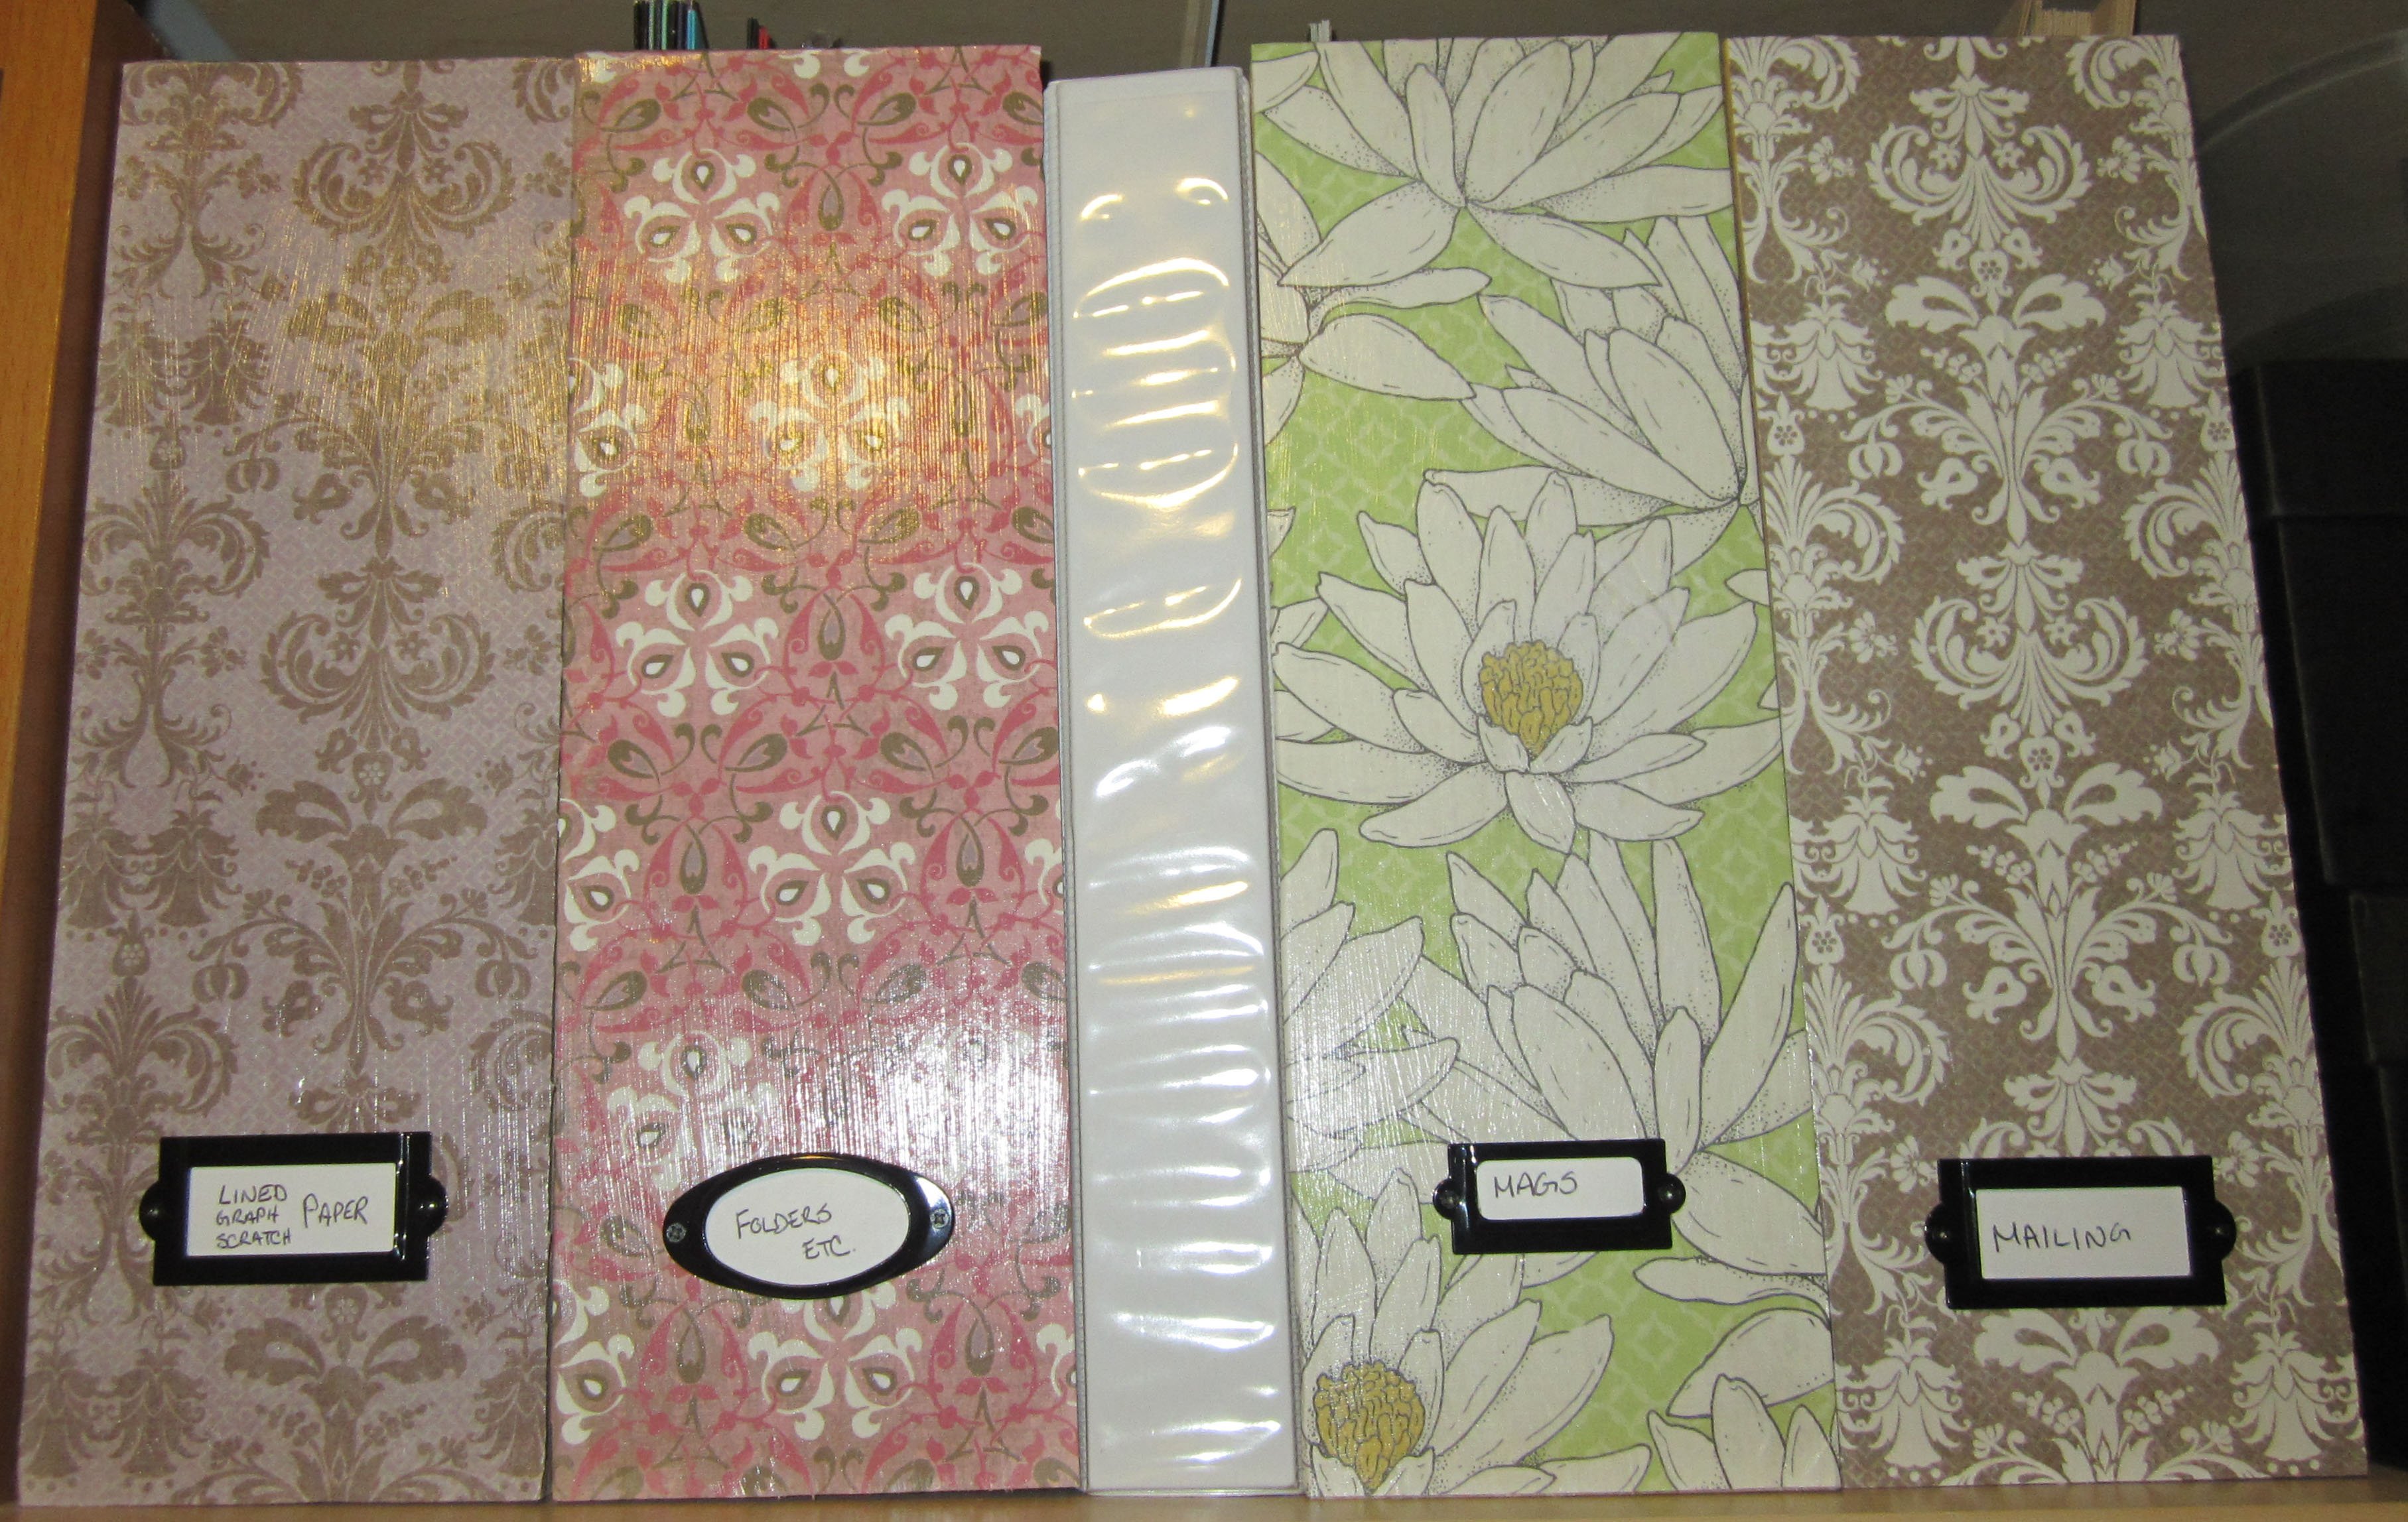
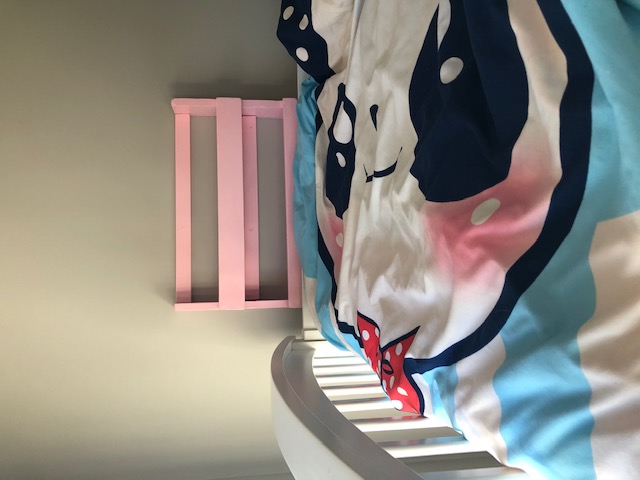
My daughter asked me for a shelf near her bunk bed to put books, glasses, pen, etc. on. I found this plan and made it that day. Self cost less than $15!! She loves it. It was super simple to do!
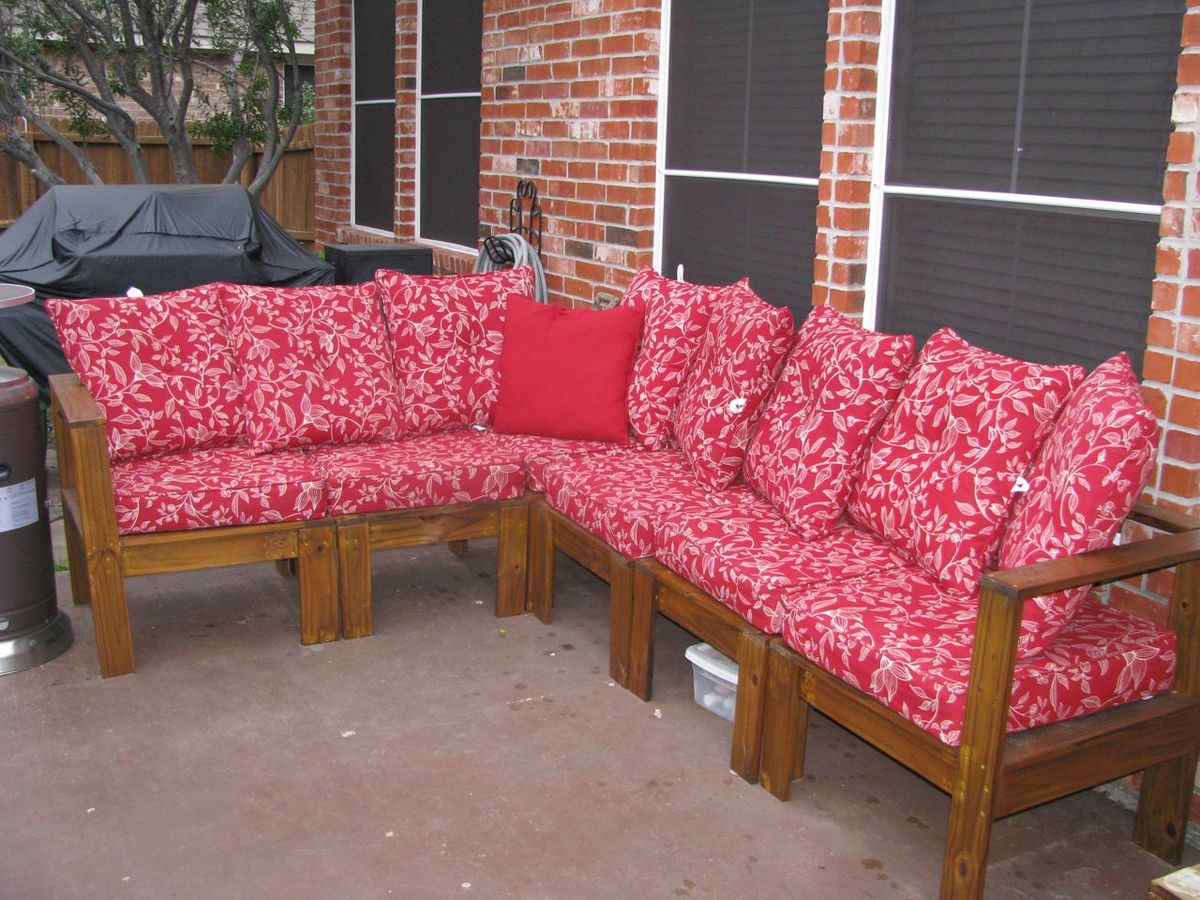
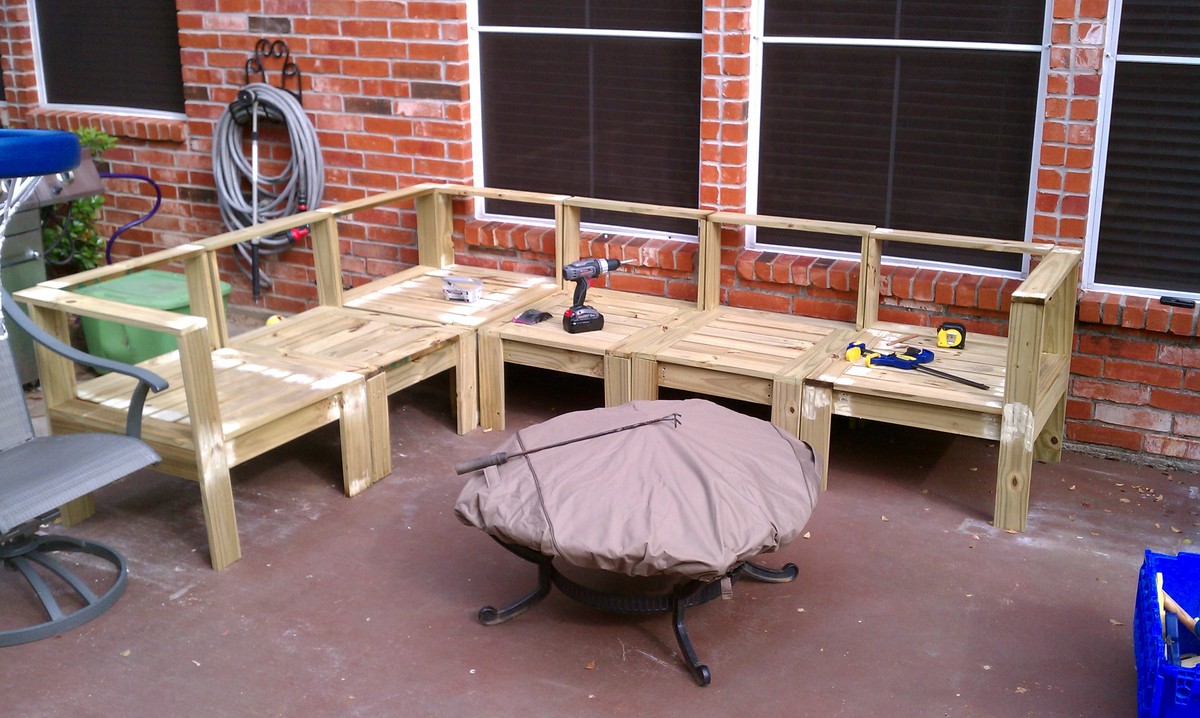
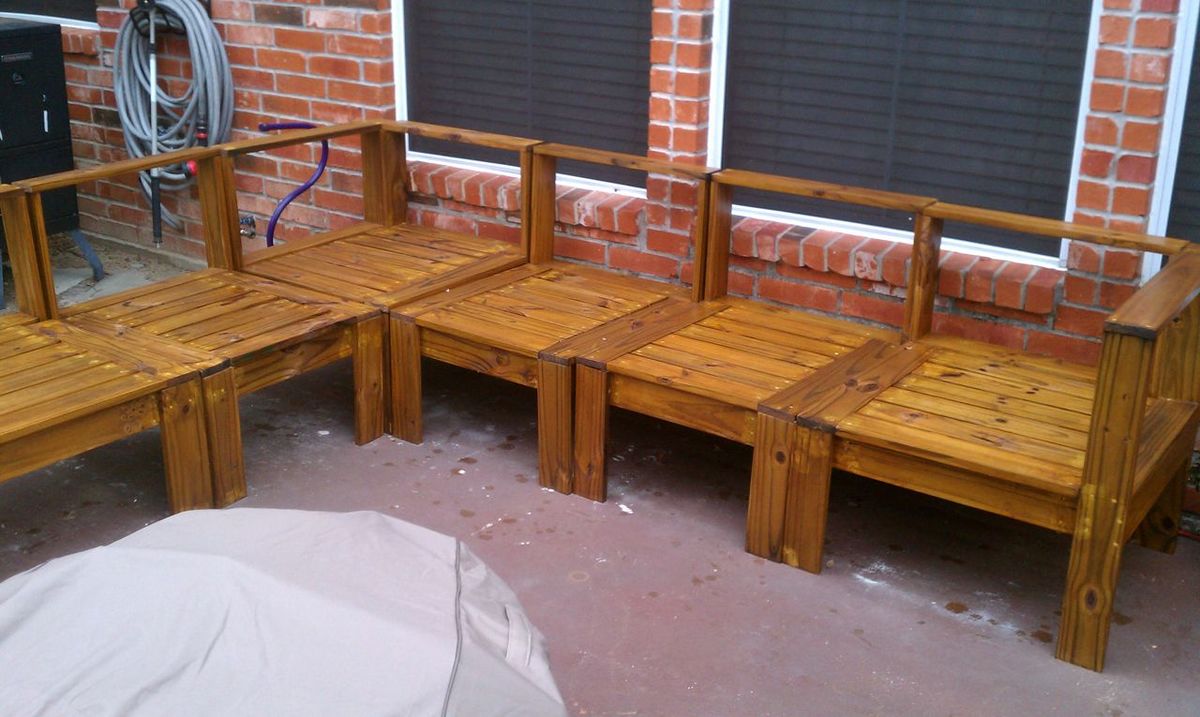
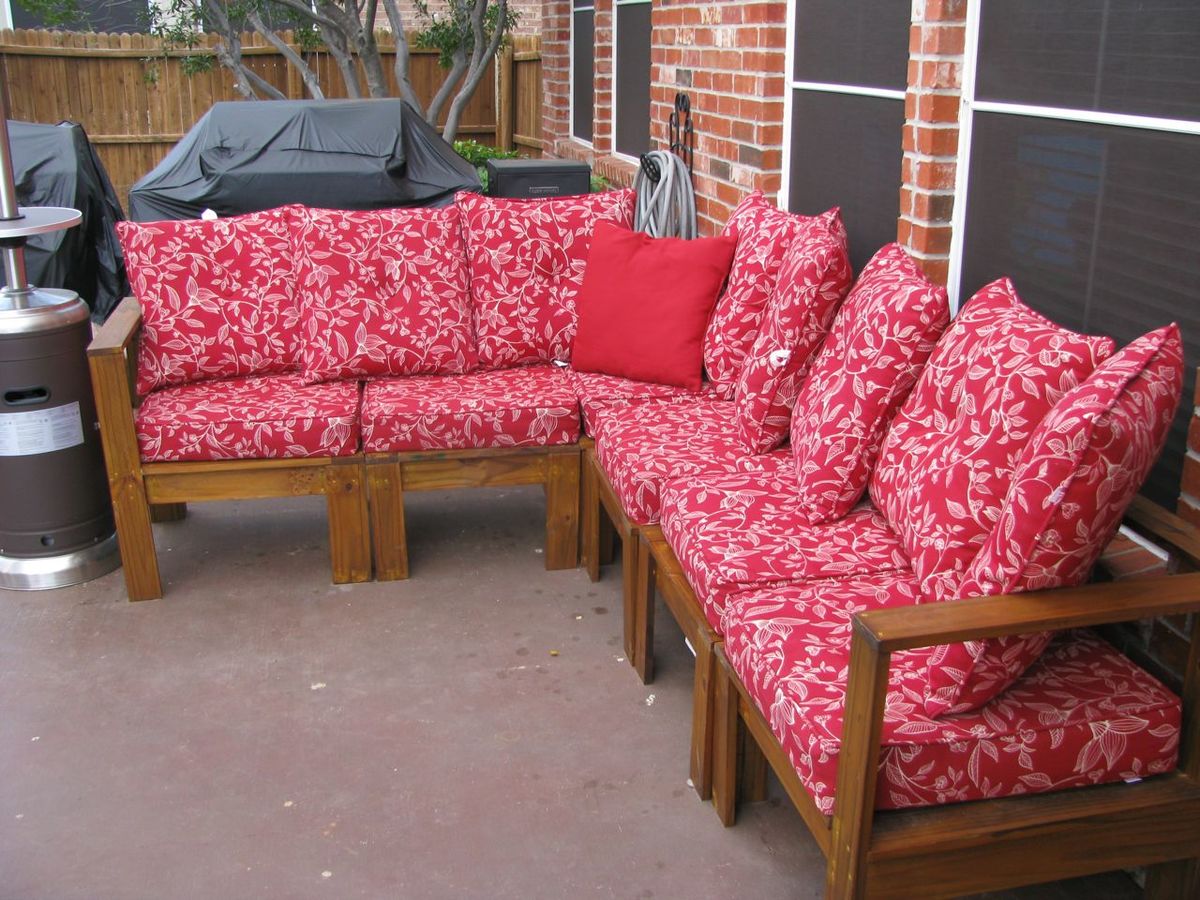
We built this sectional for approximately $700. The wood and supplies cost about $200. The cushions were the most expensive, about $500. We wanted 24 inch wide and 5 inch thick cushions that were well made. I ended up ordering them online from Wal-Mart. The project could have taken about one day, but due to work and kids, it took us about a week.
Fri, 03/02/2012 - 04:50
This is just gorgeous! Great job! I really LOVE the red cushions contrasting with the wood.

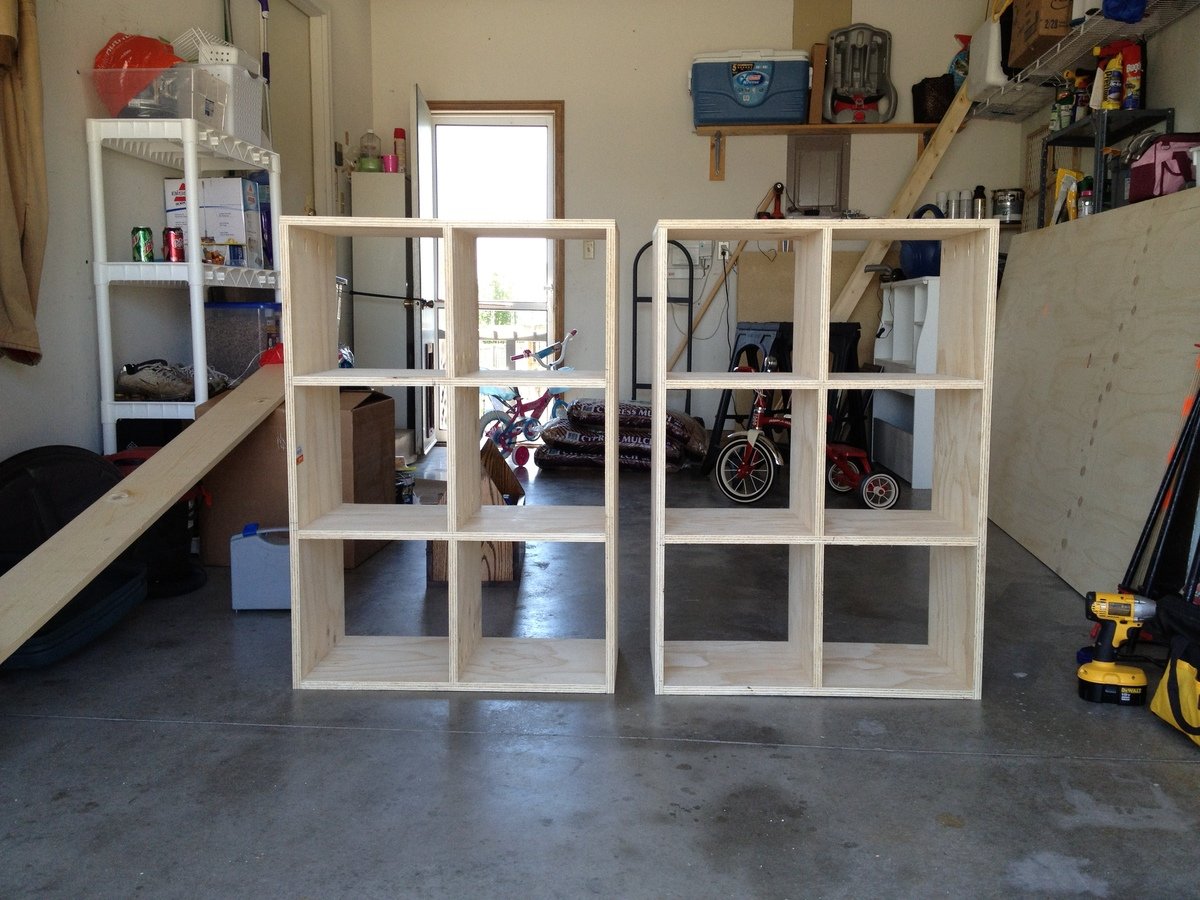
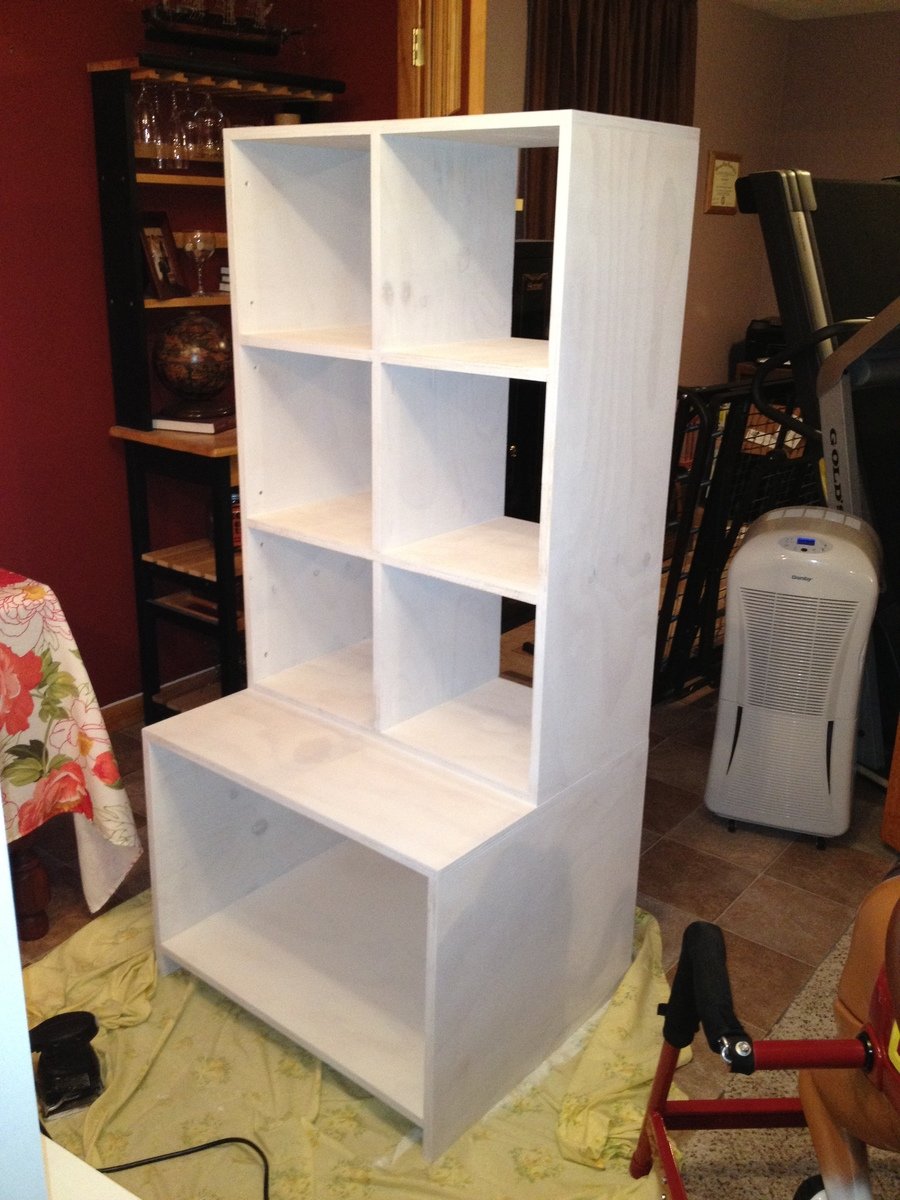
Half of the spare bedroom in our basement is our toy room and I wanted to be able to host visitors without them being overwhelmed by our toys. The units on top are three separate units. We didn't divide the middle unit so we could use as book shelves. The open units on the bottom are tall enough for car elevators, etc. I like the half units on top for the plastic storage boxes where I have craft/art supplies (I don't want my kids getting that when I'm not in the room!). We used white paneling on the back of the shelving. We used a piece of trim on the bottom to cover up the legs, but I wanted to show you that the entire unit does not sit on the carpet. The totes are Martha Stewart brand from Home Depot. (I apologize for the blurriness of the last photo.)
this project turned out better than I hoped
I used these plans to build a toy chest for my daughter: https://www.ana-white.com/woodworking-projects/simple-modern-toy-box-lid
I skipped the lid and a few of the extra details, but I think it turned out alright! It was probably my second project ever, and my first at this size. Being so new to woodwork, I was unsure of a lot of my cuts, or even if I could find the proper pieces of wood at the store, but your plans helped me through a lot of it!

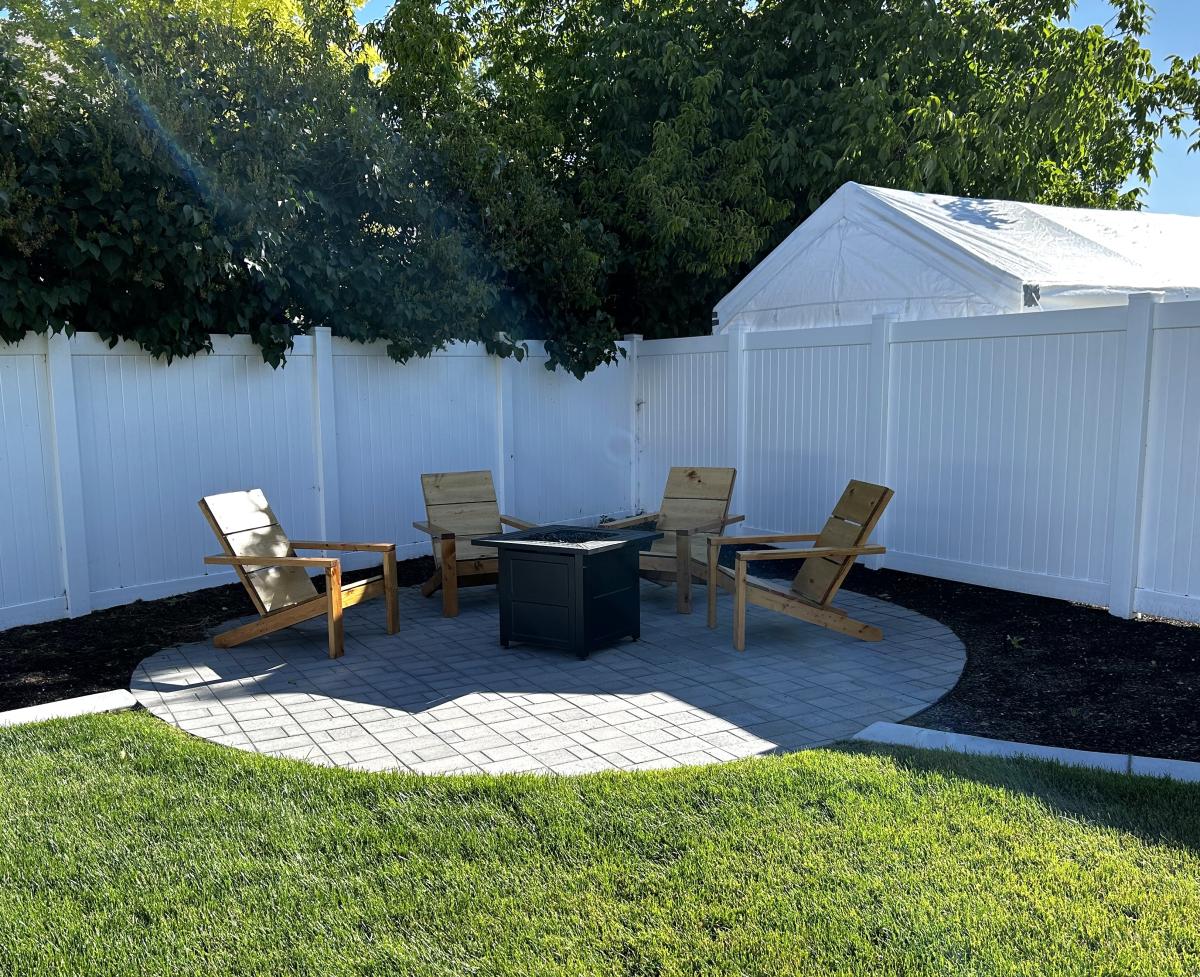
Adirondack Chairs stained.
Rachel M