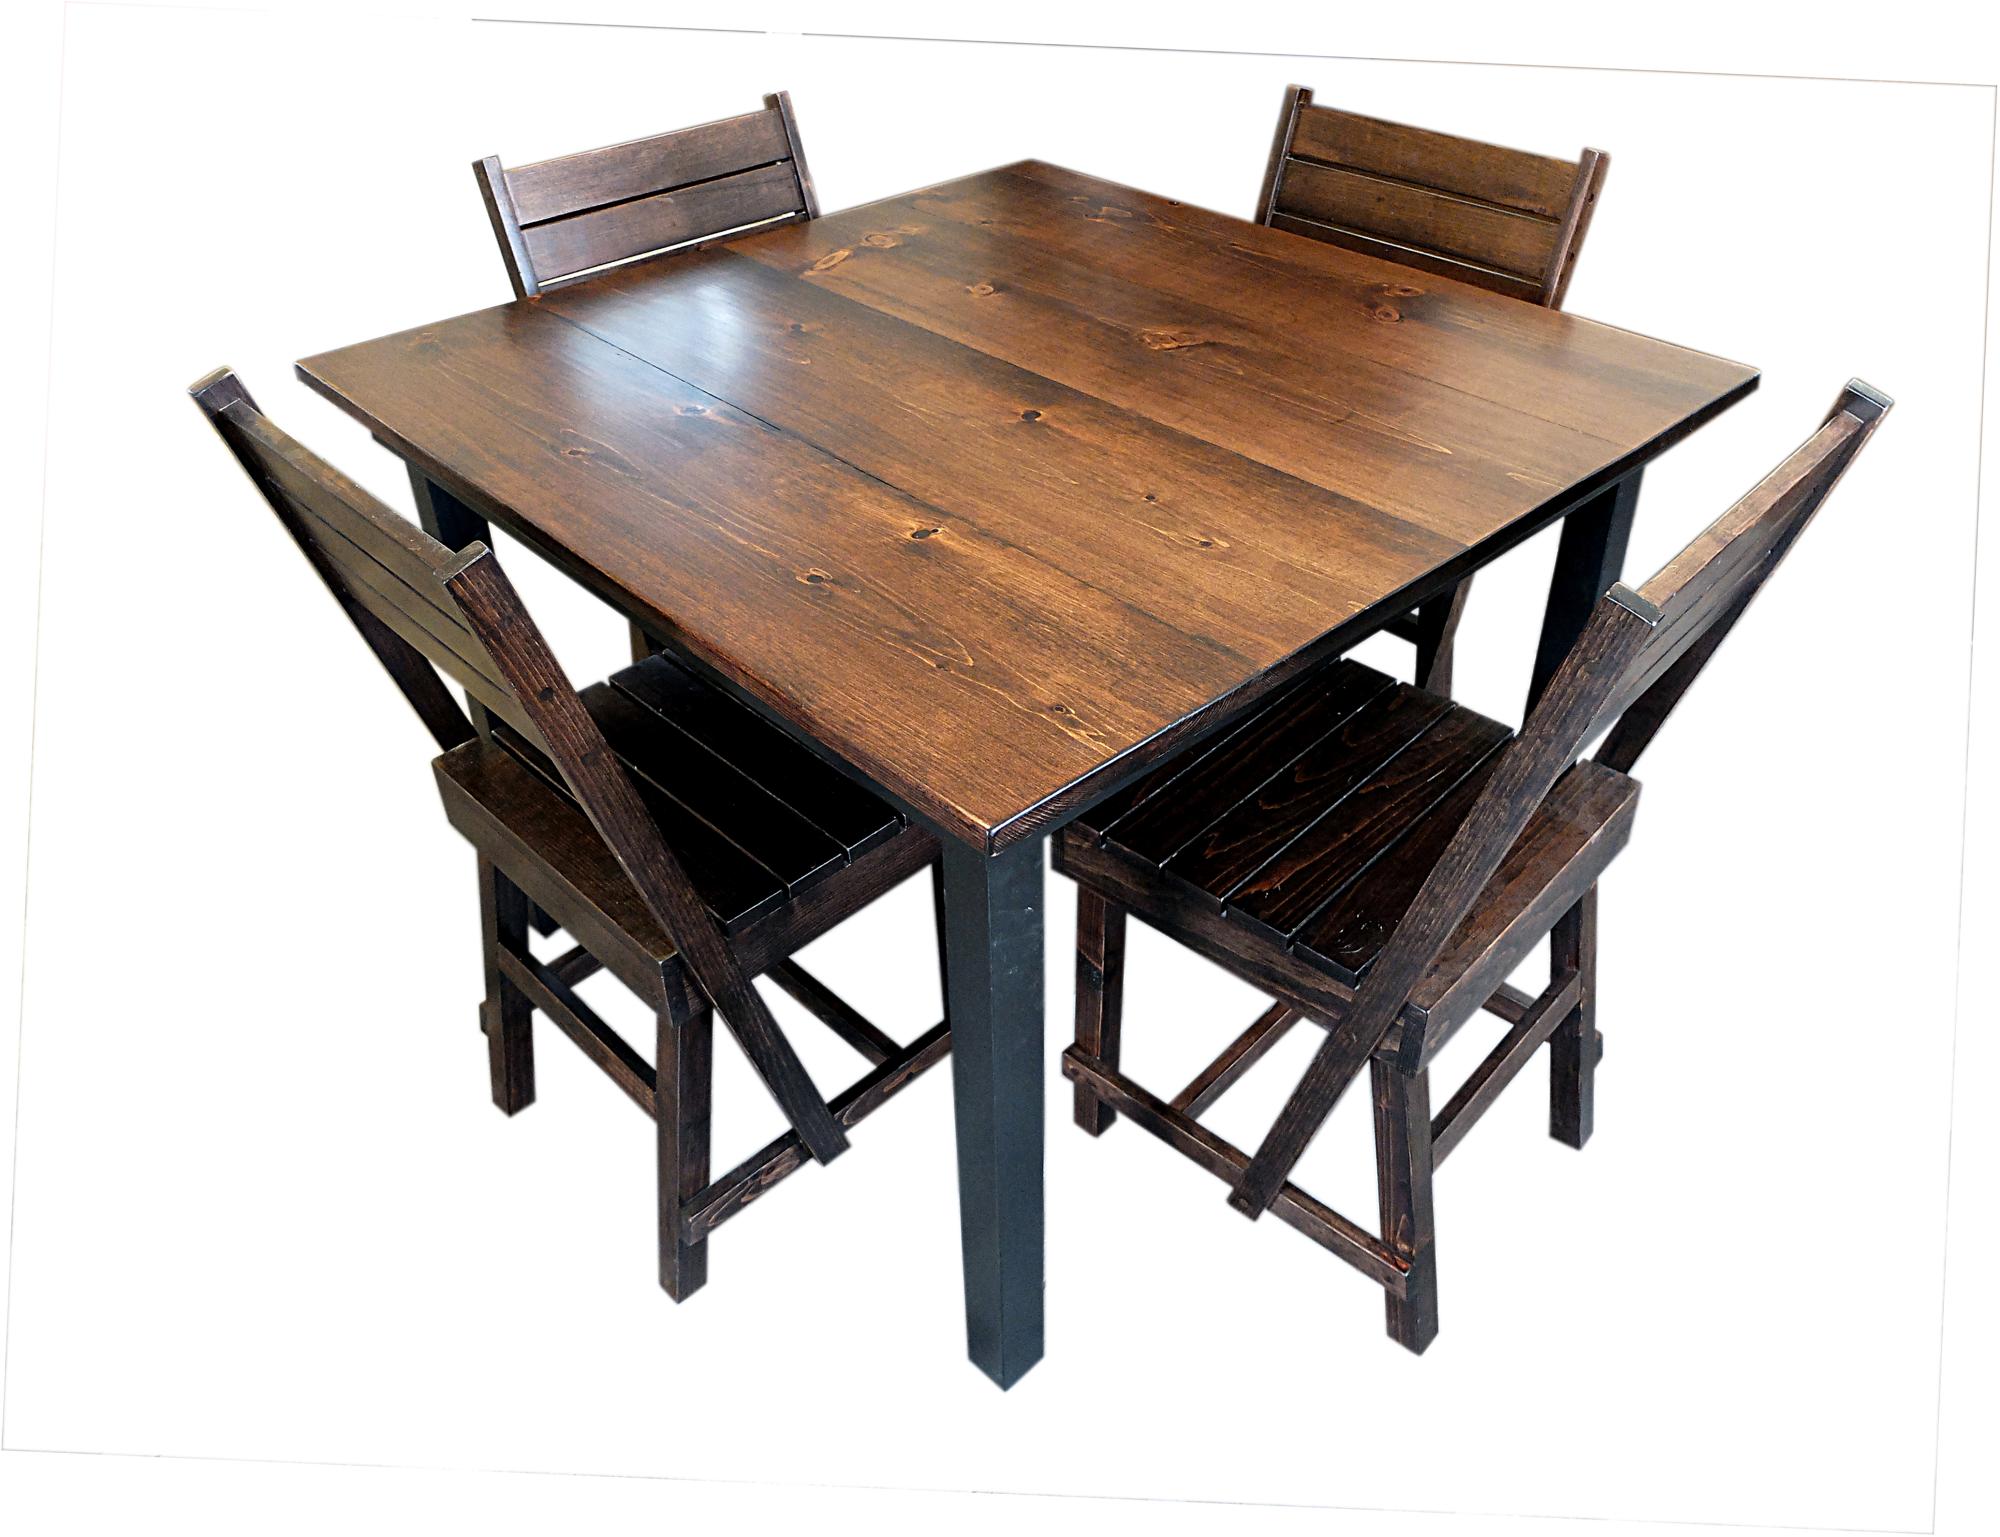
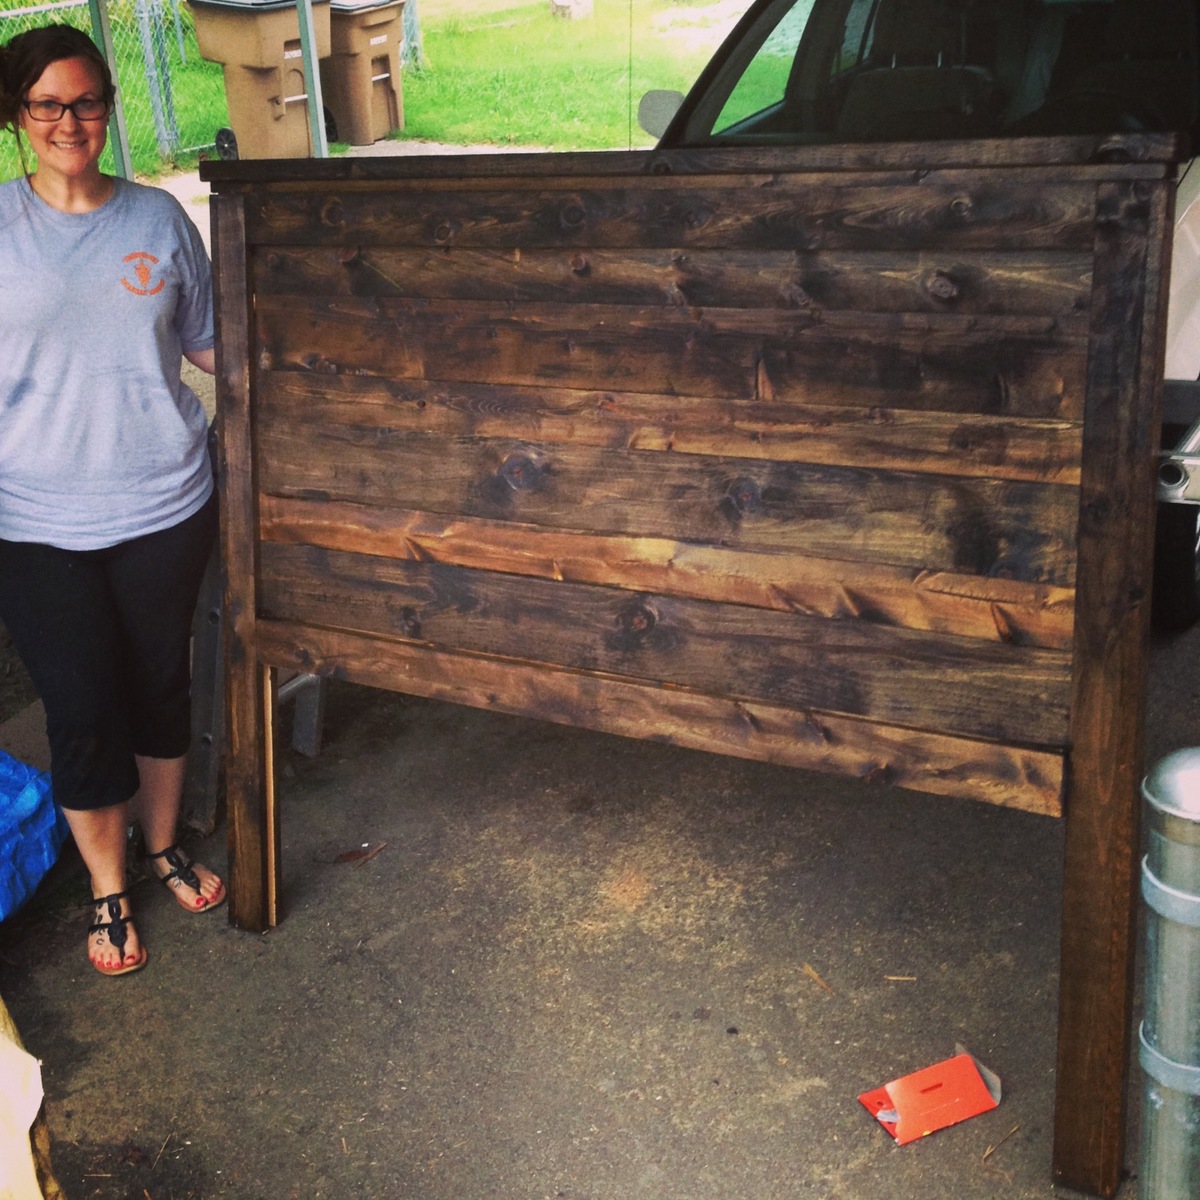
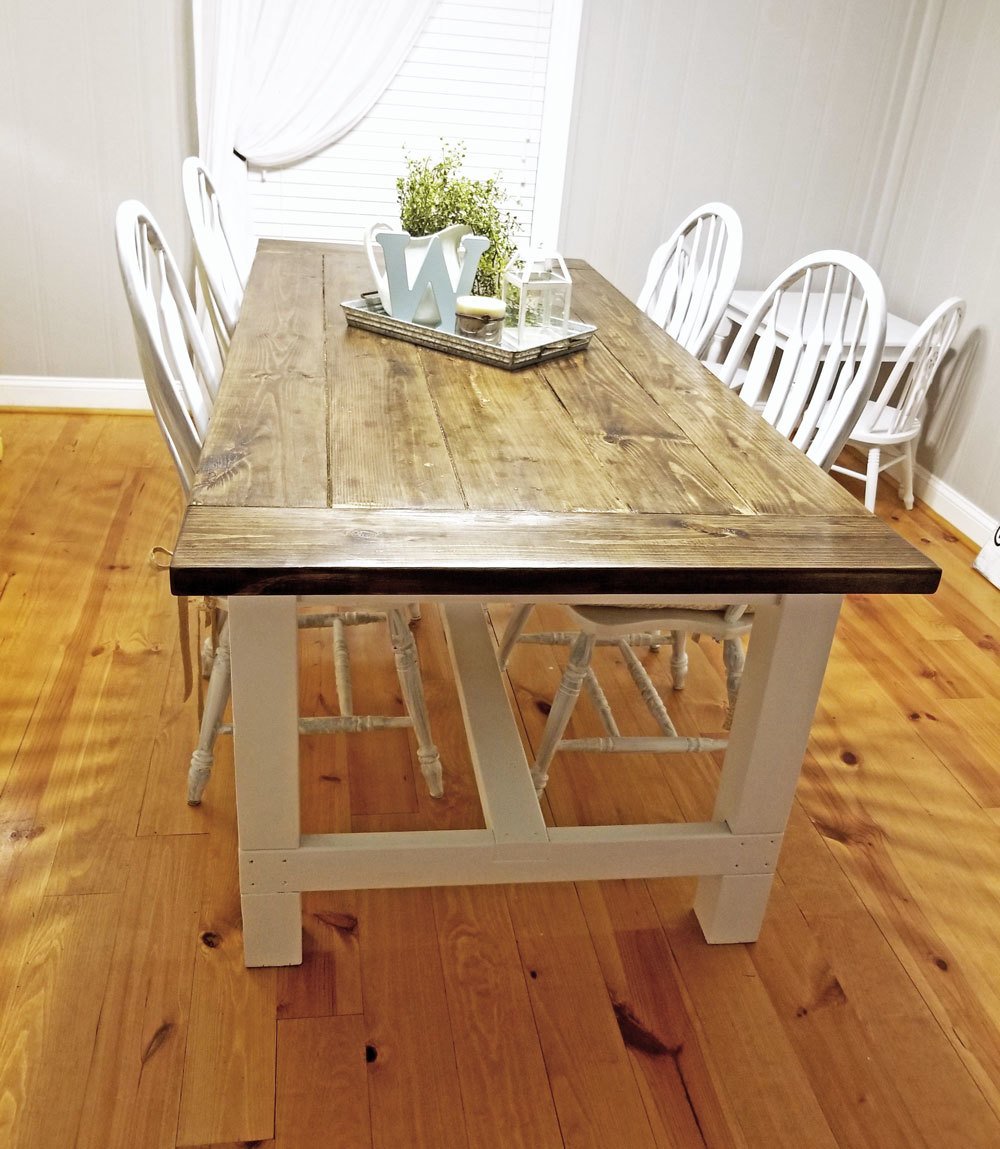
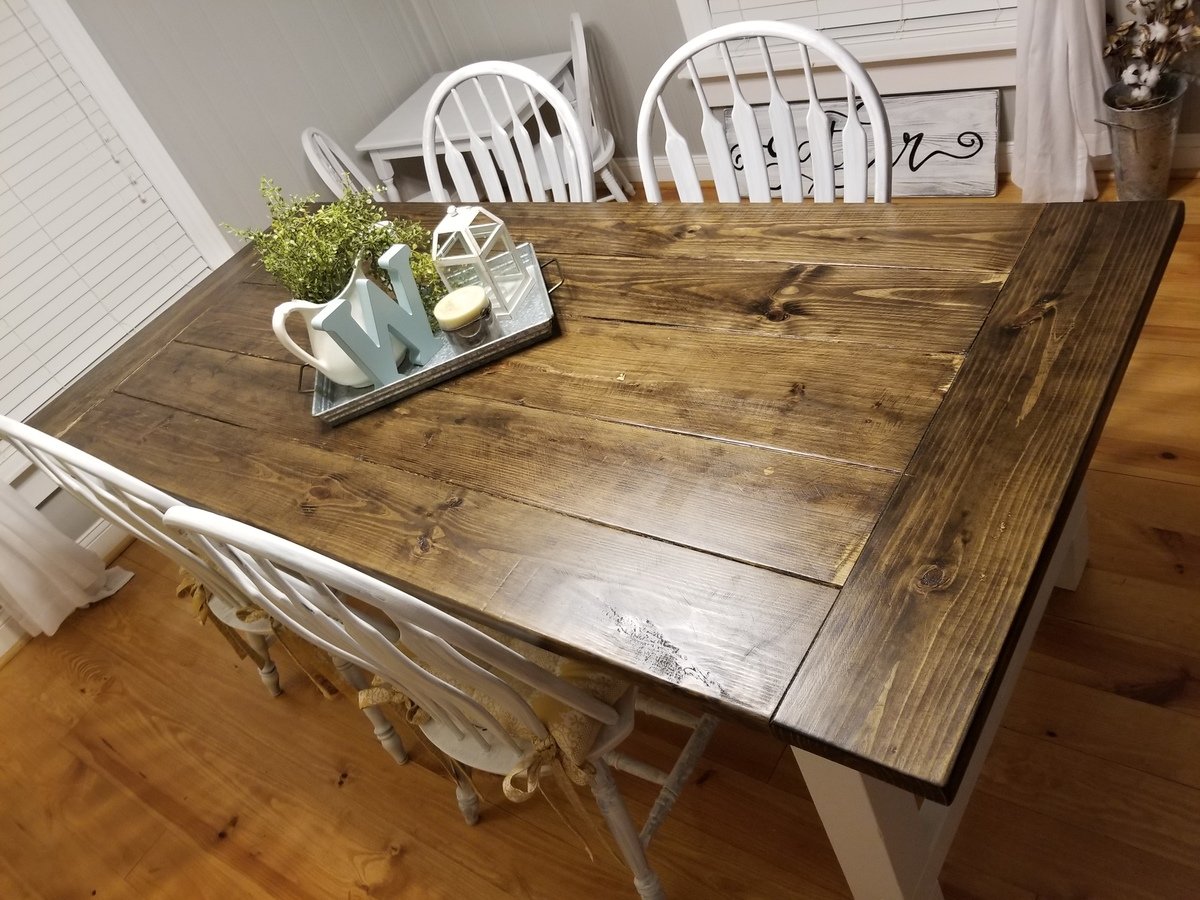
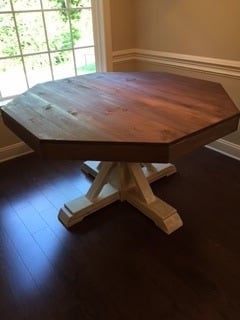
Octagon Table
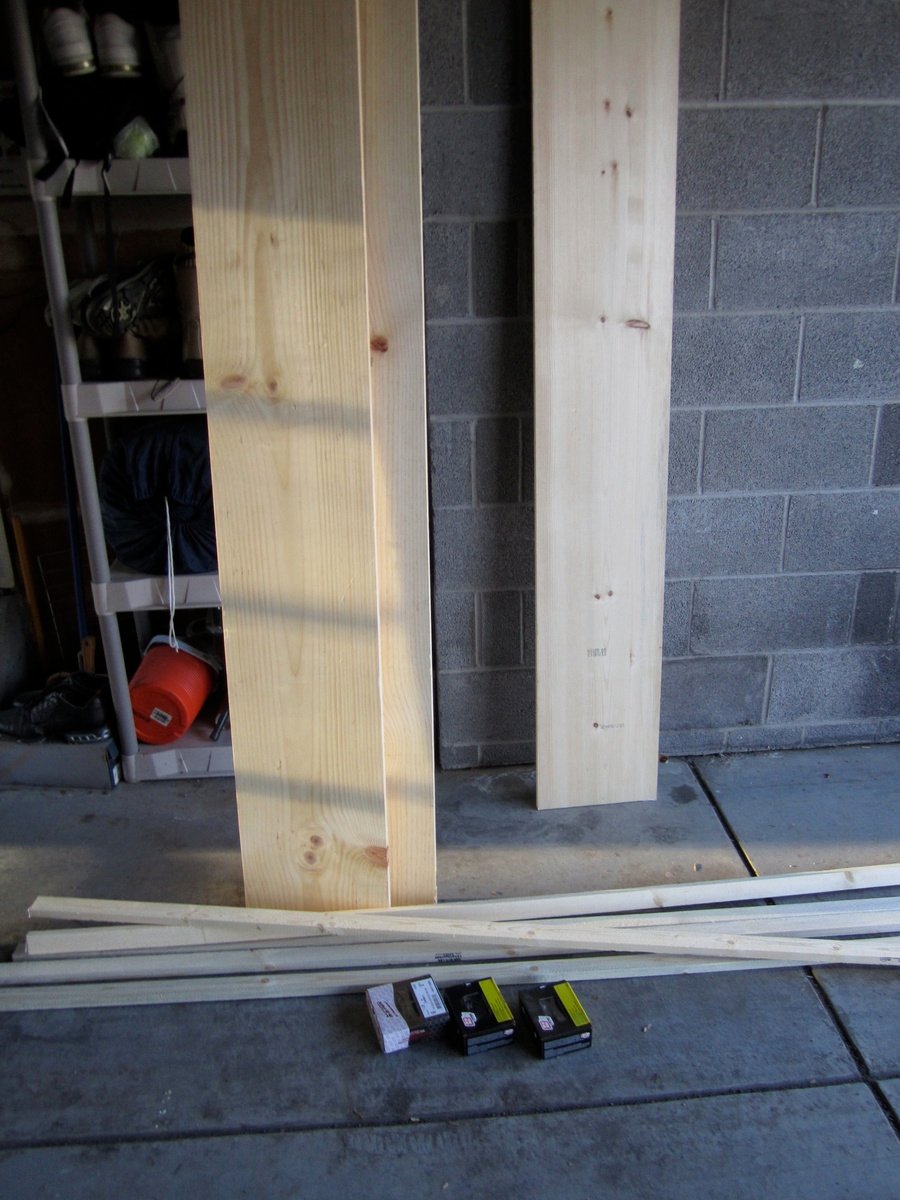
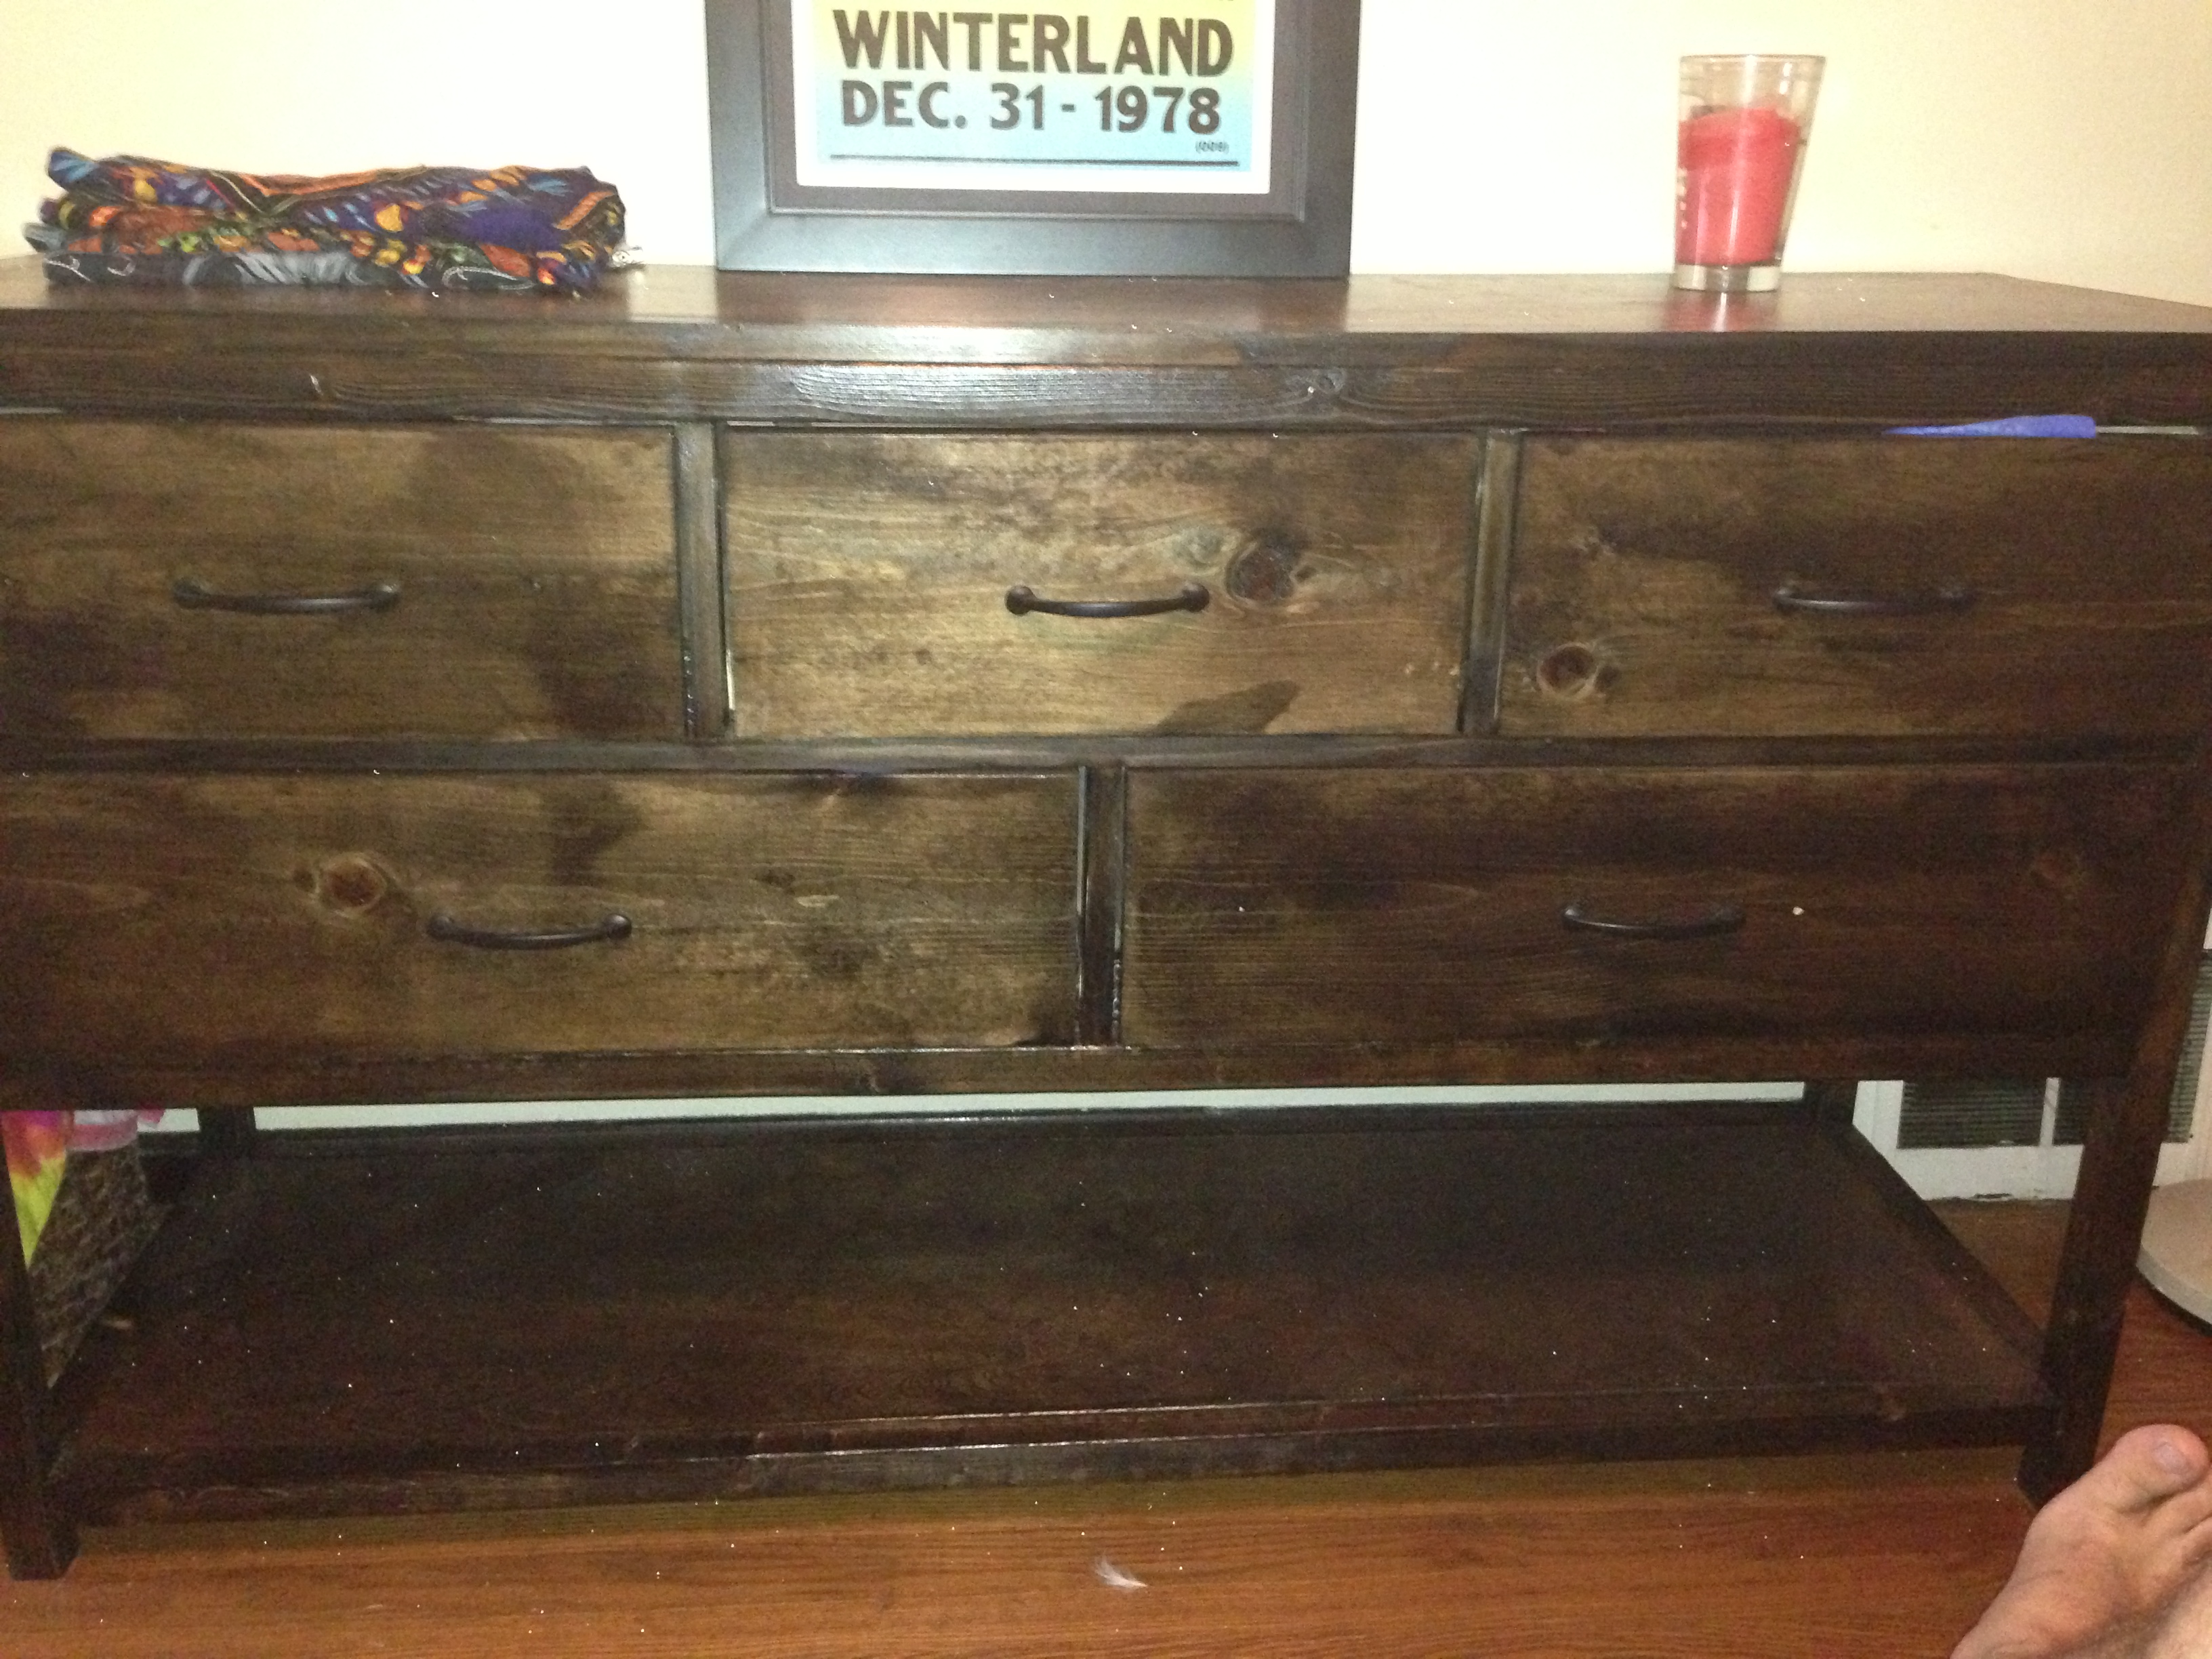
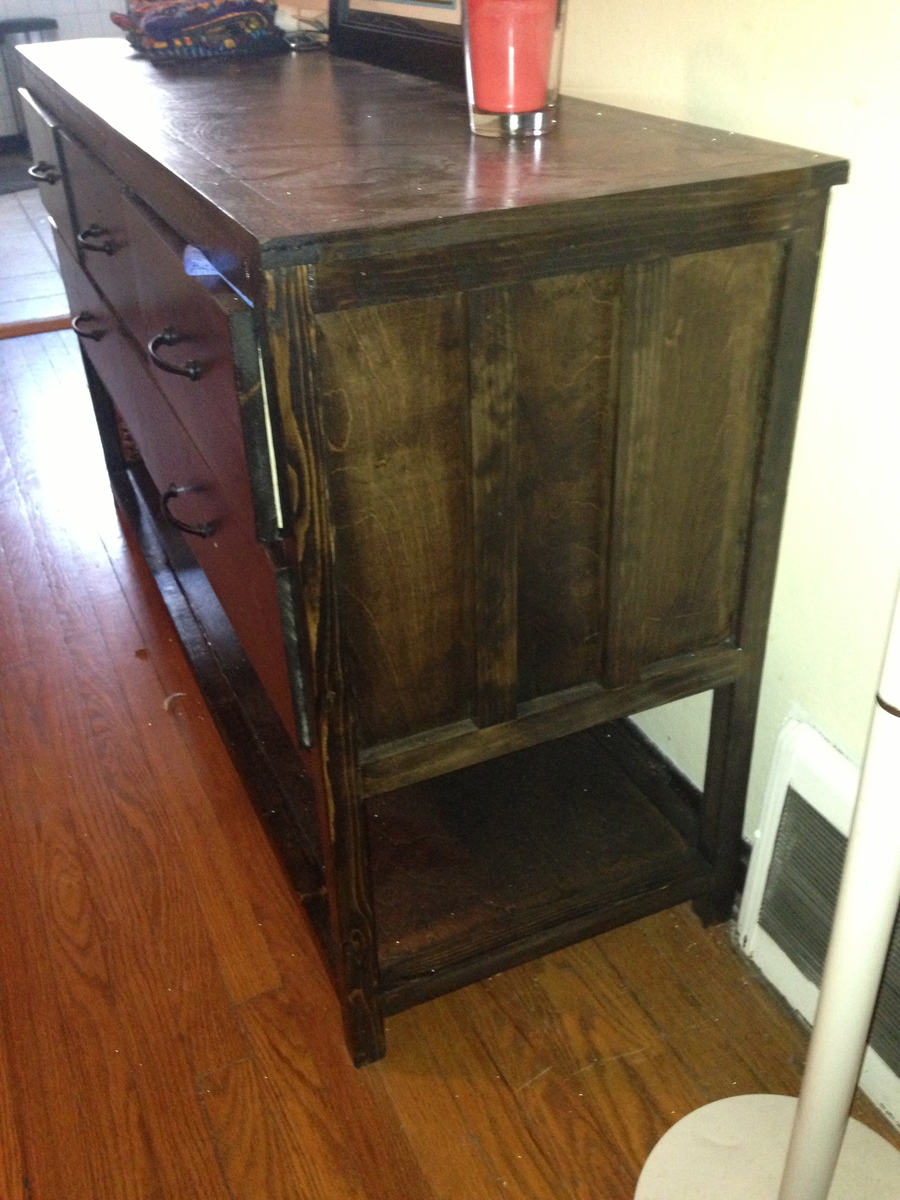
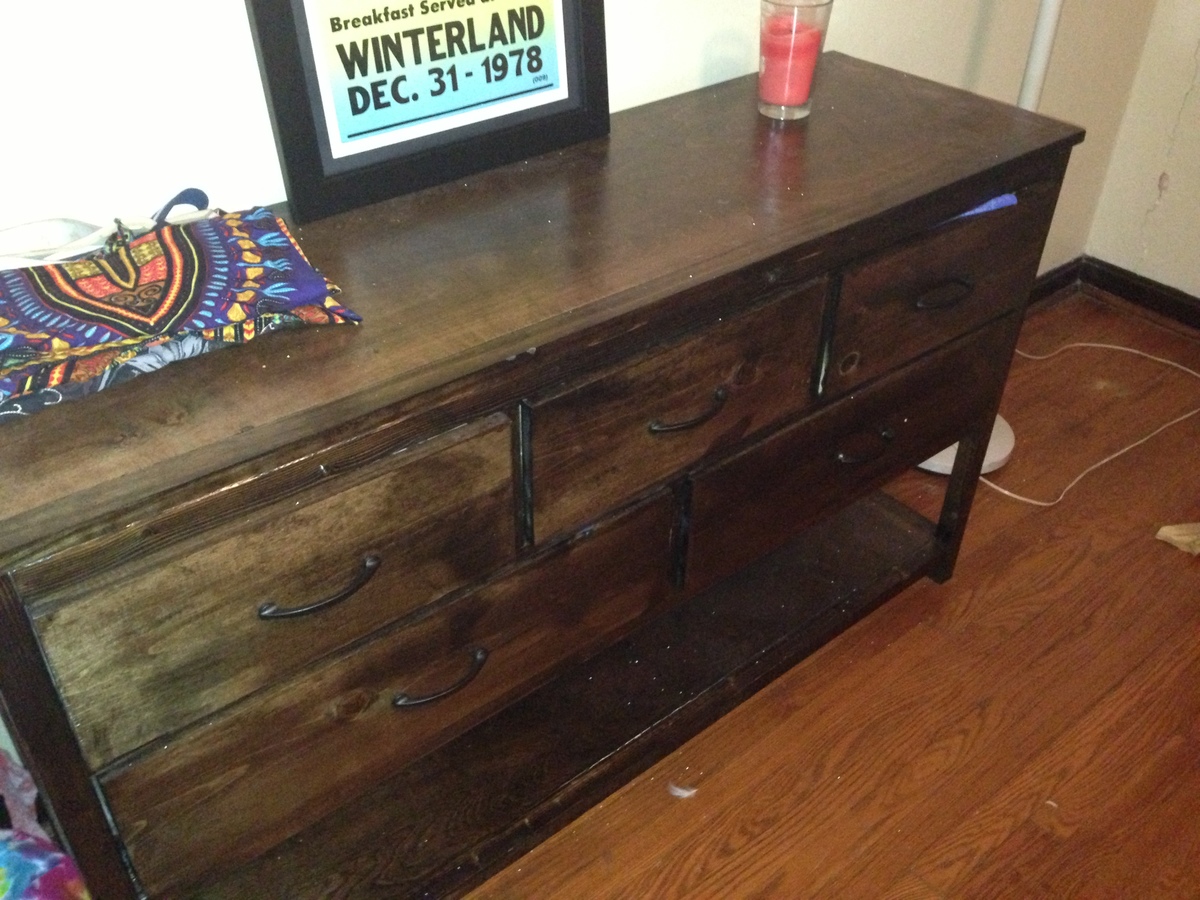
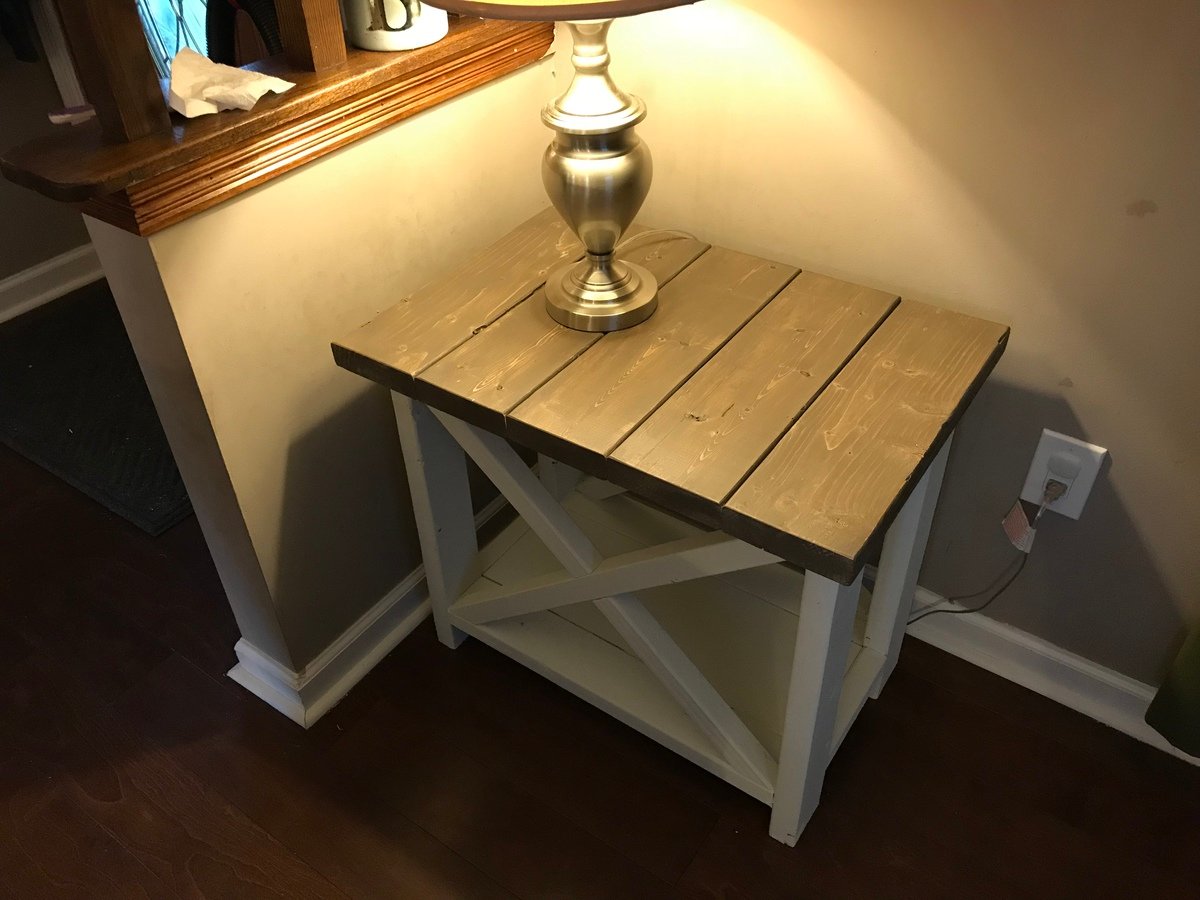
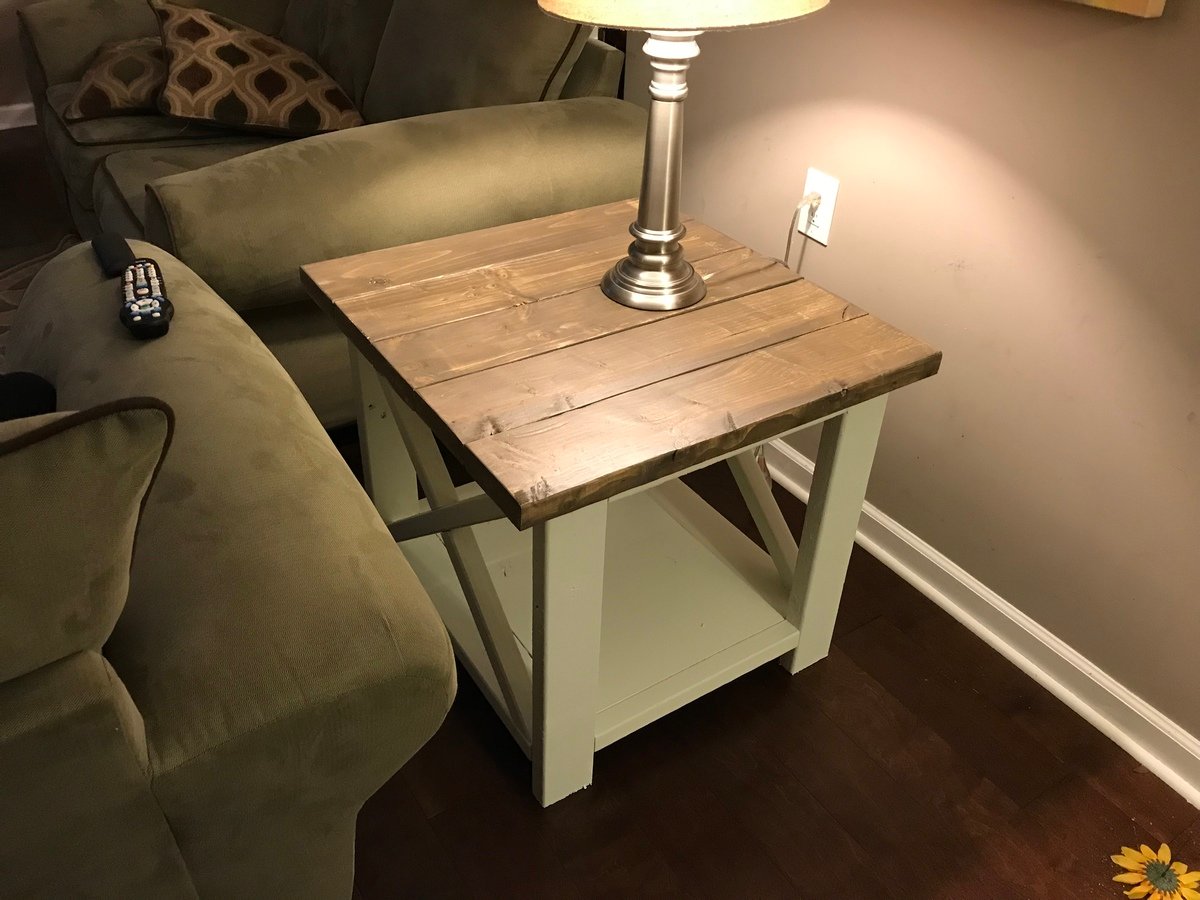
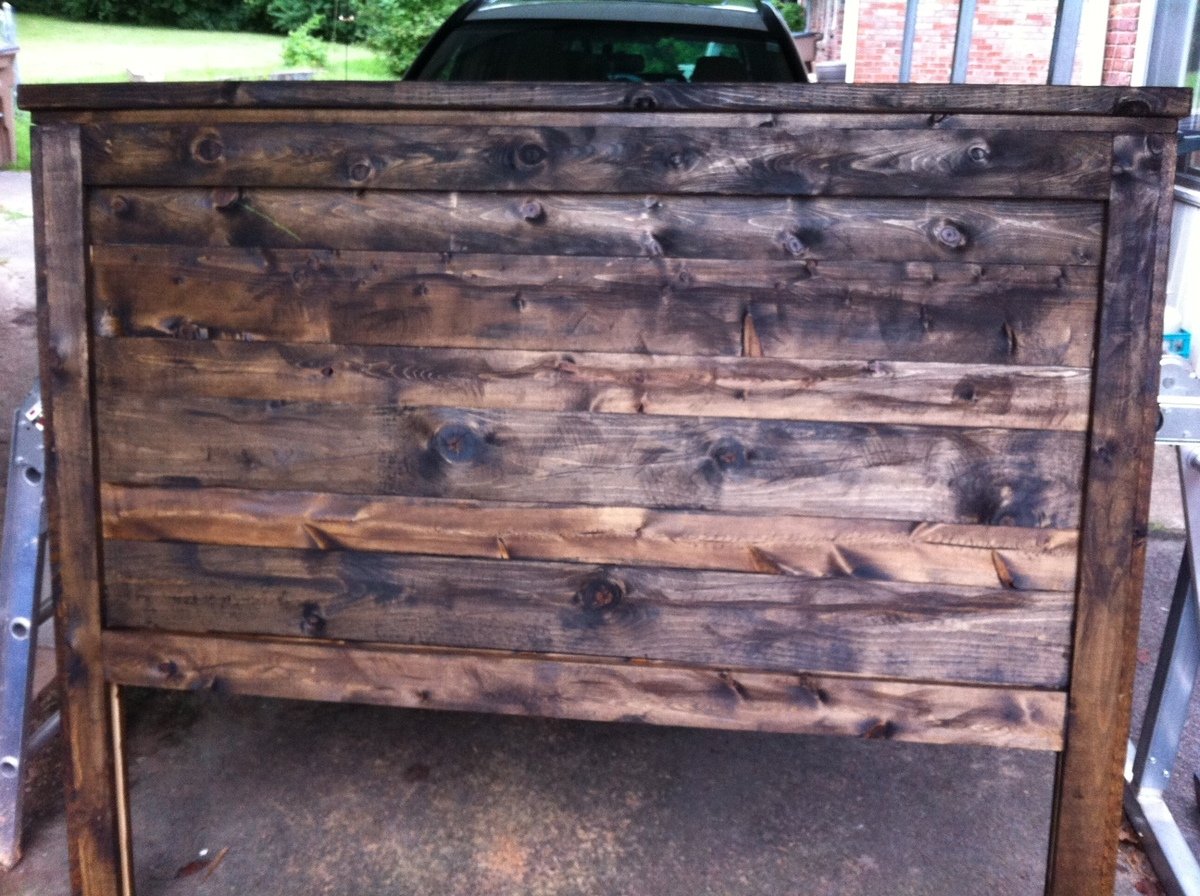
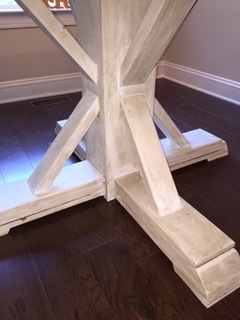
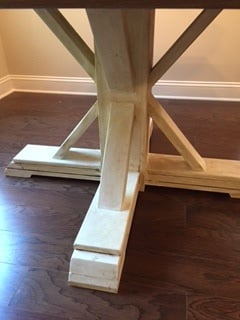
I beefed up the table top supports by double stacking 2x6's and used 2x4 around the edges. My wife painted the base with valspar chaulk paint and antique gel. The table top she stained with miniwax waterbased stain, coffee color.
Thanks for another great plan! We wanted to replace our King sleigh bed with a Panel Headbord to free up some room in our master. Off to Pinterest I went to find a picture of what I wanted Hubby to build. I was excited to find that Ana-White had tackled this project because I knew there would be a great, well written plan to follow!
Using your simplified 8’ barn door console plans I was able to make my dream wall come true. I made 2 of the consoles, added a center piece and shelves in either side. Your plans were so easy to follow, even a beginner like myself pulled it off. Thank you for sharing your talent!!!!
I loved these little ledges, especially since I had the perfect scraps for them. I needed a little extra storage in our story-time corner, and these were perfect. Took me one nap time to get them cut, assembled and painted! SWEET!!!!
I am in the process of remodeling/redecorating my tiny house. I started with the kitchen and am now moving into the living room. The two rooms are connected so I needed something that would match the "beachy feel without being obvious" style I am trying to accomplish. I also needed a place for my files, printer, etc since I don't have an office. My house is very small so I have to consider function in every piece of furniture I own. This table was the PERFECT solution! It hides my seldom used but definitely necessary office supplies while looking super cute and brightening up the room.
As you can see I made a few slight changes to the look of the trundle. I made it look like three "drawers" instead of the two in the plans, and used manila rope instead of handles or cutting out the shape in Ana's design. I also lined the inside of the trundle with felt to protect my computer, etc. from the hard surface of the wood. I couldn't help pick my favorite color, since you can't see it while the trundle is closed. Though not pictured here, I added a bracket for files as well (they didn't photograph well). I picked it up from a woodworking specialty store for $15.
All in all it was an easy second project for me, I had it built and nearly finished in a weekend.
Thu, 07/18/2013 - 12:49
I really like your mods. I have been eying the 20 Sec Tidy Up Coffee Table for a while to store my kid bombs, but it just wasn't quite right. Now I know what I would like to do. Thanks for posting! You did a great job.
Wed, 08/13/2014 - 07:29
for our house at the beach. Thank you so much for sharing your design and your experience. We are just finishing up a 7 piece outdoor set for the deck. Your table is next, going right to the top of our "To Build List".
I needed to adjust the width of the dresser to fit - and it was may first build by myself... Already have a second one ready to paint!
Wyldwood 42-square-inch pine table is finished with red mahogany stain and matte varnish, with black painted legs. It's paired with four of our custom dining chairs.
When we moved into our home we had minimal furniture pieces. On a tight budget and not wanting to buy something that was made of veneer, I stumbled upon the attractive and functional plans for the cube shelves. I love that I can "add on" to the set with additional pieces if I want to in the future. But for now, one set of cube shelving is just right for us.
This was the first project that I used the table saw by myself, and while it went just fine I do think it would have been helpful to have another set of hands around. Piecing together the first two joints was a bit challenging with only one set of hands holding the wood and putting in nails. But once I got a few done, the piece really came together quickly. It literally took me just a few hours to cut the pieces and put it together. It's the sanding painting and priming that can take some time and patience!
This was my third or fourth project and it was pretty tough. I started out with the basic build which was pretty simple and then I got to the end where everything was built except for the drawer slides and boy was it rough. I think that i spend half of the time on this project doing the drawer slides and half the time doing the build and the finish. I don't want to discourage anyone from doing this project but make sure you don't get in over your head. Check out my profile I am willing to do builds for people for an inexpensive price.
Man cave chair for my Hubby, made entirely from reclaimed/scrap wood. This took a long weekend to build (includes time to rip down the reclaimed wood, and a couple of tries to get the padded arm rests right).
This build uses the Simple White Outdoor Chair plan, adjusted to fit smaller cushions and use my scrap/reclaimed wood.
The seat cushion is covered with marine vinyl, and the back cushion is covered with fabric from a curtain already on hand. The covers are done in a simple box style. The seat cushion closes with ties at the back, and the back cushion has an envelope back.
The end result is a sturdy, comfortable chair that’s not too heavy, and is decked out with colors from Hubby’s favorite football team. I’m very pleased to say that Hubby likes his new chair!
I changed the size of one of the tables to fit the space. Otherwise they are built from the plans. Turned out very nice.
Build a leaning wall shelf easily with Ana White's free plans!
Fun project! This headboard is HEAVY and sturdy. Mine ended up being more expensive than other people have reported theirs to be...about $100 total for wood and 1 box of nails...not sure why that happened, but I got the cheapest wood I could find at Lowes and that's still what it ended up being. Overall, I'm happy with how it turned out and am excited to add it to my pair of nightstands that I made from the site. Thanks Ana!
It took us about 2 days to cut, assemble, and paint.
http://www.whisperingwhims.com/2015/03/diy-pottery-barn-addison-style-headboard/
I really enjoyed making this.. I used Anas plan for this. I changed a lil bit.. but it was easier than i thought... My 1st time using kreg jig so it took me a little longer to build.. I did mess up a few times which is why i changed things lol. My Daughter loves it! Wife wanted it white.. i also made a chalk board and put it at te head of bed
I had previously posted a work in process version, this is the completed project. Very happy with the results of combining the Easy Three Cube Bench and Small Locker Cabinet plans. If I had to change anything, I might widen the dividers to get a little more width, but this suits what we were trying to accomplish.
Learned something on this project, I hate painting! In the future when I know I am going to paint the completed project, I'm going to paint as much as I can before assembling.
I loved this plan and used some furring strips of wood we already had. Will use finished wood next time. It cost about $5 for the wood and hardware and I already had the fabric. I did use decorator fabric instead of outdoor fabric. Which means if it's left outdoors it will fade faster than outdoor fabric. If anyone doesn't sew but wants to make this chair, please email me at [email protected] because I have a sewing business and can make the chair seats and even monogram them.
This project started with my son having the need for a loft bed. I began building the framing with some 2x4s and my imagination took over. The more I built, the more ideas and details I thought would be cool for whole theme. After finishing the "surf shack" loft, i moved to creating custom made fan blades, switch plates, placards, etc to fit the theme. It was all finished off by installing built-in shelves and painted walls.
Wed, 07/24/2013 - 09:24
That came out really nice. Love all the added touches. Good use of that corner with shelves. We had a bigger niche like in our kitchen where we put shelves as well. The icing is the custom fan blades! Very clever!
Wed, 07/24/2013 - 10:28
Looks like it should be in a Pottery Barn Kids catalog. It looks beautiful. Good work.
Slat closet.
After buying our first home we decided we wanted to build our own kitchen table so we stumbled across Ana's plans and I'm so glad that we did!