Community Brag Posts
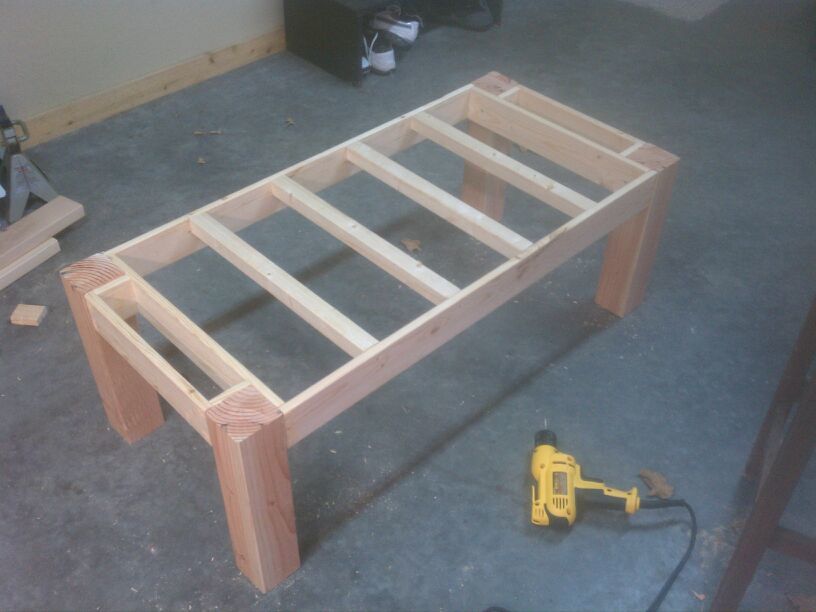
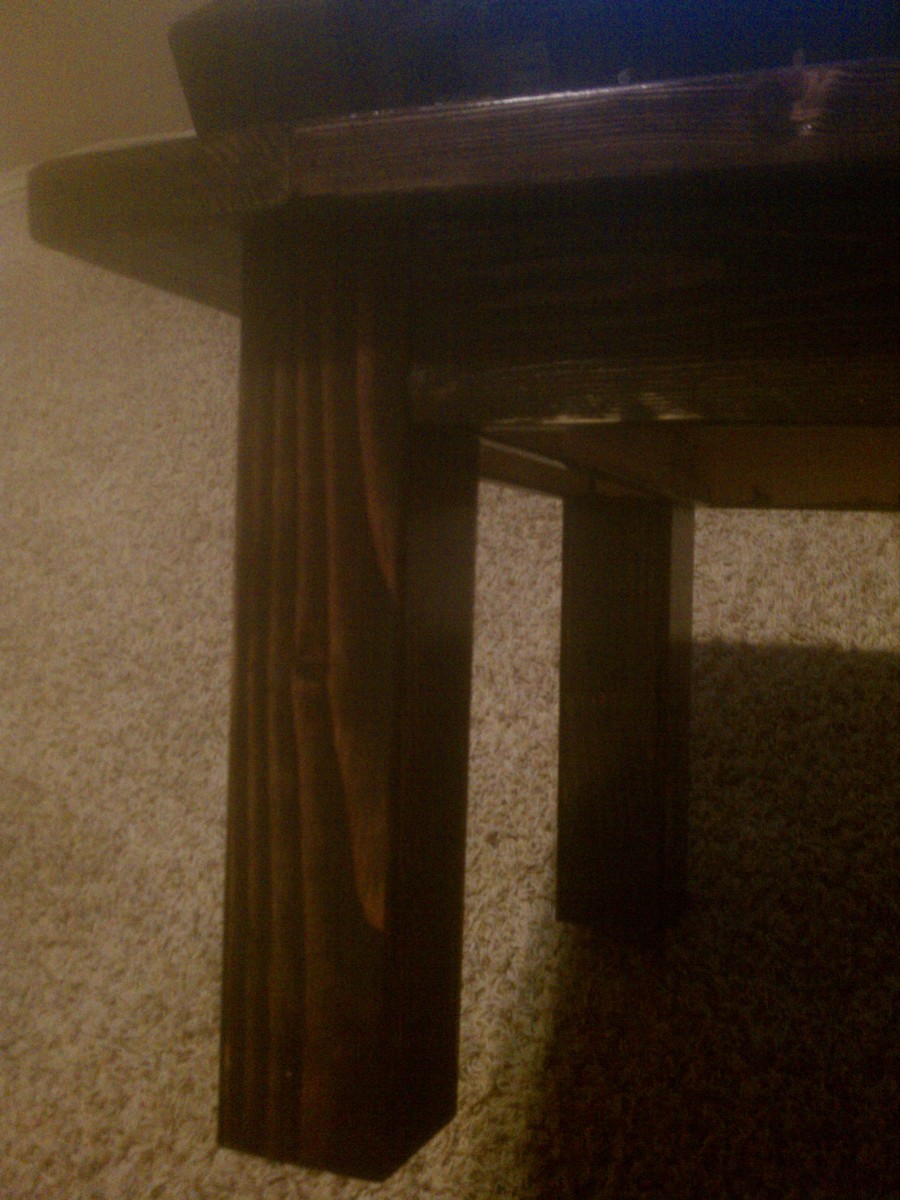
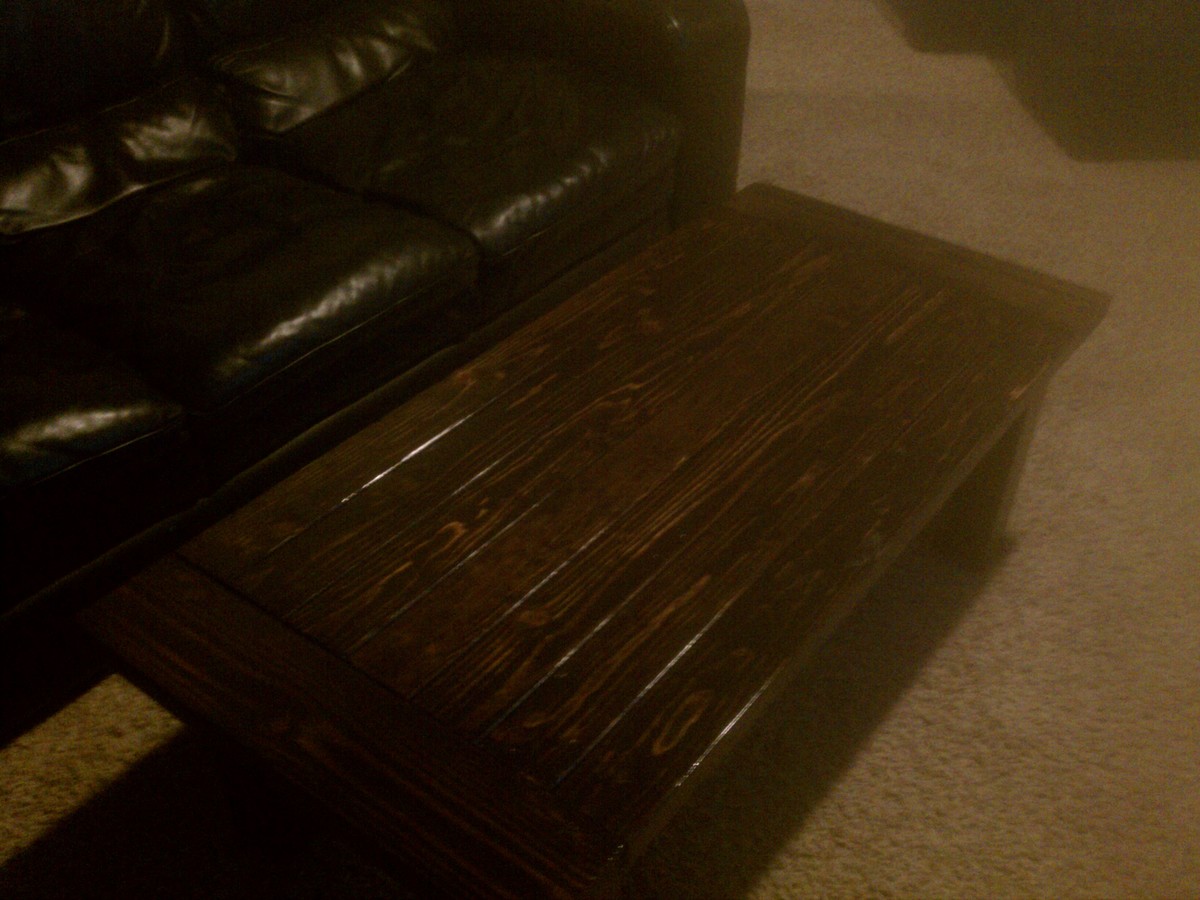
Pine Coffee Table = Success
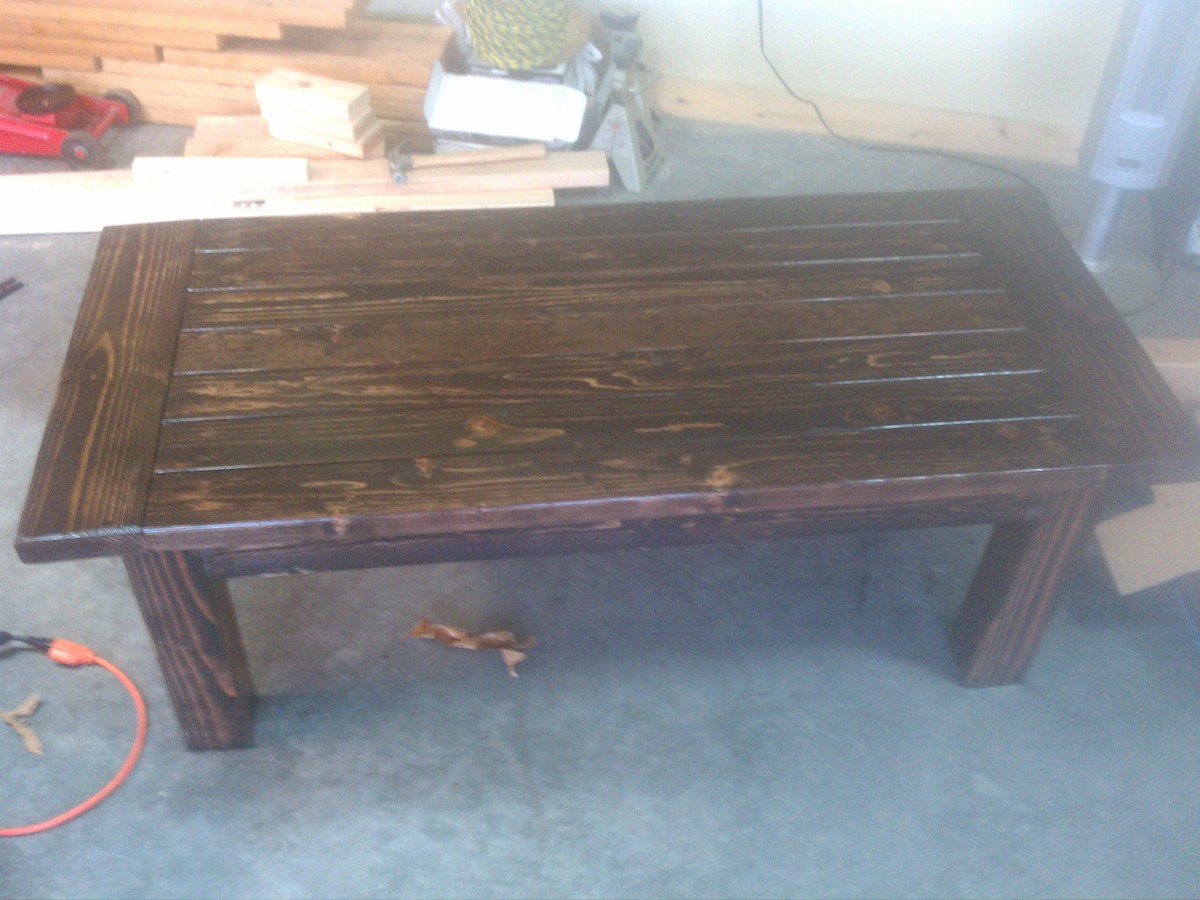
Tryde Coffee Table
Used: Pine wood, 2 coats Kona stain, 3 coats gloss poly, 2.5" silver screws.
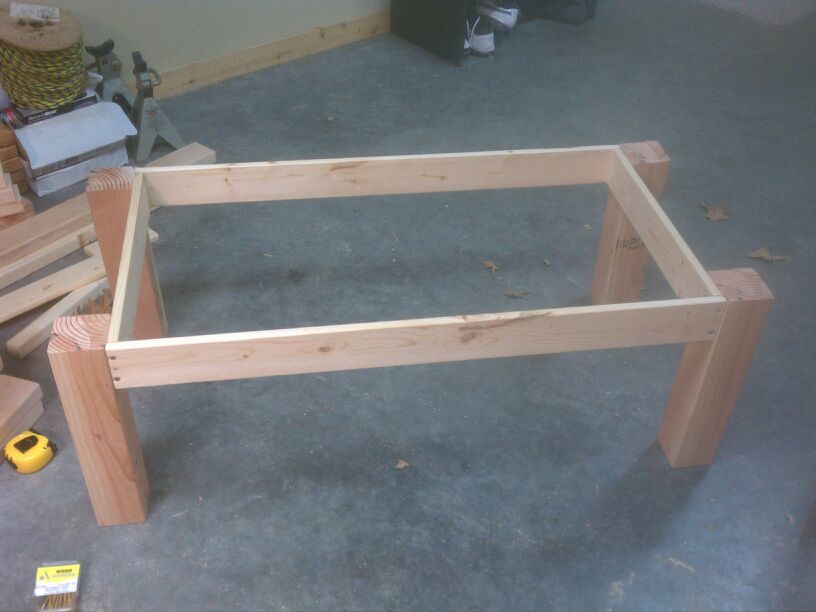
Lessons Learned: Forgot to use wood glue on joints, use 10" circular saw or table saw for 4x4 posts (I used a 7.25" circular and had to cut all sides and then sand down uneven parts)
This is a heavy duty coffee table, and can easily support up to two people stacked on top of it... which was my main concern. :)

Built from Plan(s)
Estimated Cost
$70
Estimated Time Investment
Day Project (6-9 Hours)
Finish Used
Kona Stain, Gloss Poly
Recommended Skill Level
Starter Project
Comments
Thu, 02/09/2012 - 11:36
I was thinking about using
I was thinking about using the kona stain, how many layers did you use?
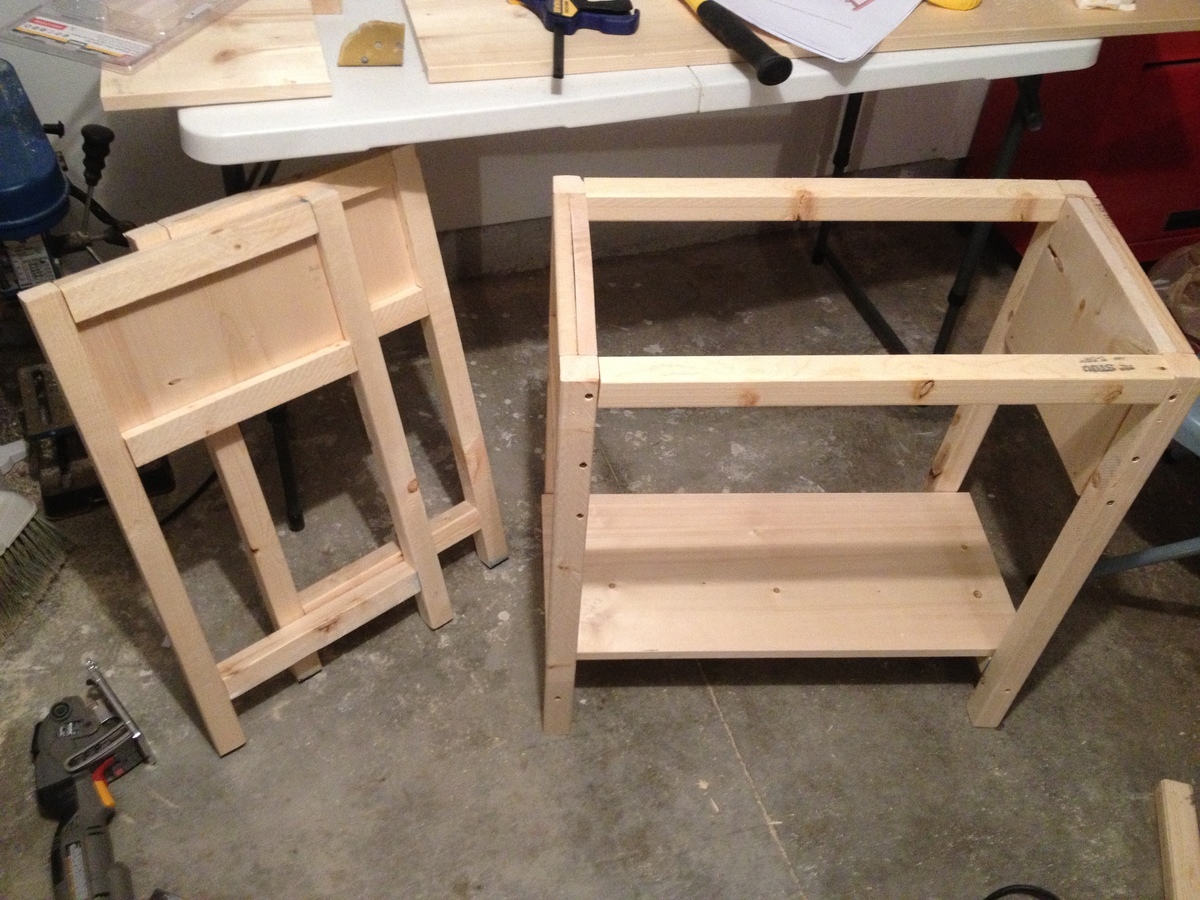
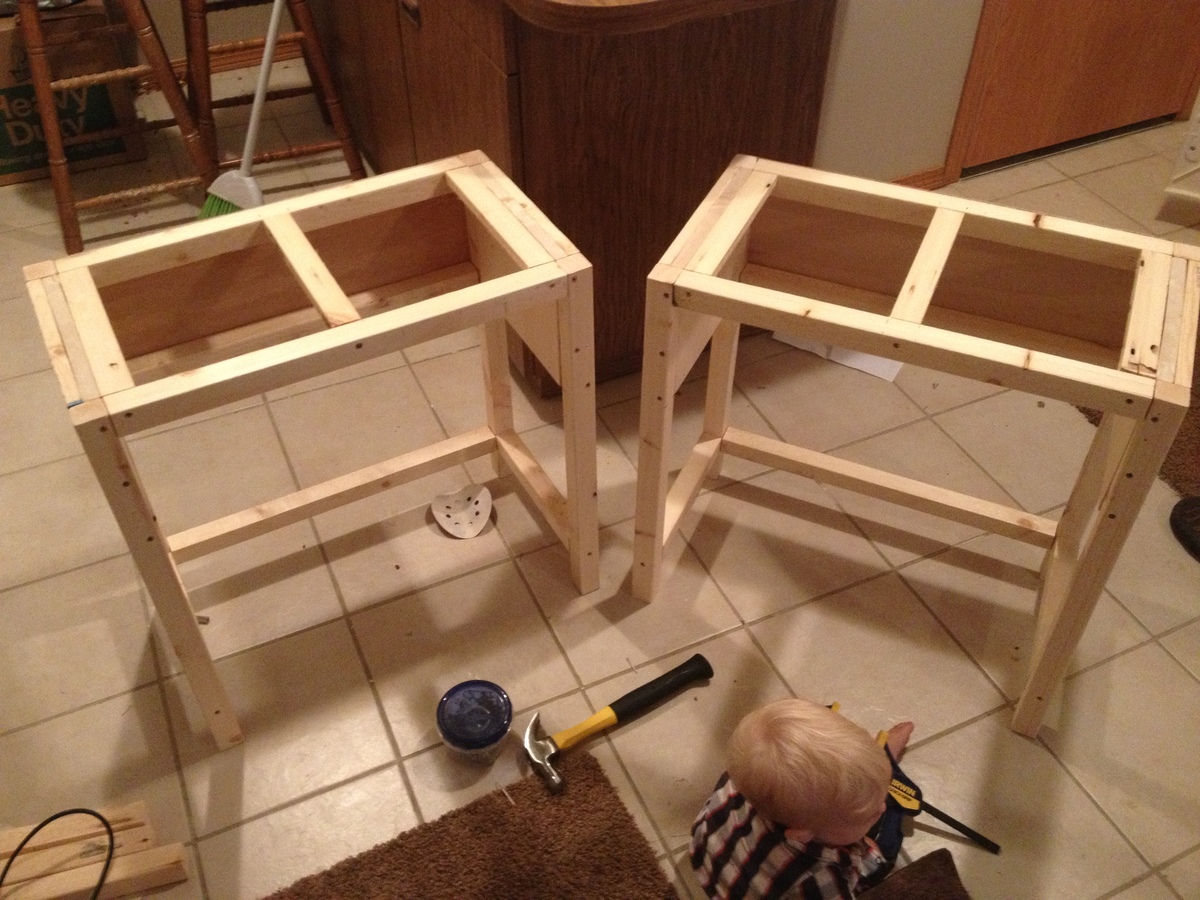
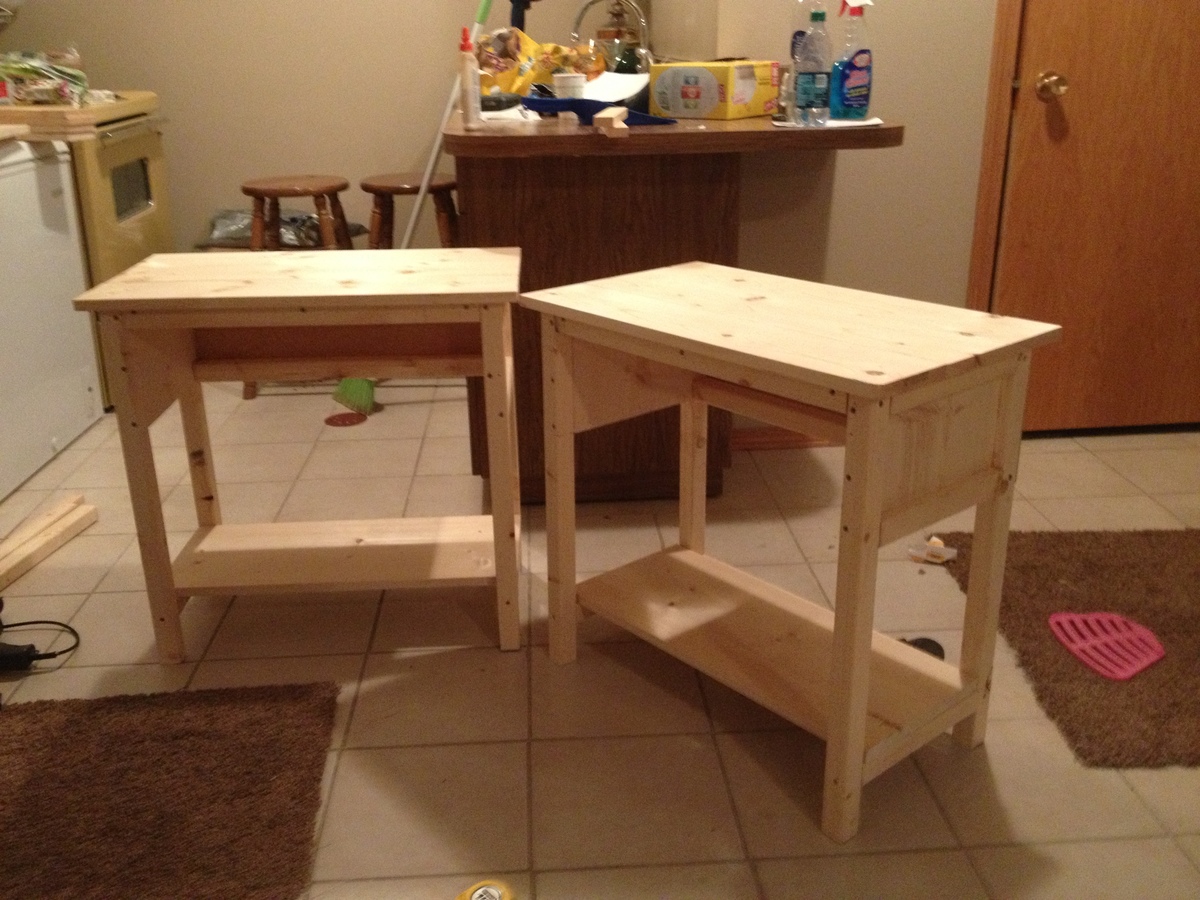
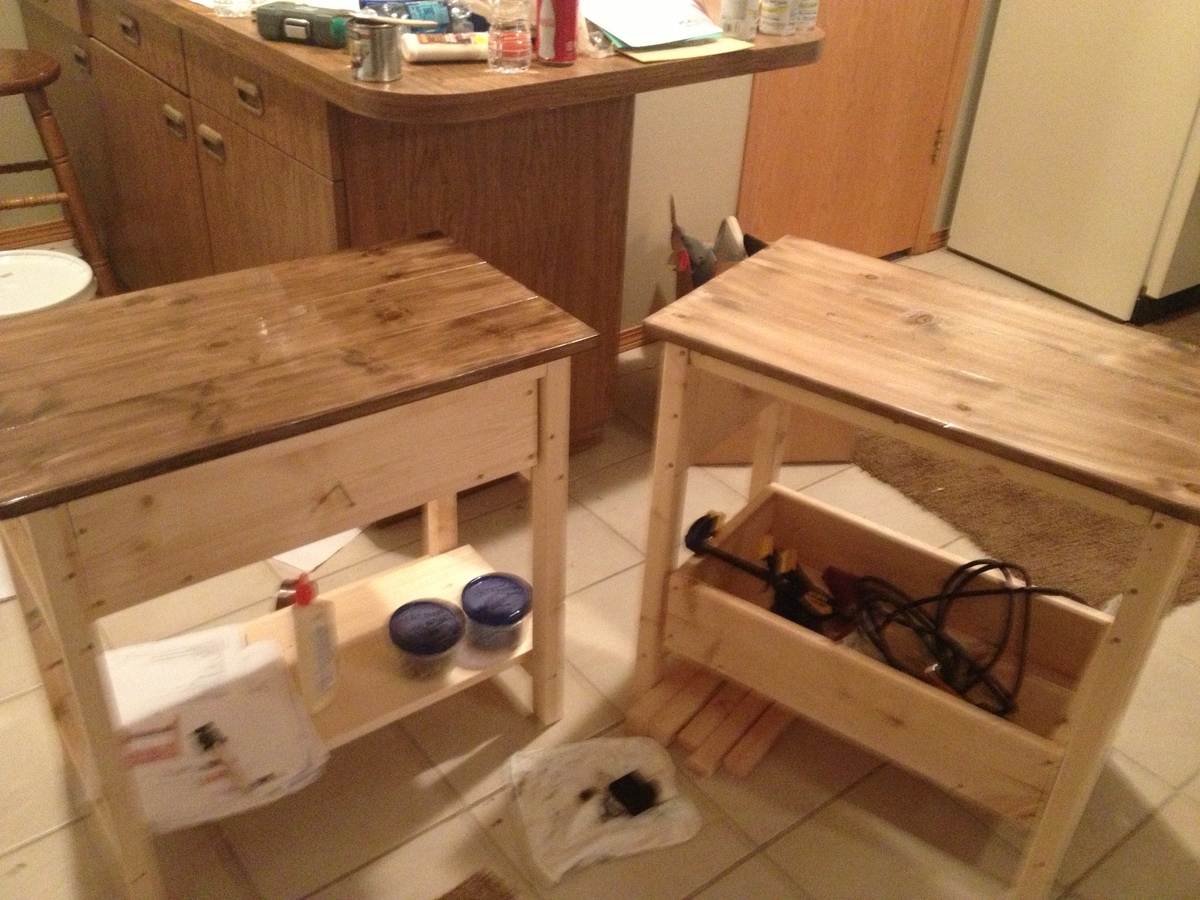
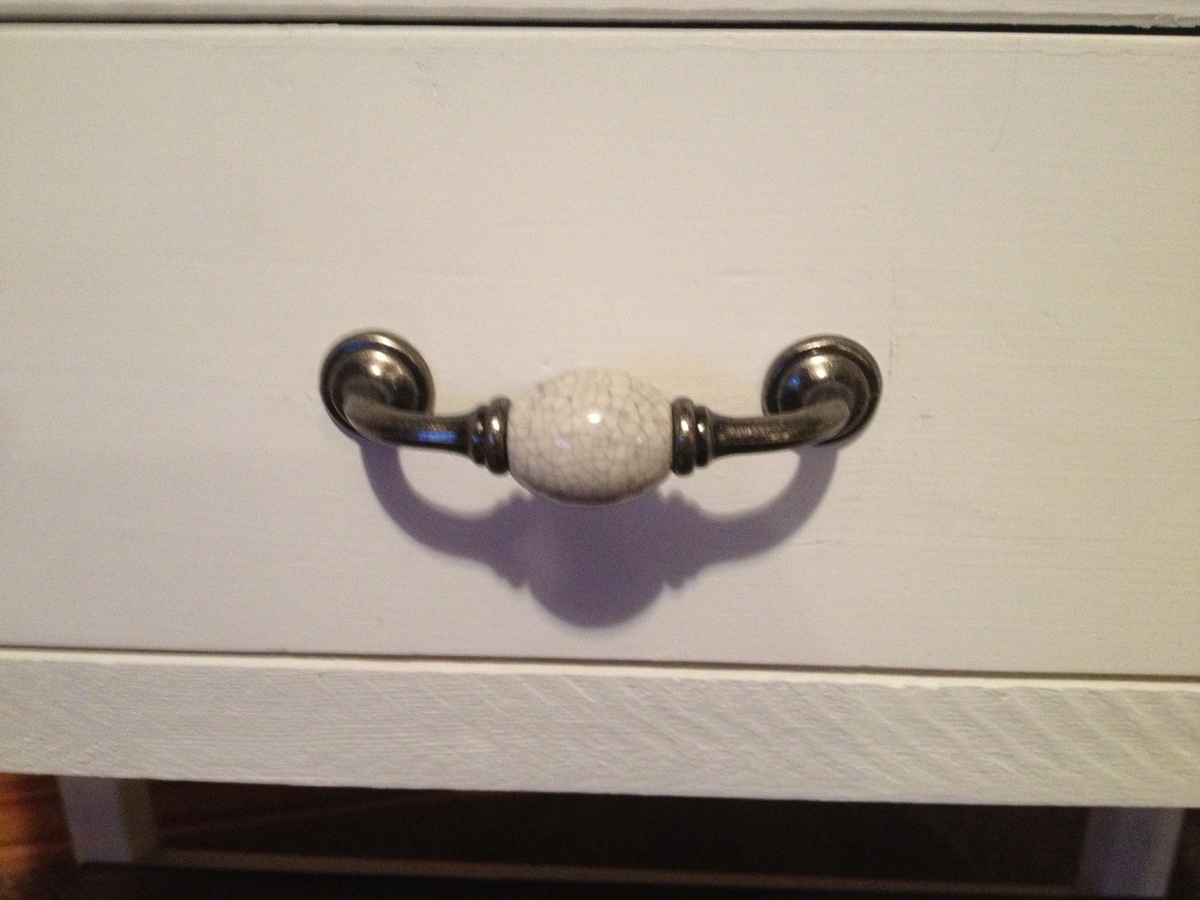
FARMHOUSE BEDSIDE TABLE
I have been working on this set of farmhouse nightstands for well over a month now. I have three kids and so I typically did a little here and there whenever I could find some free time. I love them now that they are finished!
I stained the top before I did any painting and then covered it with newspaper while I was painting the bottom. I'm not exactly sure why I choose to do it this way, other than I was just excited to see how it looked.
The knob I purchased from Hobby lobby.
This is the third project I've built from Ana. So I'm just getting started. But I will tell you right now that building anything with drawers is TOUGH!
Thanks Ana!
Here's a link to the plans:
http://ana-white.com/2011/01/farmhouse-bedside-table
Estimated Cost
$60
Estimated Time Investment
Week Long Project (20 Hours or More)
Recommended Skill Level
Intermediate
Comments
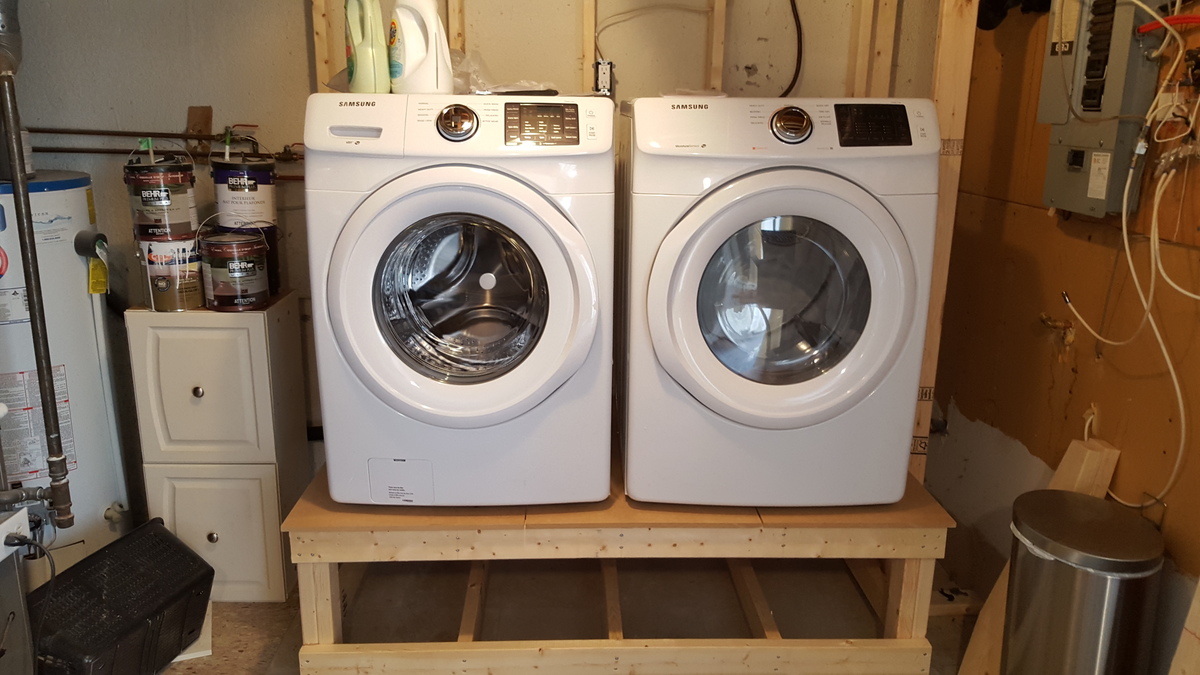
They see me rolling, my pedestal (I'm sorry ;) )
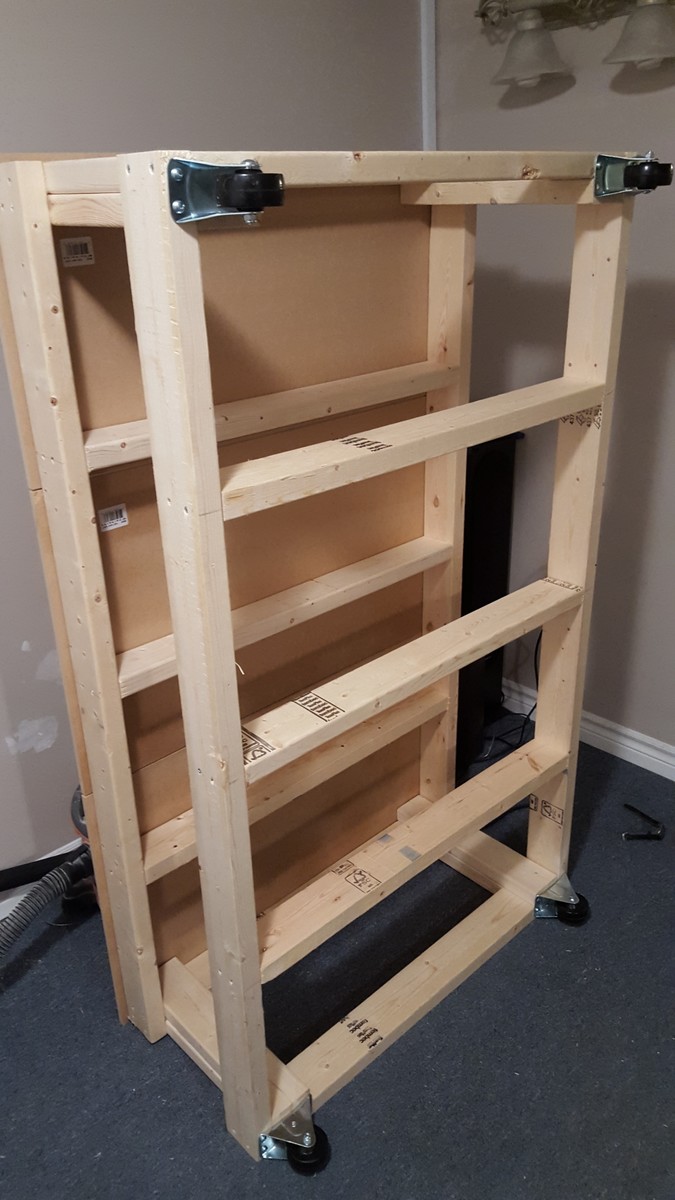
I haven't decided yet if I am going to use the under portion as storage or not, so I am leaving it unfinished until then. The plan was perfect for my house as the laundry room is relatively small. In order to make sure I didn't have to lift anything major in case the washer/dryer needed cleaning/repair behind them, I modified the plan to include 2 4" static wheels from the Home Depot. I am going to skirt the pedestal later, but needed it framed and functional for the dleivery of the washer dryer. instead of using 4x4 for the uprights, I laminated 2 2x4's and lapped the joints for additional strength. I also made the pedestal 22" total in hieght as I am 6' tall and wanted to minimize bending (spinal surgery 2 years ago)
Even the delivery men were impressed as I was able to pull the pedestal out for them to easily lift the washer and dryer on top of it and slide it back into place. The pedestal is perfectly stable and doesn't move at all during a wash cycle. I still plan on securing it to the walls once the drywall is completed with a pair of L brackets.
Built from Plan(s)
Estimated Cost
$80 to this point. Skirting will add another $30, Prefab drawers cost an additional $200
Estimated Time Investment
Afternoon Project (3-6 Hours)
Finish Used
Gloss white trim paint... eventually
Recommended Skill Level
Intermediate
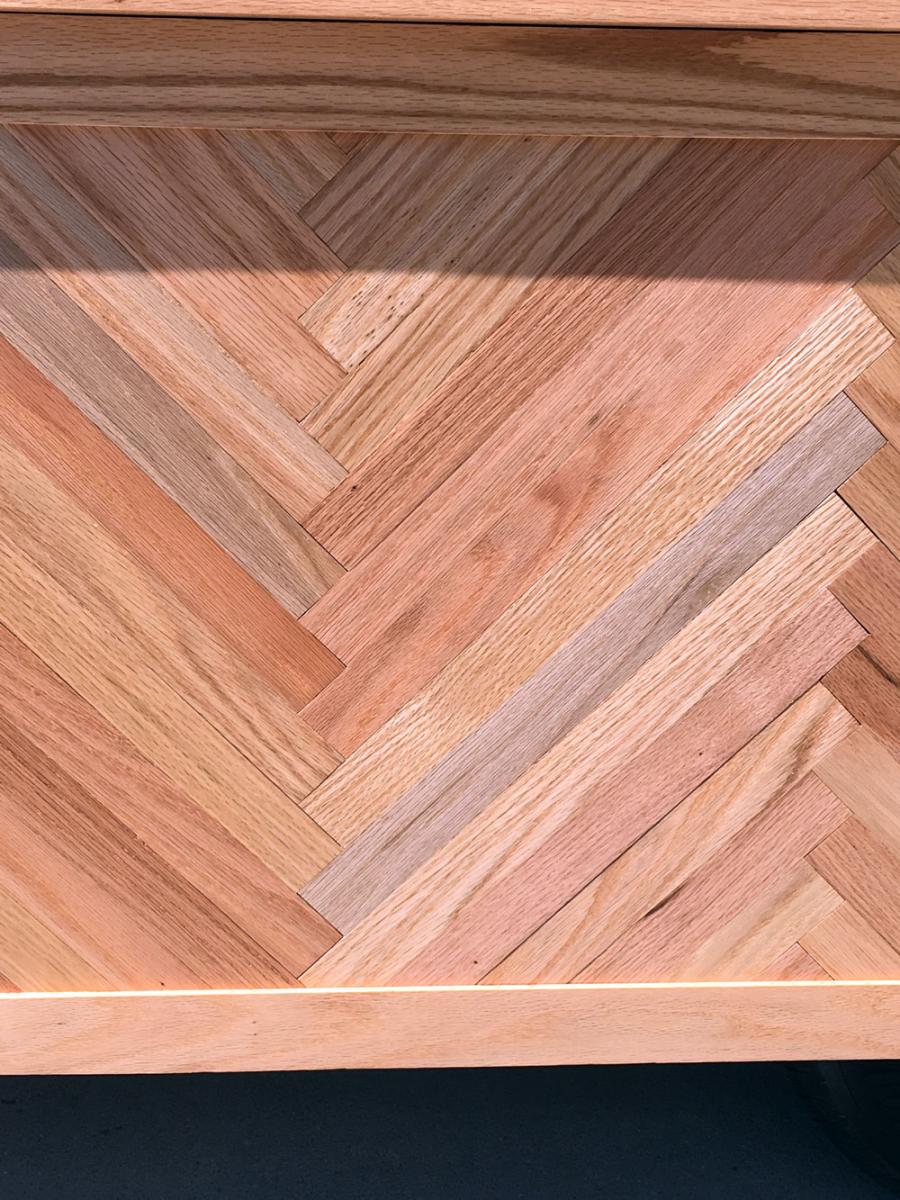
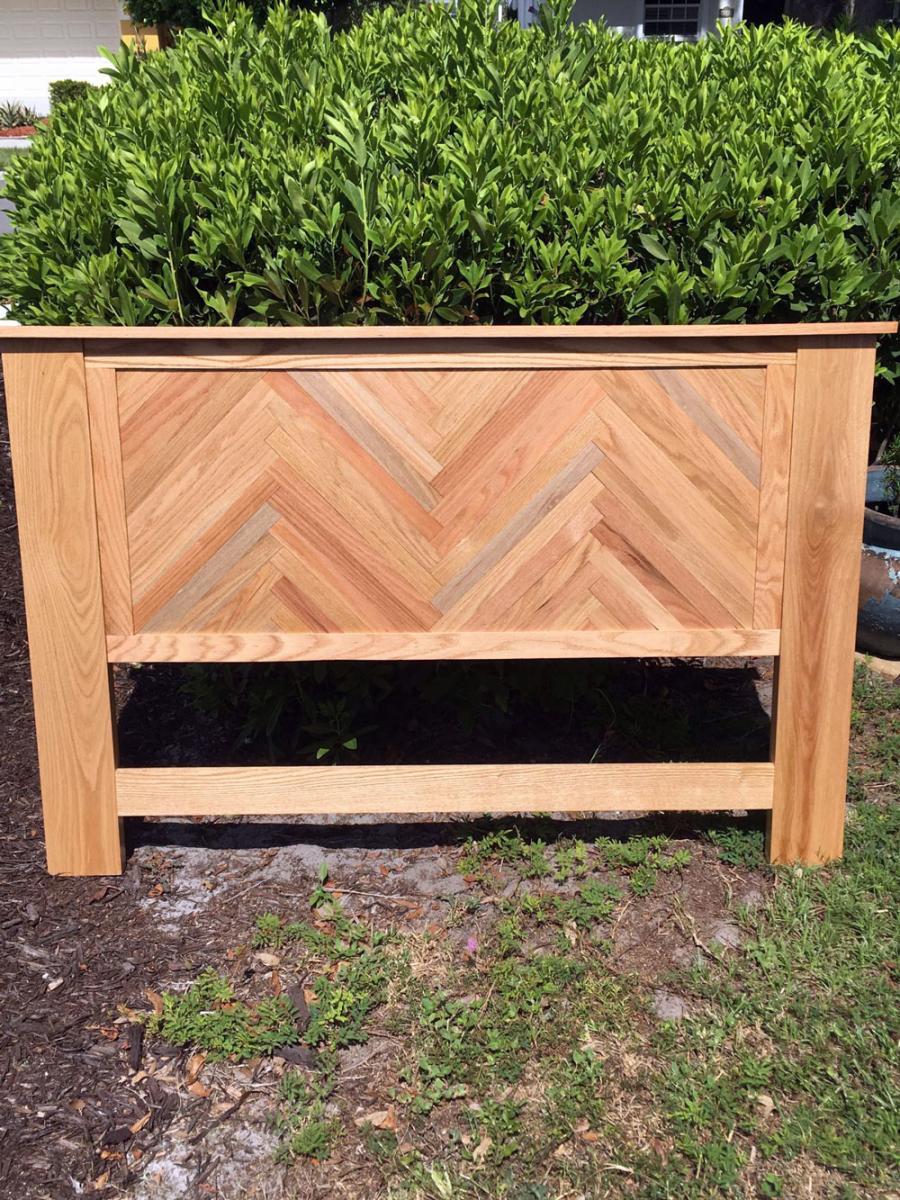
Red Oak Headboard with Herringbone pattern

Created a headboard for my guest room bed. Used red oak slats to create the herringbone effect and regular red oak boards for the frame and legs. Natural shellac and sealer used as the finish. No real plans used, but can provide the dimensions to anyone who is interested.
Estimated Cost
$250
Estimated Time Investment
Week Long Project (20 Hours or More)
Finish Used
Bullseye Shellac and Sealer (clear)
Recommended Skill Level
Beginner
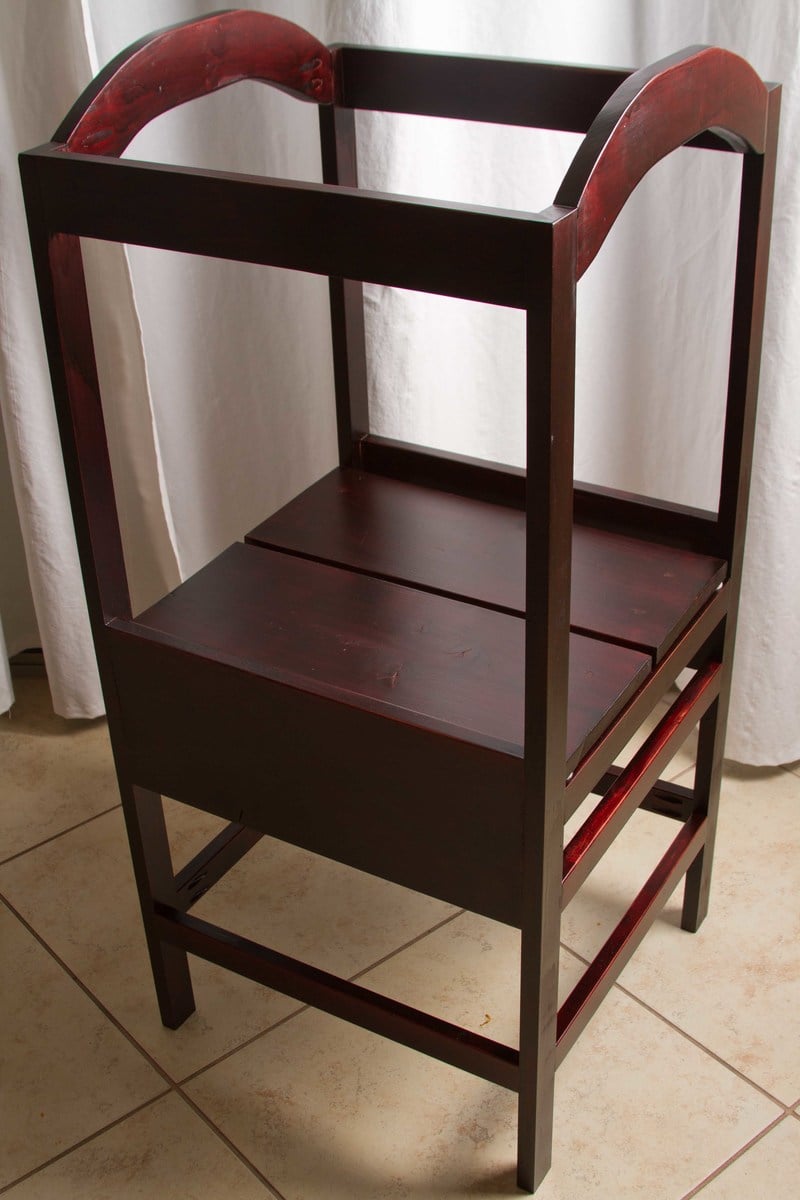
Little Helper Tower

Love this site! I stumbled on Ana's site via Pinterest and have been hooked ever since! I used pocket screws to attach everything (the Kreg Jig is AWESOME!) Thanks for the great plans, and my daughter loves her tower! I stained it to match the cabinets in our kitchen and so our soon-to-be baby boy can use it in the future. The wood is just some cheaper pine from the local HIW.
Built from Plan(s)
Estimated Time Investment
Weekend Project (10-20 Hours)
Finish Used
Bombay Mahogany Minwax Polyshades
Recommended Skill Level
Beginner
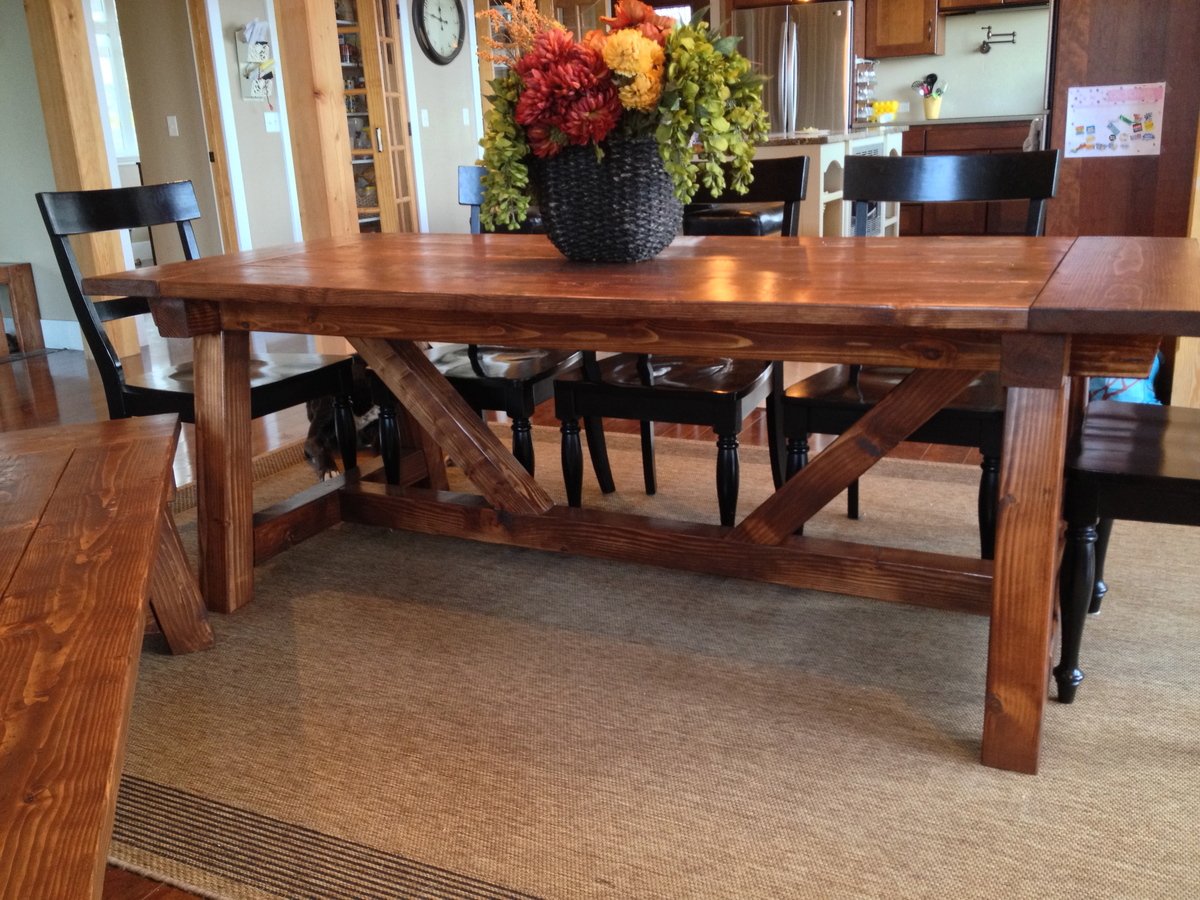
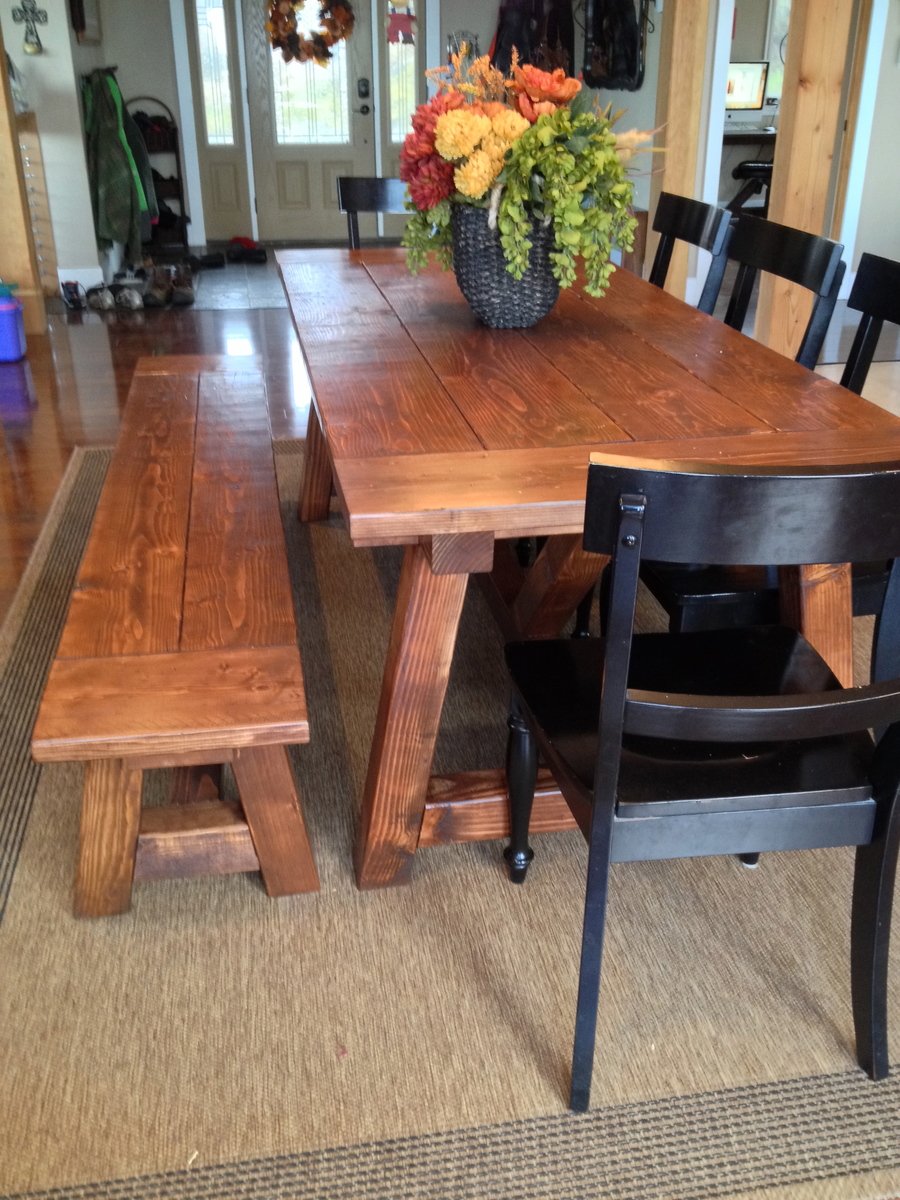
4X4 Truss Beam Table and Bench
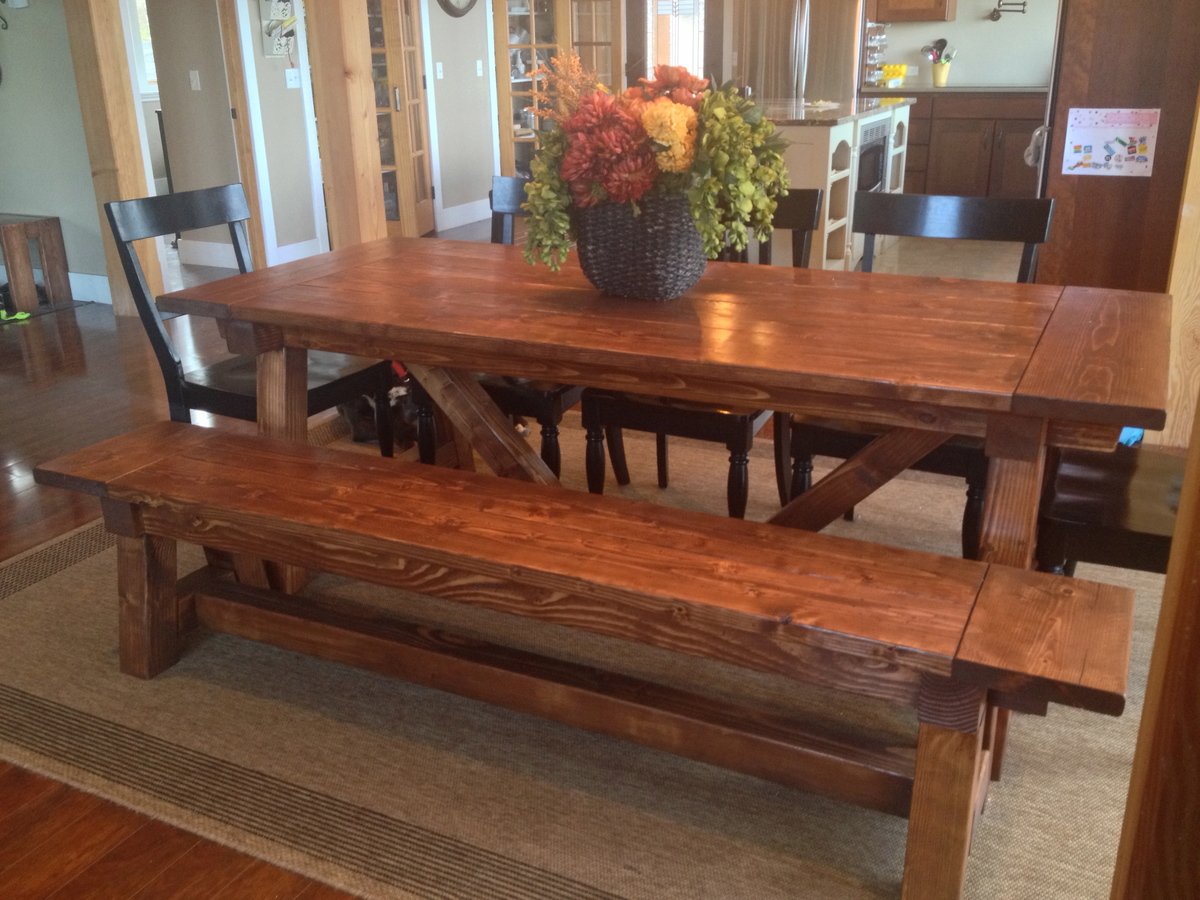
I have been eyeing many tables on Ana's website for some time now. When she posted the plans for this 4x4 Truss Beam Table, I knew that it was the one that I wanted to build.
The hardest part of the project was actually picking out super straight boards for the table top and bench top. The construction of the table was really easy!
I finished it with Rustoleum American Walnut stain and 3 coats of Rustoleum Semi-gloss polyurethane.
My family loves the table! I am super happy with how it turned out!!
Built from Plan(s)
Estimated Time Investment
Weekend Project (10-20 Hours)
Recommended Skill Level
Intermediate
Comments
Mon, 11/04/2013 - 16:41
I love your table! And the
I love your table! And the rest of your home that is seen in the background of the pics!
Mon, 11/04/2013 - 17:46
looks great
Table looks great, I am braving this project at some point, but have procrastinated trying to find the right look and plan. Yours looks great. What grade pine did you use? Did you use the douglas fir for the 4x4's?
In reply to looks great by bclute
Mon, 11/04/2013 - 18:13
Thank you! For the 2x8's and
Thank you!
For the 2x8's and 2x10's I used Lowes Top Choice KD Hemlock. For the 4x4's I used Douglas Fir.
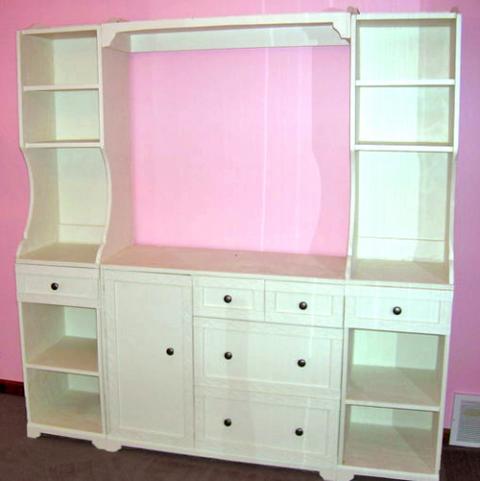
Pantry hutch
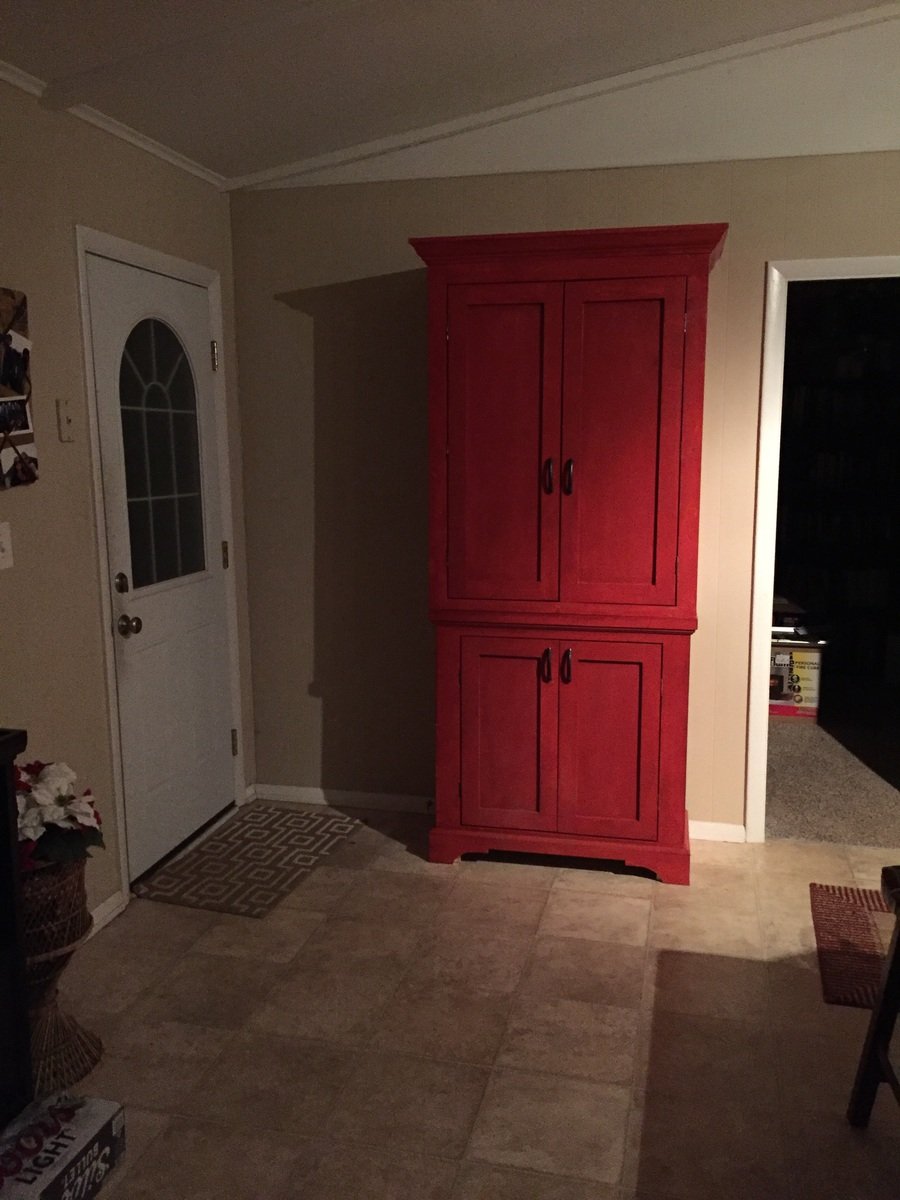
I built this pantry cabinet as gift for my son and daughter in law. Their kitchen doesn't have much storage space so this is what we came up with as a solution. I combined features I liked from a couple of Ana's plans. I wanited the piece to look a bit more like a piece of furniture than a cabinet. It was built in 2 sections so that it is easier to move and position. The finish is an organge tinted stain with several coats of polyurethane for protection.
Estimated Time Investment
Week Long Project (20 Hours or More)
Finish Used
Tinted stain with polyurethane top coat
Recommended Skill Level
Intermediate
Comments
Kids Play Kitchen
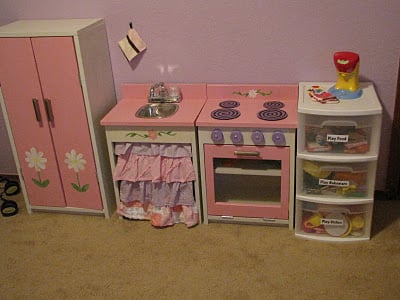
Christmas 2010 my husband and I made our little girls a kitchen using Ana's plans. We used the materials on her cut list, and used paint for the finish. Used fabric scraps to sew the sink skirt, found the knobs at hobby lobby and habitat for humanity, and small bar faucet at Home Depot. It turned out amazing!
Built from Plan(s)
Estimated Cost
$100
Estimated Time Investment
Weekend Project (10-20 Hours)
Finish Used
Paint
Recommended Skill Level
Beginner
Comments


Thu, 12/15/2011 - 19:04
Julie, this kitchen set is
Julie, this kitchen set is gorgeous!!! Thanks for sharing!
In reply to Julie, this kitchen set is by Ana White
Tue, 12/20/2011 - 16:04
Thank You
Thanks so much for the compliment! Means SO much coming from you! I love your site and your plans, Ana you are amazing! Thank you for making me your featured builder this month, I had no clue until someone saw my face on your blog! I feel like a rock star now ;)
Farmhouse bedside tables
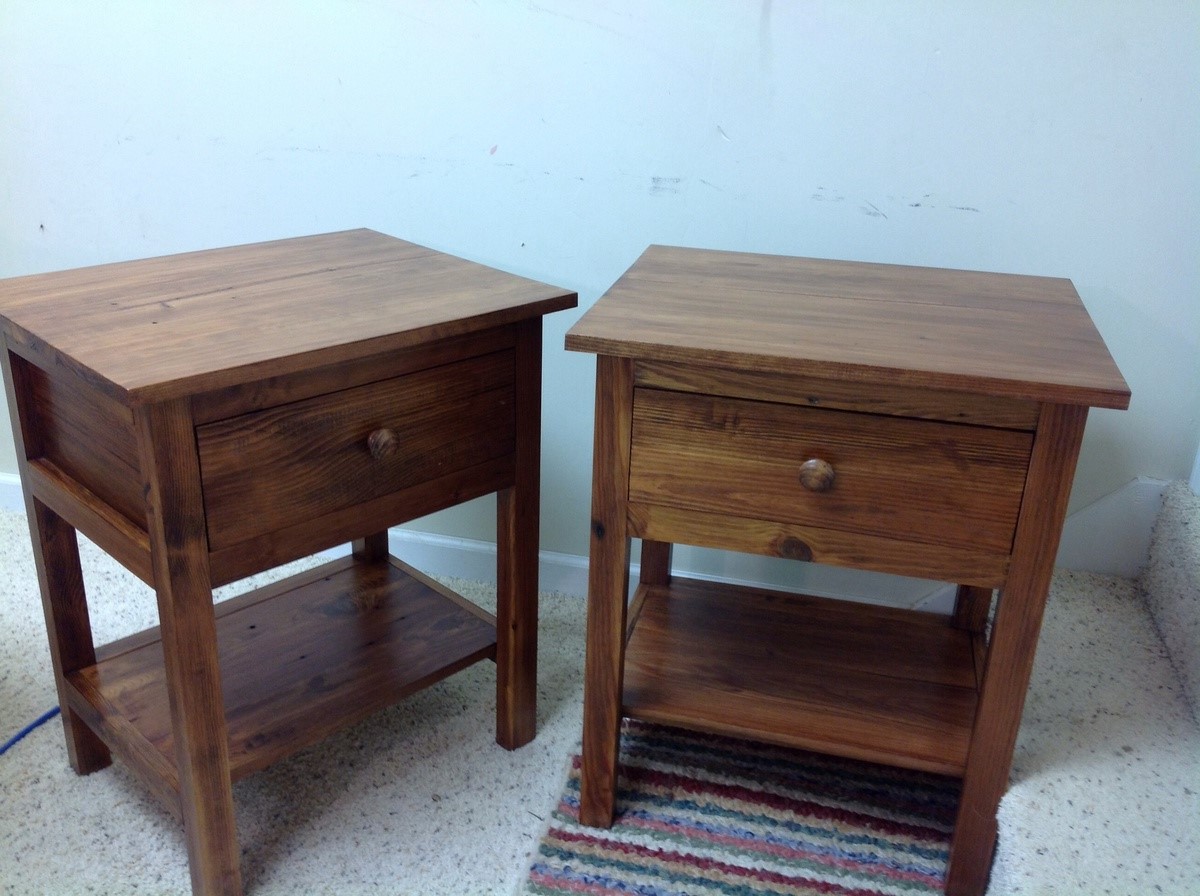
Made these out of left over antique heart pine flooring. Definitely not for beginners. Lots of small pieces, good for using up scraps! Made to match a Reclaimed wood headboard made from the same wood.
Estimated Cost
Next to nothing. Leftover flooring scraps.
Estimated Time Investment
Week Long Project (20 Hours or More)
Finish Used
Mixed my own. Dark walnut, red mahogany, golden oak, and a little cherry.
Recommended Skill Level
Advanced
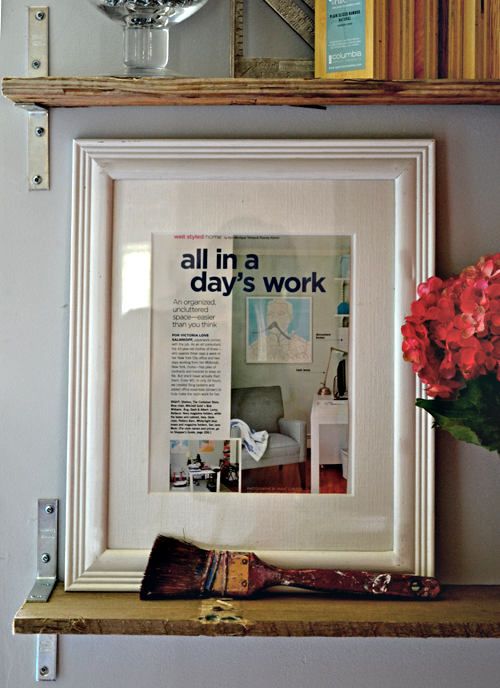
Wall Clock
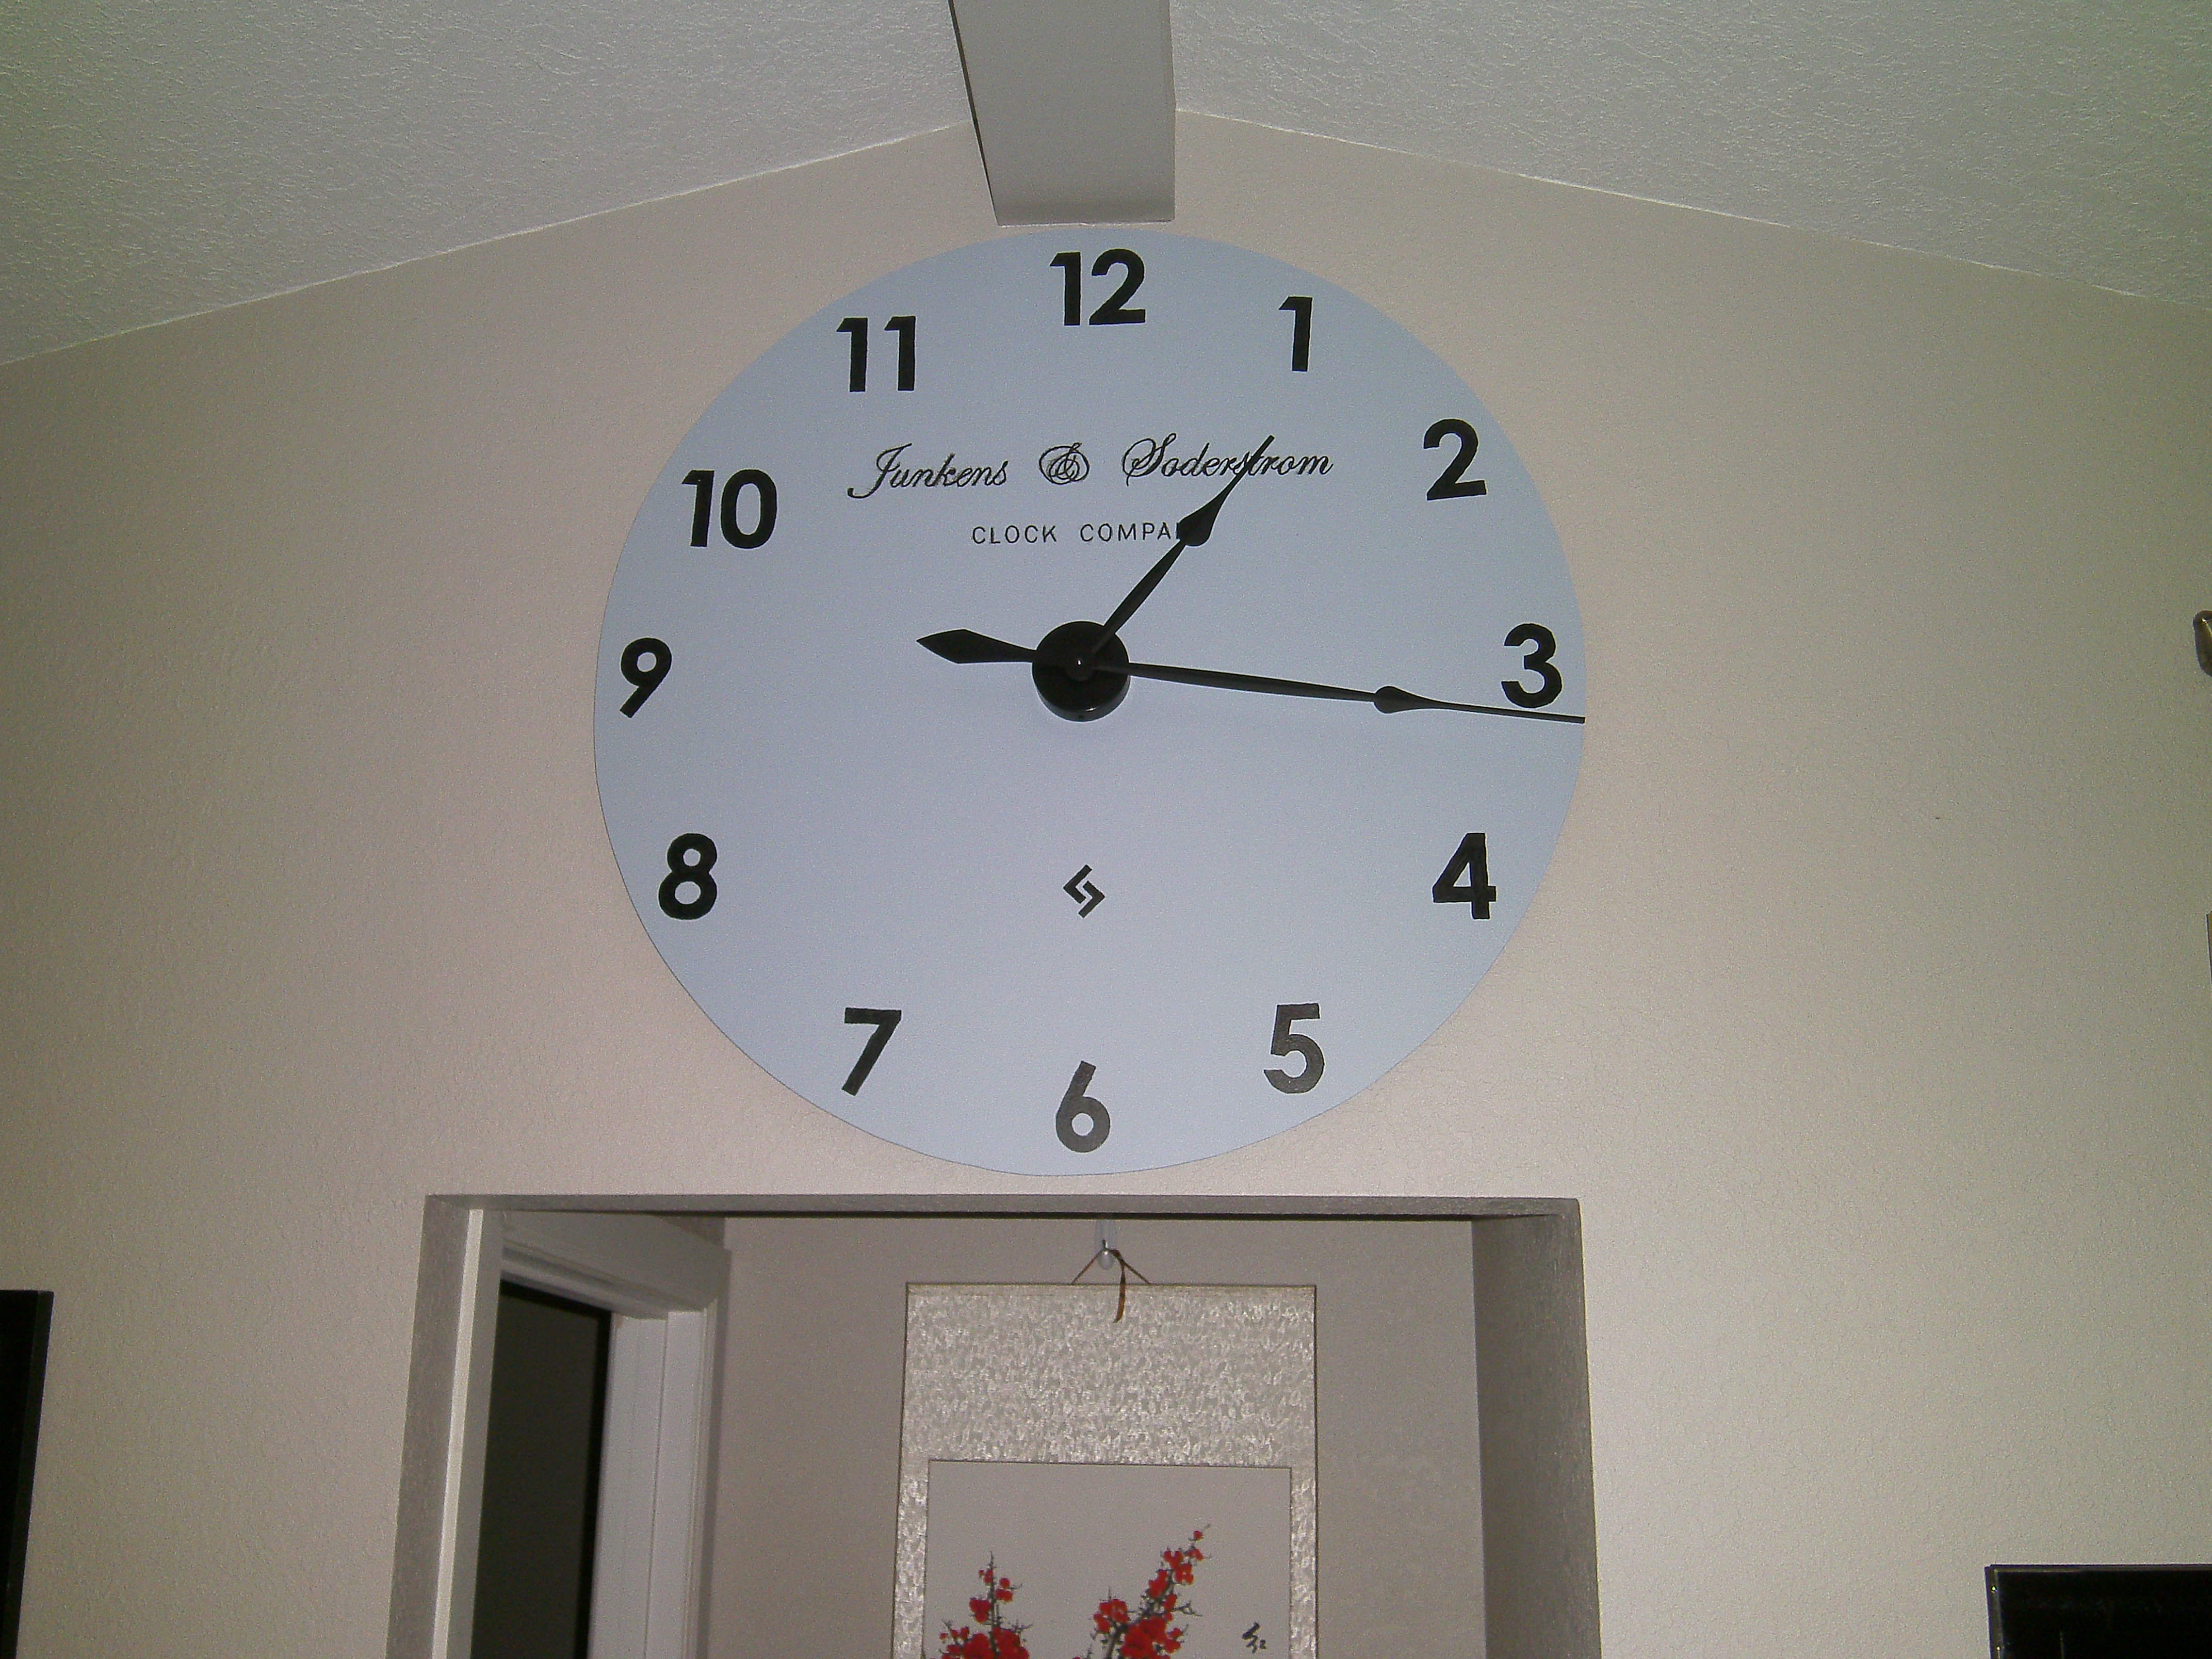
My wife wanted something to replace the wreath on our wall after Christmas and I was thinking of making her a large wall clock as a gift. Plan meets opportunity and we just happen to be at Hobby Lobby at the time and so it began. I used a piece of paneling for the face of the clock (same material as peg board without the holes about $8, enough to make two if I wanted) and built a wooden frame out of 1' X 2' s on the back that resembles a four pane window frame. Painted the face and numbers, then printed our names and transferred them on to the face and followed up tracing them with a sharpie. Affixed clocked to face and hung.
Built from Plan(s)
Estimated Cost
$50
Estimated Time Investment
Afternoon Project (3-6 Hours)
Recommended Skill Level
Beginner
Modern Park Bench
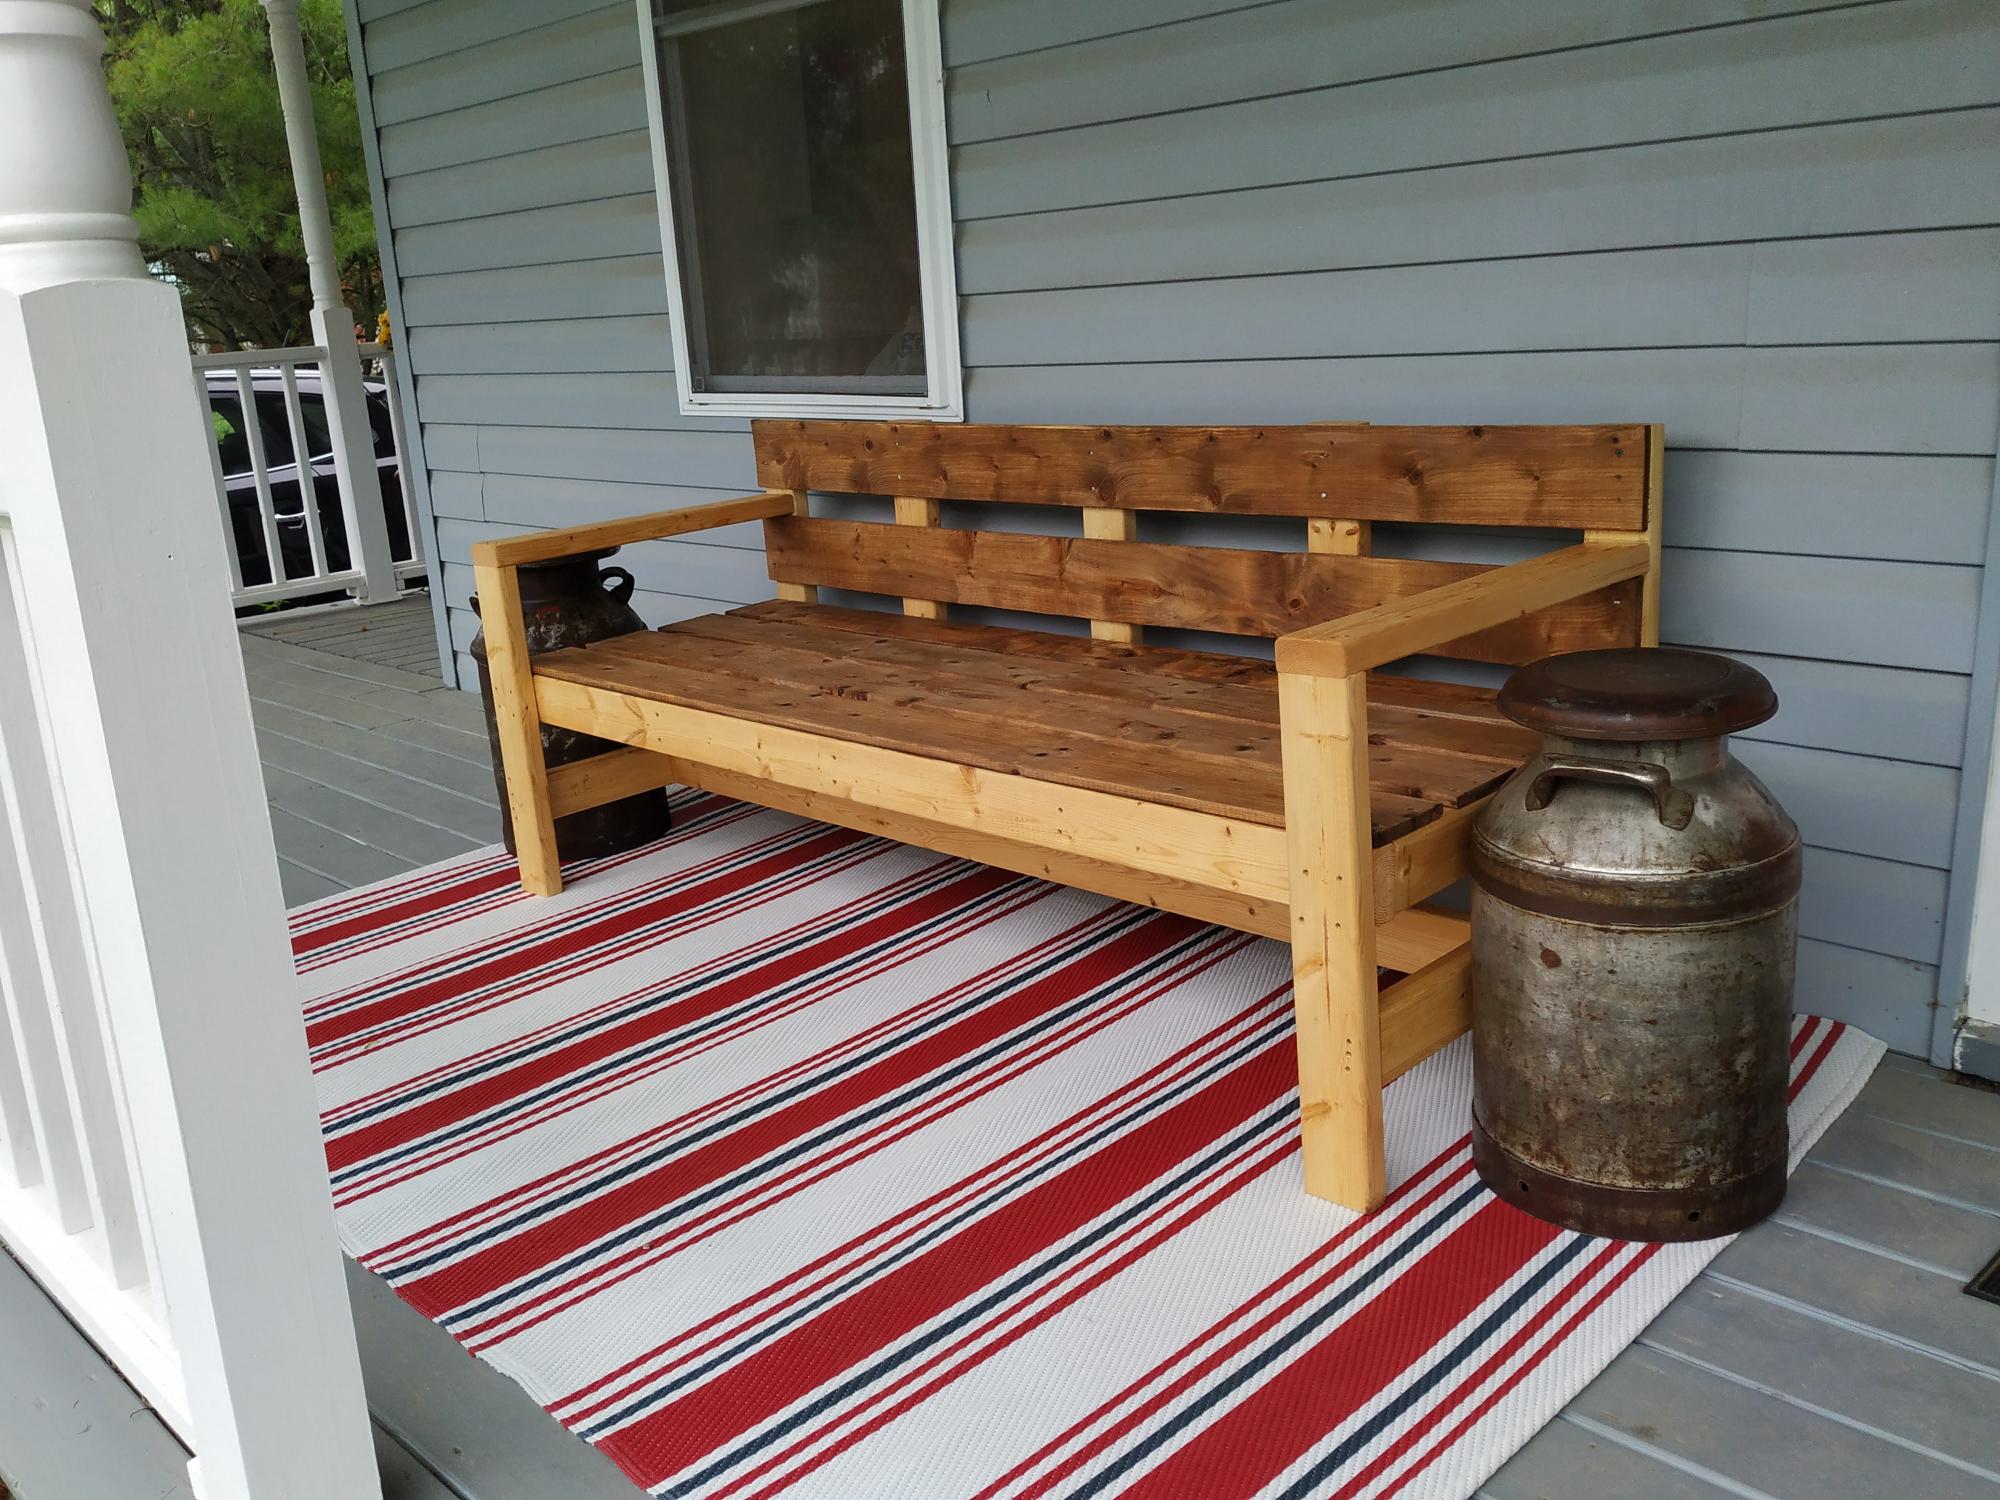
This is my second project using Ana's plan. Plans were easy to follow.

Built from Plan(s)
Estimated Cost
$40 CDN
Estimated Time Investment
Afternoon Project (3-6 Hours)
Finish Used
double boiled linseed oil on bench and milk cans. I lightly sanded the milk cans to keep the patina.
Recommended Skill Level
Beginner
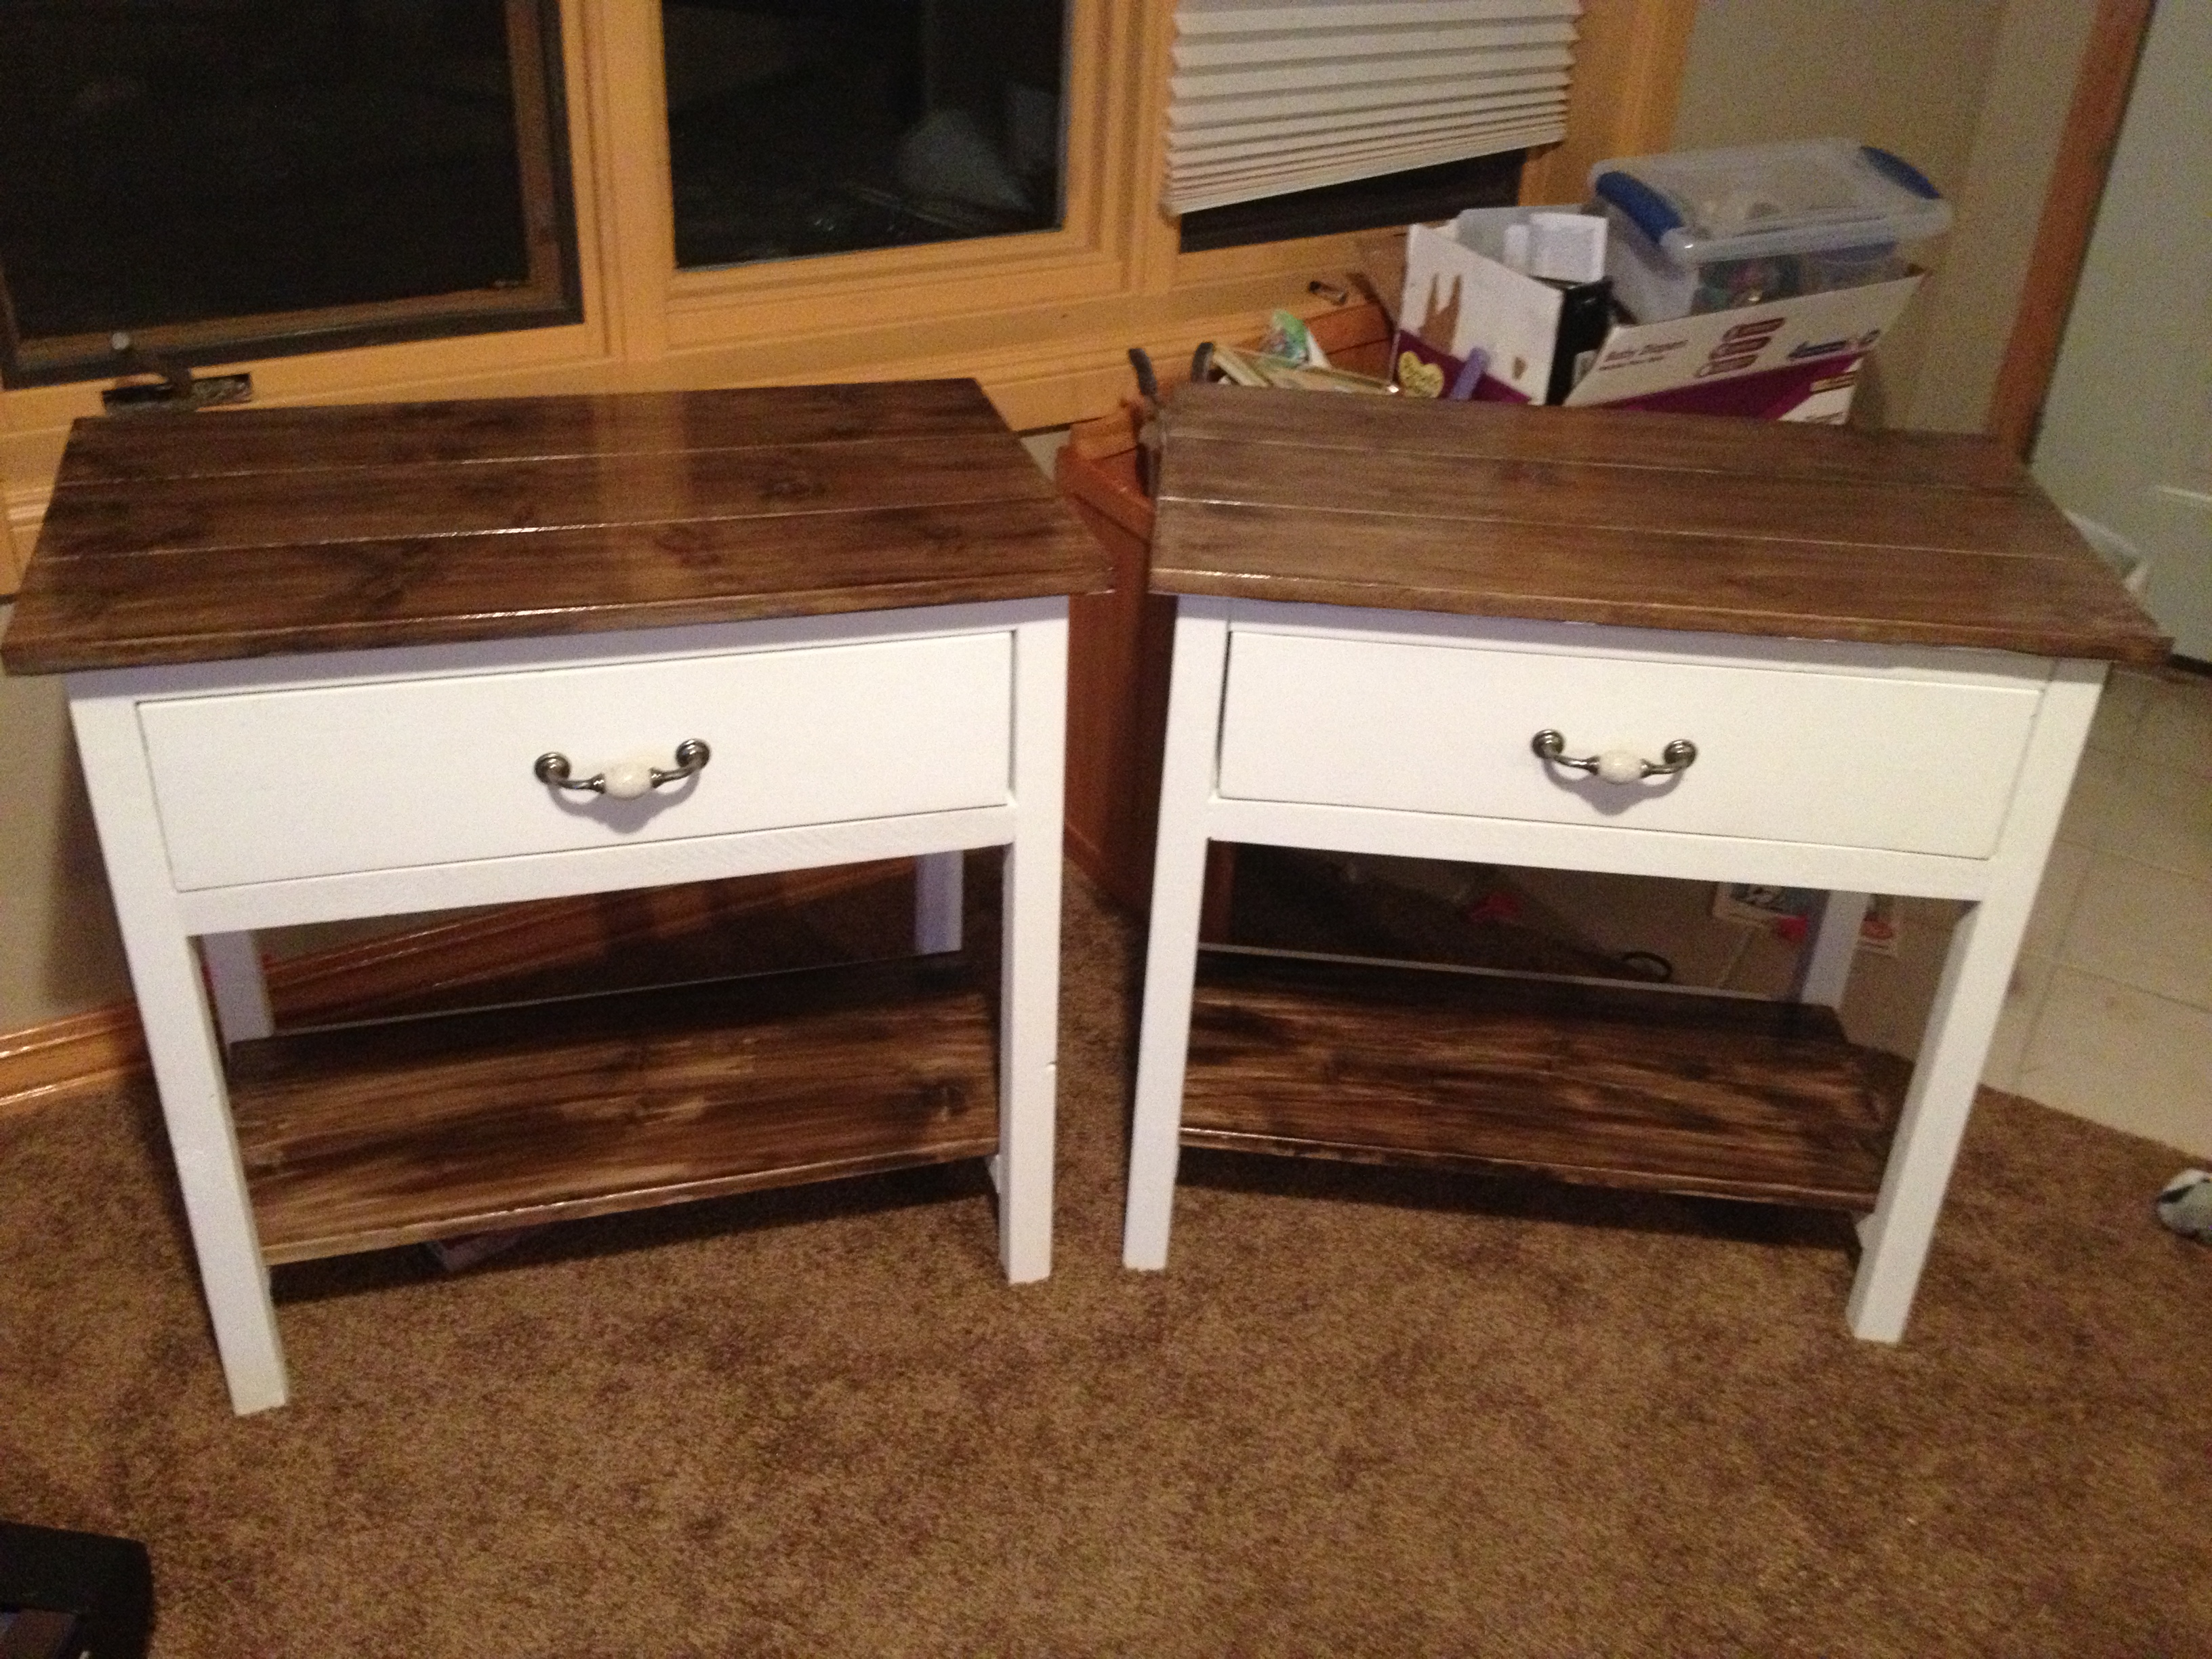
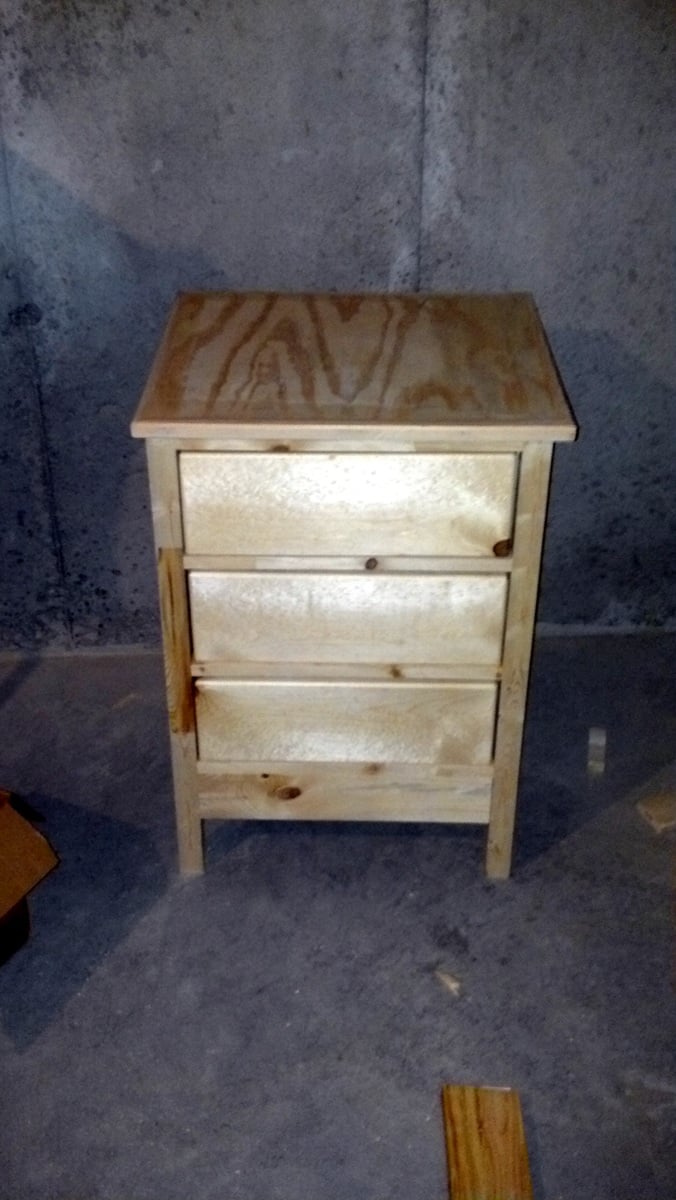
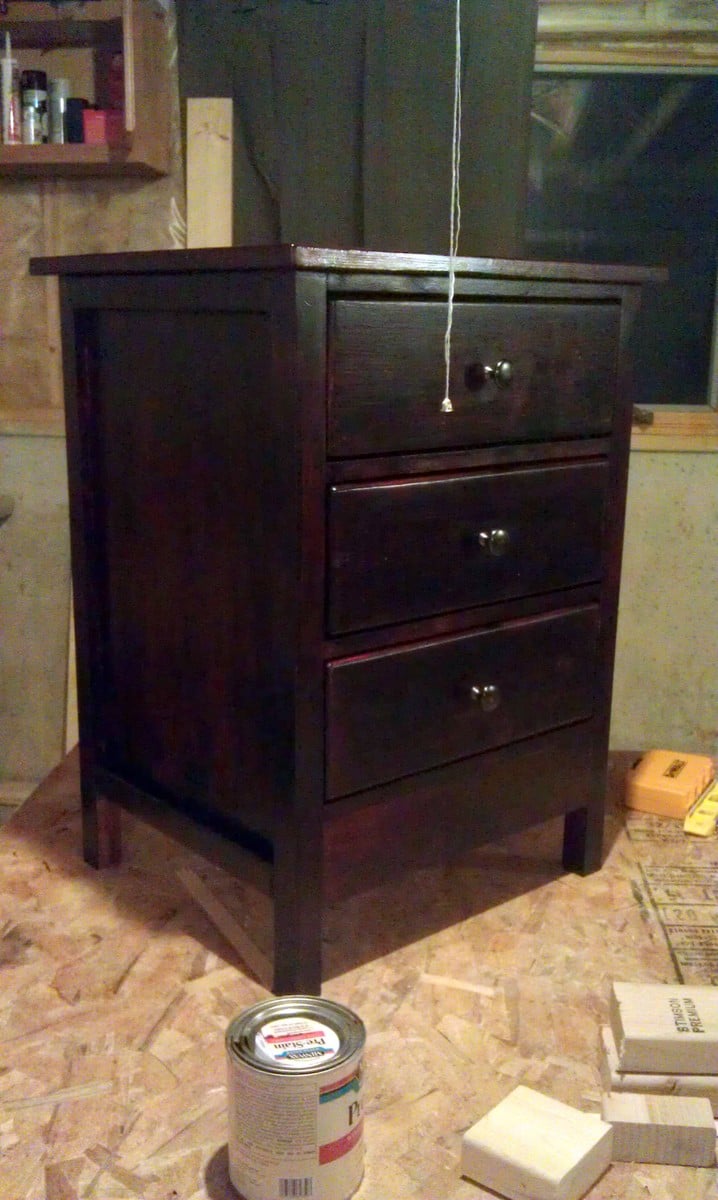
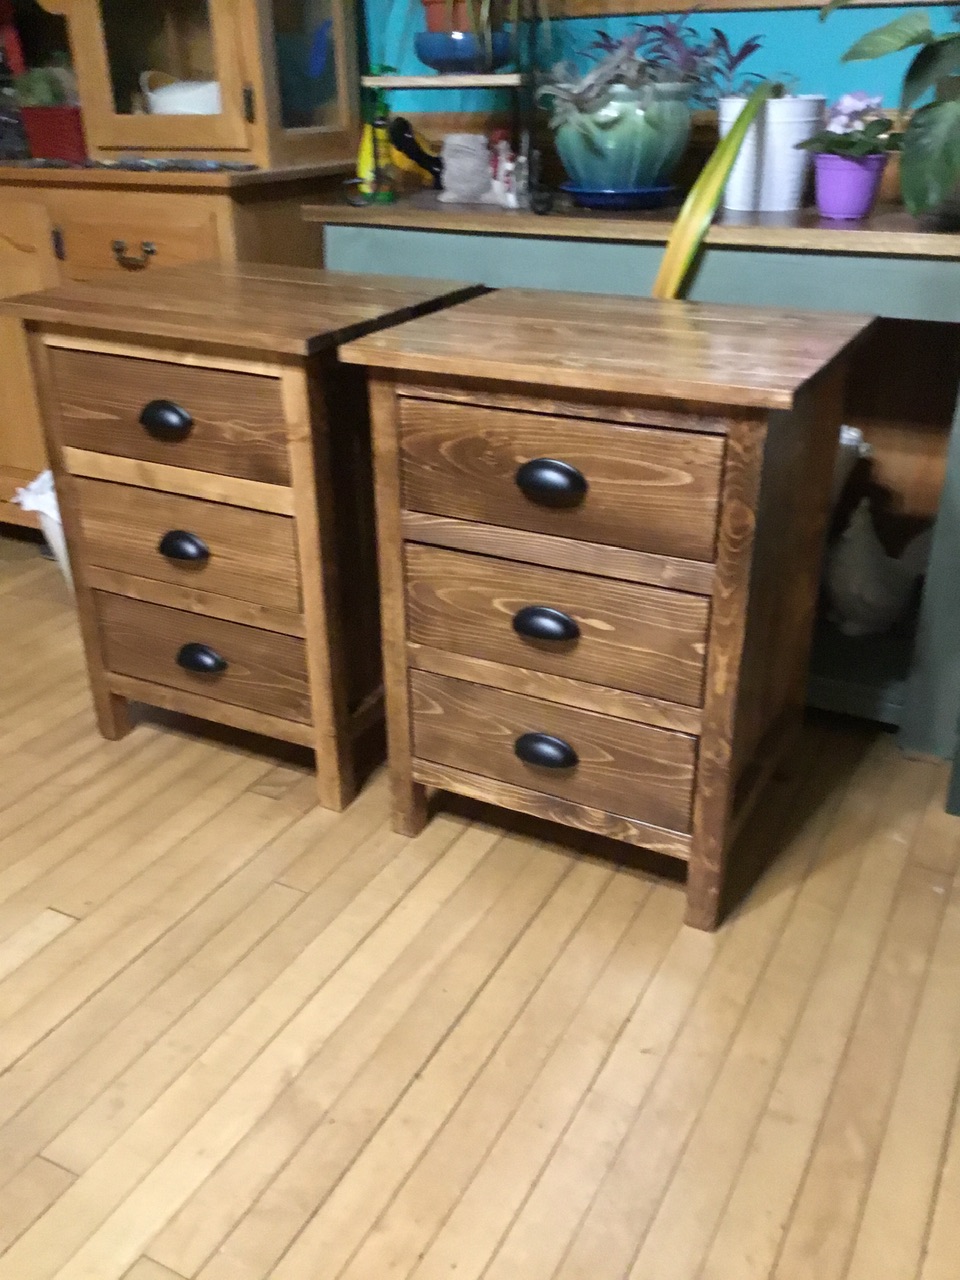
Nightstand
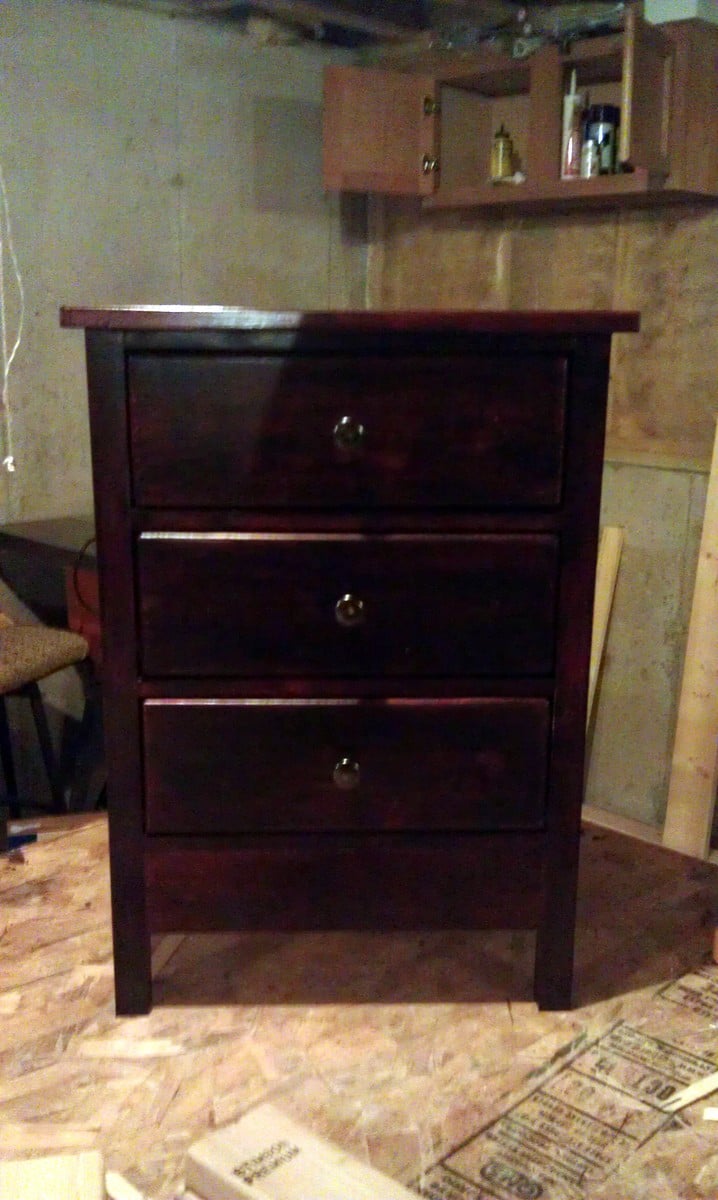
Another project my husband worked diligently on! It took him forever because he's a perfectionist, but he finally got one done. He used a piece of 3/4" plywood framed with mitered wood instead of the planks for the top. Now, on to the other one.

Built from Plan(s)
Estimated Cost
20.00 each
Estimated Time Investment
Week Long Project (20 Hours or More)
Finish Used
Minwax Poly Shades Bombay Mahogany
Recommended Skill Level
Beginner
Comments

Mon, 12/19/2011 - 16:37
Yes, and it matches our
Yes, and it matches our headboard (that he also made) perfectly! I'm excited to eventually have a matching set!
Wed, 01/22/2014 - 07:51
I love the way the top is
I love the way the top is done.......... I made a bed and stained it with the same stain as you used. I'm hoping my nightstand turns out like yours.
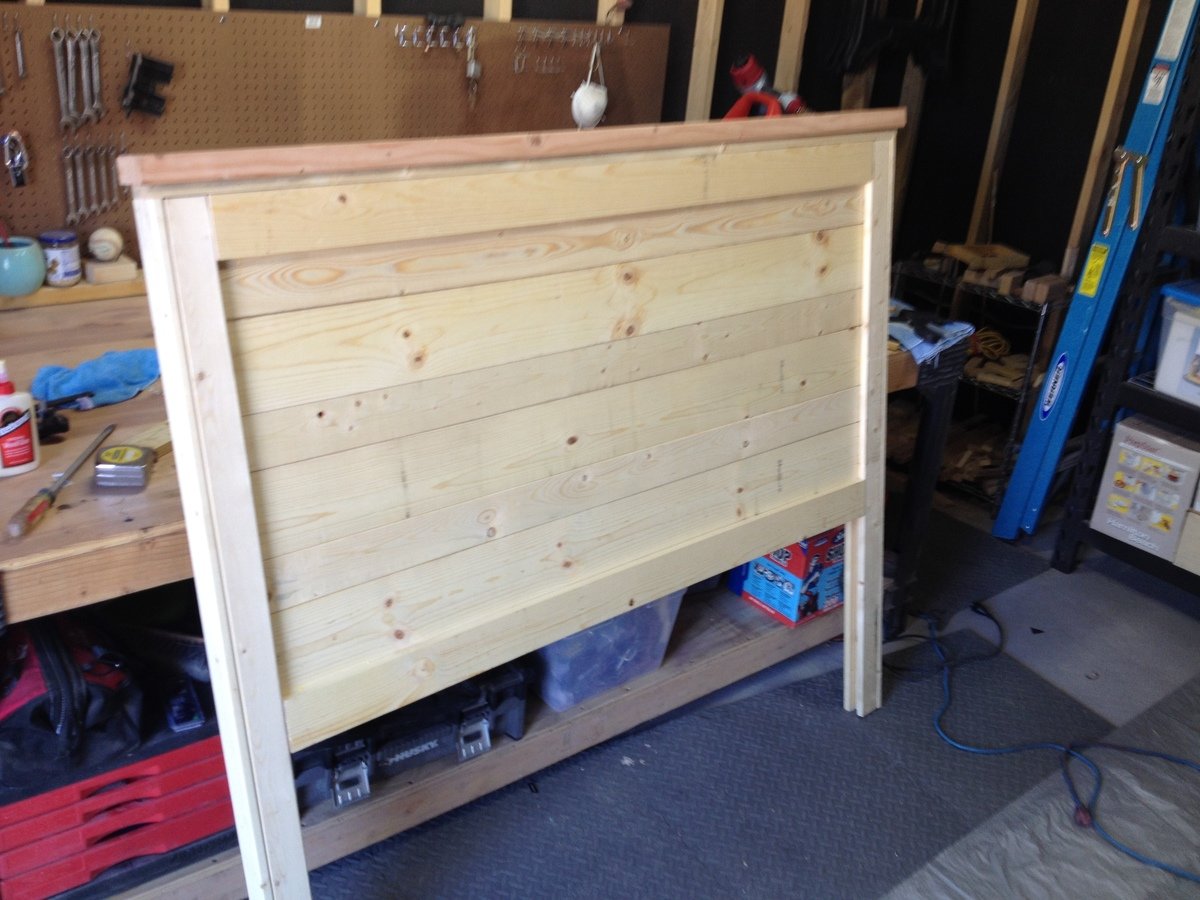
Reclaimed wood-look headboard
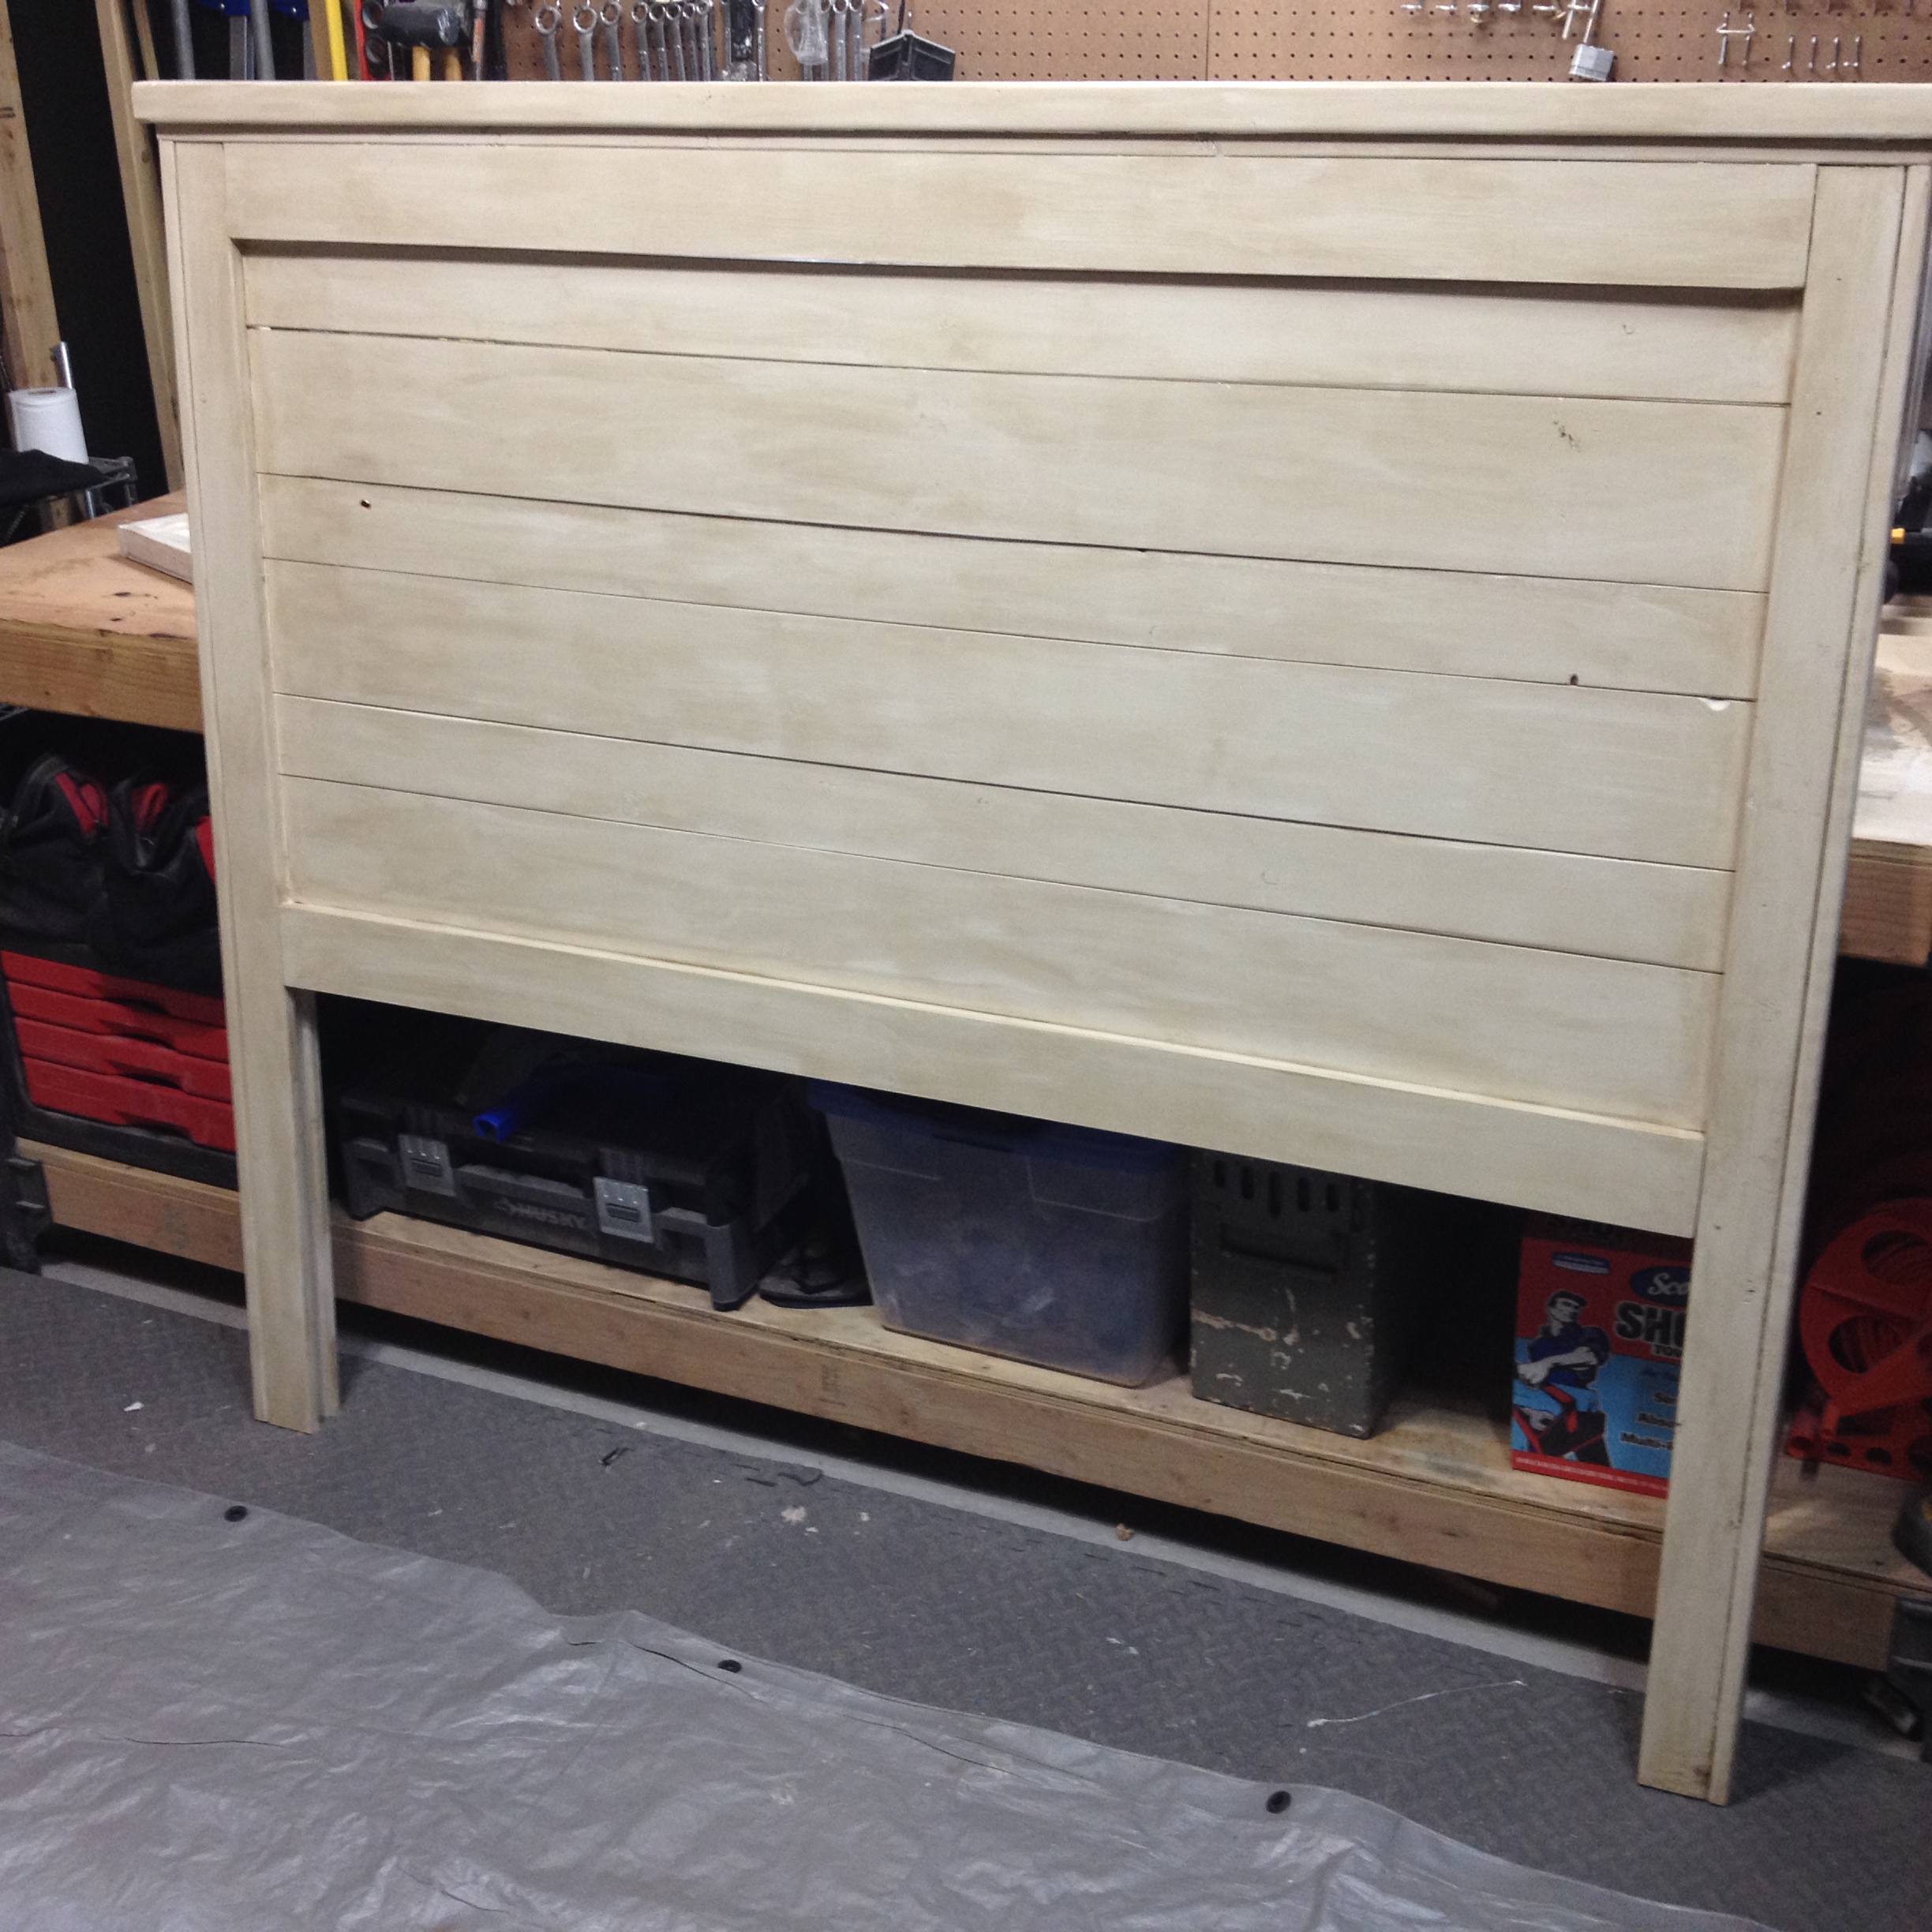
A friend found Ana-White, found the plans and asked if I could build this for her. I'm still new to building, so this was a great, easy project to work on. I went with slightly less expensive boards/furring strips. It means more searching/digging though.
Jaime_C mentioned having to use boards on the back to brace/even up the face boards as much as possible so I did this as well.
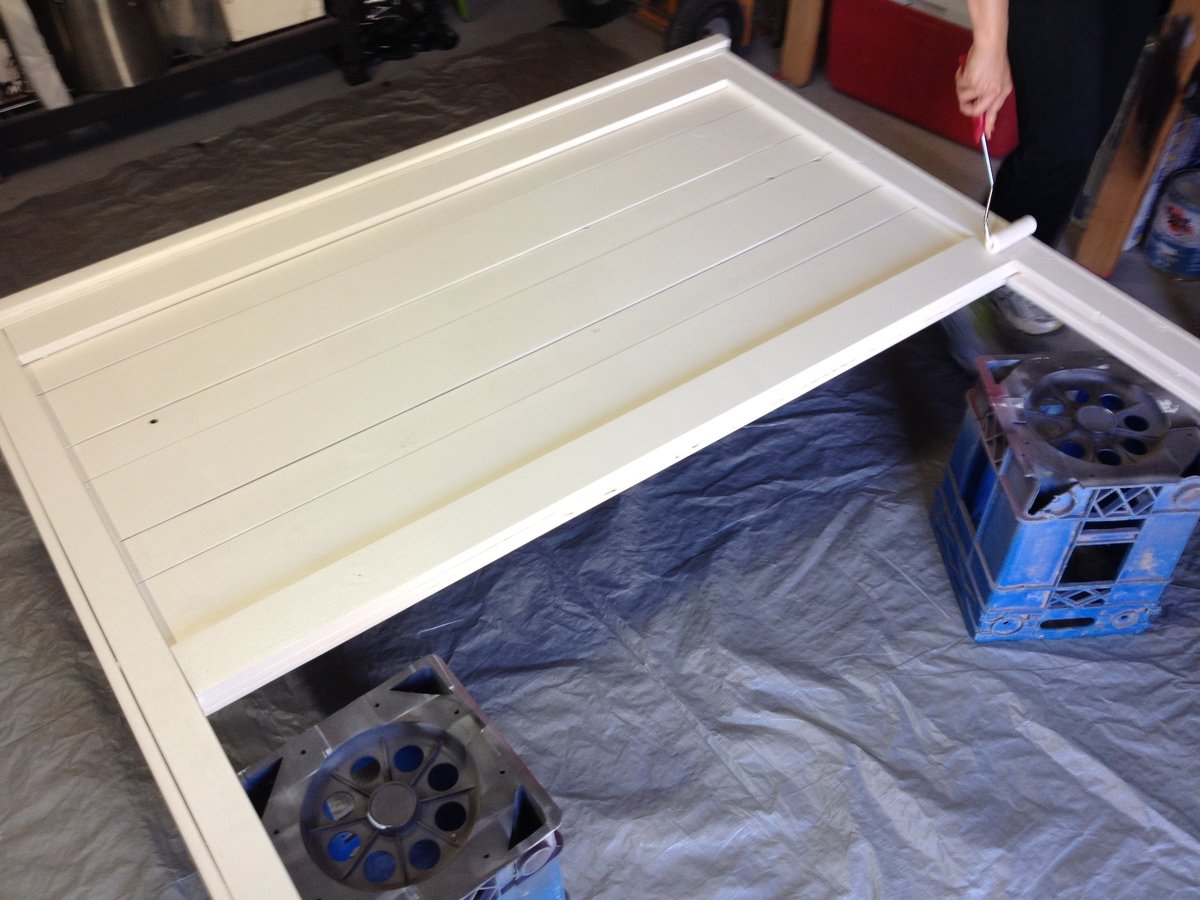
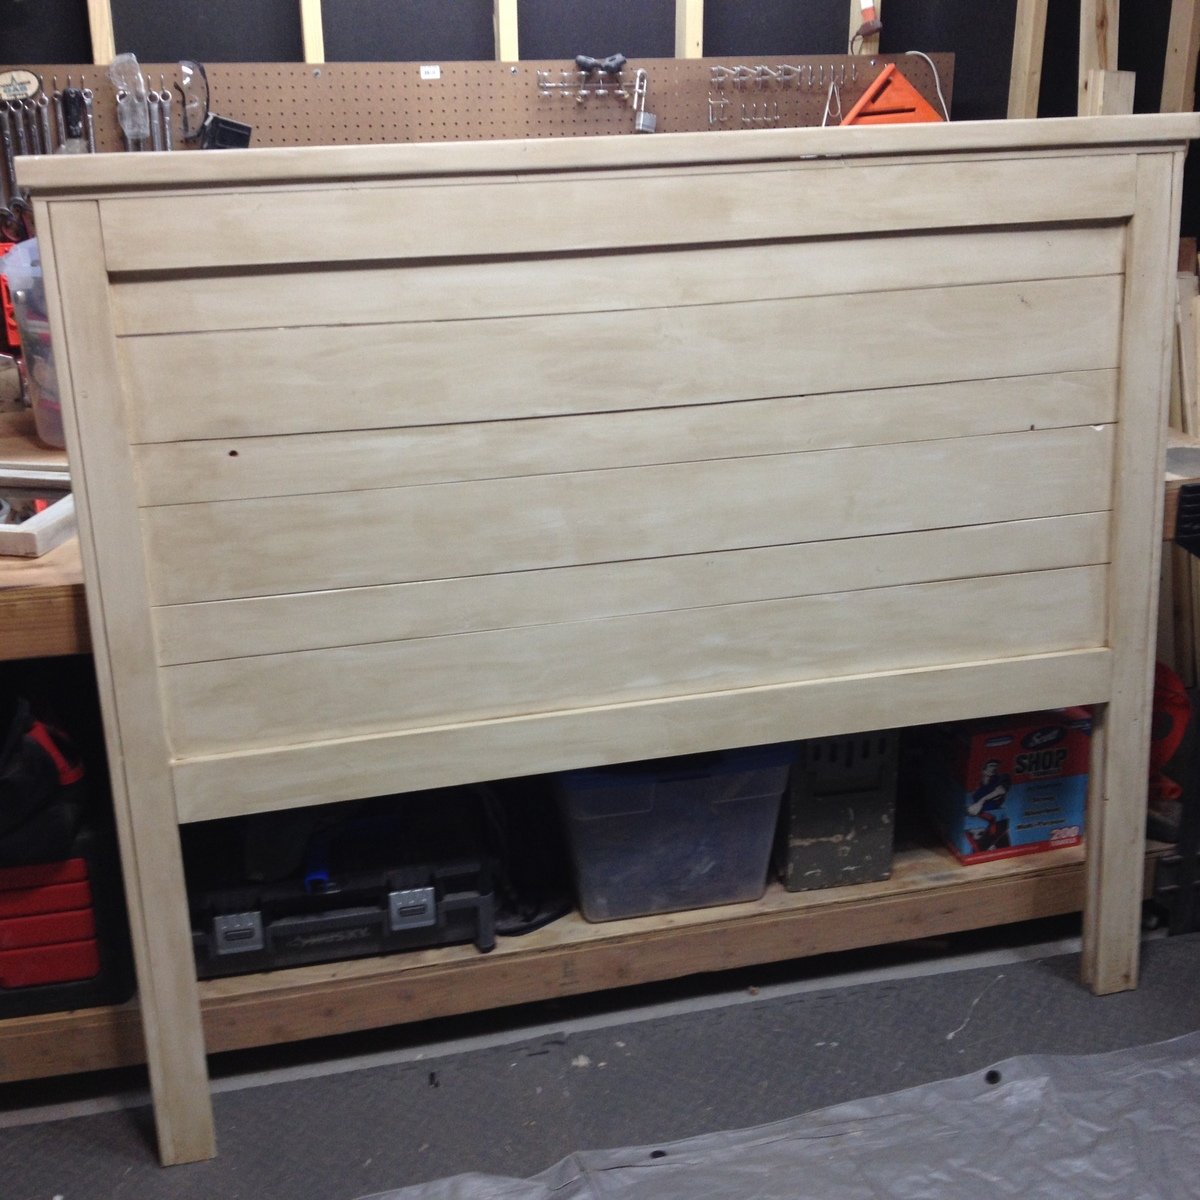
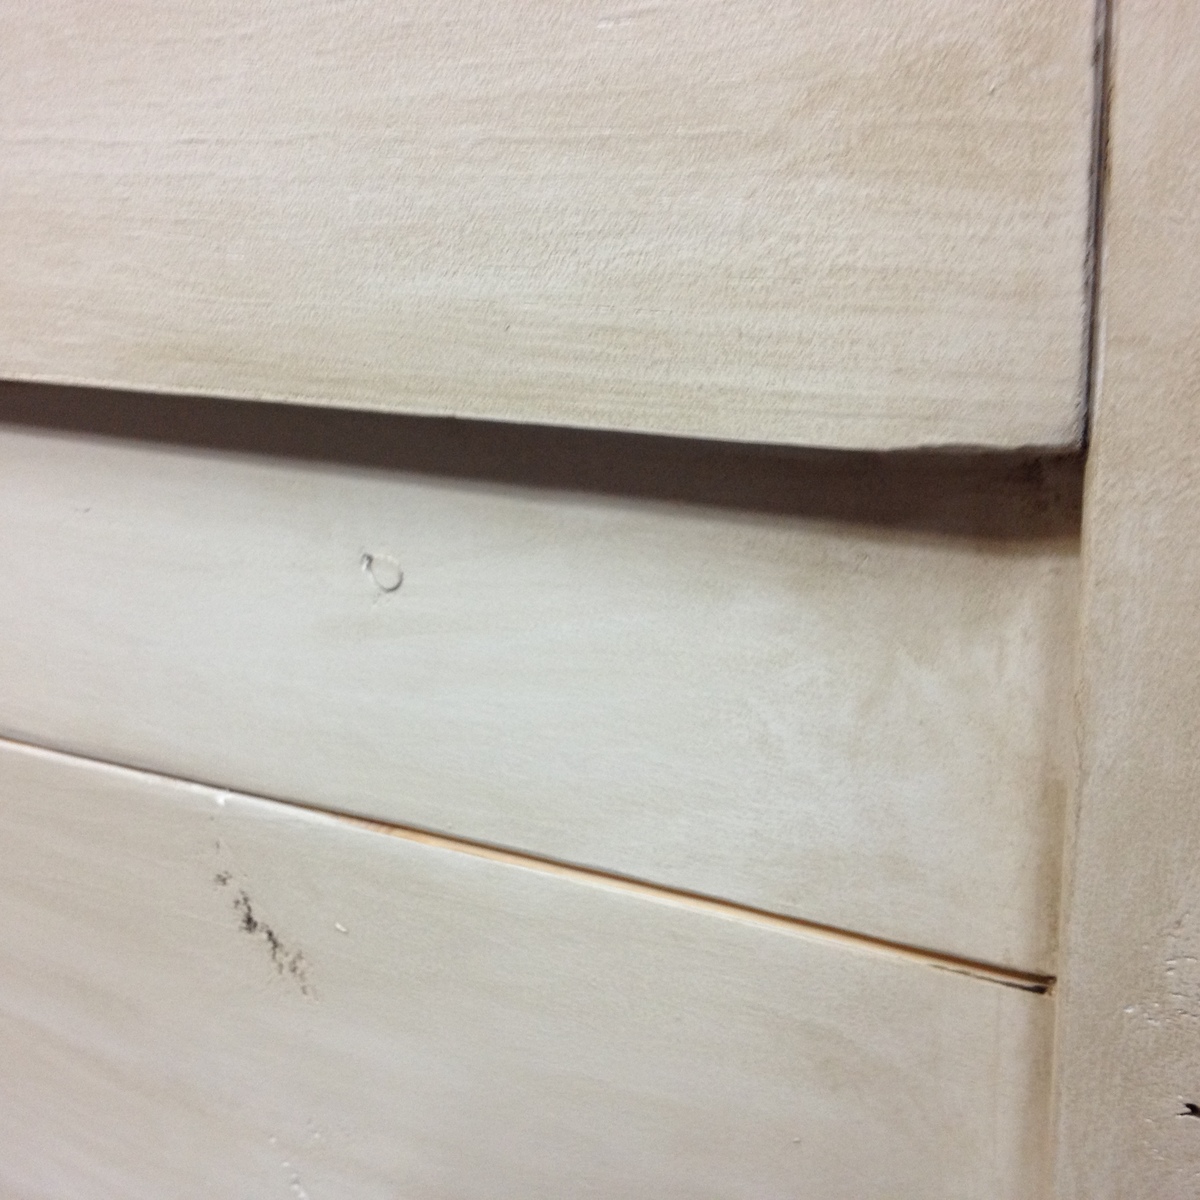
We were very happy with the finish. She painted a couple of coats of the base color (antique beige) then we glazed the headboard. We thought about distressing but the practice board looked great without it. I wiped on the glaze and she followed wiping it off to get the look she wanted. The picture really does the finish no justice.
Great plans, easy to follow and fun to build.
Built from Plan(s)
Estimated Cost
$80
Estimated Time Investment
Day Project (6-9 Hours)
Finish Used
base coat of ?Glidden? Antique Beige (satin) Rustoleum Java Brown semi-transparent glaze.
Recommended Skill Level
Beginner
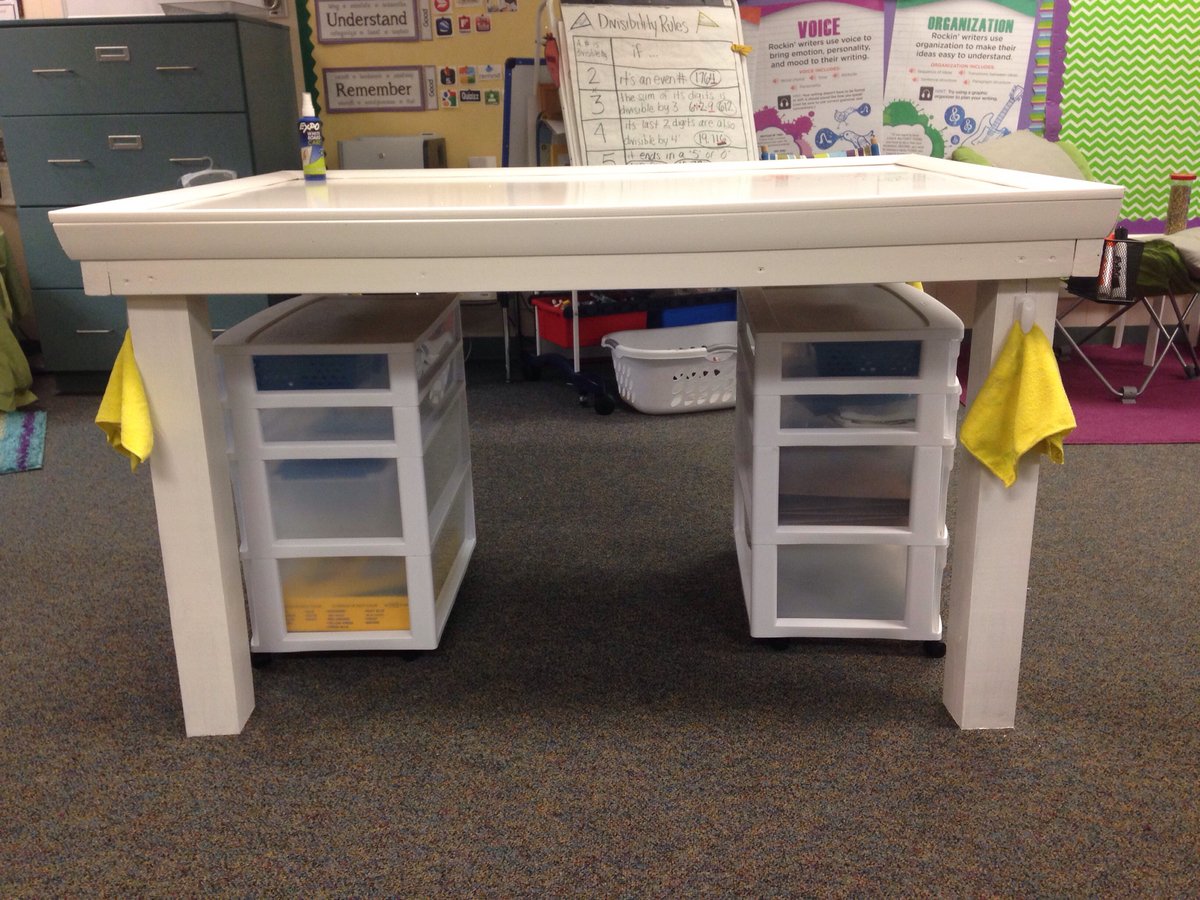
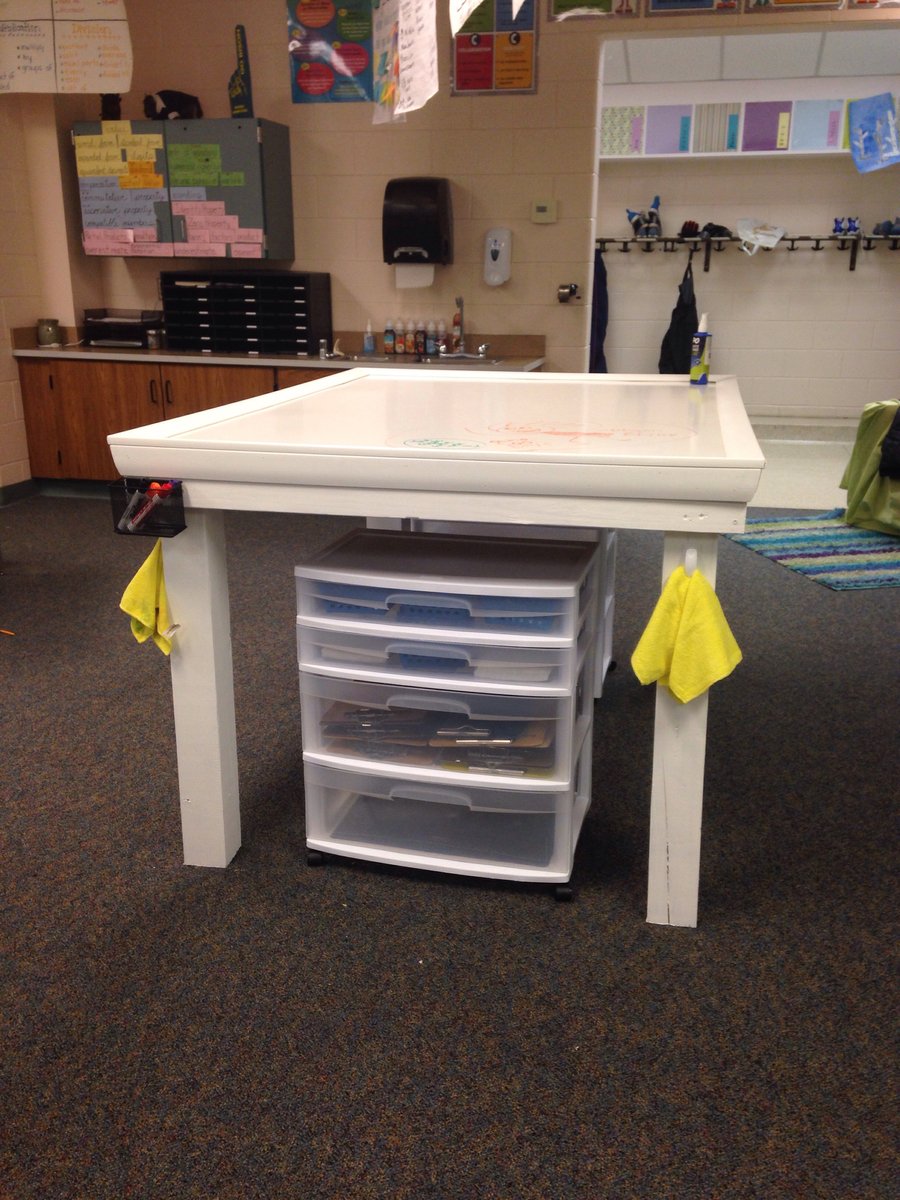
Student work table
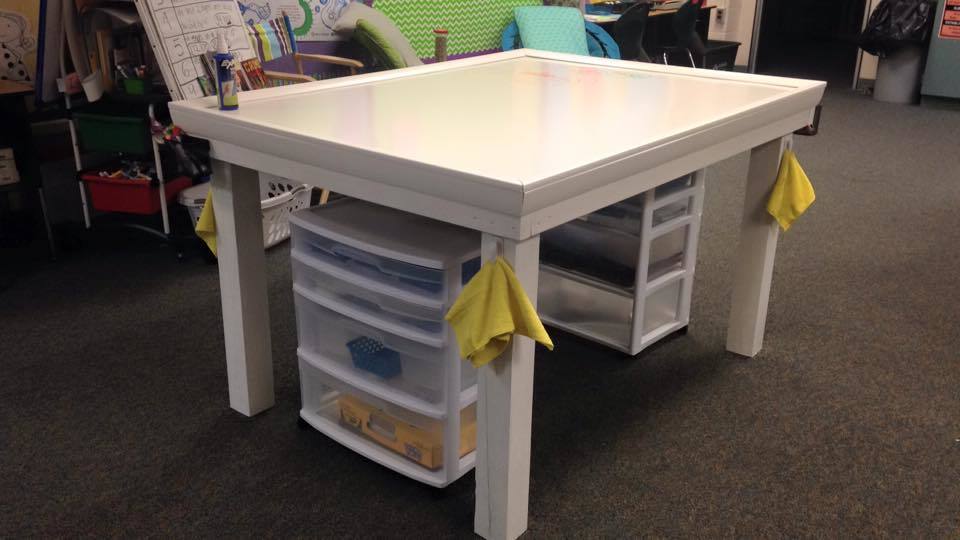
I love this table! Made for my 5th grade classroom, I modified the plans to include a dry erase table top, magnetic strips to support dry erase marker holders and clips on each leg for microfiber cloths to clean the board. I also lowered the table by two inches so my vertically challenged students could still stand, wiggle, and work comfortably. Thanks for posting the plans!
Built from Plan(s)
Estimated Time Investment
Day Project (6-9 Hours)
Recommended Skill Level
Beginner
Comments
Tue, 11/24/2020 - 04:43
I like this table https:/…
I like this table https://www.ana-white.com/community-projects/student-work-table
Can you share the tutorial?
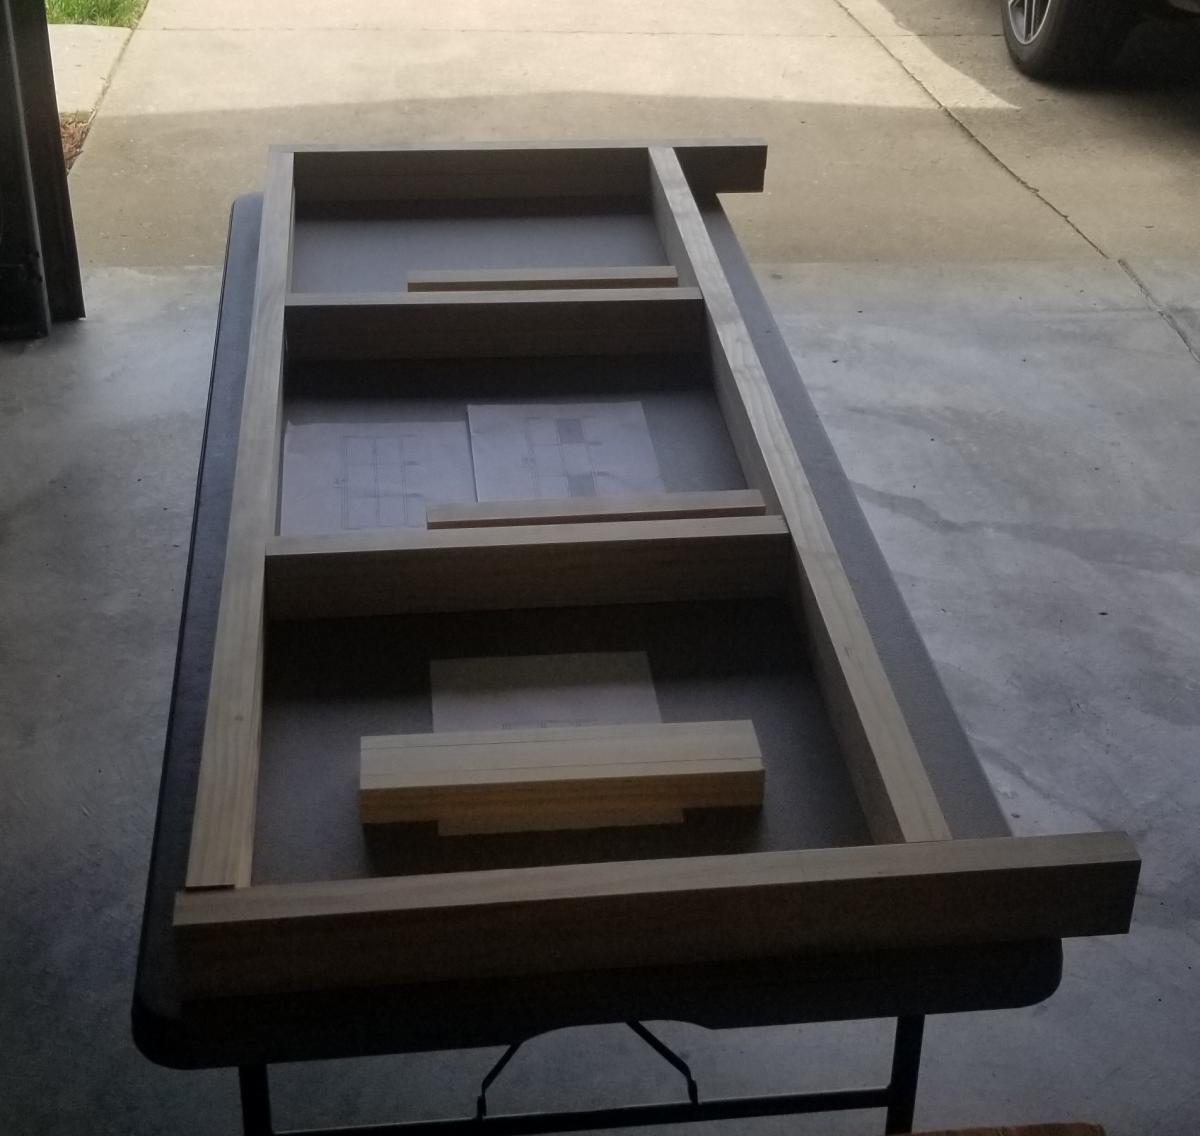
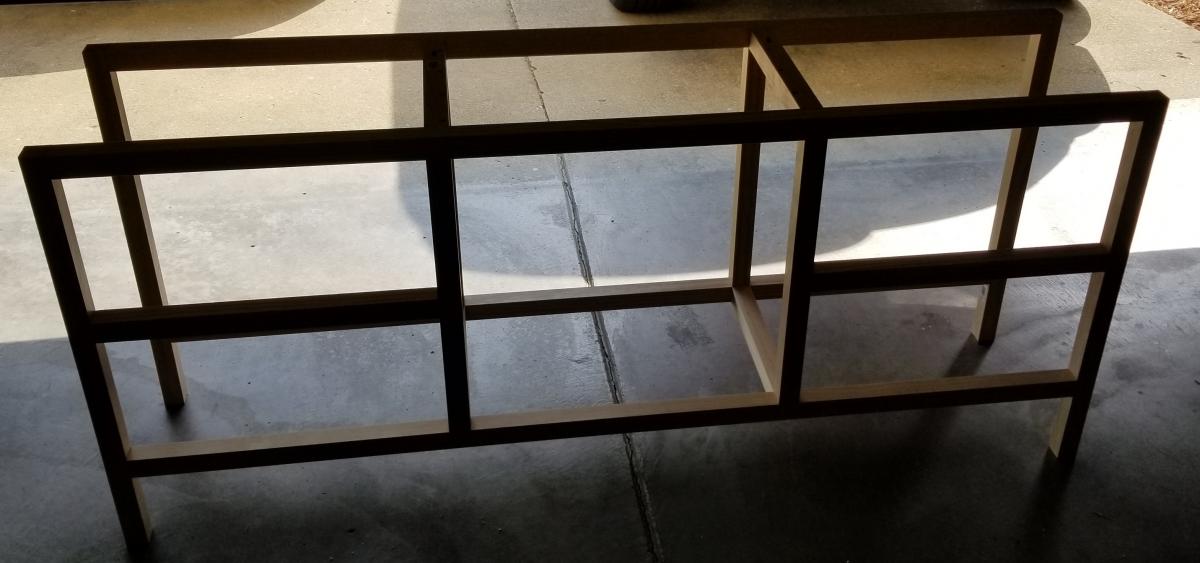
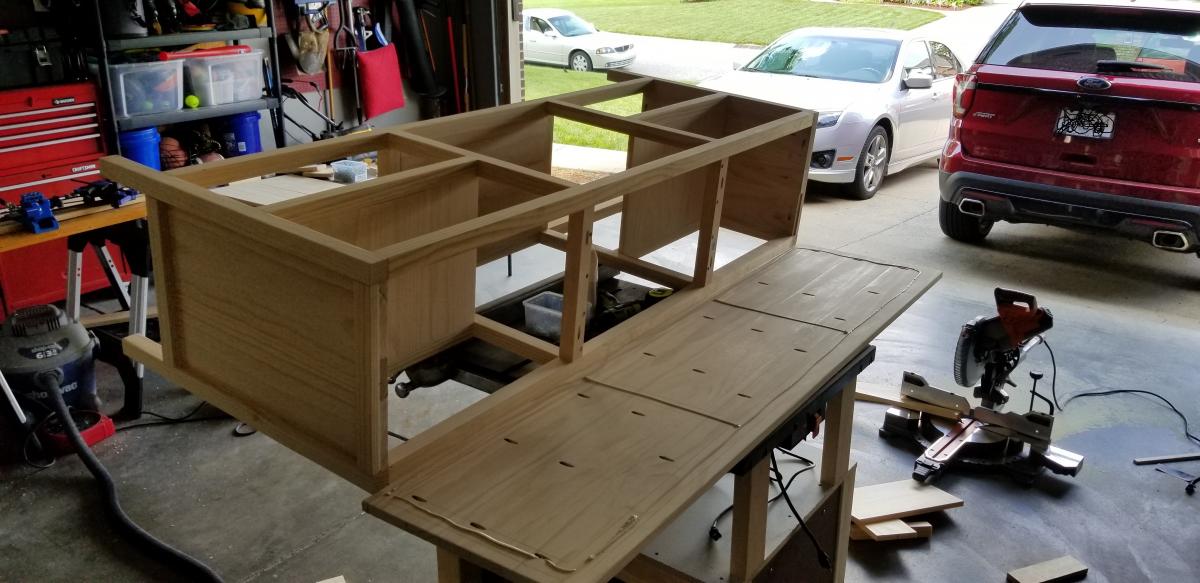
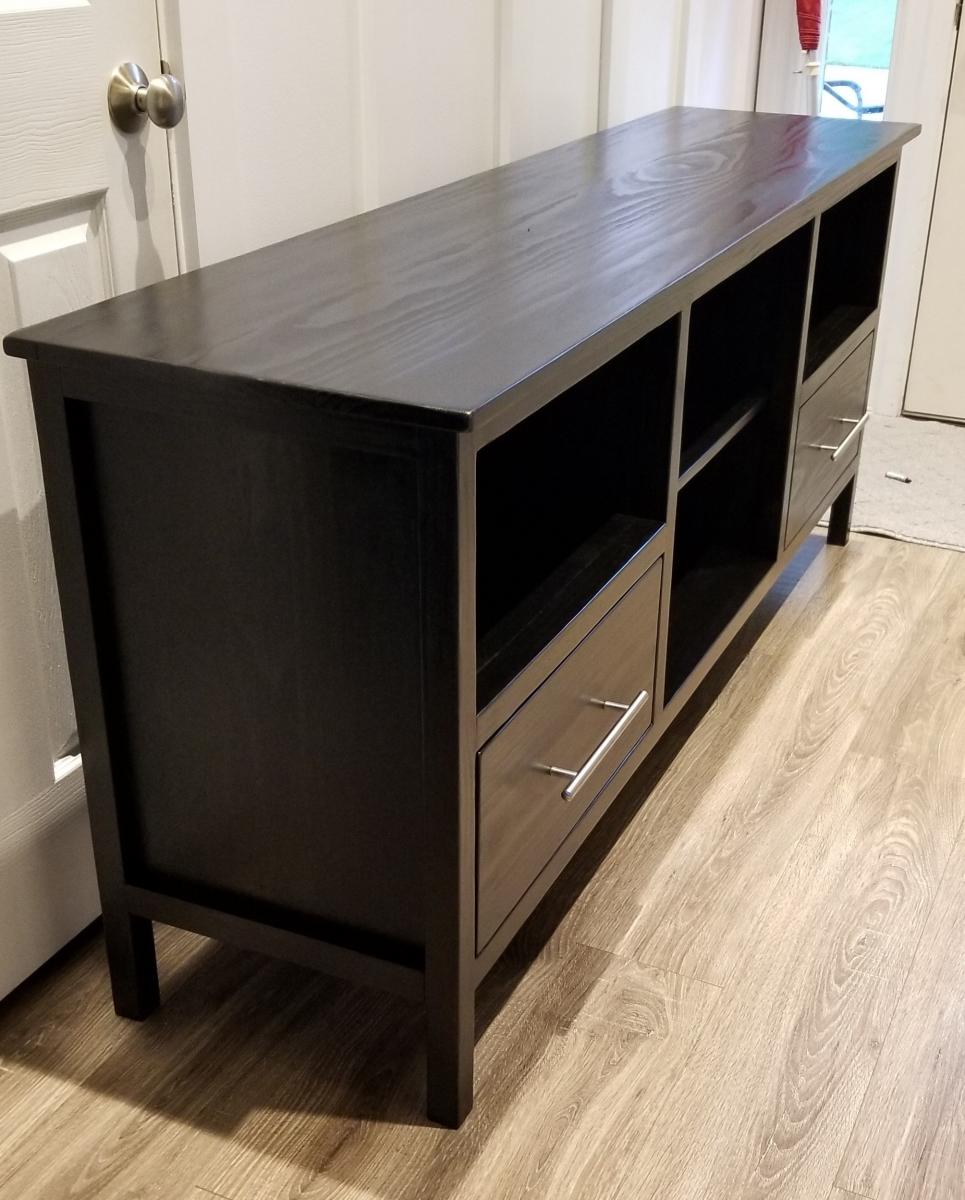
Modern Console Table
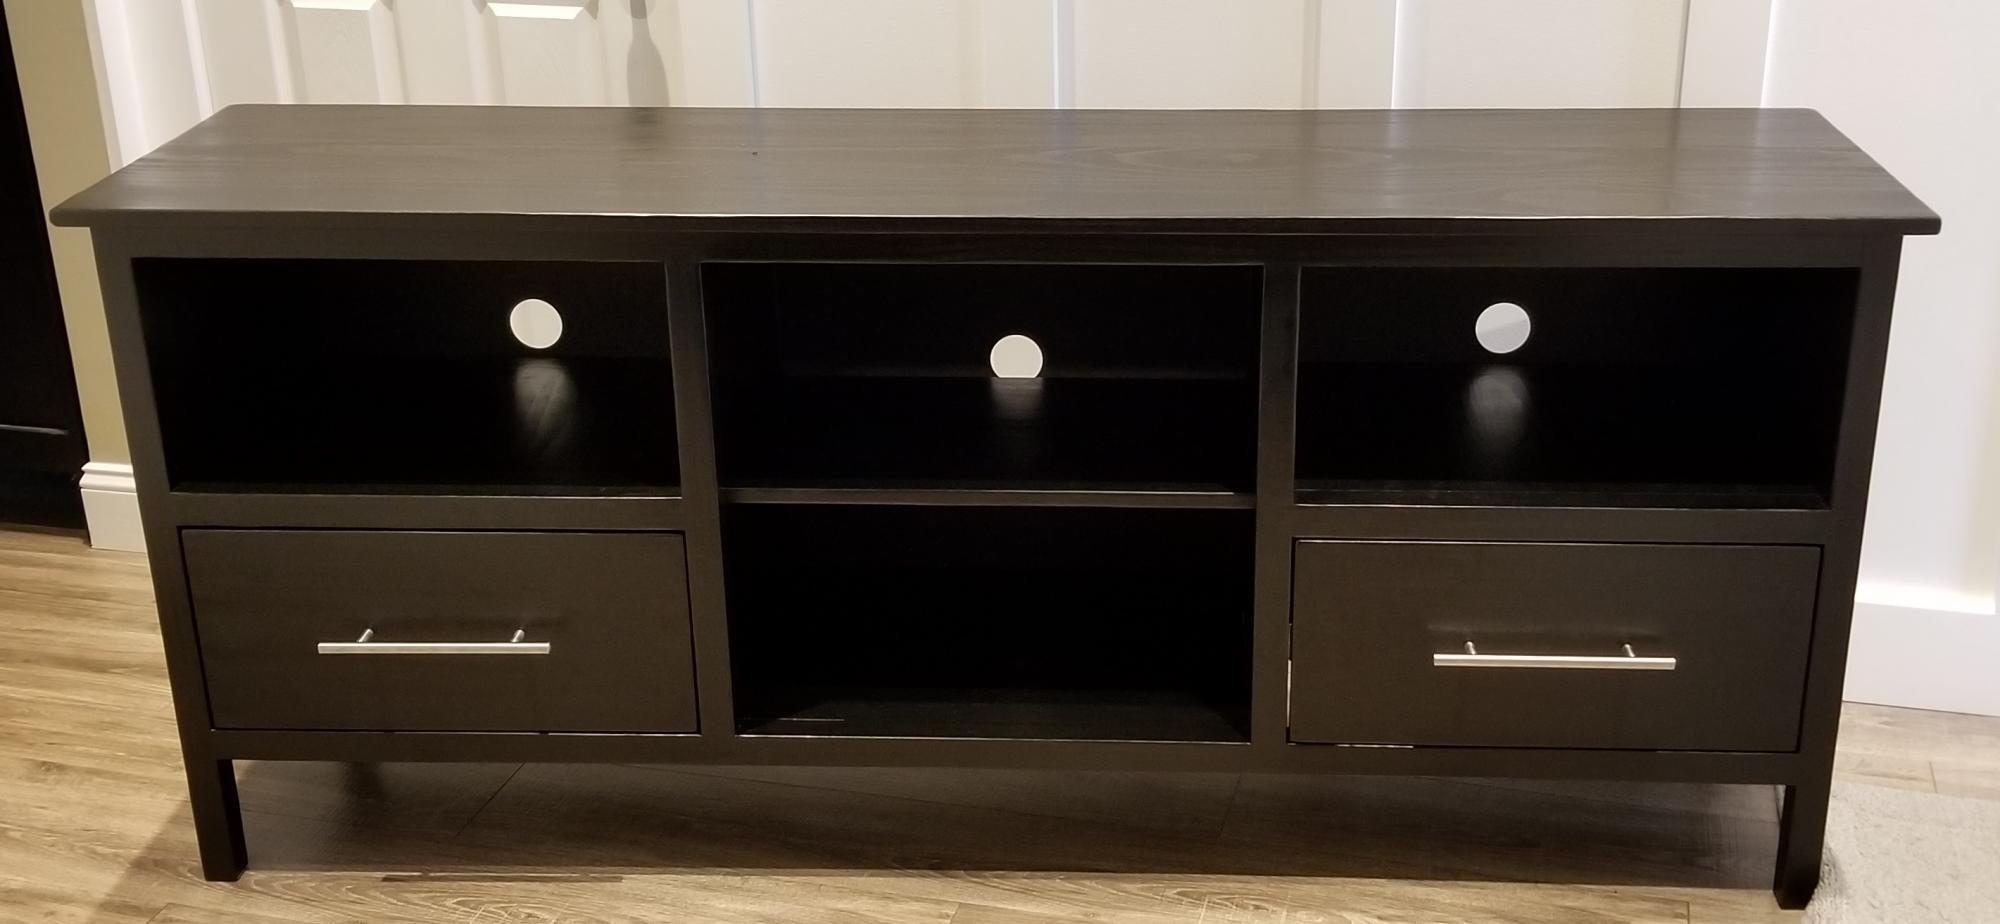
I built this for one of my friends that gave me the dimensions he needed. He gave me complete control with the only caviat of needing 2 drawers. I used Premium Pine from Menards, Minwax True Black stain and Minwax Satin Polyurethane. This one came out better than I expected!

Estimated Cost
$225
Estimated Time Investment
Weekend Project (10-20 Hours)
Finish Used
Minwax True Black Stain and Minwax Satin Polyurethane
Recommended Skill Level
Intermediate
Bedside tables
Made for my granddaughter. First time doing multiple drawers.
Built from Plan(s)
Comments
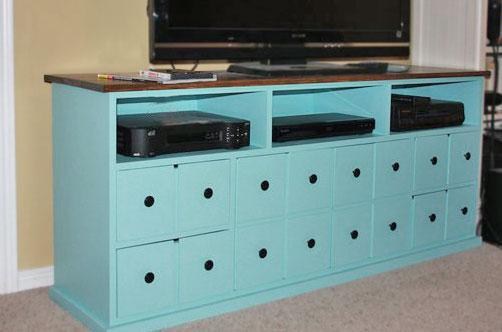
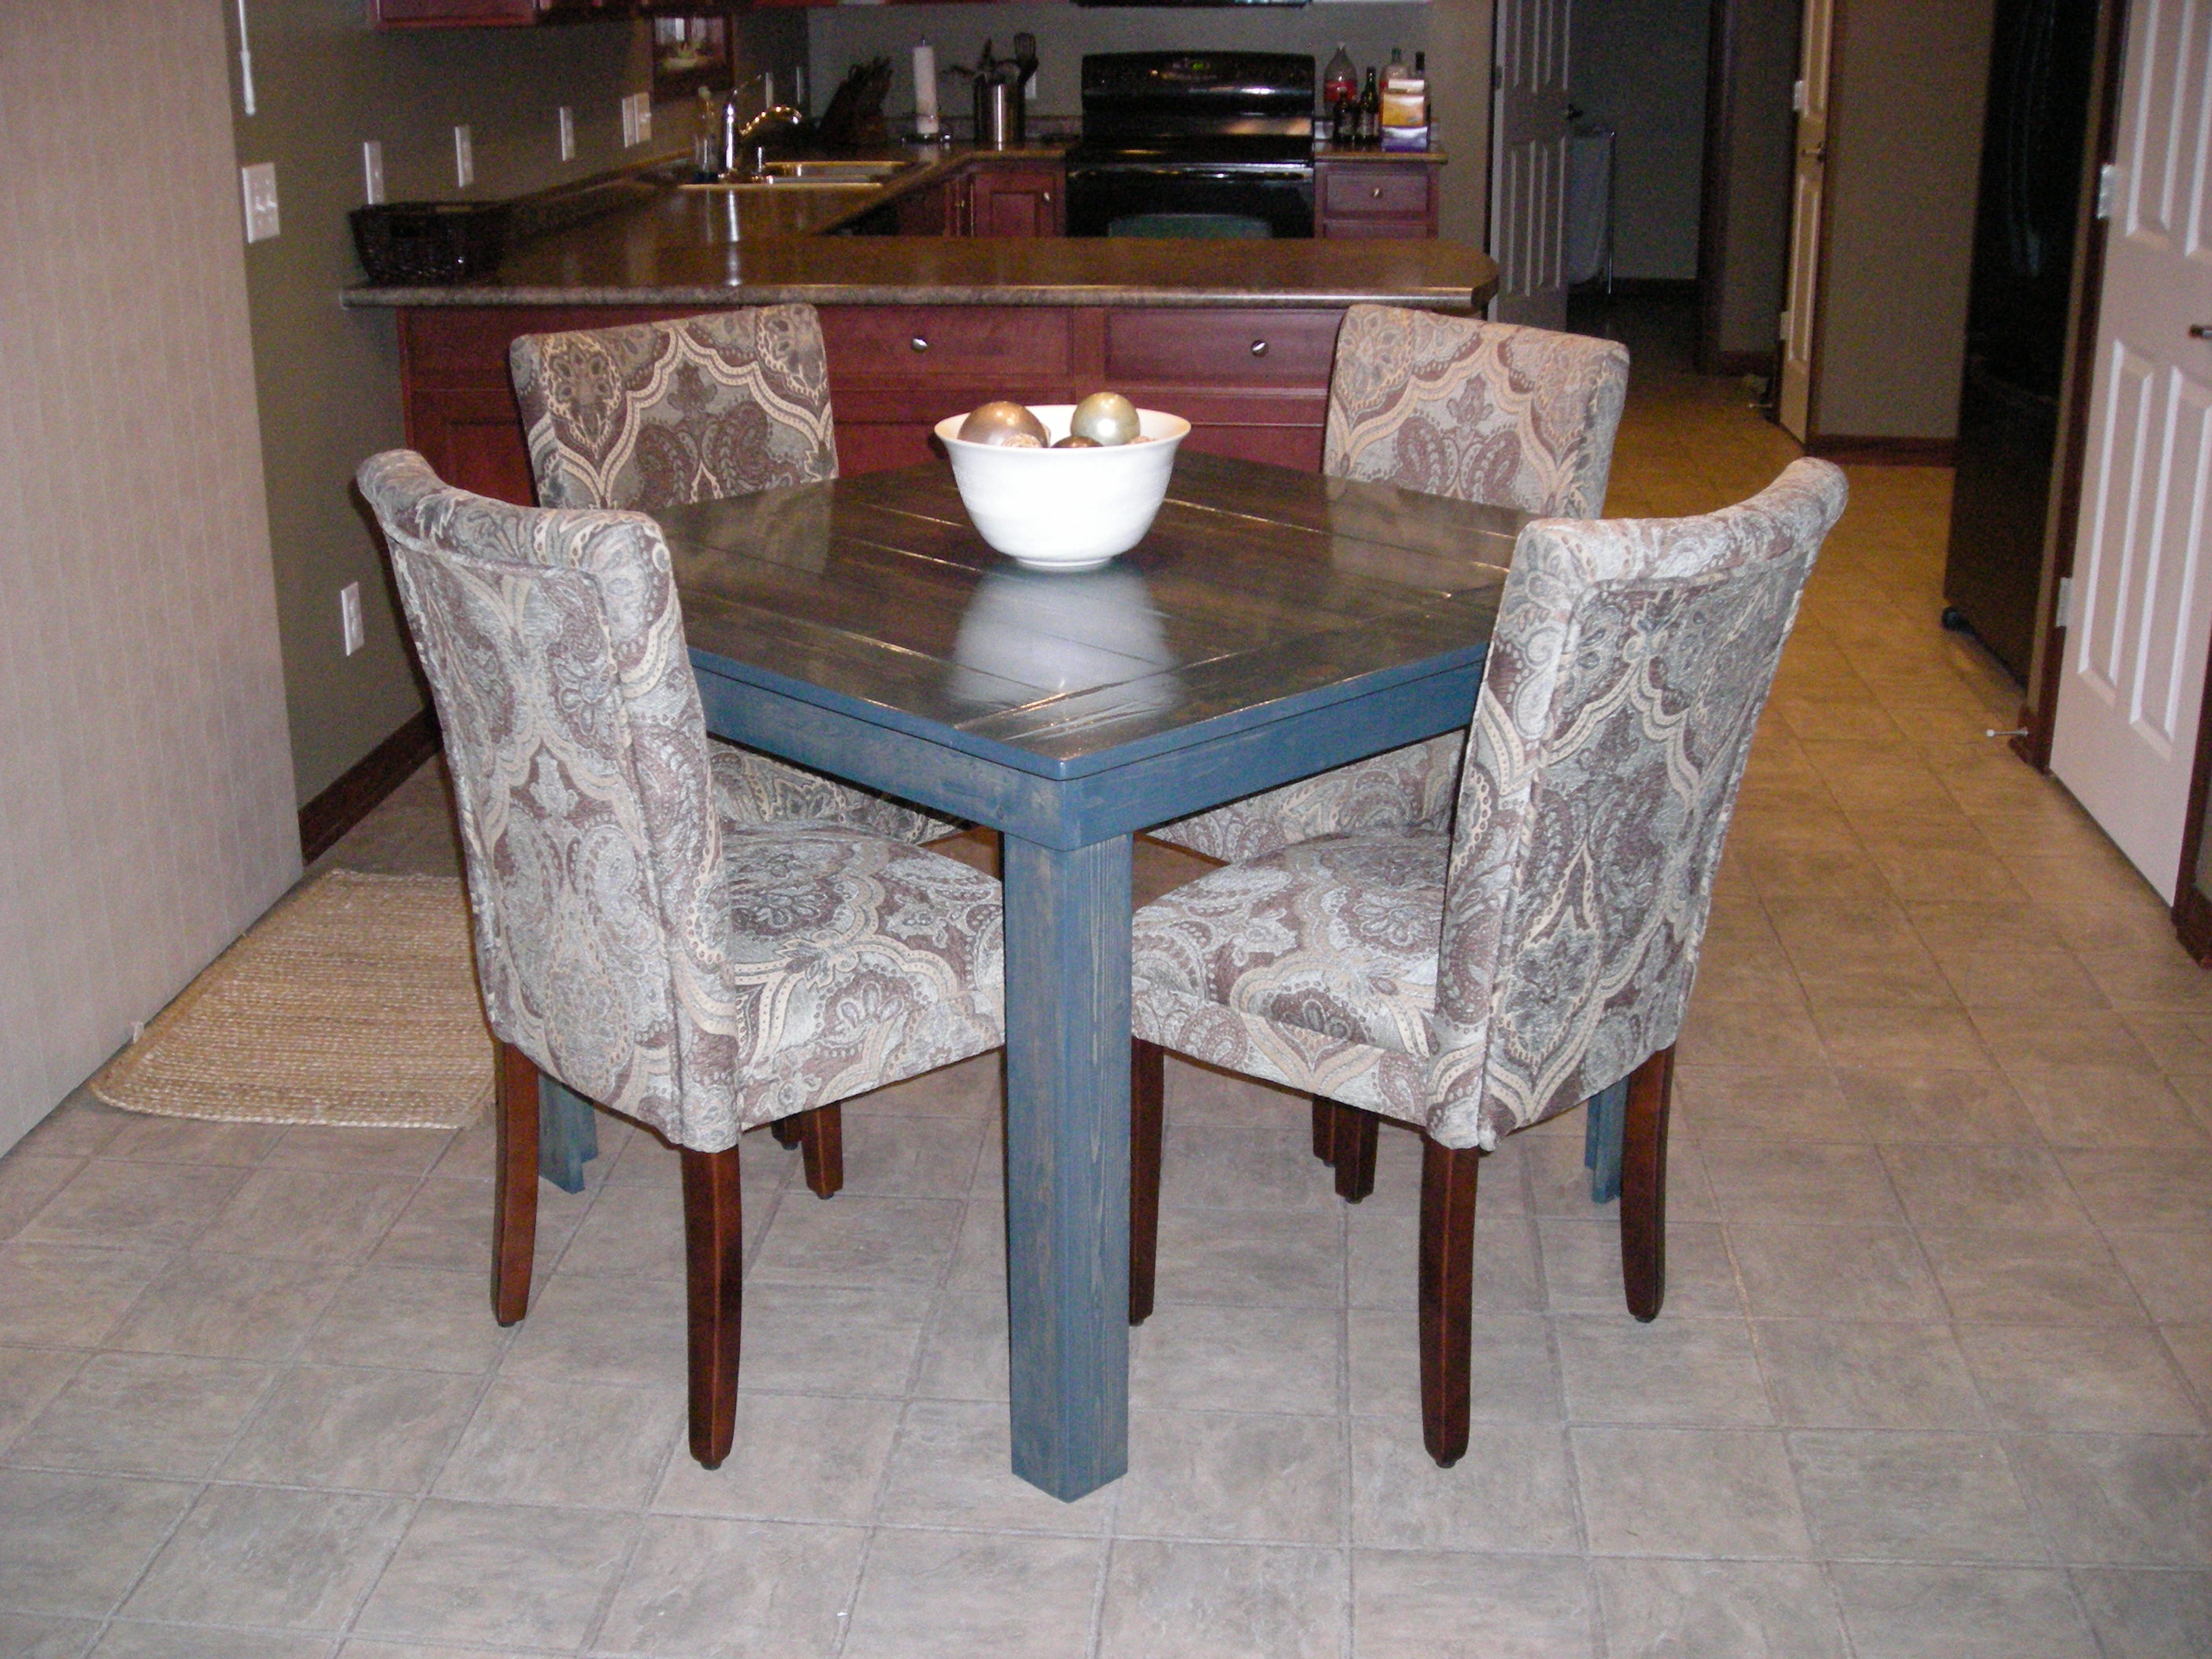
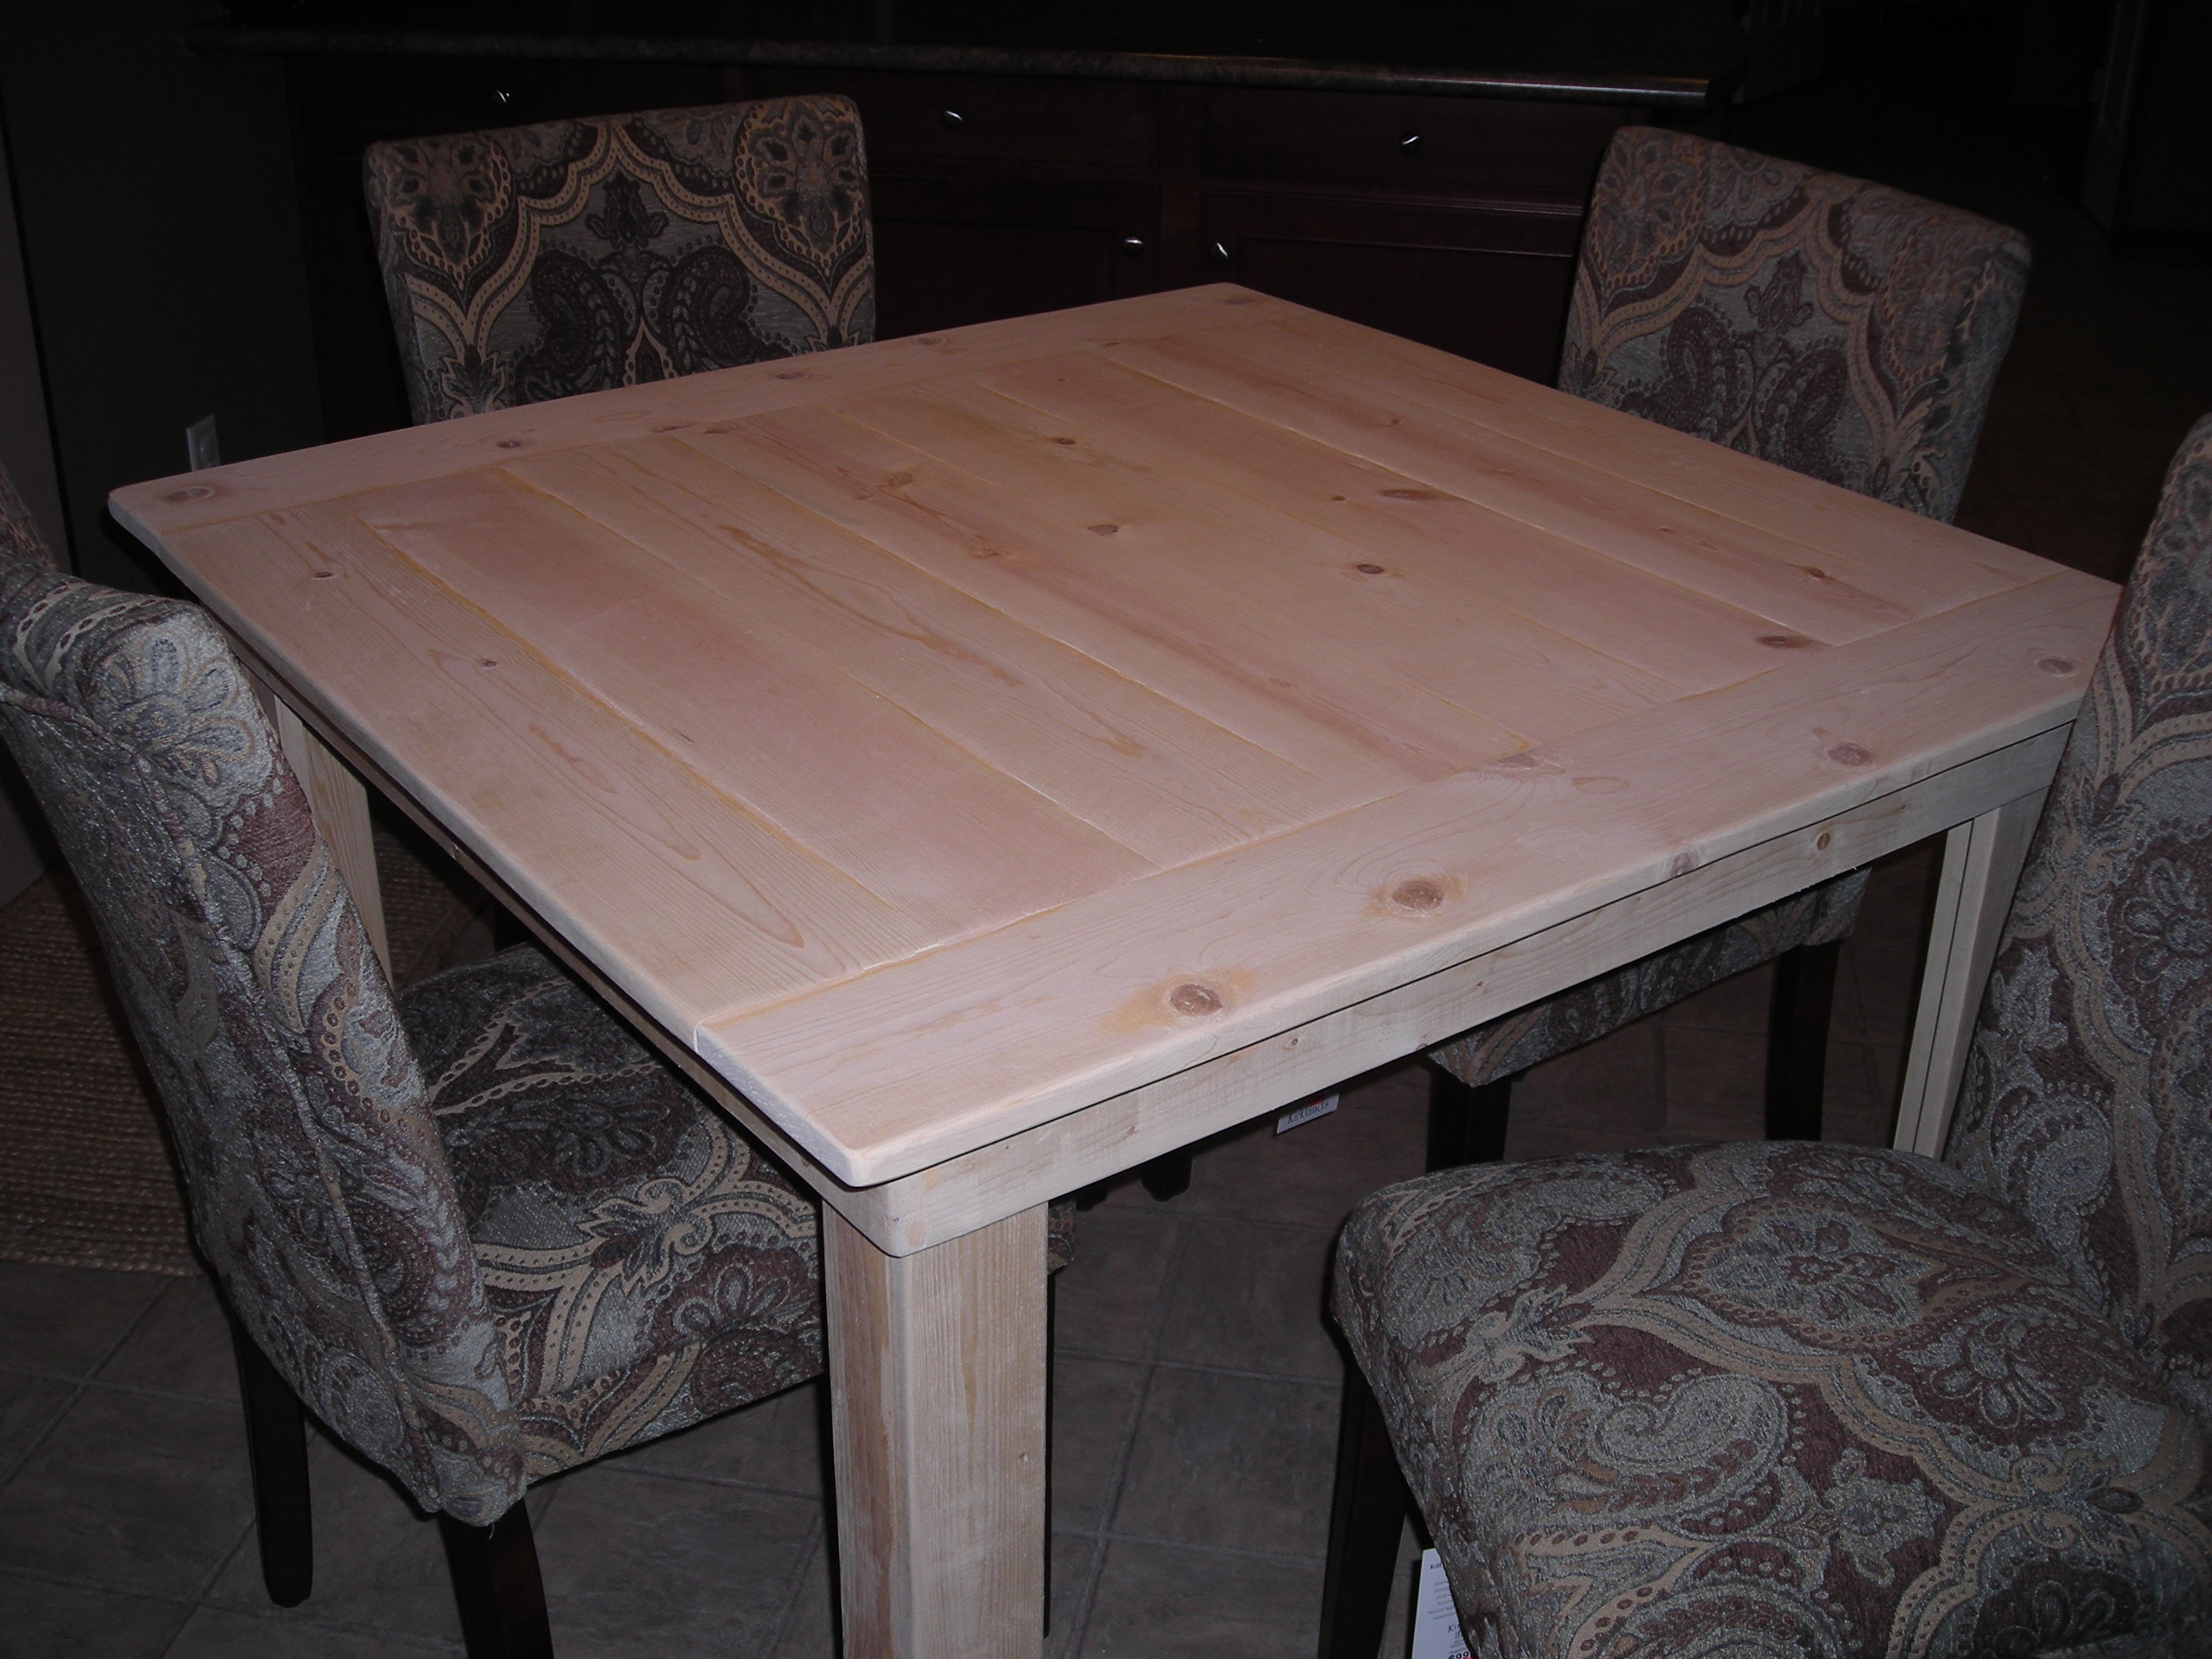
Kitchen Table
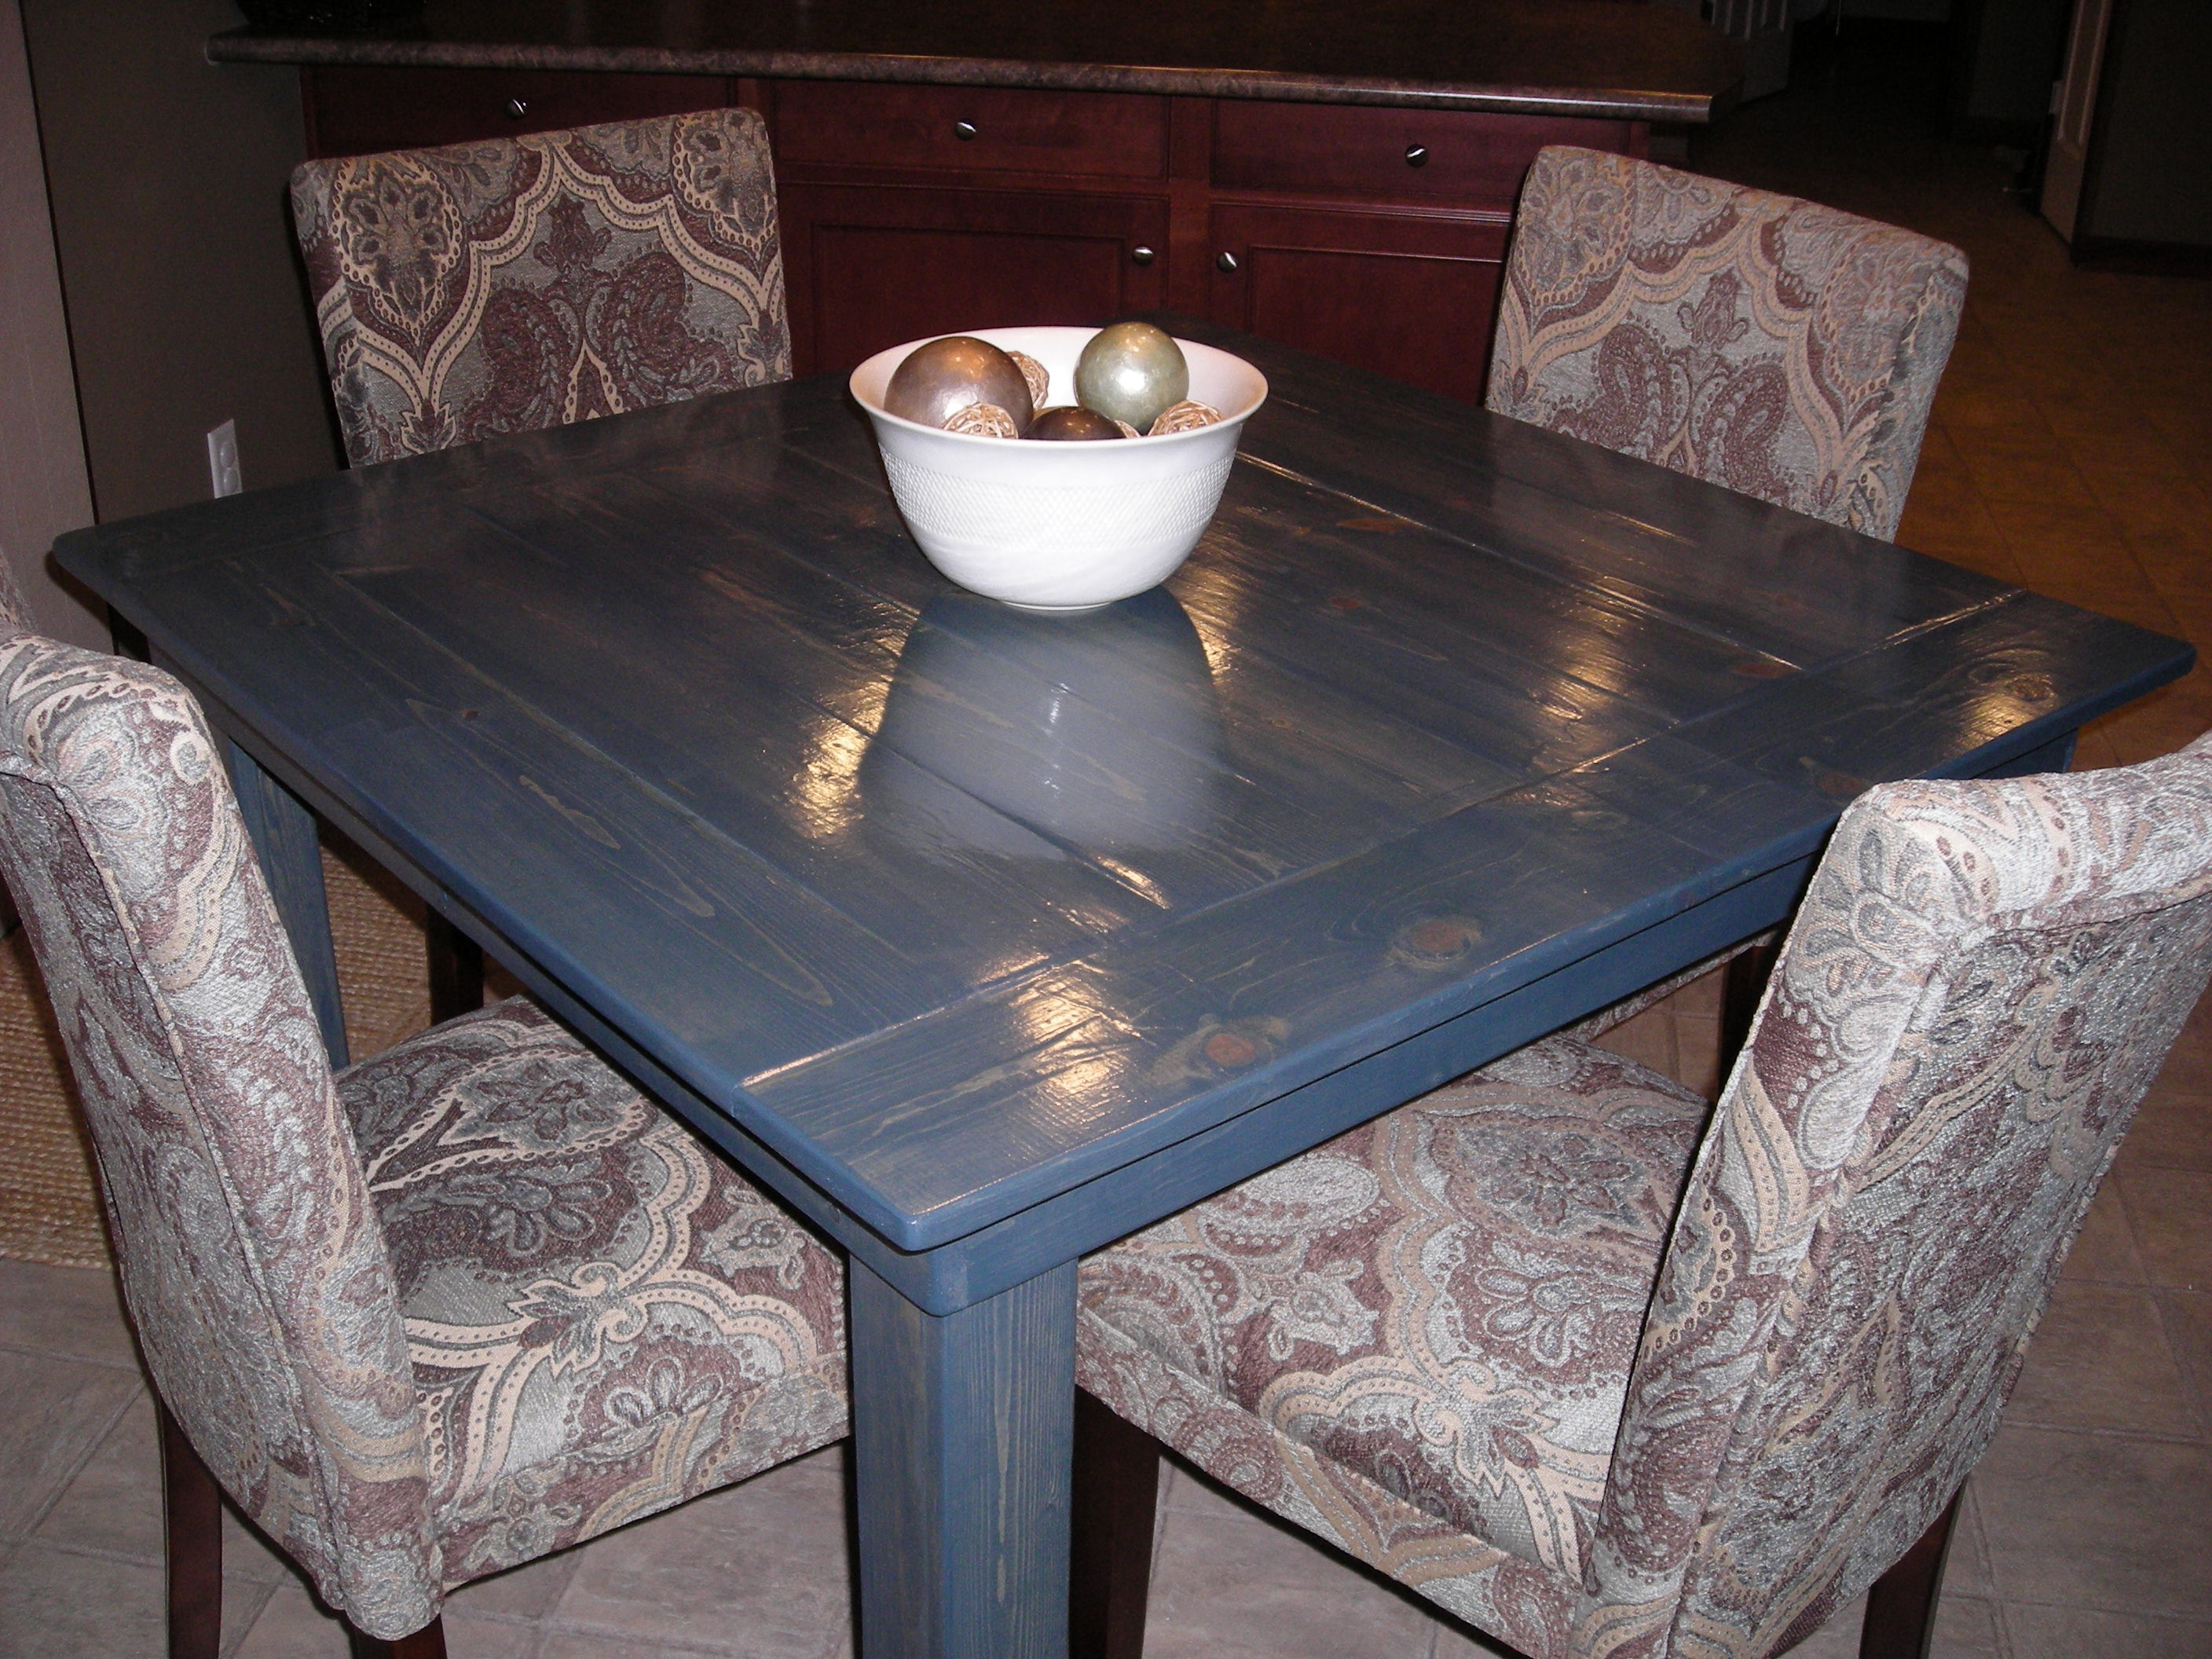
I couldn't find an exact plan for the kitchen table I wanted, so I used a combination of the farmhouse table and pub table to create the perfect table for my space. I liked the look of the 4x4 legs, but my local lumber store did not have a good selection of 4x4 boards. So I used a 1x4 and 1x3 kreg jigged together in an L shape to get the look of the 4x4 legs. The overall table dimensions ended up 44" square by 31" tall.

Built from Plan(s)
Estimated Cost
$100
Estimated Time Investment
Weekend Project (10-20 Hours)
Finish Used
Well, I asked for charcoal gray minwax stain. However, it turned out VERY blue, so I believe the paint machine must have made a mistake. I havent decided if I like the color, perhaps it will grow on me, if not, I'll be sanding it down and restaining it this spring. I used minwax satin polyurethane over the stain.
Recommended Skill Level
Intermediate
Comments
Mon, 04/16/2012 - 18:48
Great make, will you help
Great make, will you help with the dimensions and size of boards you used? What did use use for the top and aprons? 2x6? Any info would help. This would be a perfect fit for my place
Sun, 10/27/2013 - 01:02
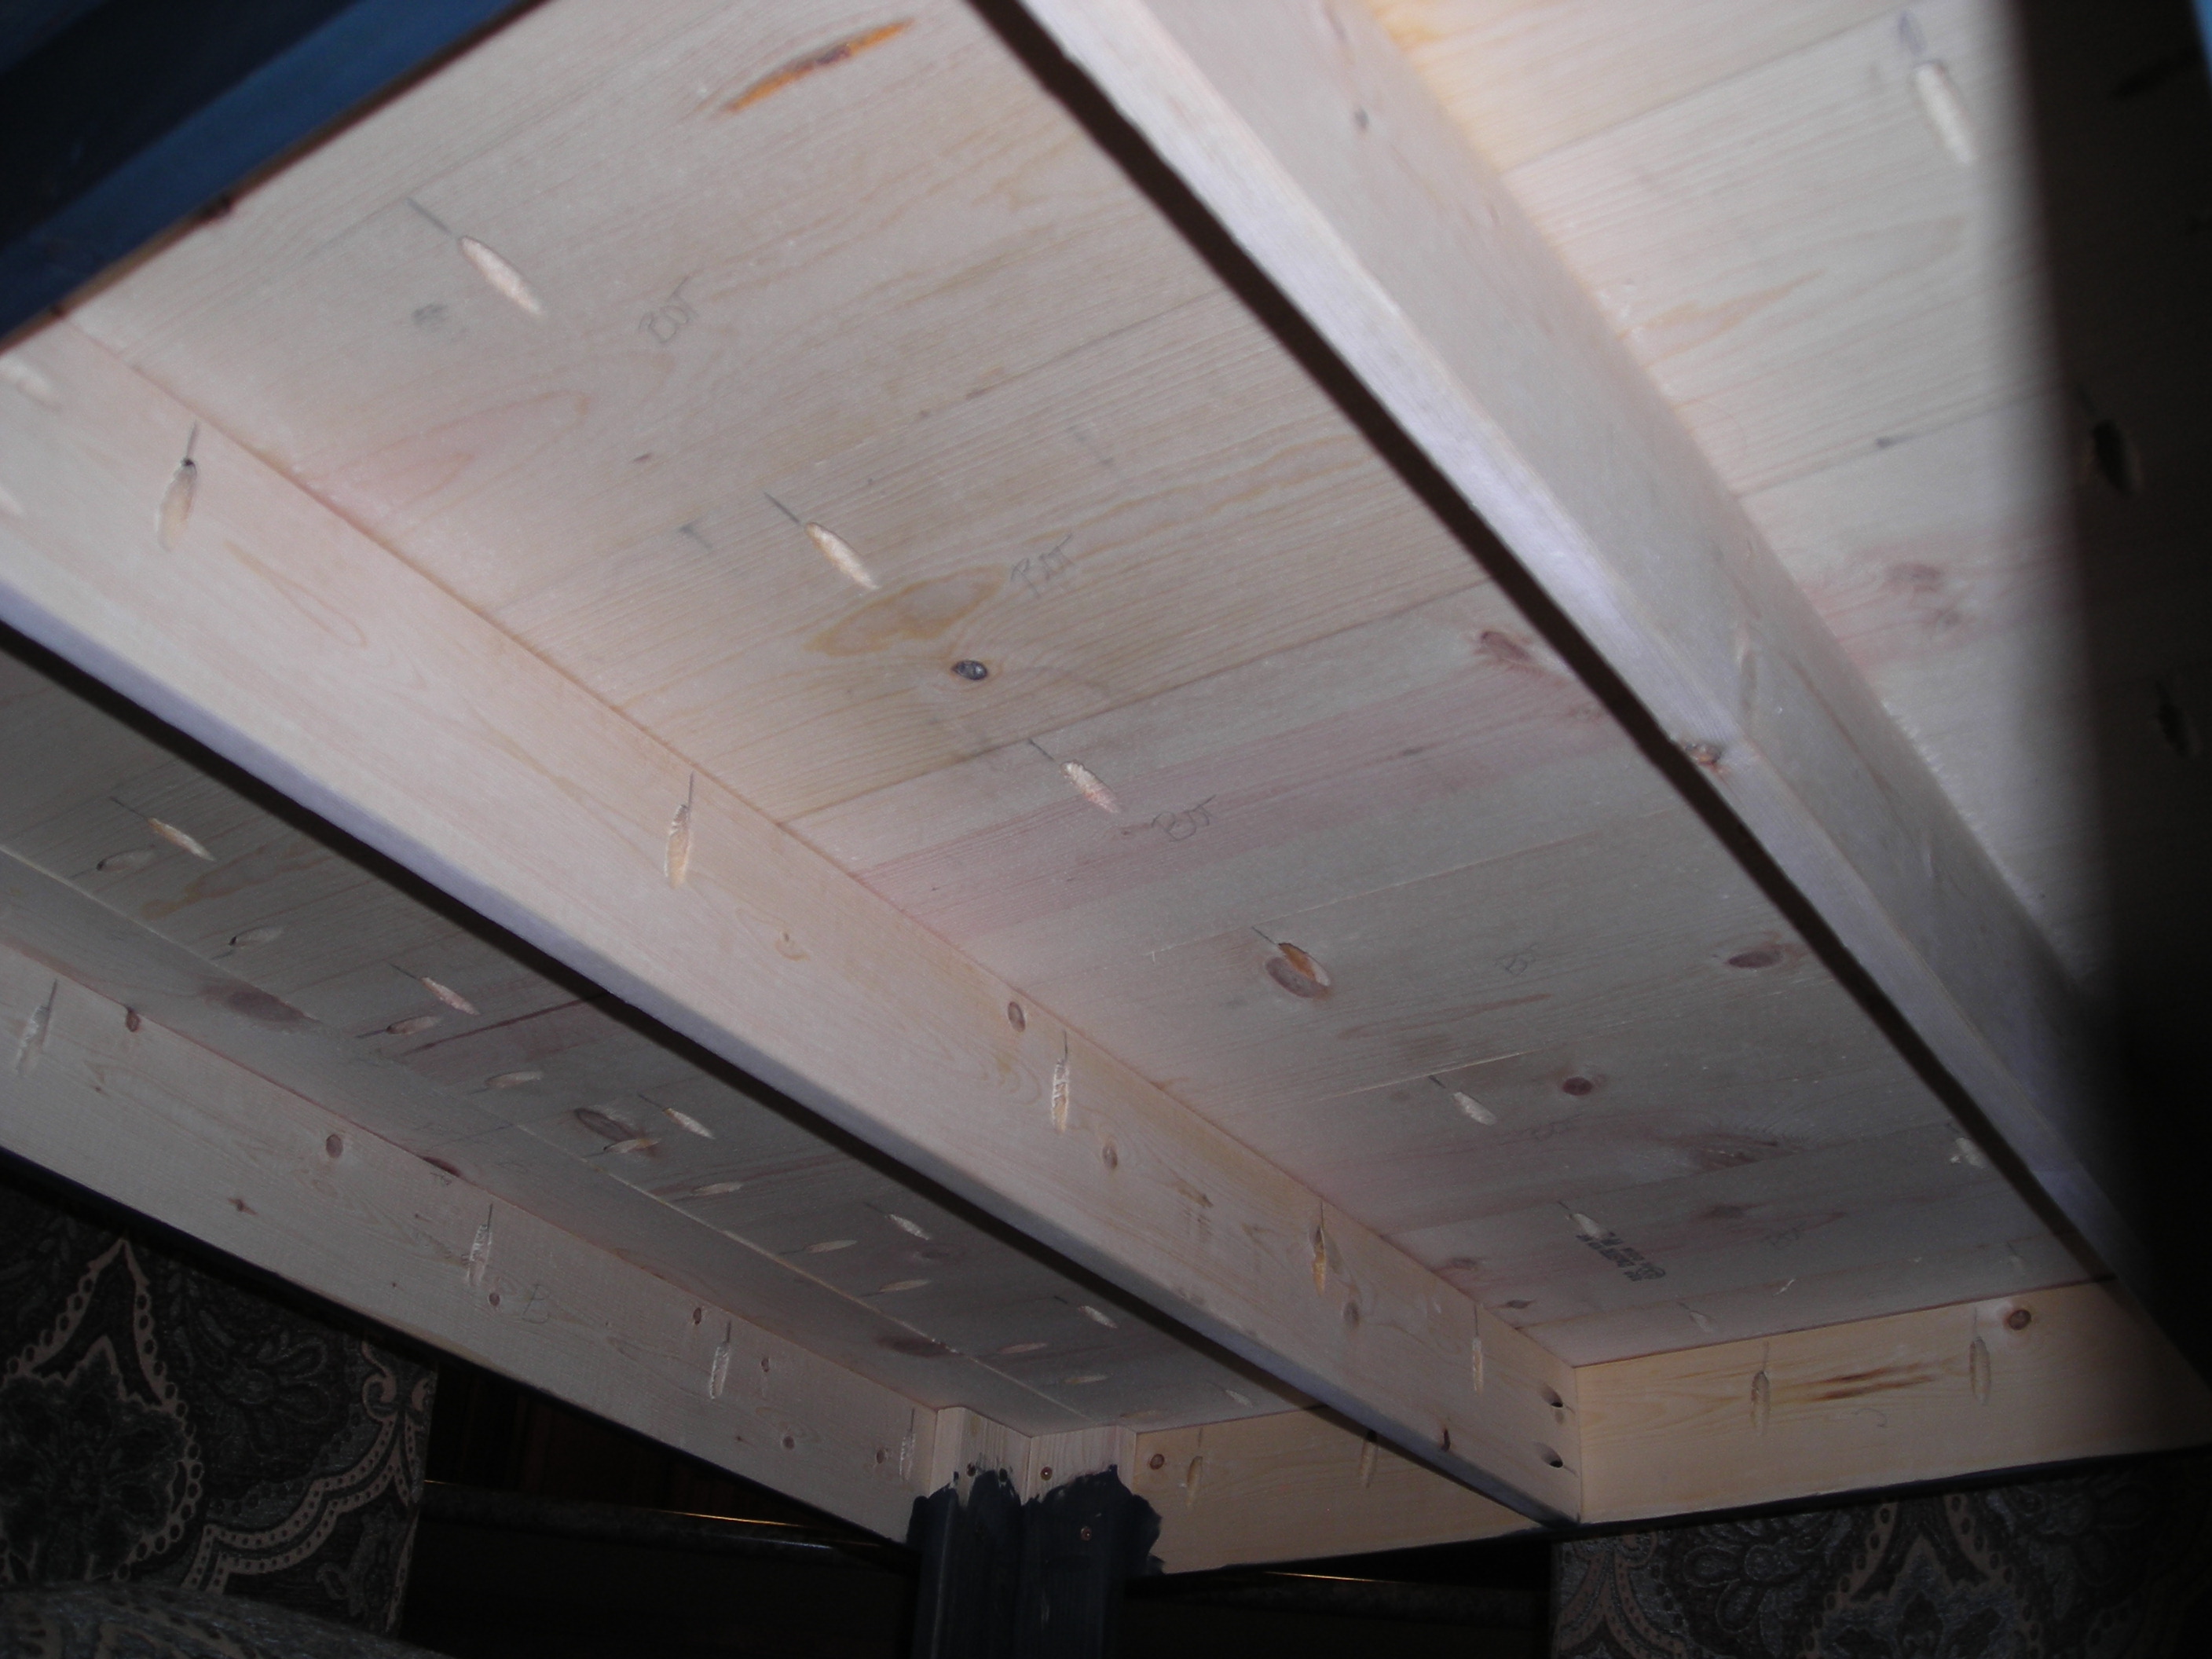
Drilling holes
Is it necesery to drill holes on angle and what does it help (picture 3, under the table) ? Thank you
Sun, 07/13/2014 - 05:43
Beautiful job!
Love the way the color of the table turned out and the size boards you used on top. Where did you find the matching chairs? This is the exact color scheme of my dining room remodel. Thanks!
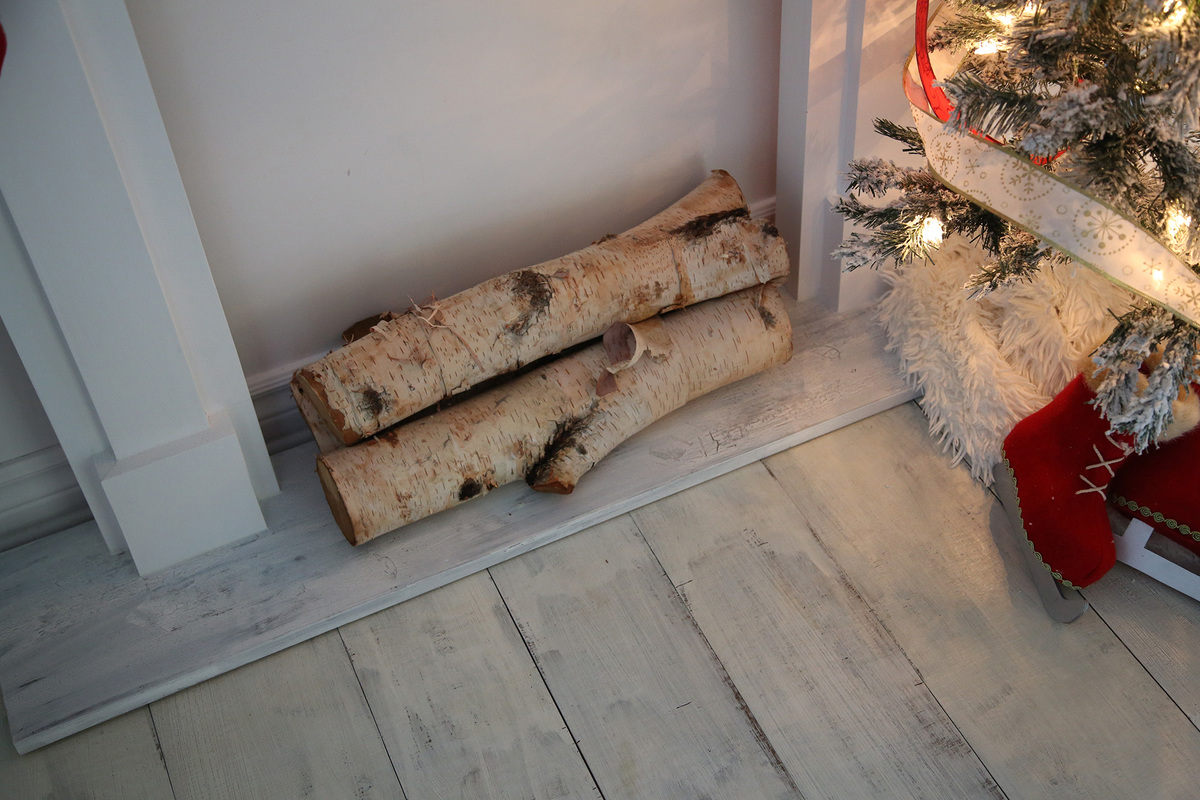
Faux Fireplace
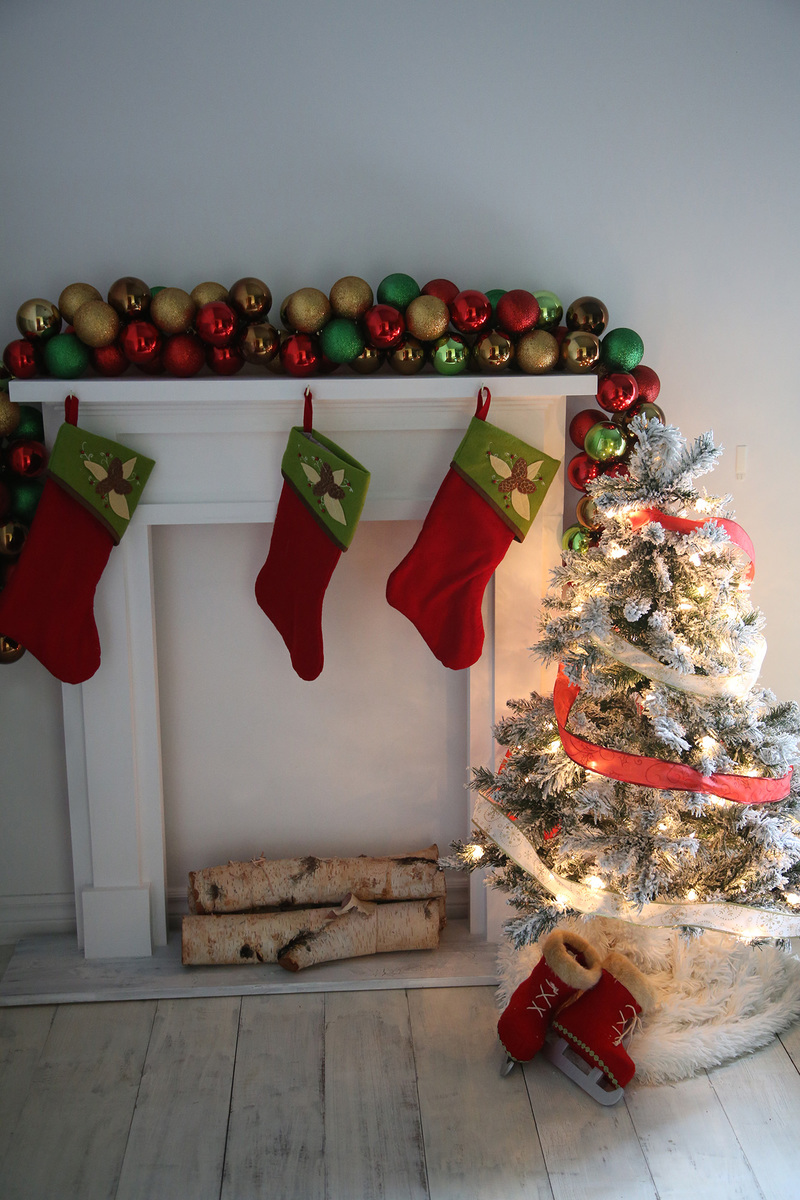
I tweaked the plans to fit the spot I had in mind- It's a little skinnier, but still super cute!
I eliminated some of the extra trim, but I don't think it suffers any for it.
It's super cute!

Built from Plan(s)
Estimated Cost
50
Estimated Time Investment
Day Project (6-9 Hours)
Finish Used
I sealed the knots with kilz primer and then used a paint and primer in one that I had laying around for the white.
Recommended Skill Level
Beginner
Comments


Thu, 11/14/2013 - 09:50
The "fireplace" looks really
The "fireplace" looks really good! And I'm glad to hear how you did your floor. I've been trying to convince my hubby to do a 1/4" plywood floor in our trailer as a temporary fix until we can either afford to put down "real" flooring or build the house we have been intending to build on this piece of property for the past 17 years. I've pointed out that we can replace the almost 30 year old, worn-out vinyl and carpet in the living room, kitchen and main hallway for less than $300 including paint/stain and polyurethane. But he thinks it will look tacky. I'm going to show him your picture so he can see for himself that it can look pretty doggone good!
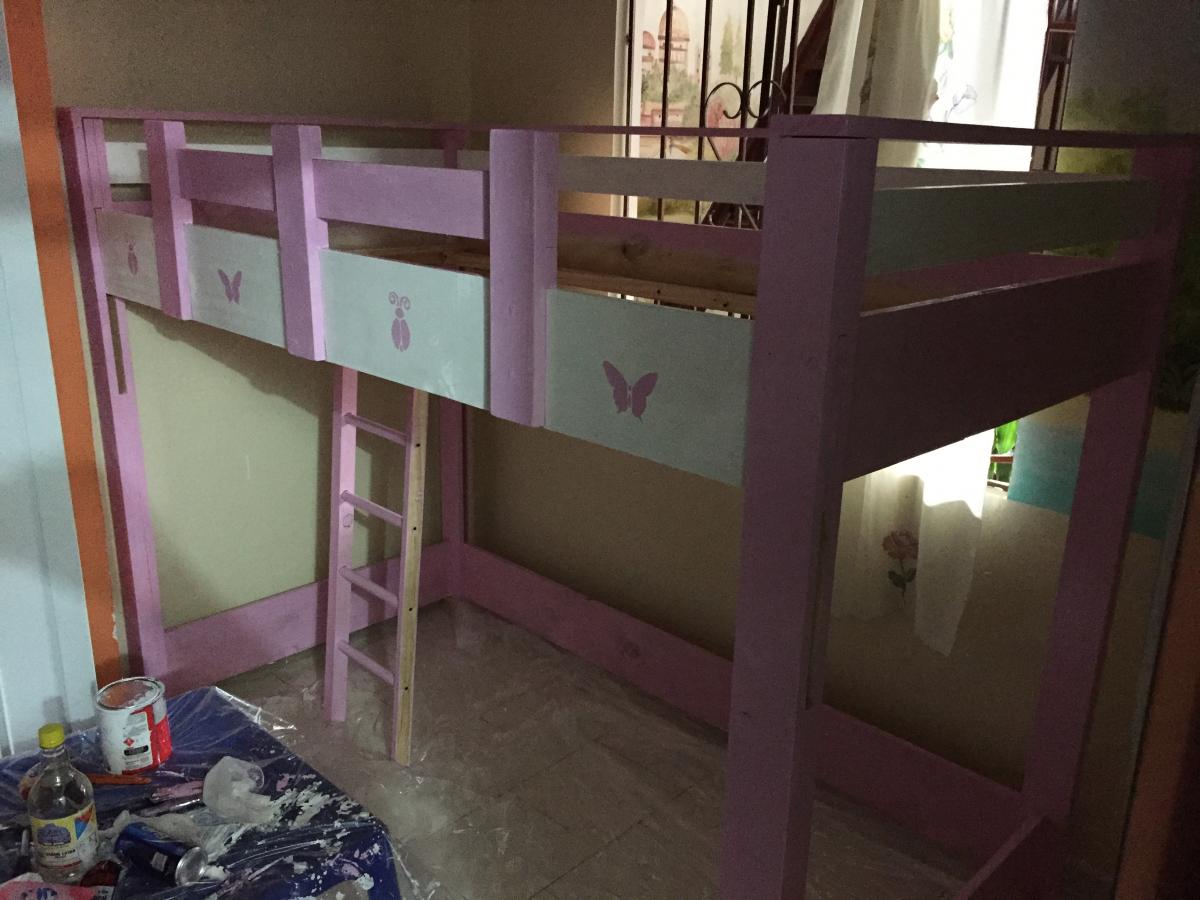
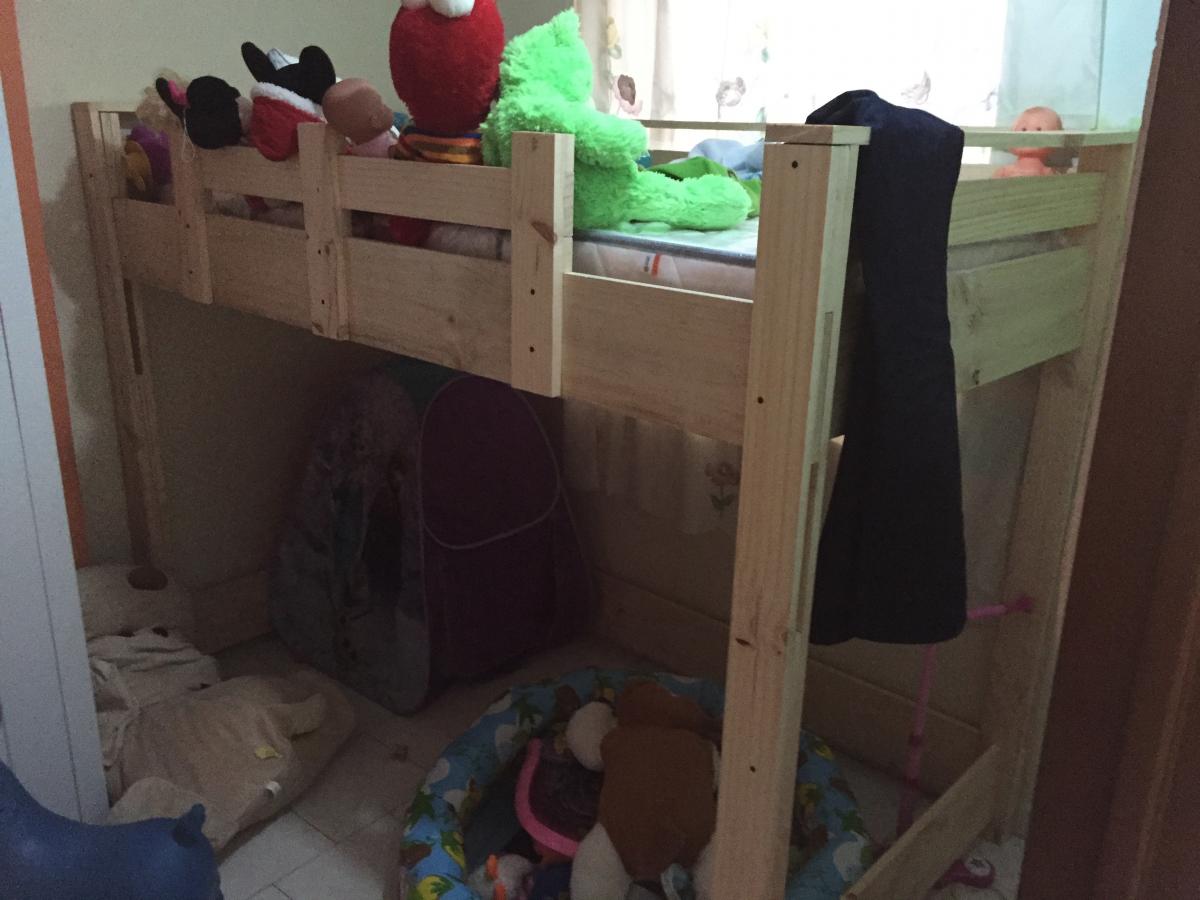
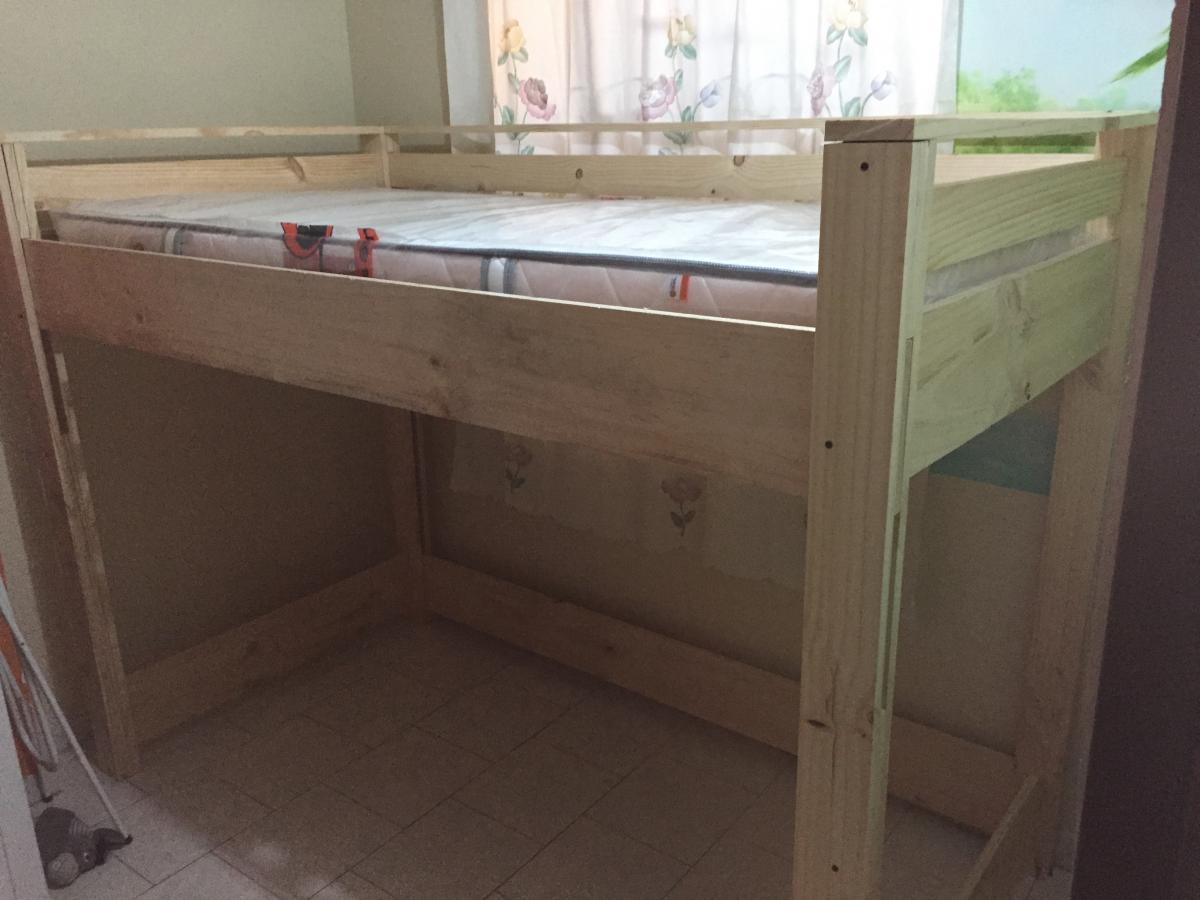
Loft Bed
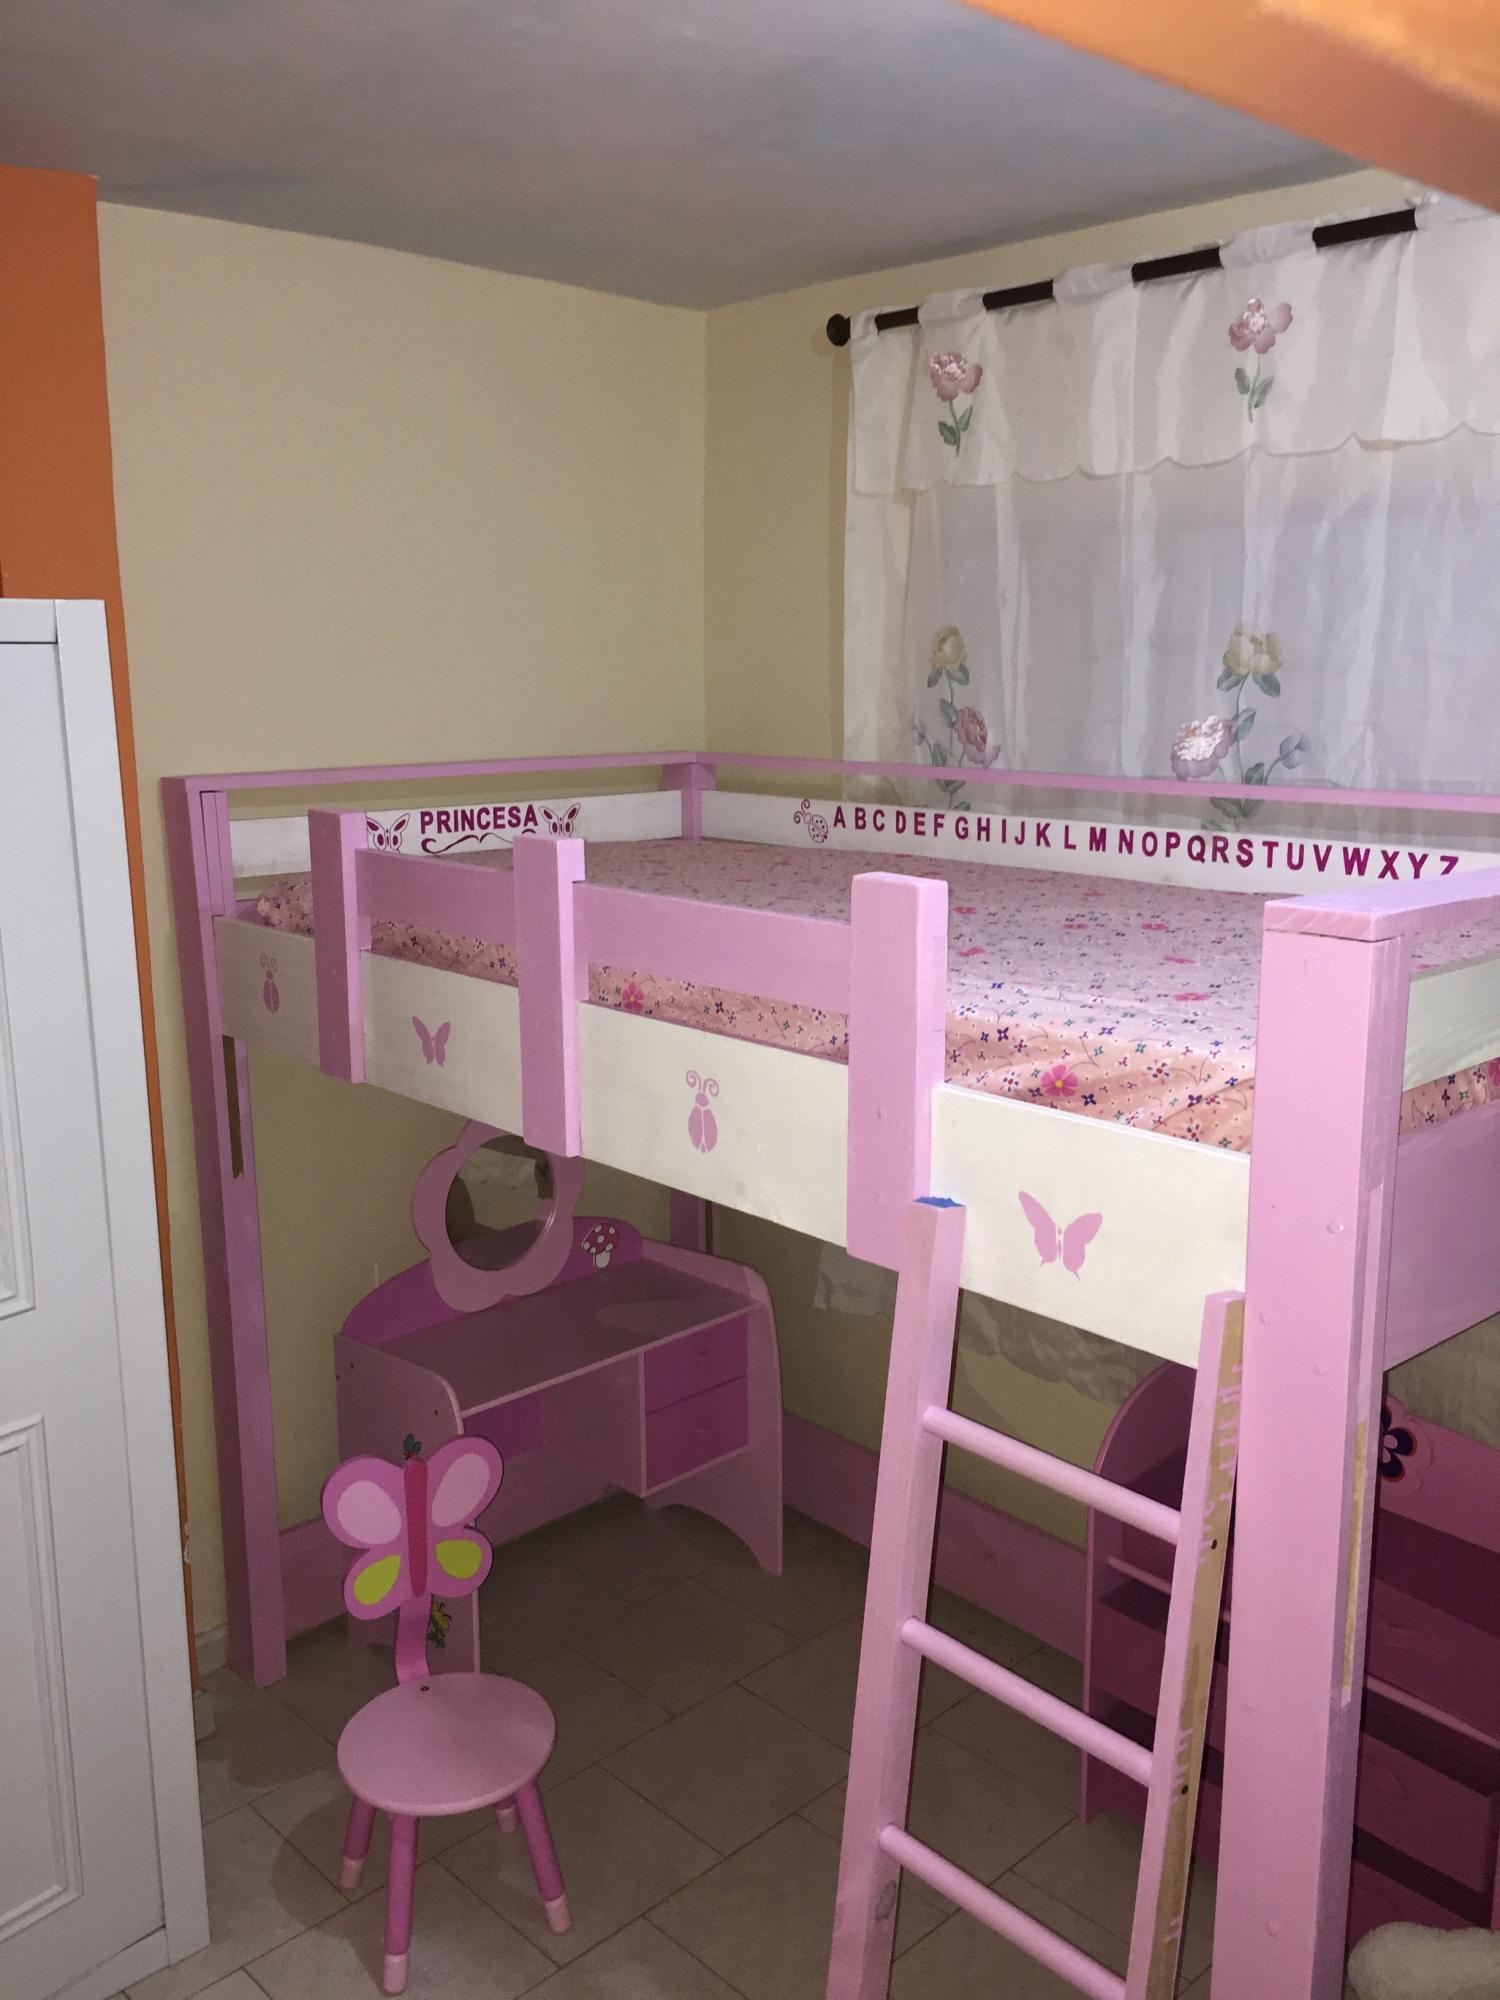
This is the first bed I built for my daughter when she was about 3 years old and we were living in Colombia. I was able to get the people at the hardware store to cut most of the wood for me which helped since we were in a very small apartment and I put everything together was a $40 starter drill kit. In the end it came out great and she was very happy with it. When we moved back to the US and I had access to more tools and workspace I built her a Little Cottage Bed which was a much harder build but worth it.
Built from Plan(s)
Estimated Cost
$150
Estimated Time Investment
Weekend Project (10-20 Hours)
Recommended Skill Level
Beginner
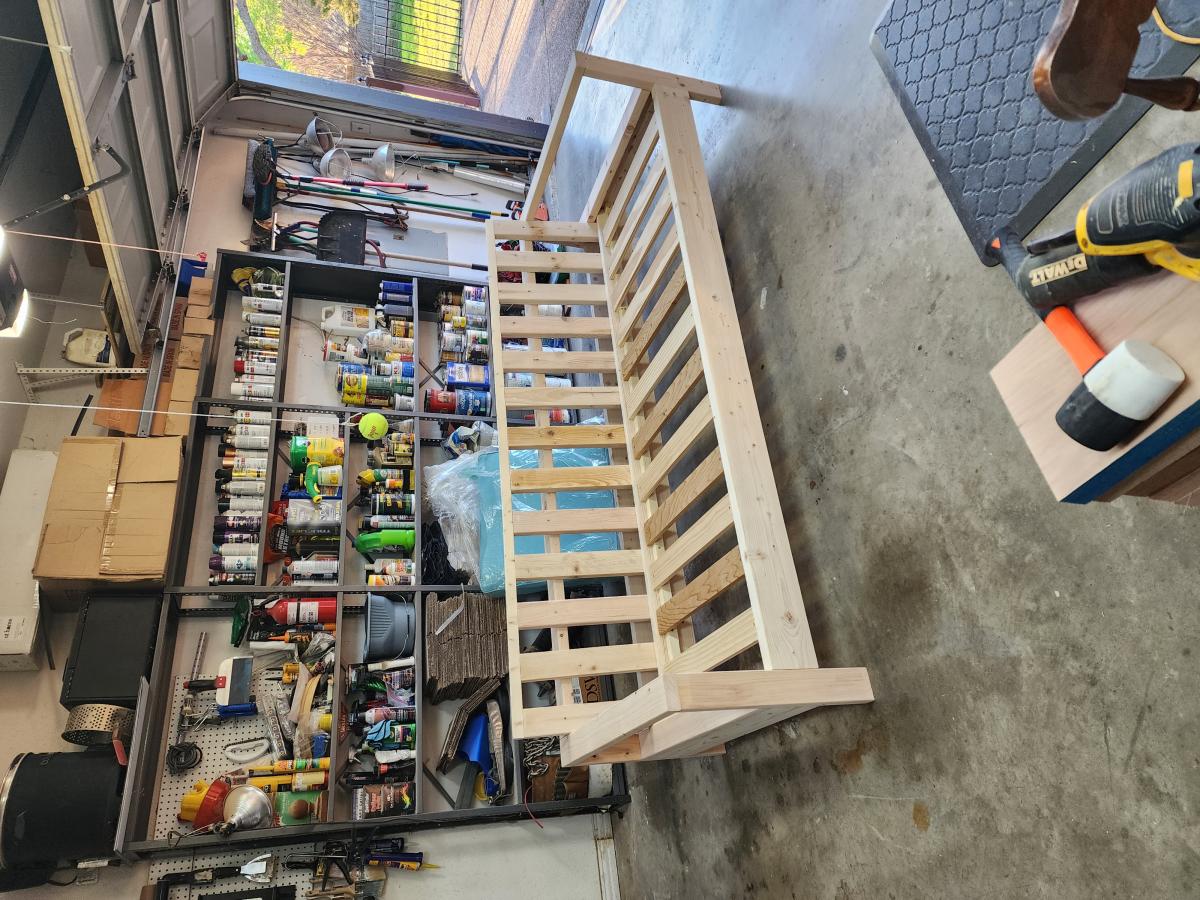
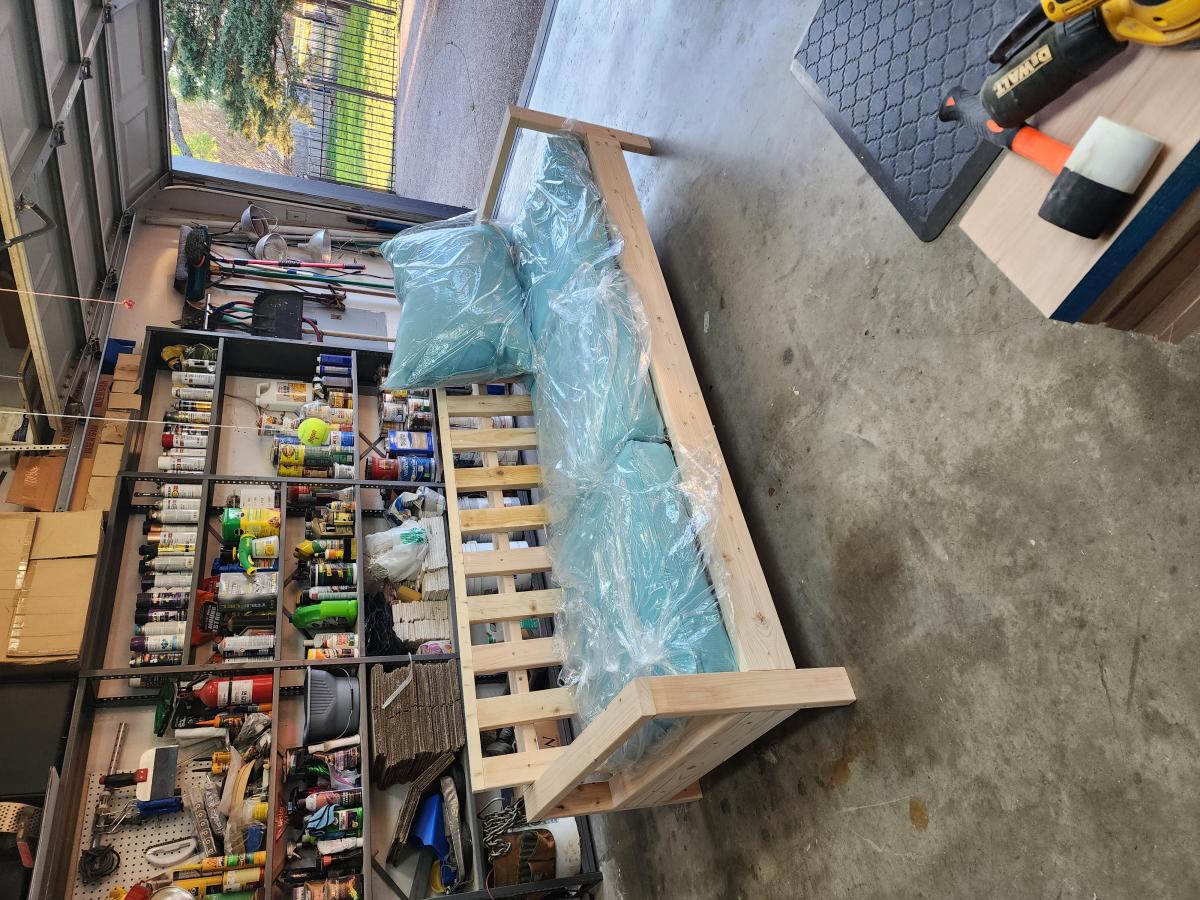
Outdoor Sofa plus ottoman came out GREAT!!
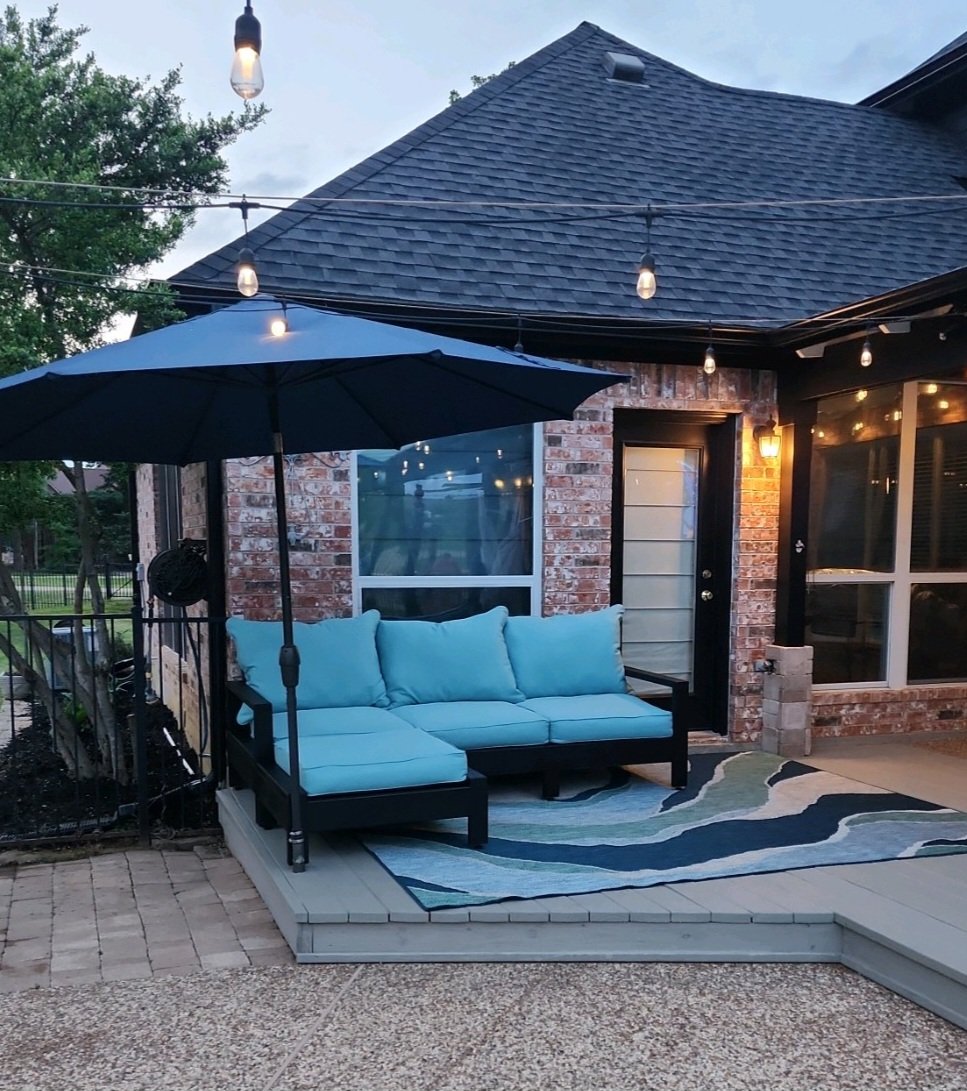
Inspired by outdoor sofa plan I saw on the Ana White website... wanted to customize by using larger cushions (29" wide) adjusted the plans for wider cushions and more relaxed sitting posture so pushed the back support angle further back by 4 inches. Added legs since we were wider. My wife is super pleased and build came out really nice. Thanks Ana for the inspiration!!

Built from Plan(s)
Comments
Ana White Admin
Sat, 03/18/2023 - 09:11
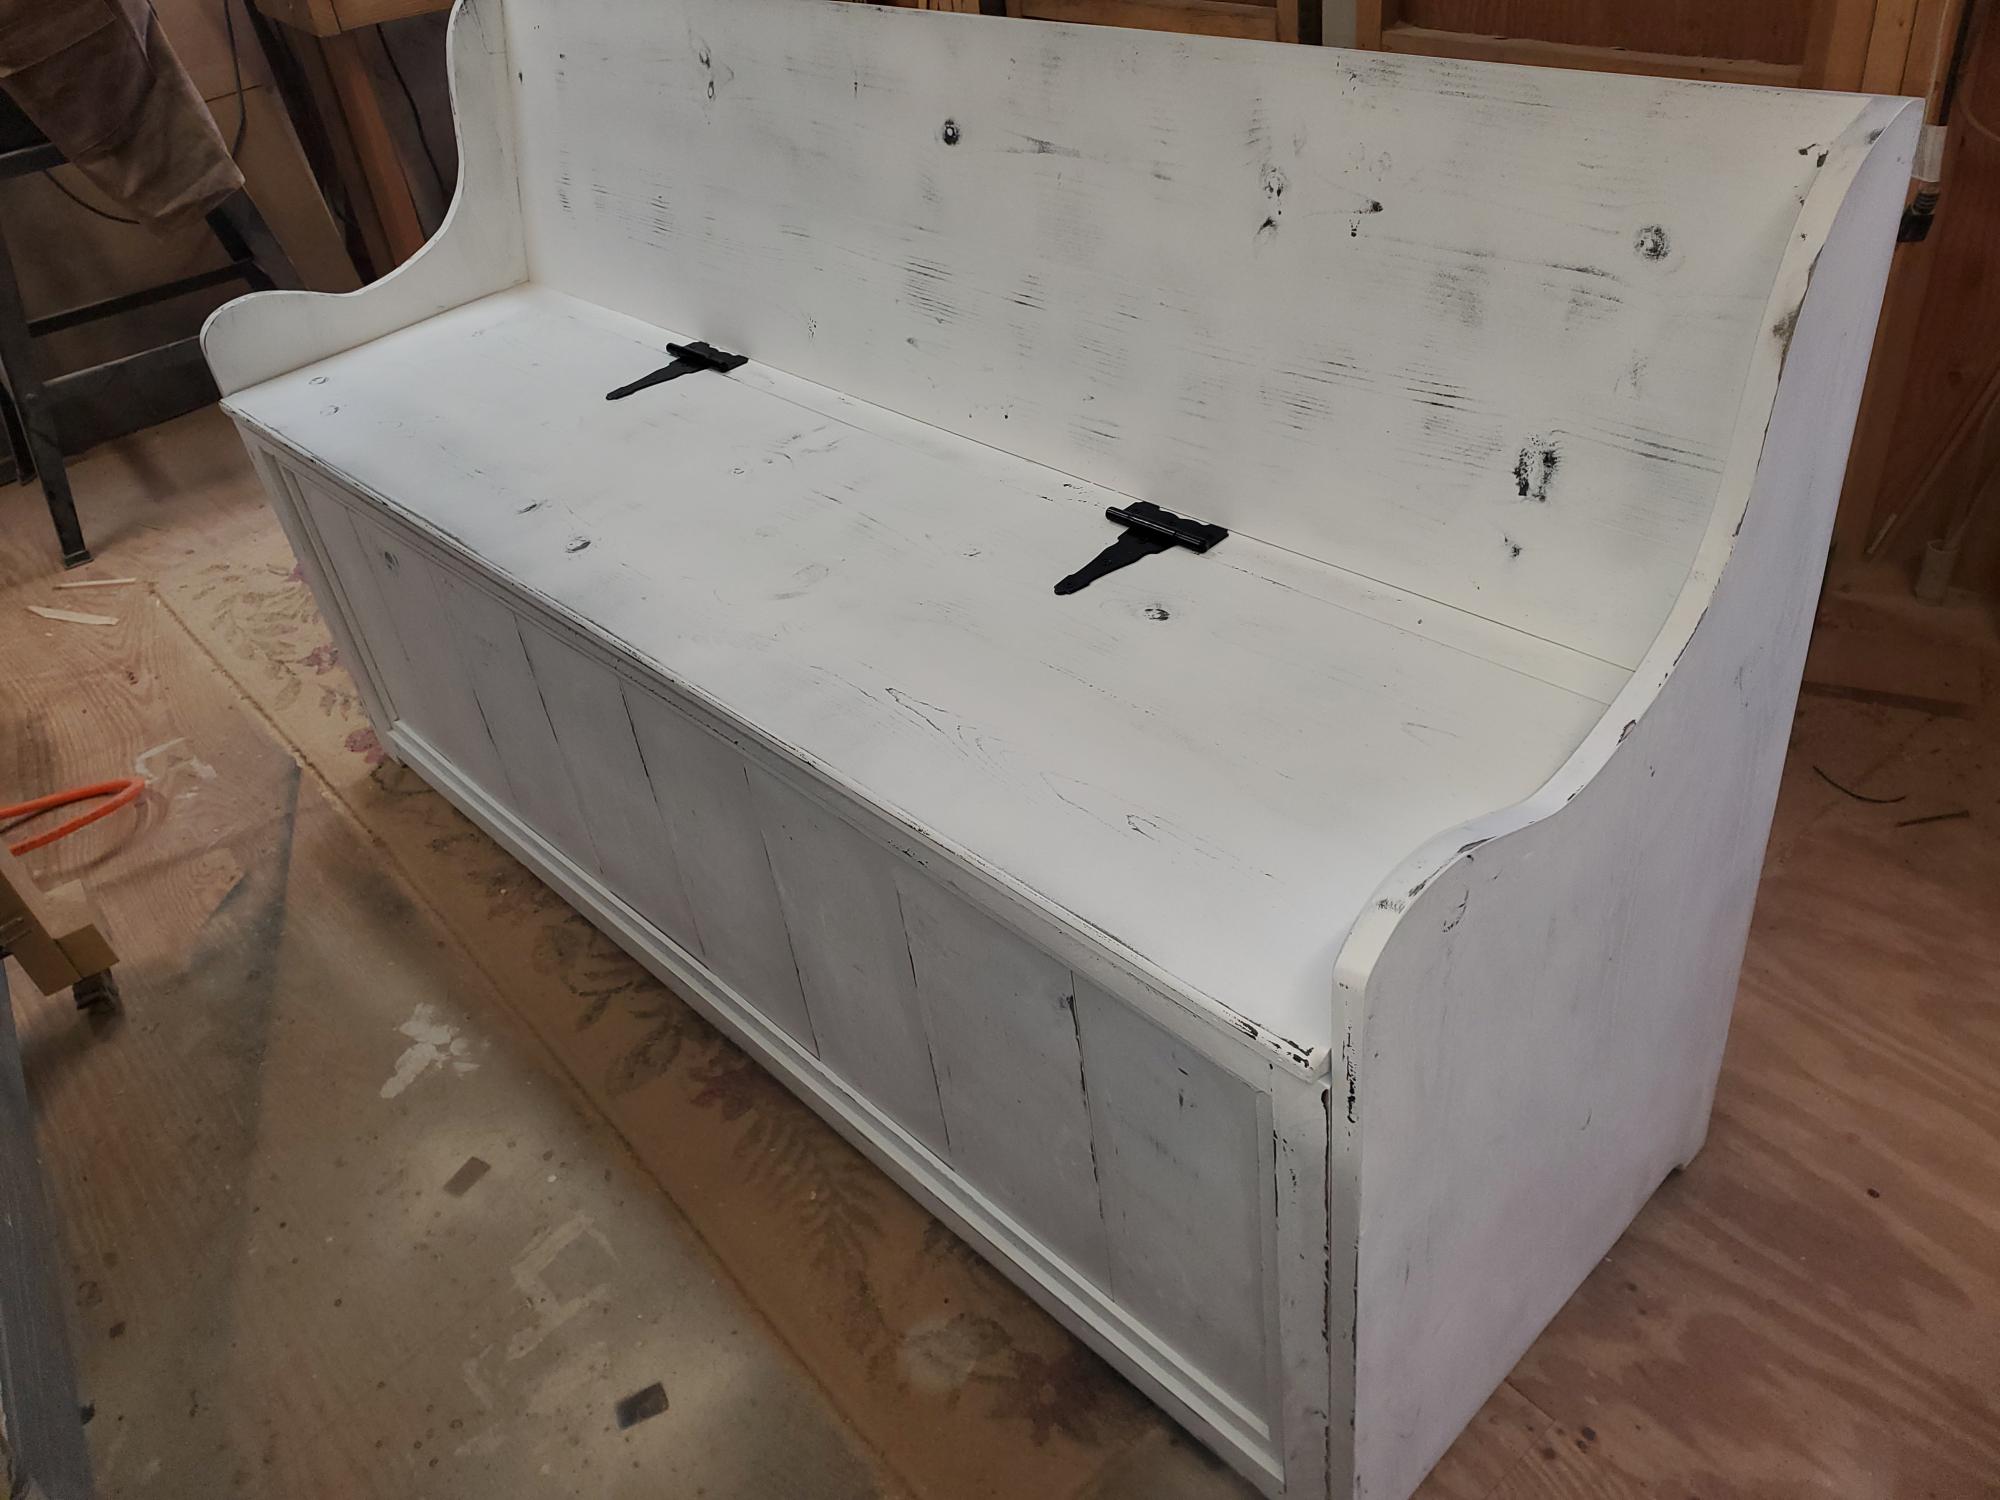
Super storagw bench!
This looks amazing, thank you for sharing!