Community Brag Posts

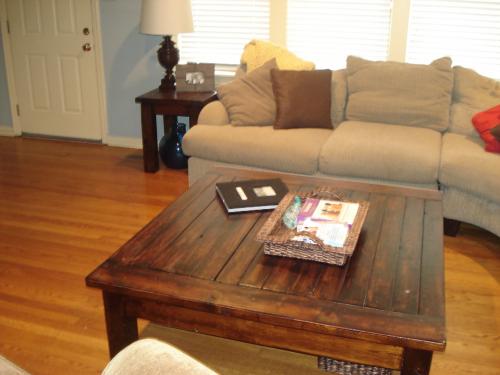
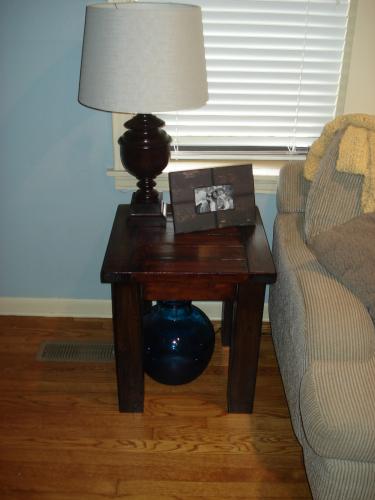
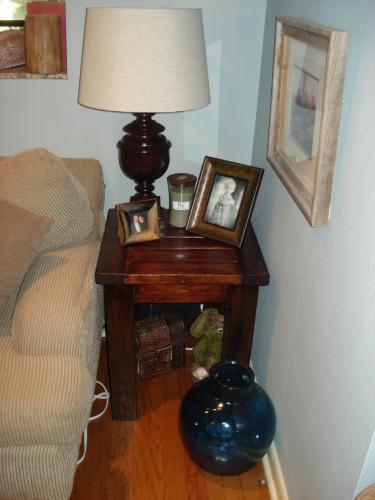
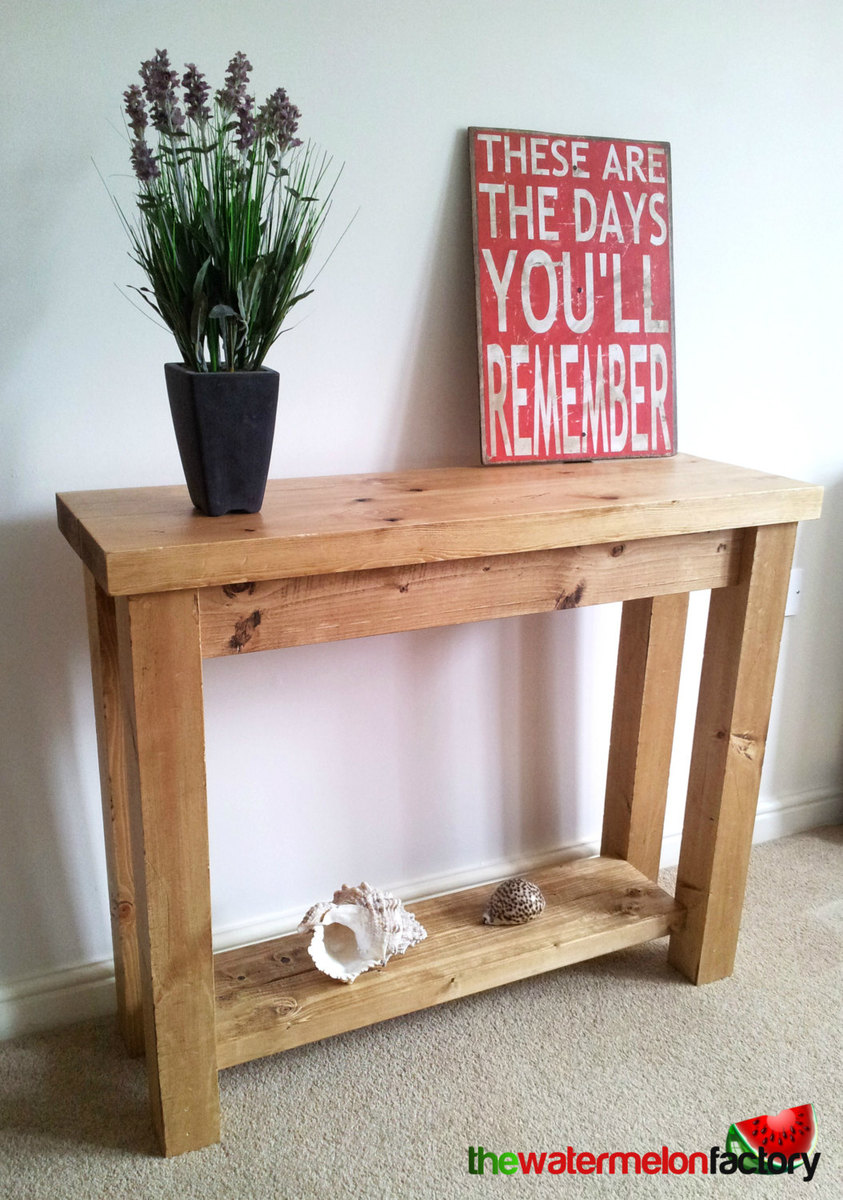
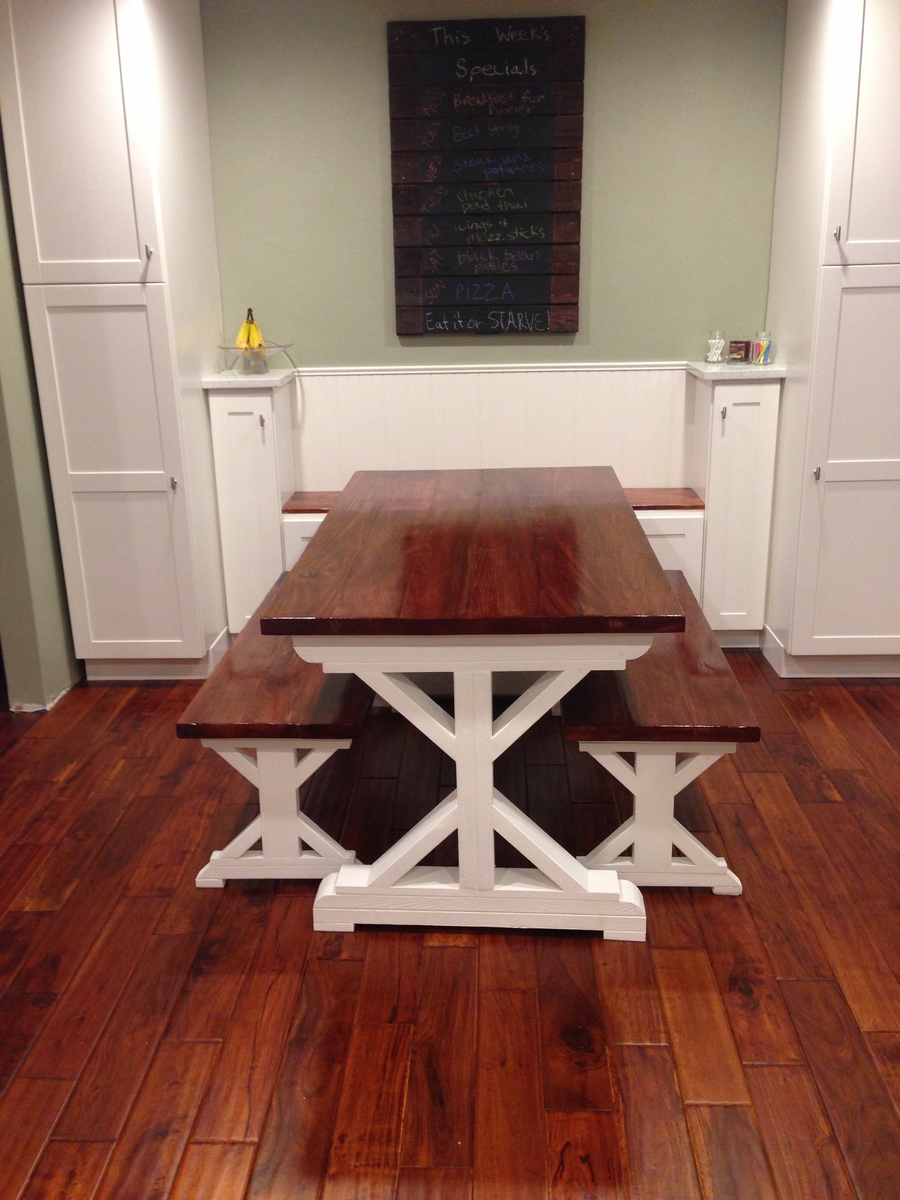
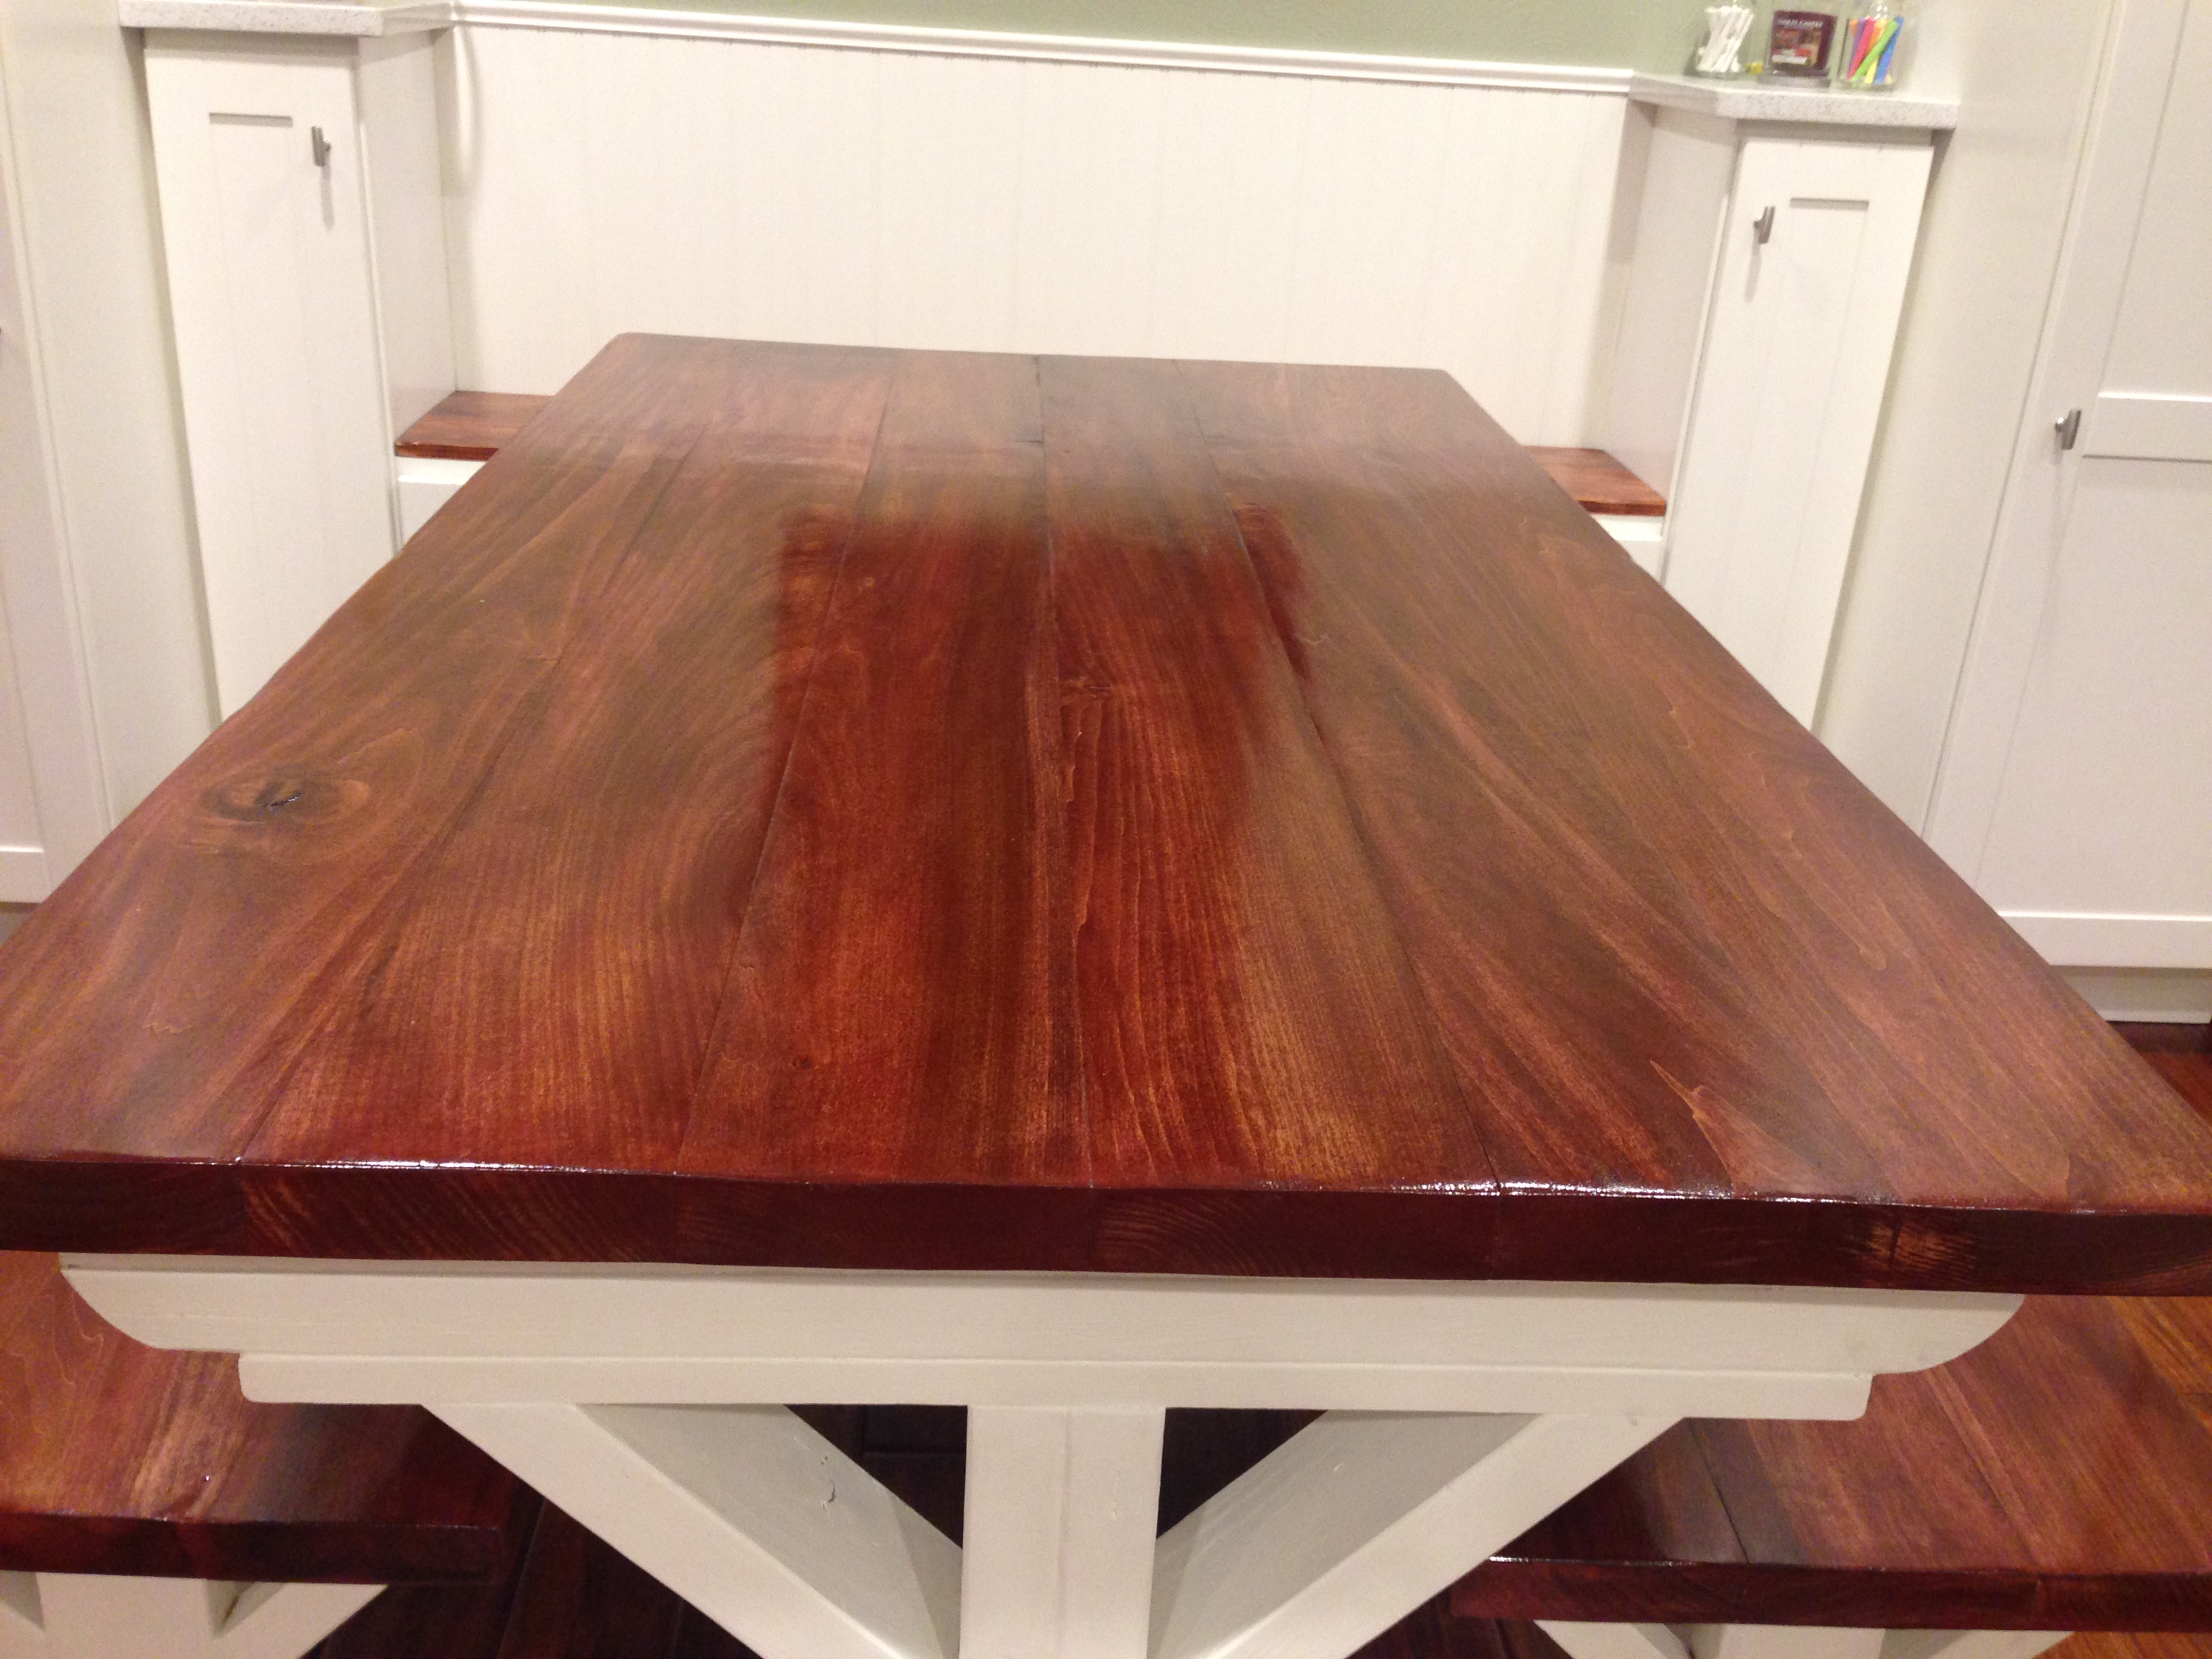
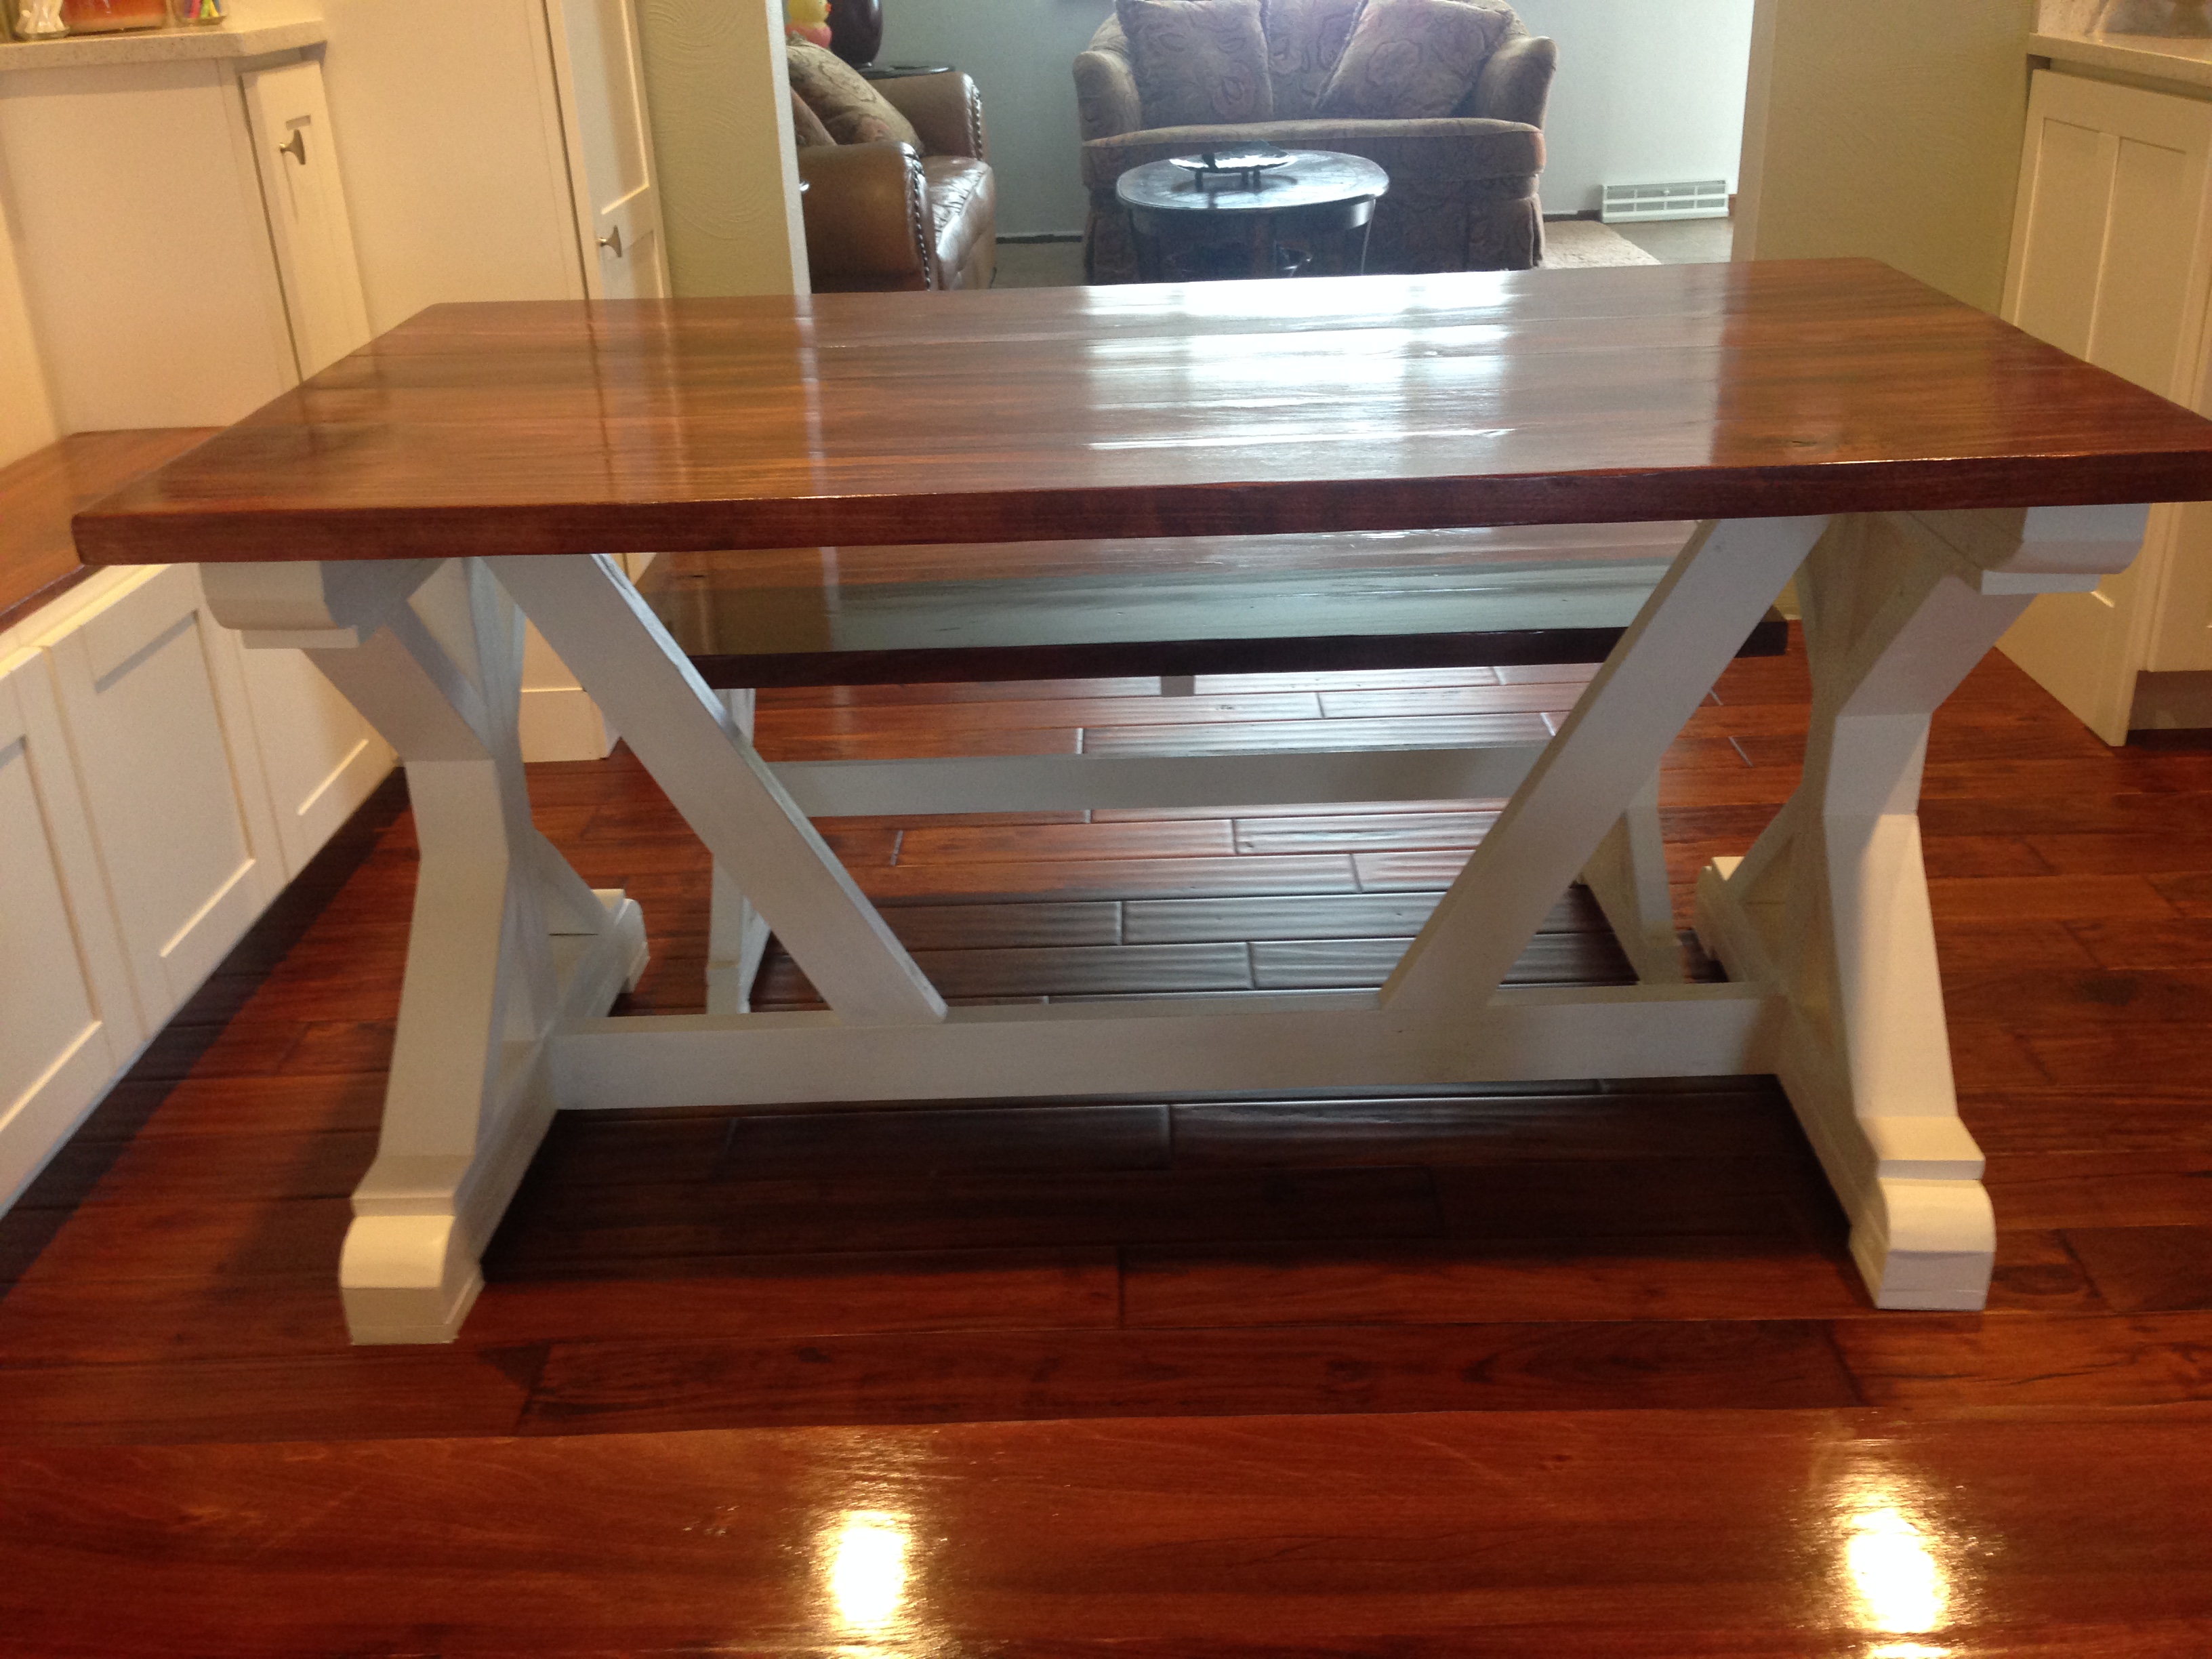
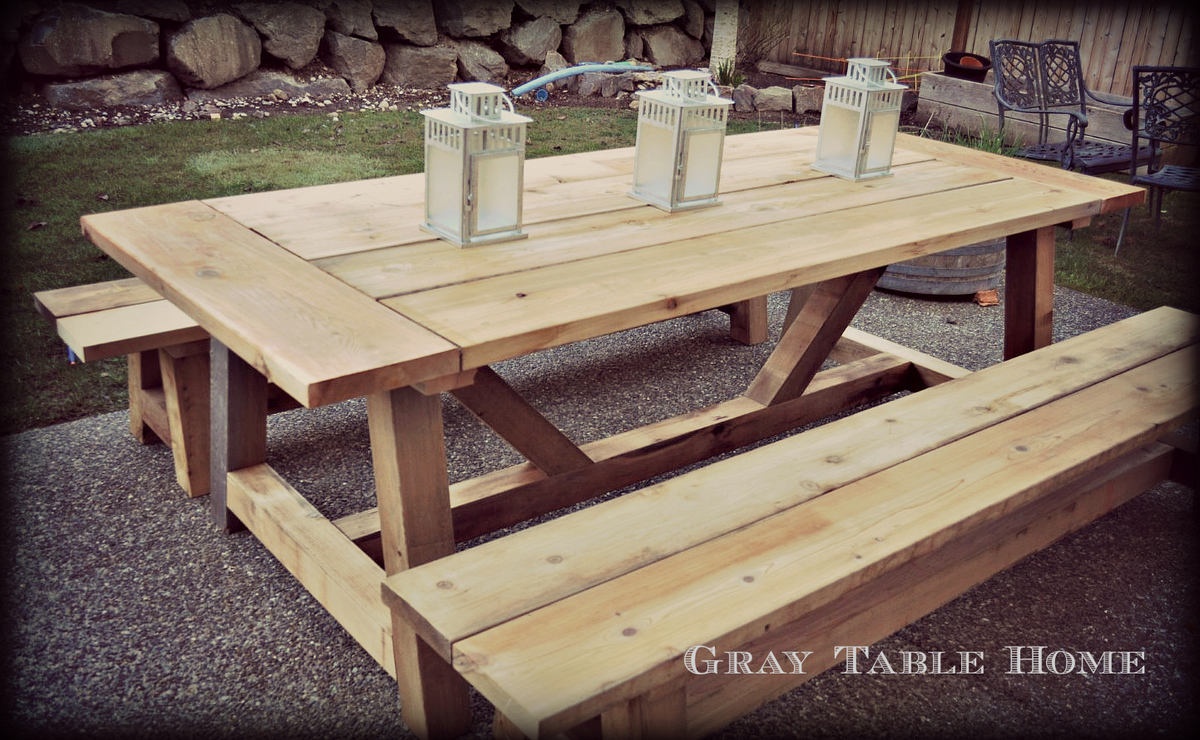
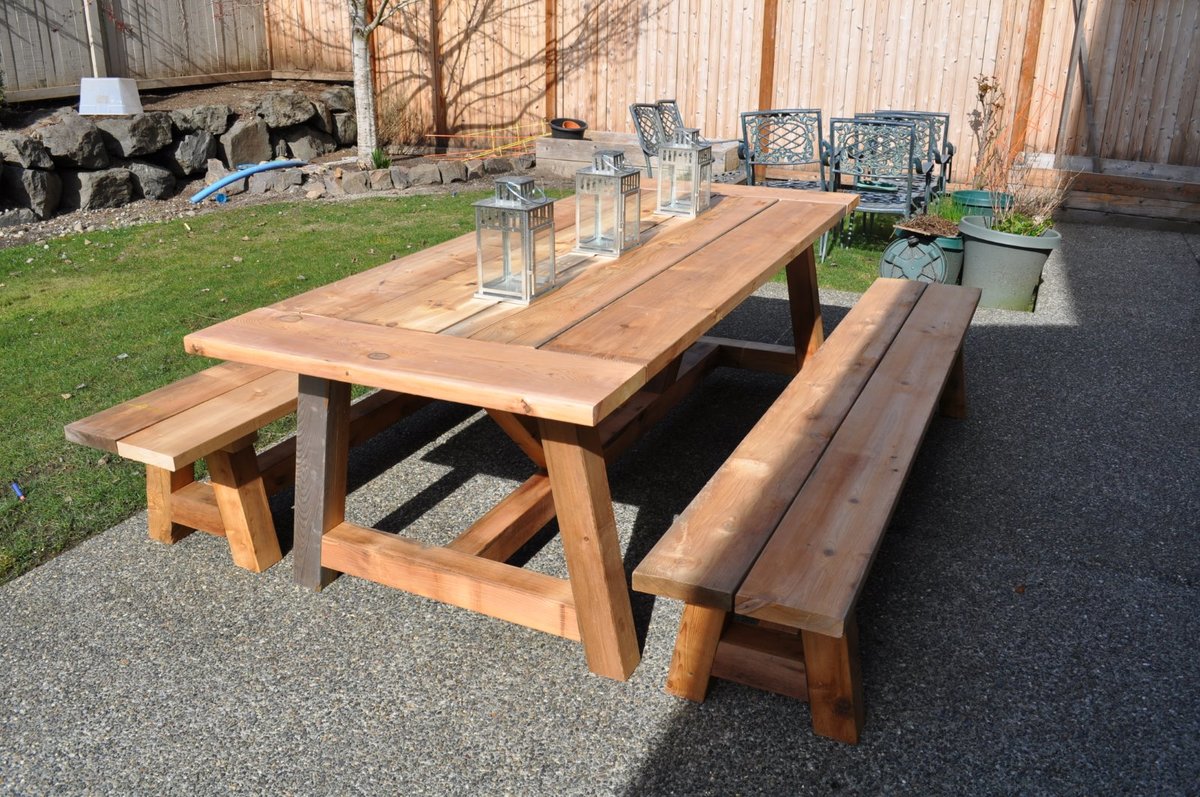
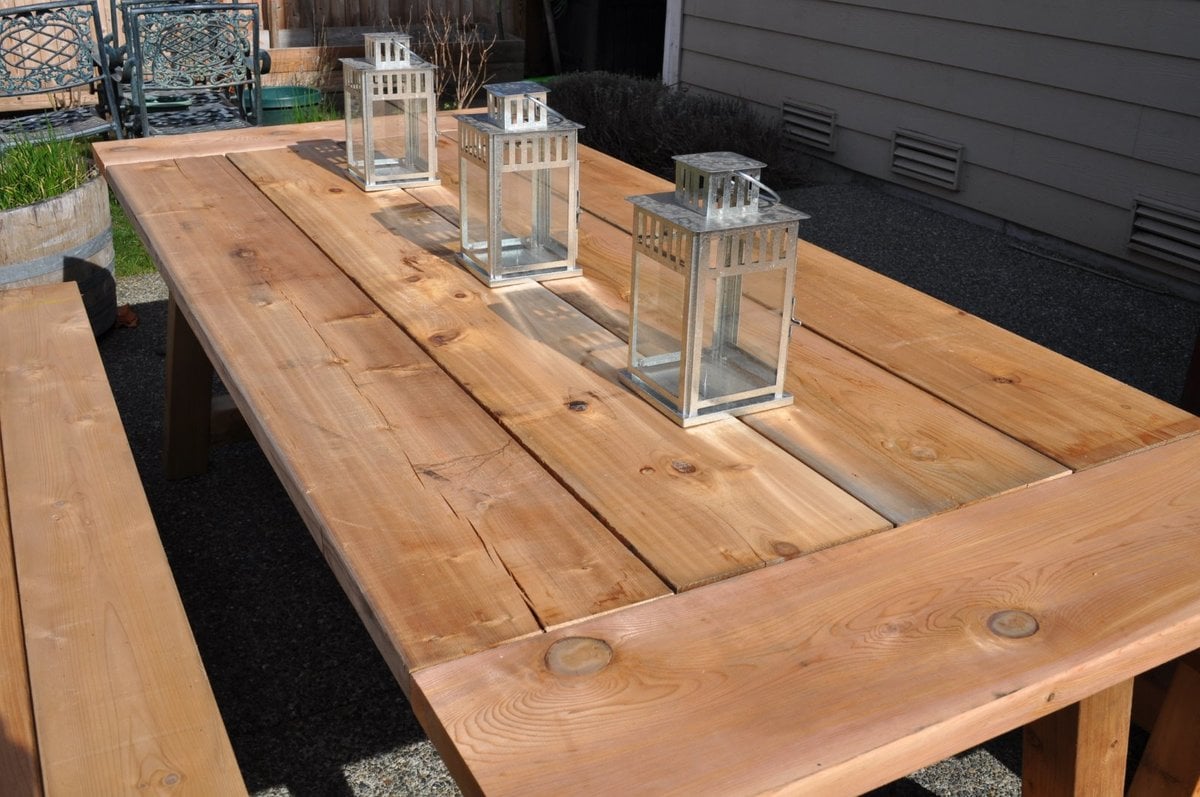
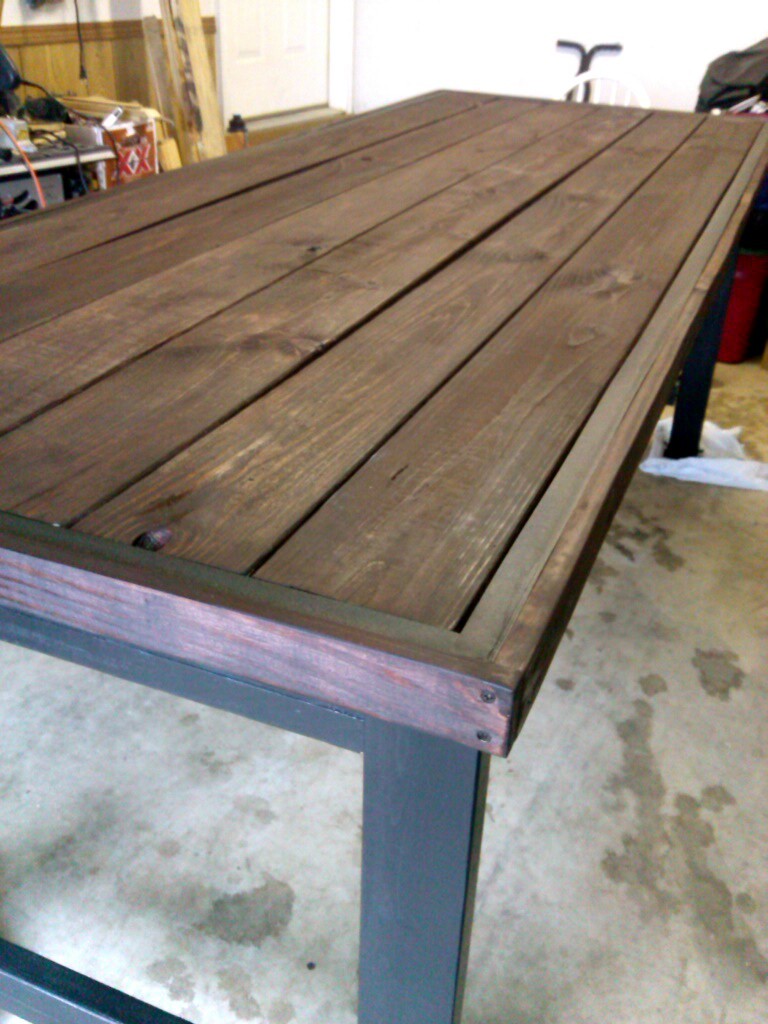
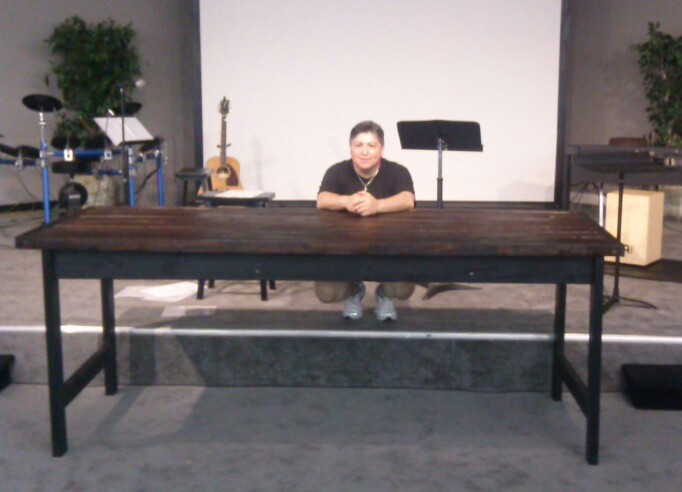
Scrap wood Buffet table

Submitted by aliabubu72 on Thu, 04/02/2015 - 12:15

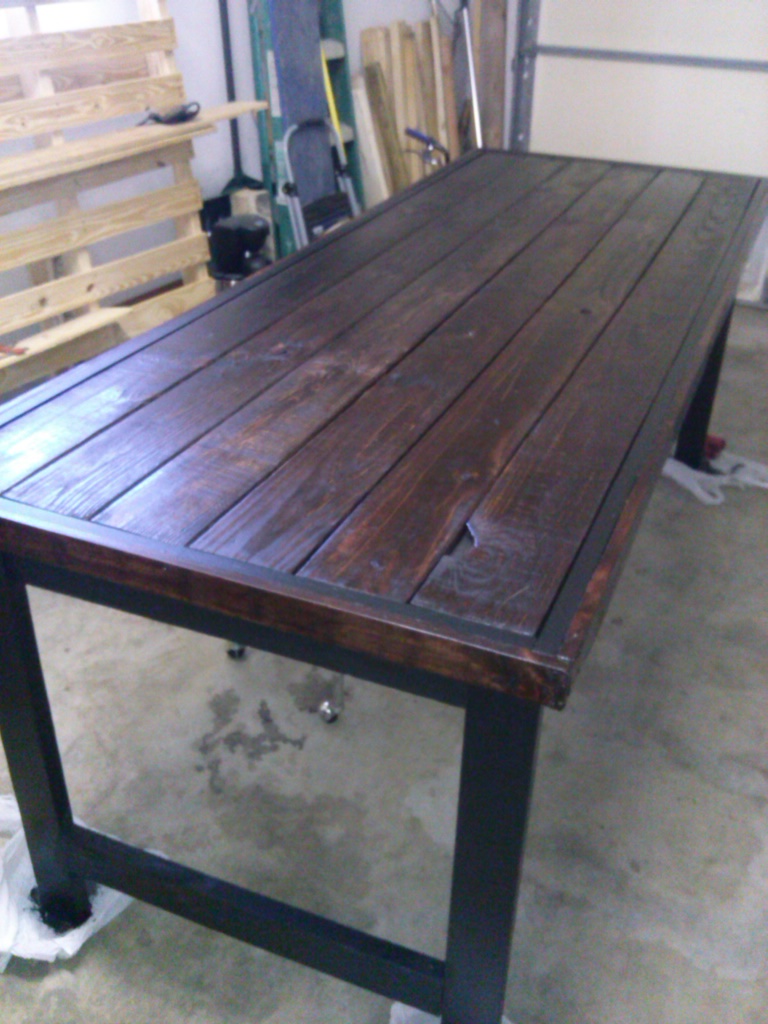
Built this 8' x 3' buffet/serving table from scrap wood gathered from work. I bought (2) 2x4's for the legs and the 1" particle board for stability under the slats on top. Finished with Red Mahogany and Polycrylic. It was built as a gift for my church and will now be used for Easter Service for Communion. One of many projects I've made and very happy with how this turned out. 

Estimated Cost
$30 for wood - $17 for paint - $6 for stain - $5 for sandpaper. Total spent - under $60.
Estimated Time Investment
Weekend Project (10-20 Hours)
Finish Used
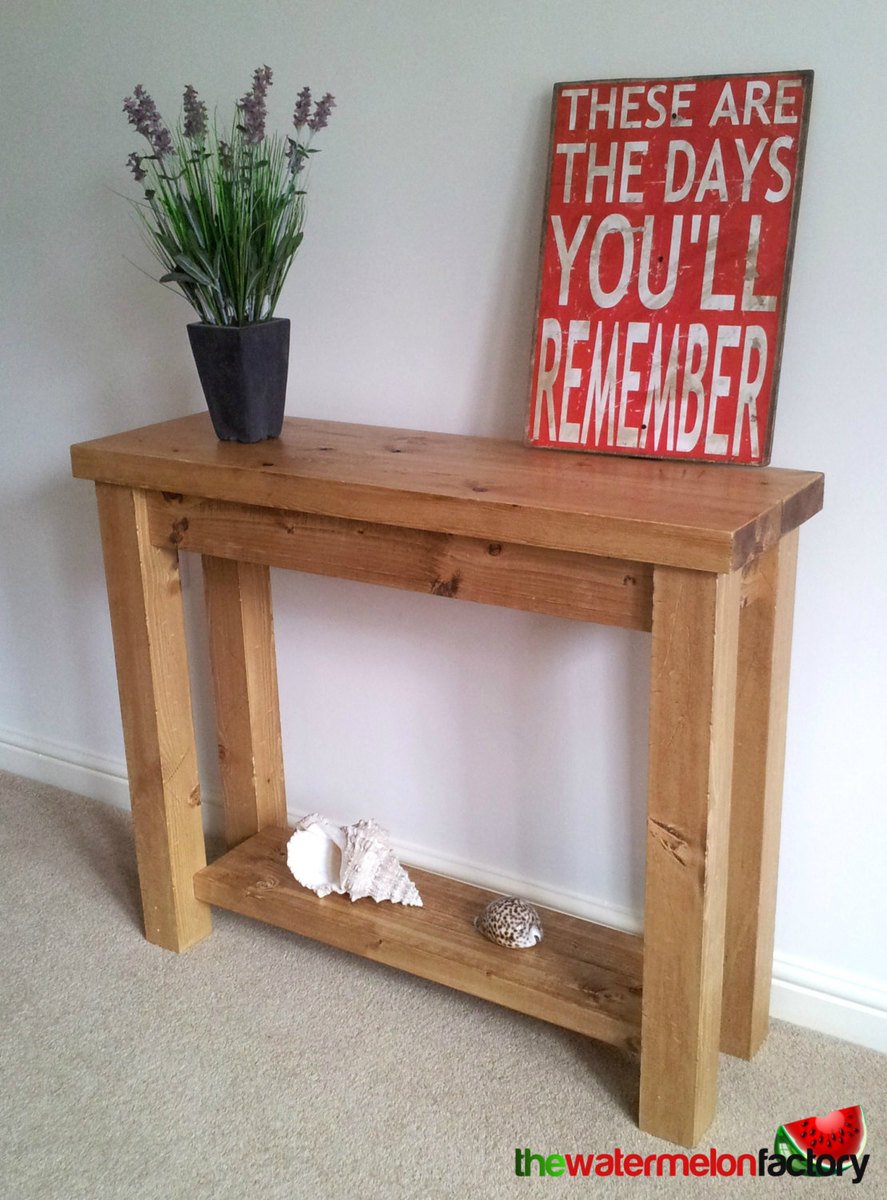
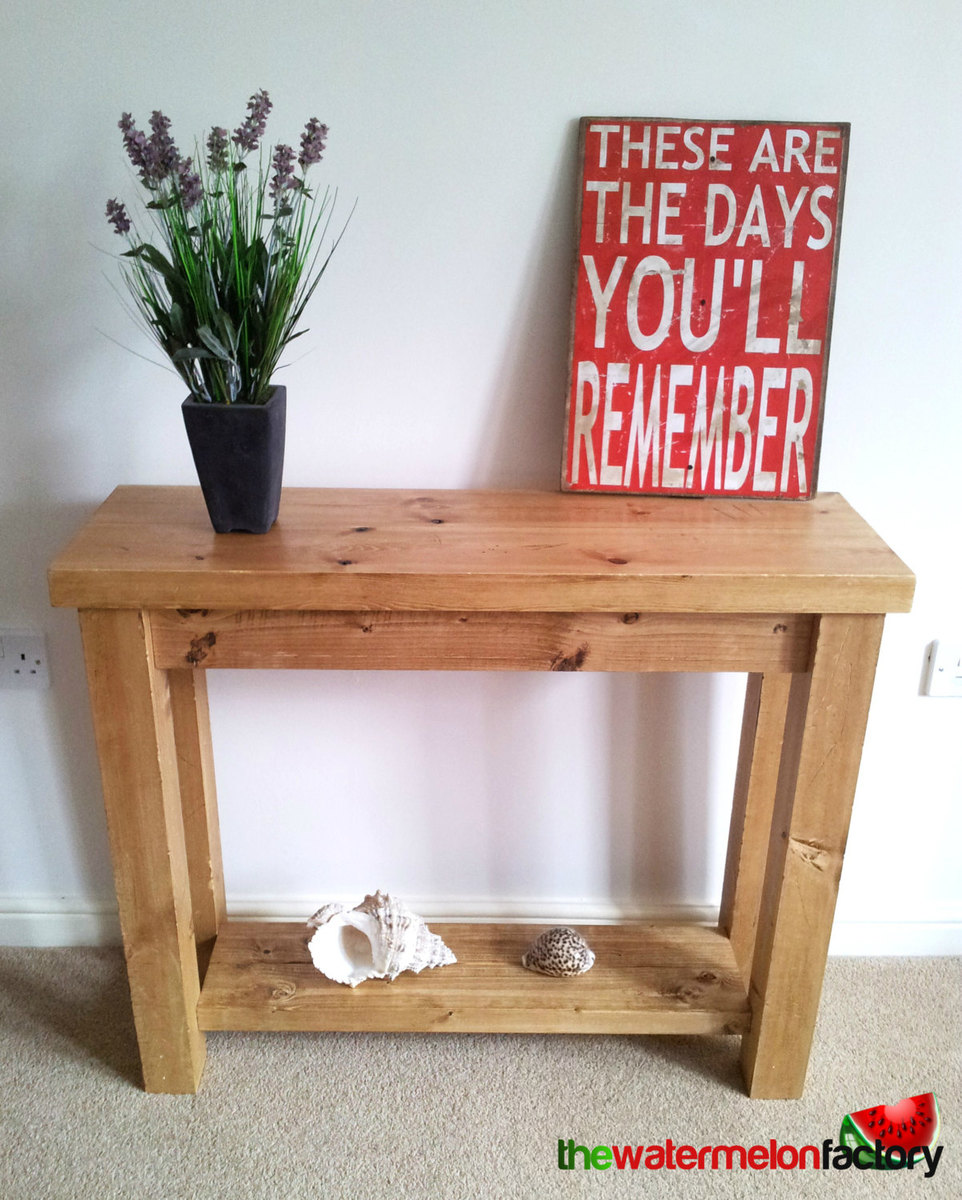
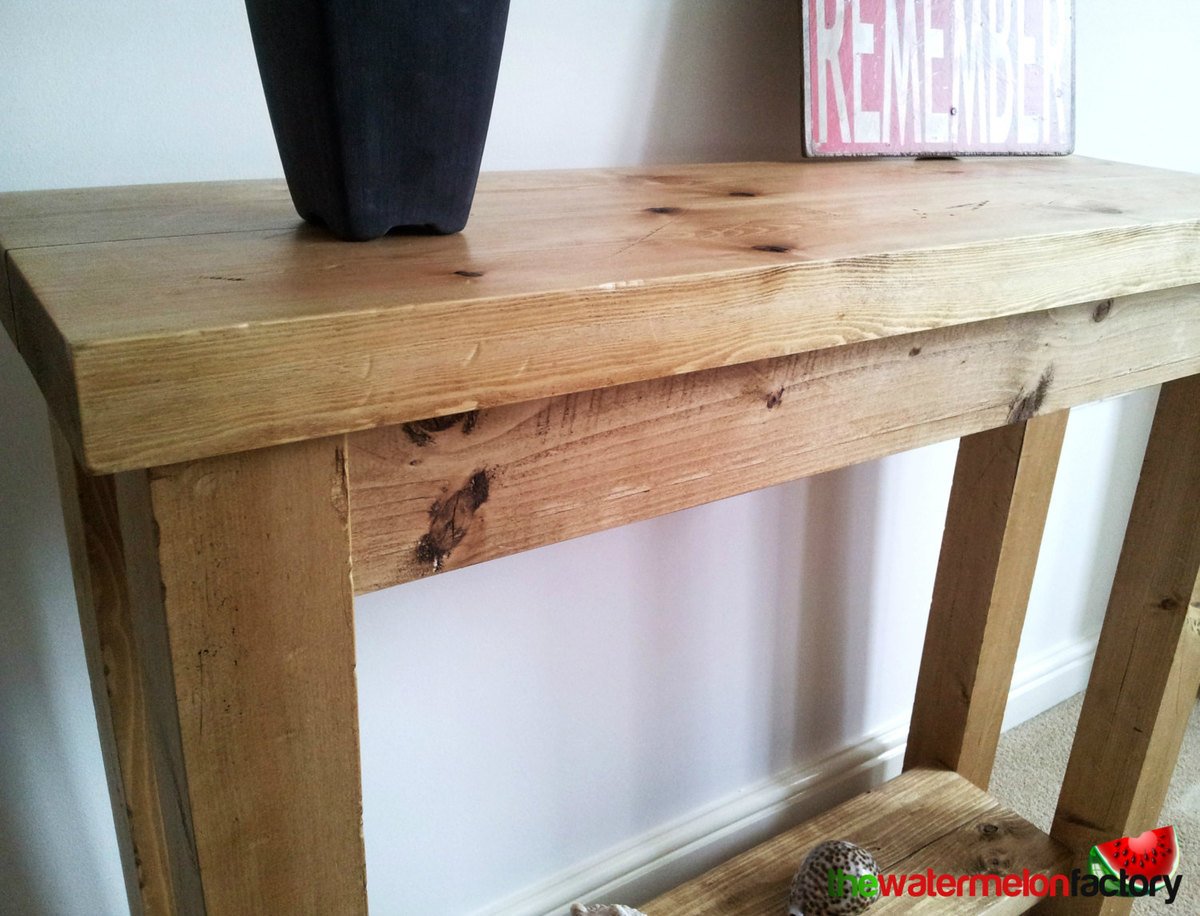
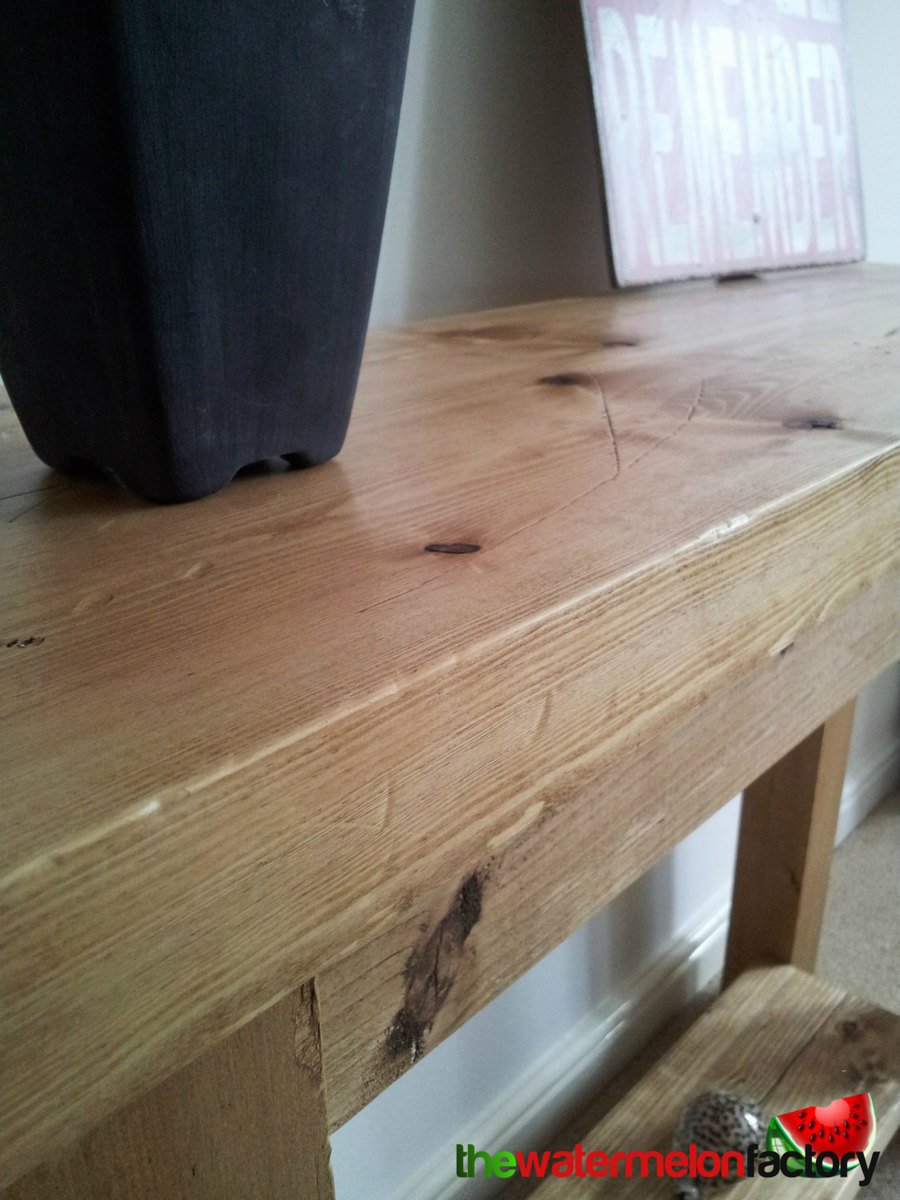
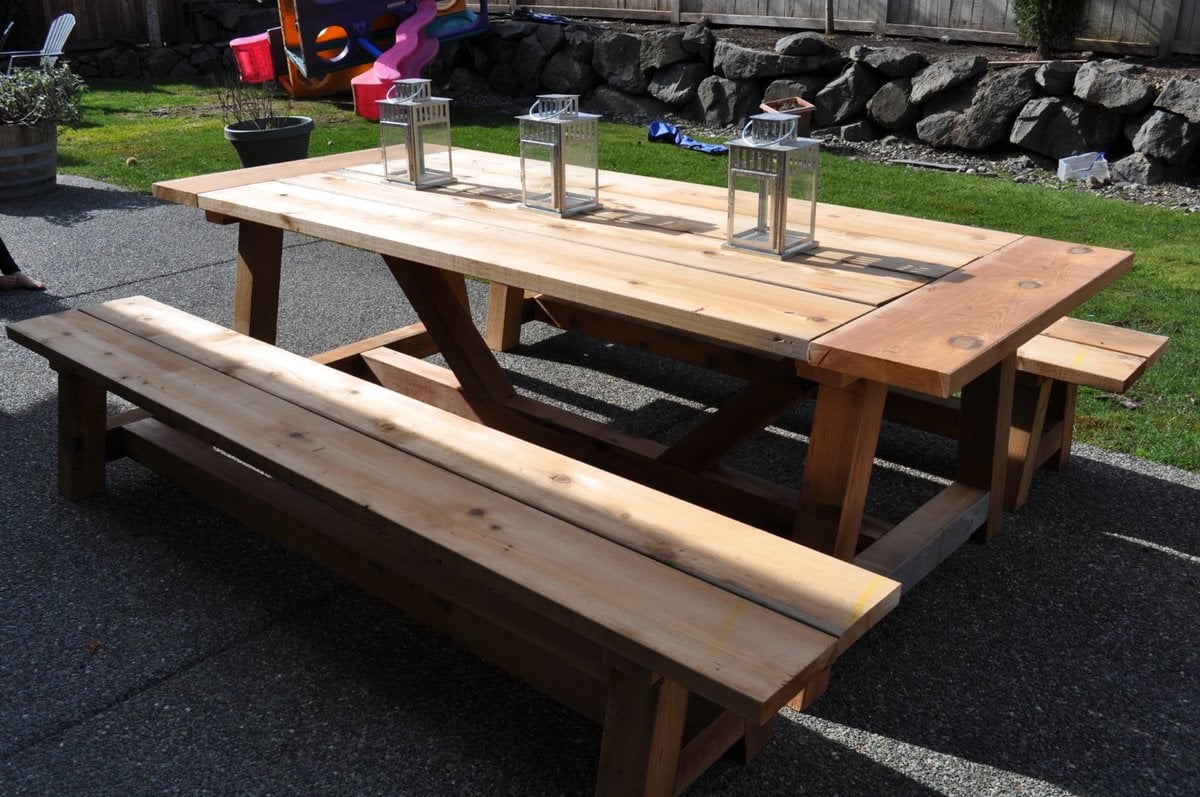
I used 6 1x6x12 scrap gathered from work - we get a lot of pallets of product so scrap wood is easy to come by. Used the same scrap wood (ones less desireable for the table top and ripped 1" strips to size for the sides of the top.Secured the legs and table top using a Kreg Jig. Then finished the table using Red Mahogany and Polycrylic (1 coat) for the top and sides - and semi gloss black paint for the table legs and apron.
Recommended Skill Level
Intermediate

My Adaptation of Kendal's Extra Wide Dress

Submitted by Anonymous (not verified) on Thu, 10/06/2022 - 08:18

This my first real project built in my shop!   I have long admired the projects that I have seen on this site and I could not wait to post a brag picture!   

Built from Plan(s)
Estimated Time Investment
Weekend Project (10-20 Hours)
Finish Used
Sherman Williams Ovation Paint
Recommended Skill Level
Starter Project

Comments

Modified Adirondack Chairs and Coffee Table

Submitted by carvern on Mon, 10/04/2021 - 14:16

I had some Kebony deck boards left over from another project and thought they would work well. I think they did! Kebony is pine that is soaked in an alcohol and then heated up. It has a 30 year warranty and requires no care. I used a Penofin oil on the 2x4s and Cutek oil on the Kebony

Comments

Ana White Admin

Tue, 10/05/2021 - 09:53

Kebony sounds like a great material for outdoor builds, very pretty too! Well done, thank you for sharing!

Bigger Tryde Coffee Table

My sister put in request for bigger coffee table and 2 end tables, again, the building part was not that difficult, the time consuming portion was staining. But they turned out great!

Estimated Time Investment
Week Long Project (20 Hours or More)
Finish Used
I "distress" the wood by using a piece of chaing and just beat it until I get a desired, uniform look. I used 3 coats of stain on each piece and sealed it once complete. I did not sand between coats and I use the cheap foam brushes and just toss them after each coat.
Recommended Skill Level
Beginner

Chunky Rustic Hall / Console / Sofa Table

This table is made entirely from Ethically sourced Local Redwood Timber. The wood has been kiln dried which makes it very solid and perfect to make furniture with. This results in a piece which is known for it's sturdiness, it's chunky & rustic look and it's lovely grain and colour.

I have used carefully selected Kiln Dried Timber planks of varying sizes here. When the table has been finished, the grain and colour really shine through.

This table is very sturdy and moderately heavy (Approx 15kg's).

The table may move ever so slightly over it's years too. This is due to the temperature changes in your home and thus it may create very slight cracks and stretches etc. This is perfectly natural and only adds to the rustic charm of this kind of piece. I really like the way wood moves over time and creates a character of it's own. In this regard, each and every table is going to be unique.

The legs on this table are fixed, as is the shelf.

This console table has been distressed and aged and features authentic wear marks such as knocks, dings, scrapes and even nail and screw thread marks!! It looks like it been in this world for generations!

It is then finished off by being waxed all over to treat and protect the wood.

I hope you all like it! It's fun to build.

Mark :)

Estimated Cost
$60.00
Estimated Time Investment
Day Project (6-9 Hours)
Finish Used
Briwax (Tudor Oak)

Simply brush the wax on with a large paintbrush and wipe the excess off straight away before it dries fully to leave a perfect finish.
Recommended Skill Level
Intermediate

Wooden Volcano Stacker

I'm so thankful for Ana's March scrap work love challenge for encouraging me to make use of scrap lumber.  I completed several scrap work projects last month.  This is a volcano stacker I made from a scrap piece of 1x12 pine.  I got the pattern from the book Natural Wooden Toys.  I used my scroll saw to cut out the shape.  I painted it with craft acrylic paint and sealed it with Mod Podge.  The toy is a hit with the little guy!

Estimated Cost
free
Estimated Time Investment
An Hour or Two (0-2 Hours)
Finish Used
Craft acrylic paint and Mod Podge
Recommended Skill Level
Beginner

Pool equipment fence refresh

Submitted by Anonymous (not verified) on Fri, 07/14/2017 - 00:15

The fence the previous owners had in place was weather-worn and just overall non-aesthetically pleasing. We completed this project in 3 days and now we just love it!!!

Estimated Cost
$300
Estimated Time Investment
Weekend Project (10-20 Hours)
Recommended Skill Level
Intermediate

Adirondack Chairs and End Table

Submitted by Anonymous (not verified) on Mon, 10/04/2021 - 15:15

Hubby’s first Ana White project! Love these! Just need to stain.

Comments

Alice’s Table and Chairs

I built this set for my friends little girl, Alice. She’s the same age as my son Benjamin, and needed a kiddie table and chairs!
I had some trouble with the chairs, I need to work on my clamping and squaring. Now that I have picked up a better countersink bit my issues with screws should be solved though!

The table was super easy with the kreg jig! I got it clamped down well for each corner and the aprons/legs screwed together like a dream! I love that the table doesn’t have a single screw marring the surface of the wood, they’re all pocket holes underneath!

The chairs have a few more screw holes than they should’ve had, but they don’t look too bad. I decided to leave them unfinished so she can decide on the right finish for her space.
Thanx so much for the easy to follow plans Ana!

Built from Plan(s)
Estimated Cost
~50$ (honestly, I can't remember!)
Estimated Time Investment
Weekend Project (10-20 Hours)
Finish Used
Unfinished
Recommended Skill Level
Beginner

Wall art

Submitted by kwayman on Sun, 05/19/2013 - 08:28

This was my first project and I am so happy about how it turned out!! Heavy though...
Feel like I can build anything now:)

Estimated Time Investment
Weekend Project (10-20 Hours)
Finish Used
I painted it with a leftover creamy white, red and blue. Next I roughed it up with sandpaper and applied a walnut stain over to "age" it. :)
Recommended Skill Level
Starter Project

New Kitchen, New Table!

We just finished our complete kitchen remodel, from tearing down walls to new cabinets, appliances, hardwood floors, and countertops. I assembled the cabinets and installed them myself, along with tiling the backsplash and nailing down the floors. So I though I'd try my hand at furniture building. It was my first time building anything like this and I thought it turned out pretty nice!

I used left over boards from the removation for the bases of the table and benches and 2x6 poplar boards for the tops. I made some adjustments in the size since we're only a family on 3. Since I made the table shorter, I changed the 45 degree cuts on the cross braces to 30 degrees so they would fit. 

Estimated Cost
$300 just because I bought high quality poplar with the edges planed so they would fit together with no gaps
Estimated Time Investment
Week Long Project (20 Hours or More)
Finish Used
minwax sedona red
zar merlot
minwax red mahogany
in that order, but I found that the stain effects poplar differently than it does pine
3 coats of brush on polyurethane sanded with 220 in between coats
Recommended Skill Level
Beginner

Comments

Custom grandy

Custom 75" grandy

Estimated Cost
$275
Estimated Time Investment
Weekend Project (10-20 Hours)
Recommended Skill Level
Intermediate

Comments

rust0r

Sun, 07/23/2017 - 08:18

That is beautiful!! What color is the base? (Brand and color)


What wood/stain did you use on the top? I love how it contrasts itself, would be great for other furnature choices as well.


Thank you

rust0r

Sun, 07/23/2017 - 08:24

That is beautiful!! What color is the base? (Brand and color)


What wood/stain did you use on the top? I love how it contrasts itself, would be great for other furnature choices as well.


Thank you

Flip Down Wall Art Desk

Submitted by Anonymous (not verified) on Mon, 10/04/2021 - 16:45

Followed the plans, made a few mistakes but my son and I like the overall result. Thanks Ana :)

Built from Plan(s)

Comments

Floating Corner Entertainment Center

Submitted by loniwolfe on Wed, 03/09/2011 - 17:23

First I'd like to thank Ana for everything she does. Without her i would have never started building furniture, and without her I would have never picked up Google Sketchup and learned how to design my own furniture.

Ana, I can't thank you enough for the skills, hobby, and confidence you have given me. Thank you thank you thank you!

I attached this to the floating shelves plan because it is what inspired us to design this. And I chose intermediate because of figureing out the angles and for finding the studs in the wall and properly/securely mounting it so little ones don't get hurt.

Since moving into our new home Matt and I have been using my great-grandmother's old sideboard as a tv stand. Our house (and living room) is very small so I've been wanting to mount the tv on the wall in the corner and Matt's been wanting to buy a smaller tv stand. I did not want to do it his way because we have a large hyper dog running around knocking everything over, lol.

So after recieving an extra tv wall mount from my parents and mounting the tv in the corner like I wanted, we brainstormed and created this "floating" table/shelf to hold Matt's game systems and our dvd's. Its off the floor and out of Buck's destruction path, but it also made the room look so much larger!

***This plan was not designed to hold the weight of a tv. While it is plenty strong enough to hold the movies, game systems, dvd-vcr, and the chance his 6 year old decides she's a rock climber, we have no idea its actual weight capasity.

Built from Plan(s)
Estimated Time Investment
Afternoon Project (3-6 Hours)
Finish Used
We decided we prefered the natural look of the raw wood for now. If we later change our mind I will post new pics :)
Recommended Skill Level
Intermediate

Parson Chair Slip Cover with Chevron Fabric (so easy!)

Slip Covers were easy peasy to make and really spruced up my kitchen table with some much needed color. Follow all the detailed steps on iamhardware.com.

Estimated Cost
$10
Estimated Time Investment
Afternoon Project (3-6 Hours)
Recommended Skill Level
Beginner

Comments

Restoration Hardware Inspired 4x4 Truss Beam Outdoor Table

Submitted by susanshamp on Fri, 04/10/2015 - 23:48

Hi! I was truly inspired by the plans I found at this site and the many brags that I saw! I have now built this table set a few times (first for myself, then for friends & family) and learned a lot each time. The things I have modifiied include...


1) Length = make it longer or shorter as space allows (I've done tables from 84" to 108" long)

2) Outdoor table top = because these are being used outdoors, I use screws as spacers between boards so that they have a 1/8 to 1/4 gap to allow for water to run through

3) Breadboard end support = I found that with just the pocket hole screws, my breadboards were a little 'wobbly' so I added Simpson Stong Tie metal plates underneath to reinforce the ends.

4) End length = in order to provide a little more legroom to those sitting at the end of the table, I recently changed the plan so that I would have at least 15" from the table base to the end of the table top (although this pic shows the regular plan with the ~8" overhang)

I really appreciate all of the plans and brags which have been shared by users of this site. Thank you!!!

Estimated Time Investment
Afternoon Project (3-6 Hours)
Finish Used
I picked cedar boards that had some color variation in order to add interest. To get an even more rustic & weathered look, you could consider using a steel wool & vinegar mixture.
Recommended Skill Level
Beginner

Comments

spiceylg

Mon, 04/13/2015 - 09:38

Beautiful build! I was just curious what your cost was. I want to build this for outdoor use as well and also want to use Cedar. I priced it at a local lumber yard and they said it would be around $400.

In reply to by spiceylg

susanshamp

Thu, 04/30/2015 - 21:38

Thank you!!! That sounds about right for the cost - I spent about $425 on my lumber and hardware. Cedar is more expensive, but I was happy with the results. And it still seems like a good 'deal' when you consider what you would get for that price from a store.

Seasonal And Holiday

DIY Pixel Mario Wall Art

I love it when I can combine woodworking and geeky things. The classic Super Mario Bros was my introduction to video games, and thus 8-bit Mario will always have a special place in heart. <3

I have a tutorial on my blog on how to make the pixel Mario. I also made a video tutorial. WATCH IT HERE.


View in YouTube.

Estimated Cost
$10. I purchased two 2x4s and purchased CA glue. The rest of the supplies I had on hand.
Estimated Time Investment
Weekend Project (10-20 Hours)
Finish Used
Watco Danish Oil - Medium Walnut
ECOS Paints Woodshield - Special Walnut
Homemade Red Dye
Recommended Skill Level
Beginner

Comments

Storage shelf

Submitted by Anonymous (not verified) on Mon, 10/04/2021 - 18:45

We made smaller versions of your 8 foot shelf. The plans were perfect. Thank you very much

Built from Plan(s)

Comments

Tall Narrow Modular Bookcase!

Submitted by ferbit on Thu, 03/10/2011 - 07:55

This is my very first woodworking project! My oldest daughter badly needed a bigger bookcase... I made this last year and it's already completely stuffed full of books now! Home Depot ripped the MDF for me, hubby helped me put it together and then I finished it. Since it is tall and narrow, the sides were bowing inward. I decided NOT to make ALL shelves adjustable, so I made two of them part of the bookcase. Squared things up nicely. The rest of the shelves are removable though.

Estimated Cost
$70
Estimated Time Investment
Weekend Project (10-20 Hours)
Finish Used
Two coats of primer, three coats of semi-gloss Acrylic Latex paint (same paint used on the trim throughout our house). I did not put poly on this project.
Recommended Skill Level
Beginner

His & Hers Closet Laundry Basket Dressers

Submitted by Sarah F on Fri, 05/24/2013 - 08:53

After 3 years of absolutely no closet organization, my boyfriend and I decided it was time. This was our first build together and my boyfriend was amazed that it was so easy to actually build something from wood. We already had 6 baskets that lived all around the room so they needed a home and that's when we found Ana's Laundry Basket Dresser. Knowing that we wanted to hide our dirty laundry in the closet, we found that the plywood box design in the closet made for some very dark corners and little arm room so we needed to modify the plans some. Instead of the plywood we used 1"x4" furring strips to make an open framework for our baskets. It's plenty strong enough and allows light to reach the back corners with the added bonus of looking like custom closet organization.

Built from Plan(s)
Estimated Cost
$50 for the pair including wood and paint
Estimated Time Investment
Day Project (6-9 Hours)
Finish Used
Sanded, primed with Kilz 2, sanded again and gave it 2 coats of Behr Semi-gloss in Silky White.
Recommended Skill Level
Beginner

Rustic X Console

Submitted by cudazi on Mon, 04/13/2015 - 11:11

This is a half-width version of the Rustic X Console table on Ana-White.com. The oxidized finish came out purple and needed some sanding. If I build another like it, I would highly suggest sanding the X pieces before assembly. It went together very well and was my first Kreg Jig experience. 

Built from Plan(s)
Estimated Time Investment
Weekend Project (10-20 Hours)
Recommended Skill Level
Beginner