Community Brag Posts
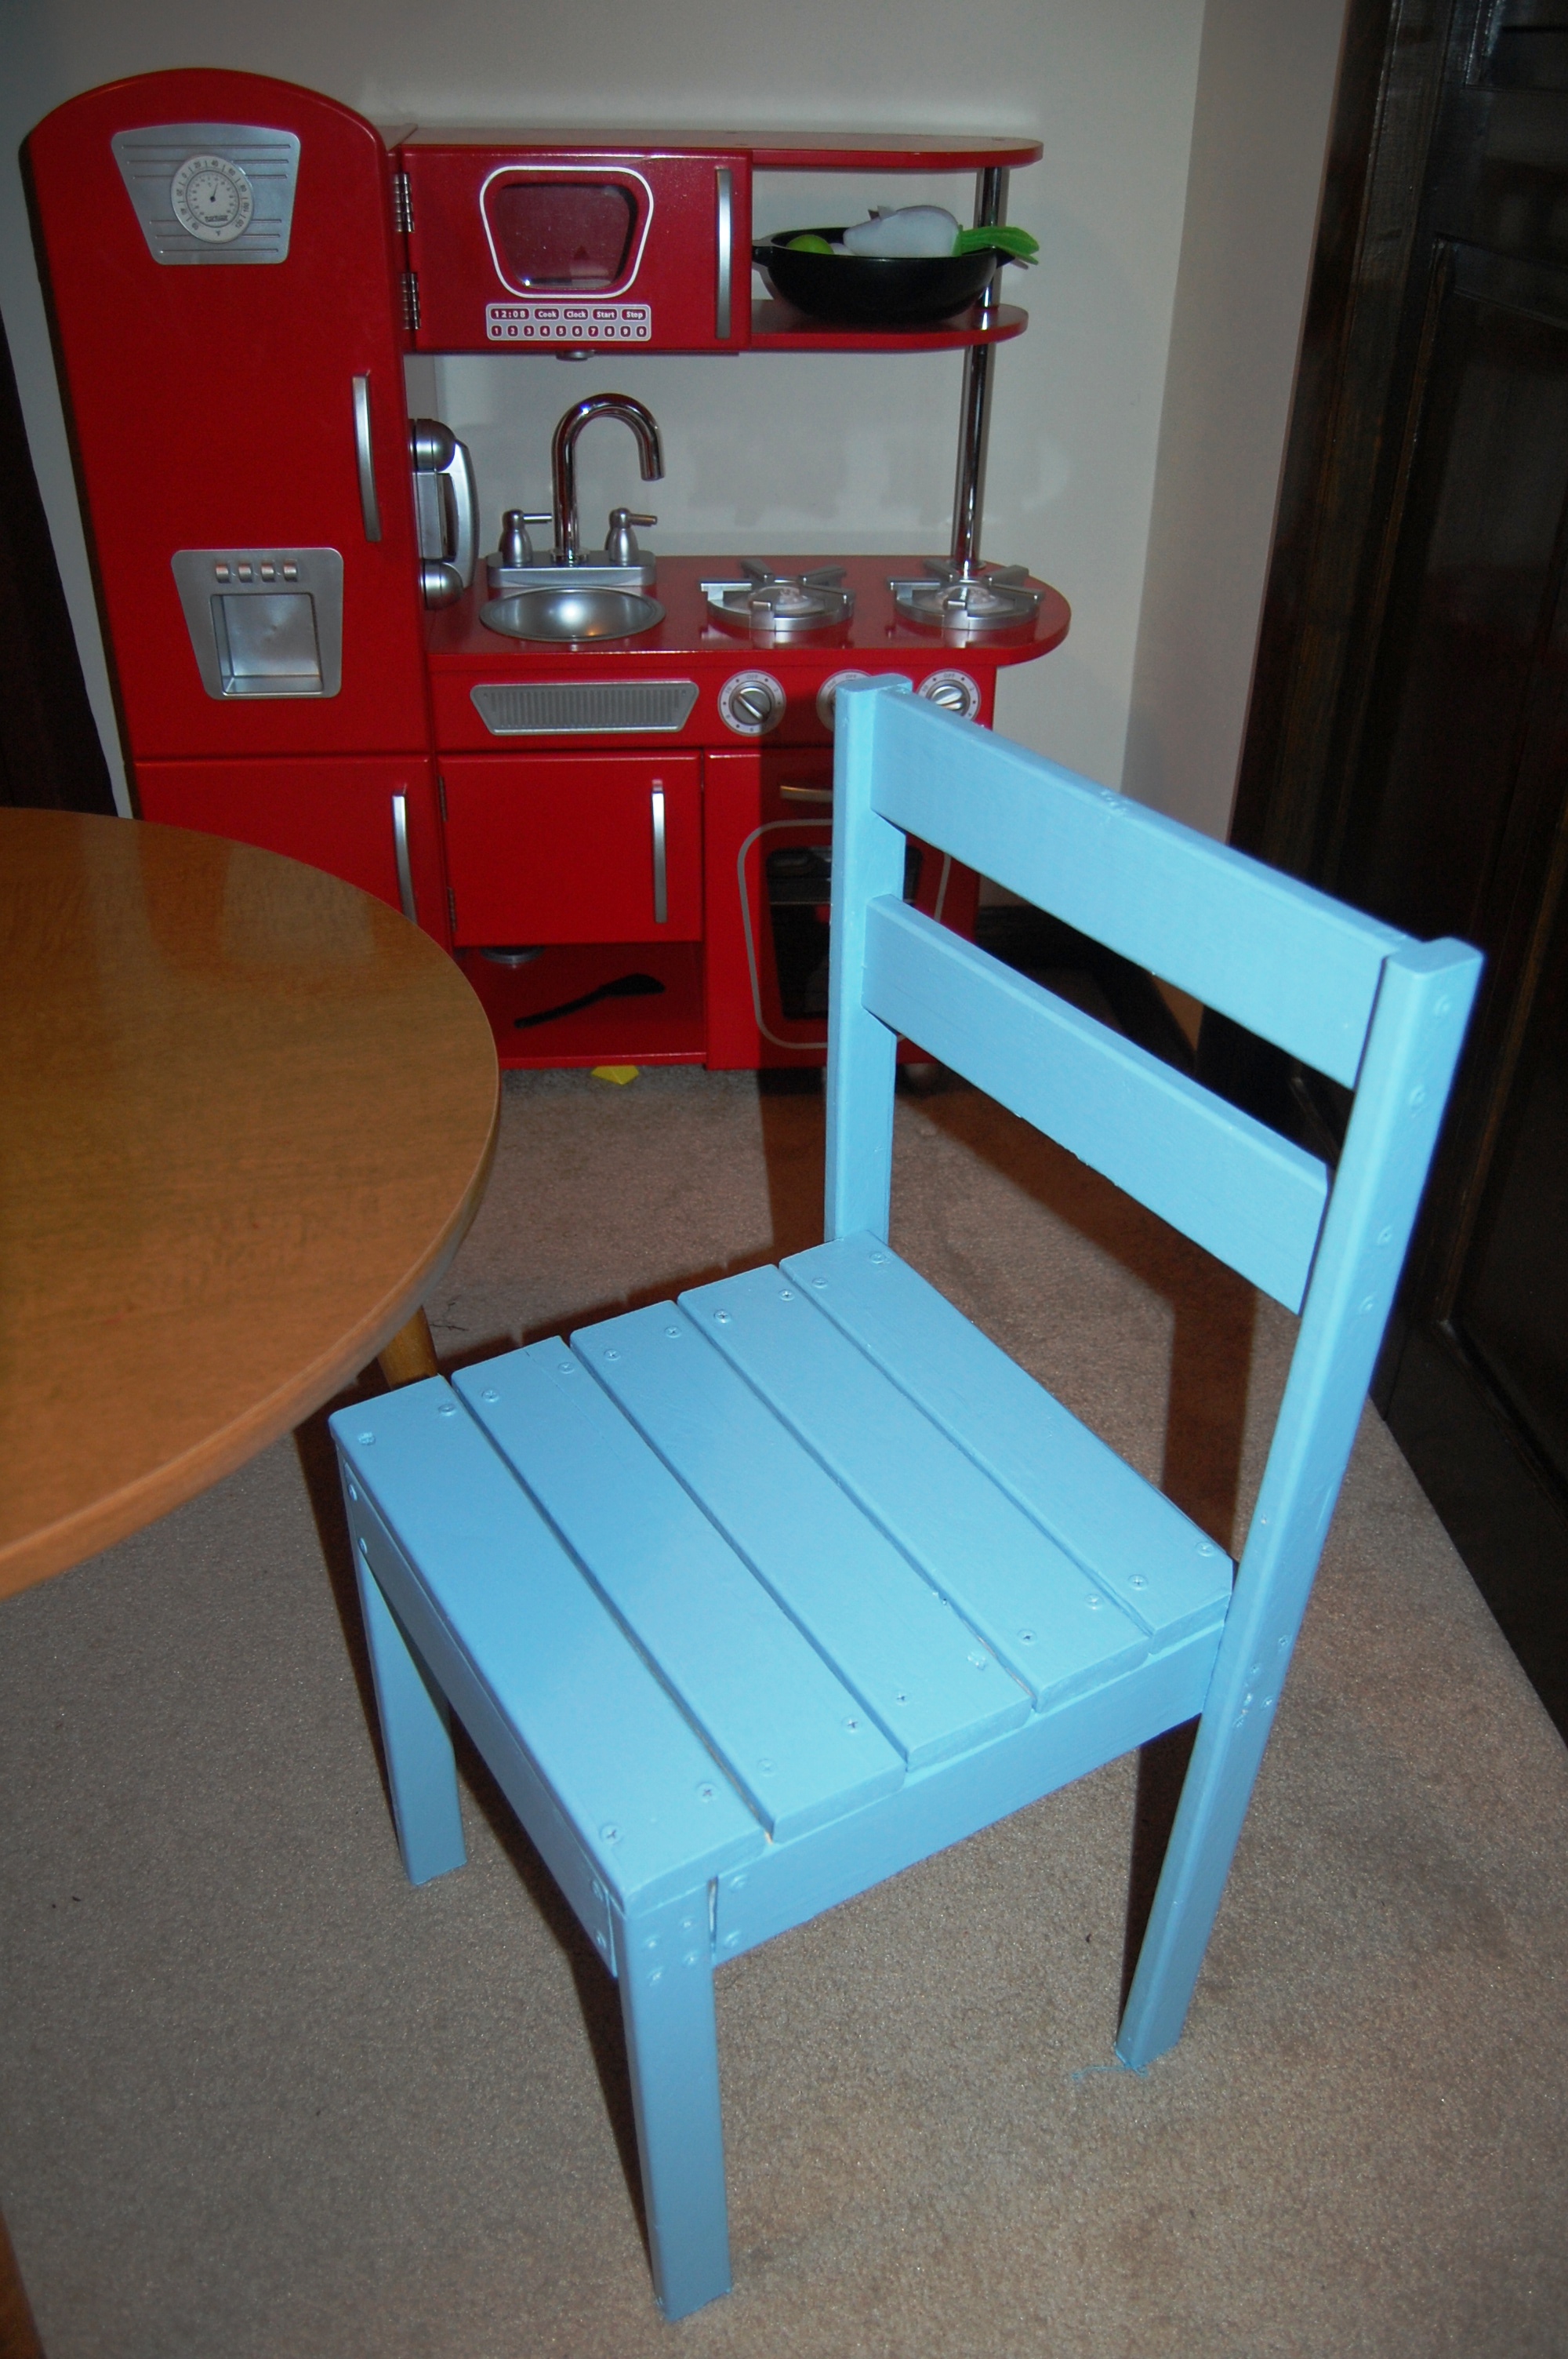
James' Play Kitchen Chair
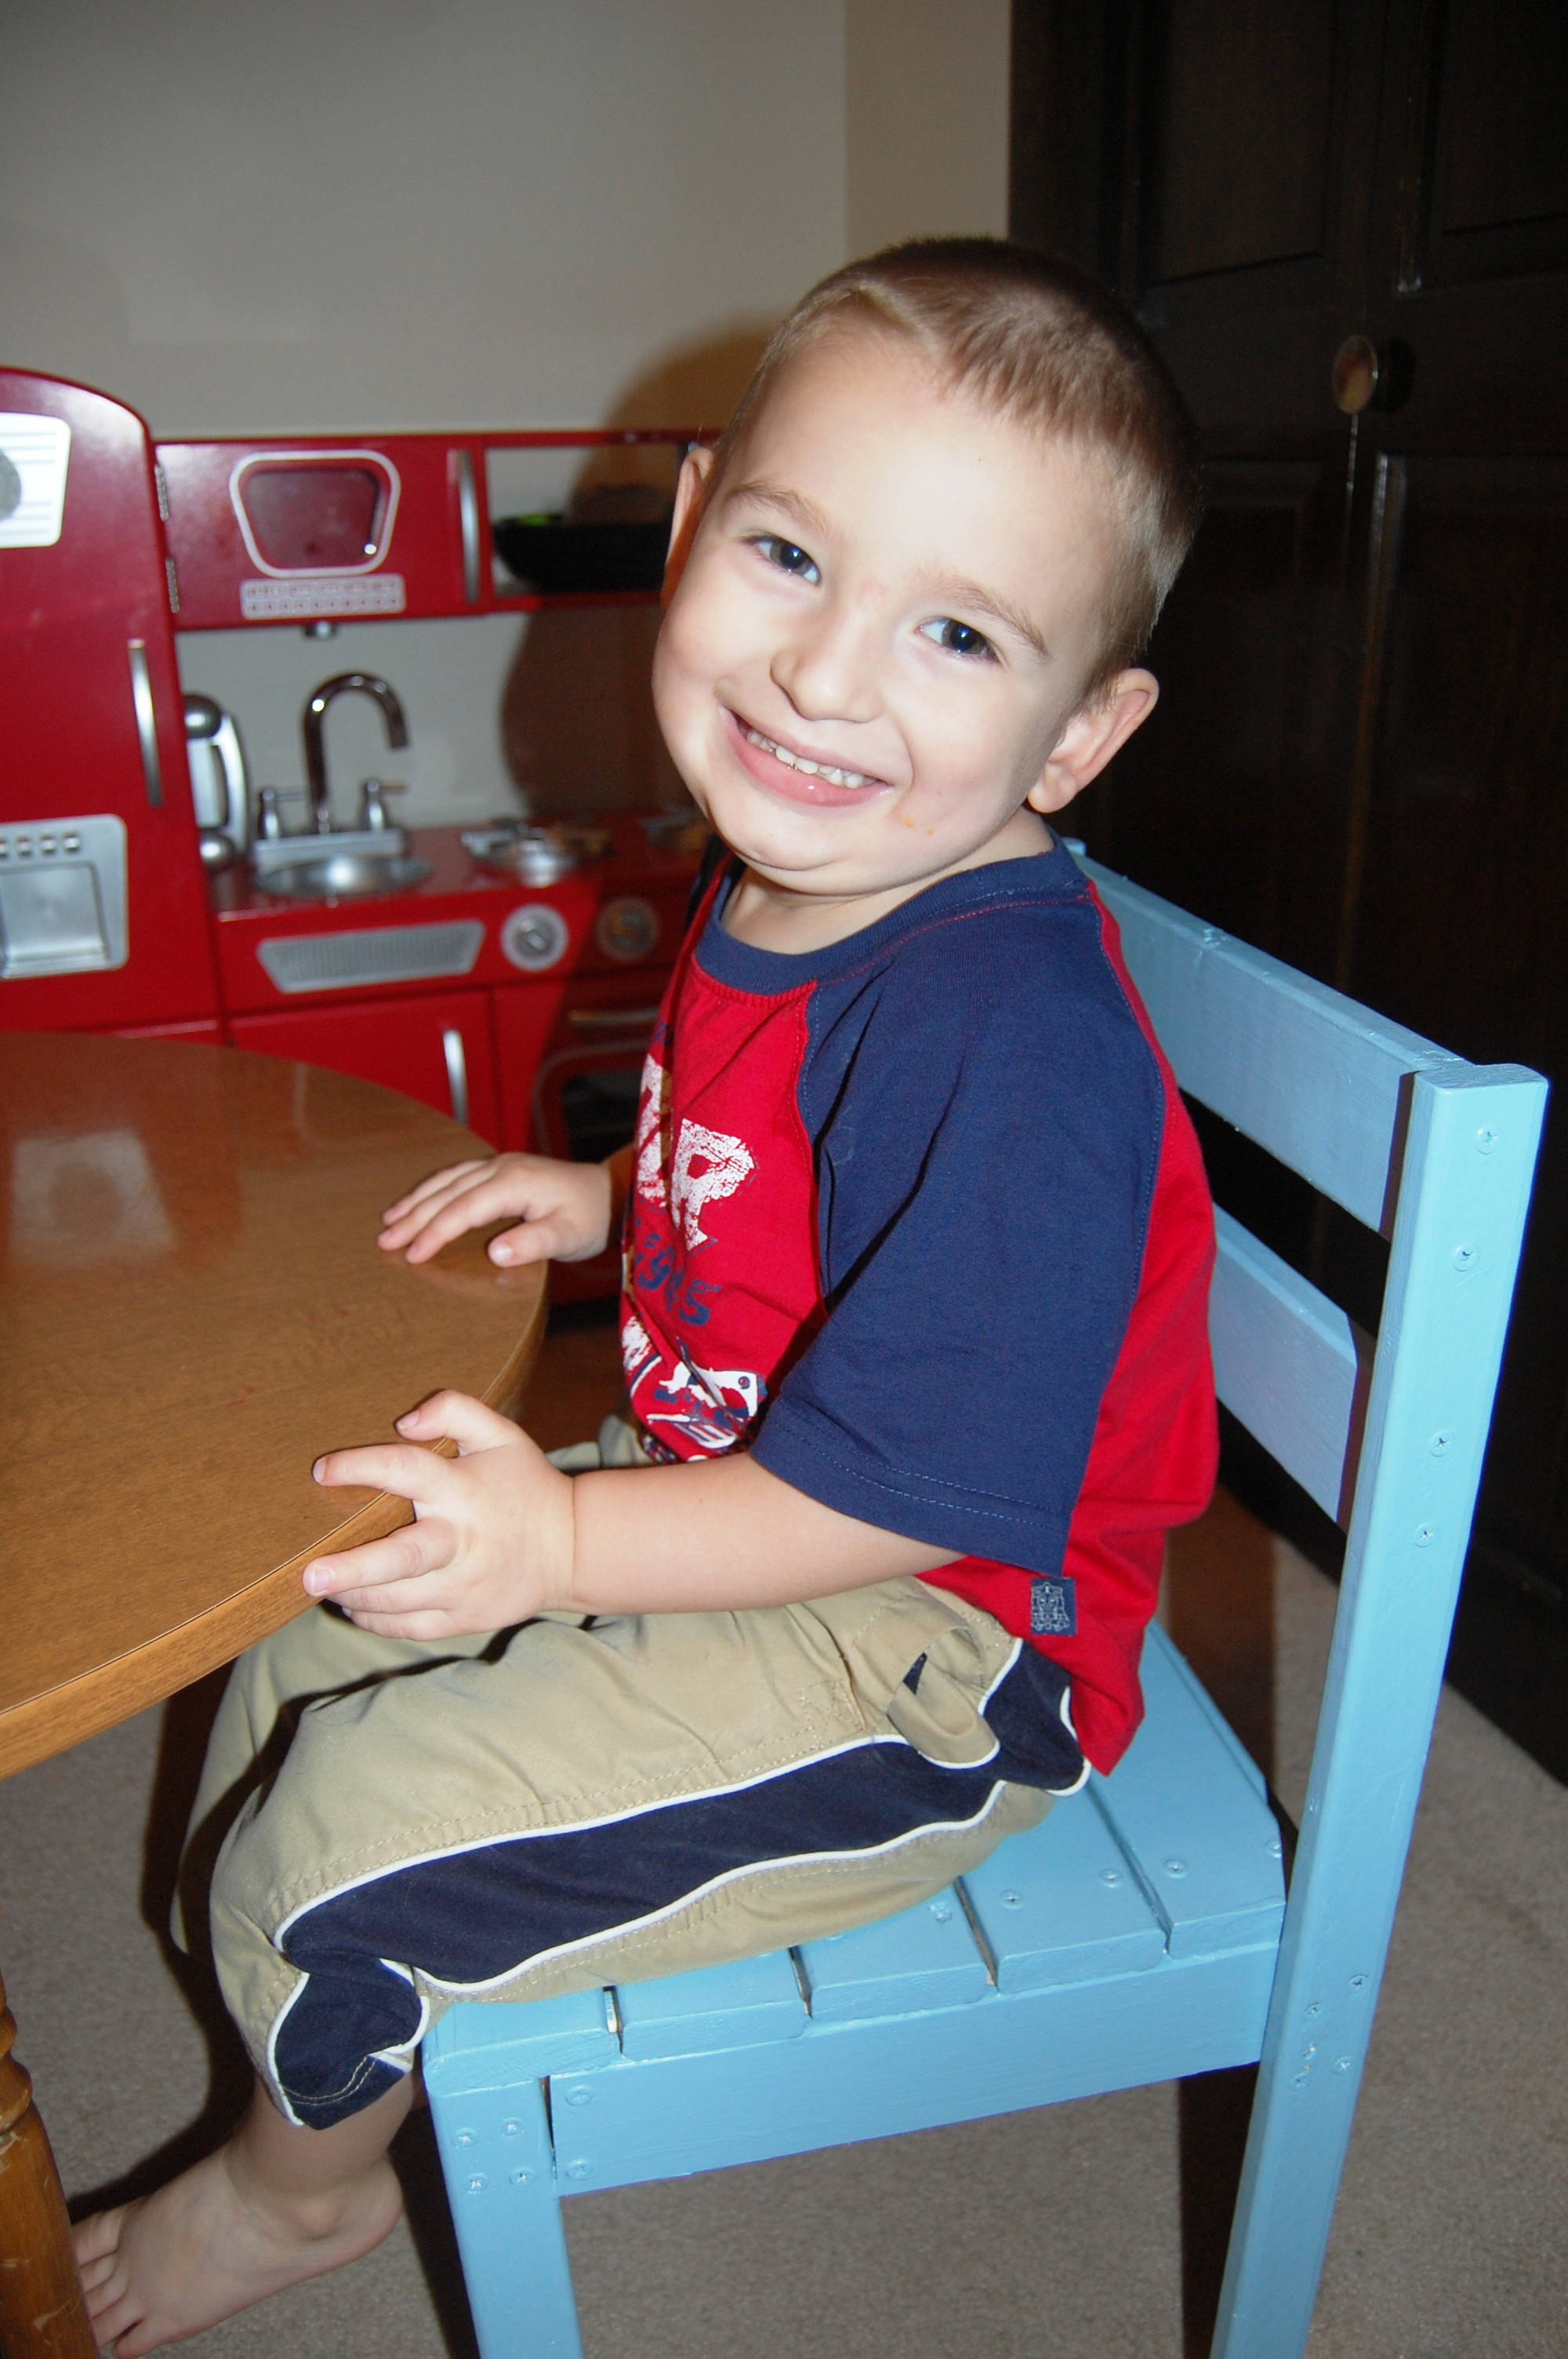
James got a sweet retro kitchen set for Christmas from his grandma. CarpenterMama scored a kids kitchen table (pretty sure it's authentic retro) at Goodwill for $8. All that he needed was a chair to sit in, and Ana's Four Dollar Stackable Chair fit quite nicely!
This was CarpenterMama's very first building project, and she is as proud as punch that she made something with her own two hands, some wood & screws, and oops paint. James is ecstatic that it is blue and he can sit in it. :-)
Estimated Cost
$5
Estimated Time Investment
Afternoon Project (3-6 Hours)
Finish Used
2 coats of Kilz primer then 1 coat of Behr medium base interior eggshell paint (from the "oops section" of the big orange store--only $5 for the gallon)
Recommended Skill Level
Starter Project
sofa table
sofa table made from console plan, I just changed the measurements.
Built from Plan(s)
Estimated Cost
$30
Estimated Time Investment
An Hour or Two (0-2 Hours)
Recommended Skill Level
Starter Project
Comments

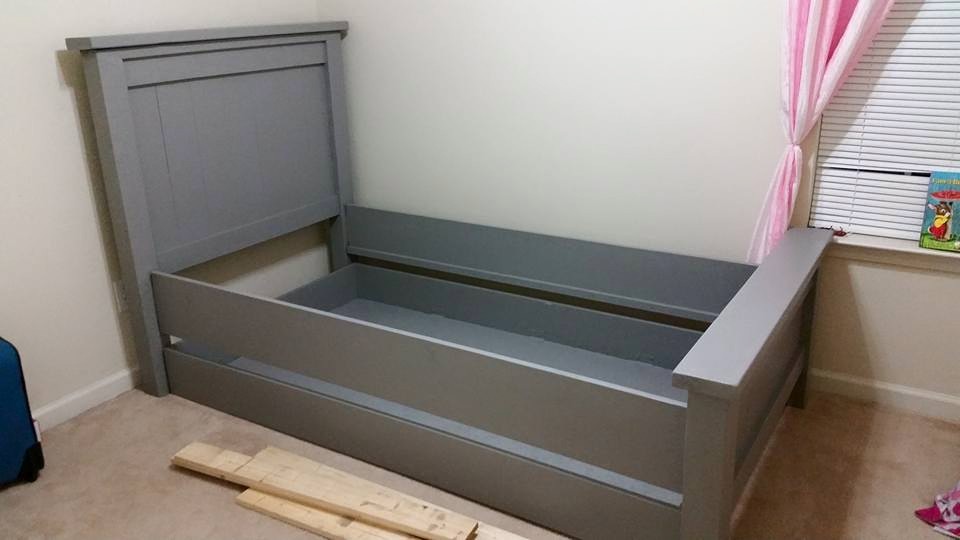
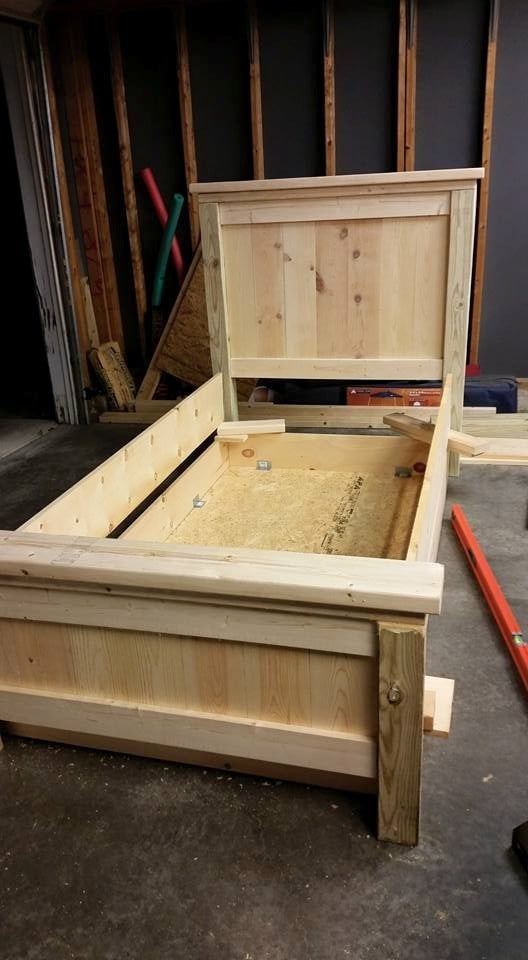
Twin Farmhouse Bed and Trundle

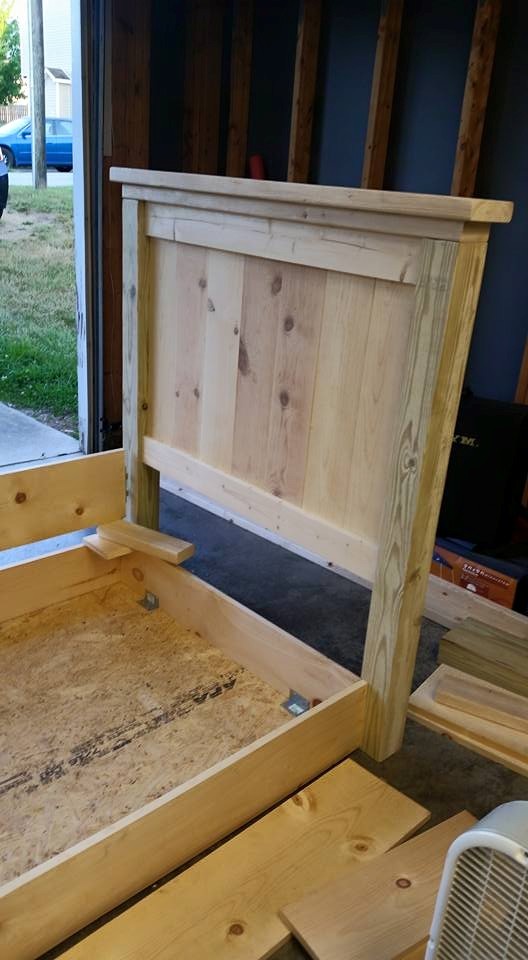
We built this over the course of a couple of weekends. I think the key thing was making sure my 1x6's were the correct width before we began to cut all the other boards. There was a lot of trimming after the fact making the overall width 1/2" shorter than the plans. Some adjustments made to the original plans were...
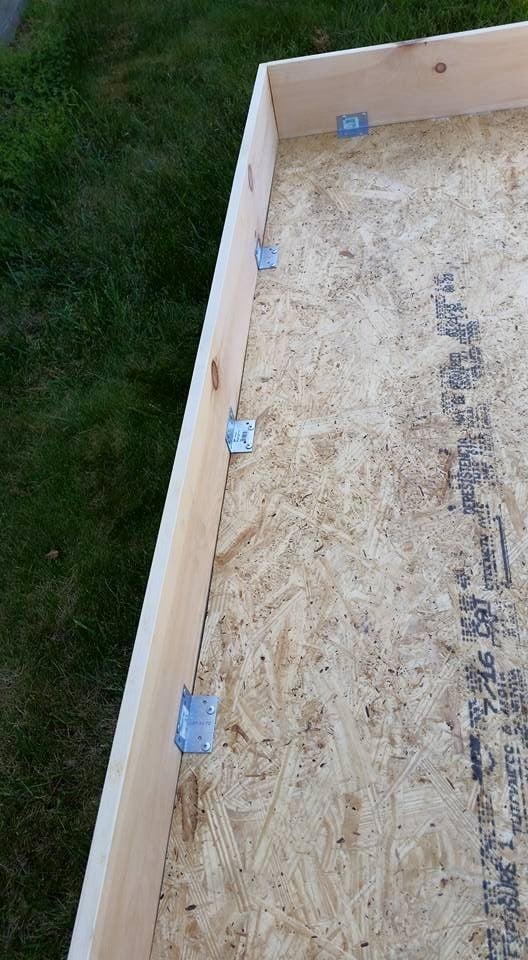
1) Using decking brackets to support the plywood to the 1x8s on the trundle (super easy way to secure it)
2) Purchased side rail brackets exactly like the ones here from my local woodworking shop.
This makes the bed easy to disassemble because although I swear I'll never move again I'm not building the bed into the room.
3) Instead of casters on the bottom we used those plastic furniture sliders. They were way cheaper and so slim. With the weight of the trundle wood and mattress they move flawlessly.
4) Since my daughter has a memory foam bed I was worried about sagging. We used small 1x? ripped in half along the inside of the side rails for a little lip and then 4 1x6's the width of the mattress to make supports and then laid plywood on top of that. 5) Cut down the headboard by 6.5" so that the mattress butted up against it.
Me personally I hate when there is a gap there for pillows to fall down in the middle of the night.
Built from Plan(s)
Estimated Cost
$200
Estimated Time Investment
Week Long Project (20 Hours or More)
Finish Used
Behr paint and primer in one. Color: Annoyamous
http://www.behr.com/consumer/ColorDetailView/780F-5
http://www.behr.com/consumer/ColorDetailView/780F-5
Recommended Skill Level
Intermediate
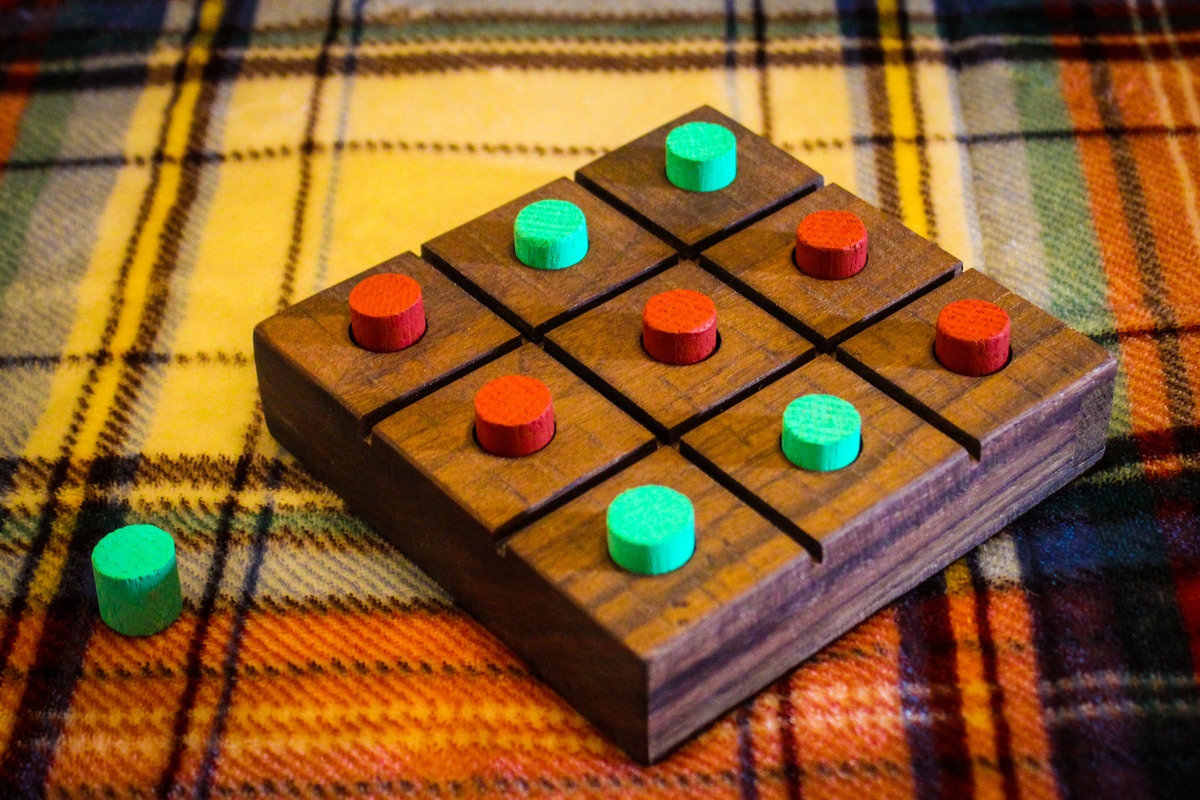
Wood Tic Tac Toe Board
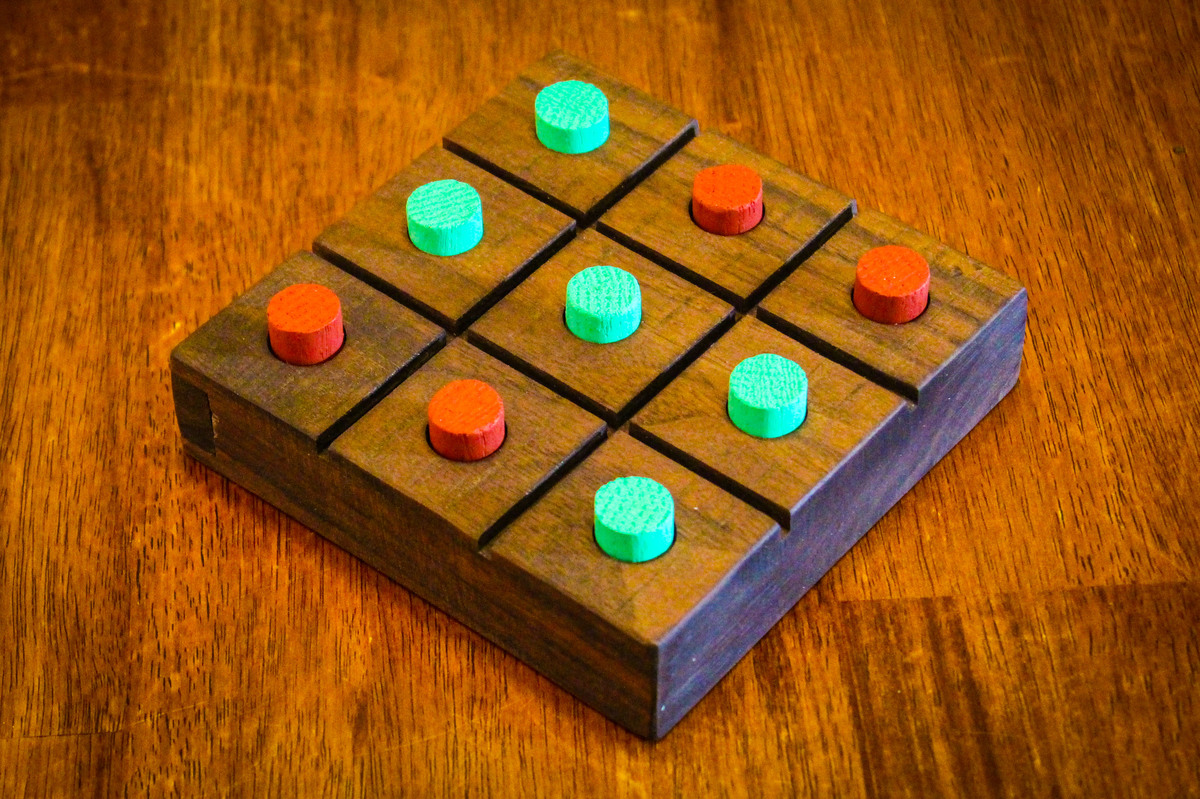
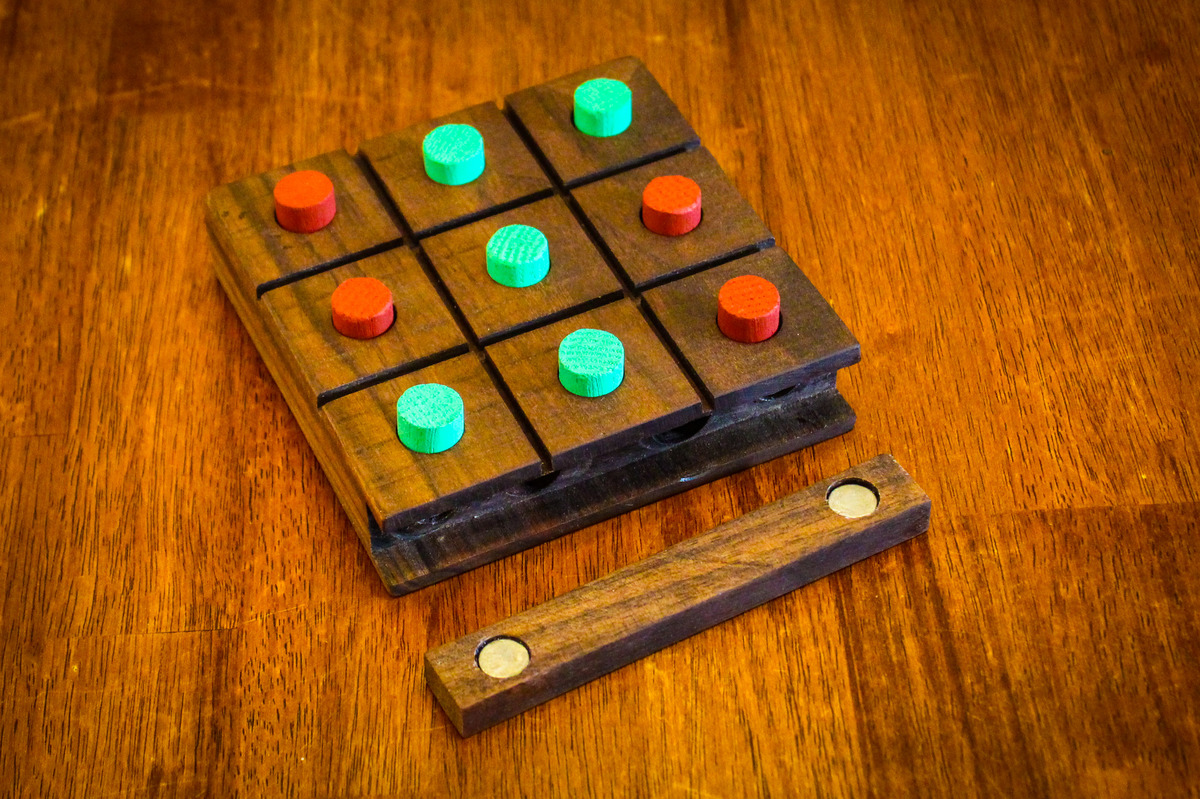
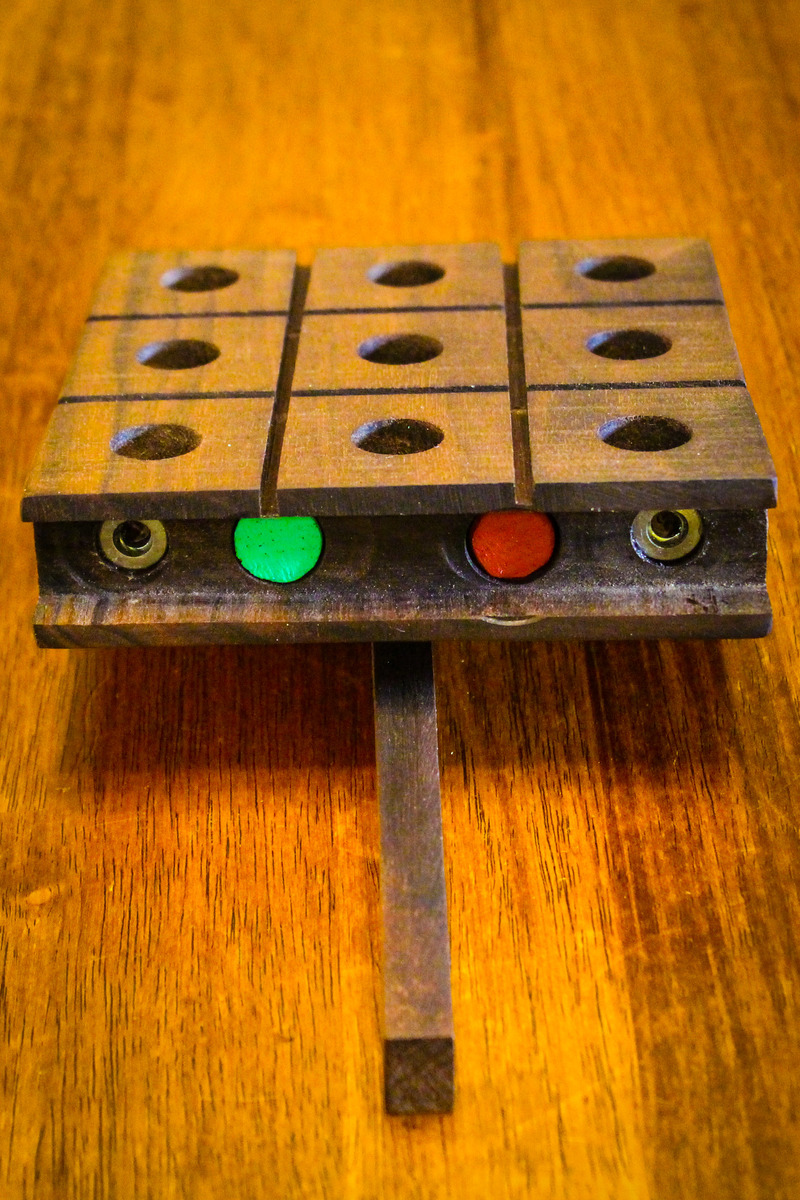
This is a pretty easy project and makes a nice holiday gift. This version was made from a scrap piece of hardwood and a 5/8" dowel. As an extra touch, I added a compartment inside the board to store the pieces. The compartment panel is held on with magnets for a clean look.
The quick video shows how the compartment works.

Estimated Time Investment
Afternoon Project (3-6 Hours)
Finish Used
Oil
Recommended Skill Level
Beginner
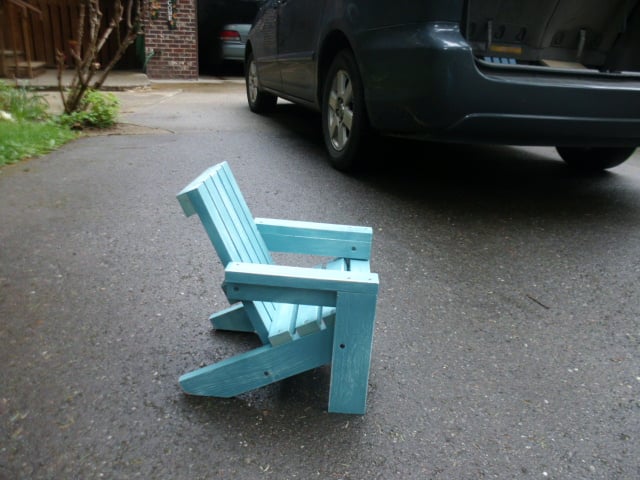
Doll furniture
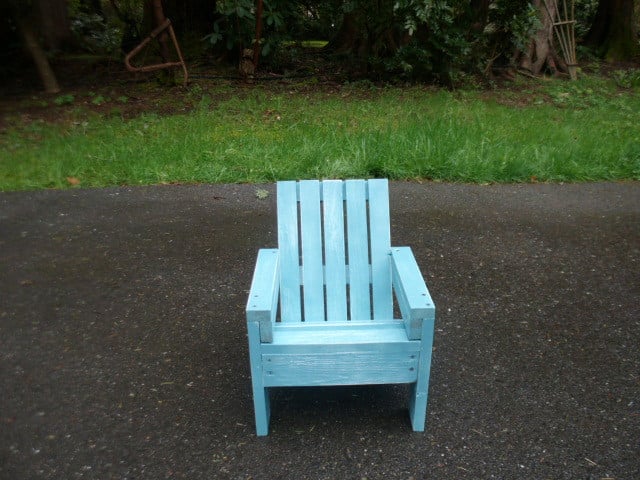
My husband made this chair in about 30 minutes. It was are first project from this sight. So easy and my niece loved it!! I painted he cut! what a team
Built from Plan(s)
Estimated Cost
4.00
Estimated Time Investment
An Hour or Two (0-2 Hours)
Finish Used
spray primer and teal spray paint then distressed with sand paper
Recommended Skill Level
Beginner
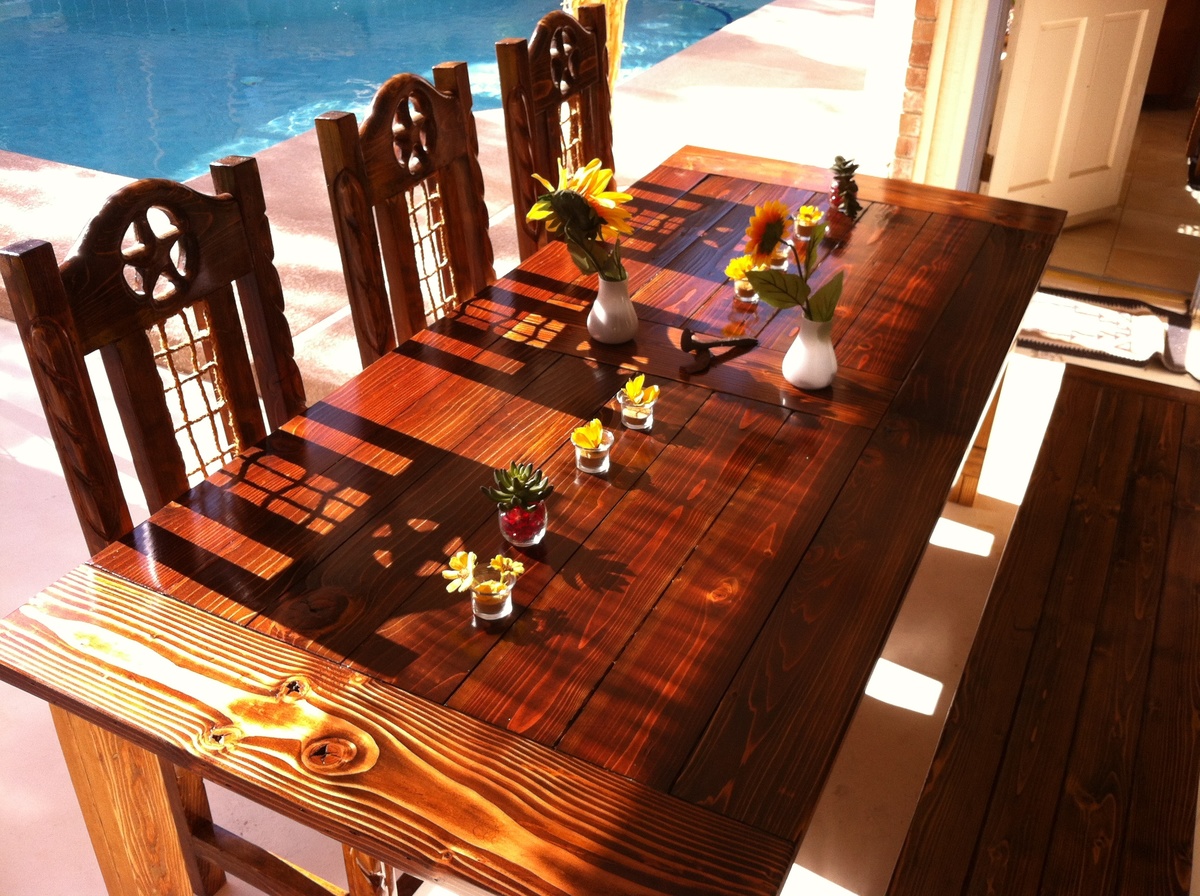
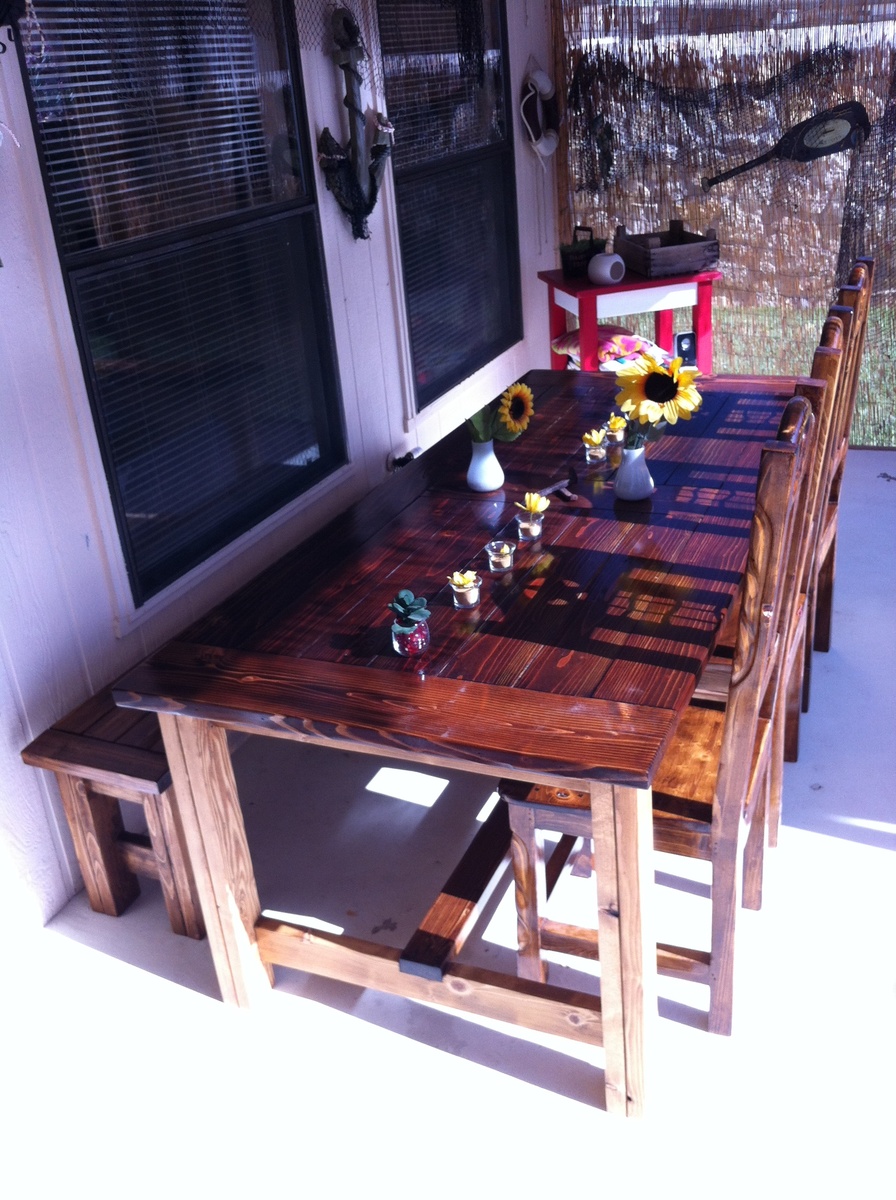
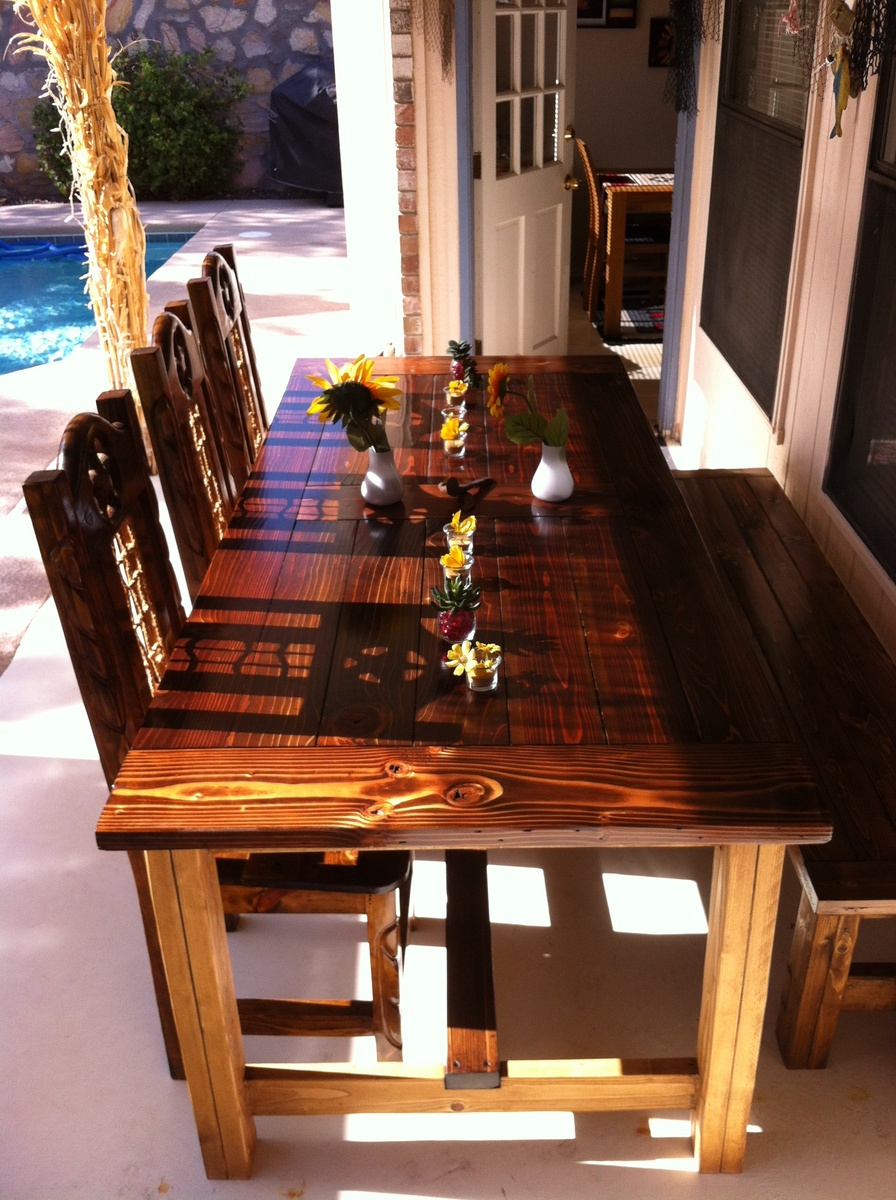
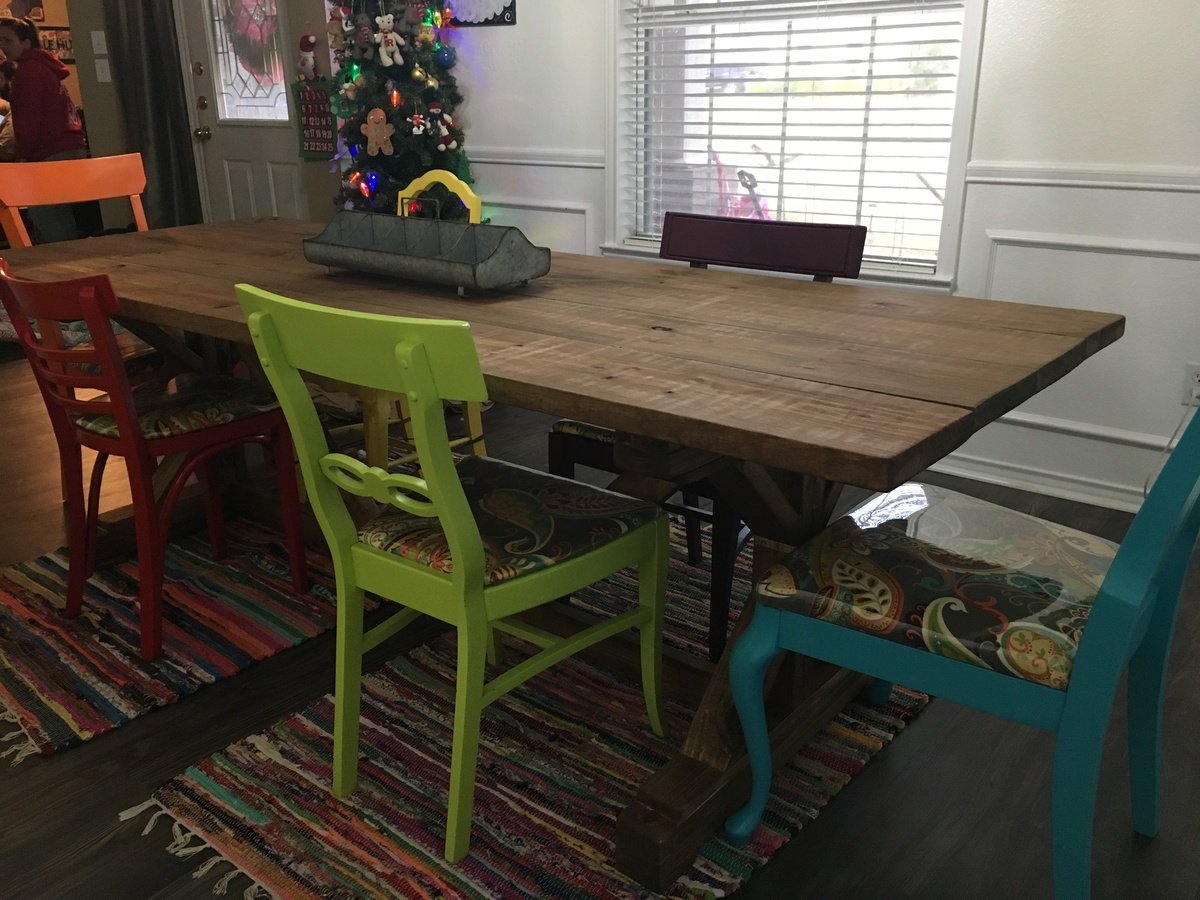
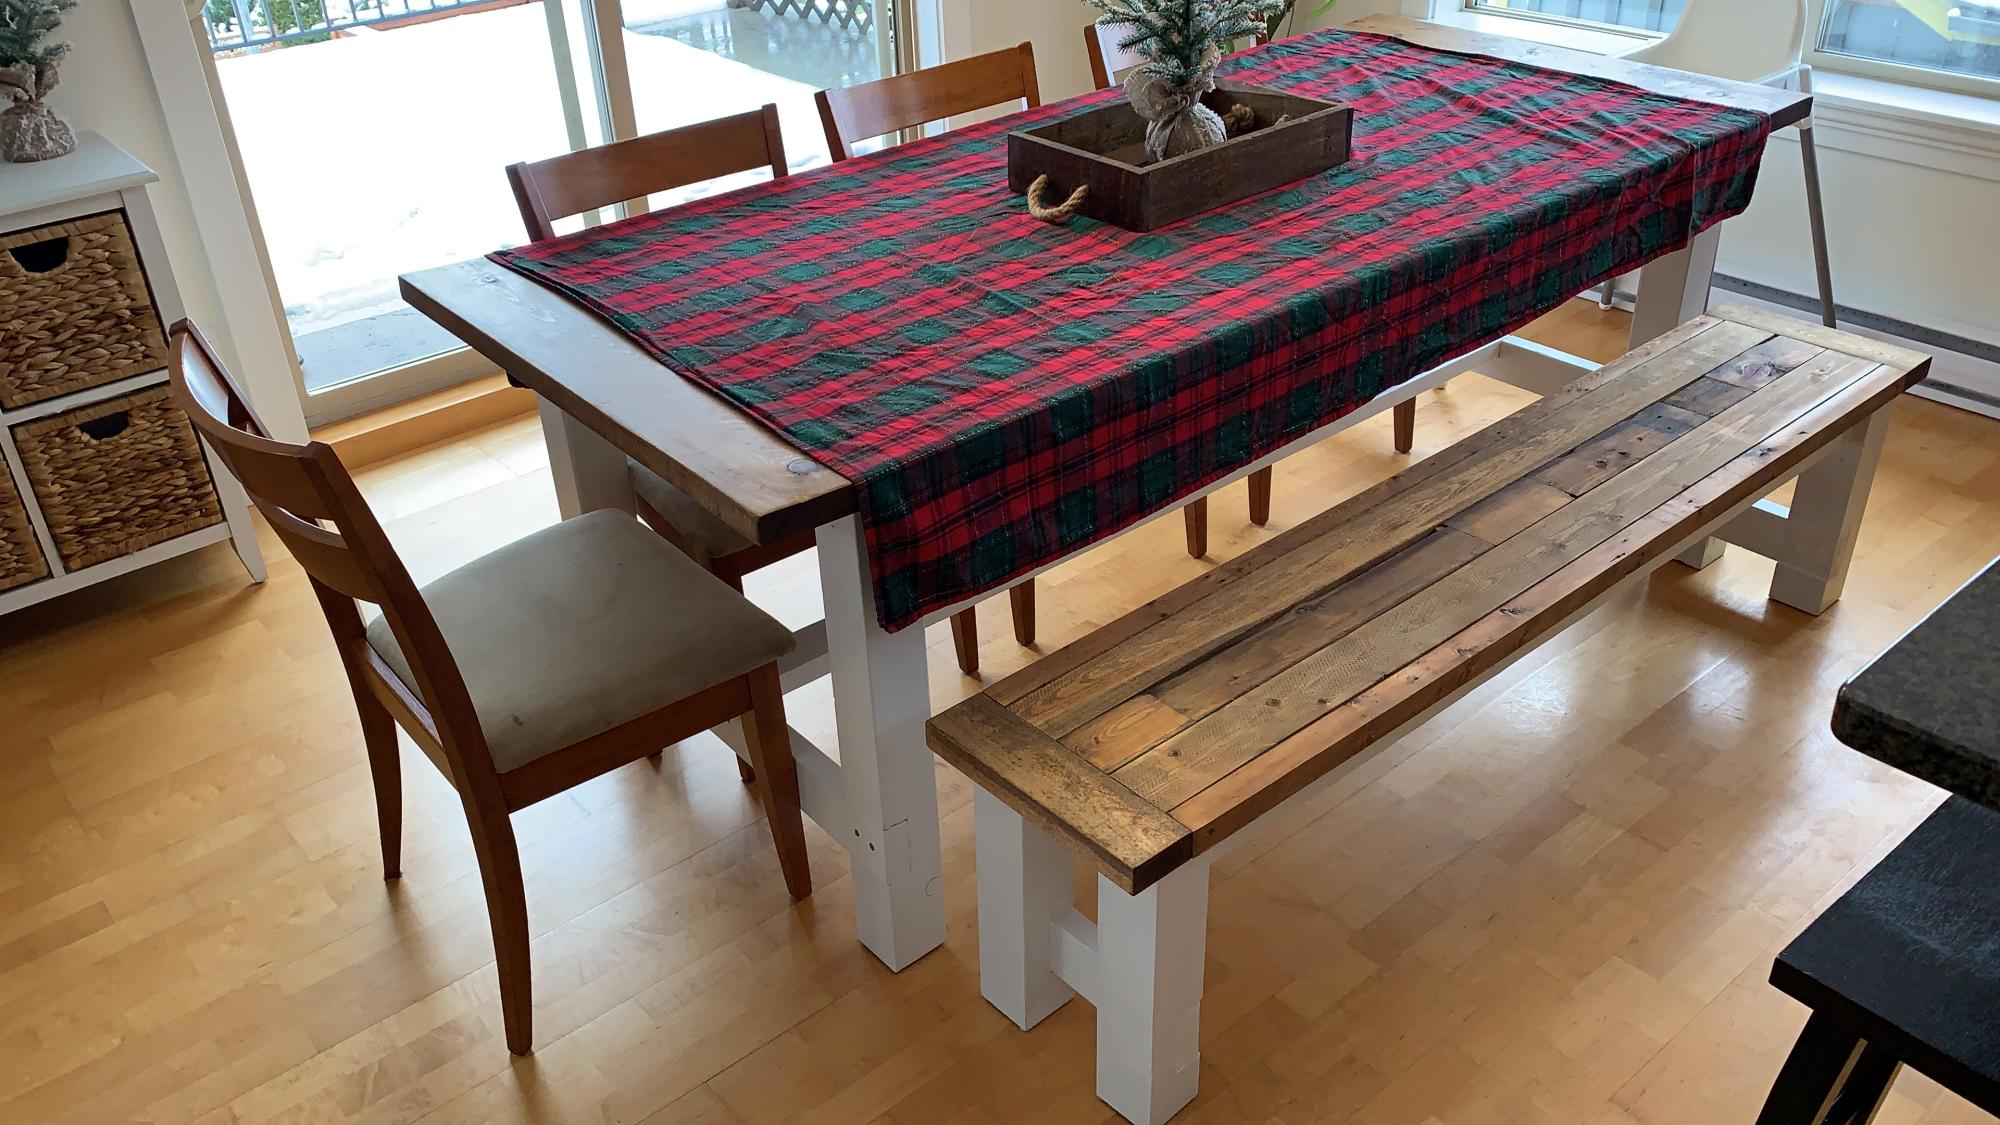
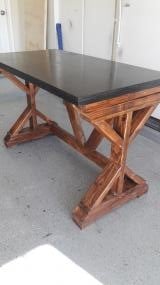
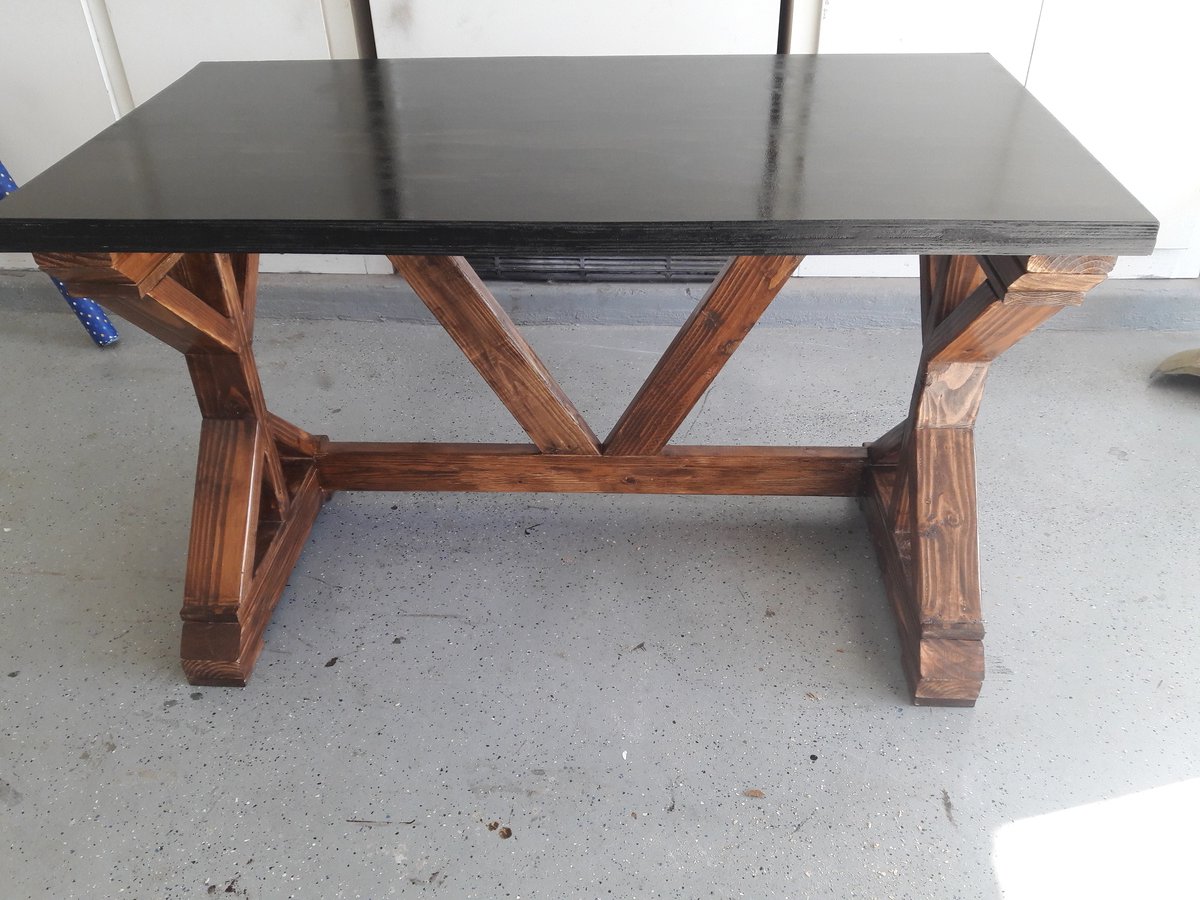
Farmhouse Table

This was my first Wood Project - EVER.
Working with this plan was quite easy. I just changed the design of the table top to my wife´s wish. I used "Golden Oak Stain" for the Legs and "Provincial Stain" for the Table top and Bench. The Legs are covered with Water seal and the Tops with 3 layers of Polyurethane. Chairs are Stained in Provincial also. Was a lot of fun for all of us. Learned a lot during this build.
Thanks
Built from Plan(s)
Estimated Cost
300 $ for all together
Estimated Time Investment
Week Long Project (20 Hours or More)
Finish Used
Minwax Stains
Polyurethane
Polyurethane
Recommended Skill Level
Starter Project
Comments

Mon, 07/01/2013 - 21:10
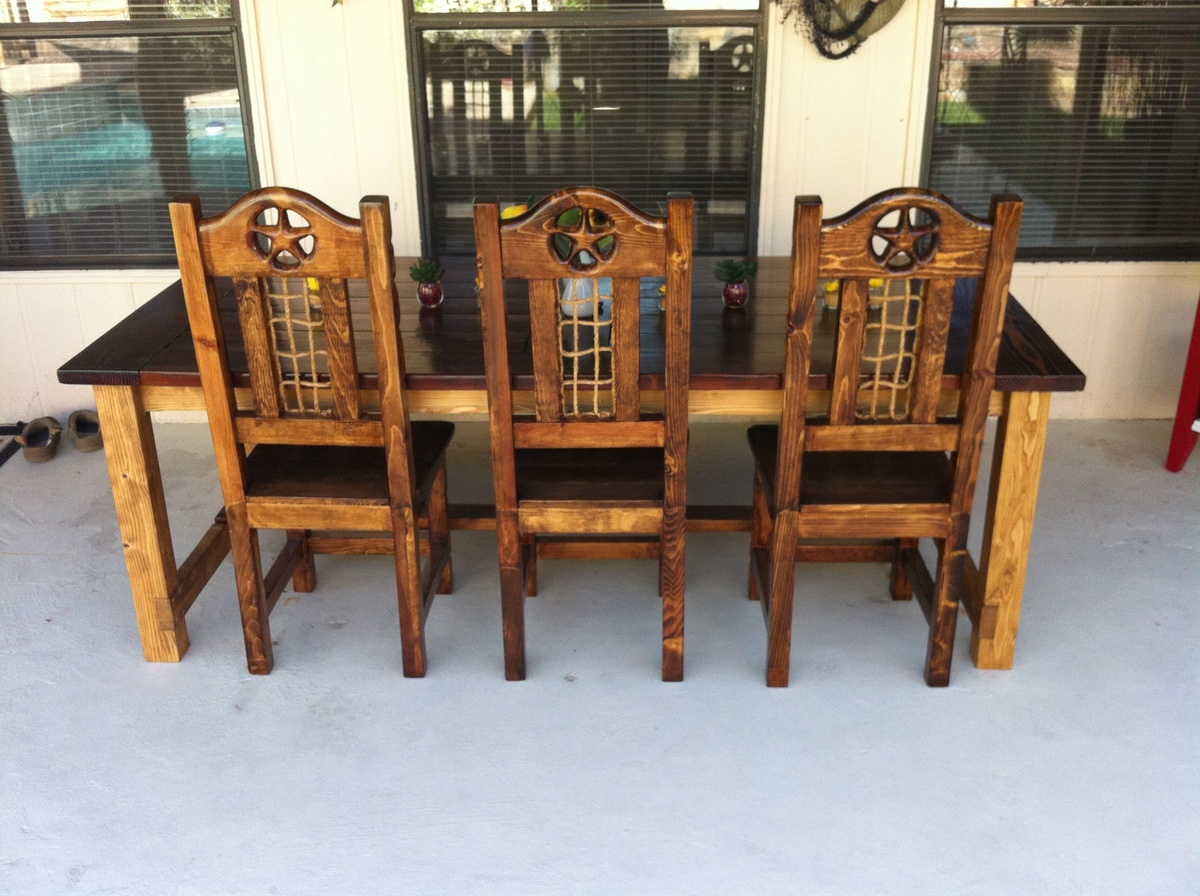
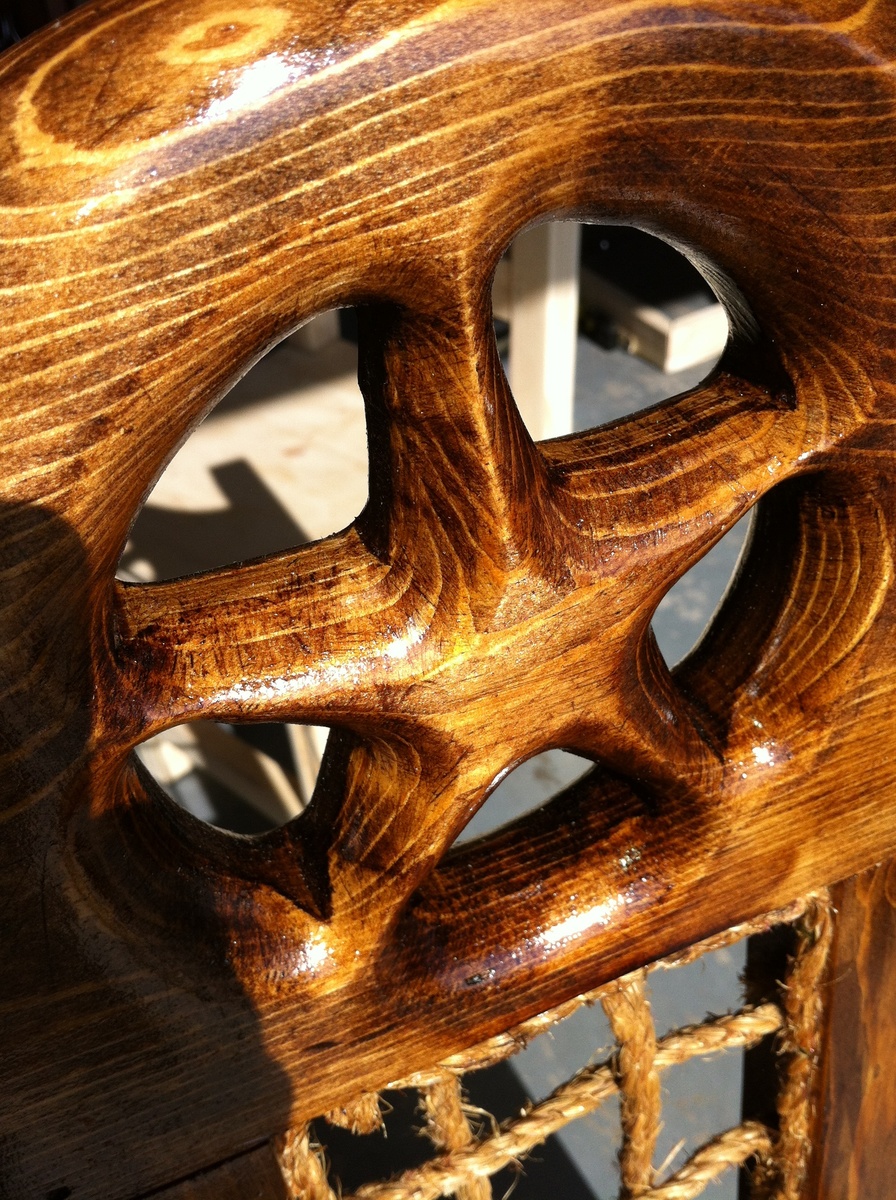
The Chairs
Thanks for the nice comments. I bought the Chairs at a local Mexican Furniture Shop, sanded them, Stained them to fit the Table Top and put 3 layers Polyurethane on it... Came Out nice.
Thanks Alain.
Jann
Wood Glue Caddy
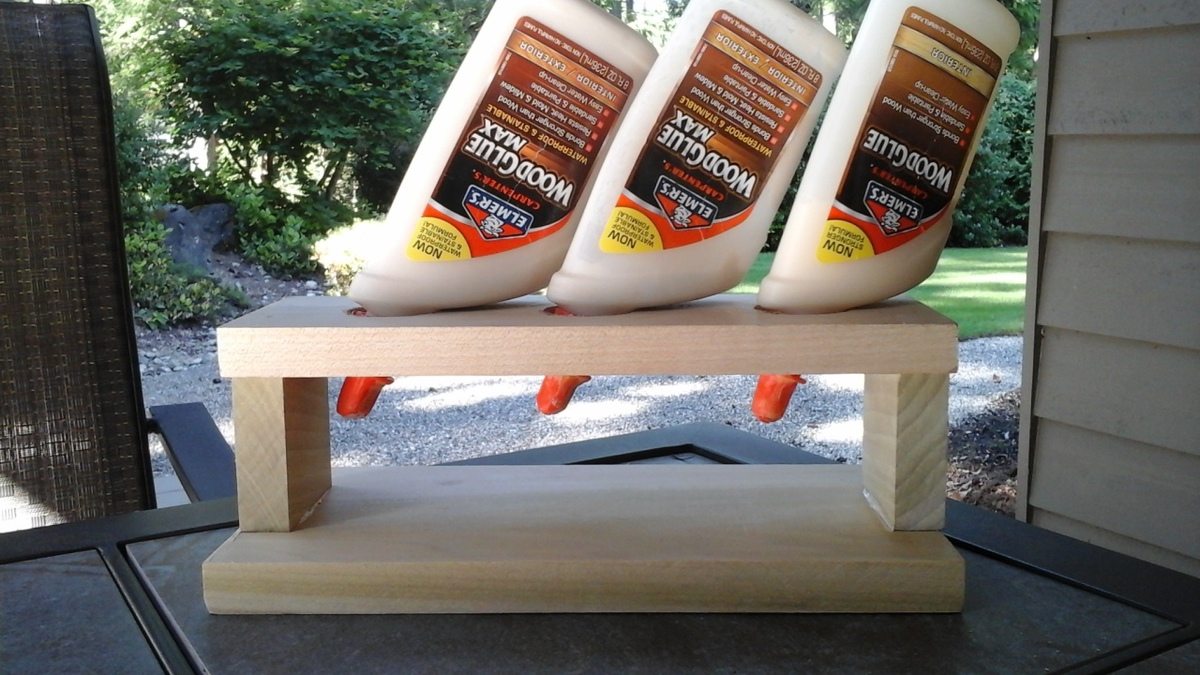
This has probably been done before but here it is for consideration by my fellow woodworkers. If you're anything like me I get pretty impatient waiting for wood glue to work its way out of the tube. So using some scrap wood, I drilled 1.5 inch holes in a small 1x4 board and elevated it about 3 inches. A small board under the glue tubes catches any unwanted drips. Makes a perfect caddy for my glue tubes and no more waiting for my glue. Its always ready to go!
Estimated Cost
1.00
Finish Used
No finish
Recommended Skill Level
Starter Project
Comments
Wed, 06/03/2015 - 06:25
That's brilliant!
Nice way to keep them collected AND ready to go.
Could do the same for condiments, maybe.
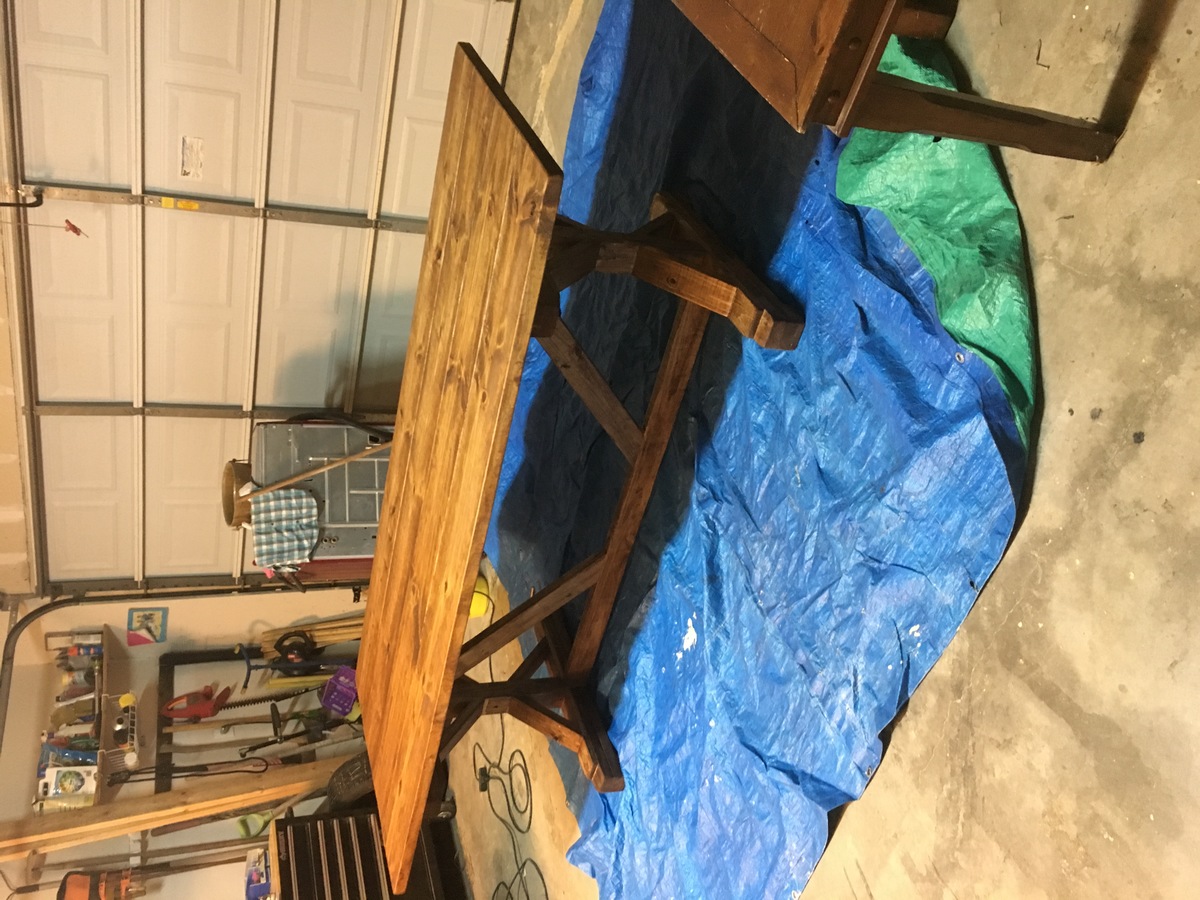
Farm Table
I sent these plans to my dad and said I wanted him to help me build it for Christmas. He came with everything cut and ready to be sanded and assembled! It was put together and stained in a day! I love my Christmas present, and love that my dad and I built it. It will be a family table, for sure!
Estimated Time Investment
Day Project (6-9 Hours)
Finish Used
Minwax brand Early American stain. Applied with cloth. One coat.
Recommended Skill Level
Intermediate
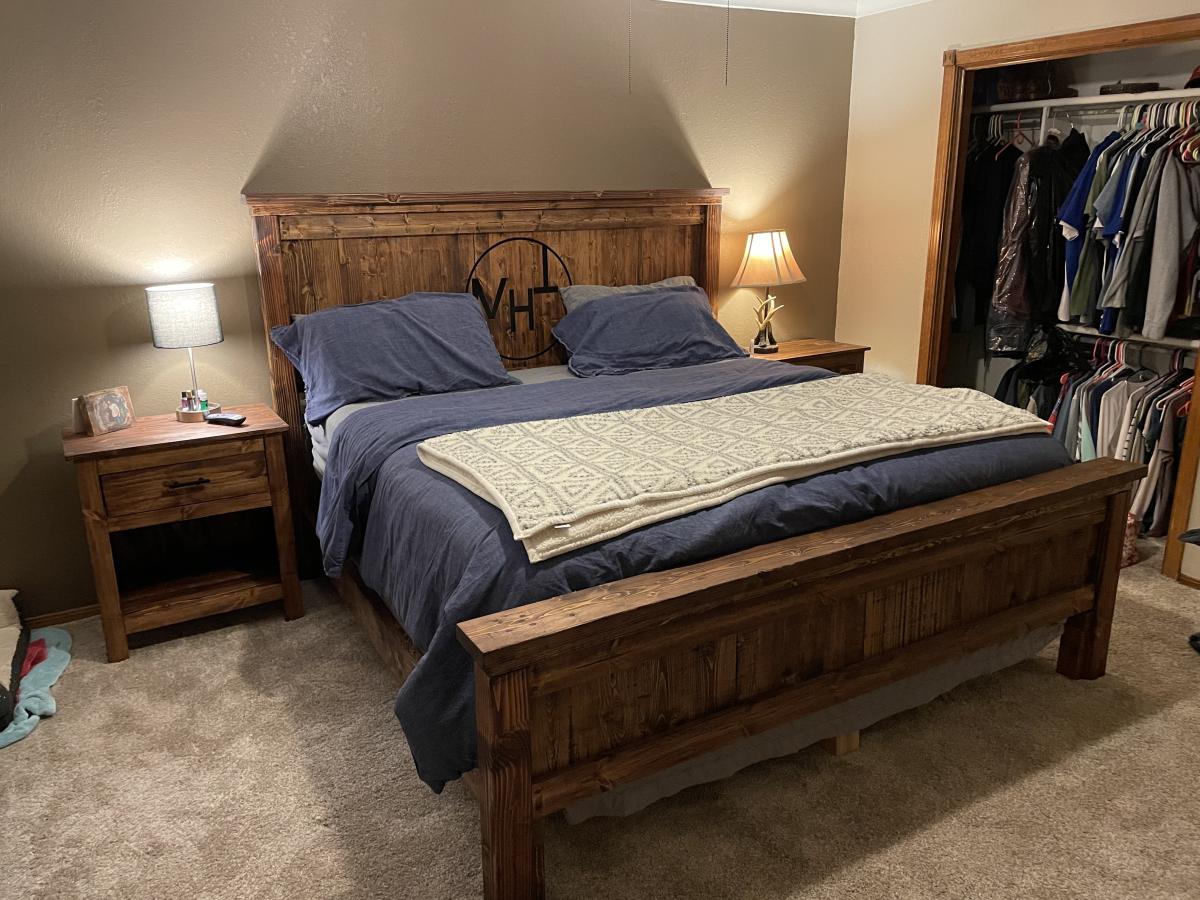
Farmhouse King Size Bed w/ matching Nightstands
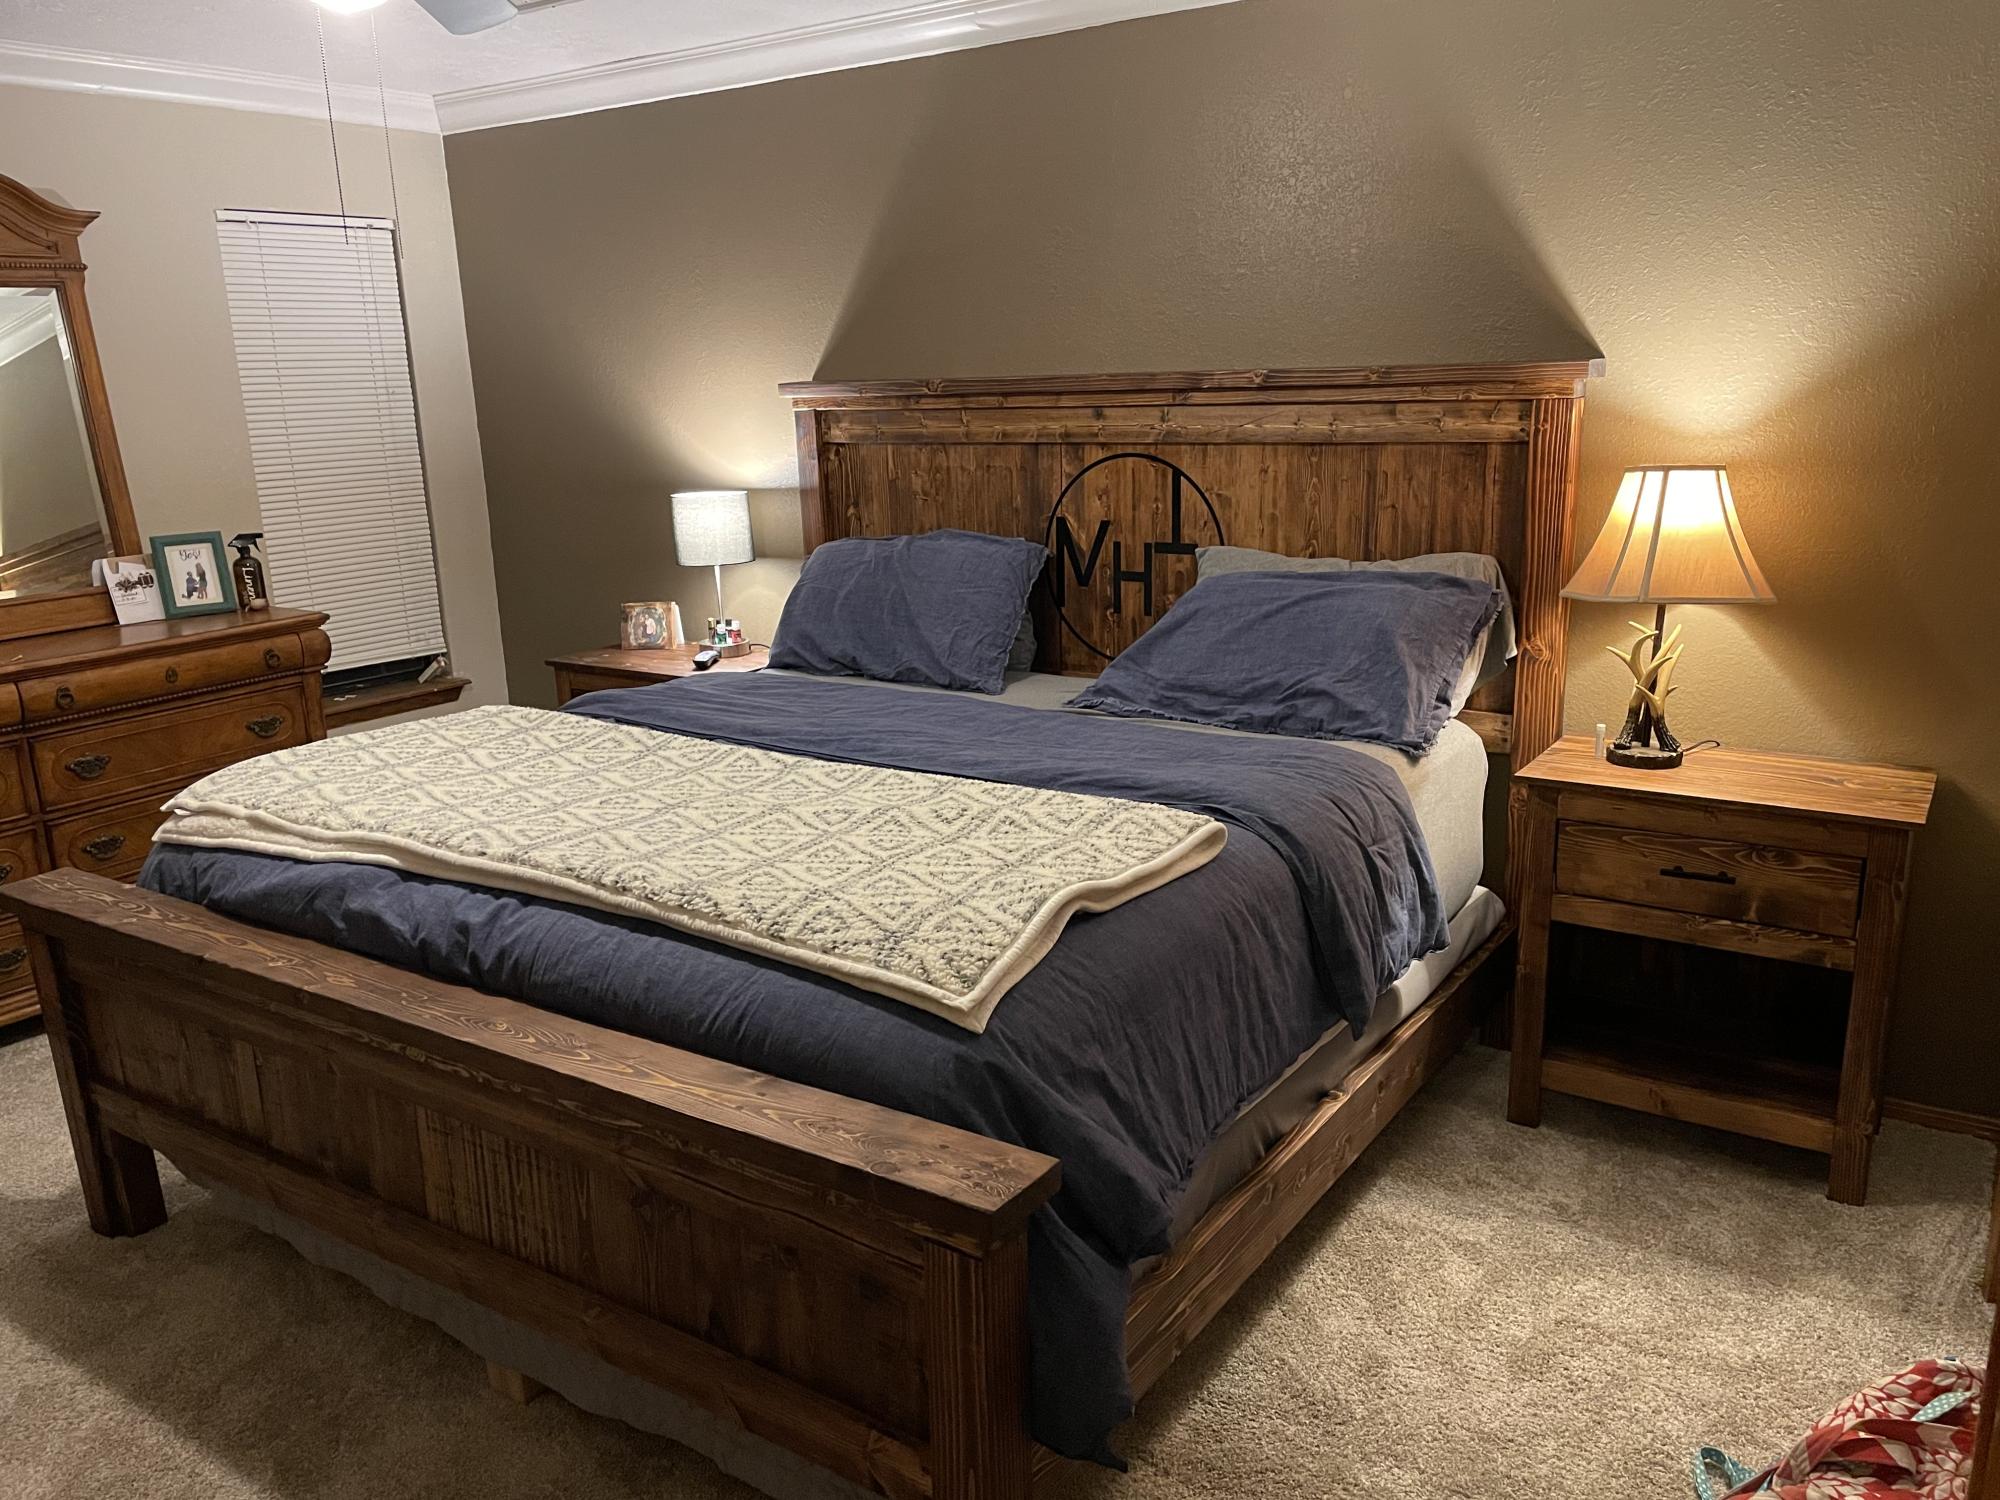
This was a great project to build, easy directions and easy to make modifications to. I built this bedroom suit for my son and his bride with their brand routered in the middle and used black epoxy to fill. Used Miniwax Honey colored stain and finished it with two coats of Danish Oil to protect it.
Comments
Farmhouse Bed-My first build
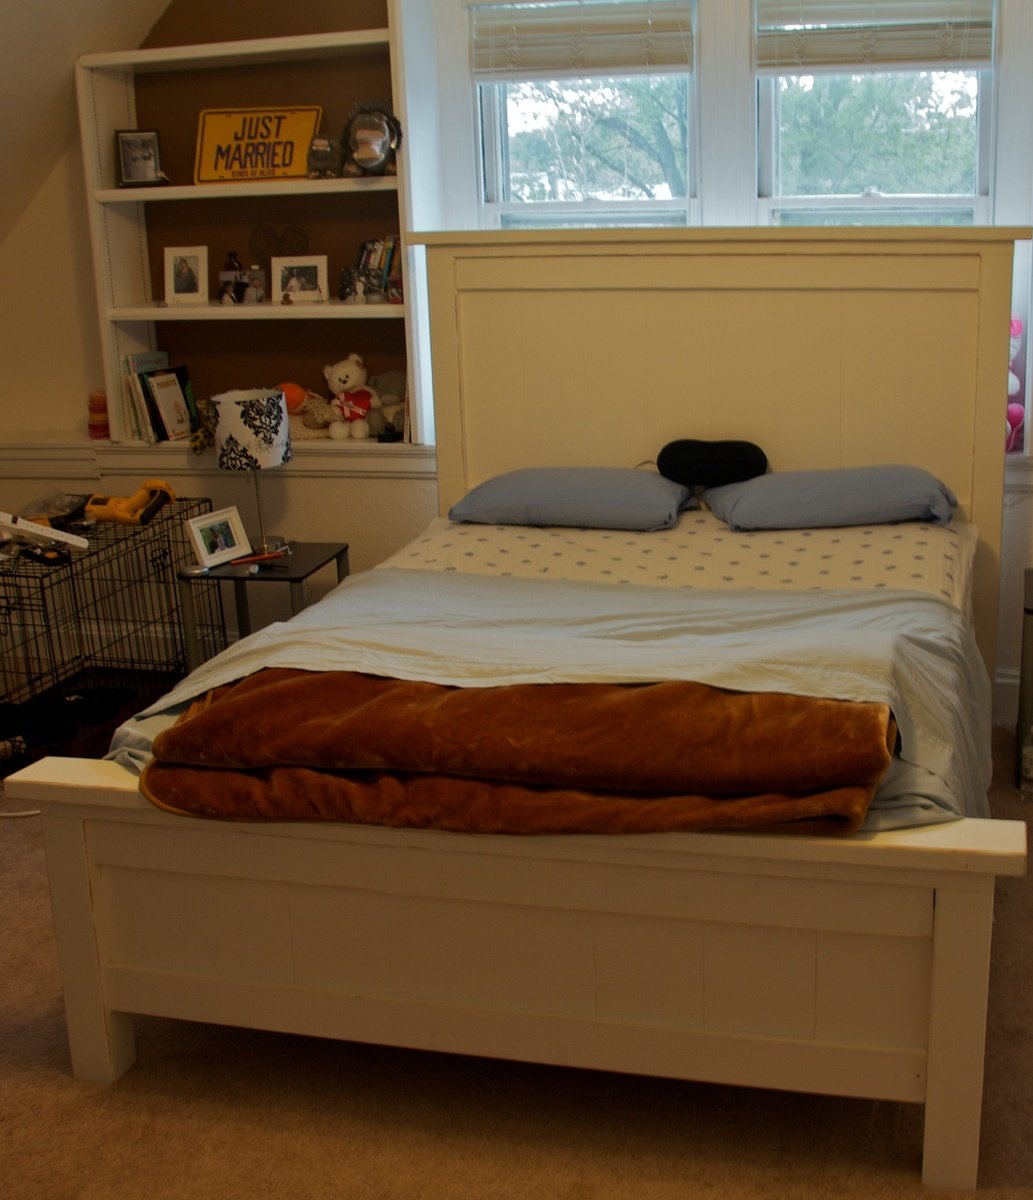
This was my first project. My wife saw it and told me to make it :)
Now I'm hooked
I already bought wood for my next two projects.
You rock Ana !!!!!
Built from Plan(s)
Estimated Cost
100-200
Estimated Time Investment
Weekend Project (10-20 Hours)
Finish Used
Dove white
Recommended Skill Level
Intermediate
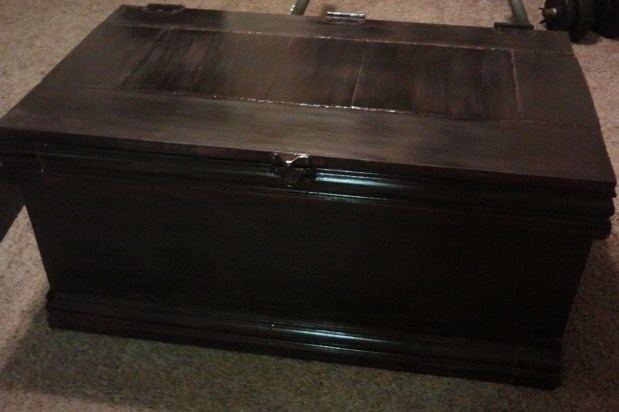
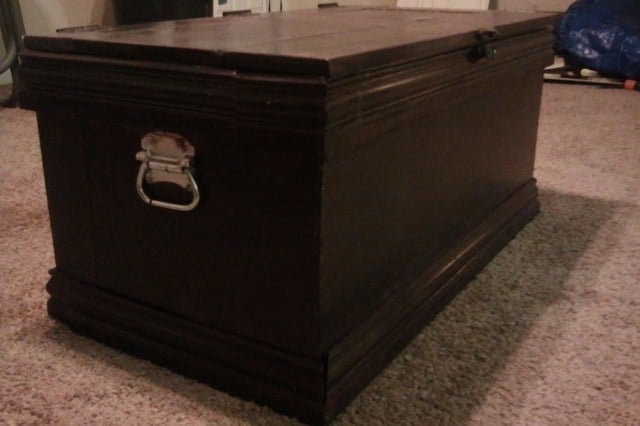
Becca Trunk
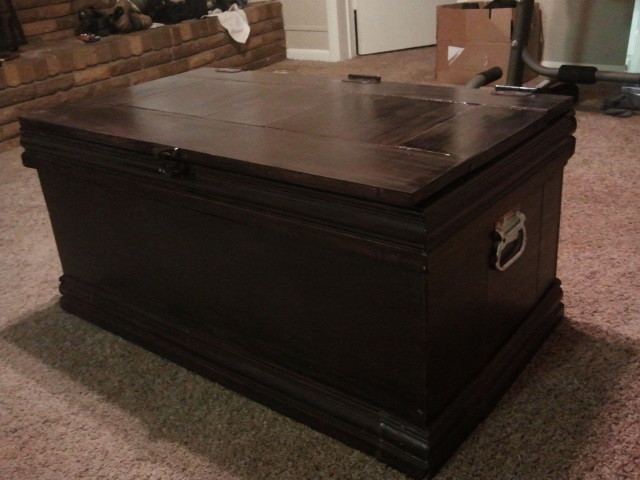
This was my first bigger woodworking project, and I loved the project and the plan! I'm just starting out buying tools, so the only power tool I used for this was a drill. I also have yet to get a work bench, so for now I was just working on the floor inside my apartment.
In order to use up some leftover wood, I made the sides out of several boards instead of one solid piece. I didn't use pocket holes for lack of a jig; instead I simply glued the boards on the sides and connected them with a few thin screwed-on boards inside. I will still line the inside with some sort of cloth, so I wasn't too concerned about what it looks like inside.
Considering my circumstances, I'm extremely pleased with the results, and ready to soon move on to another project.
From start to finish it took me about 3 weeks of working on it about 2 hours in the evening maybe 4 days a week (mind you, I'm a beginner and was using hand tools).
Finish Used
I used 3 layers of Varathane black cherry Stain + Poly, followed by some light sanding. It got kinda dark, so 2 layers would probably have sufficed.
Recommended Skill Level
Beginner
Comments
Sun, 07/07/2013 - 21:31
Hi 5!!
You did a very good job considering you did it all by hand. When I was afraid to use power tools I made my sons first bed by hand so I know how difficult it can be. Since you already have a drill I'd suggest getting a miter saw next. It will save so much time with your cuts. You'll also get perfect angles. :)
I dont have a pocket hole jig either but if you still want pocket holes you can buy a countersink drill bit at just about any hardware store (or use a regular drill bit but the countersink ones work better, I feel) and angle it at 15 degrees or so. Then just sink your screw right into the hole. Viola, hand made pocket holes. :)
I love the dark color too, job well done
~Melody
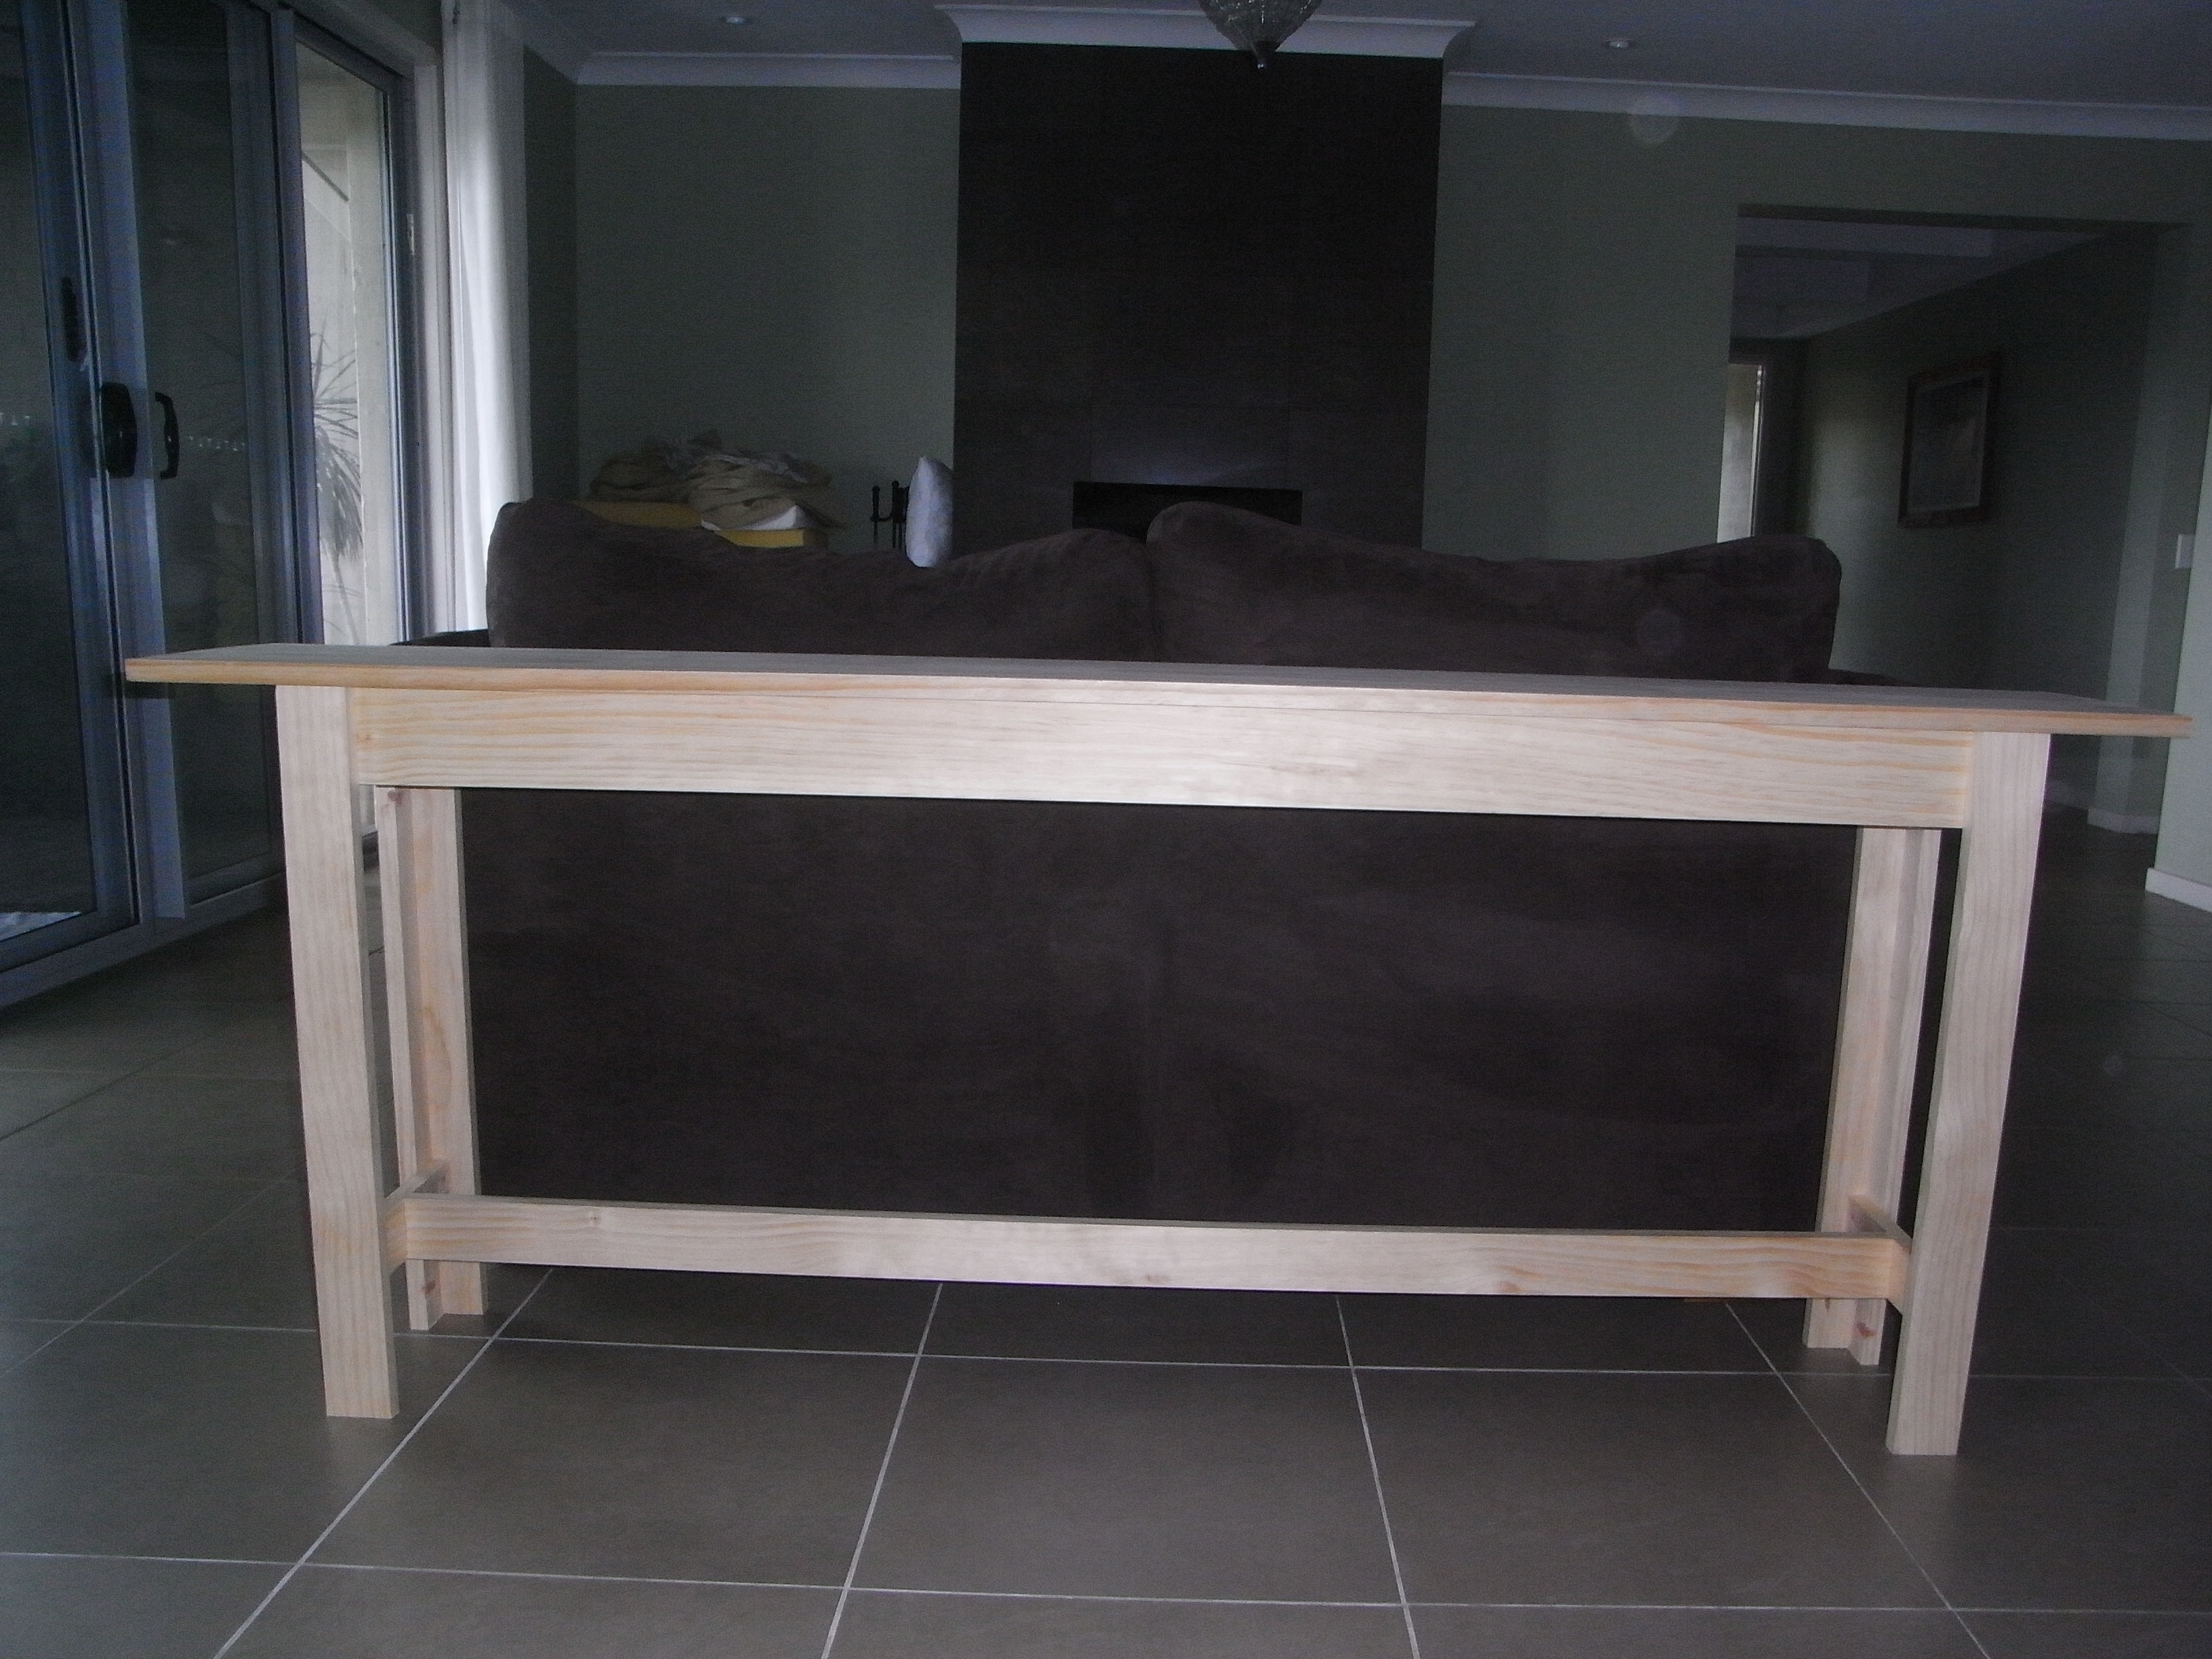
Bar
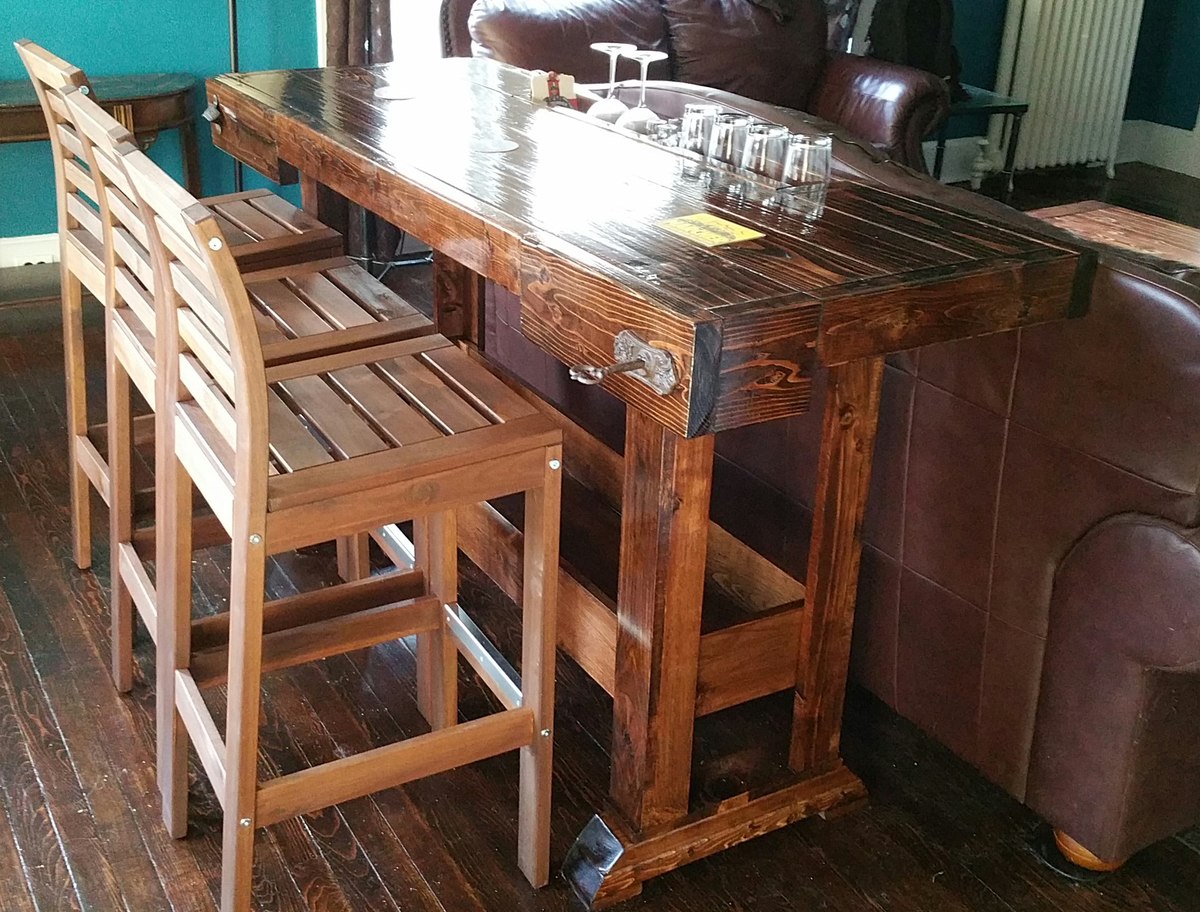
I found the Workbench Console plans on this site and thought it would look great behind the sofa.
The length was extended to make it comfortable for 3 people to sit at and also to span the length of the sofa. I cut out a section at the back and lowered it to hold some glasses. This fits 4 beer glasses, 4 wine glasses and 4 shot glasses. The towel holder is a cast iron key that I found on Amazon. On the other end is a cast iron bottle opener found on eBay.
I would like to take credit for the chairs, but I cheated and got these from IKEA.
We love using this while eating dinner and watching a movie and is especially handy when guests are over.
Built from Plan(s)
Estimated Cost
$75-$100
Estimated Time Investment
Weekend Project (10-20 Hours)
Finish Used
Minwax Red Oak stain. Polyurethane.
Recommended Skill Level
Beginner
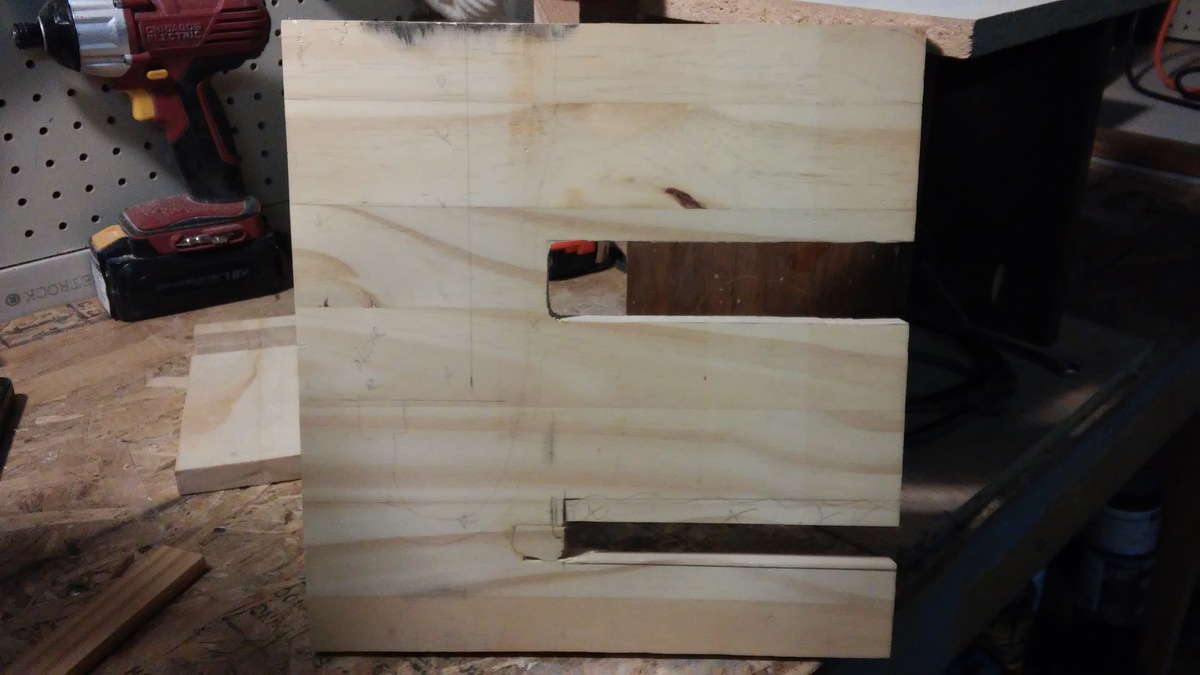
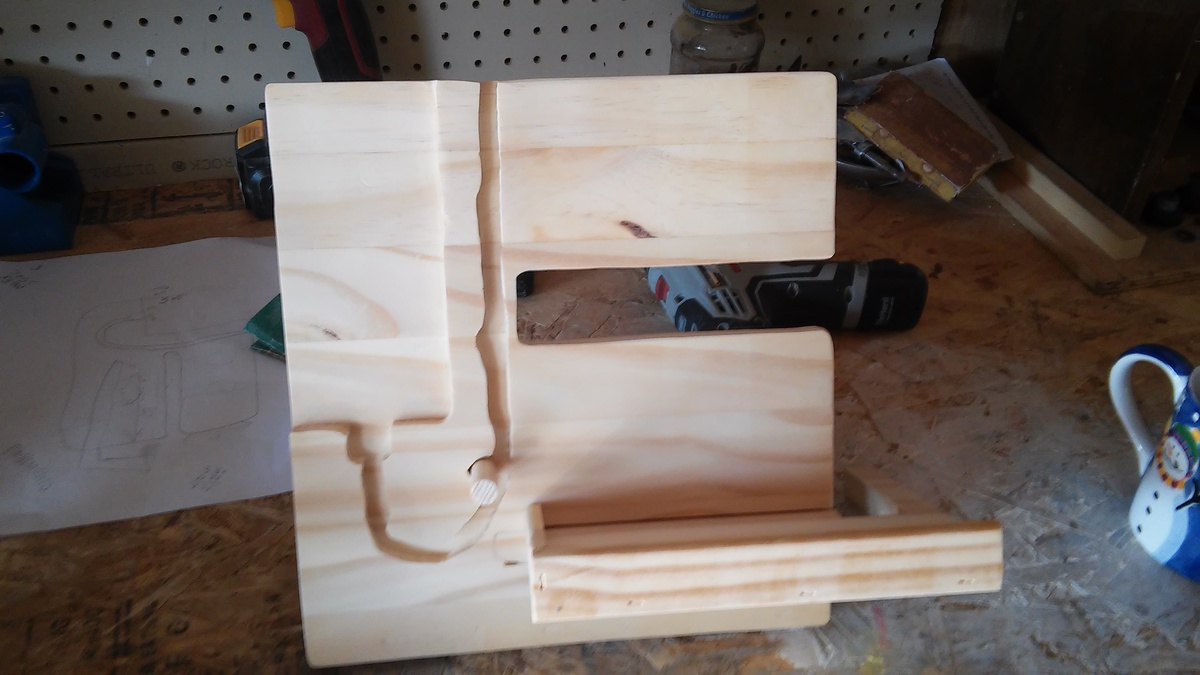
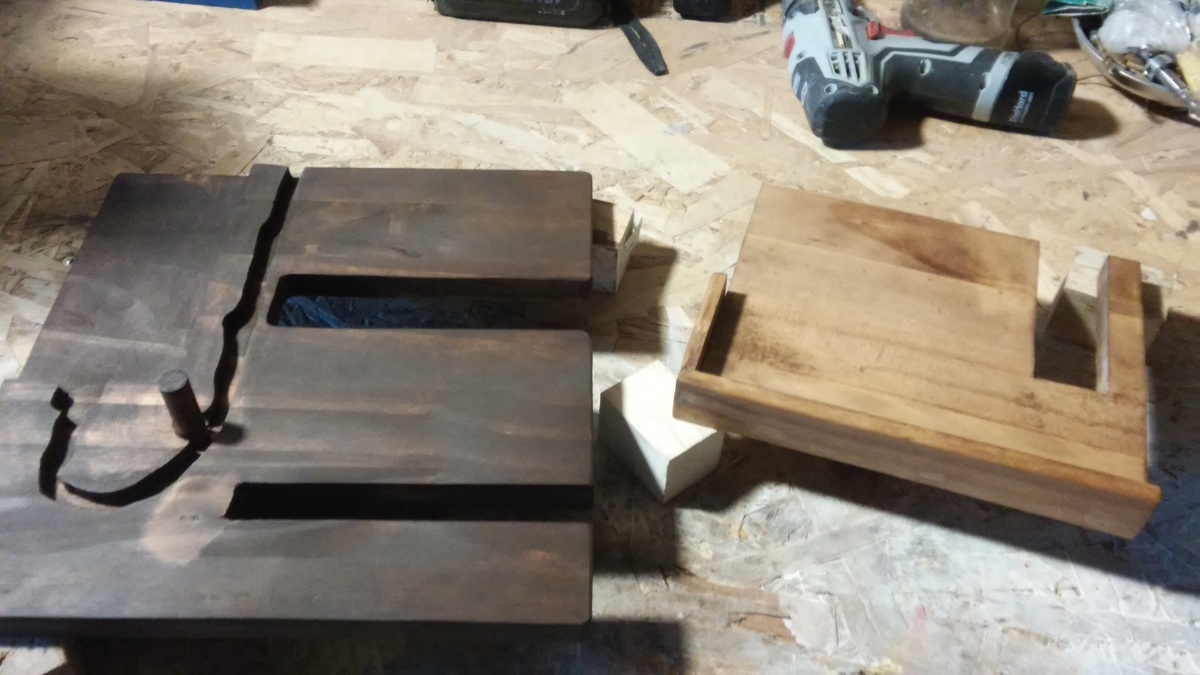
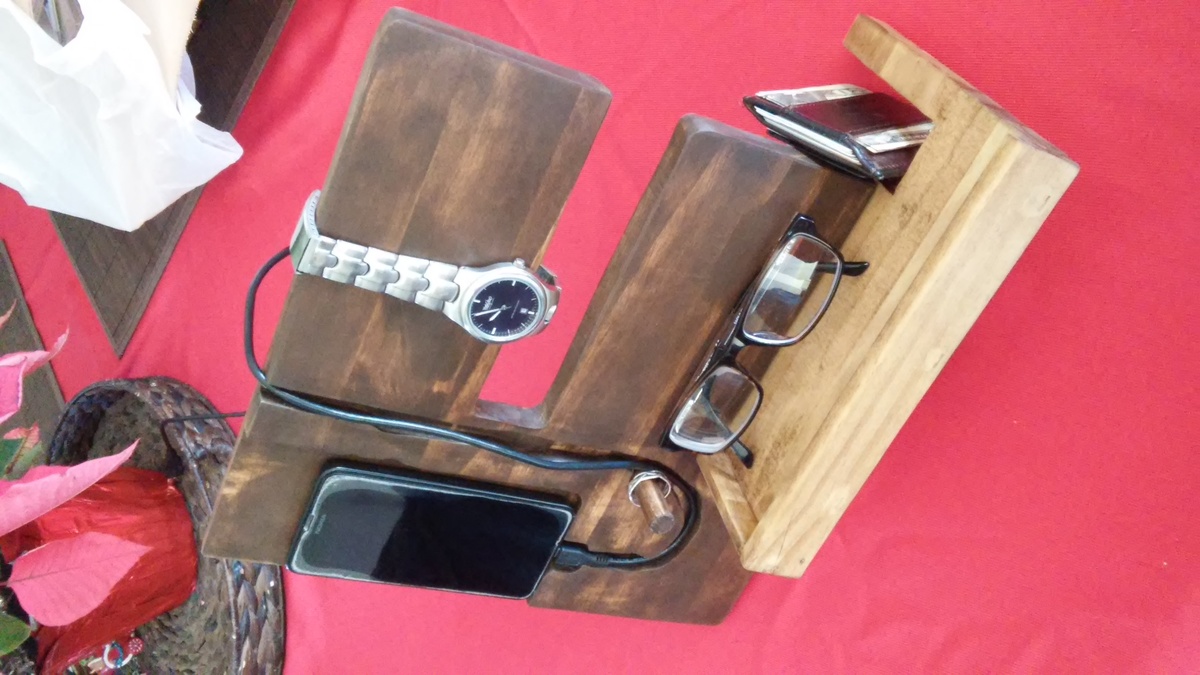
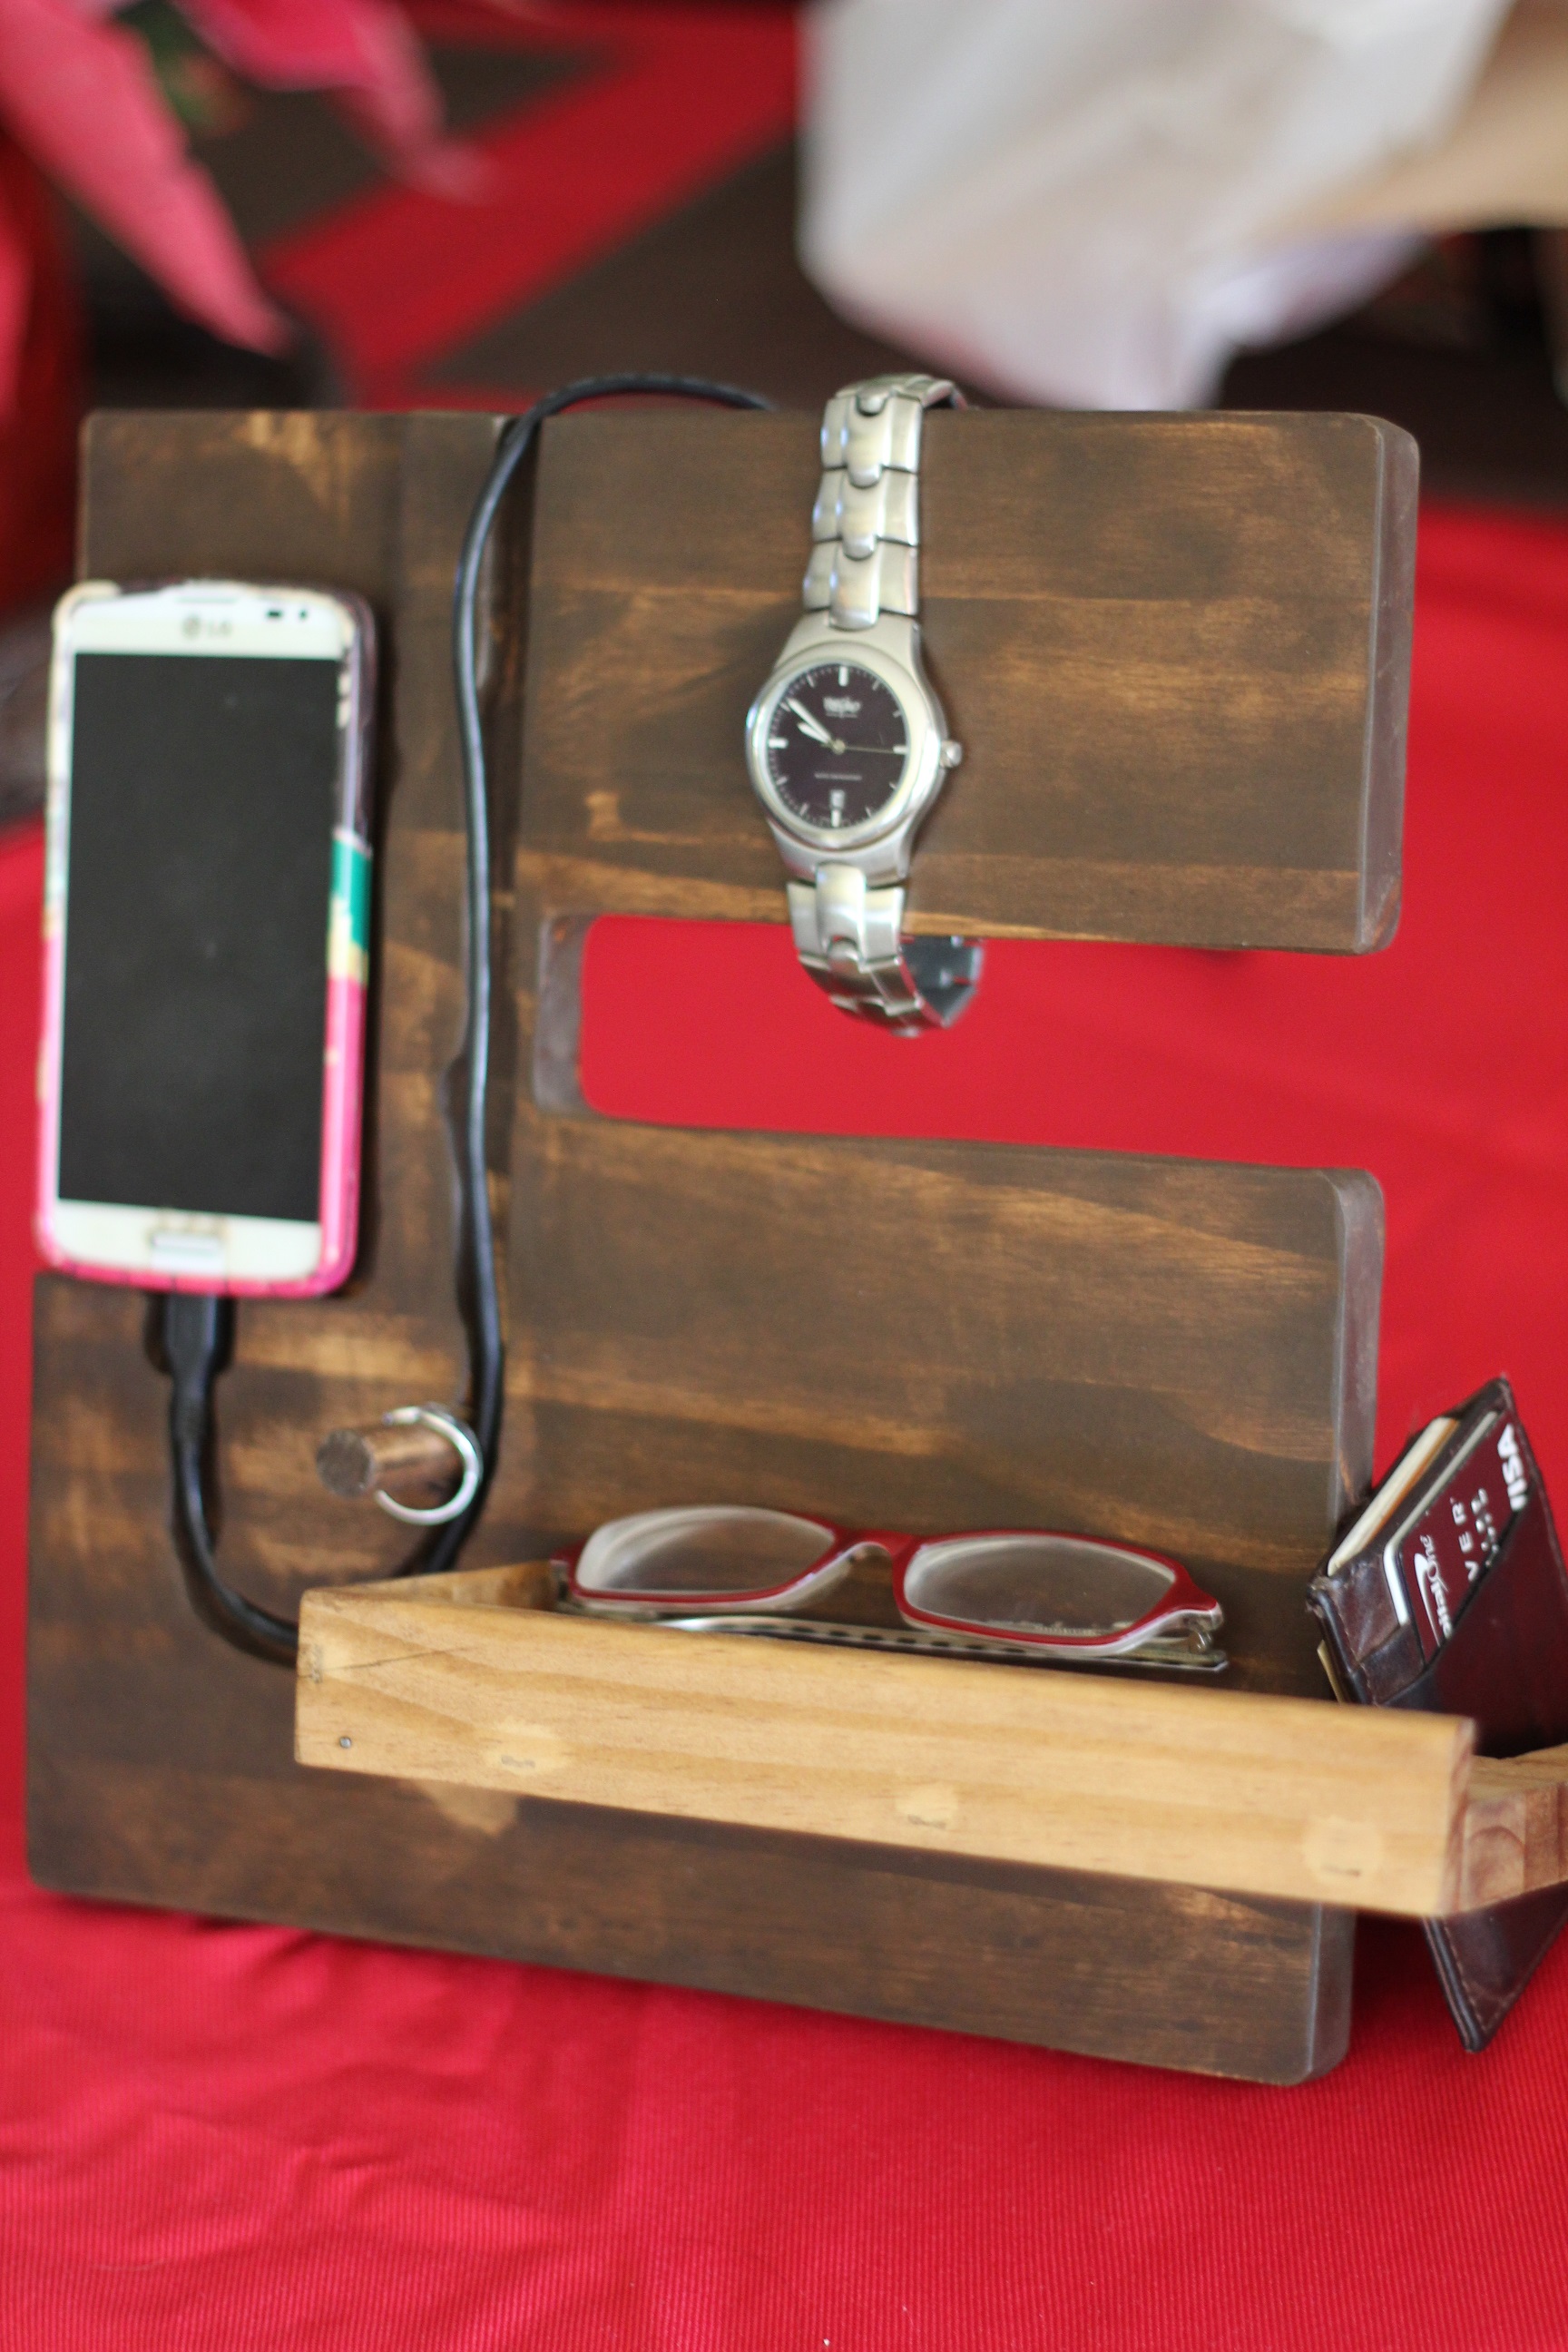
Accessory Holder
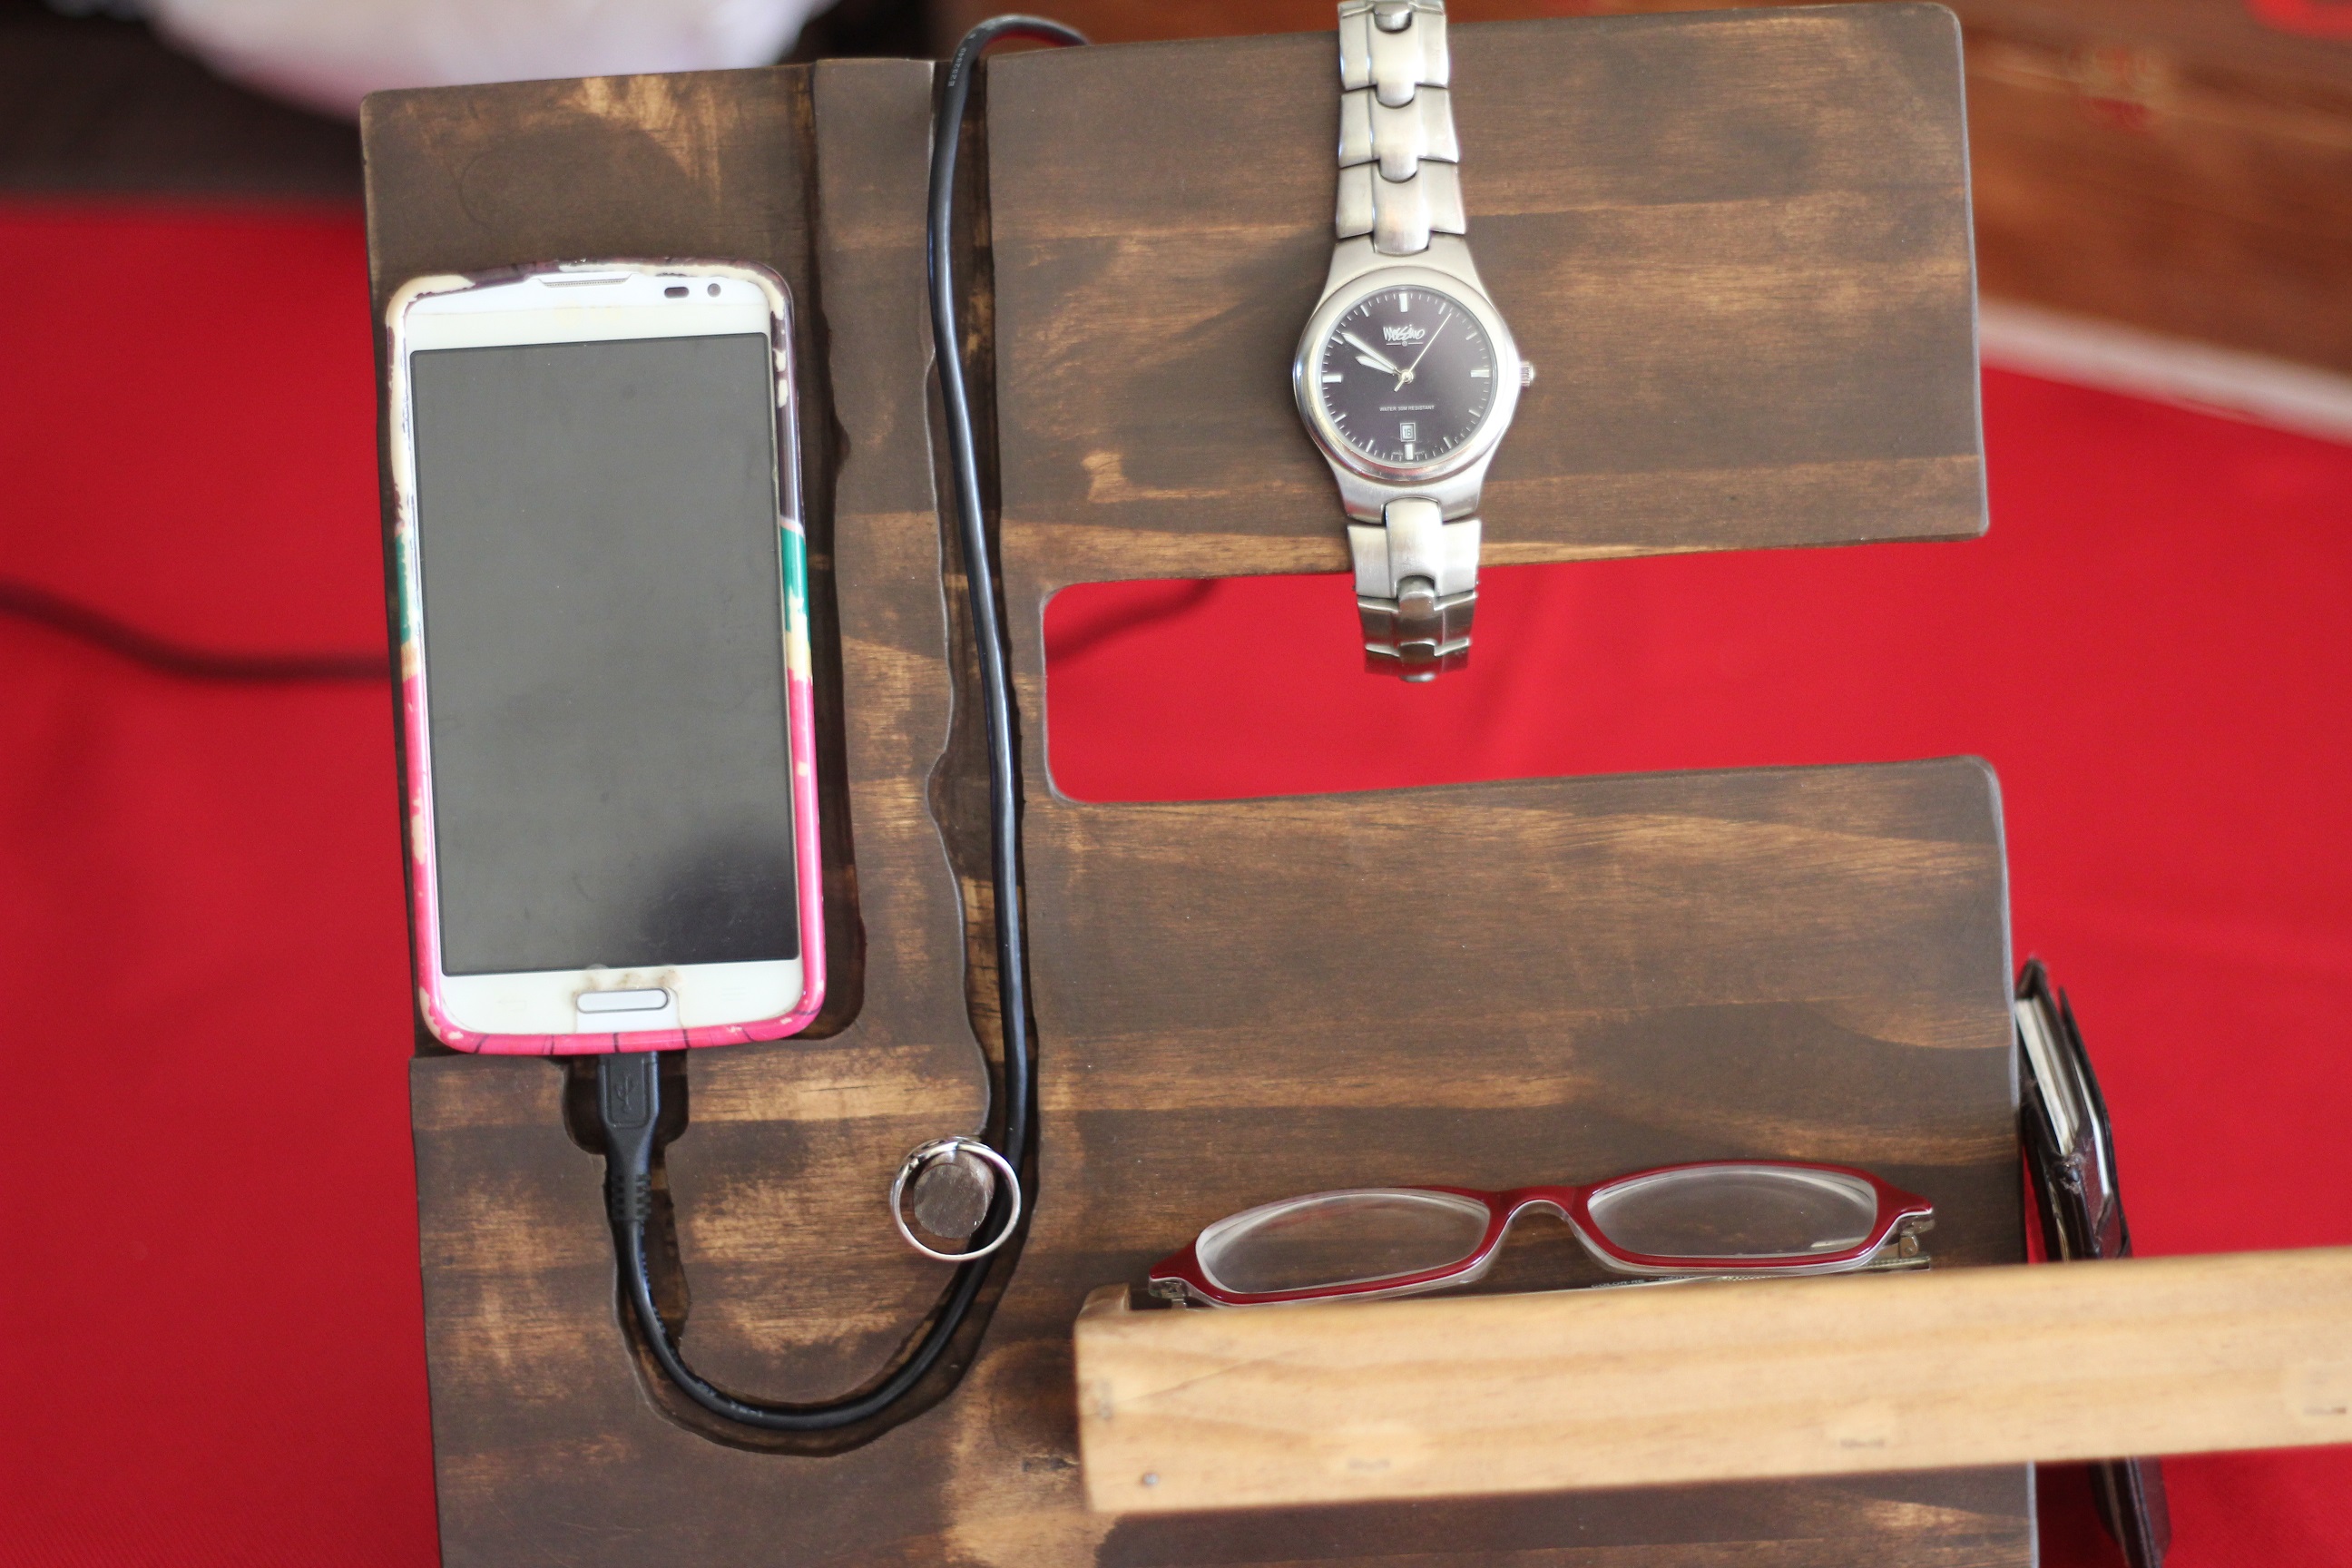
Made this Accessory Holder as a Christmas gift for a male cousin to hold his phone, watch, ring, glasses, and wallet. Comes apart for easy movement. I like the two-tone of the stains and the simplicity of the holder. Router kept giving a bit of kickback, biting into the wood where it was unwanted, hence the messy cord line, but as with most of my projects, I don't mind the mistakes that make them more "unique". Artistic choice? : ) Also difficult was figuring out the angle to cut the opening slot for the side piece. It needed to be angled to set the side piece just how I wanted it. Eventually decided on 10 degrees.
The idea for this holder was based on this: http://cleverwoodprojects.org/woodworking-projects-for-beginners-six-ea…
Don't read the site- it was clearly written by a bot or ESL individual, because it's mostly gibberish. Just used the image for inspiration.
I freehanded a design that then was drawn on the wood and had plenty of fittings and mockup pieces made throughout to figure out how things would fit. Fun challenge, great gift.
Estimated Cost
Scraps
Estimated Time Investment
Weekend Project (10-20 Hours)
Finish Used
Early American, wax polish
Recommended Skill Level
Intermediate
Farmhouse table and bench
The table is based on the farmhouse table with pocket holes. I used a mulwark pocket hole set. The bench was made with all scrap lumber and I ended up being short on 2x4 wood, so I used 2x2 on each side to accommodate the same dimensions. It was a time crunch, but I got it all done before Xmas Eve and it looks dope.
Built from Plan(s)
Comments
Sun, 12/26/2021 - 13:49
So pretty!
Oh yes, that is dope! Thank you for sharing, love the finish choices!
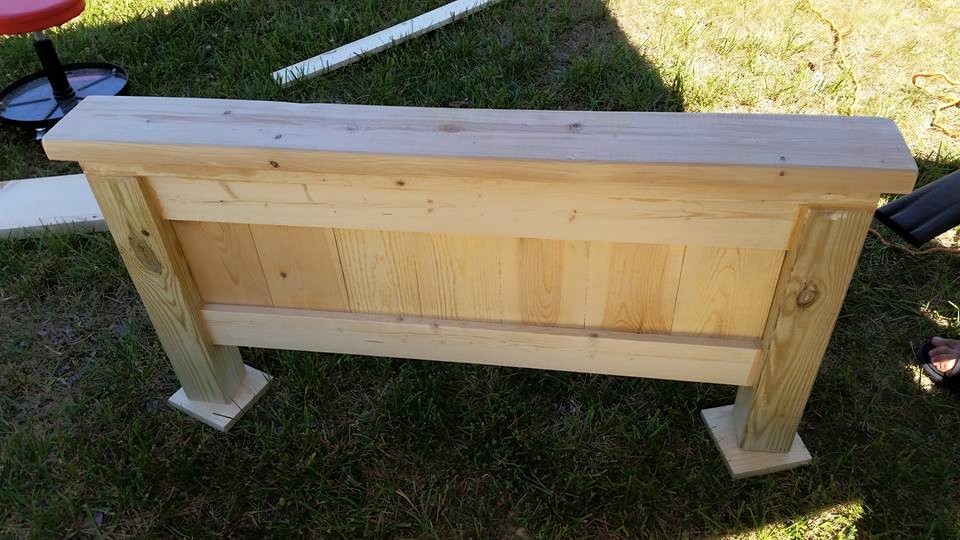
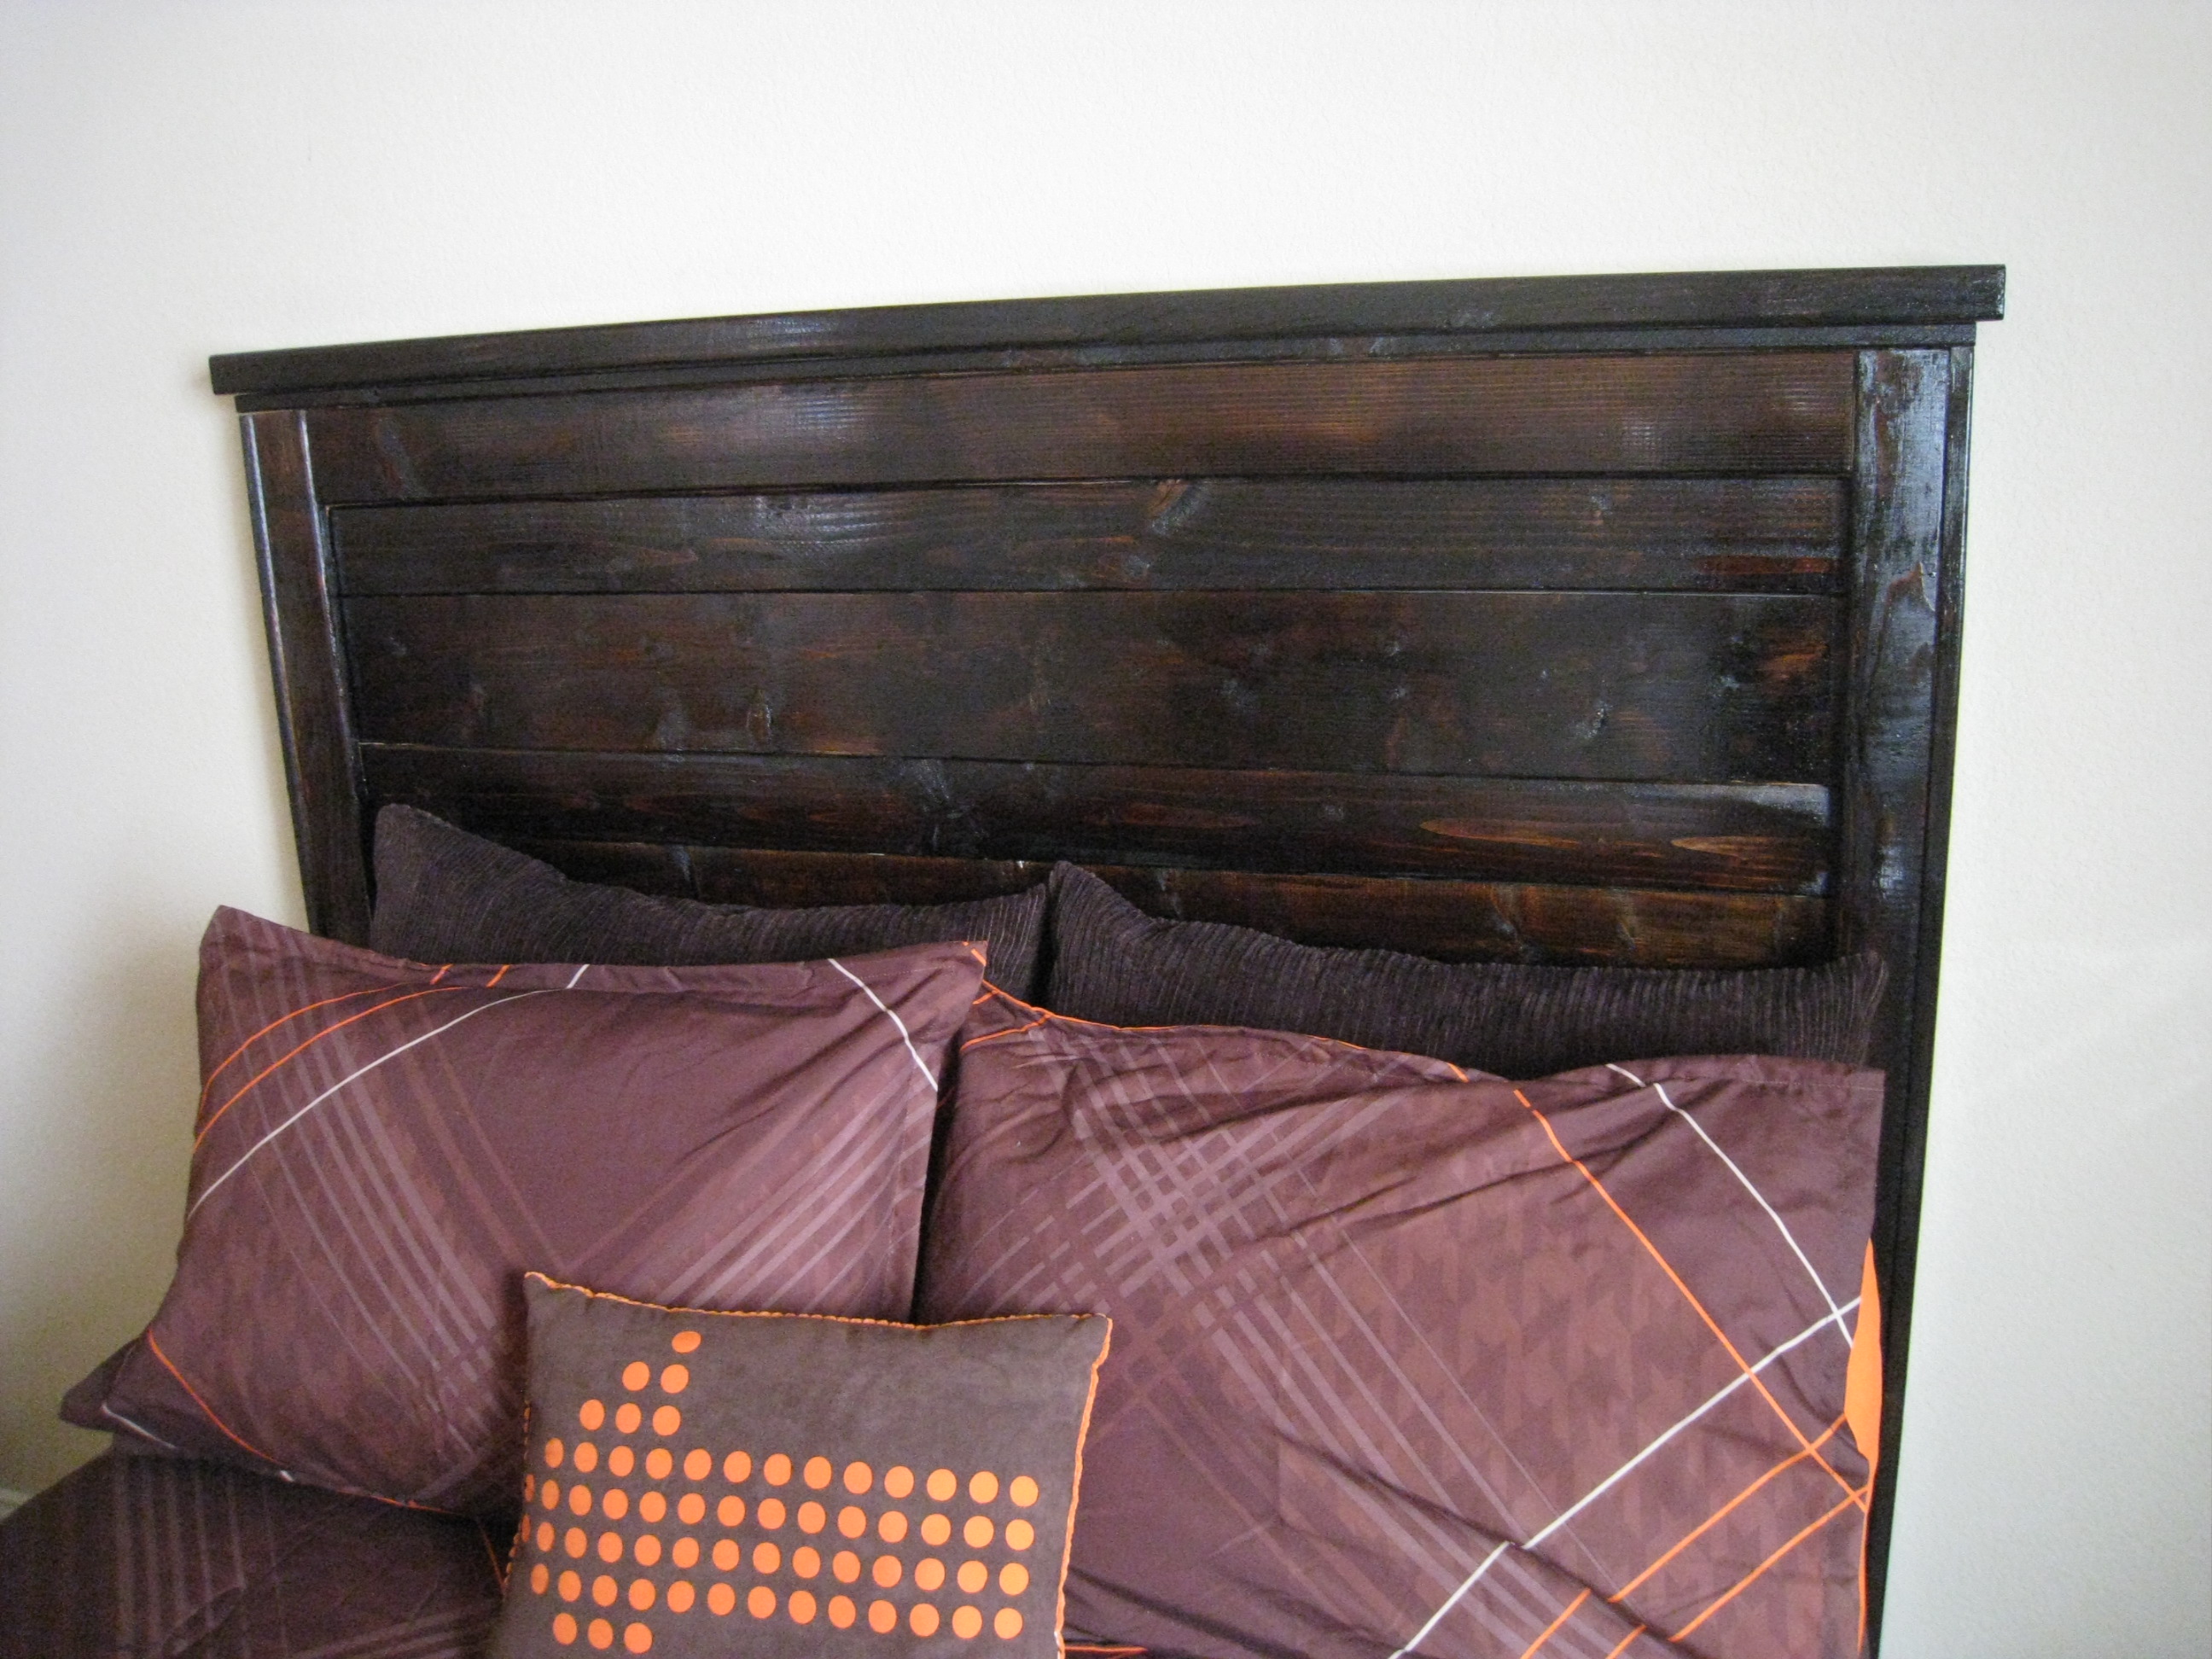
Reclaimed Wood Headboard
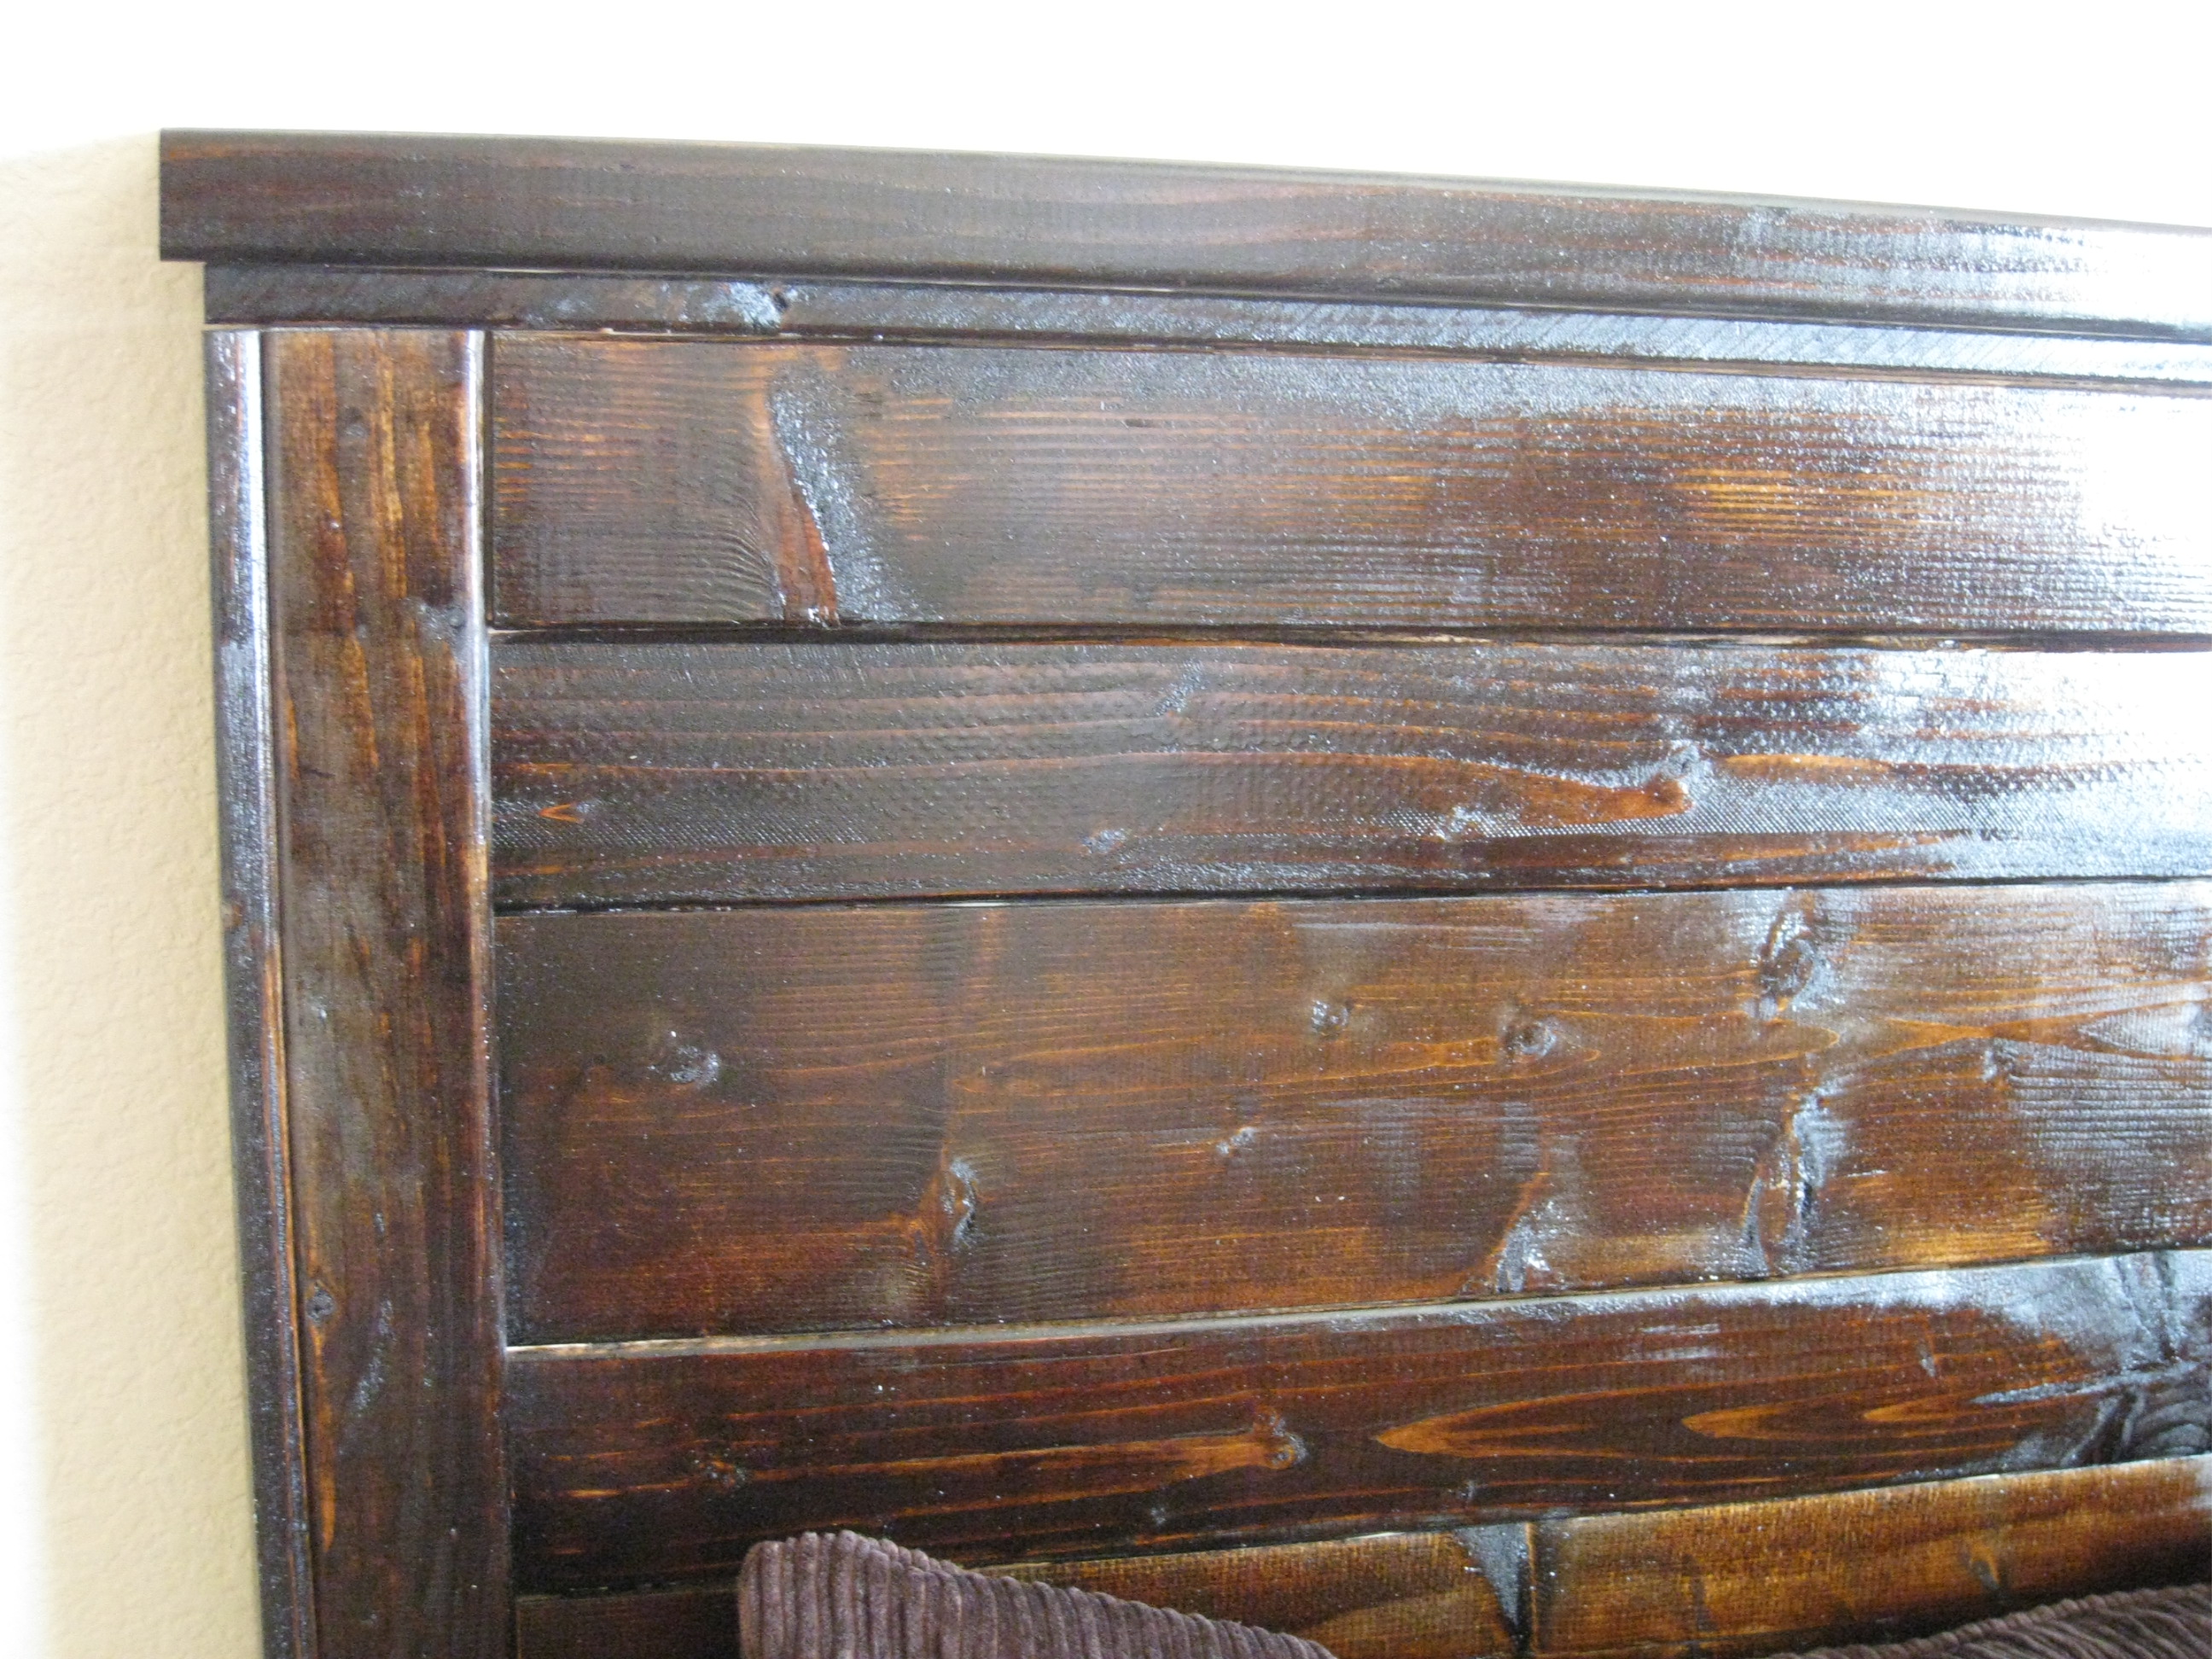
I built Ana's Reclaimed Wood Headboard. This was the easiest piece I have built so far! Very quick! You can see the steps I took to finish it at our blog http://www.shanty-2-chic.com/2011/04/diy-headboard.html
Built from Plan(s)
Estimated Cost
$50
Estimated Time Investment
An Hour or Two (0-2 Hours)
Finish Used
Minwax Dark Walnut Stain and Minwax Polycrylic Gloss
Recommended Skill Level
Starter Project
Basket bed frame and custom headboard
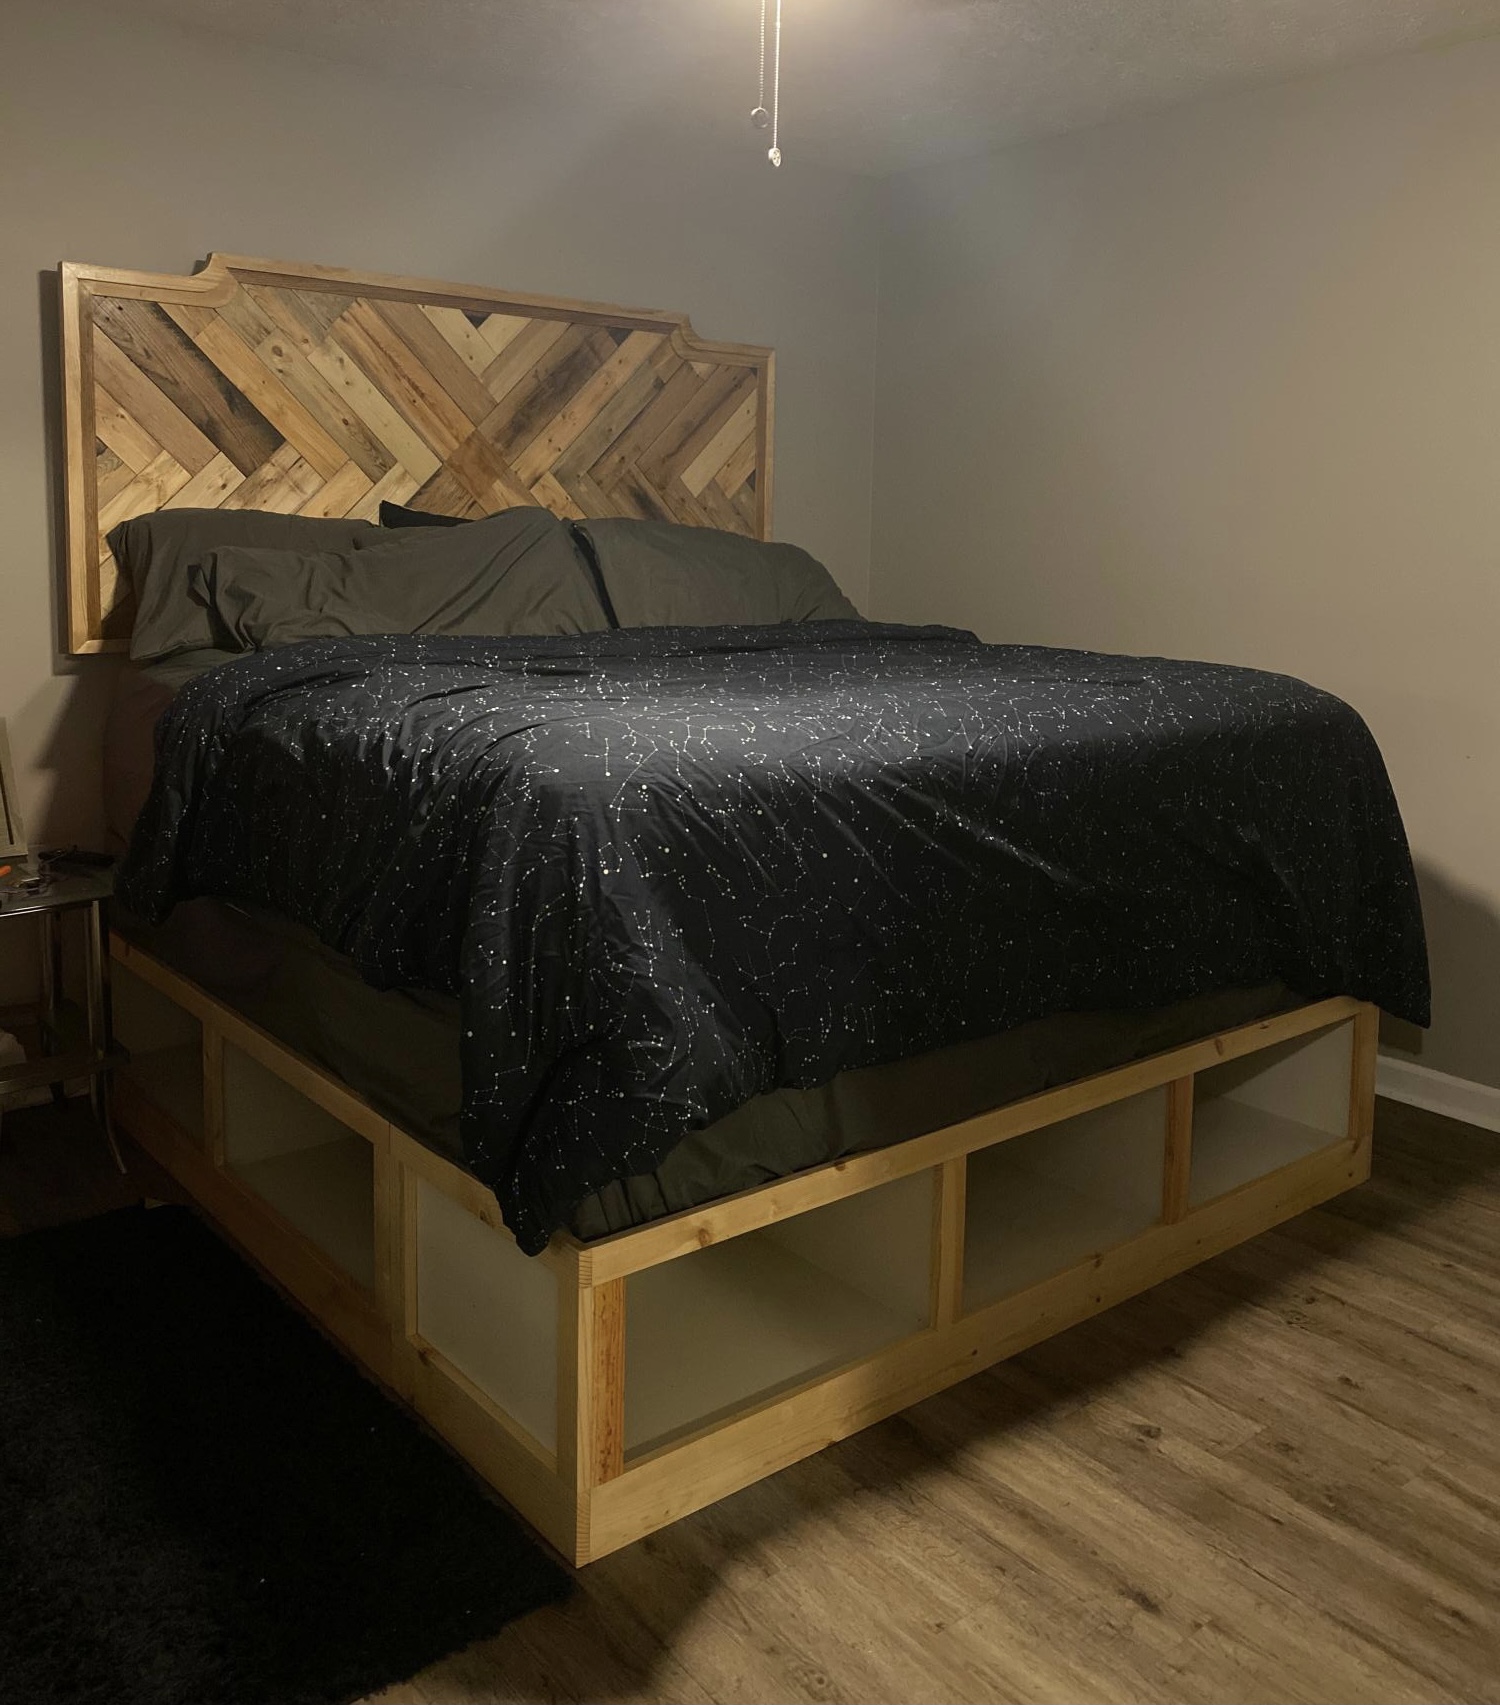
The base came from Ana’s site, the headboard came out of my head ;-)
I upsized this to king size for my daughter. I think I entered the correct ‘plan’ name below. It’s been a few months since I built it. I painted the basket cubbies and applied (I think) spar urethane to the rest.
Super plan on her part, Ana’s, I love the other things I’ve done from here as well. Sorry but the pics rotated when they were resized on upload.
Built from Plan(s)
Comments
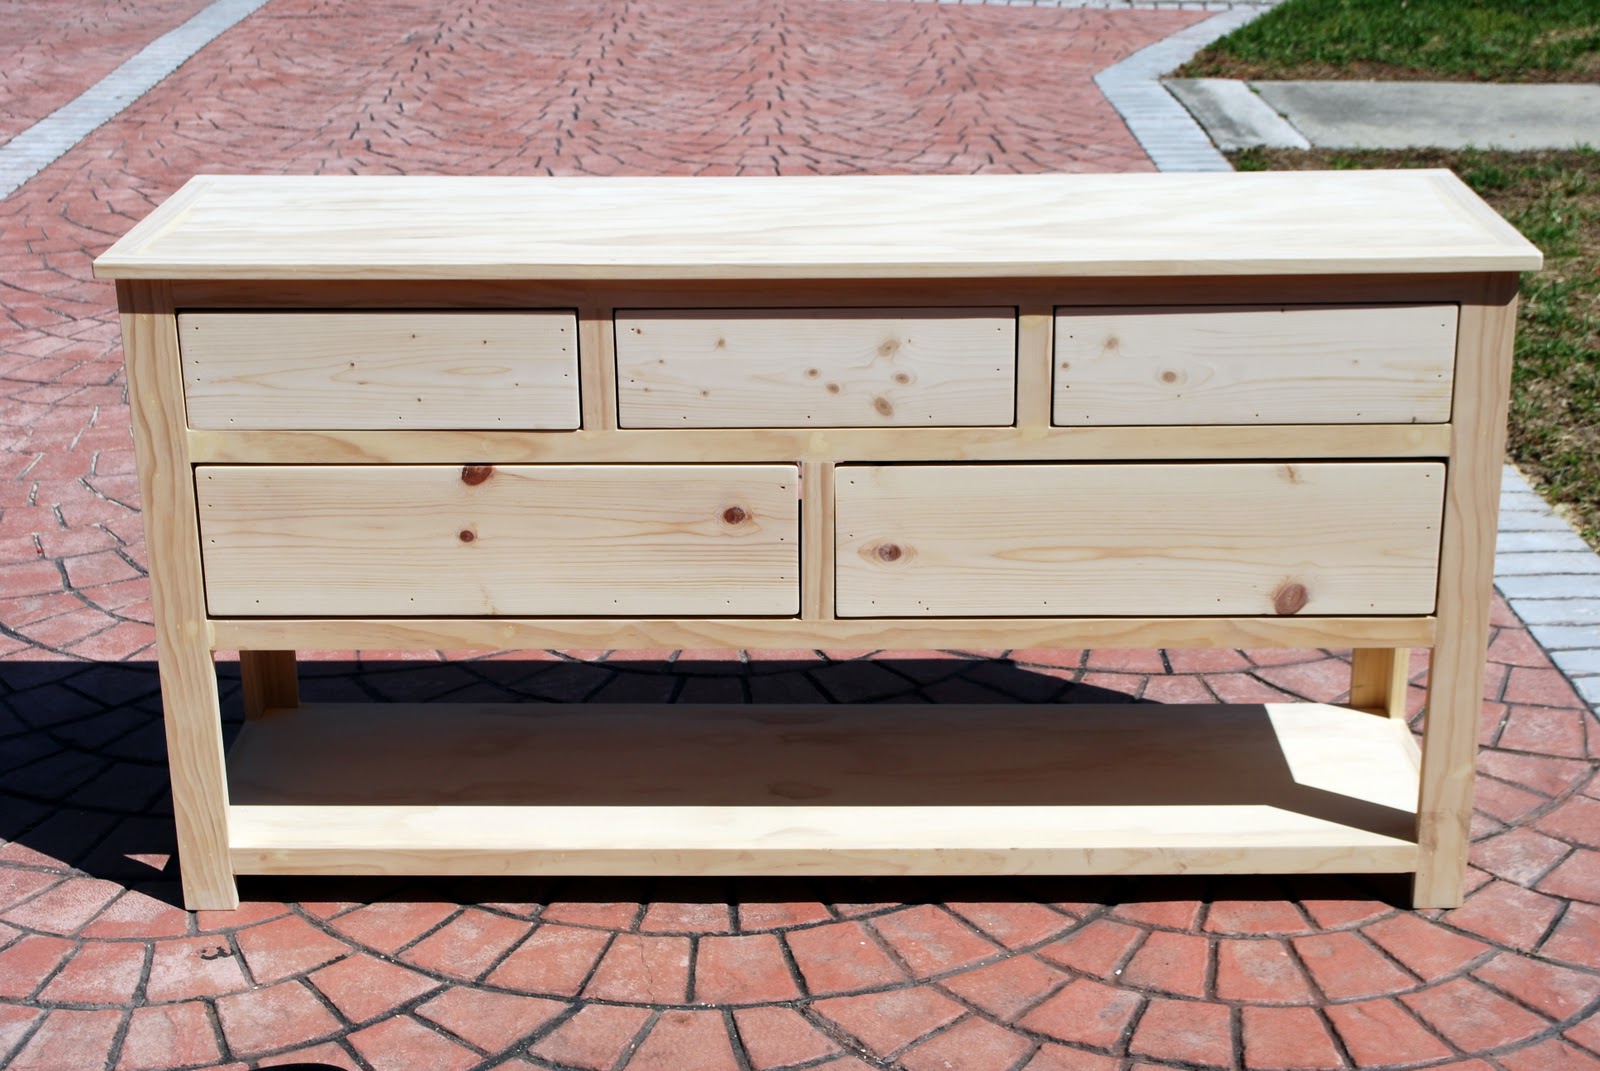
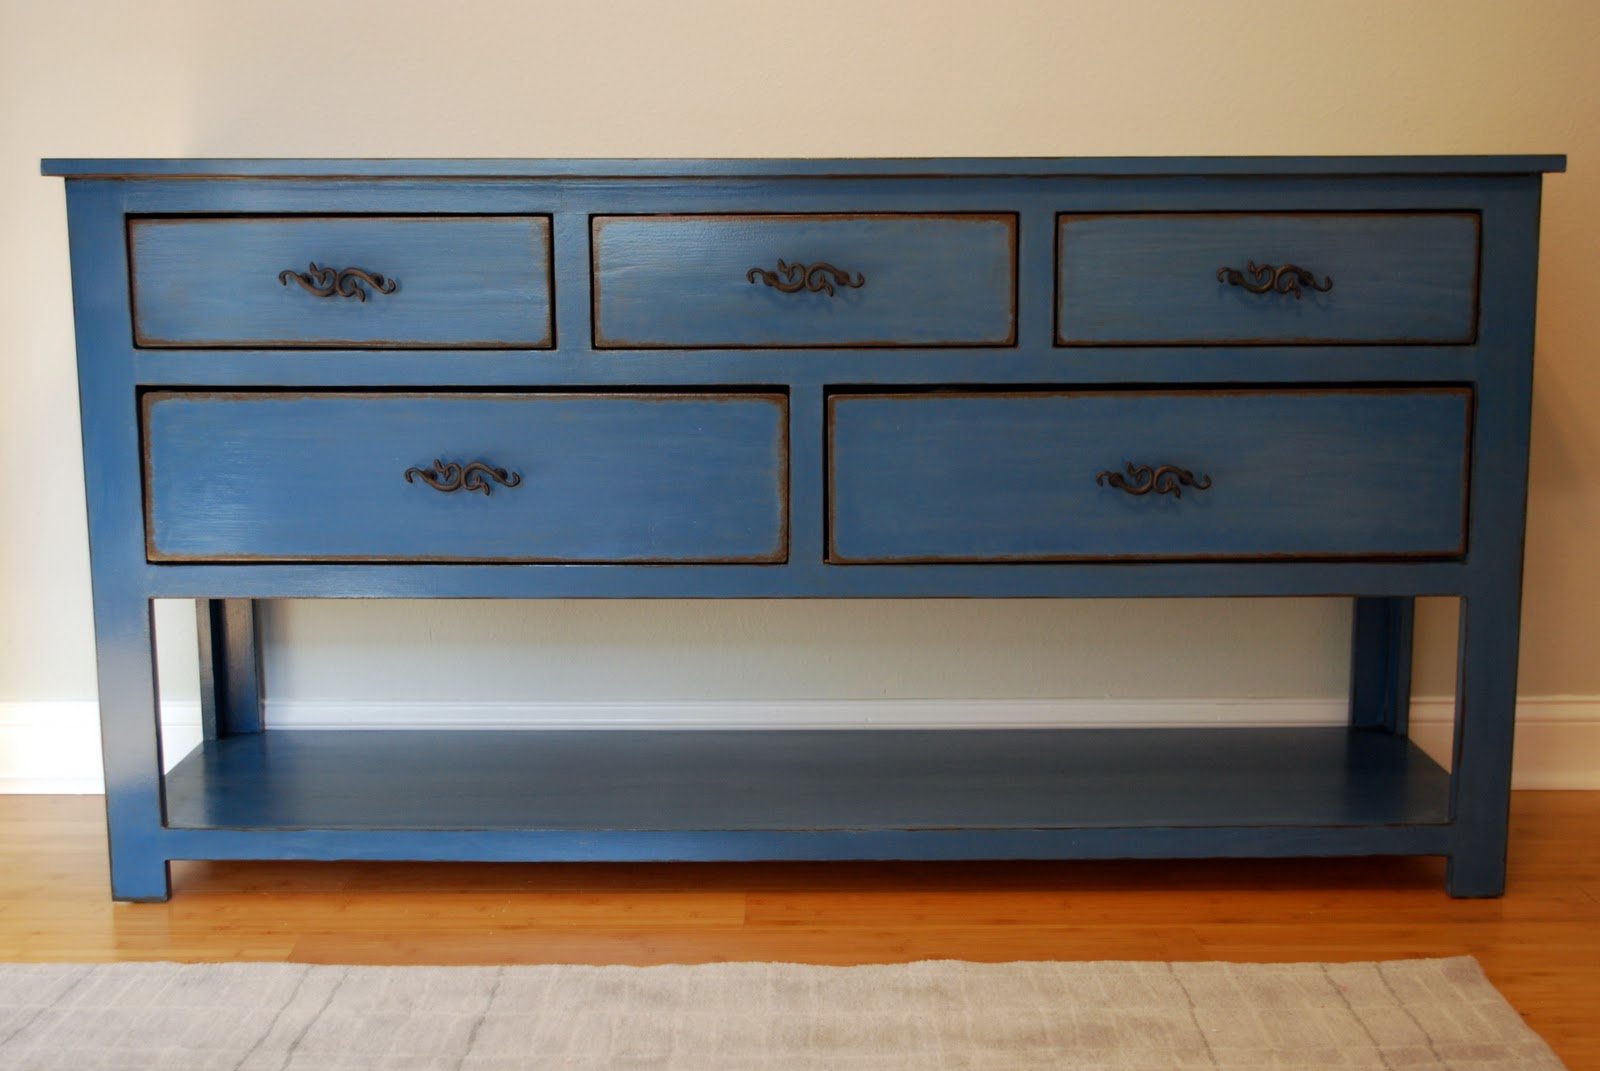
Dresser with Open Bottom Shelf for Changing Table
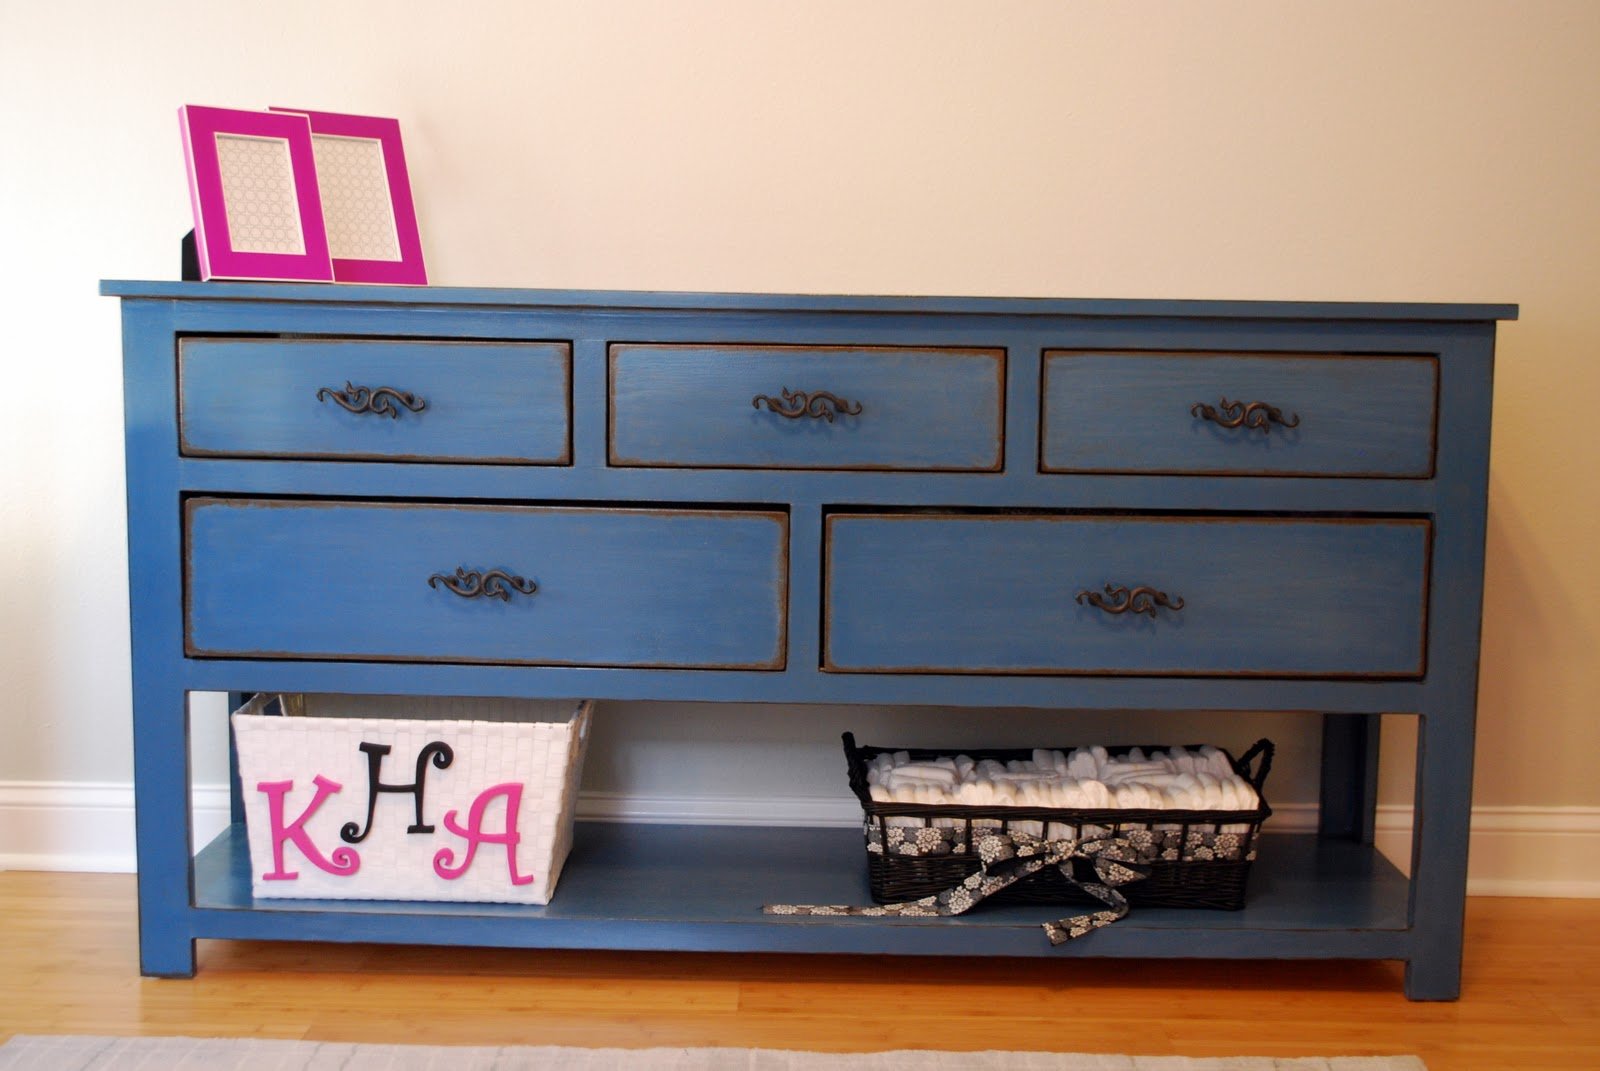
My husband and I built this dresser to use as a changing table in our daughters nursery. I explain the build process (with photos) in this blog post : http://mekhart.blogspot.com/2011/03/nursery-room-biggest-build-yet.html and the finishing process in this blog post : http://mekhart.blogspot.com/2011/04/nursery-room-finished-dresser.html . I'm so thankful to Ana...I love that almost every element of her nursery is home made!

Built from Plan(s)
Estimated Cost
150
Estimated Time Investment
Week Long Project (20 Hours or More)
Finish Used
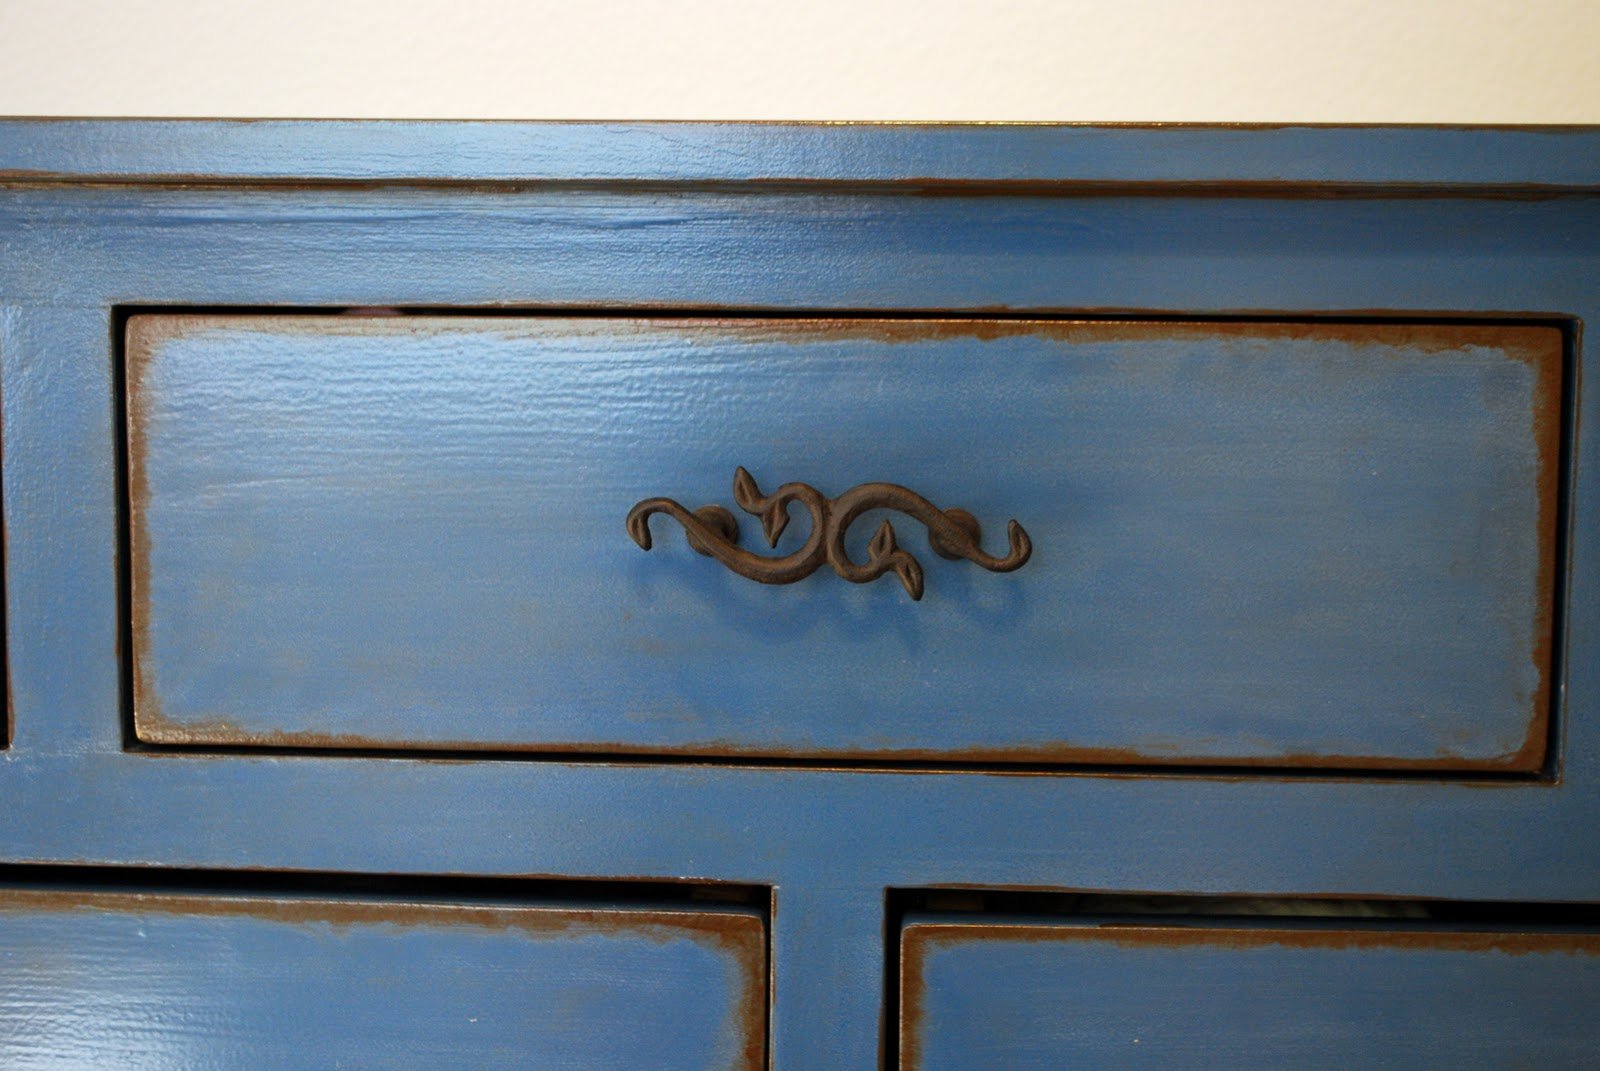
Paint with a whitewash over top and glazing on the edges. To see more details on how to replicate this finish, check out my blog post here : http://mekhart.blogspot.com/2011/04/nursery-room-finished-dresser.html .
Recommended Skill Level
Advanced
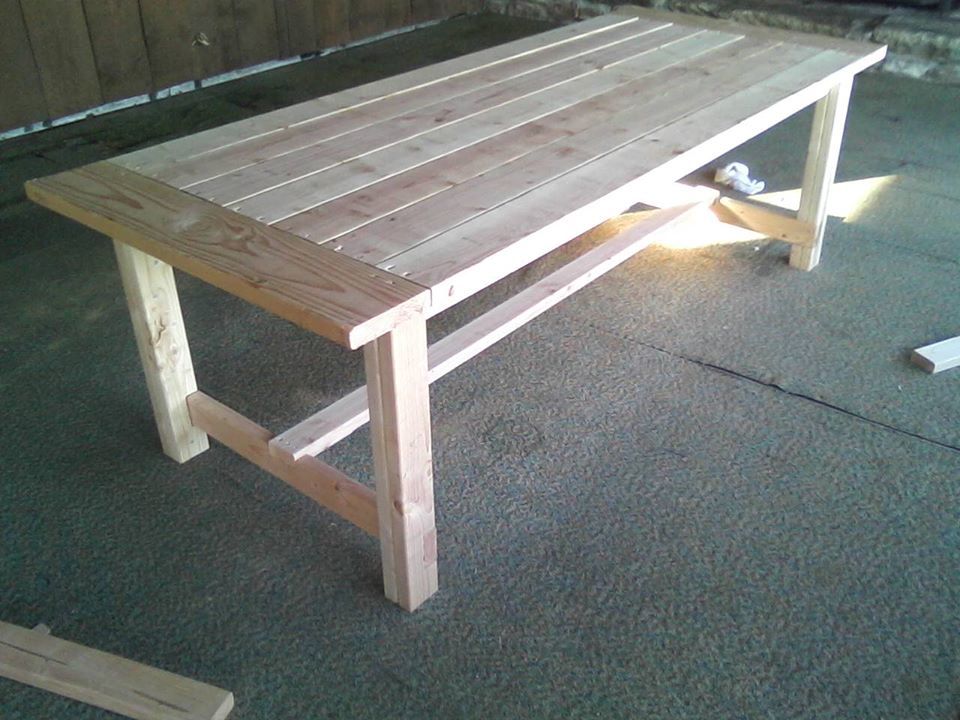
AllGardenBenches.com Farmhouse Table
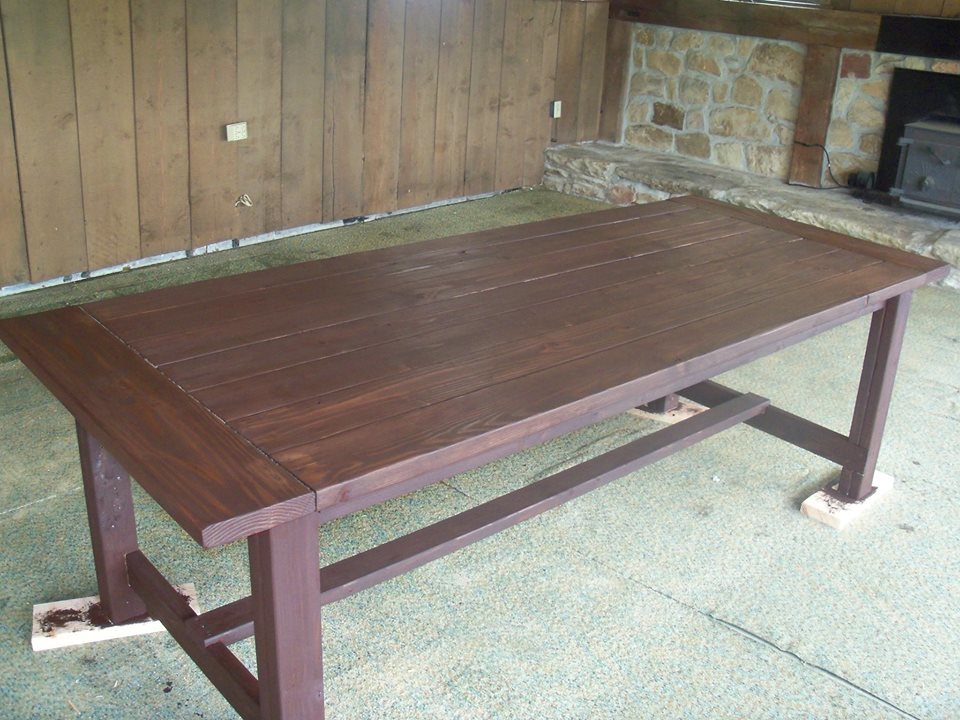
Made this for my wife for our anniversary!
Check out a video of the project here: http://www.youtube.com/watch?v=3eyroIH517A
Check out more great furniture through All Garden Benches: http://www.AllGardenBenches.com
Thanks for the plans!!!
Built from Plan(s)
Estimated Cost
200
Estimated Time Investment
Weekend Project (10-20 Hours)
Finish Used
I used a basic oil based wood stain - dark - it was called Moorish Teak. One coat was sufficient. Lastly, I added a clear gloss finish - two coats.
Recommended Skill Level
Intermediate
Comments
Ana White Admin
Sat, 12/11/2021 - 08:47
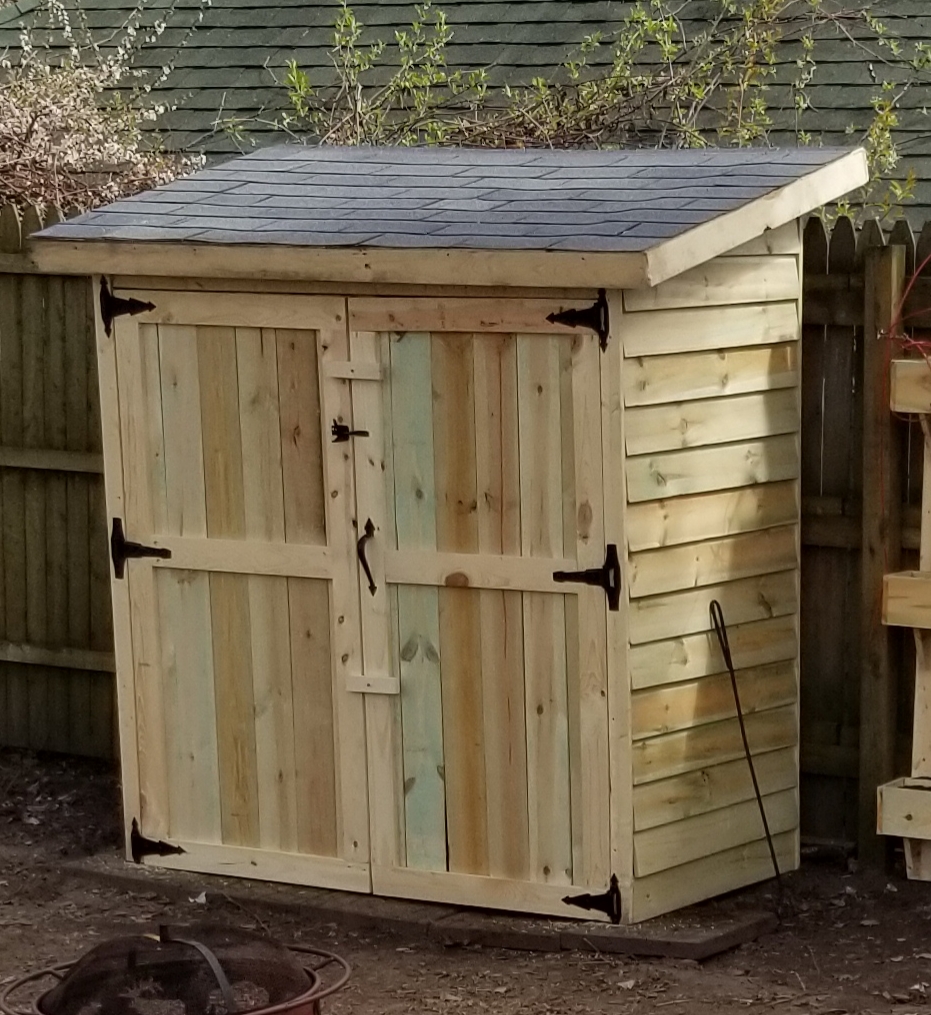
Wonderful shed!
Thank you for sharing, it looks beautiful!