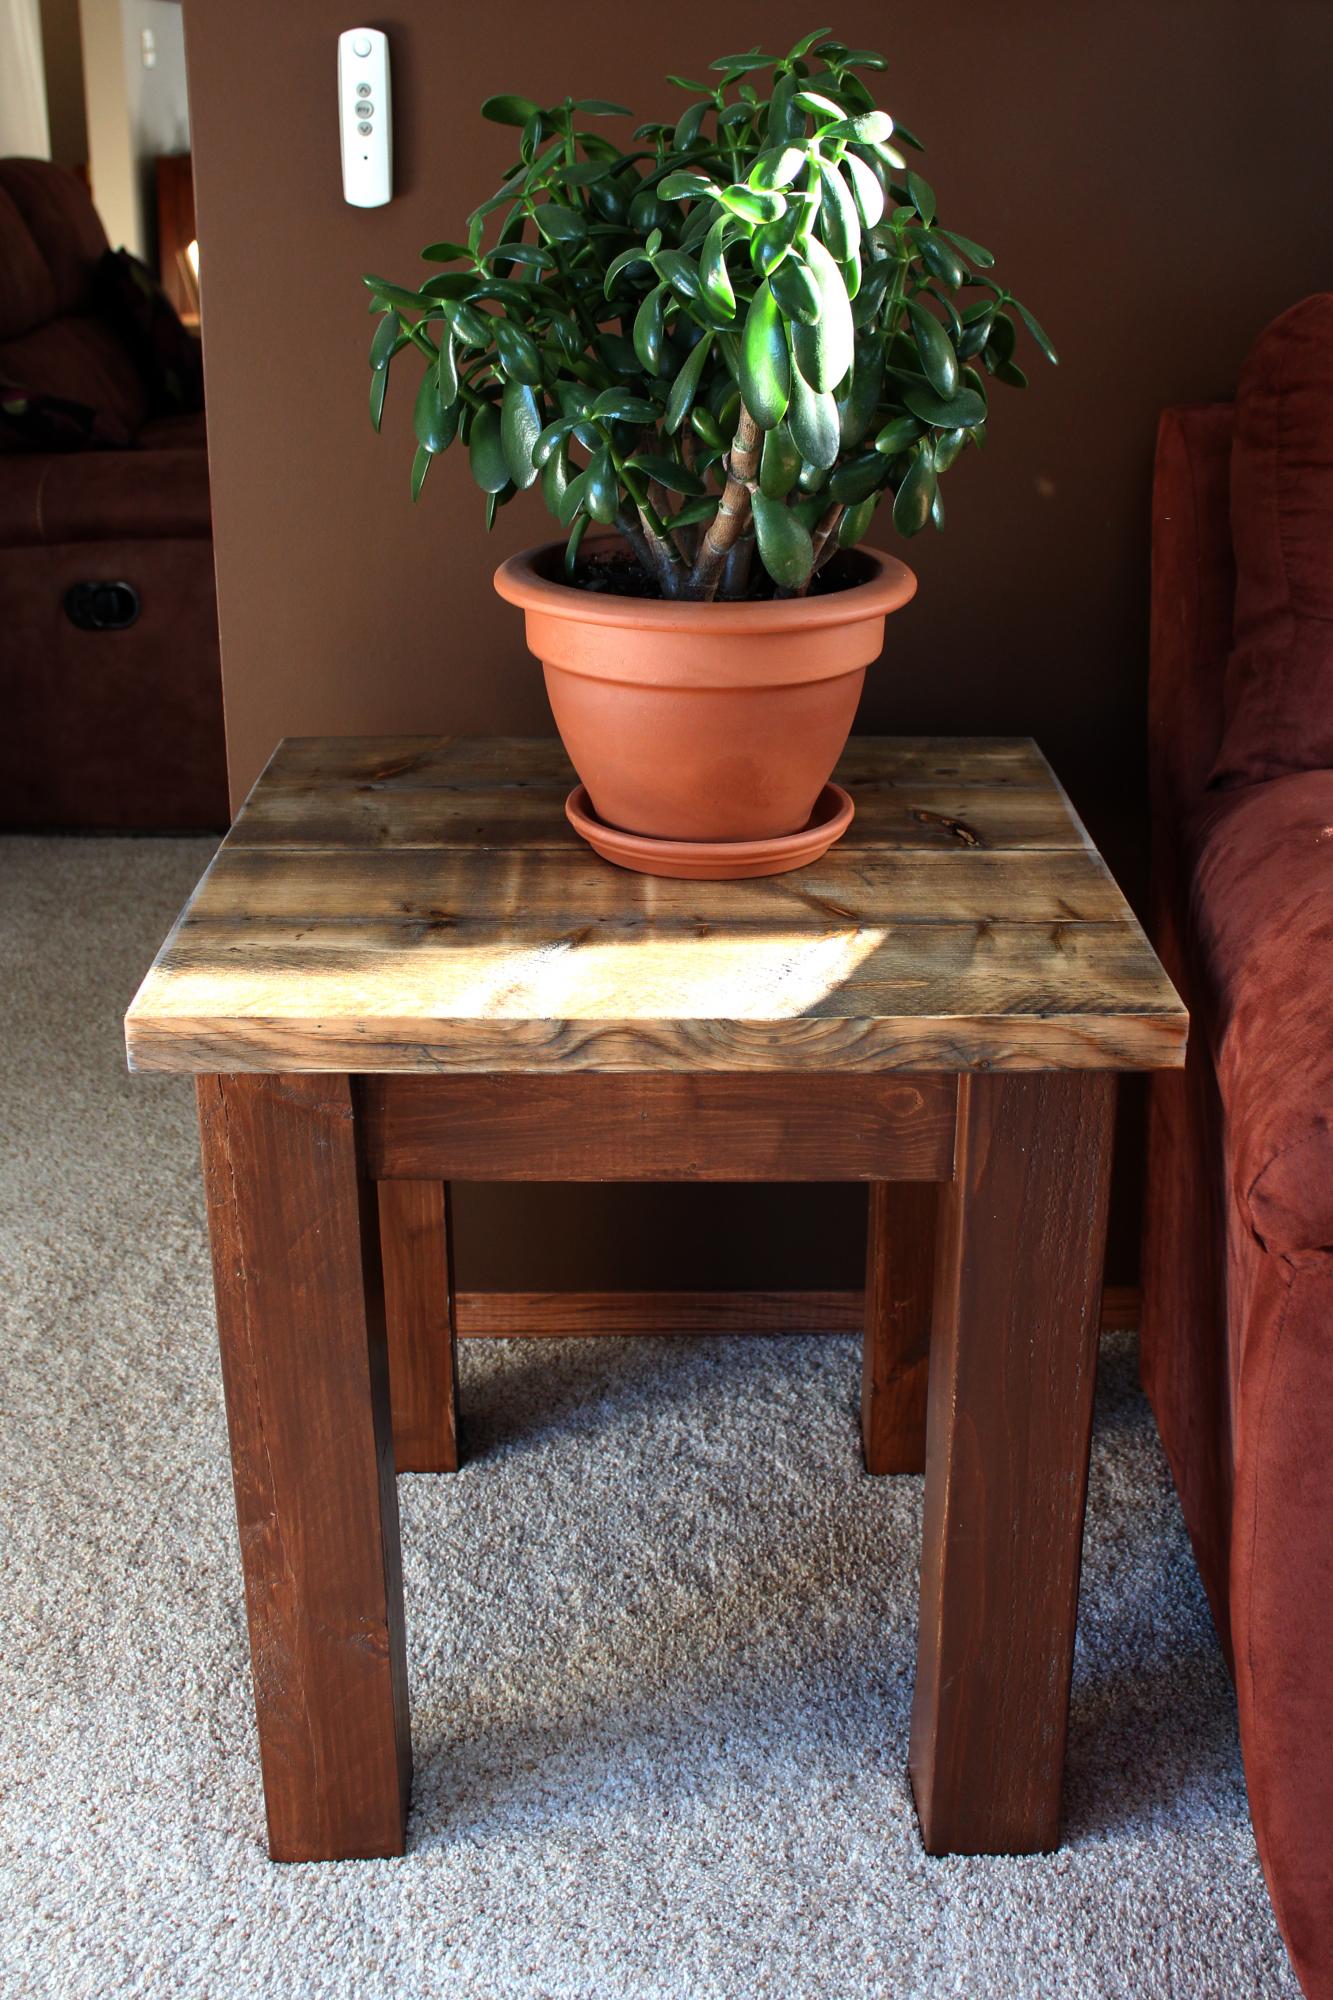
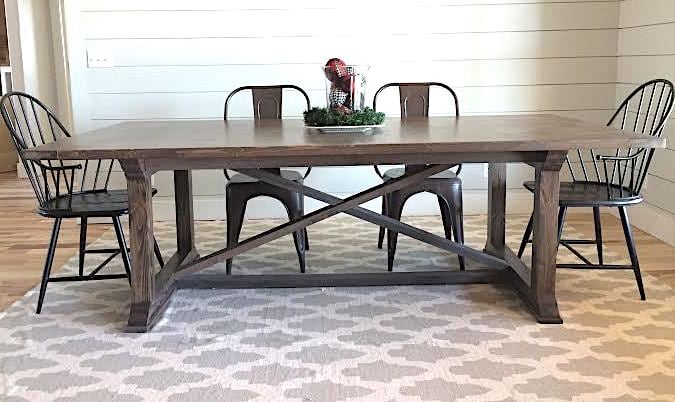
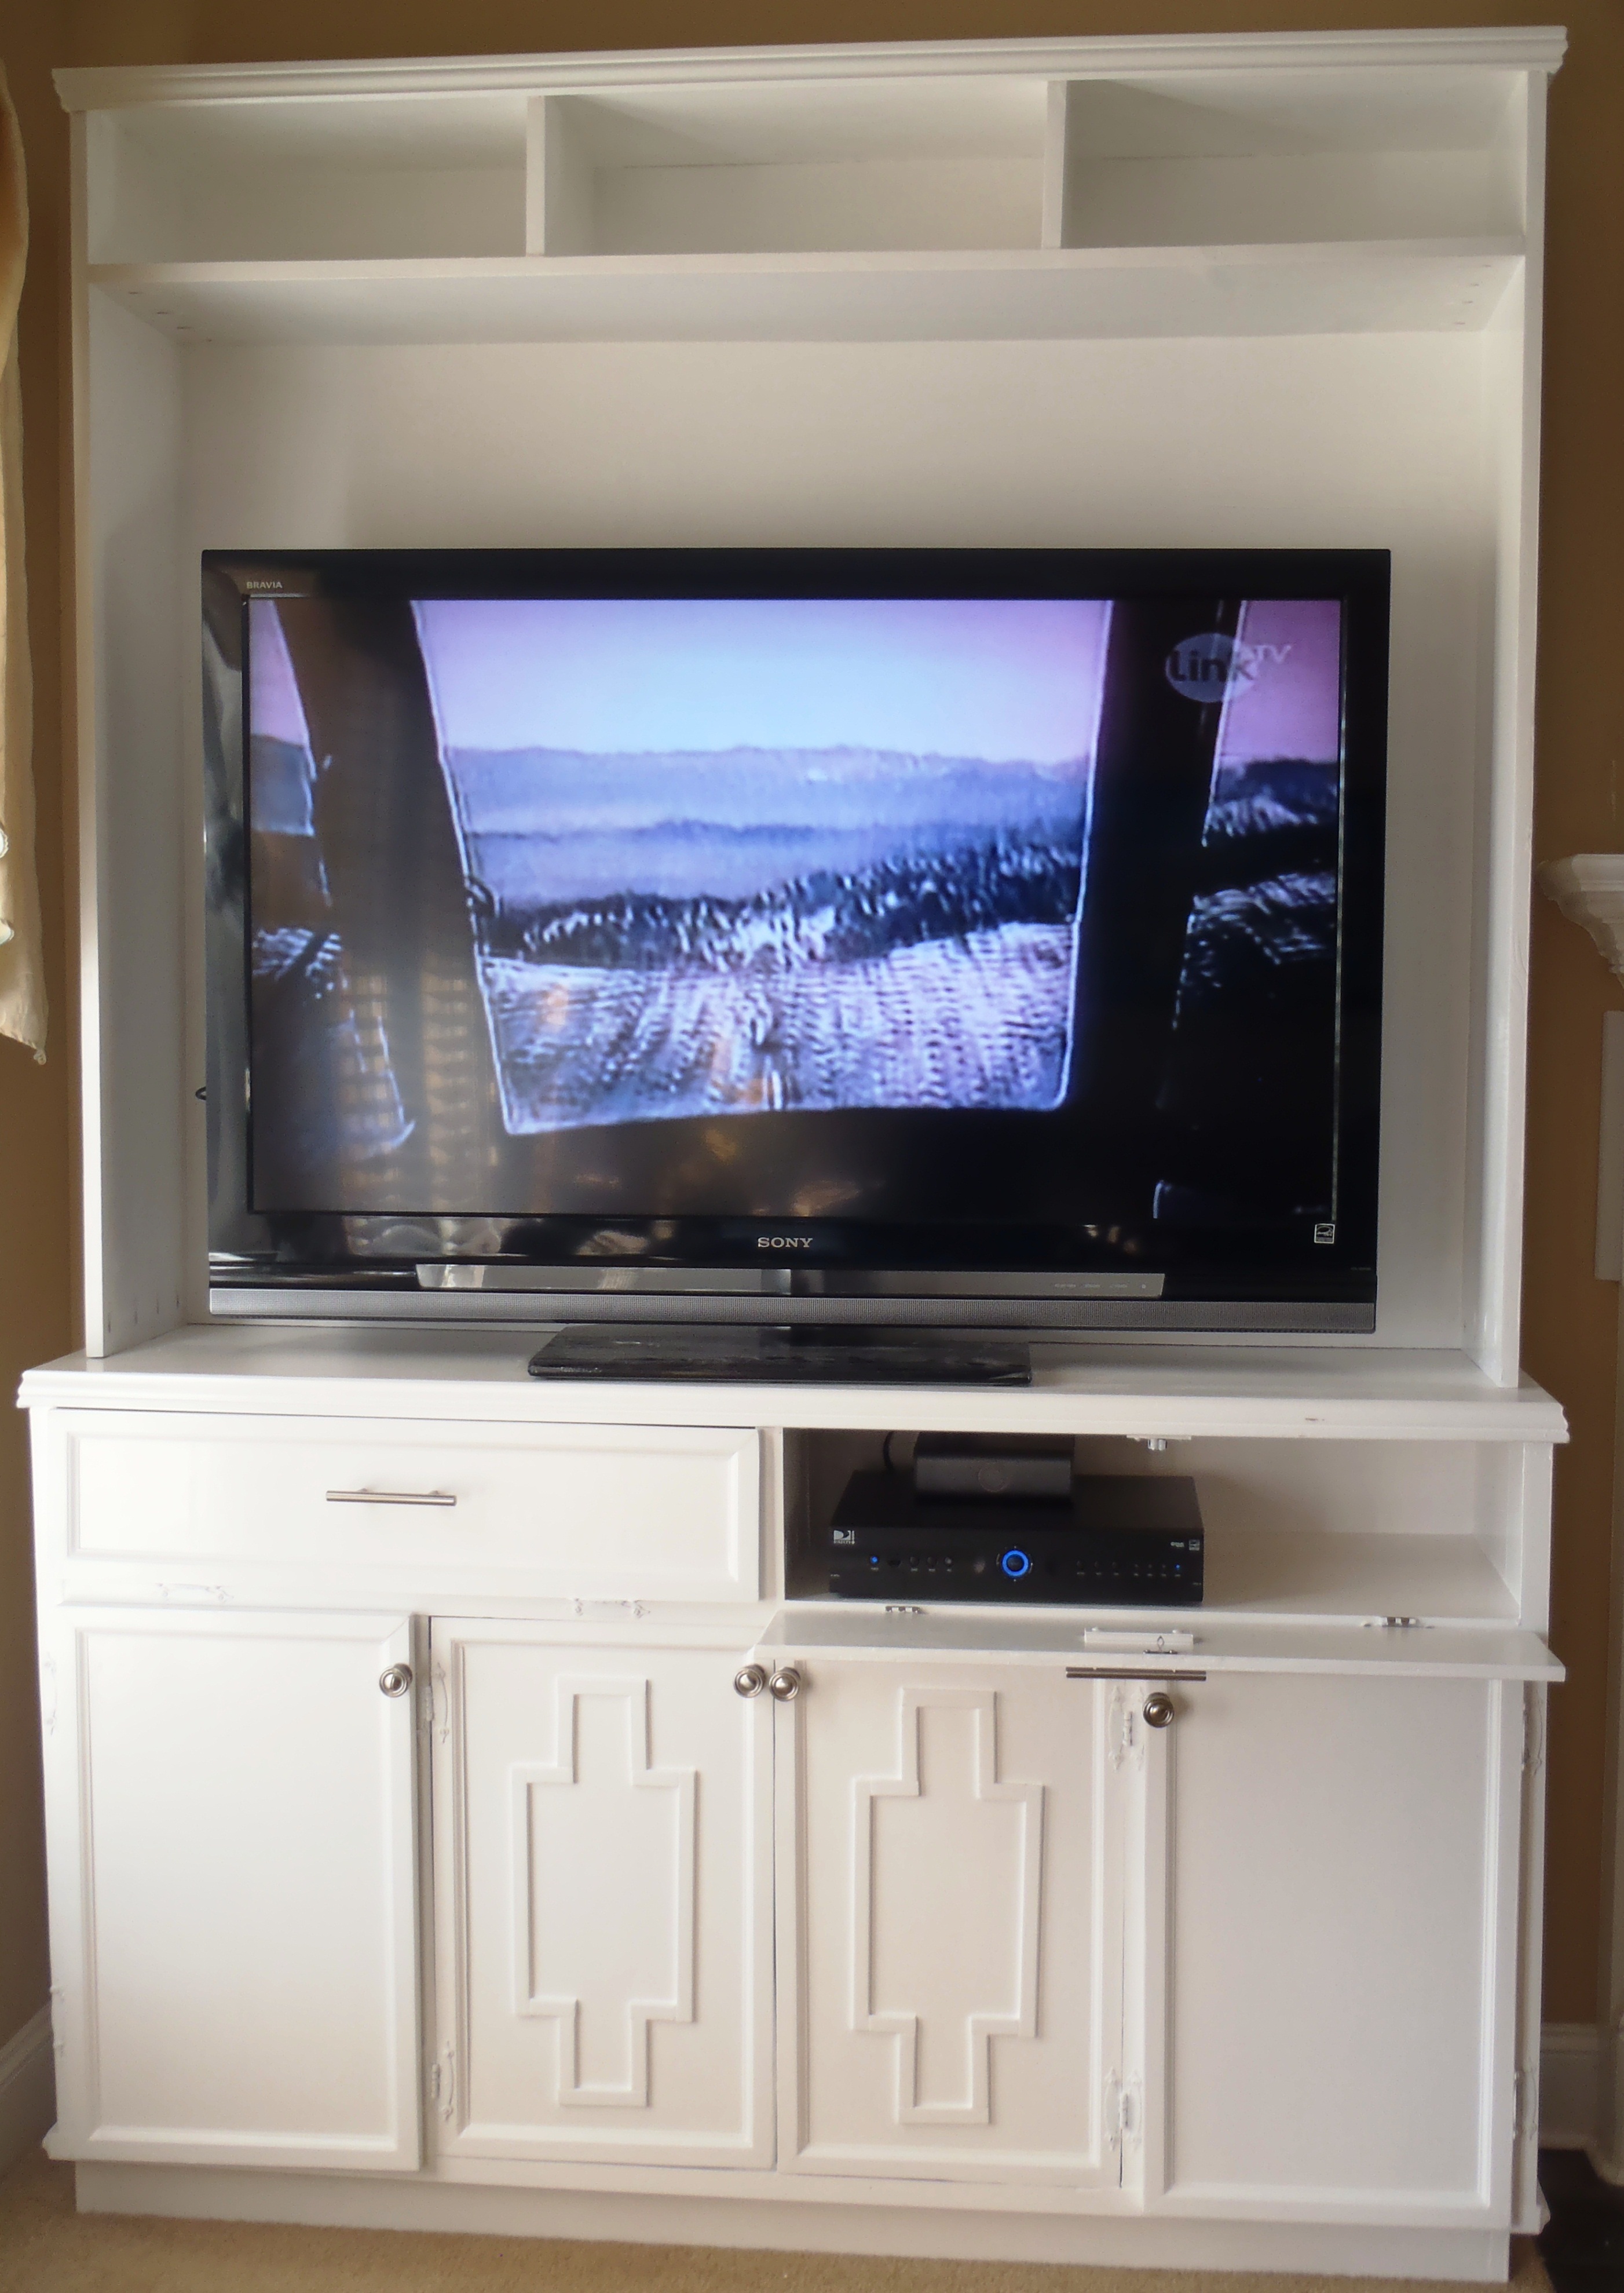
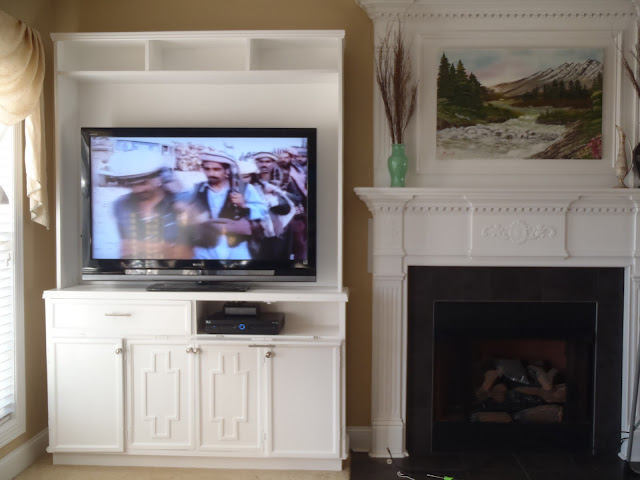
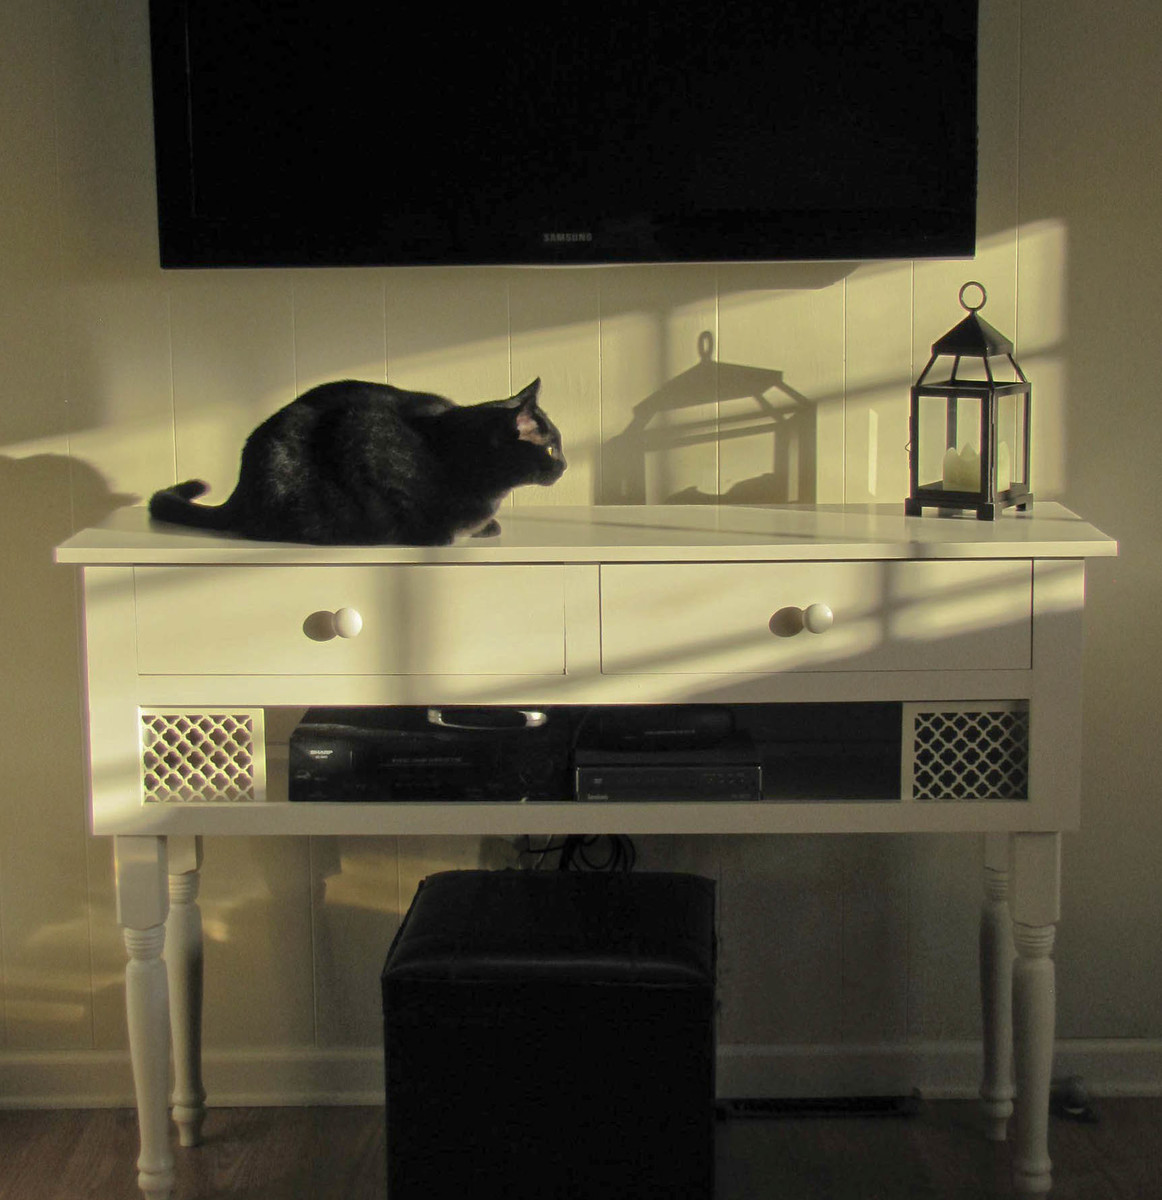
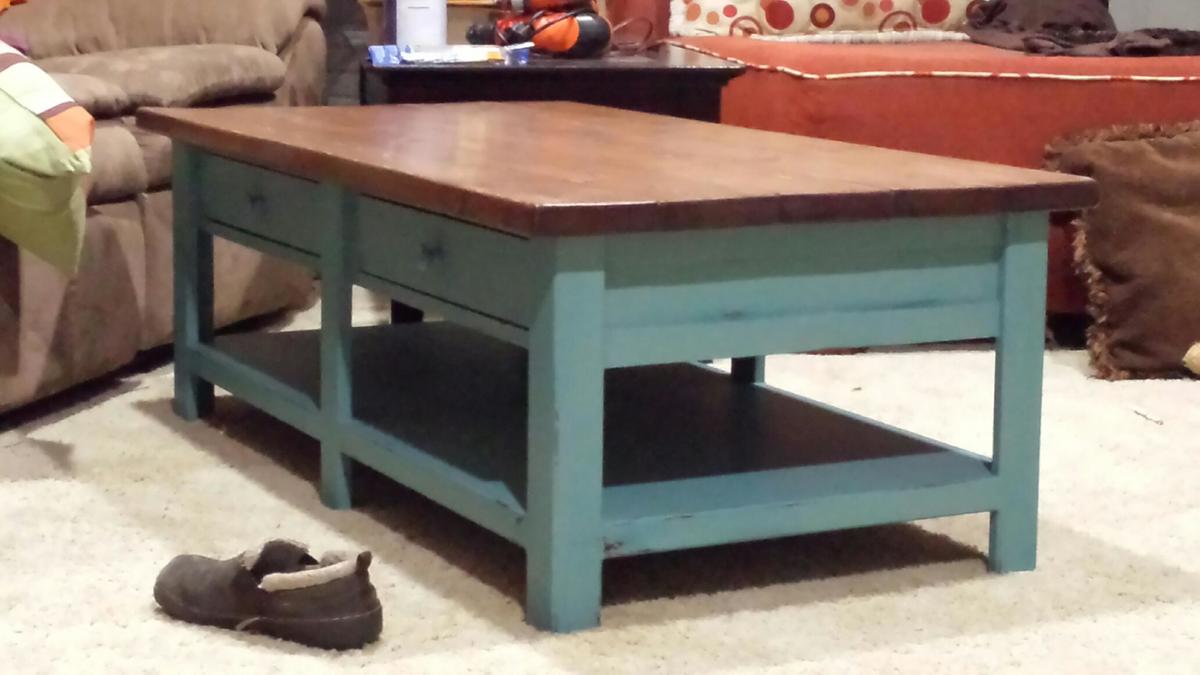
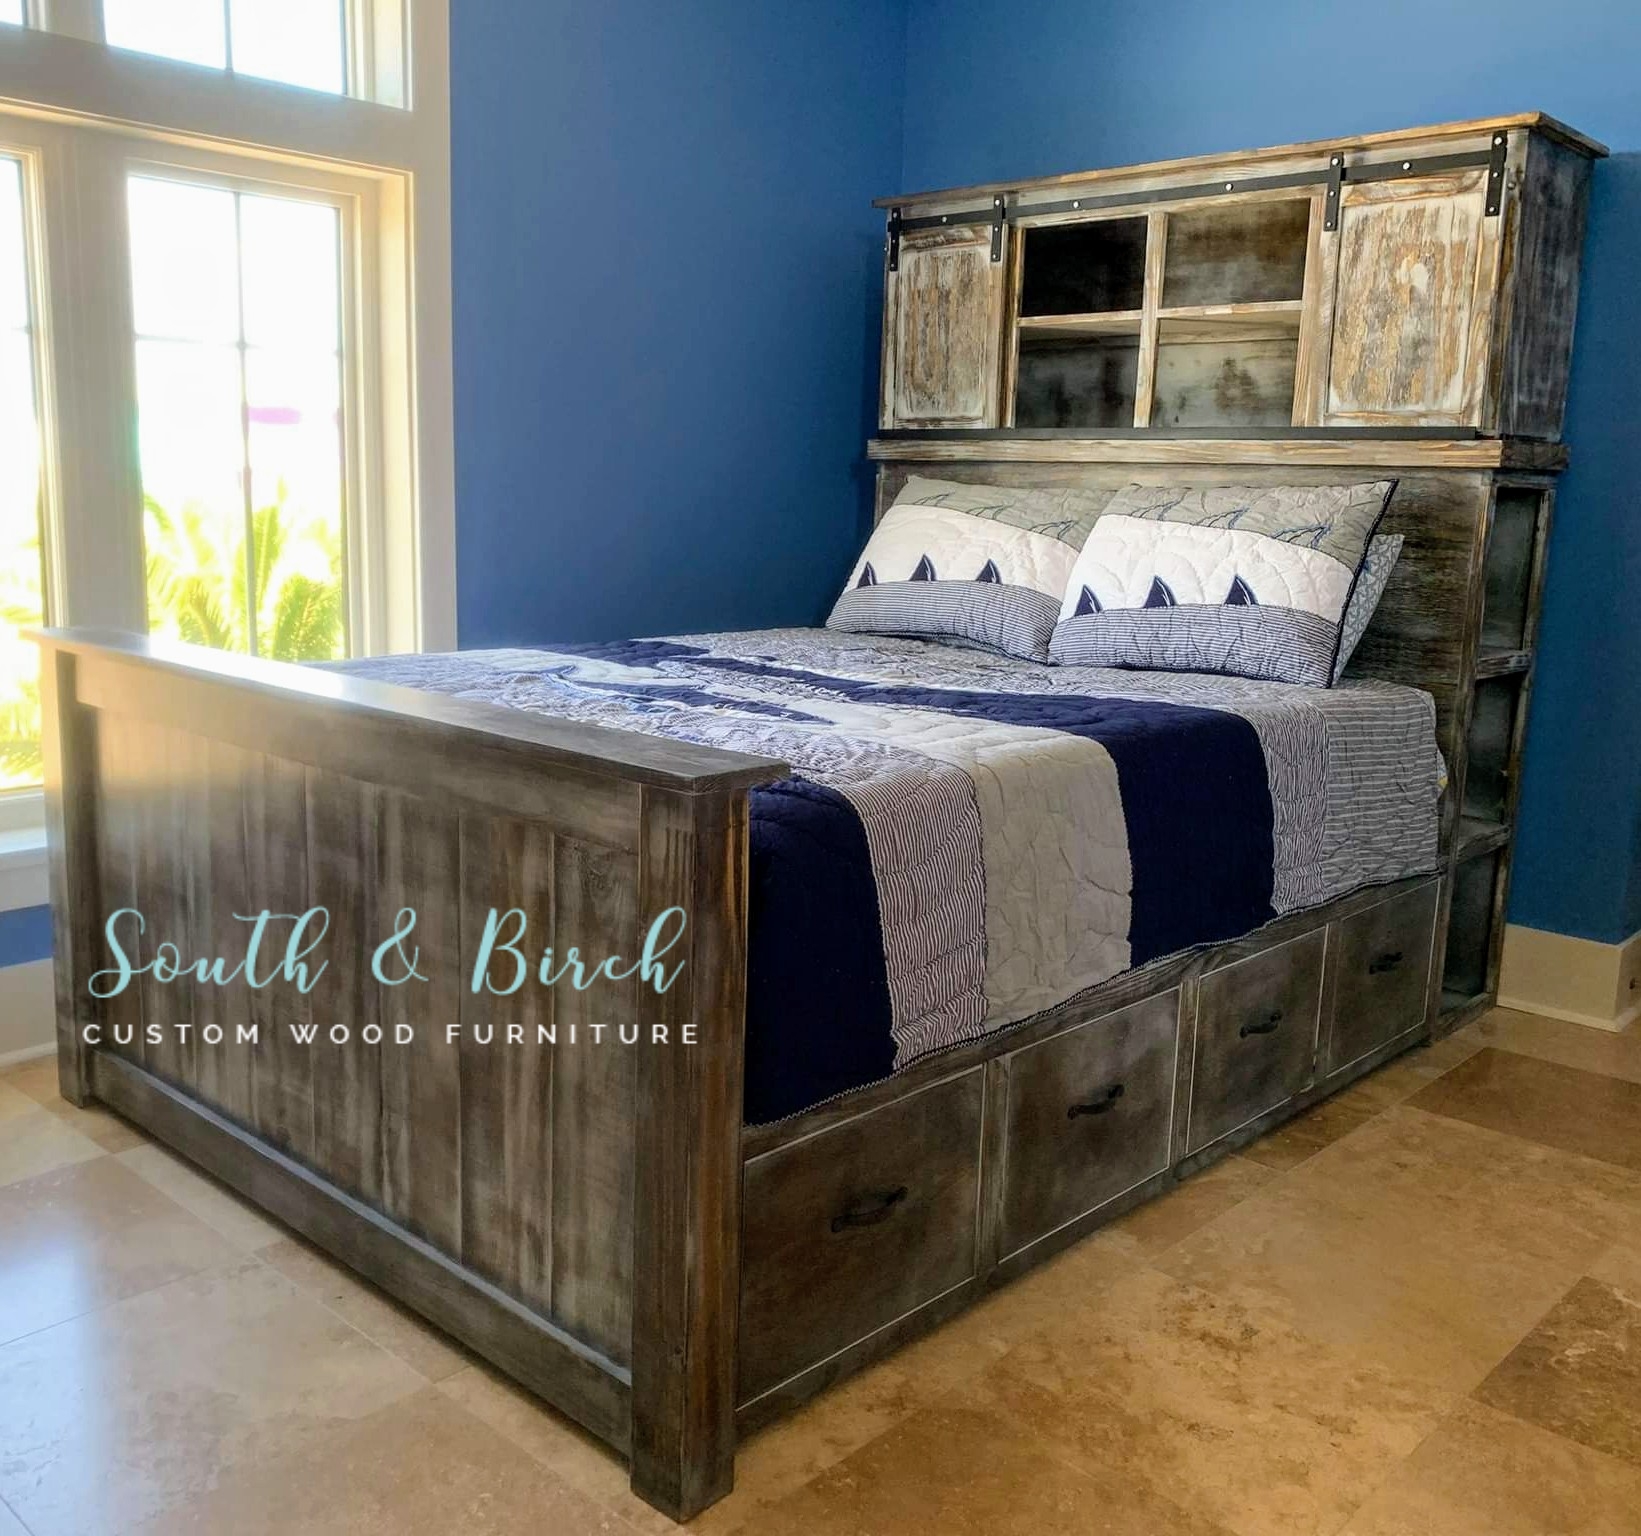
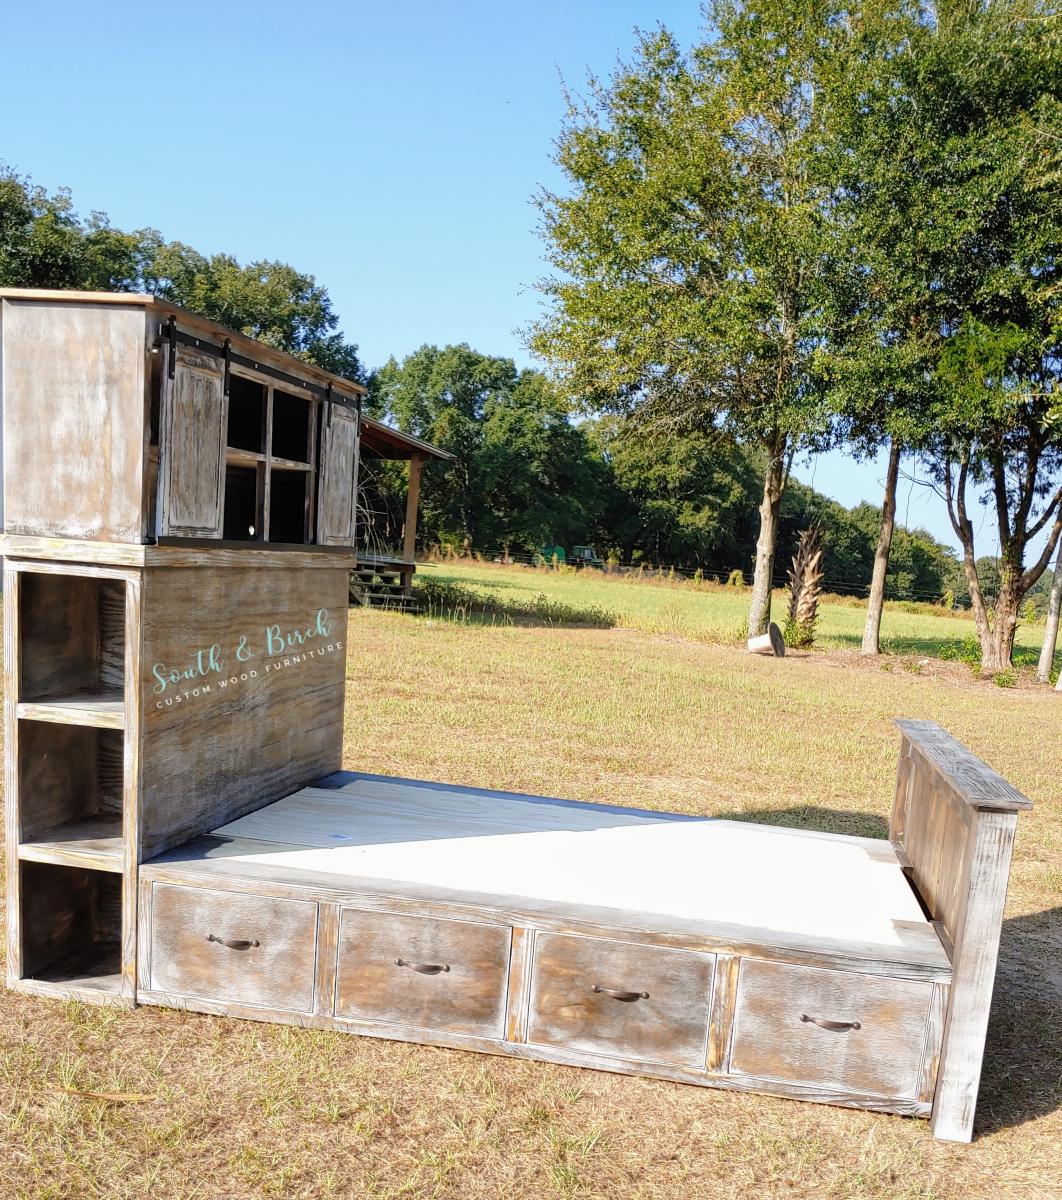
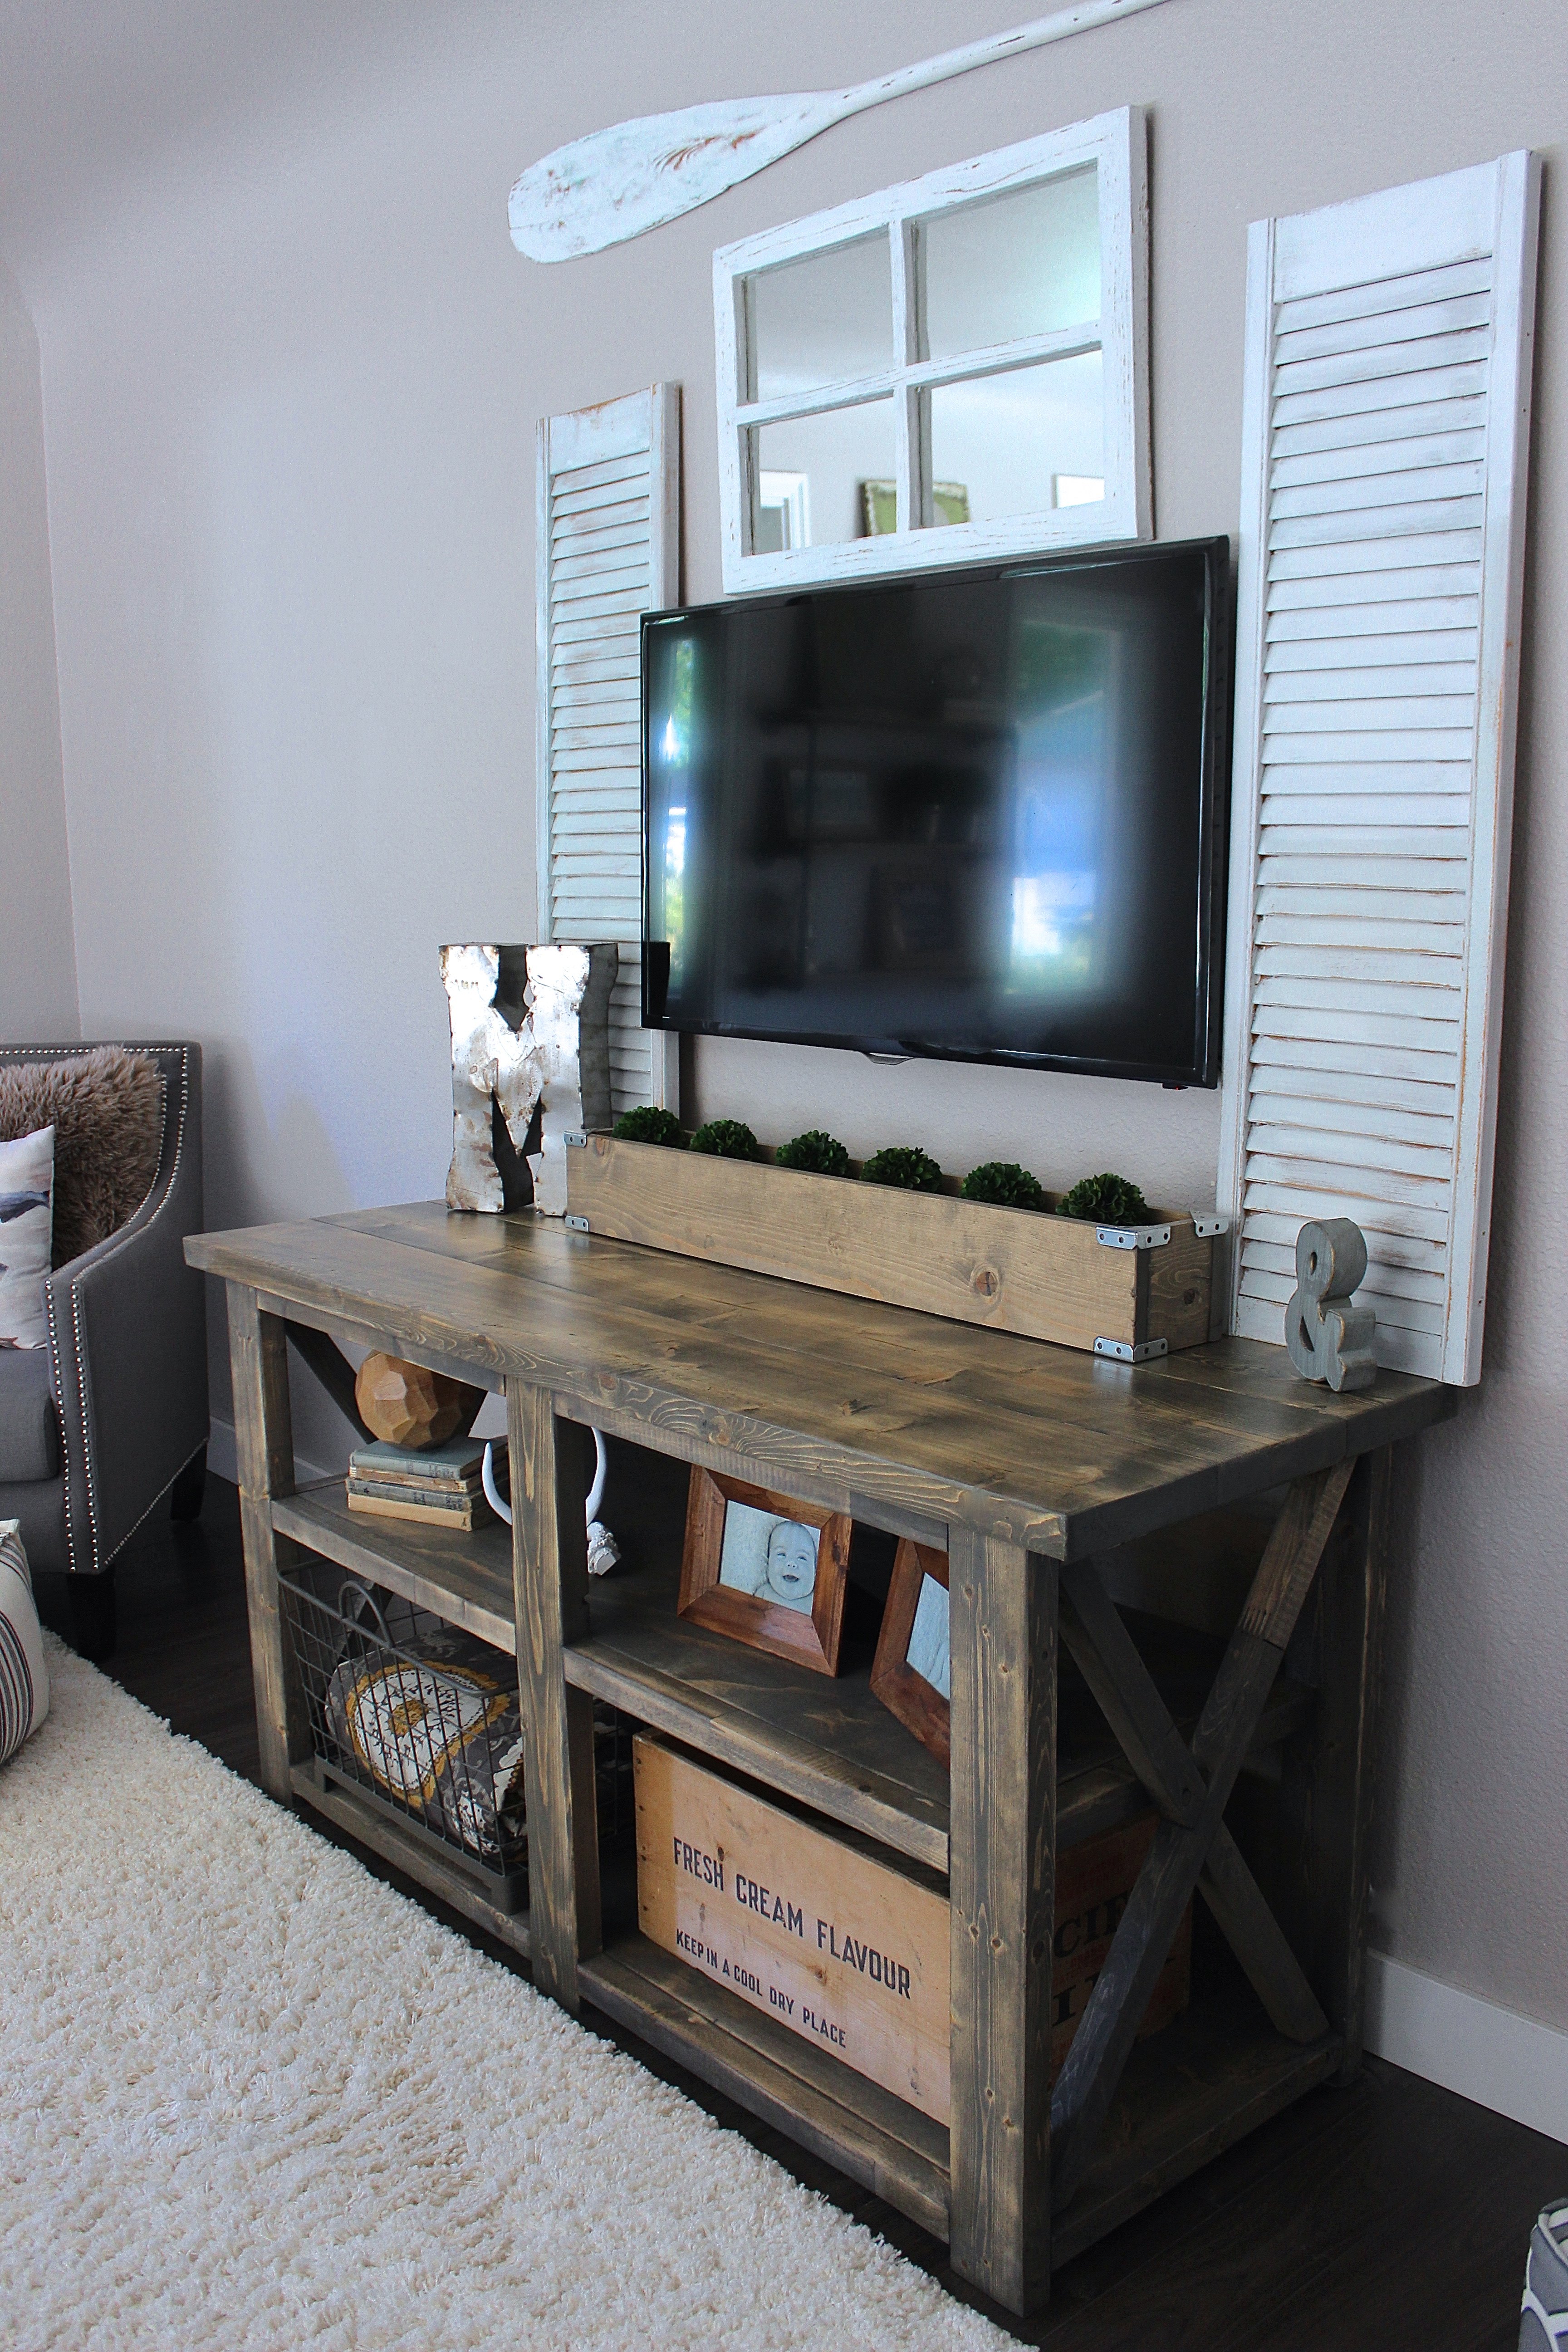
Media Stand
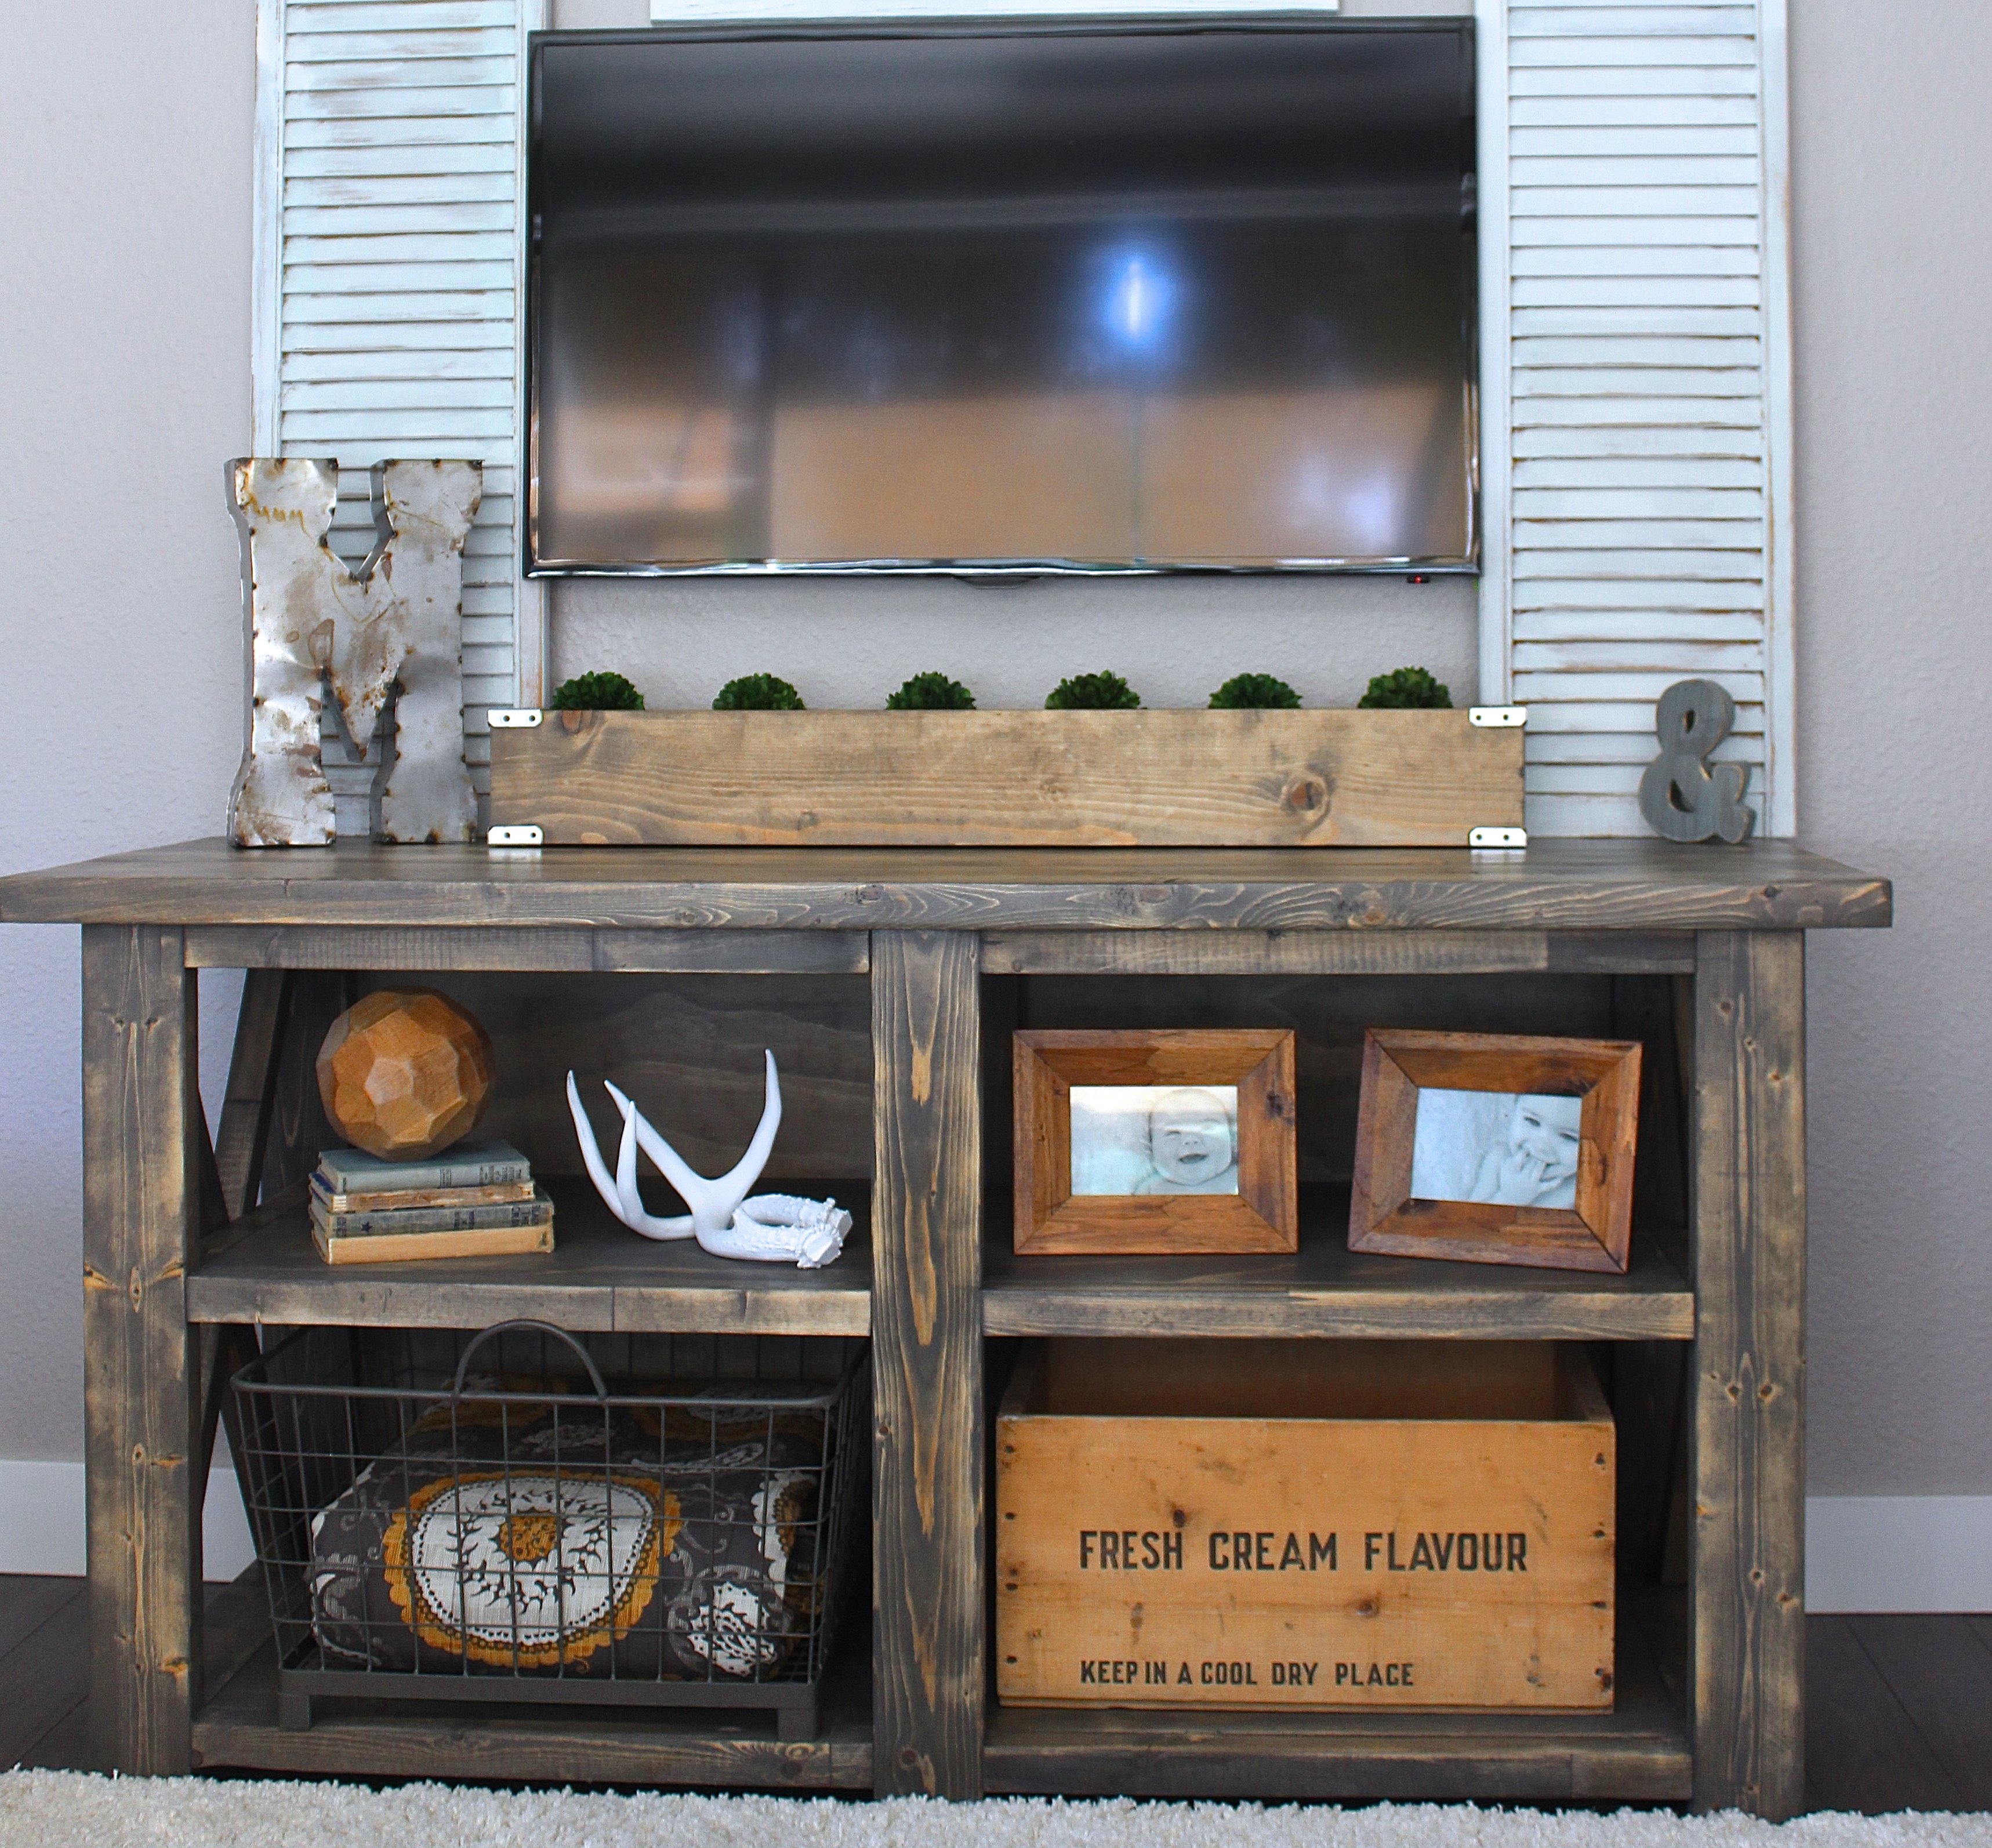
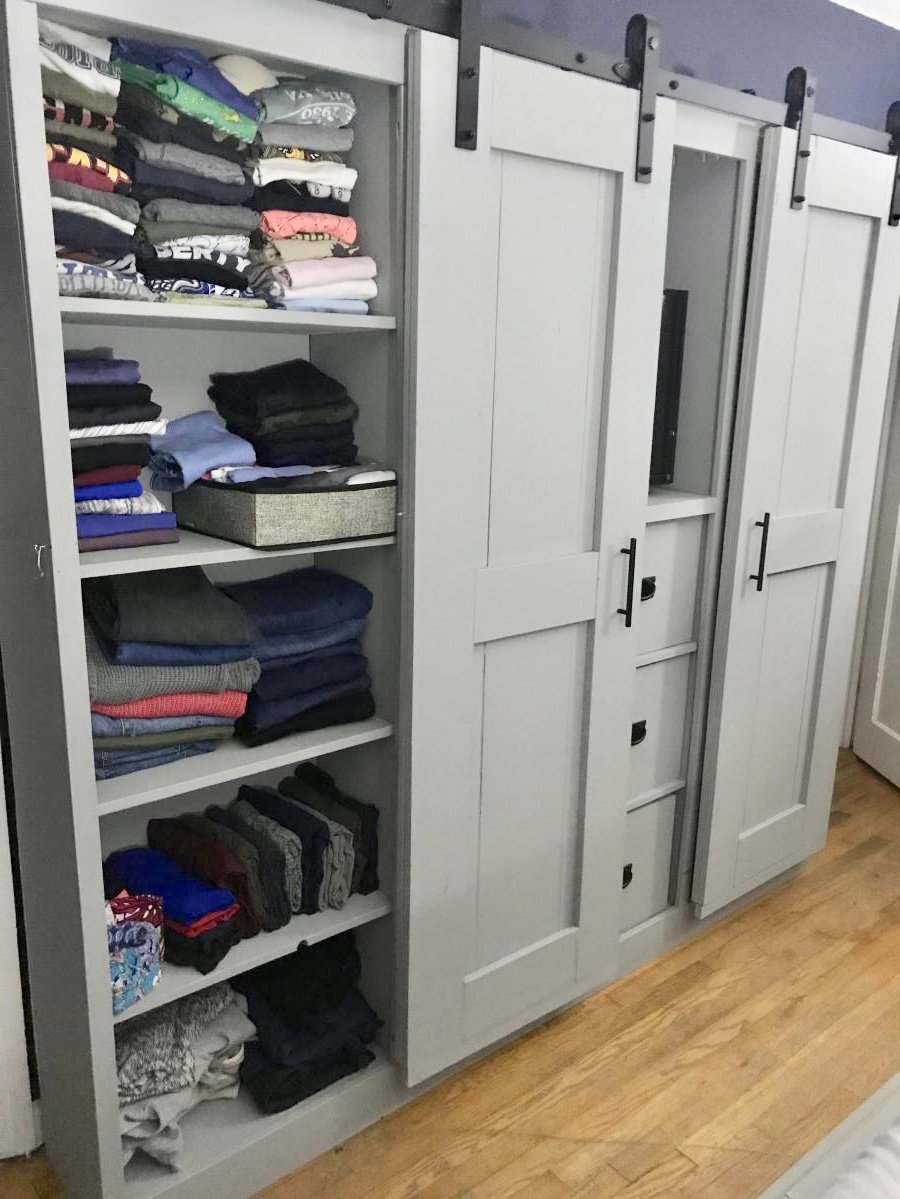
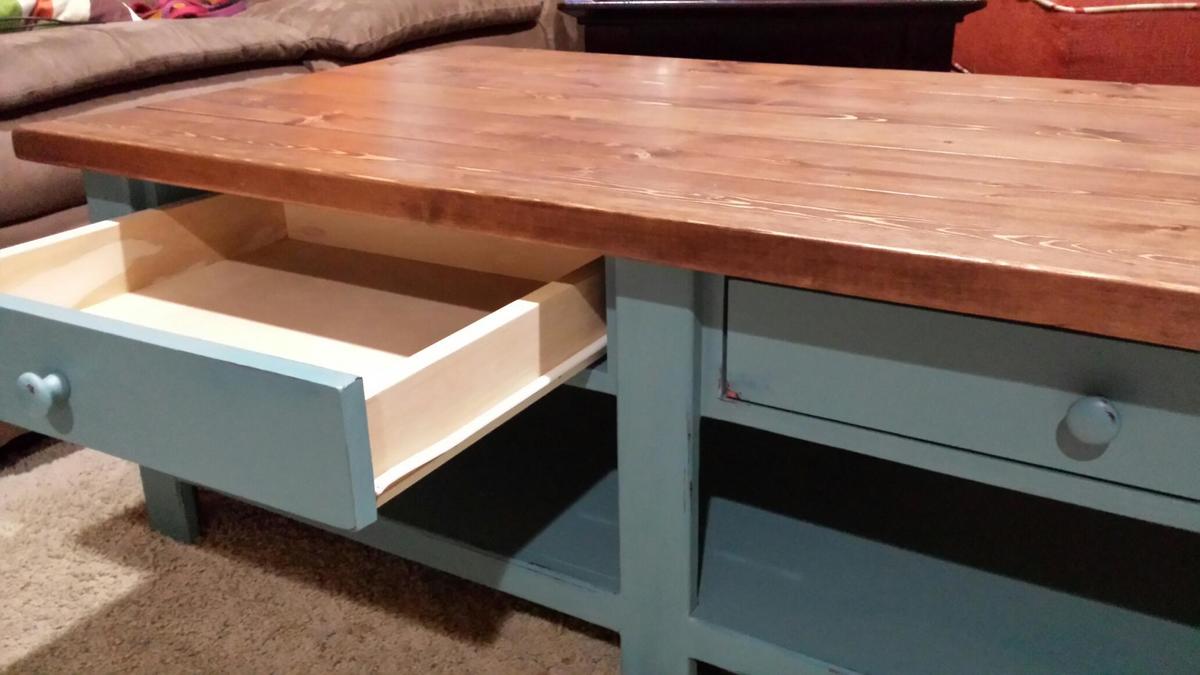
We built this media stand for our home and we had many that followed. We put a backing on ours to hide the cords and such. It makes it feel a lot classier & takes under 5 minutes to add! We used 1/8" particle board and we used our neumatic nail gun.
All in all, this is a super easy beginner project that adds a big bang to the space!
Built from Plan(s)
Estimated Cost
80.00
Estimated Time Investment
Afternoon Project (3-6 Hours)
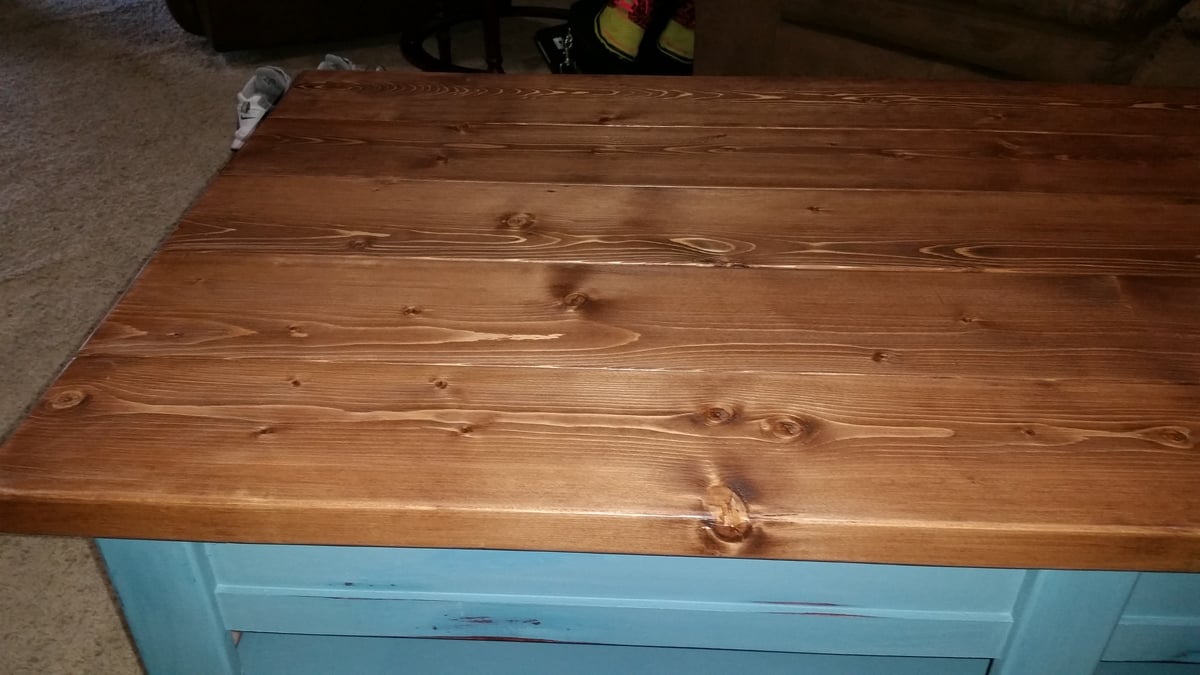
Finish Used
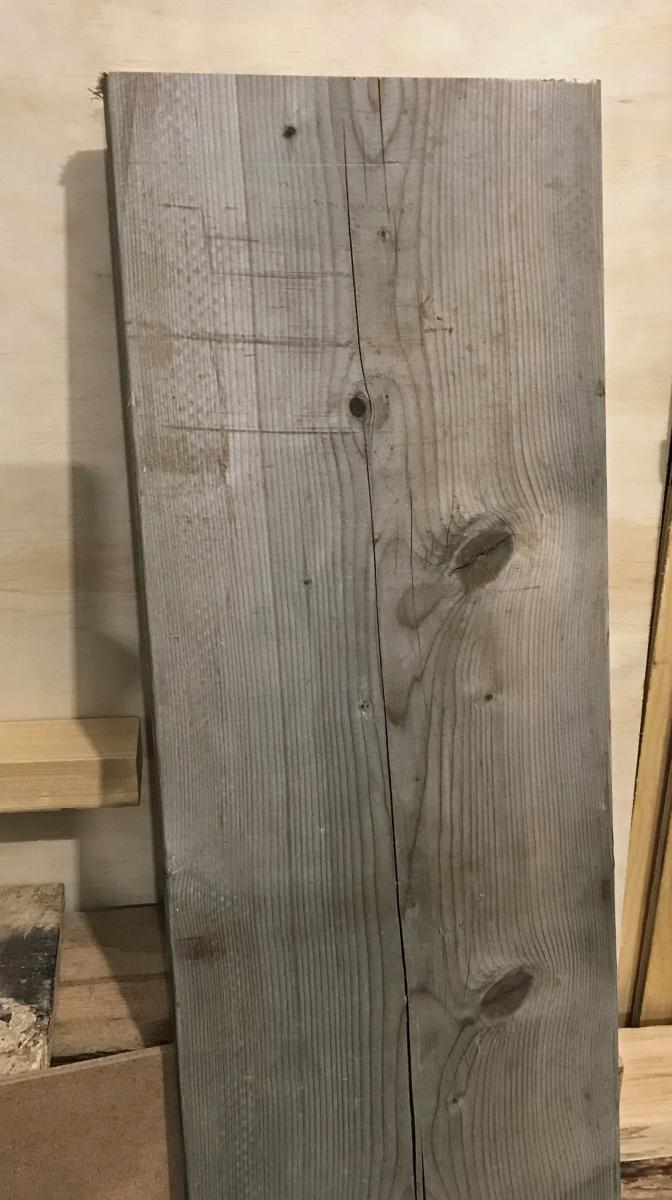
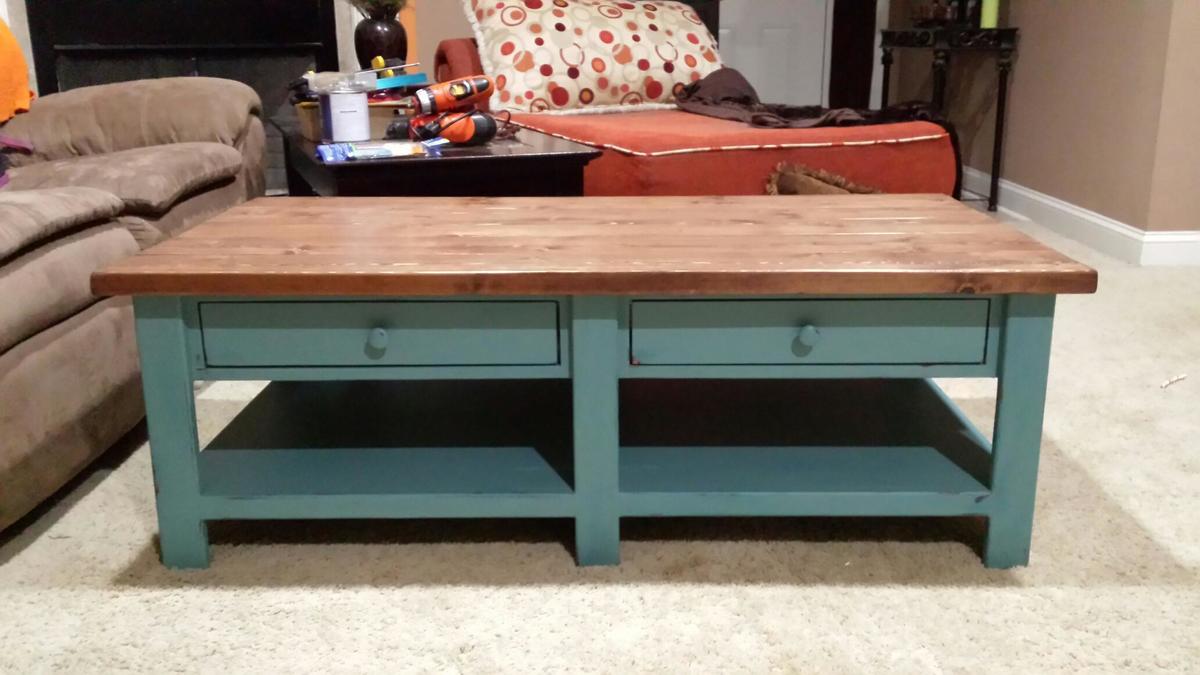
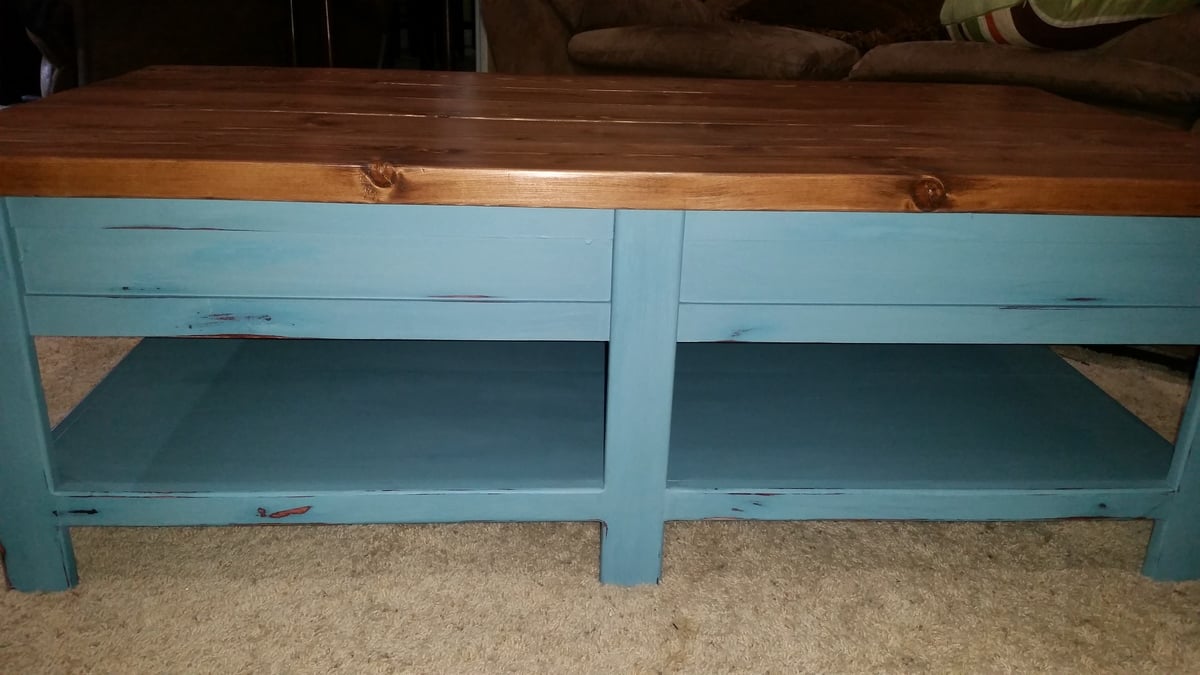
This is our custom beachwood stain. A few stains from Minwax mixed together.
We then Distressed it & applied 3 coats of semi-gloss polyurethane
We then Distressed it & applied 3 coats of semi-gloss polyurethane
Recommended Skill Level
Beginner