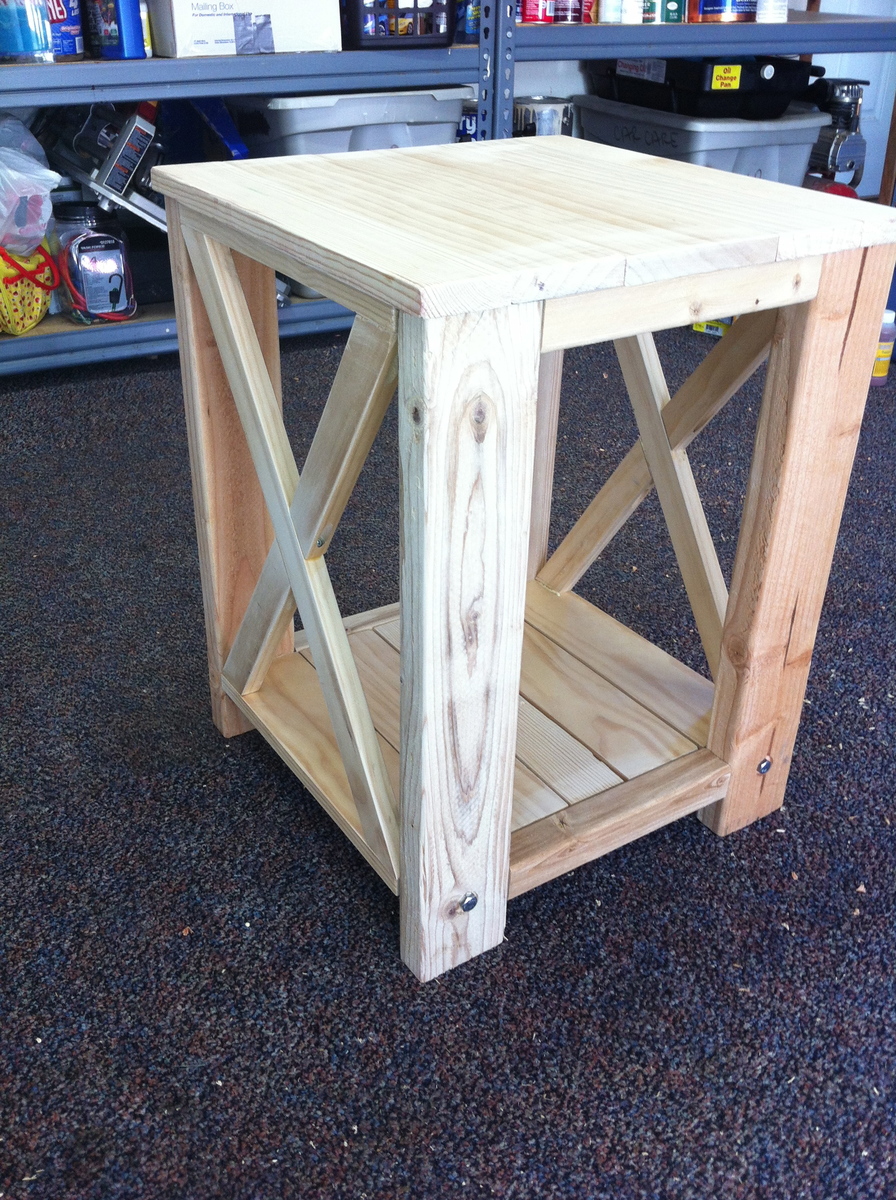
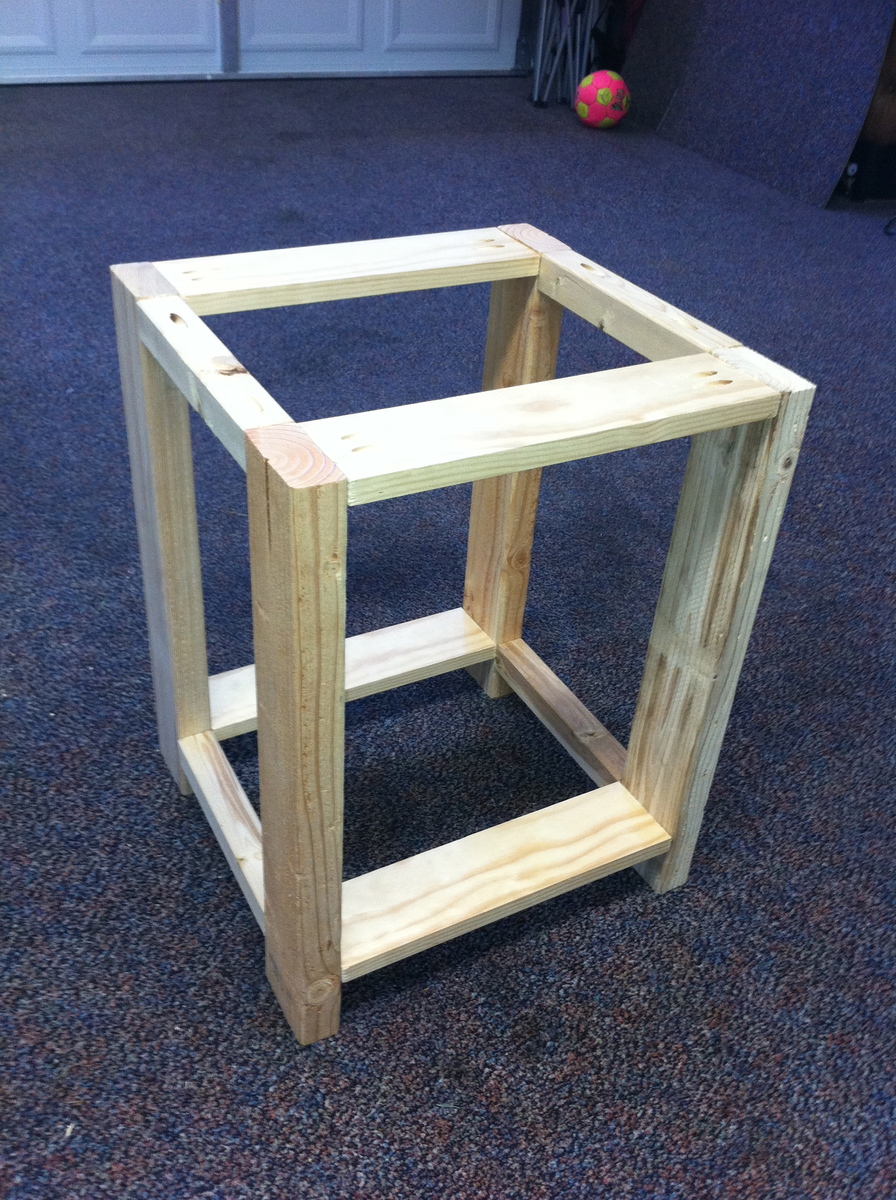
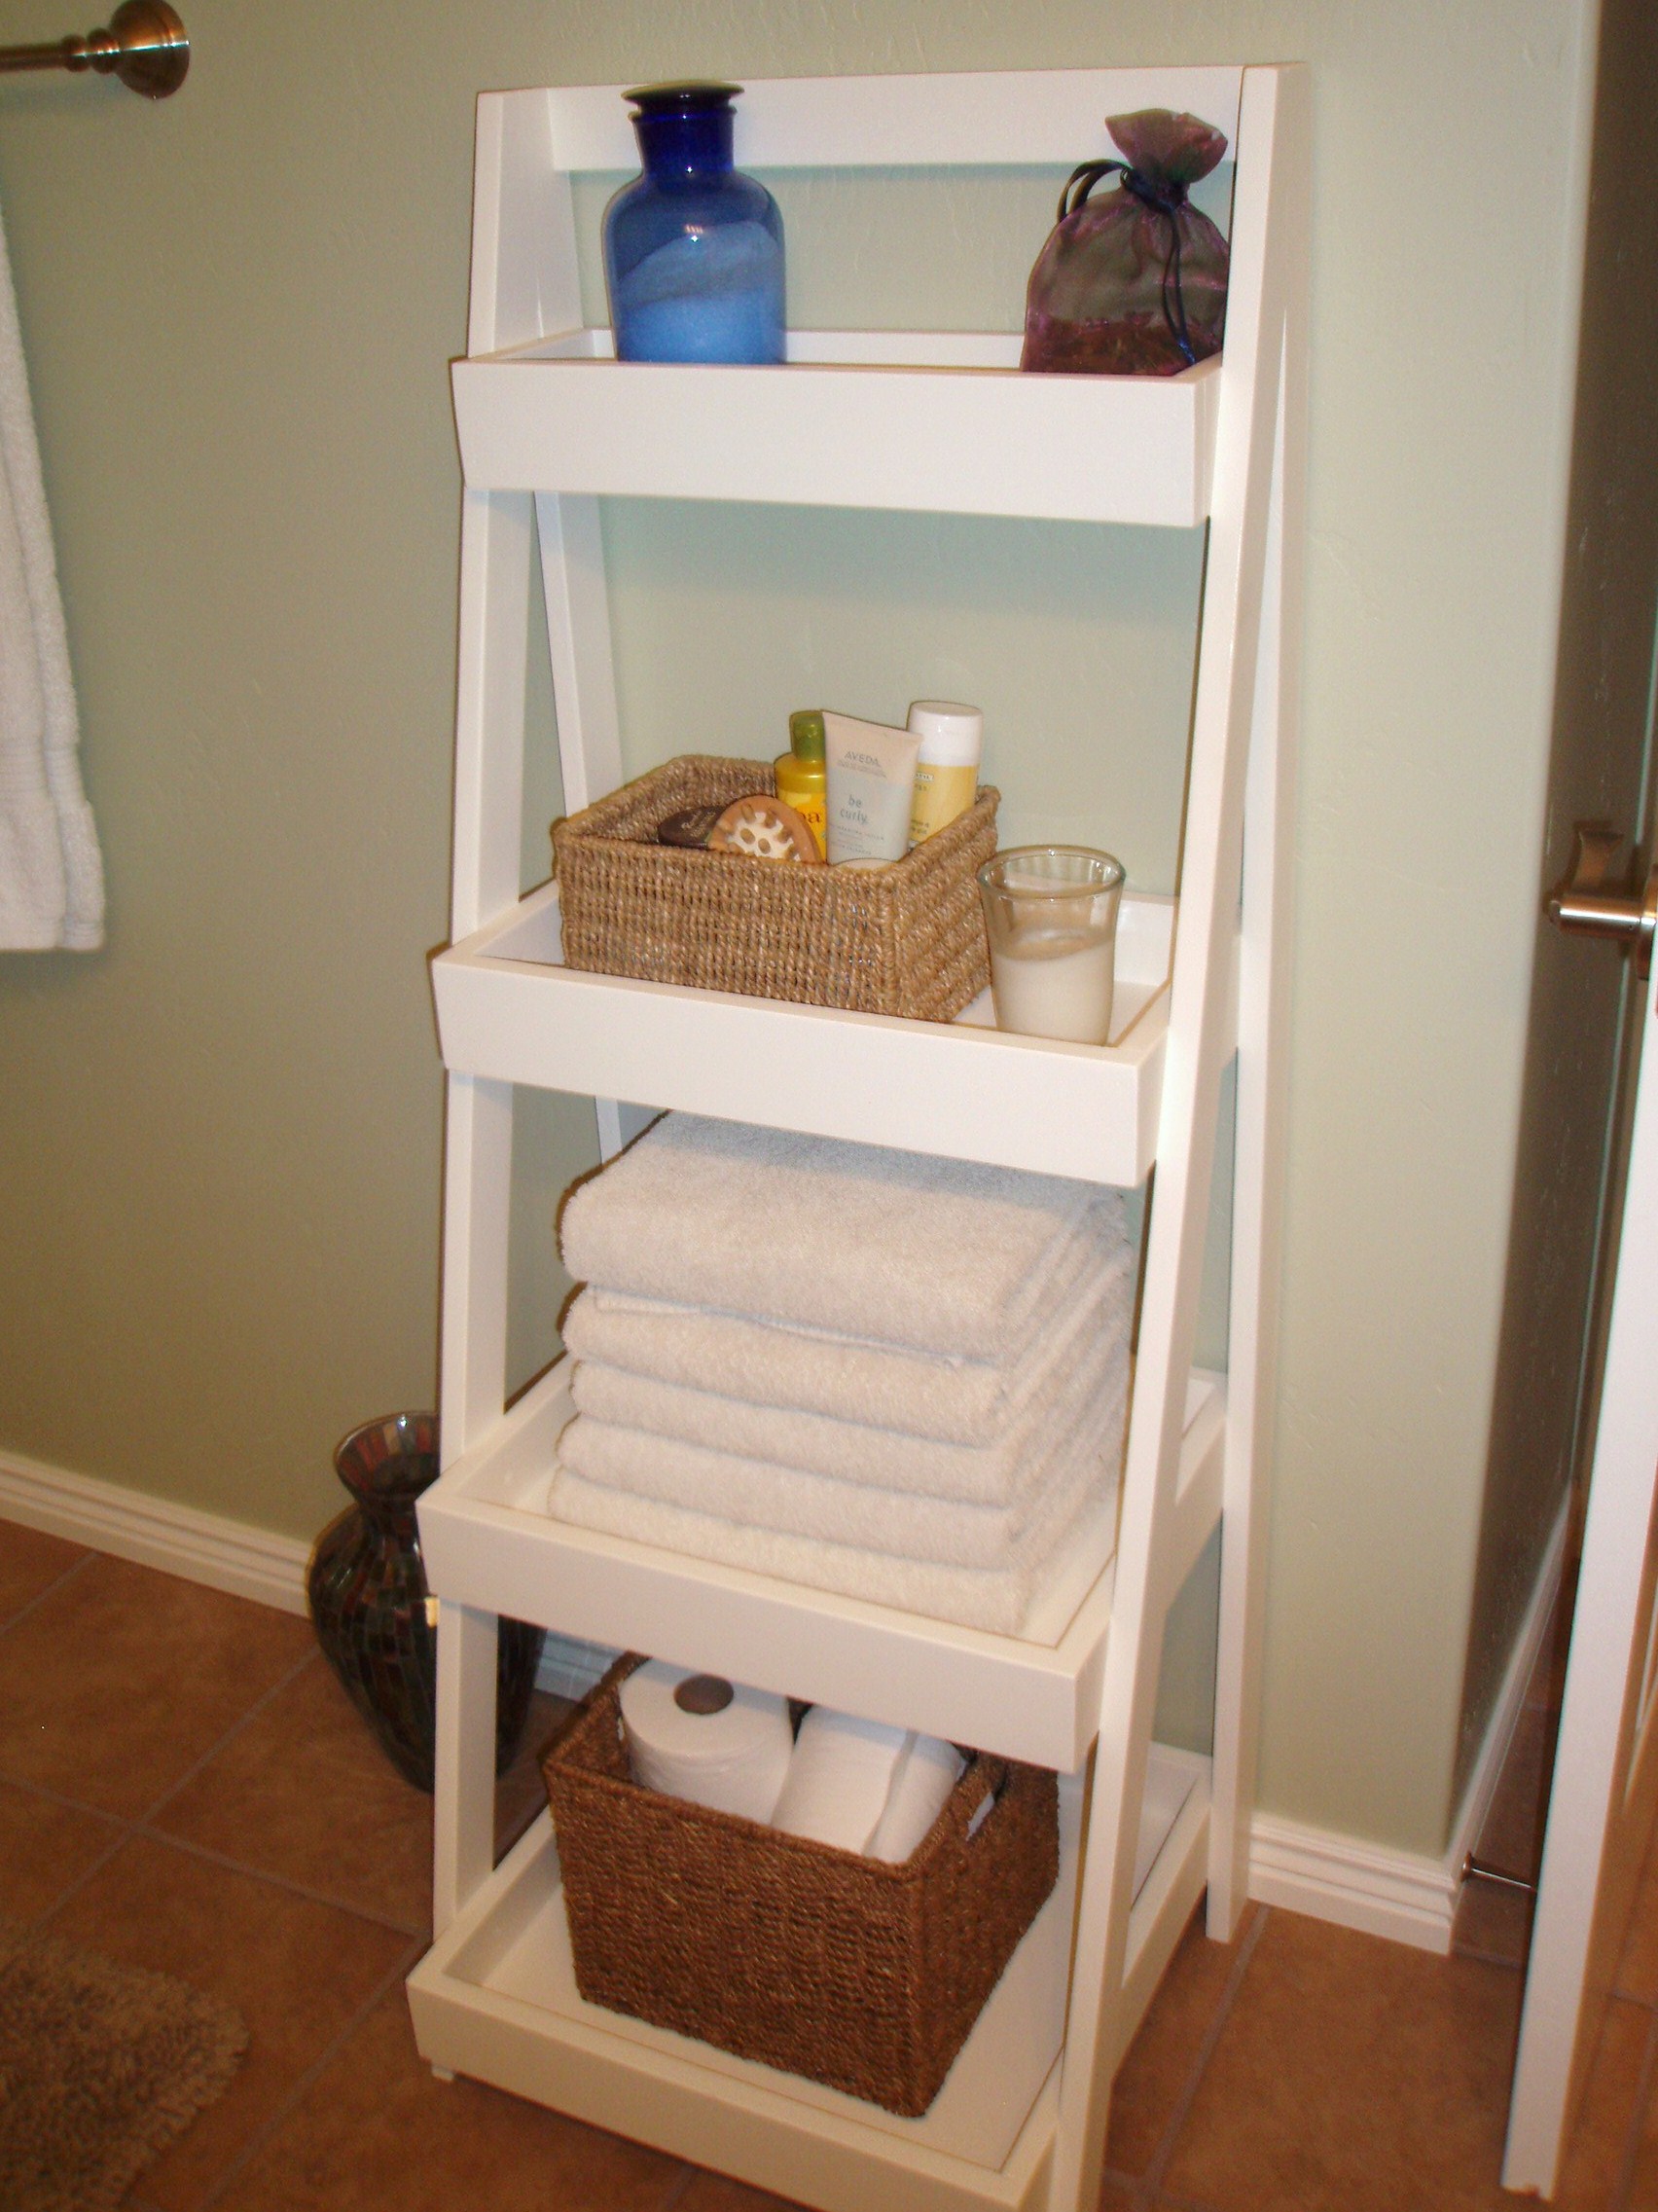
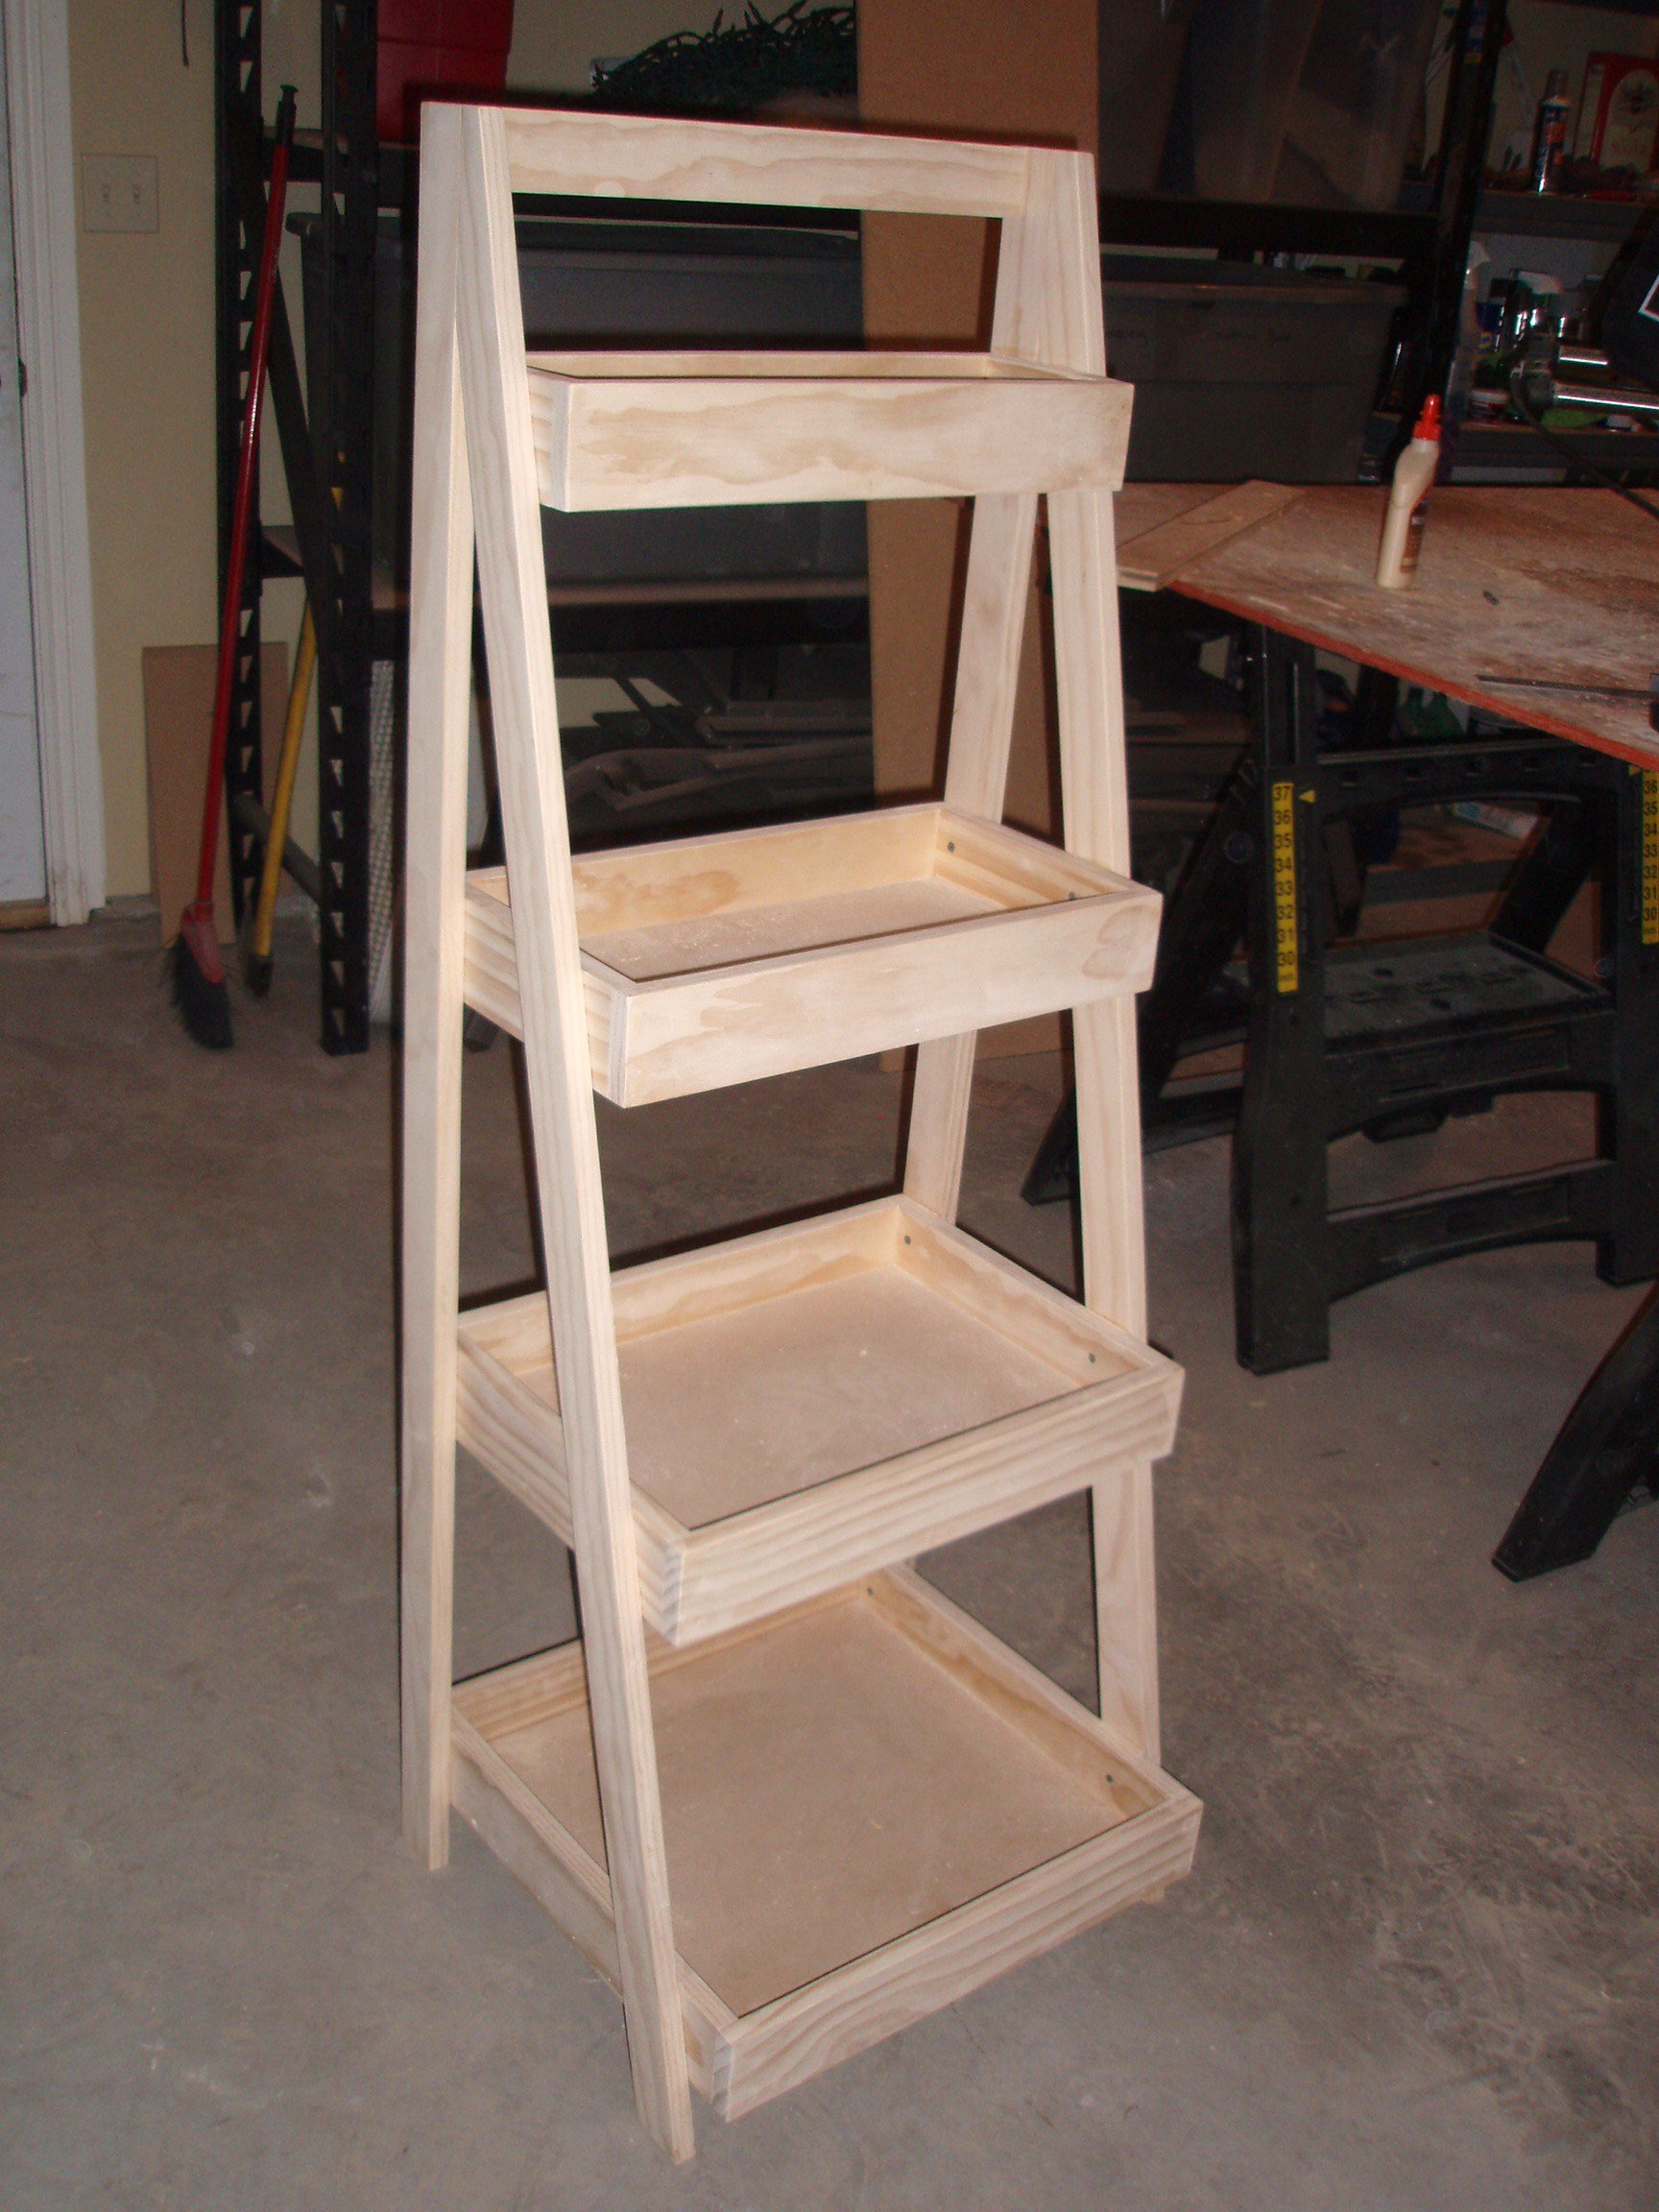
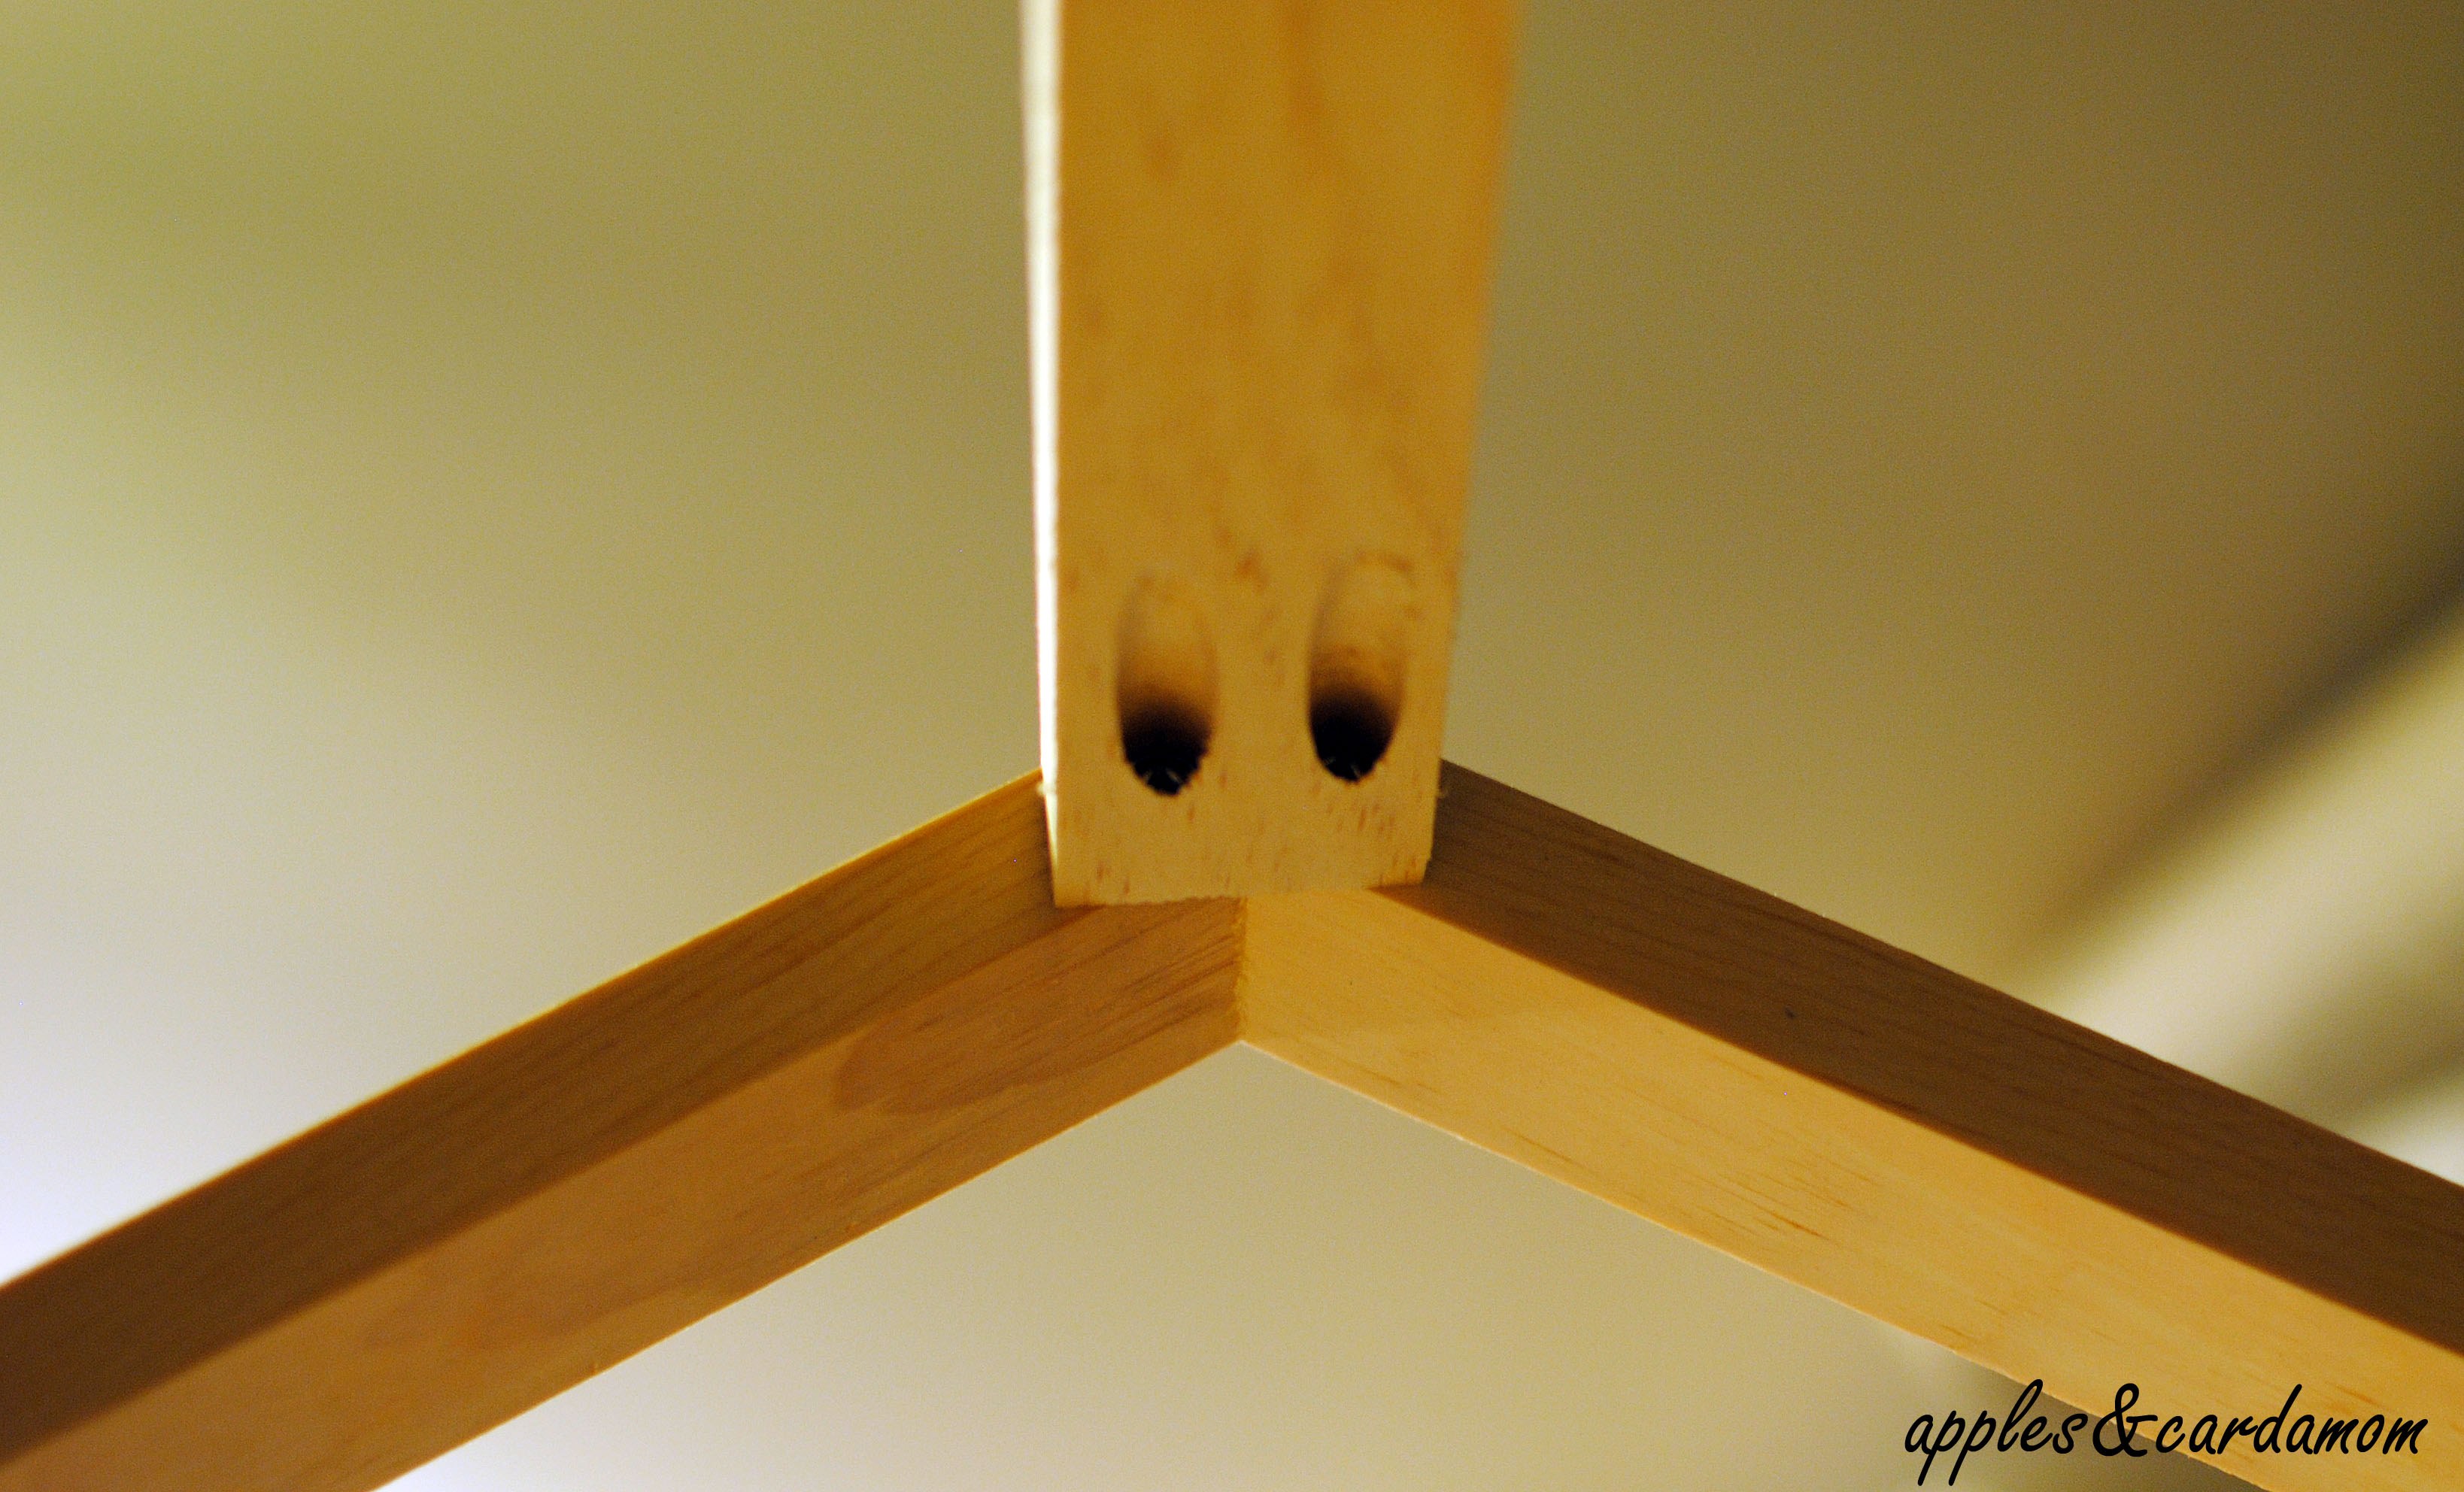
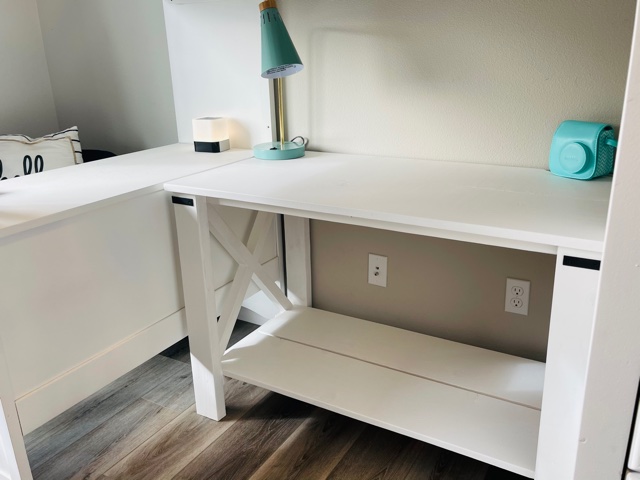
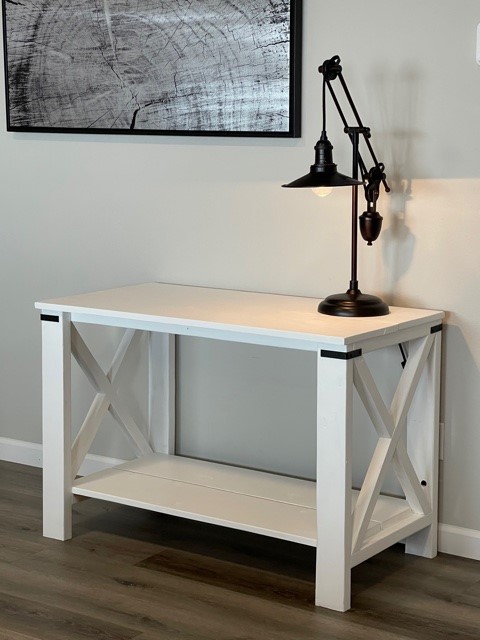
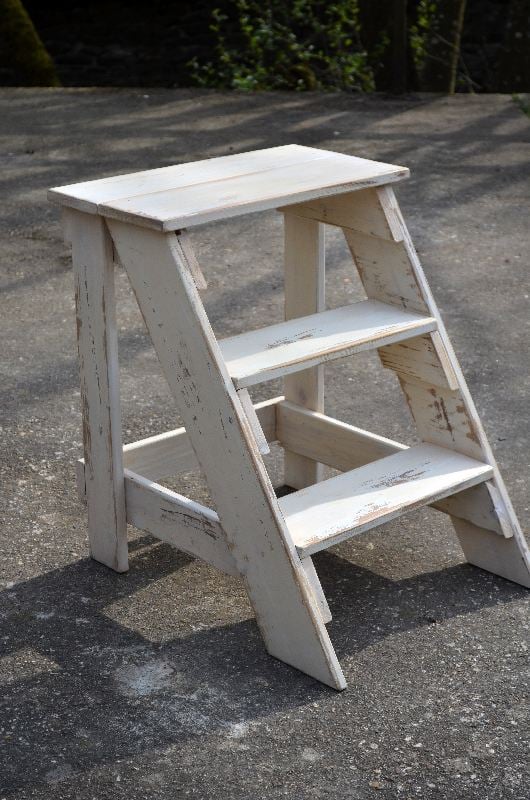
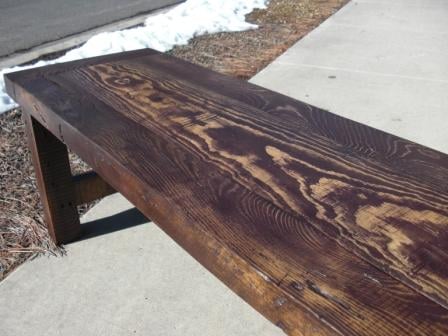
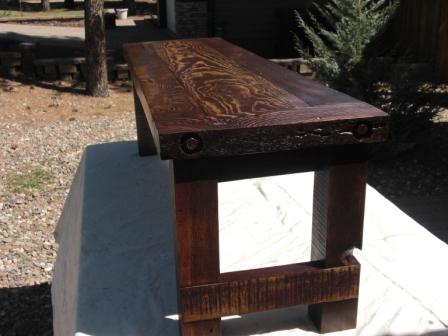
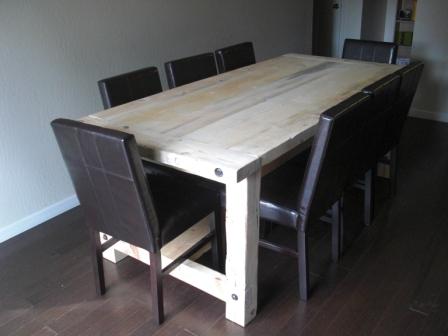
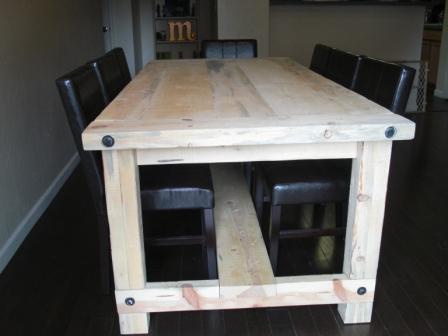
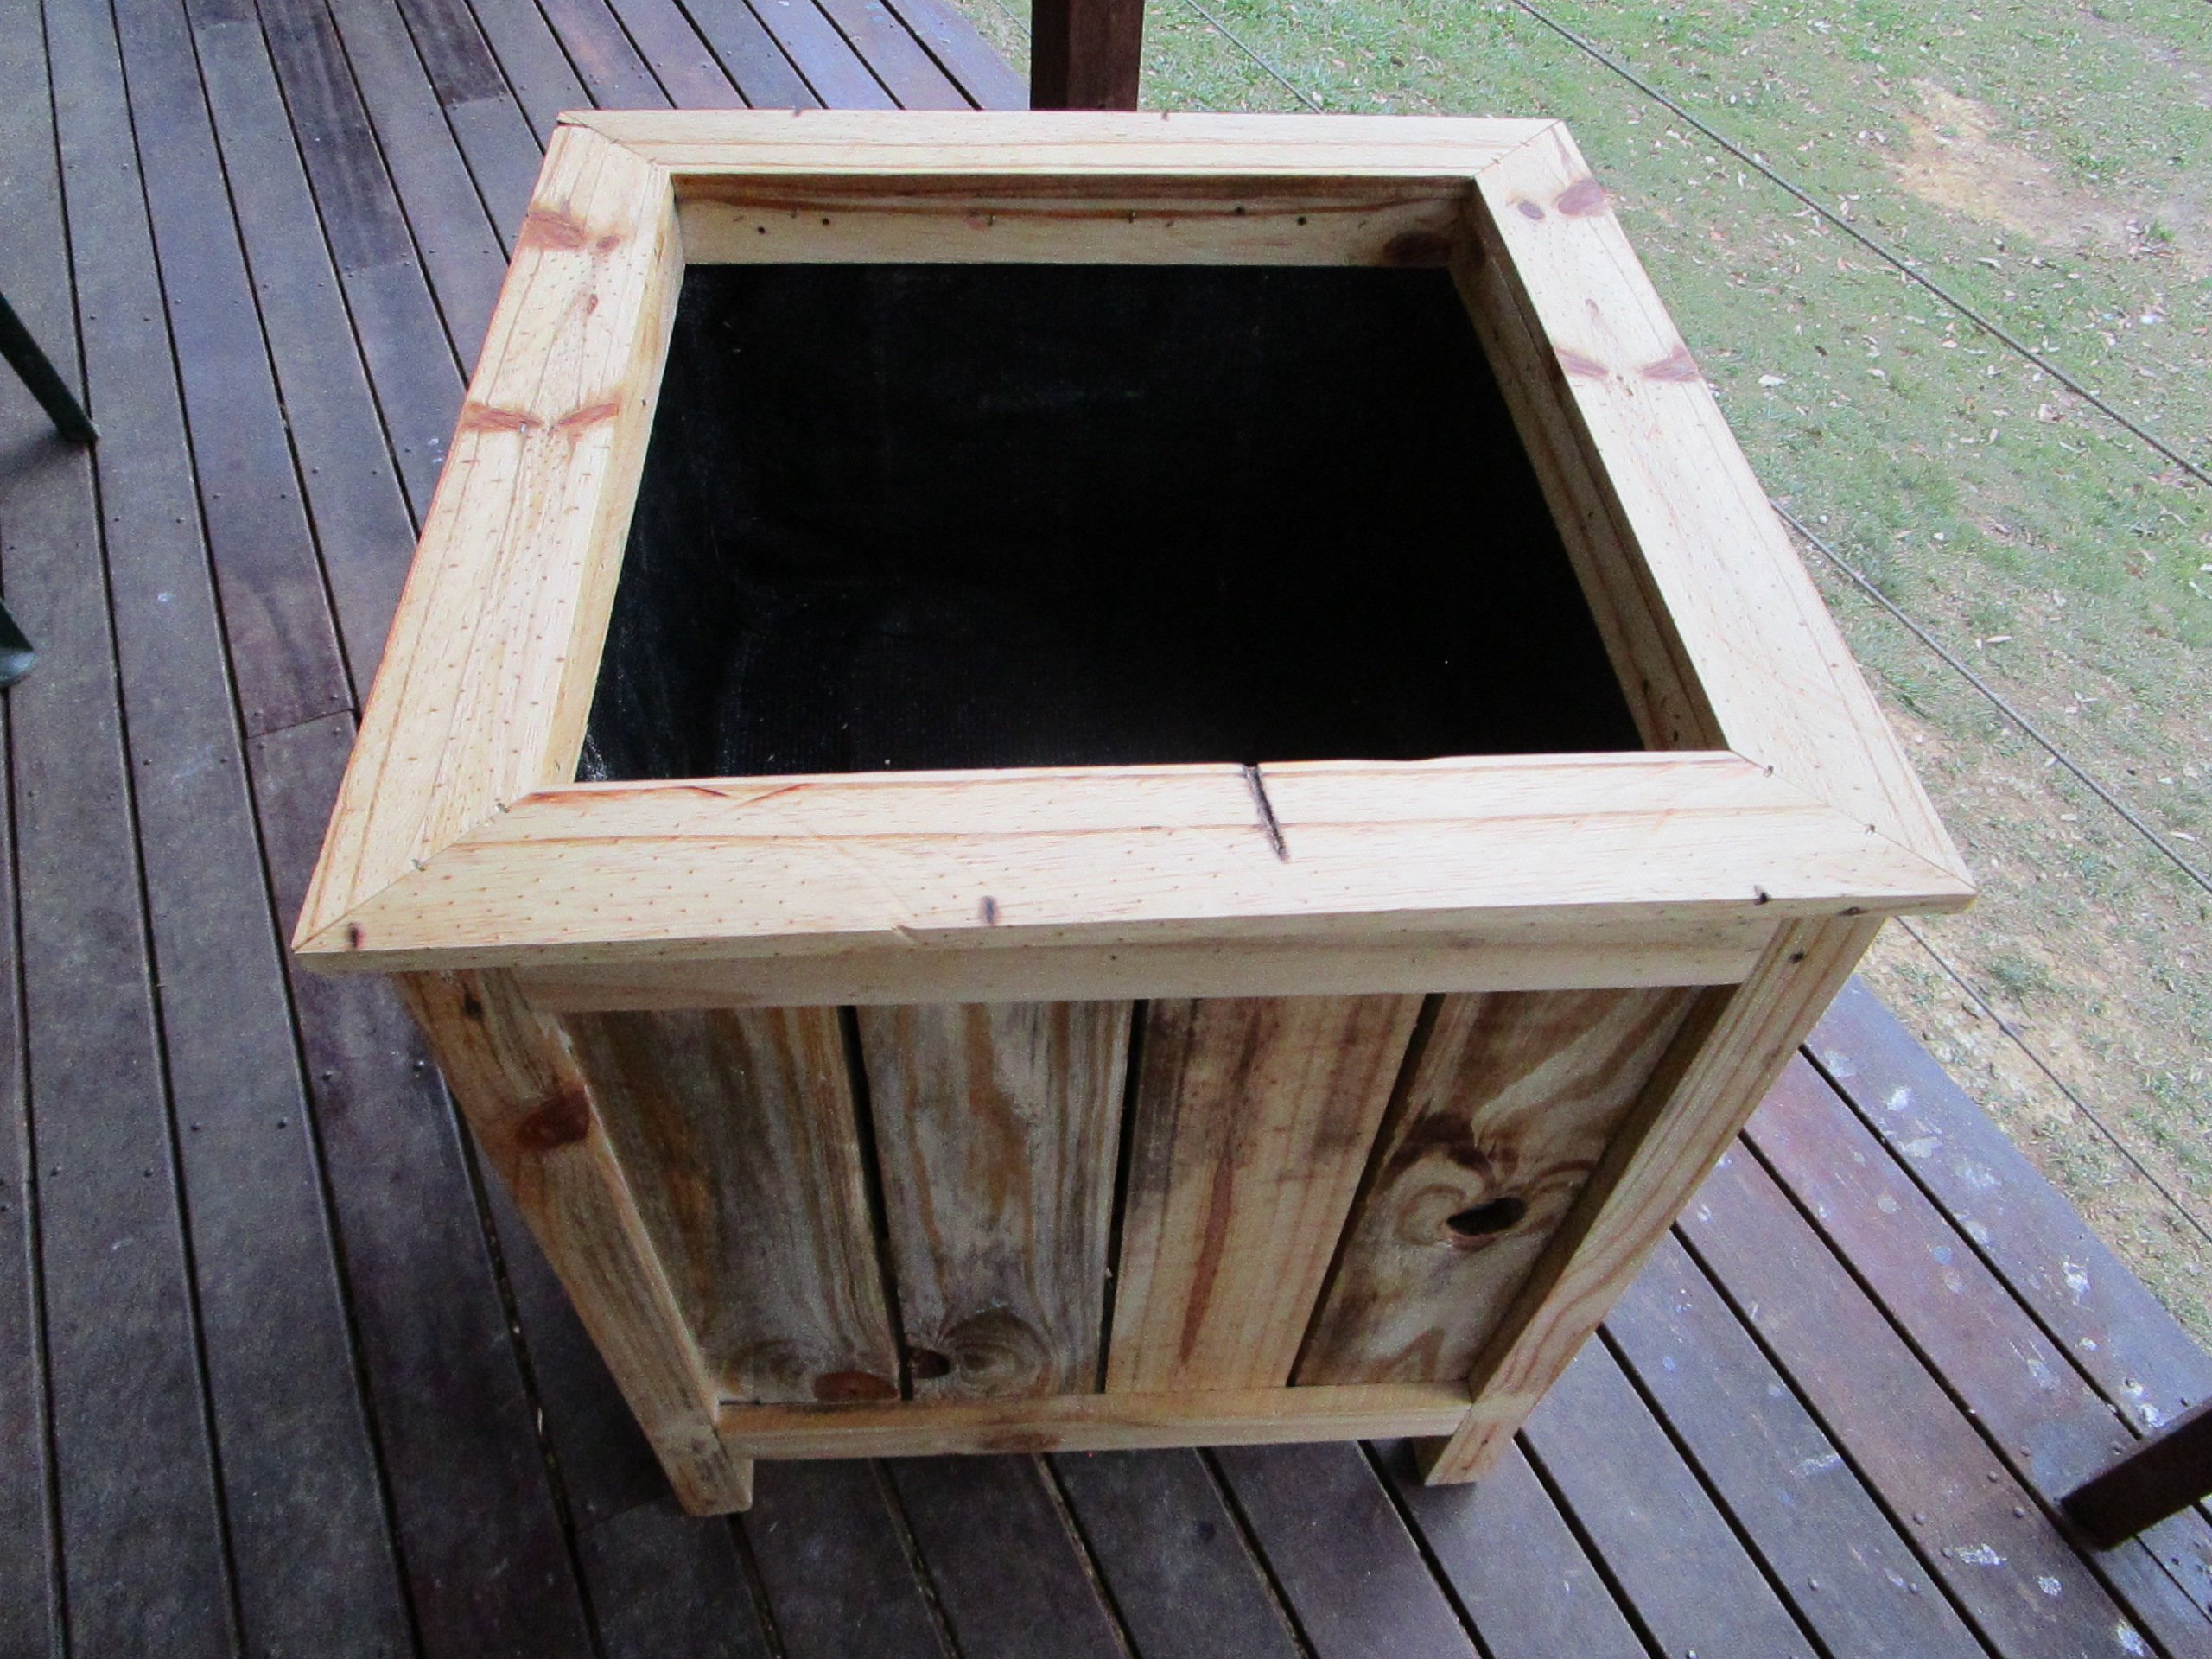
Cedar Boxes made with Pallet Wood
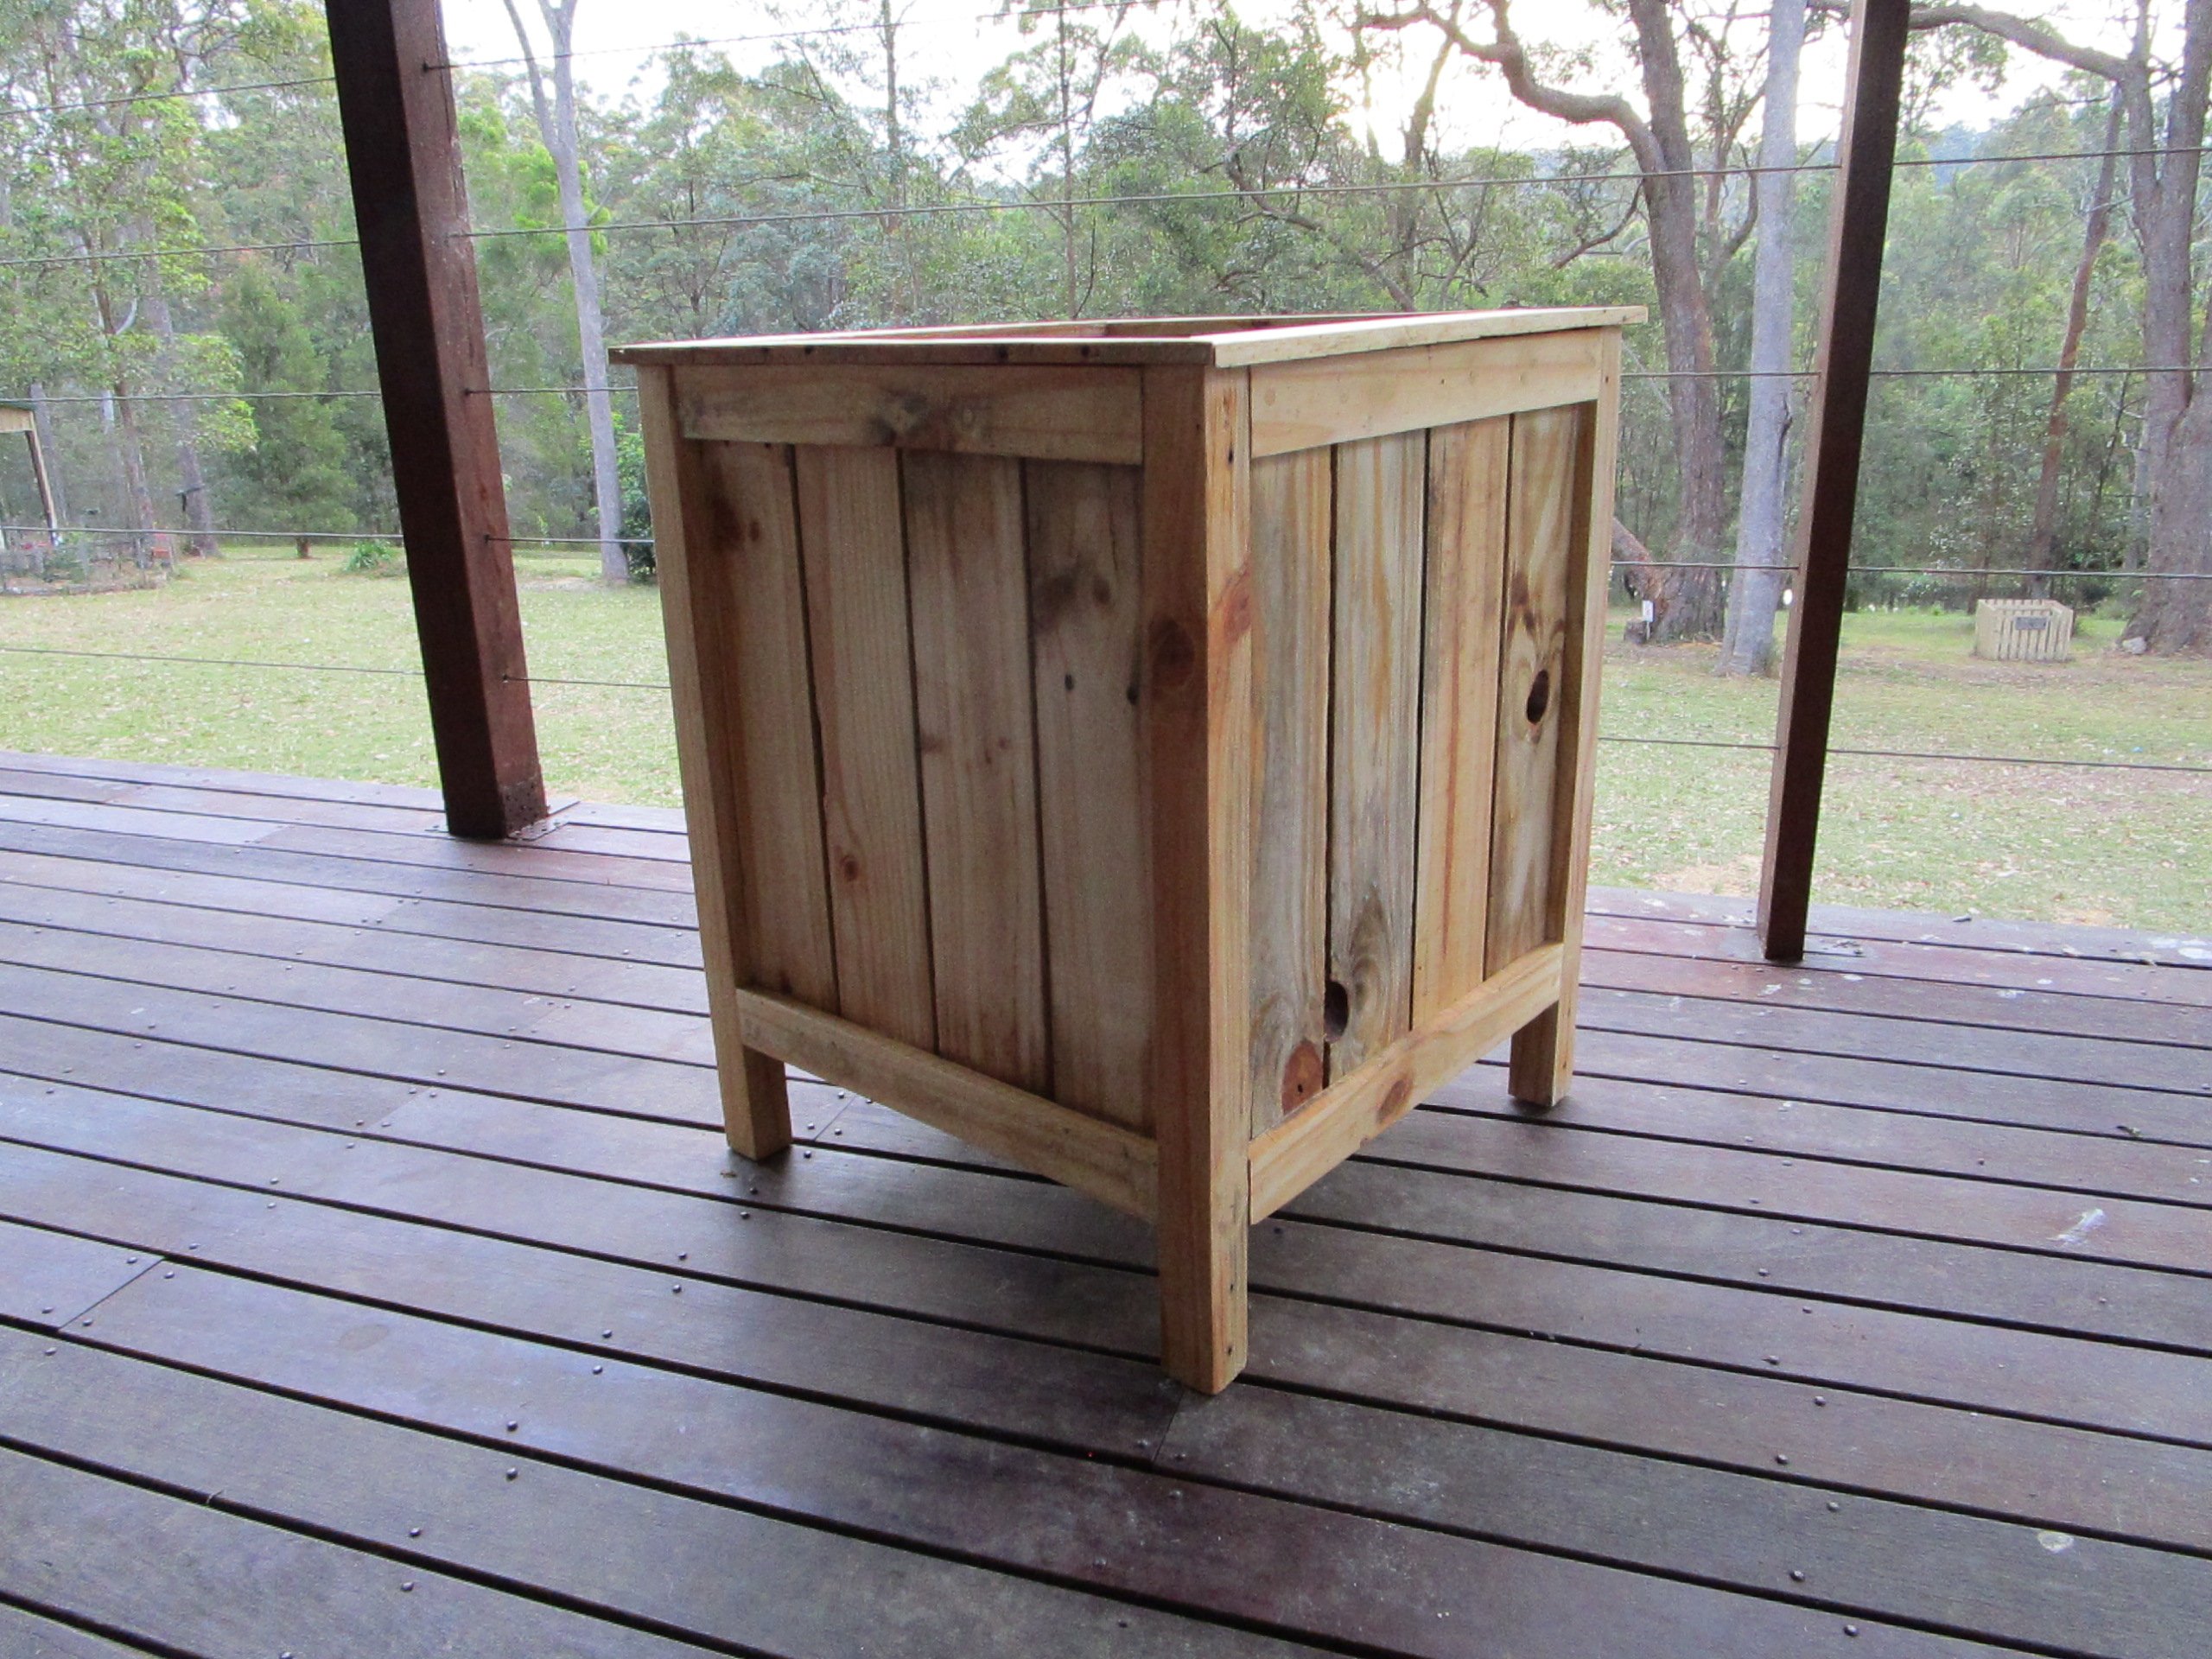
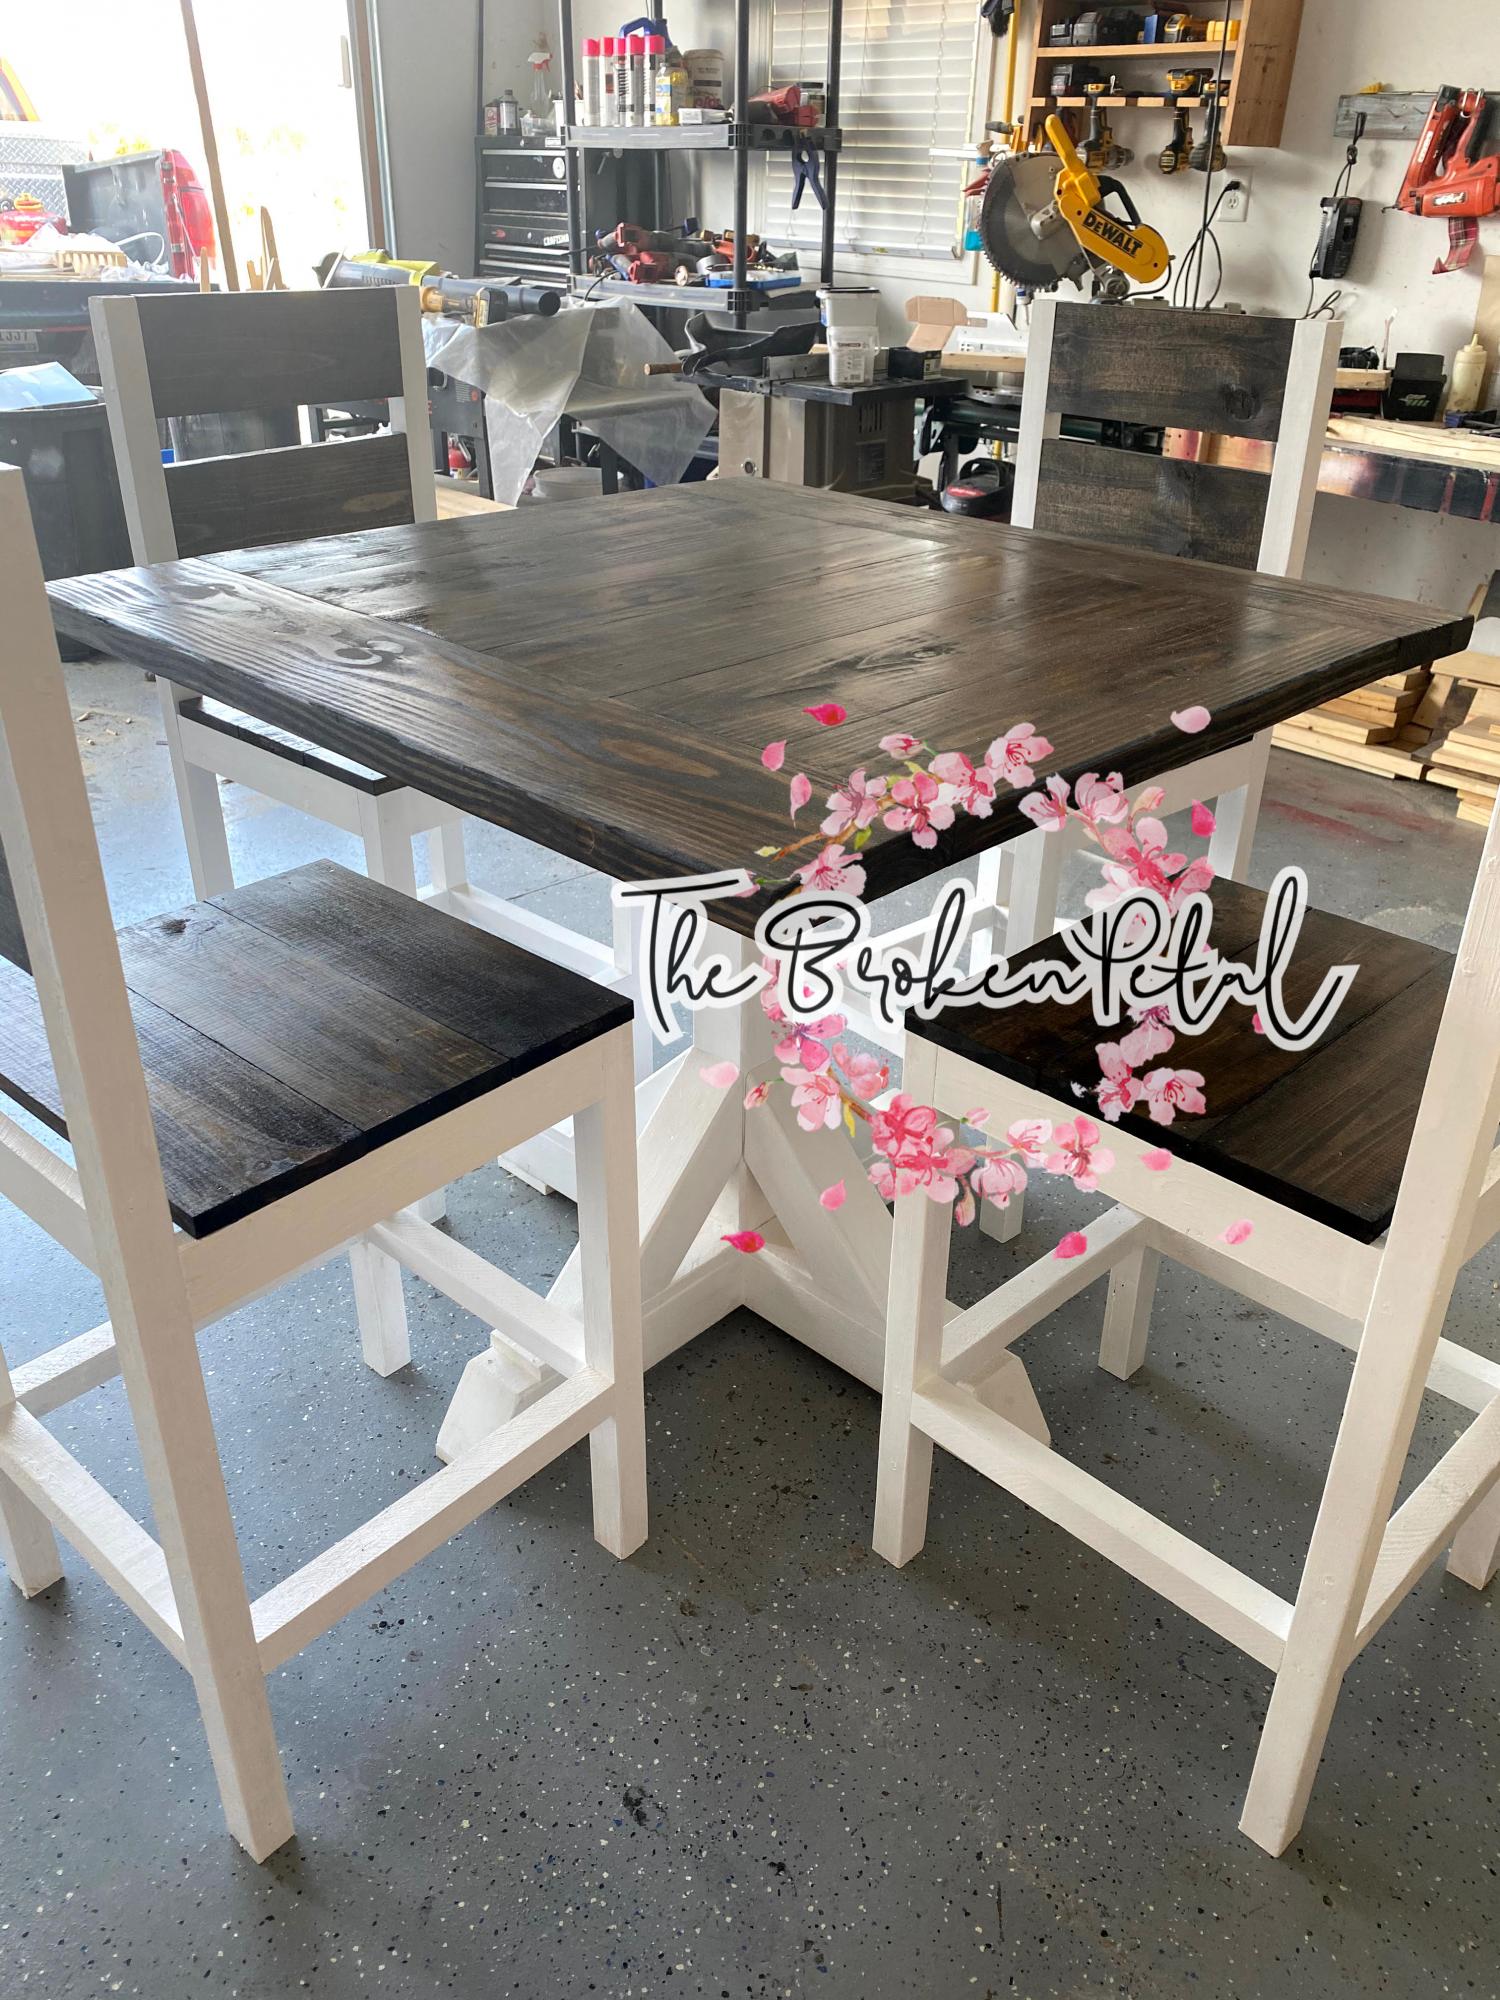
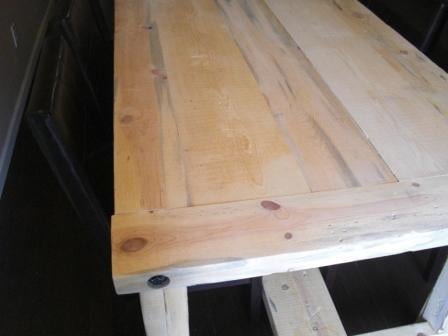
Thanks for the plans, I was able to make this for a friend's birthday. I made it from pallet wood and it was so easy, I did a mitred top though because I wanted it to look neat and trim. .
Built from Plan(s)
Estimated Cost
Nil
I used pallet wood
Wood glue & screws I already had
I used pallet wood
Wood glue & screws I already had
Estimated Time Investment
Week Long Project (20 Hours or More)
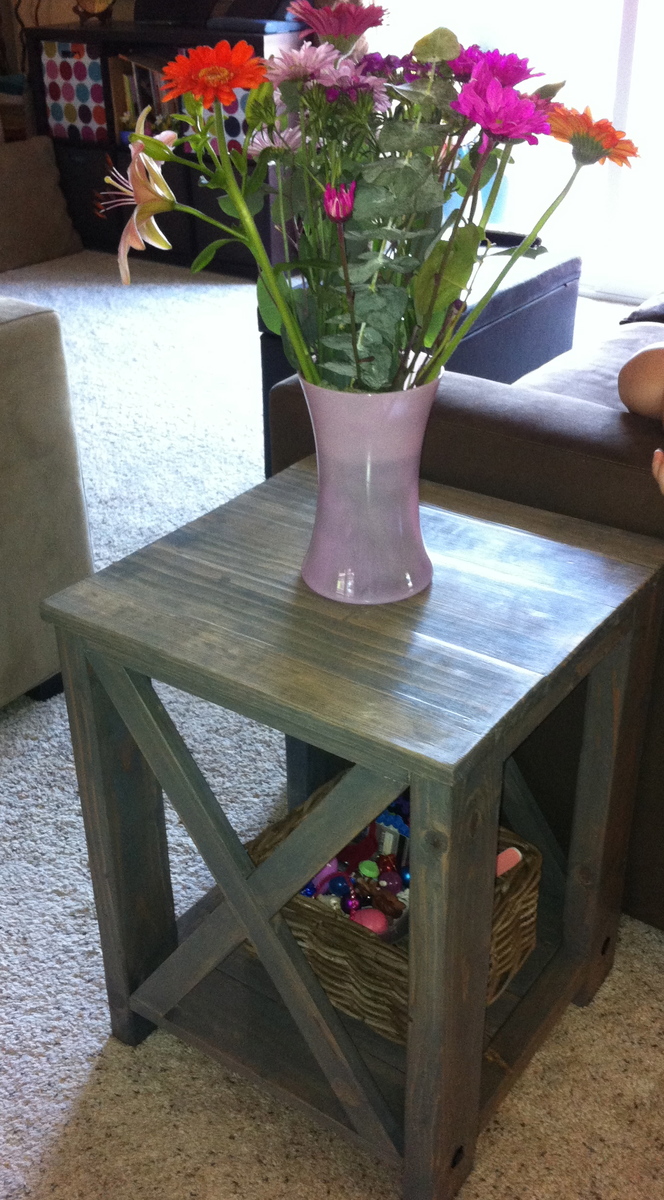
Finish Used
Linseed oil
Recommended Skill Level
Beginner