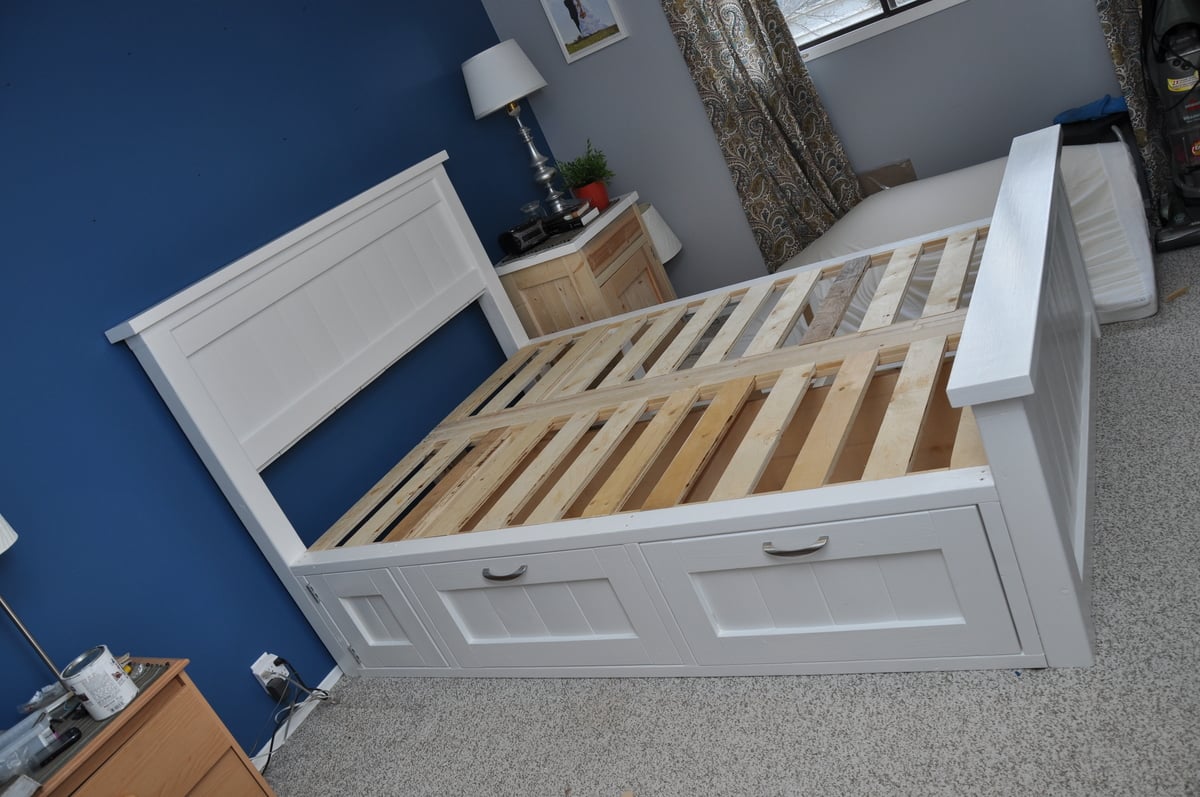
I had to come on here to thank you all for inspiring me to build this bed! The thought of building such a big piece of furniture never really occurred to me until I saw the Farmhouse queen plans, which really got the gears turning.
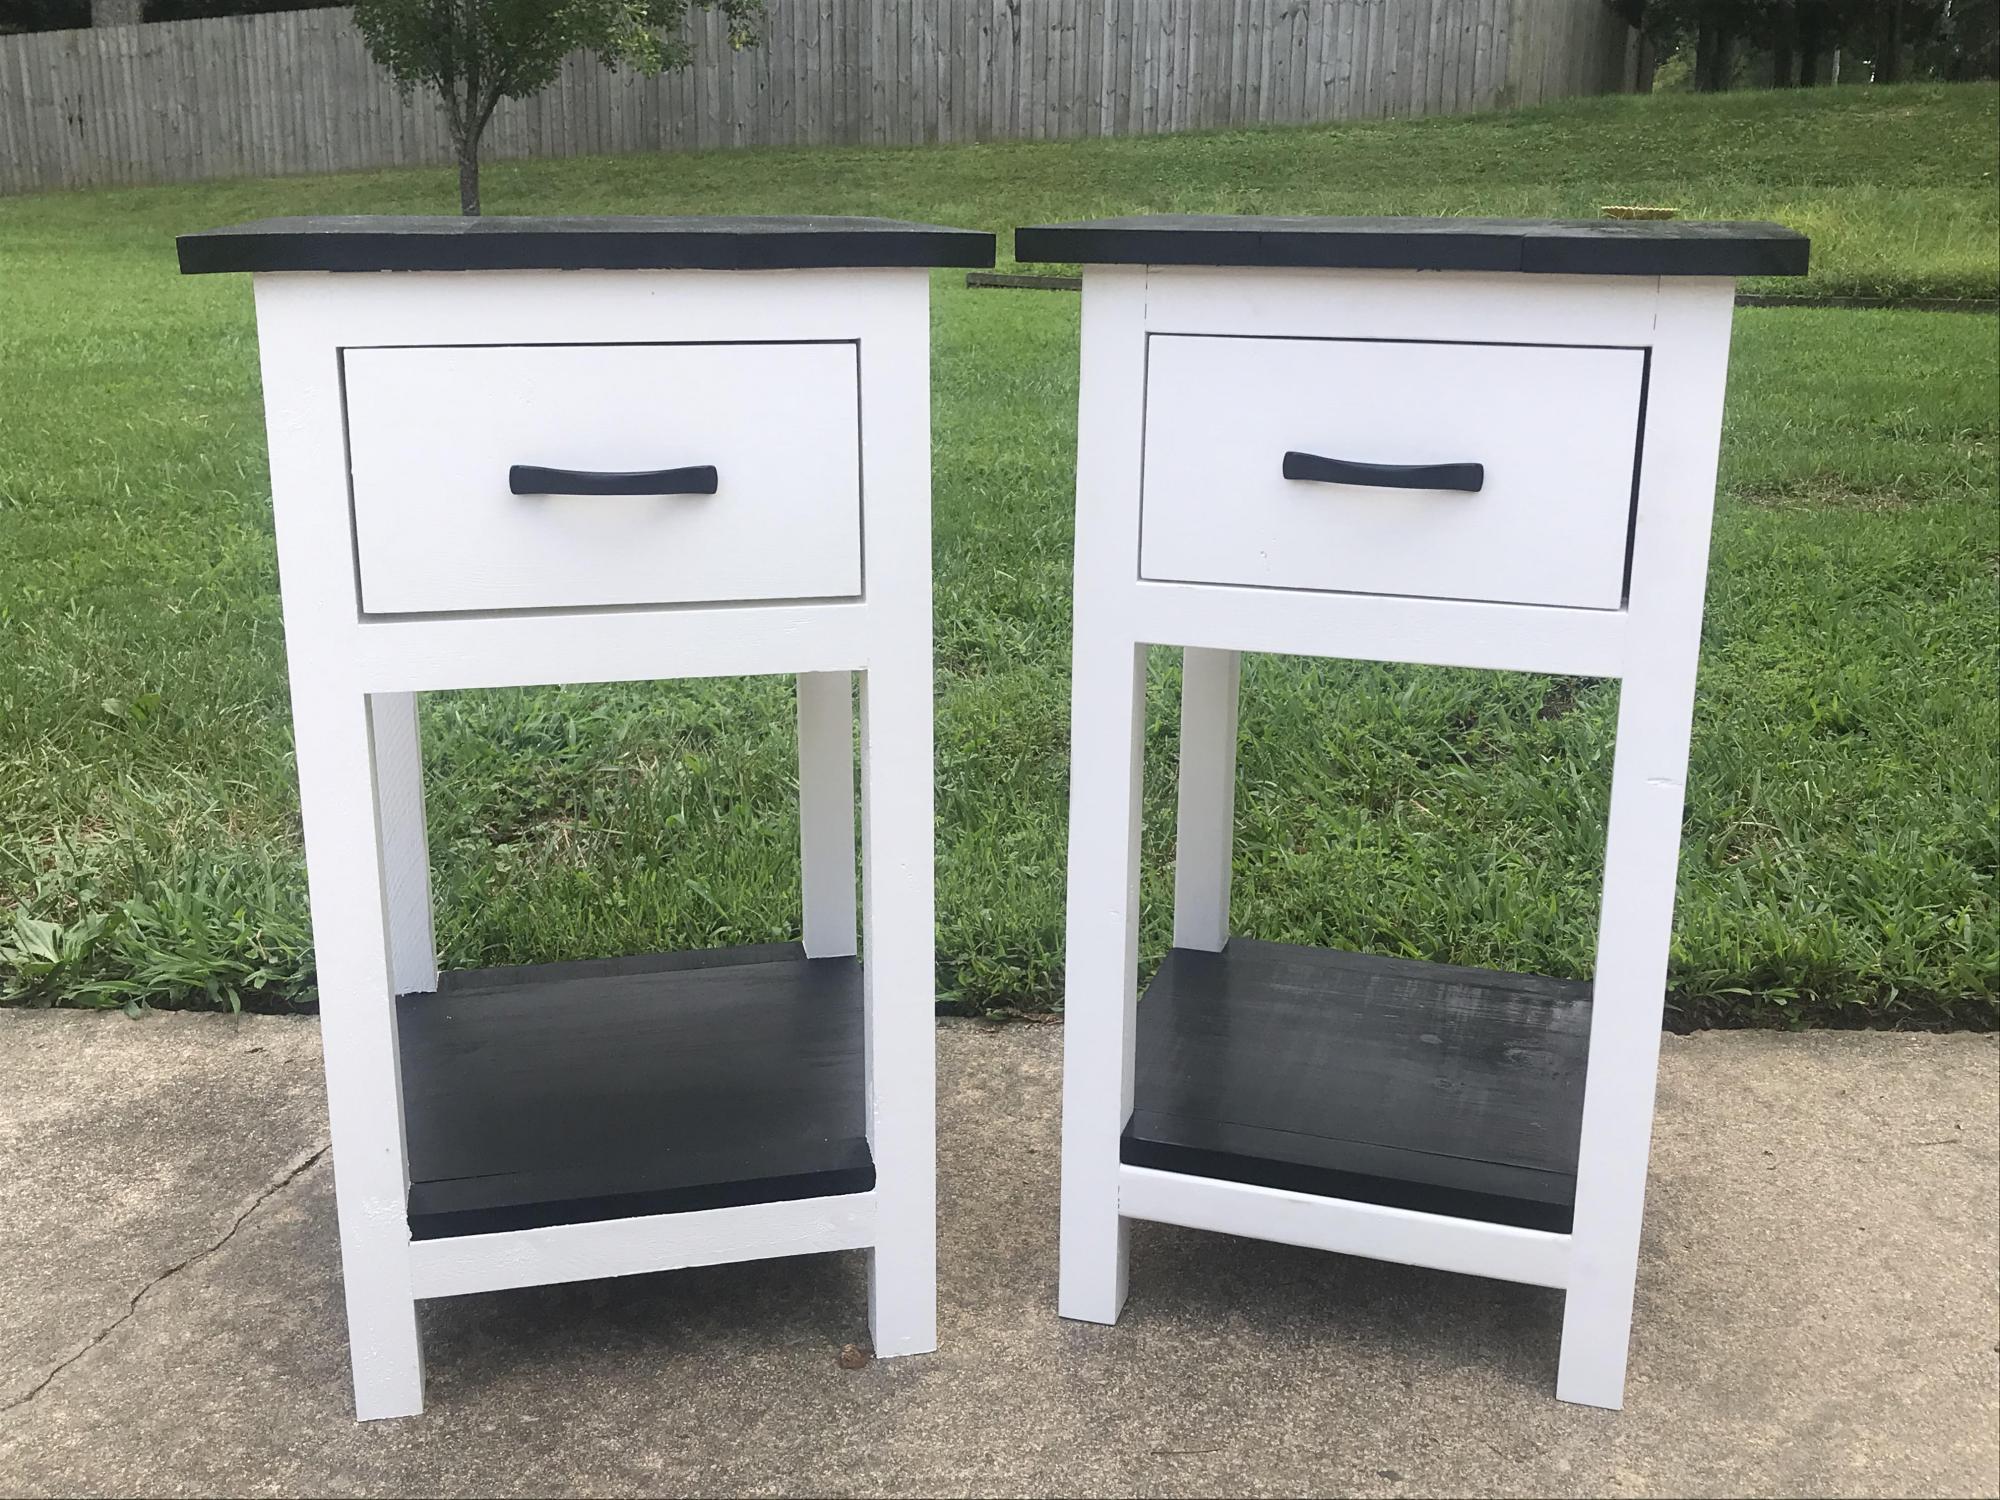
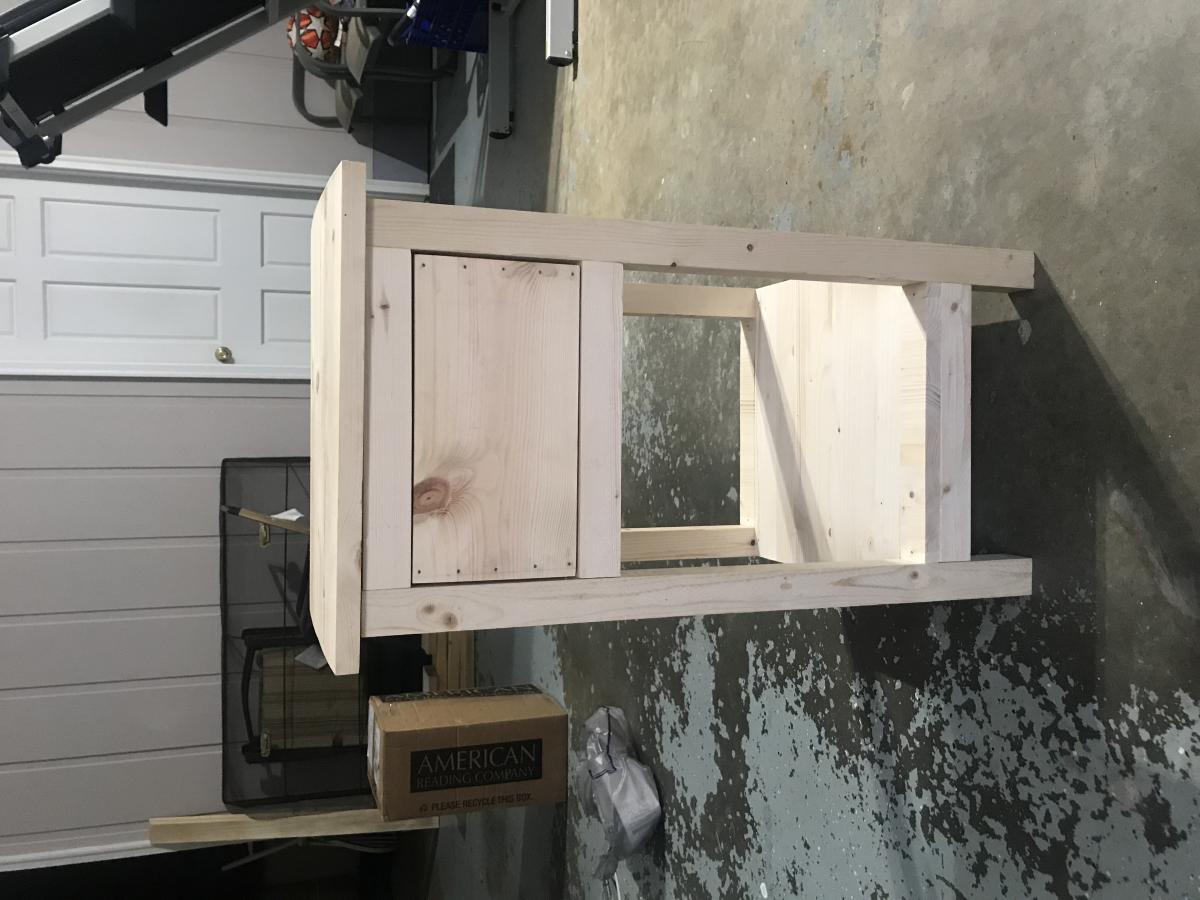
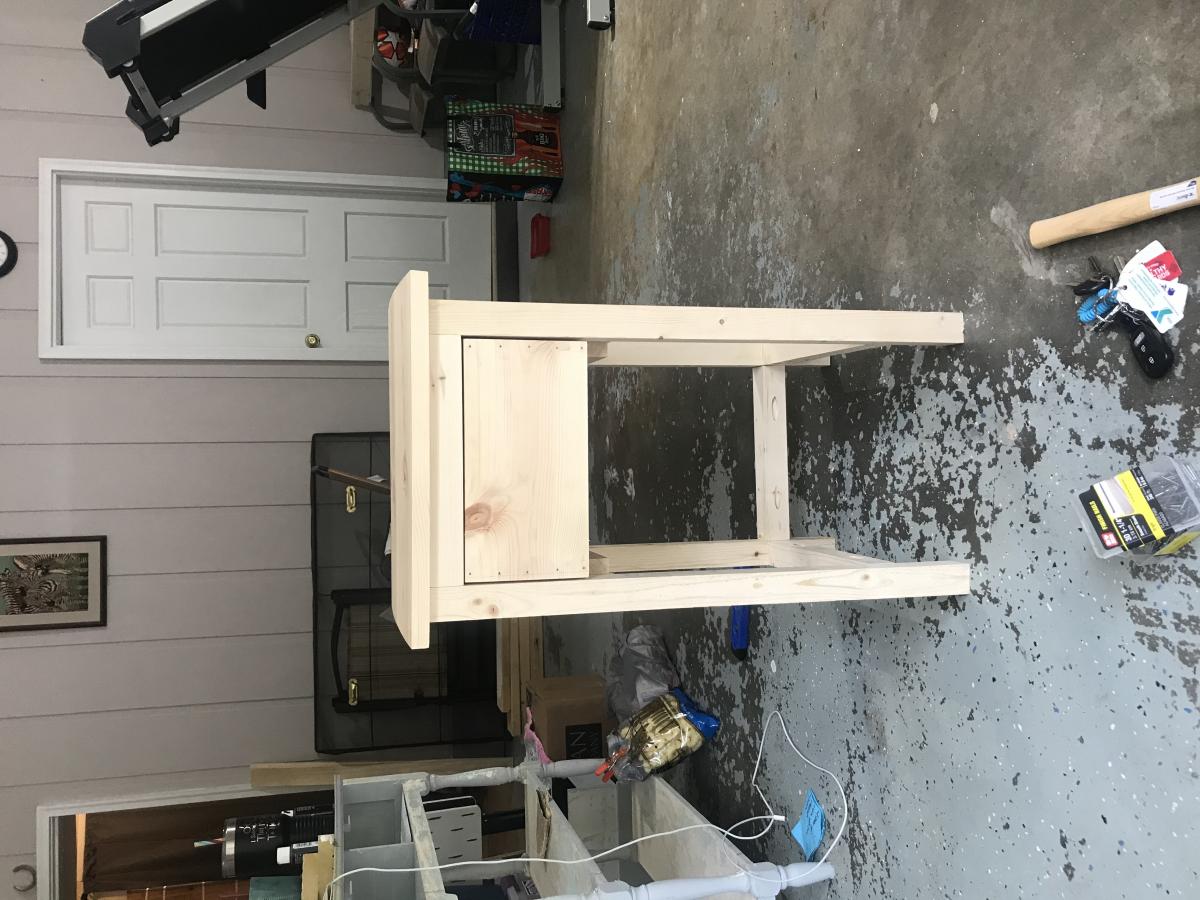
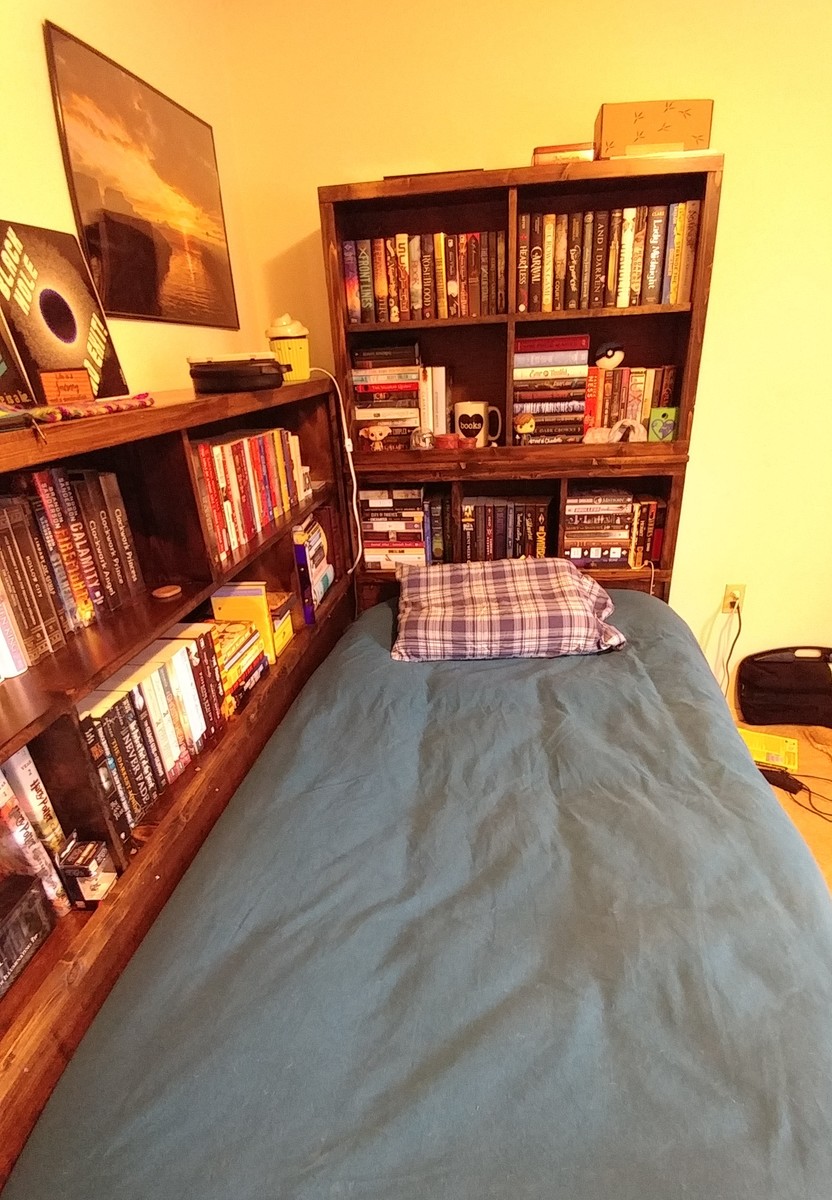
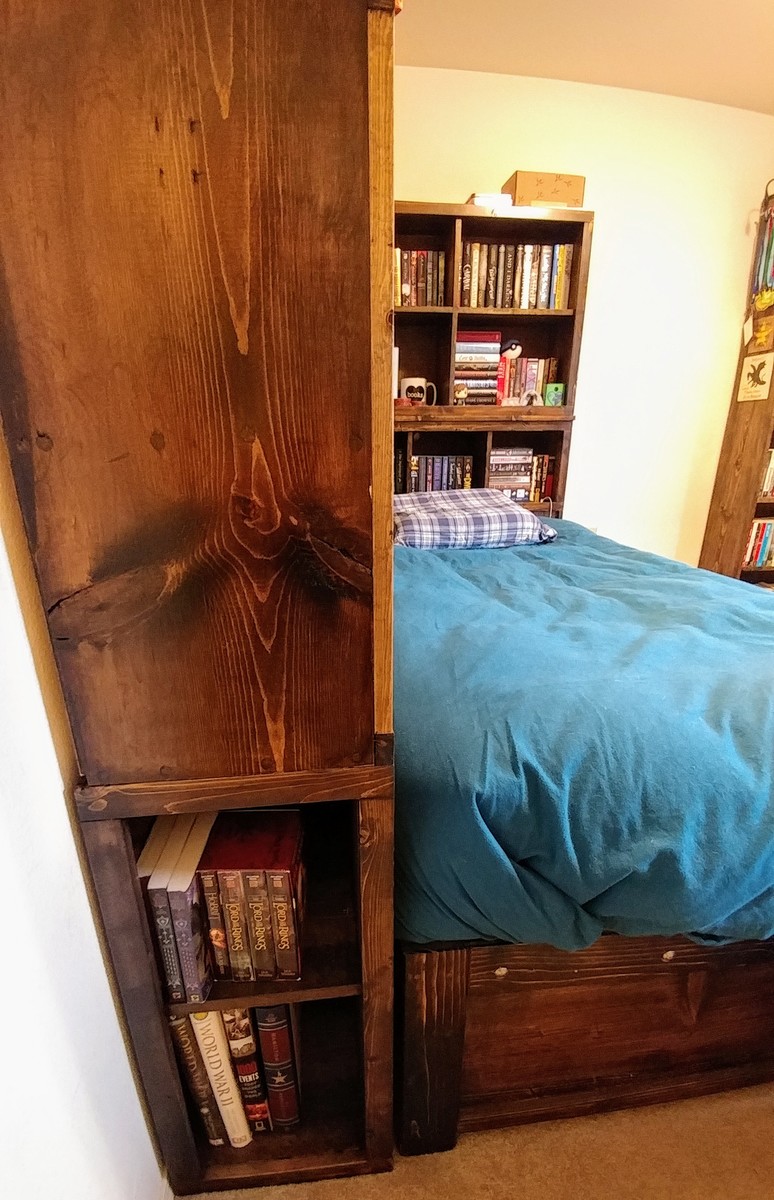
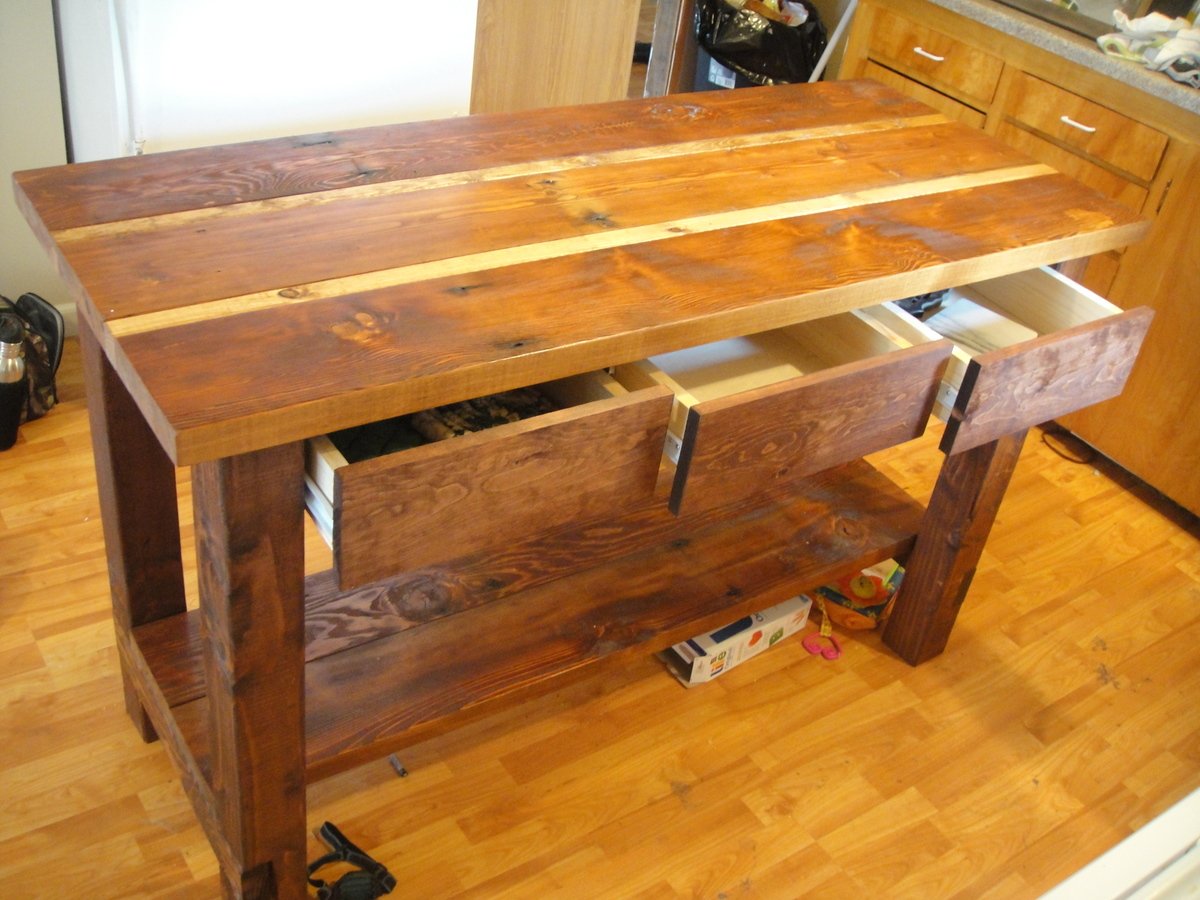
I wanted to add some storage to the bed, though, and so I kept looking at other projects on this site. I don't know which plans are all combined into this one, but you can see the one side table in some of the pictures which is based on a hutch plan here, and the concepts there are used in the drawer fronts on the bed. I still plan to build a matching side table for this side of the bed and also a dresser unit to complete the bedroom set.
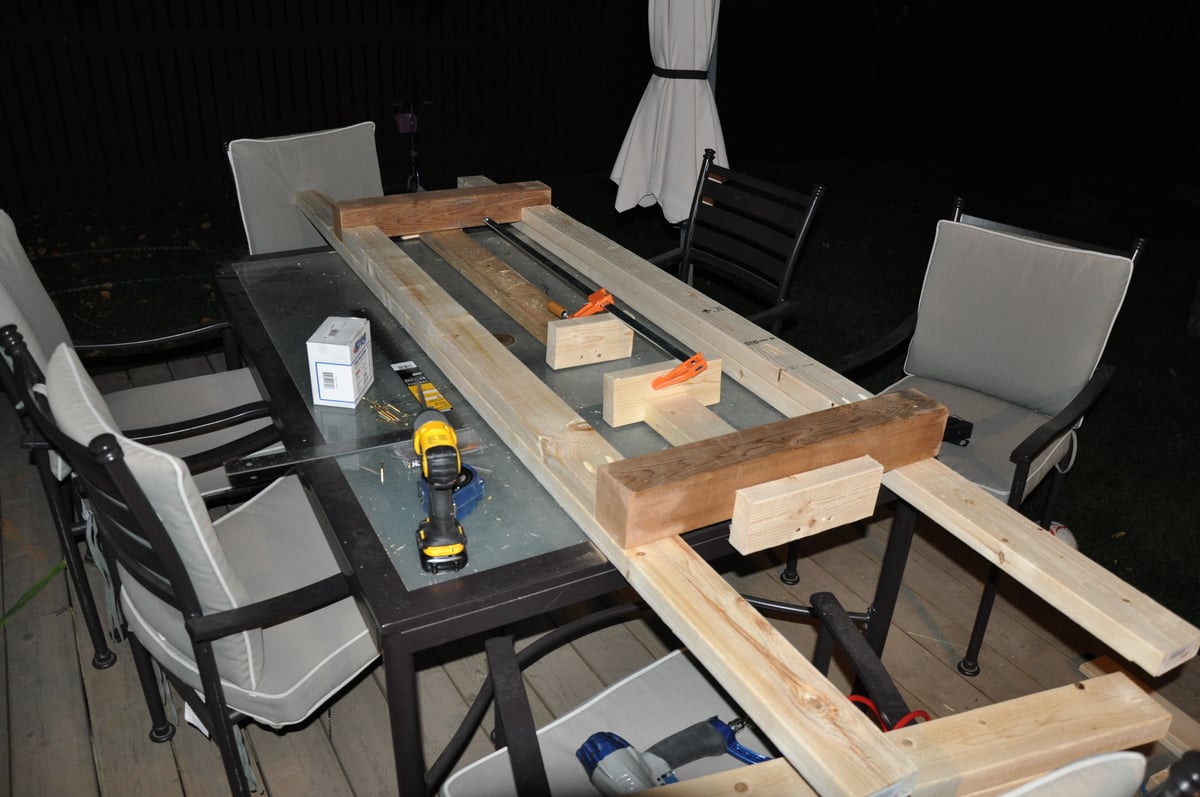
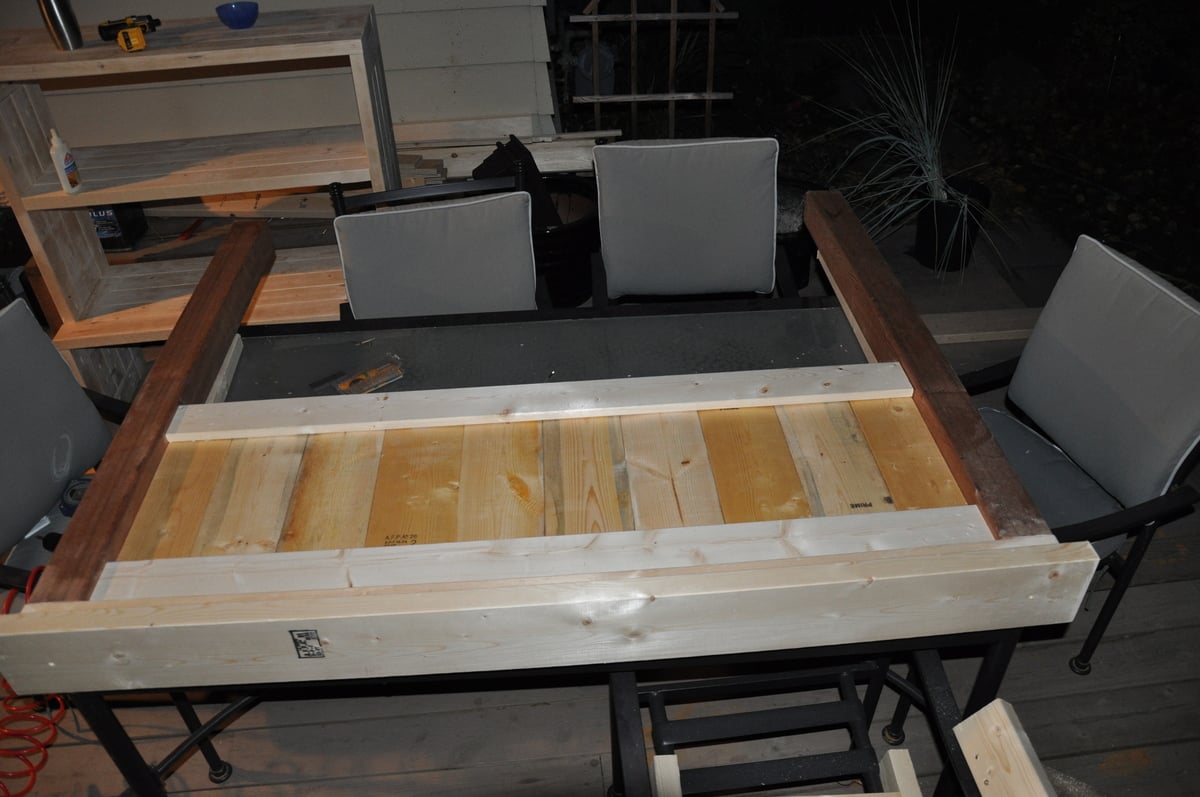
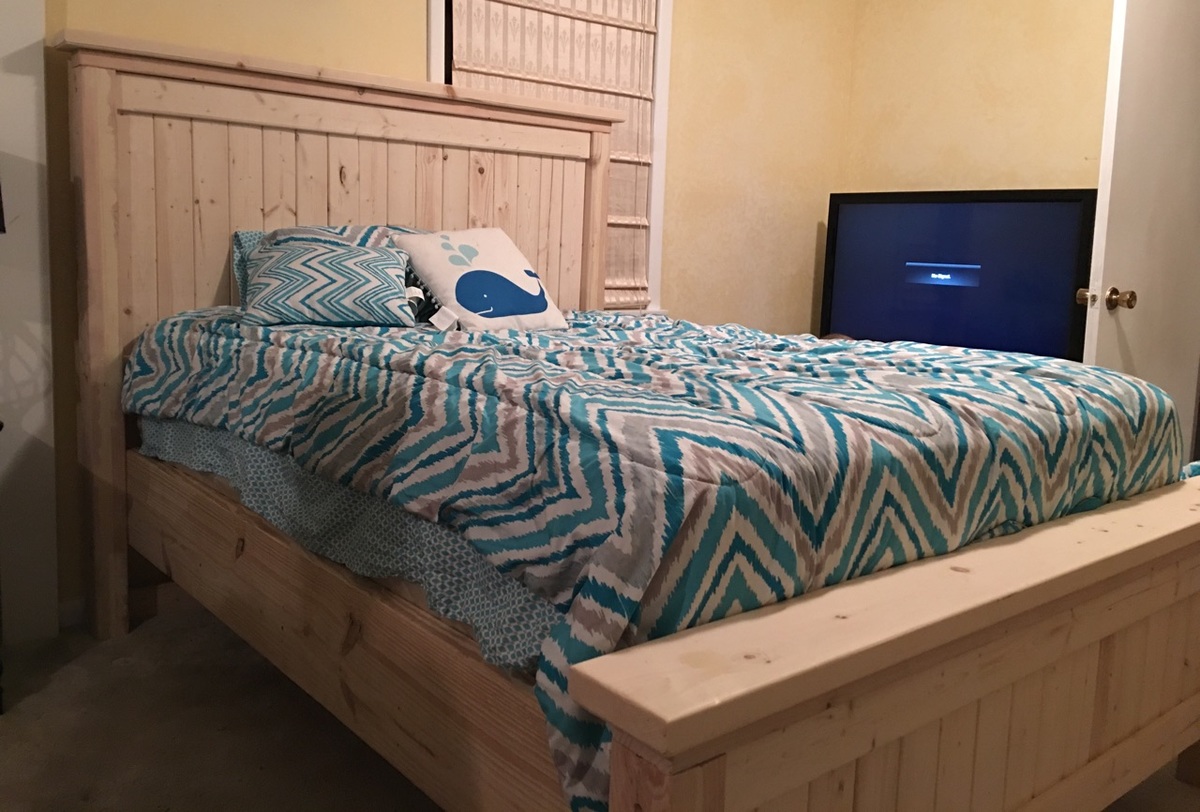
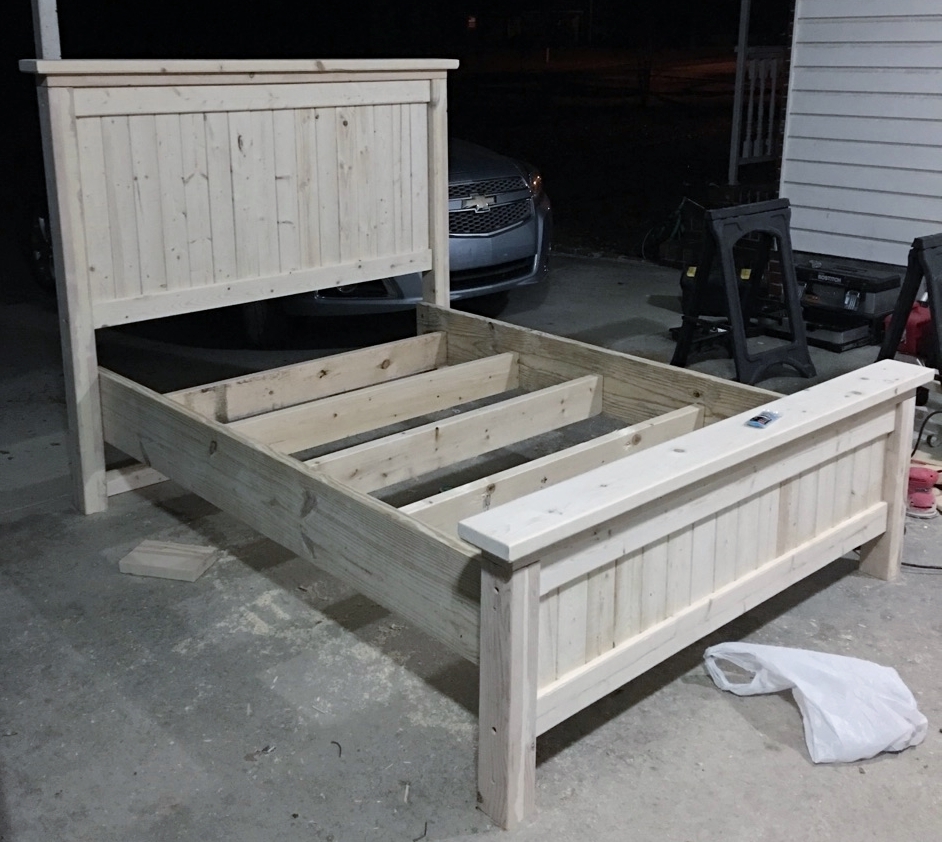
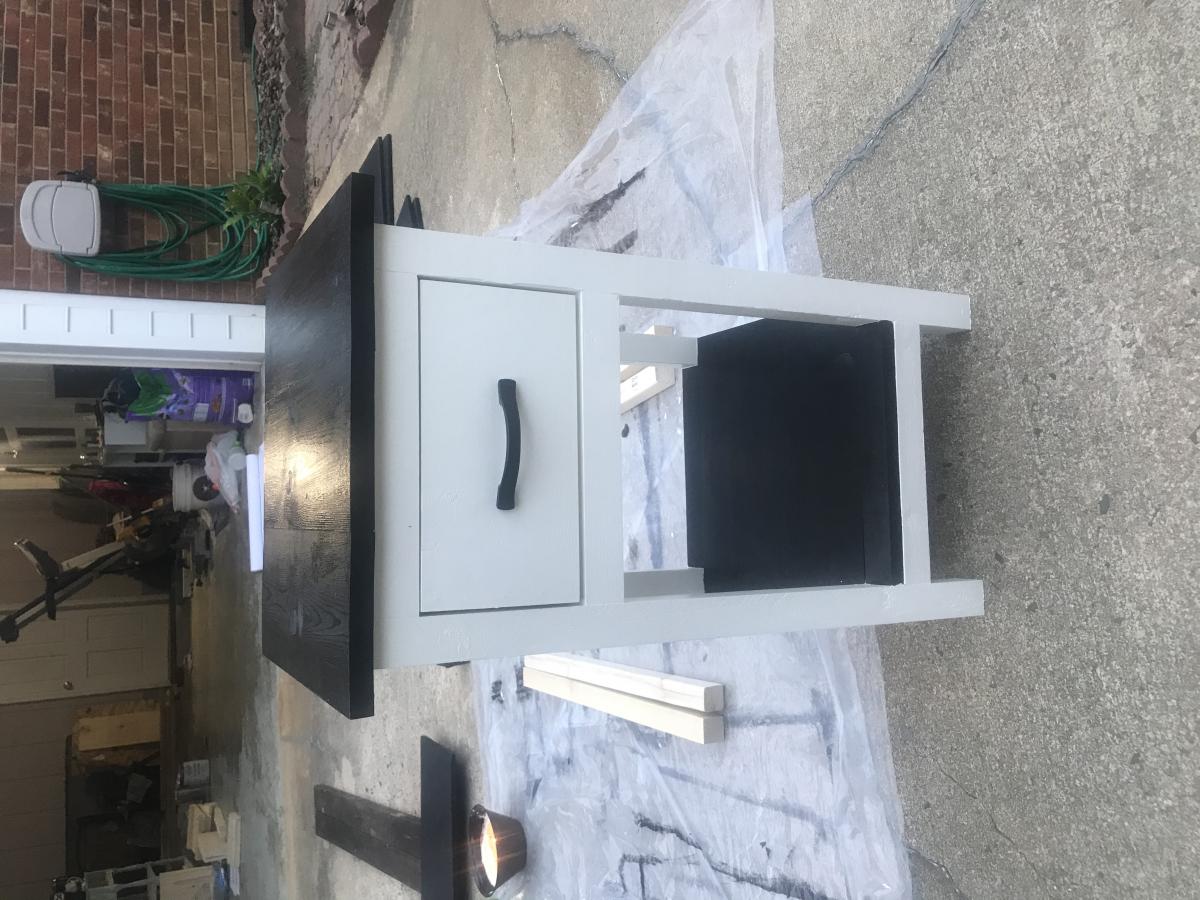
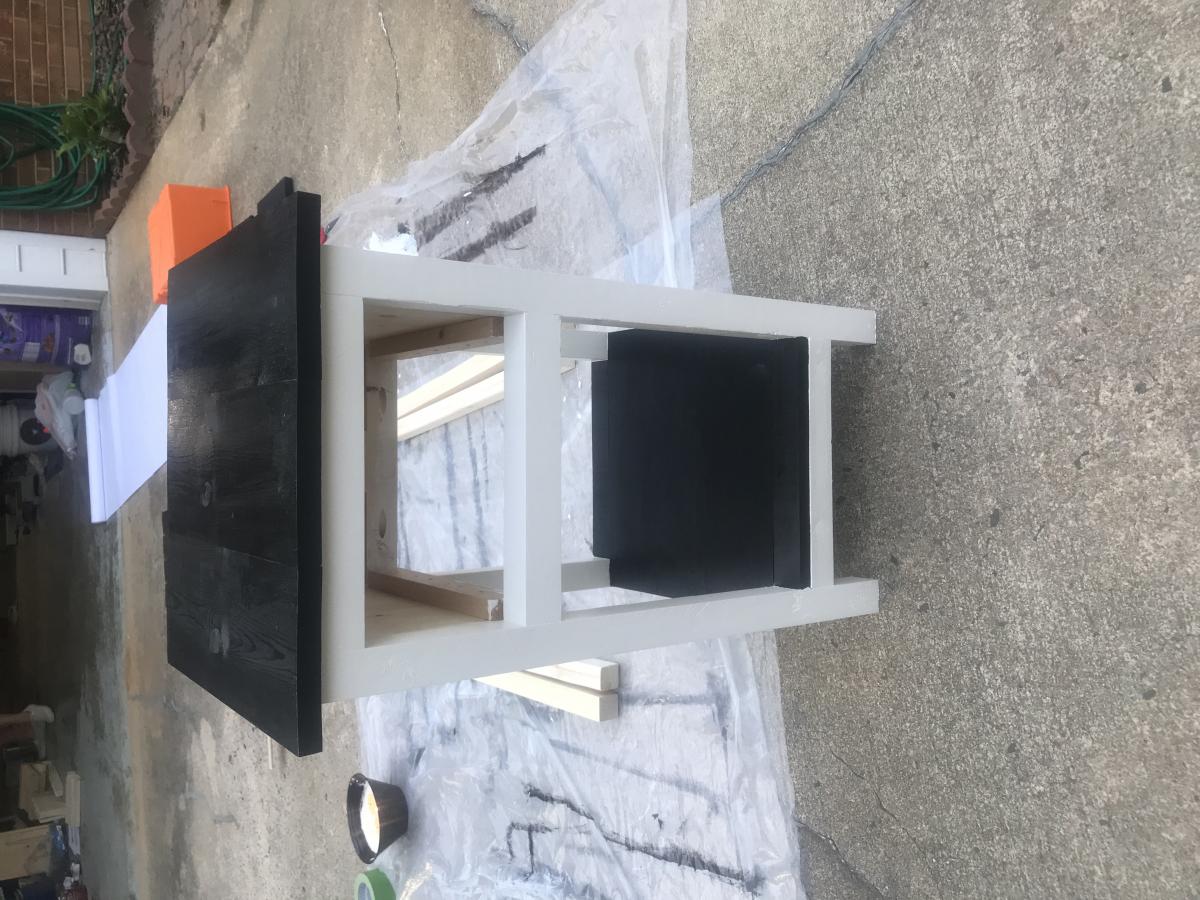
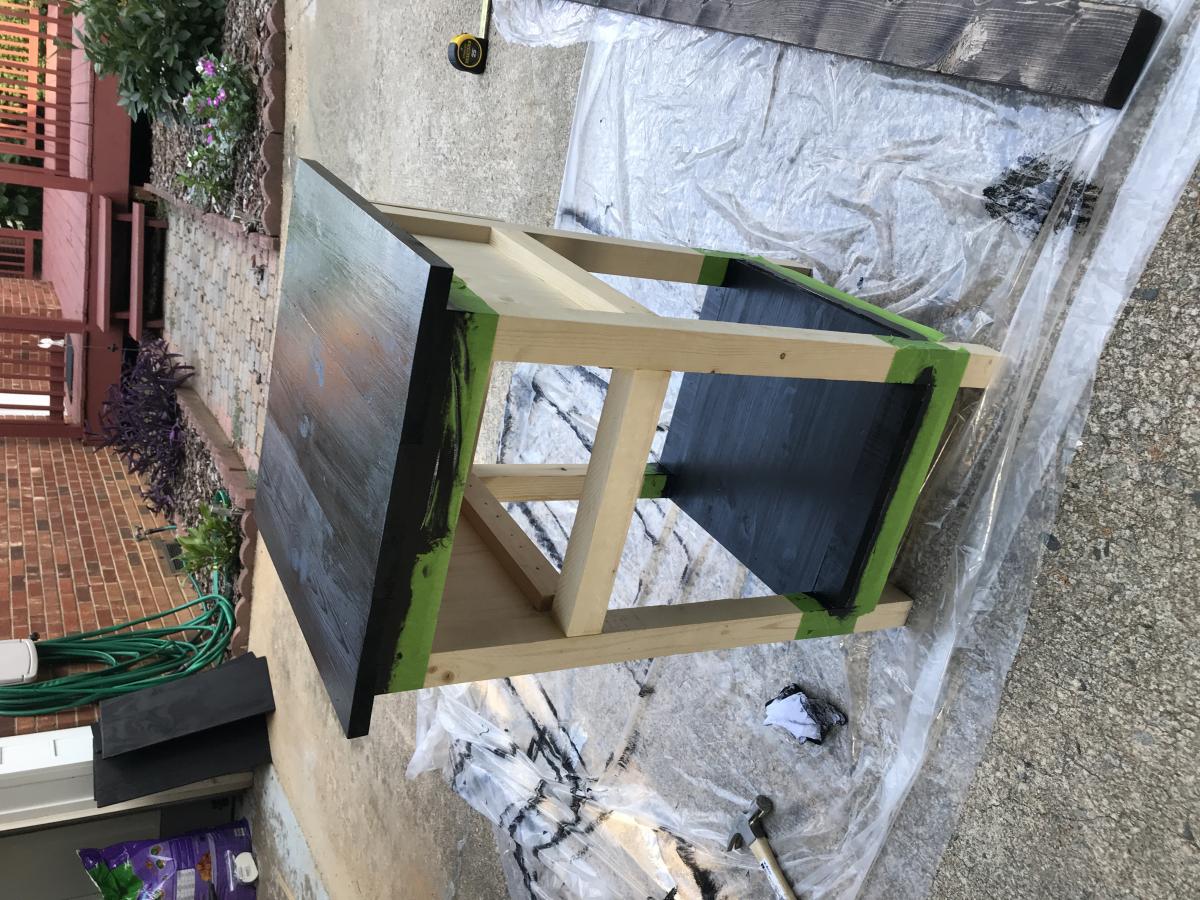
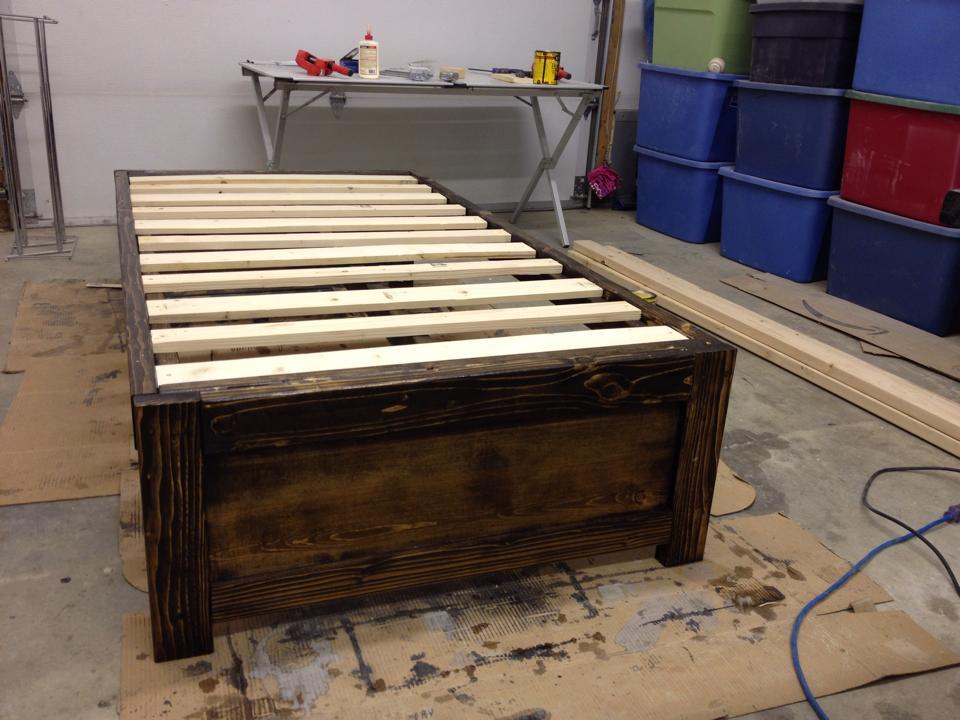
This entire project was built on my deck as I don't have a garage. Started at the end of September and working by flood light on nights where I could find the time. It was finally moved inside to paint. The bed is built into four sections for disassembly - headboard, footboard, and a base section that is split in half with knockdown fasteners. The headboard and footboard are also attached with knockdowns, so the entire bed comes apart with an allen key.
The cost was incredibly low. My biggest cringe costs were for the 4x4 posts, which I had to buy in cedar, and the birch 3/4" plywood for the drawers. All in costs are still under $200, though I did own a Kreg system which got used a fair amount.
I did modify the footboard / headboard construction since I had the Kreg system. Rather than using a 1x4 backing board with 1x verticals and a 1x4 front board, I used a Kreg'ed 2x4 as the backing board, flush to the 4x4 post... no 4 1/2" screws required! The 1x verticals were then glued and nailed onto the 2x4s, and the 1x4 front board was glued and nailed to it.
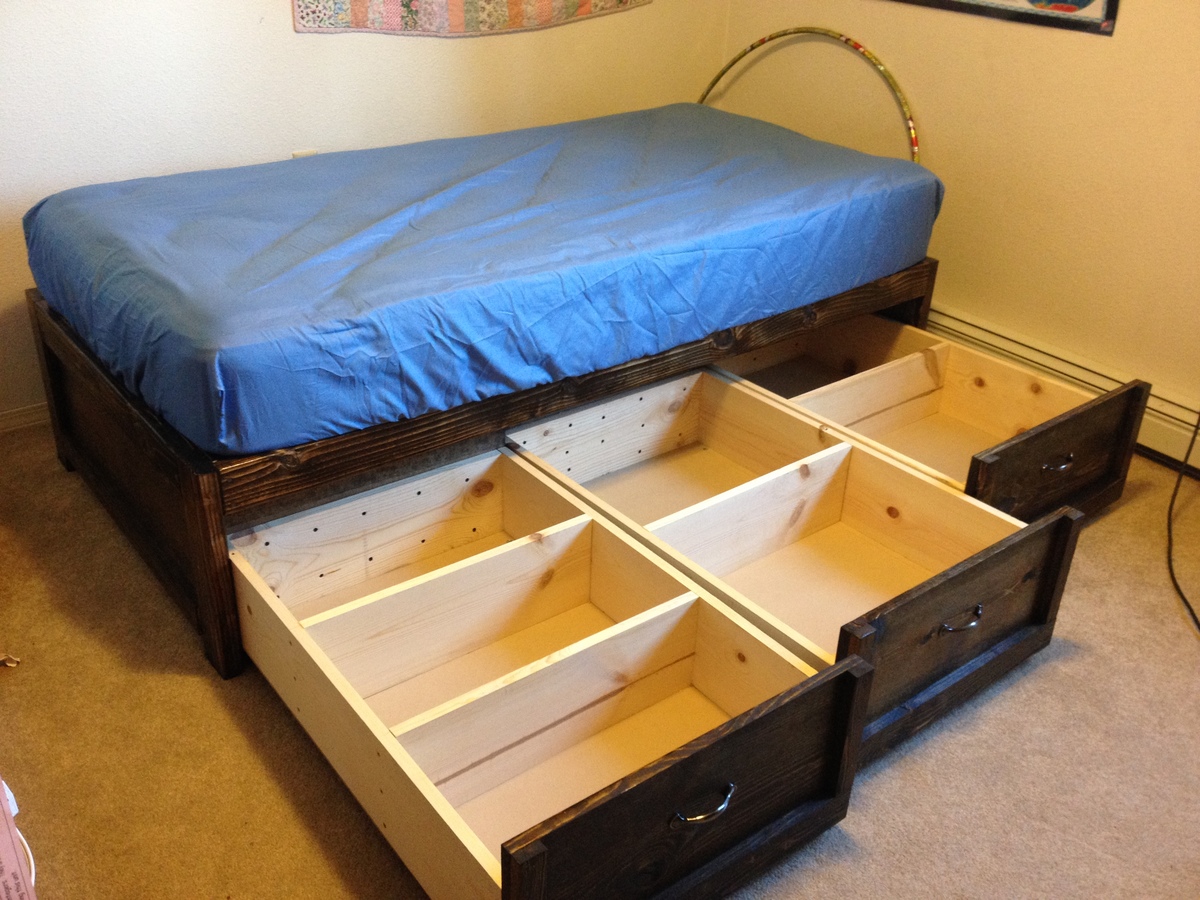
The drawers are huge! 29" wide x 26" deep x 14" tall (more or less). Also, they are positioned so that when a side table is placed beside the bed the drawers can still open. The panel at the head of the bed is a door with a magnetic catch. I think of that area as 'deep storage' as you would have to move a side table to get in there. The door is there to get there if you want to though.
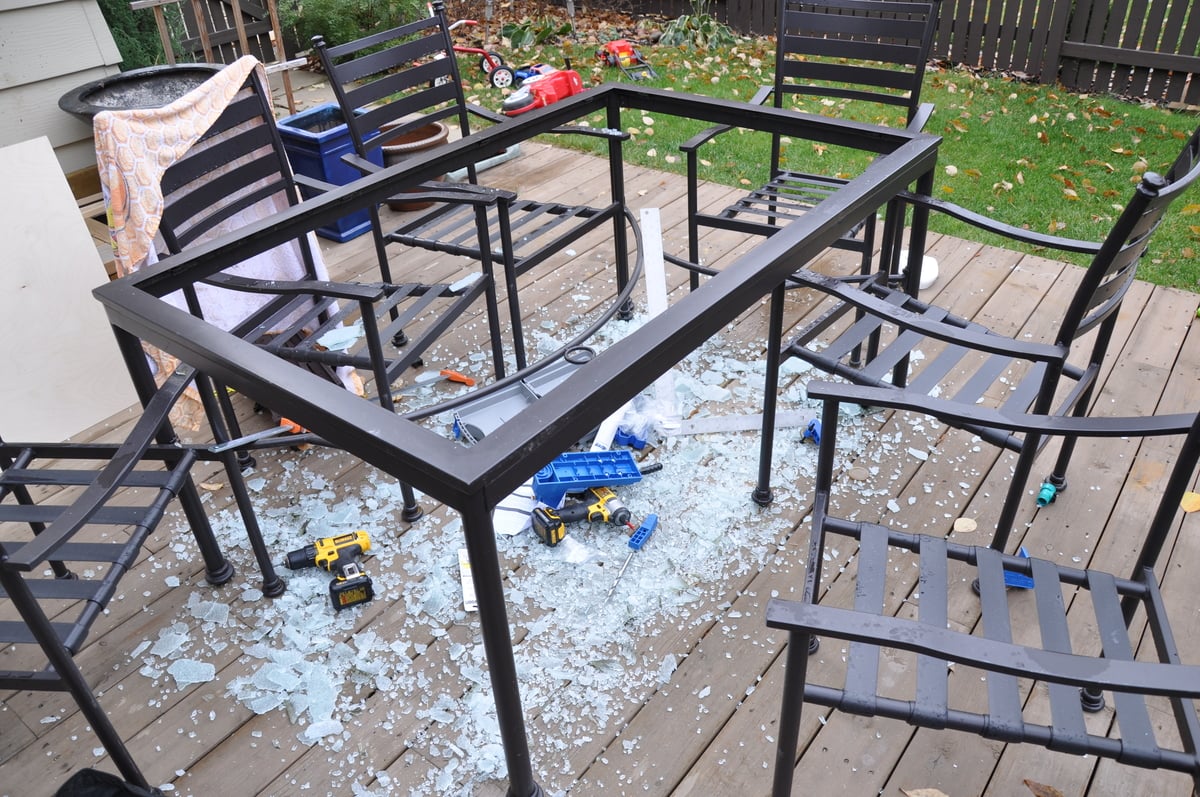
One cost not accounted for... my 'work bench' patio table sustained an injury. I still maintain I did not drop anything onto it. In fact, I was using a tape measure to measure a drawer length when the glass shattered out from under the piece I was measuring. It was cold in the morning, so maybe that had something to do with it. But now I just have to add 'fix patio table' to the project list.
Thanks again!
Mark


Comments
itzann
Sun, 10/14/2012 - 10:19
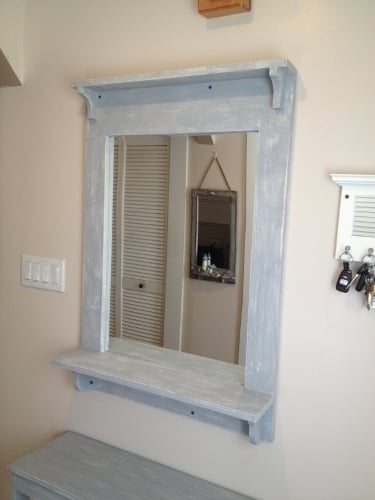
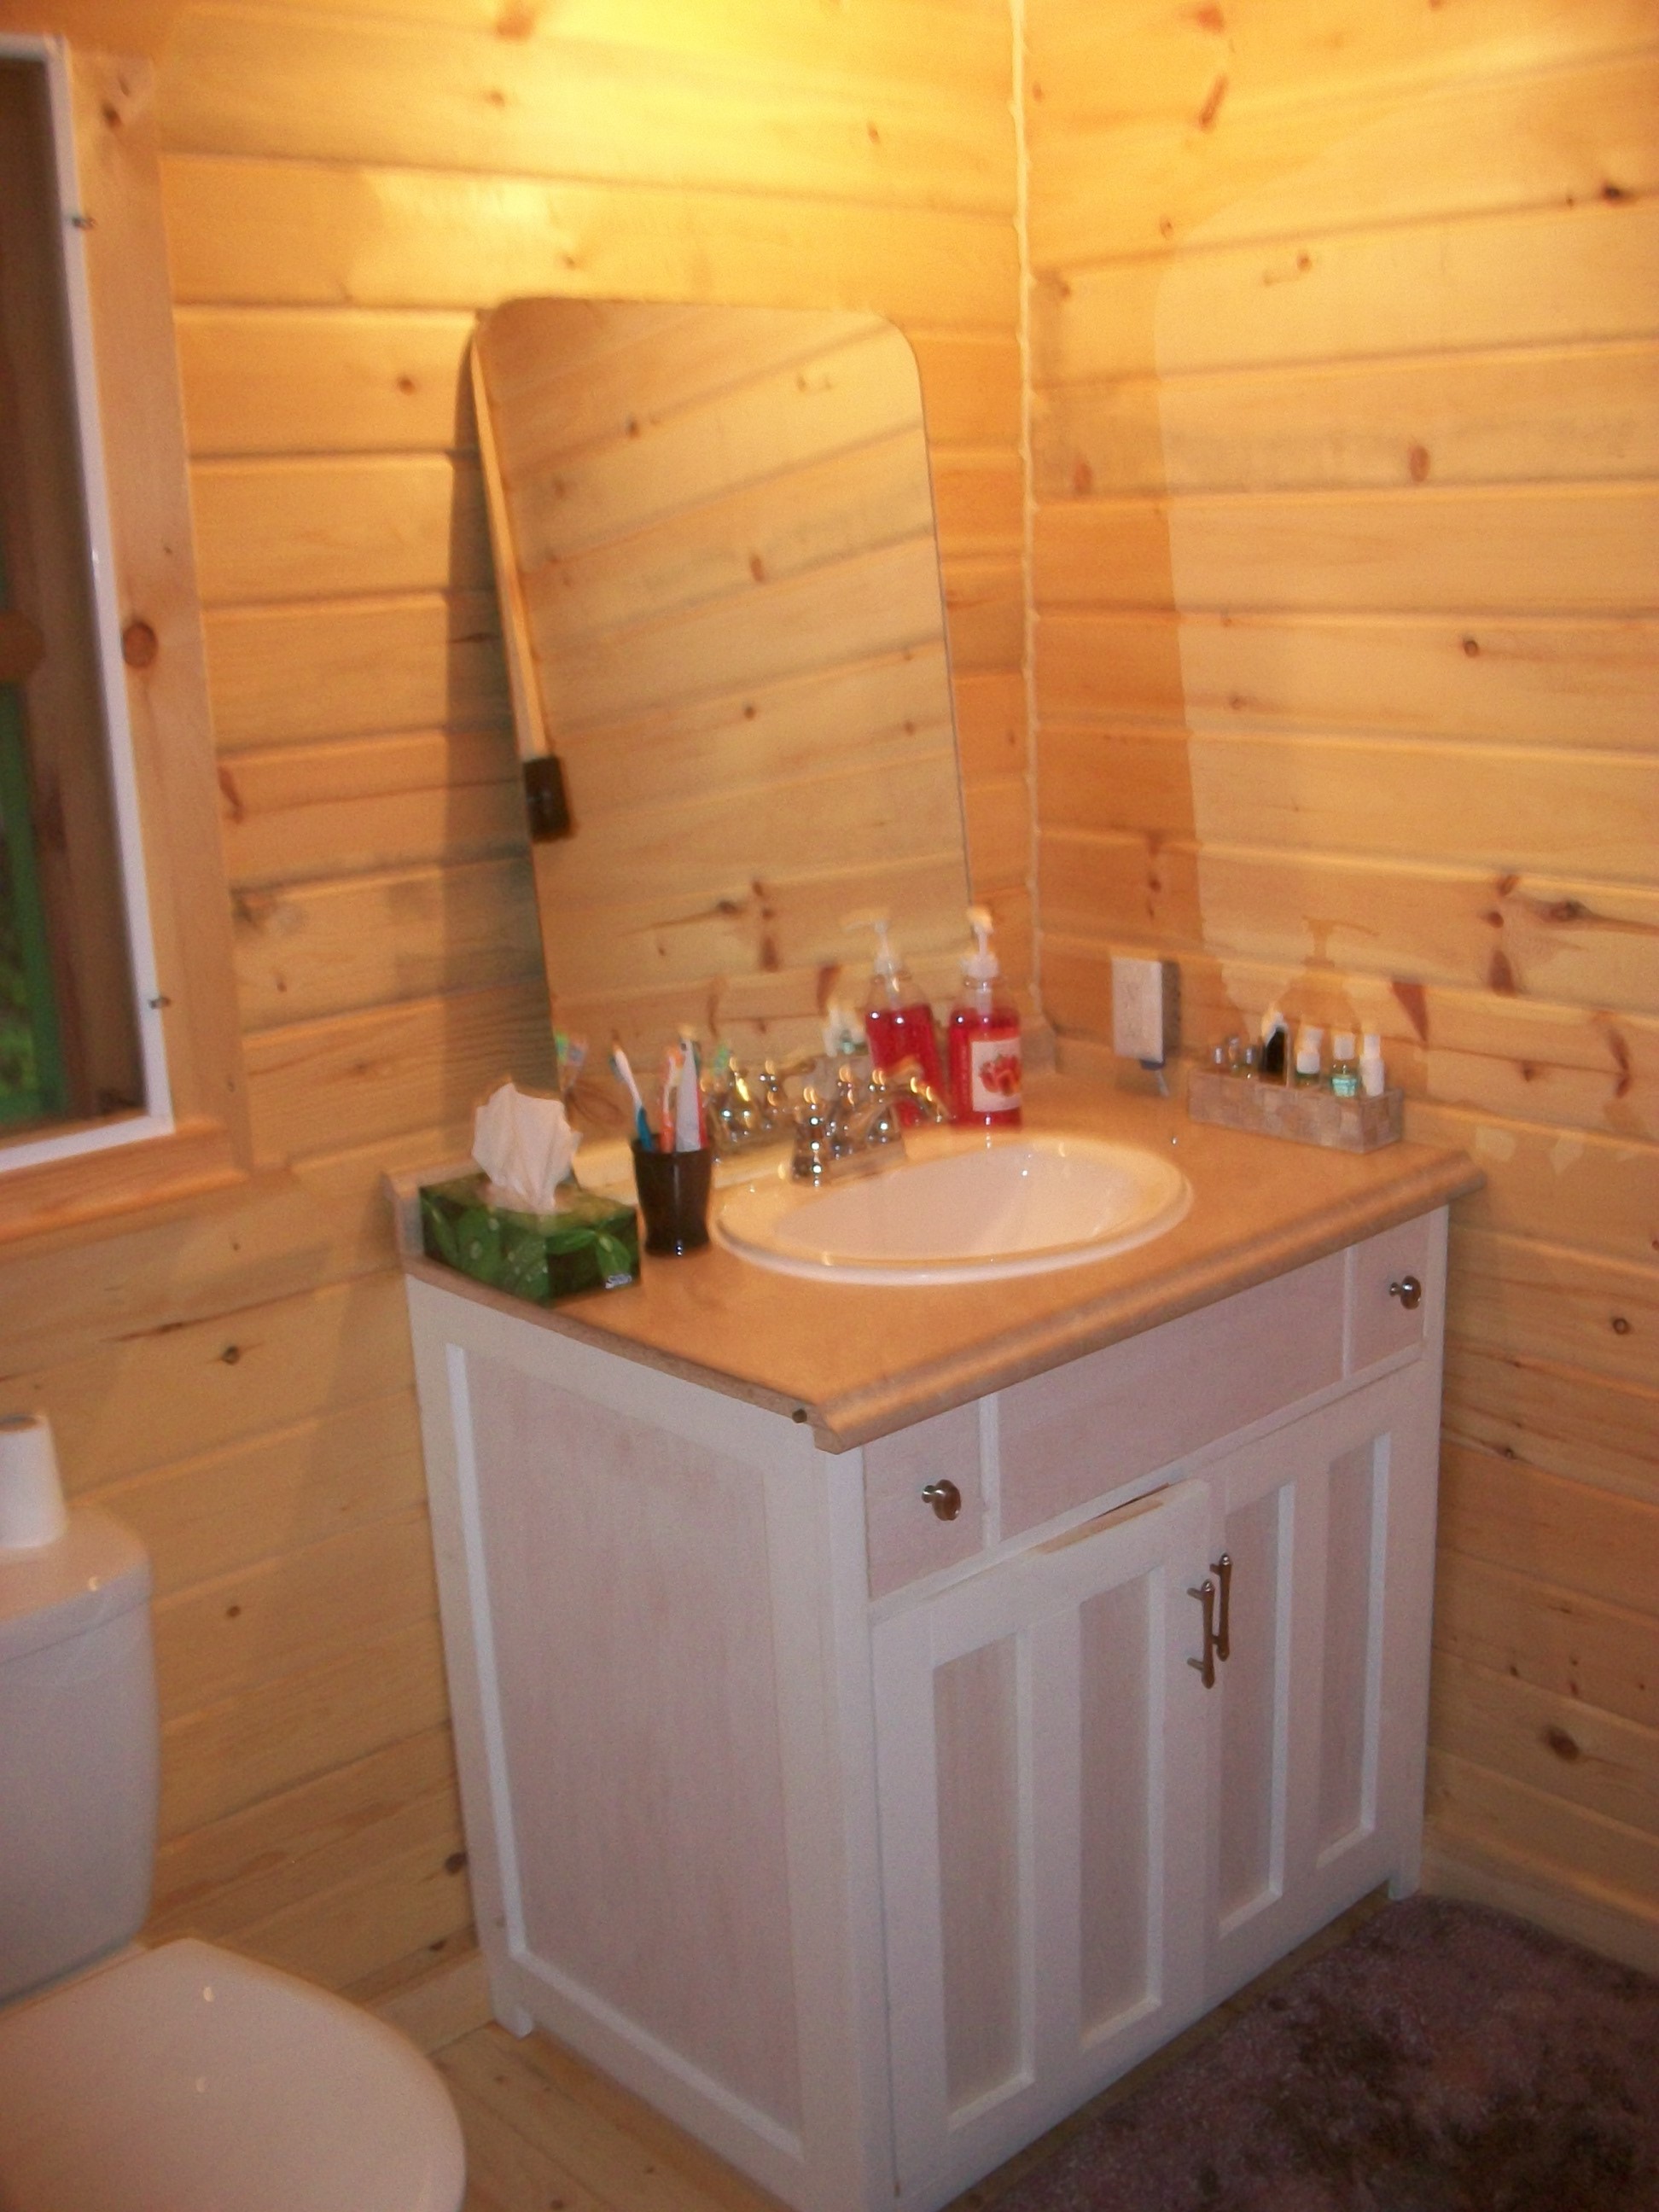
Mirror
Very nice! I kind of like the black screw-heads showing!
-Ann
JoanneS
Sun, 10/14/2012 - 14:25
Thank you!
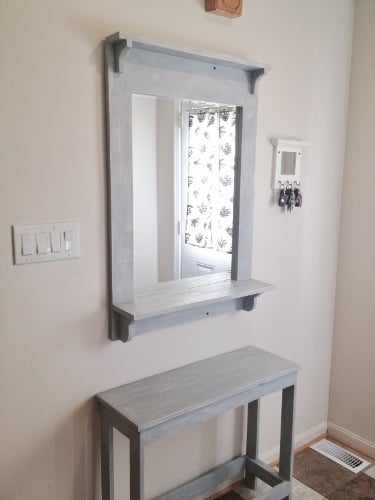
Thanks Ann! This was a fun project. I've been wanting a mirror to match that table since last year, and this one fits just right. My family said they liked the visible screws too, so I'm going to leave them as they are.
:)
Joanne
Ana White
Sun, 10/14/2012 - 15:26
Joanne, this is beautiful!!!!
Joanne, this is beautiful!!!! I am so glad you like the mirror. We adore ours! Thanks for getting the book! Ana
YankeeBelle
Sun, 10/14/2012 - 16:03
Hooray!! What fun to see brag posts from book projects!!
Great job on the mirror!! I hate waiting for paint to dry also....that's why Ive taken to painting everything with homemade chalk paint...dries in minutes and I can get right to sanding and glazing. Love the gray you used!!
JoanneS
Thu, 08/29/2013 - 13:57
Ana, Thank you
Ana, Thank you so much! I can't wait to get building on more projects from the book and from here too! You are awesome! :)
YankeeBelle, thank you! How do you make chalk paint? That sounds like a great time saver!
:)
Joanne