Community Brag Posts

Floor to Ceiling Canned Food Storage

Submitted by Anonymous (not verified) on Fri, 04/19/2024 - 13:56

Loved these plans. Top unit was built exactly to specs. Bottom unit was built to accommodate one column of cans. I have also built one for my sis-in-law and will be building one more for this pantry. Love this project!

Leah

Built from Plan(s)

King Sized Headboard

Submitted by ecsorah on Mon, 08/27/2012 - 11:35

I did not edit this project, except the original project plan called for the bed to be turned sideways, I made this with the bed facing the right original way. The longest part of this project was waiting for the stain. It is not included in the estimated build time.

Estimated Time Investment
Day Project (6-9 Hours)
Finish Used
Minwax Provincial
Recommended Skill Level
Beginner

Loving my new patio thanks to this bench!

Submitted by DogDoc25 on Sat, 06/21/2014 - 17:53

My patio was bare. (see boring before picture). So, I made this bench and wiped out a garden sale at Joann's, and now I'm SUPER excited about how it turned out! Really simple and straight-forward build, but this one was pretty hard to make by myself because it is super heavy! Nonetheless, I managed on my own, and I'm not the strongest person around, so that goes to show you that you can do it as a 1(wo)man show. Love this bench! Thanks Ana!!

Built from Plan(s)
Estimated Cost
$60
Estimated Time Investment
Afternoon Project (3-6 Hours)
Finish Used
White paint
Recommended Skill Level
Beginner

Comments

Concrete top variation

Submitted by Anonymous (not verified) on Wed, 09/21/2016 - 11:58

I used the plans to build my island, but I'm using it more like an extra counter. I reduced the depth by about 4 inches so it would fit in the space better. I did all my cuts with a circular saw, and I can recommend using a table saw and/or chop saw to get straighter cuts. The gem of the island is the concrete countertop. I poured 2 bags of concrete reinforced by rebar, darkened with a charcoal colorant. This was an experiment to see if concrete countertops would work for our whole kitchen. Success! 

Estimated Time Investment
Week Long Project (20 Hours or More)
Finish Used
white chalky paint, 2 coats of wood stain on legs + 2 coats of clear coat poly, 3 coats of sealer for concrete + wax layer
Recommended Skill Level
Intermediate

Comments

Ana White

Wed, 09/21/2016 - 14:54

This is awesome!  The concrete countertop is amazing - I'm going to have to try it myself!  Yours looks perfect, love the color.

40 Farmhouse table and "20" dollar farmhluse side tables

Submitted by eslicke21 on Thu, 07/02/2020 - 17:56

Built this awsome 40 dollar farmhouse table and matching set of side tables. Original plane was 20 per table but I went with oak plywood so more luke 40. All in all nice little table once thwy were all finished.

Estimated Cost
80-100
Estimated Time Investment
Weekend Project (10-20 Hours)

Farmhouse Table (Rustic Table)

Submitted by tmunds on Tue, 08/28/2012 - 21:57

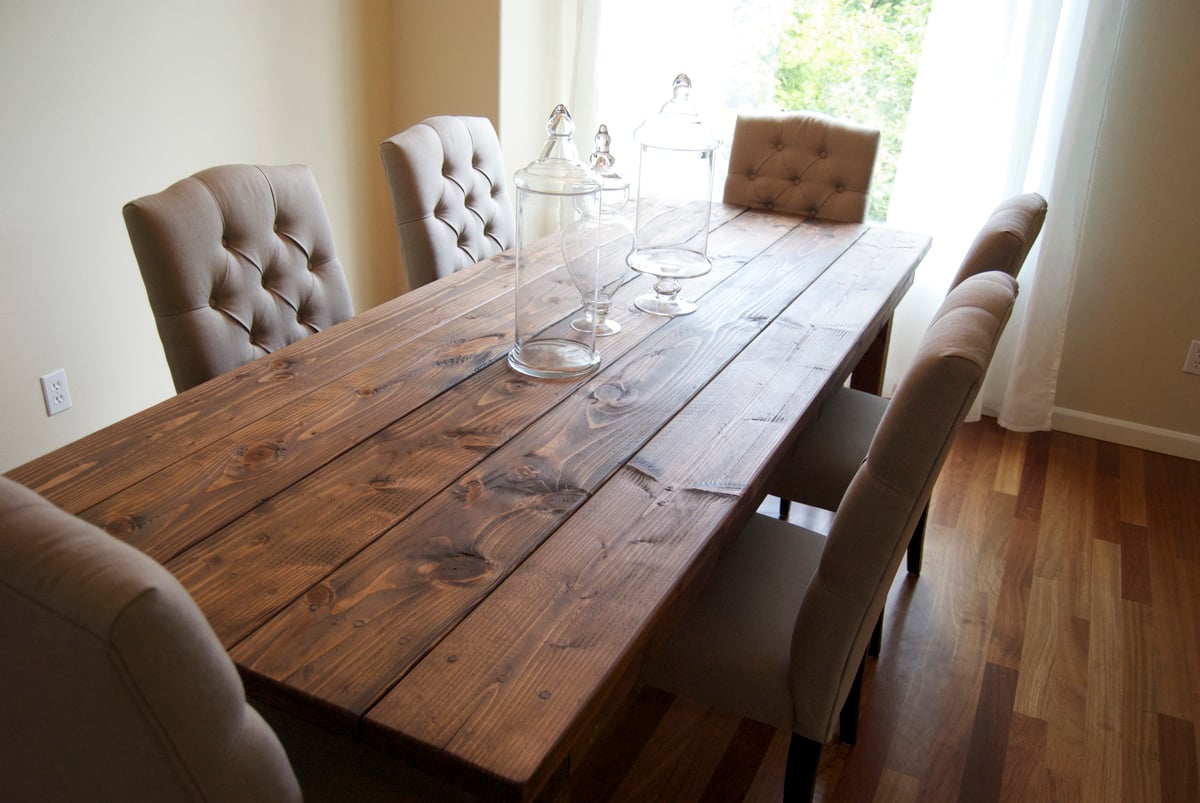
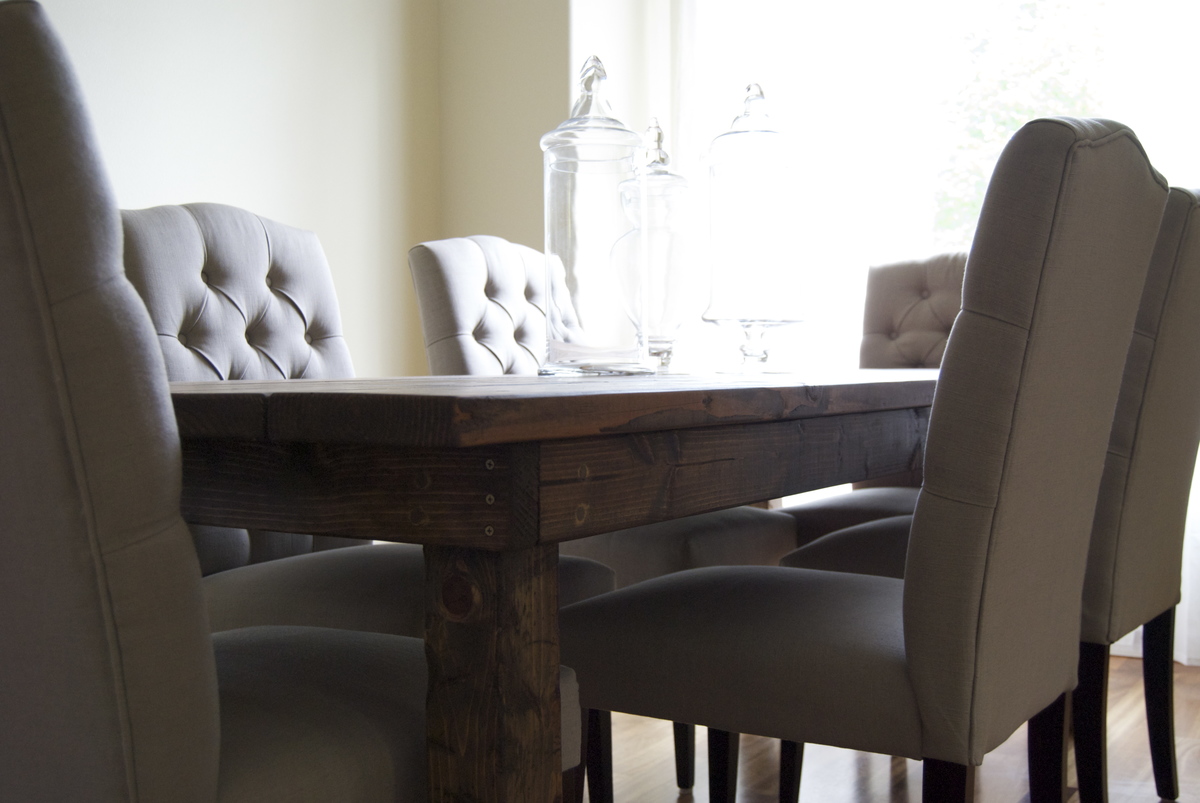
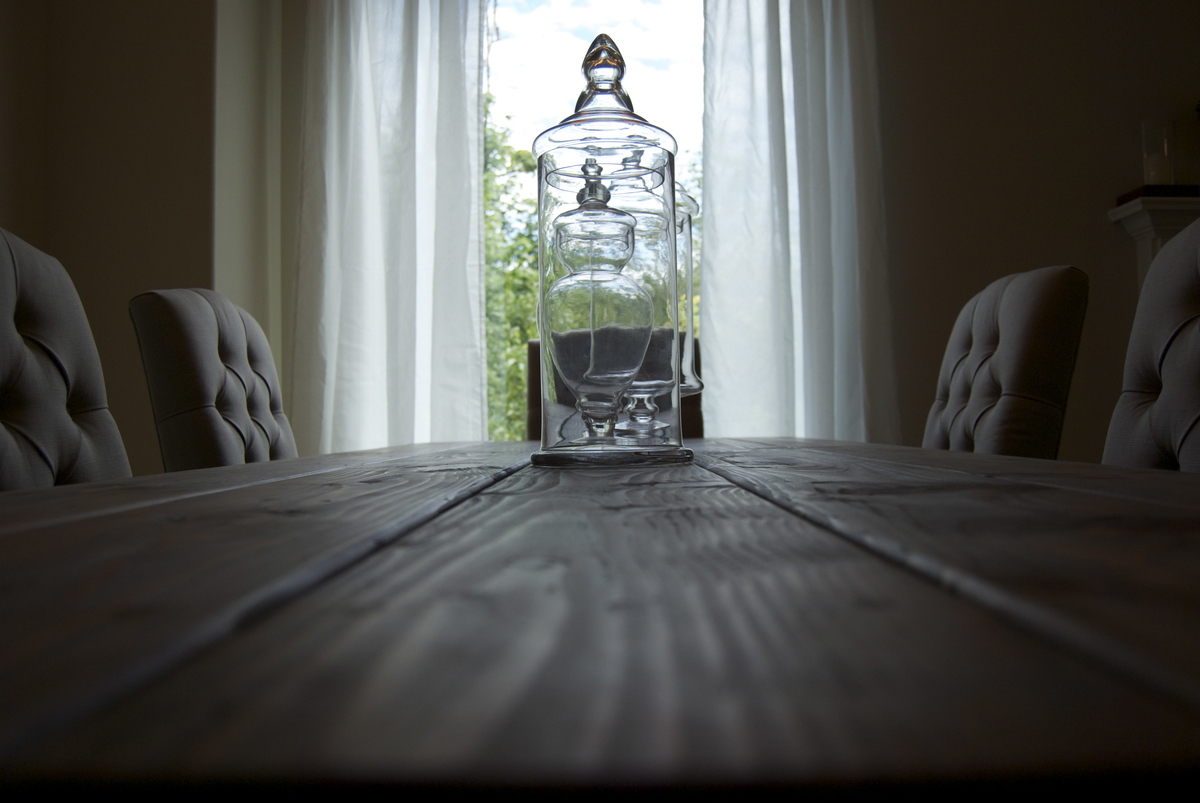
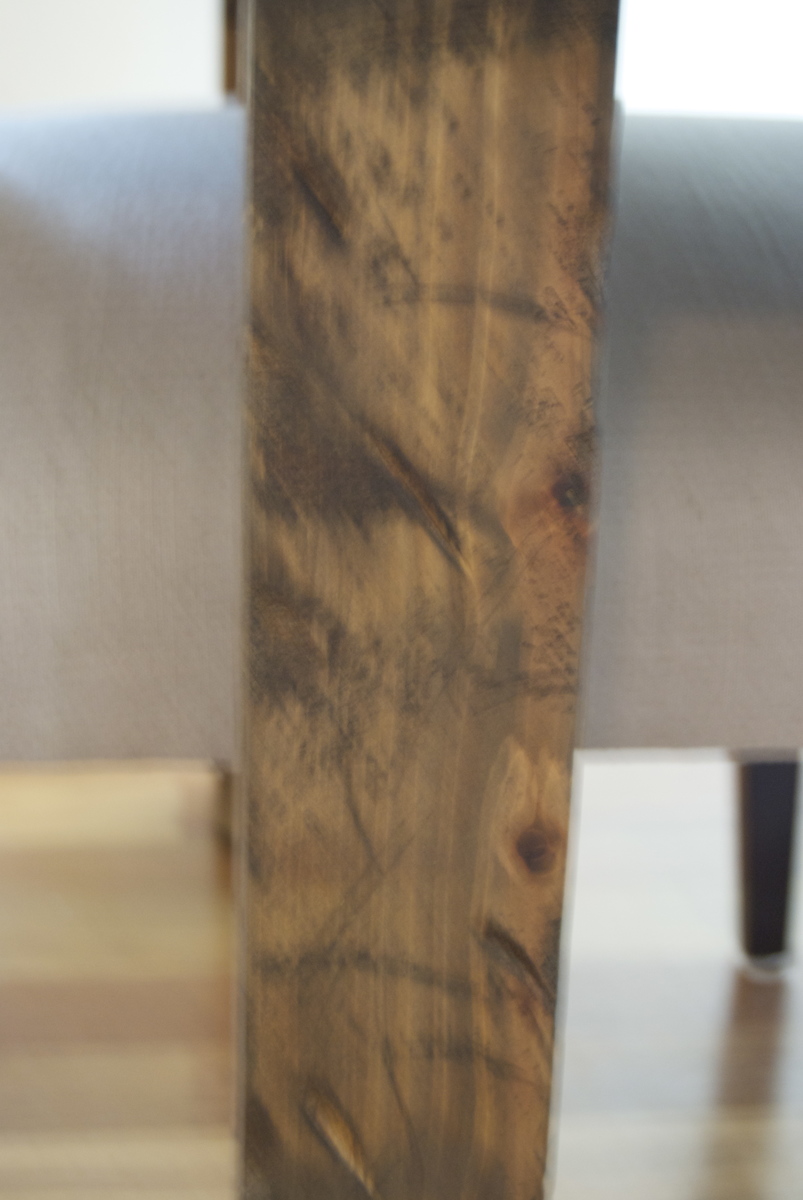
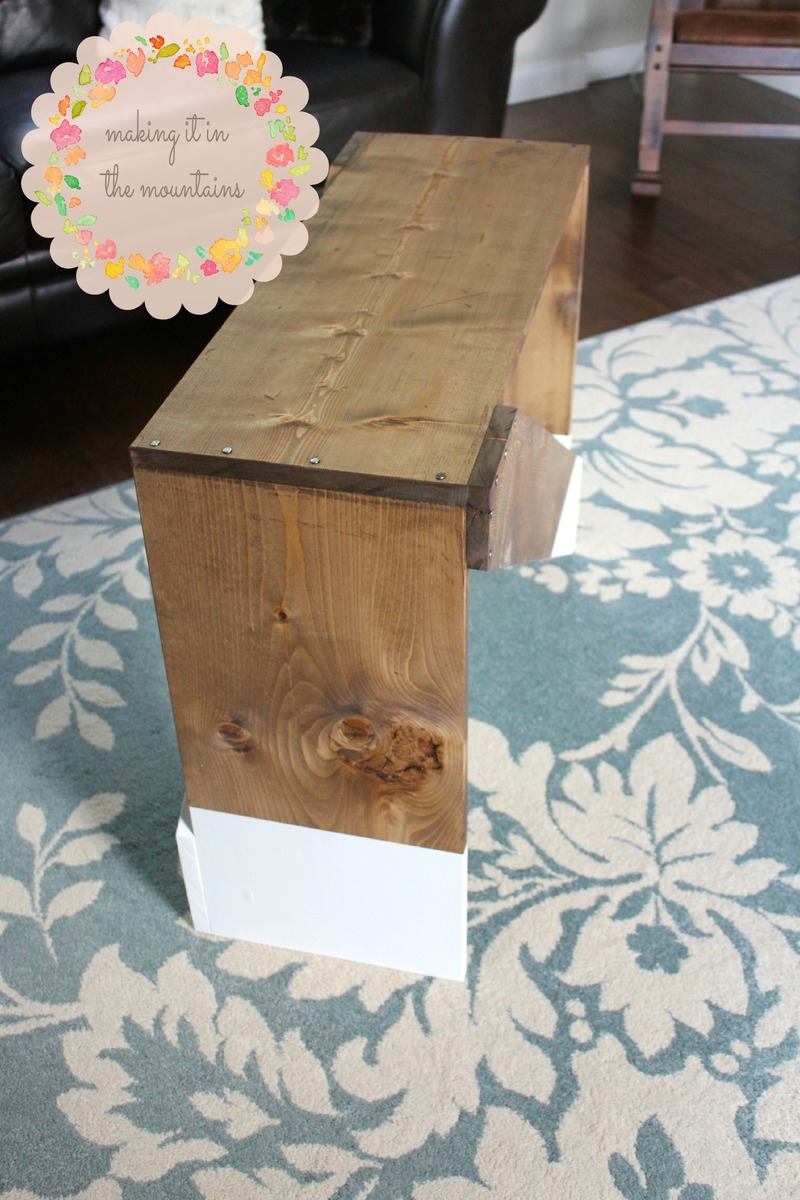
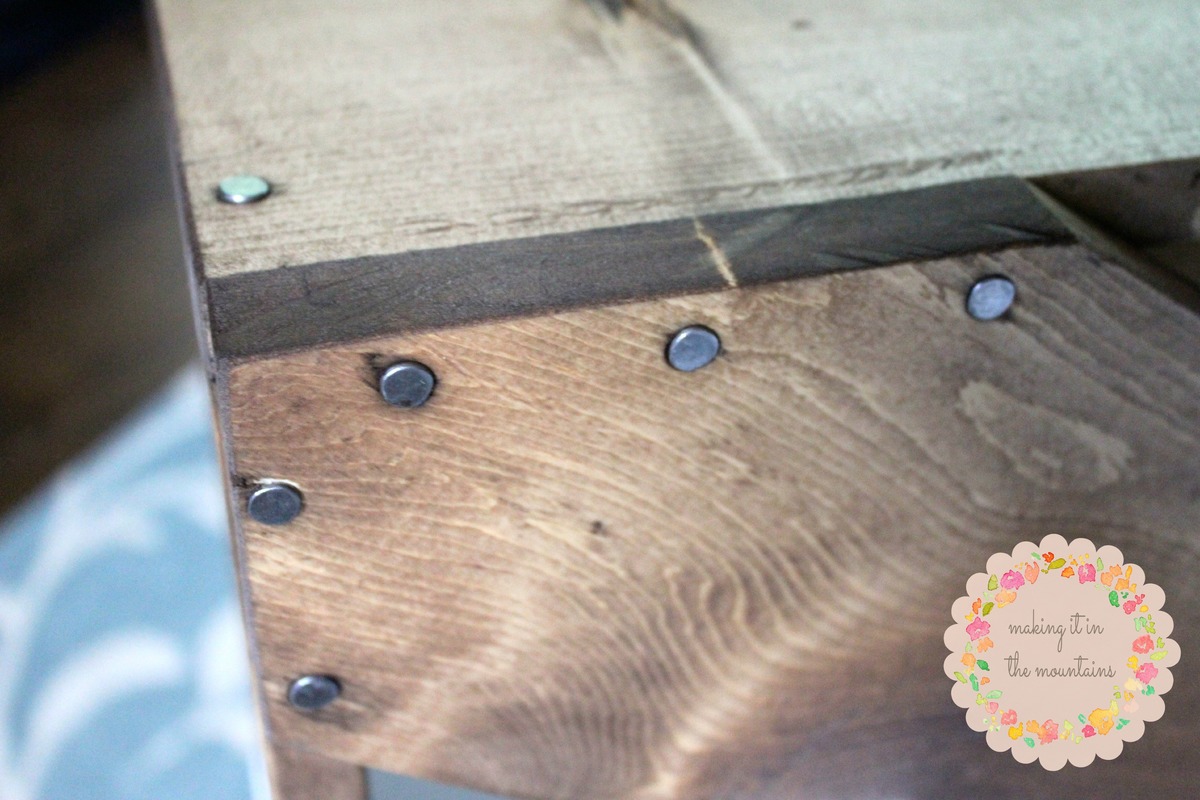
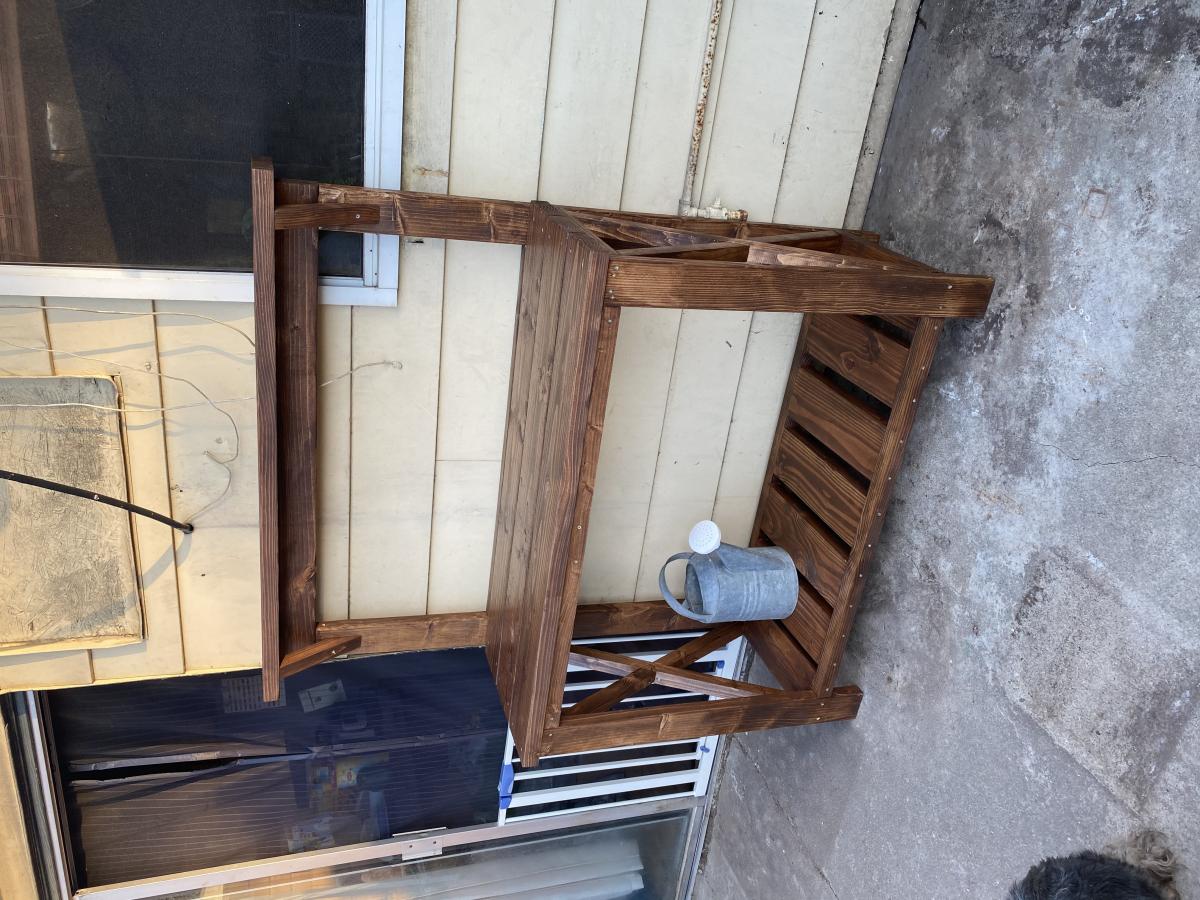
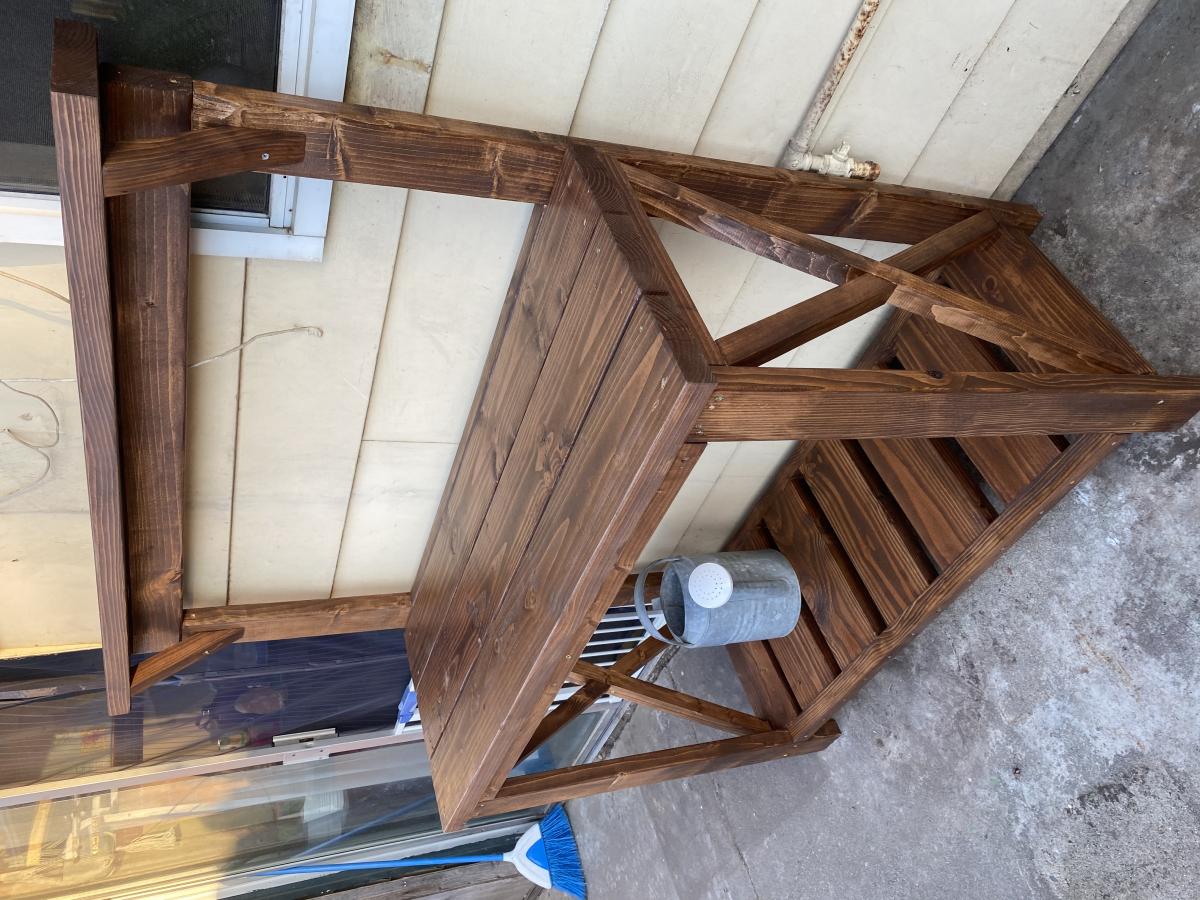
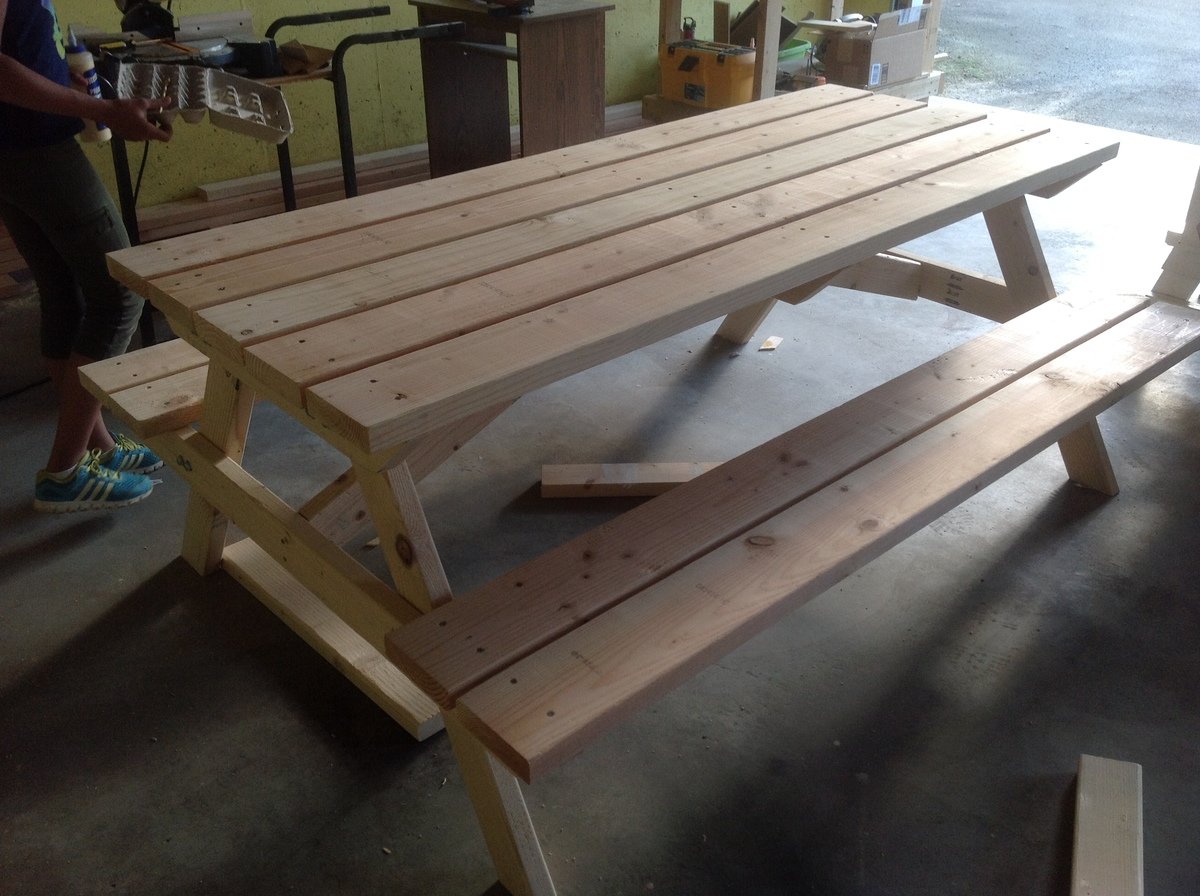
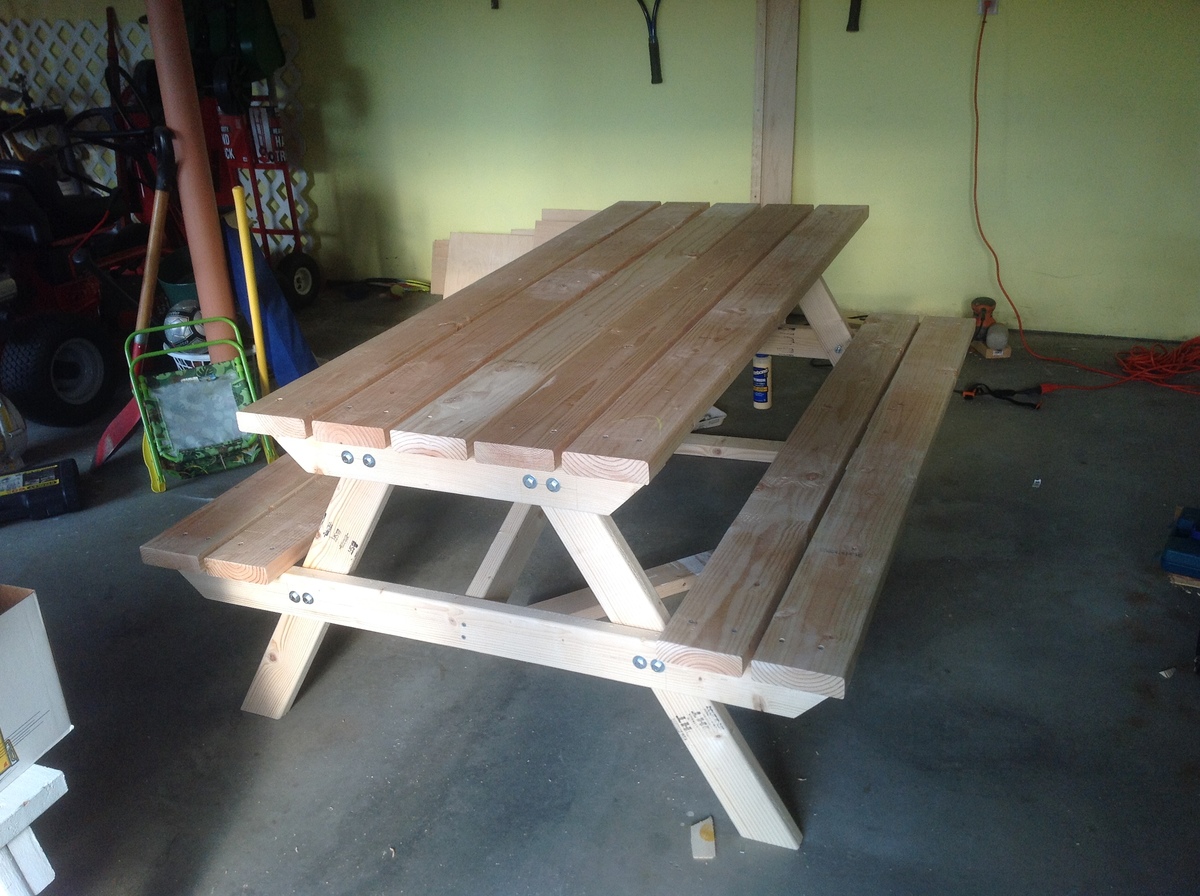
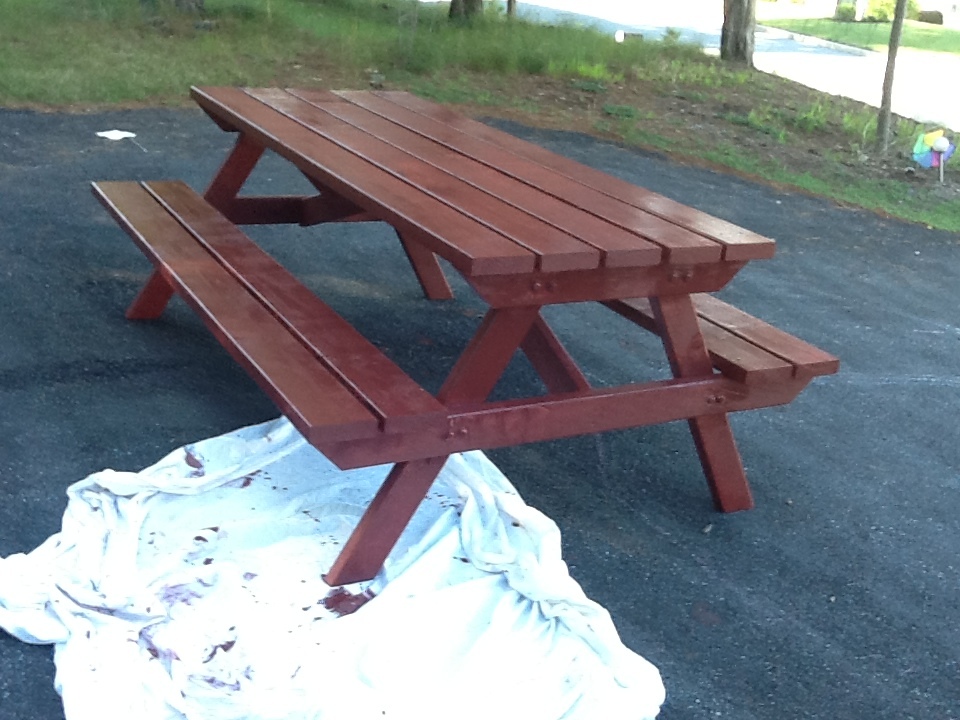
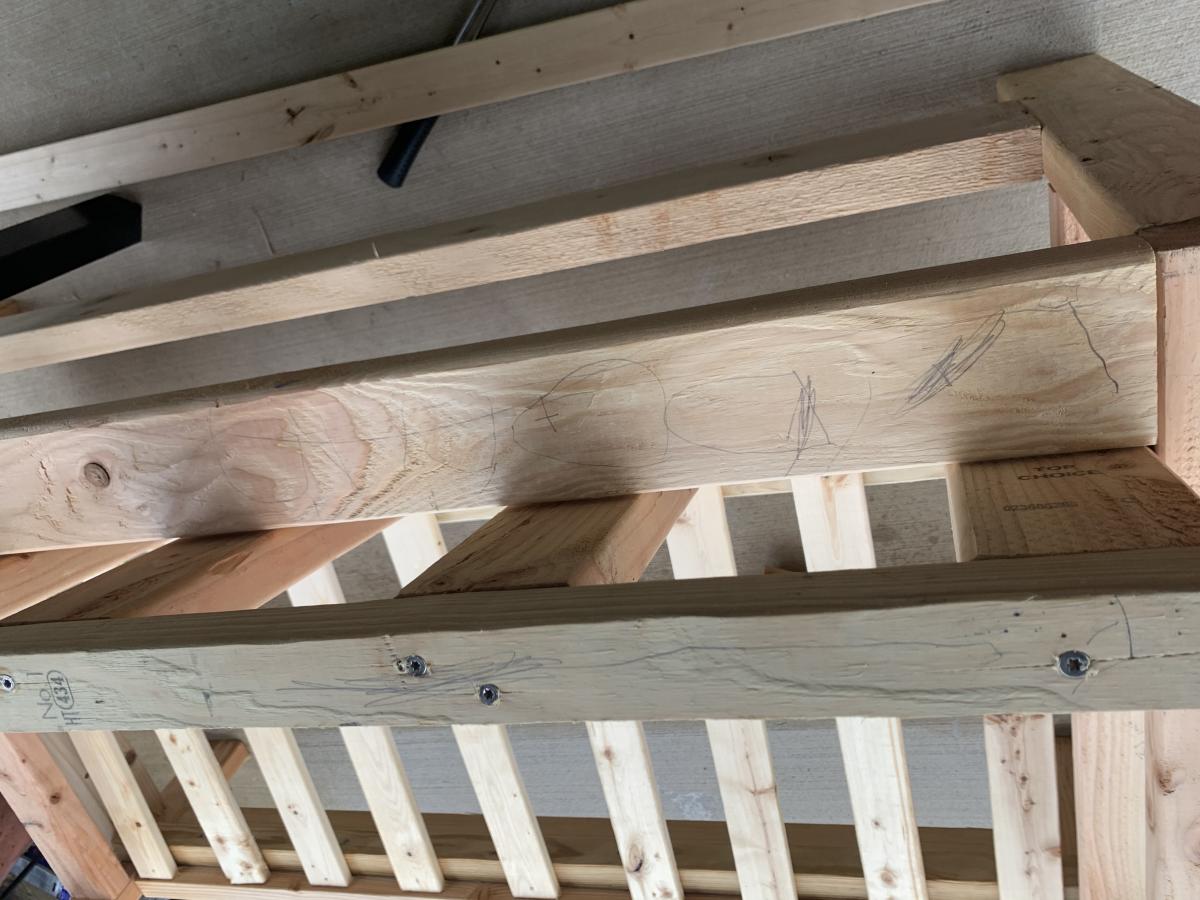
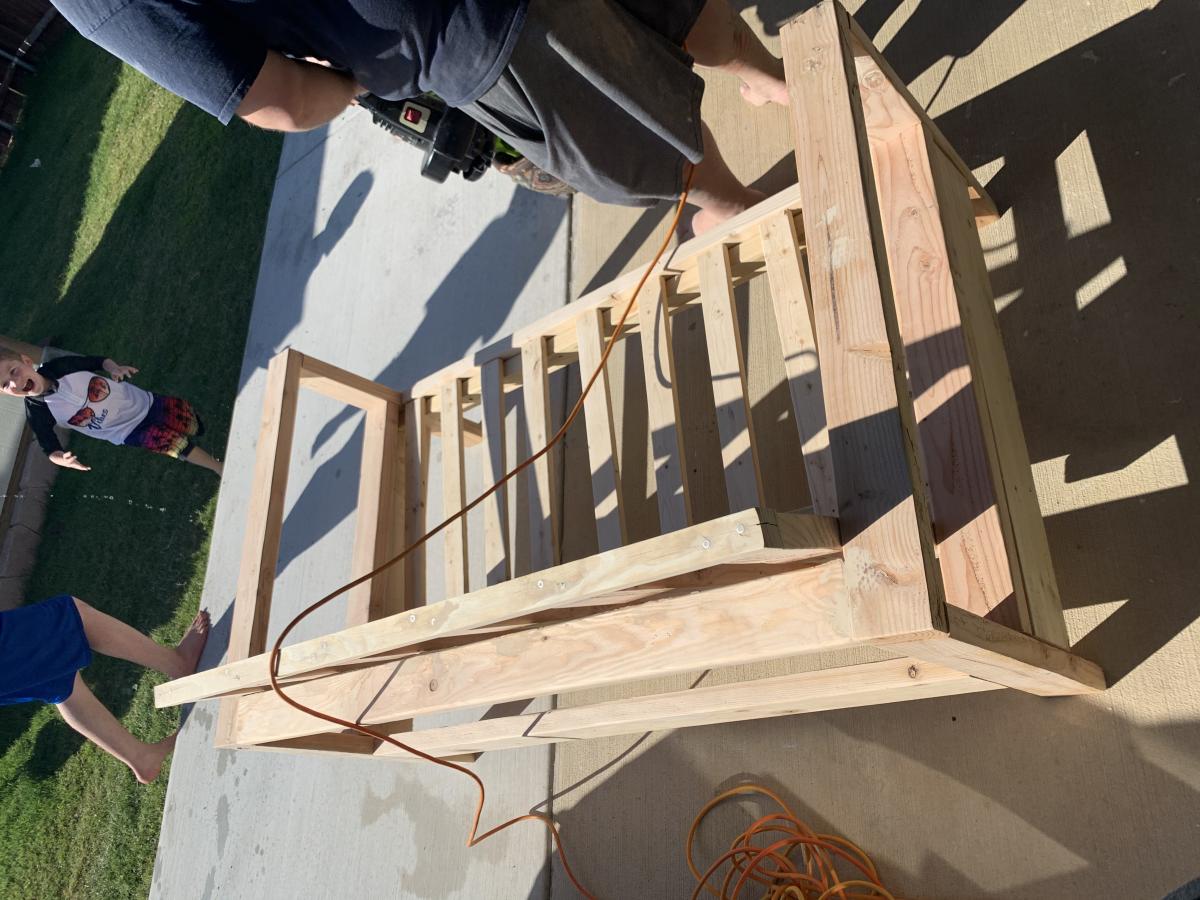
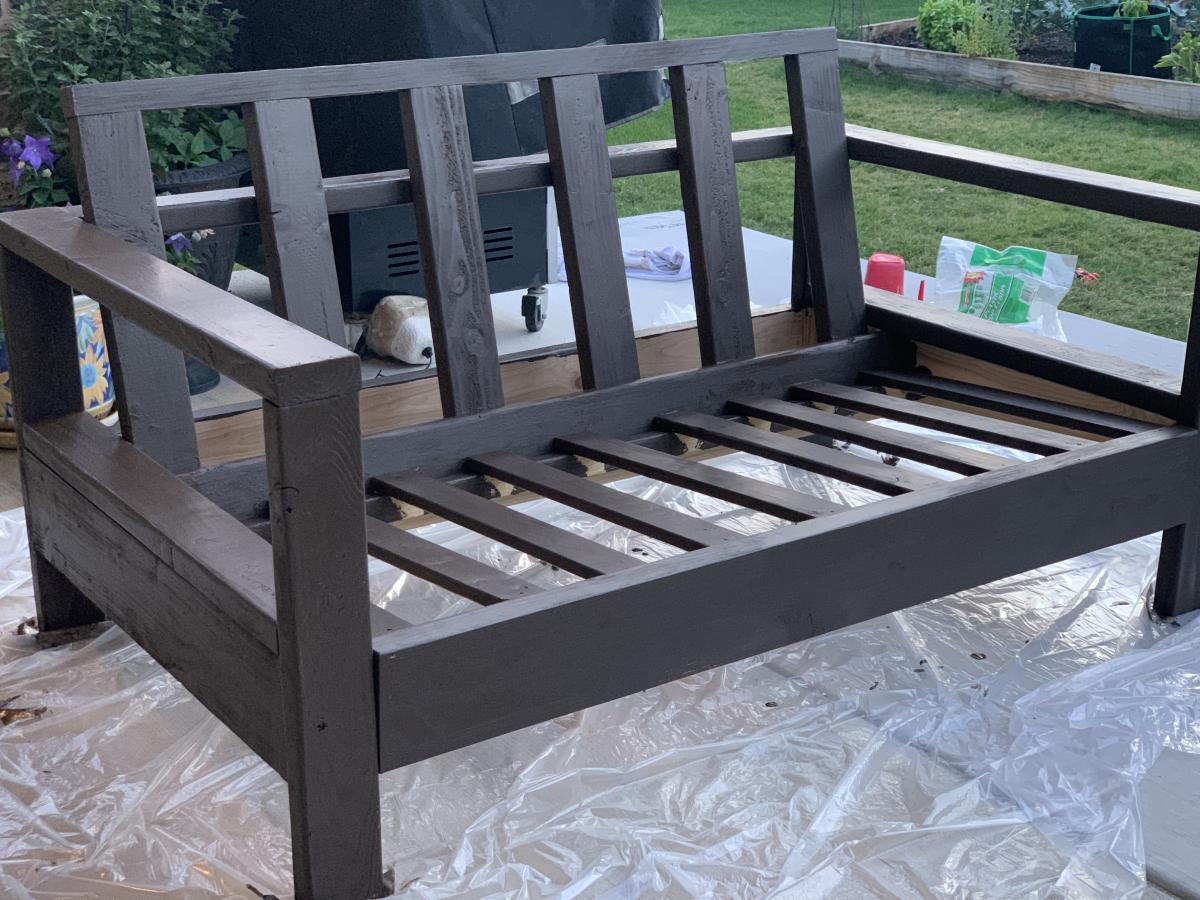
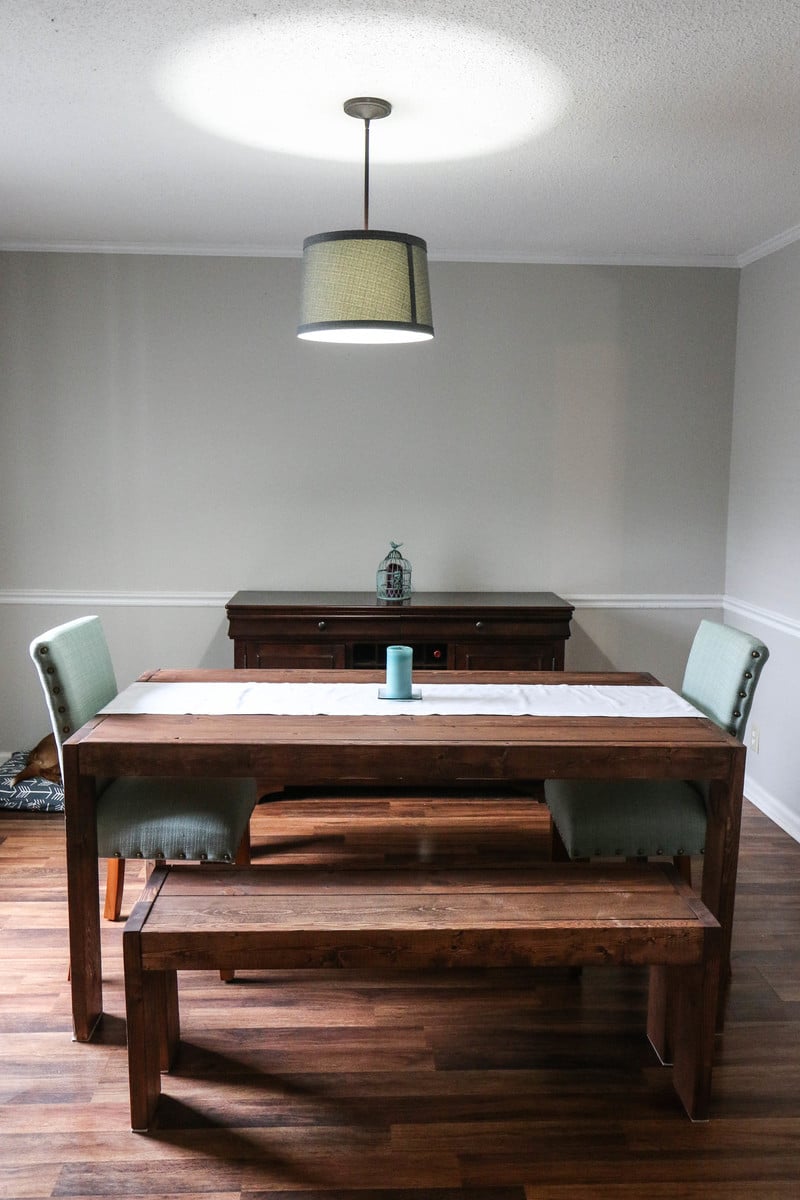
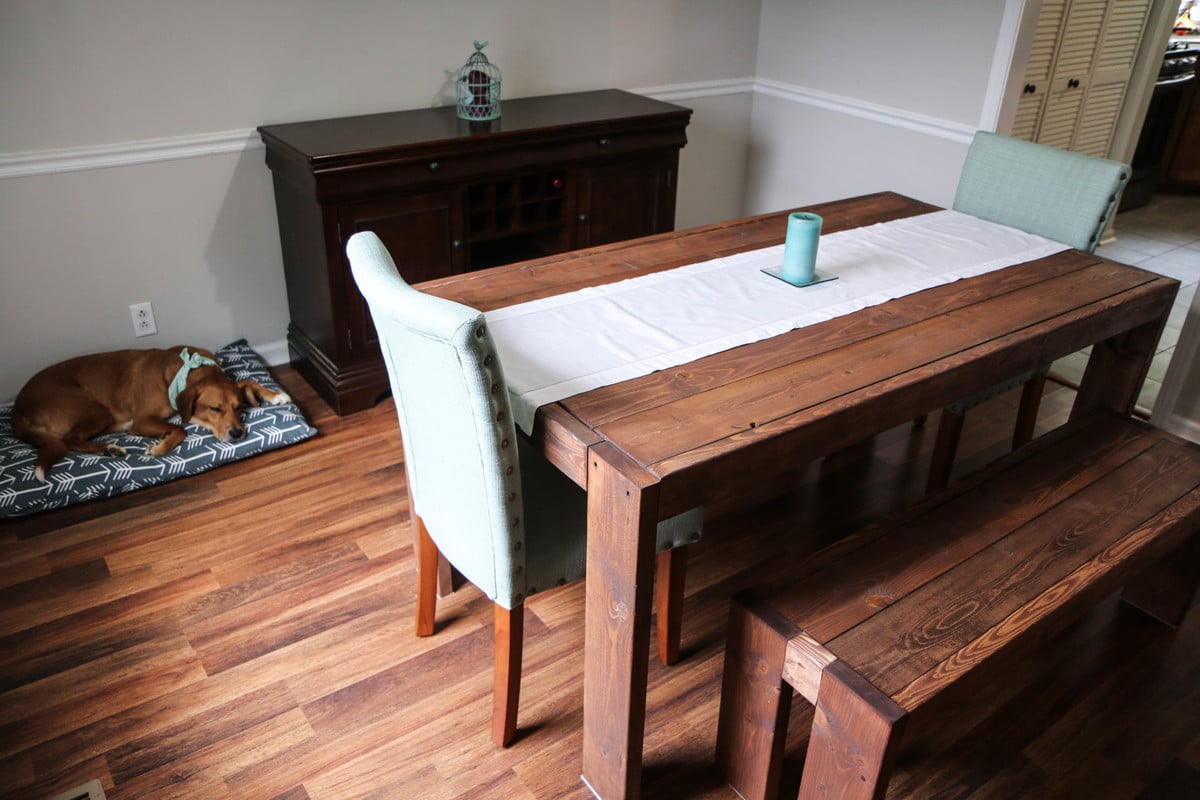
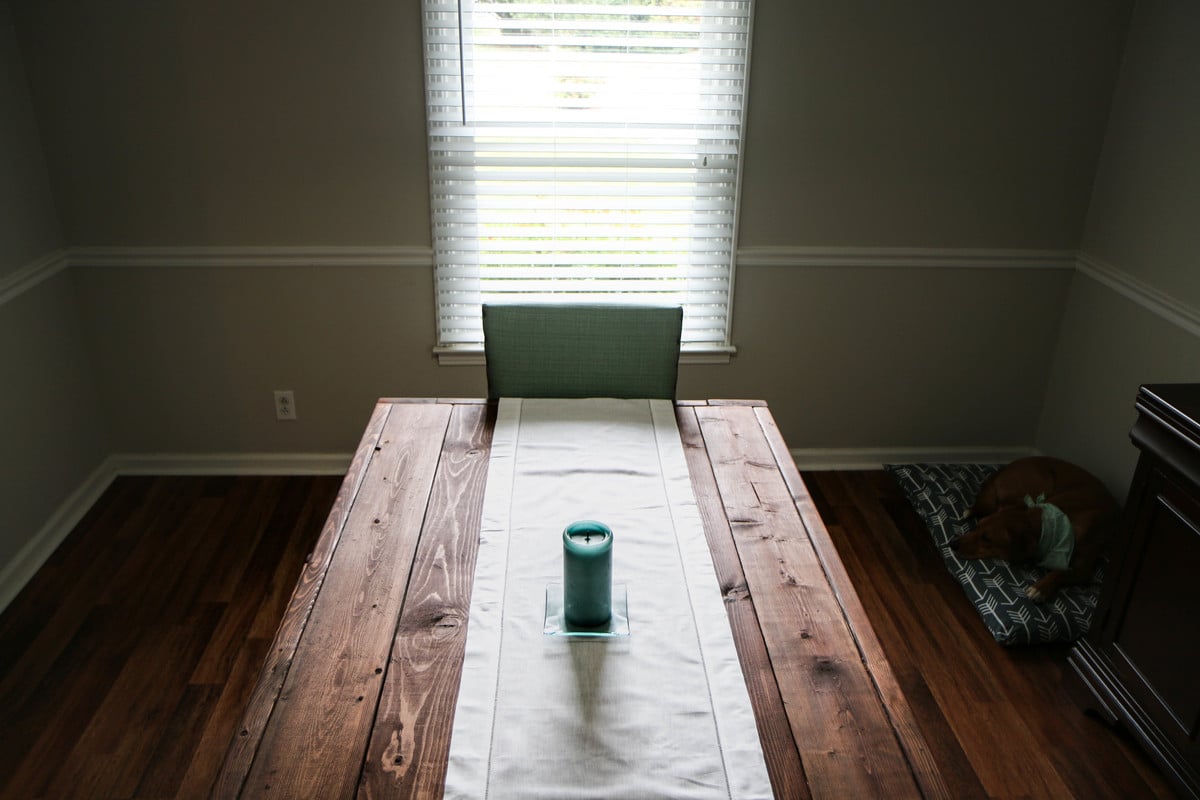
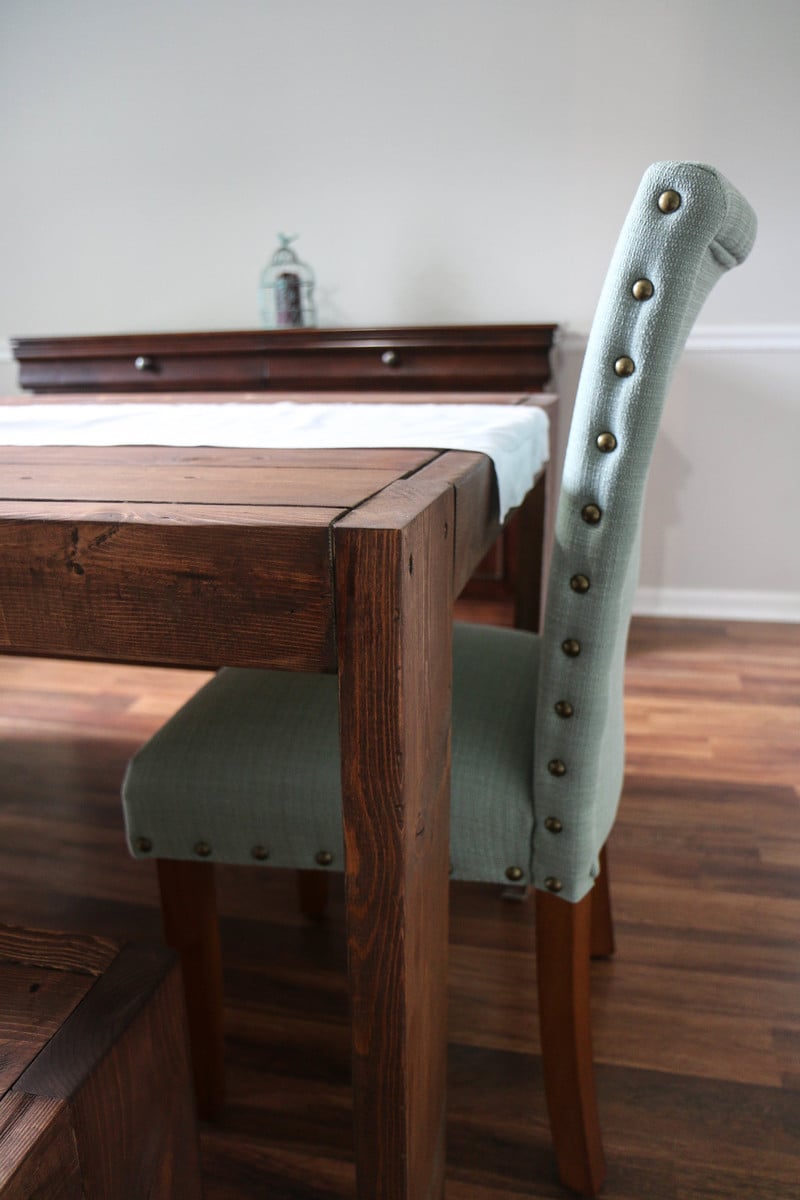
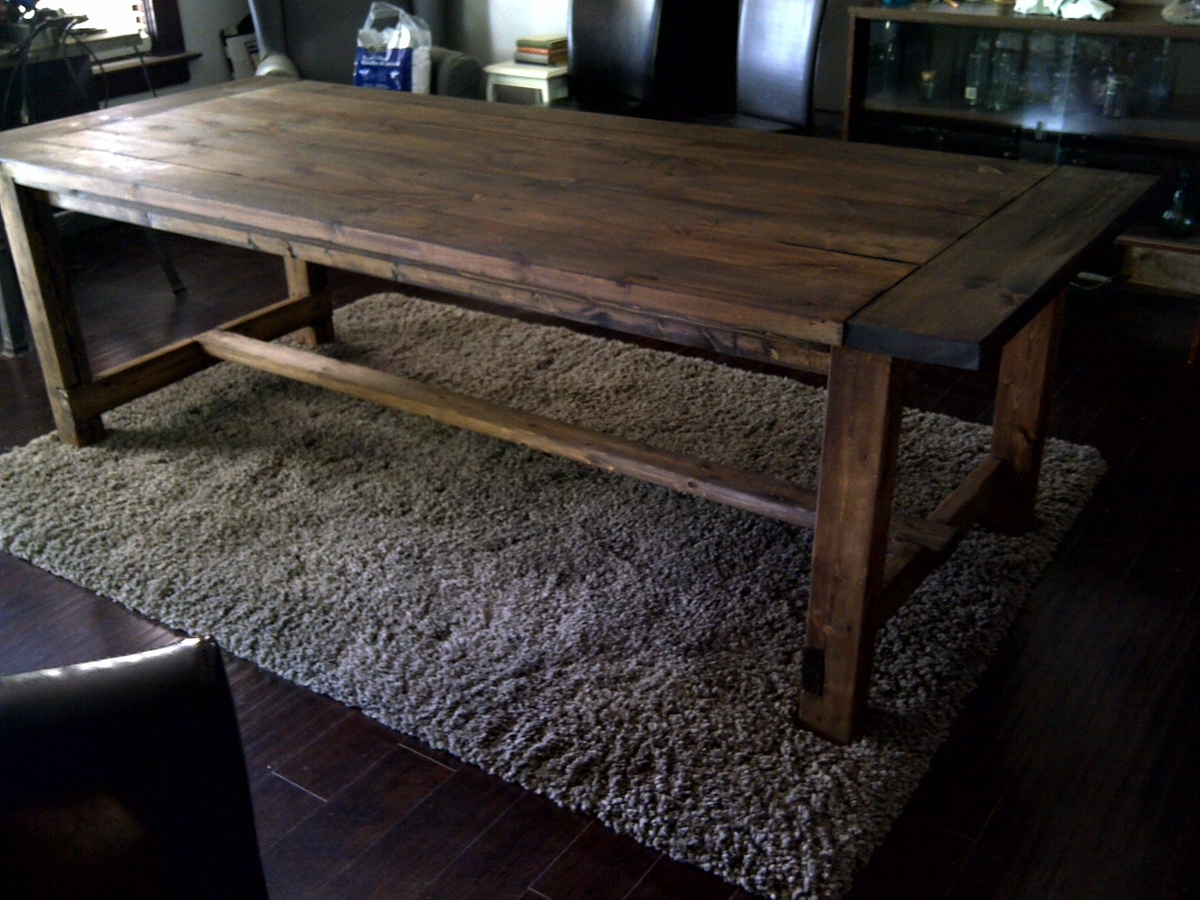
My mom has been addicted to Pinterest for a while now, so eventually she was led to this site. To make a long story short, she asked me to build her a dining room table similar to the Rustic Table design, but just a bit beefier, and with custom dimensions to fit the family's needs. I used 2x8's (8 feet long) for the table top, 2x4's for the apron/skirt, and 4x4's for the legs. This thing is a monster. I'm assuming it weighs close to 200 lbs. I beat the legs up with an old golf club, and scratched them up pretty good with screws.

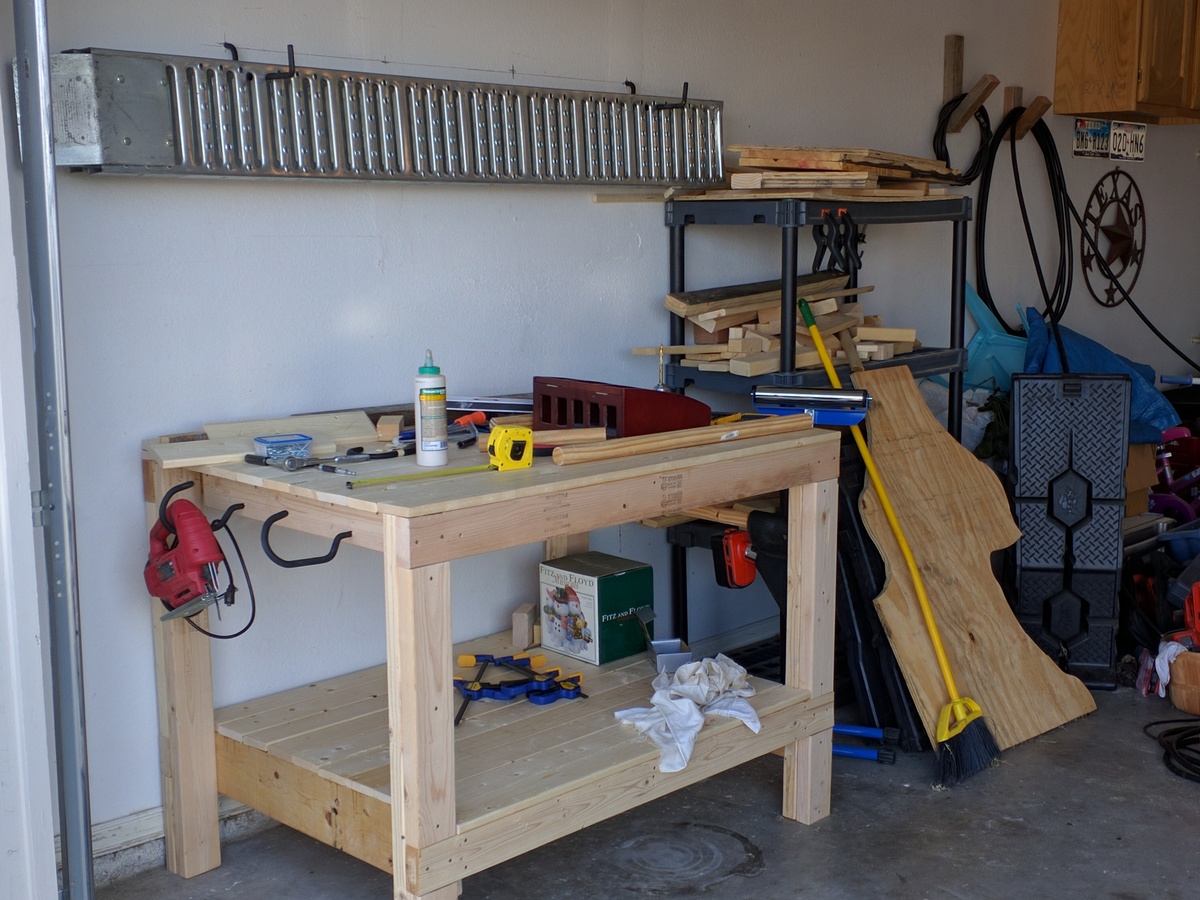
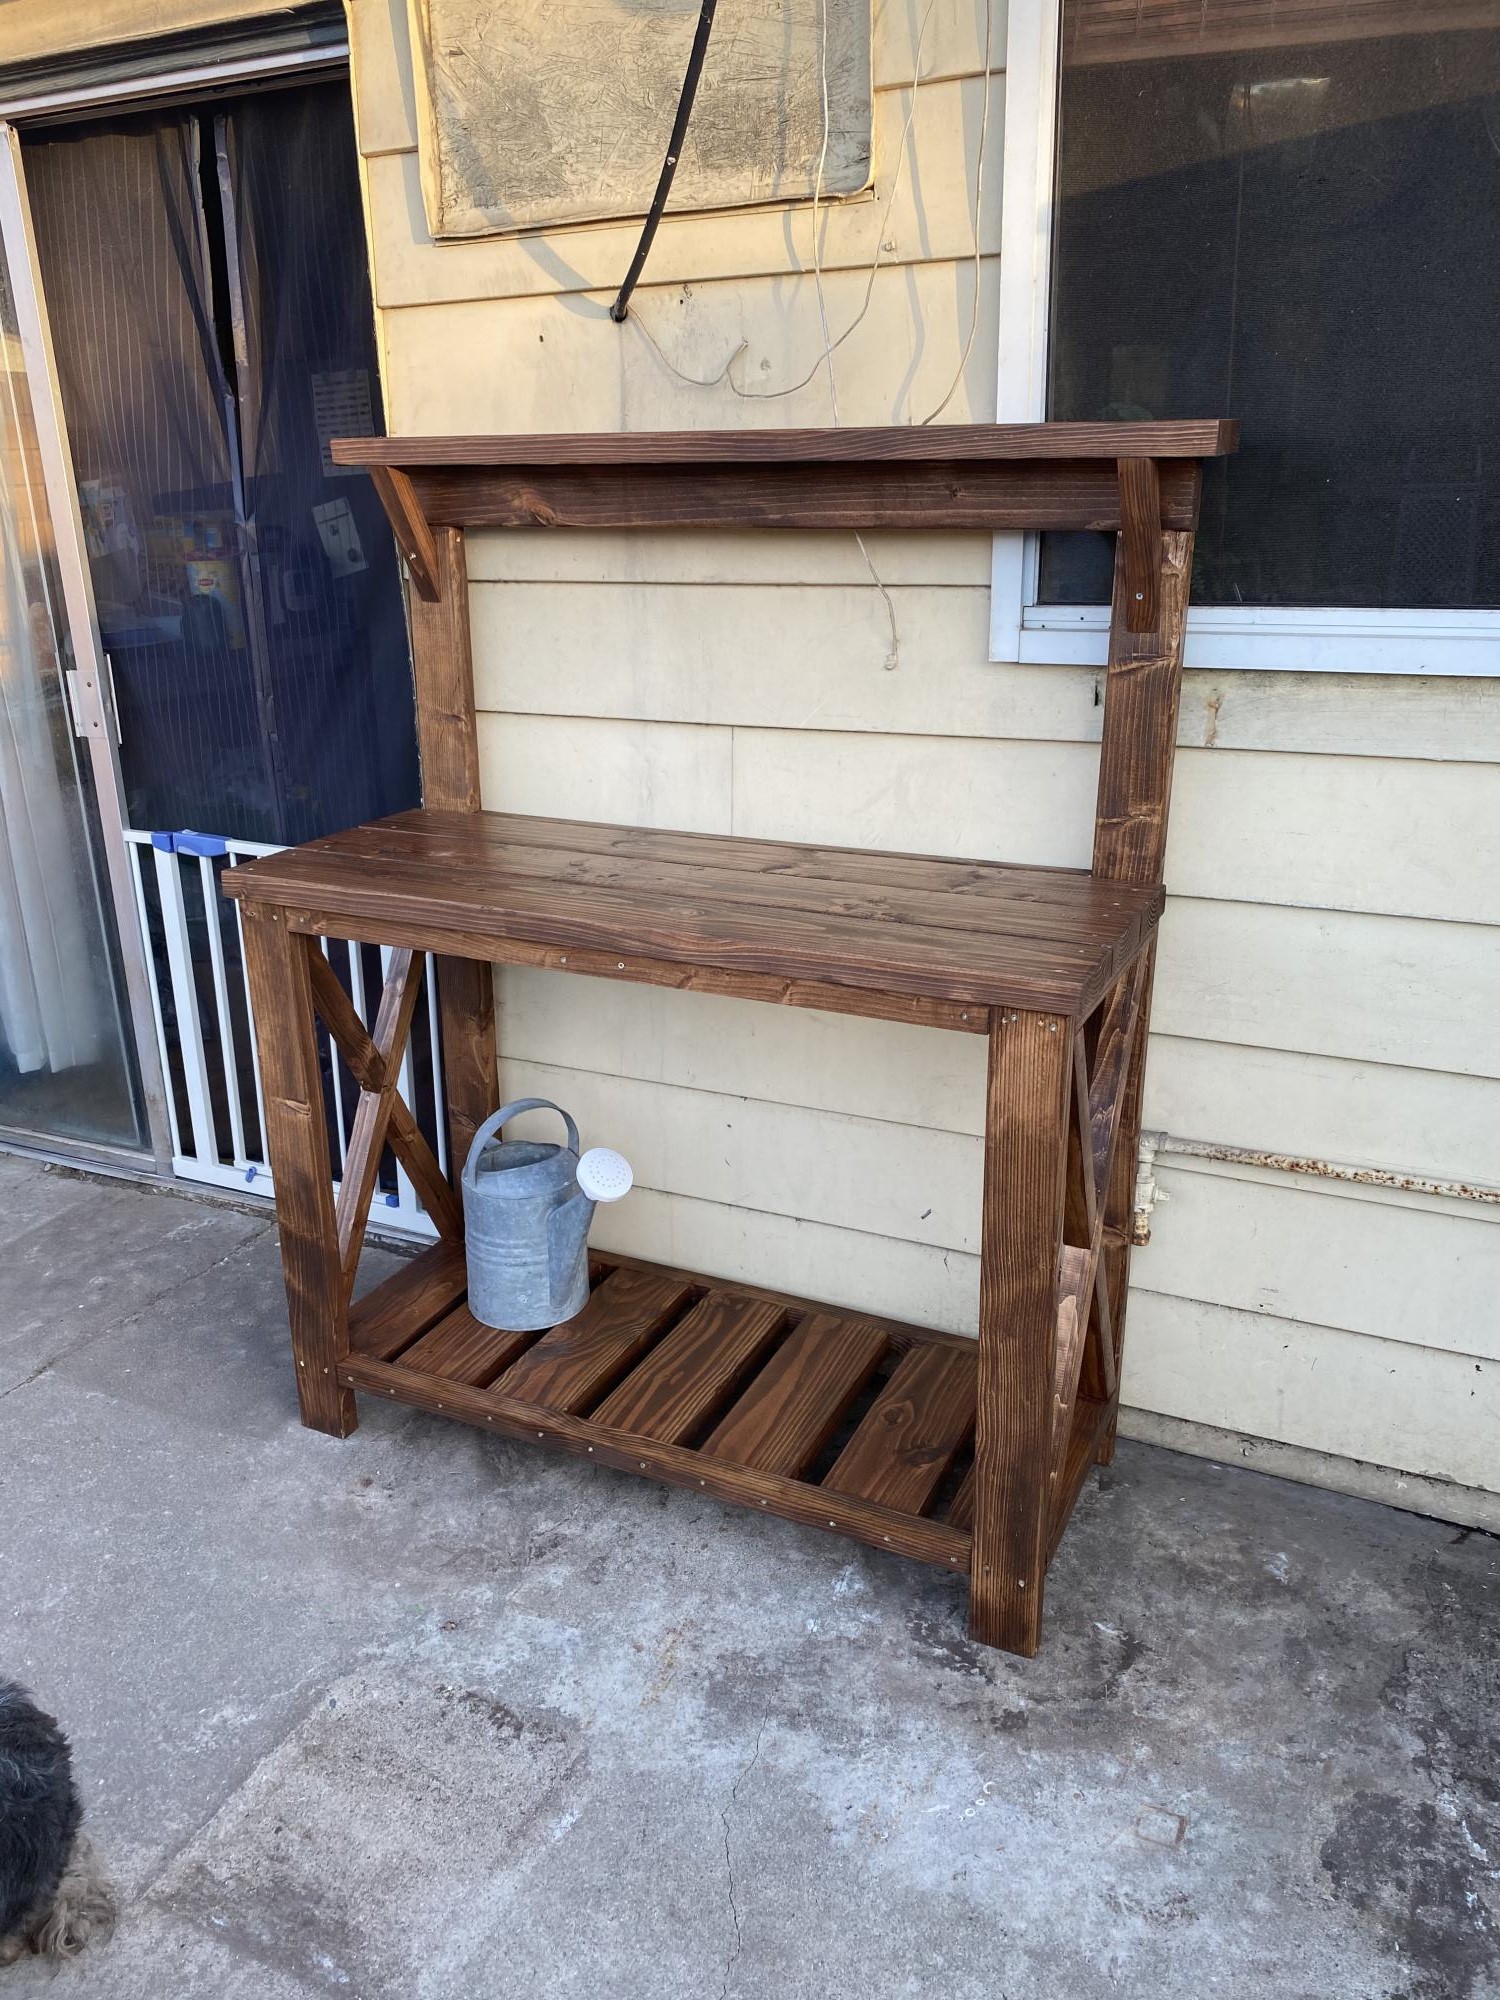
This was my first time attempting something of this caliber, and I am really pleased with the results. The best part is that my mother LOVES it, and I now look like the greatest son in the world to all of her friends on Facebook!

Estimated Cost
$160
Estimated Time Investment
Week Long Project (20 Hours or More)
Finish Used
Sanded: 120 grit then 220 grit
Stain: Minwax Special Walnut (Brushed)
Finisher: Minwax Paste Finishing Wax (Rubbed in with a rag, then buffed off 20 minutes later).
Recommended Skill Level
Beginner

Comments

JenniferCarter

Mon, 02/09/2015 - 07:17

Hi there! Your dining table came out beautiful! Do you happen to know where those chairs are from? I have a client that is in love with them so wanted to see if you know where they are from! Thanks so much!

Garage Workbench

Submitted by jbonham on Sat, 09/24/2016 - 12:35

Altered the original plan only enough to accommodate the materials I had lying around without going to buy more lumber. The workbench I built is not as wide being only 48" instead of the 55" noted in the plans. For the top of the workbench and the lower shelf I used 1x4 furring boards again, because it is what I had for material at the time of building.

Once I made the basic frame, I squared it and then installed the supports for the table top and the lower shelf. Once the supports were in I cut the 1x4's to the appropriate length. As I laid each respective board, I also laid a good dose of wood glue down and then clamped them in place. I let those boards set with glue for about 5 minutes before going back and using a 2" brad nailer to finish them off. Once the nailing was done, I removed the clamps and moved to the next series of boards. Because I had several clamps I was able to lay about three boards at a time and let the glue set for another 10-15 minutes. Working slowly and methodically got the whole job done in a couple of days of a few hours a piece before completion.

Easy project and something that will last a long time when done correctly.

Estimated Time Investment
Afternoon Project (3-6 Hours)
Finish Used
Two passes of 80 and 120 grit sandpaper respectively.
Recommended Skill Level
Starter Project

Comments

Farmhouse Potting Bench

Submitted by vegeta692k on Sun, 07/05/2020 - 12:29

Saw this video and shared it with my fiancé. She loves plants and really wanted something like this. It took me a couple of hour to build. I stained it and sealed it over two days to be nice and weather resistant. She loved it. I added some suppor on the top because she wanted the shelve a bit higher on the top. I made a little change to it. This is my first Ana white project and i look forward to doing some more.

Built from Plan(s)
Estimated Cost
60.00
Estimated Time Investment
Afternoon Project (3-6 Hours)
Finish Used
Varathen special walnut and a clear waterproofing sealer
Recommended Skill Level
Beginner

My Julia Nightstand

This summer my wife and I remodeled our oldest's bedroom. I found this nightstand on Ana's website, and my wife fell in love with it. I had to make it! I noticed there were no brag posts for the Julia, so I felt that I had to contribute as a thank you for finding these plans. Thanks Ana!

Built from Plan(s)
Finish Used
Cream colored Paint, and Lime colored paint
Recommended Skill Level
Beginner

Comments

Picnic Table

Submitted by asaldanha on Fri, 06/27/2014 - 07:20

Wanted to kick start my summer projects with something that would not take too long. So I built this picnic bench for a friend over the last weekend. Thank you Ana for the plans.

Estimated Cost
$150
Estimated Time Investment
Day Project (6-9 Hours)
Finish Used
Benjamin Moore Red Barn Stain
Recommended Skill Level
Starter Project

Comments

gkatie26

Sun, 03/01/2015 - 12:16

I was just wondering if these are 5ft boards from the plan or if you used longer boards? If so what length did you use? Love the way this one looks! :)

Craft Table/Sewing Desk

Estimated Cost
$250
Estimated Time Investment
Week Long Project (20 Hours or More)
Finish Used
Paint (sigh)
Recommended Skill Level
Beginner

Comments

We did it!!

This is the second thing I’ve built made based off of an Ana White plan! We followed as best we could? It got a bit dodgy around step 5 but we made it!

Estimated Cost
$150
Estimated Time Investment
Week Long Project (20 Hours or More)
Finish Used
We used Behr outdoor seating paint in a brown that matched our house.
Recommended Skill Level
Intermediate

Shoe Rack

I needed a compact way to organize and store my running shoes. As you can see in the pictures above, the answer was relatively simple. My google search led me http://www.notmartha.org/tomake/shoerack/ . I simplified the idea using 1x2, 1x3, and 1x4 boards. You can see the simple shape these make holds the shoes by the toe. I used a 1x2 board for a spacer between the two levels. On a whim , I added another spacer board and topped it all off with another 1x4 which fit perfectly as a shelf.

Before I assembled the pieces, I predrilld holes across the 1x2 boards. When I installed them piece by piece, it was only a matter of leveling and installing drywall anchors.

Estimated Cost
$30
Estimated Time Investment
Afternoon Project (3-6 Hours)
Recommended Skill Level
Beginner

Dollhouse

Submitted by lsjayhawk on Sun, 06/29/2014 - 12:56

I built a slightly smaller version of the full sized dollhouse. I used MDF for the house with the roof and pine for the and windows.

Estimated Cost
$120
Estimated Time Investment
Weekend Project (10-20 Hours)
Finish Used
Valspar paint for the sides and back, spray paint for the inside
Recommended Skill Level
Intermediate

Comments

Modern Farm Table and Benches

Submitted by slpierce39 on Mon, 10/03/2016 - 07:25

Used the Kreg Jig for the table top. I followed Ana White's Youtube Video "How to Build a Tabletop" for instructions on how to do it. 

Weeklong project for all three. Started on a Saturday and had it in the dining room and eating a meal the next Saturday!

Estimated Cost
$108 for lumber, stain, and screws for both benches and table.

Estimated Time Investment
Week Long Project (20 Hours or More)
Finish Used
Minwax Red Oak - 215
Recommended Skill Level
Beginner

King classic storage bed

Submitted by Anonymous (not verified) on Tue, 07/07/2020 - 10:08

Built fairly close to original plans. Though we did modify slightly to create a slightly taller bed.

We placed a simple - but sturdy 2x4 frame between the sides. The span seemed a bit wide and we did not want any sagging.

We skipped the optional drawers, instead we will be building lightweight wooden storage crates to fit the storage spaces specifically.

Not a hard project. Though be sure to measure twice before you cut. 🤣

Built from Plan(s)
Estimated Time Investment
Weekend Project (10-20 Hours)
Finish Used
VALSPAR SIGNATURE INTERIOR PAINT & PRIMER in ebony field.
Recommended Skill Level
Intermediate

Farmhouse Table - Newbie edition

Submitted by MrsVwal on Tue, 09/04/2012 - 07:33

My first project!

Estimated Cost
$175
Recommended Skill Level
Starter Project

Comments

JoanneS

Tue, 09/04/2012 - 18:25

Congrats on a wonderful first project! Looks beautiful and very professional. And I love the inscription you did underneath. That is so sweet! :)

spiceylg

Tue, 09/04/2012 - 19:15

Welcome to the community. You did a beautiful job and I love the idea of the personalization underneath. Very sweet indeed.

brookifer86

Sat, 09/08/2012 - 14:28

The table looks really great! And I have to say I adore the inscription on the bottom. I'll have to do something like this on my future builds!

Back