Community Brag Posts

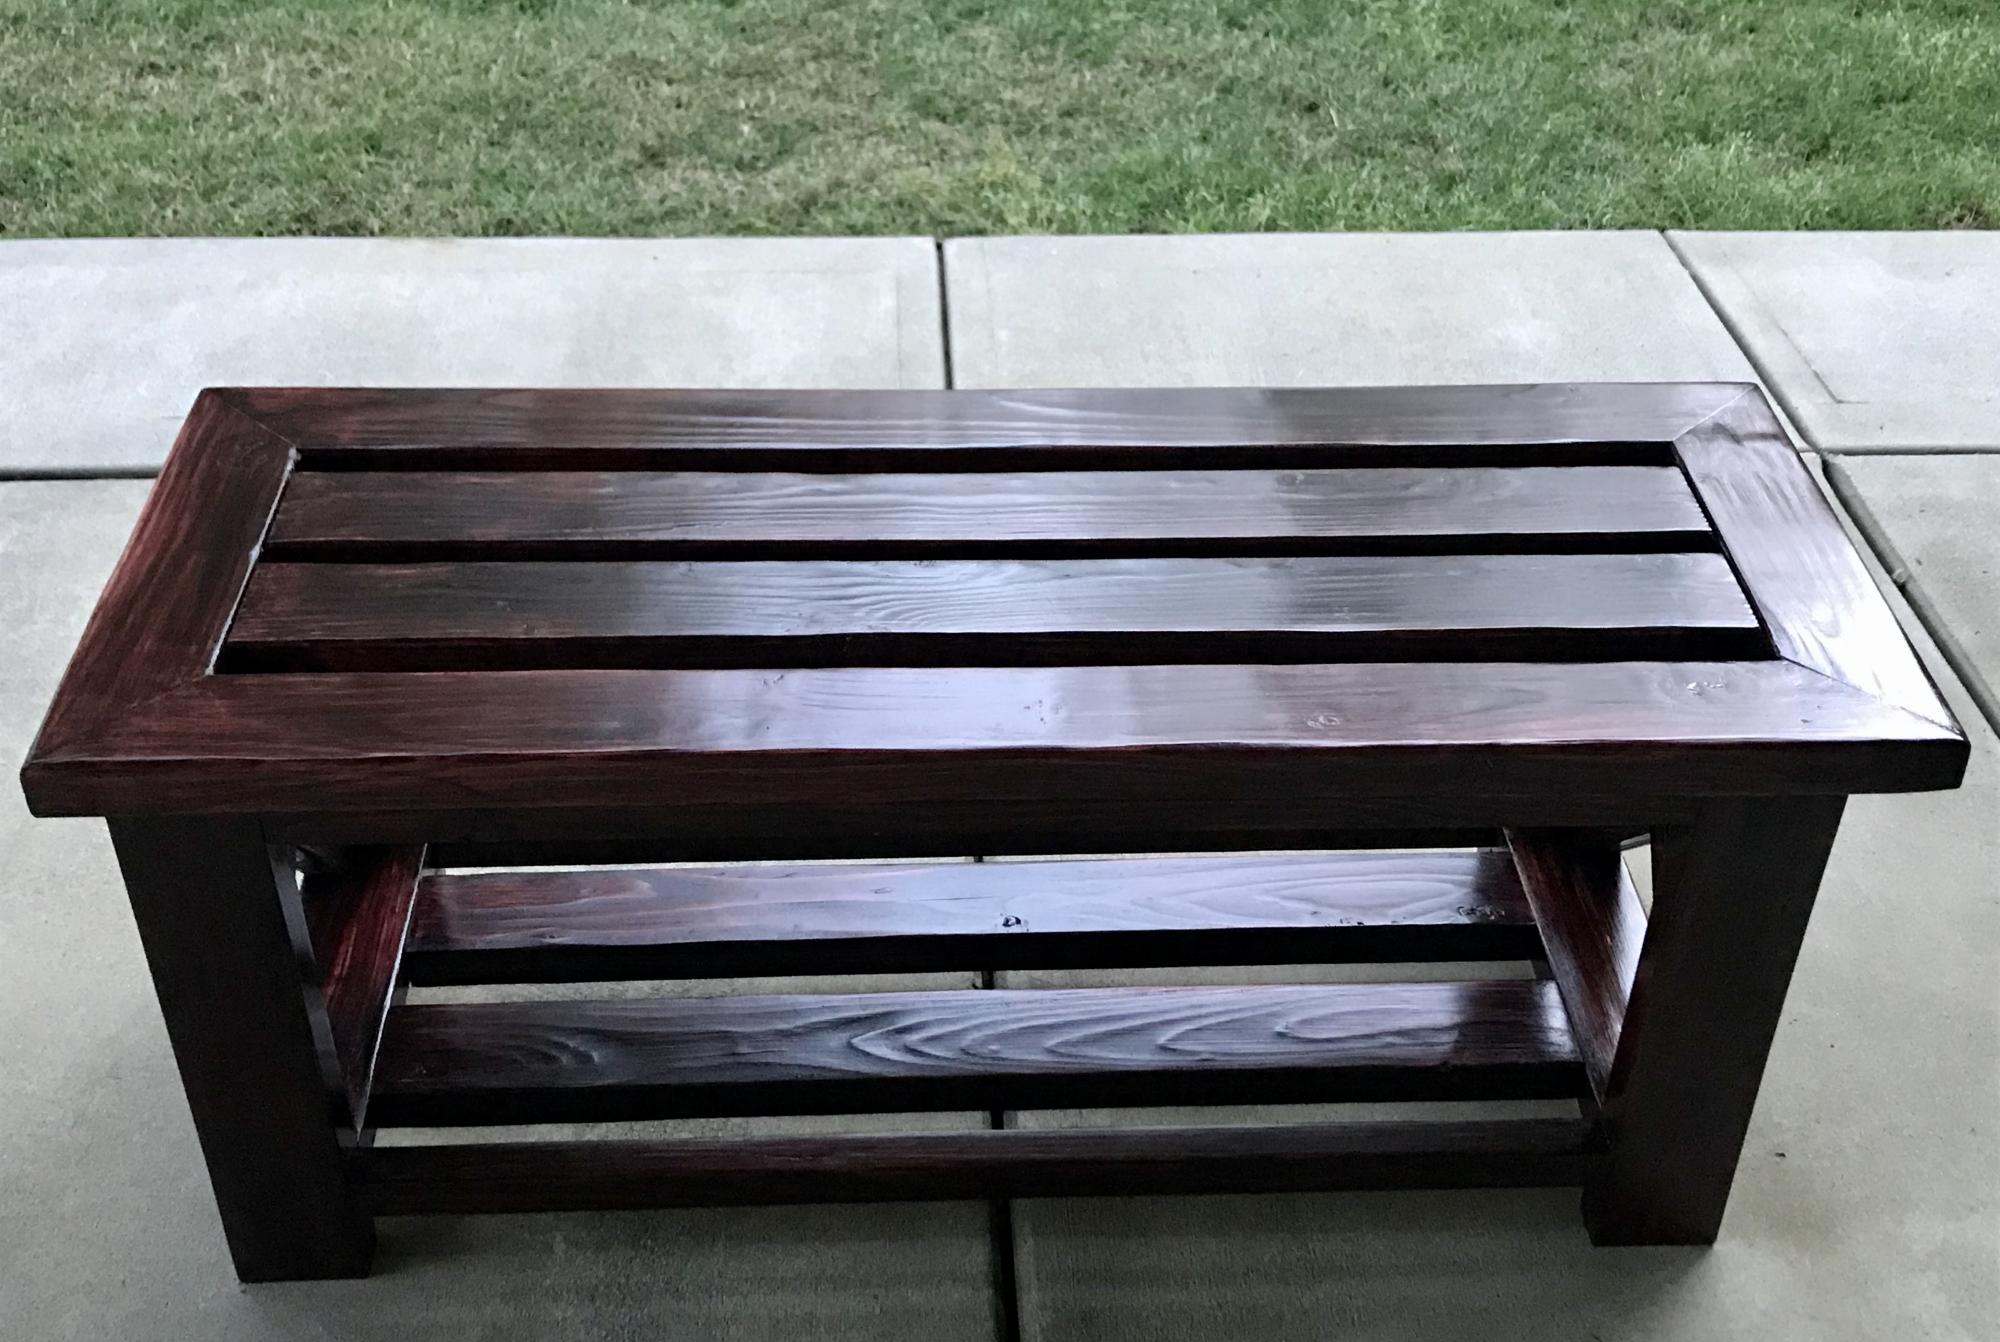
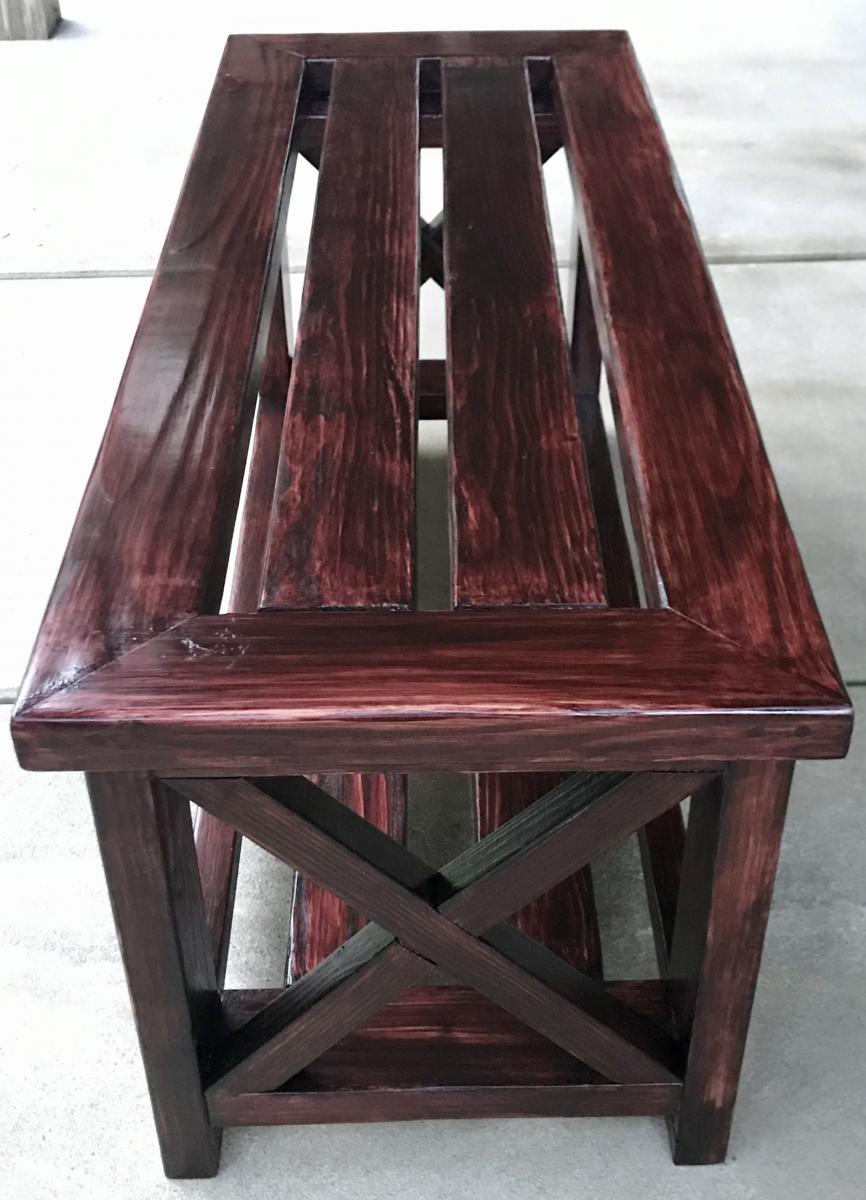
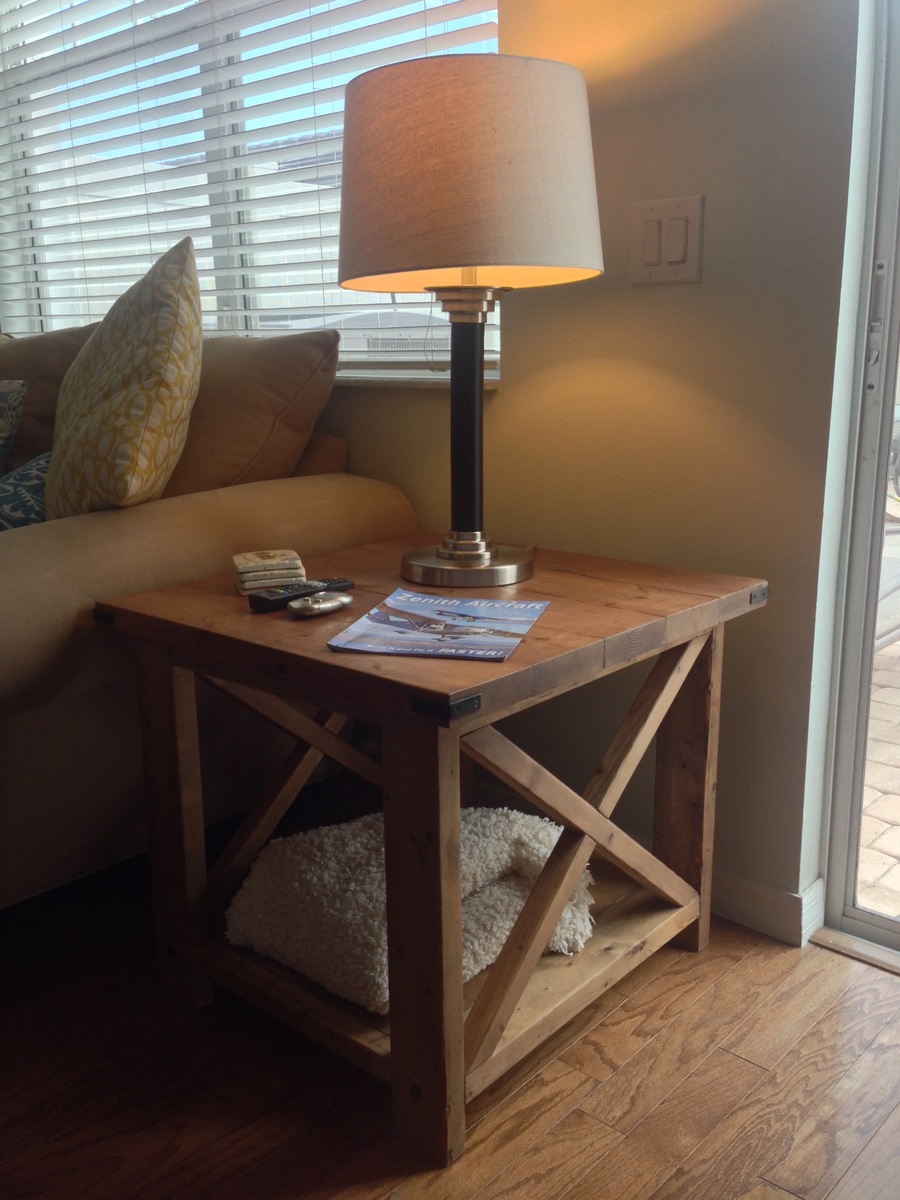
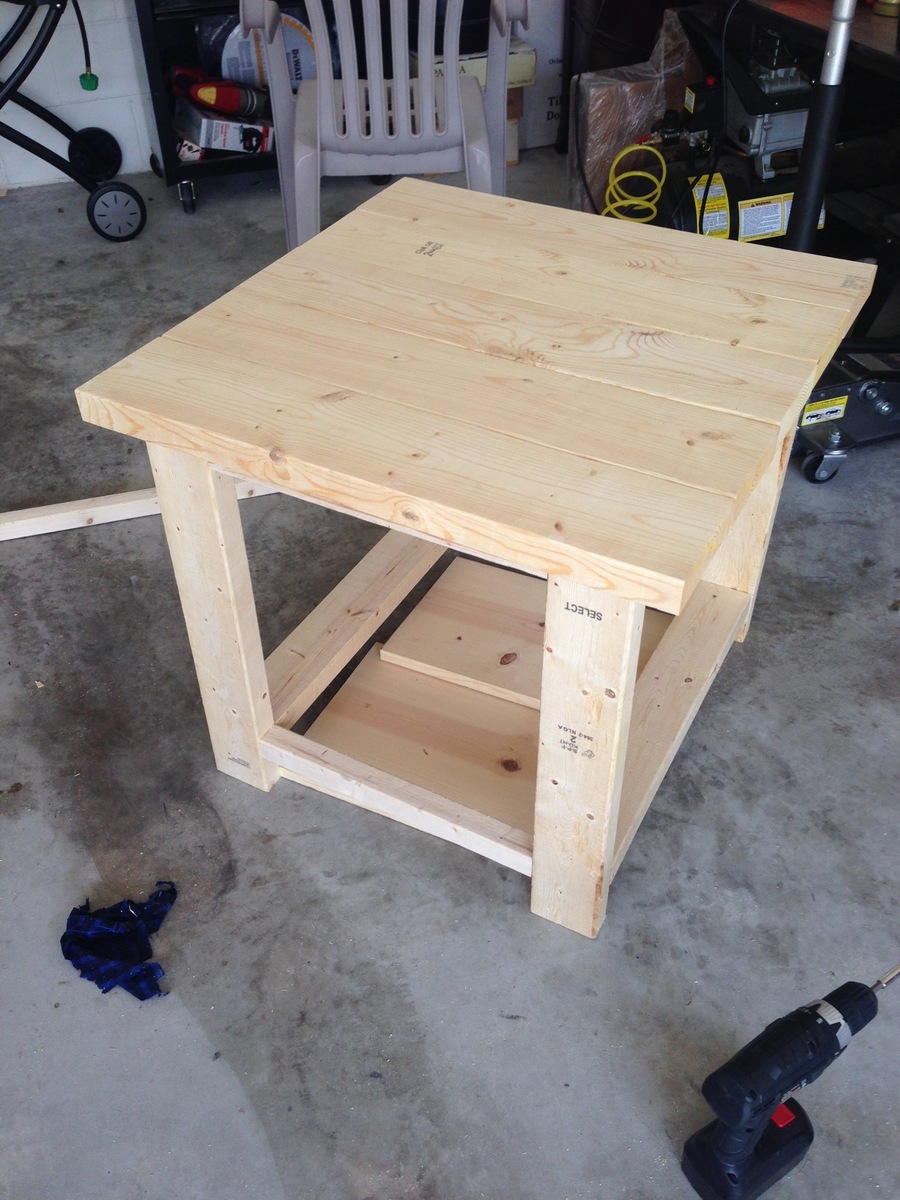
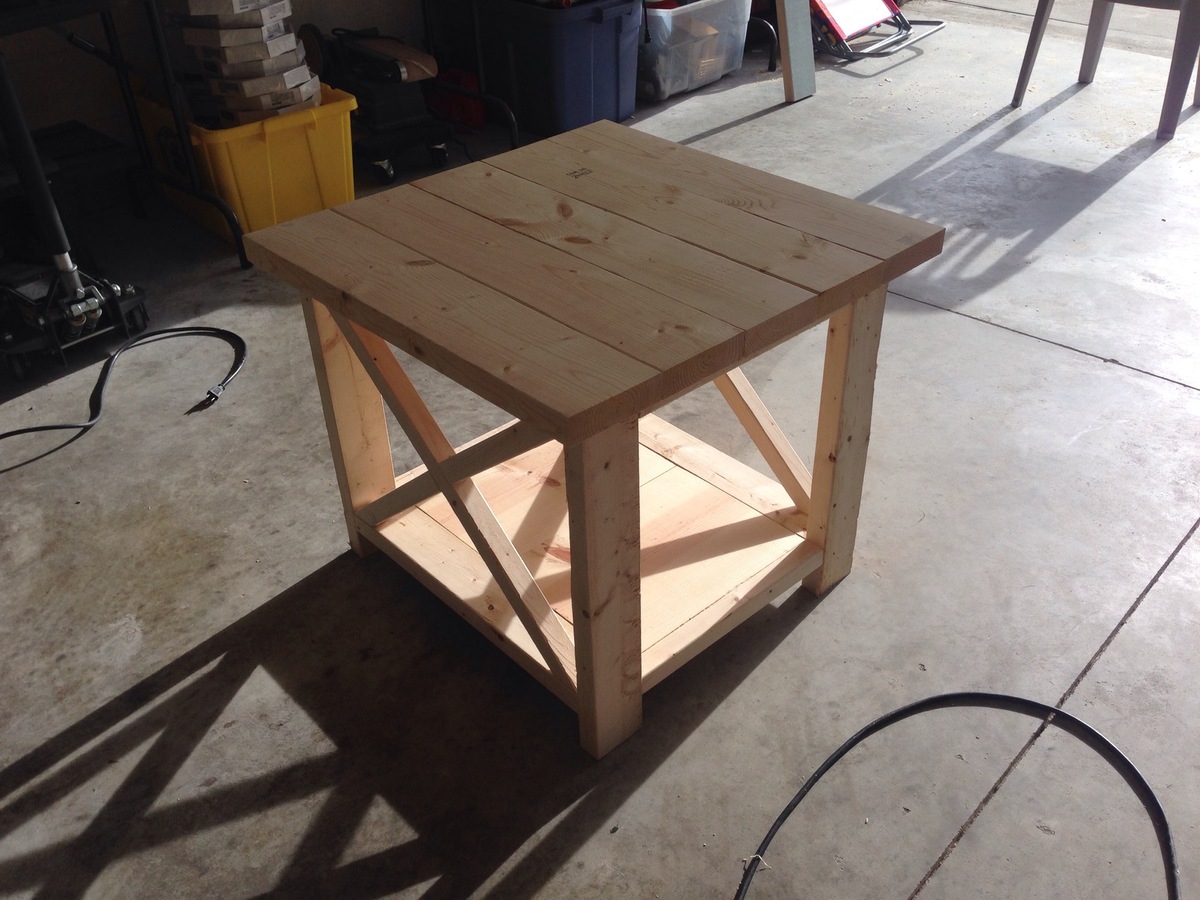
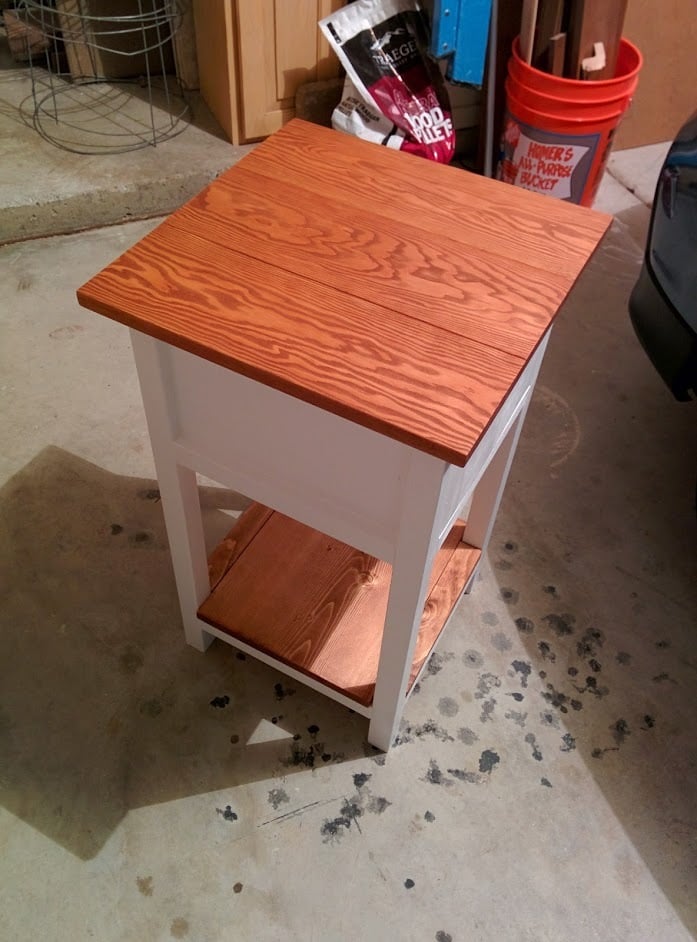
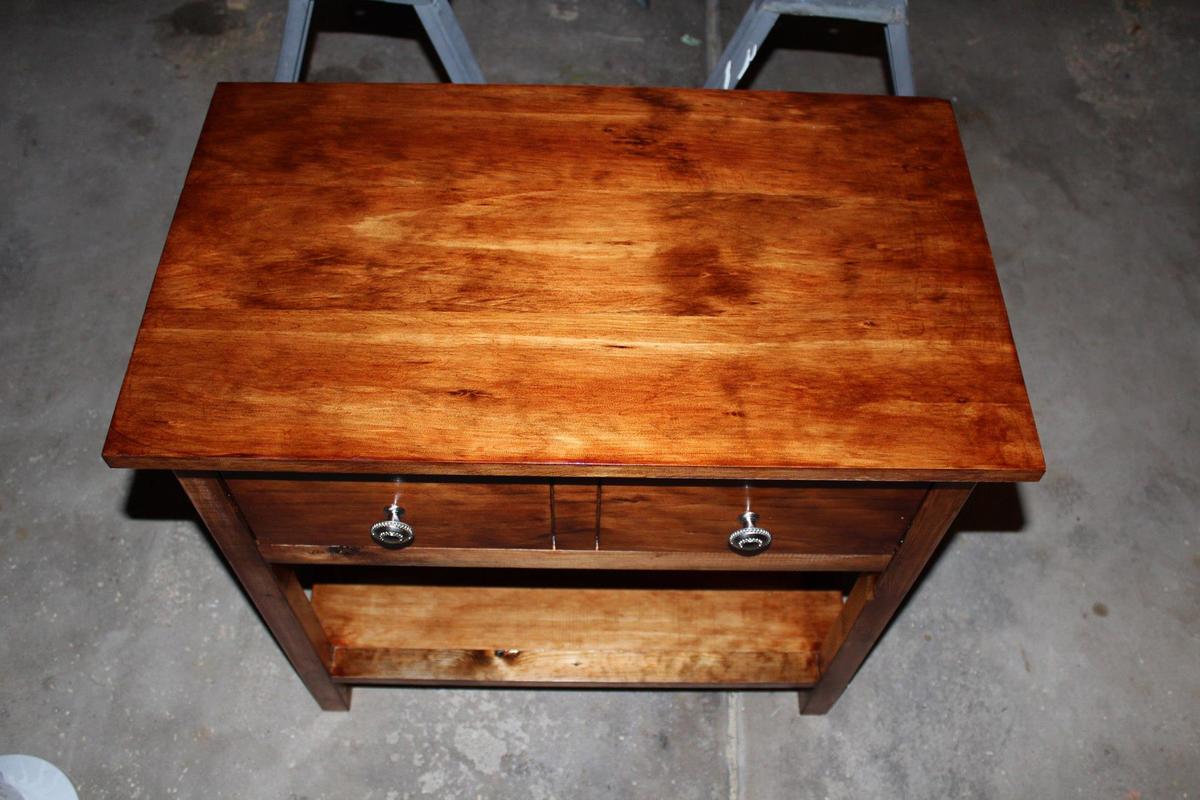
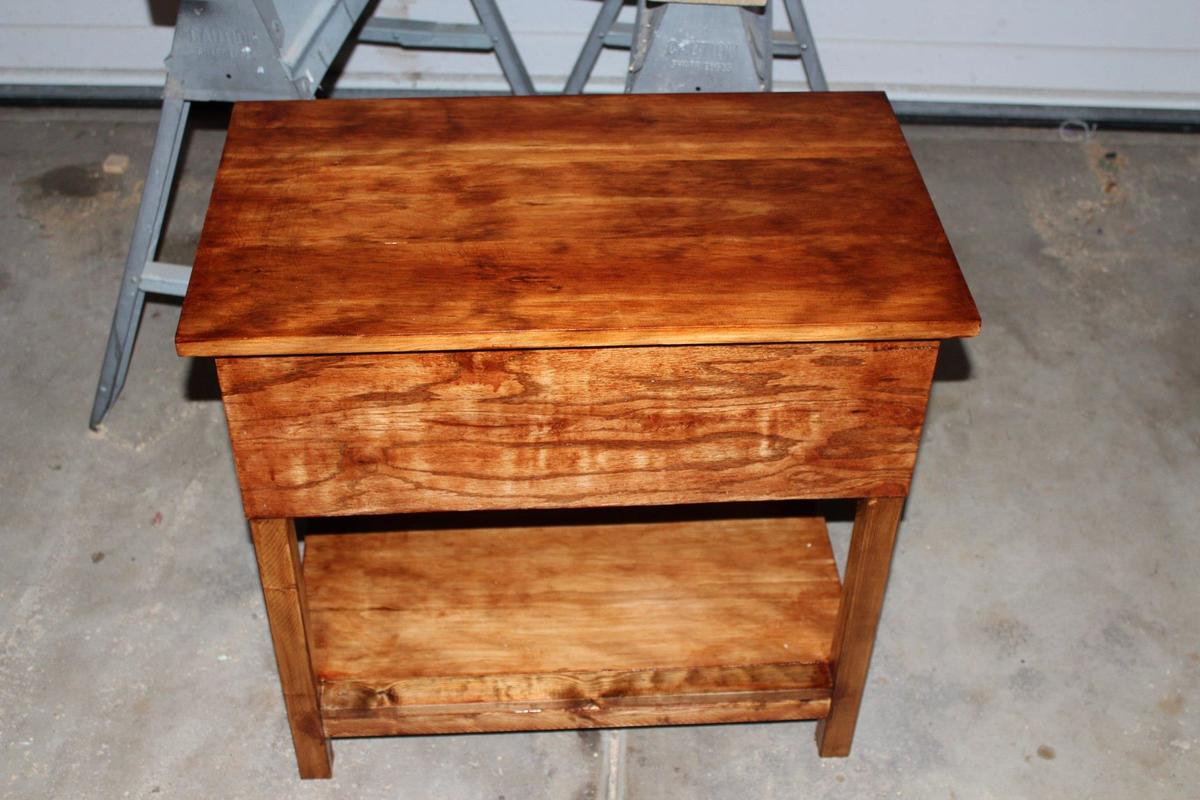
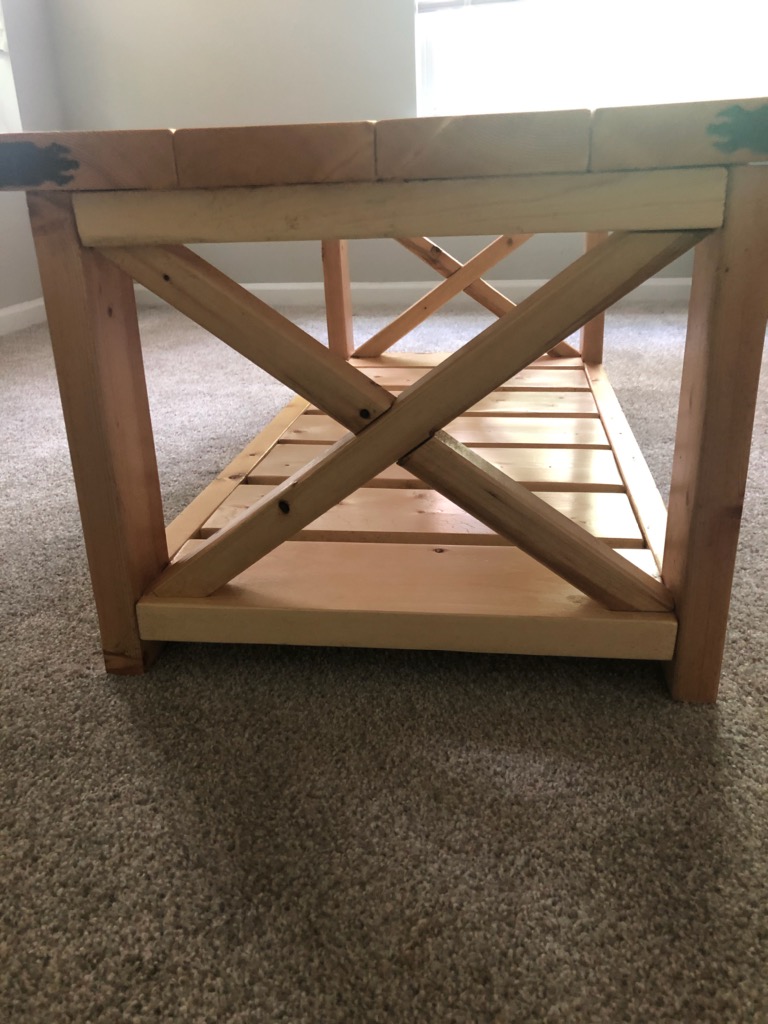
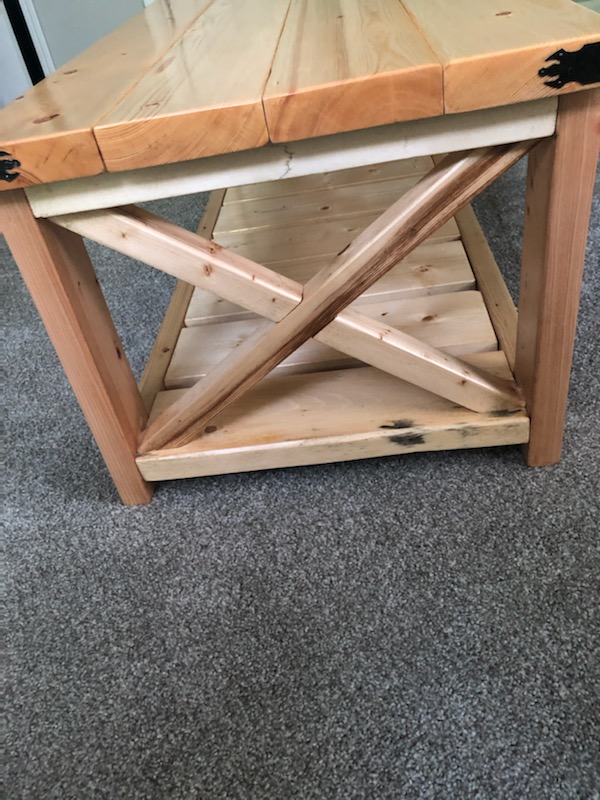
Farmhouse Coffee Table

Submitted by Johno1826 on Sat, 05/23/2020 - 11:34

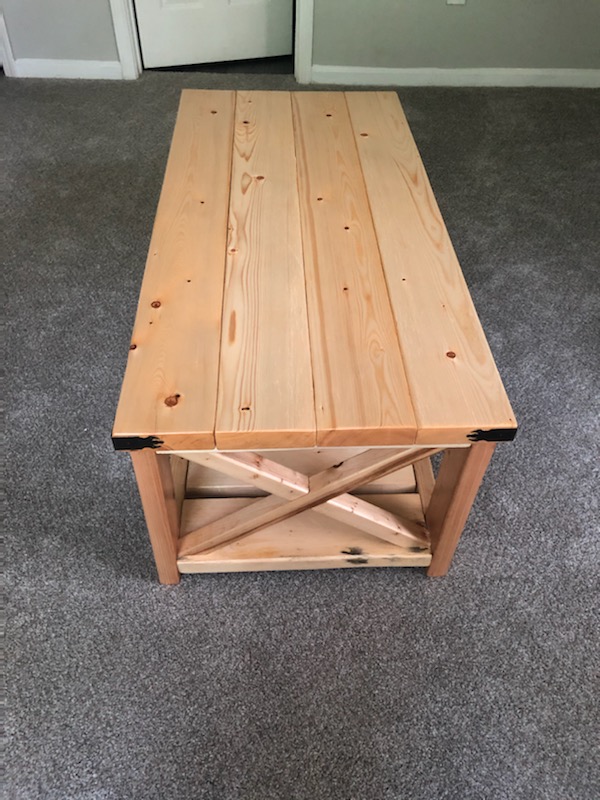
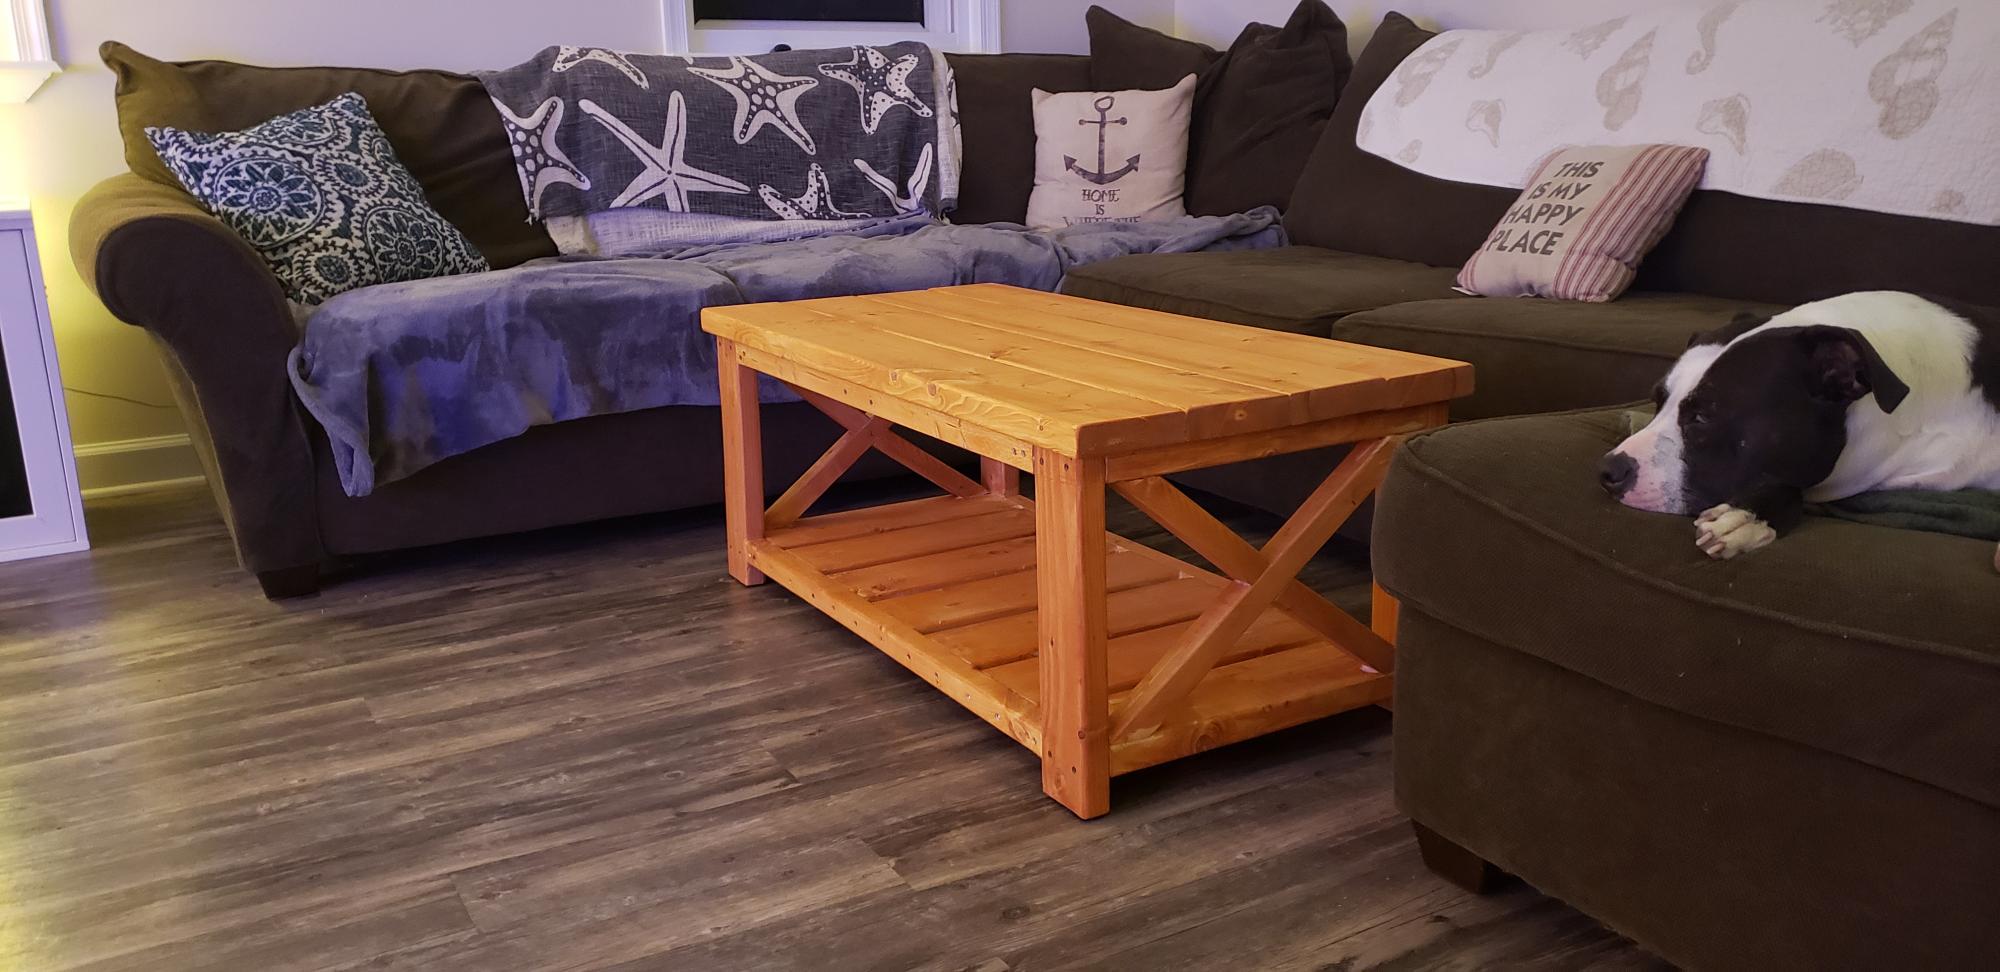
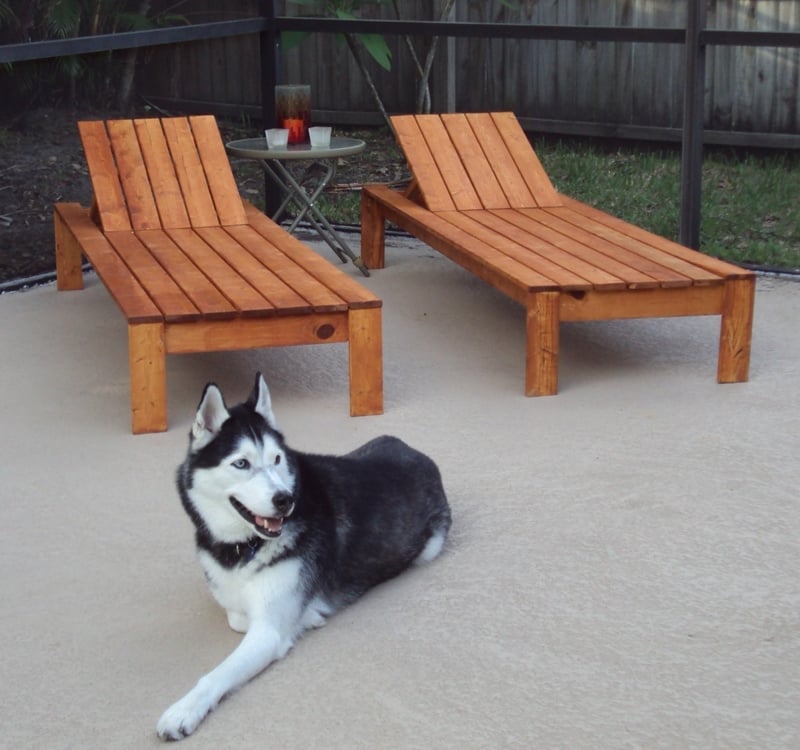
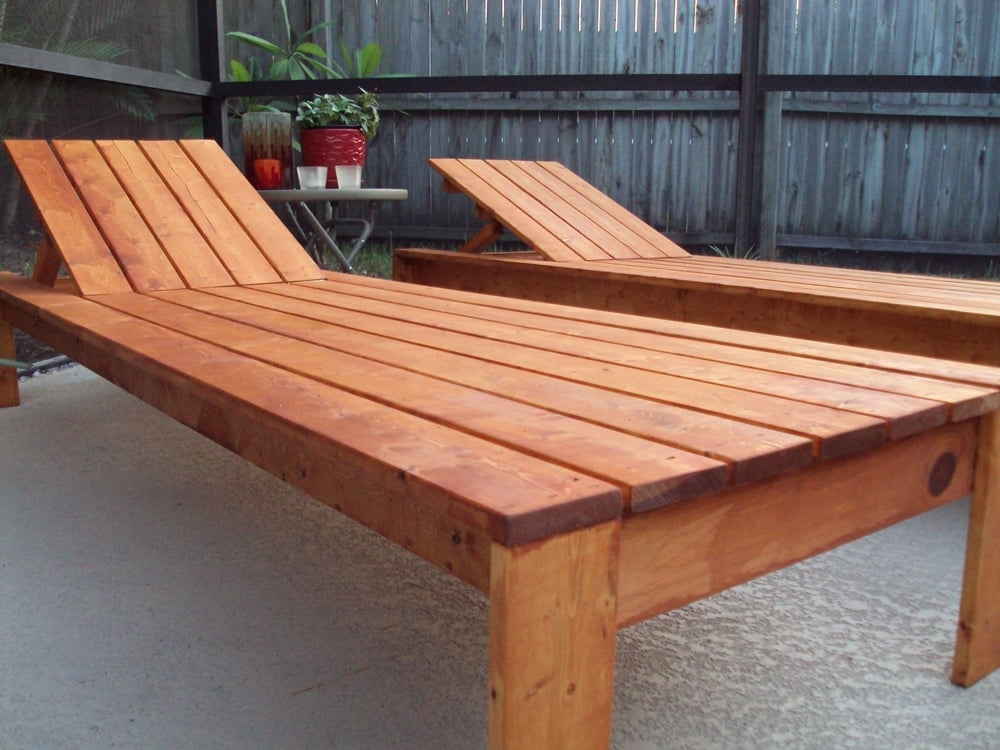
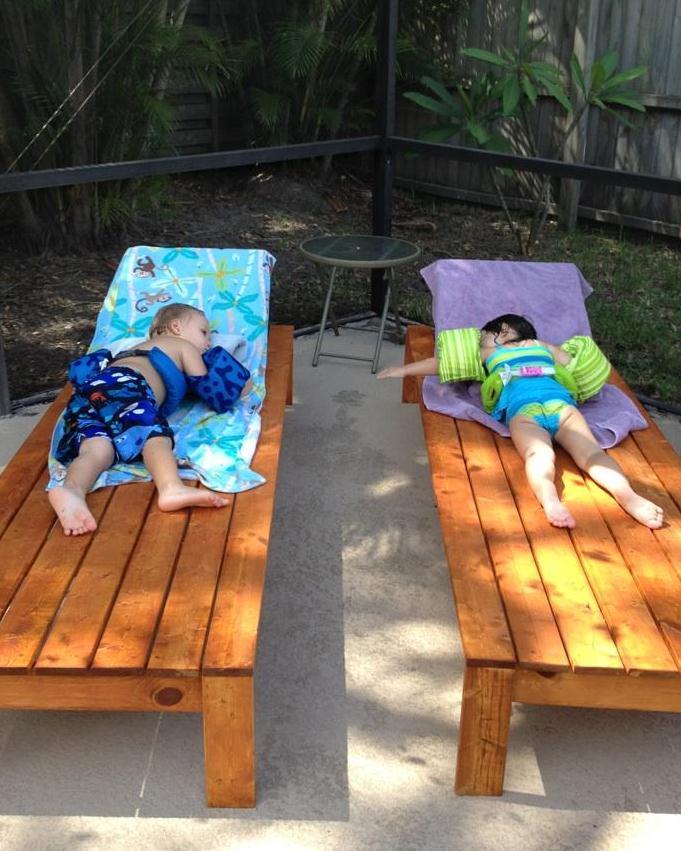
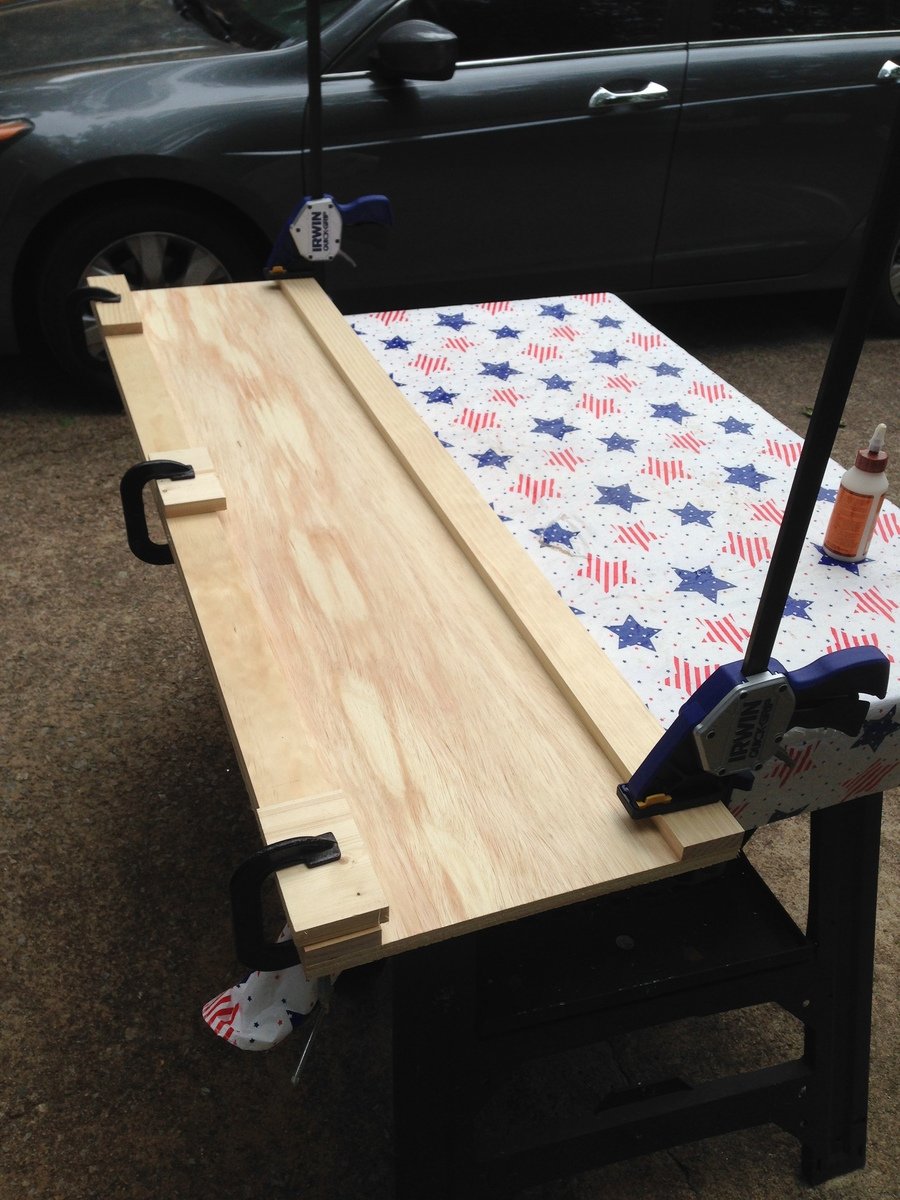
Great plan. I could not get the X right (terrible carpenter). A neighbor suggested I trim where they join for a flush fit. One turned out great, the other I cut a little too much. This was for my Daughter, she liked the natural color, I finished with Tung Oil so it took a while for the finish to dry completely.

Estimated Cost
$60
Estimated Time Investment
Day Project (6-9 Hours)
Finish Used
Tung Oil
Recommended Skill Level
Beginner

Office Corner Desk with Hutch!

Being my first DIY project - it was a pretty big task not using a saw before or doing any building. Following the plans was easy, just took a lot of time to learn how to do things for the first time.

I modified her plans to have 3 drawers on the one side to match the pb design.

After finishing the table, I knew I needed to create the hutch that is sold along with this desk. After some rough paperwork estimates I went ahead and built the hutch.

Looks pretty amazing and similar to the real deal.

Check out my blog for further pics and details of paint, primer and drawer slides I used. Leave a comment if you'd like me to work on getting a hutch plan organized.

With doing the hutch without real plans, this project took me a while to get those cuts organized and completed.

Estimated Time Investment
Week Long Project (20 Hours or More)
Finish Used
Benjamin Moore Antique White Paint
Recommended Skill Level
Intermediate

Comments

onehandymommy

Sat, 07/21/2012 - 09:56

I would love to see the plans you used to make the hutch! Also, I can't seem to find your website. The site on the picture isn't working. Wonderful corner desk, is it very heavy?

webdevandasaw

Sat, 07/21/2012 - 15:08

I will work on getting some hutch plans up.. I did it sort of on the fly from a rough estimate on paper.. I will post up on my website and a link here when I do.. might take a bit of time to get it up and learn how to draw it up all nicely on the computer. Not sure why the website won't load for you? http://www.webdevandasaw.com/ should work. Had a few people test it :S

The desk is pretty heavy and solid. I was able to bring each part up a flight of stairs myself (all three parts of the hutch are seperate) - and the desk top is seperate, as well as each drawer I took out before bringing it up the stairs.

allenml2

Mon, 08/08/2016 - 19:50

It's been a while since you built the corner desk with hutch that is posted on Ana White website, and I had a question. do you have a new blog or website where you have posted details on the paint and drawer slides you used as well as the plan for the drawers and hutch that you create? Thanks.

Maureen

Adirondack Chairs

Submitted by Beoncia on Mon, 05/05/2014 - 06:15

"Beginner" doesn't begin to describe me! I didn't know the difference between a skill saw & a miter saw before starting this project, but thankfully, my husband is a Mechanical Engineer & knows his way around a few tools. We're very happy with the end result, but they're not perfect. We learned a lot & I'm confident that the next project will be better. A couple of things I learned along the way--no need to buy exactly double the wood for two chairs. Probably obvious for those that are experienced, but I bought exactly double & could've saved a little $$ if I knew what I was doing. Not counting the investment of the saws & other equipment (that will now last my lifetime!), the chairs were less than $50 each for the wood, paint, screws, etc. We used the cheapest wood (whitewood, per the recommendation) available & now that I'm a bit more knowledgeable, I'll upgrade for my next project. The paint is regular Glidden Exterior, & the Home Depot reps were kind enough to mix samples of the two lighter colors so that I didn't have to buy a quart for such a small amount. Colors are Peach Crayon, True Peach, & Tropical Coral. It should be noted that samples aren't available in exterior, but the chairs will be used mostly on a screened porch--out of the direct sun and rain--so I didn't worry too much about it.

Built from Plan(s)
Estimated Cost
<$50 each
Estimated Time Investment
Weekend Project (10-20 Hours)
Finish Used
Glidden Exterior
Recommended Skill Level
Beginner

Comments

Seasonal And Holiday

Stackable Kids' Chairs

Submitted by Anonymous (not verified) on Thu, 08/04/2016 - 16:30

Super proud of these! Made them on my own while 7 months pregnant! Wonderful plan! Thank you!!!  

Estimated Time Investment
Weekend Project (10-20 Hours)
Recommended Skill Level
Beginner

Hall entry bench

Submitted by Anonymous (not verified) on Sun, 05/24/2020 - 21:28

First piece of furniture using your plans for inspiration. Keep those plans coming I am learning as I go along.

Built from Plan(s)
Estimated Cost
40
Estimated Time Investment
Day Project (6-9 Hours)
Finish Used
Mahogany to go along with our floors. It was a stain and poly in one. Did 2 coats.
Recommended Skill Level
Beginner

Our New Sandbox

I followed lady goat's instructions but made the seat back taller and the sandbox wider (4'x5'). I have more details here:

http://www.statelykitsch.com/diy-sandbox-with-lid-benches/

Built from Plan(s)
Estimated Time Investment
Day Project (6-9 Hours)
Finish Used
Paint and Stain
Recommended Skill Level
Beginner

Comments

In reply to by Lady Goats

Heidi Sentivan

Thu, 07/19/2012 - 05:02

The kids do really like it but it has been so hot it hasn't gotten much use yet. I am hoping once the weather cools off they will be out there more. The one other addition that I haven't gotten around to is adding a pvc pipe on the inside so that the beach umbrella will stay in place better.

Camp loft bed with stairs

Submitted by themombot on Fri, 05/09/2014 - 13:27

I had my dad and father-in-law come help with this project. We are all pretty much beginners, but have done some building in the past.

Because I'm not experienced, I didn't find the plans to be in depth enough. Some parts weren't not fully explained and took some guesswork.

I also didn't know what a Kreg Jig was or how expensive it was! This upped my cost by $100. It was well worth buying however, and will be used again in future projects.

We added a railing to the platform since the bed is up against a window with a screen. If the kids were to fall off the platform and hit the screen, they could fall 2 stories. The railing is just screwed into the side of the platform and can be removed at any time.

Overall, I love how it turned out and so do my kids! It fits the toddler-sized DIY bed that my husband and I built right underneath so my 4 year old and 2 year old can now share a room.

More details and pictures are on my blog: http://themombot.com/crafting/2014/05/09/details-our-diy-bunk-bed

Estimated Cost
$150-$250
Estimated Time Investment
Week Long Project (20 Hours or More)
Finish Used
Minwax wood stain in Jacobean, with pre-stain conditioner and 2 coats of polyurethane
Recommended Skill Level
Intermediate

rustic X End table

Submitted by Anonymous (not verified) on Wed, 08/10/2016 - 05:28

Very straightforward build. Lowes didn't have many 2x4's that didn't have some sort of warp or bend in them so the bottom shelf had to be trimmed slightly to fit. 


There is a sweet spot with the vinegar/steel wool that takes some mixing and testing to find. To strong a solution and the wood turns nice and brown to weak and it's a hardly noticeable light grey. My advice is get a strong 3-4 day old solution and mix 50/50 with vinegar and test on scrap, wait and hour or so to dry and adjust the mix from there until you love it. 


I finished with minwax polishing wax.

Built from Plan(s)
Estimated Cost
$50
Estimated Time Investment
Weekend Project (10-20 Hours)
Recommended Skill Level
Beginner

Rustic coffee table (simple version)

Corner accents are on order, but I'm happy with the thing as is. Went with colonial maple instead of golden oak and wow the thing pops. Put together was pretty easy for a beginner. I do recommend predrilling some of the edge/angle holes - the pressure treated wood can be unforgiving.

Great plan! Great table! Thanks!!

Lumber was $37. Screwes, glue, stain, etc cost extra, but those add up in your garage overtime - so, sunk costs. All in all, I spent about $60 and finished the project in less than 4 hours.

Estimated Cost
37
Estimated Time Investment
Afternoon Project (3-6 Hours)
Finish Used
https://www.homedepot.com/p/Varathane-1-qt-Colonial-Maple-Premium-Fast-Dry-Interior-Wood-Stain-266261/203332270
Recommended Skill Level
Beginner

Perfect Lounge Chairs

Submitted by BJ D on Fri, 07/20/2012 - 08:24

This was a very straightforward and easy build. As soon as they were compled, I wanted a dining table and chairs to coordinate. These chairs were intended to be used without cushins (is there anything better than laying out on a warm lounge chair when stepping out of the pool?) so I recessed the hinge completely below the deck. They were cut adn assembled in two evenings after the little one went to sleep. As you can see, my daughter and her friend approve.

Estimated Cost
$50
Estimated Time Investment
Day Project (6-9 Hours)
Finish Used
Deck sealant.
Recommended Skill Level
Beginner

Comments

BJ D

Fri, 08/03/2012 - 06:04

I ended up adding some additional support under the outsides of the corners. I glued and nailed a small block to the front and back and pocket screwed it to the inside boards for additional strength.

Seasonal And Holiday

Mom's Day side table

Submitted by CSaintD on Sun, 05/11/2014 - 08:52

I made this for my Mom for Mother's Day. She has been wanting a little table to put next to her recliner (where she knits, reads and watches TV). For the top and drawer, I used Douglas Fir from Lowes. The rest is whitewood and redwood (legs). Overall the wood cost me about $50. I painted the body with high-gloss white paint and the stain on the wood is a mixture of min-wax Golden Pecan and English Chestnut. The finishing took the longest, but the build went very quickly.
I did notice that the cut list is a little off. You need 4 of the 1x2 pieces for the sides, not just two.

I may put a layer of varnish on it, but as of now it is not varnished.

Built from Plan(s)
Estimated Cost
$50
Estimated Time Investment
Weekend Project (10-20 Hours)
Finish Used
White high-gloss paint on legs and body. Golden pecan stain overlapped with English Chestnut stain.
Recommended Skill Level
Beginner

Go Devils!!!

Submitted by Anonymous (not verified) on Sat, 08/13/2016 - 13:41

Made a set in Kansas, moved em to Texas with us and couldn't move them to Kentucky, so I had to build another set! I know, such a shame right! Lol. These ones turned out better than the first! The first set was just stained, I got a little more crafty with these!!

Recommended Skill Level
Beginner

Doll Adirondack Chair

Fun project!

Built from Plan(s)
Estimated Time Investment
An Hour or Two (0-2 Hours)
Finish Used
Paint and Cricut Vinyl
Recommended Skill Level
Beginner

Comments

Stuffed animal holder

I had a friend ask me to build this for her daughter. The bars are bungie cord that you can order by the roll. I made 3 frames the same size then put 2x2's on the inside corners and counter sunk the screws the stapled the bungie cord at the top and the bottom. I would highly recommend securing this to a stud in the wall incase a little one tried to climb on it.

Estimated Time Investment
An Hour or Two (0-2 Hours)
Recommended Skill Level
Beginner

Farmhouse Night Stand

Submitted by searcyb on Tue, 07/24/2012 - 20:28

My Wife asked me to look into a night stand for her. I am so so so thankful that I was able to come across Ana's site. I showed the site to her and she asked me to build this night stand as opposed to going out and buying her some expensive poorly built nightstand. Thank you Ana for this wonderful site and the inspiration that some of us need to "get started."

One thing that I didn't think about when I started this project:
The cut list is a suggestion of what you will need to cut. I only ran into one major issue and that was with the inset bottom of my pull out drawer. I cut my drawer sides to the dimensions on the cut list (not paying attention to the note from Ana) and had to adjust my cuts for the drawer. I ended up ripping down the remainder of the 1x12 and paired it with the 1x6 that I had left over. Using the Kreg Jig I now had a perfect fit for my drawer.

I would have liked to have had a darker stain (more of an espresso) and that is my fault for not buying different stains and testing them on my wood choices. As far as my wood choices I used 1x6 and 1x12 "white board" 1x2 and 2x2 precut pine and bought a scrap piece of 1/4in plywood for the backer.

The Kreg Jig made this project very easy to complete as well as my counter sink drill bit. Although not impossible to complete without these two tools it is remarkable easier to complete.

Built from Plan(s)
Estimated Cost
125
Estimated Time Investment
Weekend Project (10-20 Hours)
Finish Used
Minwax Bombay Mahogany and Polyurethane
Recommended Skill Level
Beginner

DIY Herringbone Cassidy Queen Bed

Submitted by mrcleland on Mon, 05/19/2014 - 06:46

I cannot be happier with the final look of my new bed. I decided to take on this task with intentions to make small changes in the plans based on my needs and preferences. The process was easy and original plans were definitely easy to follow. I had the head or foot boards completed in about 3 hours (without the herringbone pattern). I saw where someone else decided to add a herringbone design and I liked it so I did the same. It was a little tedious but overall not hard at all. Building the frame was easy as well and didn't take long at all. I started running into problems when transporting the footboard. I dropped it from about 2 ft and the leg post snapped off. I thought the pocket holes were not that strong from the beginning. This was not a problem though because I just followed the special note in the instructions and added a 2x2 to the back of each side and attached them with 3 inch wood screws. I did this for the head and foot board and it made me feel more comfortable with the stability overall. I was going for longevity for the bed so I wanted to make it easier to disassemble and move around (screwing the frame in would wear out with a few moves). I went to a woodworking shop and picked up some 5/8 inch insert nuts and bolts to match. I added one to each corner and tightened accordingly. This was by far the biggest headache for me. If I could do it over again there are a few things I would change.
1. I would have sanded my cedar post before attaching them
2. I would have attached my cedar post with the 2x2 and not used pocket holes (I l like pocket holes but not for such a heavy load)
3. I would have drilled and placed my insert nuts on the post before attaching anything to them (this would have helped to ensure a level hole).
My wife and I love the natural look of the wood but it doesn't really go well with the modern contemporary look in our home so we are having a hard time deciding on paint or stain. We are leaning toward stain because we love the grains throughout the bed.

Built from Plan(s)
Estimated Cost
200.00
Estimated Time Investment
Weekend Project (10-20 Hours)
Finish Used
To be determined
Recommended Skill Level
Beginner

Comments

spiceylg

Mon, 05/19/2014 - 08:15

I absolutely love how this came out. What did you use for the herringbone part, are those 1x3s?

mrcleland

Mon, 05/19/2014 - 11:08

I used the pine 1x3's from my local home improvement store. They were $1.39 each for a 1x3x8. I used about 15 total. I decide not to go with the select wood for the herringbone and glad I didn't. I feel the less perfect, rounded edges add character.

mrcleland

Thu, 05/22/2014 - 10:35

I like it so much, I am planning to add a box spring to mine. I really like how high yours sits. I also like the color of yours. We are experimenting with stains now and I will post new pics once it has been done. Don't be surprised if it looks very close to yours :). I used cedar for my post so I think it will be hard to match the colors.

jeannajustfine

Thu, 05/22/2014 - 19:00

I love that you like it so much. Between this and getting picked for Anas brag post of the day on Facebook yesterday, I was walking in the clouds...lol

I used Minwax 1 coat of espresso and 1 coat of jacobean for all the larger pieces. I used Cedar as well for the posts. And it does come out a little redder. Just mess with it till u get something you like. It may not match the rest of your pieces exact, but it will look great once its all together.

I also messed around with the herringbone pieces. I used the same colors of stain but did some with one coat some with 2, some for 30 secs some for as long as 15. It kept the colors along the same line, but gave some variation.

I finished with paste was

As for the mattress. I love how mine sits. Feels very regal being up so high..lol. Its such an awesome bed plan. I cant wait to see yours finished.

Thanks for making my day. That was my very first project. So very cool!

Back