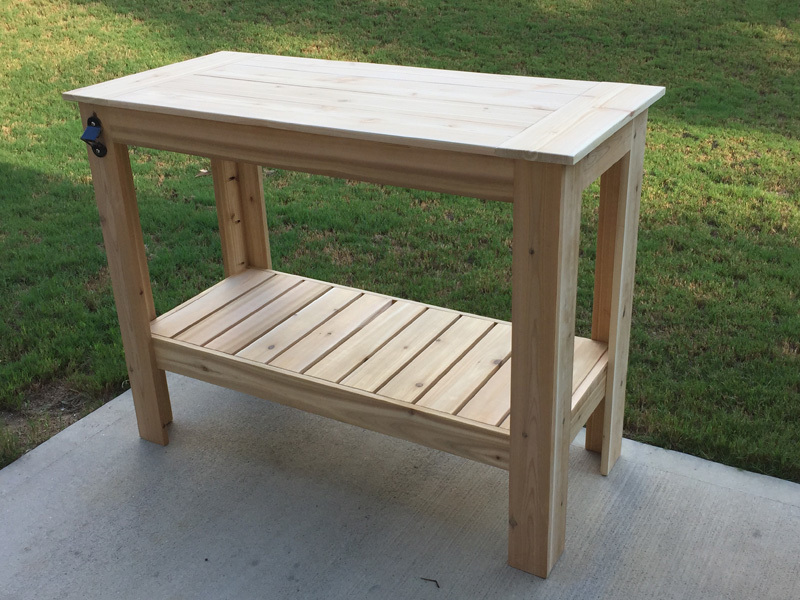
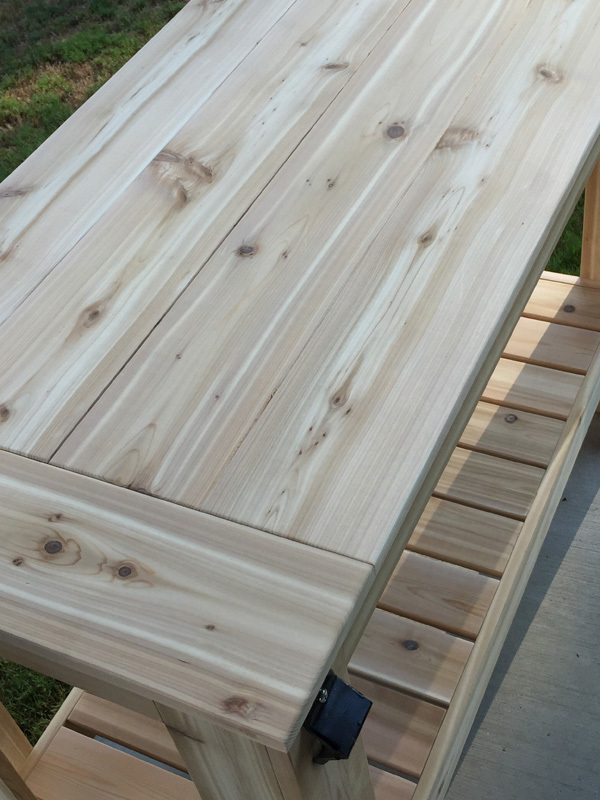
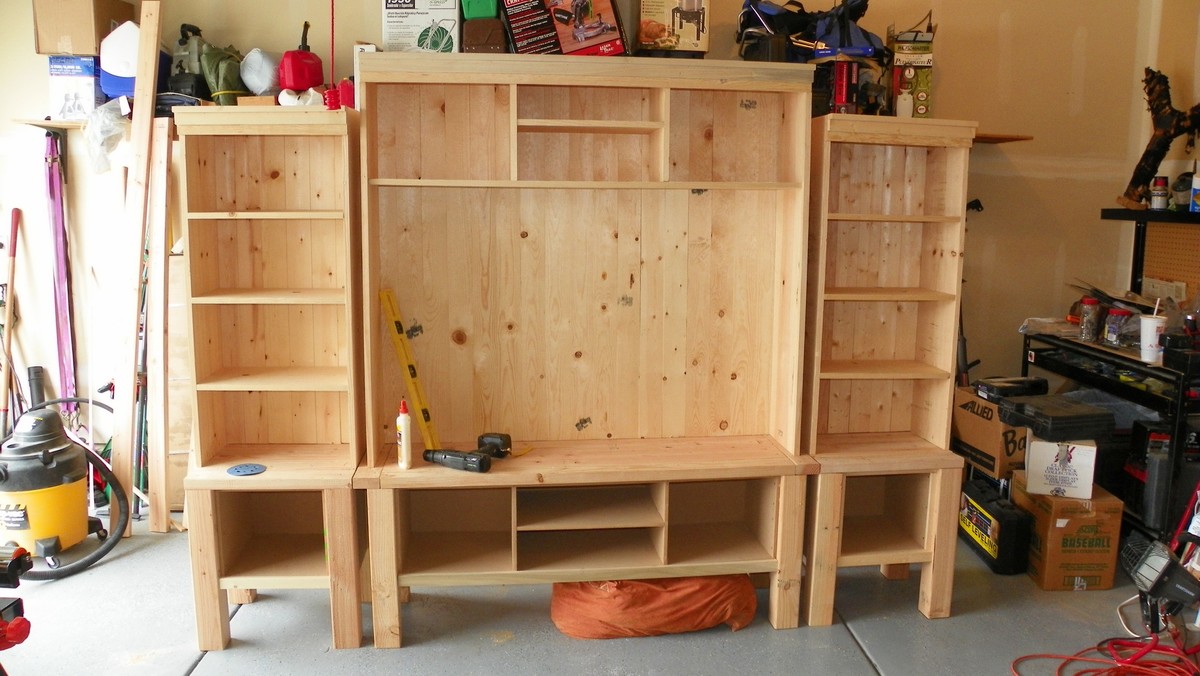
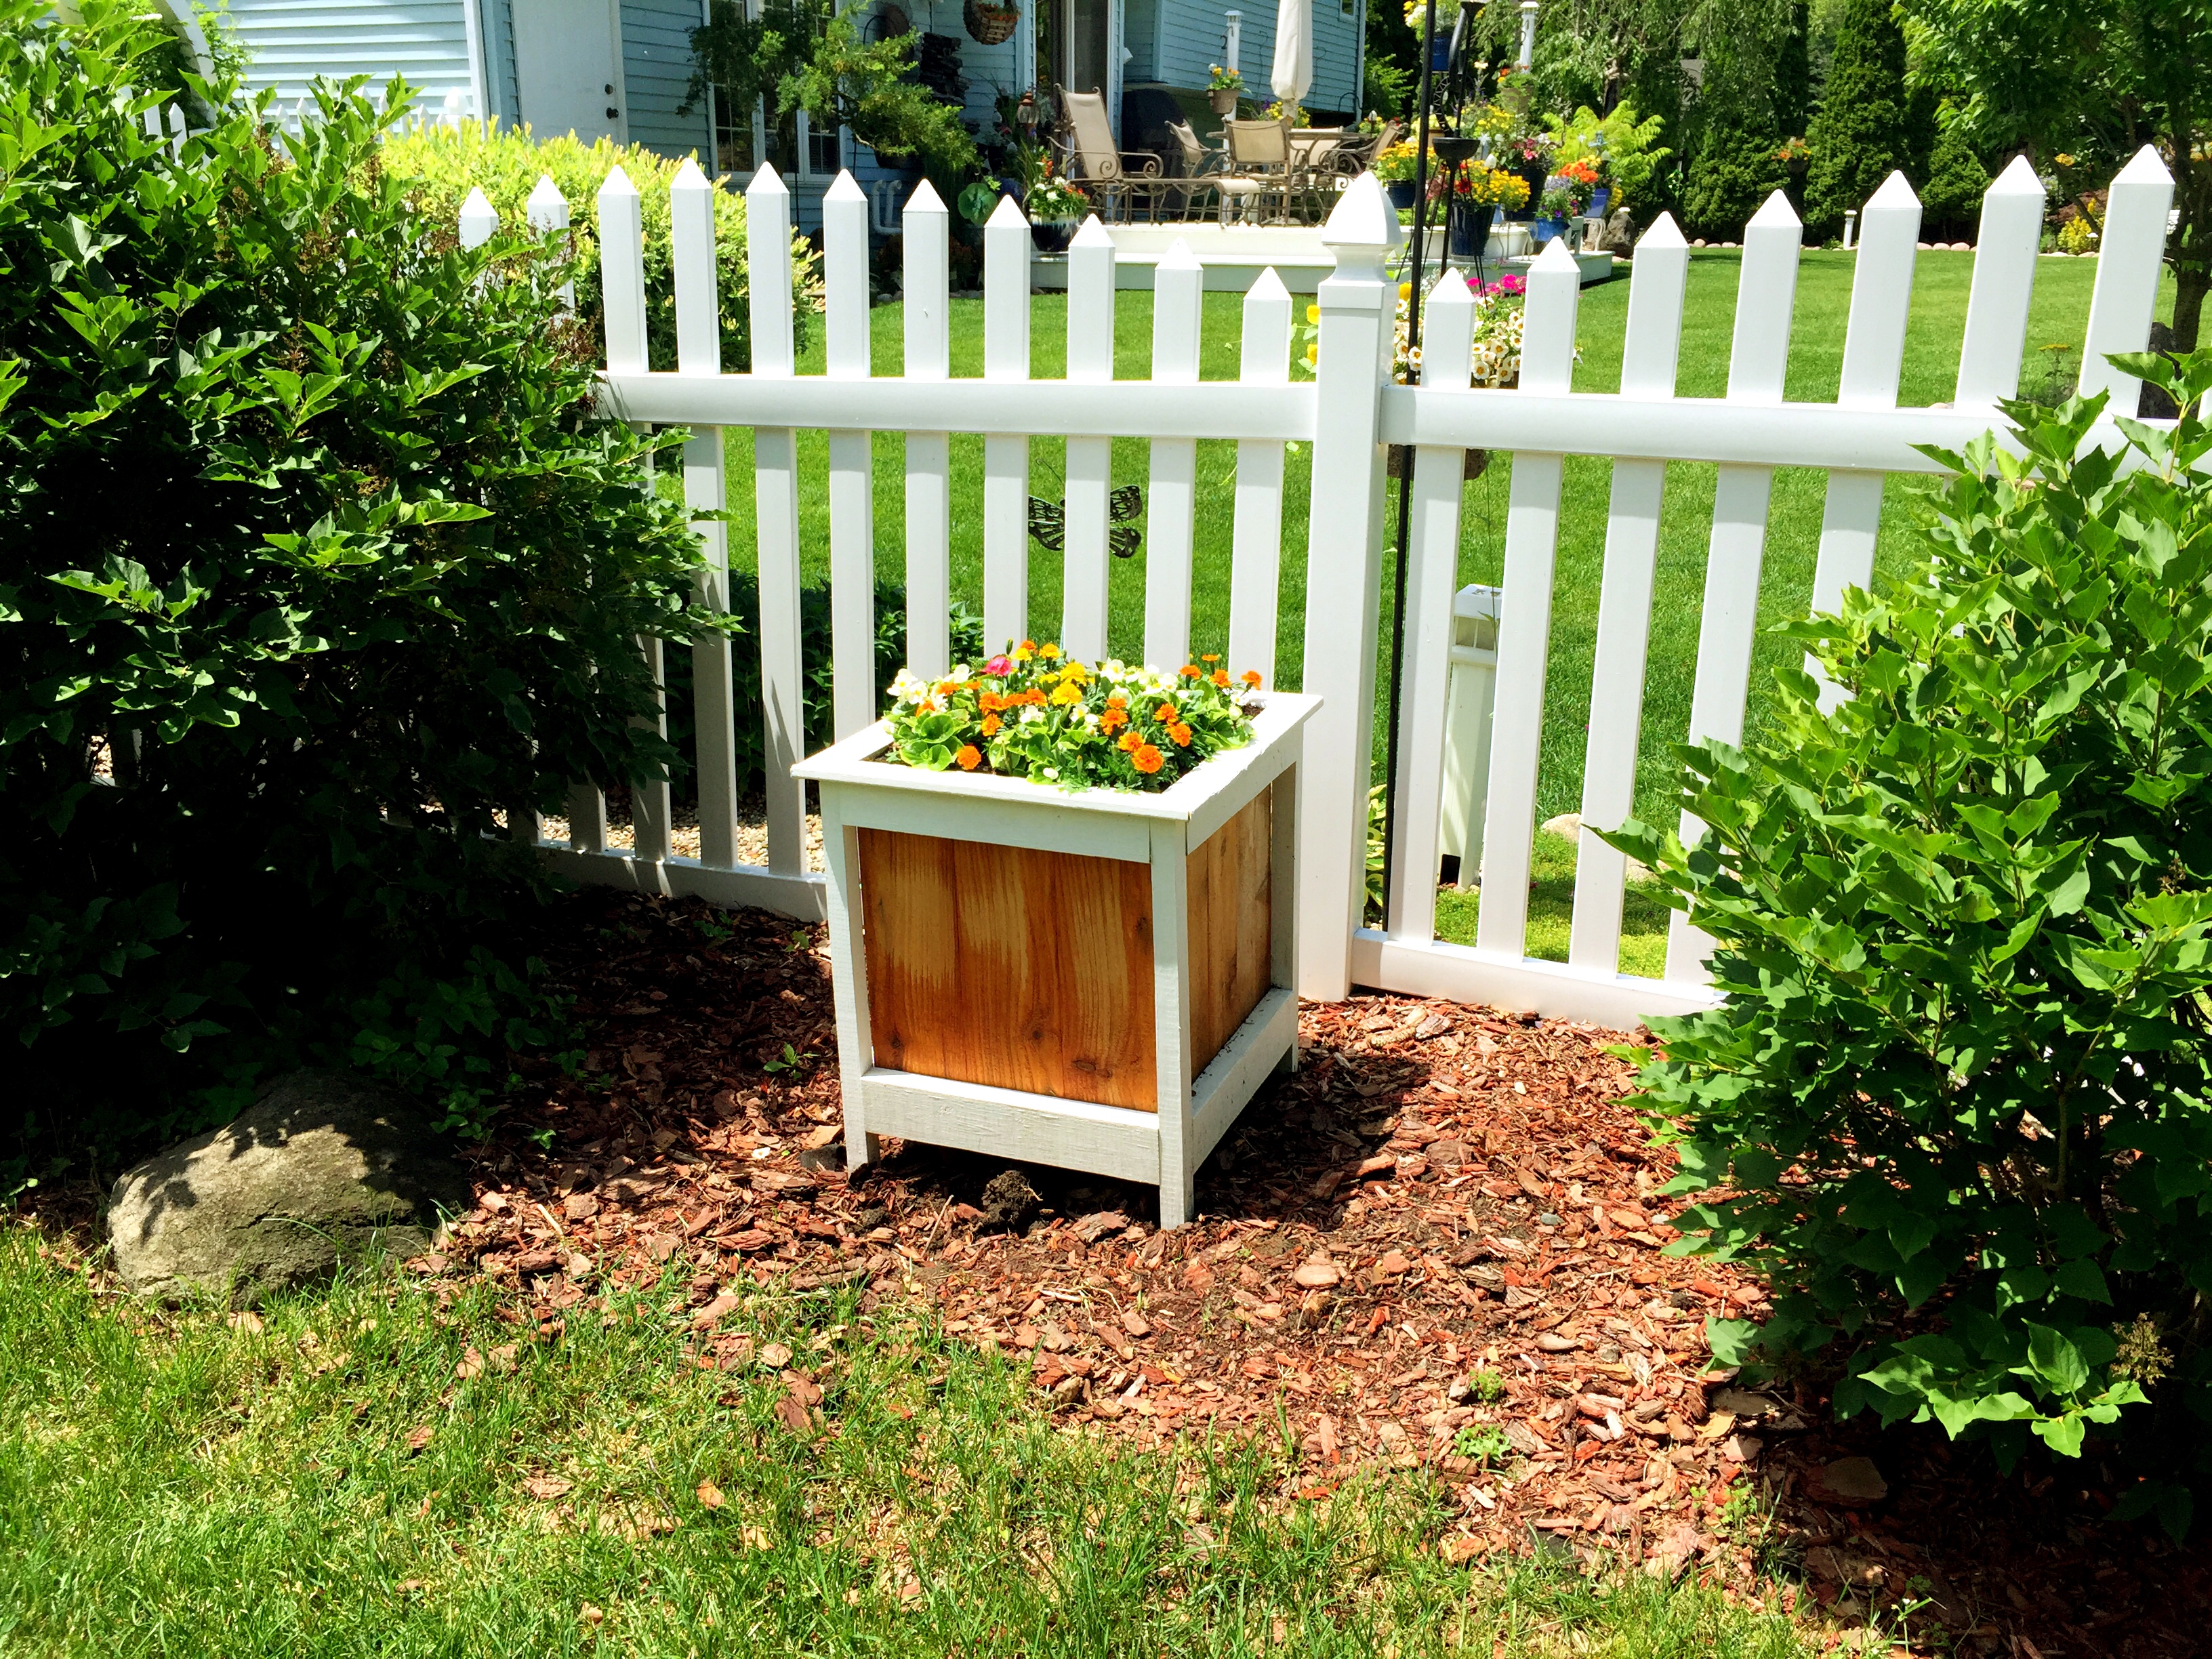
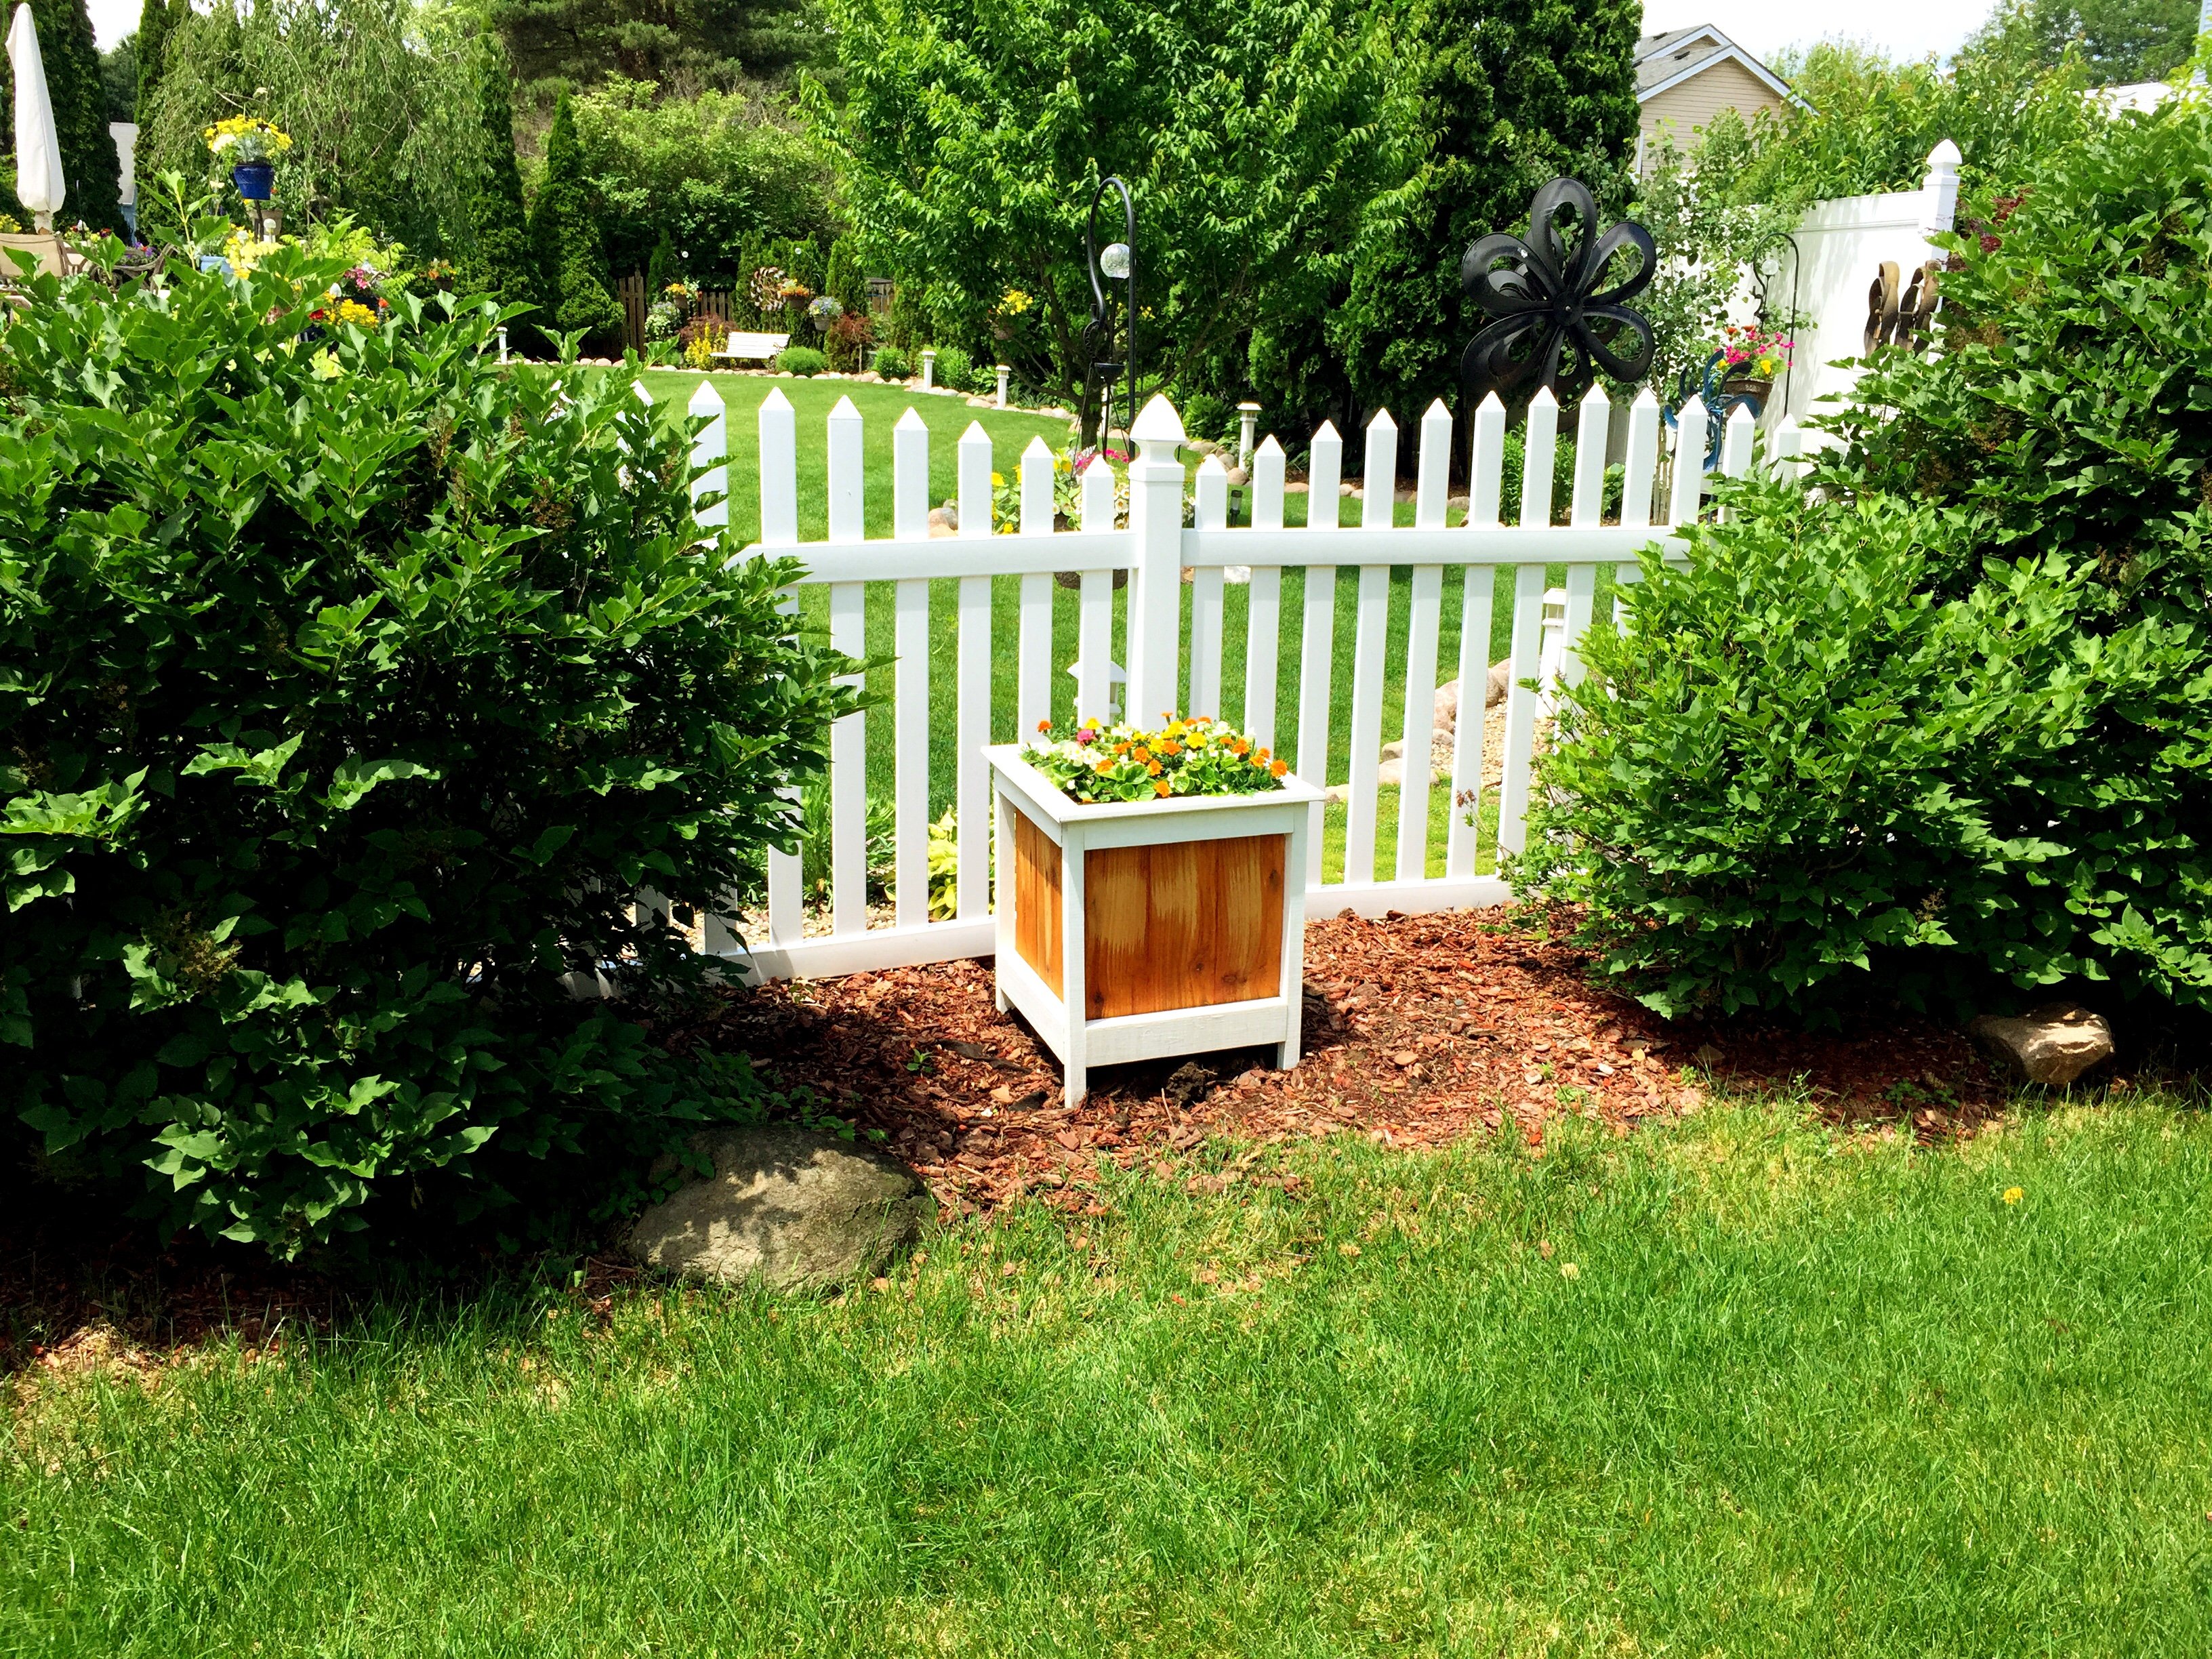
Cedar Planter
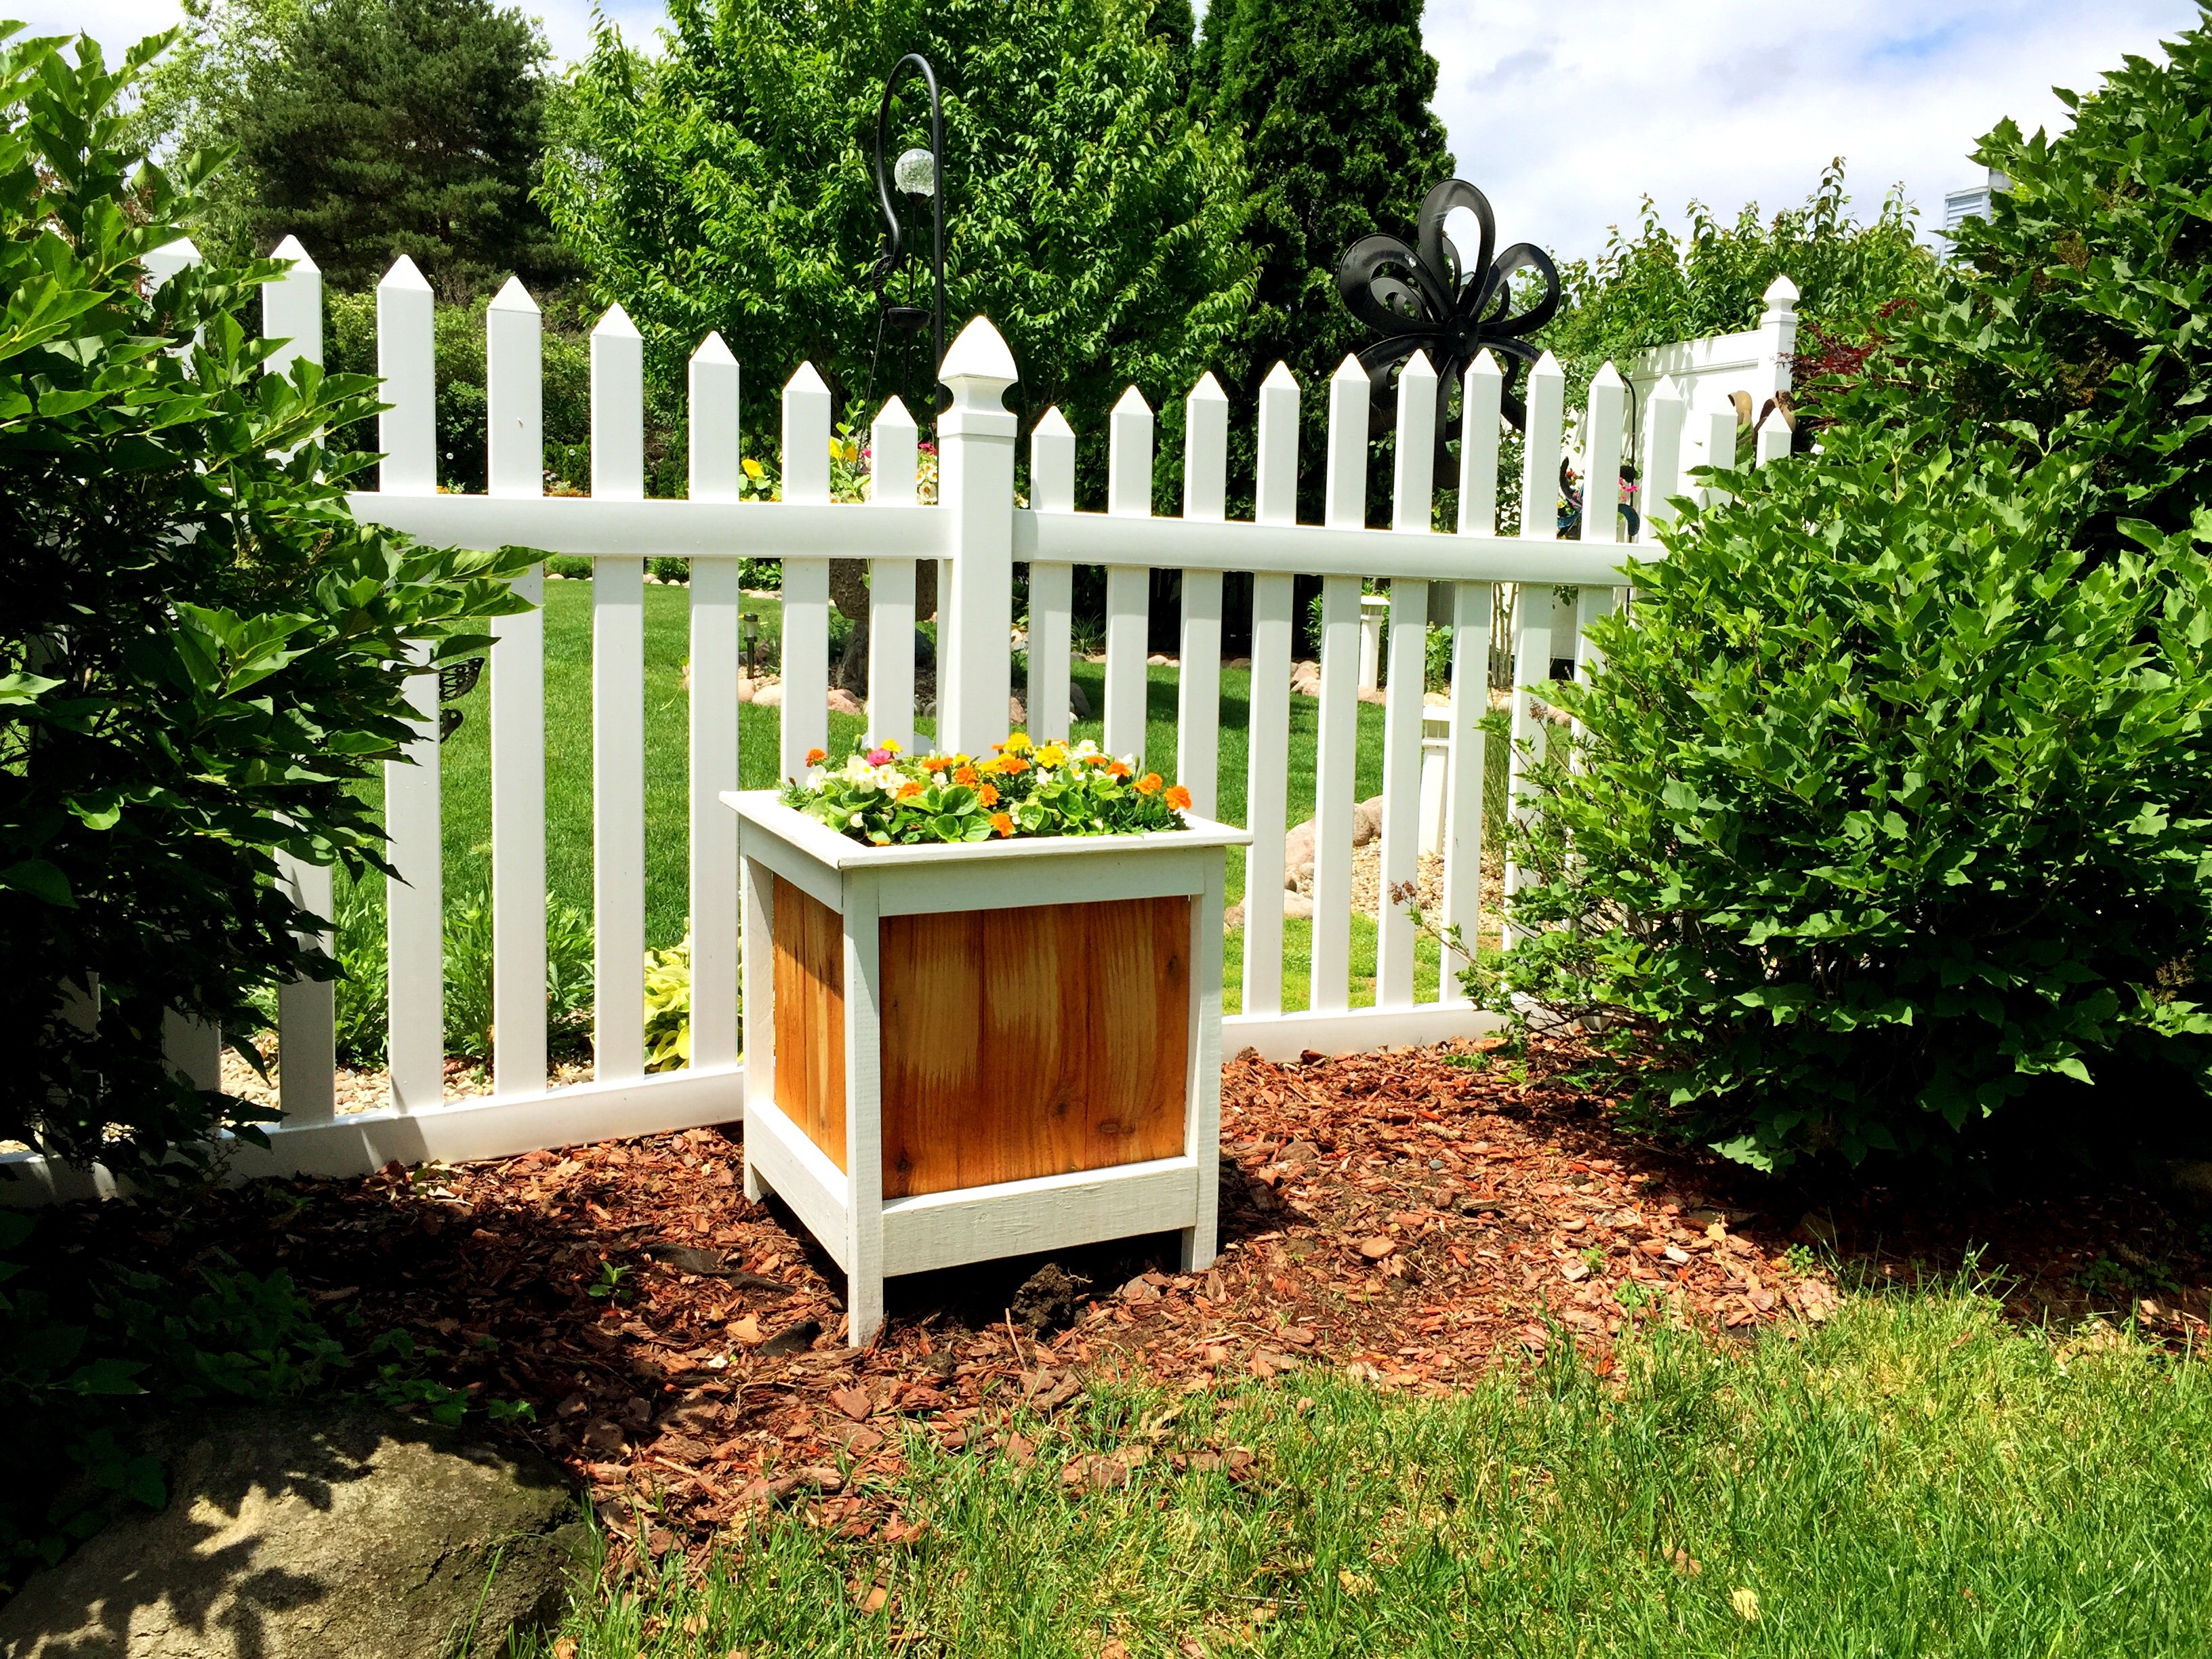
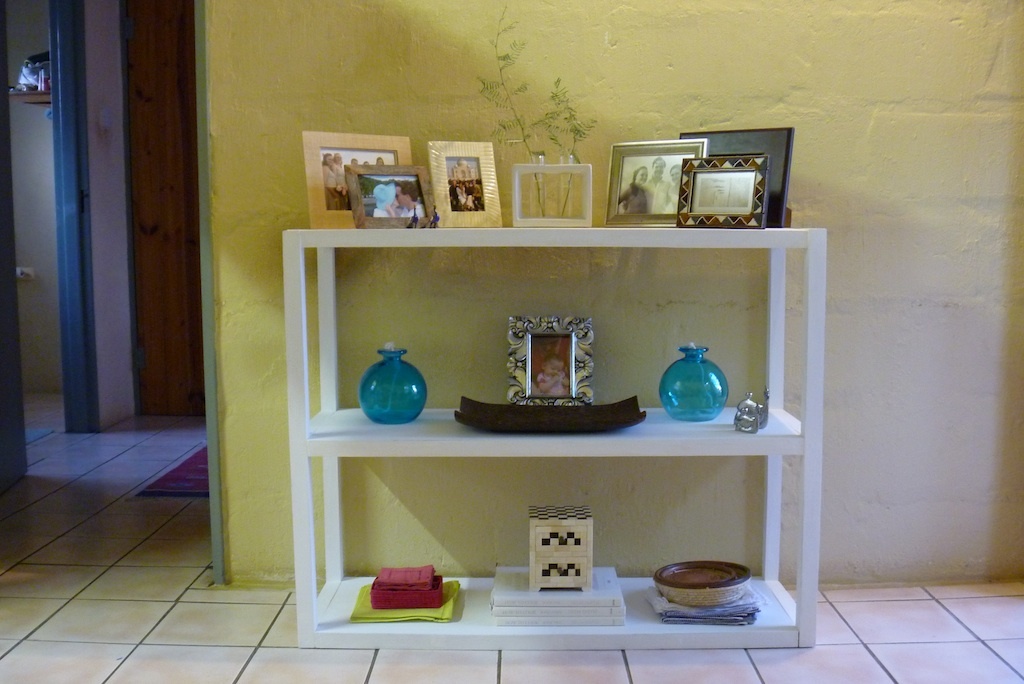
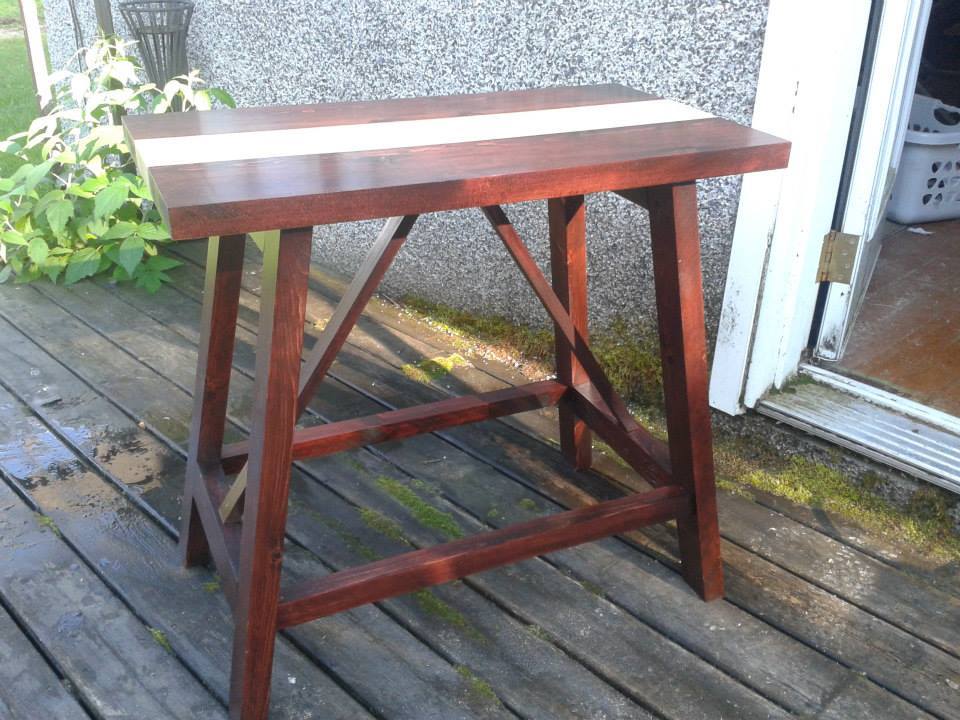
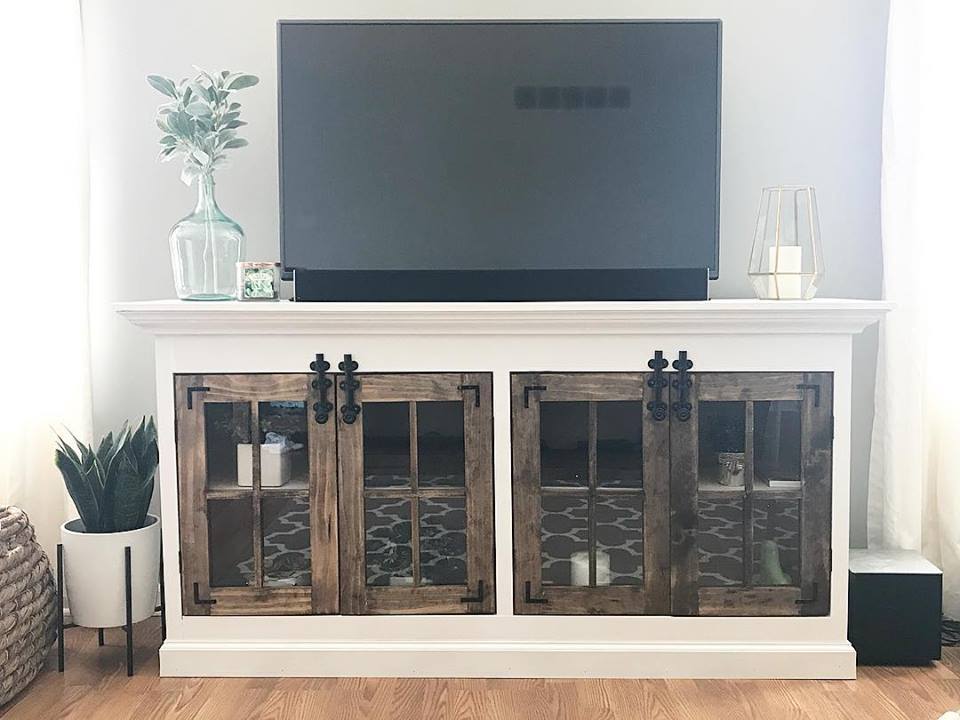
When one of our bushes died, we replaced it with this planter. It compliments our yard and the neighbor's fence nicely.
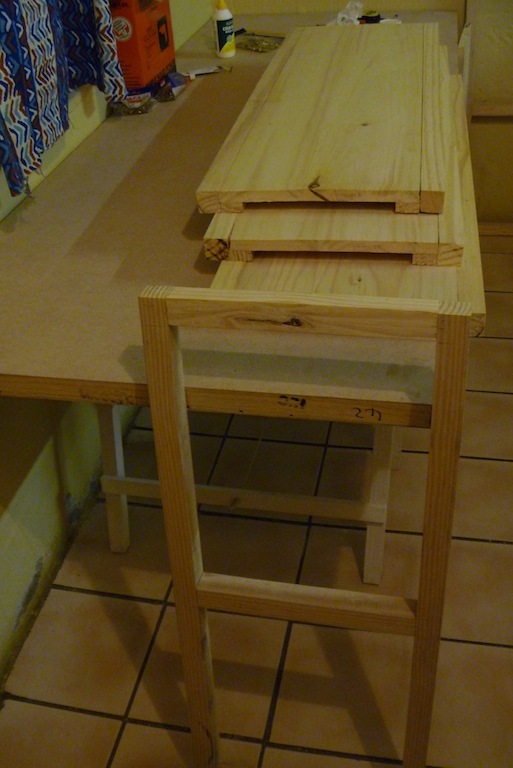
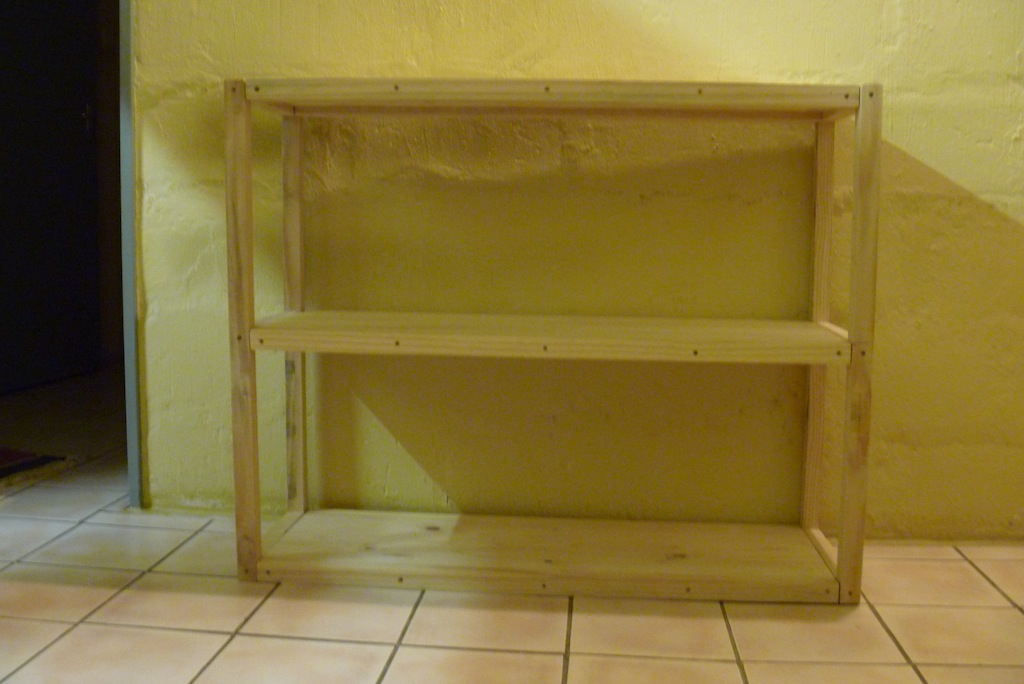
Here's a round top side table I built. The top is made from reclaimed red oak barn wood, sourced from a barn right here in Charlotte, NC. The base is made from standard 2x6s and trim.
More pictures and information is available on my site at http://famousartisan.com/reclaimed-red-oak-barn-wood-side-table/
This is our first project! My Husband did most of the work but was a team effort in places. We wanted shelves that we could easily make with the very limited selection of cuts available in Botswana (really only construction lumber around). We modified the width of the shelves to what was available, increased the height a bit so more of a console and shortened it to get the best use of timber. I did not want it looking too modern so went with white and distressed edges to keep it comfortable. Construction did not take very long but finishing took a while due to 3 coats needed.
We adapted these plans to build our tree house, I hope it's not too much of a stretch for brag posts! Every kid seems to have two wishes: a fort or tree house and a secret passage way. Or is it just my kids? Turns out we live in the desert and trees are hard to come by. Our solution? Build a tree house in the house. Why not!? Our magic tree house is well used and well loved. This is one of those projects that simmered and in my mind trying to think of the perfect way to build the thing. The stuff our parents built and played in was a hodge podge of left over wood and their own creations, crooked construction and messy paint. So, I set the perfect aside and dove in. The only things our tree house really needs to be is safe and fun. Most families try to find indoor activities for the winter, but in the desert it is so blazing hot we need indoor retreats in the summer. This tree house is the solution a gagillion times over! Thank you Ana!
A modified version of the Truss End Table. I used select pine instead of construction grade 2x4s. Also, I laminated the table top together seamlessly instead of using 5 separate boards.
The legs were also increased to 28.5" instead of 27".
It started out as 6 pallets and I wrapped it in plywood but couldn't think of a way to make a back/armrests. Then I stumbled across Ana's plan for the outdoor sectional, and I ended up with a hybrid of sorts!
Great storage island project!
I built the Tryde Media Console with a few modifications. I had to increase the size to of the console to accommodate the 60" T.V. that it would be housing. You will also notice that I added a shelf in the top center of the console so that I could fit more components on the top. I also modified the console plans to create new plans for building two matching bookcases, one for either side of the console, giving it the "built-in" appearance. This turned out beautifully and we couldn't be happier with the plans that we downloaded from Ana-white.com! P.S. - The Kreg jig was a must for this project. All of the boards creating the back of the console are joined using pocket screws, pre-drilled with the kreg jig. After using this inexpensive tool for about ten minutes, I couldn't believe how long I had gone on without it!
Tue, 07/05/2011 - 18:41
Very custom look - my eyes immediately went to the awesome spaces you have for the xboxes :-D
Tue, 07/19/2011 - 13:14
anyway you could post dimensions of the main console that you had adjusted to fit your TV as well as cabinets that flank it? Looks great!
I saw the plans for this on Ana White. It looked great so we decided to make one. We had just gotten a cal king mattress. We took the list of materials and cuts we needed to our local Home Depot. They cut all our wood for us. When we got home assembly was easy. Bed put together and paint on in 4 hours. We love it as do our dogs. One of our dogs is getting old so my husband made steps so she could get up on the bed. We love it!!!!
I am so in love with my new coffee table. It the perfect addition to my living room. My only regret is that I did not purchase a pair of caster wheels with brakes as my little man enjoys rolling the table around!
I took me a little over a month to complete, but you could easily knock this project out in one weekend.
Hi fellow builders!
It's Jen from The House of Wood! Today I’m sharing an easy project that takes only a single sheet of plywood to build! Its sleek design is so versatile - it'll look great in an entryway, hallway, or any other room in the house. You can get the build plans on my One Sheet Plywood Console post over at JenWoodhouse.com.
This was my first project, an introduction to saws and drills, after my pug ate a bag of chocolate that was sitting next to my bed. The plan was picked because it said "simple" and had a drawer to safely store remotes. And chocolate.
I made this wine cabinet for my daughter Alicia from a picture she sent me from one she had seen someplace
I loved the sliding doors on this project! We decided to go with J hooks instead of wheels and did three spaces for shelves instead of 4 due to the amount of space we were filling.
This was an easy plan to follow, I just wish it would have had specific instructions for the sliding doors itself. I had to go on a search for an explanation on how to achieve it.
My husband and I work on our projects a few couple hours a day, so I would say this took about 6-8 hours, the staining of course takes time to dry, so I did not include that in the assembly time line.
Fri, 12/11/2015 - 19:55
Looks great! Any chance you could share how you did the doors and j hooks? Thanks!
Built for my sister. Bolts from Home Depot. Flat corner brackets are spray painted and hinges ordered from Lowe’s.
Tue, 06/05/2018 - 14:48
Bet your sister is happy!!! Stunning!
Thanks for adding a brag post!
Ana