1x12 Play Table Bench with Storage

The free plans on this website are made possible with advertising and affiliate links.  Thank you for helping us keep plans free.


easy to build bench with shelf
Difficulty
Starter Projects
| Print this plan

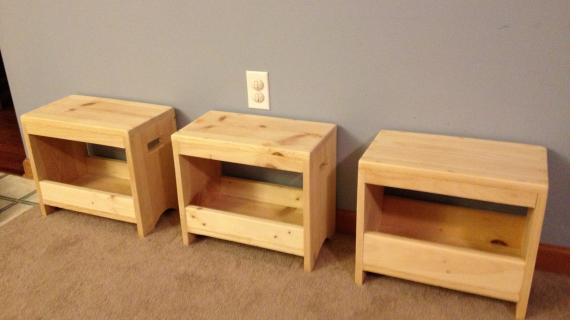
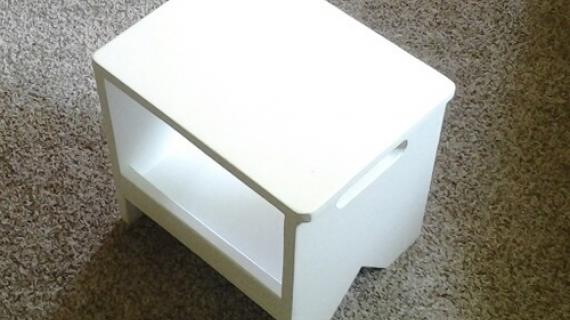
Perfect for a play table or extra seating and storage, this little bench is easy to make, easy to move around, and versatile!  This is an easy build.  Free step by step plans from Ana-White.com
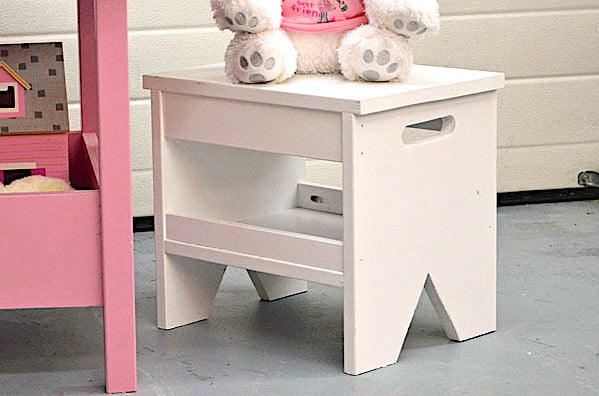
A little short on seating?  Benches can be so much easier to build than chairs, and also easier to move around.  Add a shelf like I did for a little extra storage if using as a stationary piece.


Kids Play Table

The benches are designed with the flower table play, but can be used for most any kids table.  


Size Modifications

Can this bench be modified in size?  Yes!  It is very sturdy and can be made up to 18" tall and up to 48" long by just adjusting the cut list.

 
Dimensions
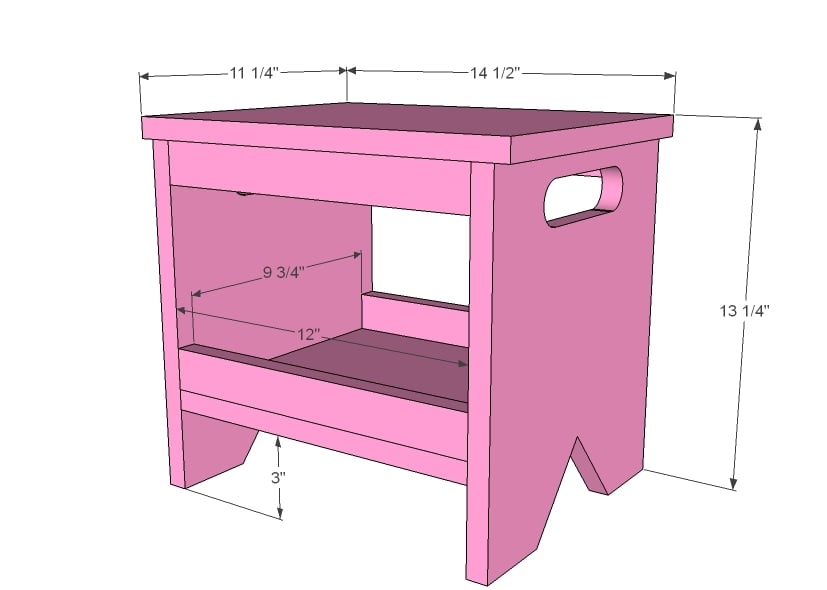
dimensions as shown
Height of this bench is NOT chair height, shorter, designed for kids play tables. Increase the side cut length for standard bench height.

Preparation

Shopping List
  • 1 - 1x12 @ 5 feet long
  • 1 - 1x2 @ 5 feet long
  • Use 2" self tapping star bit screws or 1-1/4" nails or 1 1/4" pocket hole screws
Common Materials
Cut List
  • 2 - 1x12 @ 12 1/2" - sides (cut to 17" for a standard seat height)
  • 1 - 1x12 @ 14 1/2" - top
  • 1 - 1x12 @ 12" - shelf
  • 4 - 1x2 @ 12" - trip
Tools
Tape Measure
Speed Square
Pencil
Safety Glasses
Hearing Protection
Drill
Jigsaw
Drill Bit Set
General Instructions

Please read through the entire plan and all comments before beginning this project. It is also advisable to review the Getting Started Section. Take all necessary precautions to build safely and smartly. Work on a clean level surface, free of imperfections or debris. Always use straight boards. Check for square after each step. Always predrill holes before attaching with screws. Use glue with finish nails for a stronger hold. Wipe excess glue off bare wood for stained projects, as dried glue will not take stain. Be safe, have fun, and ask for help if you need it. Good luck!

Instructions

Step 1

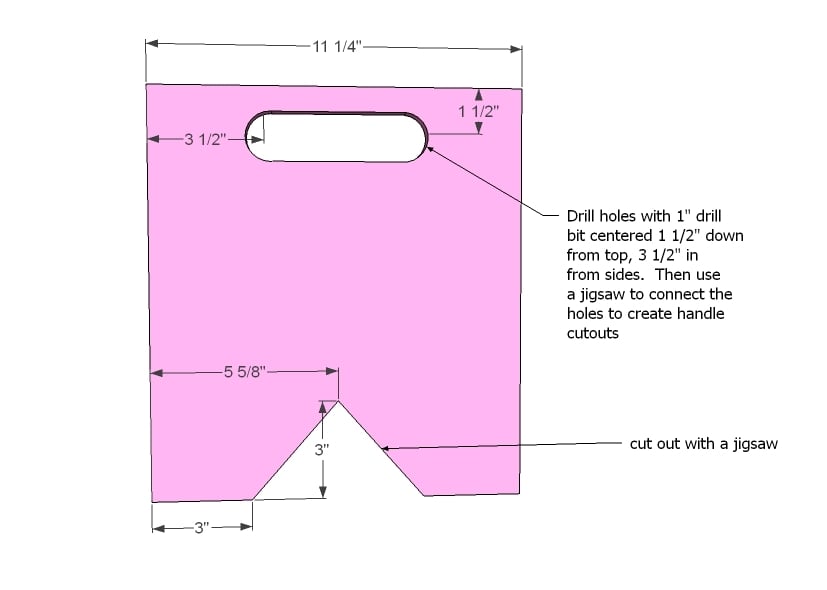
Cut sides as shown in diagram. Make sure you take your time with the jigsaw and be patient. Sand any rough edges.

Step 2

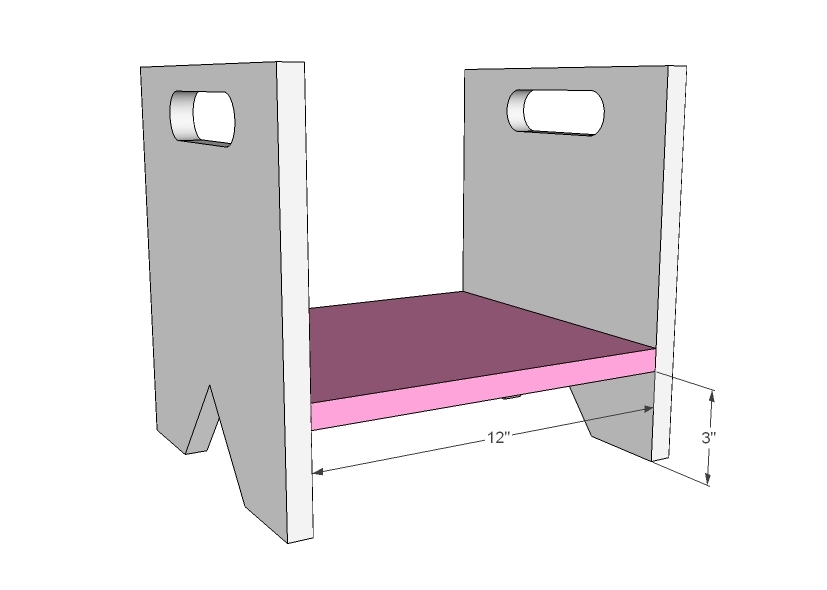
Mark the sides 3" from bottom, on insides and out. Attach shelf to sides using marked line as guide. You can use 2" finish nails and glue, 2" screws or 1 1/4" pocket hole screws.

Step 3

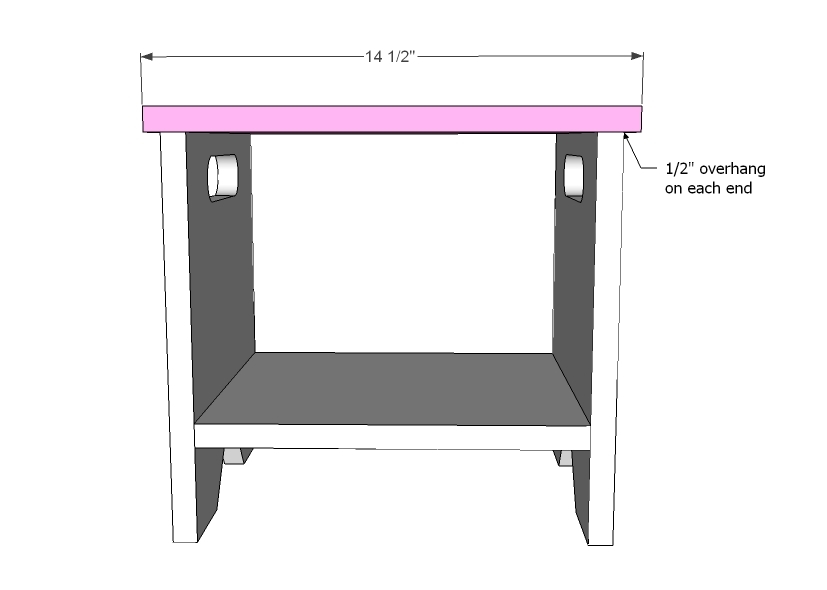
Now add the top. Mark 1/2" overhangs, center, and attach.

Step 4

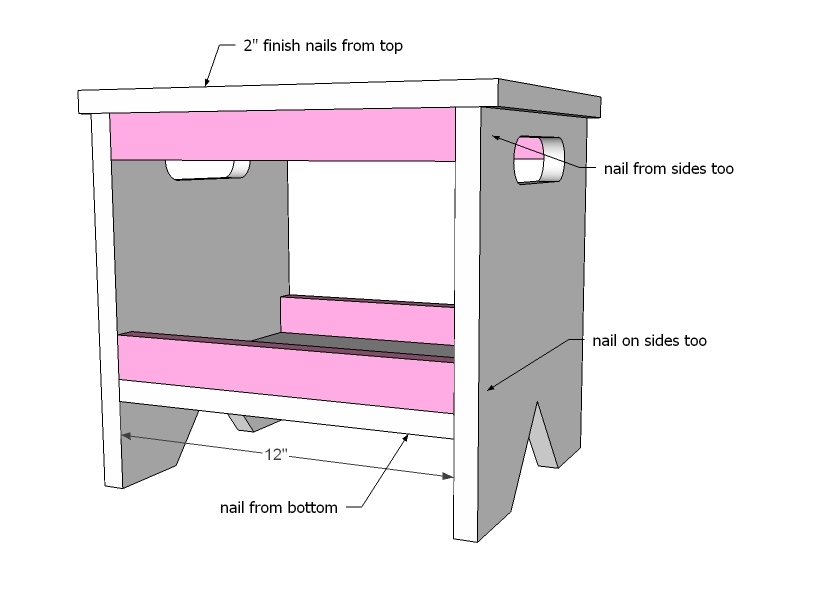
Finally, add the 1x2 trim. These 1x2s actually add a considerable amount of support to the bench (think kids jumping on the benches) so use glue and nails or screws to attach.

Finishing Instructions
Preparation Instructions
Fill all holes with wood filler and let dry. Apply additional coats of wood filler as needed. When wood filler is completely dry, sand the project in the direction of the wood grain with 120 grit sandpaper. Vacuum sanded project to remove sanding residue. Remove all sanding residue on work surfaces as well. Wipe project clean with damp cloth.

It is always recommended to apply a test coat on a hidden area or scrap piece to ensure color evenness and adhesion. Use primer or wood conditioner as needed.

Comments

annalea

Thu, 12/29/2011 - 14:36

I think we might make a bunch of these, since they look like they'll not only store well in deep cupboards we have, but will work as storage, too, with that great little shelf. Thank you!!!

Sandy Mayer (not verified)

Thu, 03/15/2012 - 15:37

Great design - it's quick to make and modify. We changed the dimensions and used this stool design to make a really basic night table.