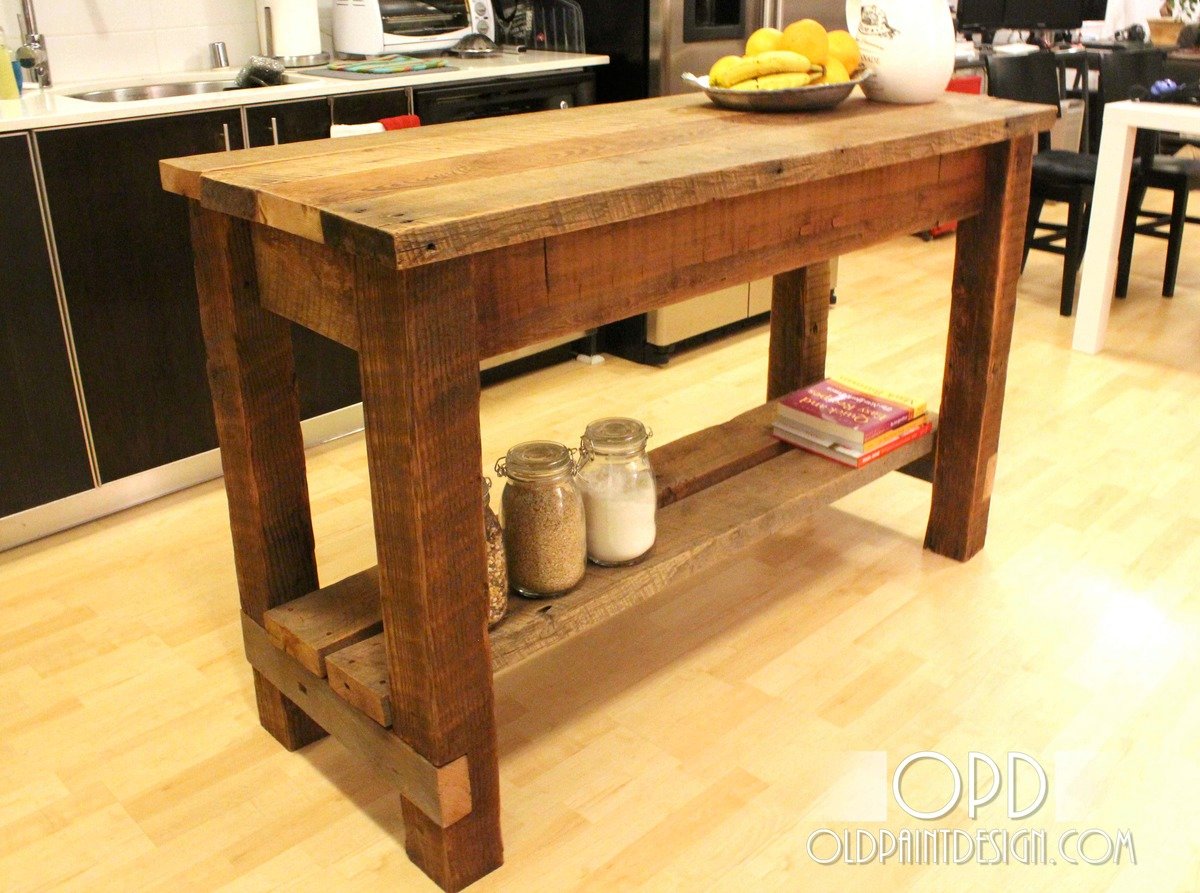


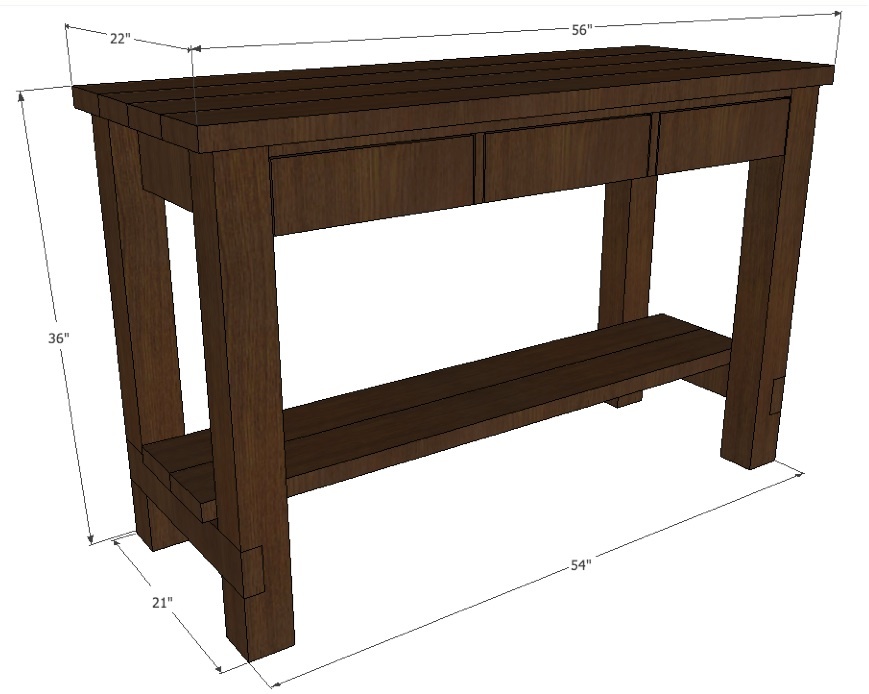
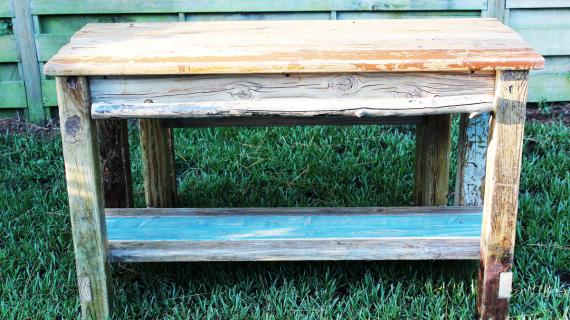
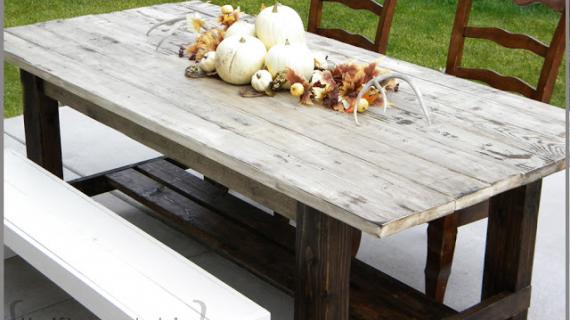
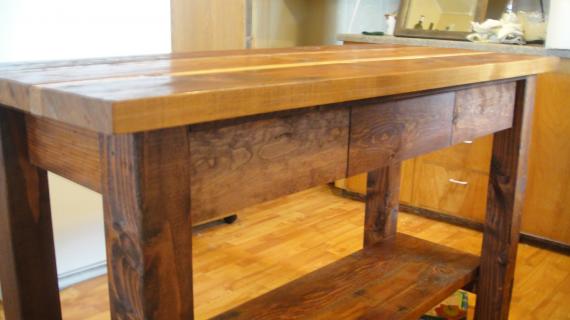
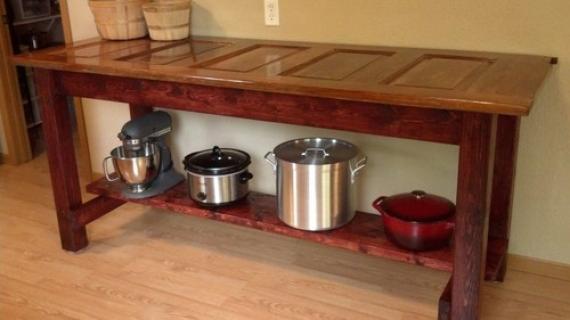
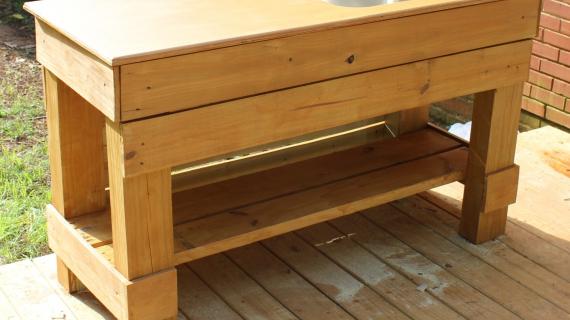
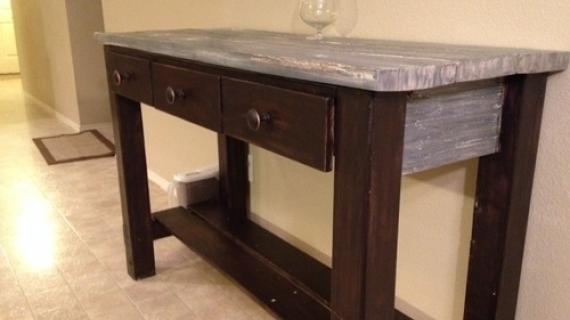
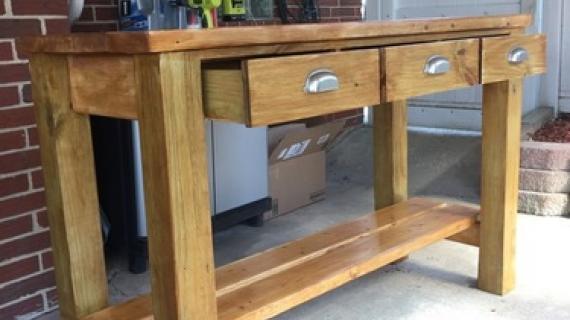
Gaby and Andres, two of the kindest people I’ve ever met, needed an island to add storage and functionality to their kitchen. Gaby loves all things Restoration Hardware (which automatically means that we are soul mates) and really liked the look of Restoration’s Salvaged Wood Kitchen Island. There were three problems with the store bought island: 1. It’s $3000. Holy crap. 2. It was way too big. 3. They really wanted drawers for additional storage. So, together we came up with this project plan.
For the full plan, visit: http://www.oldpaintdesign.com/2012/06/29/gaby-kitchen-island/
Enjoy!
Please read through the entire plan and all comments before beginning this project. It is also advisable to review the Getting Started Section. Take all necessary precautions to build safely and smartly. Work on a clean level surface, free of imperfections or debris. Always use straight boards. Check for square after each step. Always predrill holes before attaching with screws. Use glue with finish nails for a stronger hold. Wipe excess glue off bare wood for stained projects, as dried glue will not take stain. Be safe, have fun, and ask for help if you need it. Good luck!
It is always recommended to apply a test coat on a hidden area or scrap piece to ensure color evenness and adhesion. Use primer or wood conditioner as needed.

Comments
beachbumlivin
Tue, 08/07/2012 - 12:50
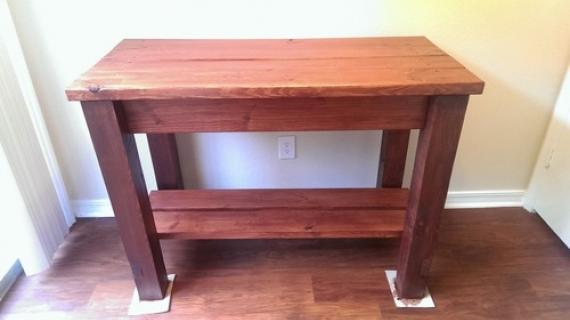
This project was so awesome!!
I did this project and it was really easy and fun to do!! I made a video of me making the Gaby Kitchen Island, you can watch it here:
http://youtu.be/AoysTtE9blw?hd=1
Amanda89 (not verified)
Fri, 08/24/2012 - 06:28
Love this!
Love this!