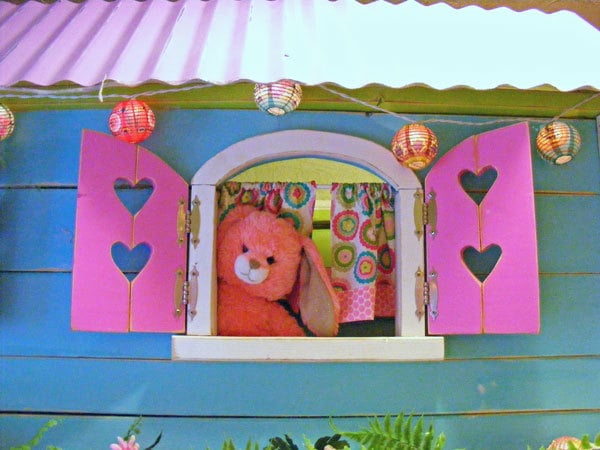
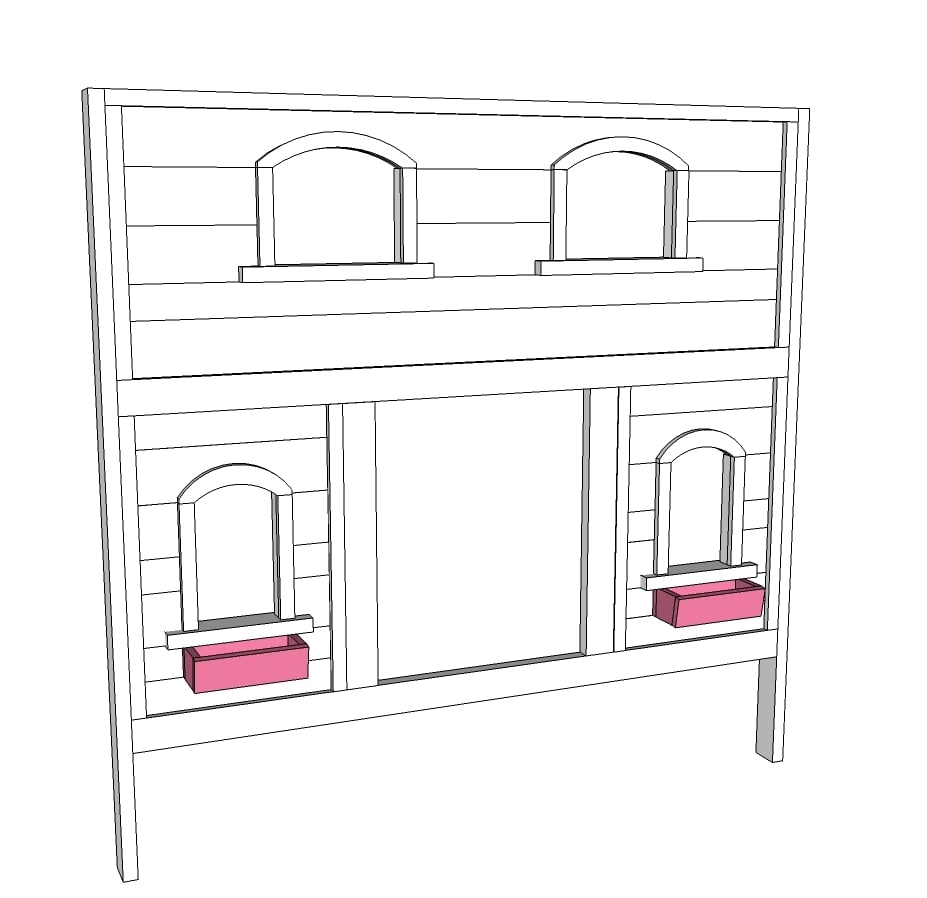
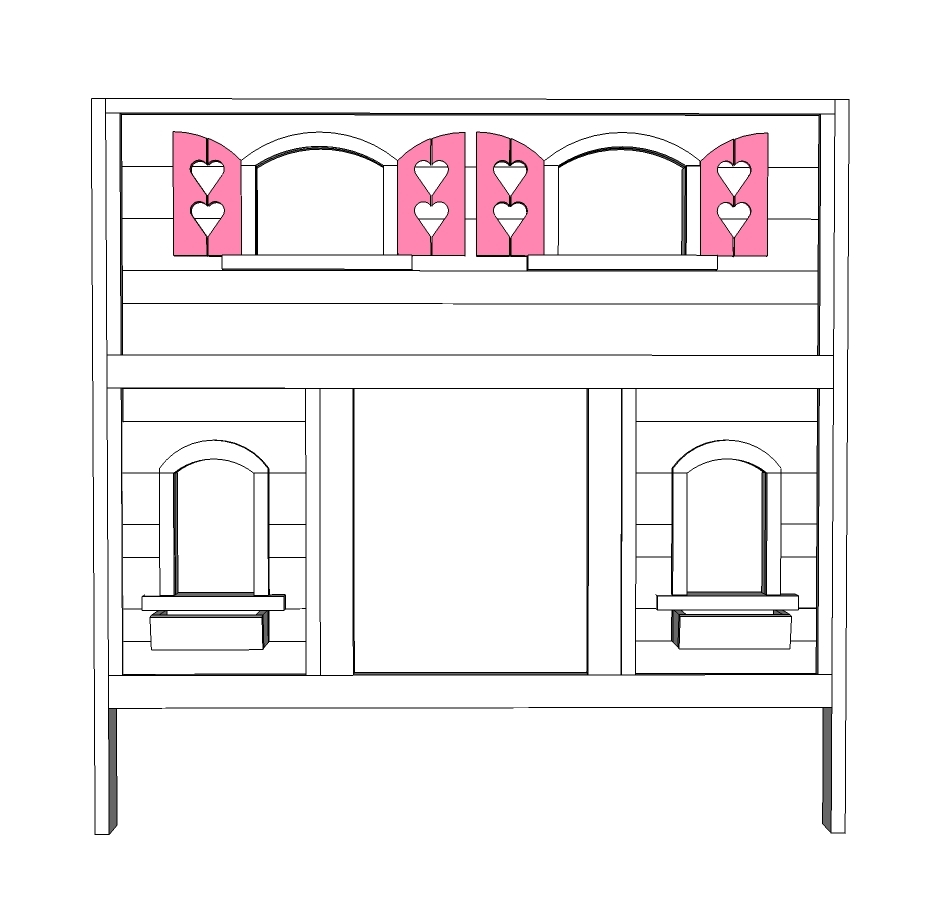
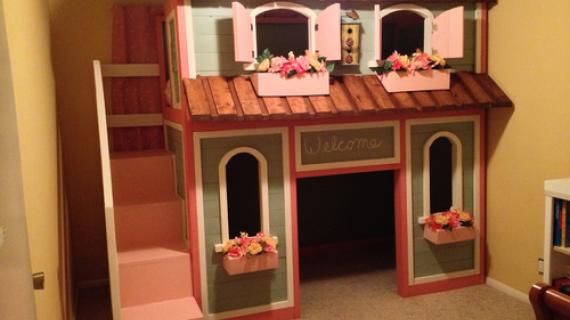
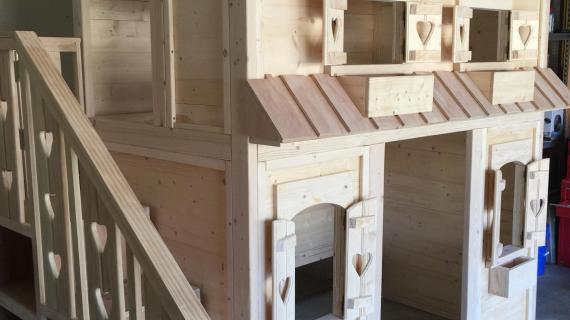
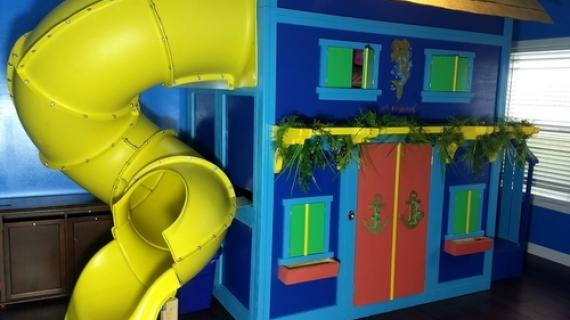
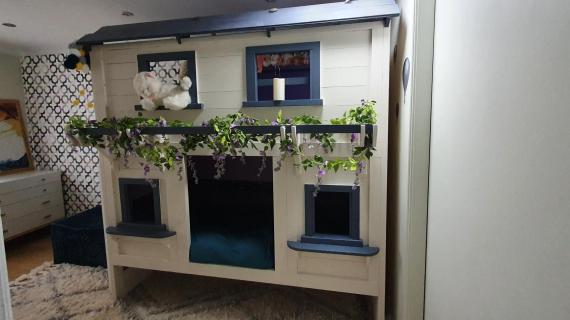
Add charm to your Sweat Pea Garden Bunk Bed with real working arched shutters and overflowing window boxes!
Special thanks to Jenny at Birds and Soap for designing and building and sharing plans with you!
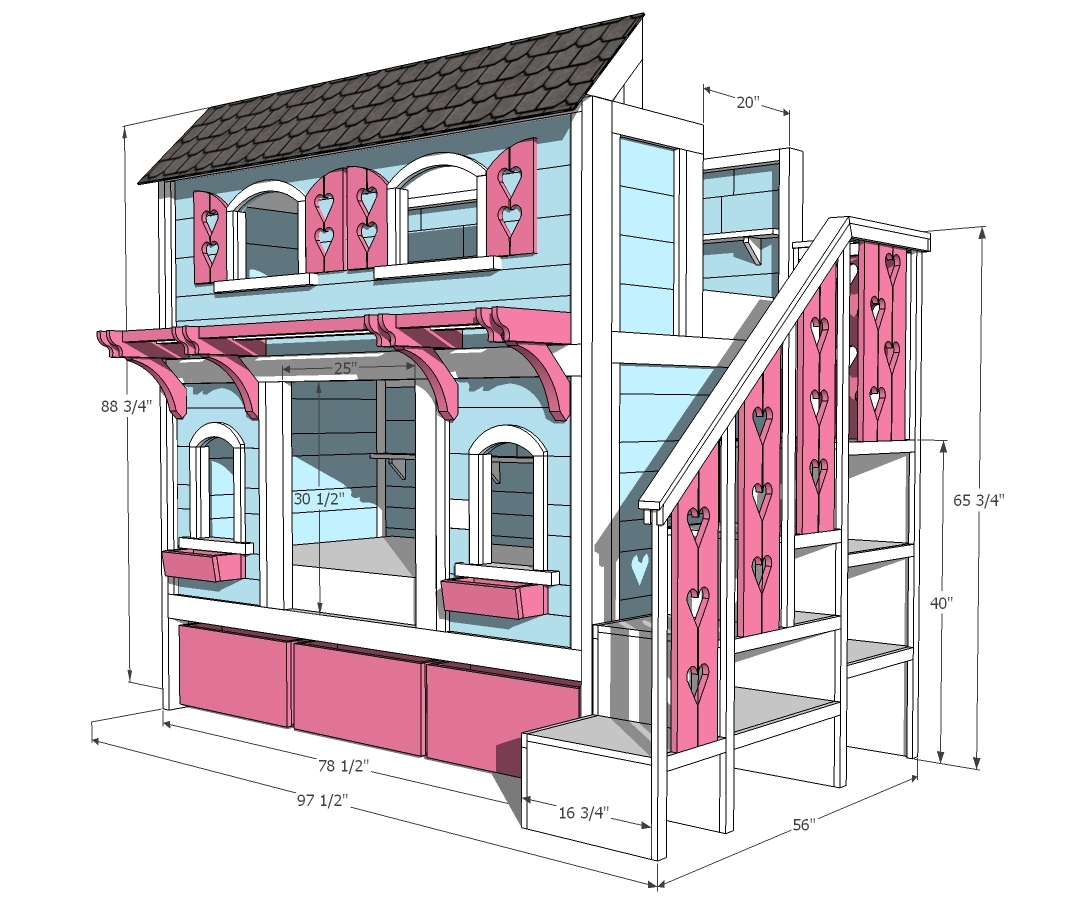
Preparation
Shopping List included with main Sweet Pea Bunk Bed Plans
Shutters
(8) 1x4’s @ 13” arched to match window shape with design cut-outs.
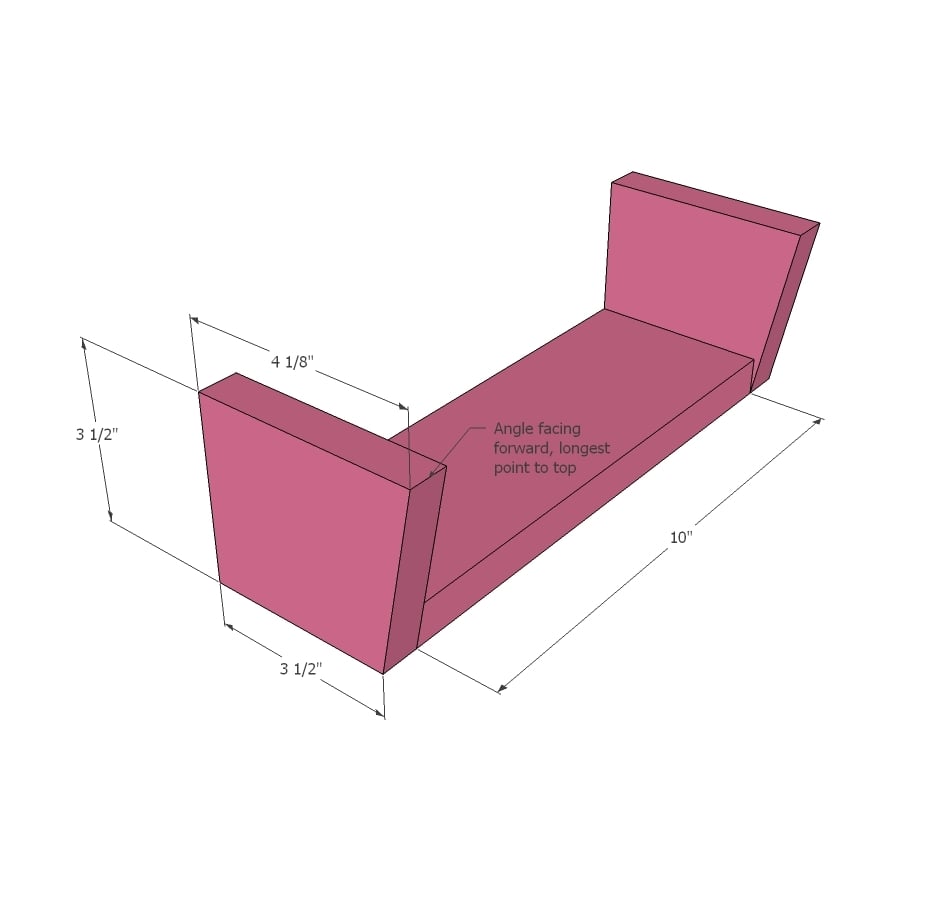
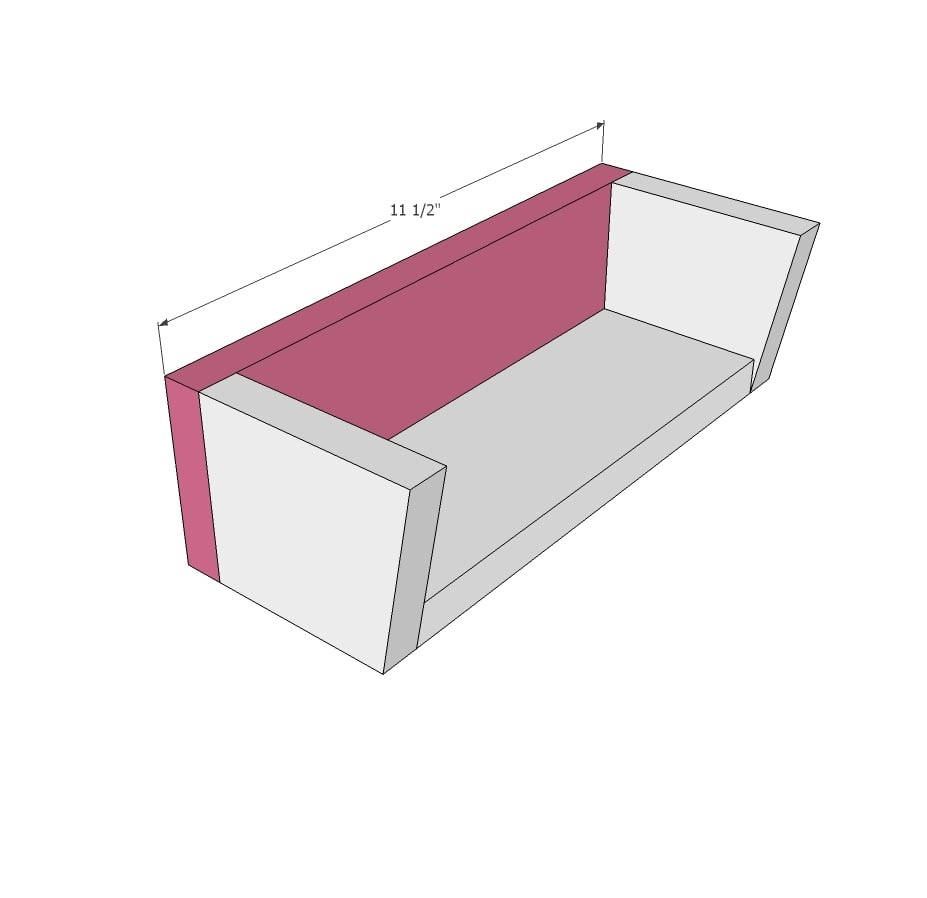
Window Boxes
(4) 1x4’s @ 11 ½”, window box fronts
(2) 1x4’s @ 10”, window box bottom and back pieces
(4) 1x4’s @ 3 ½” with a 10 degree cut. Measurement is on the short side of the board.
Please read through the entire plan and all comments before beginning this project. It is also advisable to review the Getting Started Section. Take all necessary precautions to build safely and smartly. Work on a clean level surface, free of imperfections or debris. Always use straight boards. Check for square after each step. Always predrill holes before attaching with screws. Use glue with finish nails for a stronger hold. Wipe excess glue off bare wood for stained projects, as dried glue will not take stain. Be safe, have fun, and ask for help if you need it. Good luck!
Instructions
Step 1
Step 2
Step 3
Step 4
Step 6
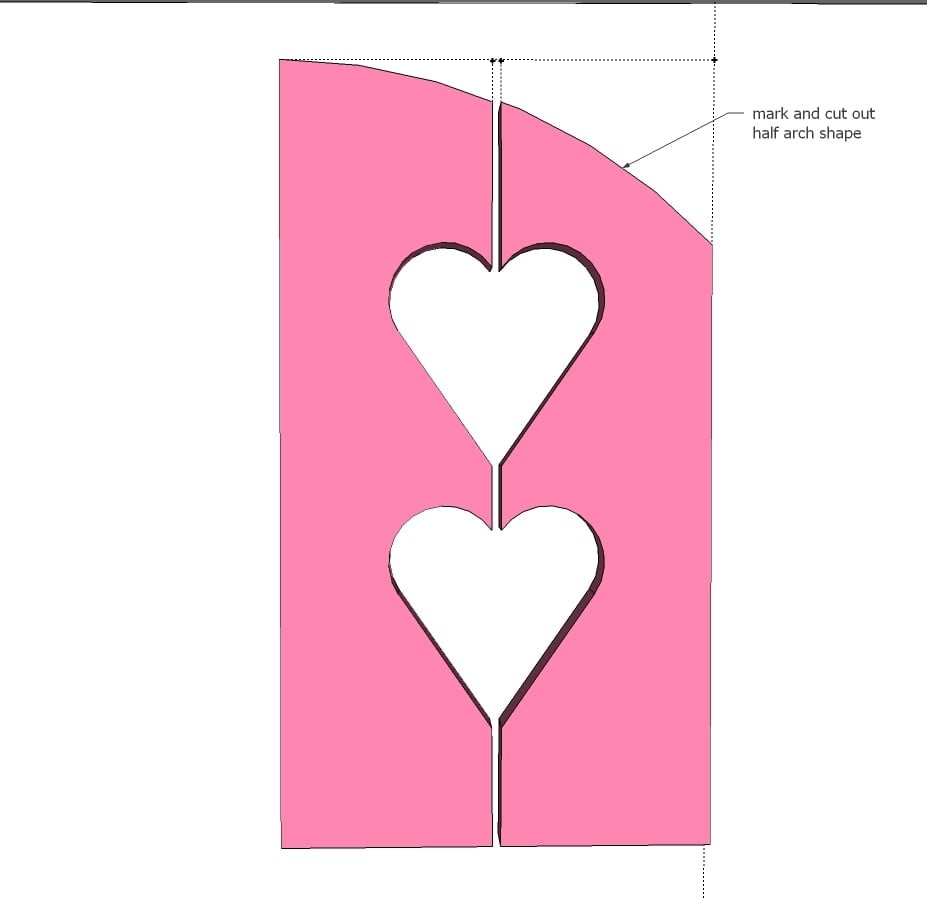
Next lay your 13” boards on a flat surface, grouping them into pairs and aligning them so that they are flush. Cut a heart shape (or any design) roughly 3” high out of a piece of paper and use it as a template to trace onto the boards. I placed the first heart 2” up from the base of the shutter boards and the second heart was placed 1” above the first. Center your design between the two boards in each pair and trace your pattern onto the wood.
Using a jigsaw, cut out the lines to reveal your design. Sand all edges smooth.
Step 7
With the inside design finished, you will want to lay your boards together, placing the paper window template on top. Line up the bottom and outside edges of the template flush with each pair of boards. Trace the arch that will span across each pair of boards. Cut out the half- arch pattern from each set with the jigsaw and sand the edges smooth.
Glue each pair of boards together to make one shutter. Secure each set with clamps till the glue dries and wipe away any drips.
It is always recommended to apply a test coat on a hidden area or scrap piece to ensure color evenness and adhesion. Use primer or wood conditioner as needed.






Comments
Tim H
Sat, 04/20/2013 - 22:44
PDF of Bunkbed Plans
I have been able to download the PDF files for all but the bunkbed. If I could get the PDF plans emailed that would be fantastic.
Also, I wasn't able to comment anywhere but here, I think there are a few problems on the other pages with the comments area as well as the PDF link for the bunkbed itself.
Other than the few glitches, this site is awesome. I have downloaded a few projects to build for my girls.
Thank you Ana and to all that have contributed to making this the goto site for DIY projects!